

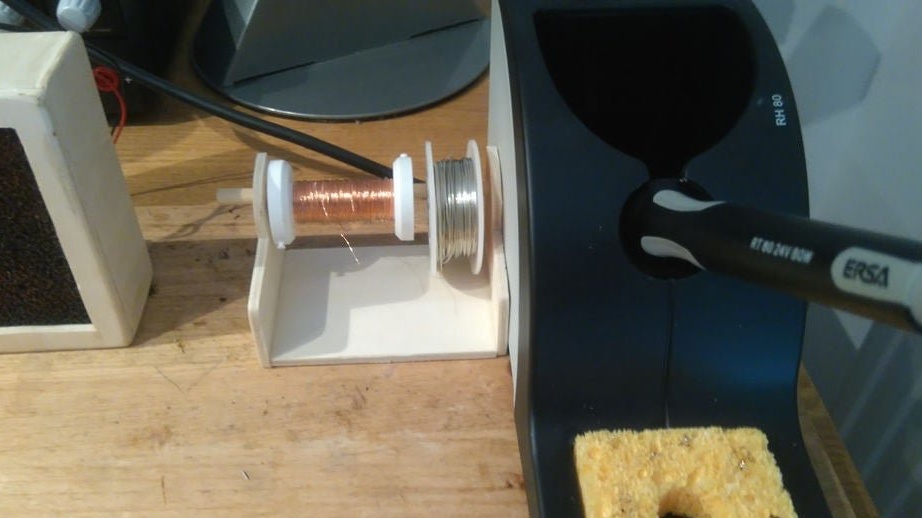
The holder proposed by Instructables under the nickname TechnicalKid is very convenient for working with reels with solder and a winding wire. Thanks to him, the bobbins are not lost and do not fall off the table, and the solder / wire from different bobbins is not intertwined. You can place the holder on the table in the workshop, for example, like this:
And begins work on homemade 3D model compilation wizard:
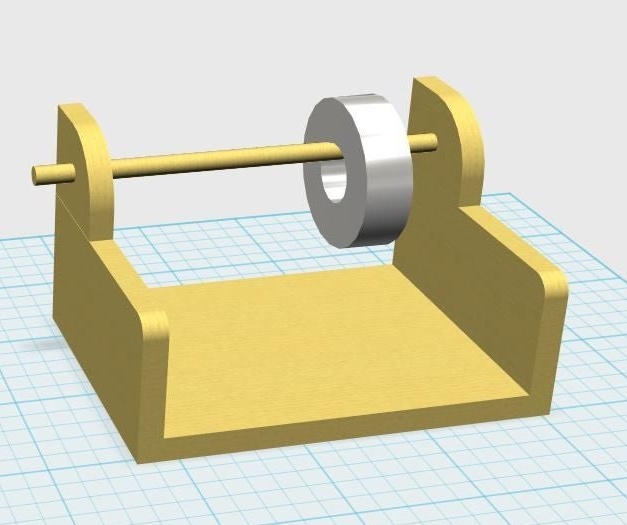
Well, converting 3D to 2D is a simple matter, and now the wizard uploads the template in a PDF file, which can be downloaded here. It is designed for the manufacture of all structural parts, with the exception of the axis, from plywood 5 mm thick. To assemble the holder, you need PVA glue. The axis can be wooden, plastic, metal - it does not matter, since it can not be glued, it must be removable for the rapid replacement of bobbins.
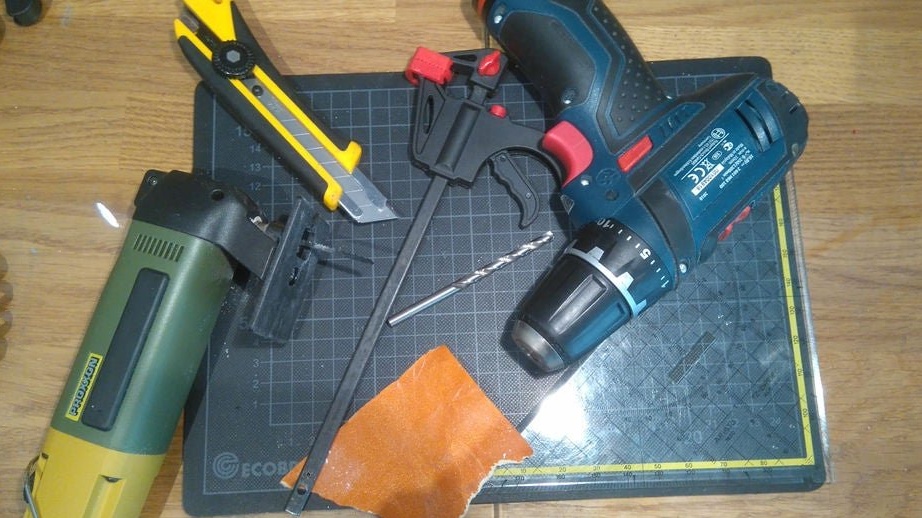
From the tools, the master takes a screwdriver with a drill, a jigsaw, sandpaper, a stationery knife, a marking rug, a clip:
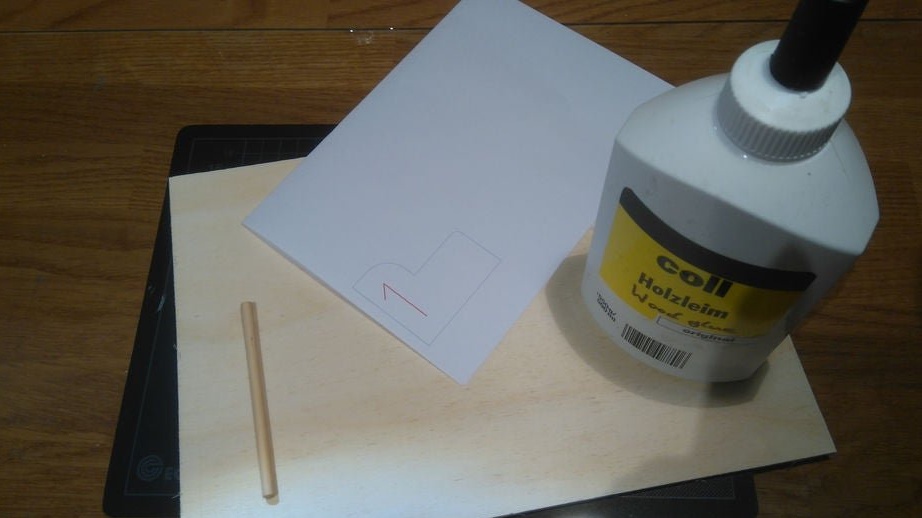
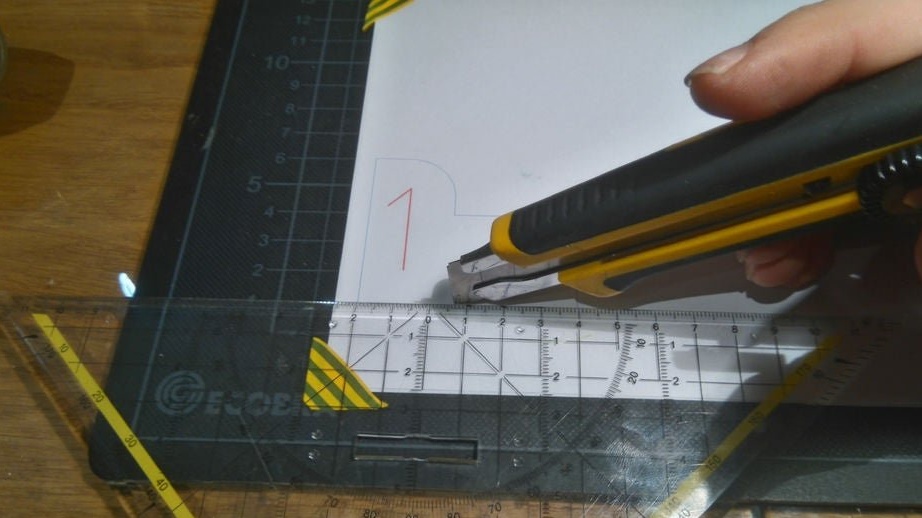
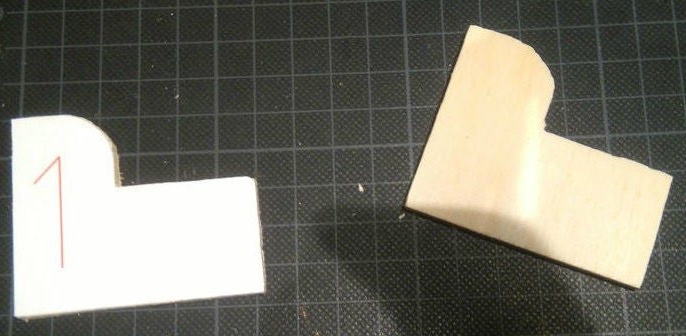
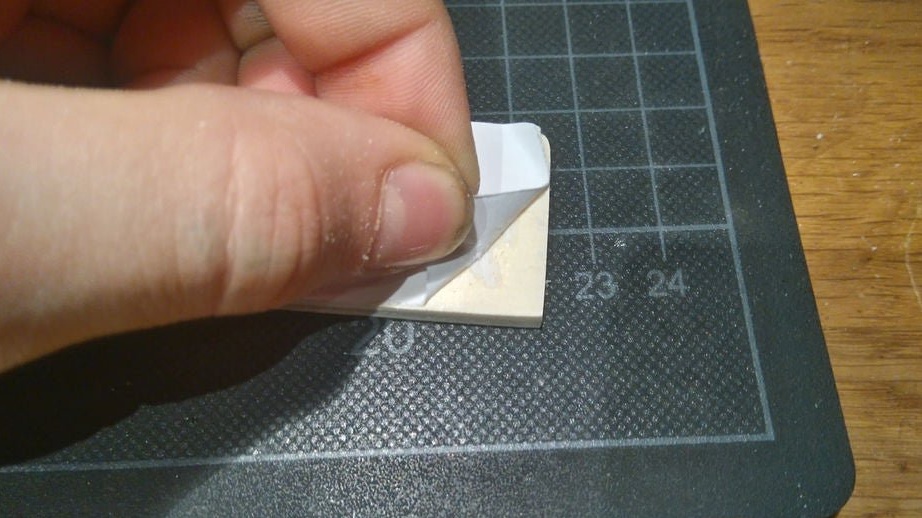
Having made a printout on a 1: 1 scale, the master cuts out a template from it, which, however, can not be cut out, but can be transferred to plywood using carbon paper.
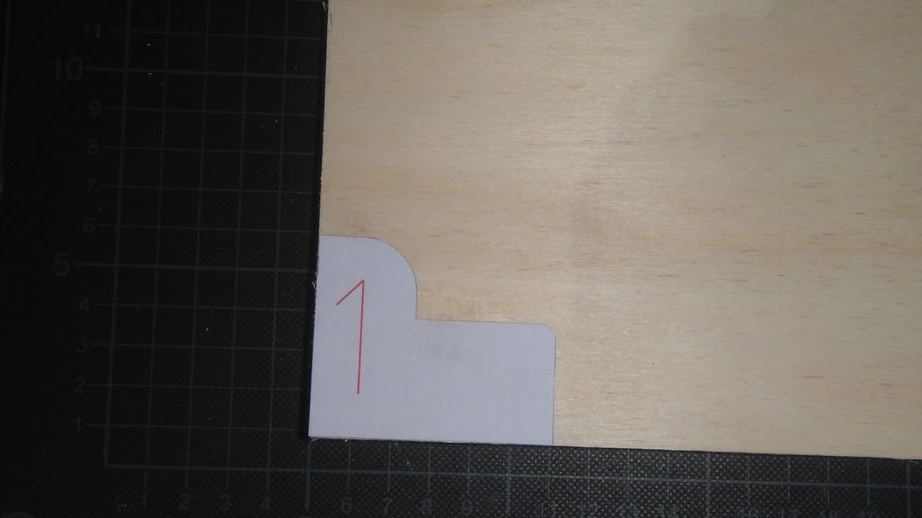
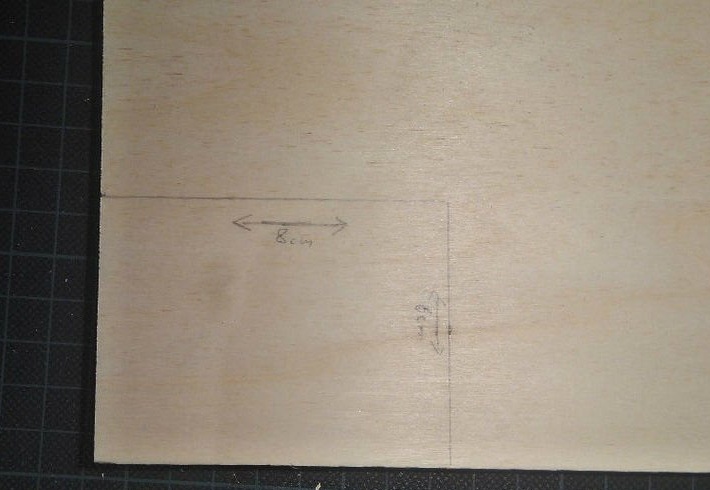
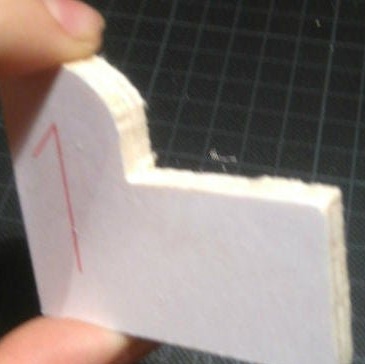
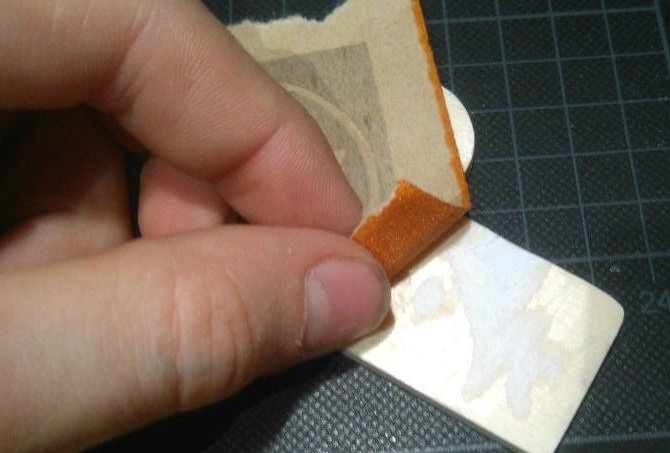
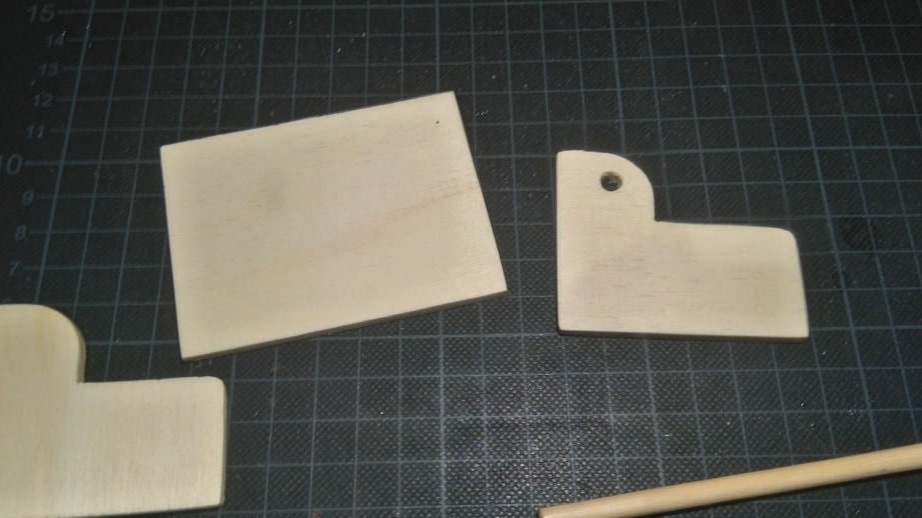
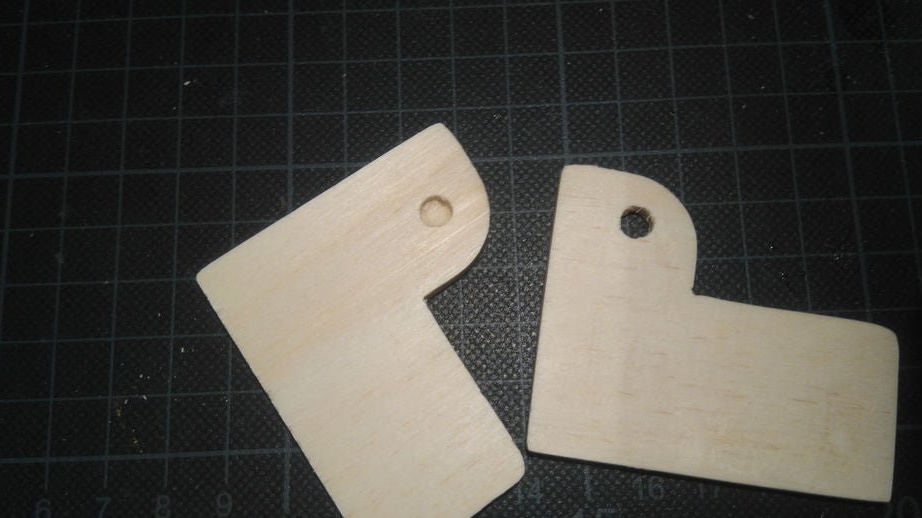
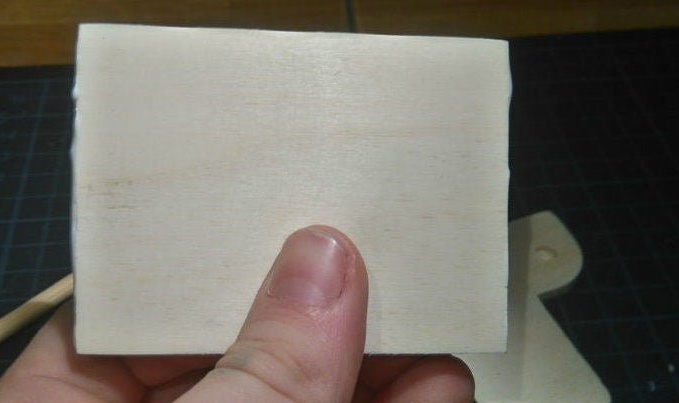
According to the template, the master makes two identical side walls from plywood. Since there is only one template, it is easiest to stick it to plywood, cut one wall, and then use it as a template for the second. For the manufacture of the base, a template is not required - it's just a rectangle measuring 80x60 mm.
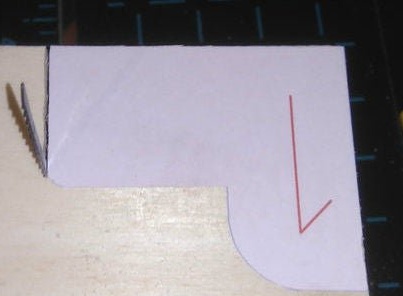
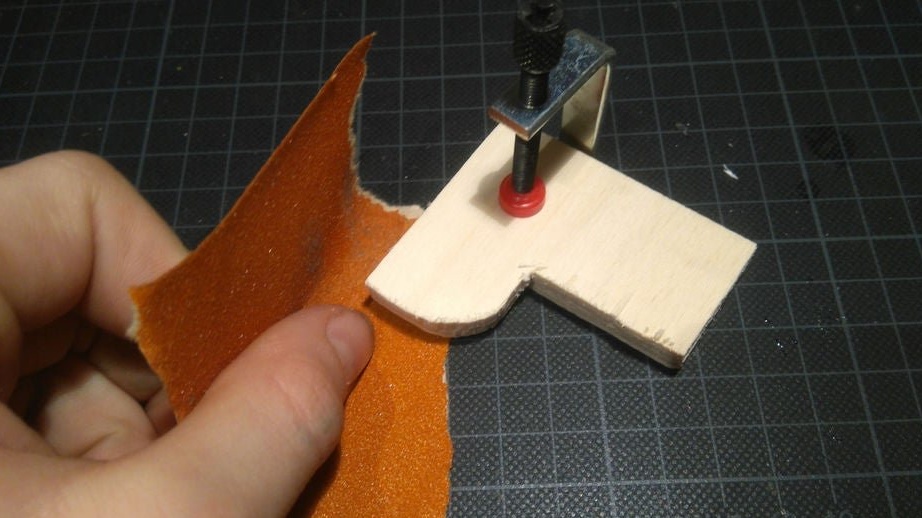
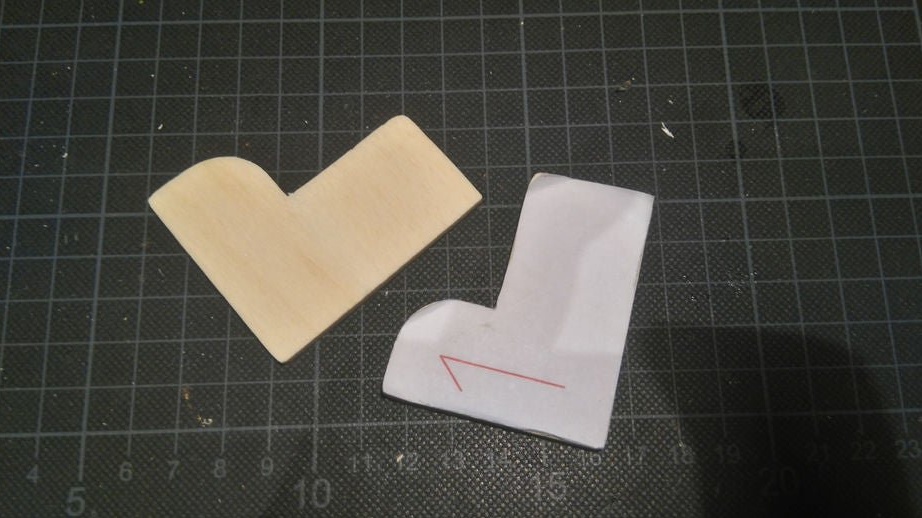
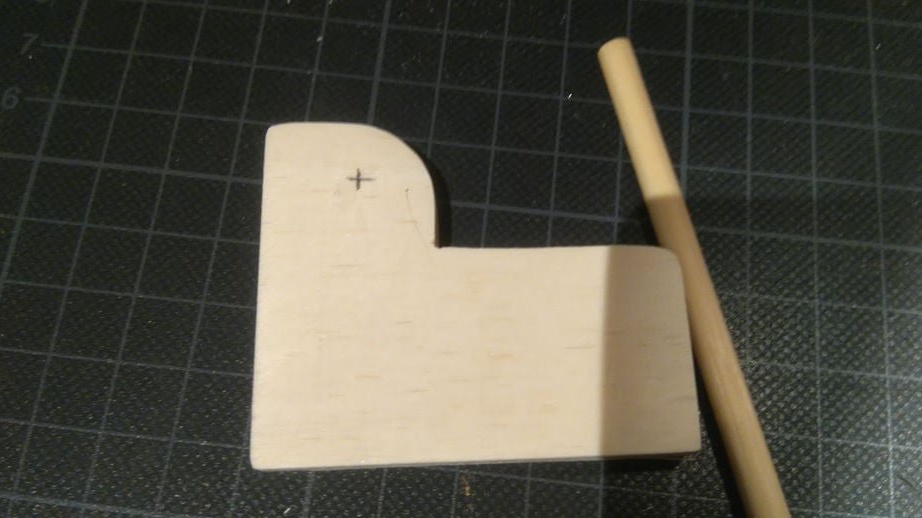
Putting the two side walls together and combining them as accurately as possible, the master clamps them, and then processes their ends with sandpaper. So both parts will turn out almost the same, and the holder will stand on the table exactly. Then it unloads and peels off the template. If necessary, the surface to which it was glued is also treated with sandpaper.

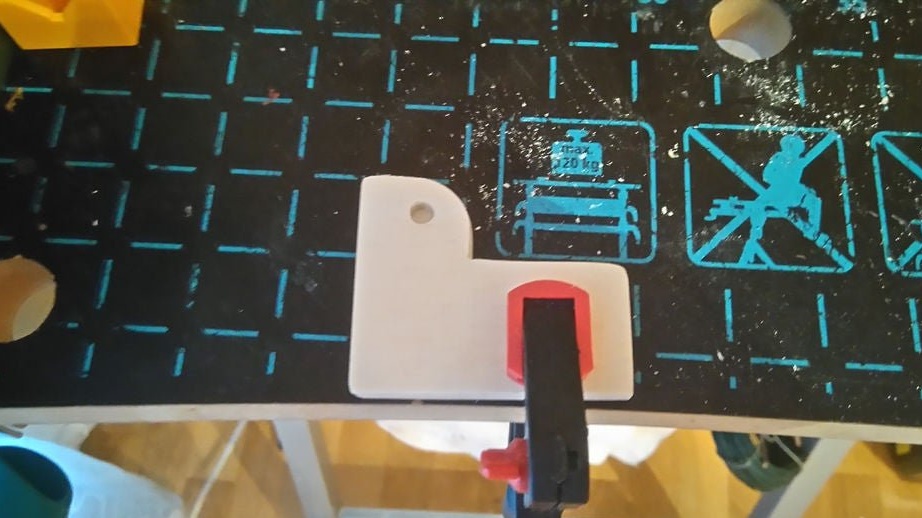
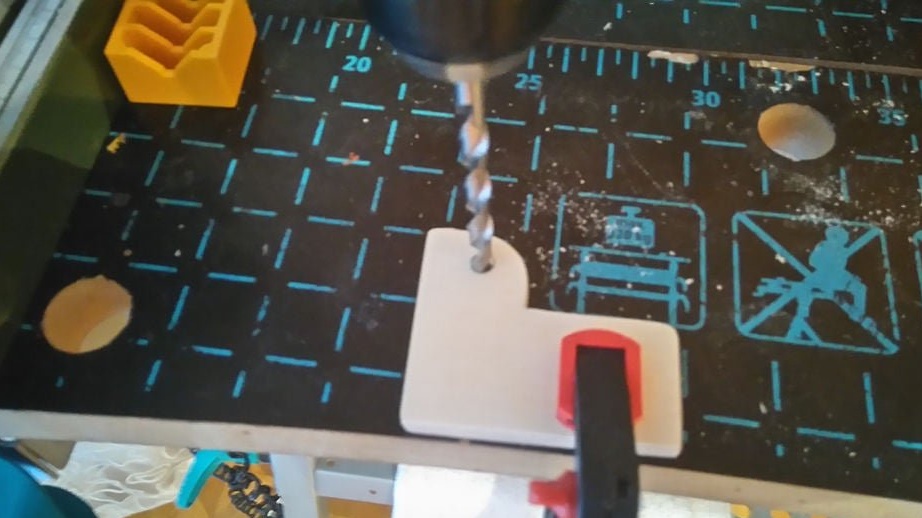
The master drills a through hole in one of the side walls, and a blind hole in the other. The diameter of the hole is chosen such that the axis is held tight, in his case - 5.5 mm.
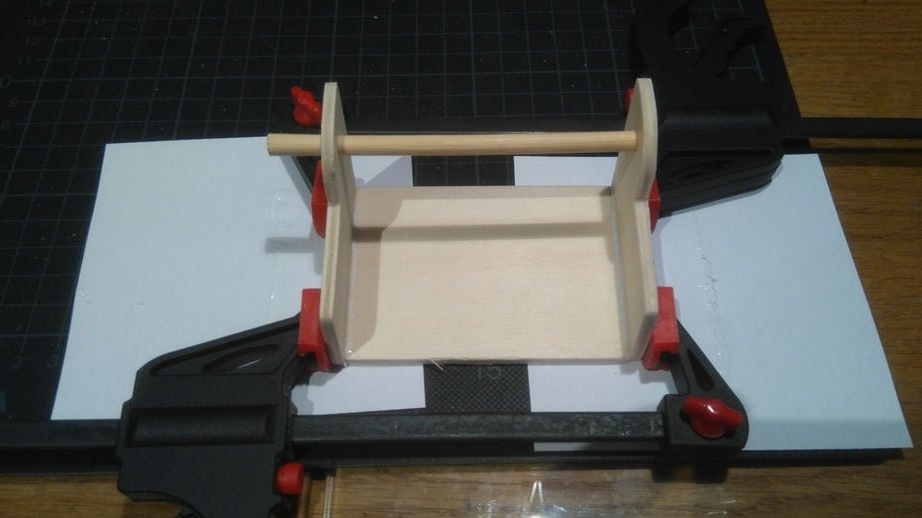
Finally, the master glues the structure from the base and two side walls, clamps, puts the axis in place so that the glue does not get on it, and after the glue hardens, it decompresses.
The holder is ready. If you make the base wider and the axis longer, you can place bobbins on it not with solder and winding wire, but with cable markers with numbers from 0 to 9.