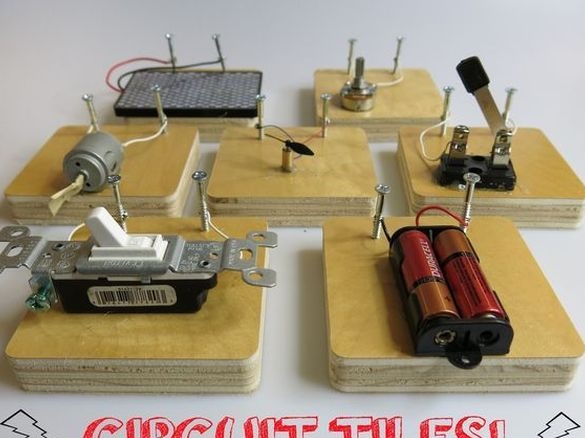
There are many options for children's designers on sale, among them there are electronic. But it’s much more interesting to make the designer, along with the child, do it yourself. The manufacture and use of such a designer, under the supervision of adults, will instill in the child the skill of working with a saw and a soldering iron and basic knowledge of electronics. You can also use such a constructor in labor or physics classes at school. The voltage of such a designer is low and safe for children.
Tools and materials:
-Plywood;
-Wire;
-Battery compartment;
-Batteries;
-The solar panel;
-Electromotors;
-Switches;
-Potentiometers;
-LEDs;
-Soldering iron;
-Saw;
-Sandpaper;
-Drill;
-Glue gun;
-Screws;
Step One: Tiles
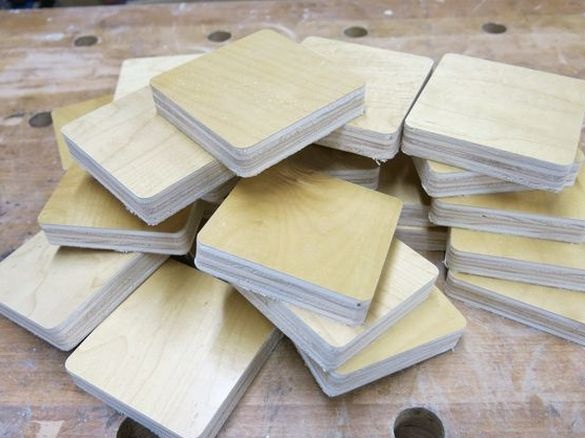
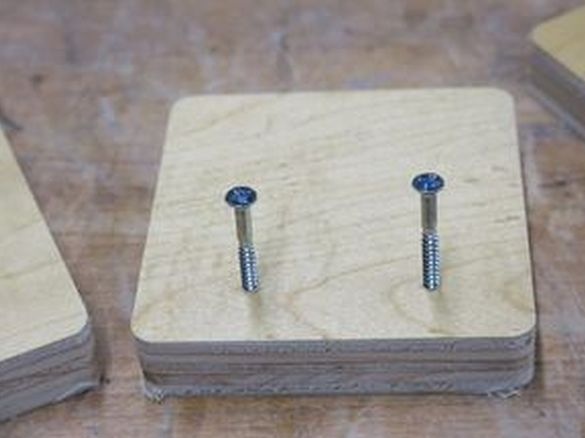
From plywood, it is necessary to cut square tiles with walls of 8-9 cm. Sand them with sandpaper.
Step Two: Screws
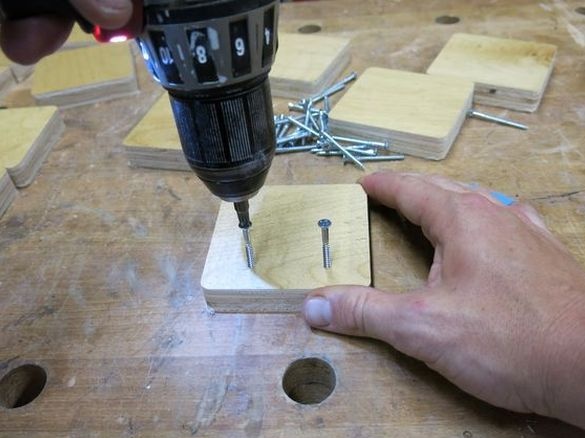
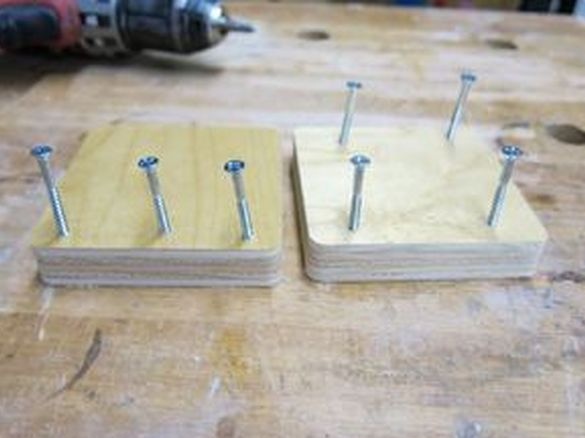
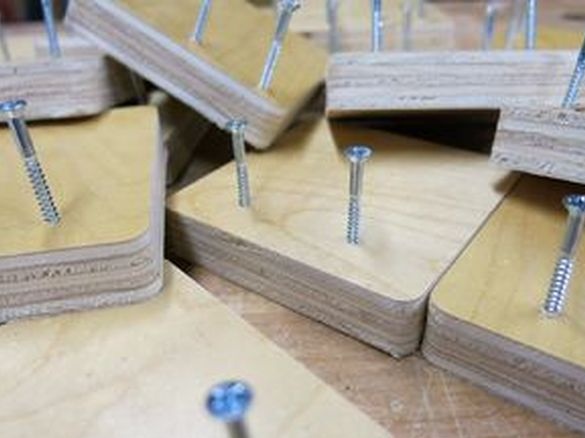
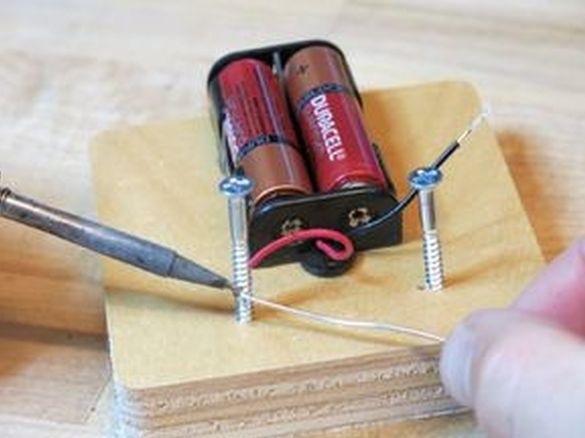
Further, it is necessary to screw a little screws into the tiles. The number of screws on one tile depends on the part that will be fixed to it. Screws will play the role of contacts, so the author advises using a screw with a "cross" hat under +, and with the usual under -.
Step Three: Electrical Components
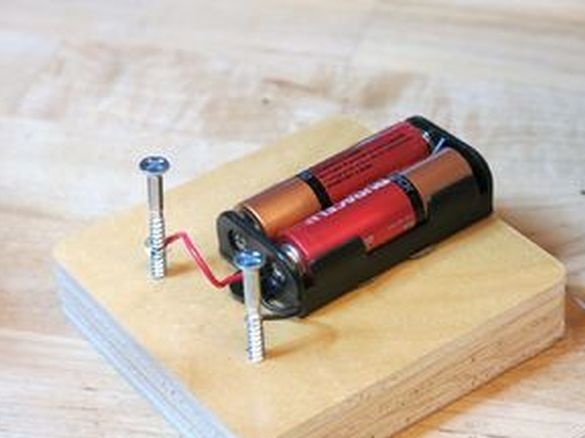
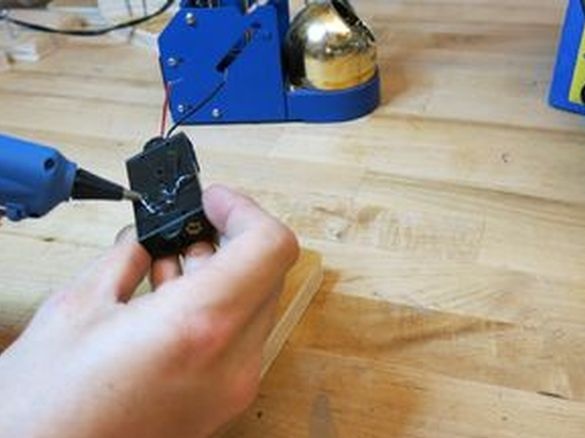
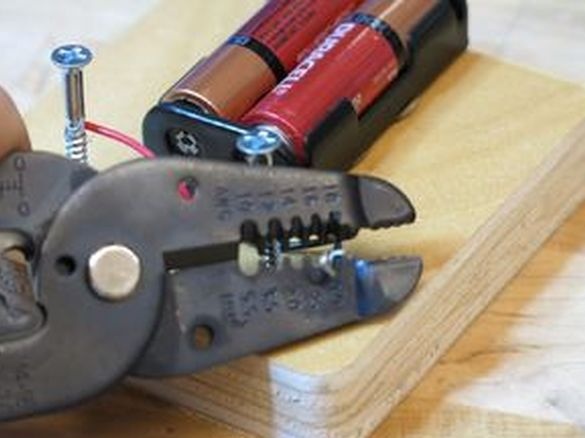
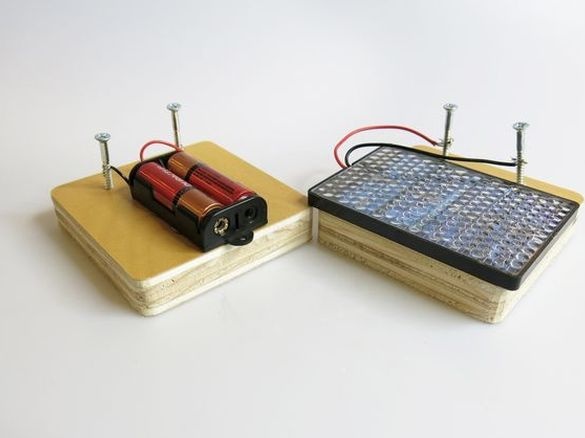
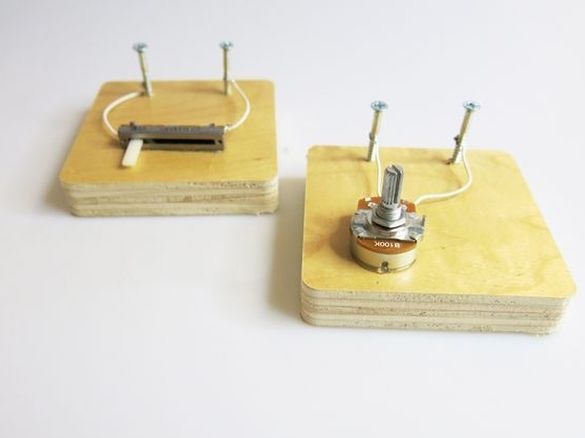
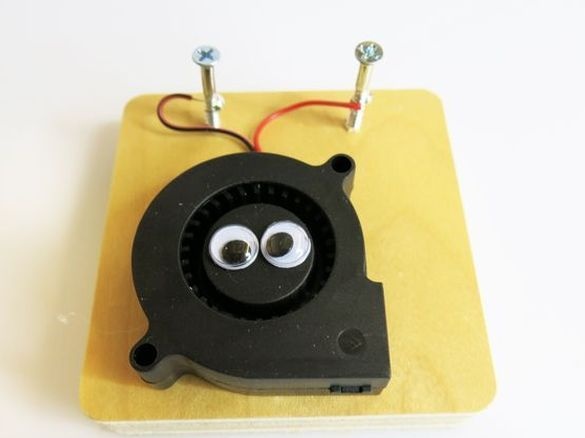
The next step is to fix the electrical parts on the tile, connect them with wires with screws, solder.
Battery Compartment
The solar panel.
LEDs
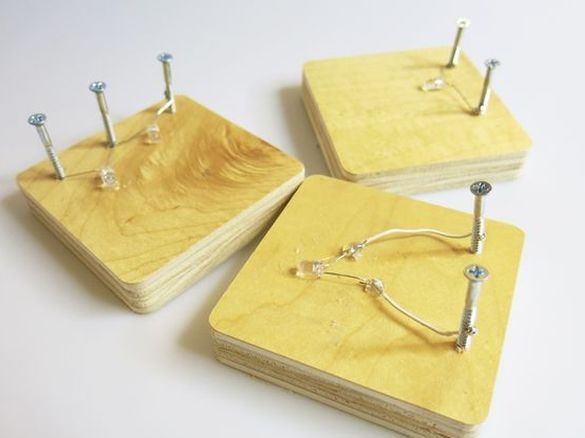
Engines
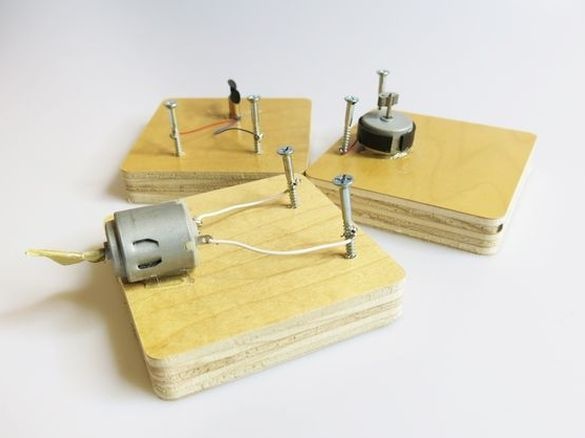
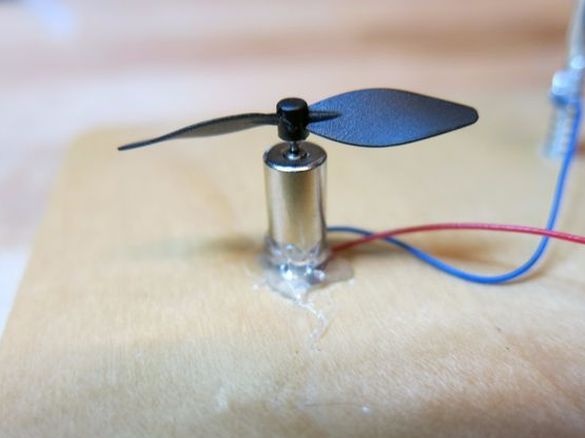
Switches.
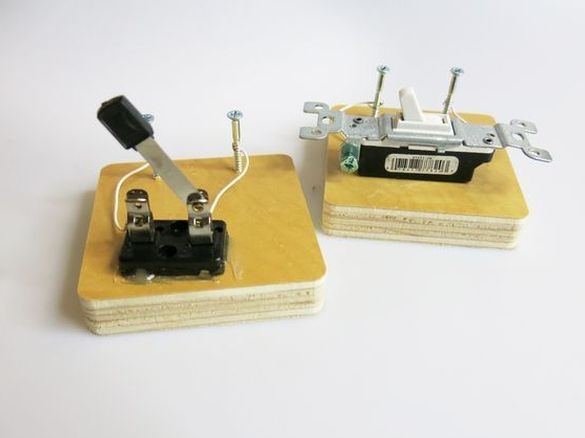
Potentiometer.
Cooler.
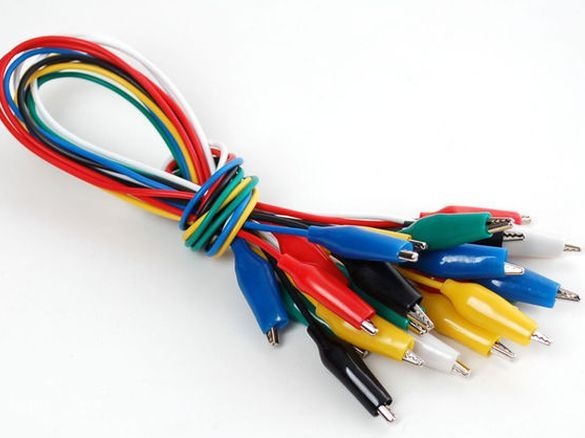
Now you can assemble various schemes.
I’ll add from myself.
You can add your own details additional power, resistance, electromagnets, etc. Even if you don’t know how some of them work, information can be found on the net. You can search for relevant literature, for example, books for the electronic designer "Expert", everything is painted in an accessible language.
