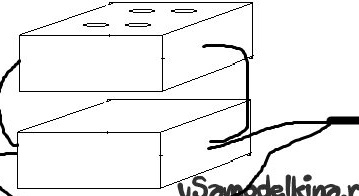
Back in the old days, when I was smaller and more restless, I made my first quad. The first creation is more than five years old, now there is little left of it, but it still WORKS !!! At the moment, I have three of these devices. On the example of the latter, ECH-3 I want to talk about the principle of creation.
You will need:
1) Two double sockets, external design. Preferred: spring contact, porcelain base and carbolite cover.
2) A 2-wire cable of the PVS or flexible VVG brand (you can take a 3-wire cable if you have a protective PE conductor in the system, grounding or grounding) of convenient length (3 meters will be convenient in the general case). Take a cross section of at least 2.5 mm2
3) 2-pin plug of universal design on 16A, preferably 25A (or 3-pin, if there is a PE conductor).
4) A little tape.
5) Tool: cutter (any sharp, for stripping wires), screwdrivers and a pair of hands.
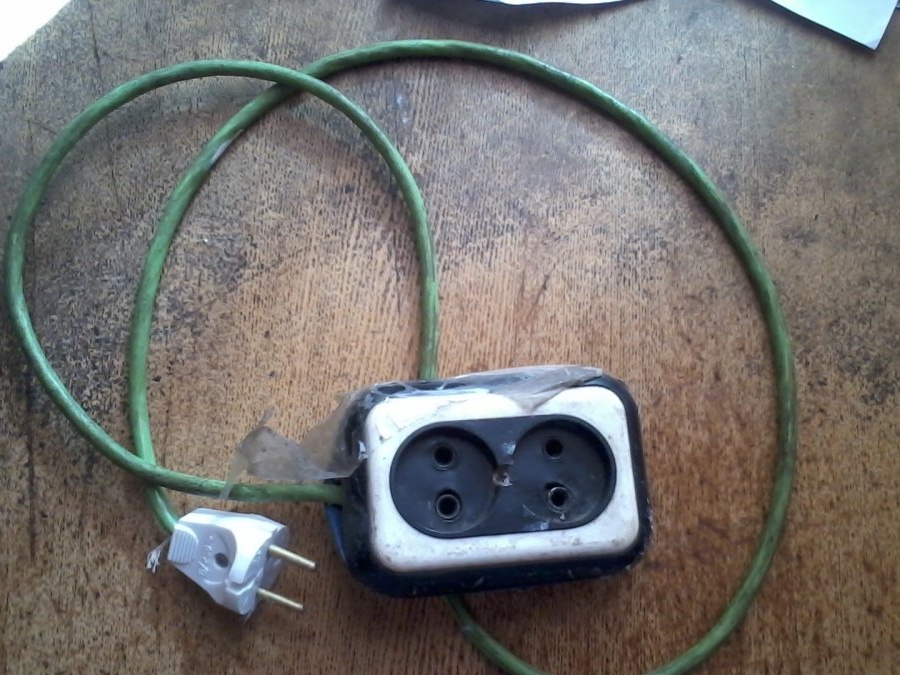
General view of the assembled ECH-3, before the demo analysis:
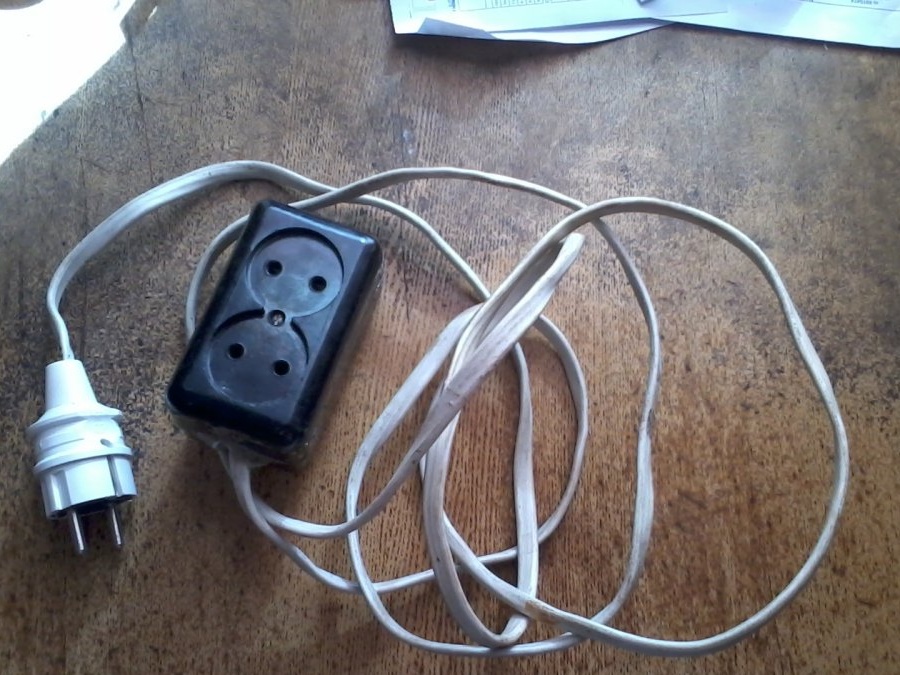
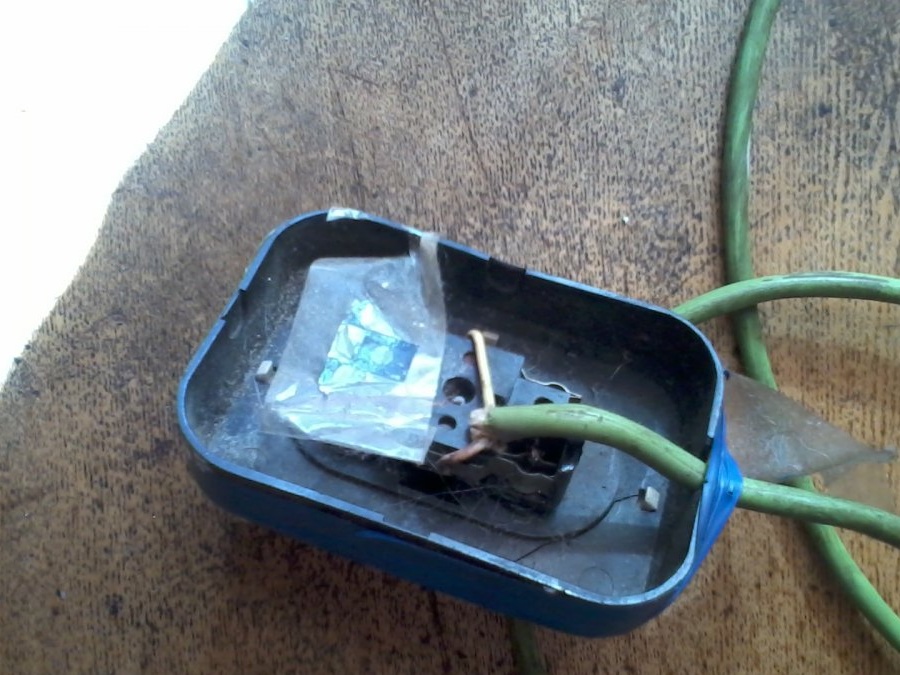
With housing removed:
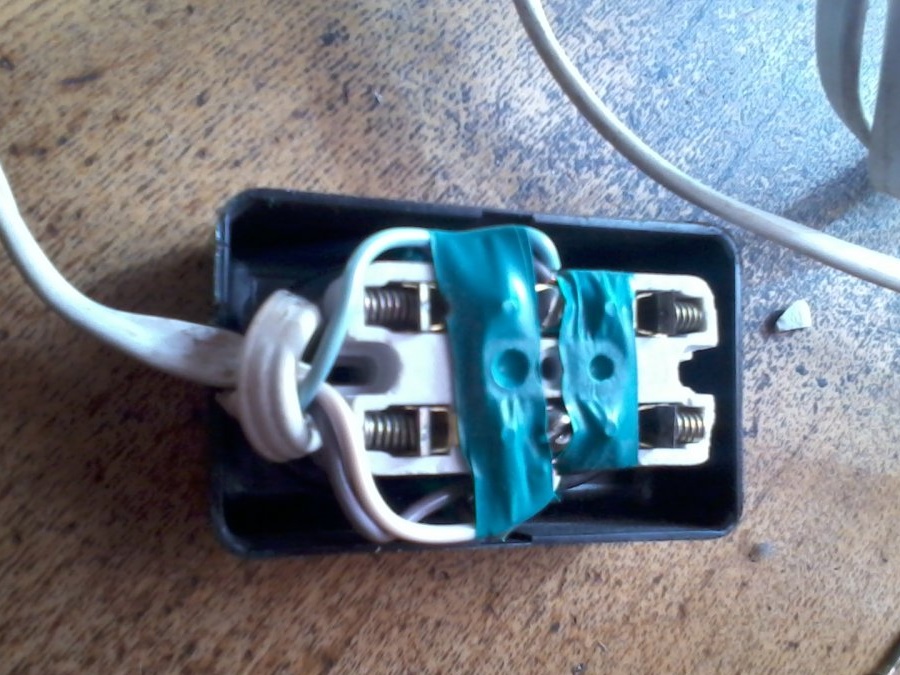
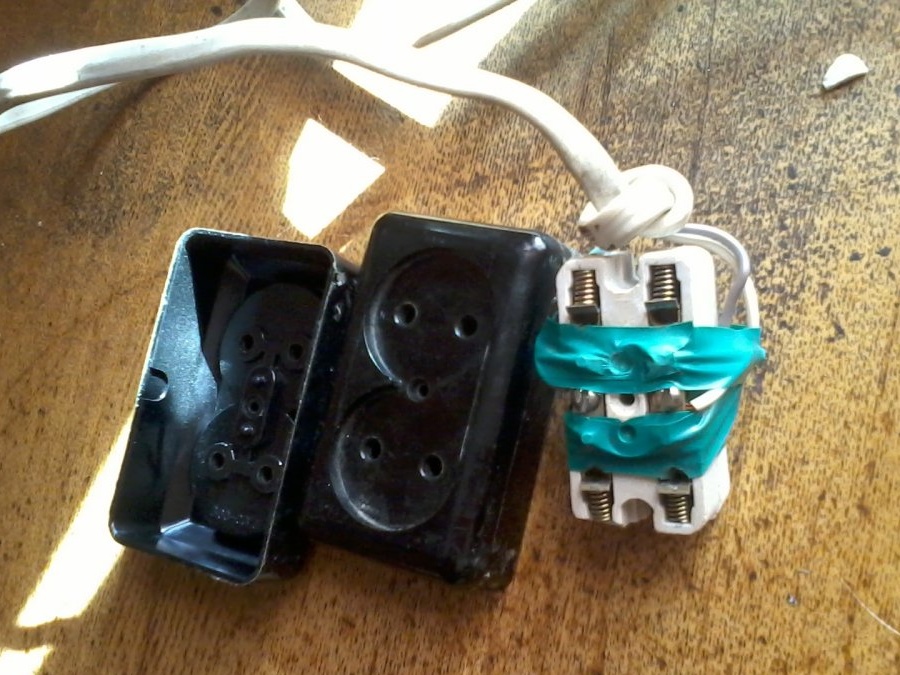
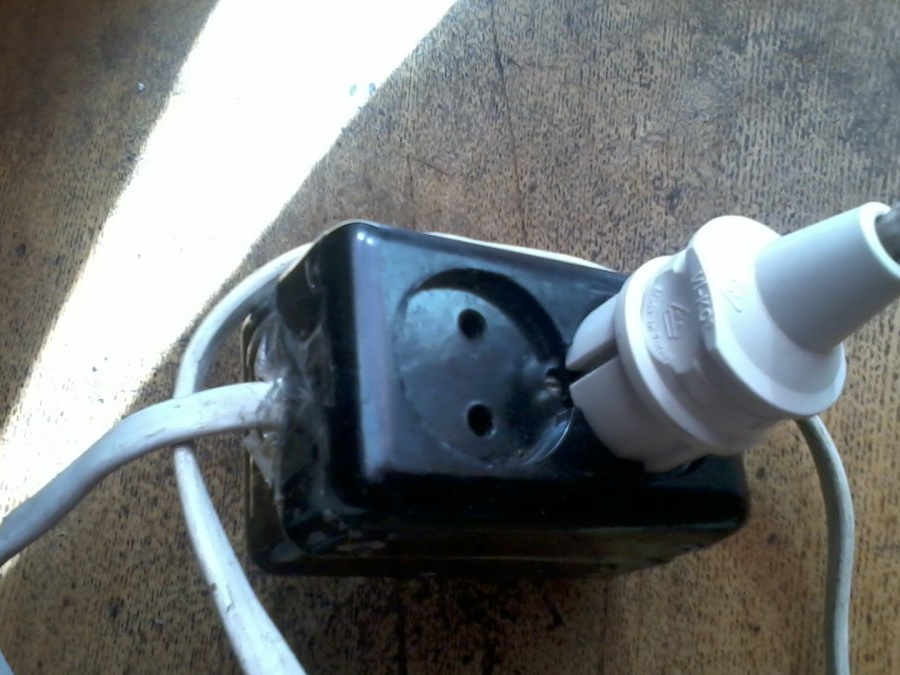
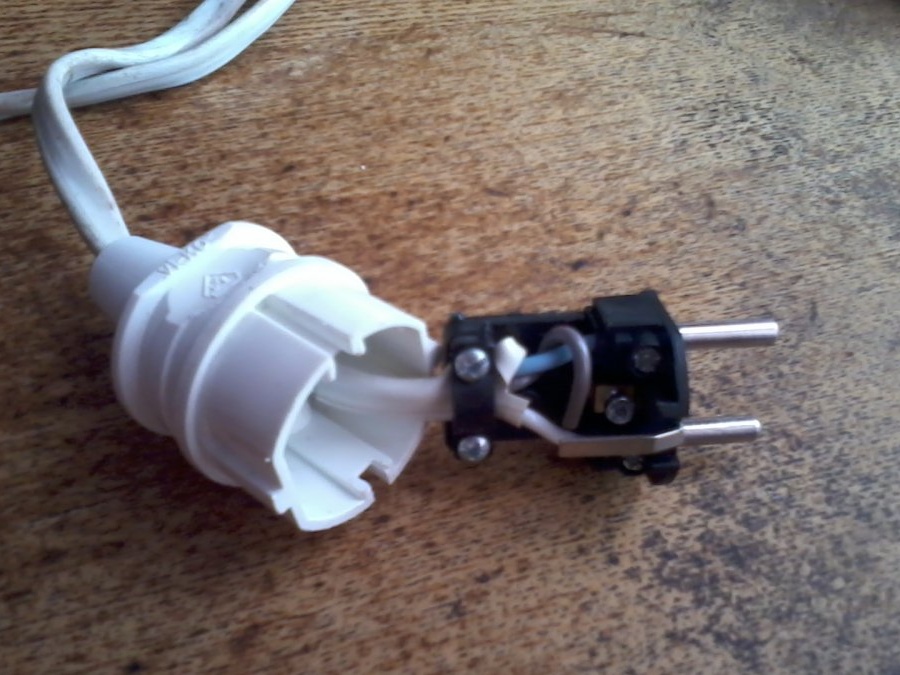
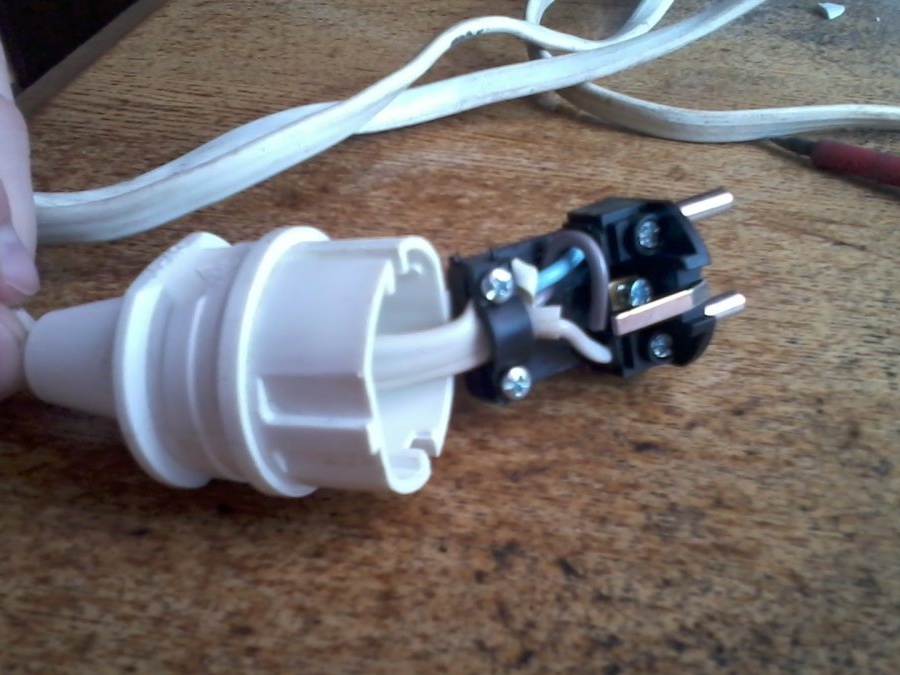
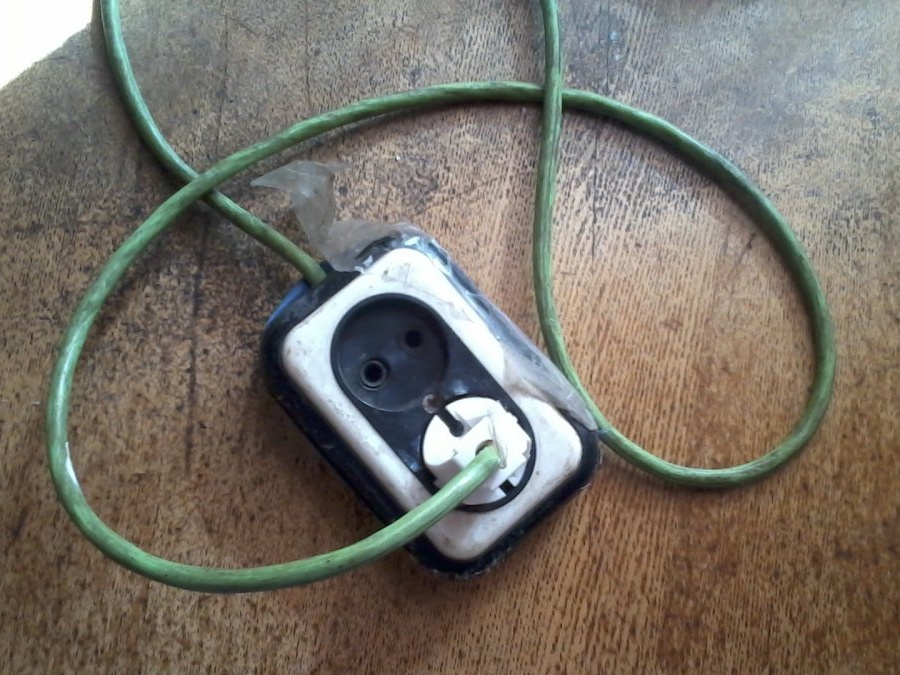
Photo Fork:
Build Order:
1) Get everything you need.
2) Remove the covers from the sockets, and connect the wires of the main cord to one of the sockets and jumpers on the second. Tip of an experienced installer: it is safer to make a continuous jumper by stripping the insulation on the end of the wire for insertion into the second outlet with a hook, then indentation and another removal and insertion with the eye into the first. It is not recommended to do overlapping of wires, that is, it will be better if the poles of the same name are butt.

3) Make a knot on the wire in order to limit the course of the wire and reduce the possibility of tearing the wire.
4) The basics of sockets can be fastened, but this is not necessary. We install covers by making a recess under the wire on one. We put the assembled sockets together and fasten with tape.
5) At the second end of the wire, install the plug.
6) We admire the created creation and write comments on the article;)
Here is a photo of devices of this series for your judgment.
Prototype, elder, ECH -1, in the form in which it now exists:
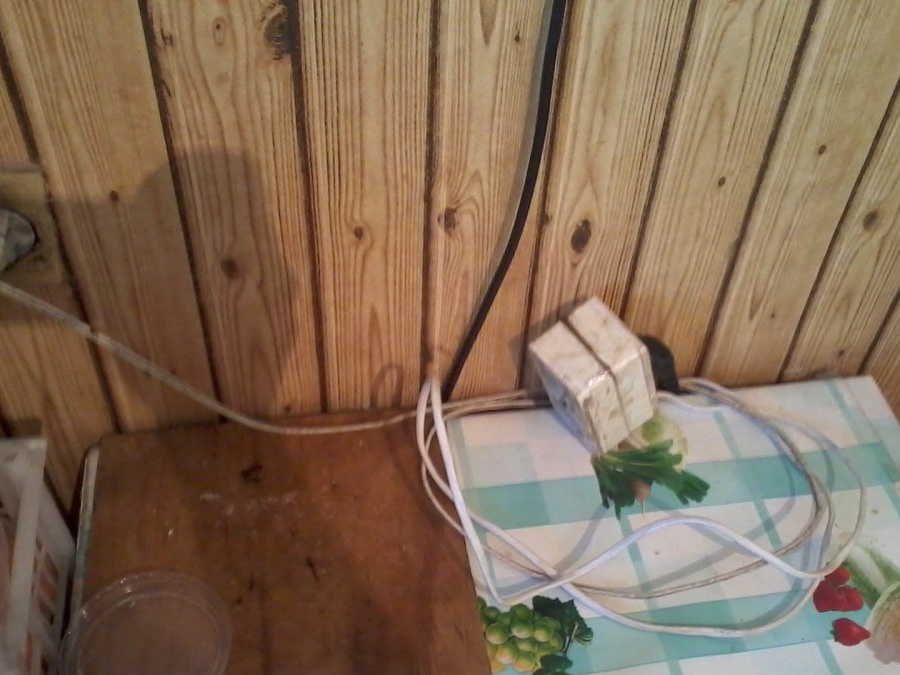
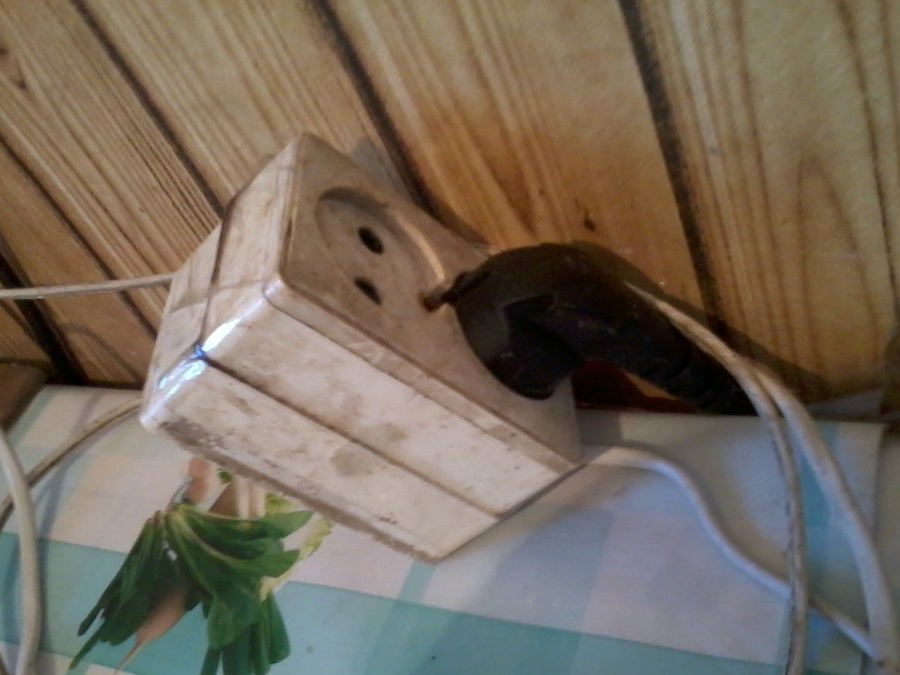
The hard worker, AEC-2, was created after severe damage to the AEC-1. Now lives in the kitchen: