
Hello !
Do you know who Iron Man is?
If so, then you are reading the correct article!
This article will describe in detail the method of manufacturing an iron man helmet; for a greater visual perception, the author attaches a full photo report.
Let's start manufacturing!
We will need the following:
Instruments :
- soldering iron;
- scissors;
- ruler;
- stationery knife ;
- sandpaper .
Materials:
- cardboard (not too thick);
- polyester resin, or epoxy;
- fiberglass;
- paint (red and gold);
- switch;
- 2 batteries;
- 6 LEDs;
- wires;
- transparent plastic;
- small magnets, or Velcro;
- 2 small wooden blanks.

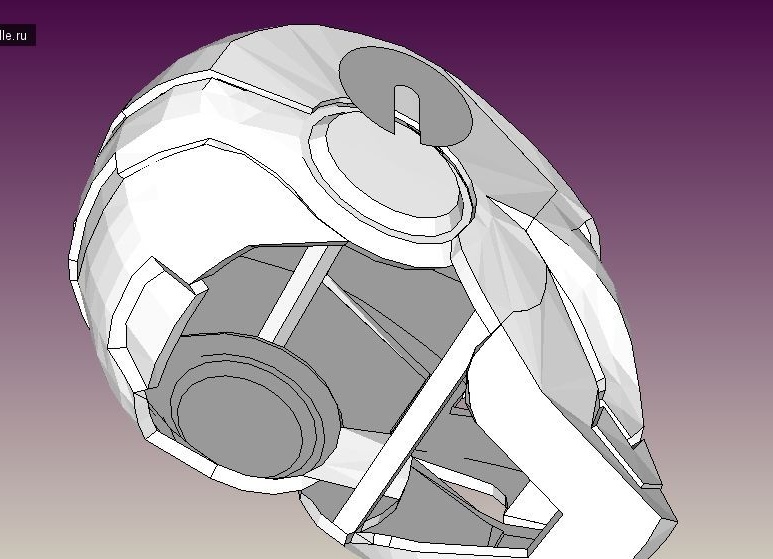
As you probably already understood, the helmet will be made of paper, namely cardboard of medium hardness. We do the following, download the template provided by the author, and print it on the printer.
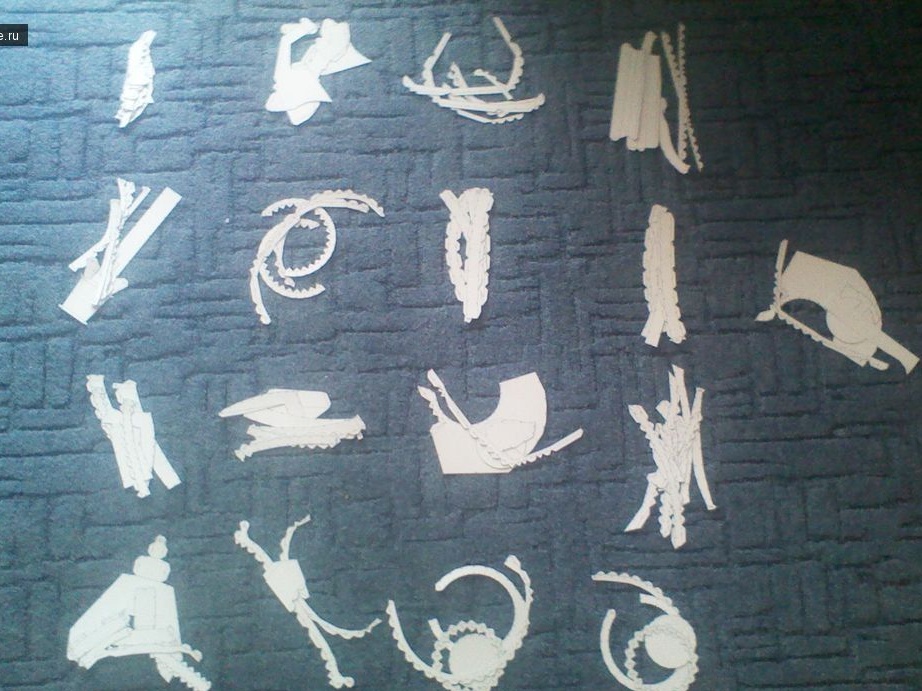
When all the details are printed, we have patience and begin to cut them out of cardboard, for this we use scissors, working with smaller parts it is best to use a clerical knife.
Next, you need to download a small program Pepakura Viewer 3, it will help you when gluing parts, when setting certain settings, the program will show the sequence of bonding parts. (Google will tell you how to set these settings correctly, for one you will learn and read about what this program is).
As you can see in the photo on the details there is a numbering, and so, each number should be glued together with the same number (that is, for example, 122 with number 122), it is best to sort the parts immediately by numbers, so it will be easier to glue.
We take our favorite glue and start gluing the details. Since the edge of the cut parts will be bent, it is best to use a ruler for this. The gluing process is very long and rather tedious, so we have patience, it is best to produce gluing with interruptions.
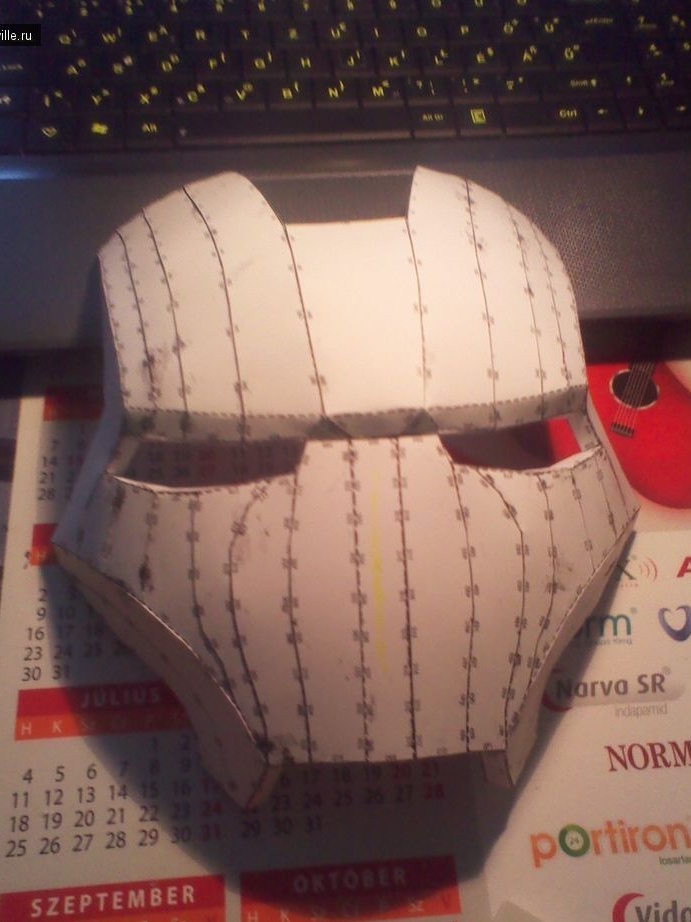
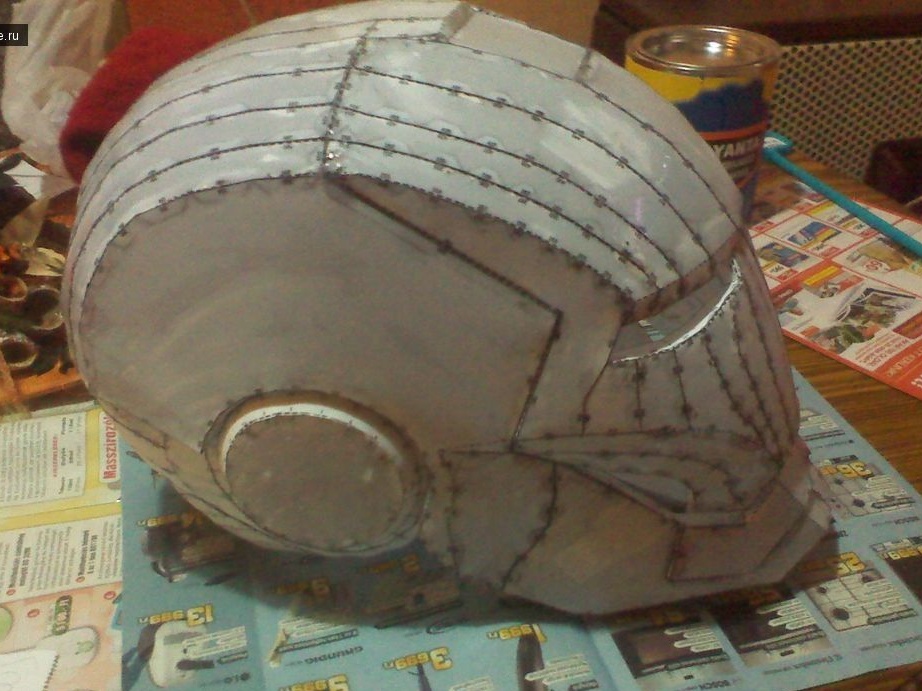
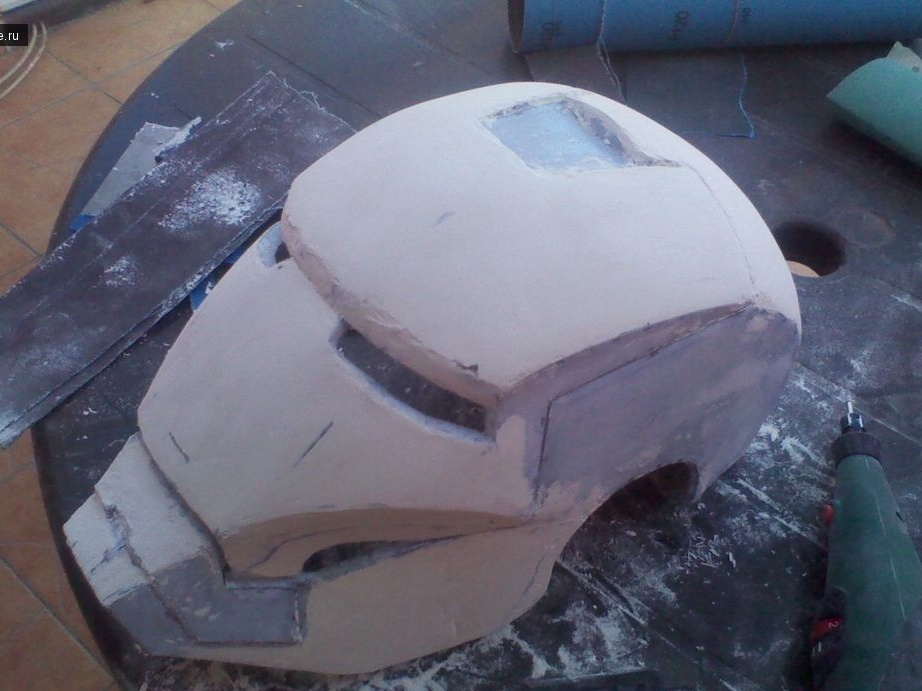
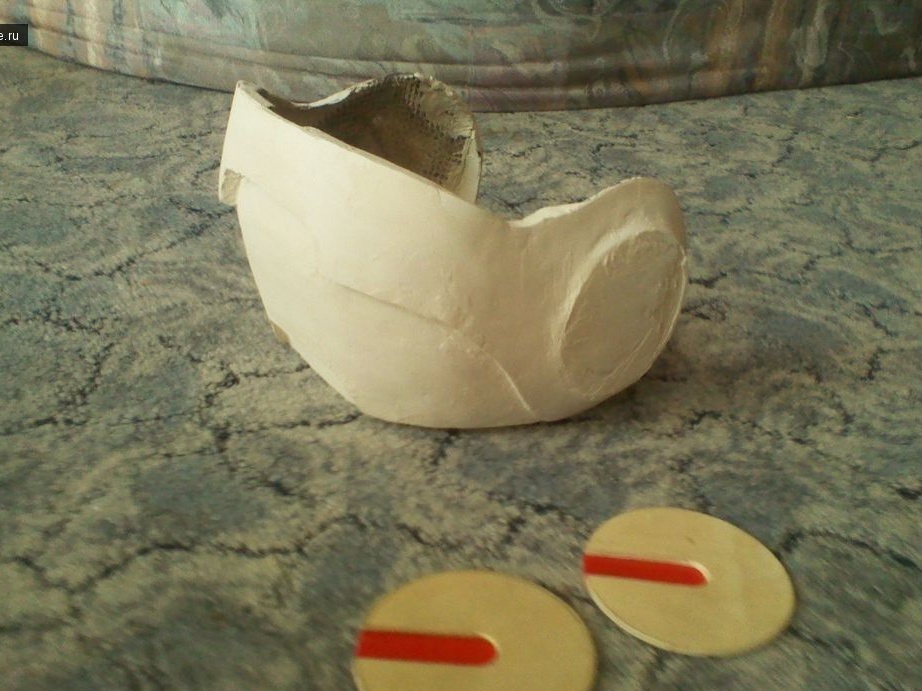
After many hours spent gluing the parts, you should have the following.
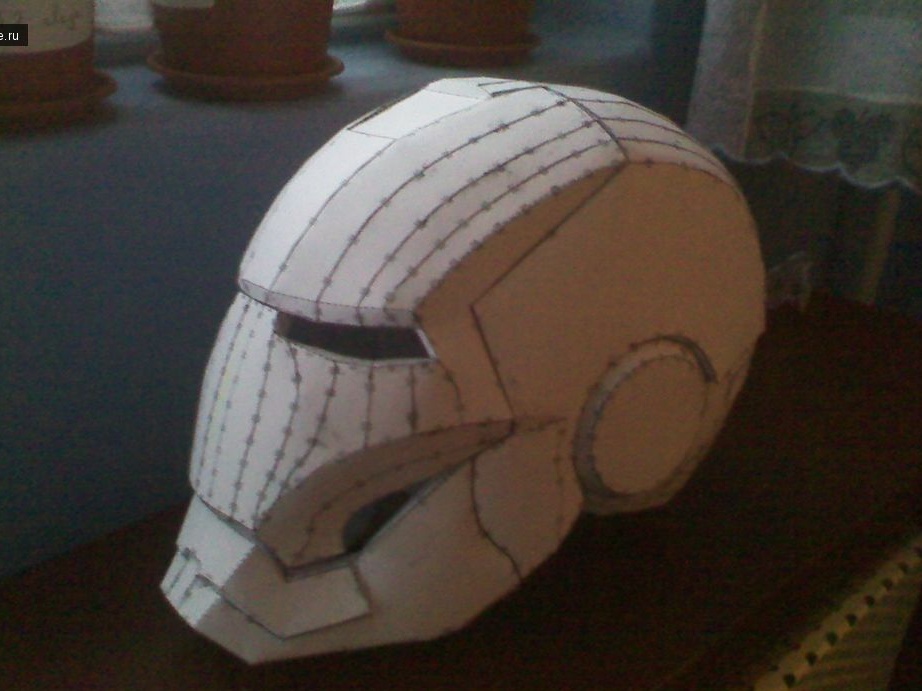
This helmet has a removable part, it is located in the lower part, and so, it is unnecessary to stick it to the base of the helmet. And also there are two triangular parts, they will help the helmet to keep the correct shape, until the helmet is covered with polyester resin.
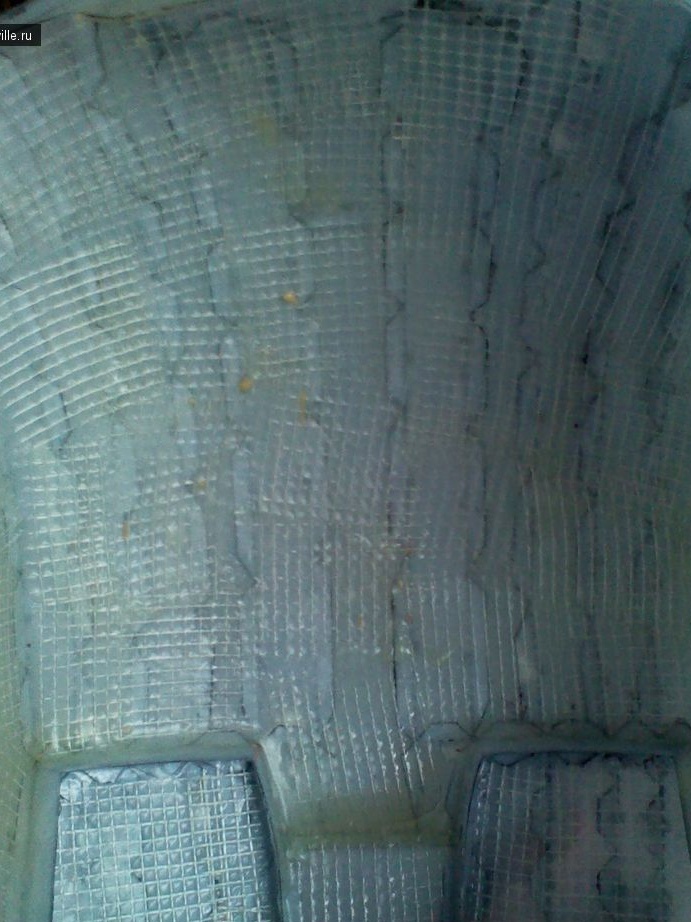
We make the process of coating the helmet with resin.
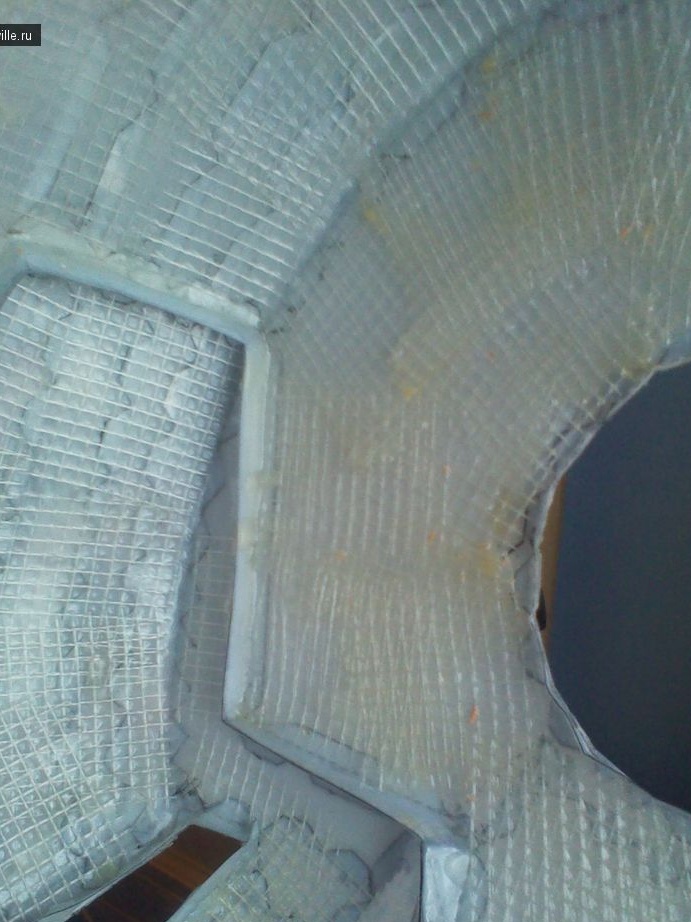
To do this, we use fiberglass and resin, these two components will make your helmet strong enough. From the beginning, we coat the outer side with resin, uniformly applying fiberglass, with a brush we smear the resin throughout the helmet area. Next, we do the same operation with the inside, leave the product to dry.
Important !
This operation with resin should not be carried out on a carpet or sofa, etc., inappropriate places for this, for this, select a special workplace, use gloves when working with resin.
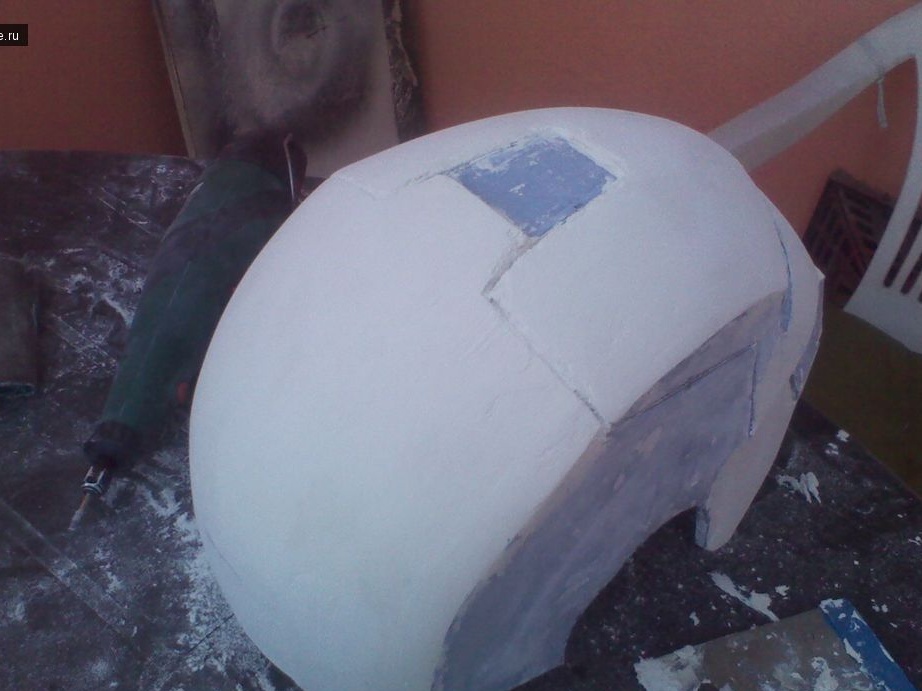
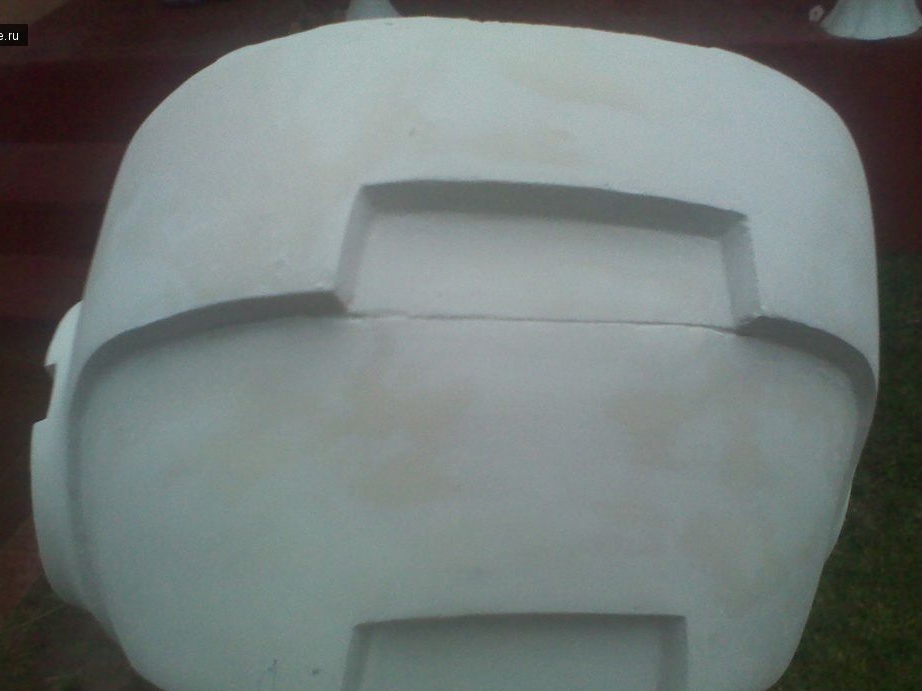
When the product dries, cover it again with a two-part epoxy resin, leave the part to dry.
After the part has completely dried, we take sandpaper and we clean the surface, removing all irregularities, and giving the helmet a molded shape.
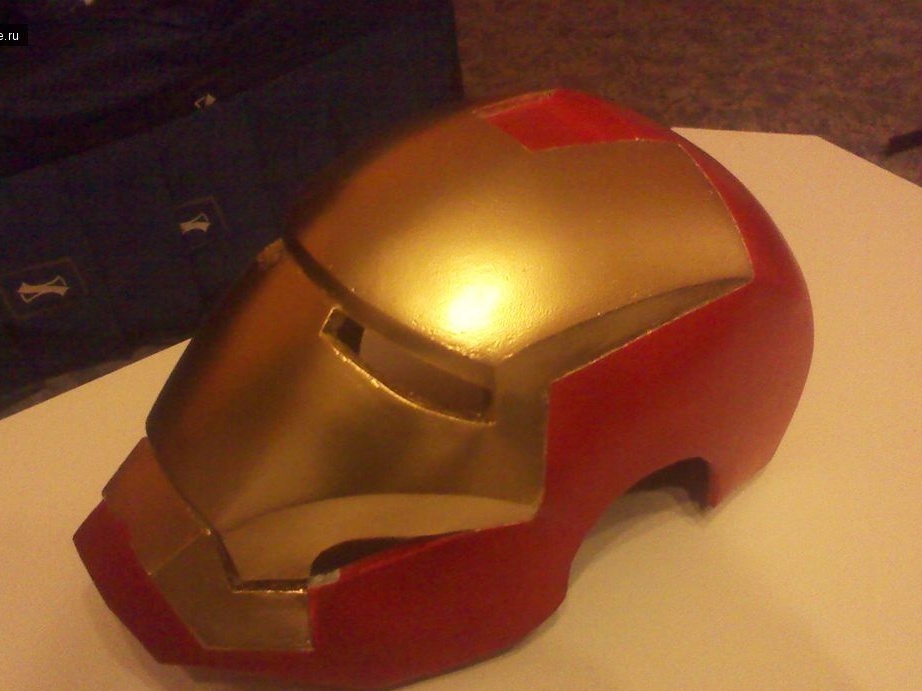
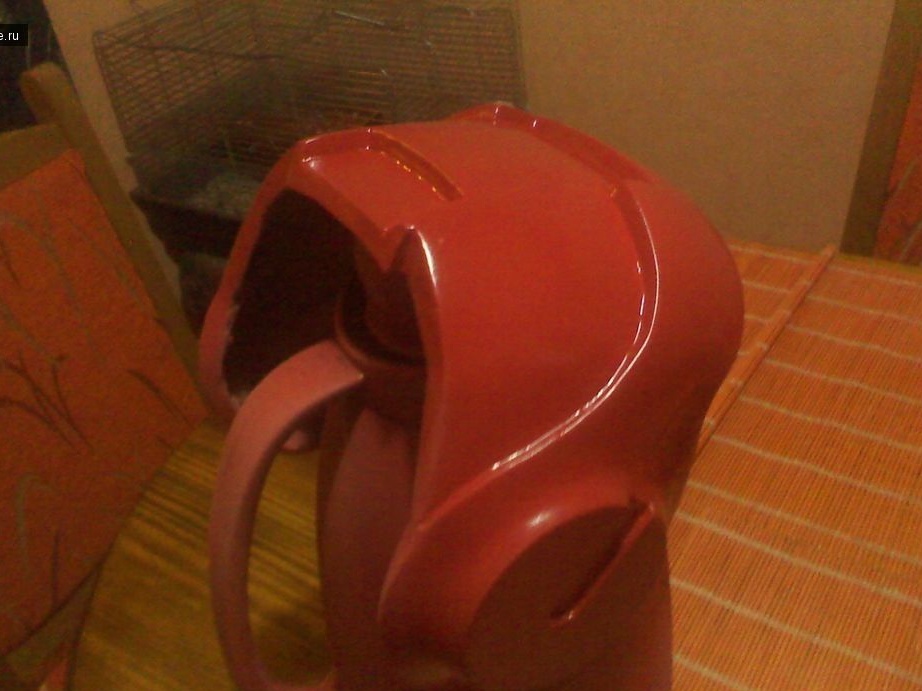
When you have achieved the desired result, you can paint the helmet. We close with tape the places that will be painted in a different color. First, apply one color, in this case red, then gold.
The following should result.


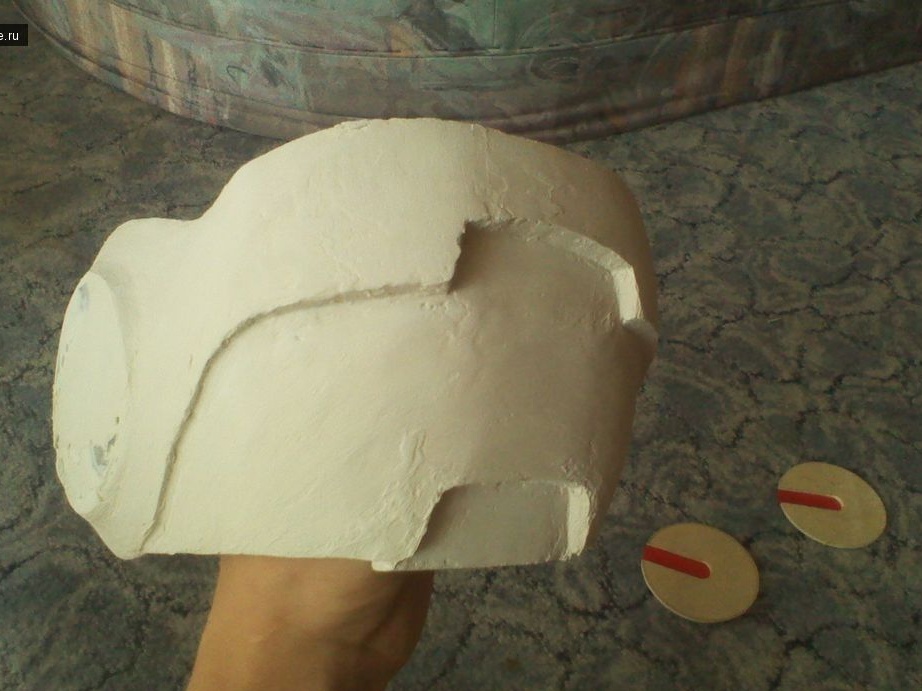
Now let's move on to the back of the helmet, which is removable.
We cover it with resin and fiberglass, and then we clean it with sandpaper. If there are deep irregularities, you can additionally use car putty.
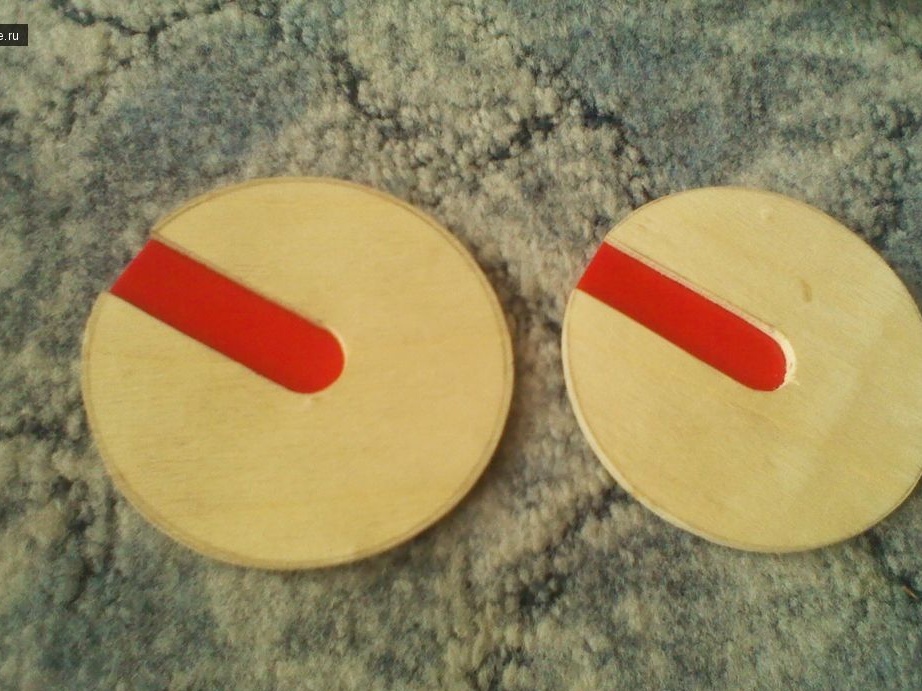
Pay attention to the ears of the helmet, they are simply round on paper, the author decided to make them of wood, namely cut them out of non-thick plywood, then use glue to fix them in their place.
Since the helmet is supposed to be worn over the head, and you can’t put it on without removing the back, we make a fixing removable element that will connect these two parts to each other, for this we use small magnets, if there are none, you can use Velcro.

Next, we turn to the manufacture of teeth and eyes.
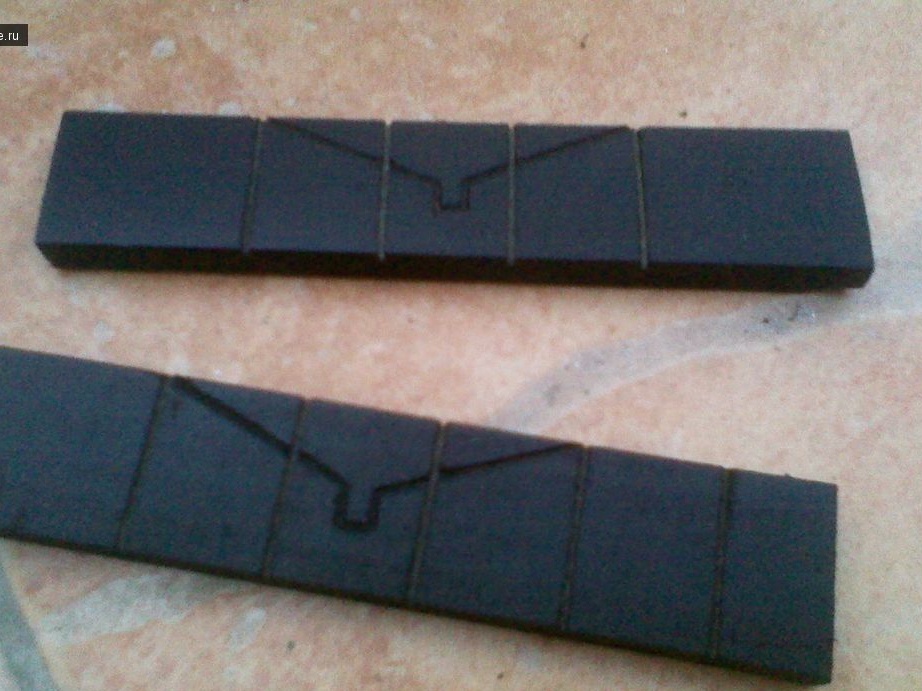
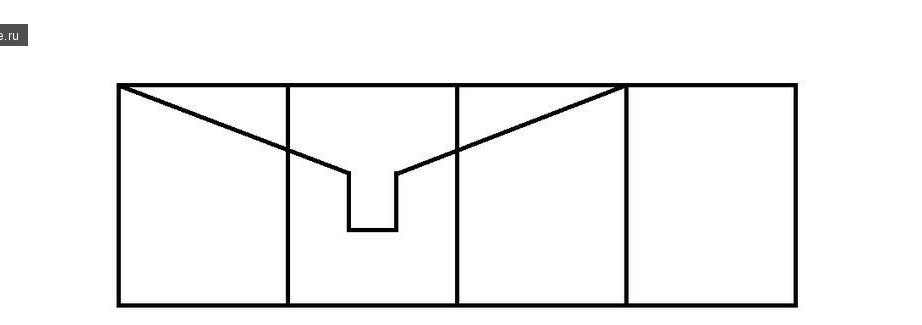
We make the teeth from two pieces of wood 10 * 2.5 cm, having previously made notches on them, painted them in black, and then glued them to the helmet from the inside.
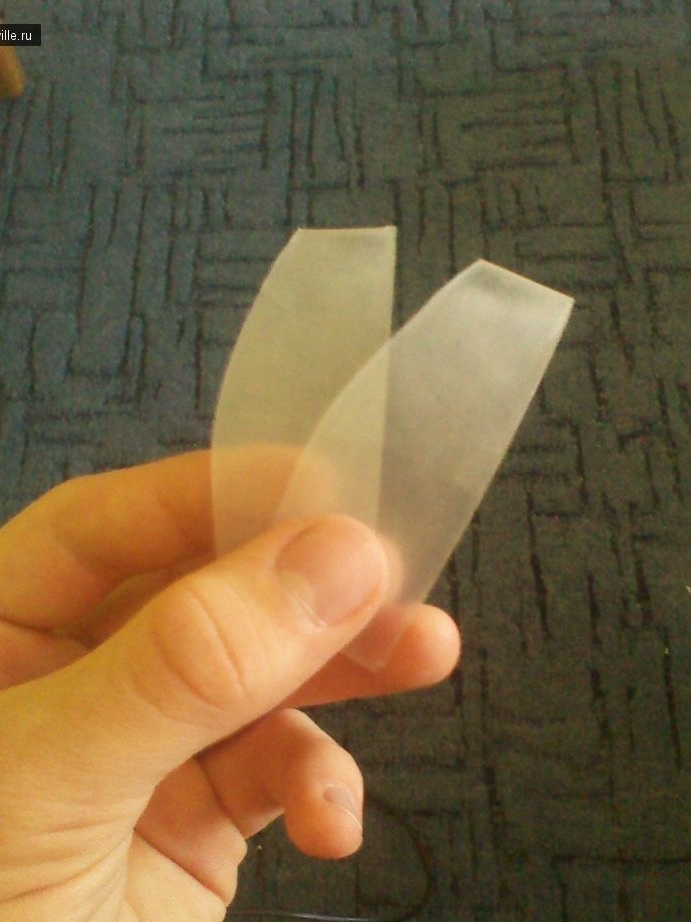
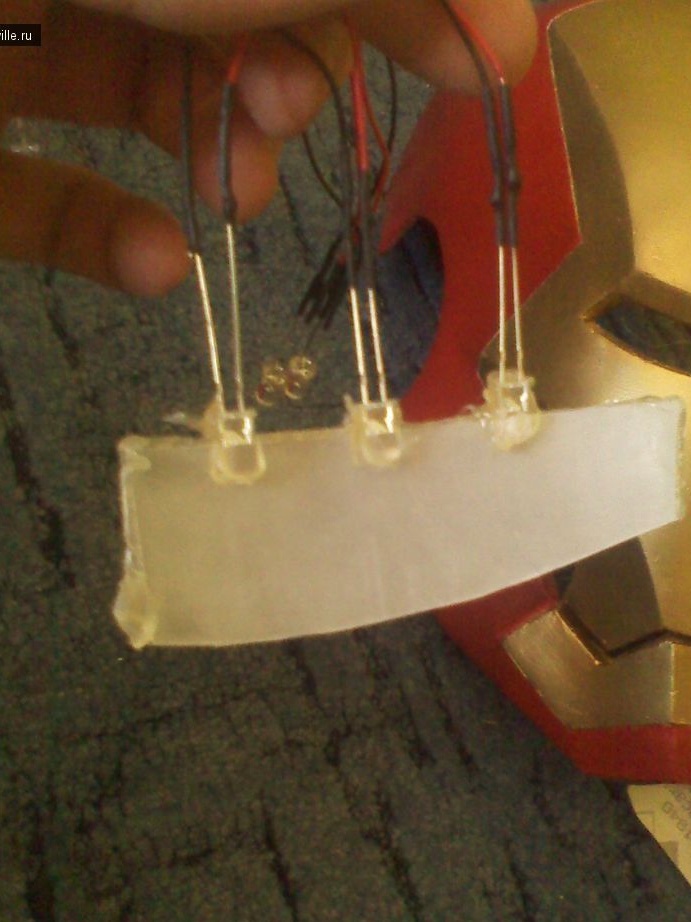
Next, we make eyes, for this we cut out two identical blanks from transparent plastic, they should follow the contour of the eyes on the helmet.
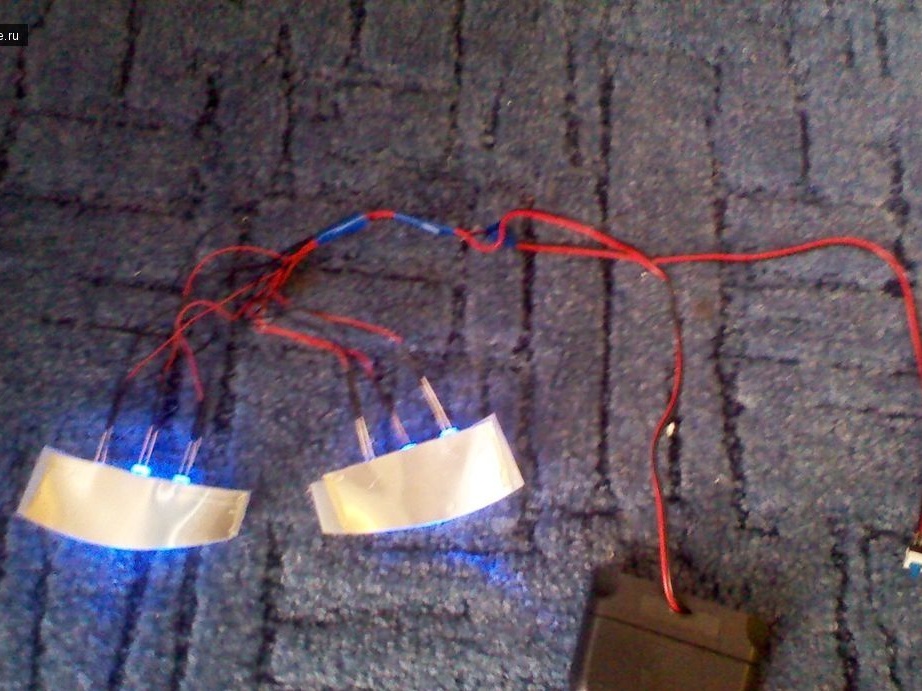
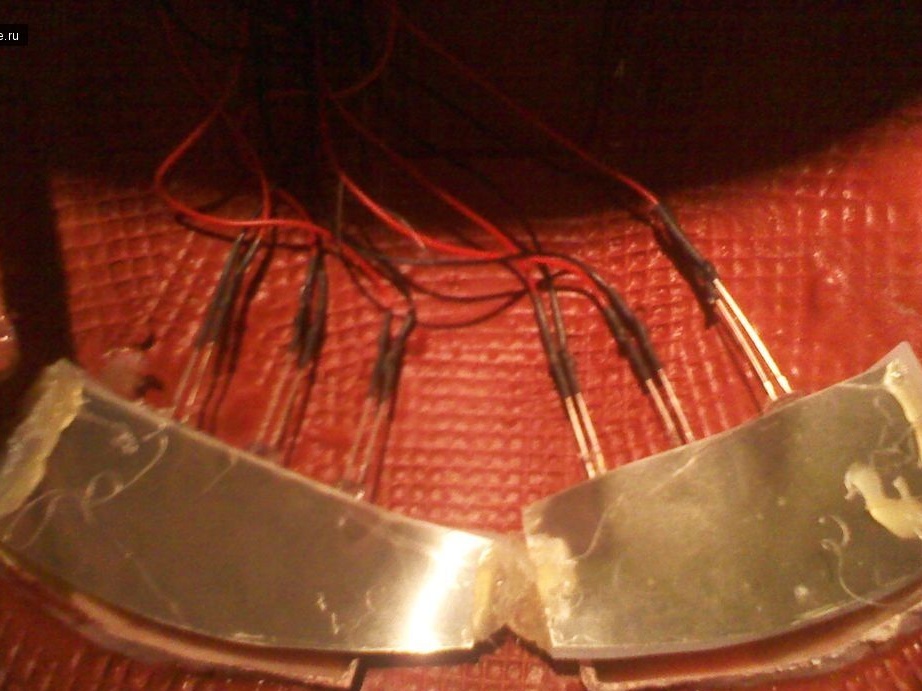
Now go to e parts, so that the helmet looks spectacular, we do the backlighting. For this we use 6 blue LEDs. We take a soldering iron and solder the parts according to the presented scheme.
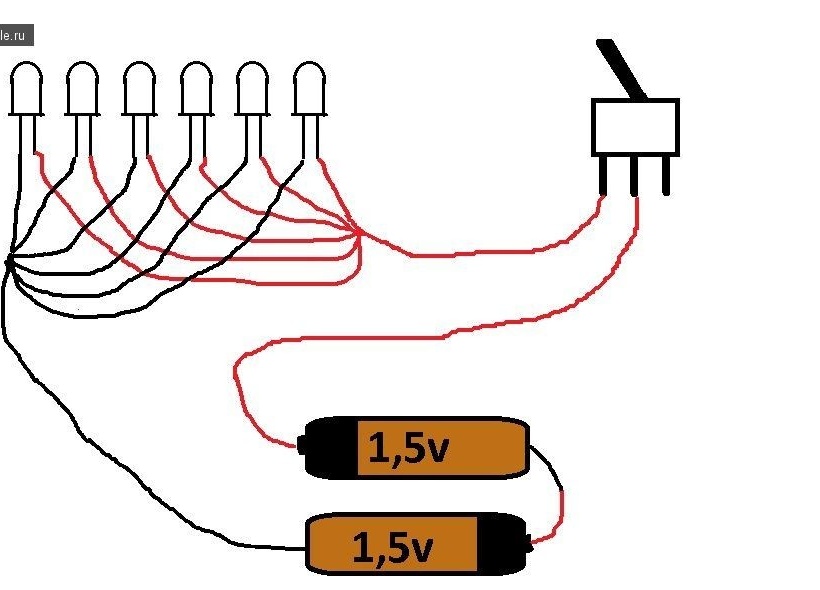
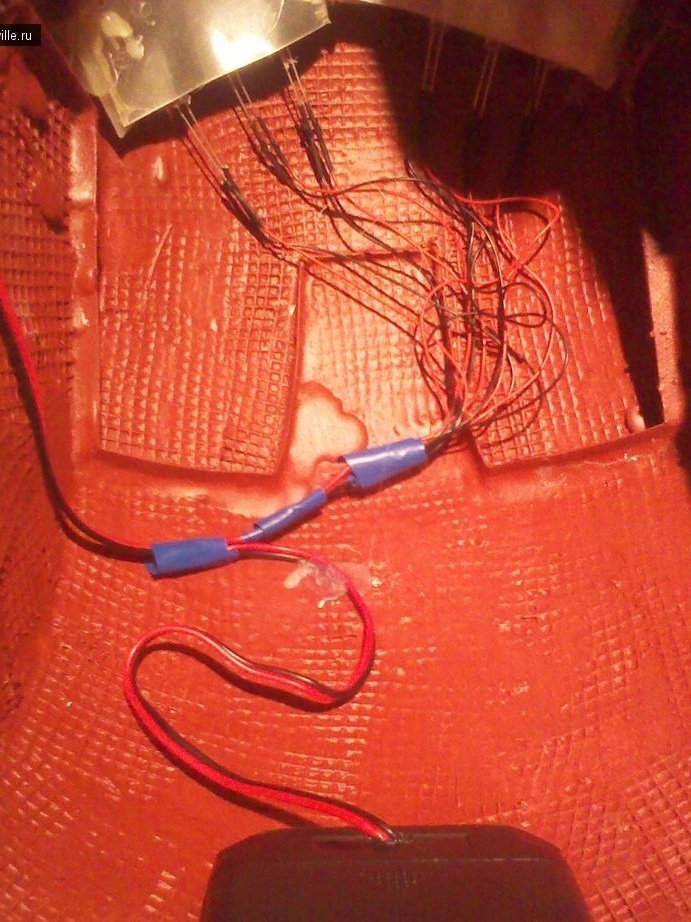
We use 2 AA batteries placed in a special box as power.
We fix the entire filling into the inside, for this we use a glue gun. LEDs must be installed a little lower from the eyes, this is so that you can see something in the mask.
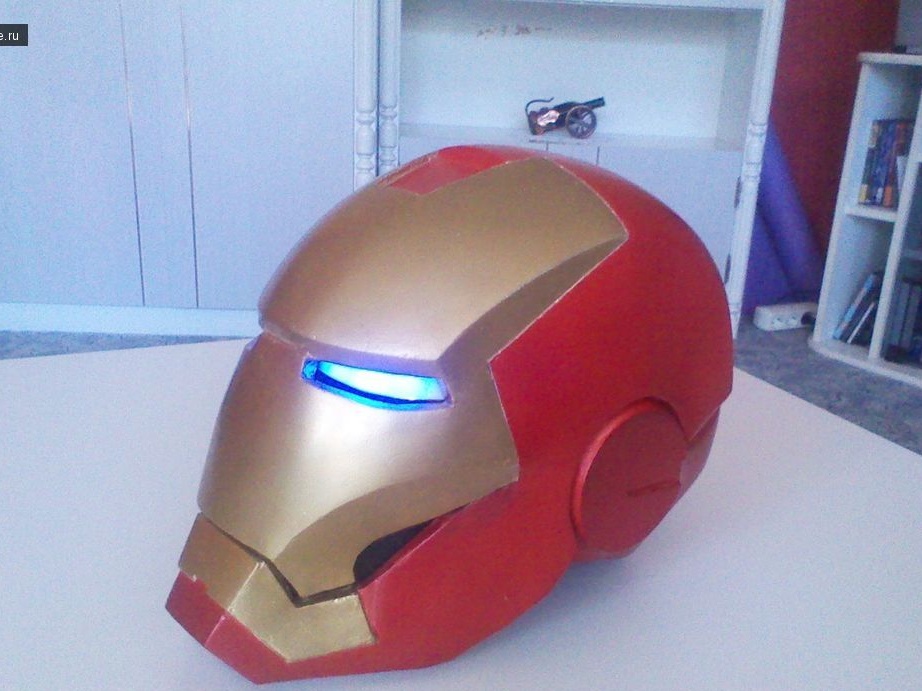
As a result of all our actions, we get such an original Iron Man helmet, we put it on and are in a hurry to save the world!

This article is over, thank you all for your attention!