
Hello everybody !
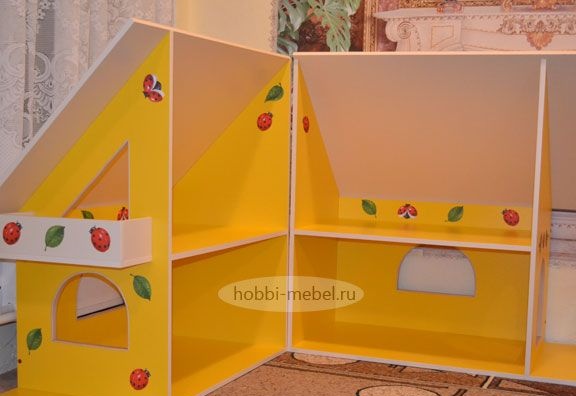
Today, this article will describe a method for making a dollhouse. The article should be interesting to all parents who have small children. Such a house will not leave indifferent any child, and also will serve as an excellent addition to the interior of the children's room. The entire manufacturing process is described in detail, + attached photos.
To make a dollhouse we need:
Instruments :
- a pencil;
- angular ruler;
- roulette;
- awl for marking holes;
- drill (screwdriver);
- a key a hexagon;
- confirmation drill;
- jigsaw, files for the laminate;
- drill with a diameter of 10 mm.
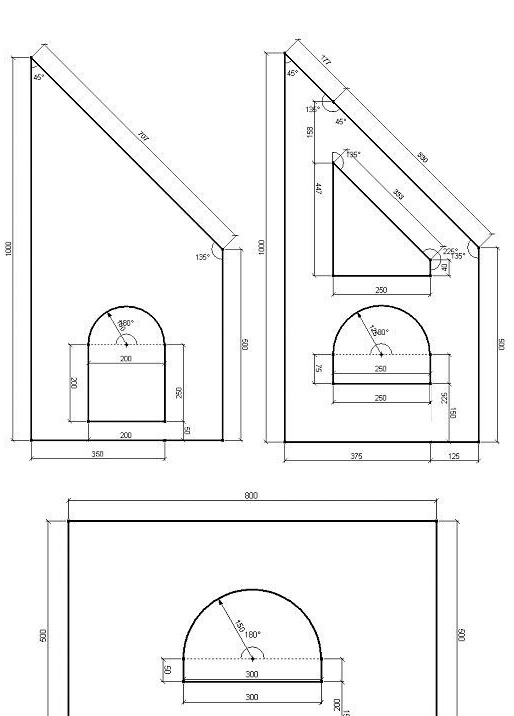
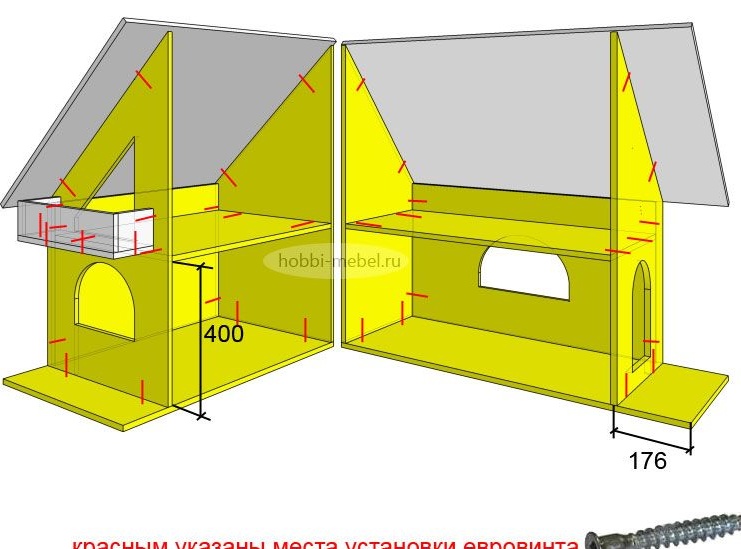
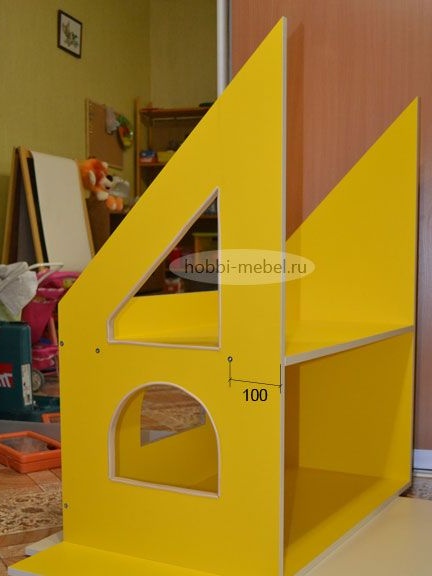
Dimensions 1/2 of the house 1000x1000x500 (WxHxD)
The project was created in the PRO100 program, it can be downloaded here, the project itself
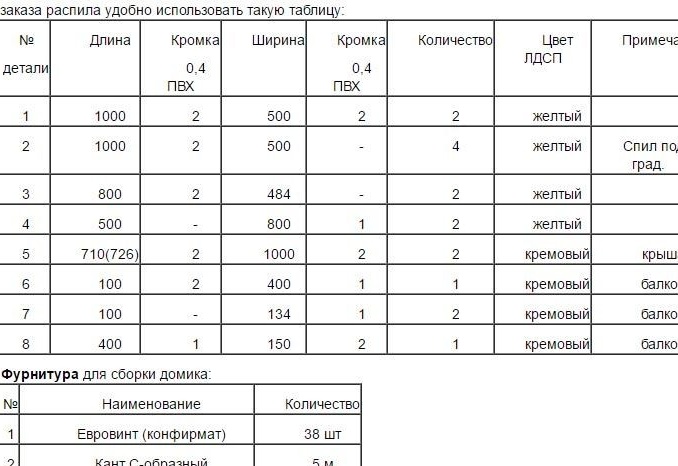
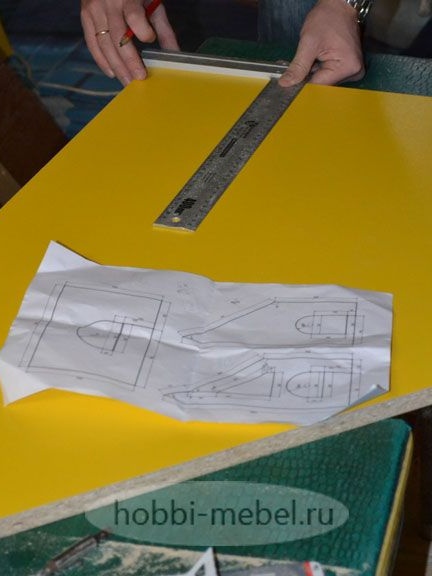
In order to order a cut we use this table. The author gives the name and quantity of the necessary fittings.
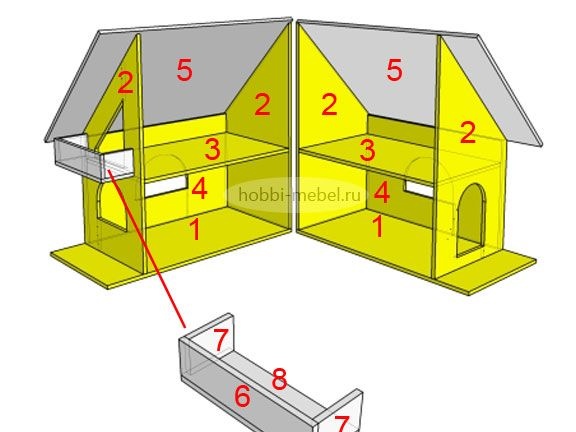
This diagram shows the locations for drilling fixtures for confirmations.
After the cut in your hands, we assemble.
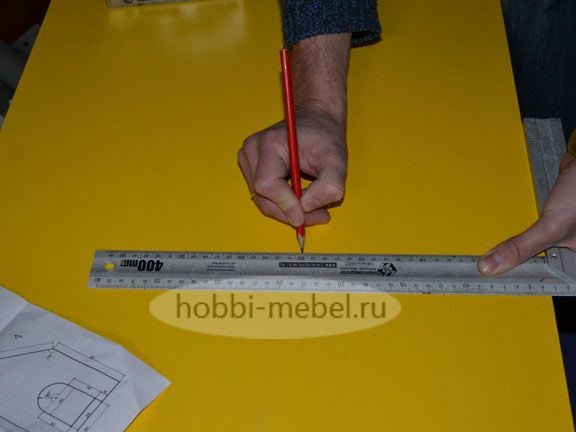
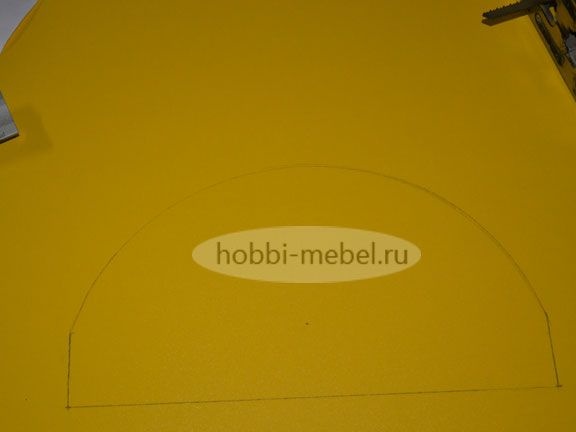
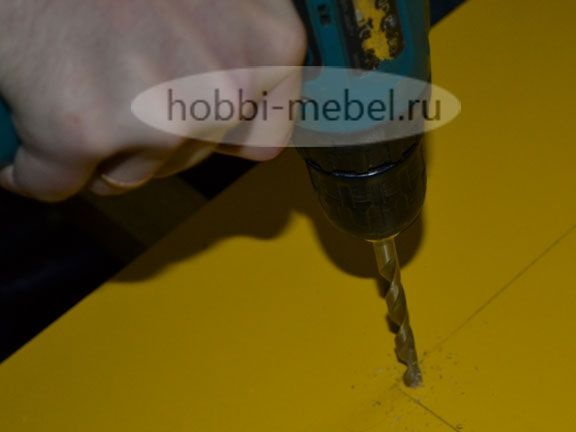
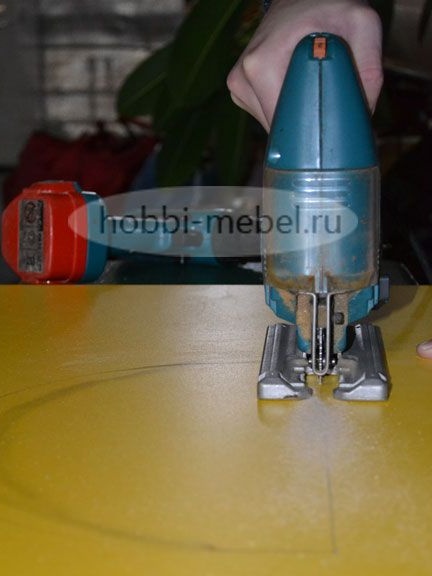
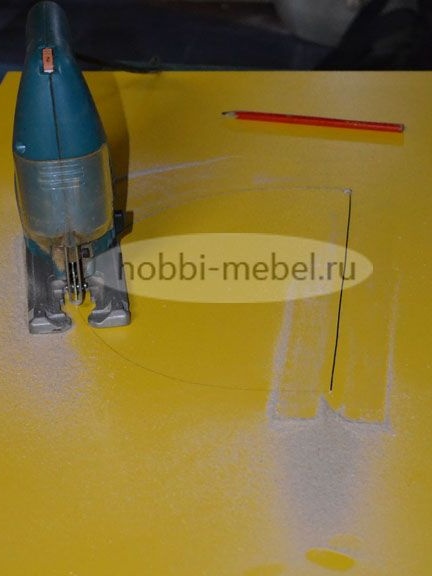
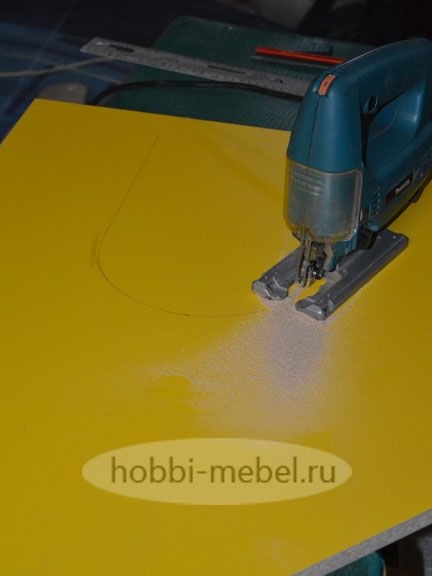
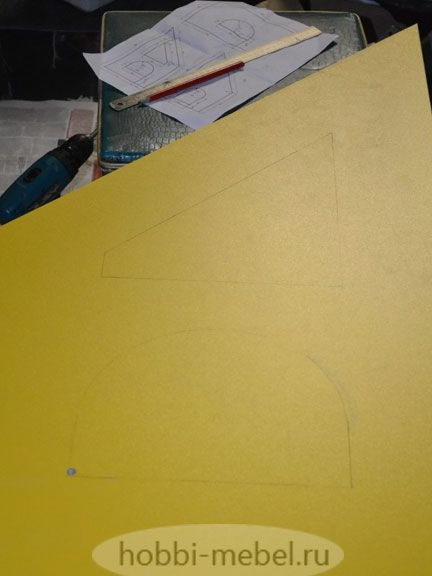
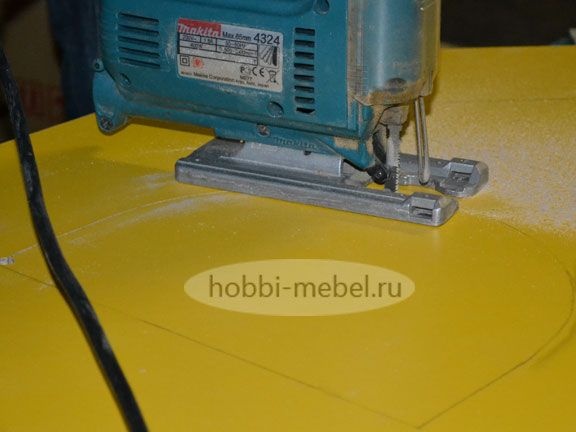
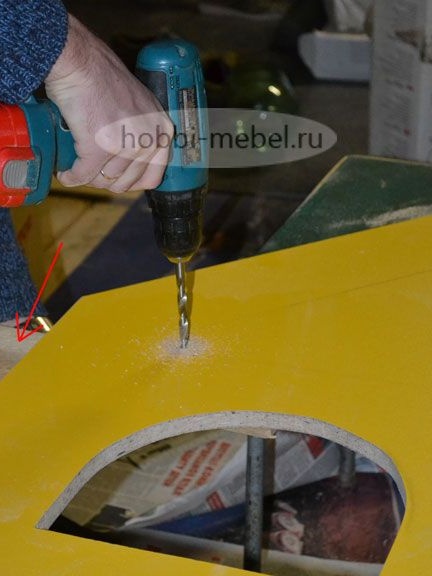
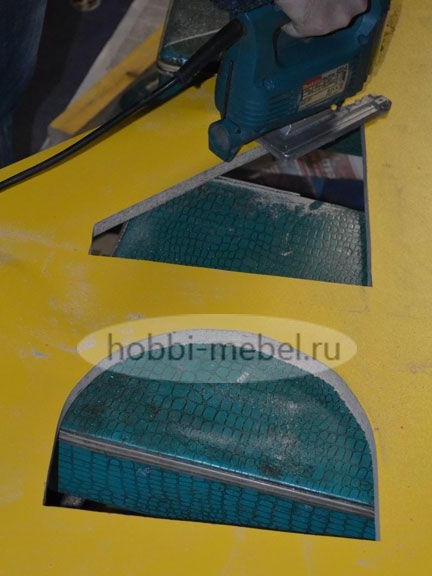
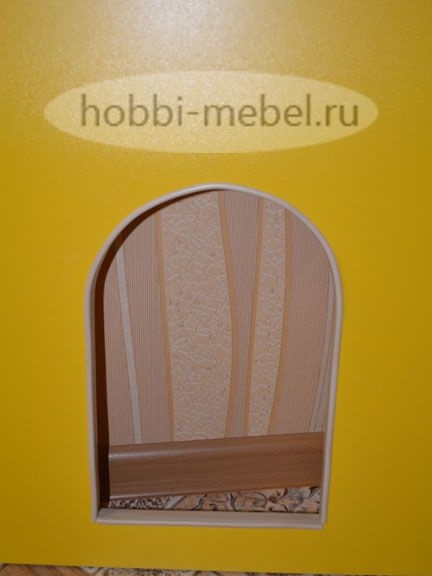
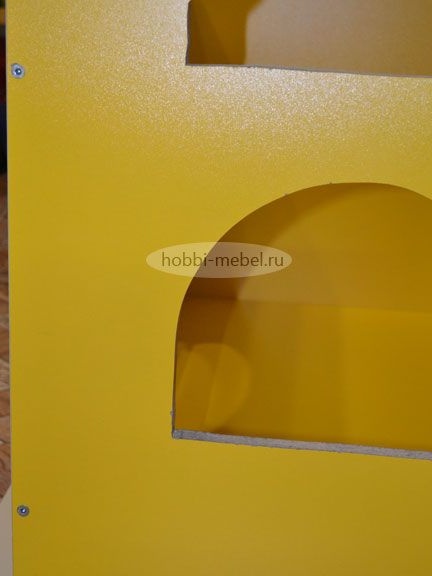
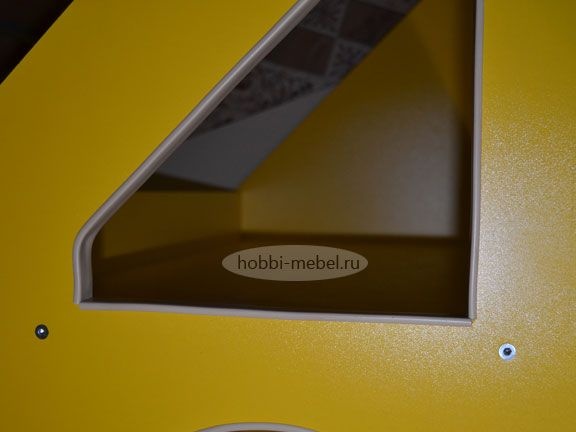
To begin with, we cut out the windows and doors, draw the markings with a pencil according to the design, then take a drill with a diameter of 10 mm, with which we drill a hole in the inside of the markings, take an electric jigsaw, put the canvas in the hole and make a cut according to the marking

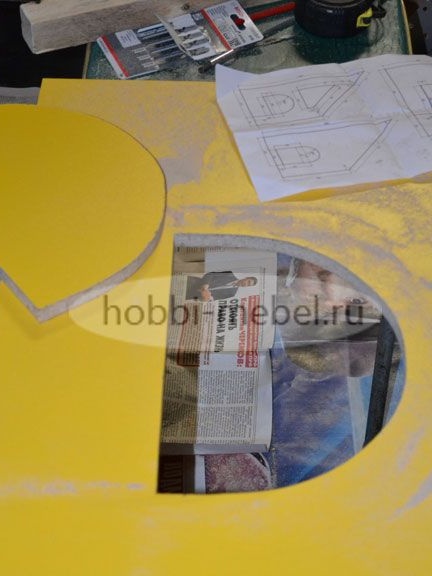
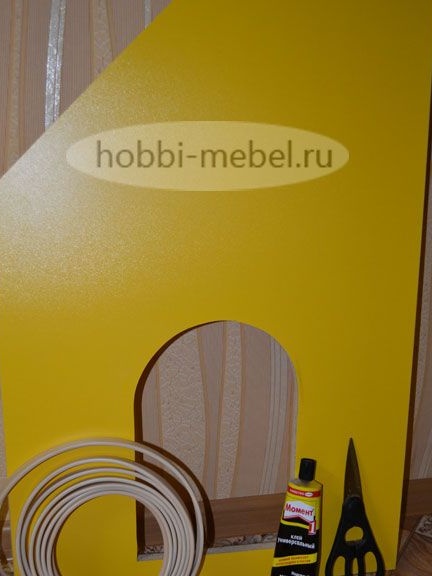
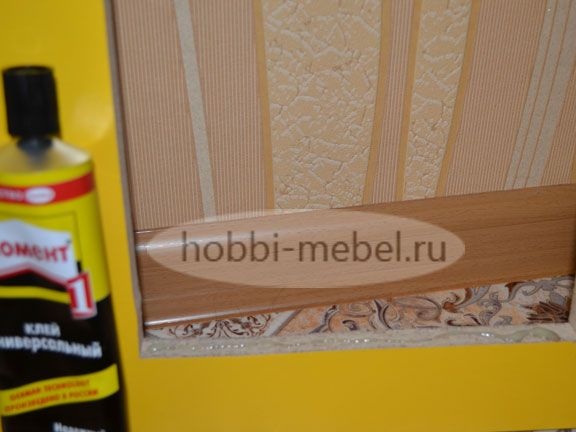
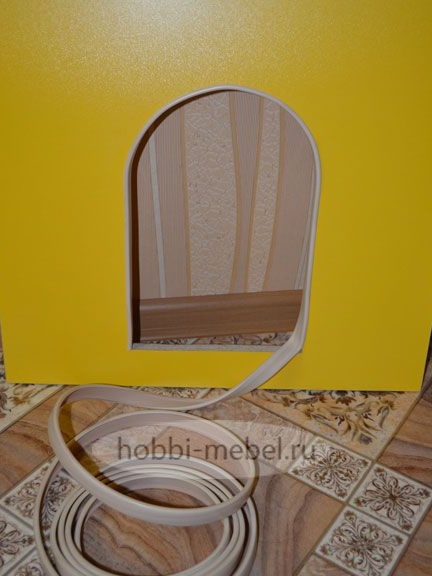
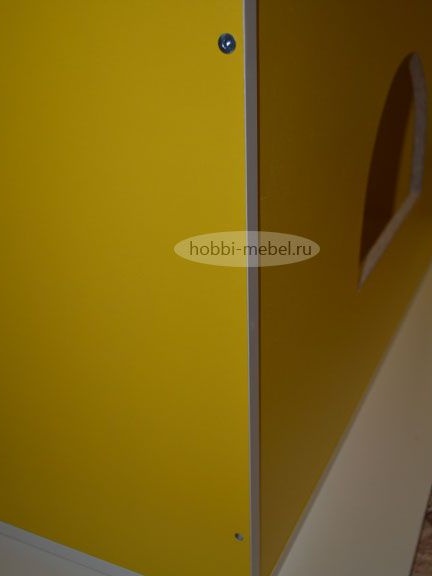
When everything is ready with glue we glue a protective edging.
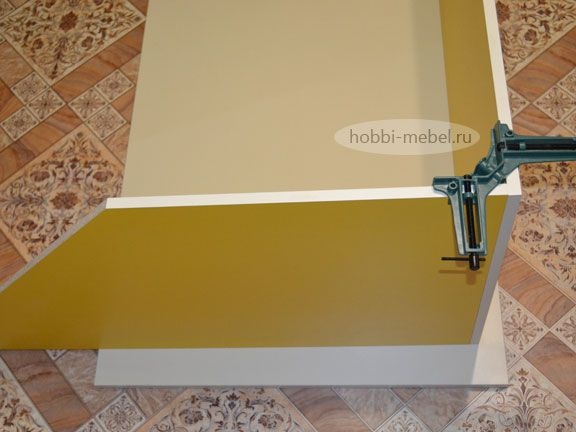
Now go to the assembly of the left side of the house.
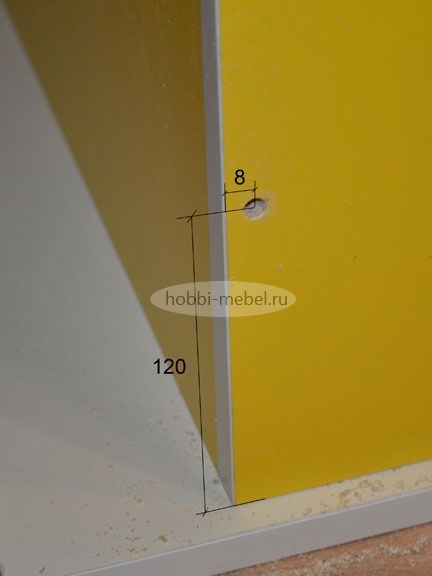
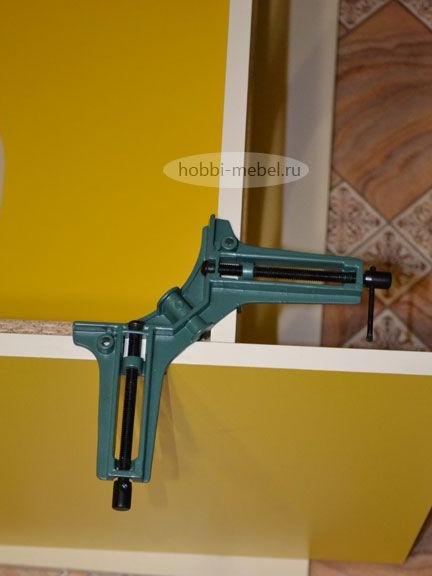
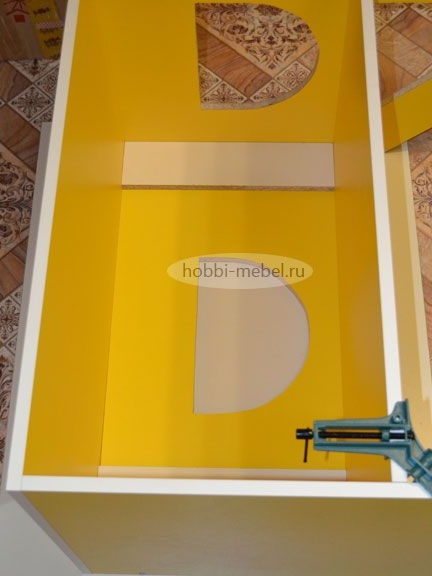
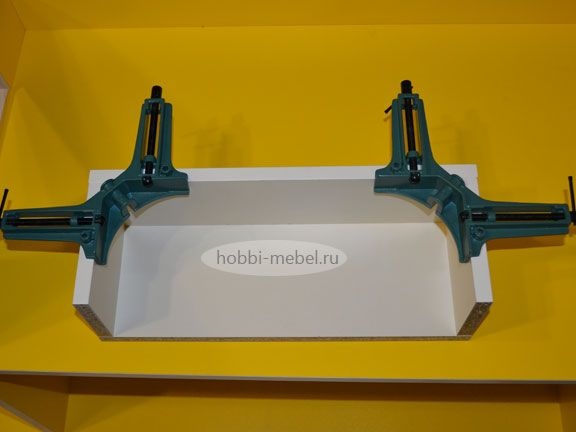
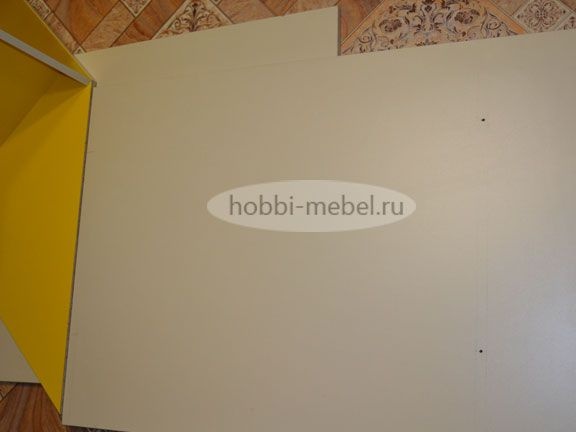
We put the roof of the house on the floor, the author put it so that he had a flat platform for assembly. Next, we put the bottom and back wall of the house, we fix the parts with corner clamps, they will help to keep the parts in the right position for us. Then we mark the holes as shown in the photo.
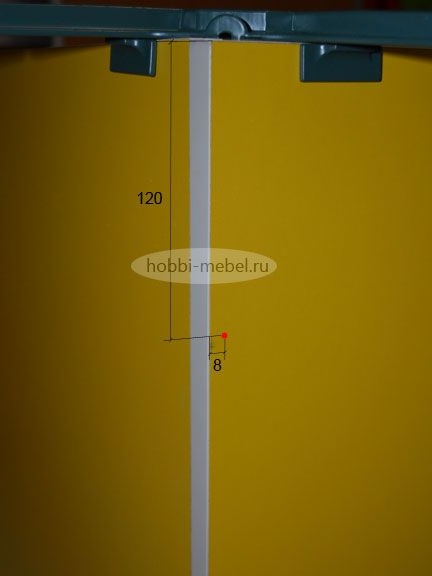
When everything is ready we take a drill with a special confirmation drill, make two holes.
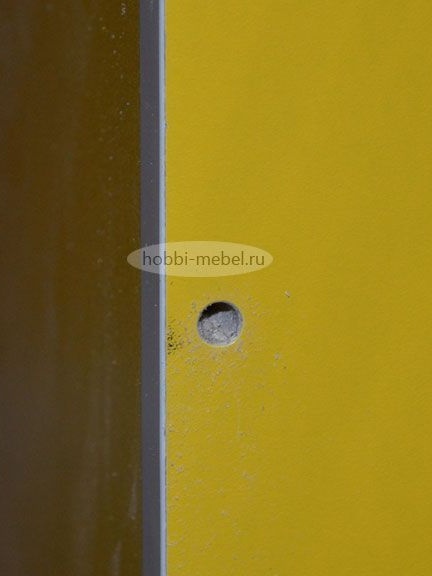
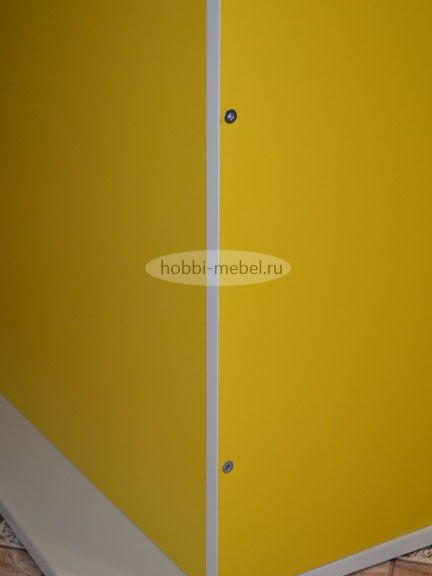
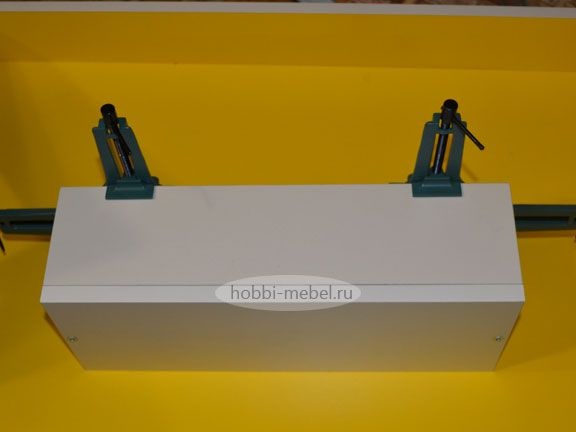
We fix with confirmations.
We install the front wall of the house.
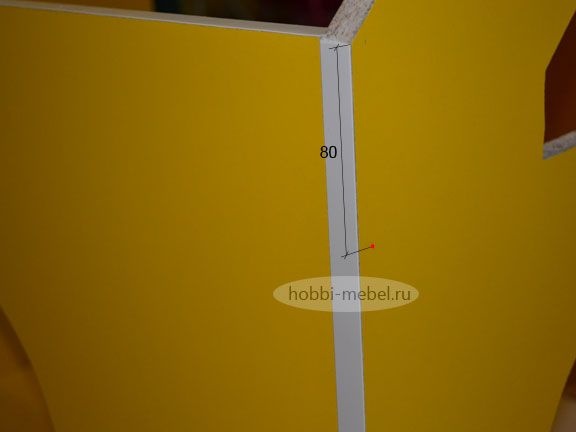
We mark the holes for fixing the side walls, make holes.
Next, using a hex wrench, screw the confirmations.
Similarly, we do on the other hand
Now we pass to the second floor of our house, expose it.
We make markings, drill holes, fasten with the help of confirmations.
Putting a balcony.

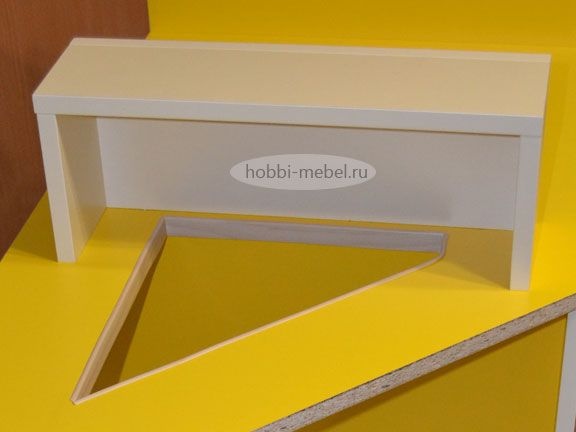
Next, we install the roof, here it is best for you to call an assistant. We turn the house over and put it on the roof, then we take a pencil and draw around the places where the roof adjoins the side walls. We make holes for confirmations. Now having exit openings we level the roof, mark out and drill holes in the sidewalls, fix it.
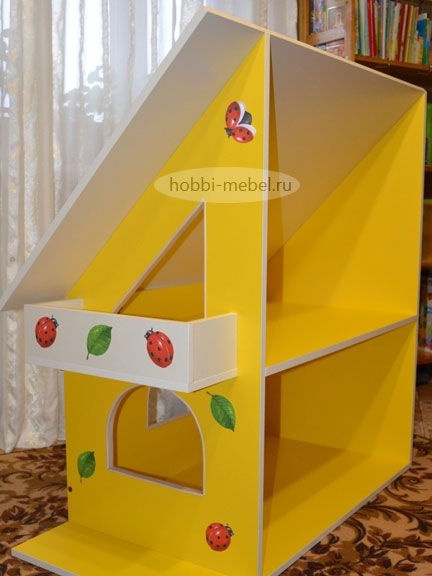
Our children's house for dolls is ready.
In order to give the house an even more attractive look, we use decorative stickers.
We call the kids, and look at their reaction!
The article is over, thank you all for your attention!