
Hello !
Today we’ll talk about how to independently make a roof for our construction. After all, the roof is a very important element of our structure, since the roof not only protects against various atmospheric precipitation (rain, snow), but also acts as the logical conclusion to the appearance of the structure. In this article, the author will describe in detail this process, which will be accompanied by a photo report.
There are several types of roofs: single-pitched, gable, four-pitched and complex configurations. In our case, we will use the gable view.
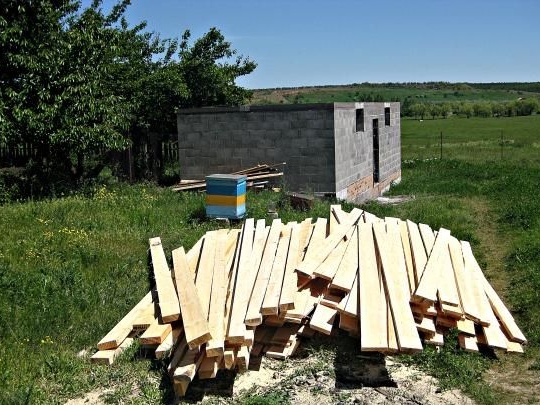
We will need it.
Instruments :
- hammer;
- ax;
- manual hacksaw;
- a circular saw;
- stapler;
- nails.
The main material for the roof will be wood - beams, and edged boards.
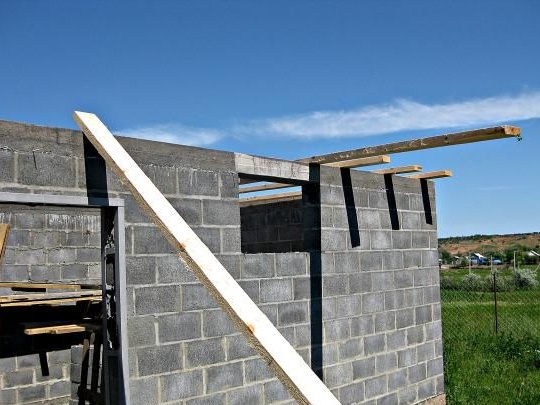
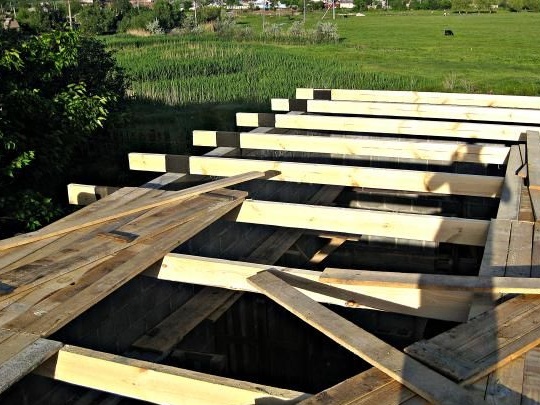
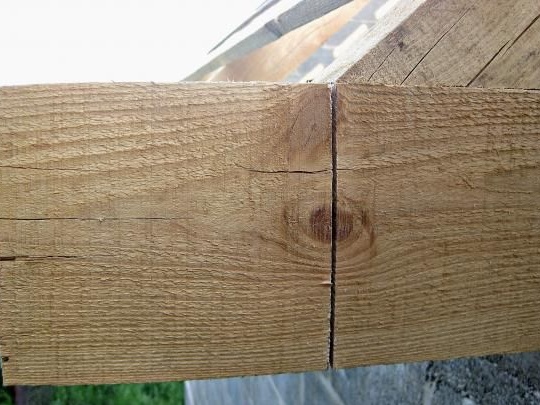
First of all, let's take our boards 50 x 150 mm and spread them all over the roof. Boards need to be cut off with a margin, they should protrude beyond the perimeter of the masonry.
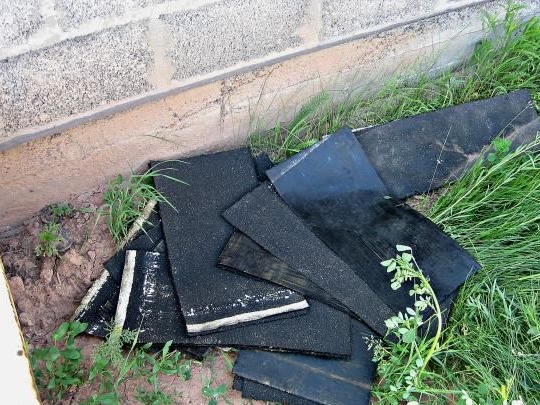
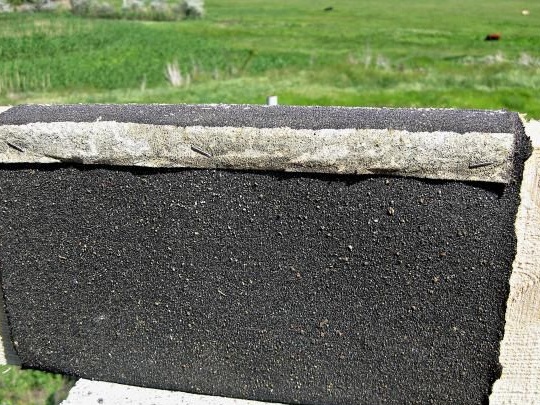
So that the beams do not begin to rot over time, it is necessary to make waterproofing, with the help of roofing material, which will protect the beam when it comes into contact with the wall.
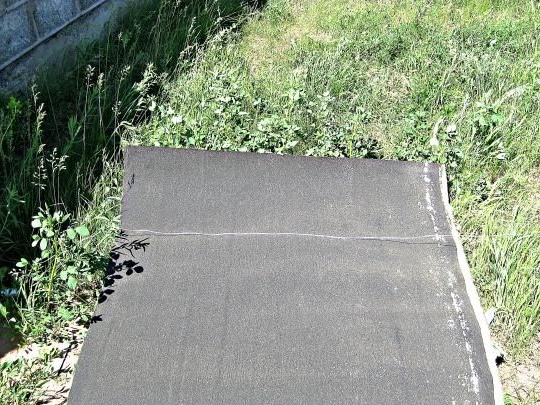
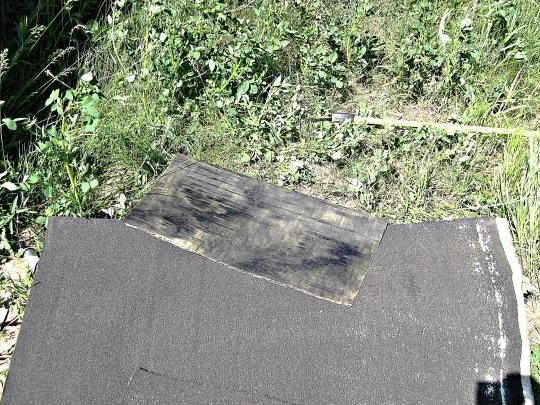
We take roofing material and cut out small strips from it, they should cover the beam along the perimeter, from edge to edge. We use your cutting tool.
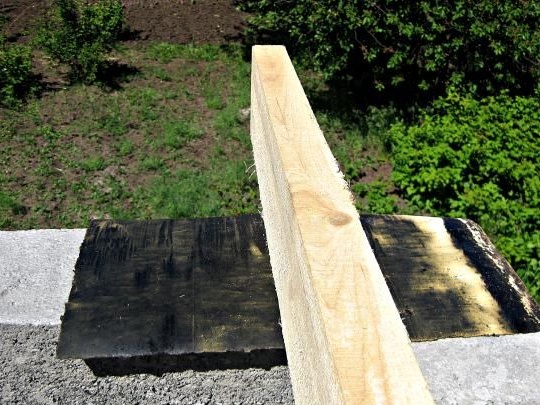
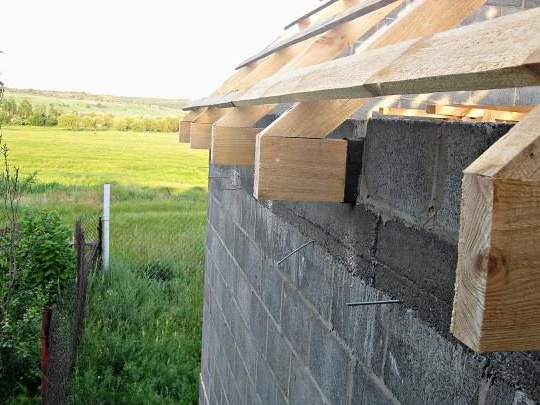
Next, take our beams and expose them to the distance we need from the edge of the wall.

When everything is ready we take strips of roofing material and a stapler.
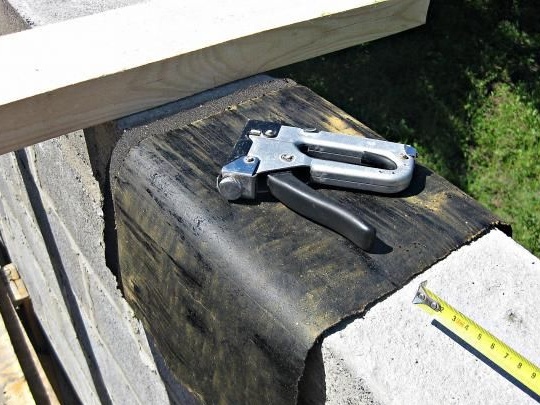
We put roofing material under our beam.
Next, you need to wrap the beam with a roofing material with a slight stretch, and at the end fix it with a stapler.
The remaining beams are made on the same principle.
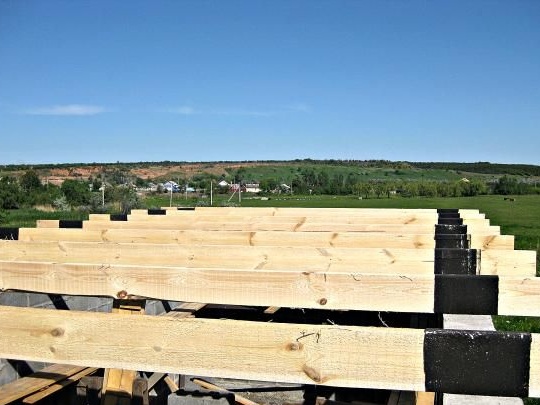
All beams should be exposed at the same distance from each other.
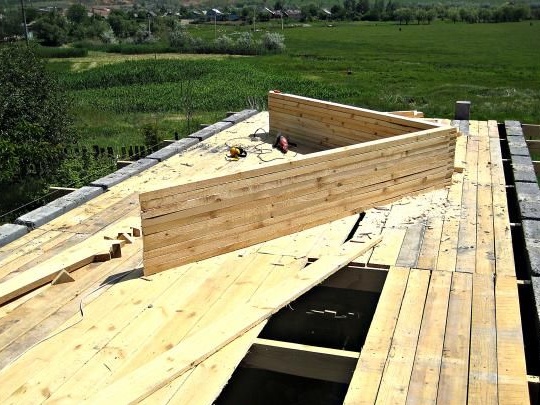
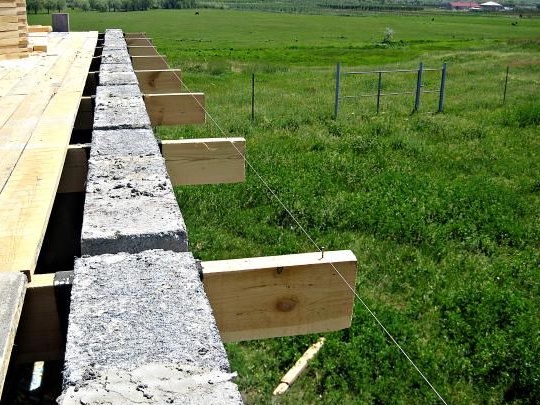
To ensure that the exposed beams do not move, and we can move freely on the surface, we need to fix them with the help of boards.
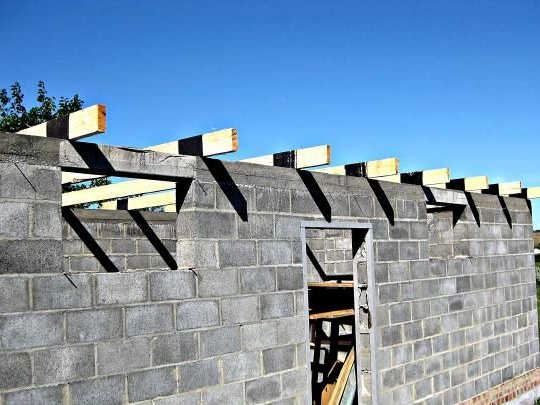
Next you need to lay out the blocks along the entire contour of the wall.
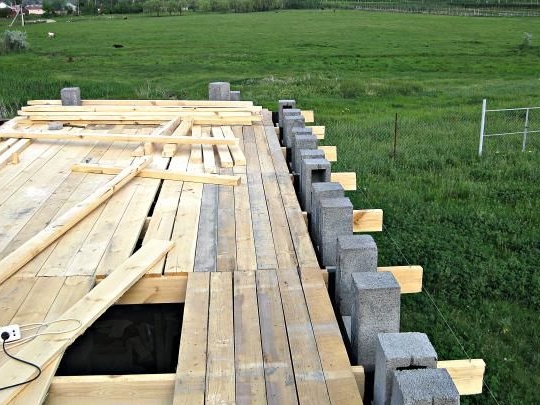
Getting to the lining of beams. We put the blocks on the solution.
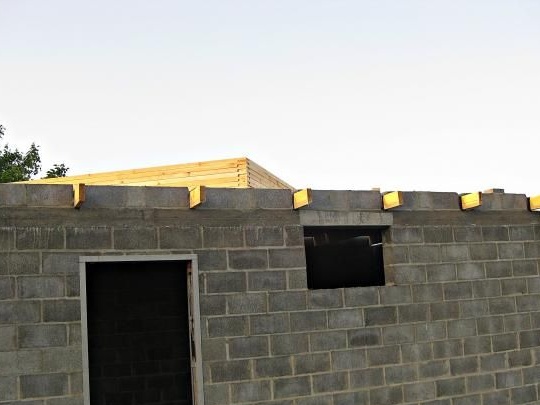
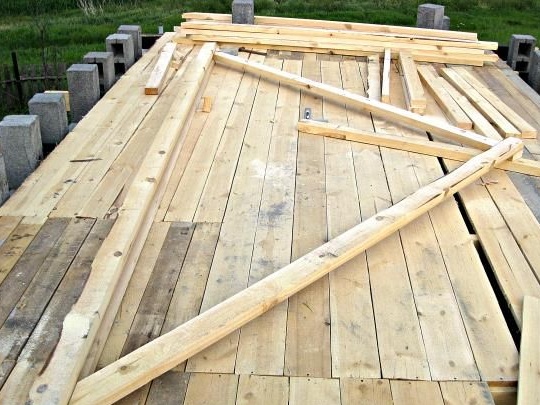
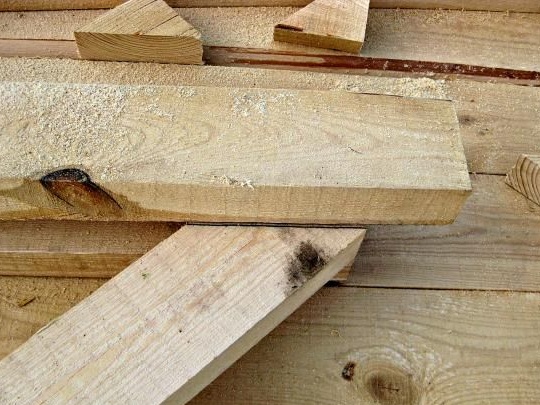
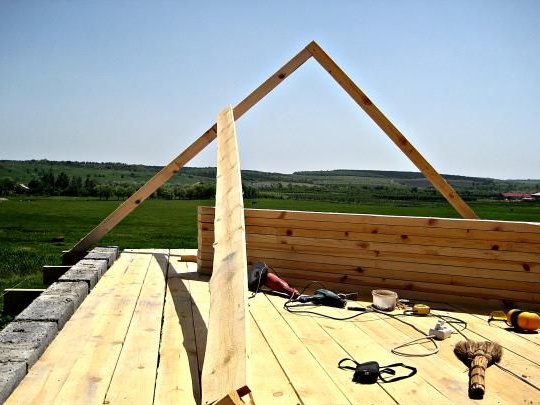
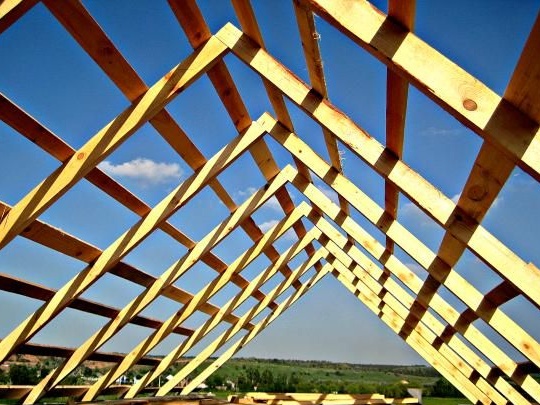
Next, we will make rafters, take a bar 50 x 100 mm, in which it will be necessary to make cuts and cuts at a certain angle.
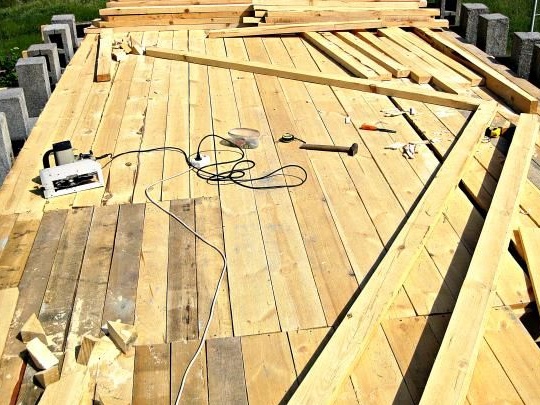
We lay out the bars so that they repeat the contour of the future rafter system.
Next, you need to measure on the beam - the template the length at which the extreme points of the sole of the rafters will be located.
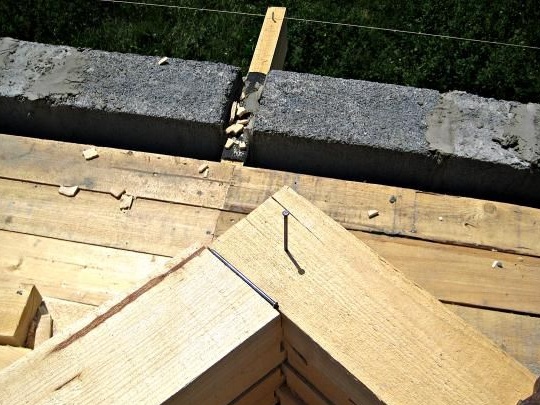
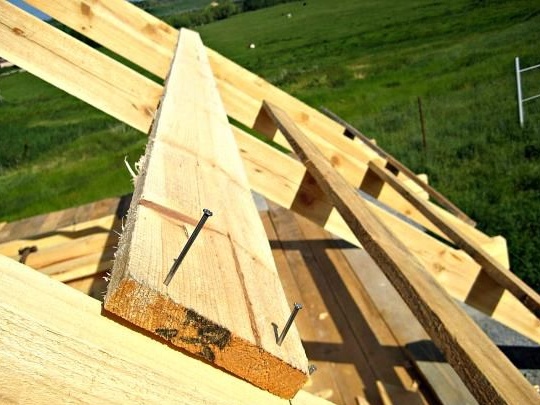
Then we expose the ridge part of the rafters, arrange them so that they touch each other in the corner part.
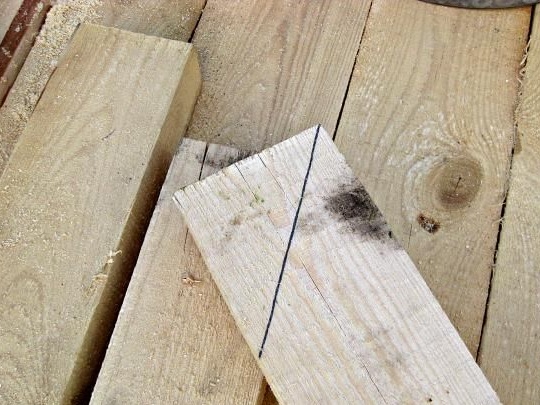
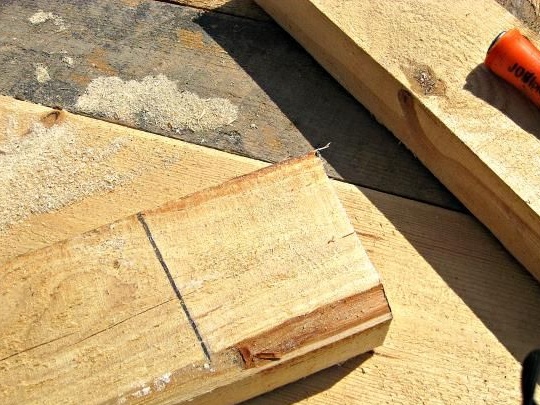
We take a pencil and apply a marking on both sides of the timber.
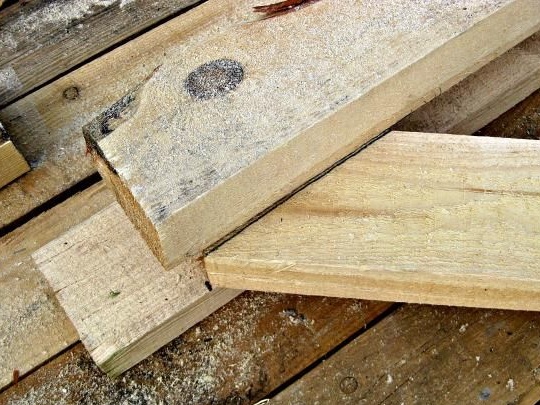
To make the soles of rafters, you need to attach a bar on top and mark with a pencil.
This is how the marked outsole of the rafters looks.
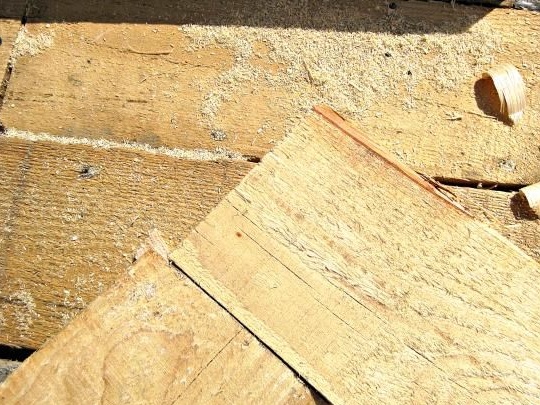
Using a cutting tool we make a cut according to the marked markings.

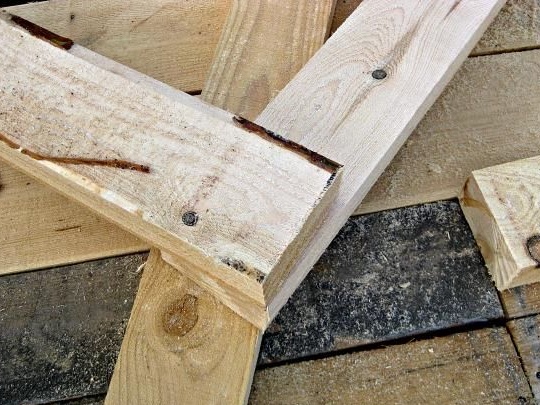
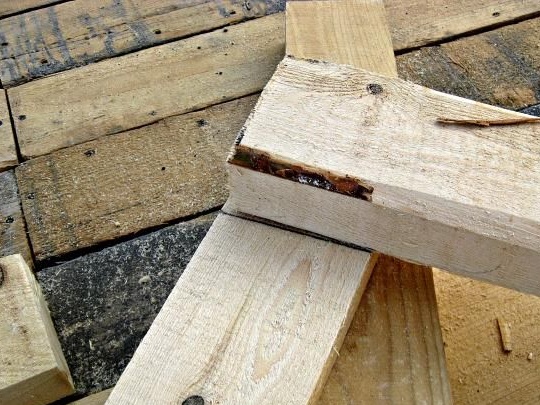
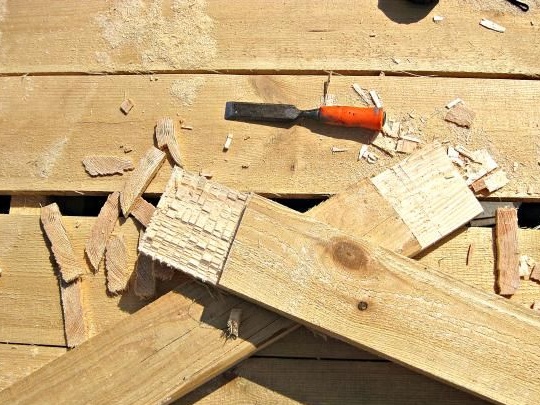
We take the ridge part with the marked markings and make cuts to half the thickness of the timber. Next, with the help of an ax, we remove the excess wood.
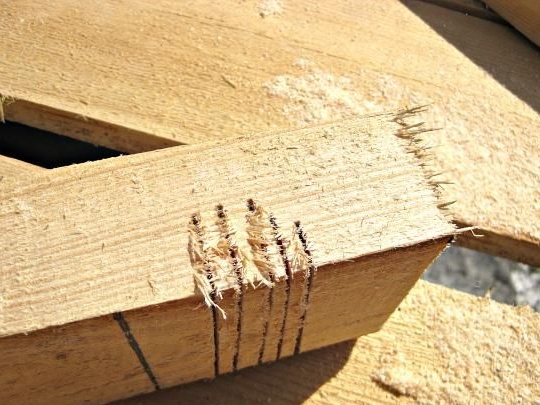
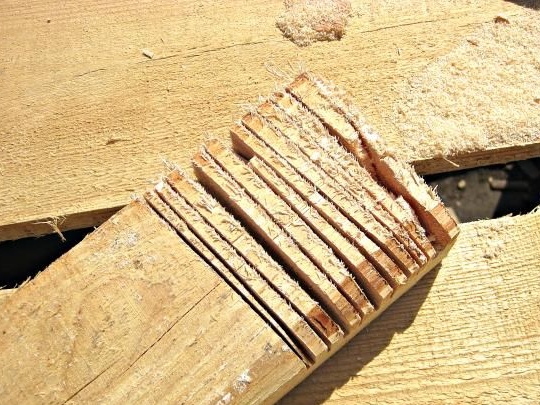
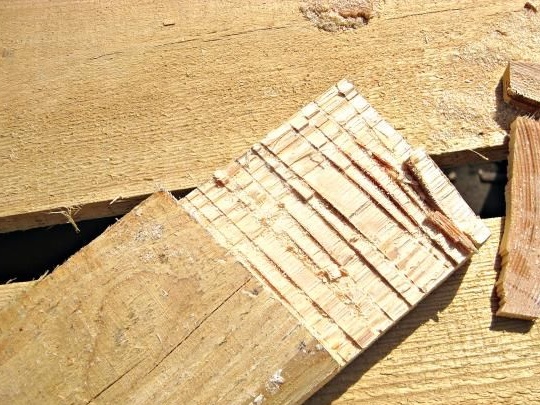
In order to level the surface, use a chisel.
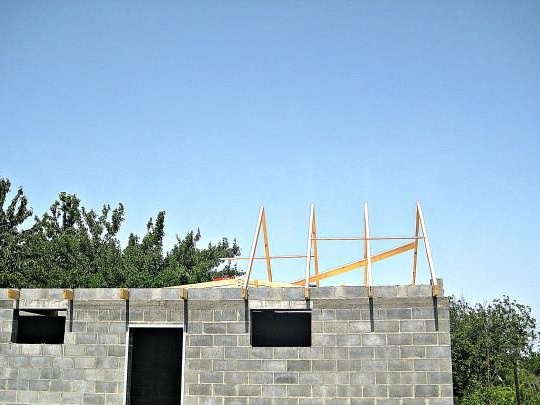
We connect the bars to each other. By this principle, we produce the right amount of rafters.
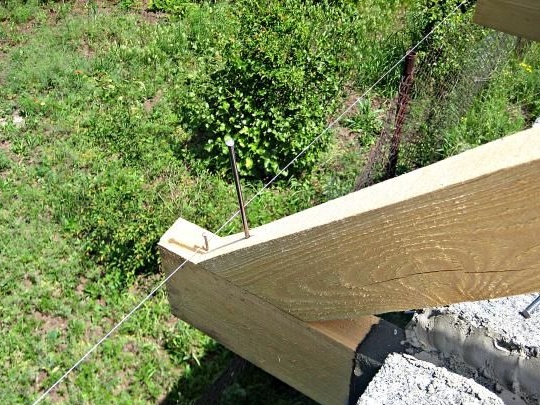
Now we take and pull the cord, it is needed so that we can evenly set the rafters.
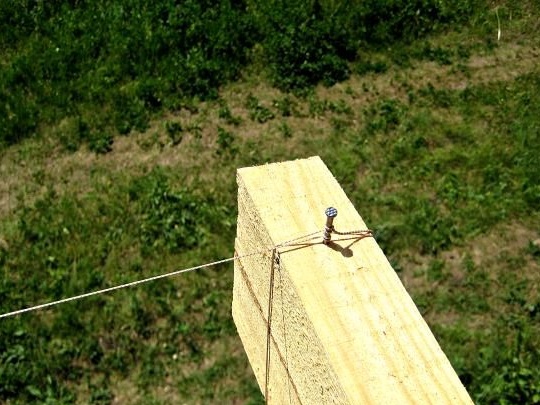
We drive a nail into each beam according to a given line.
In order to fix the bars between each other, hammer a nail in the upper ridge part.
We install rafters. We put them so that they rest against the nail.
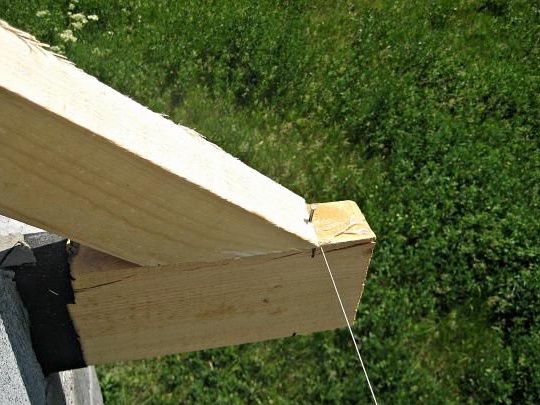
We fasten the first rafter.
Next, using nails of 100 or 200 mm, we attach the sole of the rafters to the beams.
The following rafters are fixed between themselves by transverse slats.
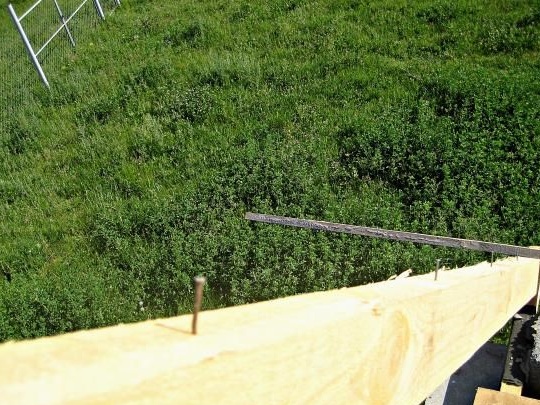
After when all the rafters are exposed and fixed, we do the crate. We take the nails and hammer them along the length of each rafter at the same distance from each other.
When this operation is completed, we take the boards for the lathing and put them so that they rest against the hammered early nails, then with the help of nails we fix the lathing to the rafters, we use nails of 100 mm, two for each rafter.
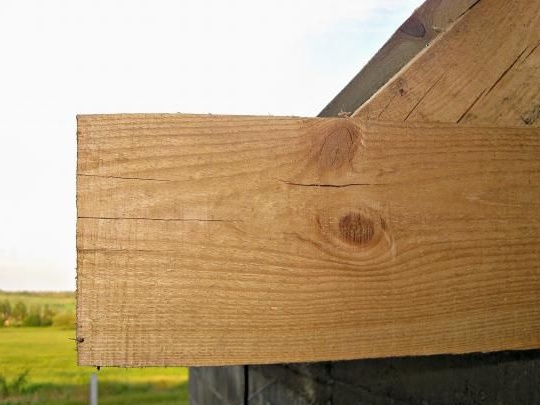
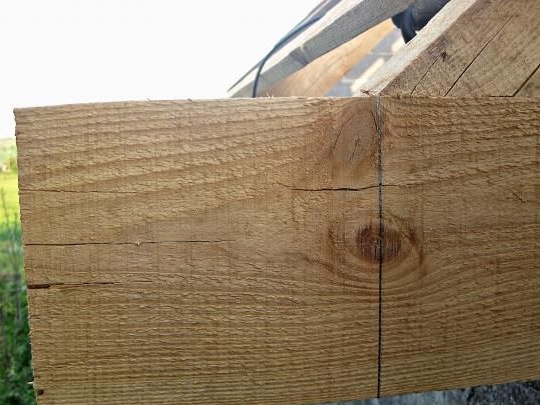
Our next step will be the removal of excess parts of the beams.
To do this, take the angular ruler and mark the cut line, similarly do with all the beams. We crop according to the drawn lines.
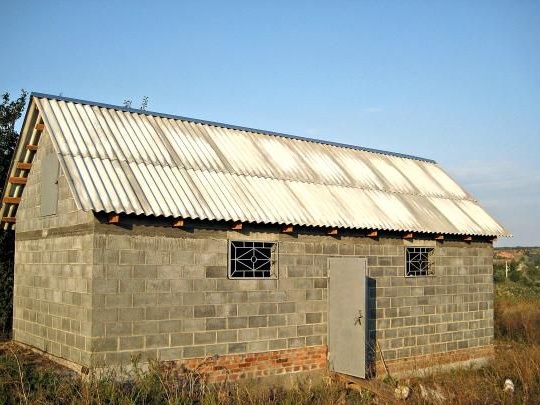
Now we cover the roof with the selected roofing material, in this case, we use slate. When everything is ready, we install the ridge, and our roof can be considered ready.
This article is over, thank you all for your attention!