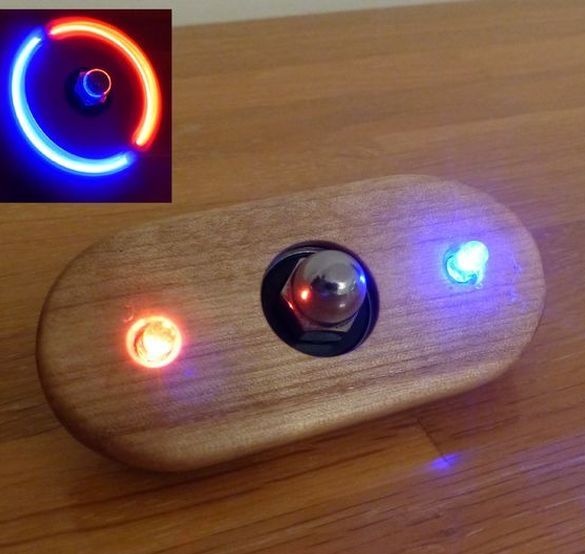
What is a spinner, twist, fidget or in the original Fidget Spinner? This is a toy simulator, as it used to be, for example yo-yo, it is a simulator for fingers, reduces stress and excitement. Spinner increases tactile sensitivity and develops fine motor skills of fingers, promotes concentration.
Spinner distracts from bad habits, smoking, meaningless tapping with fingers, repetitive hand movements.
To start it, you need to squeeze the bearing between the thumb and forefinger and unwind it with the middle finger or with the second hand.
Spinner is gaining popularity around the world. There are many models of this toy, but in this article we will look at how do it yourself make a glowing spinner.
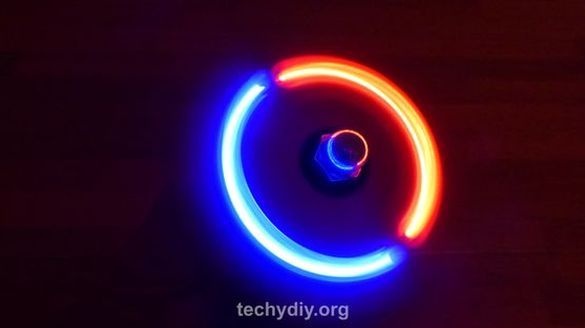

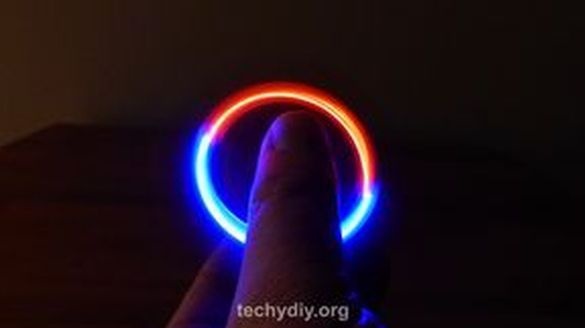

So let's get started. To make a spinner, you need the following
Tools and materials
-Board;
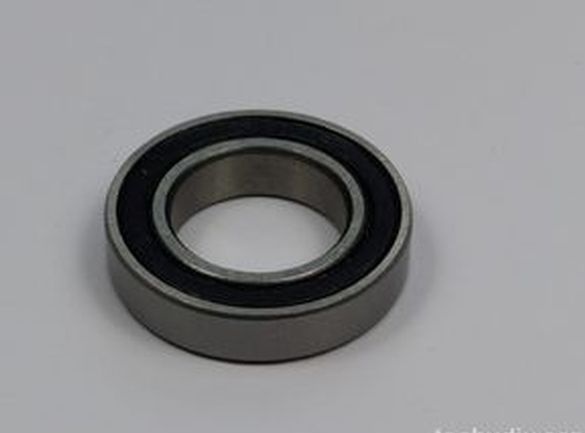
- The bearing 22 x 8 x 7 mm with a rubber boot;
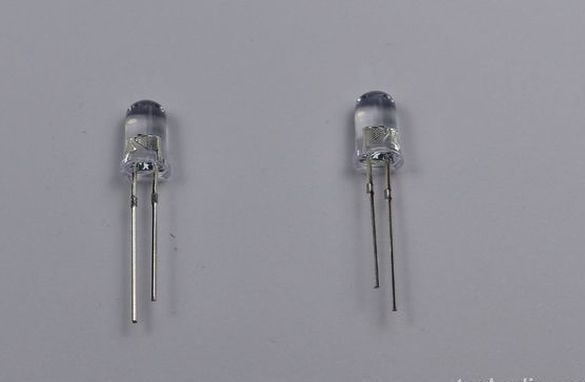
- RGB LEDs-2 pcs;
-CR2032 bays-2 pcs;
-CR2032 batteries - 2 pcs;
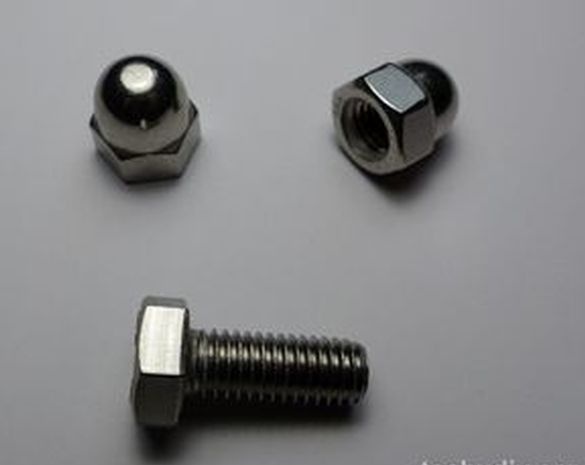
-M8x20mm stainless steel bolt - 2 pcs;
- Spherical nuts M8 - 2 pcs;
- Jigsaw;
Milling cutter;
-Miter saw;
-Drilling machine;
-Soldering iron;
-Glue gun;
-Chisel;
-Vise;
- Hacksaw for metal;
-File;
-Drill;
-Glue;
-WD-40;
-Varnish;
- brush;
Step One: Template
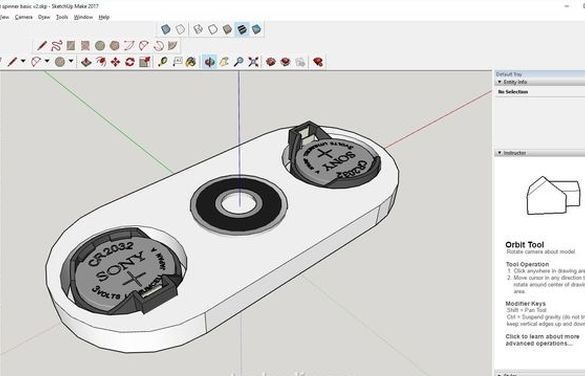
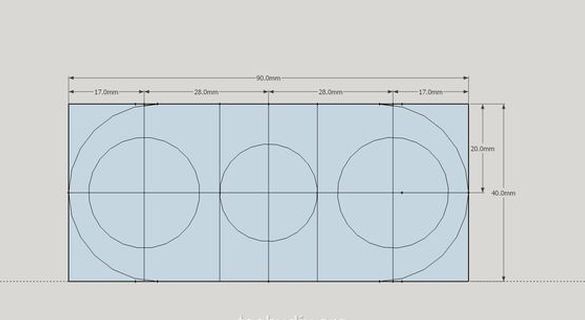
In Google SketchUp, the author made a sketch and printed a template.
The template can be downloaded.
Step Two: Case
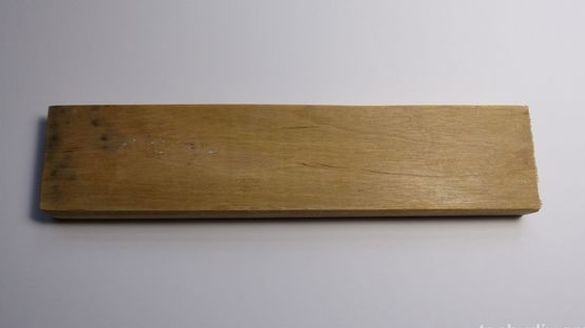
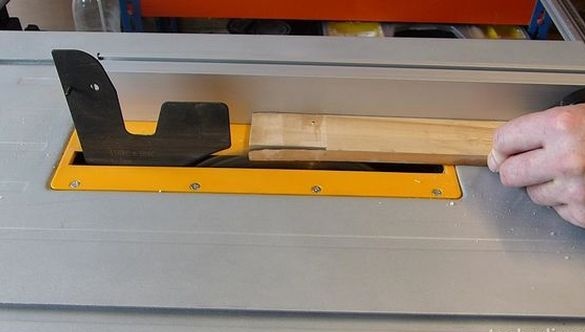
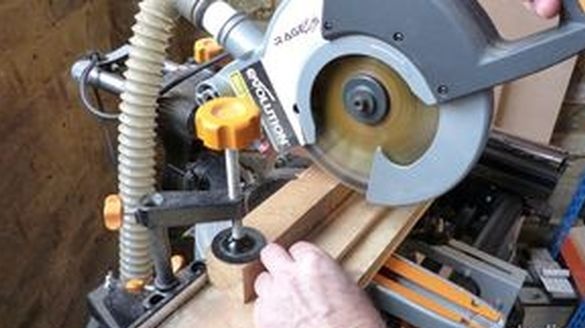
The author made the case out of a 12 mm thick strip. I cut a bar 90 x 40 mm.
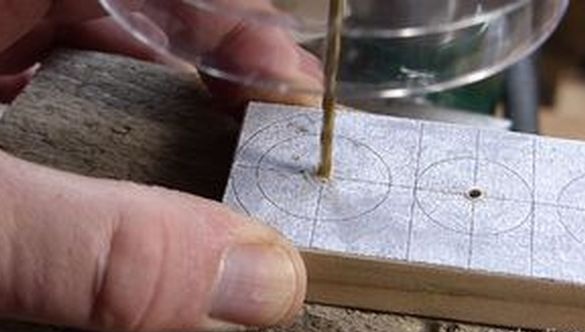
I pasted a template on it.

I drilled holes in the center.
Frezoy, 25 mm, chose the recesses for the battery compartments. Sampling depth 7.5 mm. The compartments have rectangular protrusions, a chisel selects a groove under them.
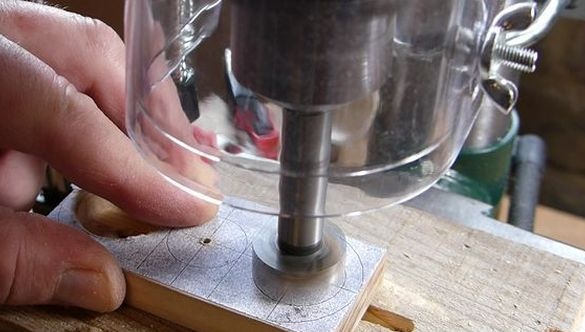
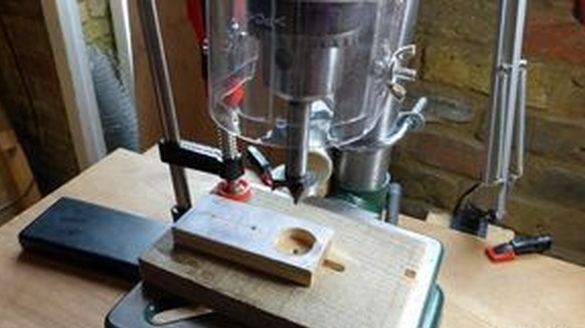
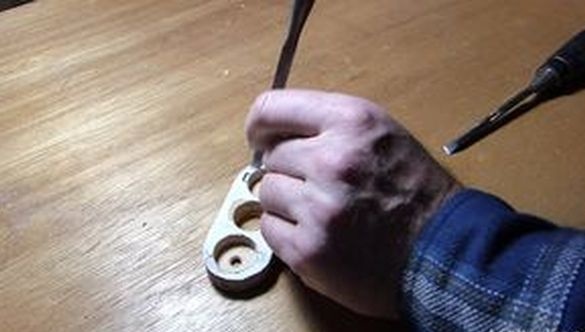
For the bearing, I used a 22 mm cutter on the side of the battery compartments, and 20 mm on the back. Those. A 22 mm milling cutter made recesses to the height of the bearing, then a 20 milling cutter cut a bar through and through.
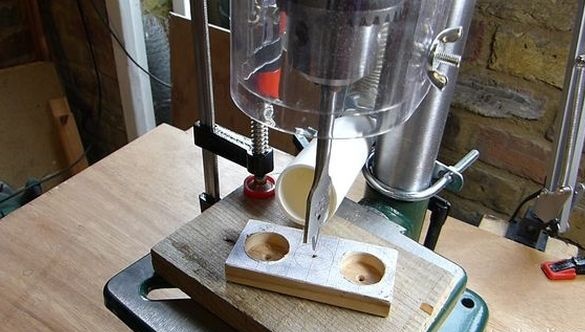
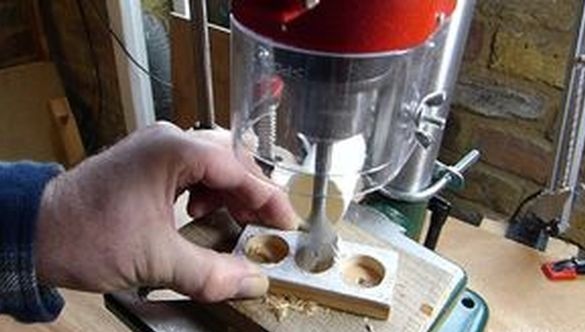
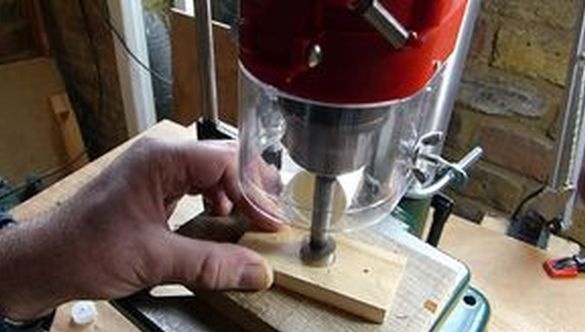
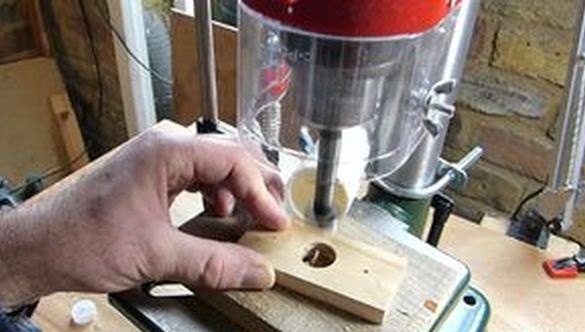
In the center of the battery holders, I drilled a 6 mm hole for the LEDs.
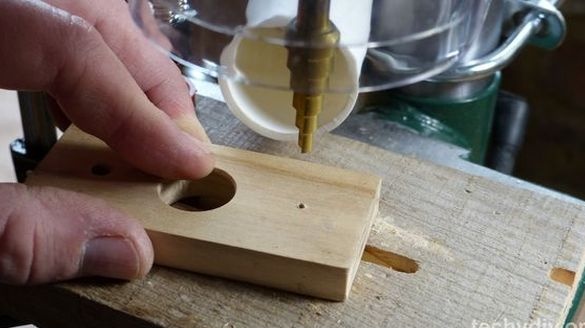
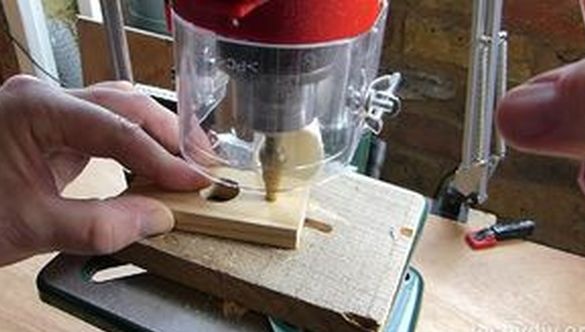
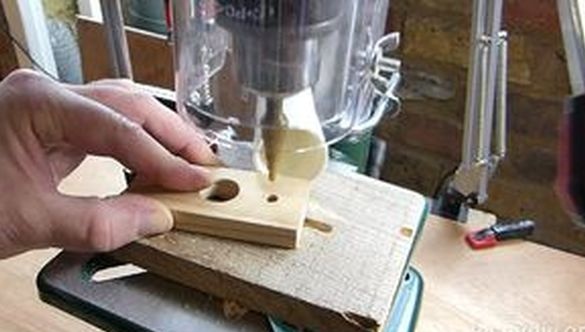
I deleted the template and cut the corners of the case, giving it a semicircular shape. I polished it.
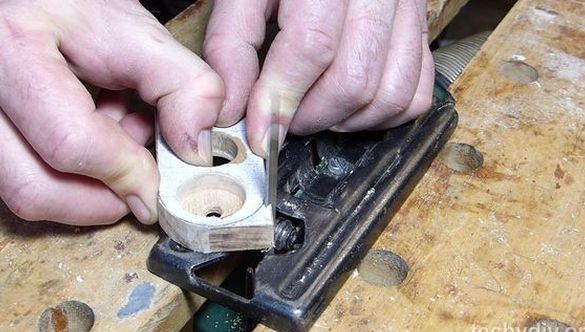

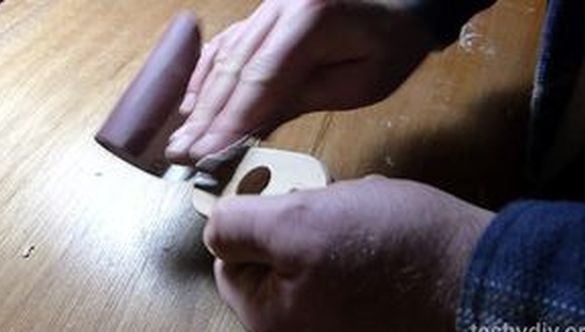
Then he coated the body with several layers of varnish.
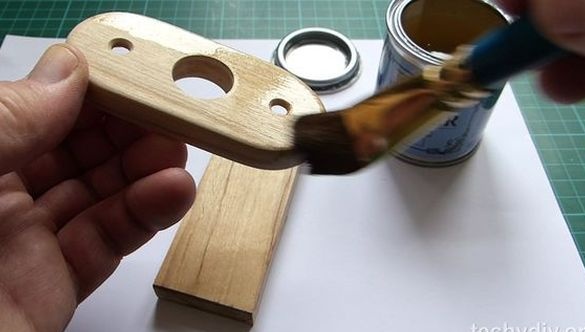
Step Three: Install LEDs
LEDs are soldered to the contacts of the battery holders, not forgetting the polarity.

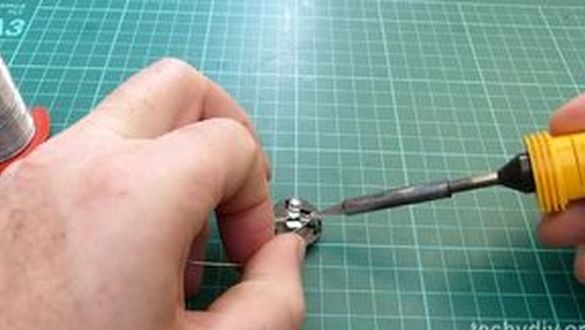
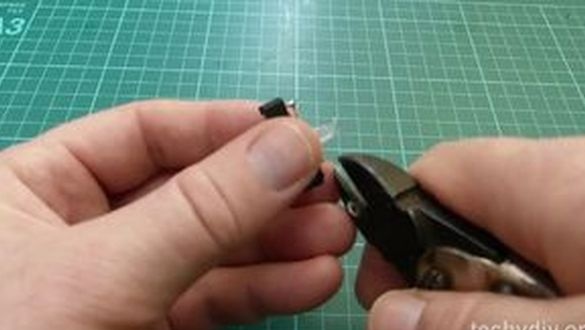
Checks the performance of the circuits and installs them in the housing. For fixing uses hot-melt adhesive.
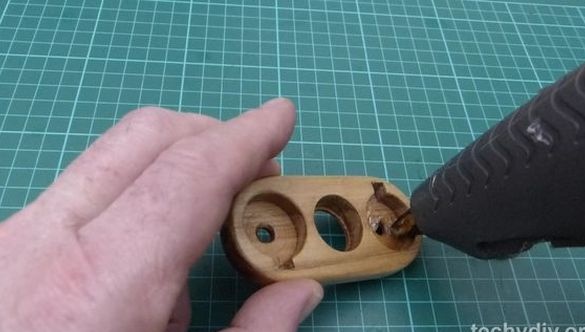
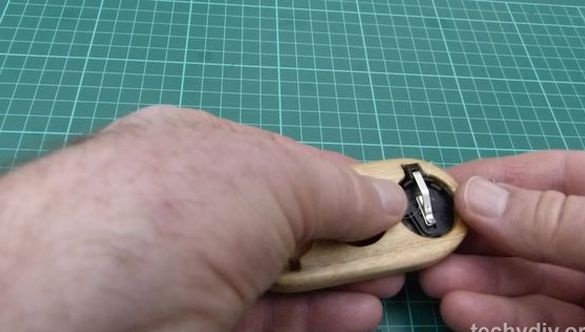
Step Four: Bearing
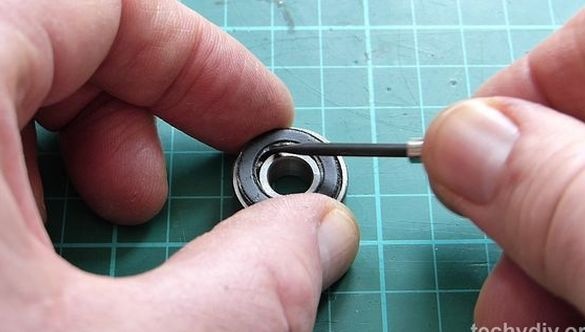
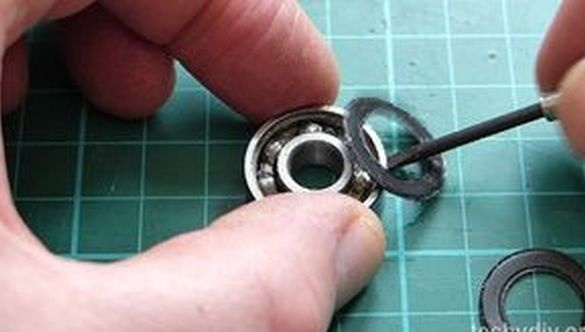
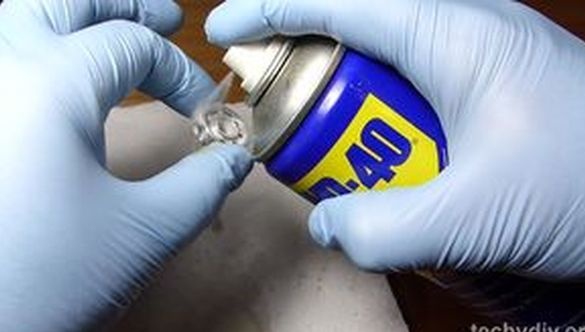
Before installing the bearing, it must be prepared. Gently removes the boot and WD-flush flushes all the grease. Installs the anthers in place.

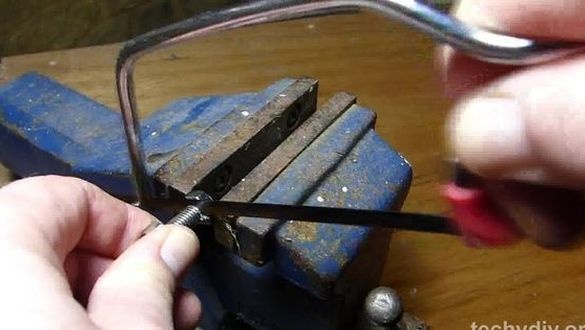
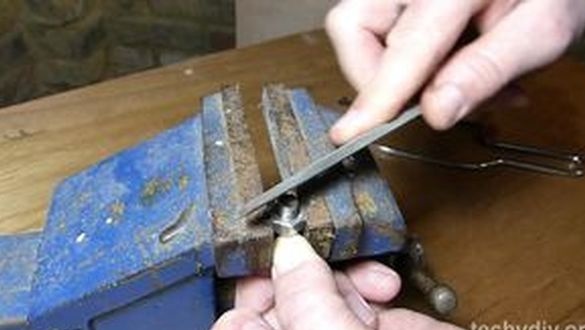
Clamps the bolt in a vice and cuts off the head. Cuts the thread with a file.
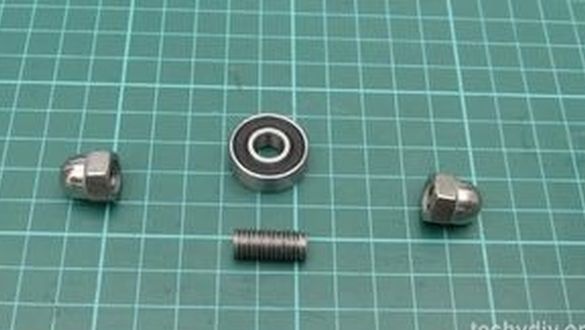
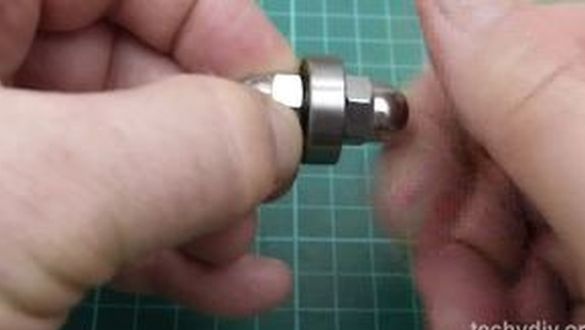
Inserts the pin into the bearing and tightens the nuts on both sides.
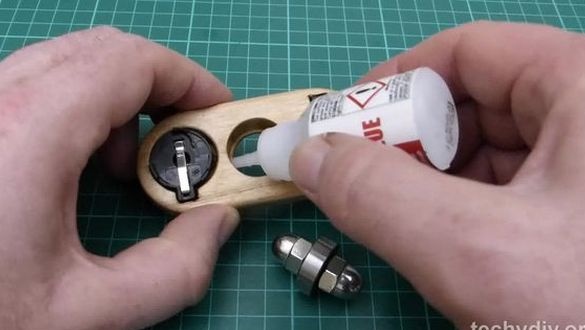
Mounts the bearing in the housing. Fixes its outer casing with superglue.
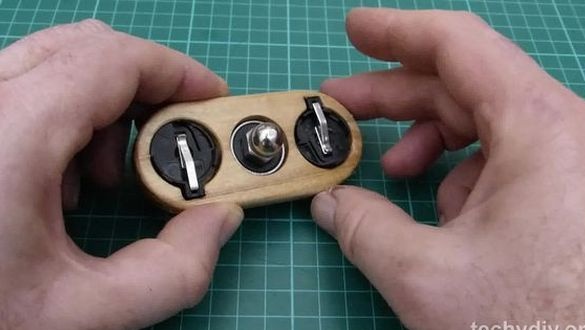
Spinner is ready.
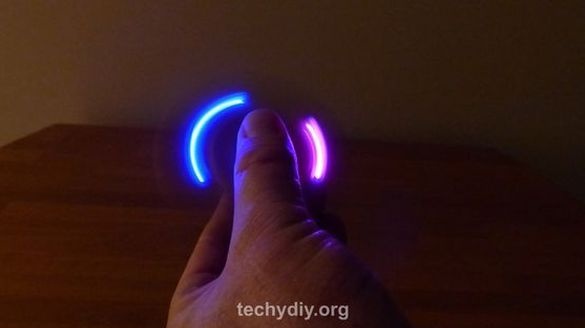
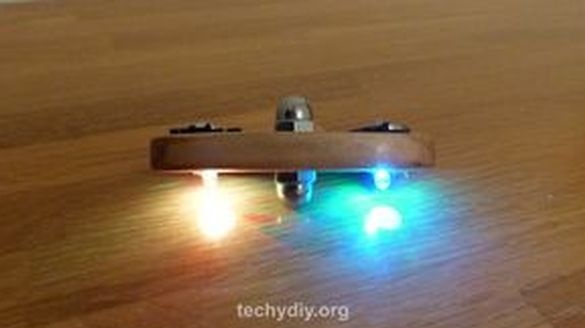

Detailed production of the spinner can be seen in the video.
