

Hello everyone, dear friends. Today I will show you an idea on how to make a hydraulic excavator from syringes do it yourself. Such homemade does not require large expenditures on materials, and it is simple to manufacture. Such an excavator can be made to your child (or yourself
 ), so that it develops, and understands a little in physics and automotive technology.
Necessary materials:
- plywood
- syringes 4 pcs. for 20 cu
- syringes 4 pcs. for 10 cubic meters
- dropper
- bearing
- clamps
- self-tapping screws, bolts, nuts
- bar
- laminate
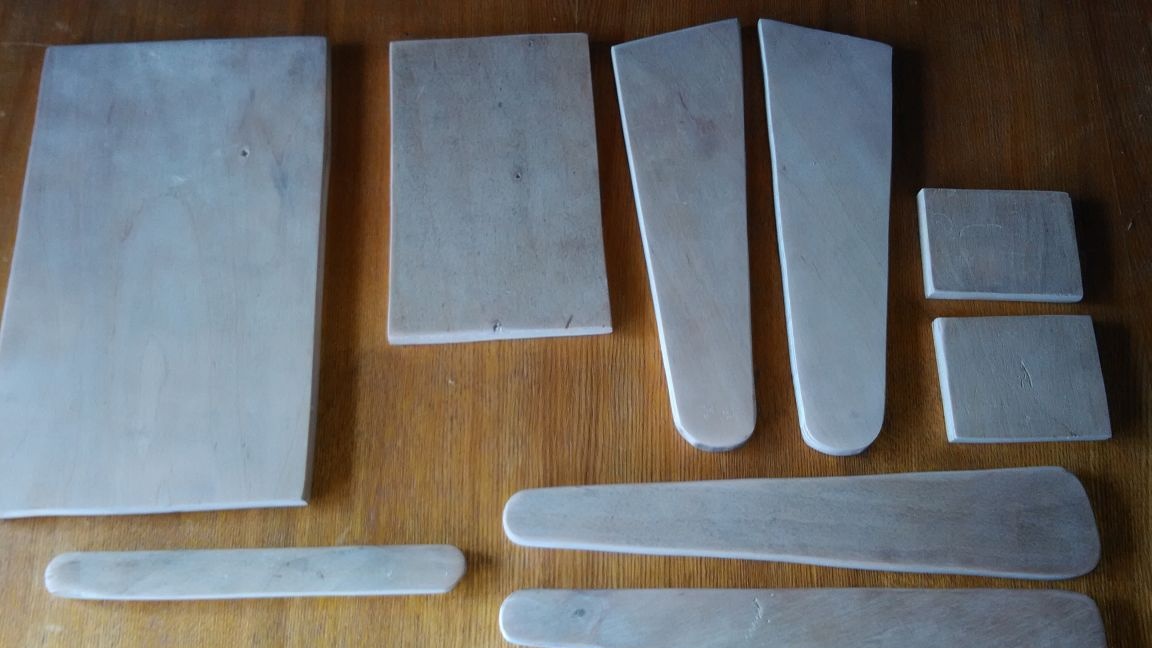
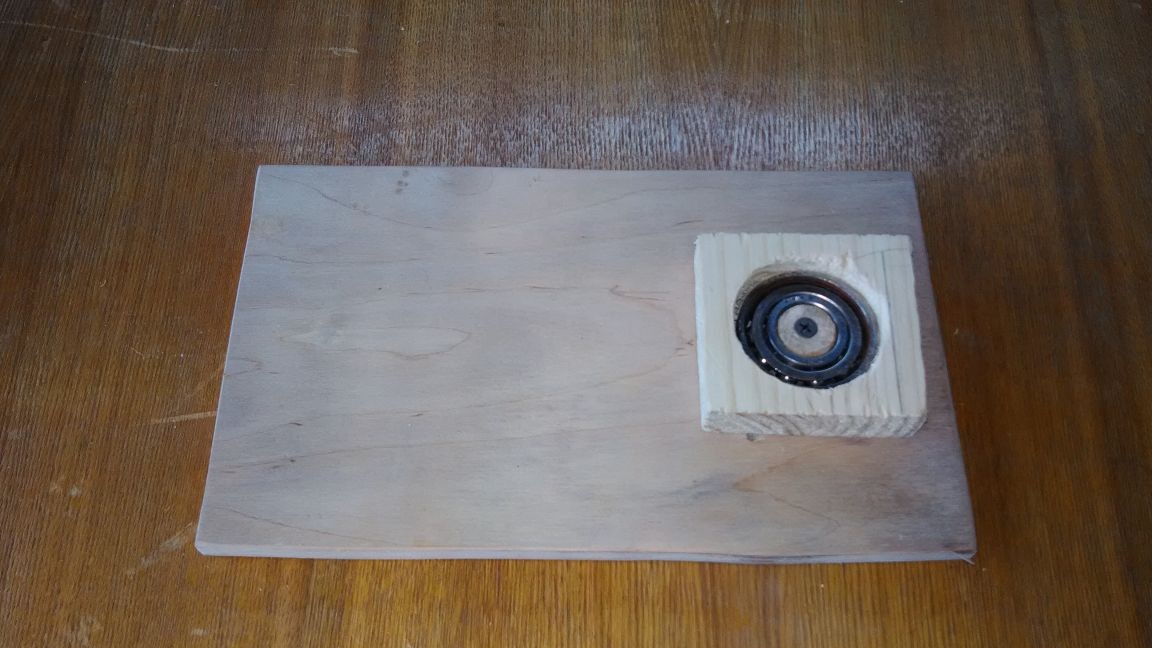
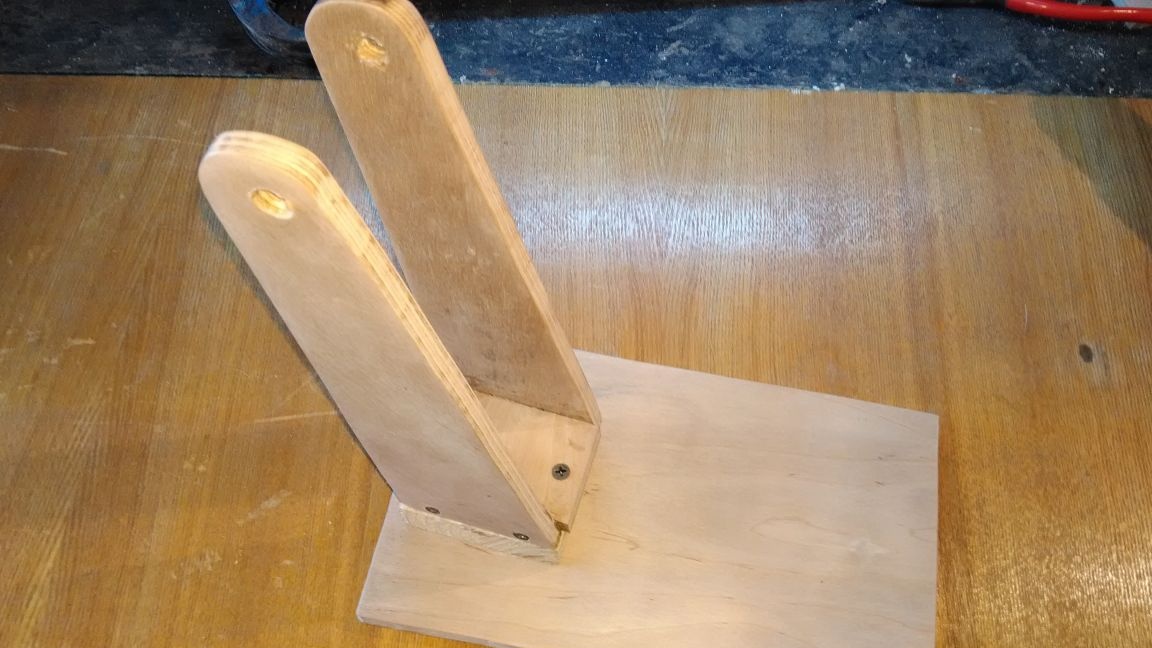
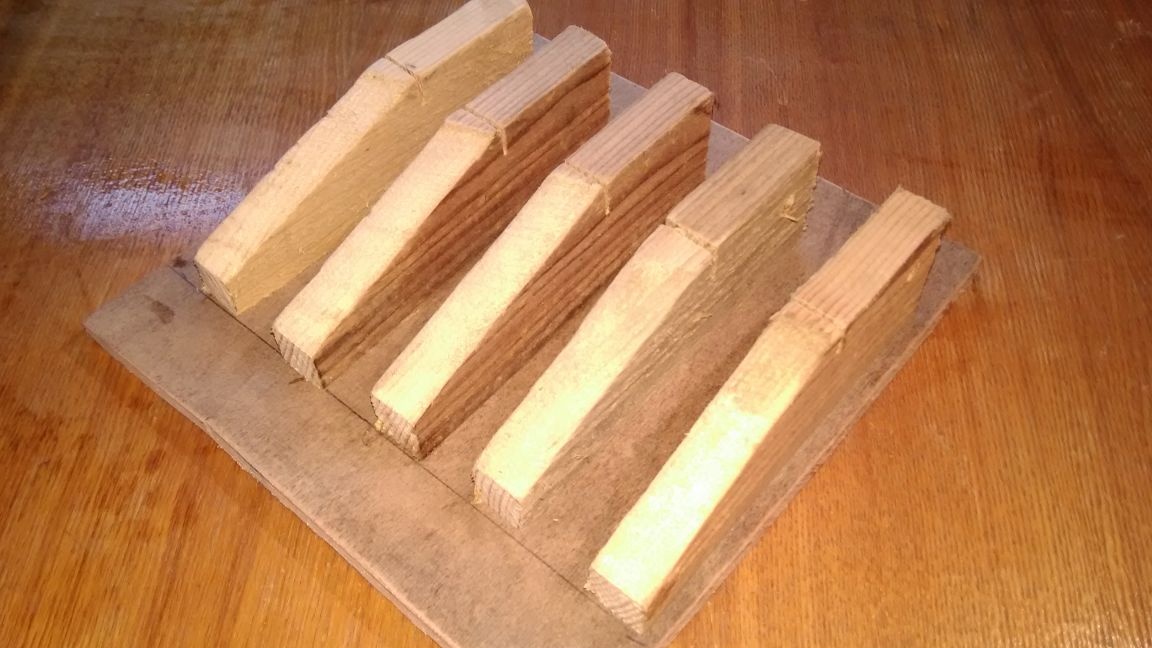
Step 1: First of all, we cut out all the necessary details from the plywood for the excavator boom. All dimensions were drawn immediately on plywood. Then we take the base of the hydraulic bucket, and on it we make a rotary installation. I took a small bearing, and secured it to the base with a small piece of a wooden cylinder and a board.
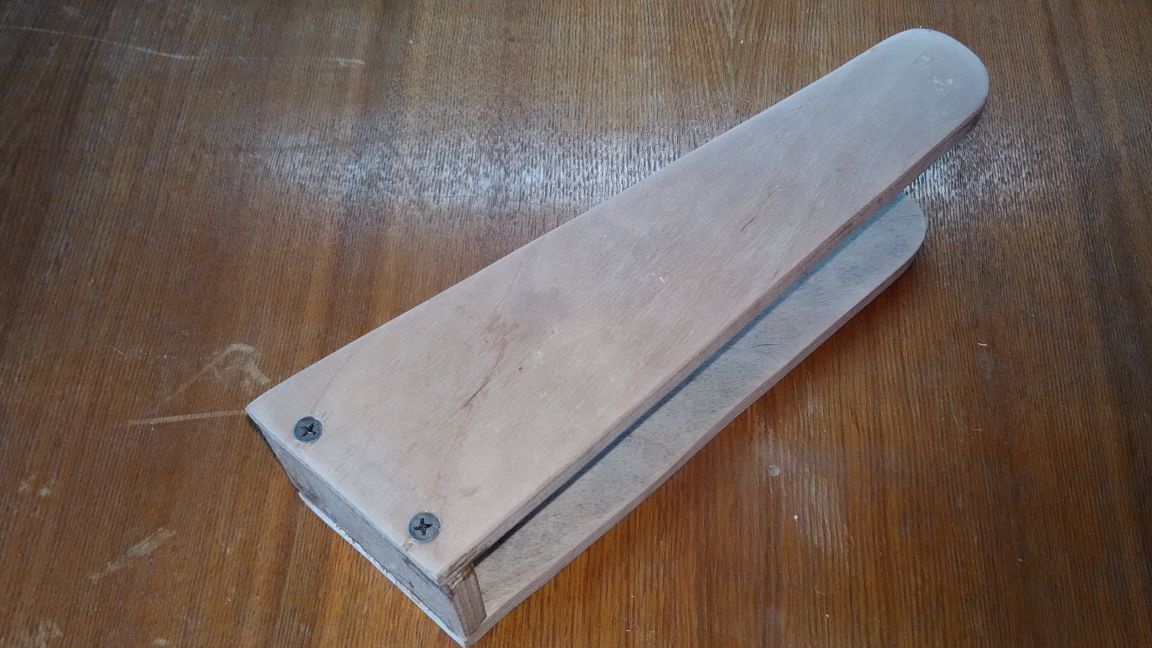
Step 2: Then we take the two largest blanks and connect them together, as shown in the photo. Next, glue this workpiece on an early manufactured base, for reliability, strengthen with small screws.
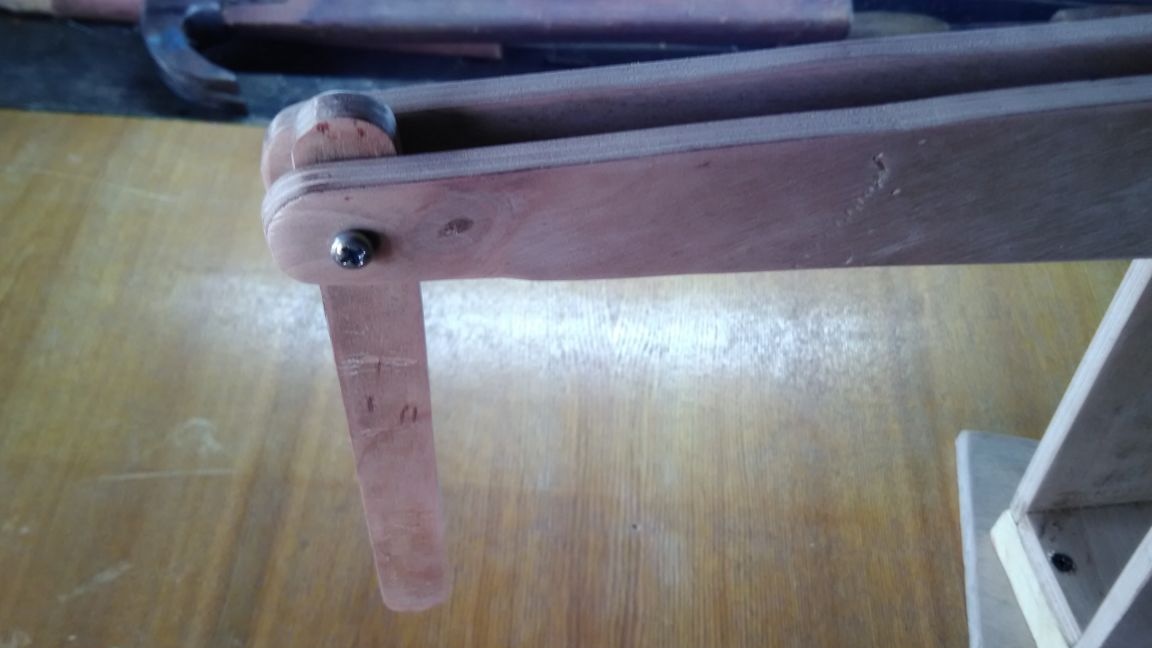
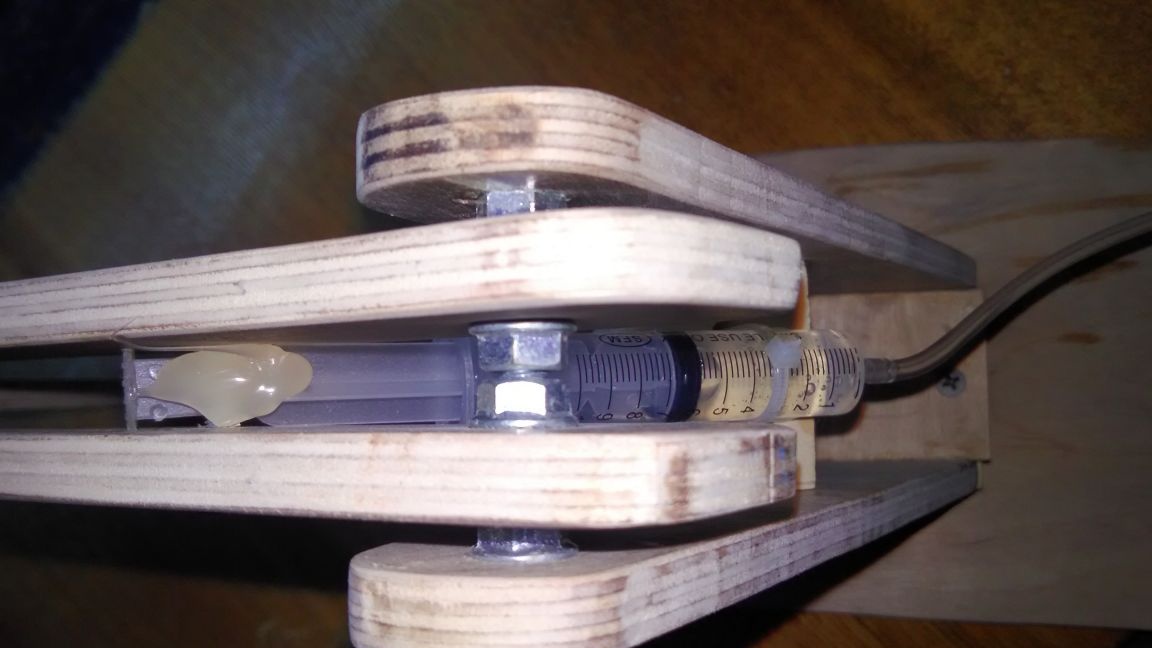
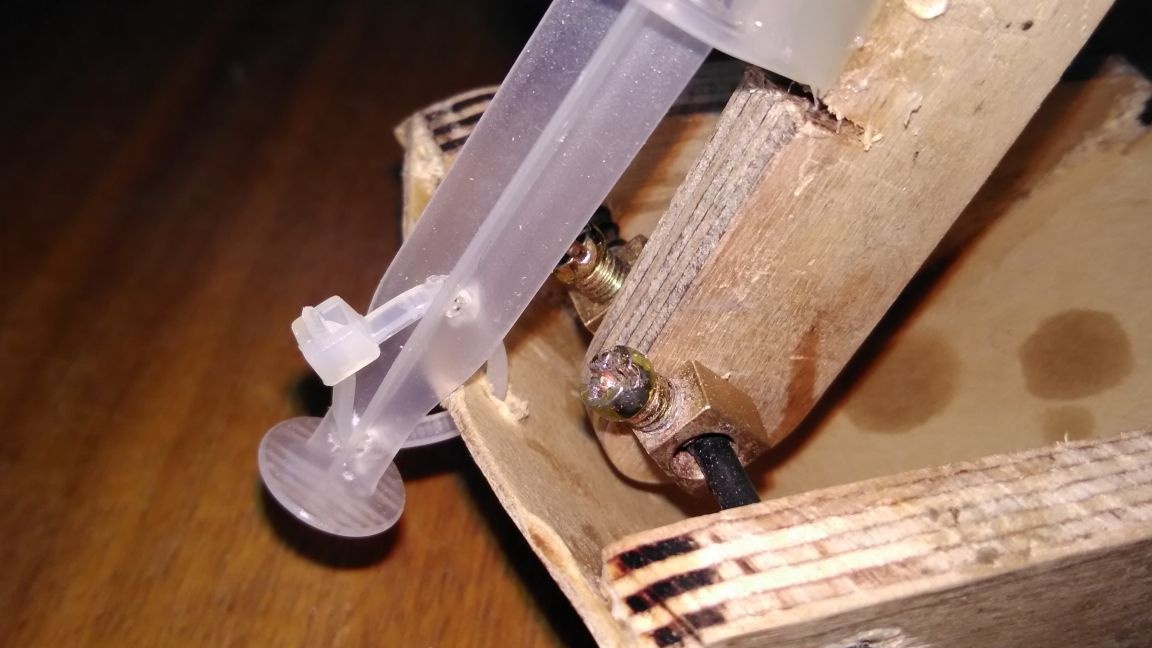
Step 3: Next, we take two parts (from the second knee of the arrow), and with the help of a bolt and nuts we connect them, as shown in the photo. Then we attach the third arrow to this arrow.
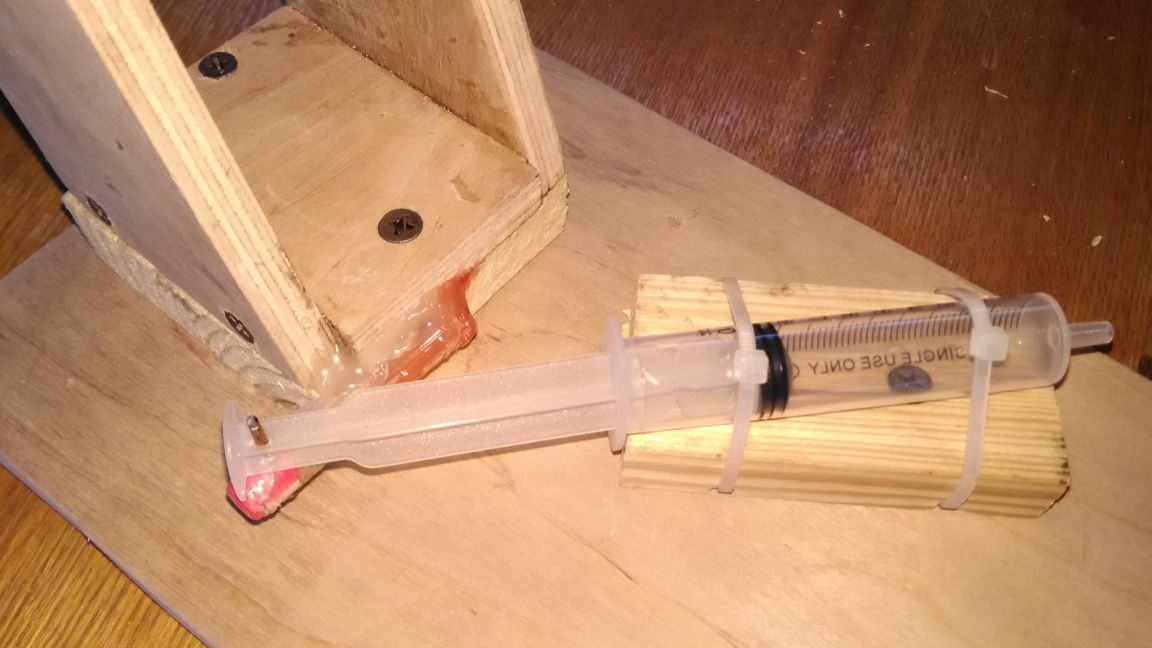
Step 4: Now we begin to install the syringes. Between the first and second knee we fix a 10 cc syringe using clamps, glue, and bolts. We also install syringes between the second and third elbows.
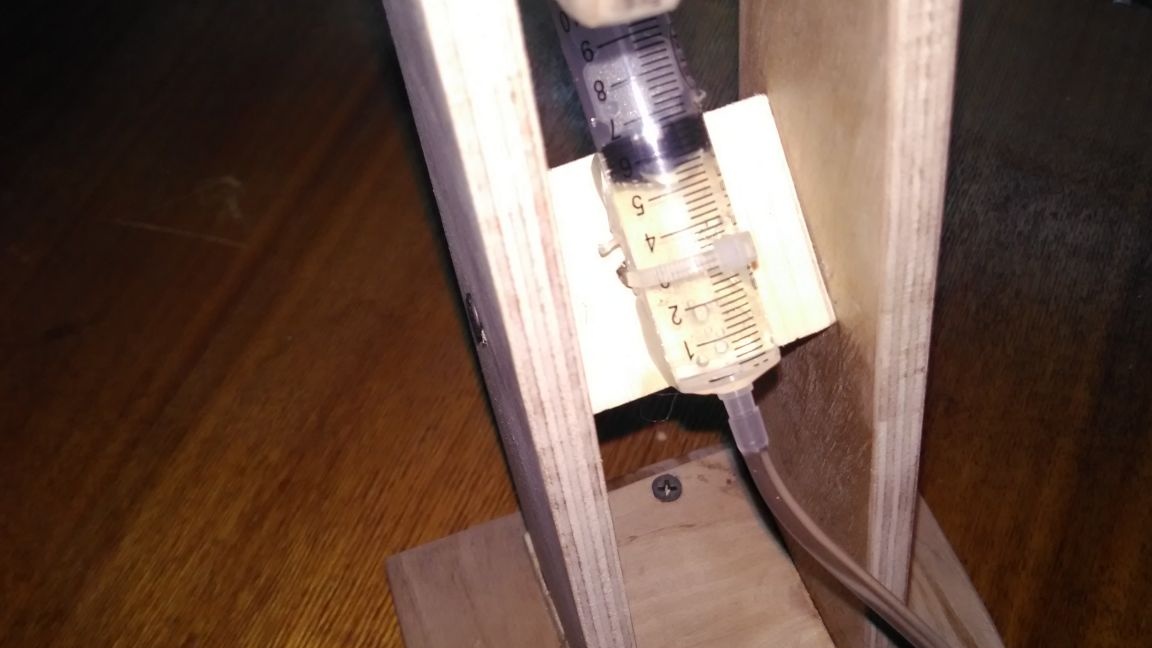
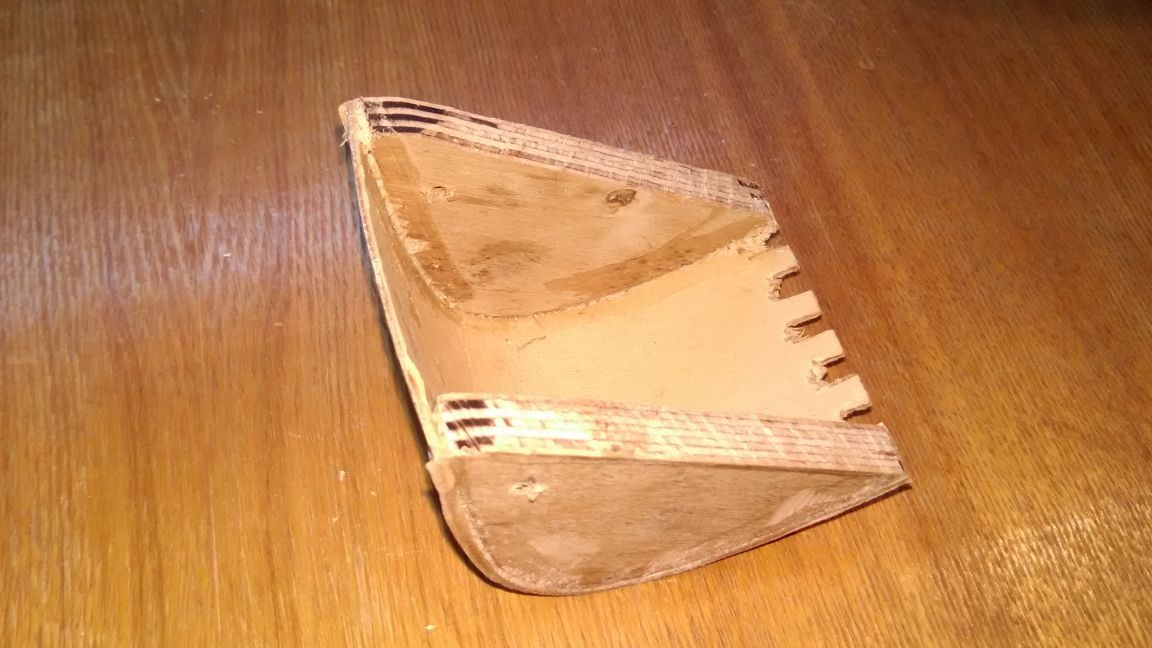
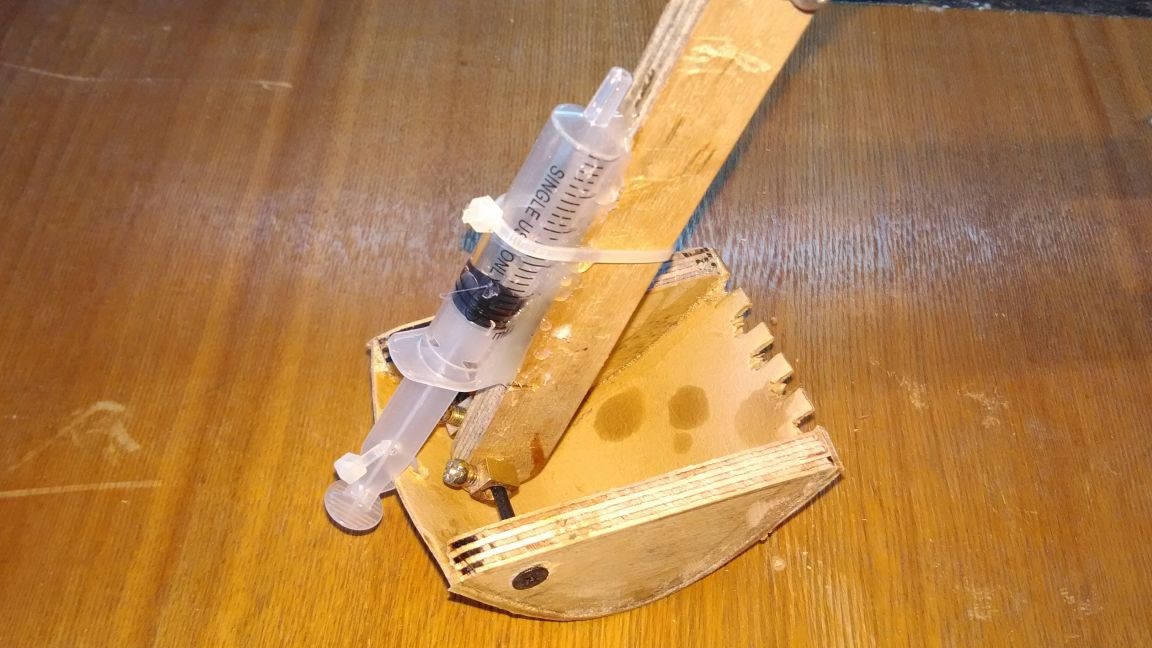
Step 5: Take two semi-oval blanks from plywood, and glue a thick cardboard to them. Then we strengthen with small screws. We cut the teeth with scissors to give the bucket a natural look. Next, fix the bucket to the boom with a self-tapping screw. So that the bucket (does not walk) is fixed with small ties. Then install the syringe as shown in the photo.

Step 6: In order for the rotary installation to work, we fasten a small block on the bases and install a 10 cc syringe on it. We connect the syringe to the bearing.
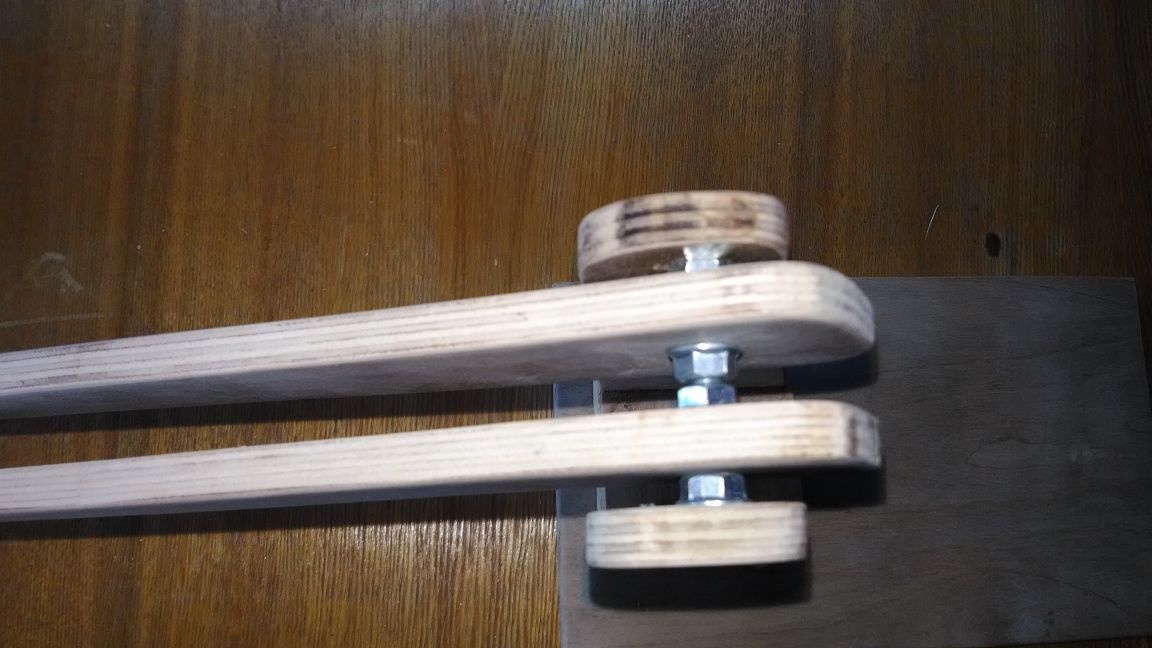
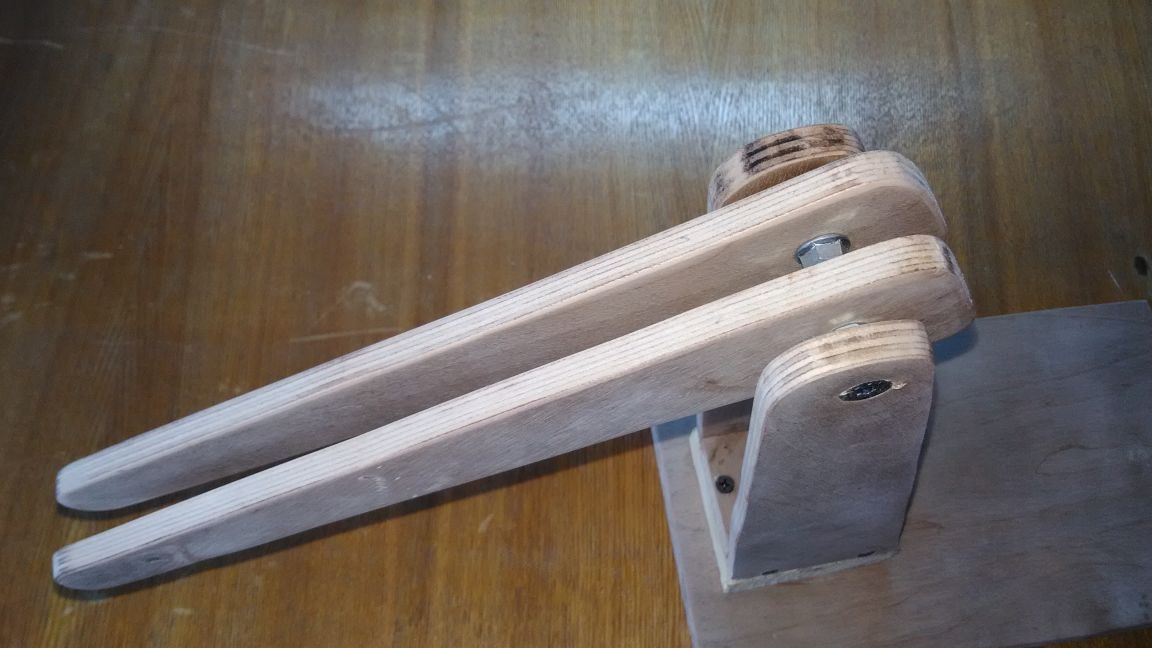
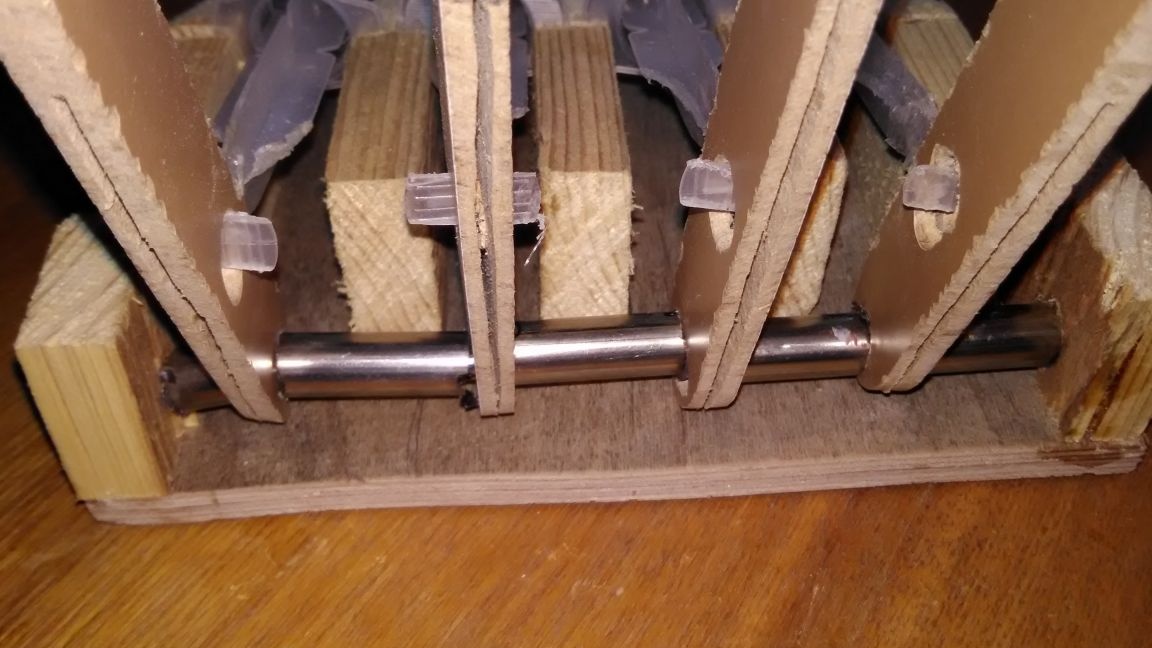
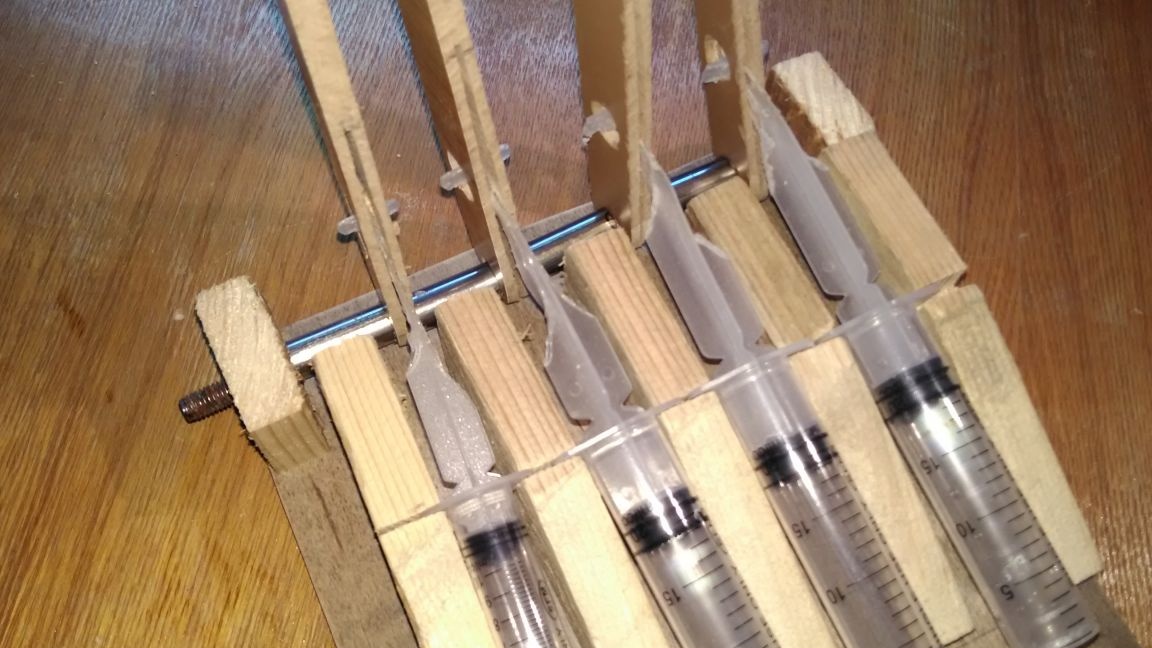
Step 7: make a remote control. We fasten 4 workpieces to the base (see photo). Then, on the base, on the sides, we fix two small sticks.Then we grind the syringe handles a little so that they can move freely on the levers. Next, from the laminate, cut out strips, we drill two holes in them. Cut the laminate halfway to half to insert the handle of the syringe (we do 4 levers in this way). Then we install the levers on the remote control, and connect them with one big bolt. So that the levers do not stagger and walk on the bolt, we insert bushings between them on the bolt.
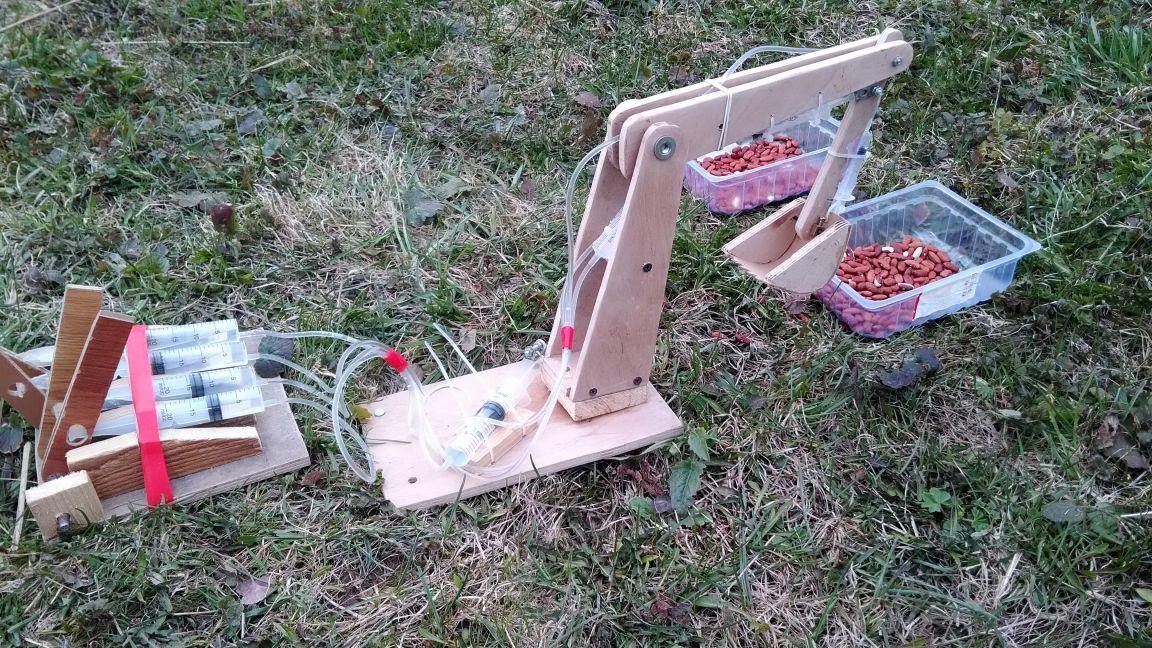
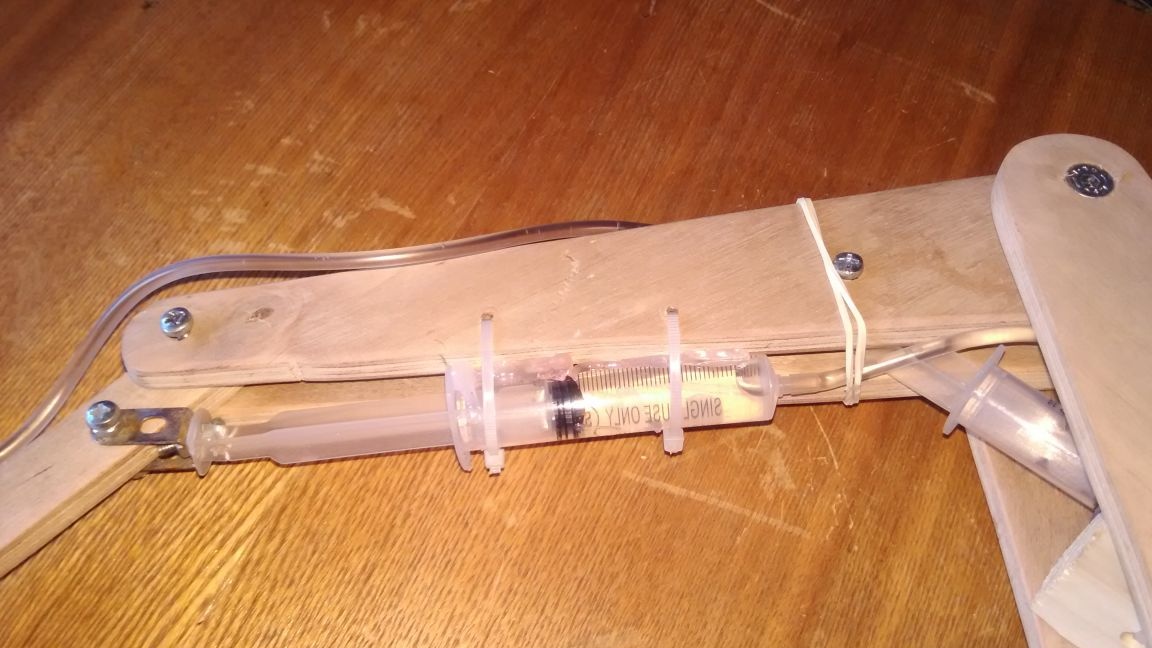
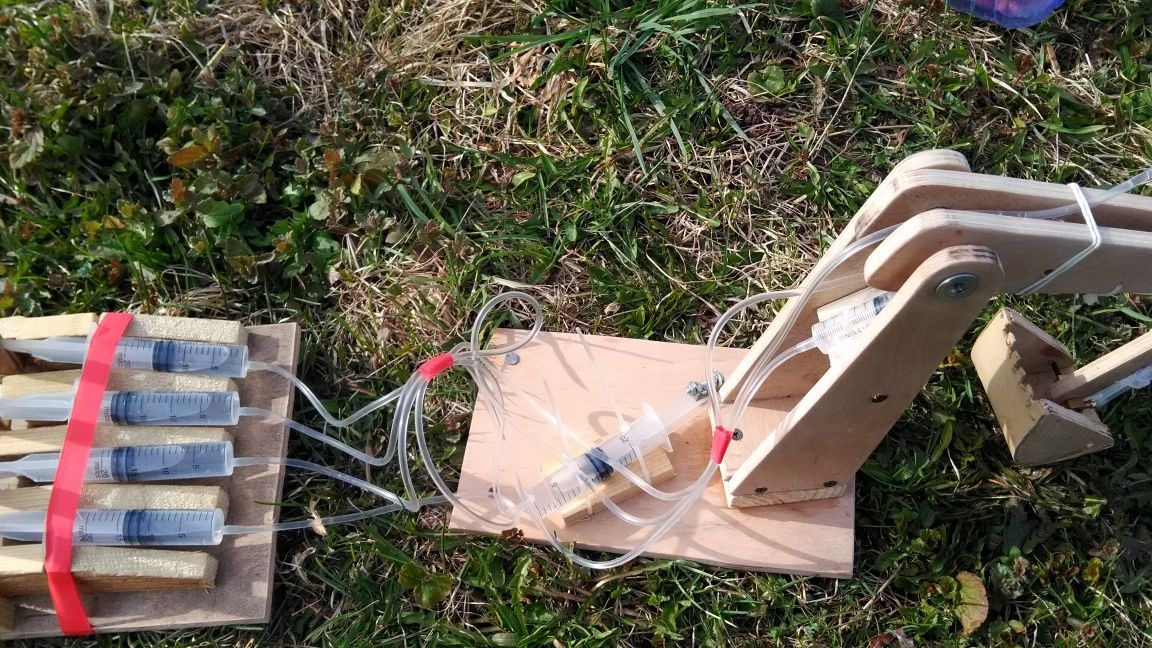
Step 8: Now it remains for us to connect the tubes from the dropper, and fill the system with water. Water is filled differently, depending on the angle of the installed syringes. We fasten the tubes with electrical tape or screeds so that they do not hang out and do not get confused.
After you have made an excavator, do not forget to let your child play!
Testing and manufacturing: