

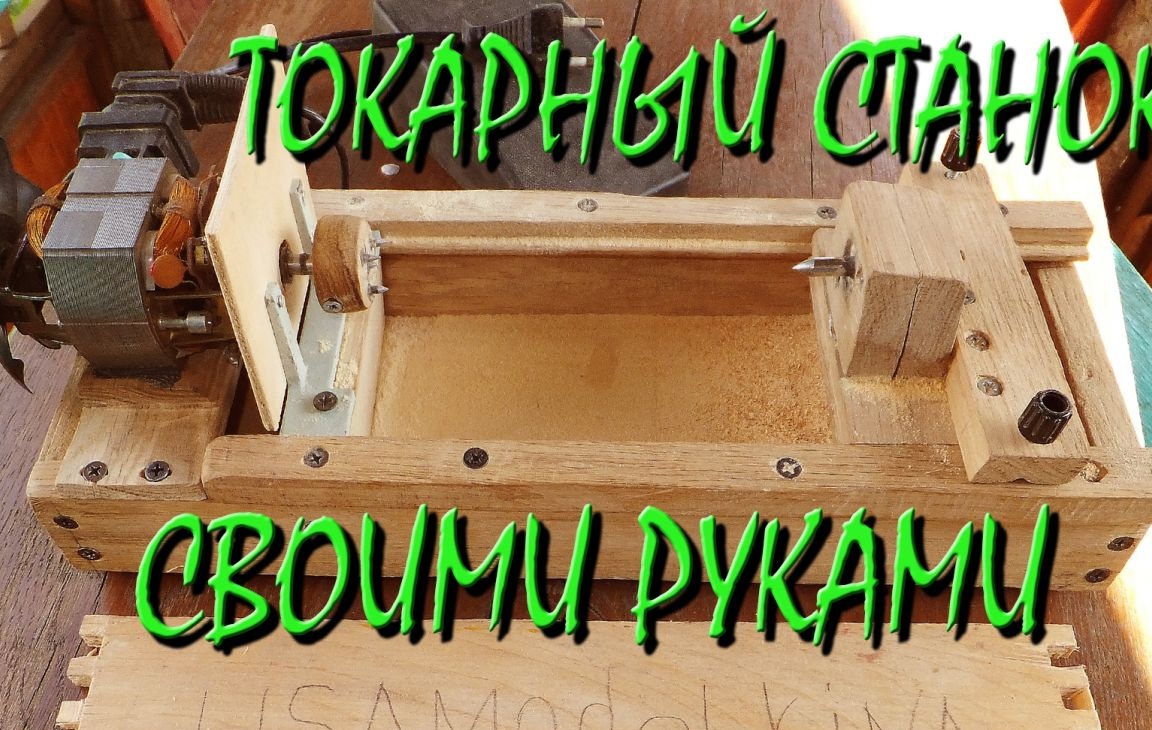
Hello to all lovers homemade. Once upon a time I had my own lathe, in which I installed a motor from the printer, but its power was not enough to process large workpieces, and during prolonged operation the motor was very hot, as a result of which I had to take breaks. And now an old sewing machine with an electric motor fell into my hands, as it turned out to be faulty, but it was not the engine. I immediately decided that this motor is ideal for my new machine and I was not mistaken. The power of this engine is 30 watts, which is quite enough, and also for the convenience of controlling the engine a pedal is provided, with which you can adjust the speed. Before I move on to the very process of manufacturing the machine, I will say that the materials that I used here are not difficult to access, in my case they were various residues and scraps.
I suggest watching a video on the manufacture of a lathe
To make a wood lathe do it yourself necessary:
* Parquet in the amount of 6 pieces
* Electric motor
* Wood screws
* Screwdriver
* Electric drill
* Wood drills
* Rubber plugs
* Electric jigsaw or hacksaw
* A pair of bearings with an outer diameter of 15mm and an inner 7mm
* 7mm diameter axis
* Computer cooler
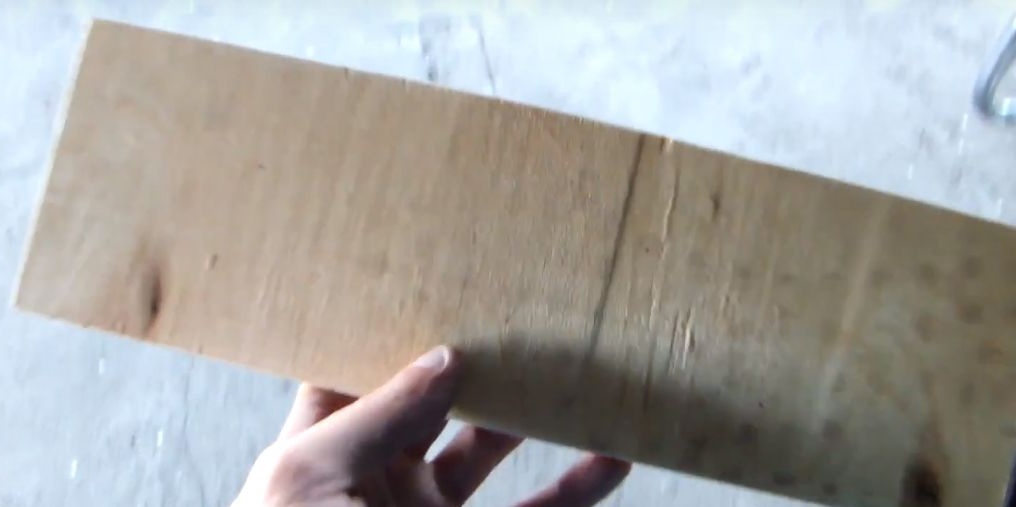
* Plywood sheet
* Moment glue
That's all the materials and tools needed to assemble the machine.
Step one.
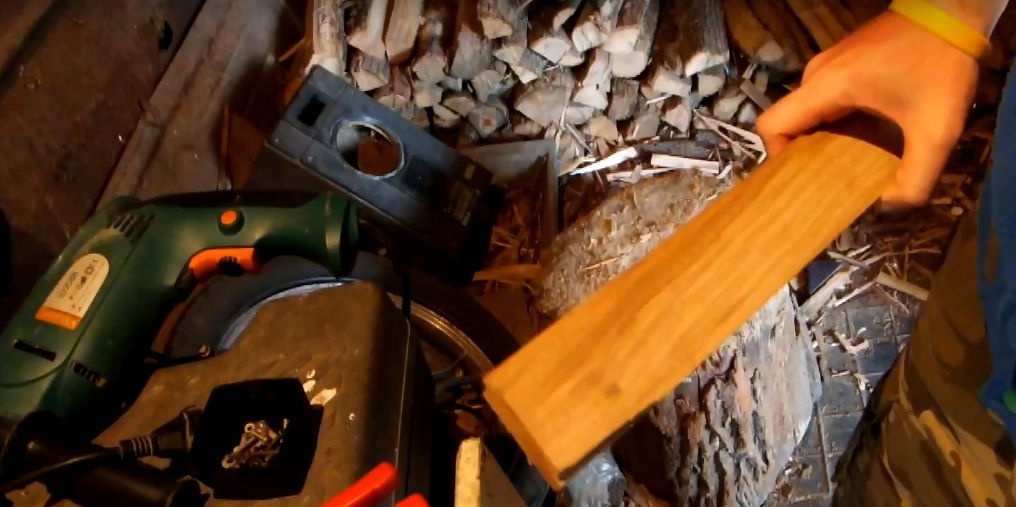
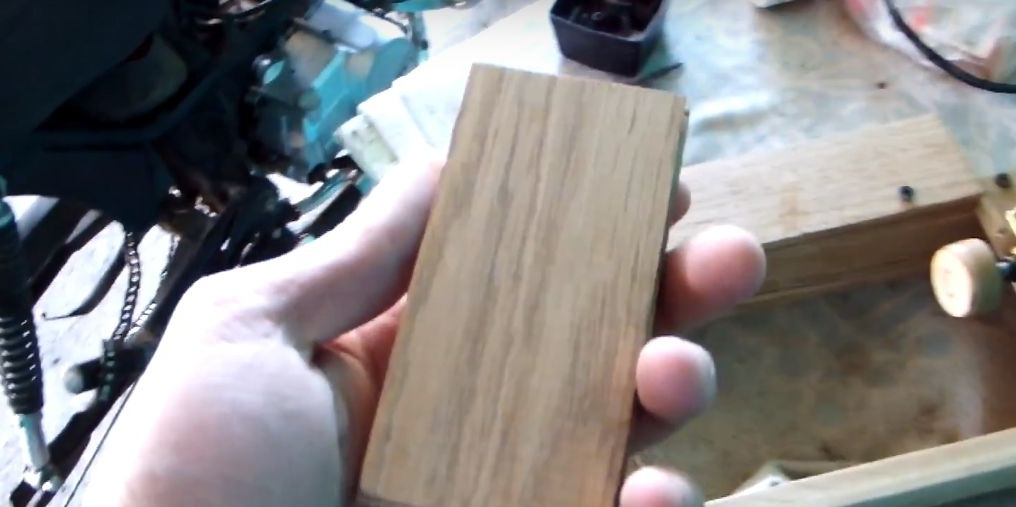
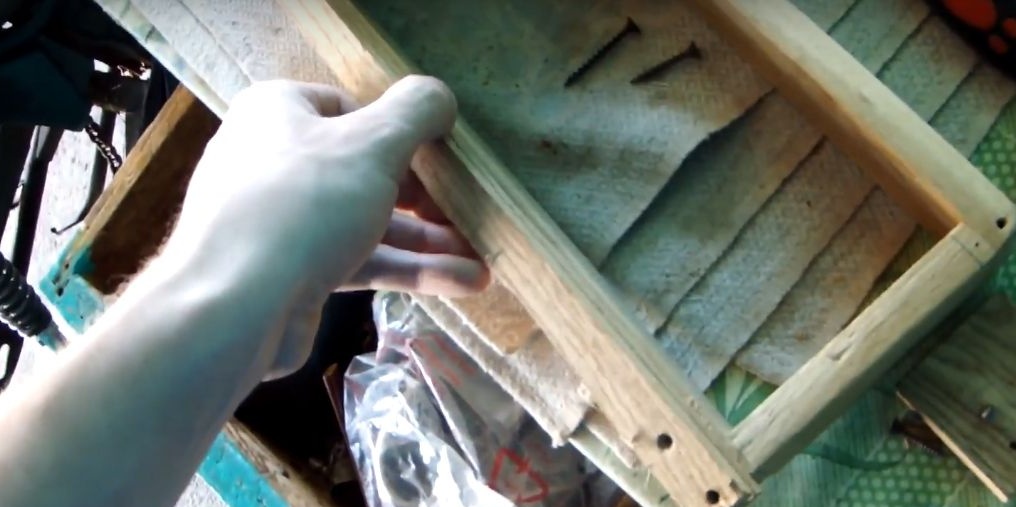
The first thing you need to do a bed. I did not think long and decided to make it from the floor, it took three parquet floors to make the bed.
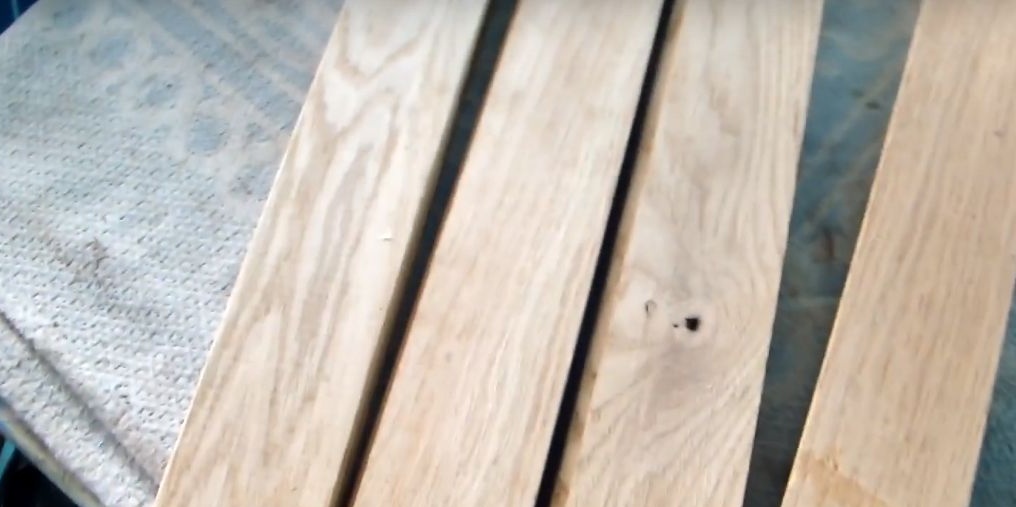
We saw with a jigsaw the parquet of the required length, two long and two short parts should be obtained. The bed is 31 cm long, 13.5 cm wide and 6 cm high.
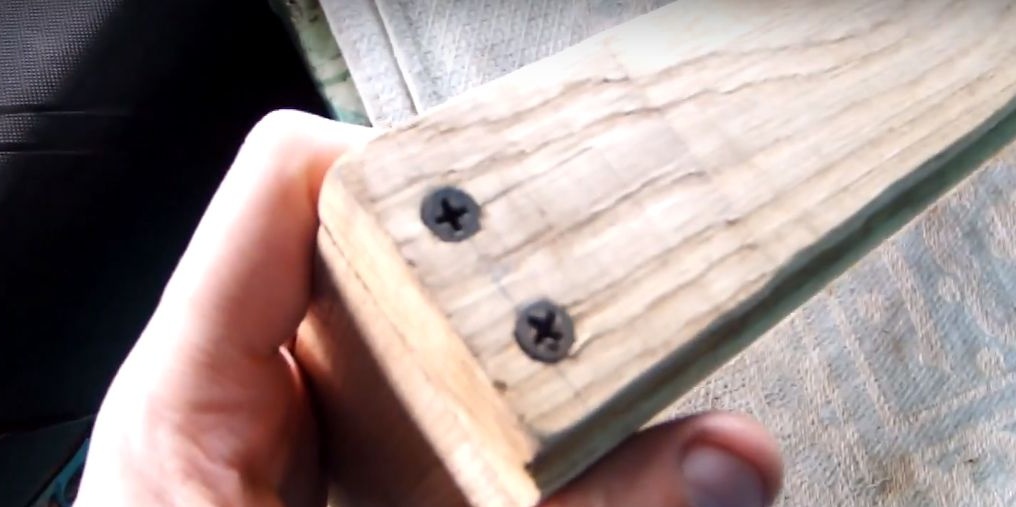
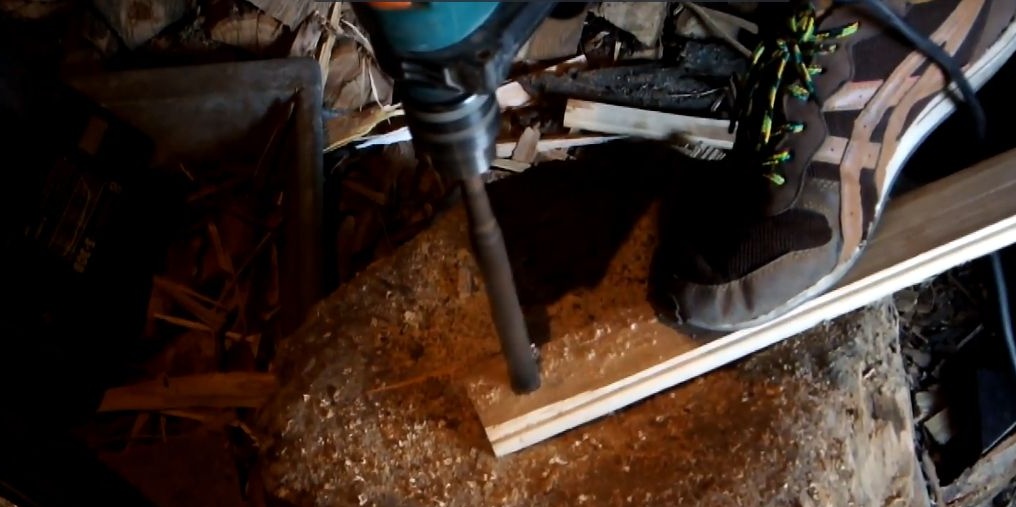
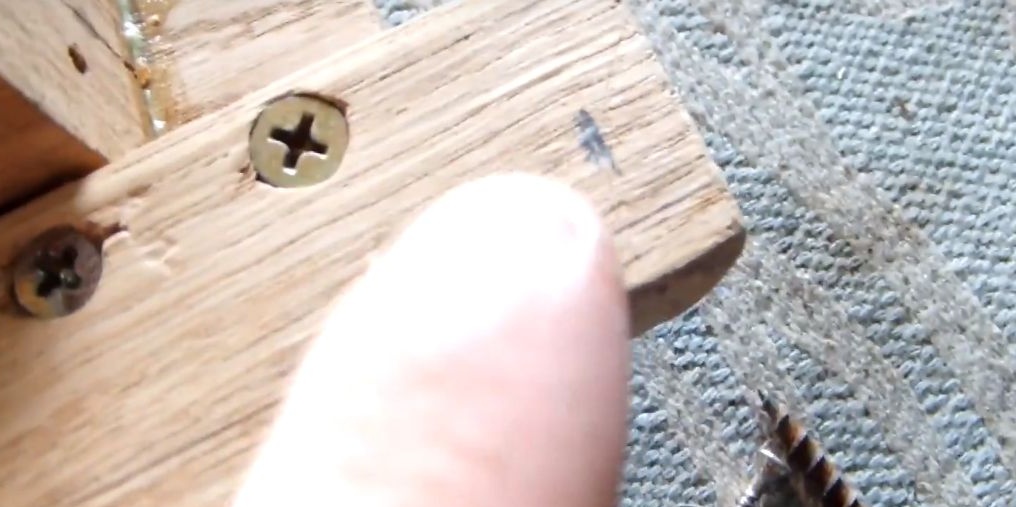
Next, we fasten our parts into a whole using a screwdriver with screws, for a start you need to drill holes for the screws, since the parquet is oak and will crack if you do not make preliminary holes.
Step Two
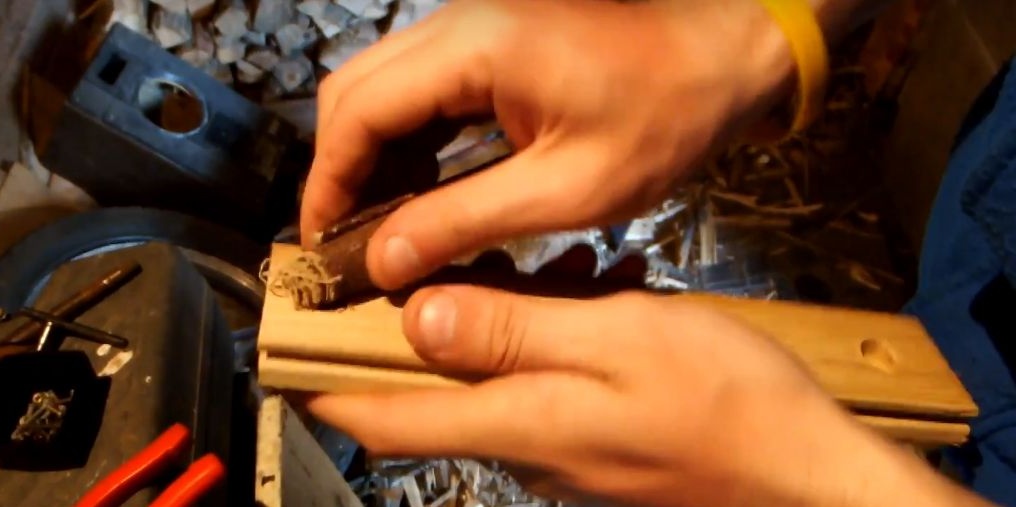
Now you need to make a mount for the engine. We cut a small length of 15cm from the floor with a margin, since the width of the bed is 13.5cm.
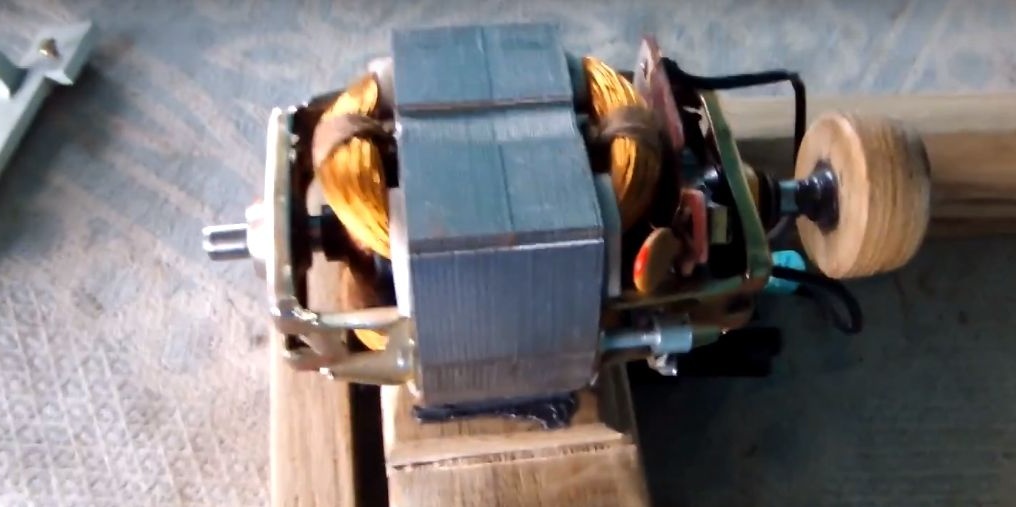
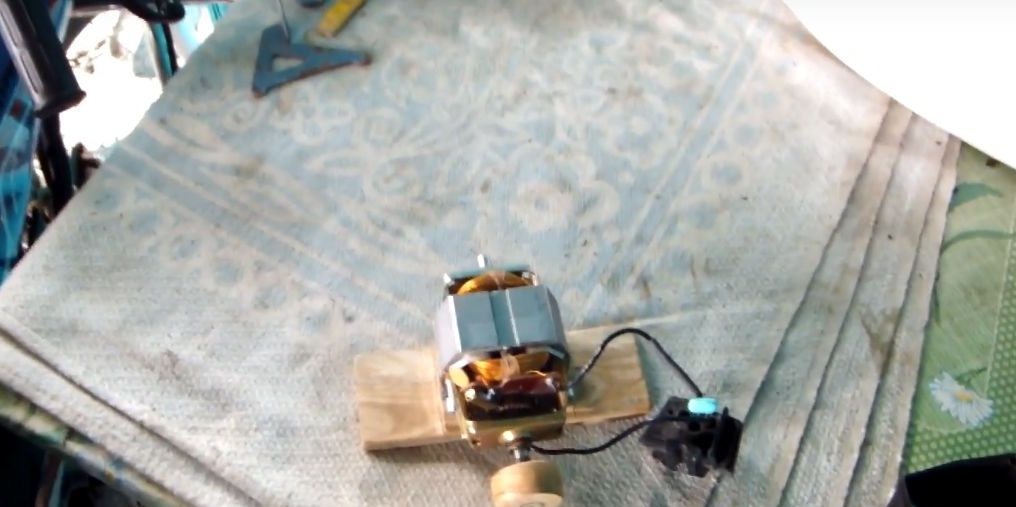
Then, strictly in the middle, we glue the engine on epoxy and leave it for a day to dry completely, and in order not to wait twice, I made a wooden circle of parquet for one and glued it to the motor shaft using the same epoxy.In the meantime, the epoxy will dry, we will take up the other components of the machine.
Step Three
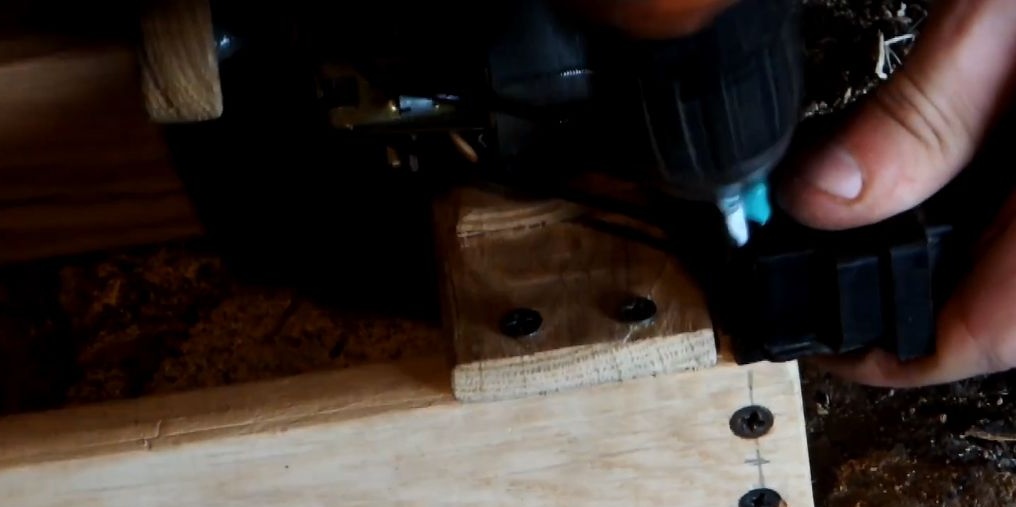
It’s time to fix the engine on the bed, to already imagine how everything will look and from this already start. We drill with an electric drill four holes on the engine mount, as well as the bed, but with a smaller drill. Then we twist four screws with a screwdriver, but do not overdo it with a delay.
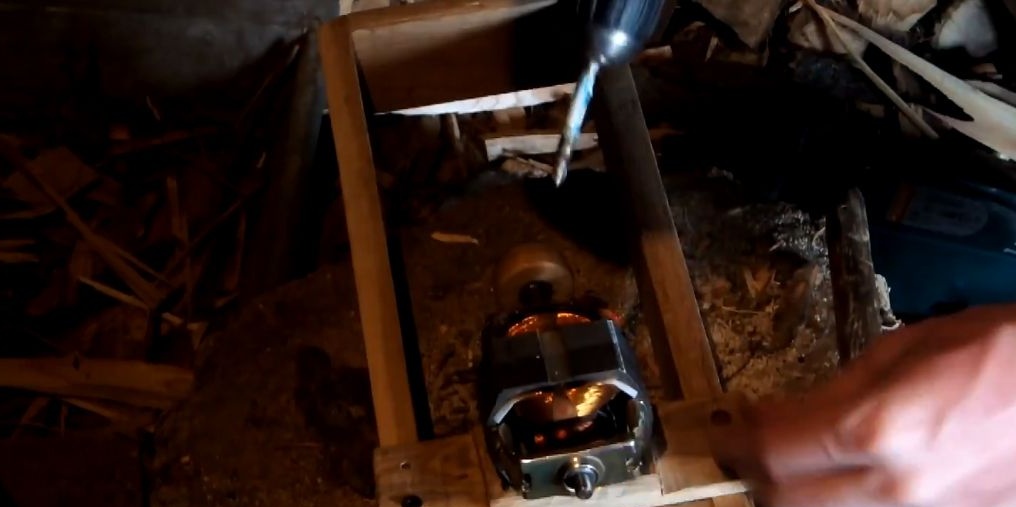
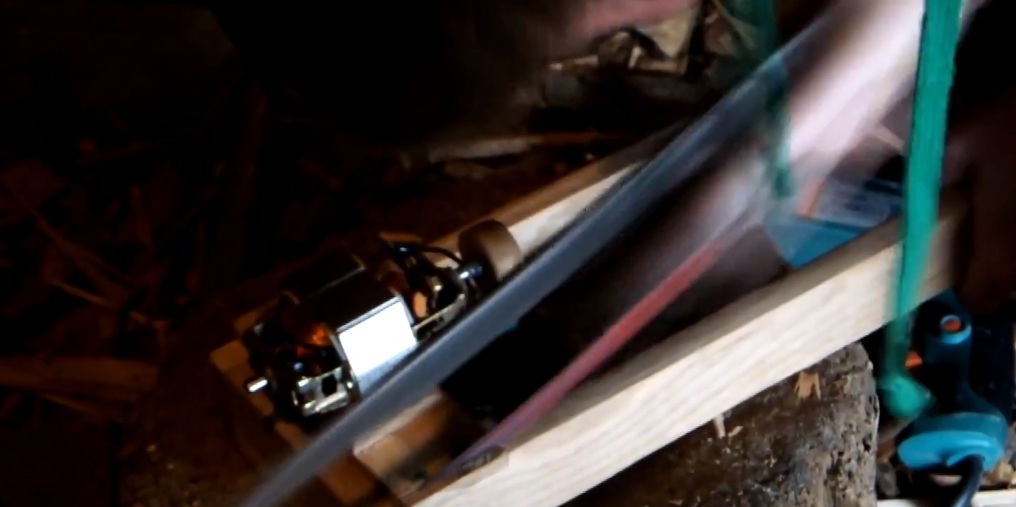
After tightening the screws, we saw off the unnecessary parts of the engine mount using a hacksaw for metal and then grind the place with saw sandpaper.
Step Four
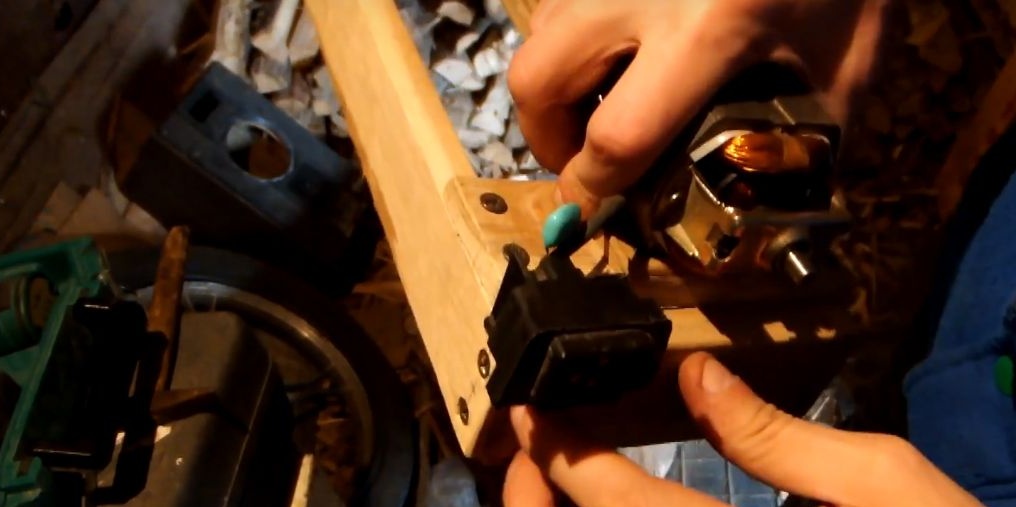
In order to connect and disconnect the pedal, you need to fix the connector on the bed. We drill a hole and fix it with a screw.
Step Five
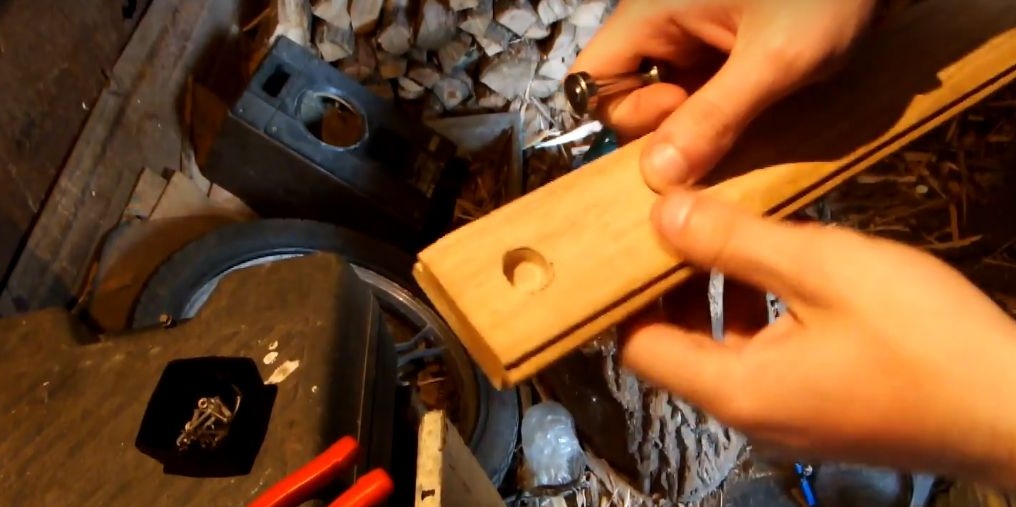
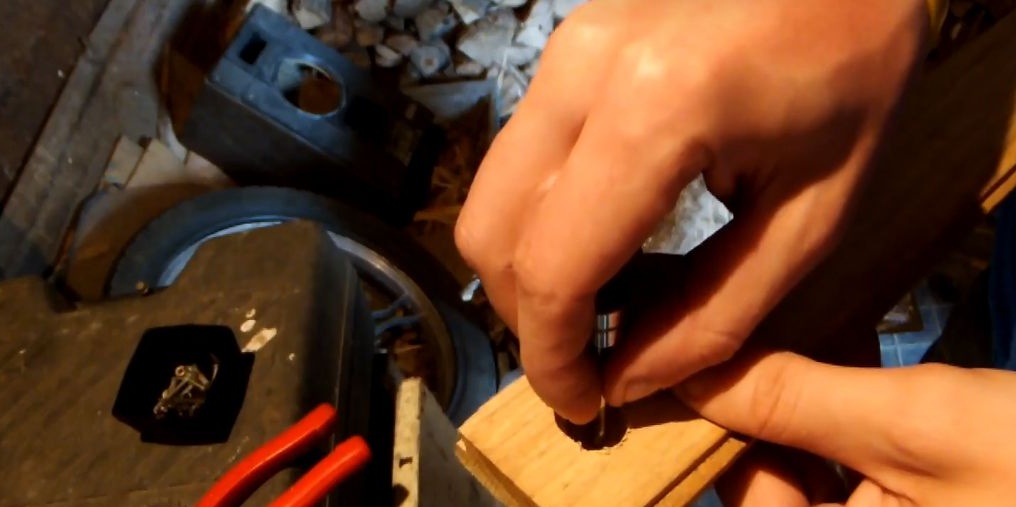
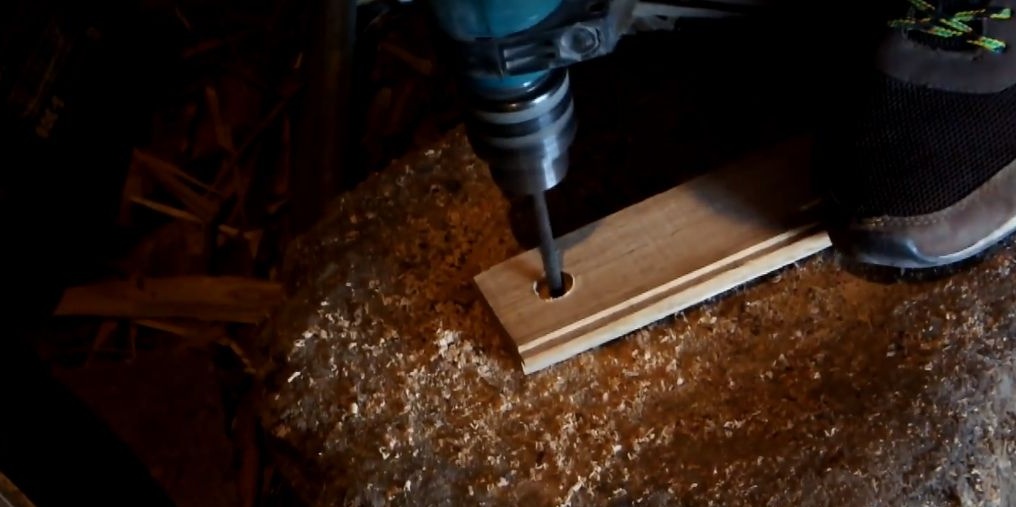
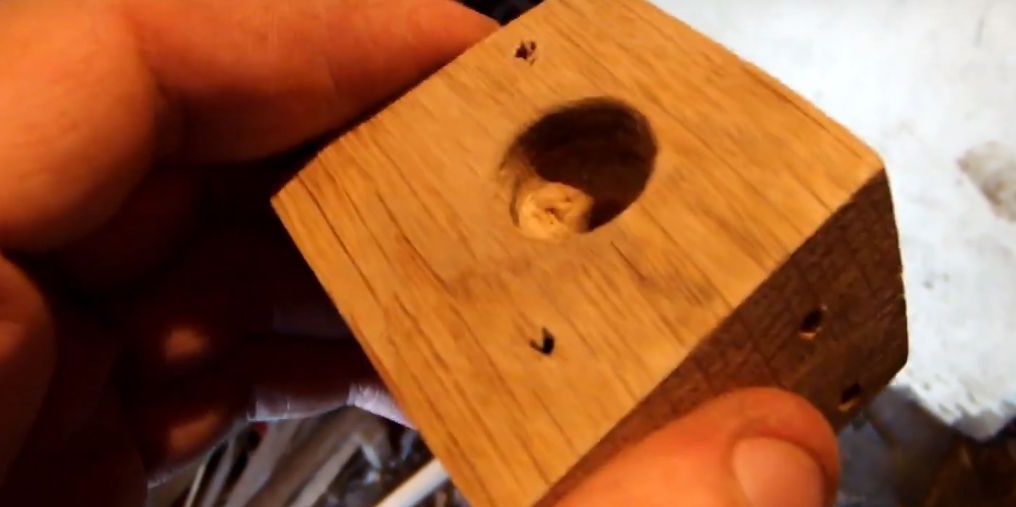
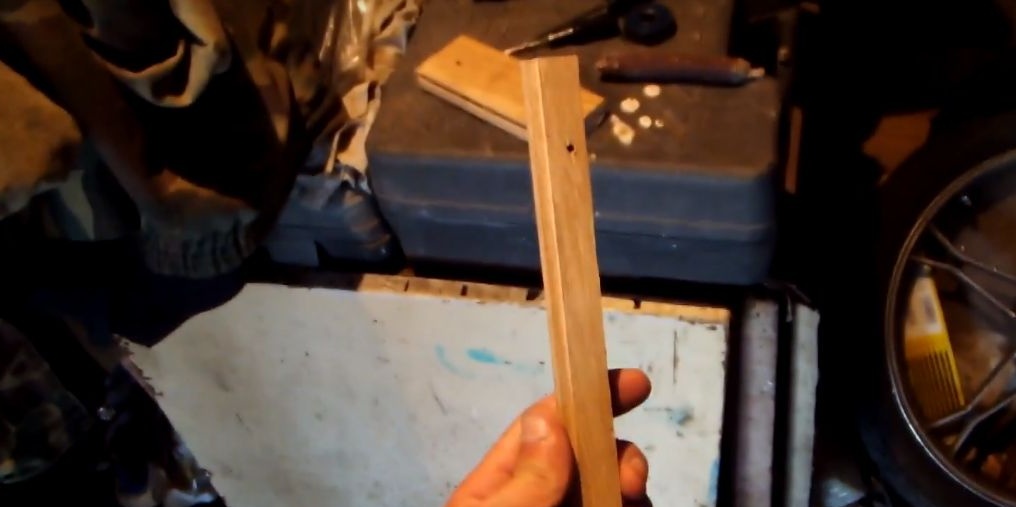
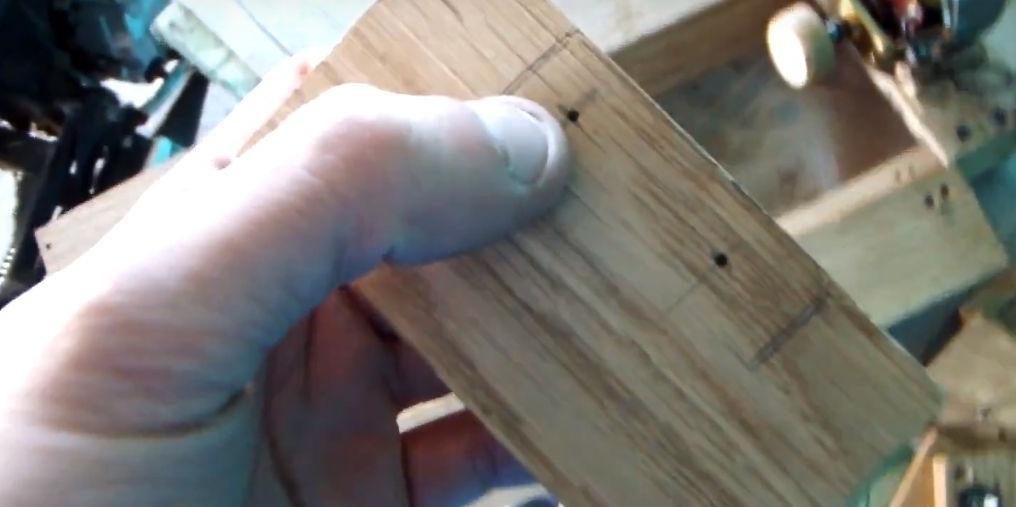
Now it's time to make the tailstock, for this you will need two bearings, an axis and parquet.

In a parquet we drill a pair of holes with a diameter of 15 mm, one through and the other not.
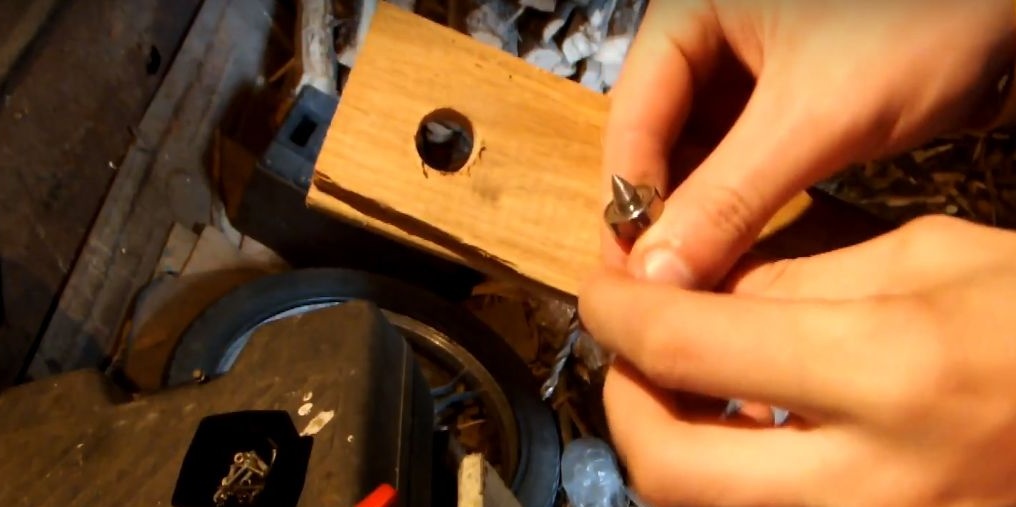
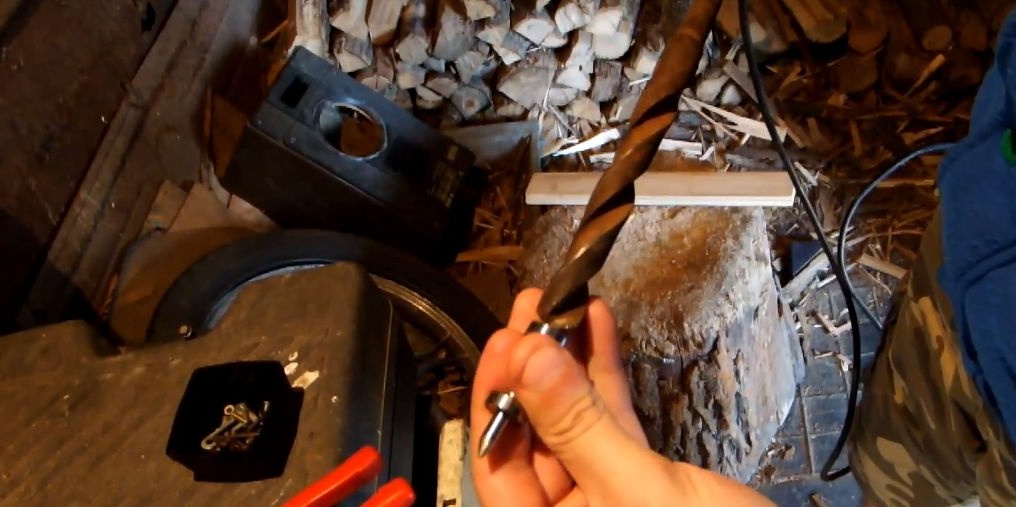
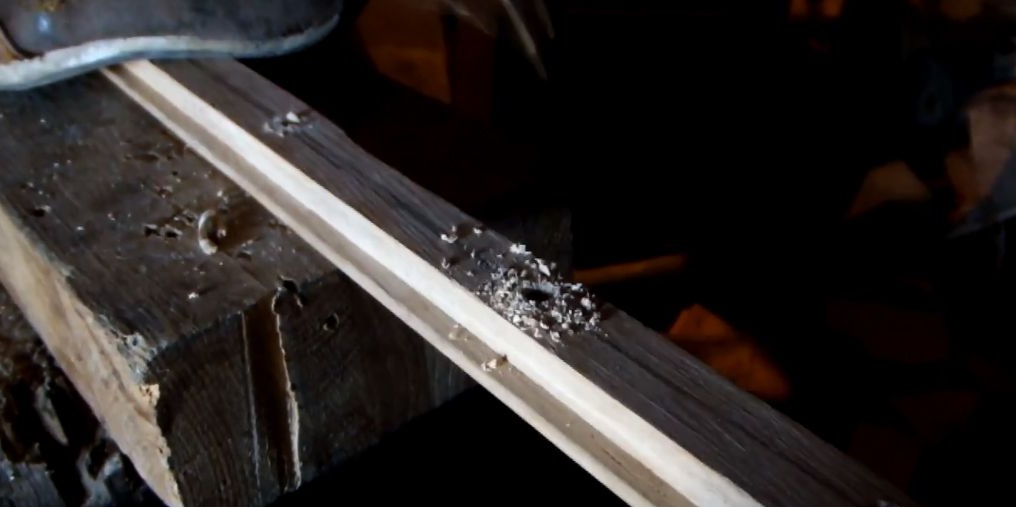
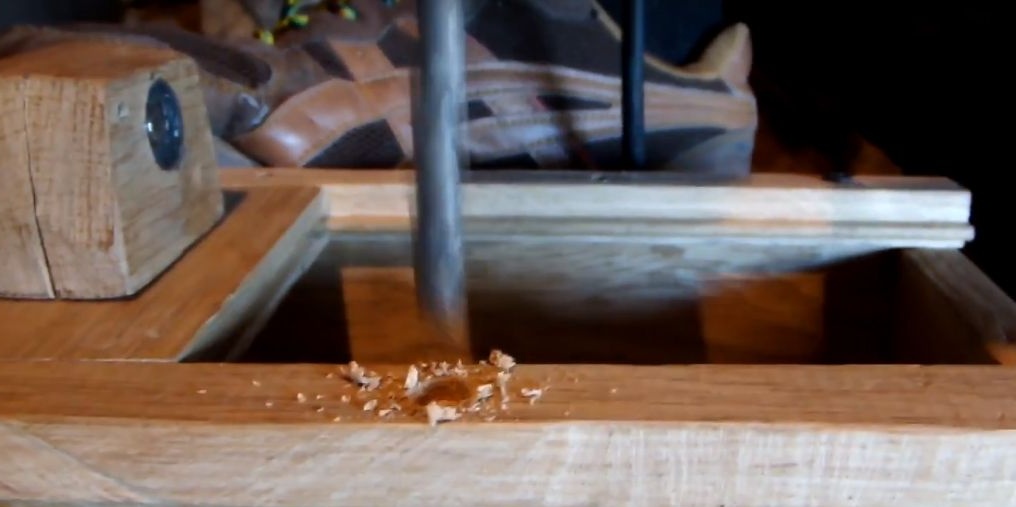
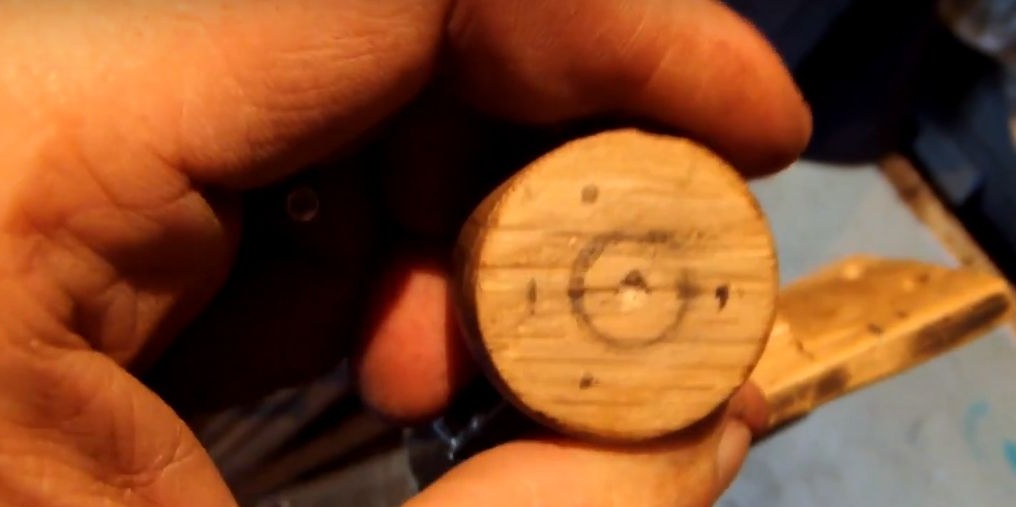
The axis needs to be sharpened under the cone, I did it with a grinder. After that, we press a drill with a diameter slightly larger than the diameter of the axis into the drill chuck and make holes in the middle of the same recesses with a diameter of 15 mm.
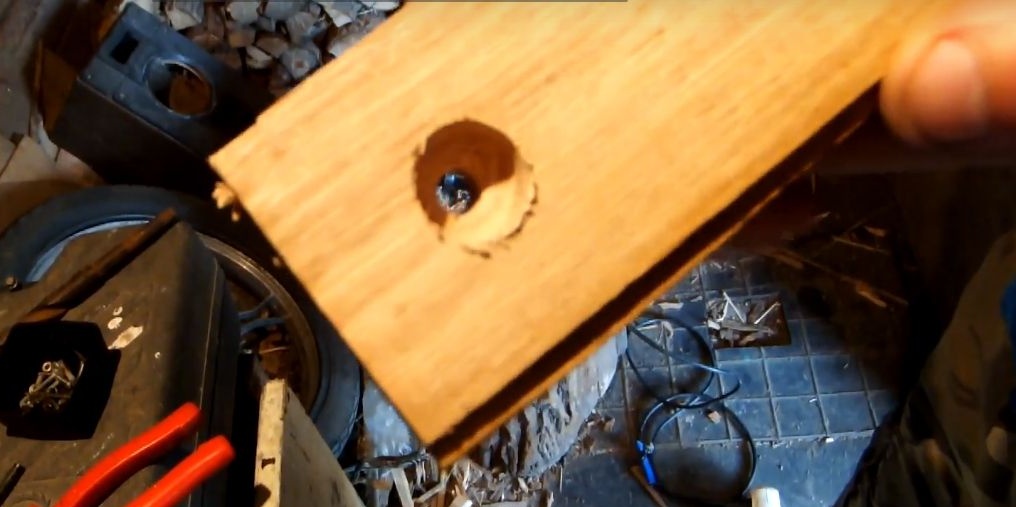
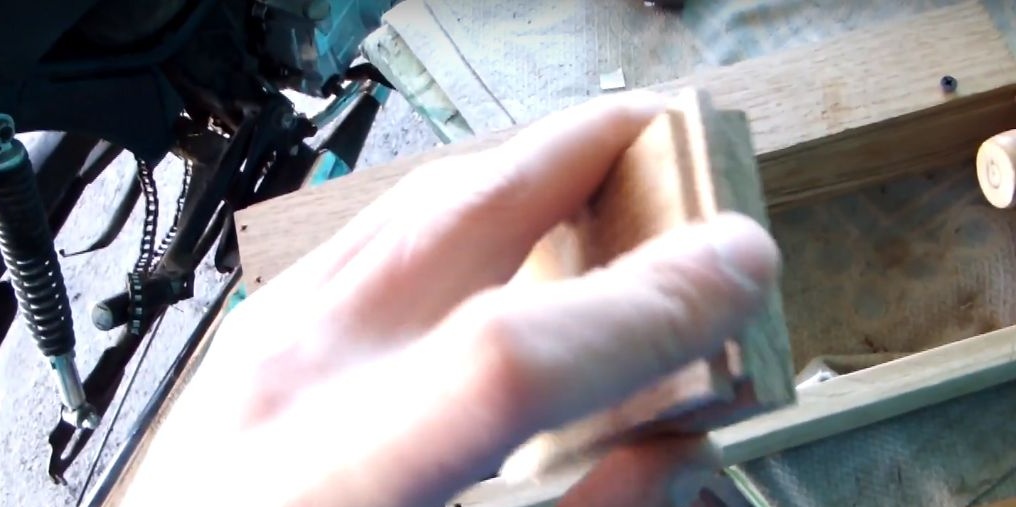
Then we grind the finished part and saw off only the necessary part in the form of a square, and then twist the two parts together with the screws.
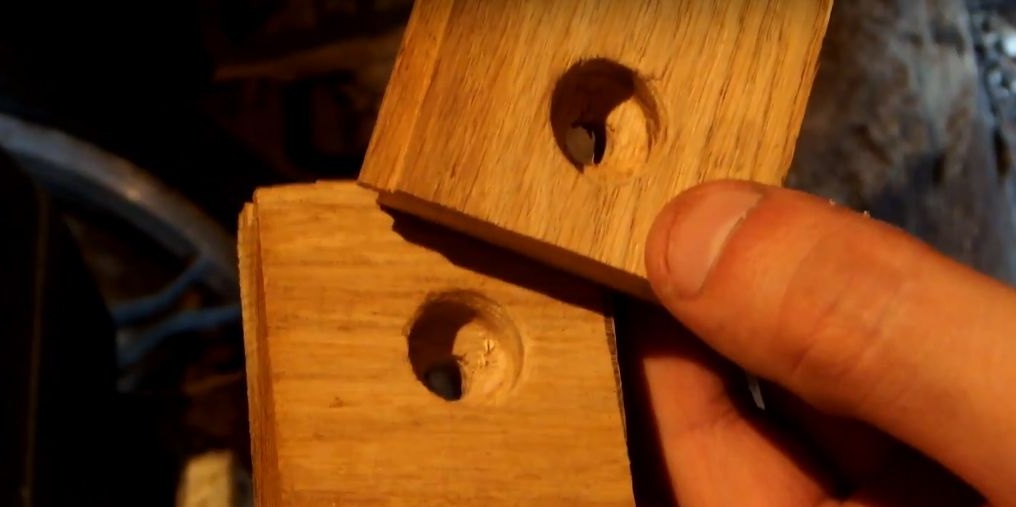
Step Six
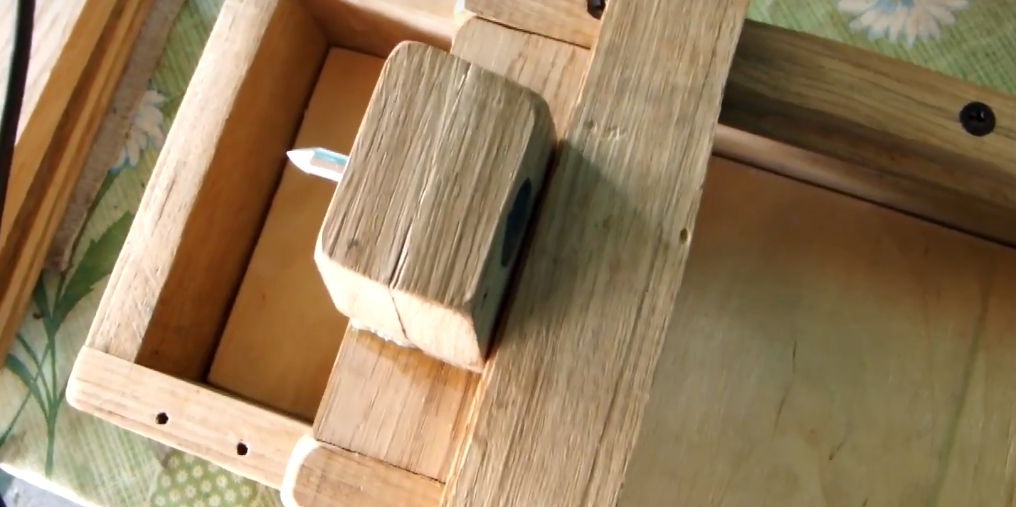
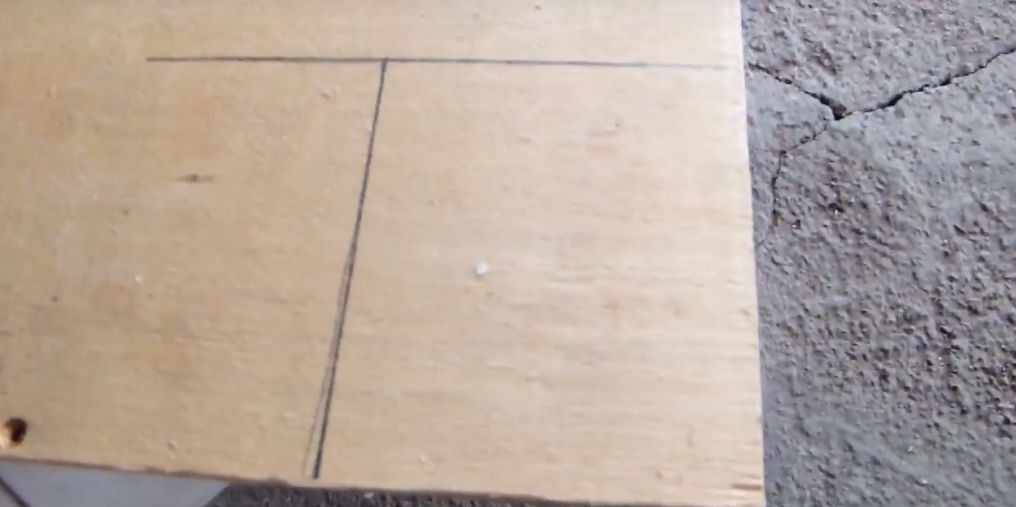
In order for the tailstock to move along the guides, it is necessary to make a part with grooves from the parquet, on the one hand the outer, on the other internal.
Seventh step.
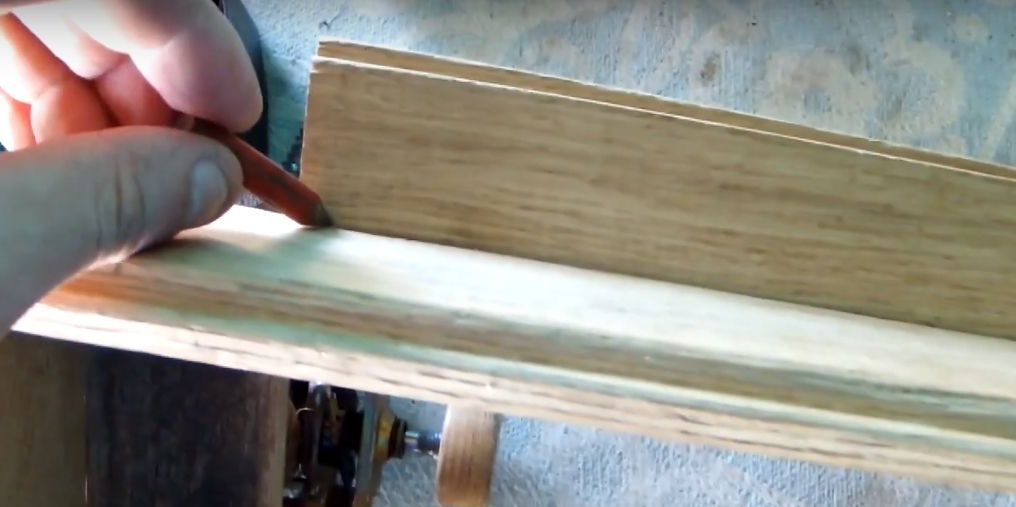
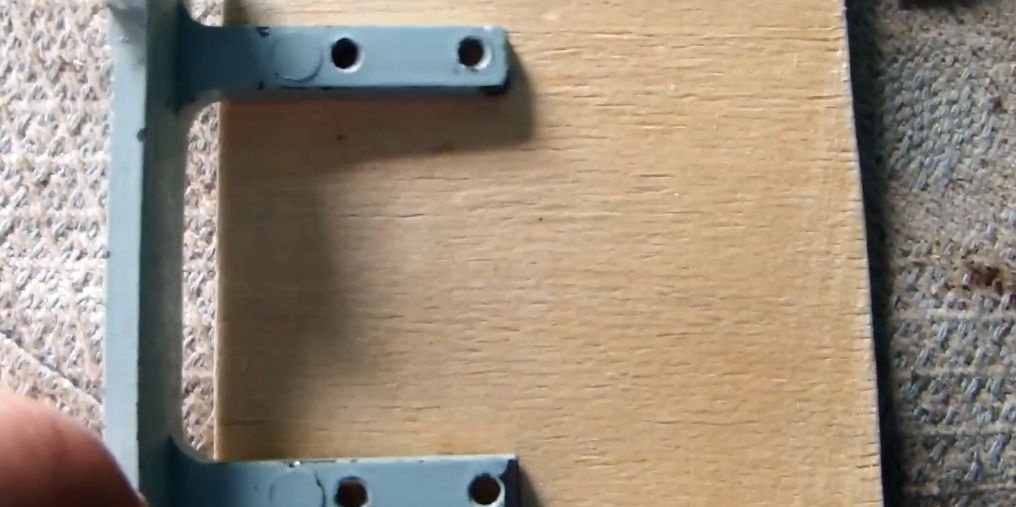
And so that the tailstock has where to move, we make guides from the parquet, in which grooves have already been made from the factory, we fix them on the screws, after having previously drilled holes for the screws in the bed.

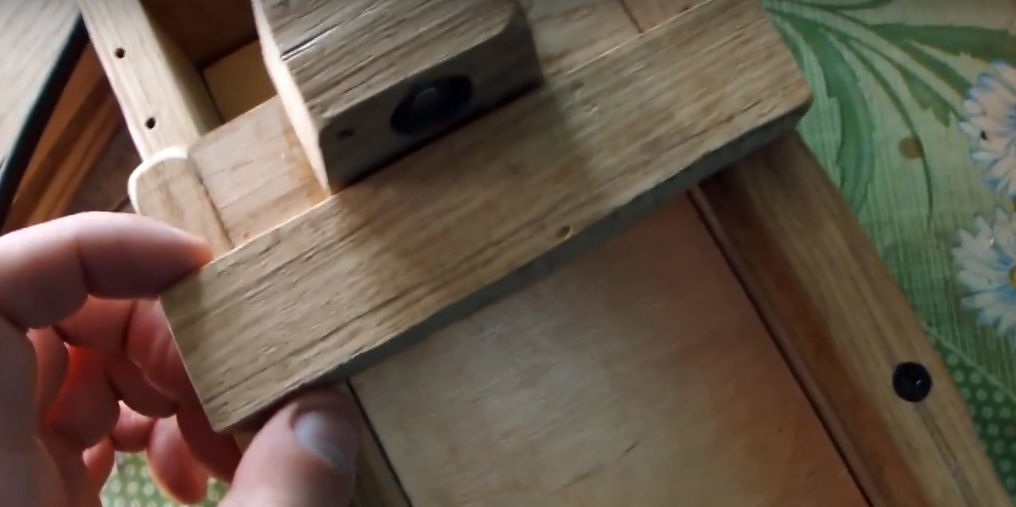
Then on the reverse side we mark with a pencil the extra parts that need to be sawed off with a hacksaw for metal.
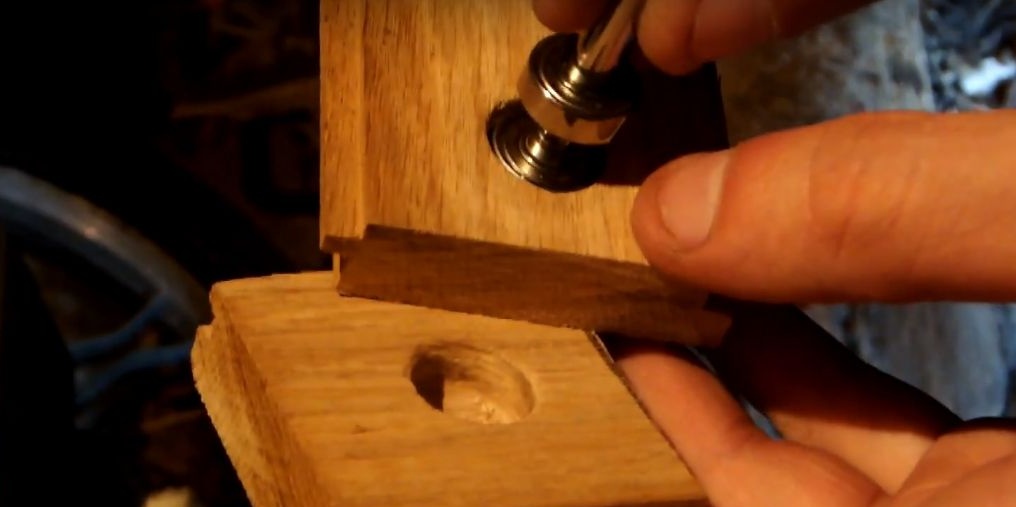
We fasten the guides with screws, in advance we make a pot on it for the caps of the screws. For aesthetics, we round the edges with sandpaper.

Step Eight.
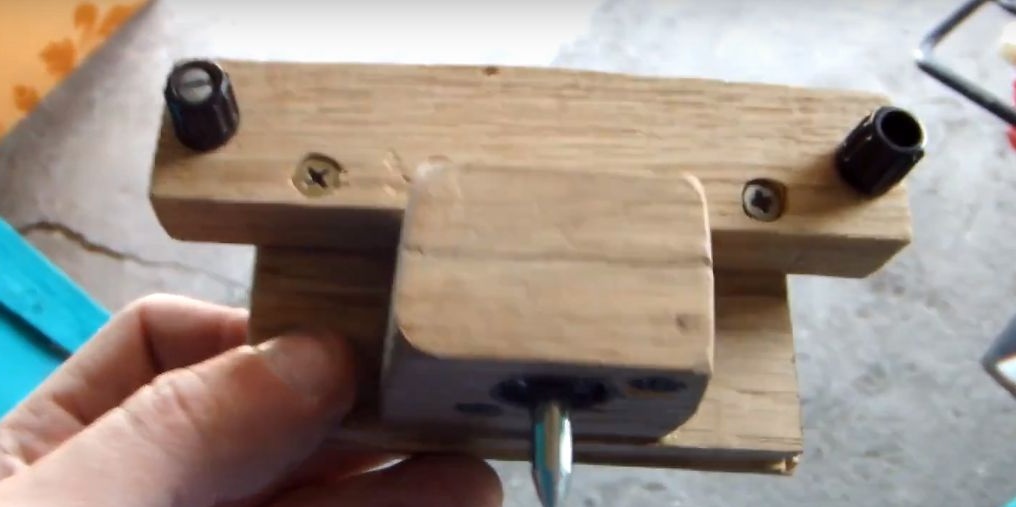
On the previously made piece of parquet with homemade grooves, we fasten the tailstock to three screws, after making a blind for the hats, the bearings themselves are glued to the epoxy along with the axis. We screw the third screw in the middle of the tailstock.
Step Nine.
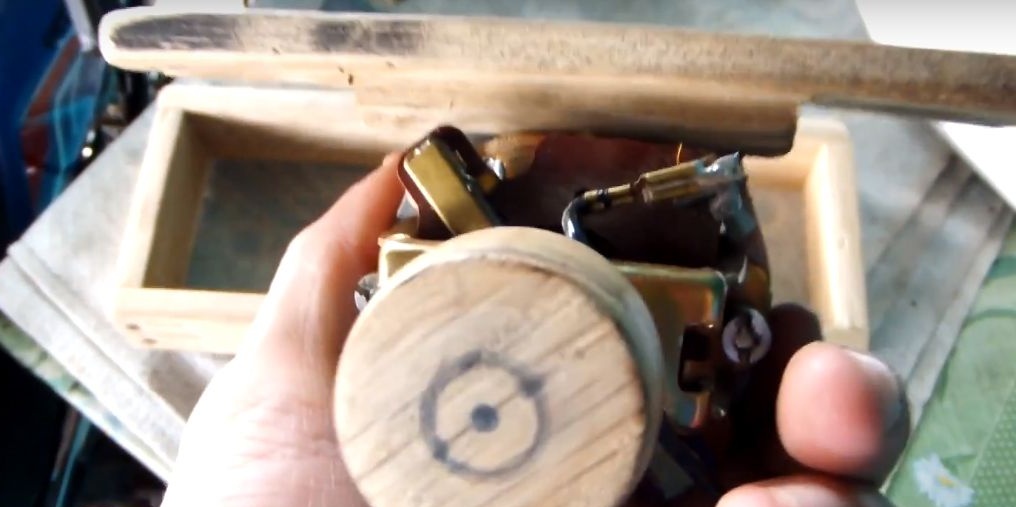
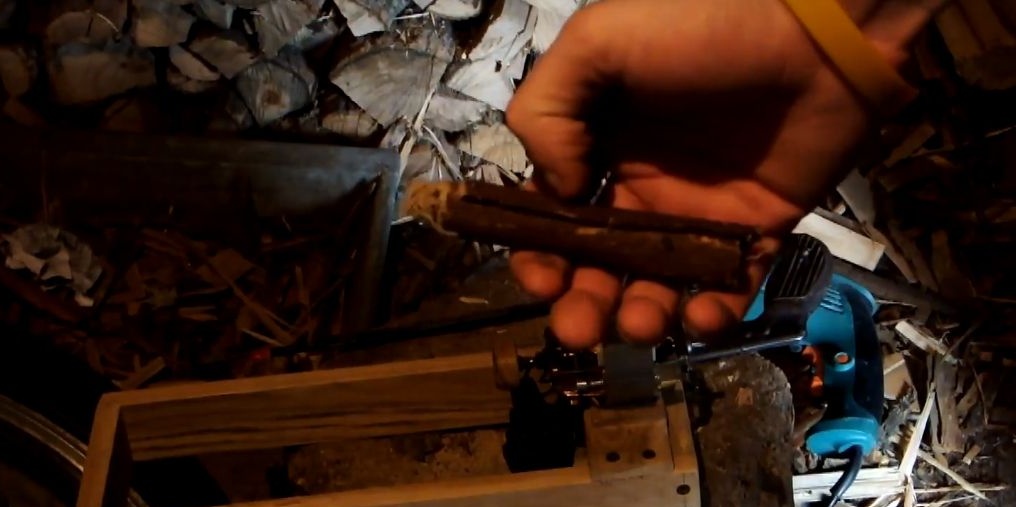
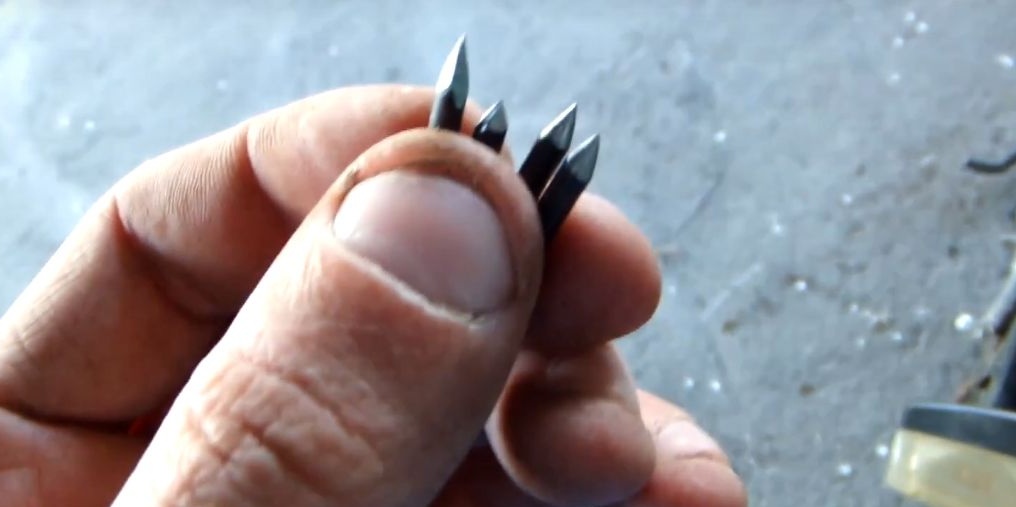
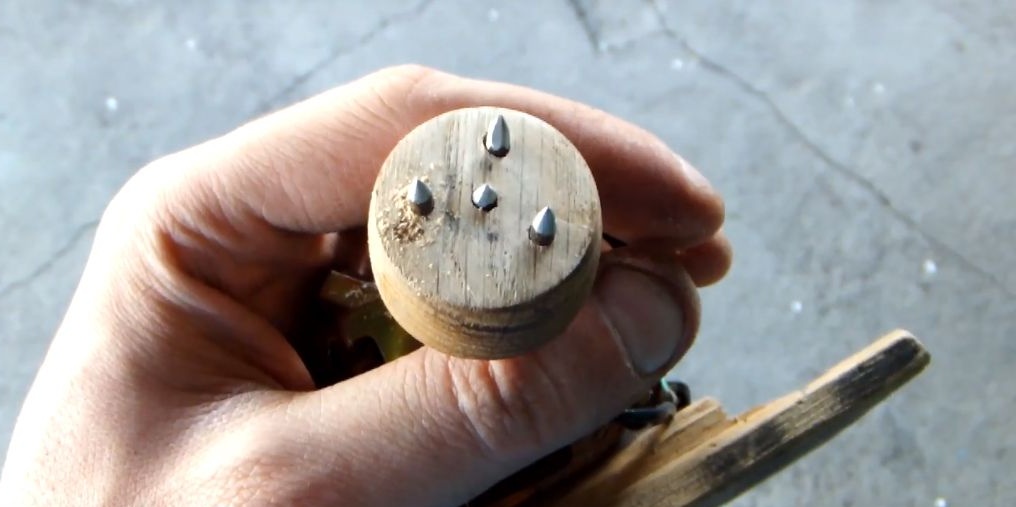
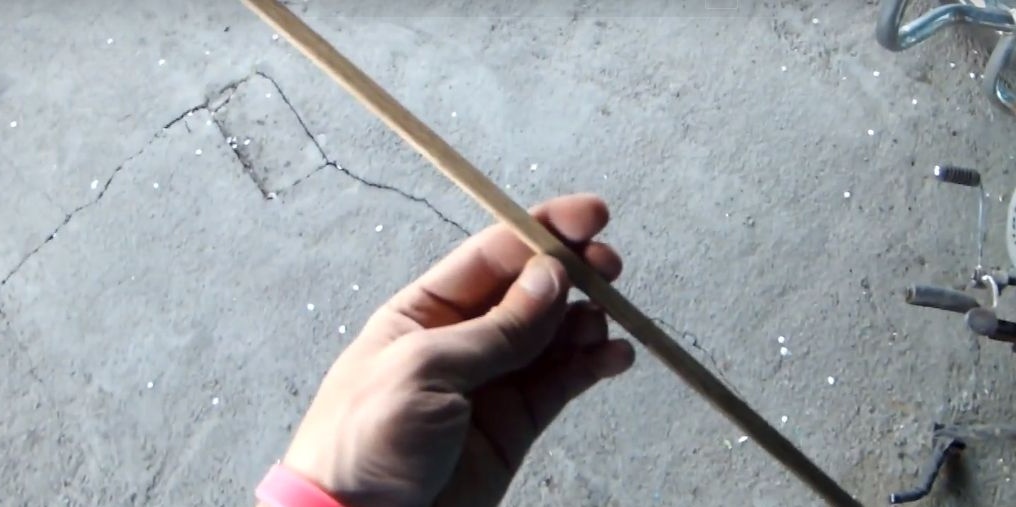
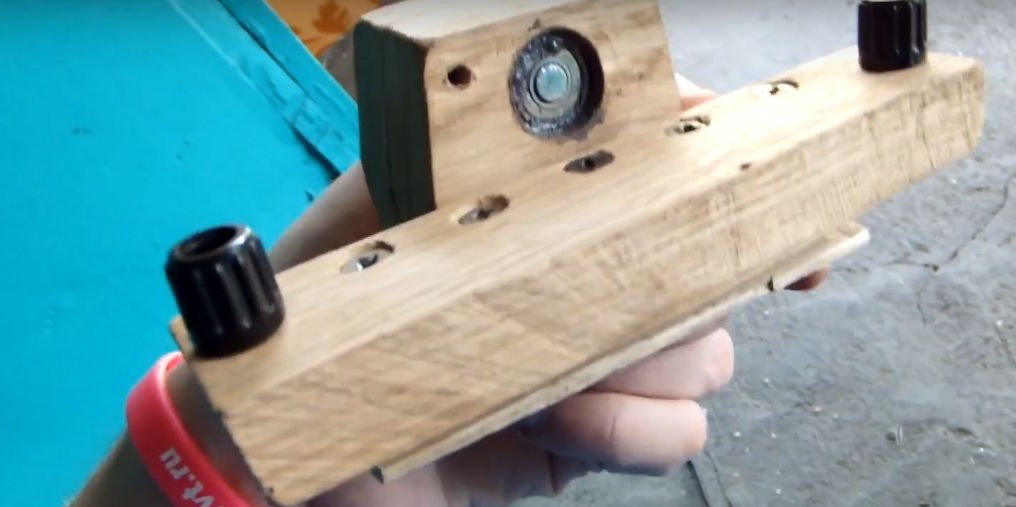
It's time to make the front headstock. We remove the engine and drill three holes on a round piece of wood glued to the axis, we also drill a hole in the center.

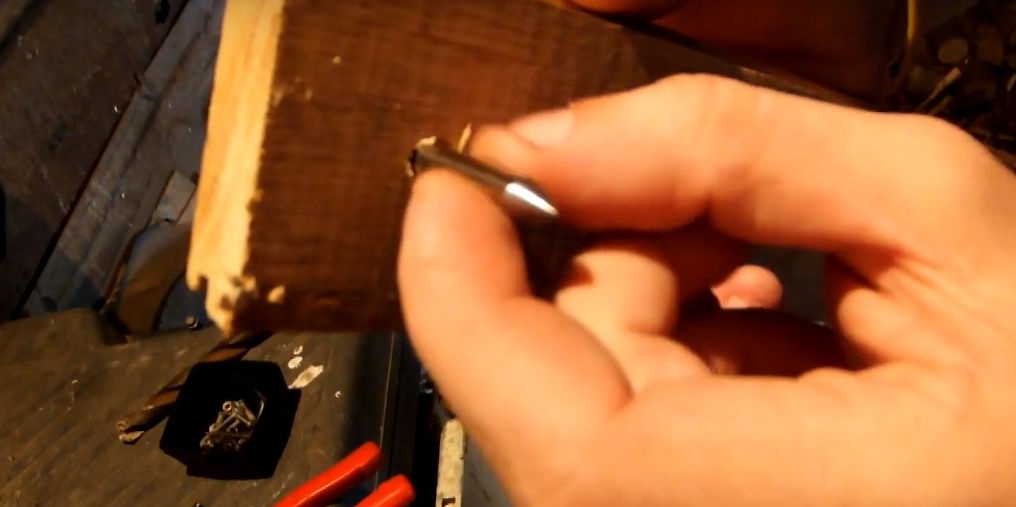
After that, metal pins are glued into the holes made on the epoxy, which, as well as the axis of the tailstock, are ground under a cone.
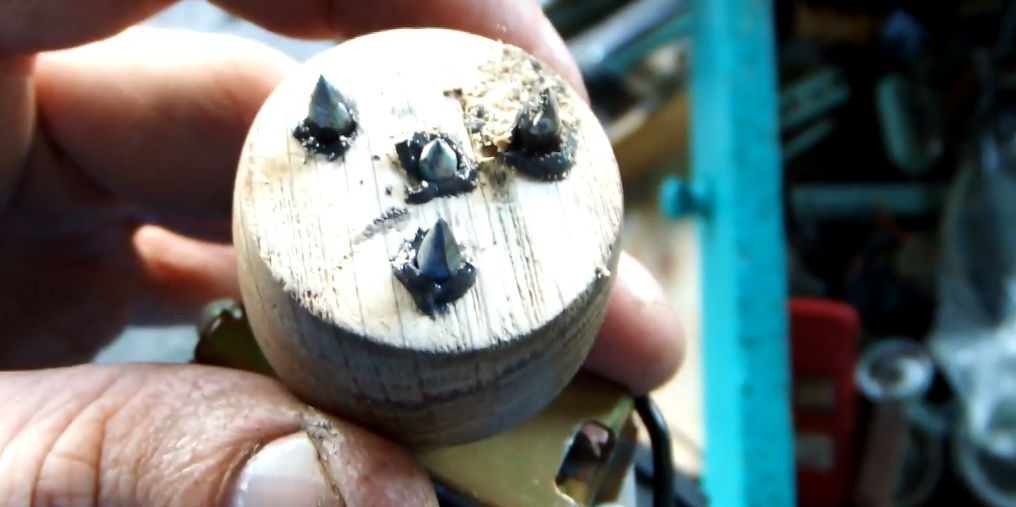
With the front headstock ready, leave it to dry for a day.
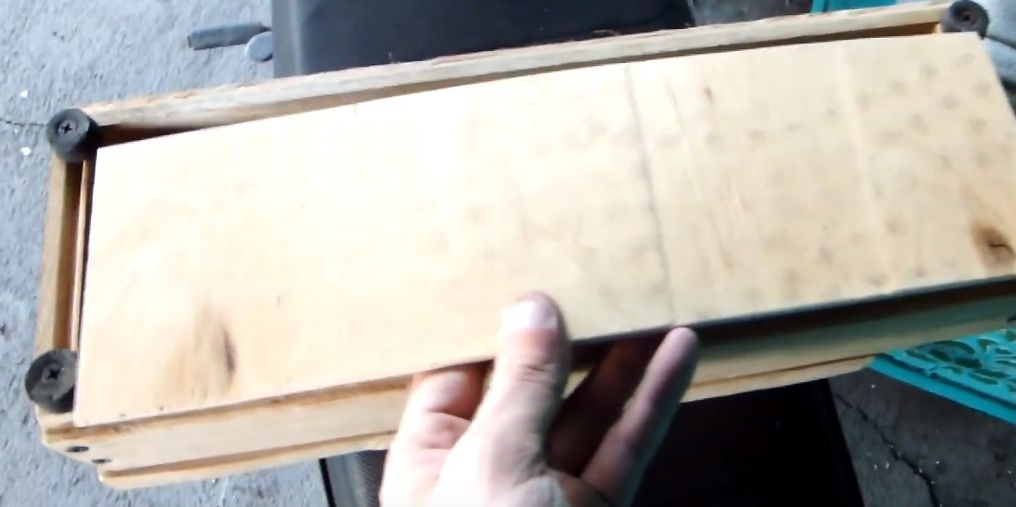
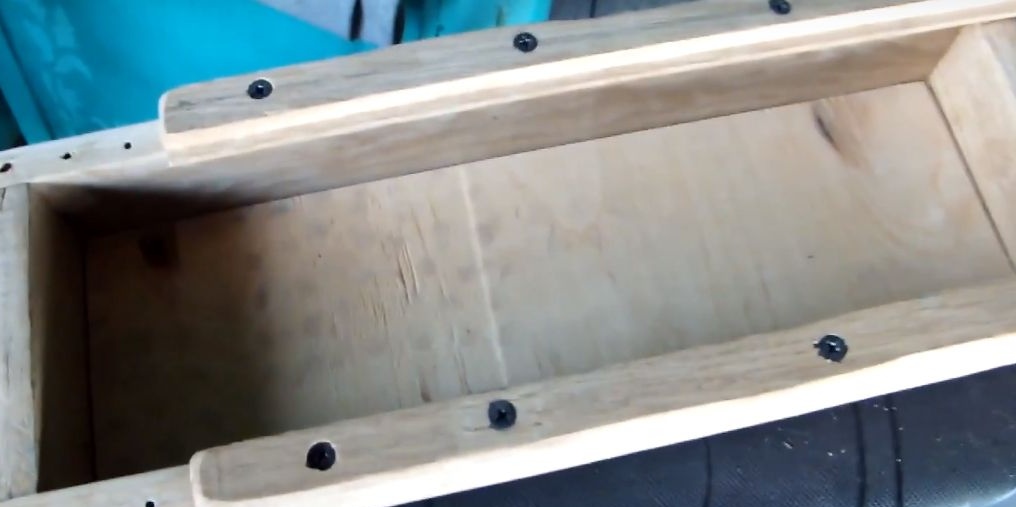
Step Ten
From the plywood sheet we make the bottom of the machine, install it on glue and slats made like all the previous parts from the parquet. So sawdust will "sleep" here during processing.

Step eleven.
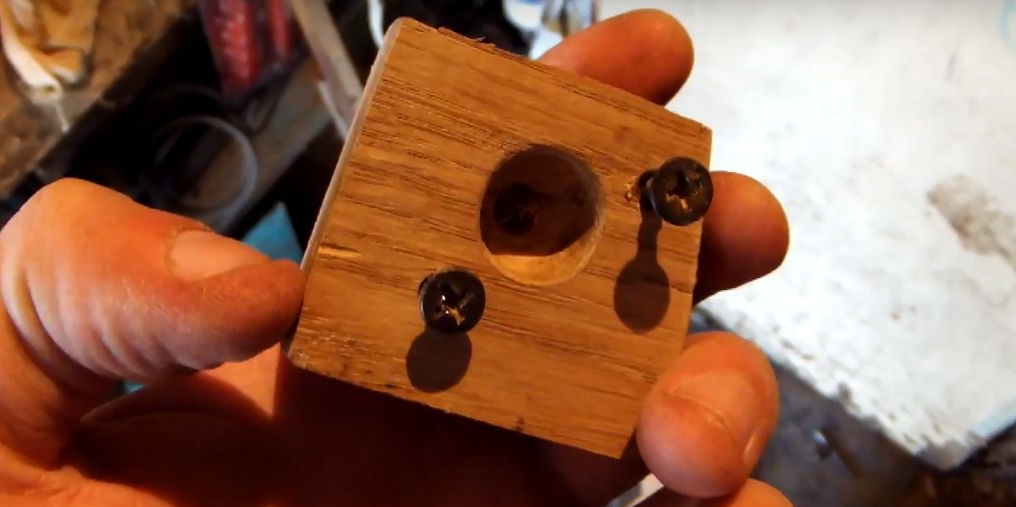
Now we need to make a system for fixing the tailstock, so that during processing the workpiece does not become loose and does not fly out. In a piece of parquet we drill holes for fixing on the tailstock. After that, we drill holes along the edges and glue the nuts.
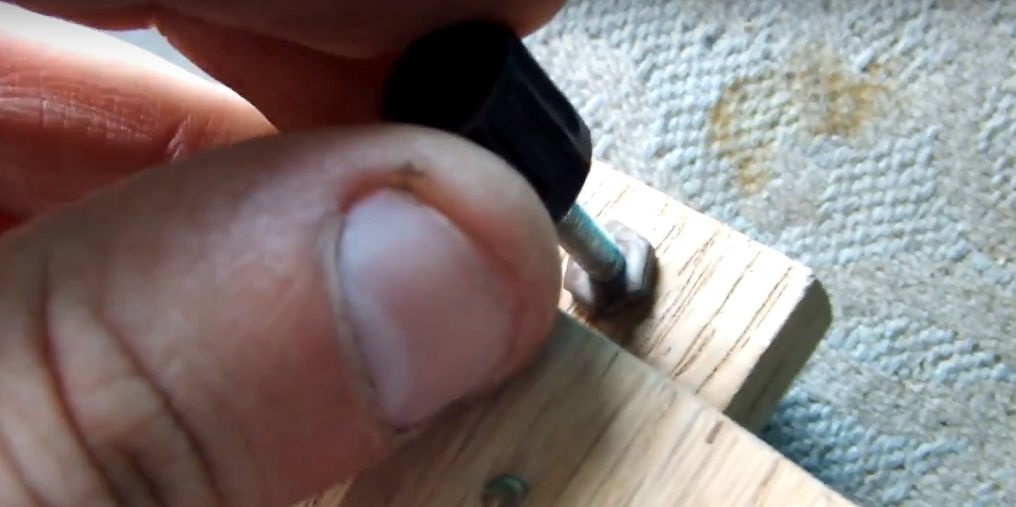
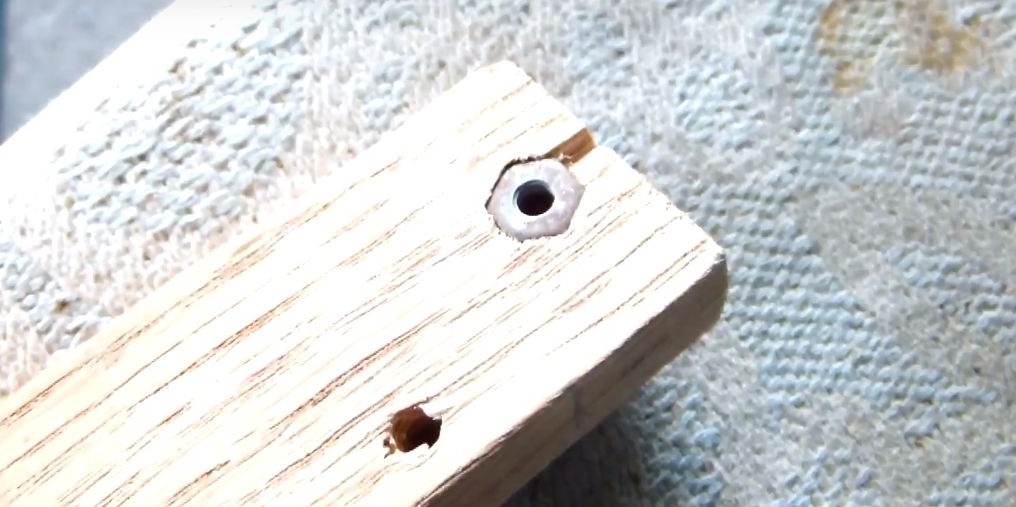

From above we screw in the “lamb”, the thread reach is about 4 mm, this will be enough to firmly fix the tailstock.

Step Twelve.
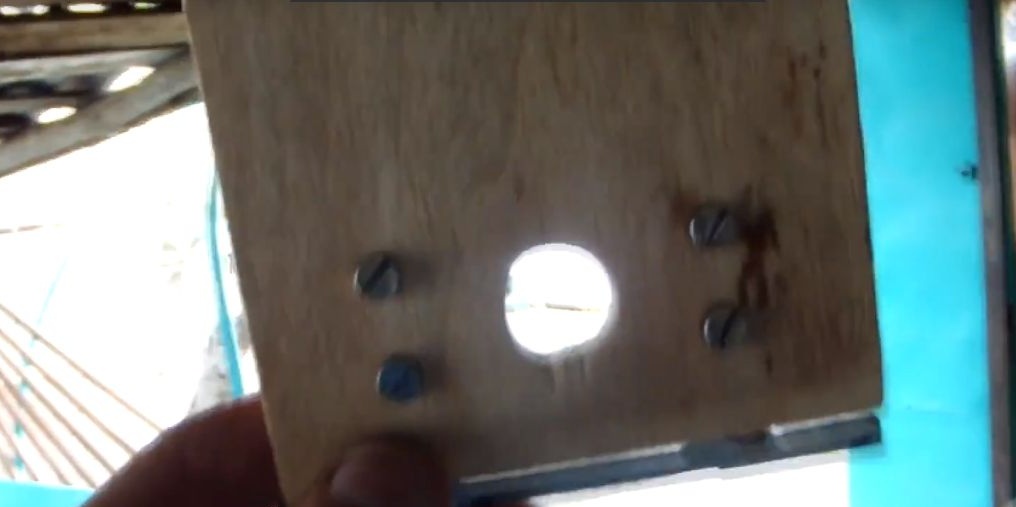
To prevent the engine from overheating, I installed an impeller borrowed from the computer cooler on its axis.
It remains to make a partition of plywood, so that the wind created by the impeller does not blow away the sawdust. We fasten the partition with fastening to the parquet, after drilling a hole under the motor shaft.


Well, do not forget to screw the rubber legs so that the machine does not slide on the surface and scratch it.
At this, a homemade wood lathe is ready, its design will gradually improve as it is used. In experience, the machine showed itself well, you can see it in my previous homemade products, the engine does not overheat, the temperature does not exceed 45 degrees.
Thank you all for your attention, I still have many interesting ideas for homemade products, so stay tuned.