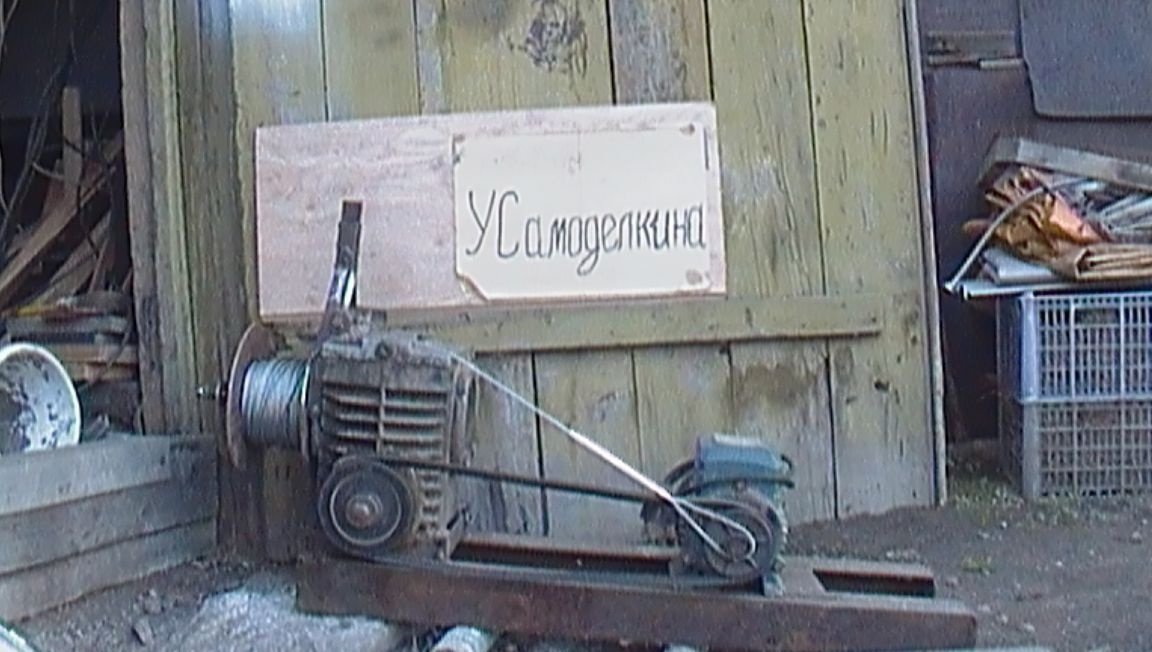
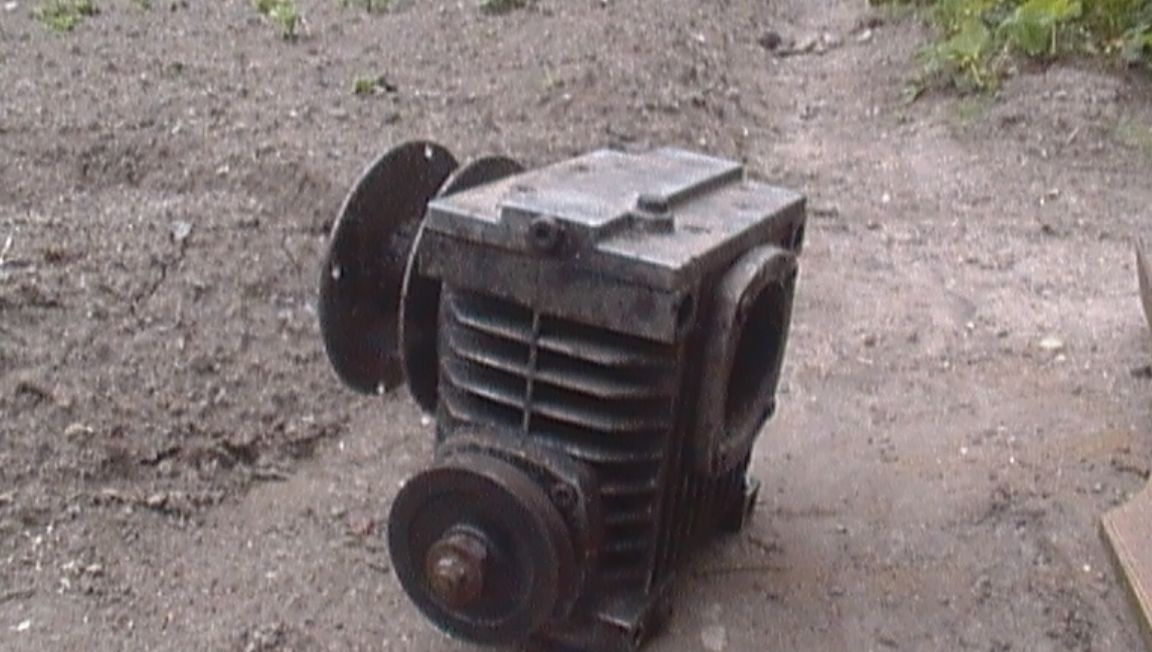
Need forced to look into the bins. For a future winch, I found a long-acquired gearbox and even, in due time, made a drum for the cable for it.
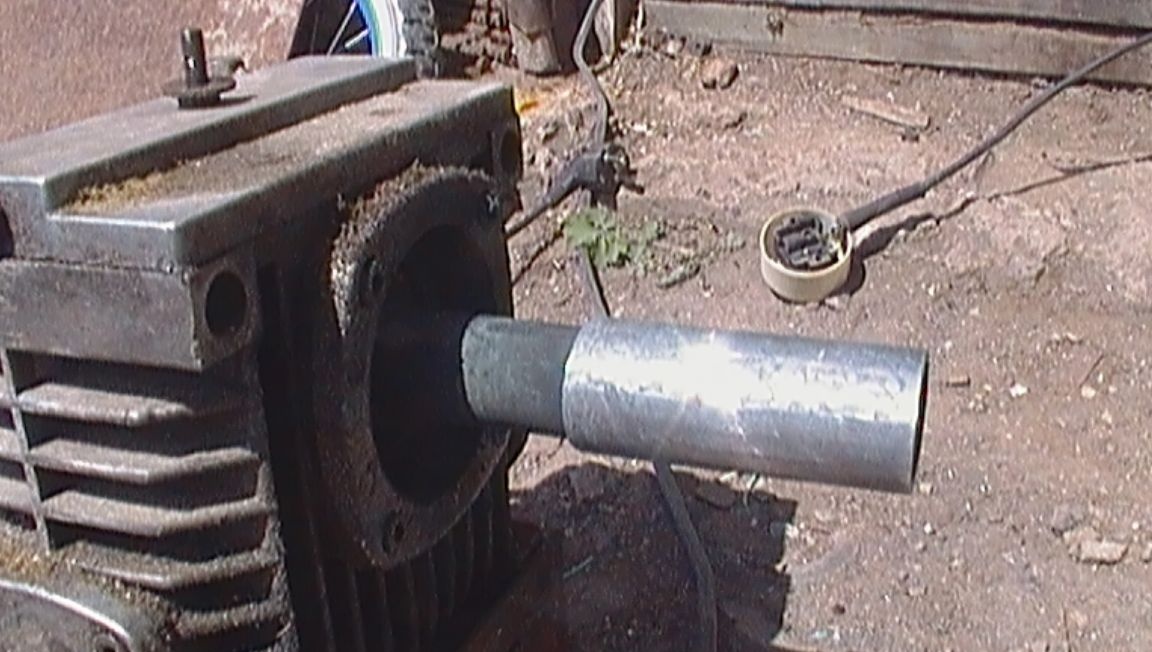
Used in the repair of a car engine. True, the drive was then using a socket wrench. Now I need a faster lifting and lowering of the load, or rather a tool for punching a well under water. For the drive, I decided to use an electric motor from the water pump through a belt drive.
To make a winch I needed: steel corner with different sizes of shelves; sheet metal 3 mm thick .; water pipe; sandpaper; welding electrodes; cutting wheels for metal; bolts and nuts: M6, M8; washers; opening spring; gearbox; electric motor and belt.
Used the tool: electric drill; the ear welding inverter; calipers; vise; hammer; wrenches; drill; mark; metalwork corner; nozzle for grinding.
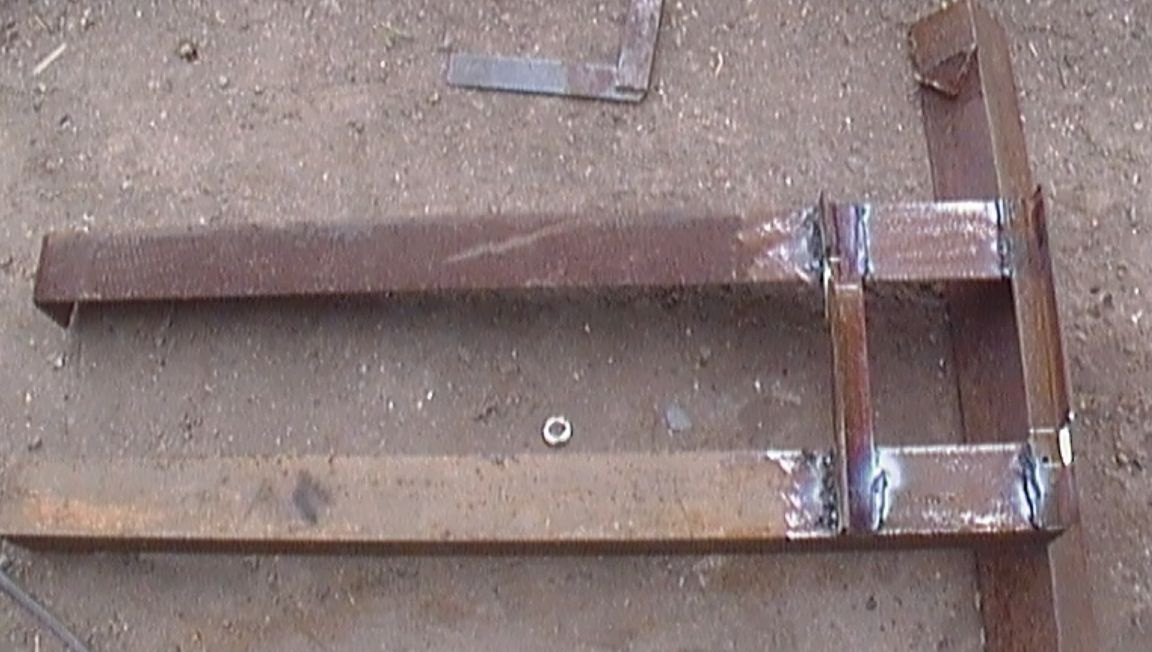
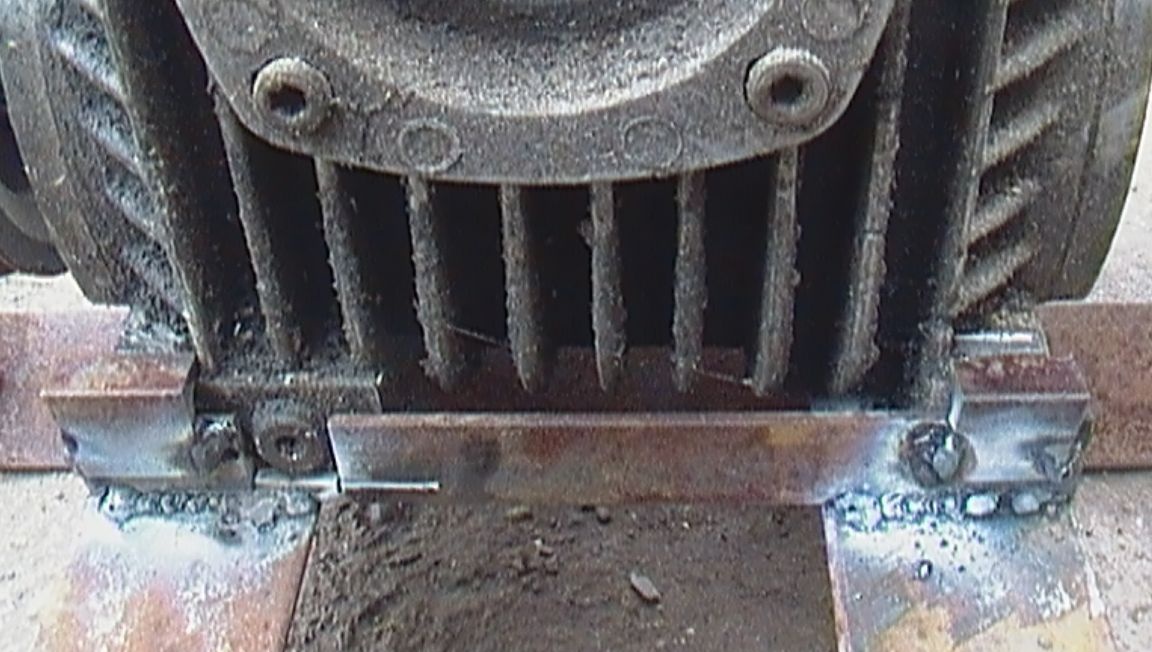
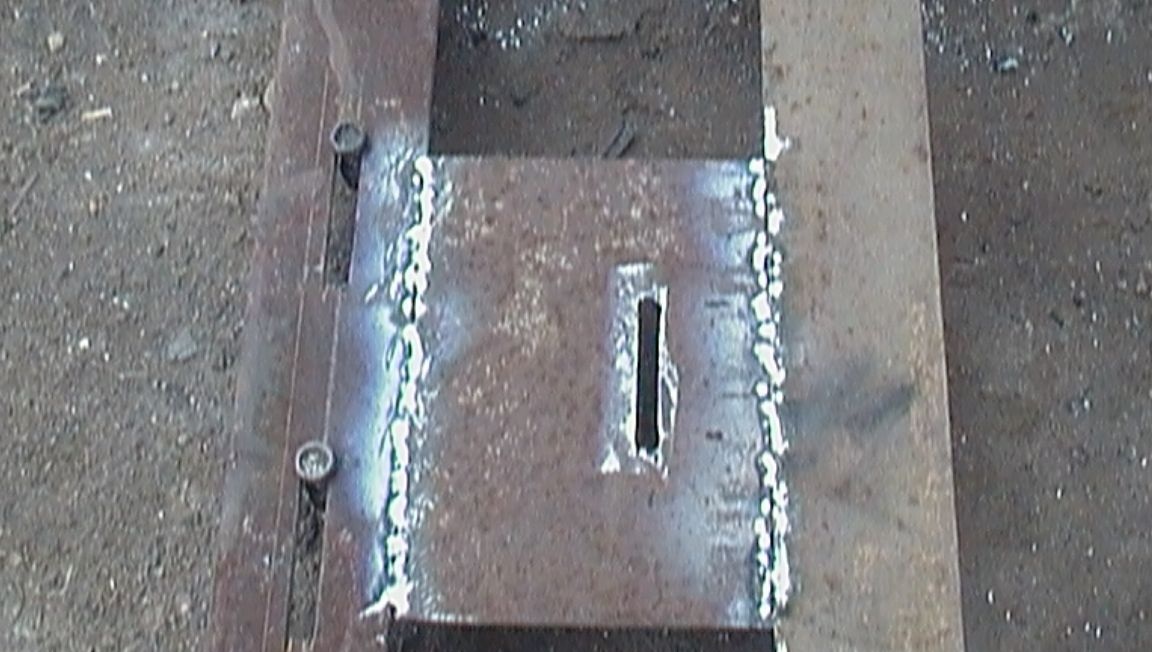
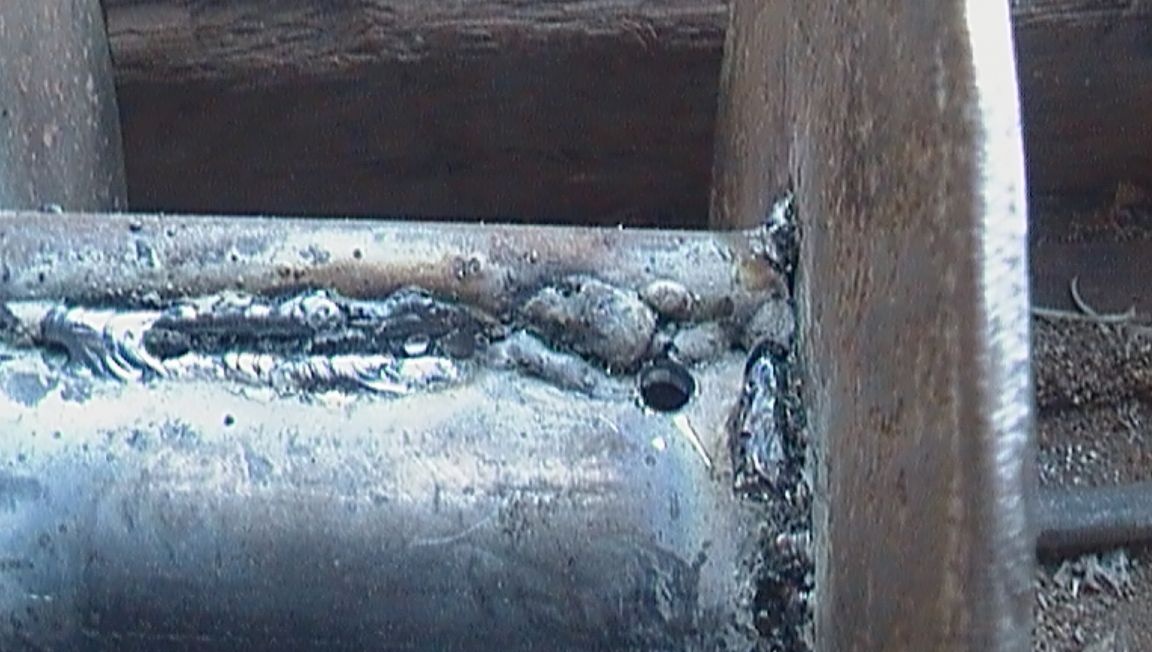
Started with making a frame. To do this, cut off 2 corners with a shelf of 50 mm. 2 corners with a shelf of 30 mm were welded to them at right angles. for mounting the gearbox.
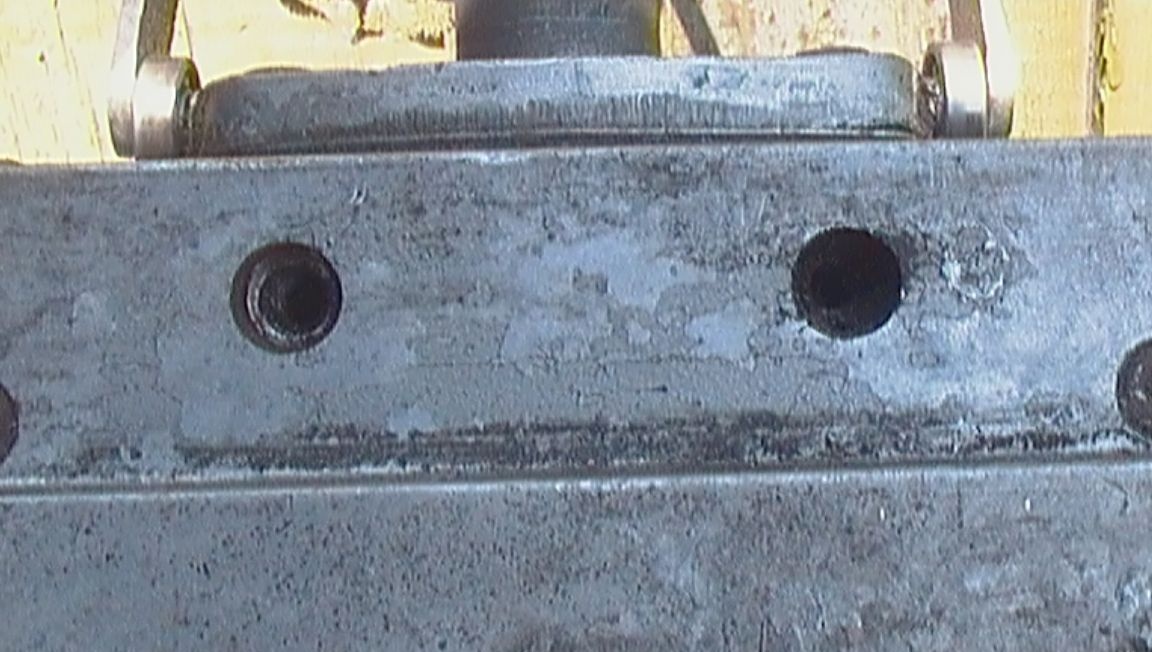
Under the service plug for the gearbox, I cut a “window” in the corner and installed it on the received platform and fixed one side with two welded corners.
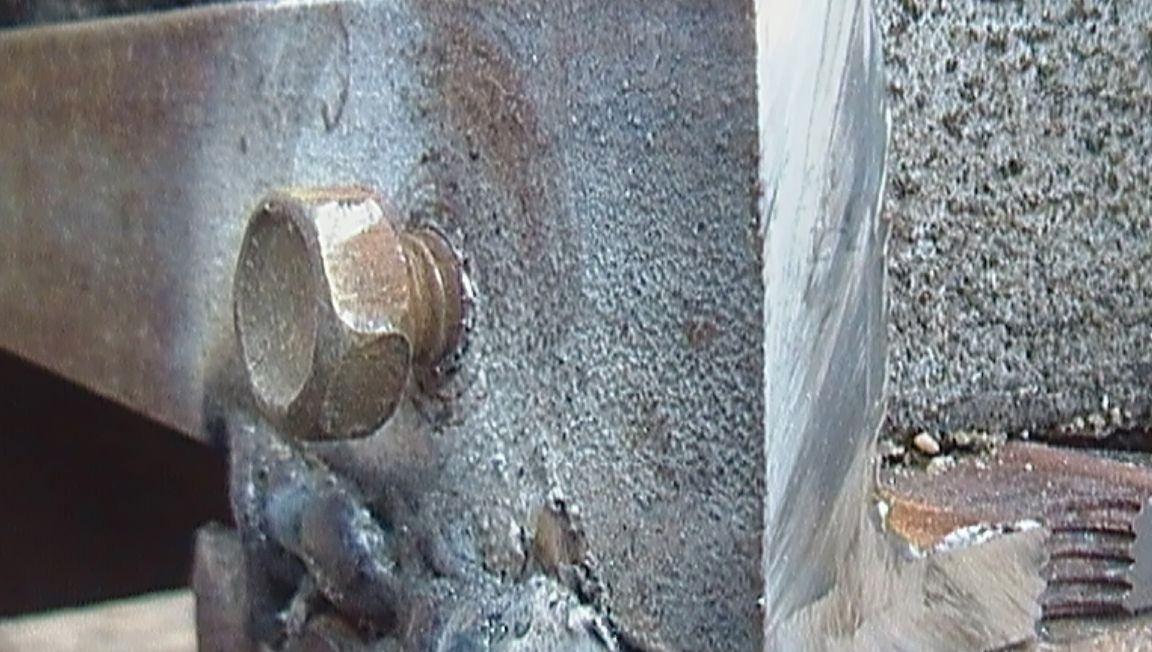
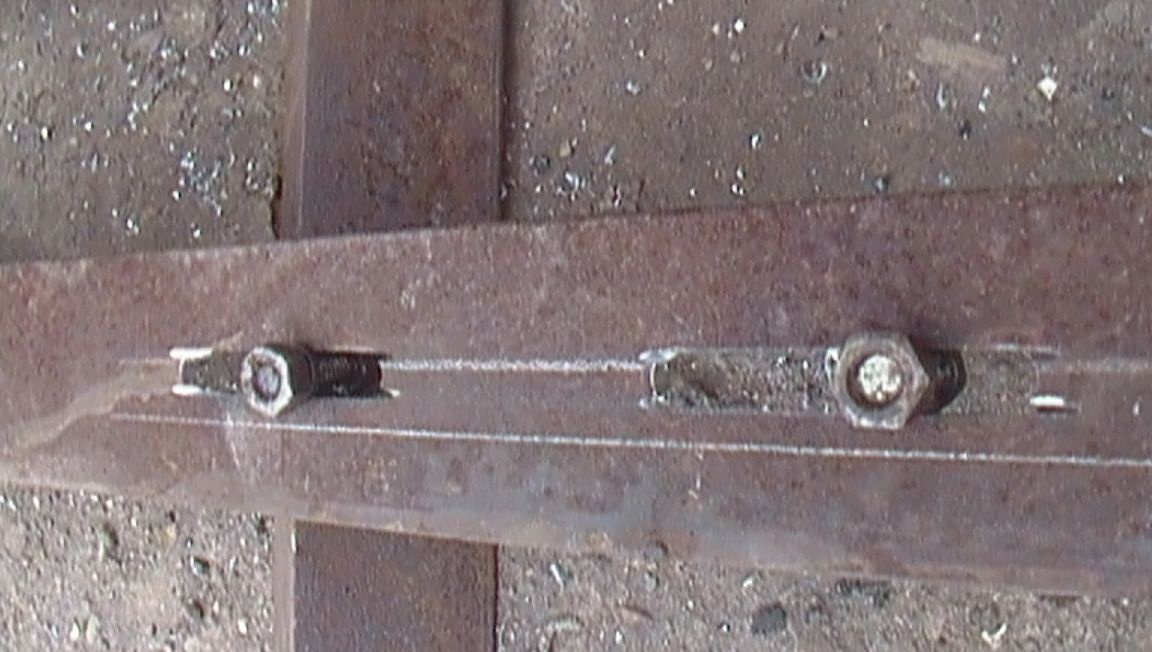
From the second side I drilled 2 holes in the corner, cut the thread and tightened the bolts. The holes were drilled taking into account the minimum clearance between the bolt and the base of the gearbox.
To mount the engine and adjust the belt tension, in one of the main corners, I cut 2 holes for the M8 bolt.
I also cut and welded a three-millimeter sheet to stiffen the frame and mount the engine, in which I cut a hole. (In the beginning I wanted to use a different engine.)
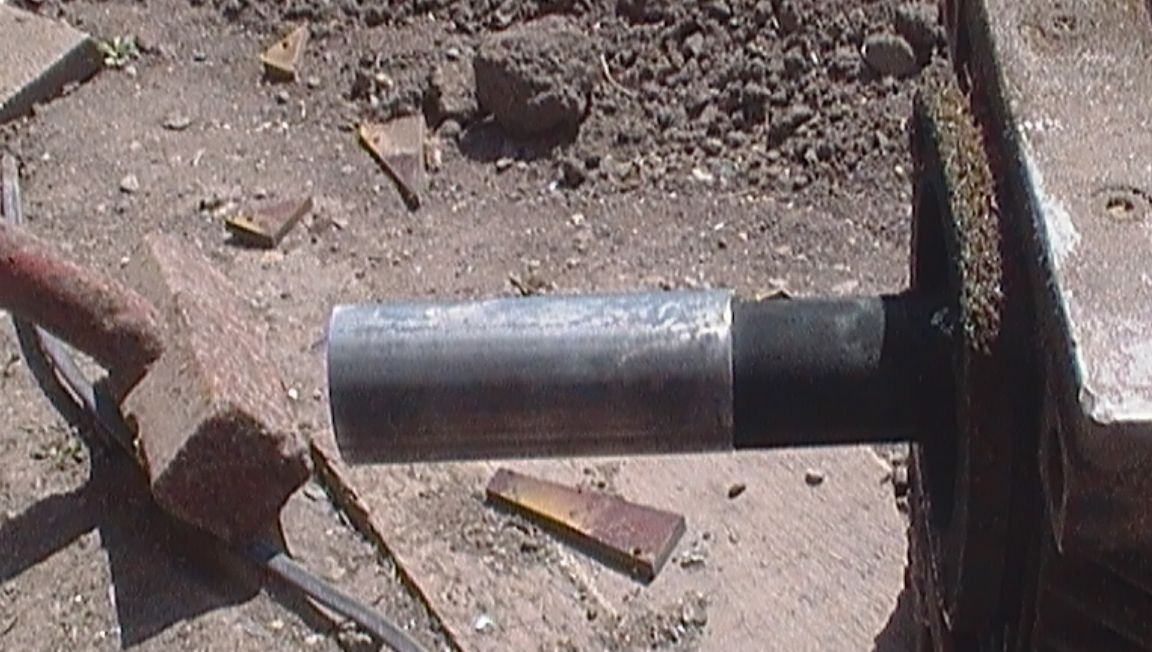
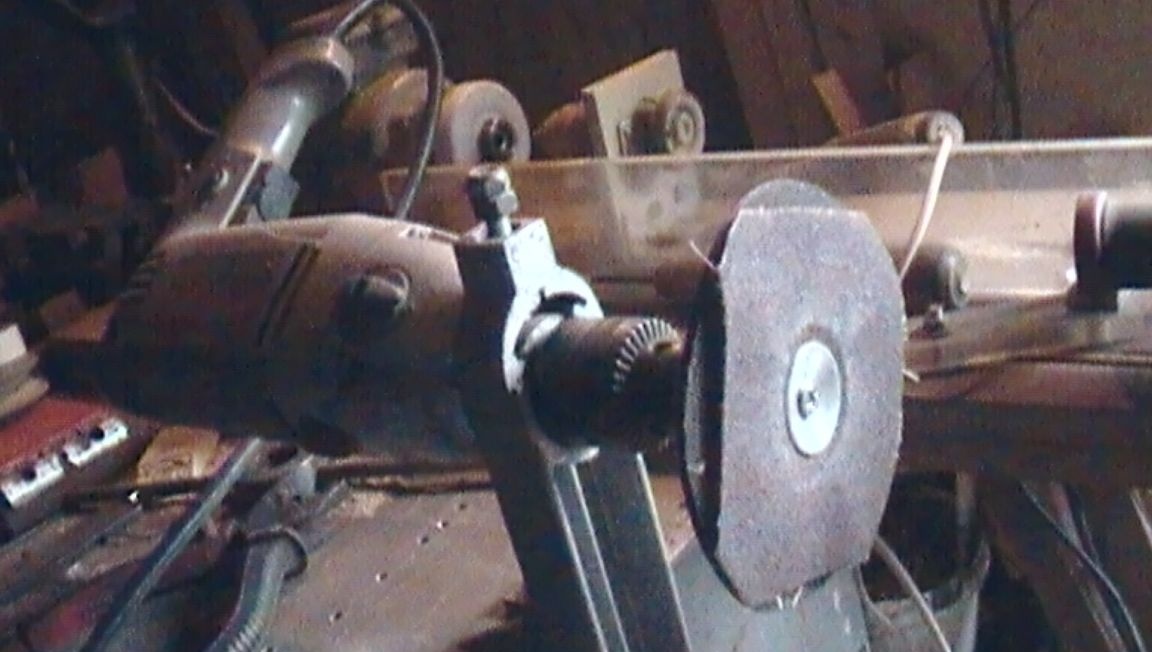
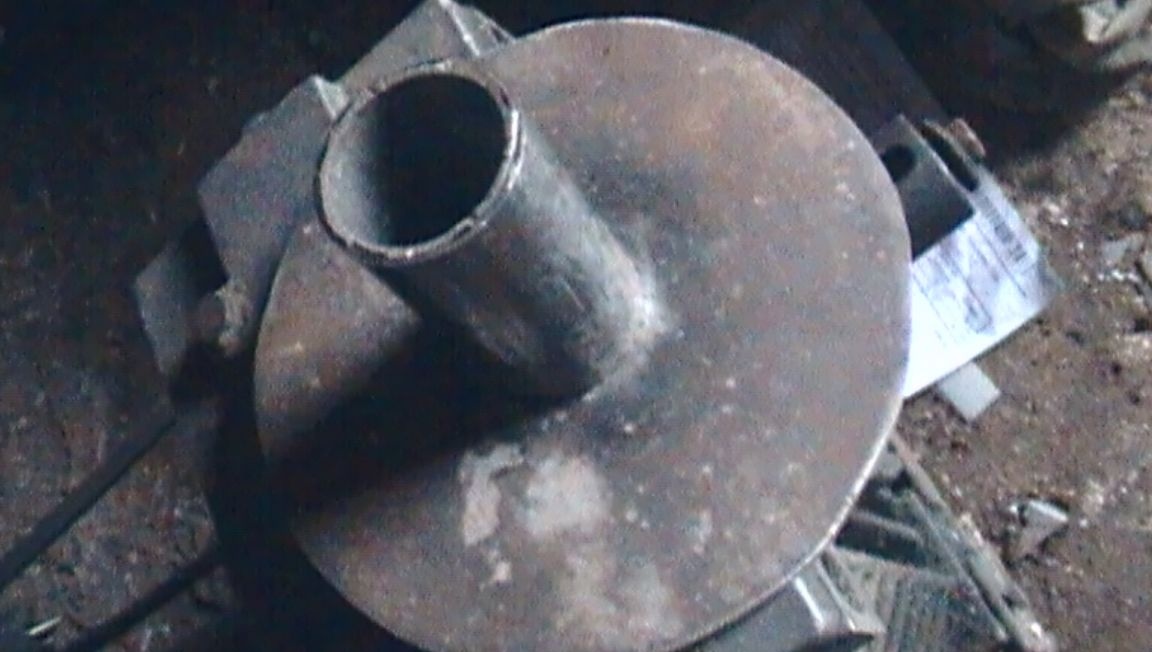
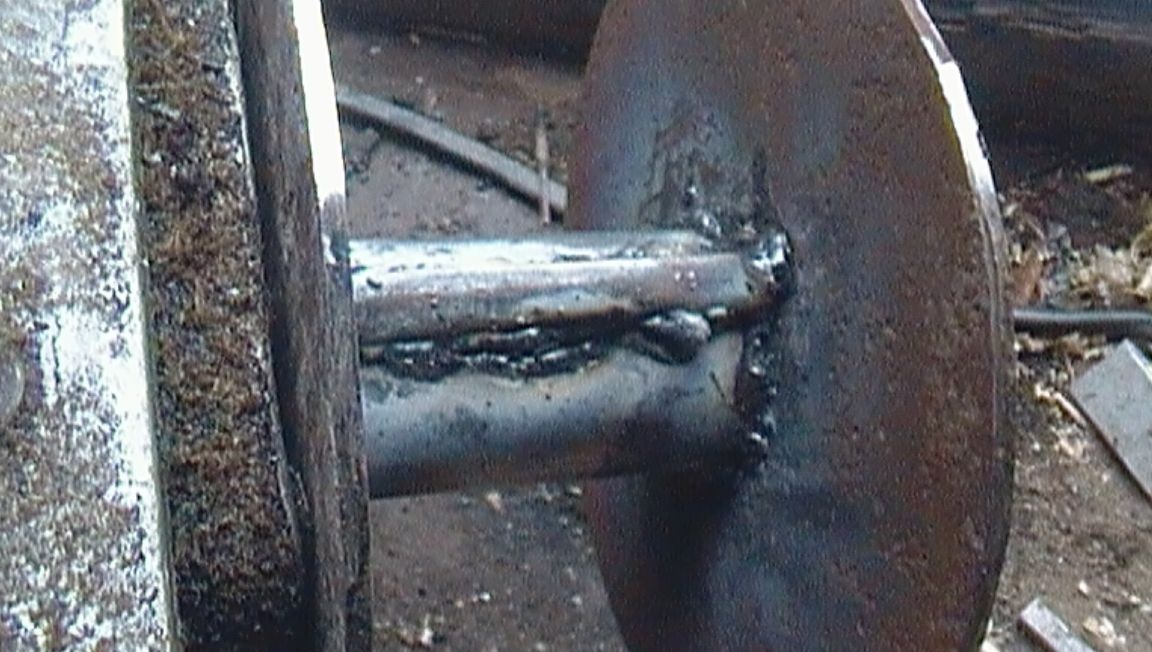
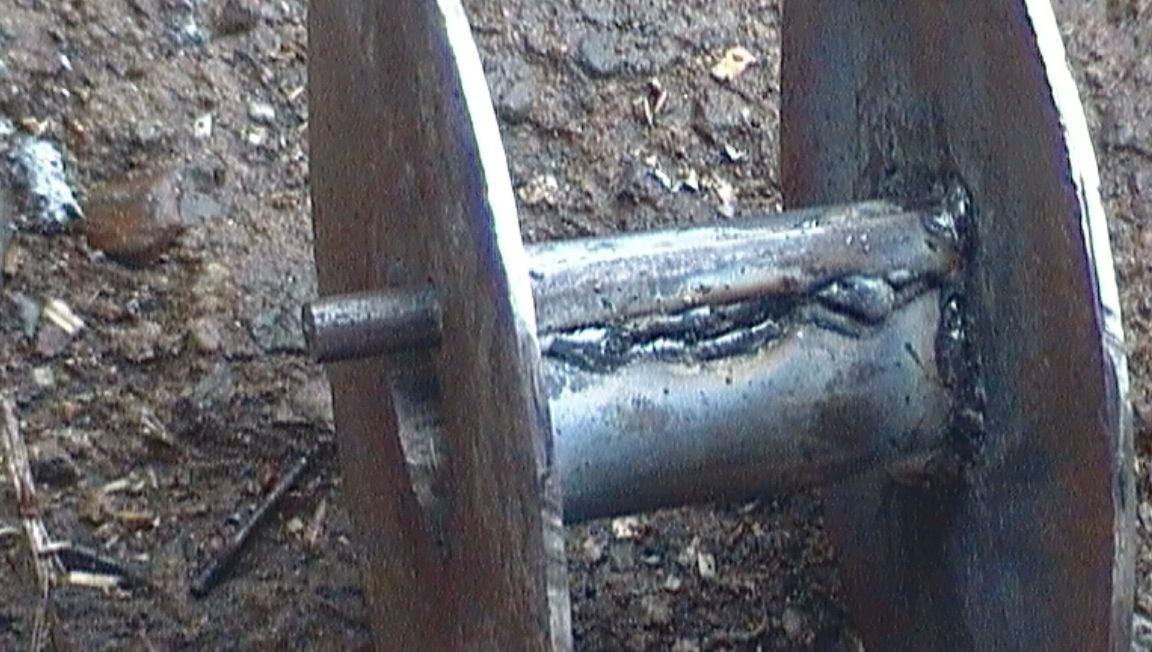
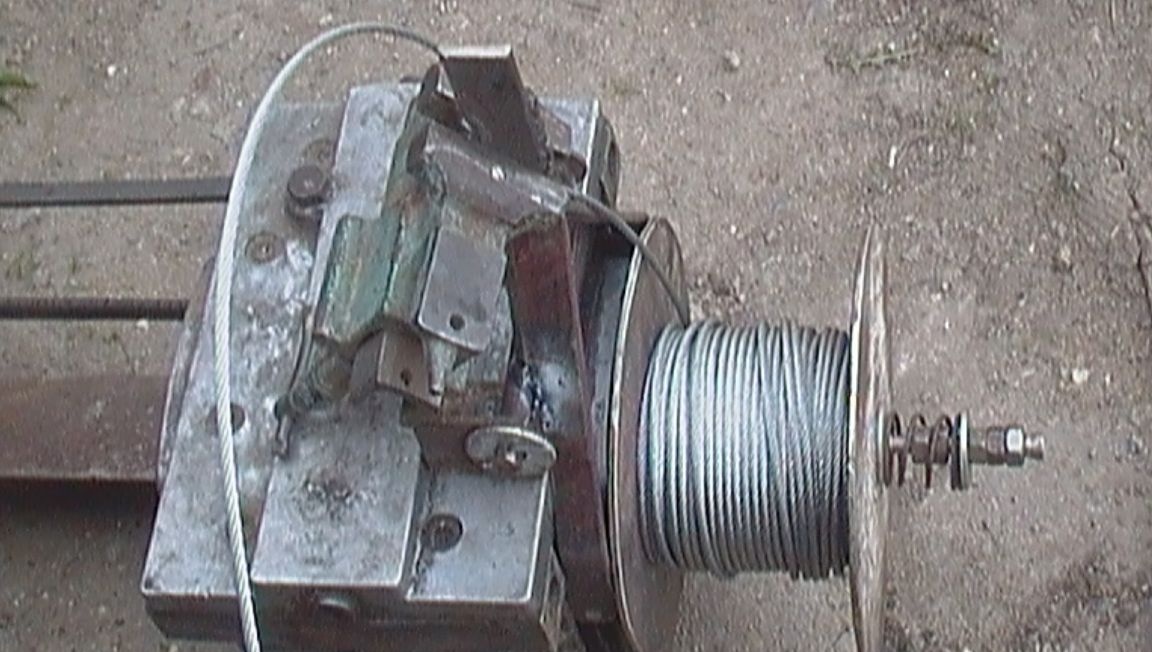
Set the engine with a pulley and put on a belt. To make a drum, I cut a piece of pipe трубы 40 mm.
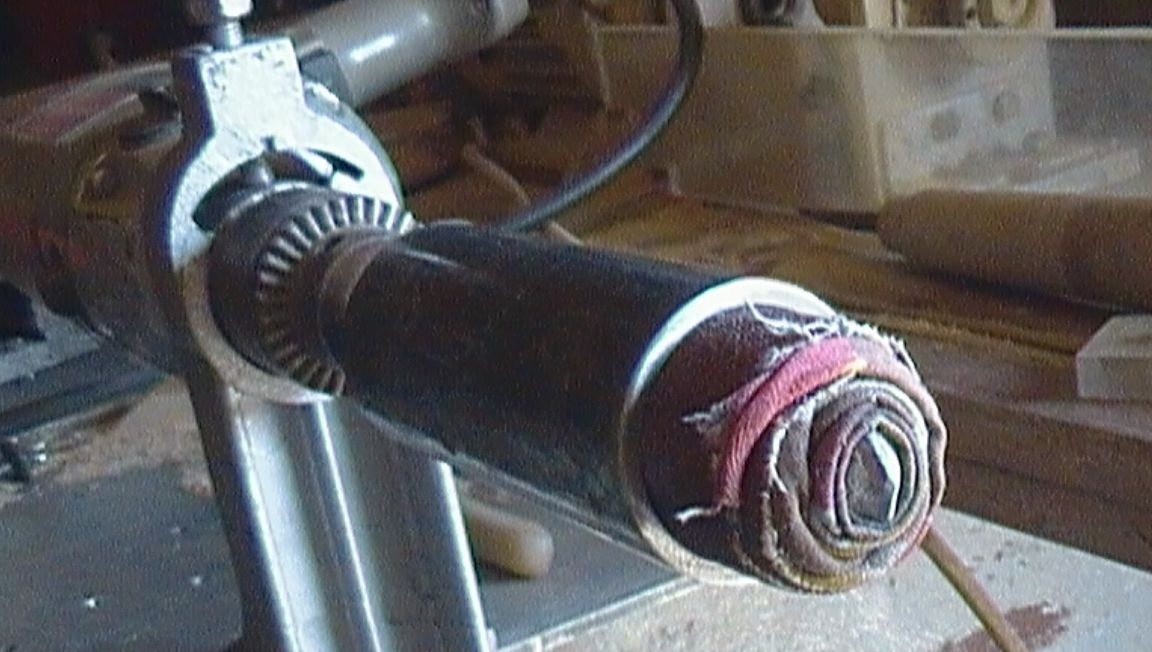
Without removing a piece of pipe from the shaft, I cleaned it with sandpaper. Since the pipe did not normally fit on the gear shaft, it was necessary to grind the inner surface. To do this: fixed the drill on the stand; inserted a long drill and turning on the drill wrapped a rag.Cut off, the required width, sandpaper and placing it under the edge of the rag continued winding.
I grinded until the pipe freely “sat down” on the shaft and when the shaft rotated, “biting” between the parts was not created.
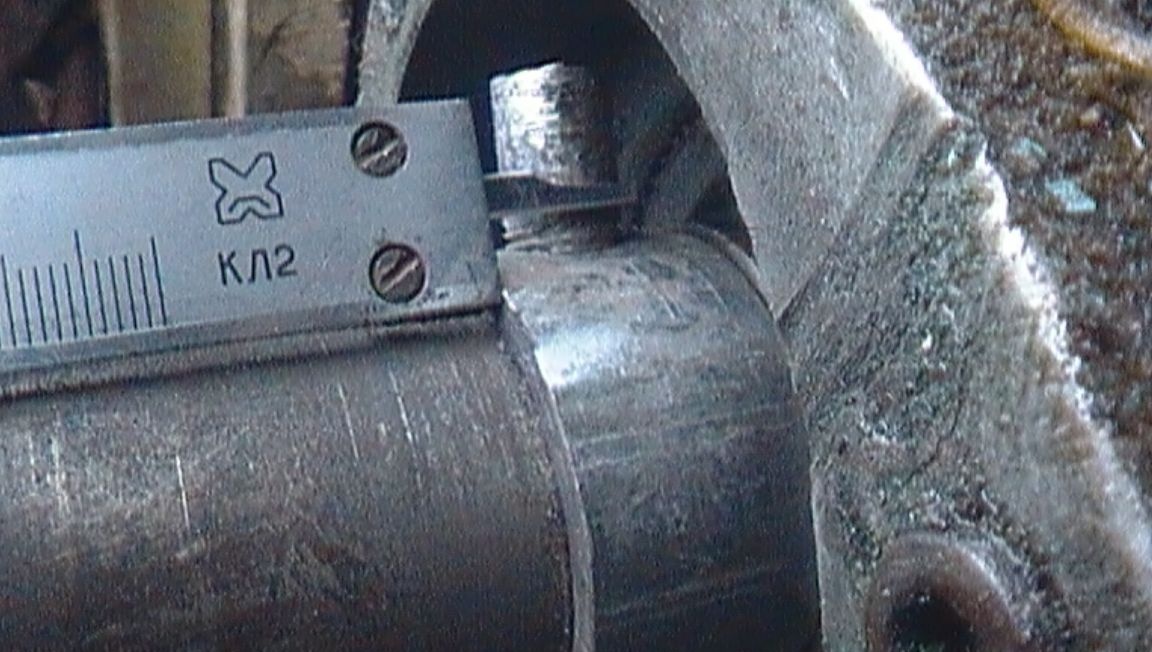
To prevent the gear housing from touching the drum from the finished pipe (I made it with a margin), I cut off a ring in which I drilled a hole and cut an M10 thread.
From a bar of 10 mm. cut a piece of 30 mm., cut the thread and screwed the ring on the shaft into the ring so that the bar fell into the veneer groove on the shaft.
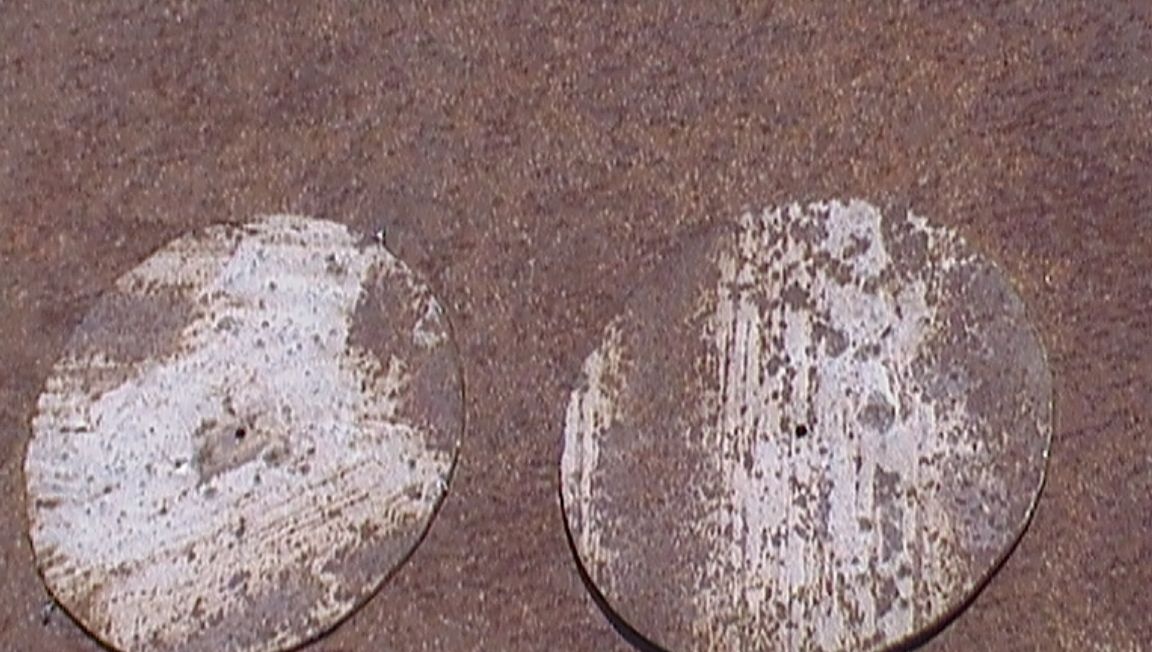
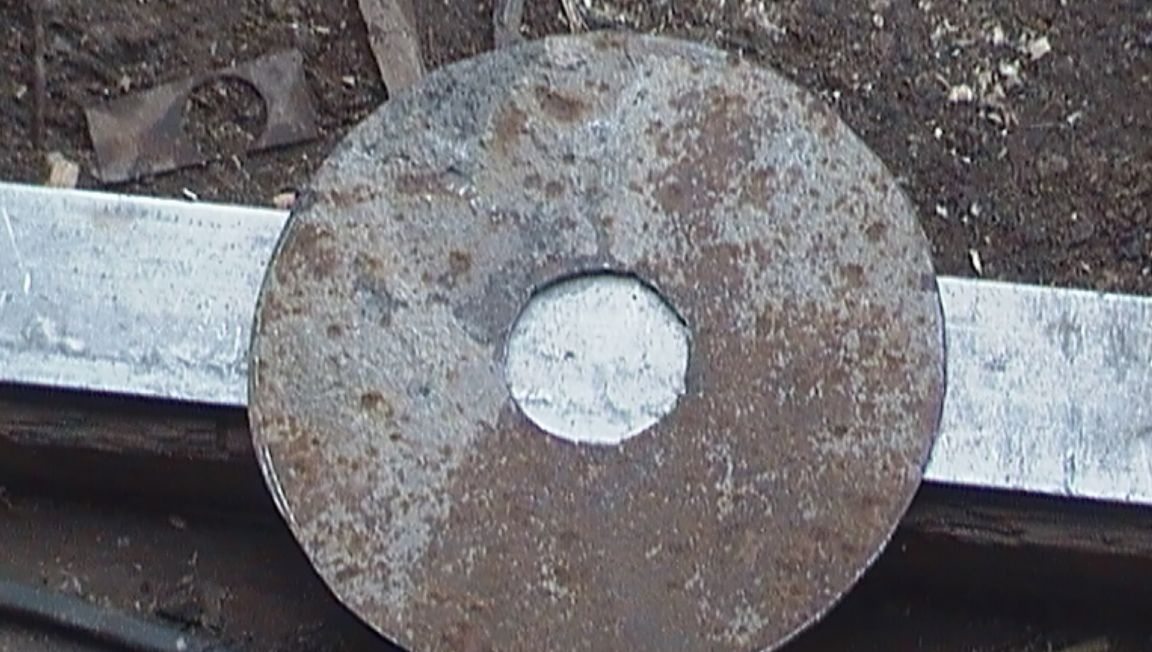
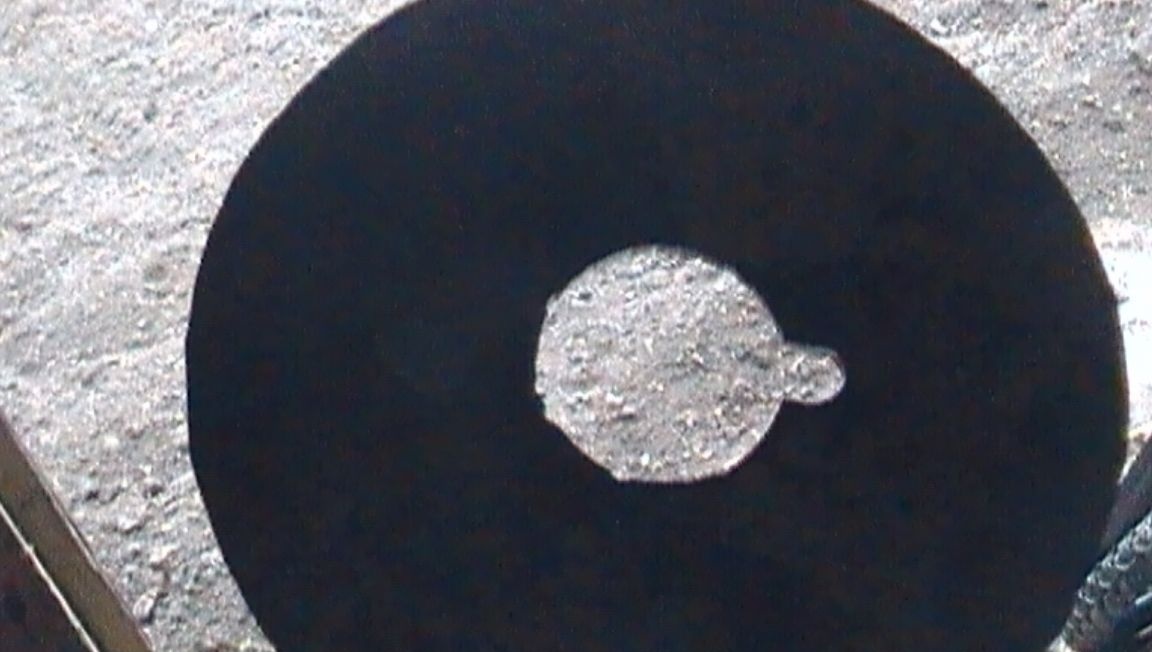
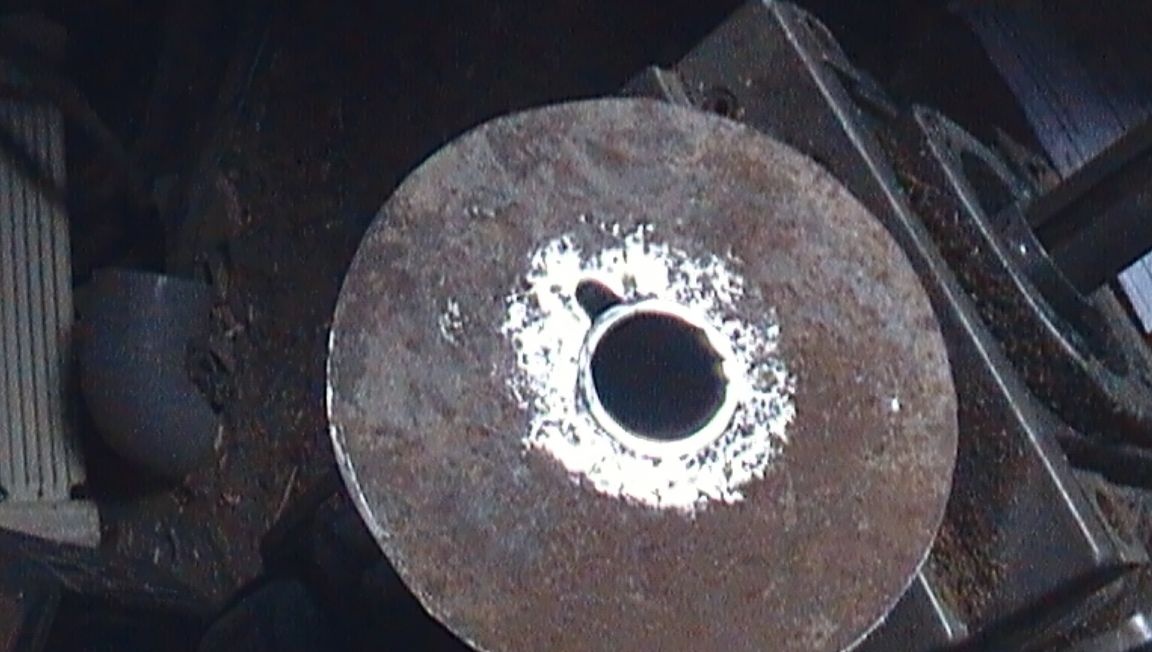
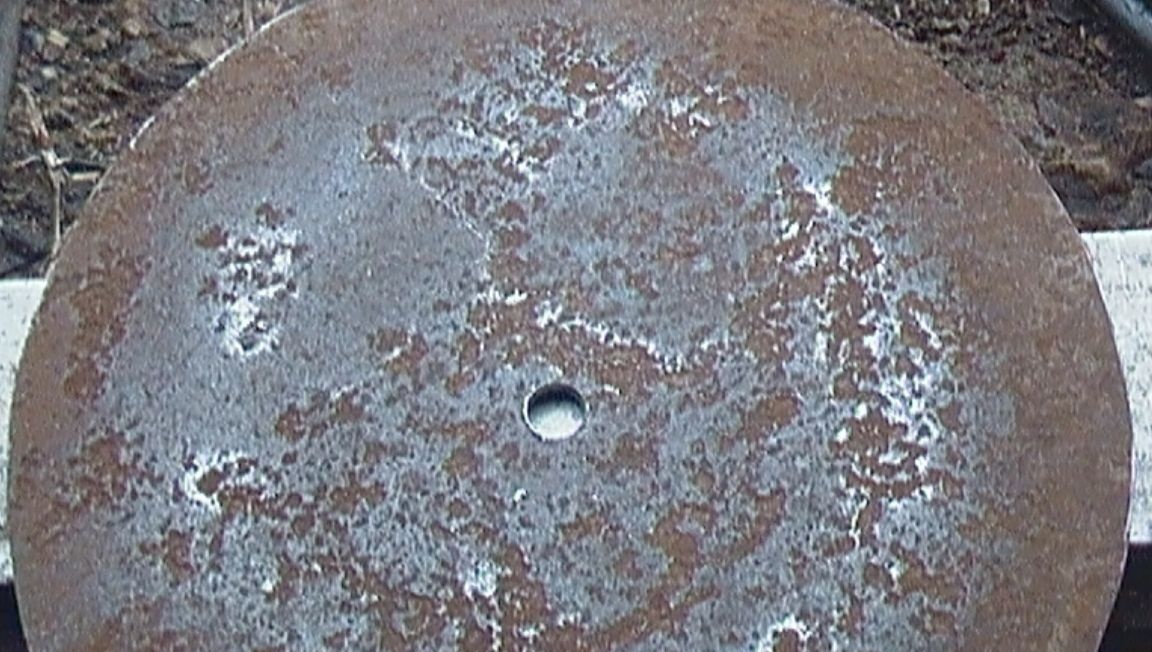
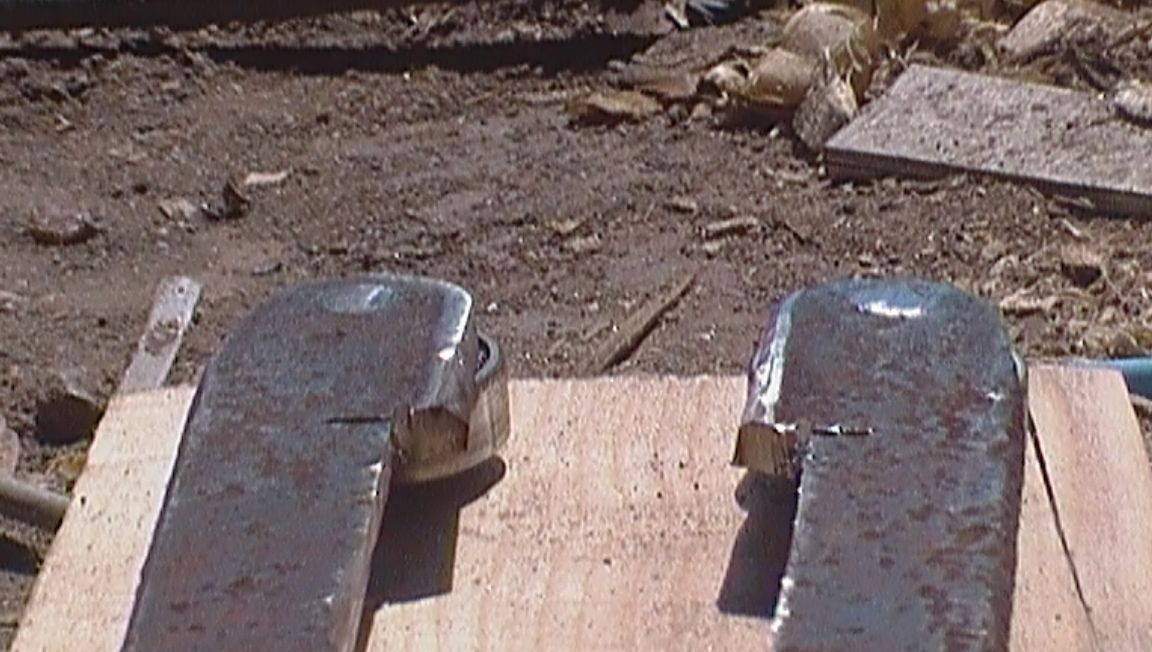
From three millimeter sheets of iron, I cut 2 circles.
In one I drilled, and then filed a hole with a file equal to the diameter of the pipe.
Since the pipe freely rotated on the gearbox shaft in the resulting circle, I drilled and filed a groove for a 10 mm bar.
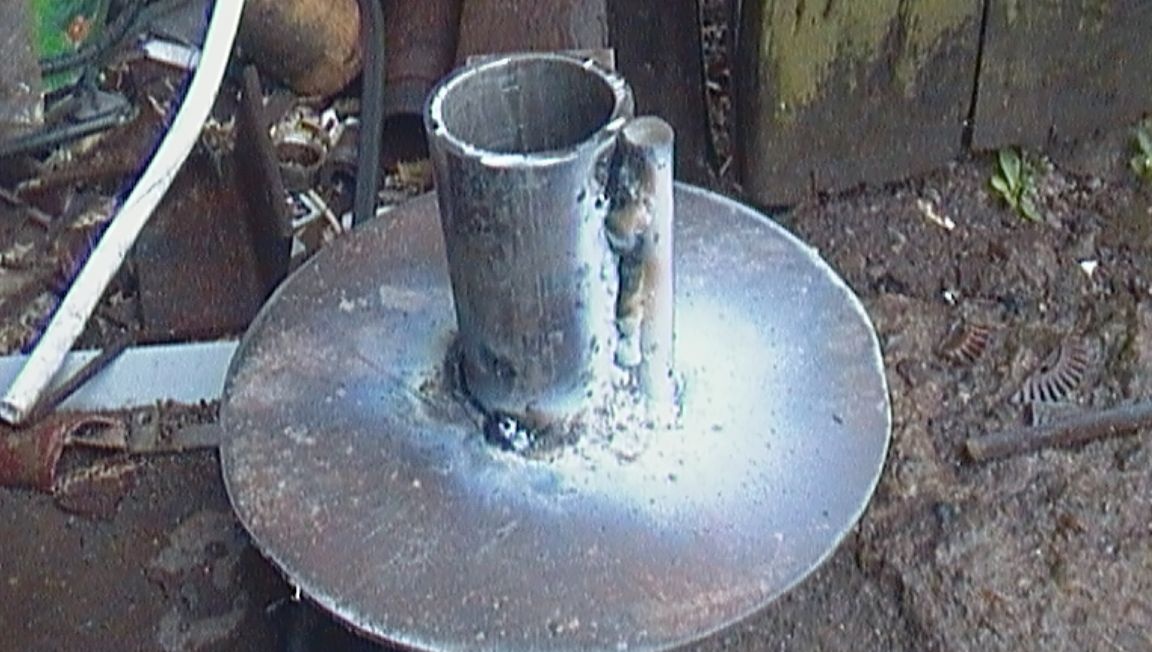
Having cleared a circle of rust
"planted" him on the pipe.
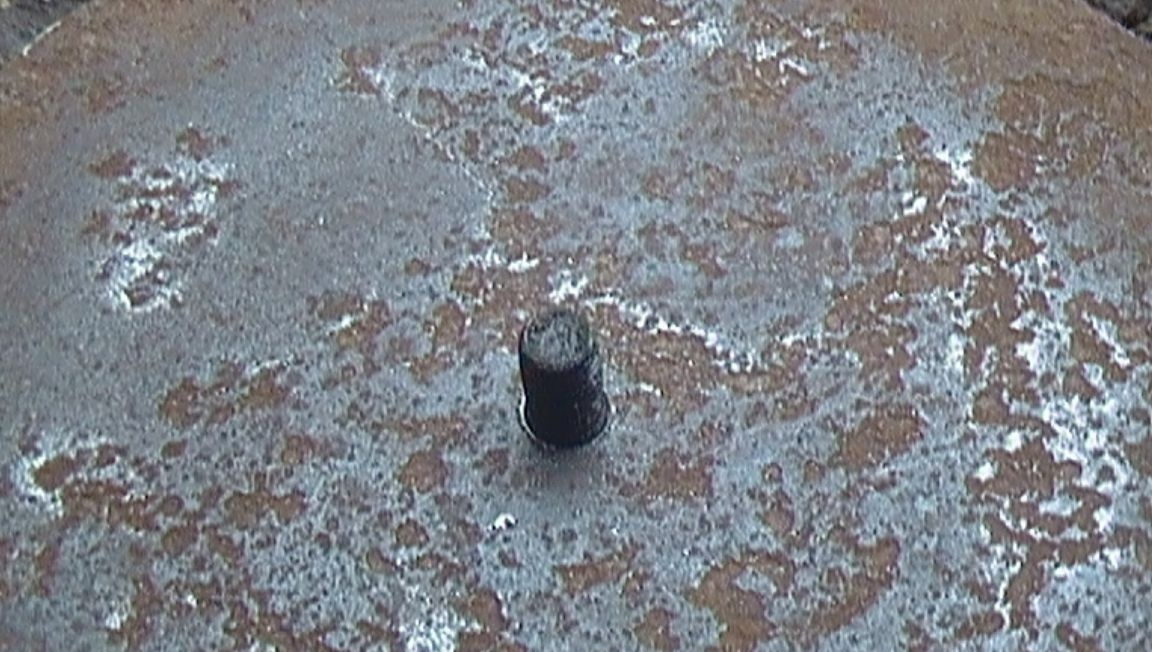
I inserted the bar and scald it by welding.
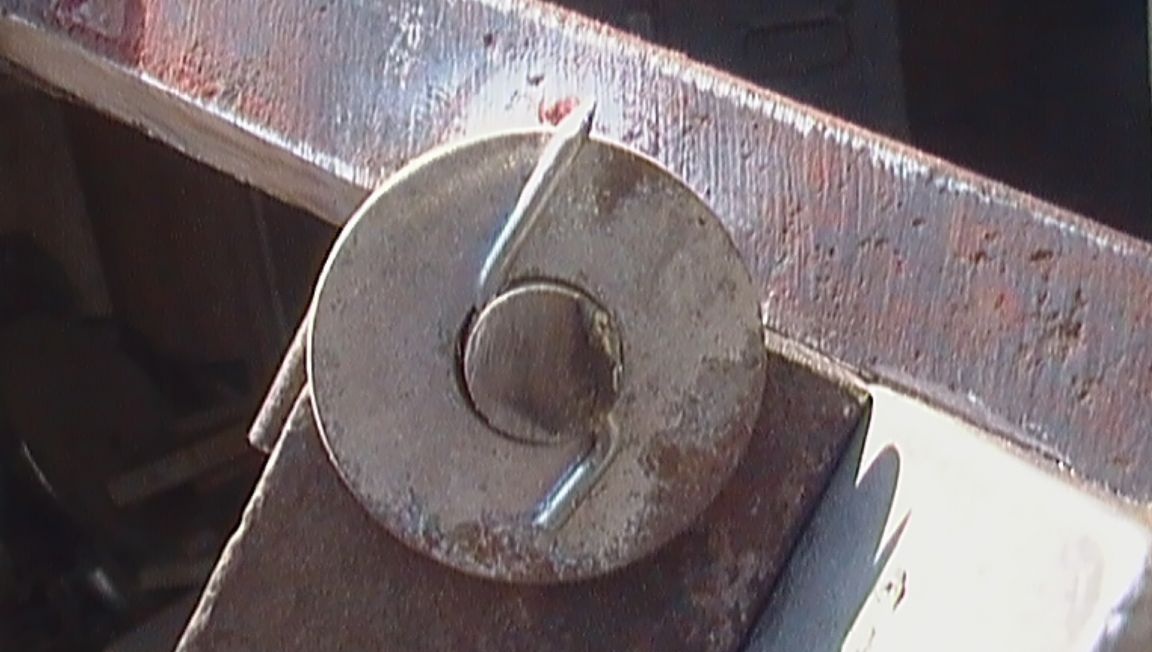
In the second circle in the center I drilled a hole of 9 mm. So that at the slightest beating the bolt screwed into the gearbox shaft would not interfere with the rotation of the drum.
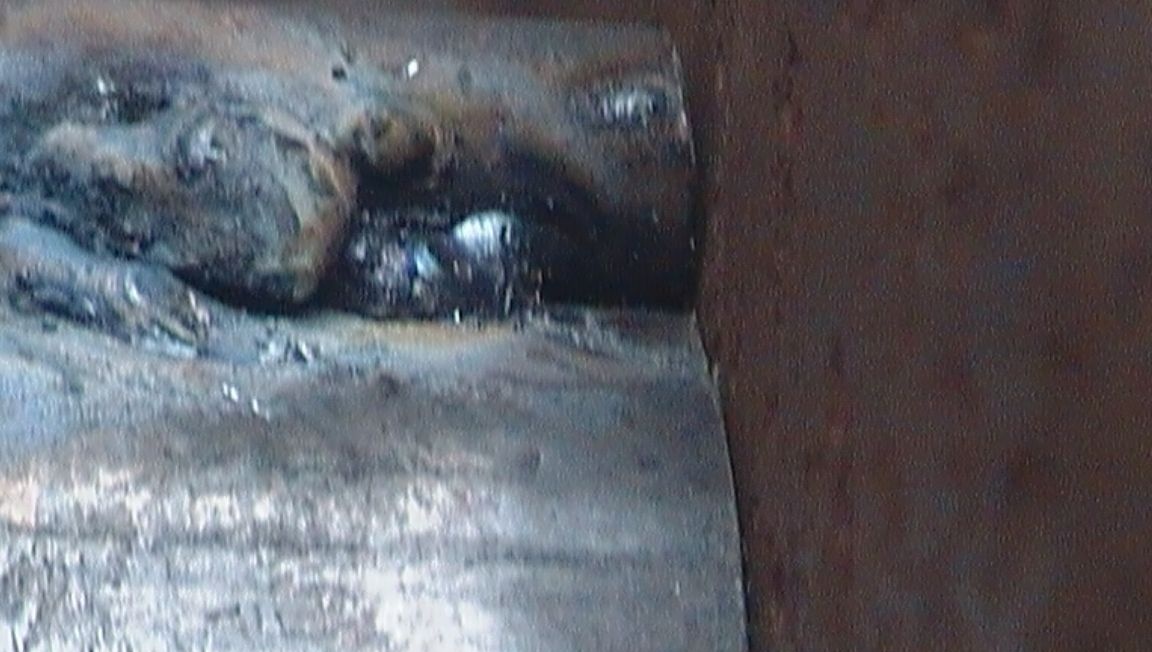
Set the future drum on the axis and with the help of a bolt pressed the second circle to the pipe,
scalded with electric welding.
Measuring the size to the inside of the key
cut the bar on the drum to the desired size. Next, I began to manufacture
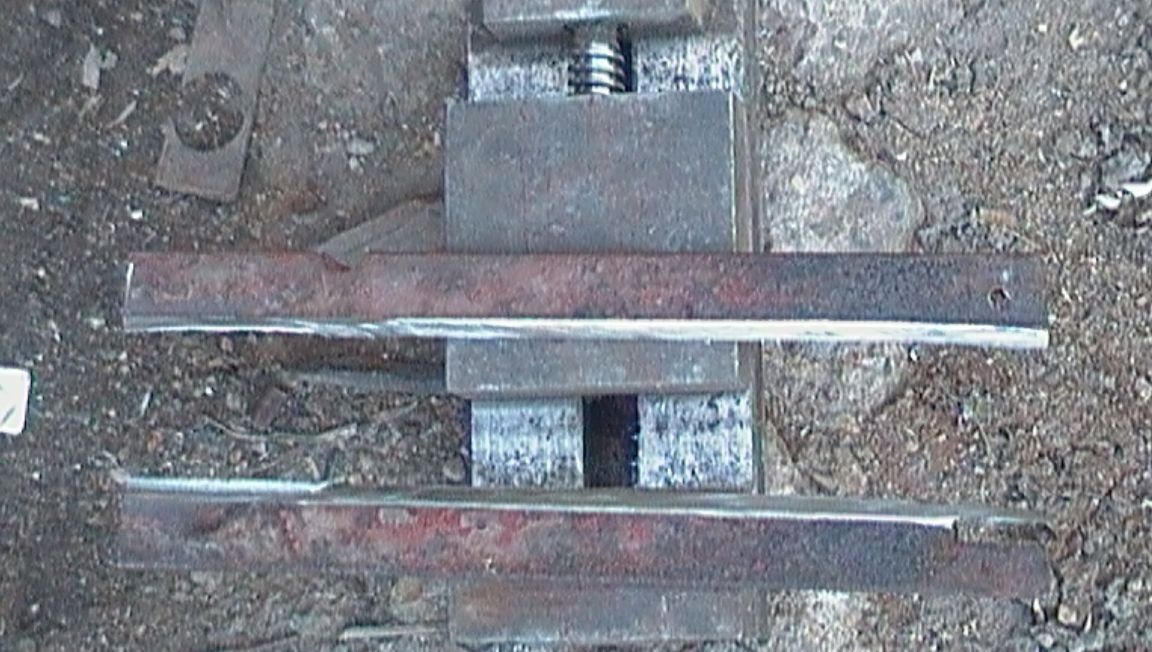
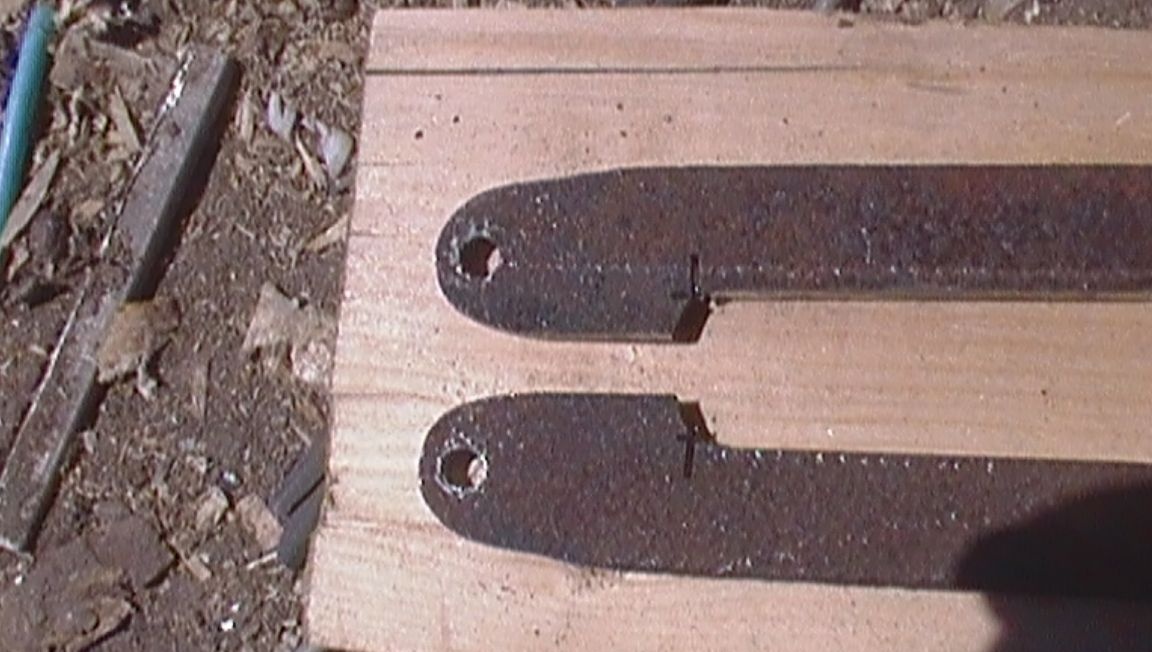
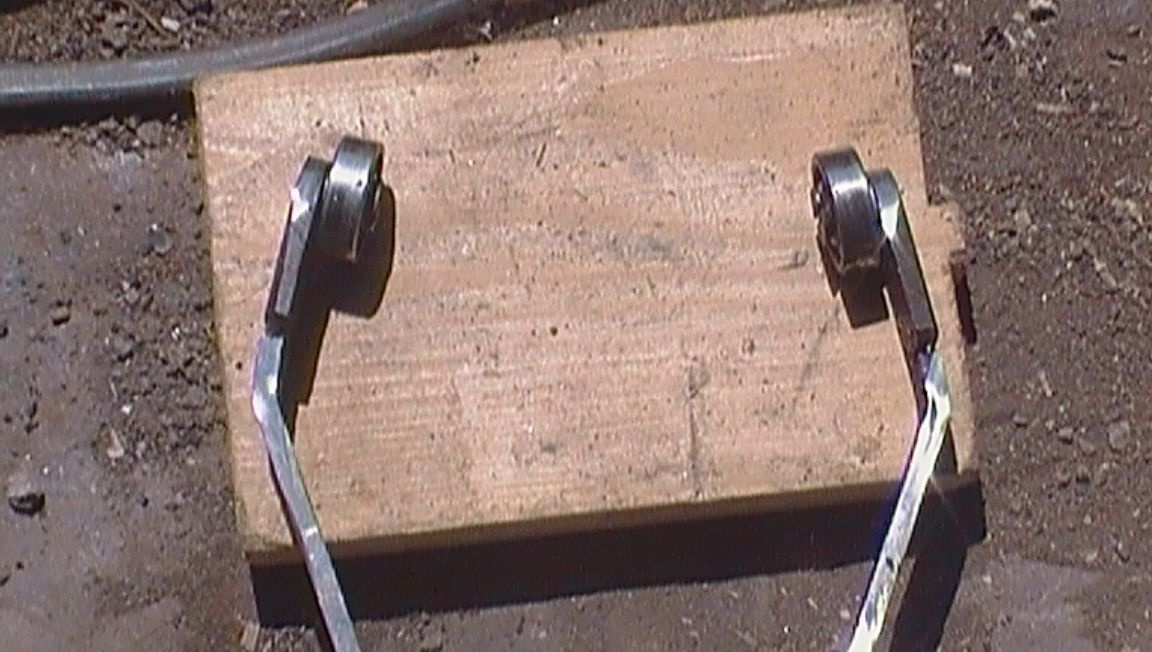
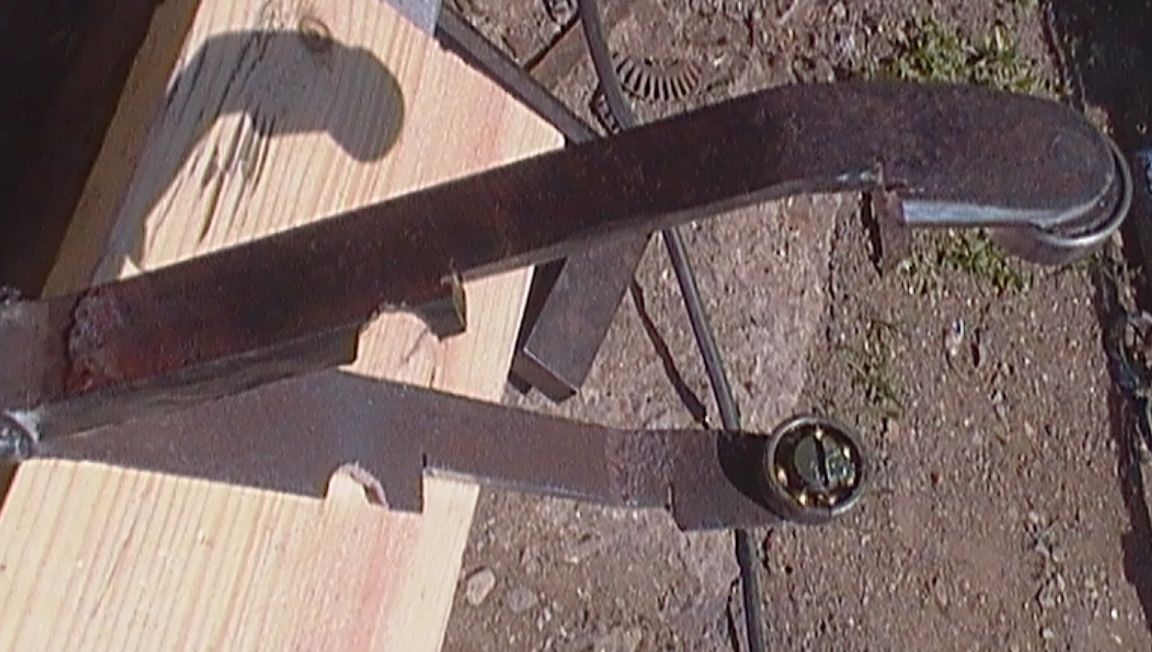
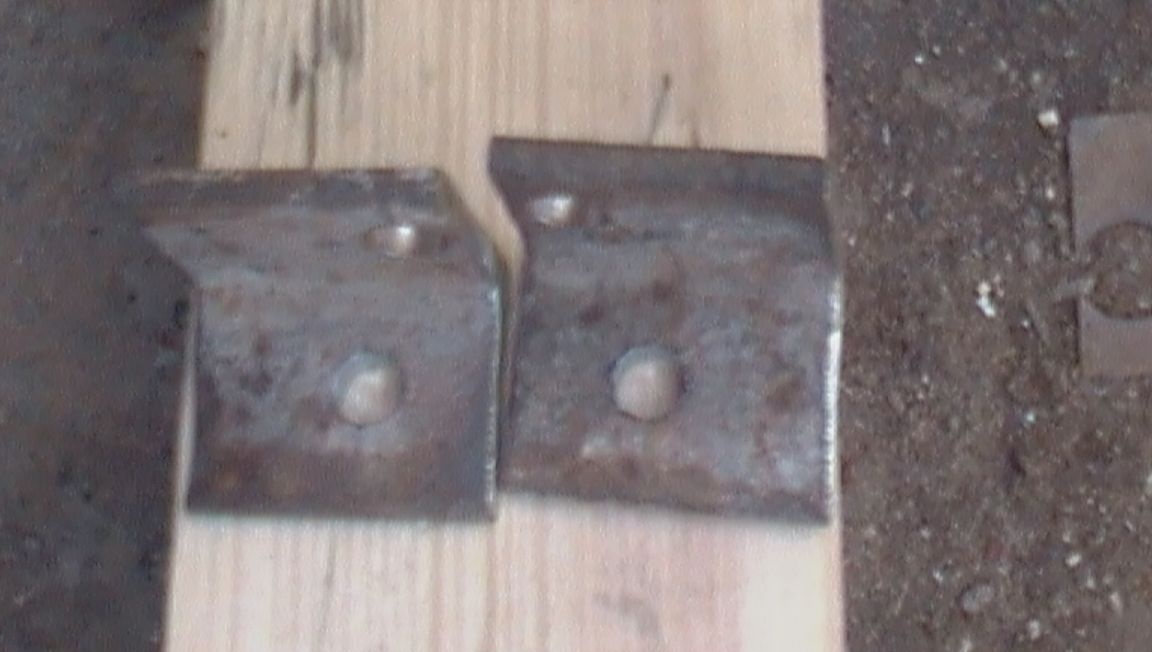
fixtures (forks) to offset the drum along the axis of the gearbox. To do this, I cut a piece of corner with a shelf of 25 mm. and 5 mm thick. along the top.
I cut parts of the blanks, drilled holes and cut the M6 thread.
Rounded the ends of the workpieces.
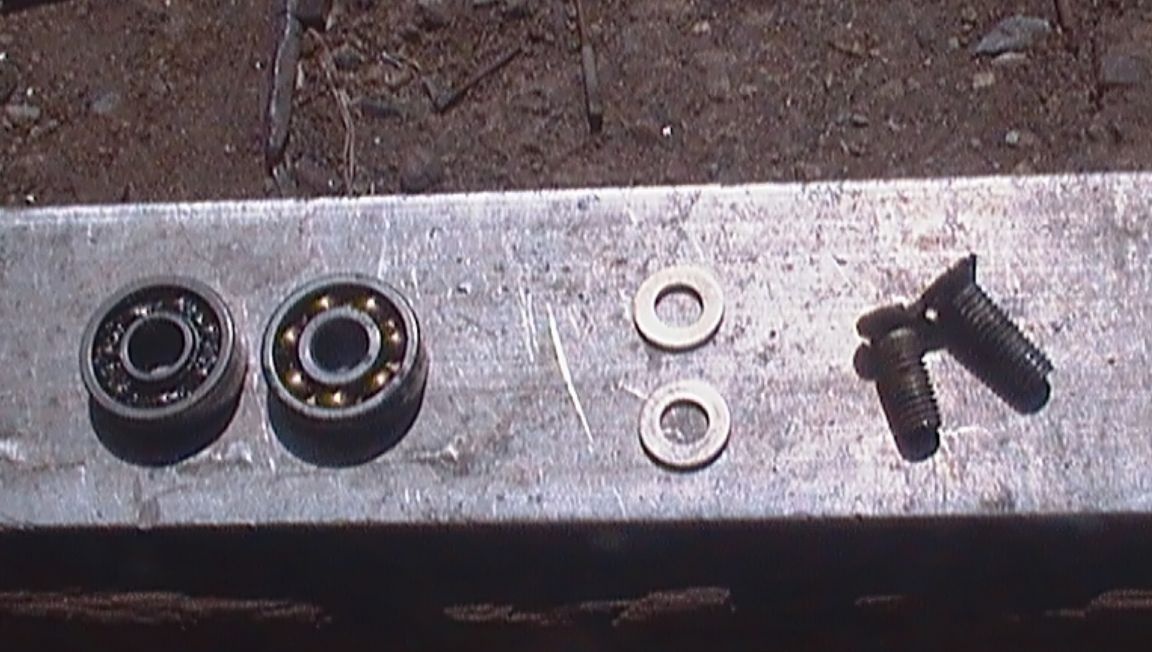
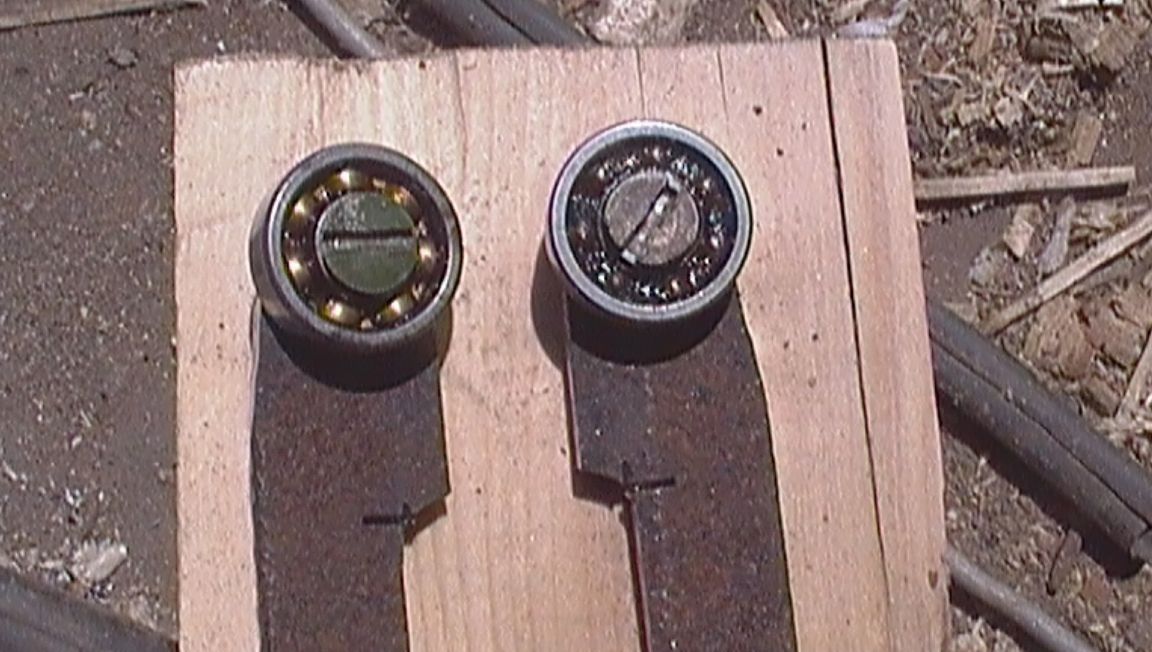
For further assembly, I needed bearings, bolts and washers.
Since the internal size of the bearings was 7 mm. I took the bolts with a hat in the patai to align the bearings. He assembled the structure, and put the washers between the bearing and the workpiece for free rotation of the outer race of the bearing.
I cut off the excess part of the bolts.
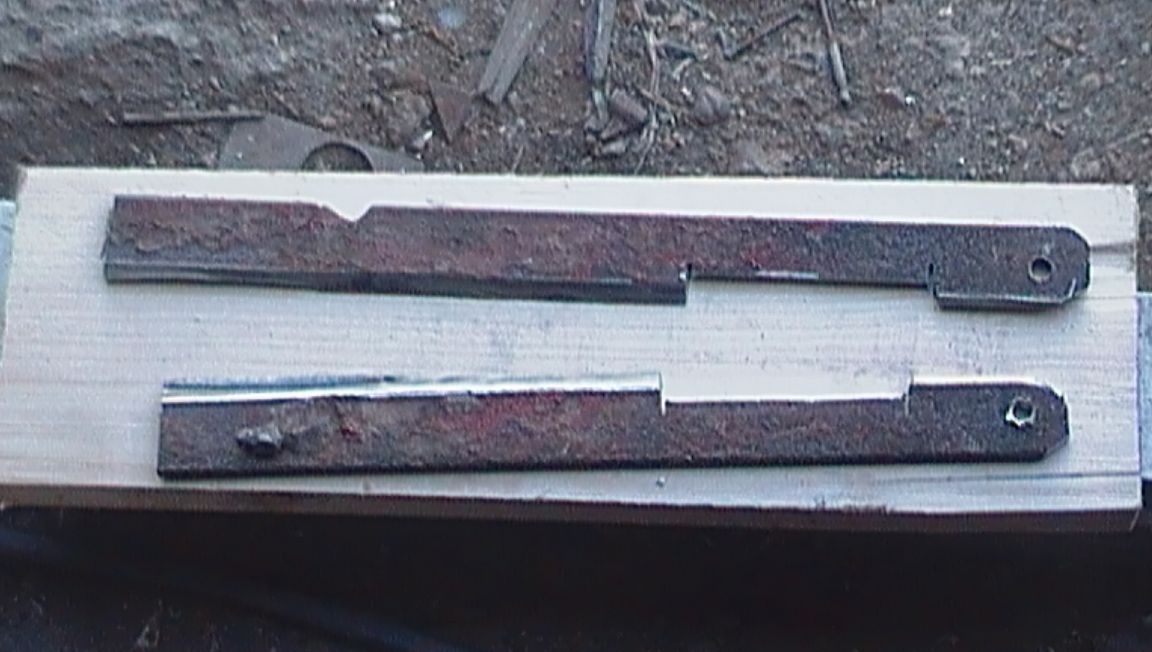
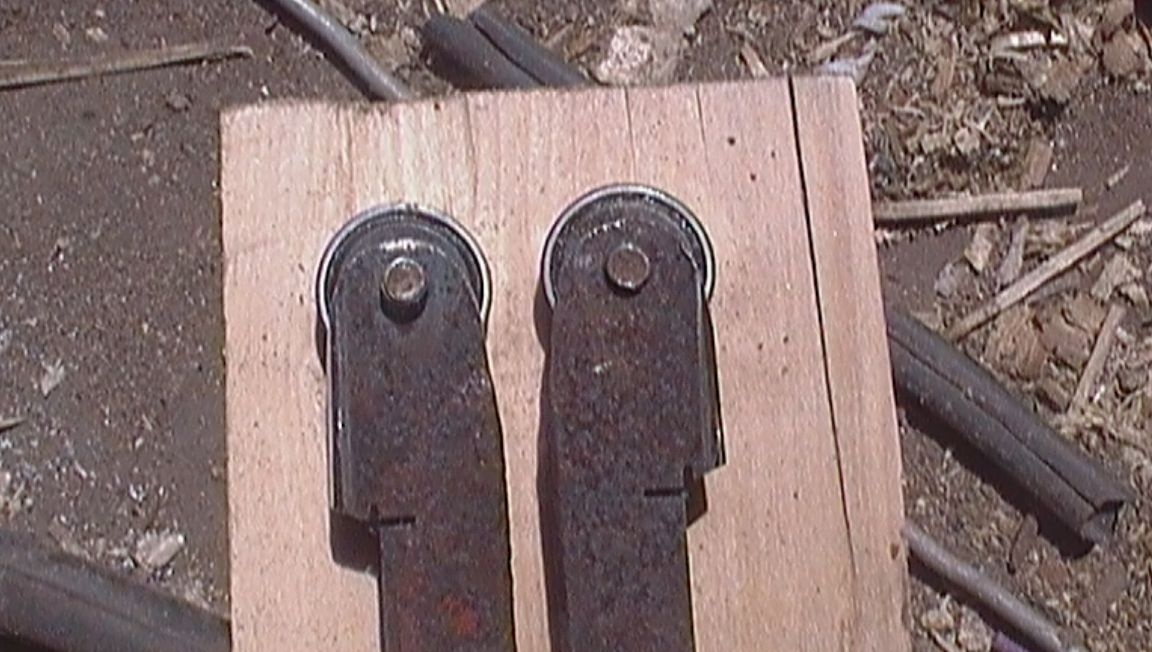
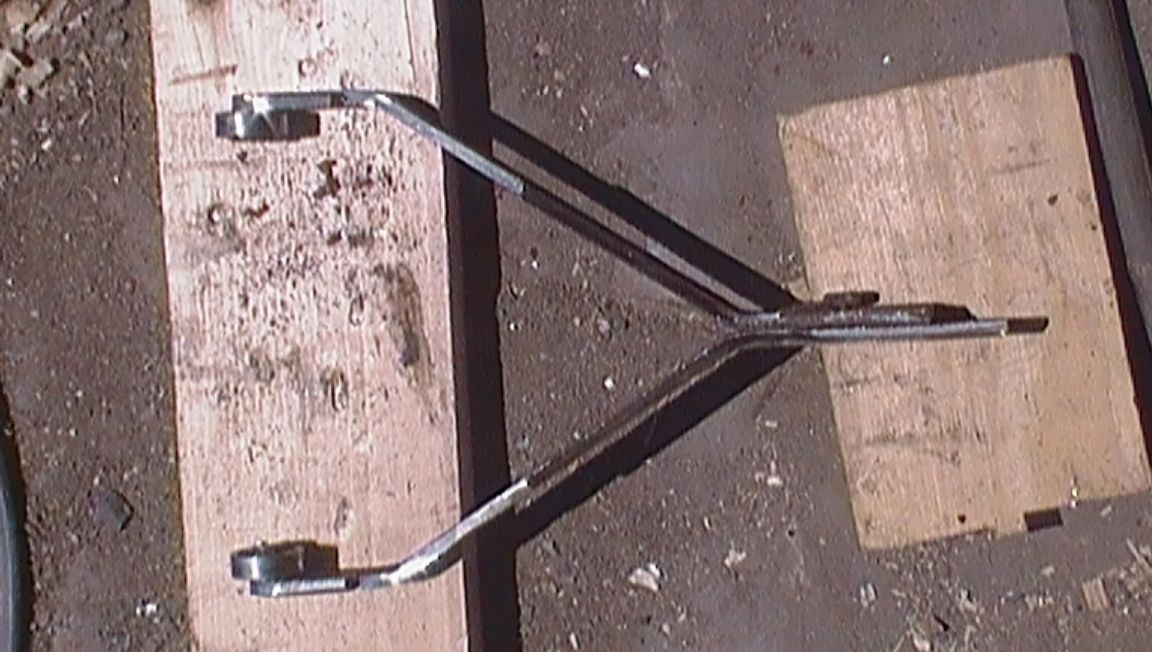
Next I made bends of the blanks with one,
and then on the other hand.
I tried on the installation site and welded both parts.
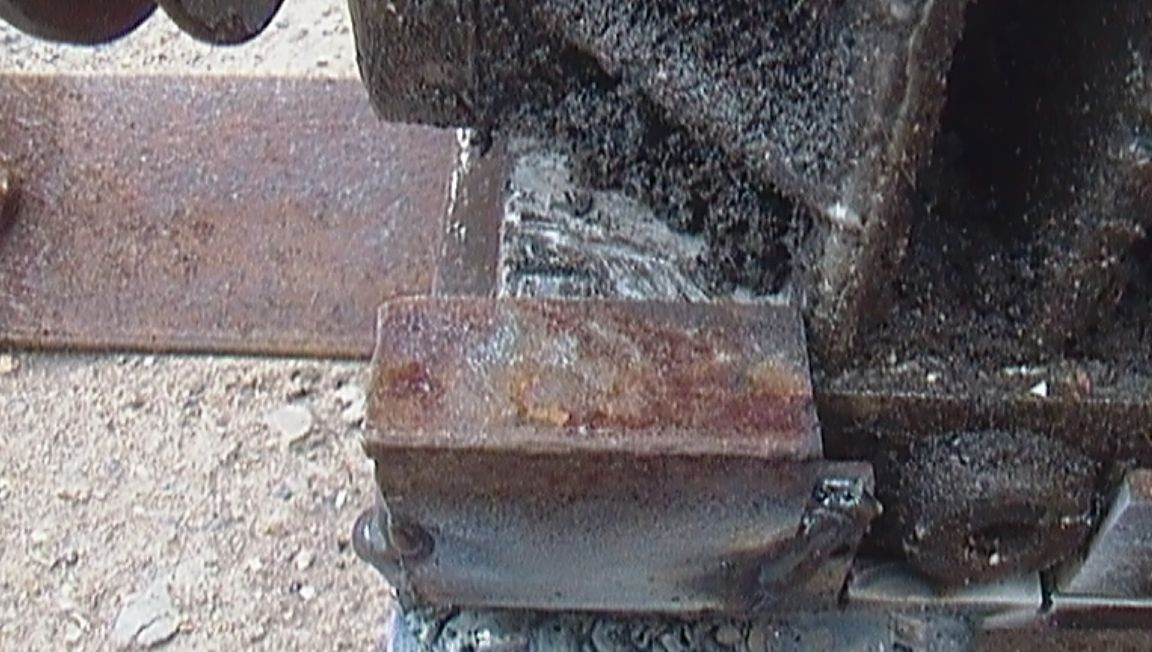
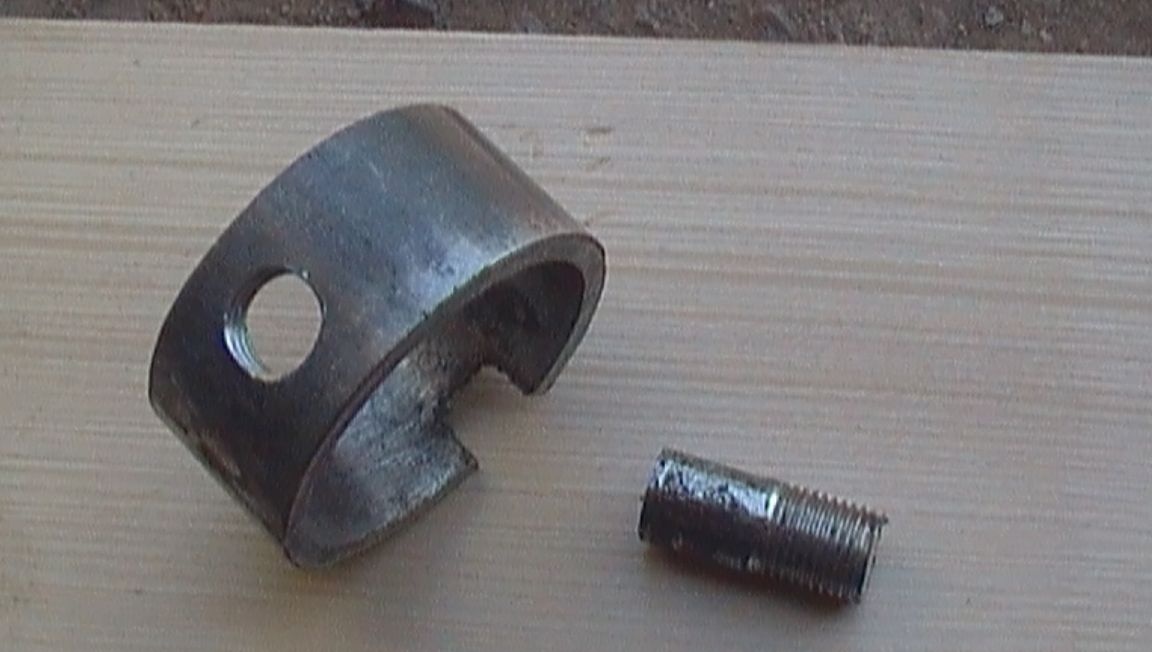
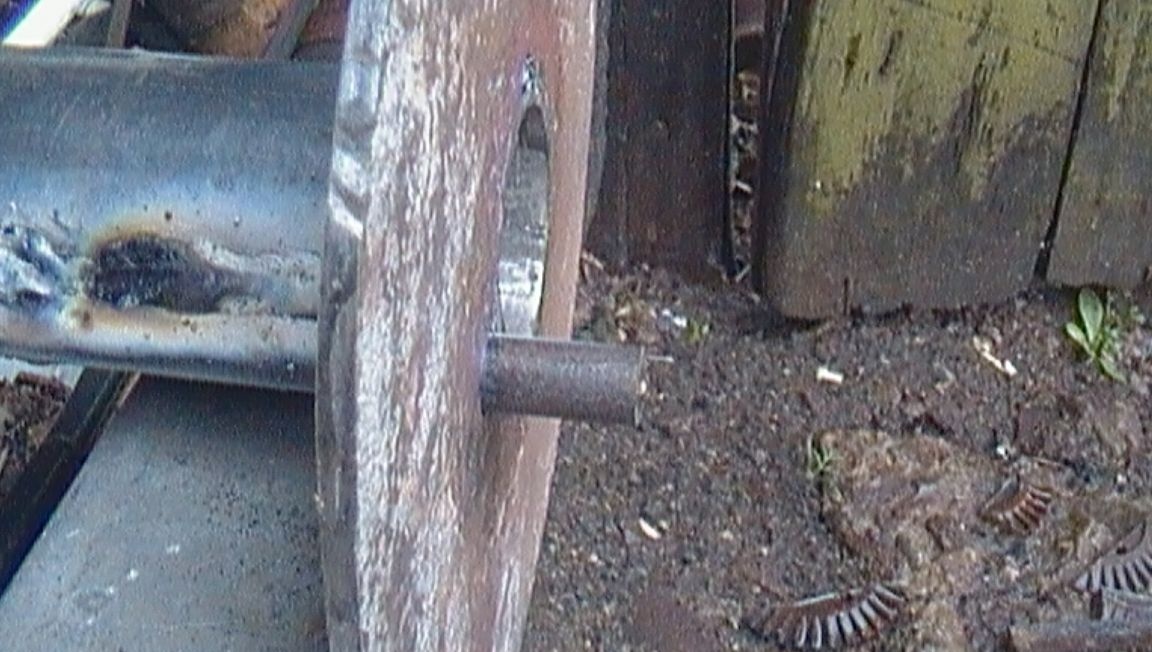
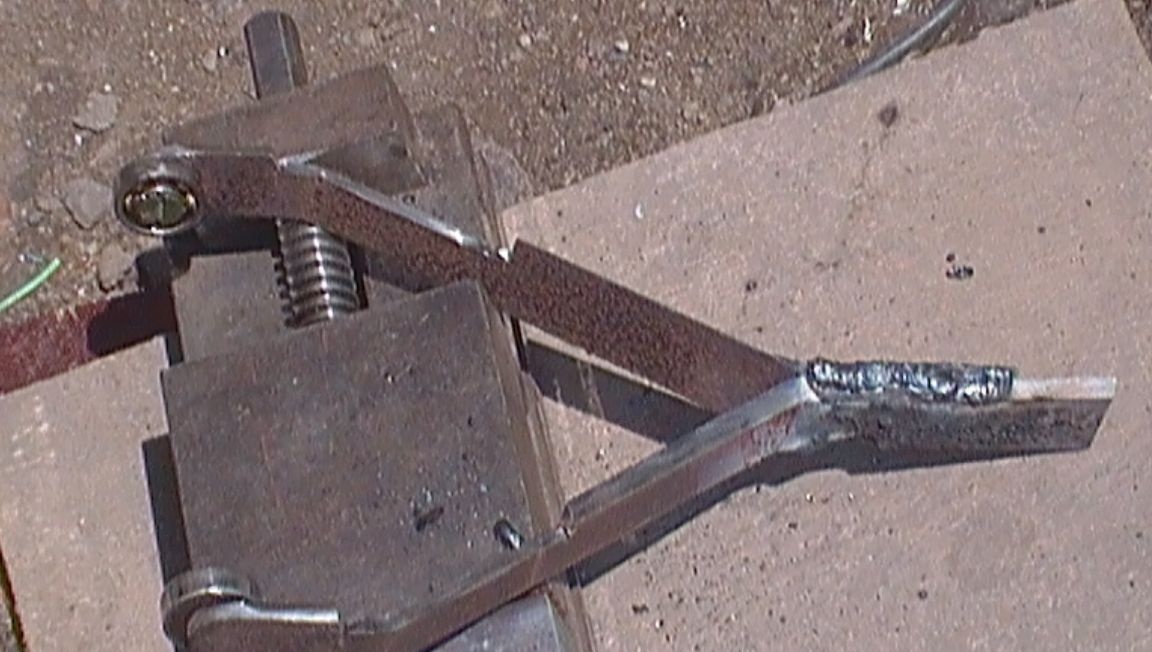
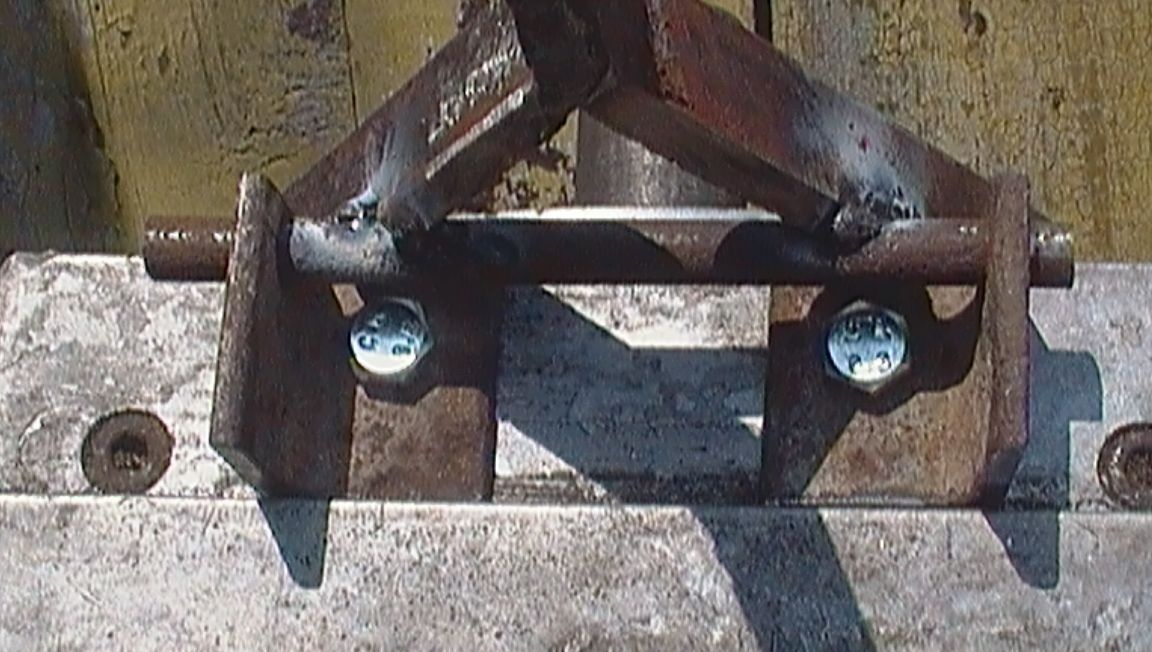
On the one hand, in the resulting fork, I cut out recesses under the axis on which the fork will be held on the gearbox
and after welding cut off the excess.
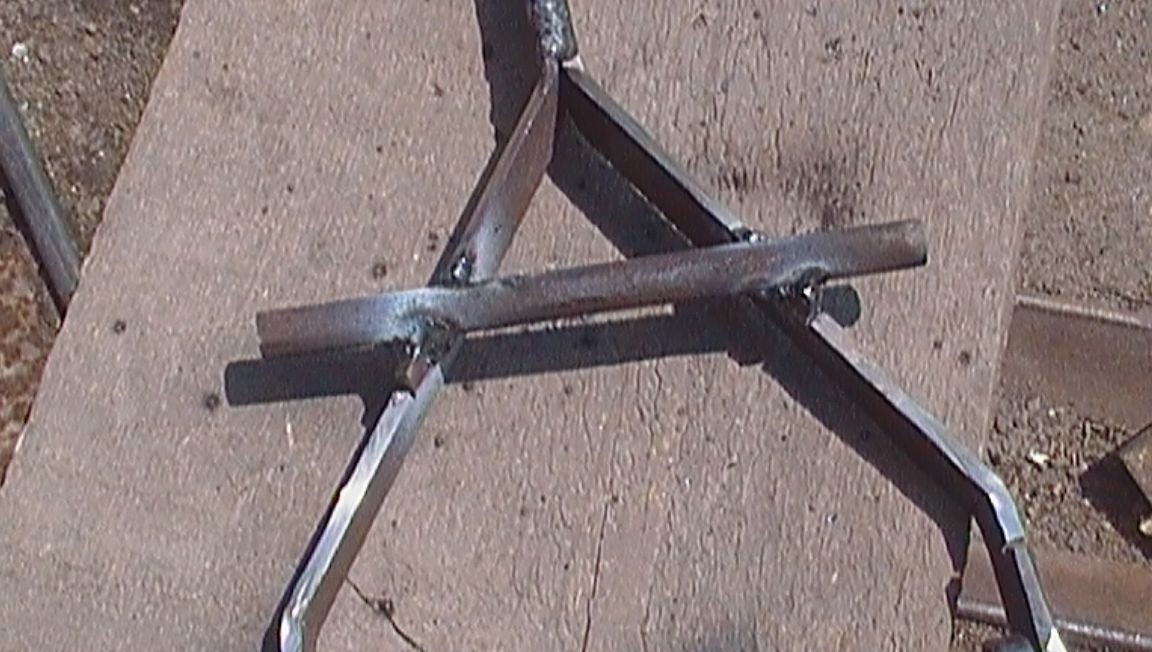
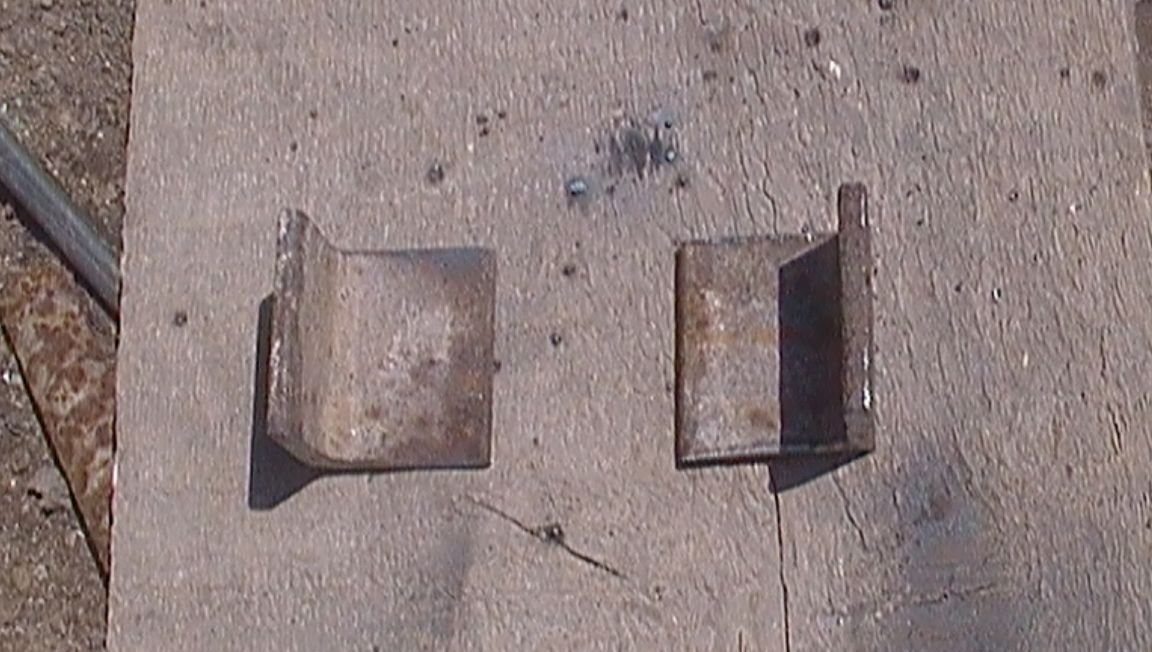
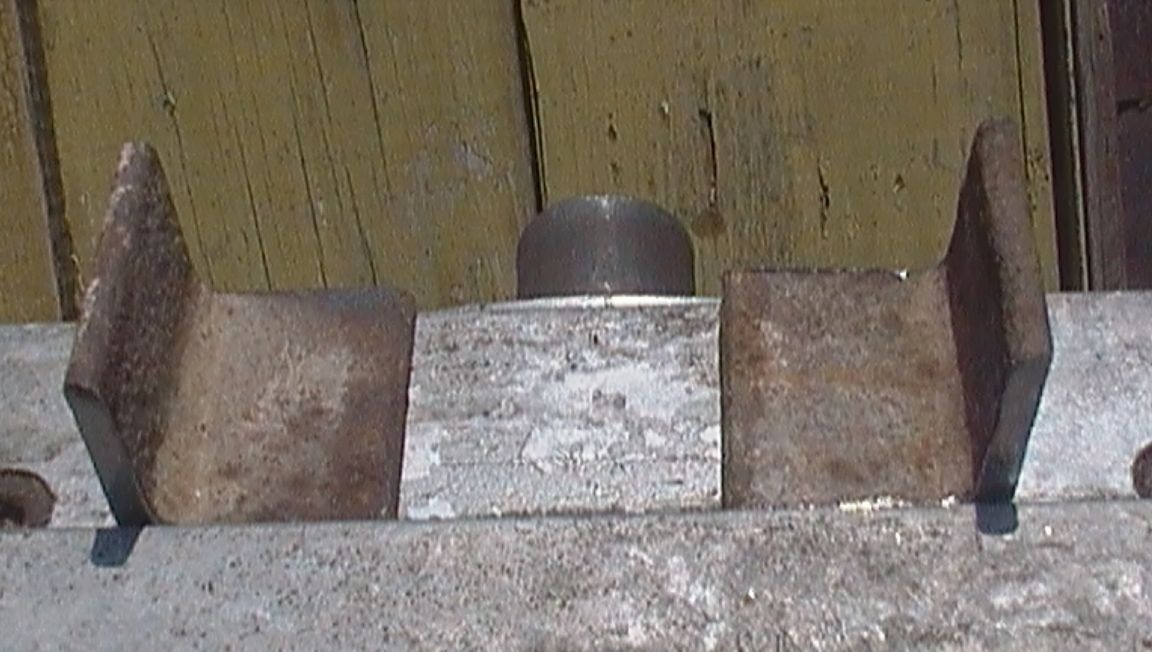
To mount the axis, I cut 2 corners with a shelf of 35 mm.
made a marking for the axis of the plug, drilled holes.
He unscrewed the standard bolts and installed a fork with a mount.
To eliminate the axial movement of the axis of the plug, I drilled holes and put the washers in the cotter pin on both sides.
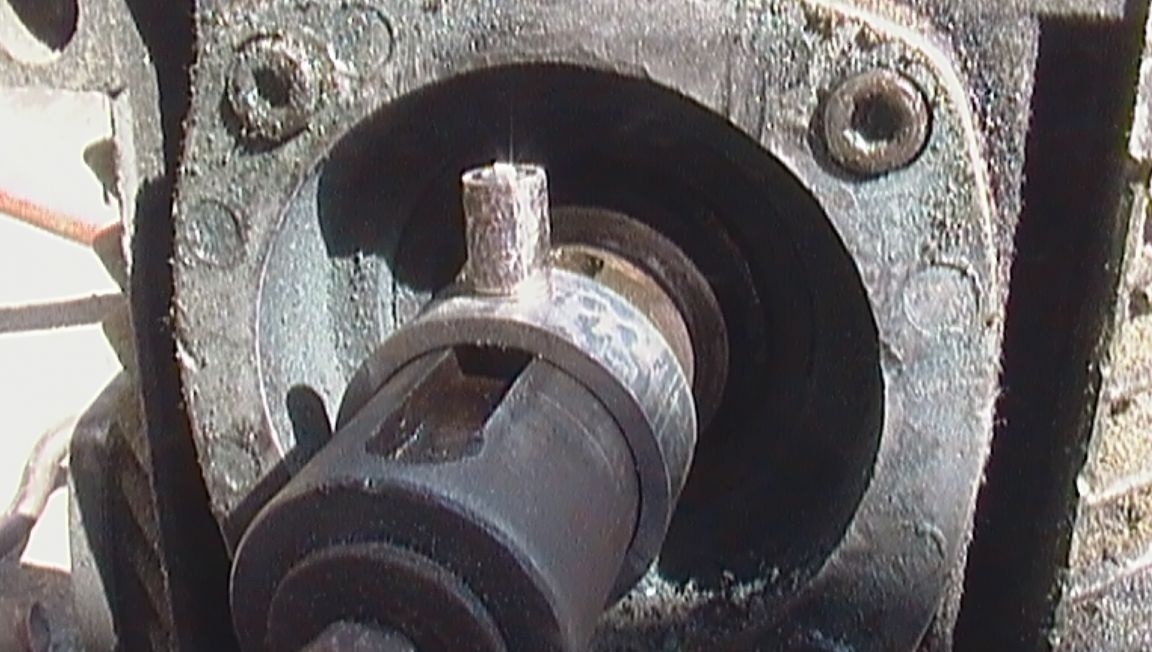
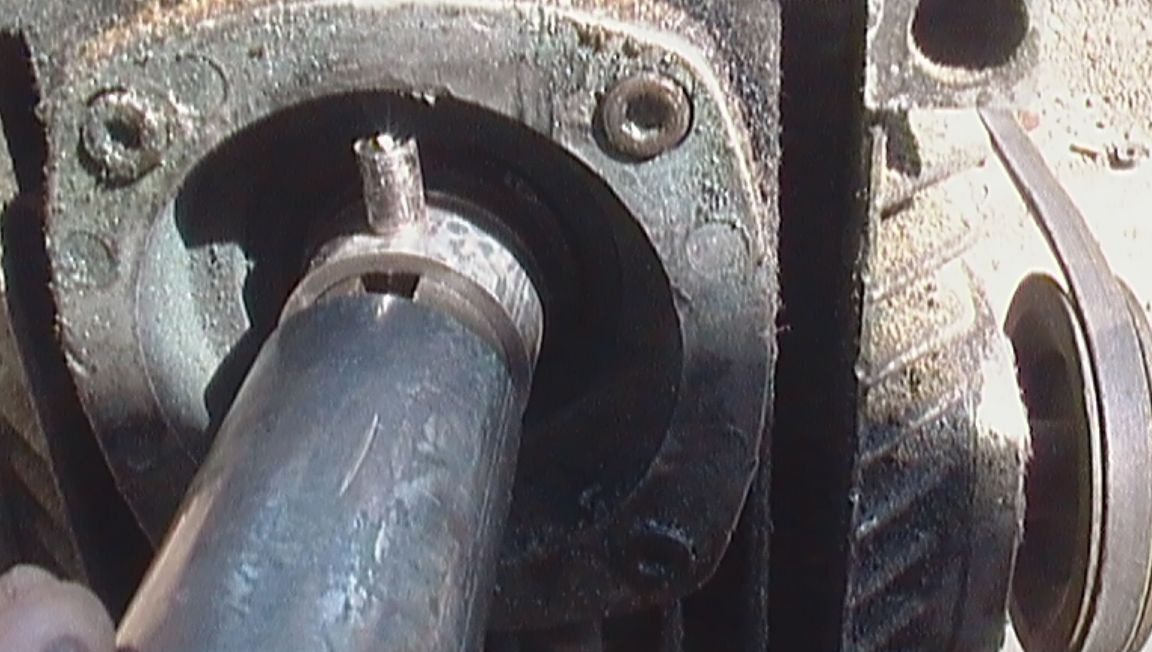
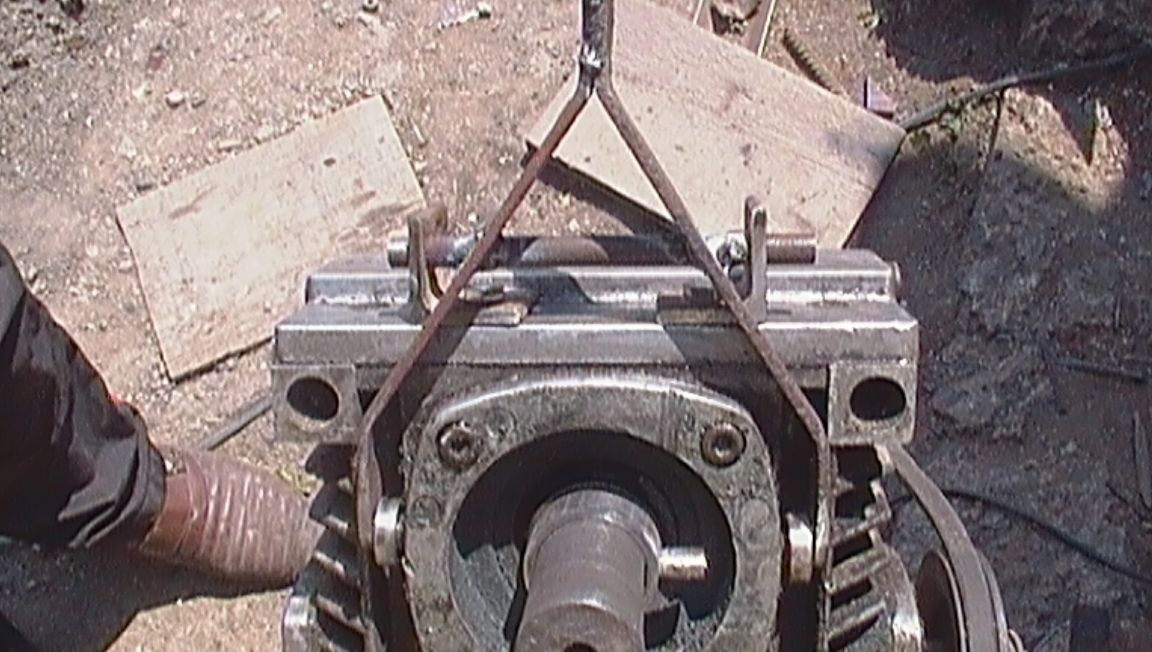
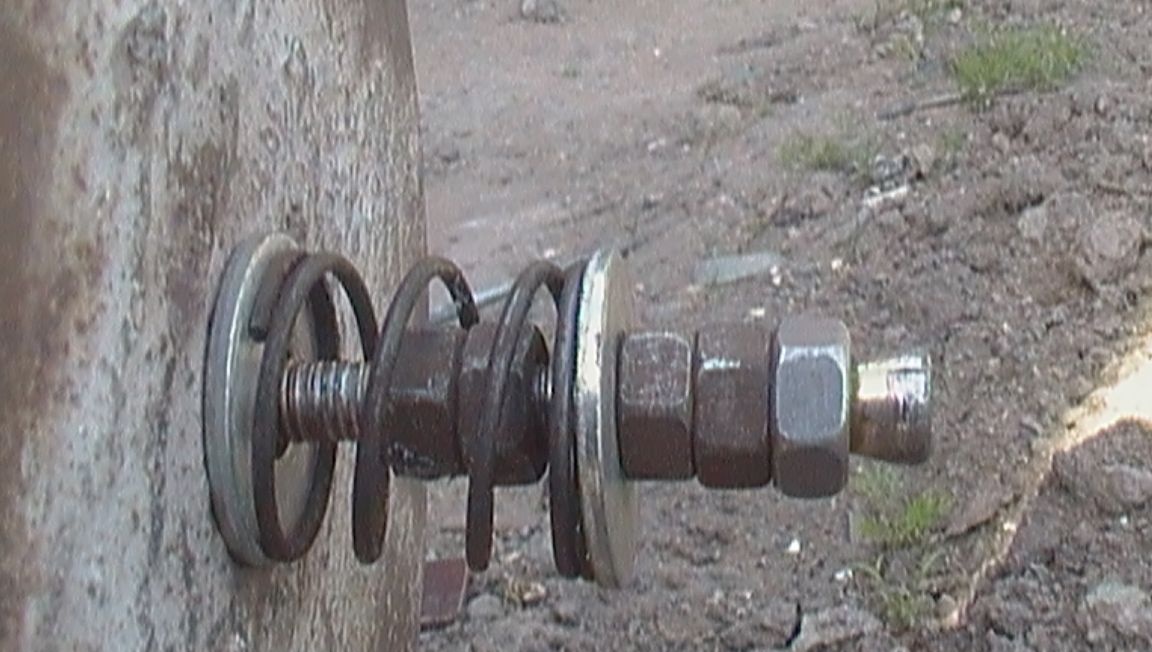
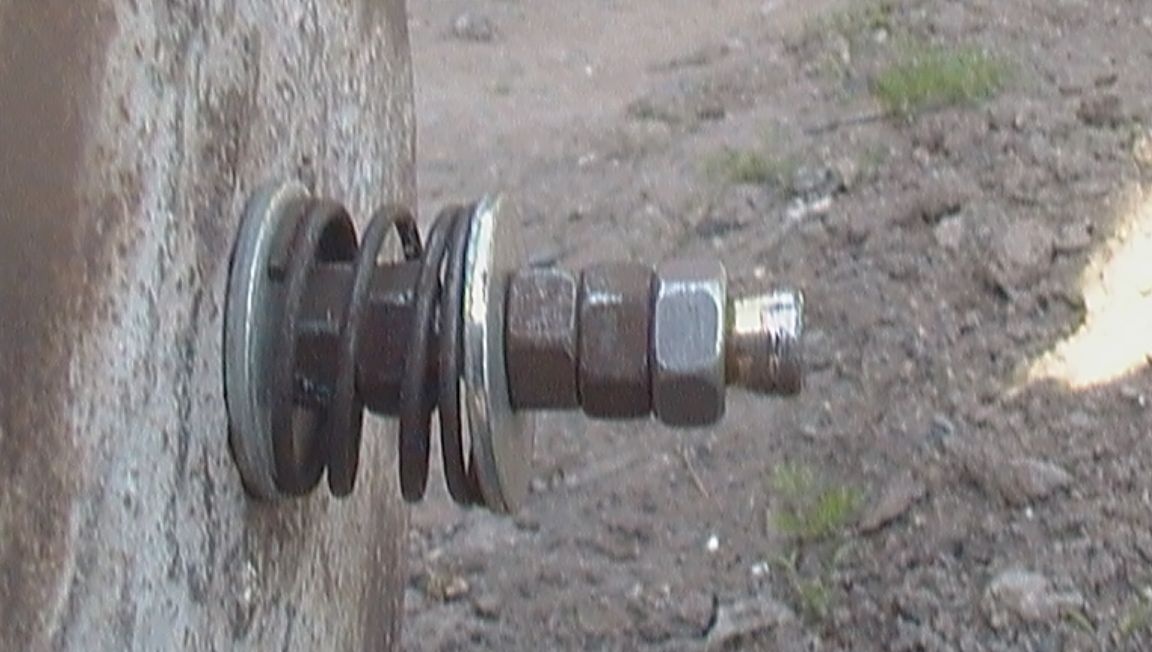
To return the drum into gear, I had to “break” my head. In the end, he came up with this thing:
A threaded pin M8 is screwed into the gearbox axis, nuts are screwed onto the pin. Between the washers, a spring is opened for working out. 2 nuts are screwed inside the spring to limit the extension of the drum.
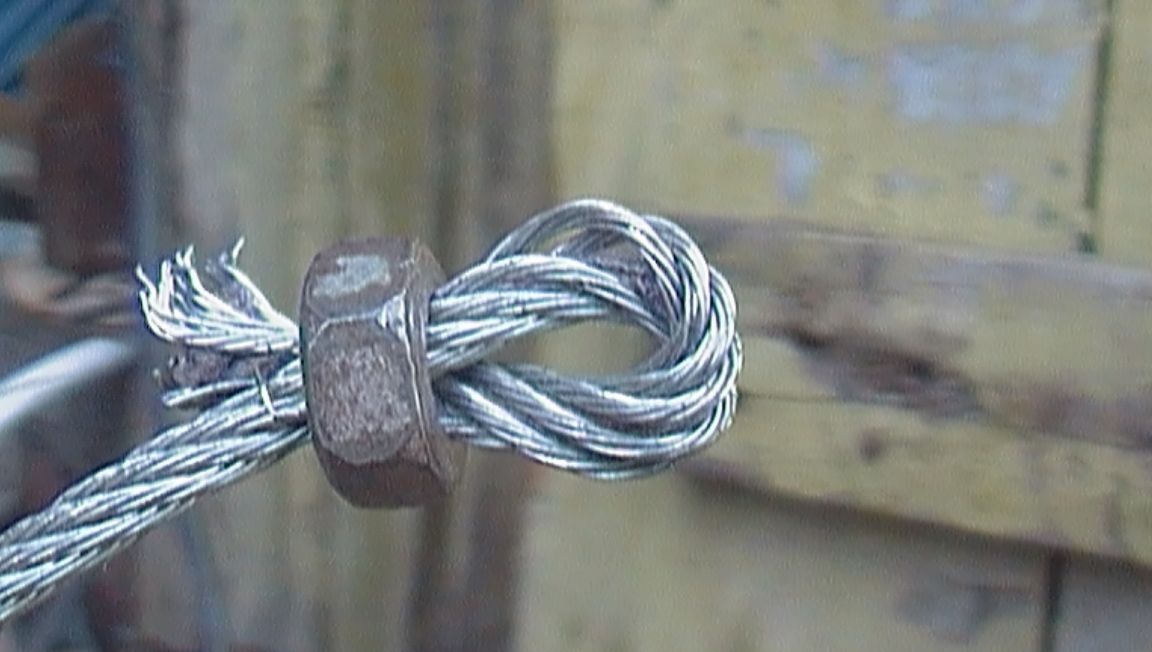
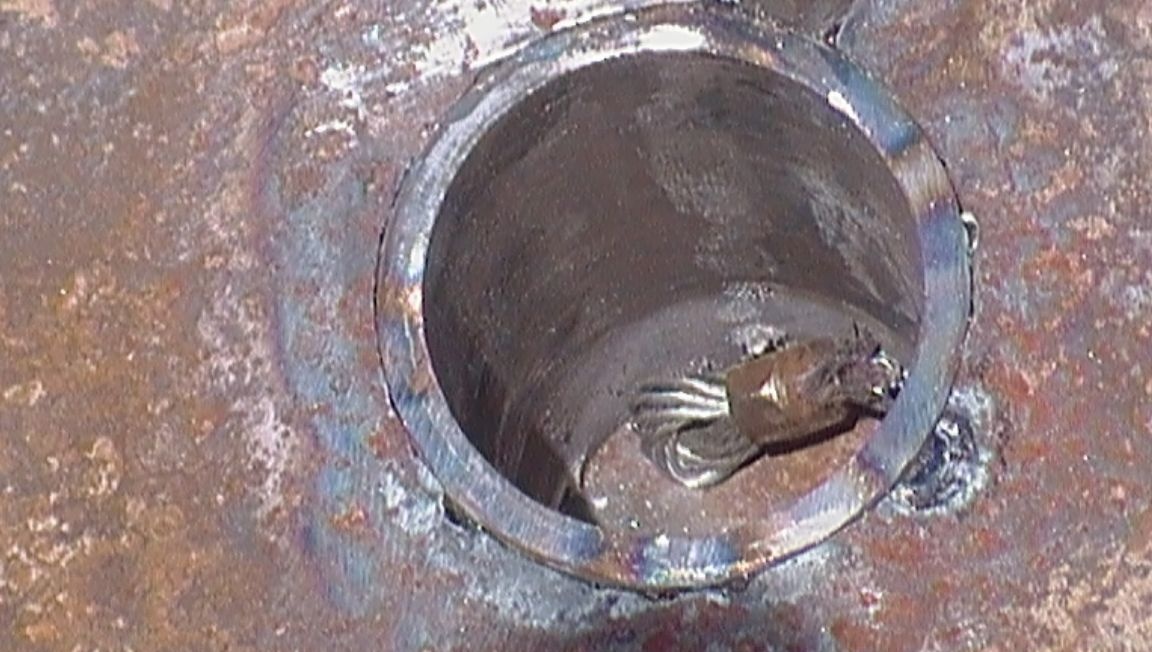
After that he took off the drum and drilled a 4 mm hole. for the cable.
Passed the cable inside the drum, put it in the M6 nut
and riveted her.
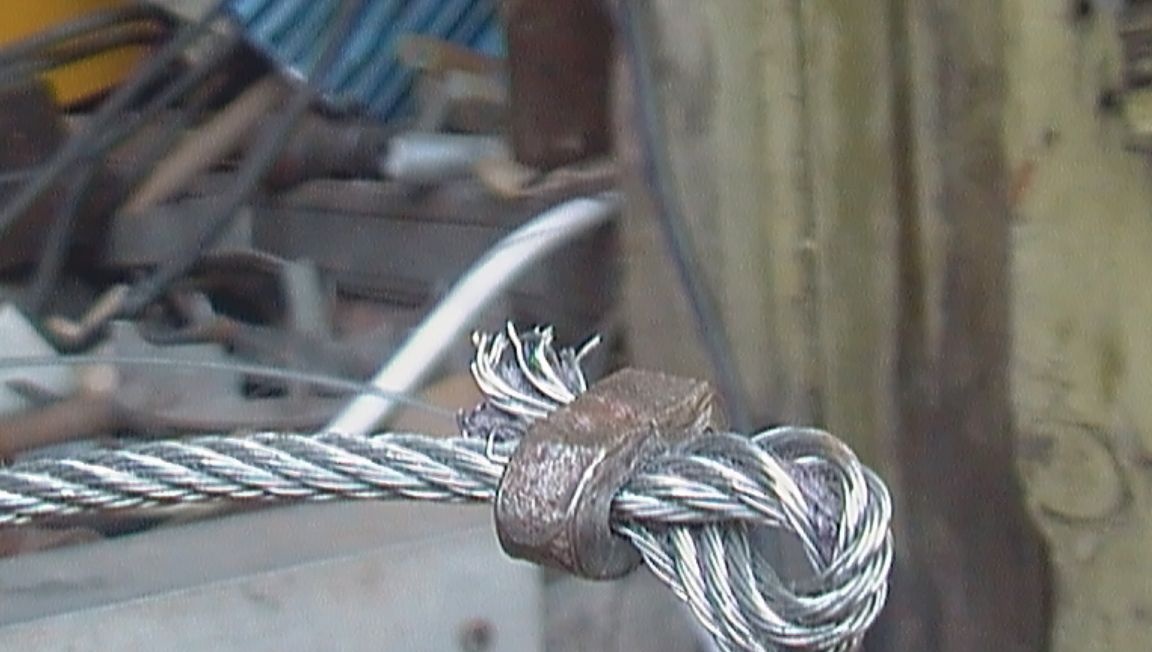
Pulled out a cable
positioning the end of the cable so that it does not interfere.
I twisted the cable onto the drum. In order that the cable would not unwind, temporarily secured with a vise.
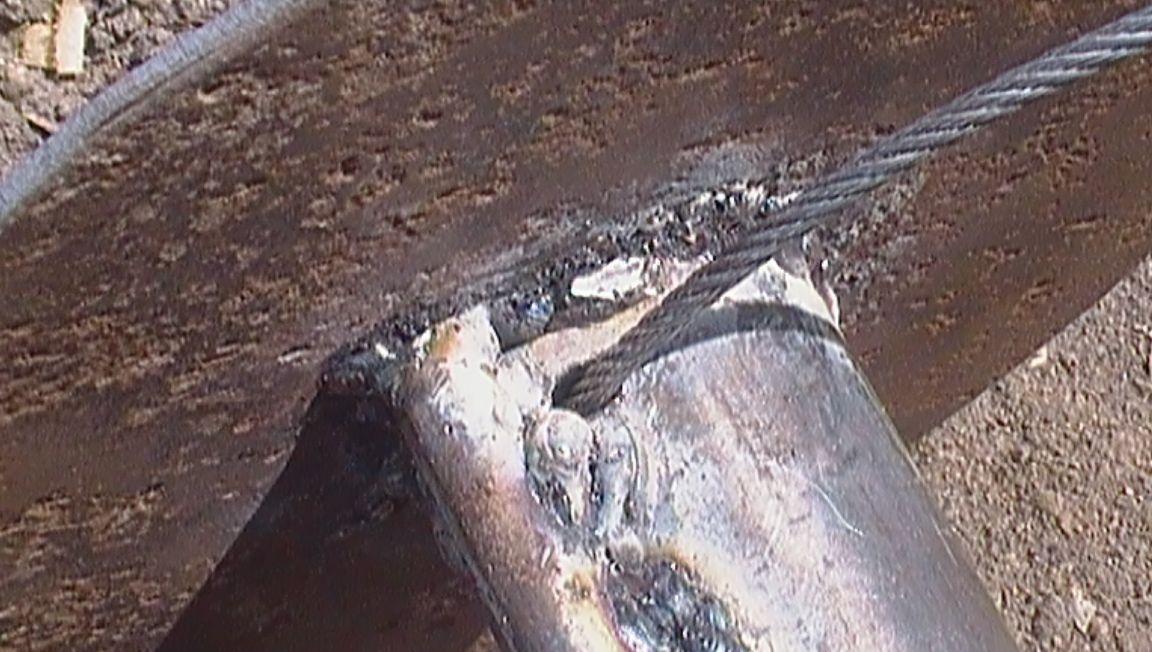
At the end I tied a loop and shook electrical tape for safety. As a result of the work done, such an aggregate turned out.
The next step will be load tests. If he lifts about 150 kg. I will use this engine.