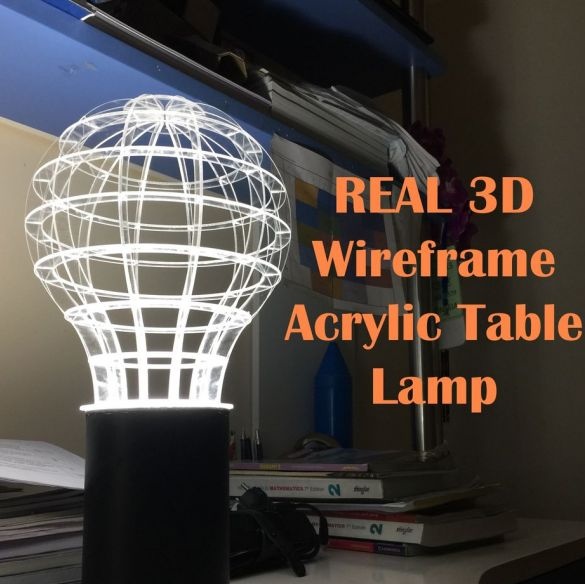
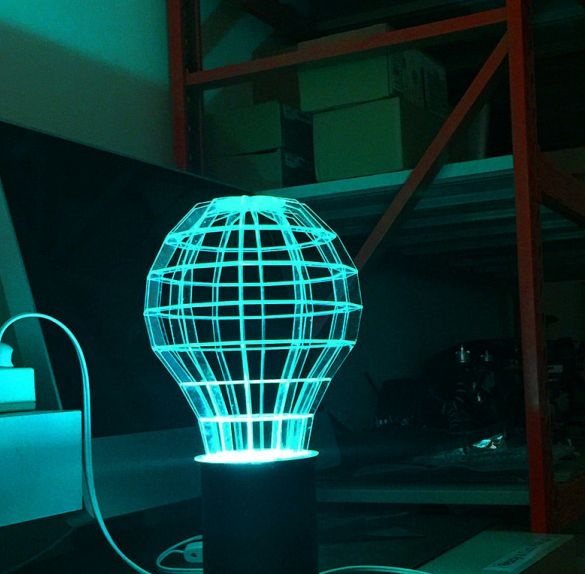
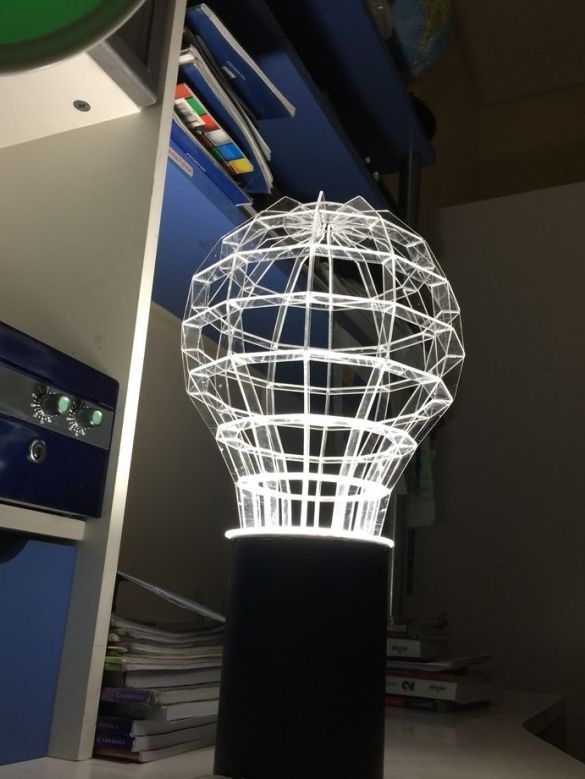
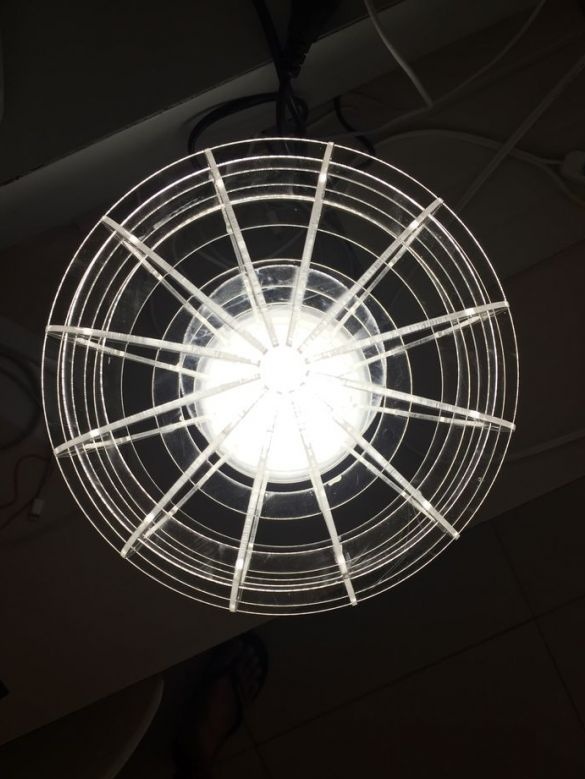
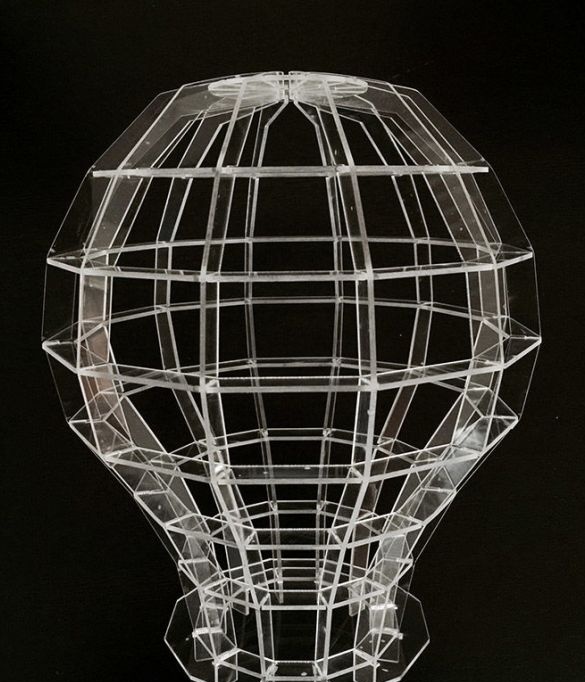
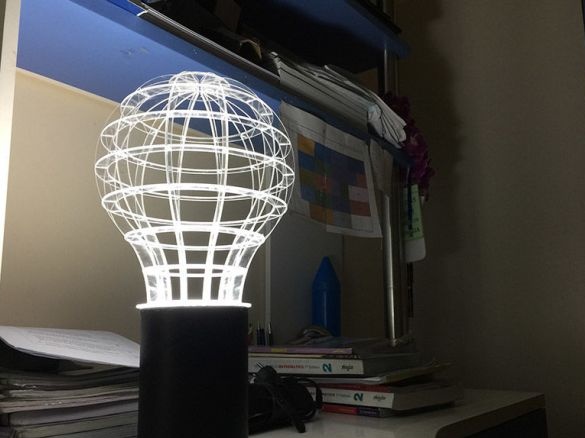
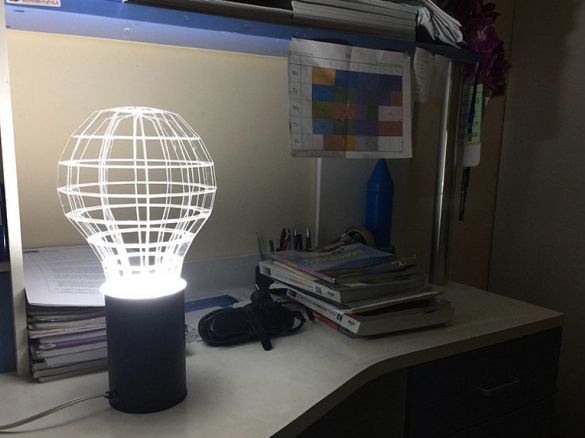
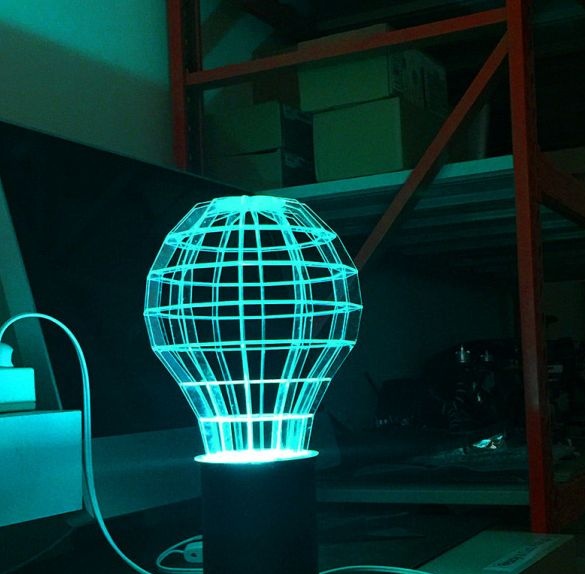
The 3D lamp was invented and manufactured by the author. The entire process for its manufacture will be considered in this article.
Tools and materials:
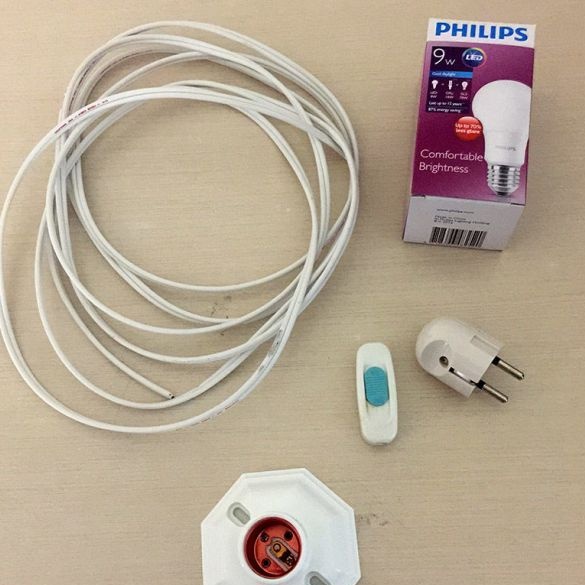
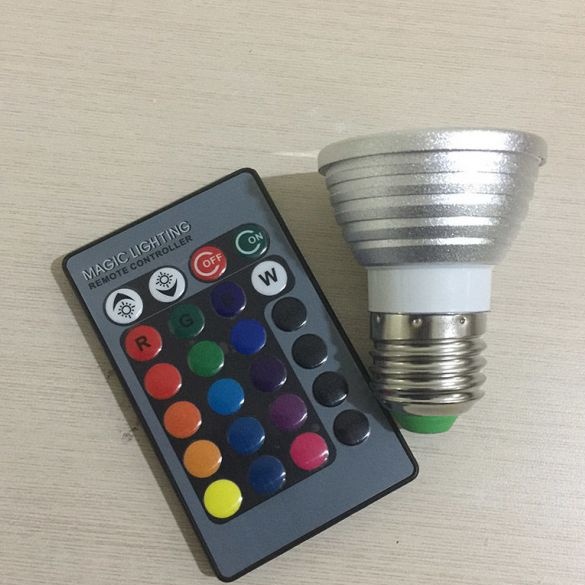
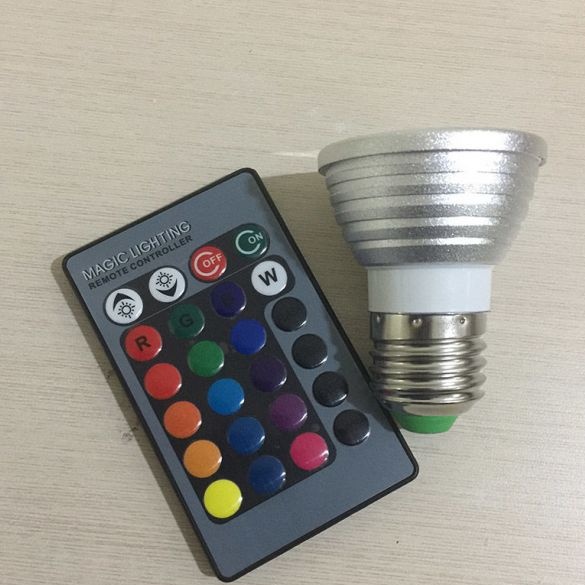
-LED RGB light bulb (7-9 W) with remote control;
-The wire;
-Electric cartridge;
-Electrical plug;
-Switch;
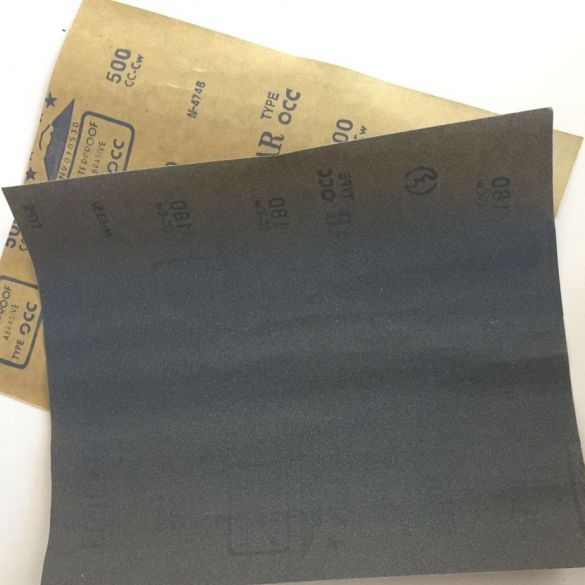
-Sandpaper;
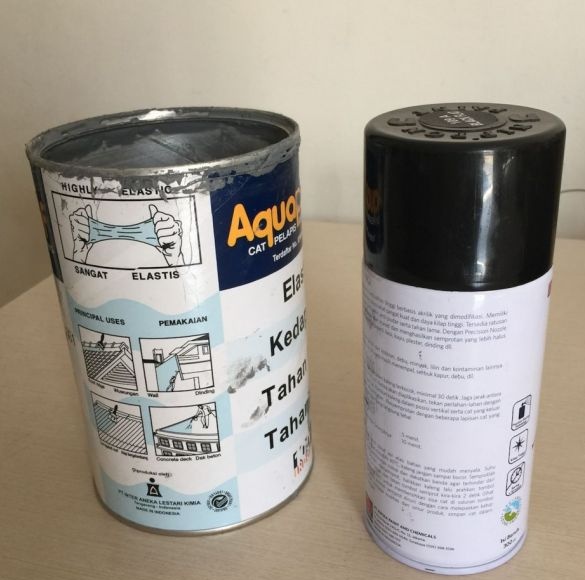
- Spray can with paint;
- Empty can ø10cm;
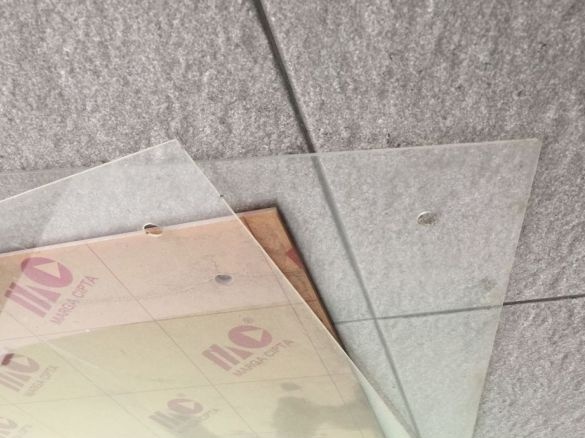
-2mm acrylic sheet;
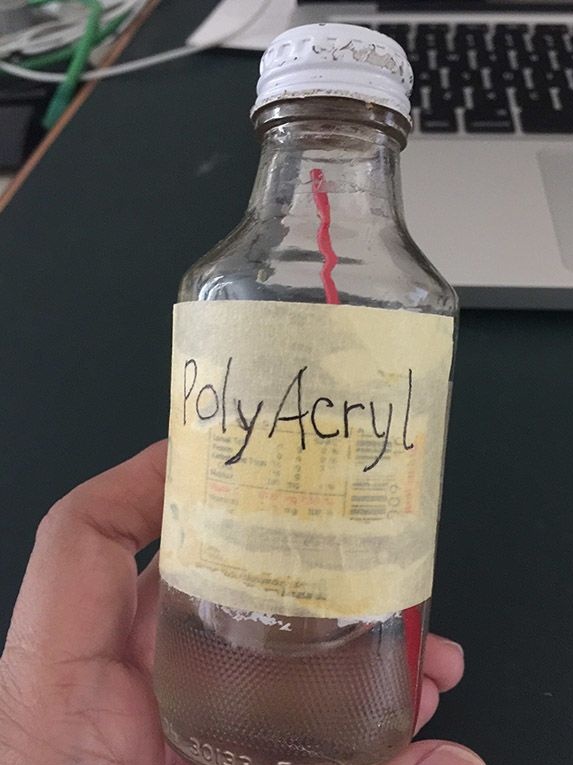
-Polyacrylic adhesive;
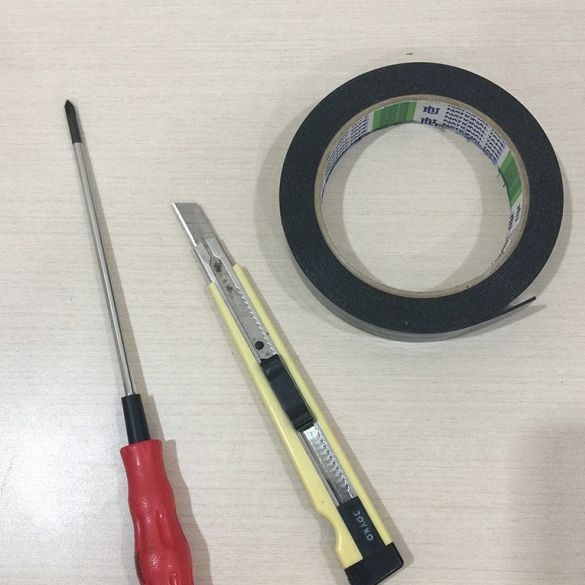
-Screwdriver;
-Double-sided tape;
-Laser cutter;
Step One: Sketch
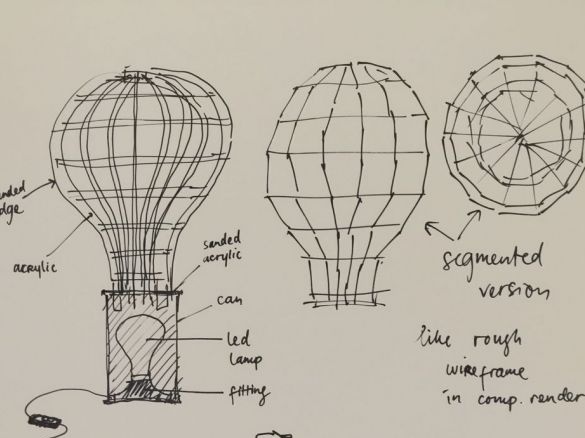
First, the author drew a sketch of the lamp.
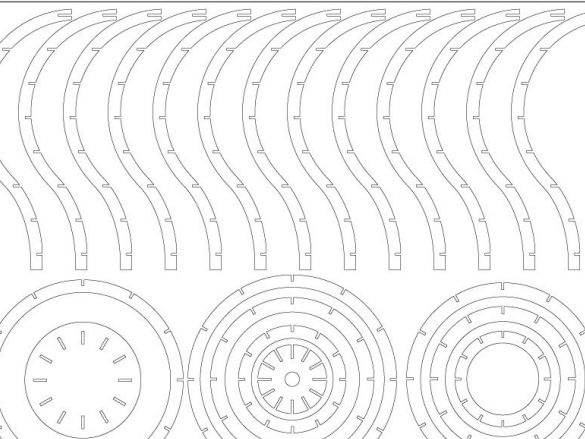
Then he developed, in a special program, a model for laser cutting of the upper part of the lamp. The author provides links to layouts for CorelDraw and Adobe Illustrator.
+
+
Step Two: Cutting
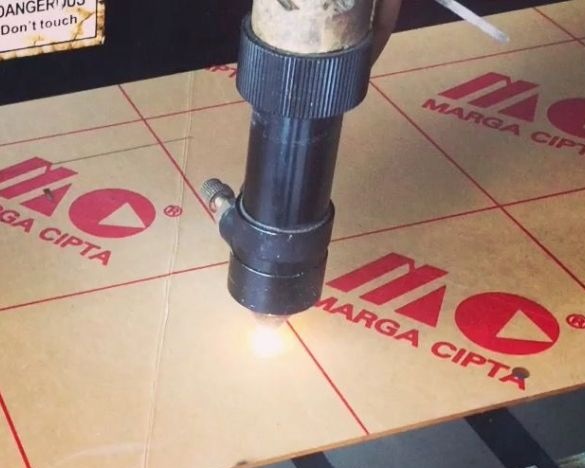
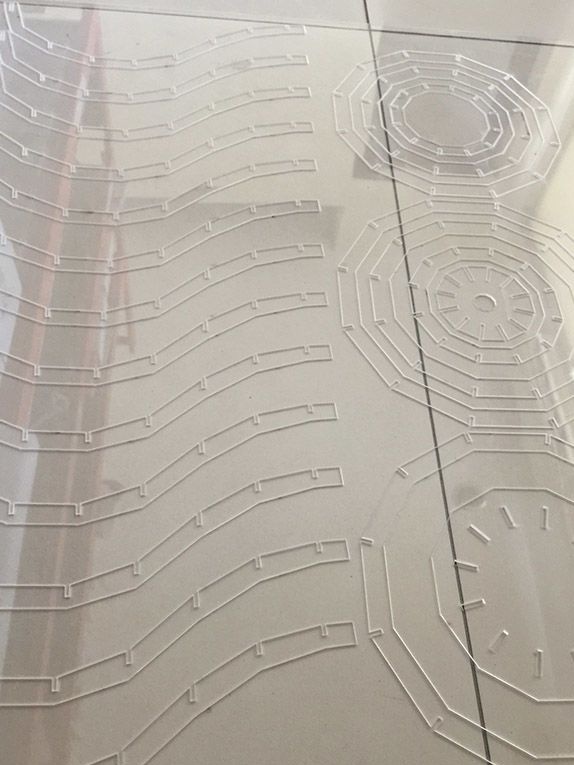
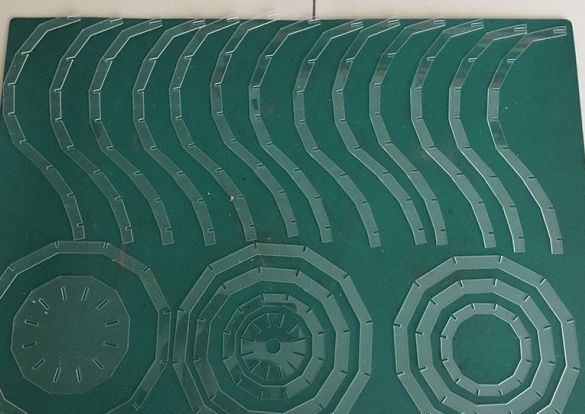
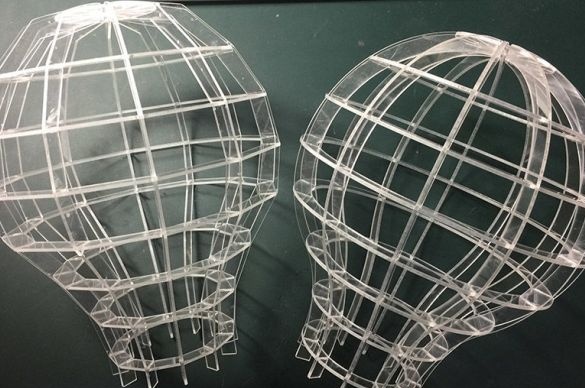
Acrylic sheet has dimensions 450 * 600 * 2 mm. Cuts out parts of the lamp.
Step Three: Parts Processing
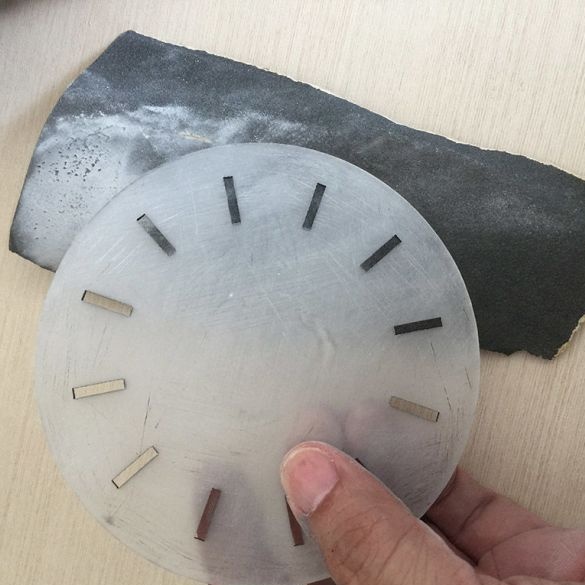
In order for the light to scatter, it erases the outer ends on the edges with sandpaper.
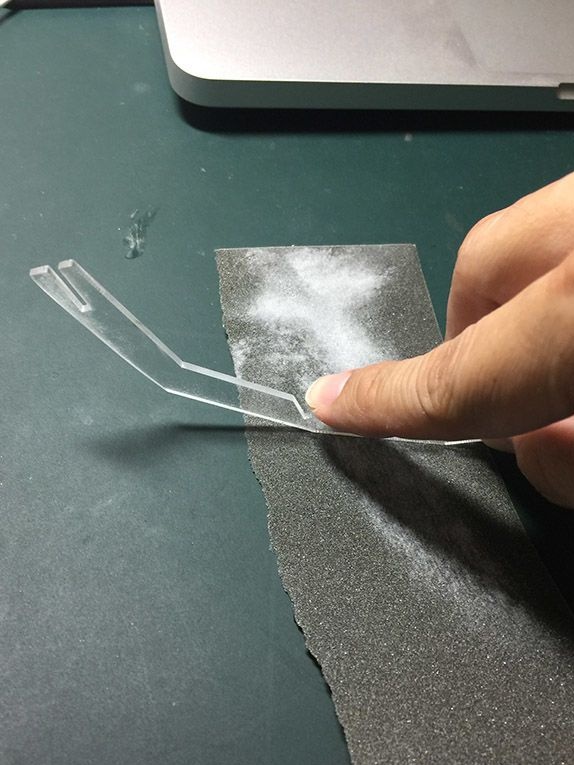
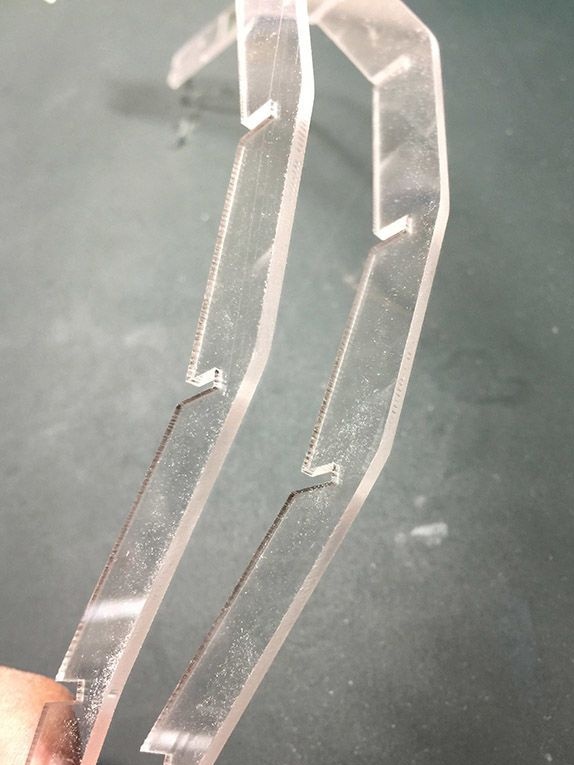
The base plane strips on both sides.
Step Four: Build
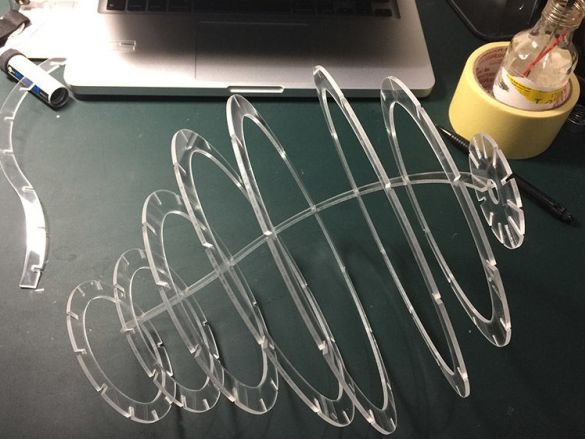
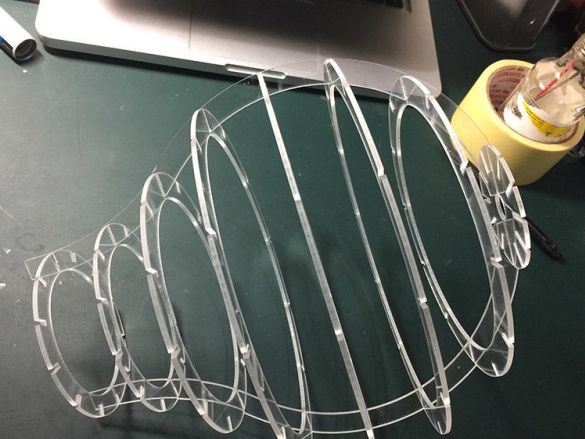
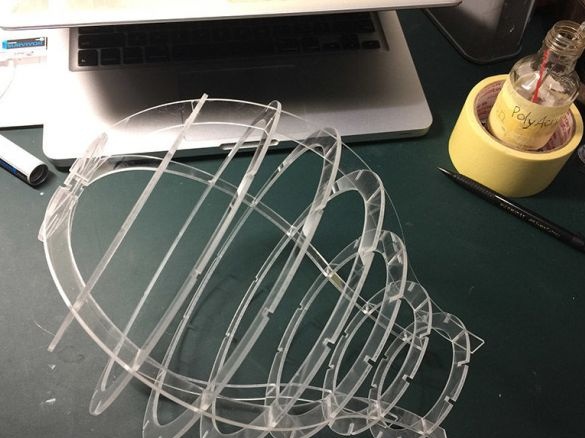
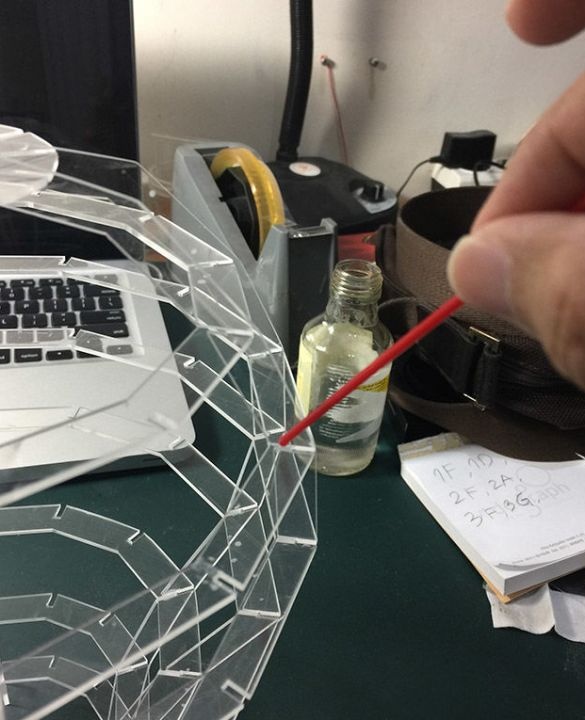
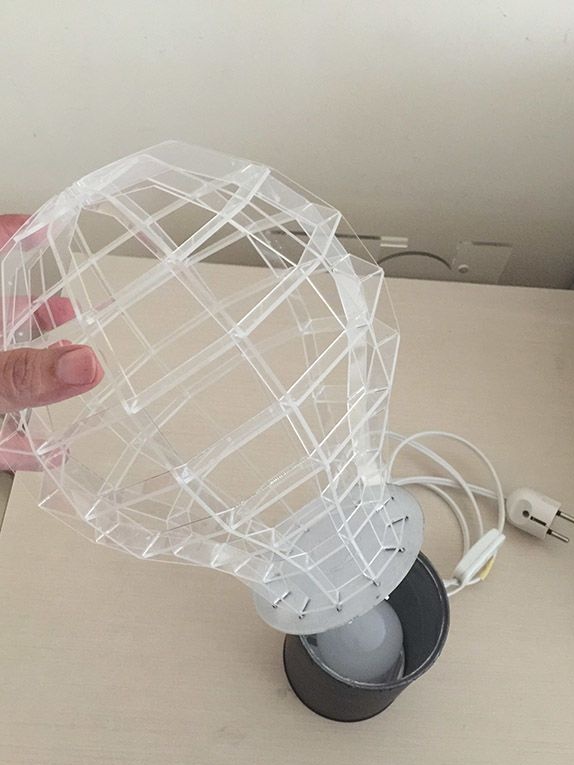
Starts to build. The joints are fixed with polyacrylic adhesive.
Step Five: Electrical
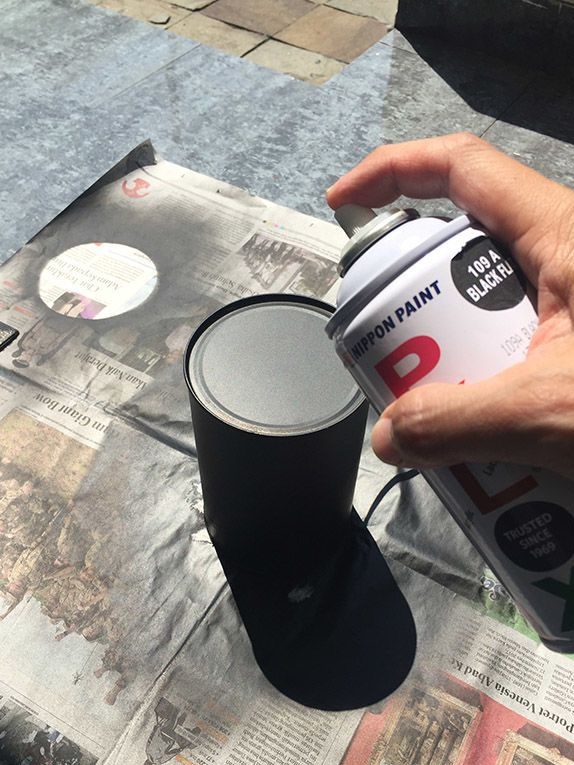
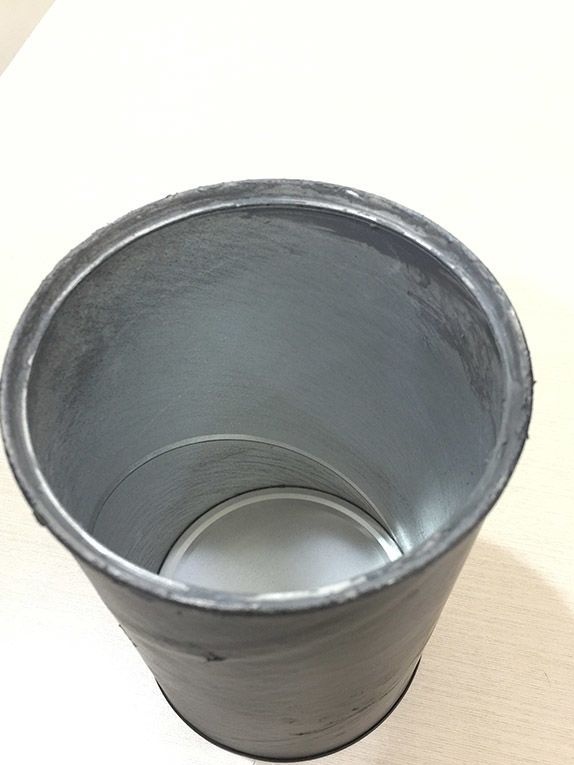
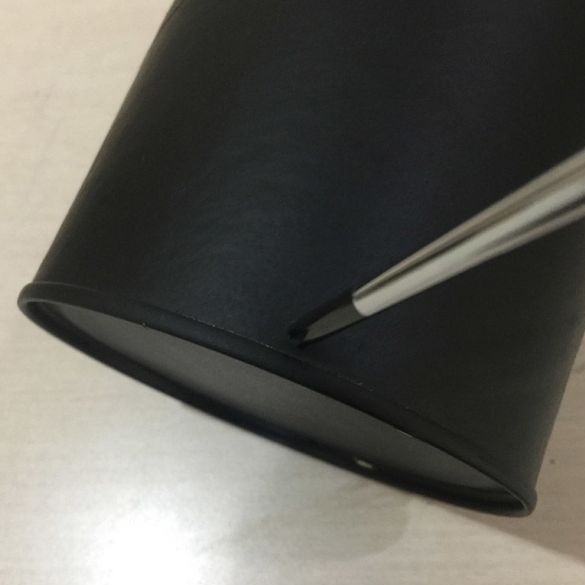
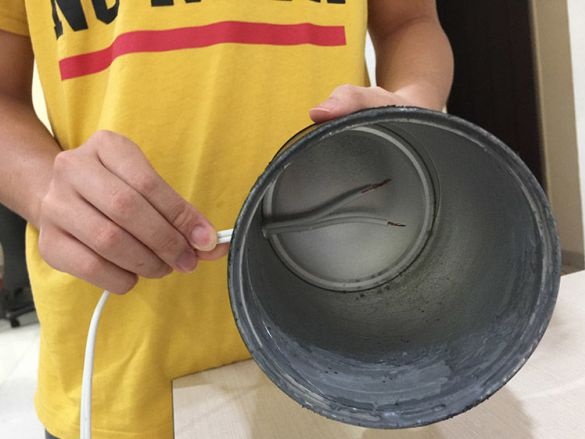
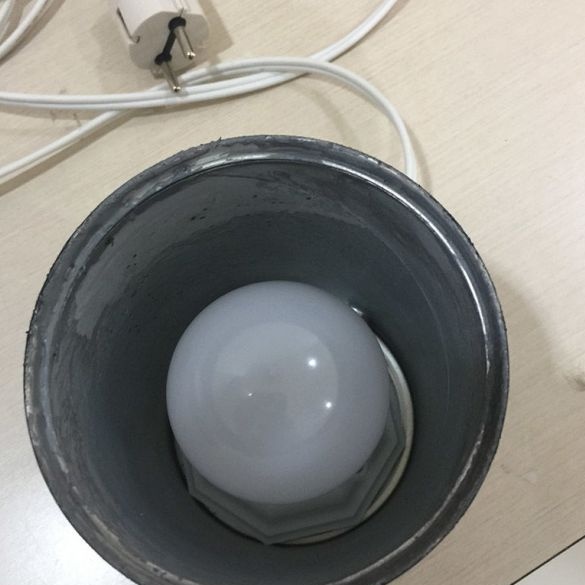
Collects the electrical part of the lamp. Coats the outside of the can with paint. After drying, at the bottom, makes a hole for the wire.
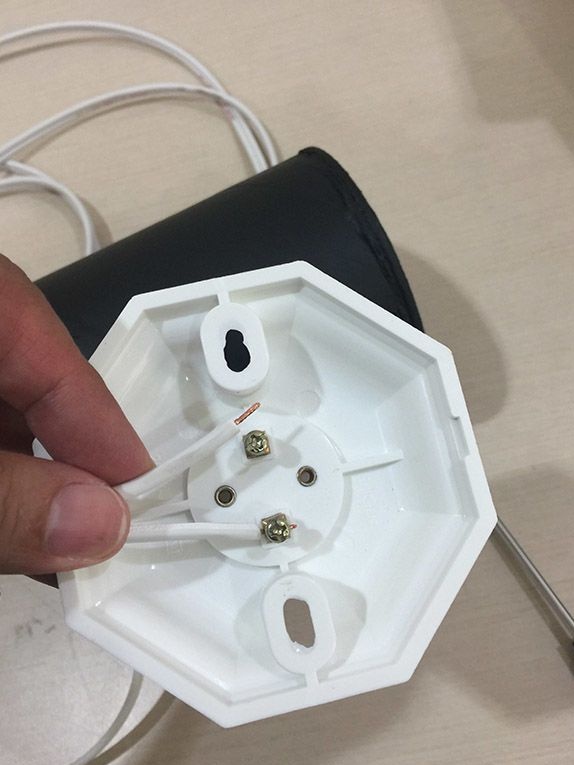
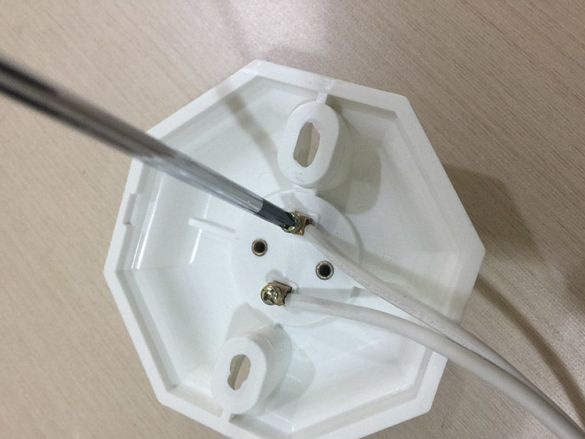
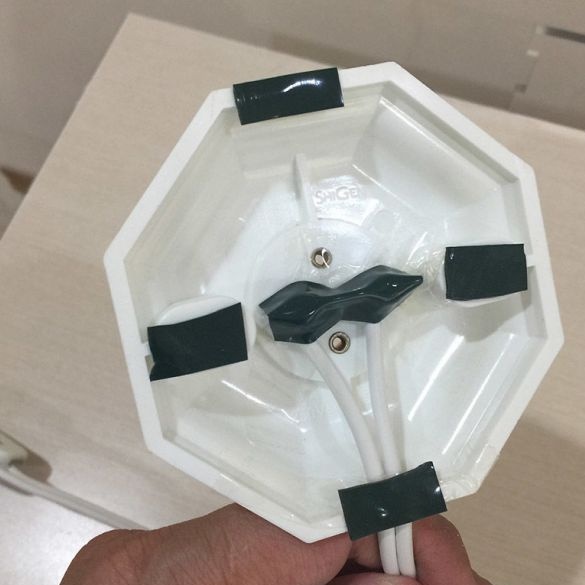
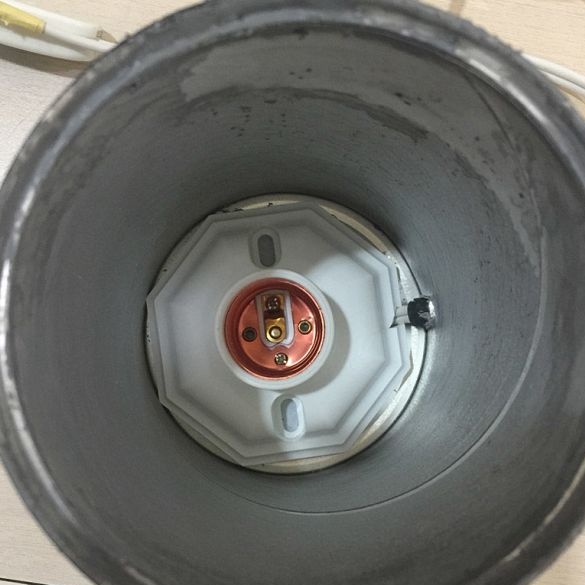
Connects the wire to the cartridge. The cartridge sticks to the bottom of the can using double-sided tape.
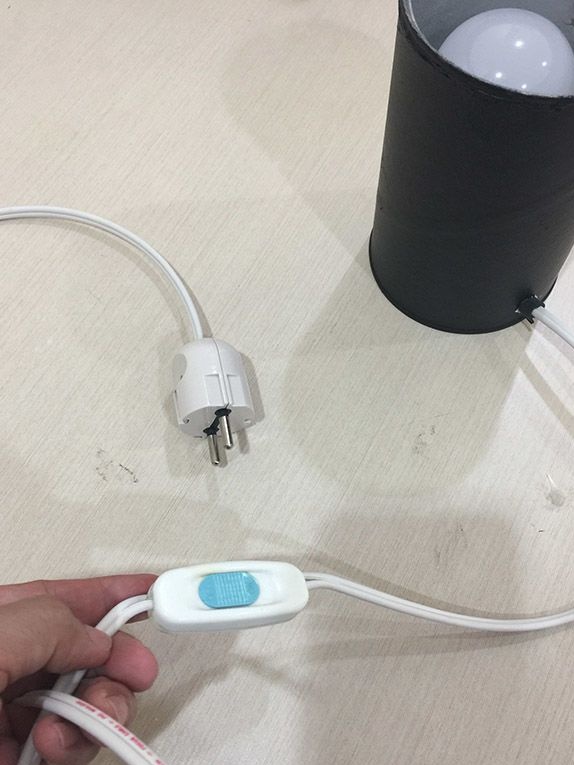
Sets the plug and switch. Screws in a light bulb.
Now it remains to install an acrylic design from above and the lamp is ready.
In the video provided by the author, you can see how the lamp works.

