

The cycling season has already begun long ago, and if you ride a bicycle in the dark, then the different bike lights will become the most necessary thing on a bicycle. Probably no professional cyclist can do without a bicycle headlight. With the help of them you can avoid serious accidents on the road, as with the help of these luminous devices you can easily be noticed by anyone motorist, and even a pedestrian. Also, with the help of them you can not only save your life, but also light your own path. And if you ride a bicycle in the winter, they will be very useful, because at this time of the year it gets dark very early. But how to fix it on a bicycle? There are several options. One of the most common ways is to mount on the handlebars of a bicycle, that is how we will attach our future bicycle headlight. There are also other ways, such as mounting on a bicycle fork from two sides. Can be fixed above the plug. Bicycle lights can be bought in stores and in online stores. True, good headlights are expensive, so you can make your own homemade bicycle headlight. And for the manufacture of bicycle lights, we need:
Instruments:
1) Electric soldering iron,
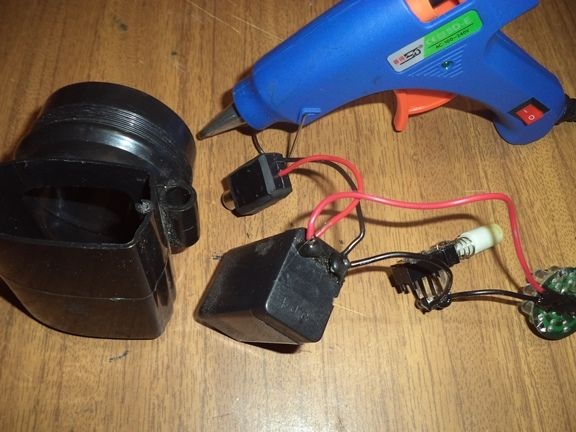
2) Glue gun and hot glue,
3) A sharp clerical knife,
4) Nippers or scissors,
5) Electric drill or screwdriver, drill,
6) Black marker for notes,
7) screwdriver,
8) Pliers
9) Multimeter.
Materials:
1) Housing from an old headlamp,
2) Battery with a maximum voltage of 5V,
3) PDIF connectors or any others at your discretion,
4) power button,
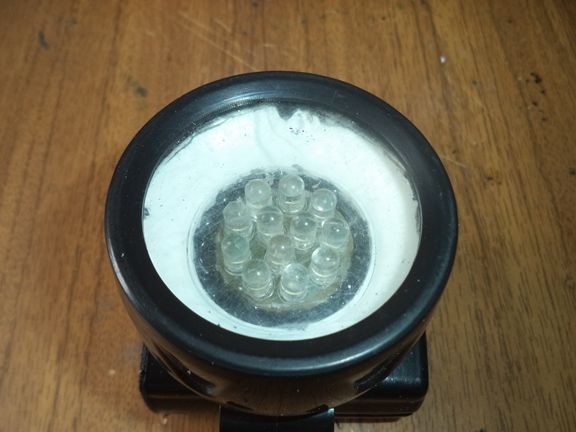
5) A board with LEDs soldered into it,
6) Red and black wires,
7) Case from a CD,
8) Any transparent material,
9) Vitamin container,
10) Mount on the handlebars of the bike,
11) Screws and nuts,
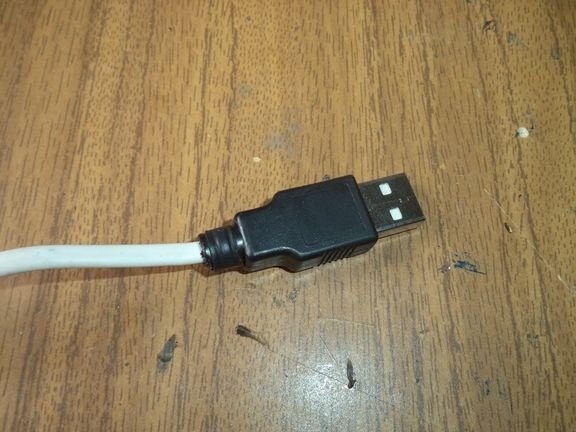
12) USB connector
13) cable,
14) Heat shrink tubing.
Battery manufacturing process cycling lantern do it yourself.
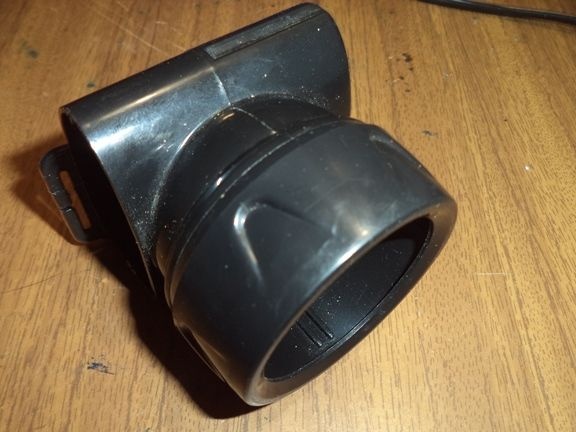
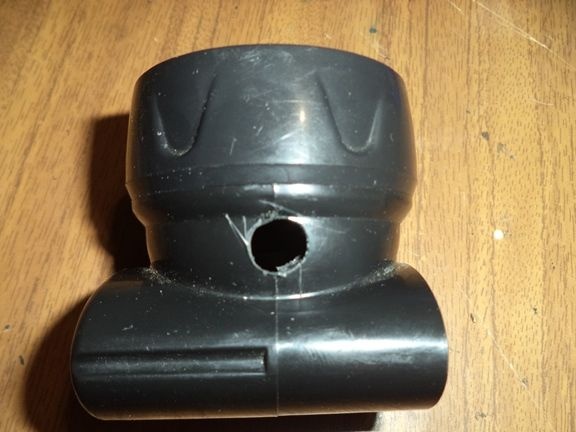
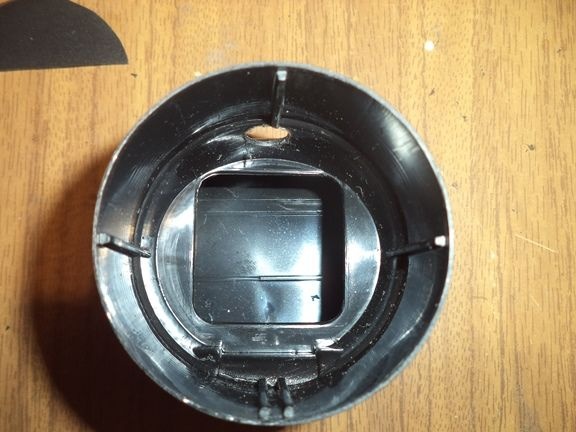
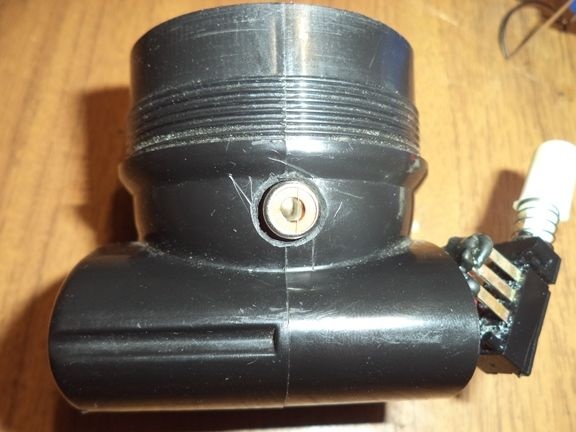
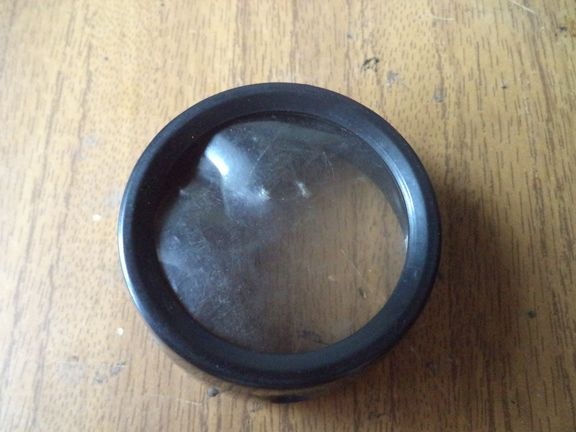
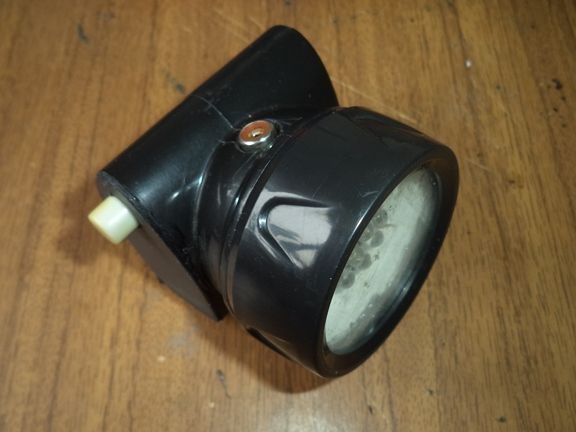
The case of the bicycle lamp will be the case from the old head flashlight.
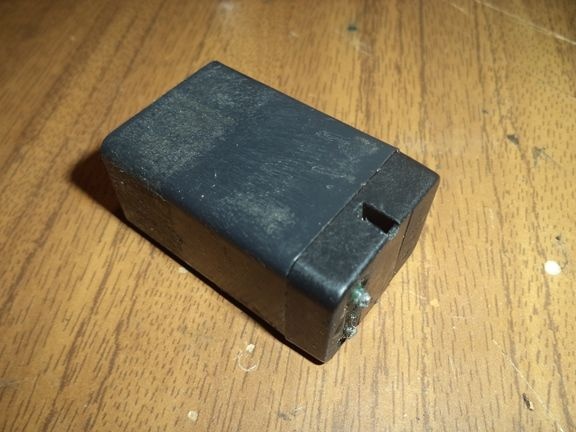
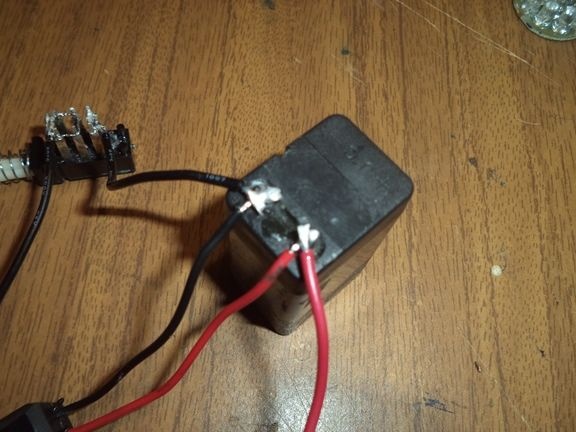
The power source will be a rechargeable 5 volt battery.
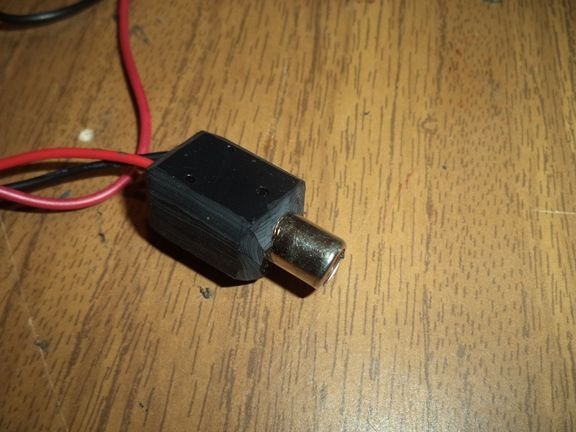
And to charge this battery, I took the PDIF connector from the speakers. You can use other connectors, for example, micro usb. It’s just that I no longer had any connectors.
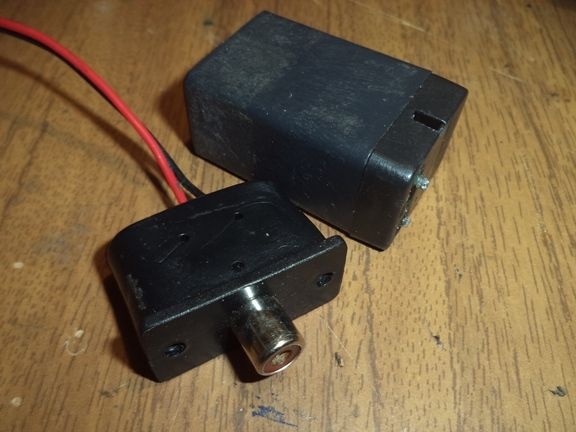
The PDIF connector was large in size, and with the help of a clerical knife, I cut off the unnecessary parts.
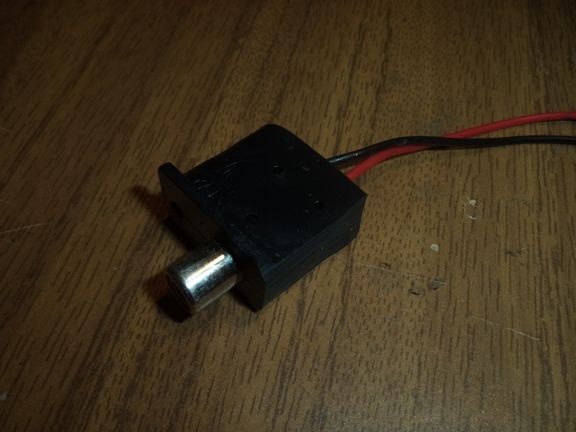
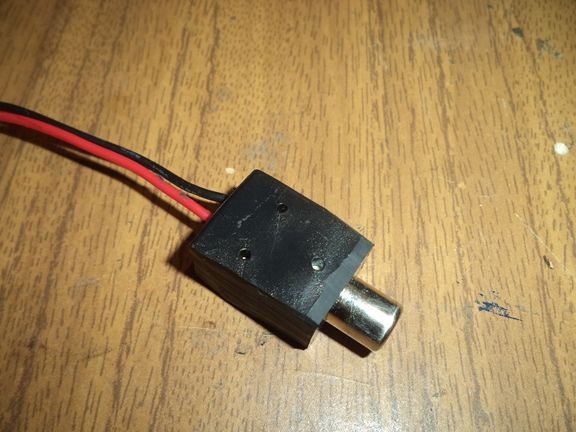
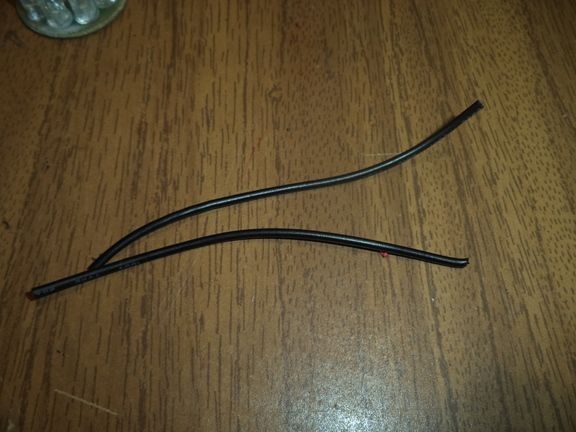
Using a stationery knife, we clean the ends of the wires from the connector.
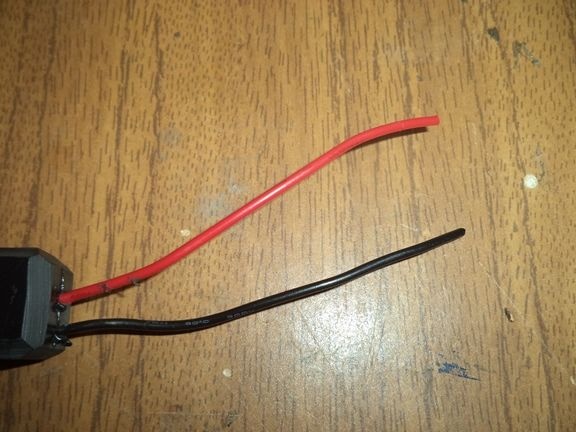
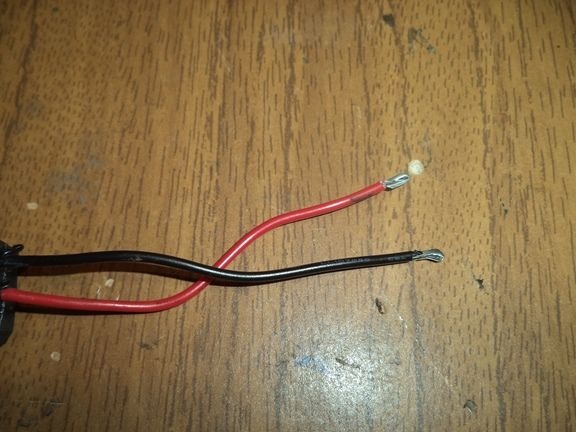
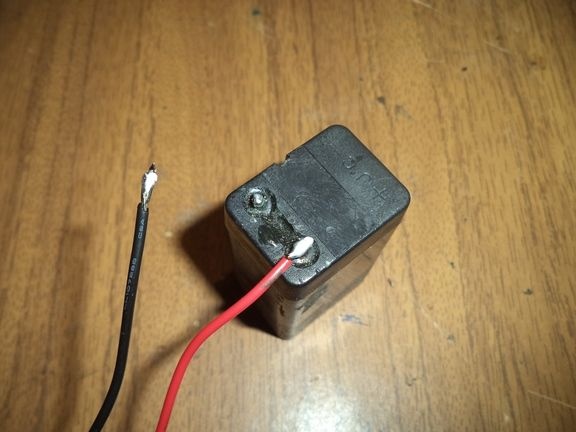
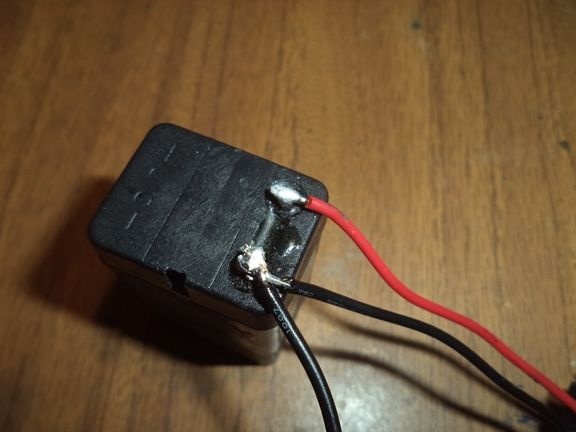
Solder the stripped wiring to the battery, but at the same time observe the polarity, red - plus, and black - minus. If confused, then when charging, you can spoil the battery.
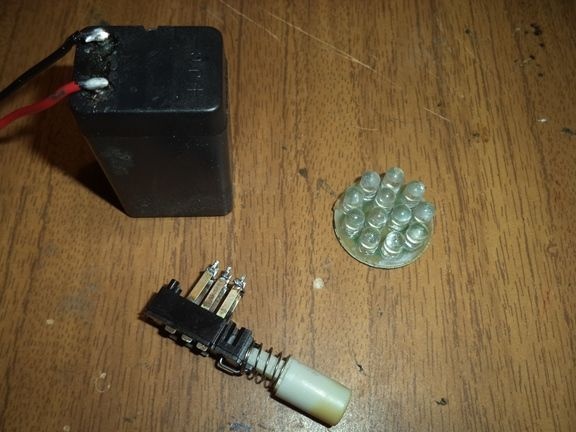
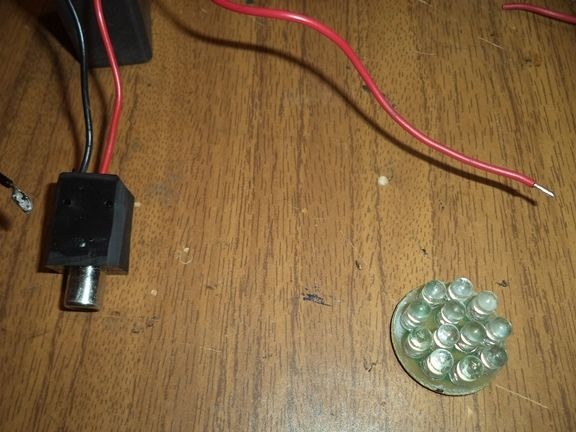
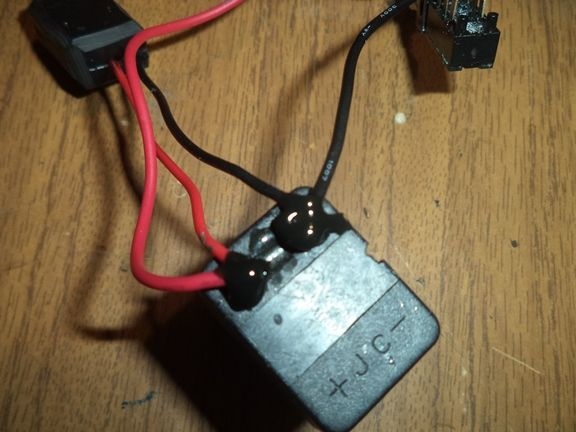
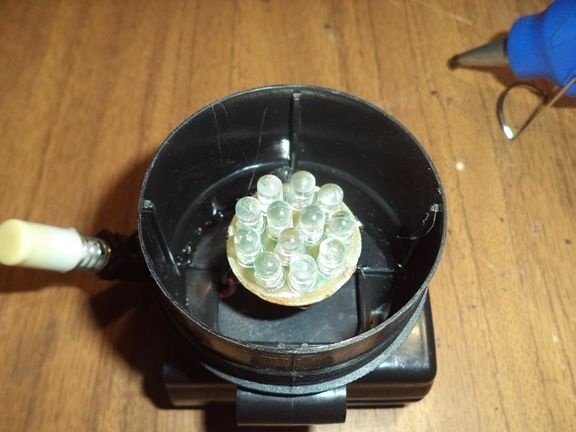
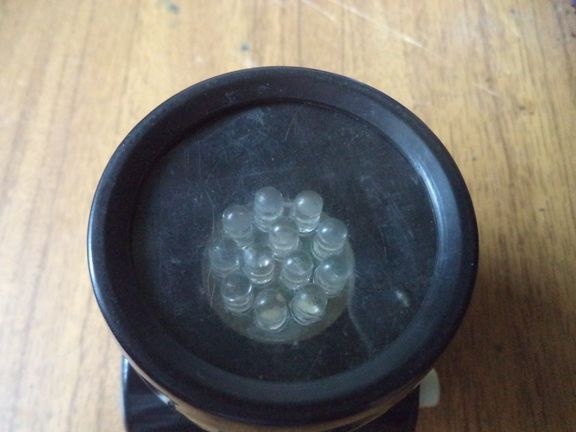
Next, we take a board with soldered LEDs, an on and off button and a battery and solder them with wiring in series.
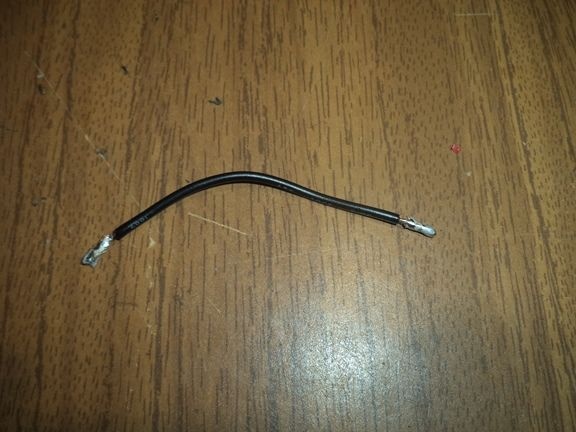
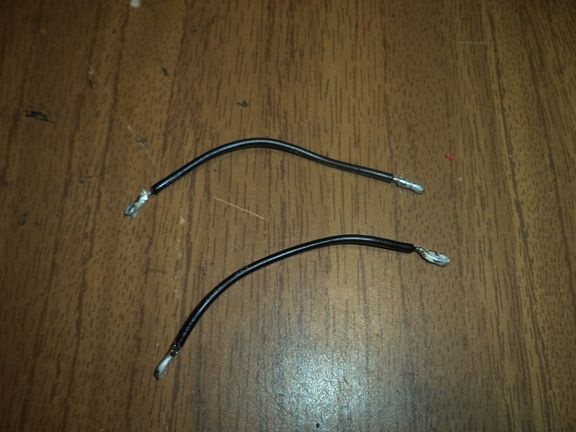
We take the wires and clean their ends with a knife, and with the help of an electric soldering iron we cover the exposed places with lead-tin solder.
Solder the black wiring to the minus of the battery.
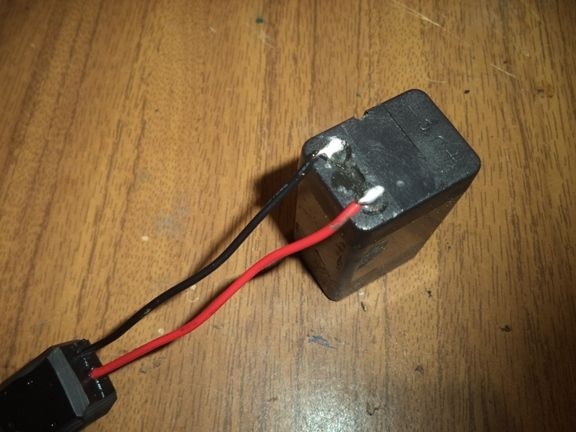
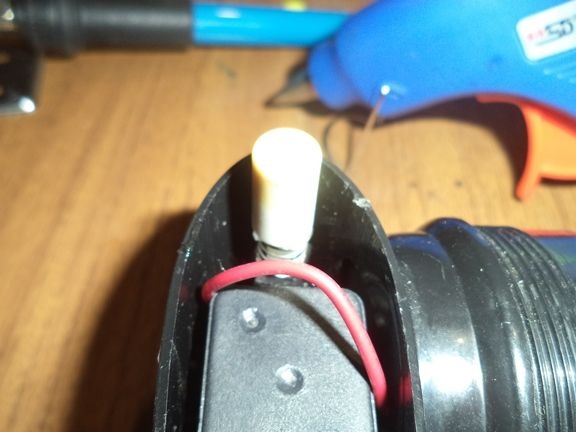
Then the same wiring is soldered to the power button.
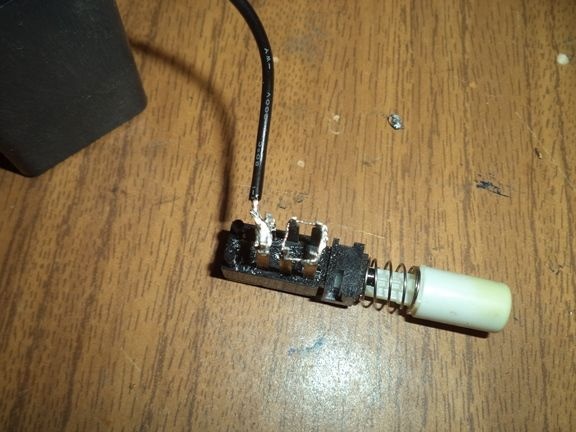
We take another wire, also black, and solder them with an electric soldering iron to the button, but to other contacts.
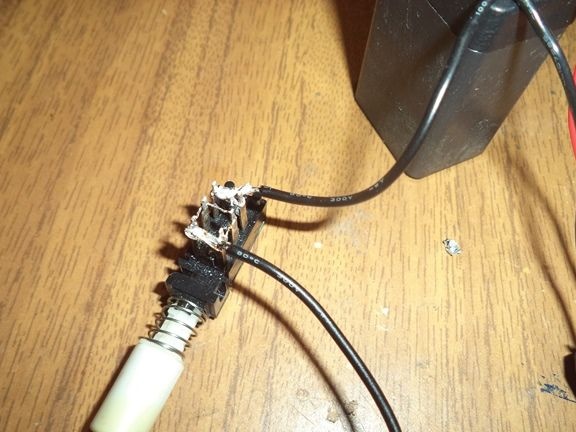
Now we take the red wiring and solder it to the positive terminal of the battery.
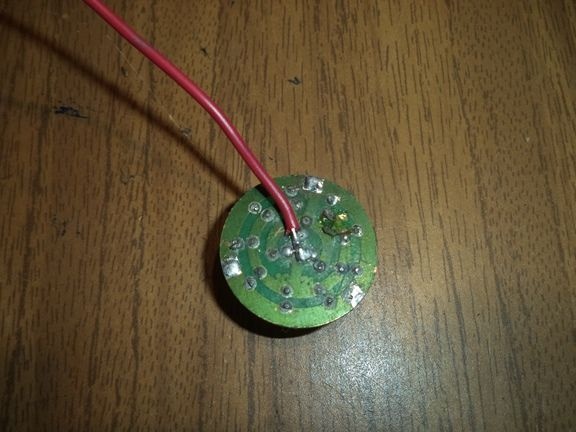
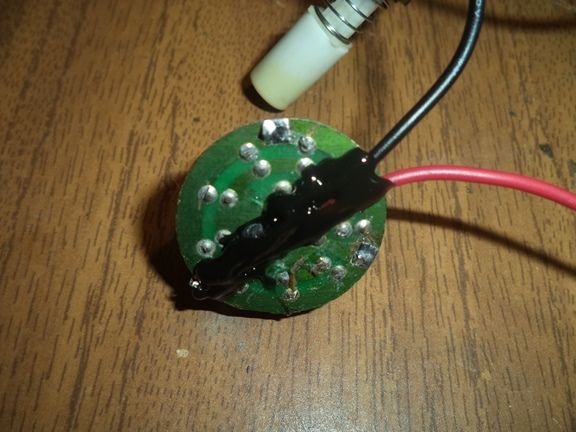
It remains to solder the LEDs to the electrical circuit.
Solder the red and black wires to the board with LEDs. Be sure to observe the plus and minus wires.

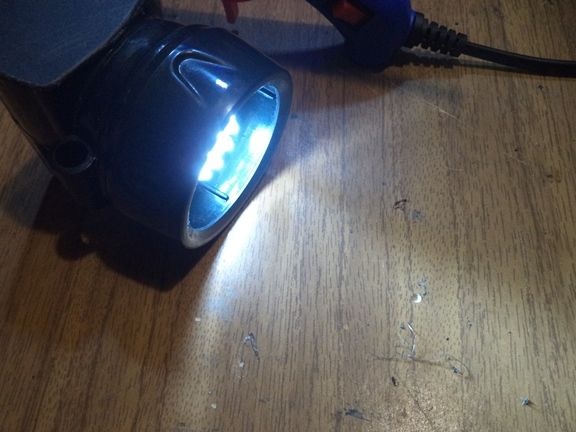
We check our chain for performance. As you can see, everything works for us.
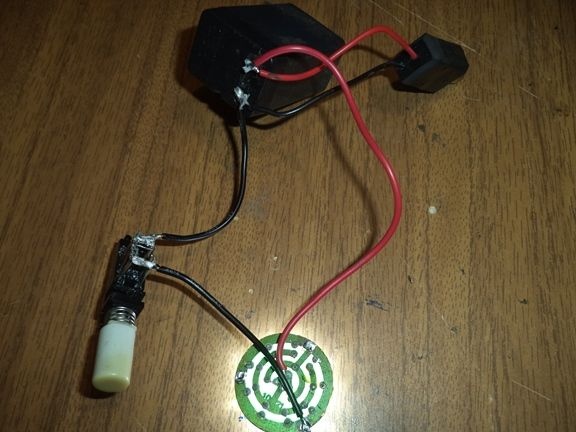
Next, using a glue gun, isolate the exposed contacts with hot glue.

Now this whole chain must be placed in the case.
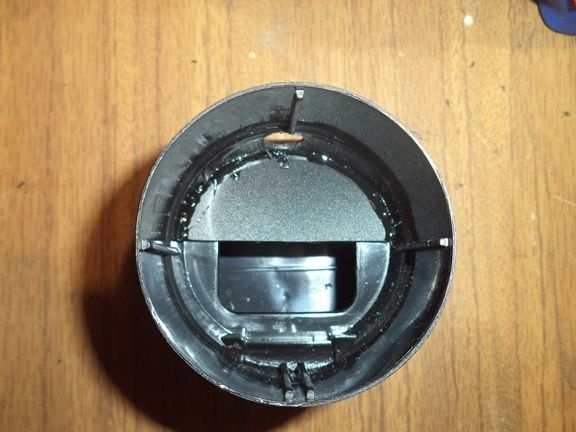
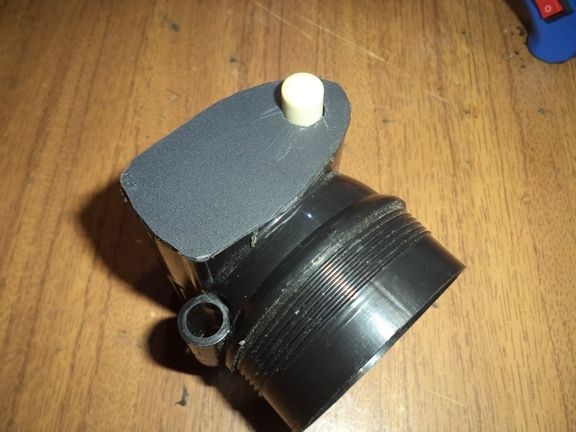
We take the case and make a hole on it with the help of an electric drill slightly larger than the diameter of the PDIF connector.
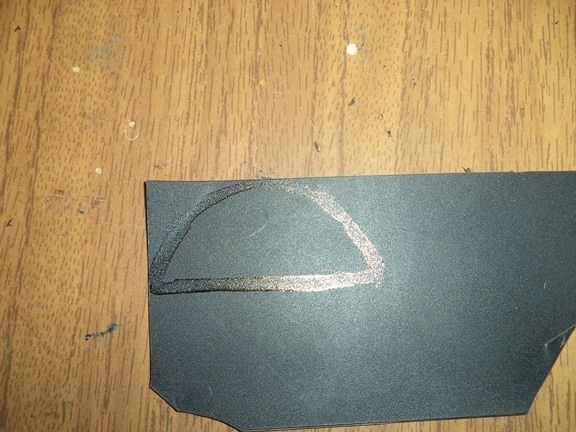
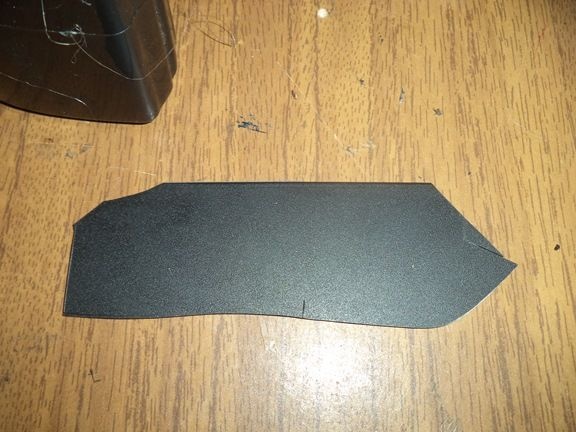
Near this hole we glue the connector itself. To do this, take a plastic case from a CD disc.

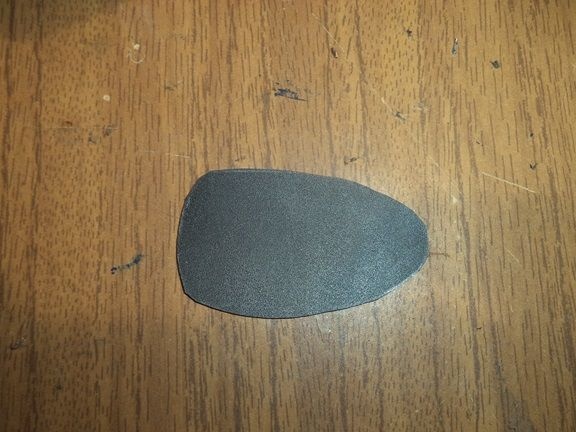
Using a marker, draw the following figure on it and cut it out along the contour with the help of a clerical knife.
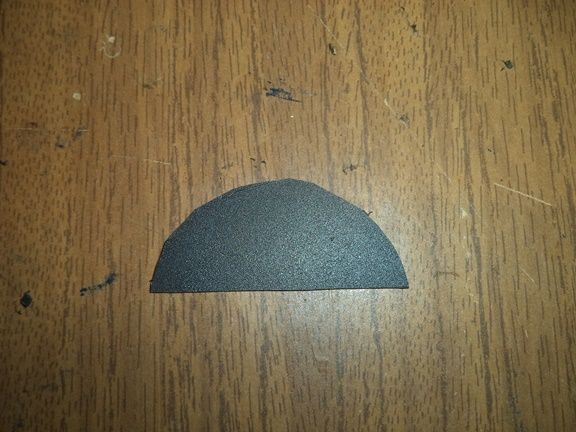
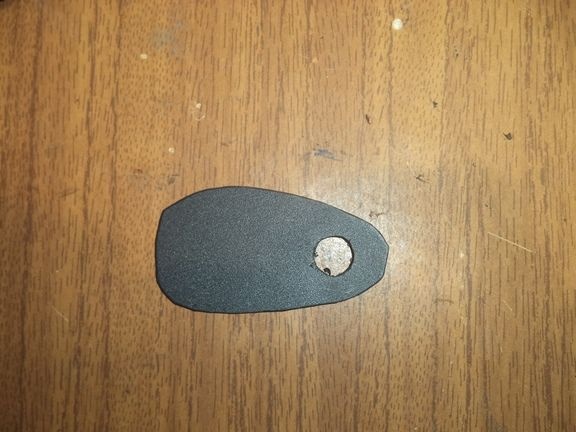
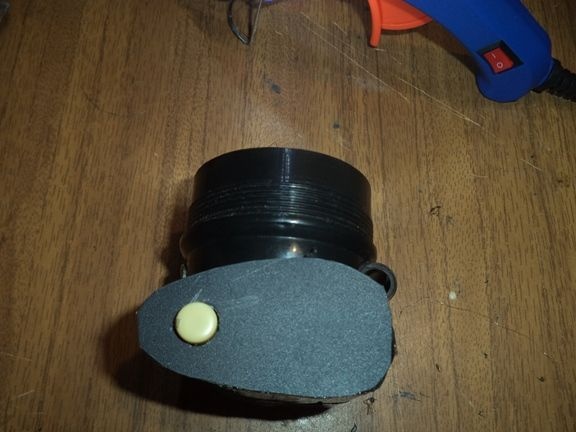
We glue it with a glue gun into the lamp housing as follows.
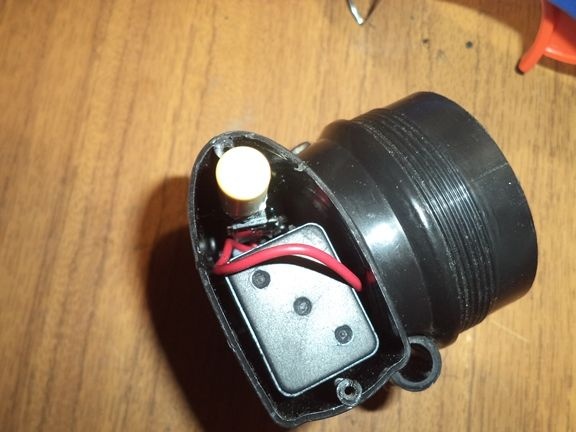
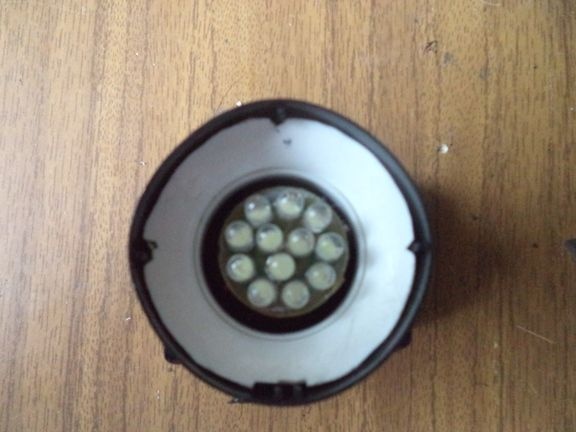
We put the chain inside the case. The PDIF connector is glued to a previously prepared location.
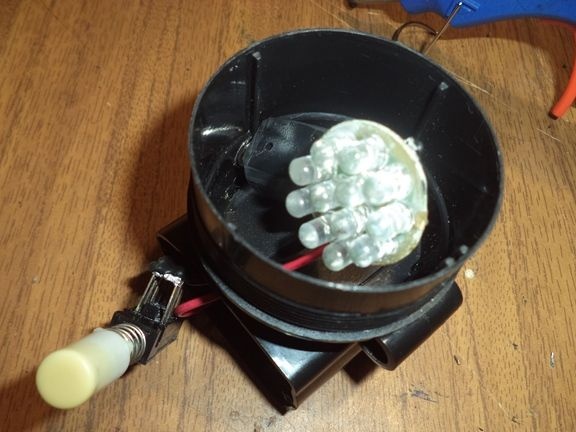
We use a glue gun to glue the LED circuit board onto the PDIF connector itself.
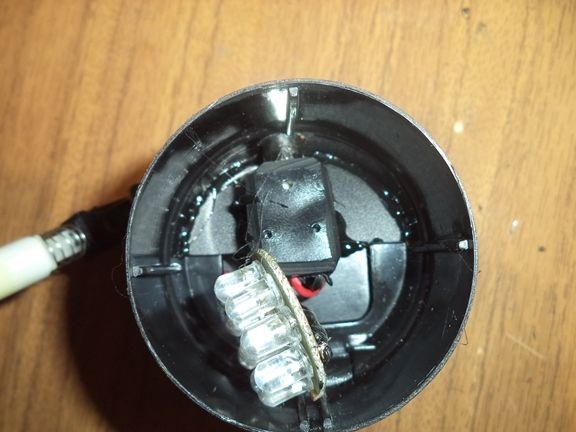
We place the battery and the power button in another place, and also fix it with hot glue.
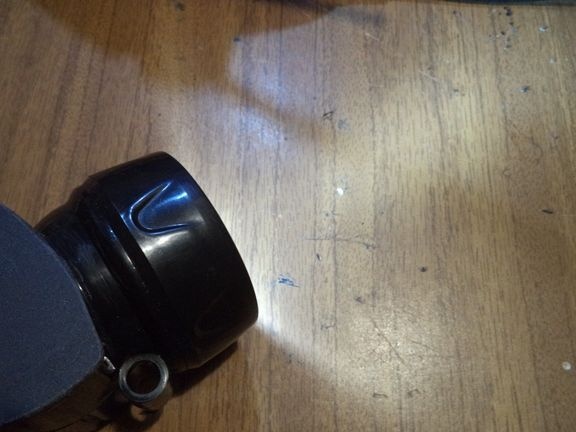
We cover the entire structure with a plastic part.
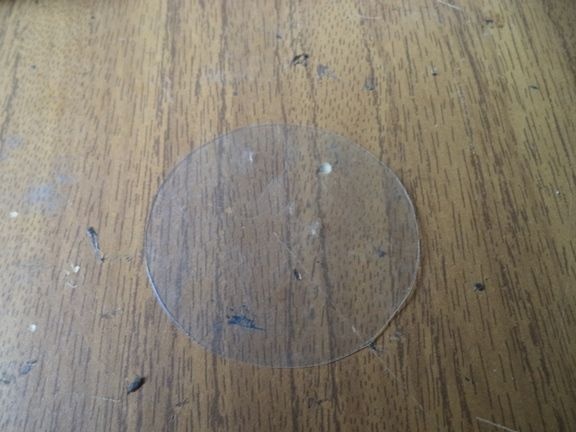
The front part is also closed. To do this, take any transparent plastic material and cut a circle from it.
Next, take a plastic bottle of vitamins and cut its upper part.
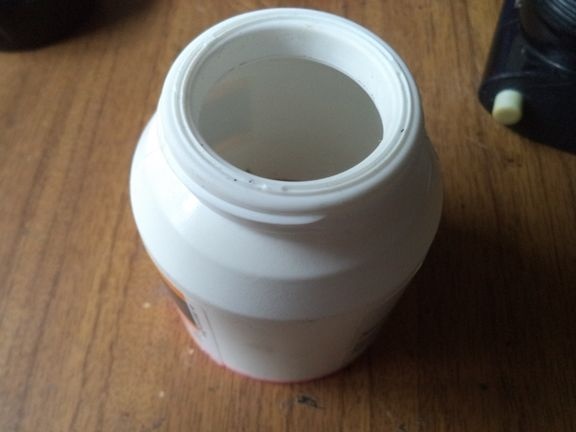
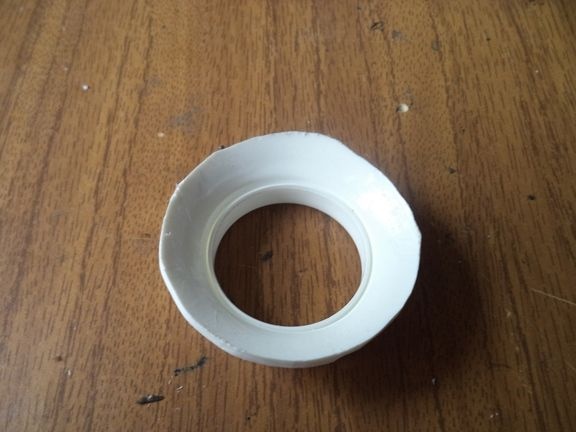
On the sides with the help of a clerical knife we make small indentations.
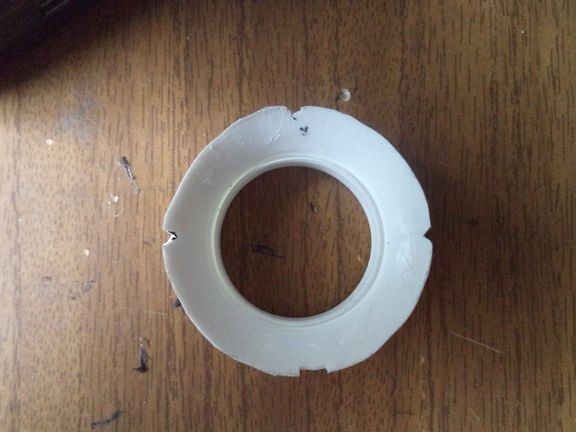
We place this part in the lantern.
Glue it with a glue gun.
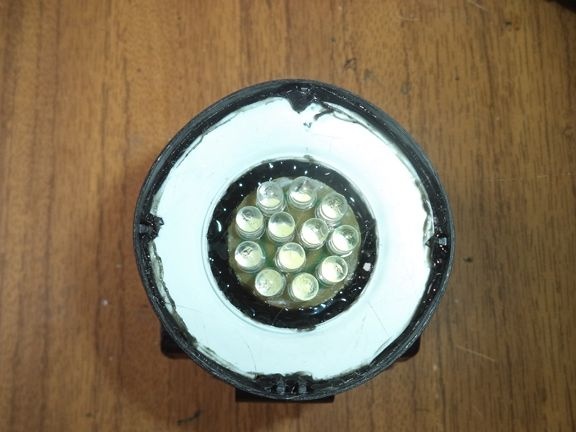
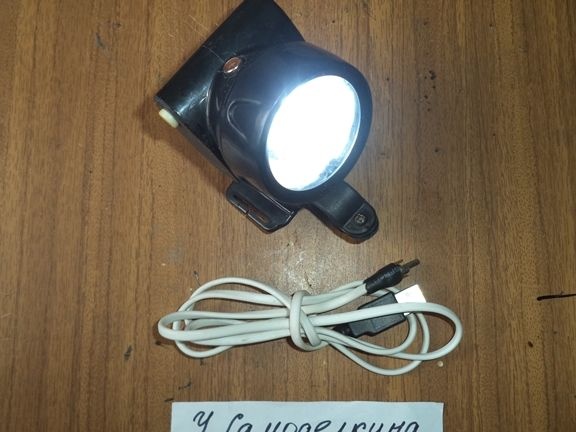
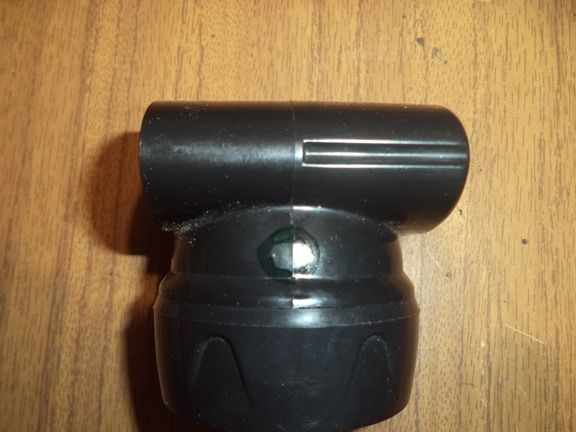
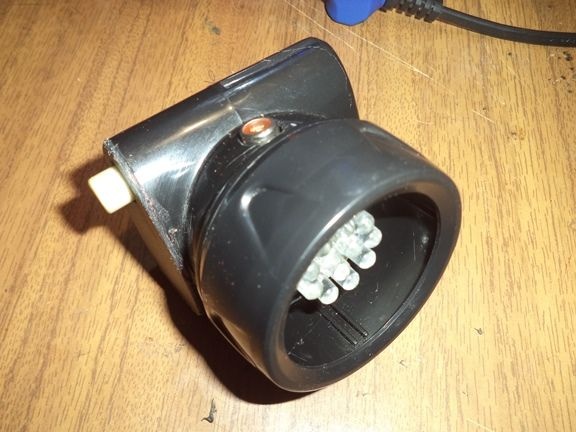
We assemble the body of the flashlight.
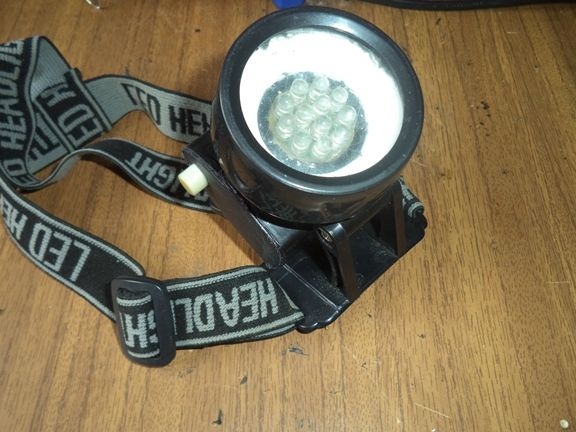
This flashlight can also be used as the head.
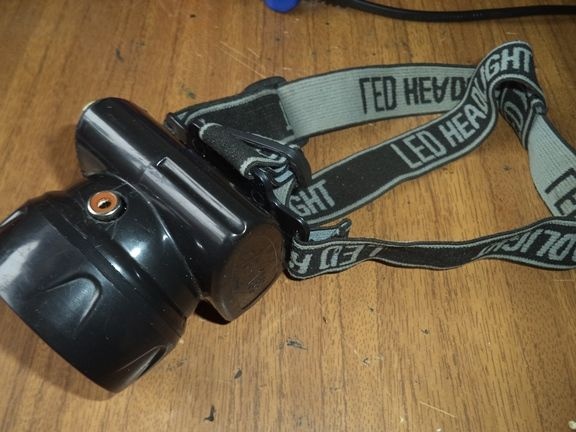
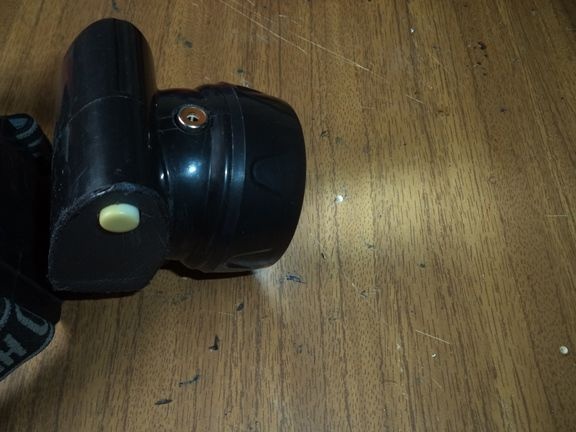
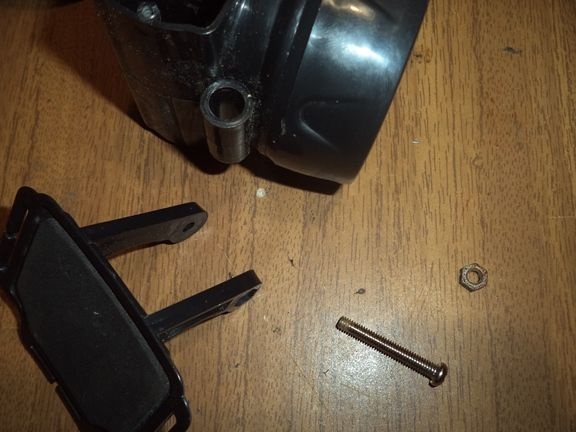
Now you need to fix this lamp on the bike. To do this, take the mount on the handlebars of the bike.
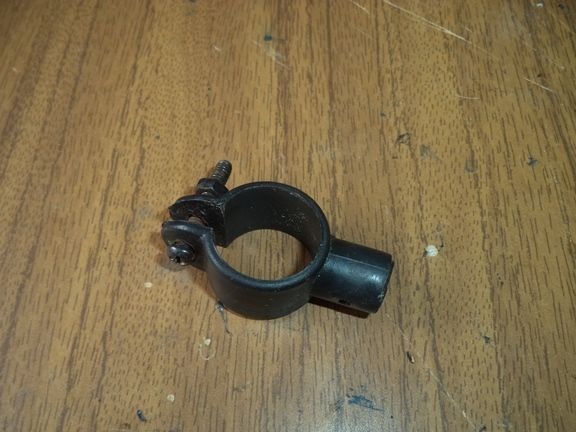
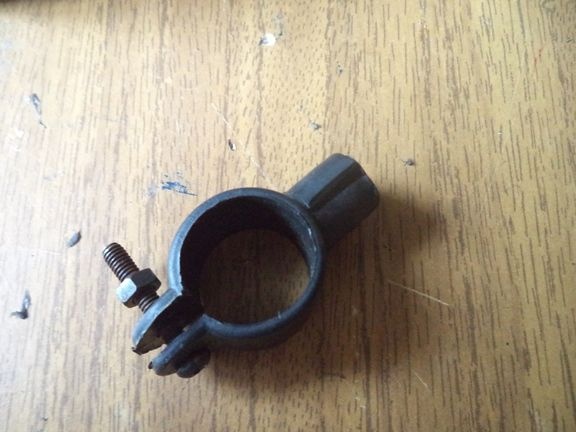
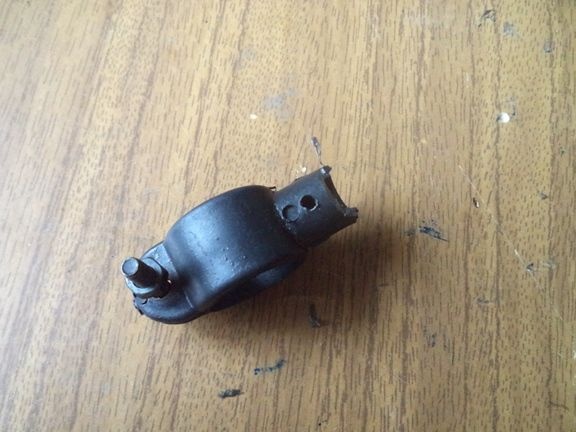
We make a recess on the mount and fix it on the flashlight.

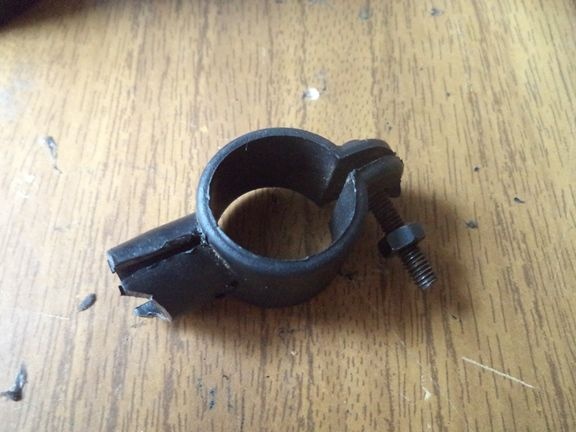
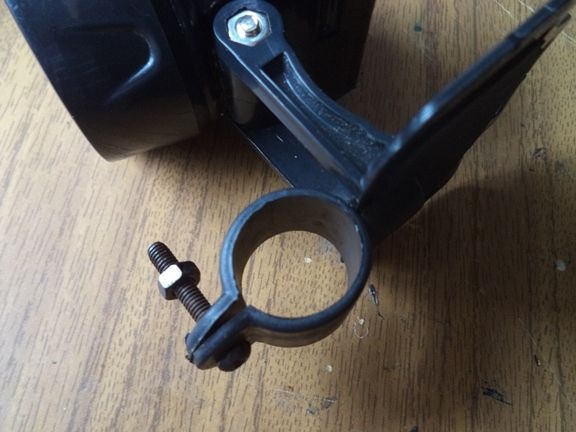
We make a hole on the lantern and on the mount and fix them with a screw and nut.
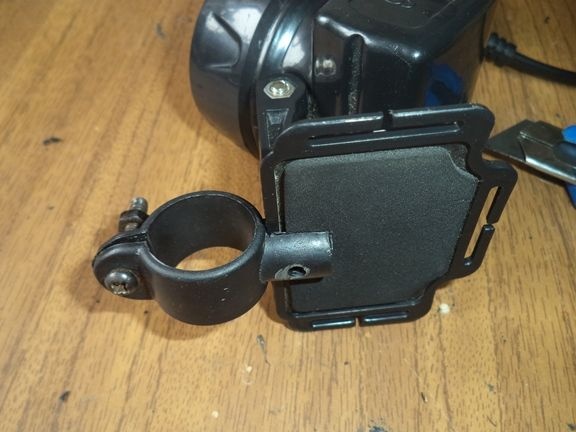
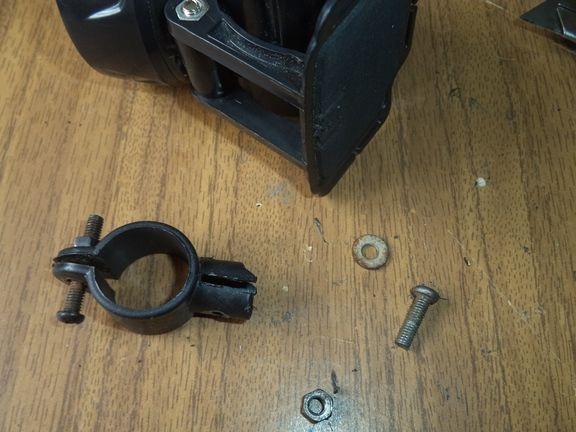
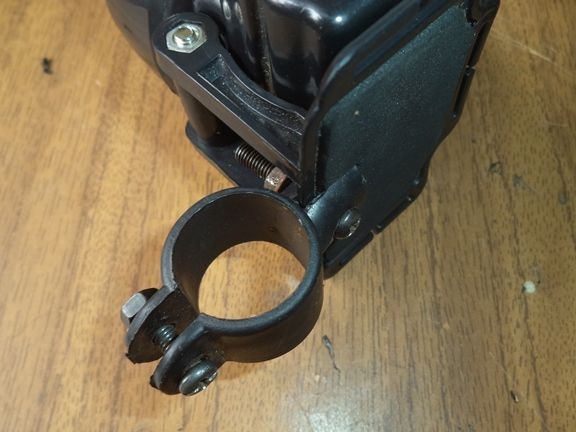
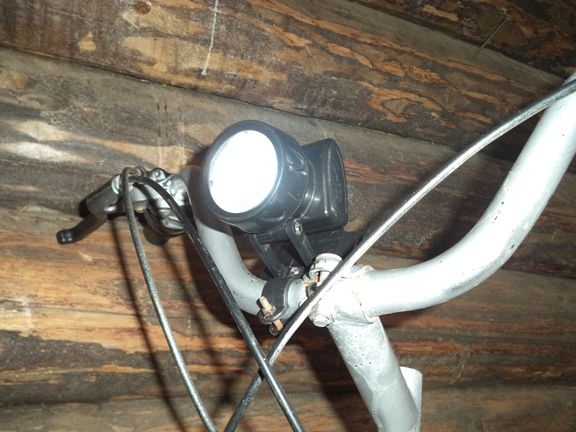
Now you can fix the lamp on the handlebars and our bicycle lamp is ready.
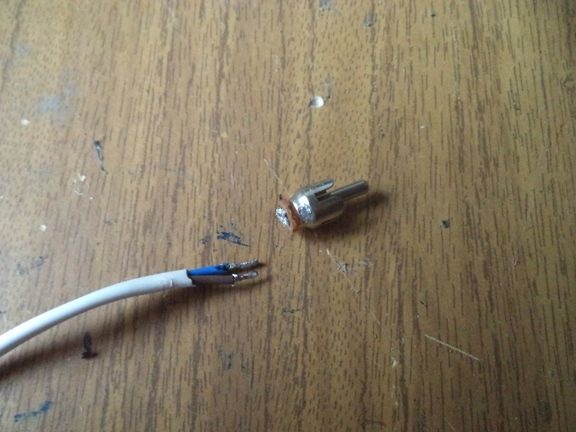
We begin to make a cable for charging a bicycle headlight. To do this, run two types of connectors: USB connector and PDIF connector.
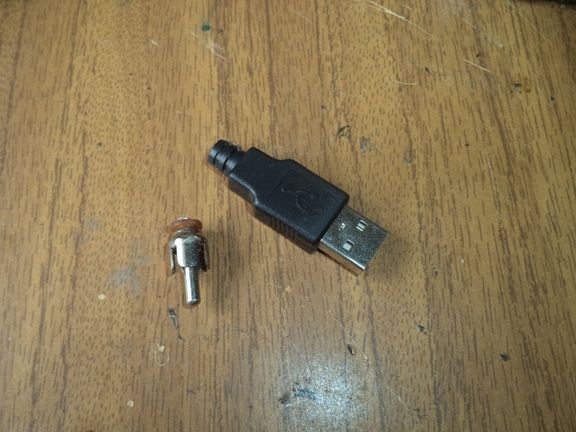
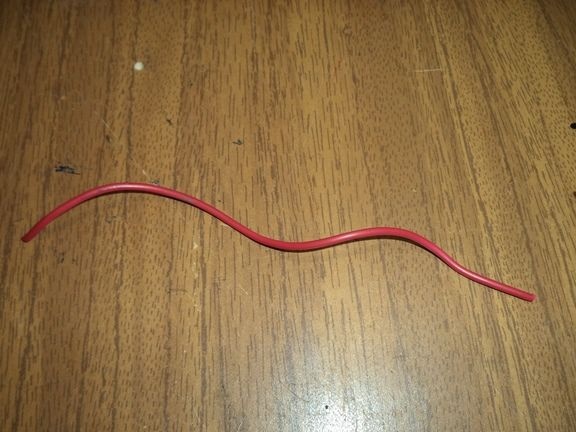
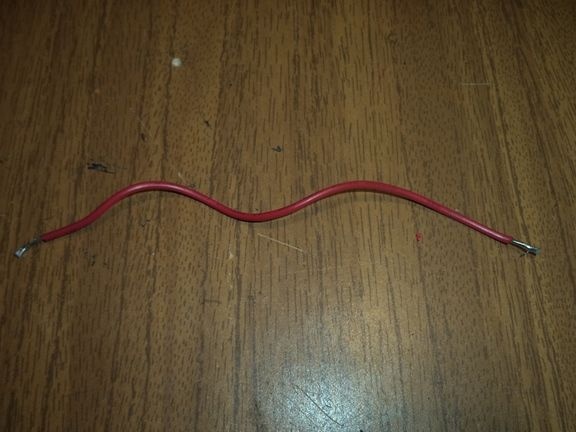
Next, we take the cable and clean its ends with the help of an office knife.
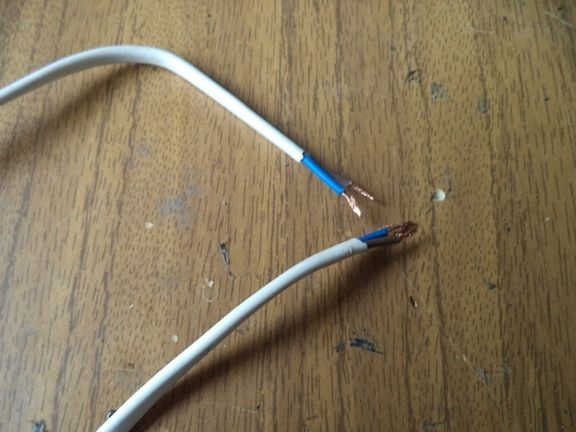
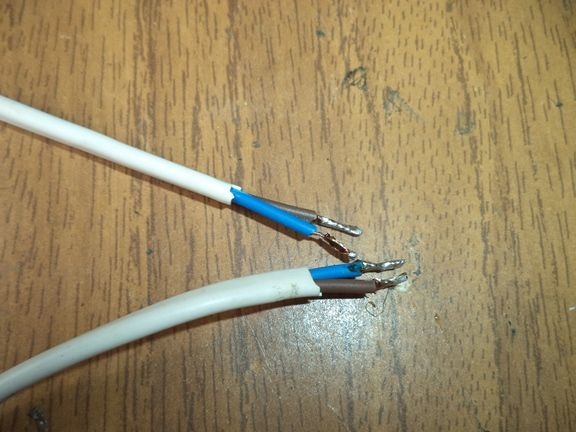
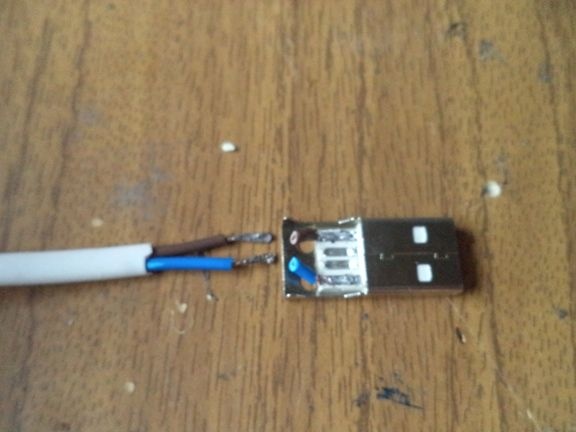
Using an electric soldering iron, solder the USB connector, PDIF connector and cable. And again, we observe the polarity. In my case, the blue wire has a positive sign, and the brown wire has a negative sign.

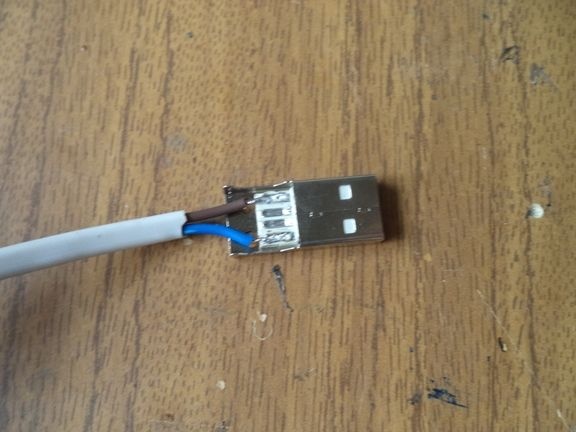
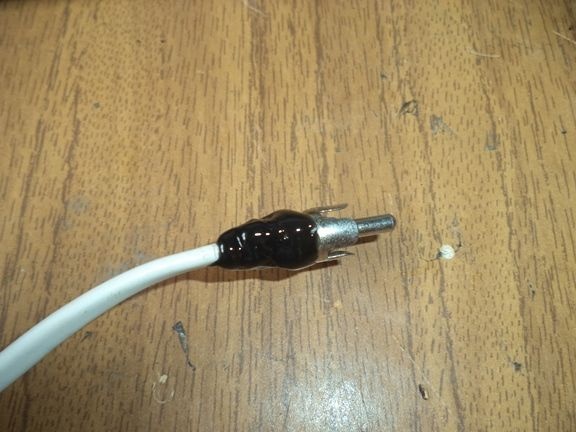
We close the cover of the usb connector, and put the PDIF connector with hot-melt adhesive and insulate it with a heat-shrink tube.
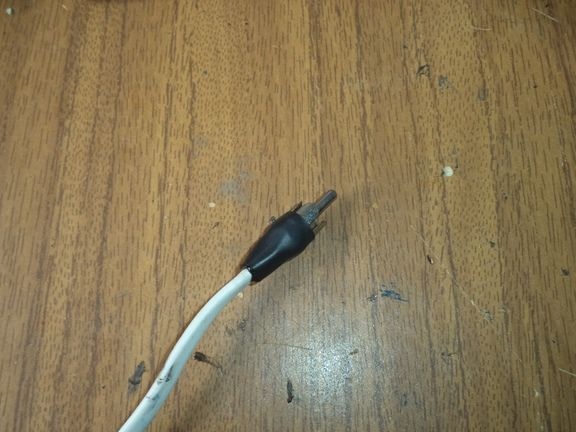
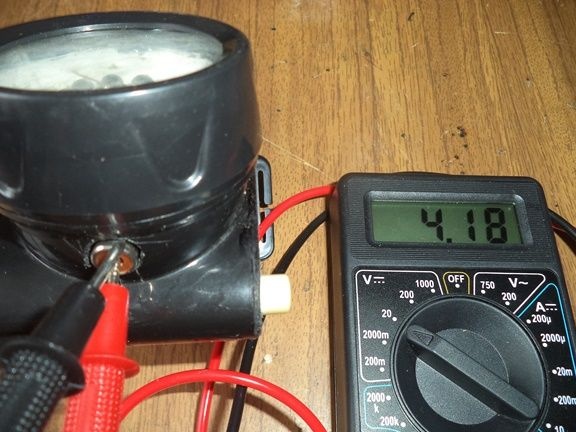
That's all, and the cable for charging a bicycle lamp is ready. Now you can charge the flashlight using any usb port. But the battery will no longer give out its 5 V, since it will only charge from 4 volts.

These were the readings of the multimeter before charging.
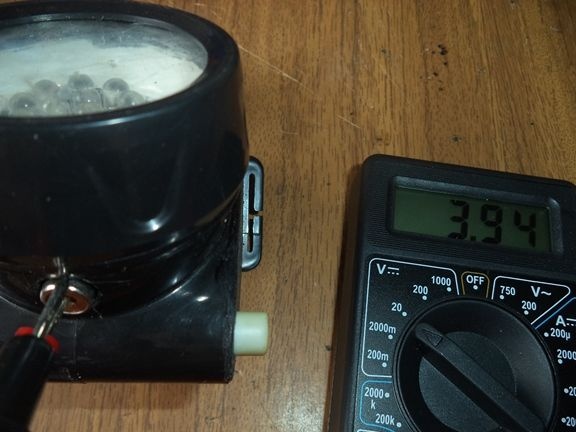
But such after charging.
Conclusion
Bicycle headlights are very necessary and important elements for a bicycle. Indeed, due to them, we safely drive on the roads. And to make it is not difficult, the main thing is to have patience, and everything will work out!