Those who had the opportunity to compare the color by spraying and brushing, of course, would prefer the first. The difference is especially noticeable when relatively dark coatings are applied to light materials. Paints, tinted varnishes, color impregnations and wood stains, all this looks much more accurate when sprayed with compressed air.
In addition, a source of compressed air in any workshop is very useful and, in addition to painting-related work, blowing (for example, periodically blowing a power tool without even taking it apart, significantly increases its resource, especially in building brick-concrete work, cleaning dust from hard-to-reach places of other mechanisms ), convenient pumping of automobile, bicycle chambers, a source of low, but still rarefaction (for impregnation under a "conditional vacuum", for example wood with linseed oil in the manufacture of musical instruments ntov, deep dyeing of wood the same stains, varnish impregnation finished coils transformers, here is probably to be attributed to the improvement of the quality vykleek patterns of epoxy resin and glass fiber, than modelers like to do). A compressor is the basis for a sandblasting device used both for cleaning materials and for decorative processing of wood and especially glass. With sufficient pressure, and most importantly, performance, you can power them with a pneumatic tool, which is much more tenacious in comparison with an electric one.
So, they infused with usefulness. Of course, the easiest way is to choose the right one for your tasks. model, the good assortment in tool stores allows you to purchase. But for some reason, the main of which is often cost, many take on independent production.
The history of my efforts in this sense is described below. The compressor was taken from a refrigerator that has served its age, which narrows the range of possible tasks to medium-sized painting, “conditional vacuum” and careful blowing. However, with the parallel connection of several of the same type, you can increase productivity and expand responsibilities to large-scale painting and, probably, sandblasting.But turning it into a convenient tool is quite simple - you just need to add a receiver, a bit of electrical and air piping and install everything on some kind of foundation. In addition, the refrigerator compressor, in comparison with the construction one, is a miracle as good as its barely audible work. For delicate jobs where concentration is required, such as airbrushing, this is very important. The rest is just nice.
What tool was used to work? Actually, a vulgar set of locksmith tools, a welding inverter (it’s good, but not necessary, could be made with bolts), a gas torch for soldering tubes or a powerful electric soldering iron (and solder, flux to it), a smaller soldering iron and a kit for rough wiring ( wire cutters, screwdrivers). It is convenient if there is an electric tool - for cutting glands and drilling holes, a building hair dryer for working with insulation-heat pipes, plus some notion of how to use all this, and of course a little patience and accuracy, where without it. Yes, if we want beautiful, non-rusty pieces of iron - sandpaper, metal paint, brushes, appropriate solvent.
To begin with, it is worth finding the main nodes.
The stove from which I was dancing was a unit of the same name from an old domestic refrigerator - a compressor. You can find one, with some luck, completely free of charge - ask friends, acquaintances, on the subject, whether such a broken rarity the garage or in the country, ask at the scrap metal collection points.
You also need a receiver - a container for temporary storage of compressed air so that the compressor does not work continuously. Its volume is a kind of compromise, on the one hand, it would be nice to have more, on the other hand, I still wanted some mobility. Adhering to the “buy less” principle, look for some suitable vessel that looks like a cylinder, in the same place as the compressor. You can dial the desired volume from several. You can use small gas cylinders (the option is to collect a few from tourist gas burners, from those that are larger, in places of decent tourist parking in all kinds of reserves, there are literally a bunch of them), a tank or several from broken blowtorches, fire extinguishers finally.
Few glands for the base - frames with a handle, for easy carrying. The usual rental that is at hand, perhaps in any scrap metal you can find something, good, you need small pieces.
A slightly thick copper tube, as an option, to tear off the coil from the back wall of the same refrigerator, from which the compressor was "bit out" and cut off the wire "ribs" from it. True, iron is often found, not copper, however, it is also soldered with the corresponding fluxes.
Strapping.
For finished compressed air, it is necessary to provide a reducer that allows to obtain a constant predetermined pressure at the outlet and a pressure gauge by which this pressure is controlled. For painting, airbrushing is important. You have to buy it.
A fitting at the outlet with a tap, so as not to whistle when the receiver is pumped up, but you need to change the tool. We will connect a hose to it. Better is a “quick-detachable connector”, a snap-on thing, expensive, but very convenient - you can operate it with one hand and you can use standard orange spring hoses. In addition, a faucet is not needed - when disconnected, it instantly closes the compressor output. He manages to publish only a short angry PF.
Pressure switch. So that the compressor turns off - turns on independently, focusing on the inflated receiver. Also have to fork out.
Good wires for wiring electricity - a decent cross-section, in double insulation (so that you can safely run through the pieces of iron, well, or in those places with a heat pipe), a reliable cord with a plug.
As if everything.
The first photos.
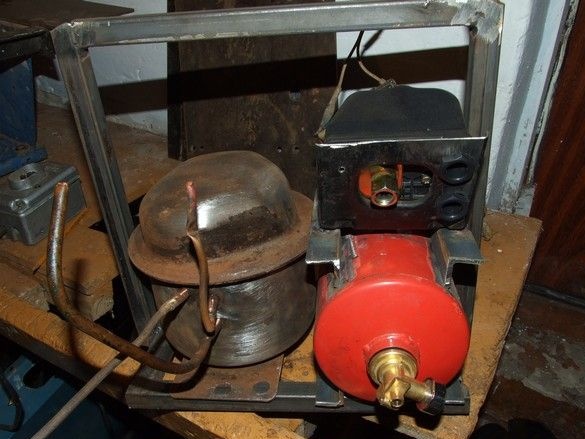
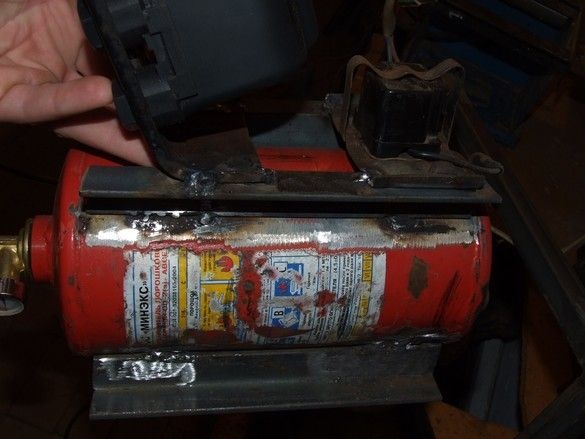
Well, the frame with the handle is ready, His Majesty the compressor, sanded from rust and put in place, the receiver as you can see from the powder fire extinguisher. Consoles from a monstrously thick corner are welded to it, despite the “thin-walled” balloon. Slightly excuses my frivolity, the complete lack of experience in welding and some self-confidence. Yes, so the corners should be half thinner, and generally solder. I remember the holes in the fire extinguisher pretty burned, then tormented to plaster them. And yet, in the current “bottom” of the receiver, a nut with a bolt is welded in - a tap for draining the condensate.
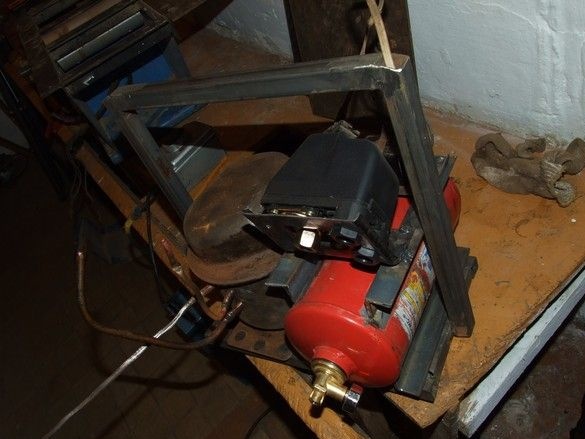
On the back of the fire extinguisher there was a pressure switch, and after it a standard relay from the compressor. The location of the nodes, among other things, is dictated by a convenient connection with an air tube - from the compressor to the receiver, with a tap to the pressure switch.
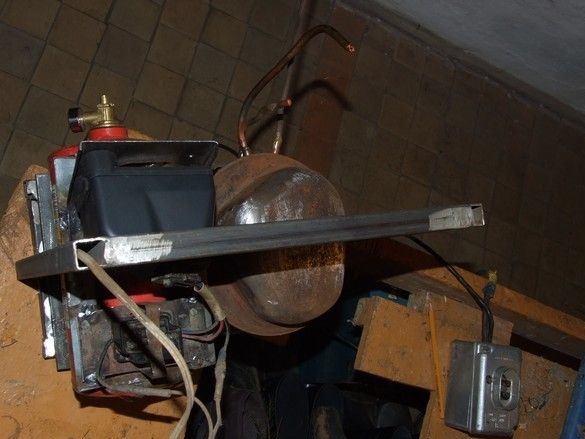
On the other hand. Wires - pieces of old from the refrigerator, not up to them now.
Relays from the compressor. This piece of iron around it, taken and completely cut out from the refrigerator, was simply welded to a new place.
The piece of iron on which the pressure switch is also kept from the refrigerator. Somewhere below there was, near the compressor. Designed such a mount turned out.
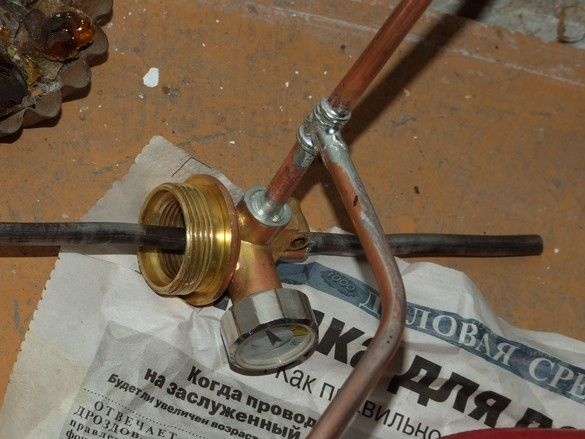
Now solder the tube. Super challenge - challenge. Where there were big holes, I spooled a copper wire. To solder a thin tube into a thick pipe of a fire extinguisher, I also had to “thicken” the end of the tube with several layers of wire. By the way, the tube passing through the cork is iron. Native to the donor refrigerator. Nothing, soldered like a pretty one. The native miniature pressure gauge of a fire extinguisher is completely useless - it is designed for three times more pressure and has a graduation scale of the "many-few" type. Tidying it was troublesome, remained for beauty.
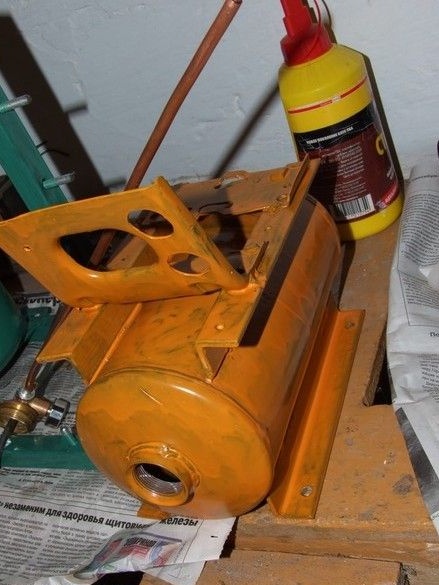
Painting parts. In a different color. Design, so to speak.
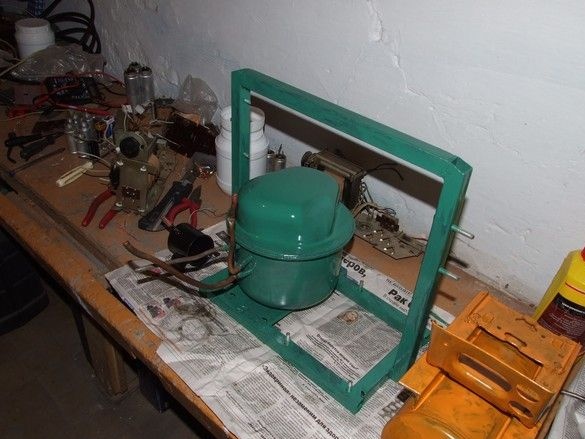
The compressor, by the way, with its sole is also welded to the frame to death.
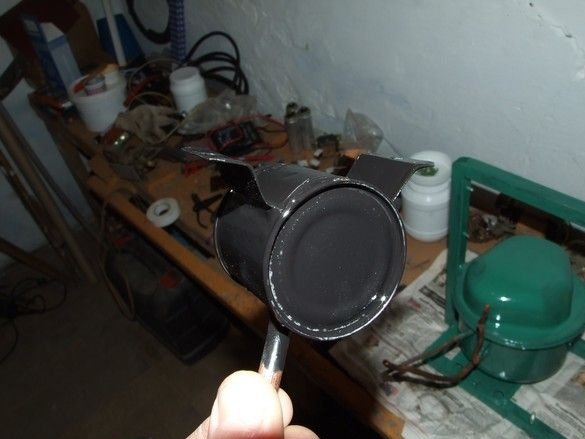
An important part is the intake air filter. Soldered from a tiny tin can.
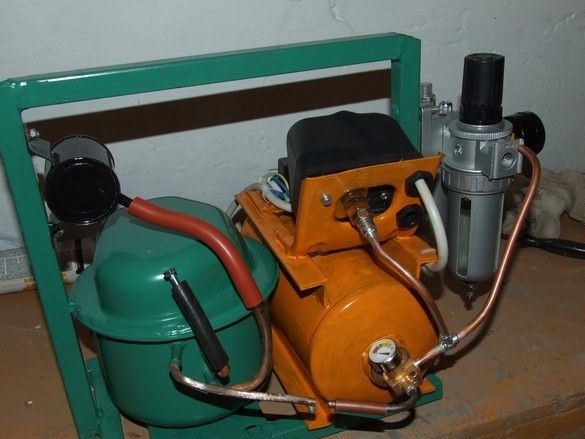
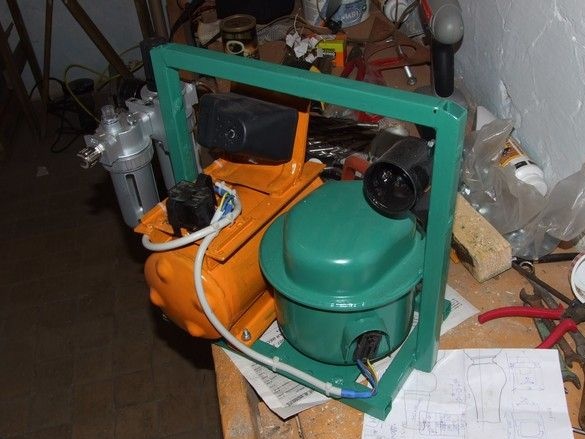
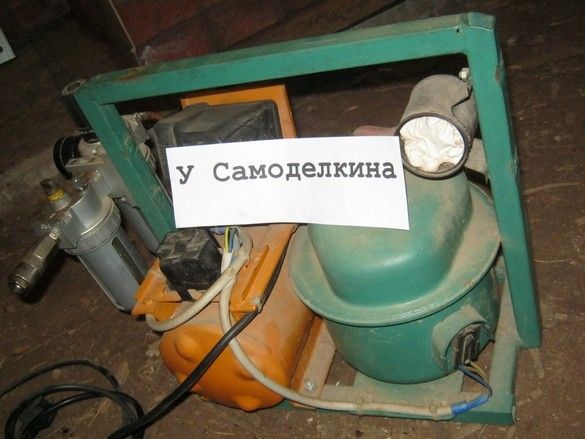
It is almost completely assembled here. An electrician is divorced, an air filter is connected, a miniature neck is made from a piece of a gas hose and a suitable bolt for pouring engine oil into the compressor. On the side hangs a whole set of output “improvers” of compressed air - a reducer with a manometer and a tank below with automatic condensate drain and an oil separator next, a tap in it, followed by a connector for connecting tools.
Actually, all that remains is to set up the pressure switch and set the pressure necessary for the outlet at the outlet of the gearbox.
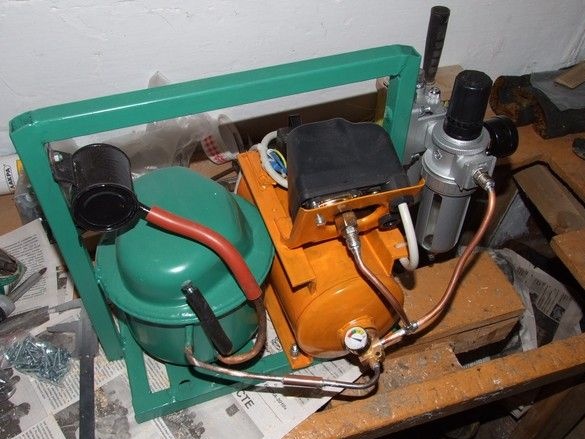
Here he is a colorful man from all sides.

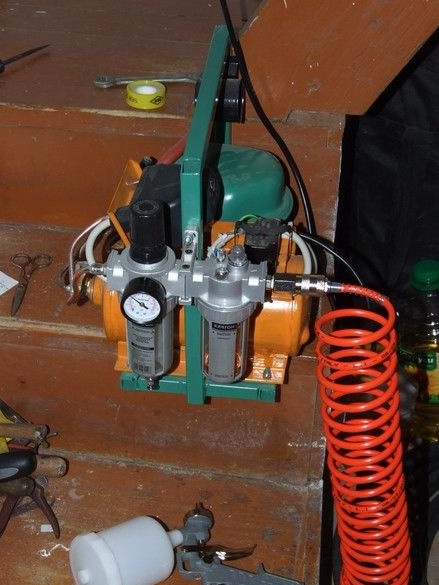
In the last photo, already with a snap-in connector (it was screwed first). By the way, working with such a tool is quite difficult - it lacks productivity. He popped a little and wait until he pumps it up again. Not very convenient, but still possible. Had a lot of them paint craftsuntil a large "construction" compressor appeared. The characteristics of this, perfectly correspond to airbrushing, and flow and pressure and silence during operation. Now, a fair amount of time later, he works mainly on such a rough airbrush - for fine painting, varnishing of small pieces of wood. Still very well suited for deep impregnation, here, too, does not need a lot of performance.
Well, for dessert - the photo after not very intense but six years of operation.
As you can see, he got old, but he is doing well.

