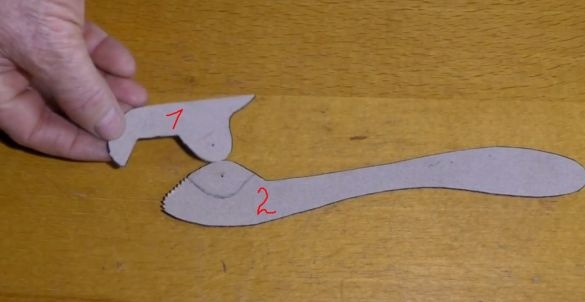
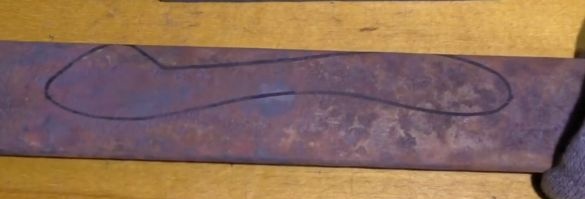
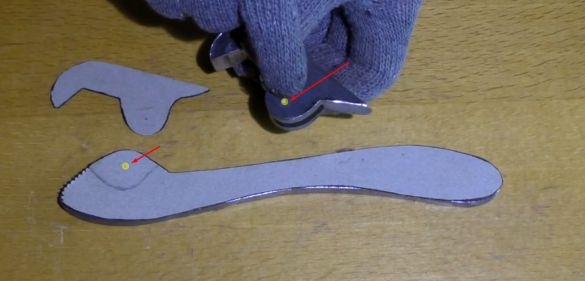
And so he first made a key model (which will consist of two parts) on cardboard in a 1: 1 scale.
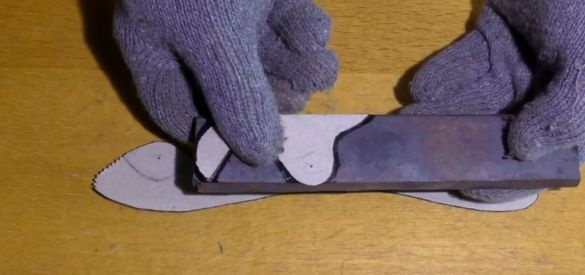
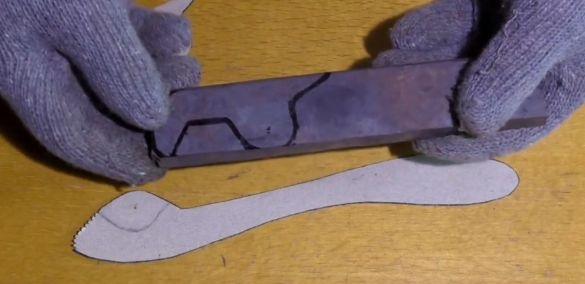
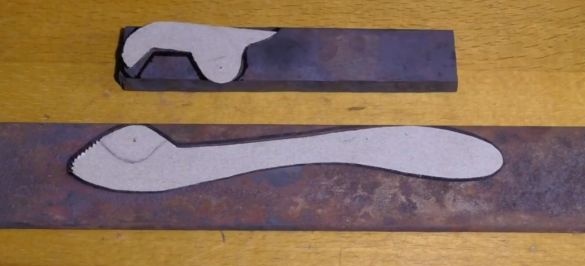
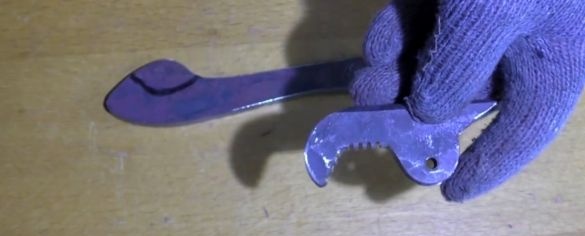
Then he transferred everything to metal. As a material, the author used two pieces from springs 14 mm and 8 mm thick. Detail No. 1 the author made from a piece of 14 mm
and part number 2 of 8 mm.
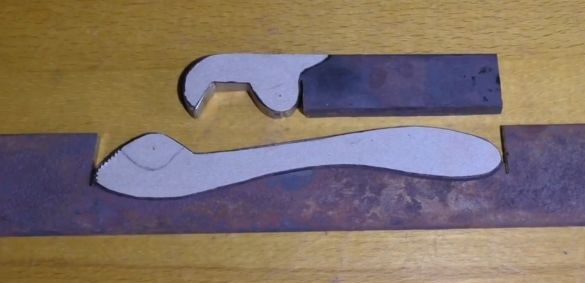
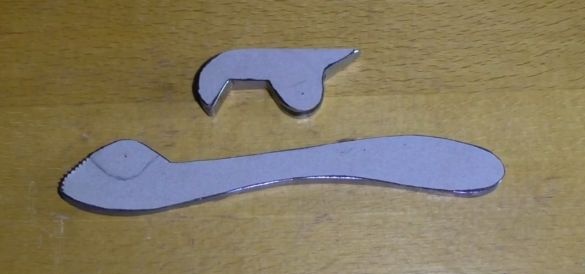
Then, using a conventional angle grinder, I cut out the details.
And he removed all the unevenness with a file.
Then he made a hole.
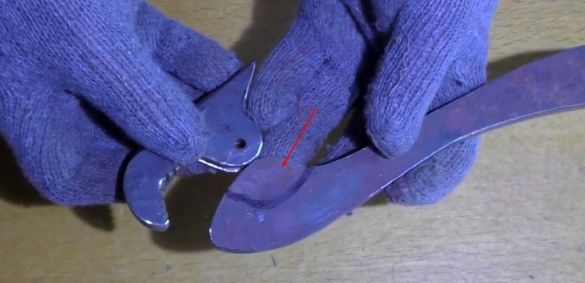
Then the author made a slot in the part number one at the junction. The slot width is one third of the thickness of the part itself.
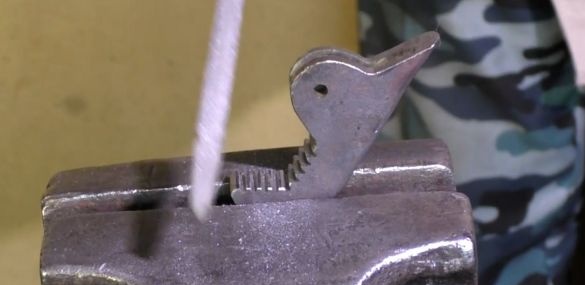
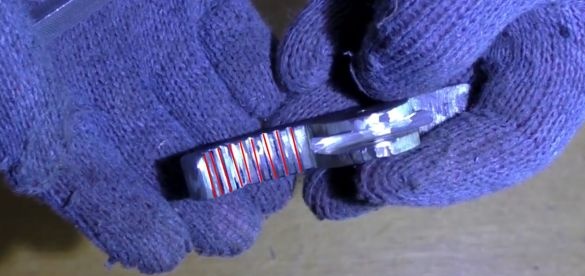
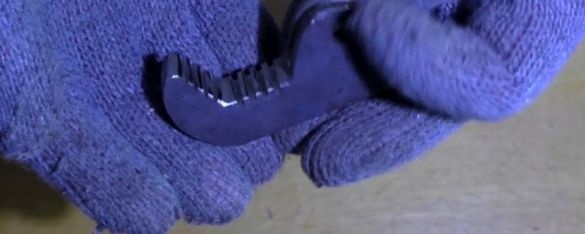
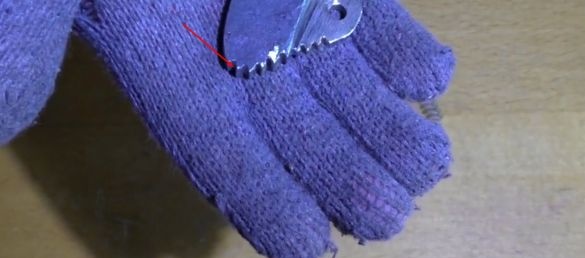
Then he made notches on the parts using a angle grinder and a file. These notches will serve for strong adhesion of the key to the working part bolt, nut, etc.
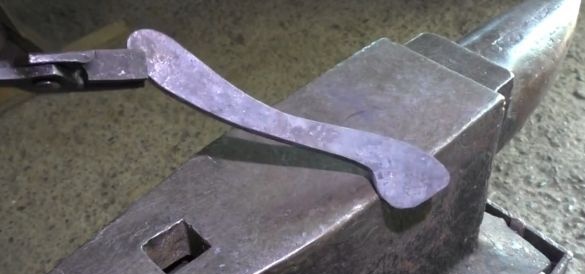
The second part at the junction with the first
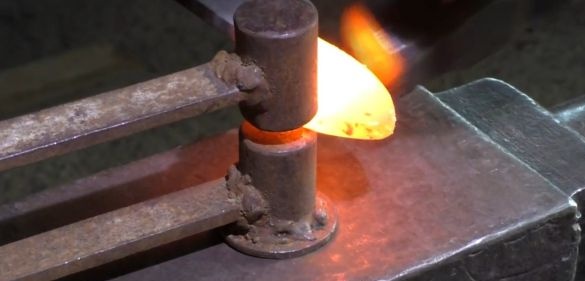
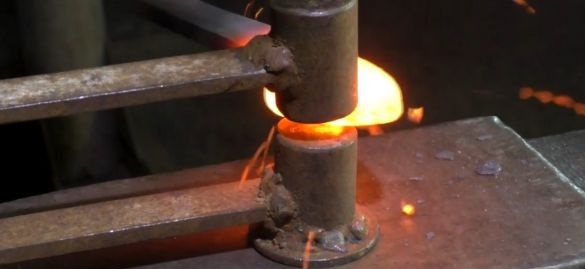
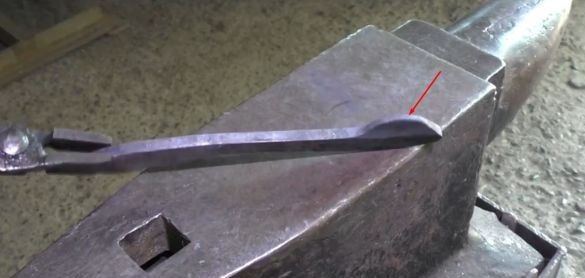
The author first heated and tapped on the crimp.
Then he brought to the desired size using angle grinders and also made a hole
The author also made notches on this detail.
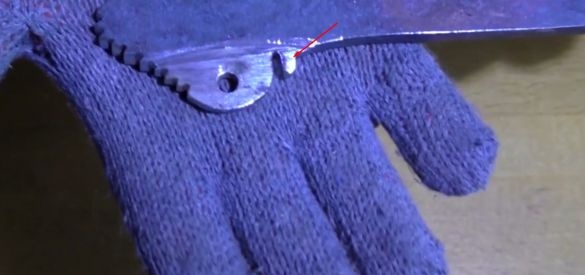
Then he turned a small tooth for the spring.
On the first part he also made a tooth.
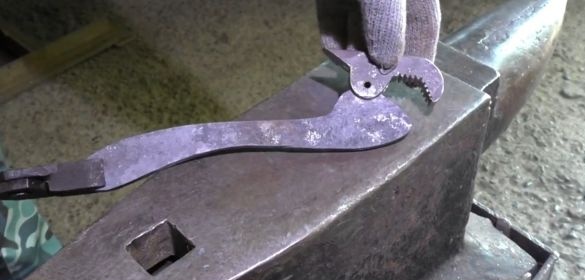
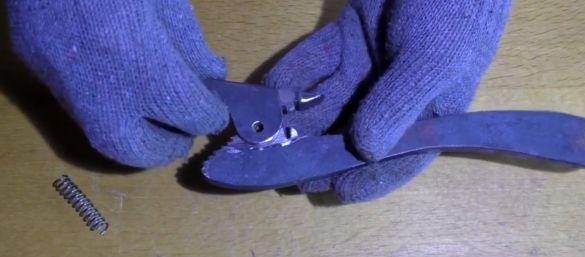
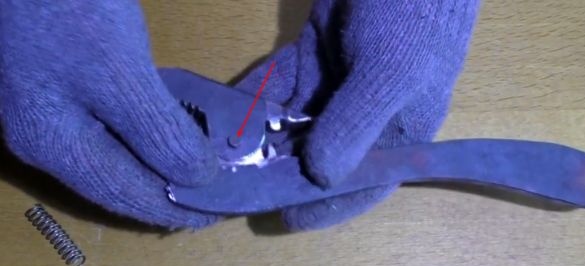
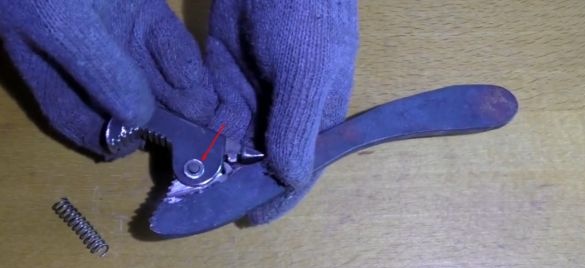
And set about assembling
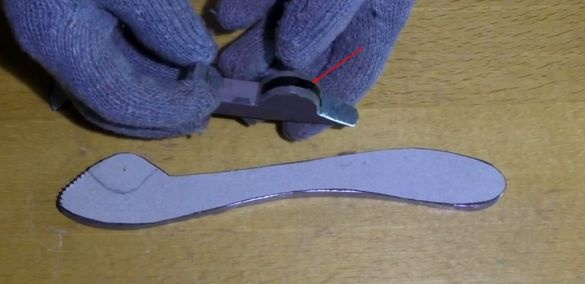
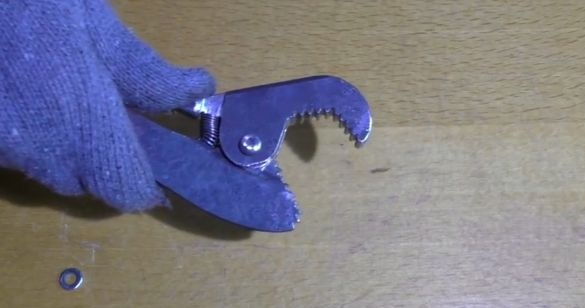
To connect, the author took a metal rivet
and the puck
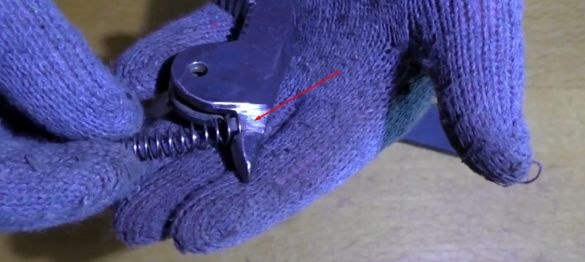
He put on a spring.
Checked.
And riveted through the puck.
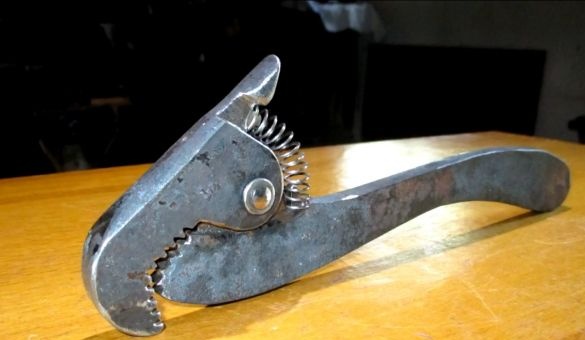
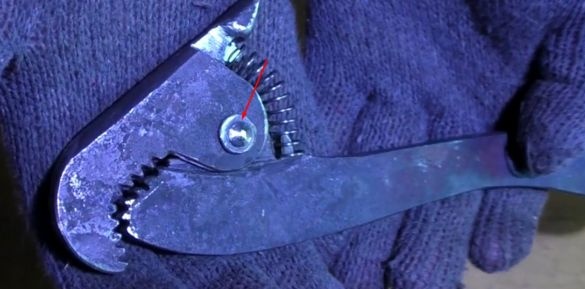
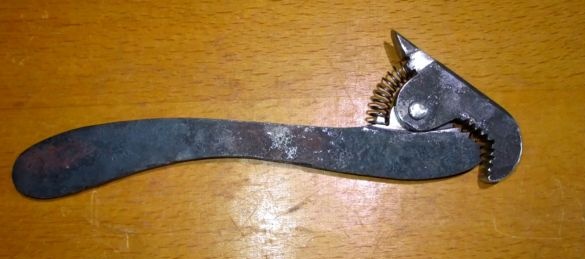
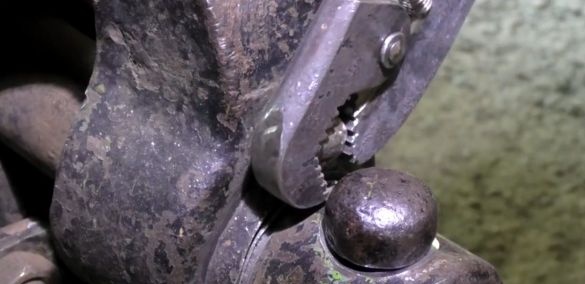
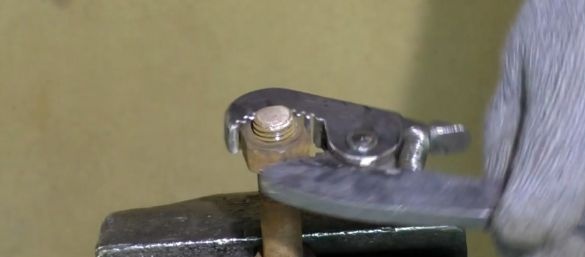
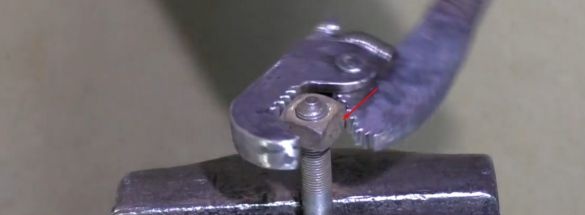
This is how the author’s finished key looks like.
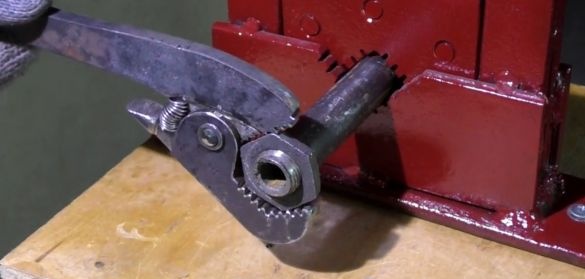
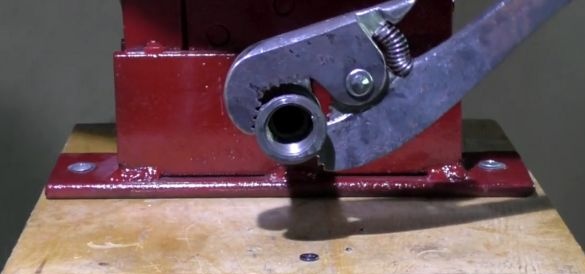
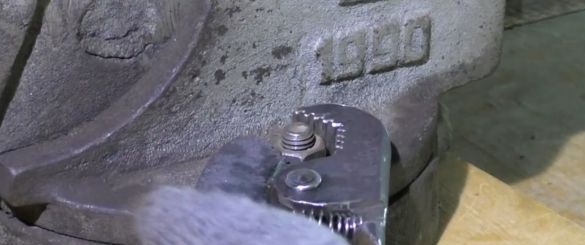
And at the end of everything done, the author proceeded to test the key. The size of the grip of this wrench is from 14 to 32. As the author says with this key, you can also turn the plumbing couplings and square nuts.
Video clip homemade:

