How to make a shoe rack for home do it yourself.
Shoe cabinet - a cabinet for storing shoes, which is necessary in every home. Thanks to him, shoes will not stand in front of the door and constantly interfere underfoot. A shoe rack option with such dimensions is an excellent solution for small halls.
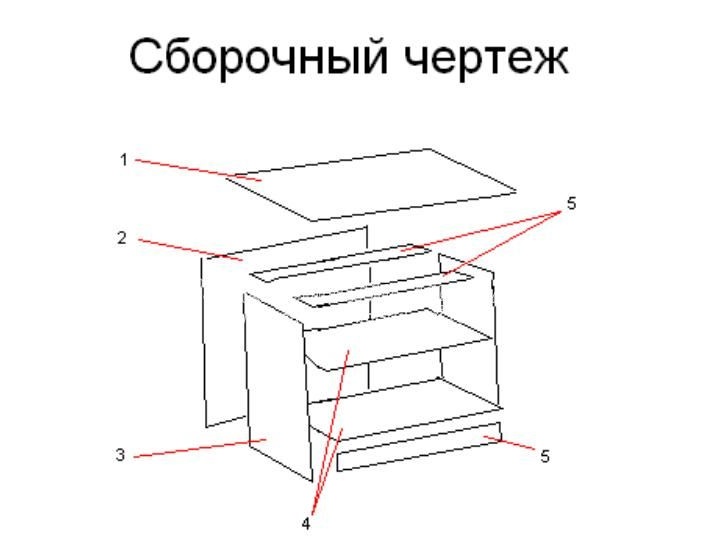
As an example, the author provides the dimensions of his shoebox:
- Cover 330x515
- Back wall 500x468
- Walls 2 pieces 500x300
- Shelves 2 pieces 283x468
- Ties 3 pieces 60x468
- Doors 2 pieces 248x445
Materials and tools:
- drill
- two drills on 5 and 7 mm
- awl
- building corner
- screwdriver
- cut LDSP 16 mm
- cut chipboard 26 mm
- 32 mm screws
- Furniture screw (Confirmate)
- Plastic legs
- Overhead loops 4 pcs
- Door handles
Detailed manufacturing description:
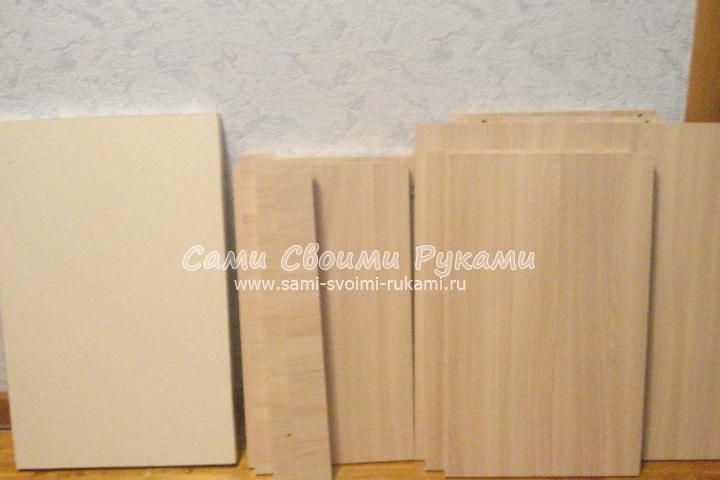
According to your size, select a chipboard of 16 mm and 26 mm for the upper part of the shoe. Often, 26 mm chipboard is available in companies engaged in the furniturewho have scraps left, and they sell it for cheap.
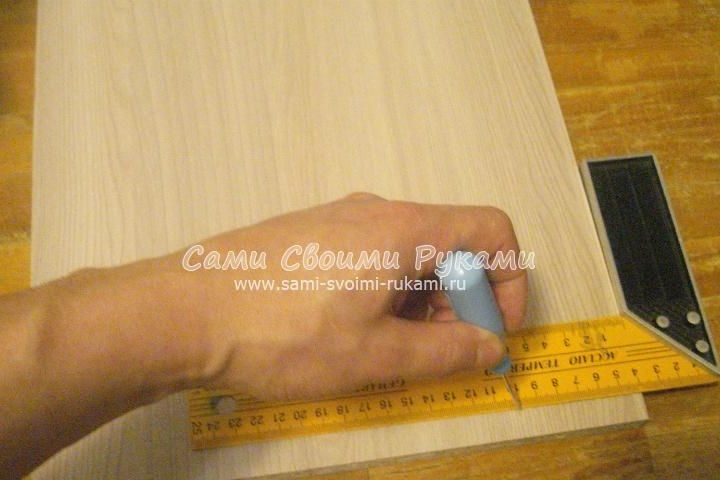
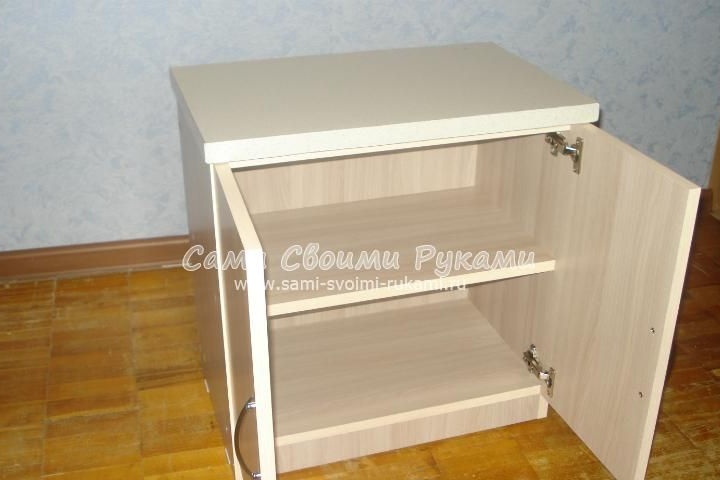
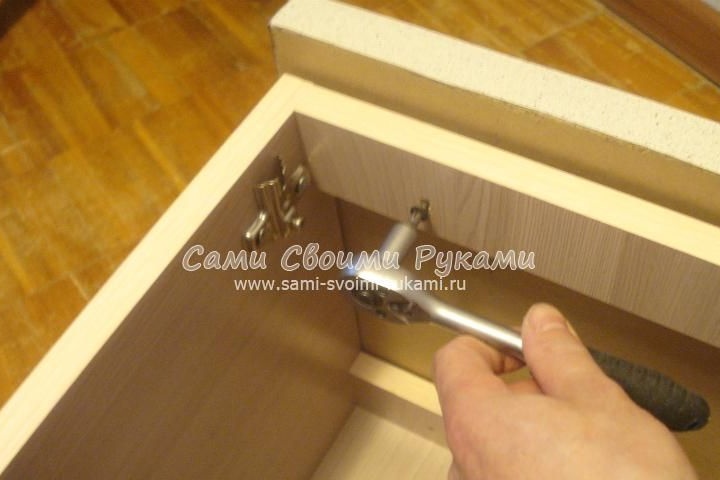
A corner and an awl are taken in order to mark the holes for drilling. In the outer holes, a distance of 8 mm from the end face is taken. Under the shelf, notes are made based on the height at which it will be. However, the lower shelf will be fixed at a height of 70 mm from the edge.
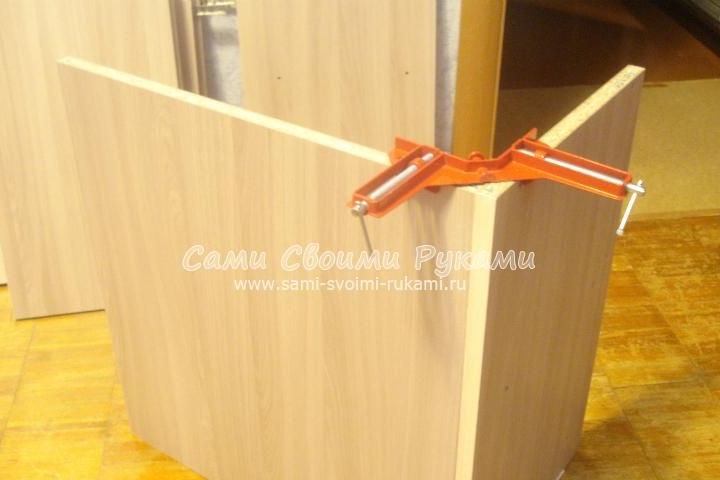
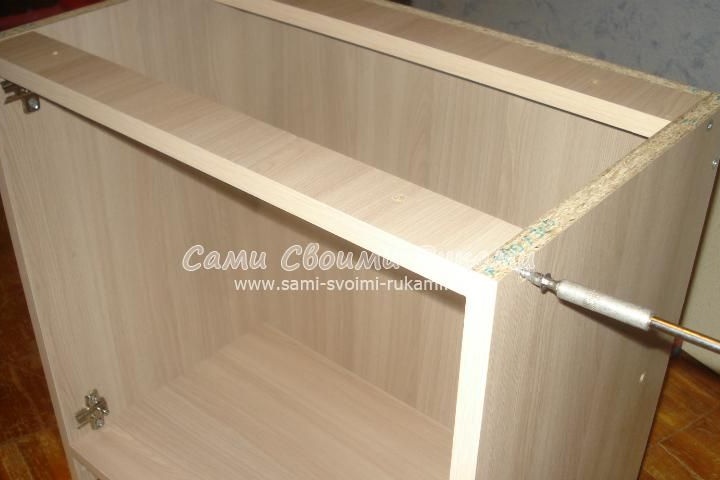
The prepared parts are connected by an angular clamp, which greatly facilitates drilling. If the clamp is not available, help will be needed to hold the parts.
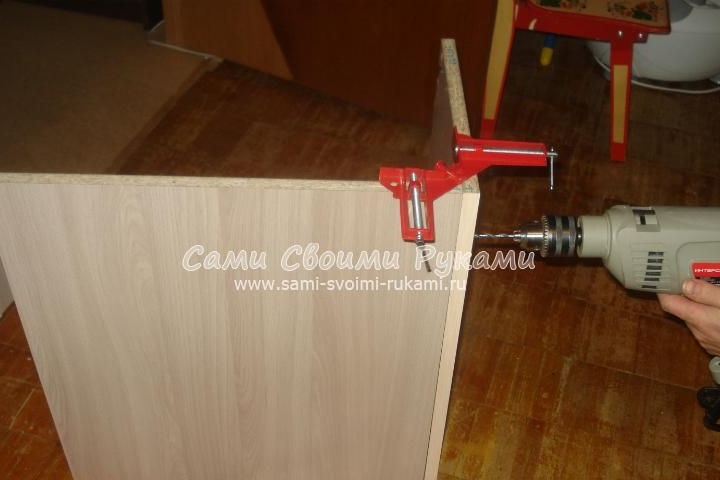
Next, the details are drilled for the connection with a furniture screw. For this work, a 5 mm drill is first taken, then replaced with a 7 mm drill. A hole is drilled with a depth of 7-8 mm under the head of the furniture screw (Confirmat).
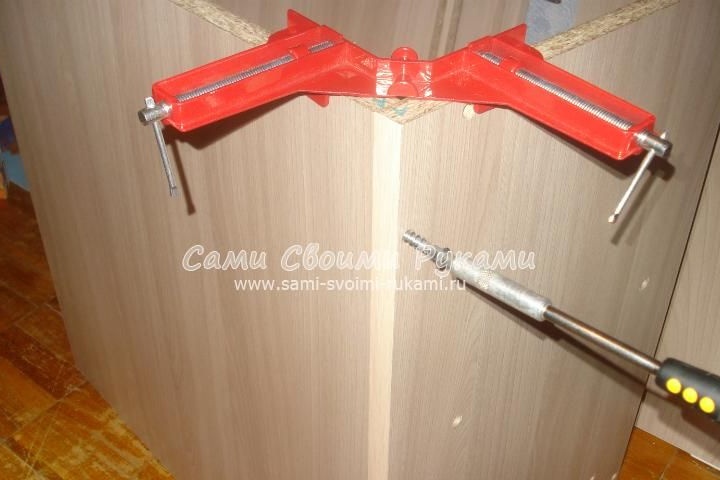
A confirm is screwed into the prepared hole. After the clamp is rearranged on the other side and the same hole is made to connect the two pieces of cut. The remaining parts of the cabinet are connected in the same way.
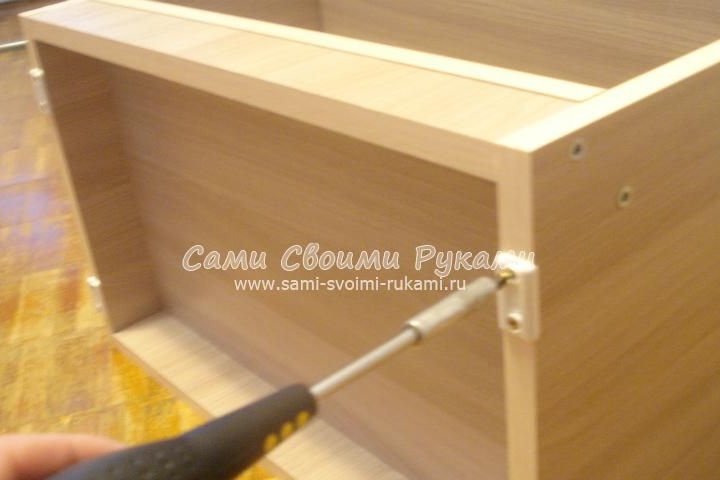
Top ties are attached for future connection to our cover. Next, two holes are drilled on each, for screwing the future cover on the inside.
The cover is fixed with screws.
Plastic legs are attached to the bottom so that the shoe does not scratch the floor.

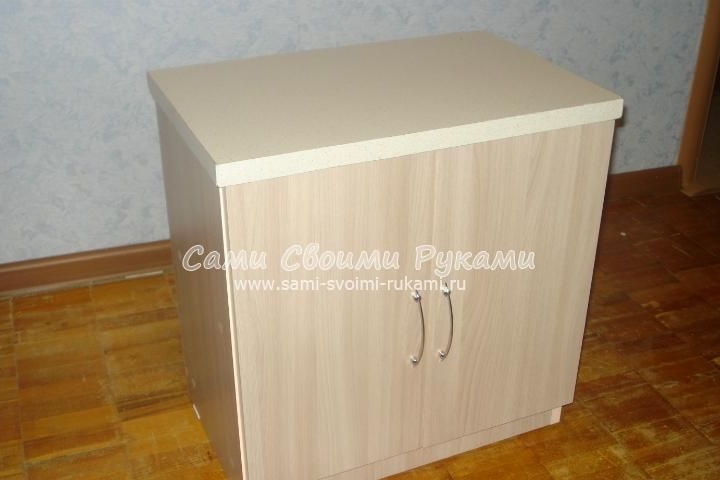
That's all, the self-assembled cabinet for your shoes is ready.
Overhead hinges are screwed to future doors.
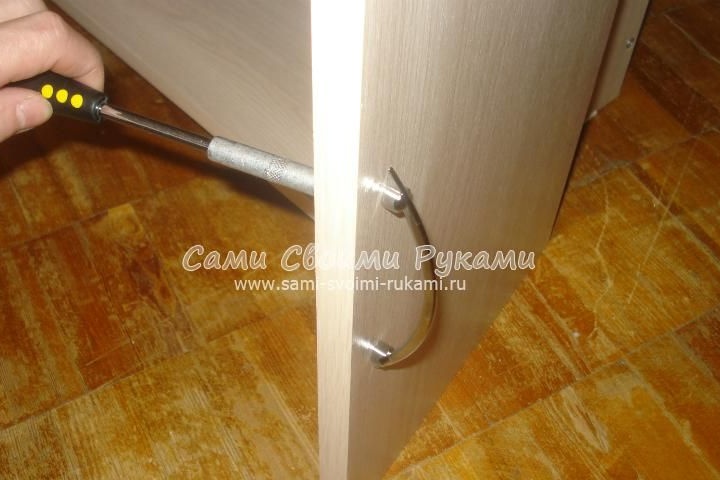
Handles are screwed to the doors, having previously prepared holes for them.
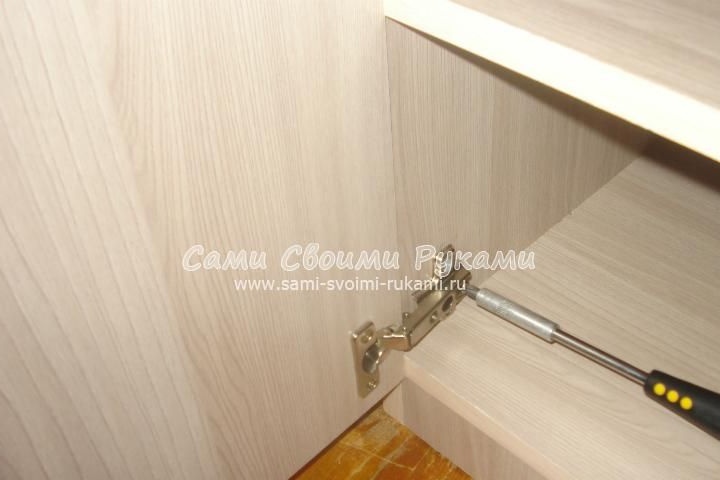
Finished doors are screwed to the cabinet.
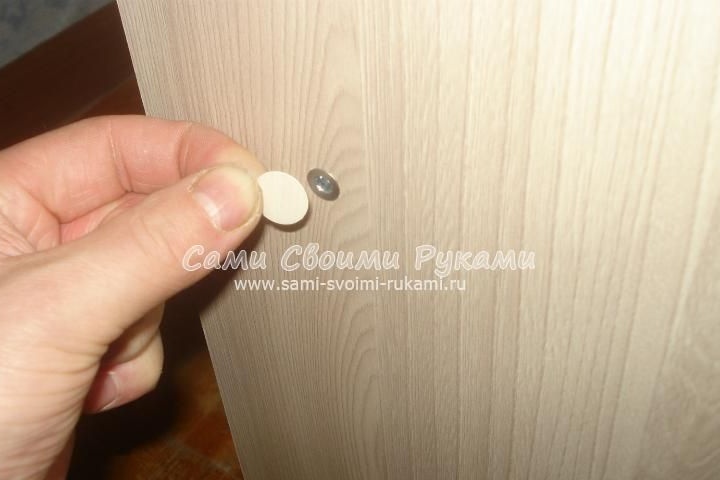
Confirmation hats can be masked if desired.