
Good day to all !
In order to organize the space in the room and improve the appearance of the interior - there is nothing better than shelves. They are convenient and multifunctional, and have original shapes, and also help us to conveniently arrange a large number of things. Make shelves on the wall do it yourself it’s not at all difficult, it’s enough to have the right tool with you, and the desire to do something. This article will describe one of the ways to make a corner shelf with your own hands, unnecessary chipboard cuttings will be used as a material, for a visual understanding, the author attaches a photo report.
In order to make a shelf, we need the following:
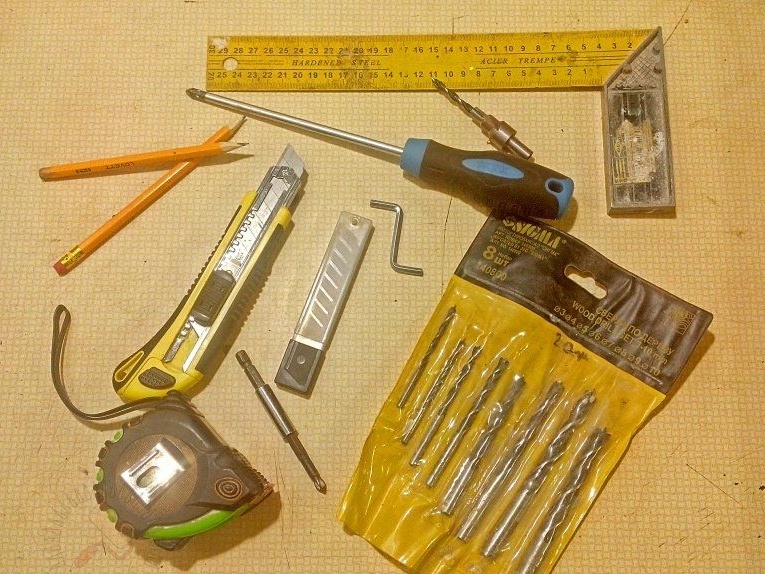
Instruments :
- screwdriver;
- screwdriver;
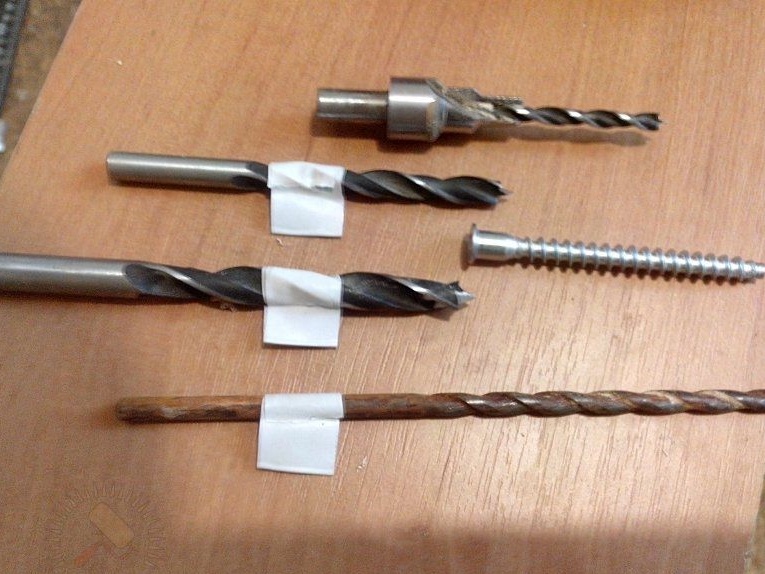
- a set of drills on wood;
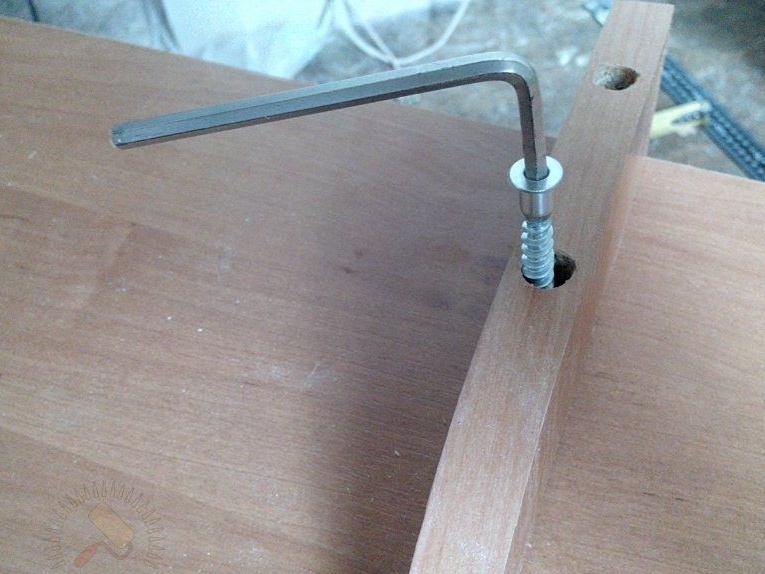
- Allen key 4 mm;
- assembly knife with interchangeable blades;
- a pencil;
- roulette;
- angular ruler.
Materials:
- edge tape of the corresponding color - not less than 10 m;
- confirmations - 16 pcs.;
- screws - 8 pcs.;
- plugs - 16 pcs.;
- hinged loops - 4 pcs.
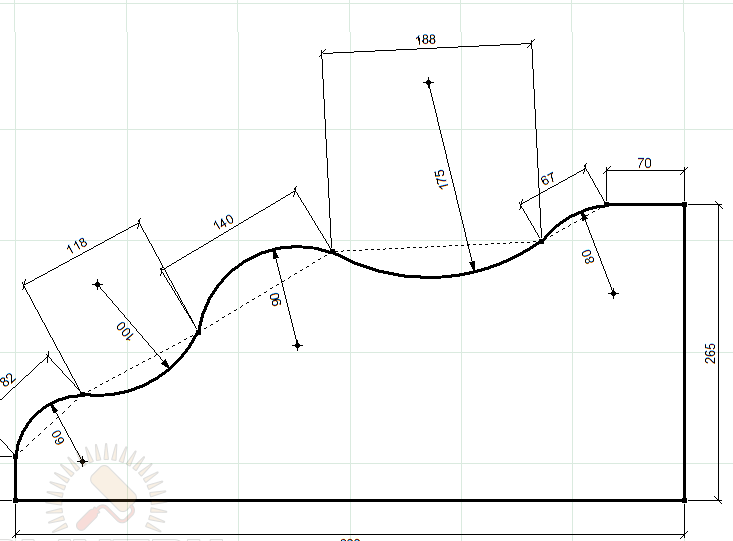
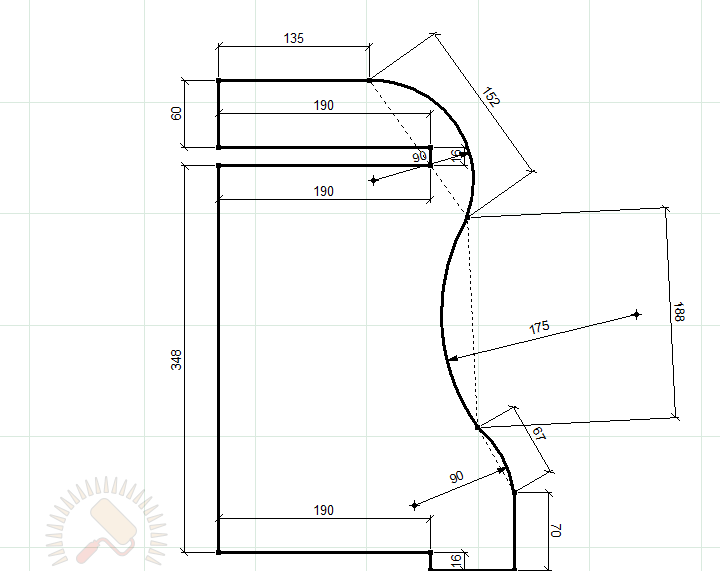
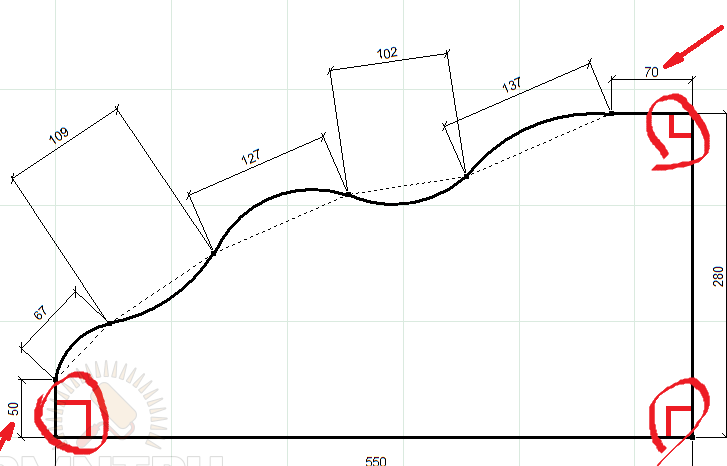
As with any of furniture, a sketch is drawn first, and then detailed detailing.
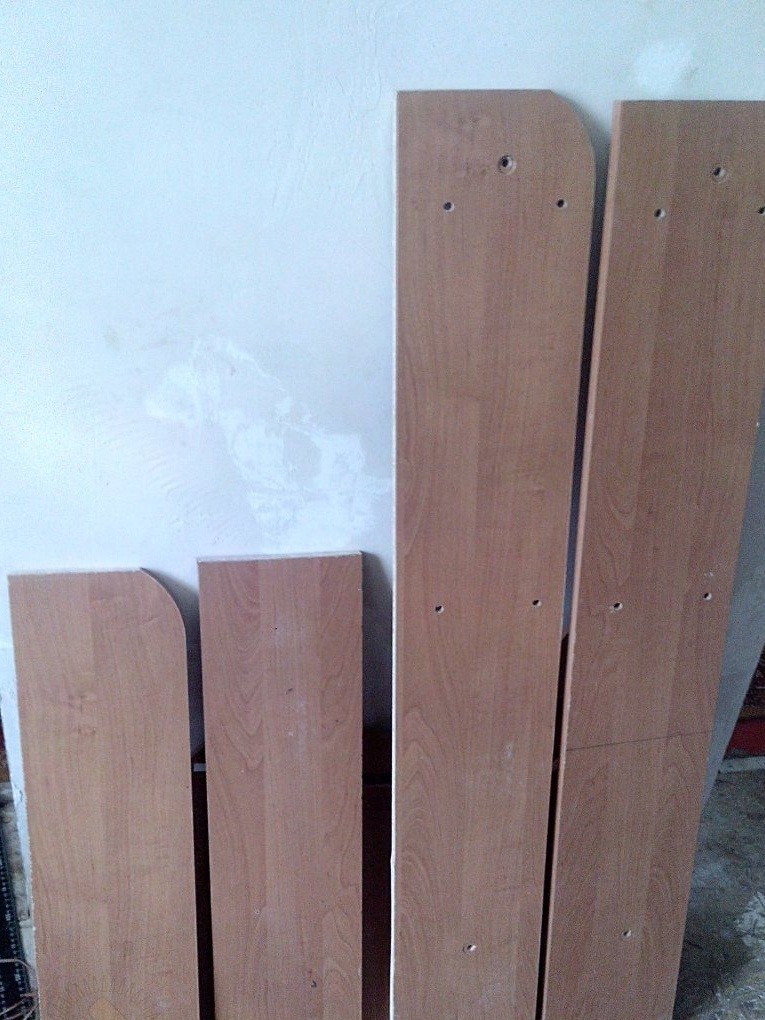
Sketch and detail of the product.
- a shelf with a radius of 190x900 mm - 2 pcs .;
- a shelf with a radius of 190x1100 mm - 2 pcs .;
- stand 600x265 mm - 2 pcs.;
- stand 440x265 mm - 2 pcs.
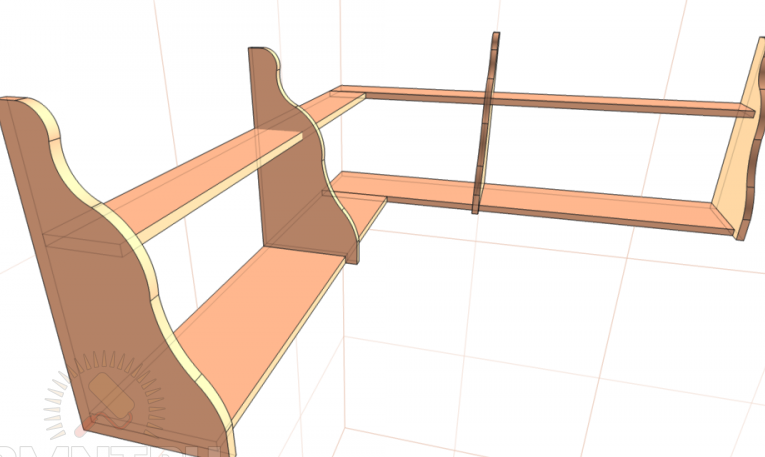
Radii and chords of bends are shown.
We begin to produce the sidewalls of the shelf.
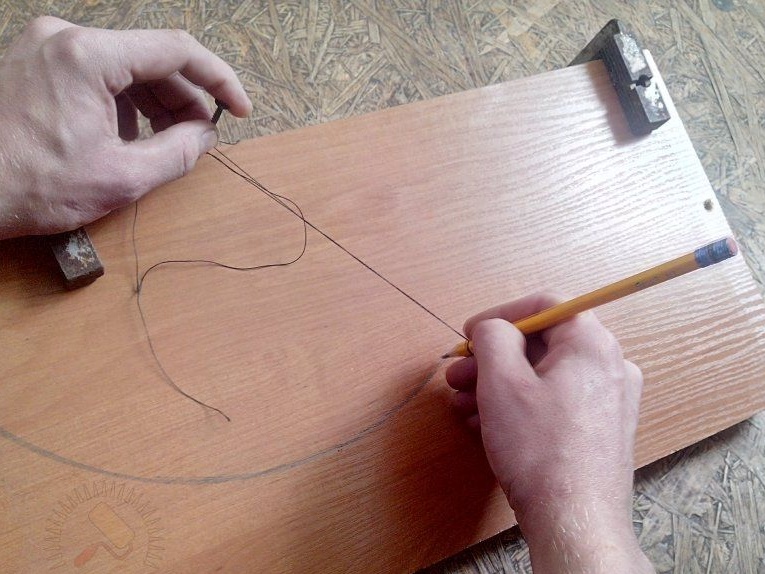
To do this, we take our chipboard sheet, onto which we mark the curly parts.
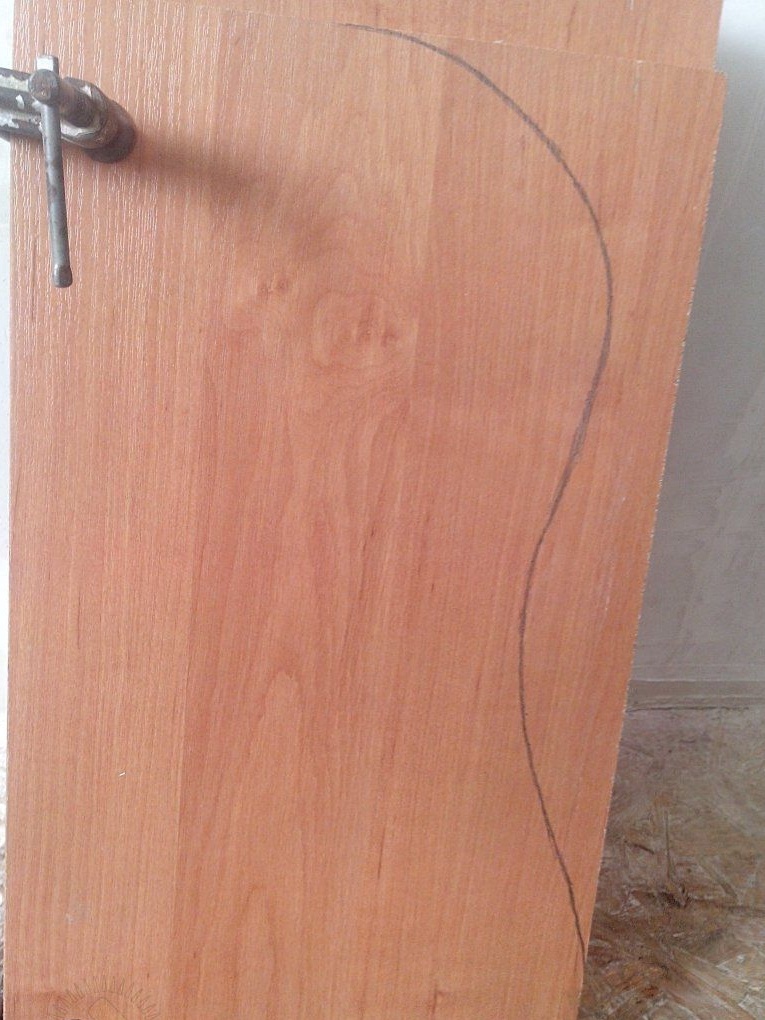
The author uses an impromptu instrument - a pencil and thread, with which he draws the necessary bends.
The first bend should start from a flat area at a distance of 30-100 mm from the beginning, since if you start drawing from an arc, there is a chance that an unpleasant pairing will occur during gluing of the edge.
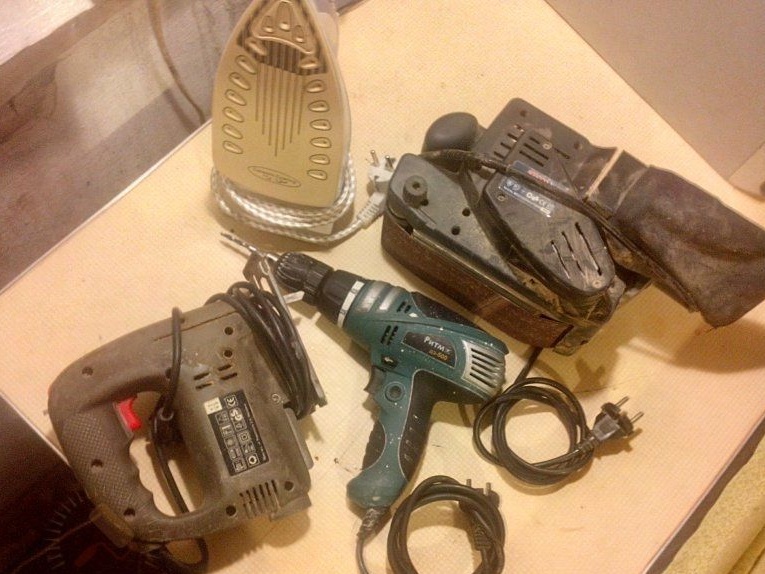
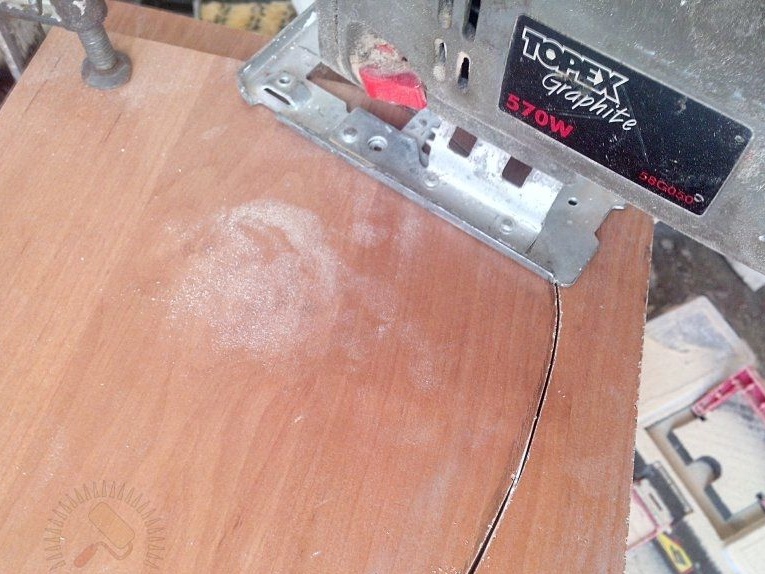
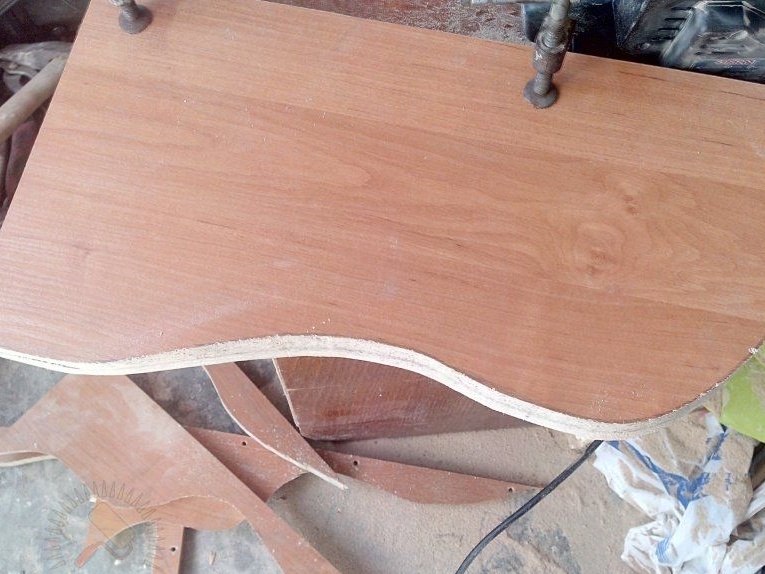
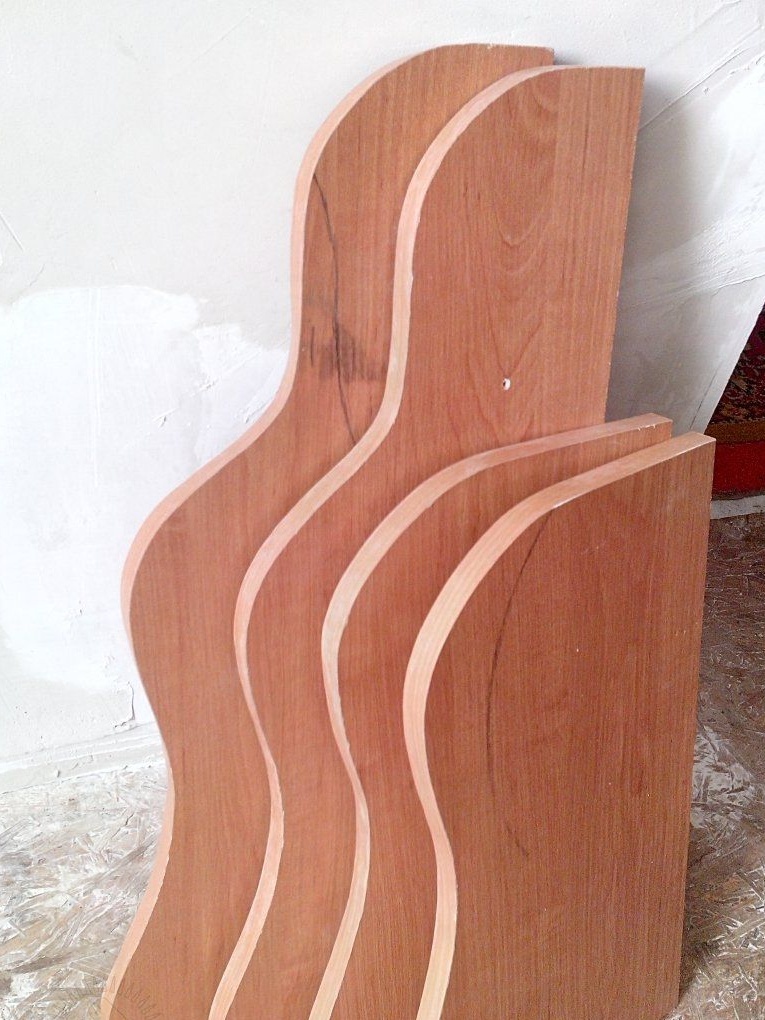
The first blank can be used as a template, by its principle we make the second identical part. We use an electric jigsaw as a cutting tool.
The internal stand will turn out a little shorter than the external, as it does not have an internal protrusion.
After using a jigsaw, bumps and chips often appear on the edge of the product.
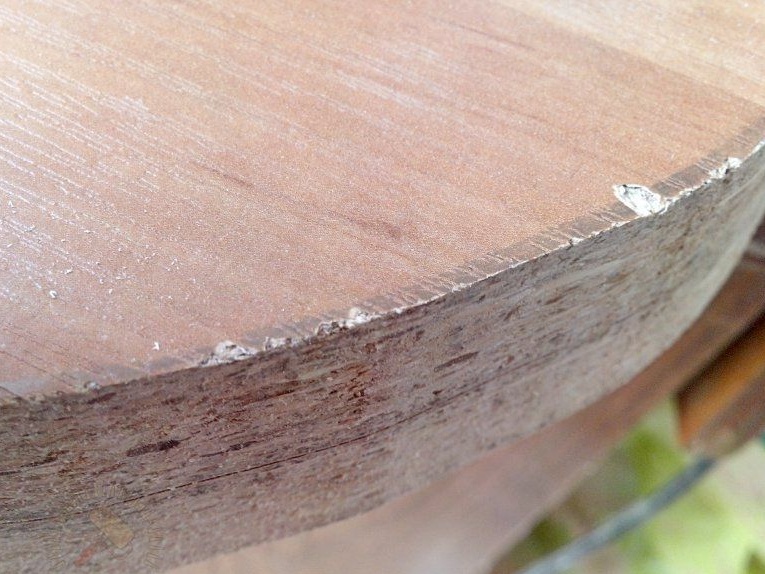
We remove them using a grinding machine, on which an emery tape with grain size K80 or K100 is installed.
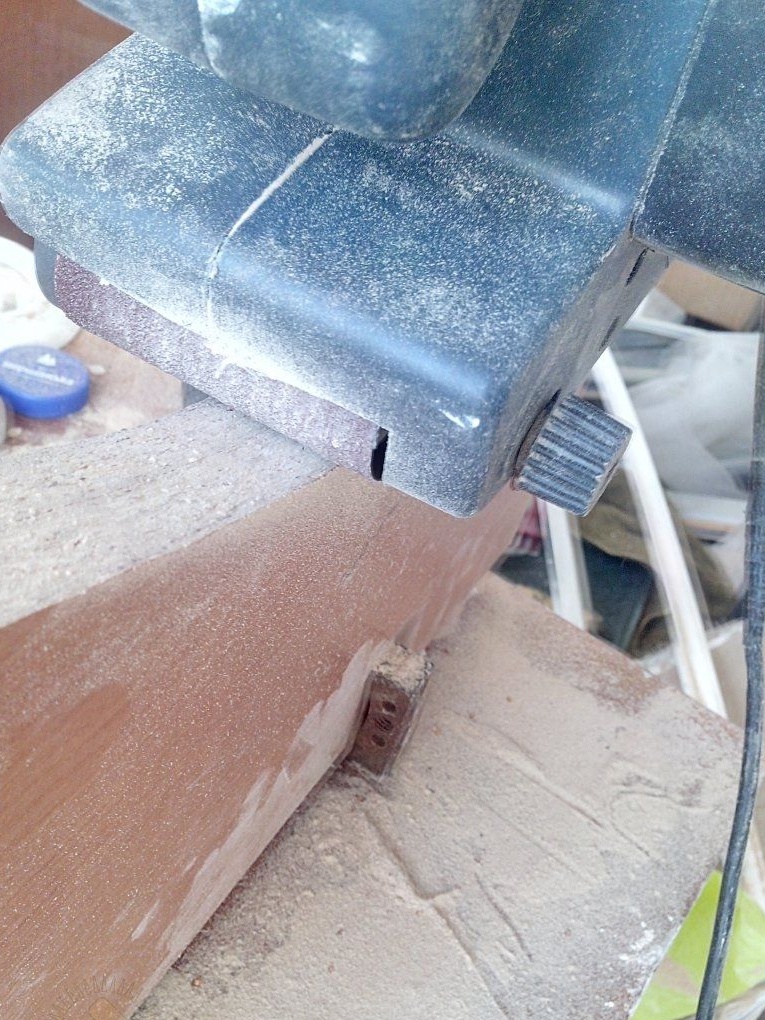
You should get a smooth and level surface.

When all the parts are ready to be hemmed, for this we take the tape, and with the help of a heated iron and a small piece of fabric we fix it.
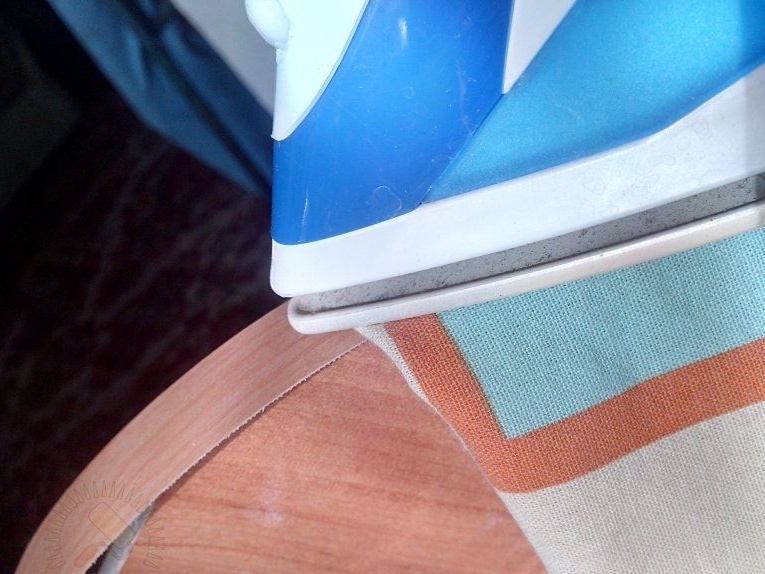
When gluing an edge, several important points should be taken into account:
1 - you need to choose the right temperature, it is best set in the interval between the first and second stage of the thermostat;
2 - cotton fabric should be put under the iron, this is so that there are no traces of the iron on the edge, and there is no strong overheating;
3 - when you go through the internal bends, the iron should be pressed against the bow. while you need to try to make less unnecessary movements.
The excess edge tape is cut off with a mounting knife.
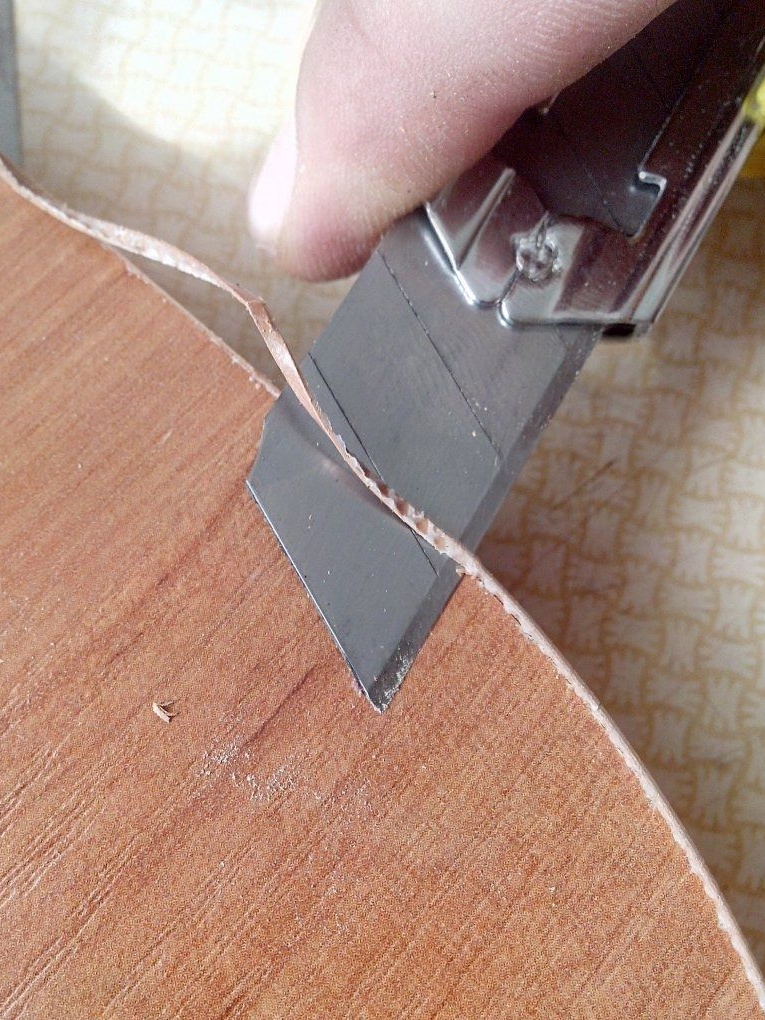
The following should result.

After the edge is pasted, we process the corners of the product with sandpaper with fine grain, it will remove the white glue that has formed.
For the transverse crossbar, we take rectangular pieces of chipboard, they should be the same length. Their width should correspond to the width of the uprights.
To give originality to the design, the author made two additional slots in the inner rack.
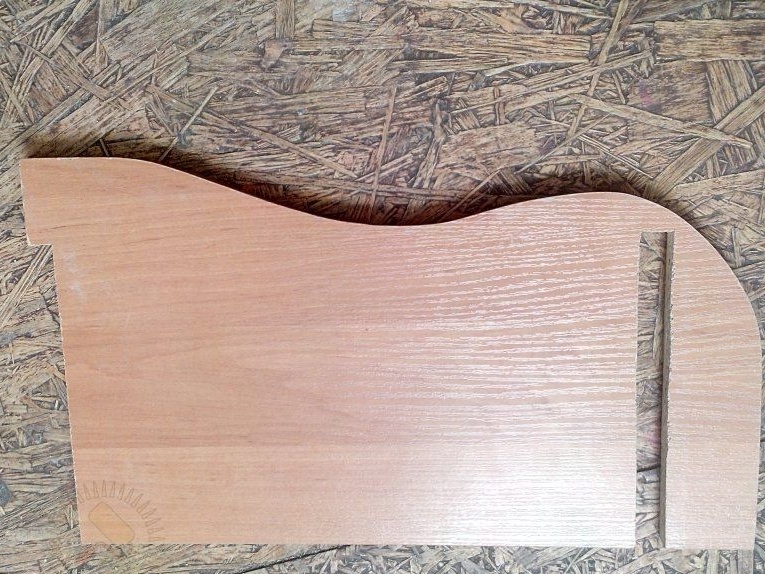
They will be inserted and fixed board shelves.
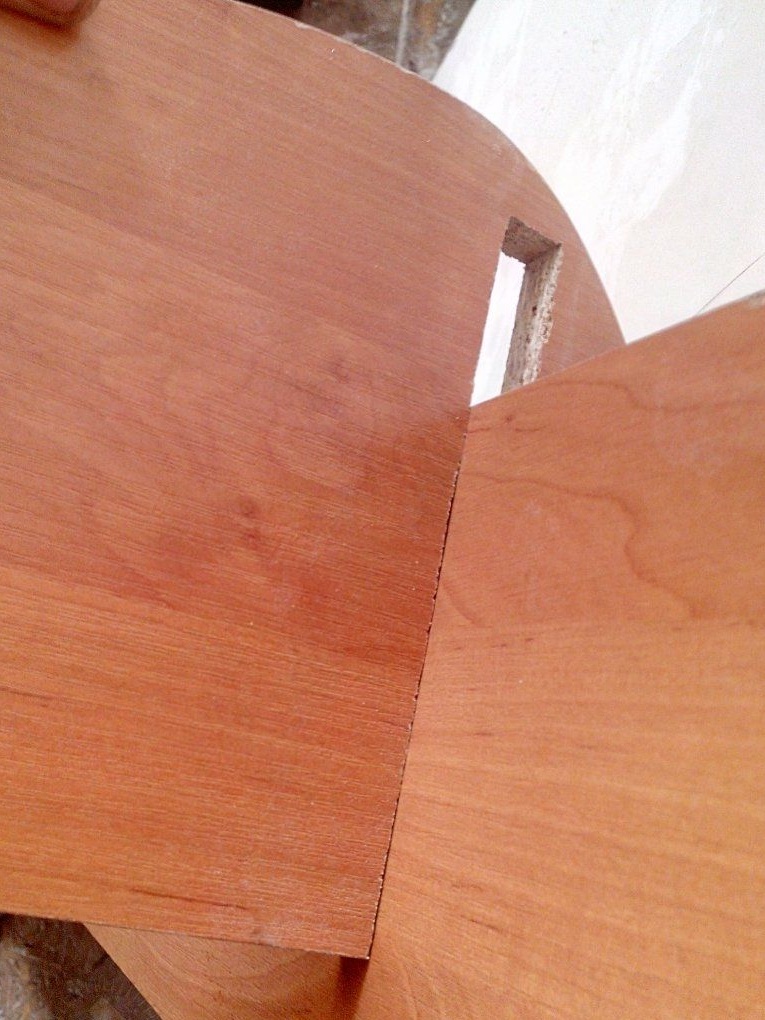
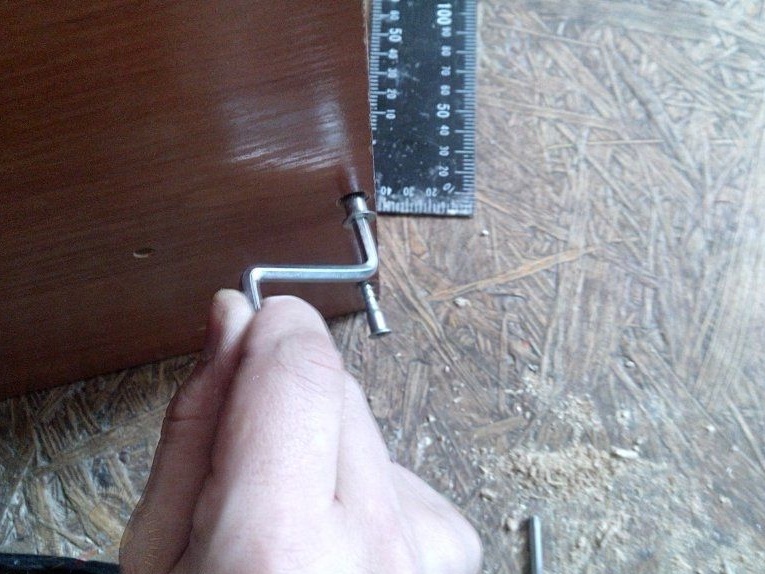
We expose the lower and upper racks at the correct angle, for this we use an angular ruler, additionally fix with clamps. Further, with the help of confirmations, they will be attached to each other.

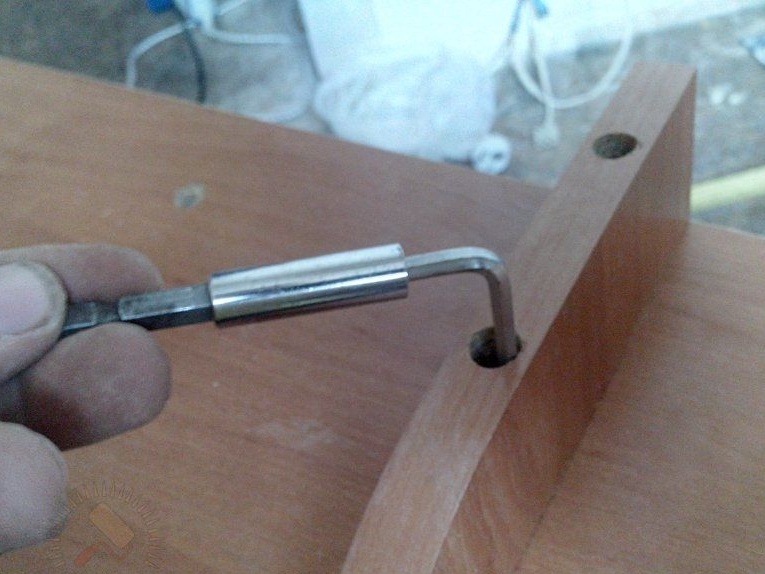
We make holes for confirmations, they are located at a distance of 8 mm from the edge, we use a specialized drill.
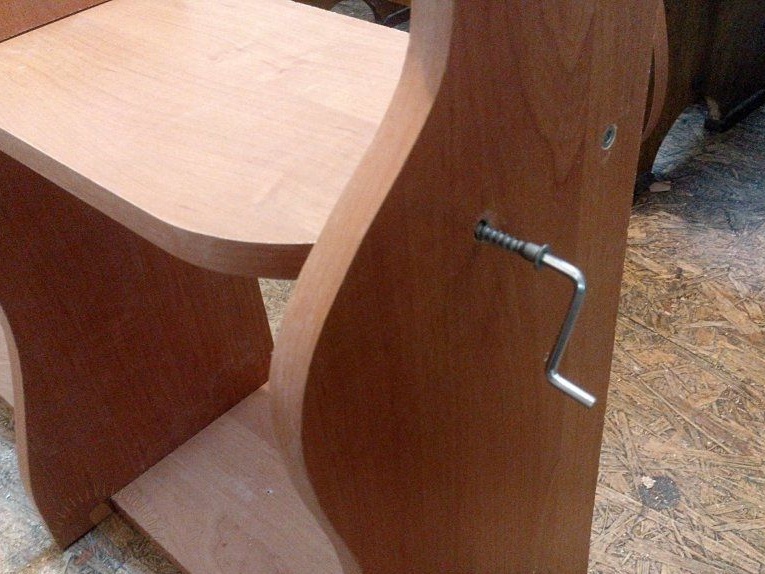
When the holes are ready, we fix the parts with a confirm, for this we use a special hex key.
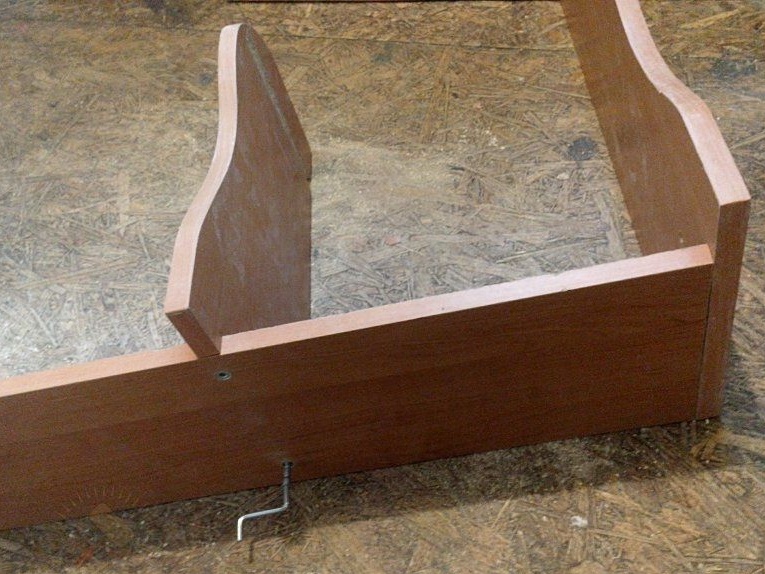
Go to the next step.
We fix the internal vertical stand at the required distance.
Then install the top shelf. First, it should be fixed to an external stand.
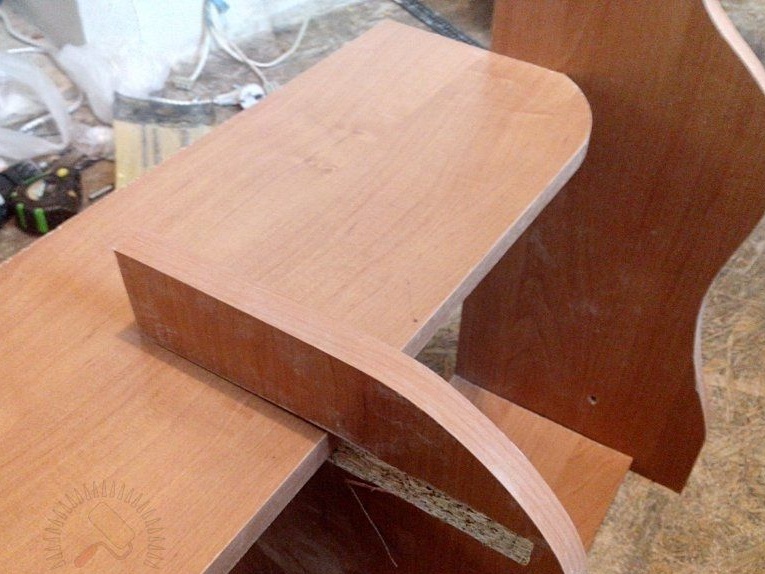
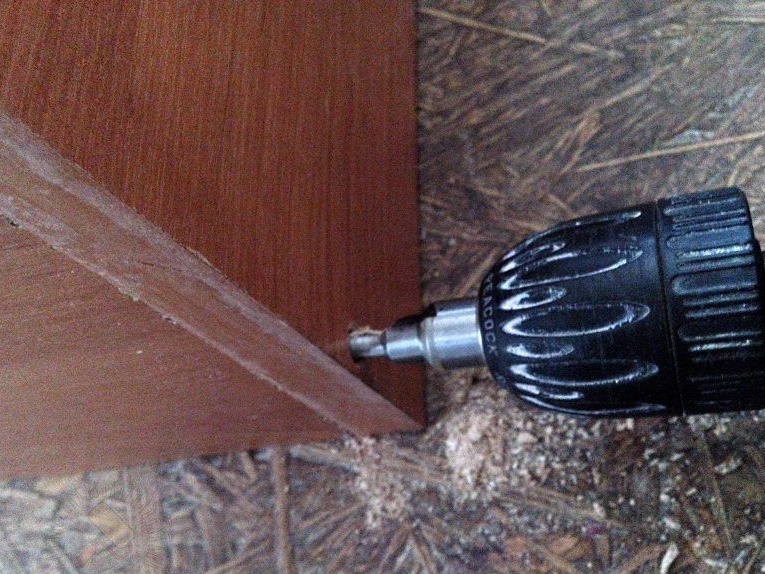
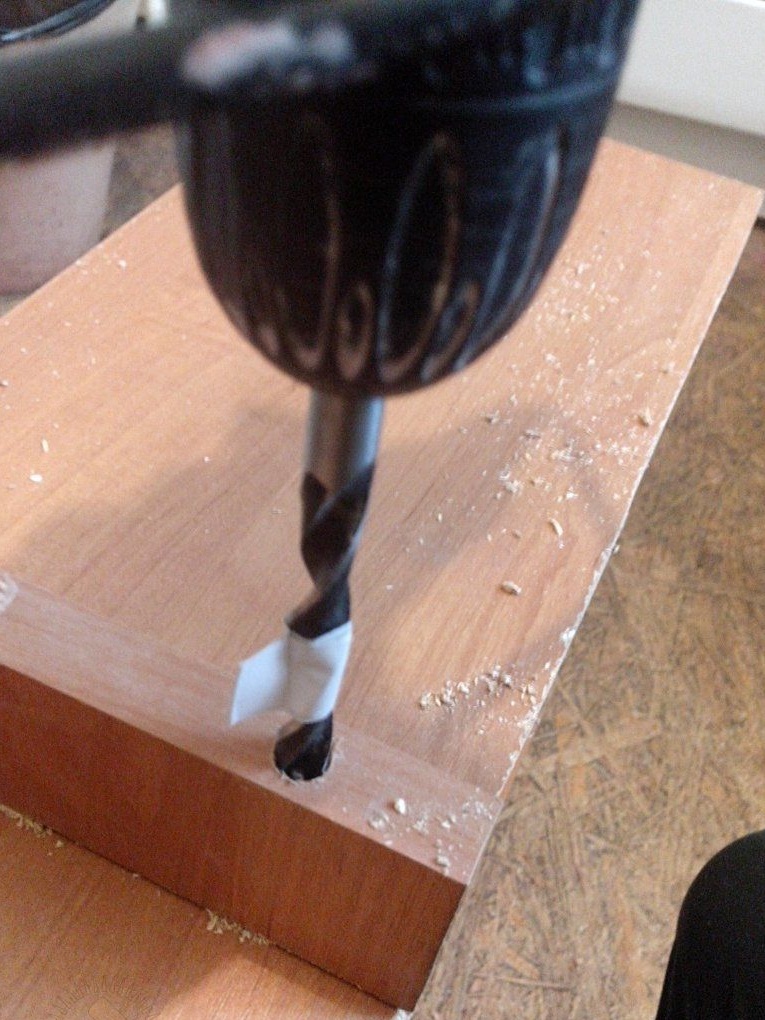
We drill a hole and fix it with confirmations.
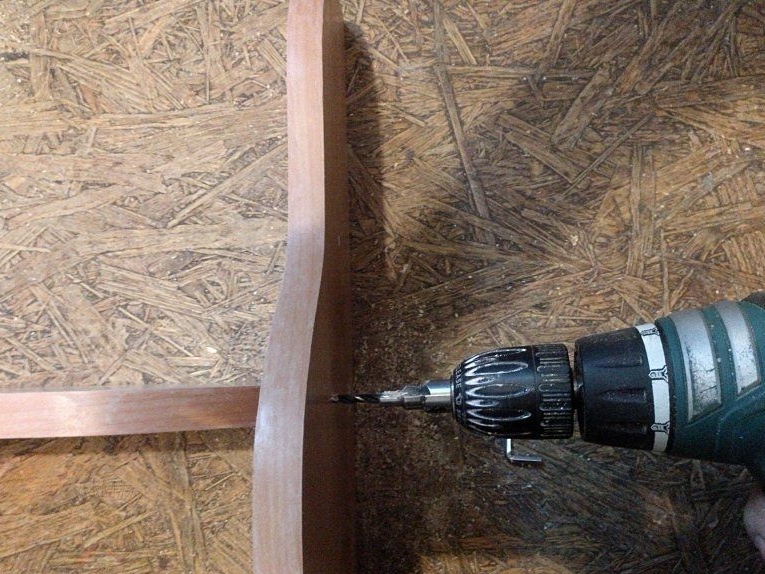
It is worth noting that during drilling, the drill must be held as flat as possible to the surface of the workpiece.
In order to fix the upper shelf to the inner rack, the author used elongated drills, since the depth of the hole needed to be made larger, and the drills used earlier were too short for this.
When everything is ready, we twist the confirmations.
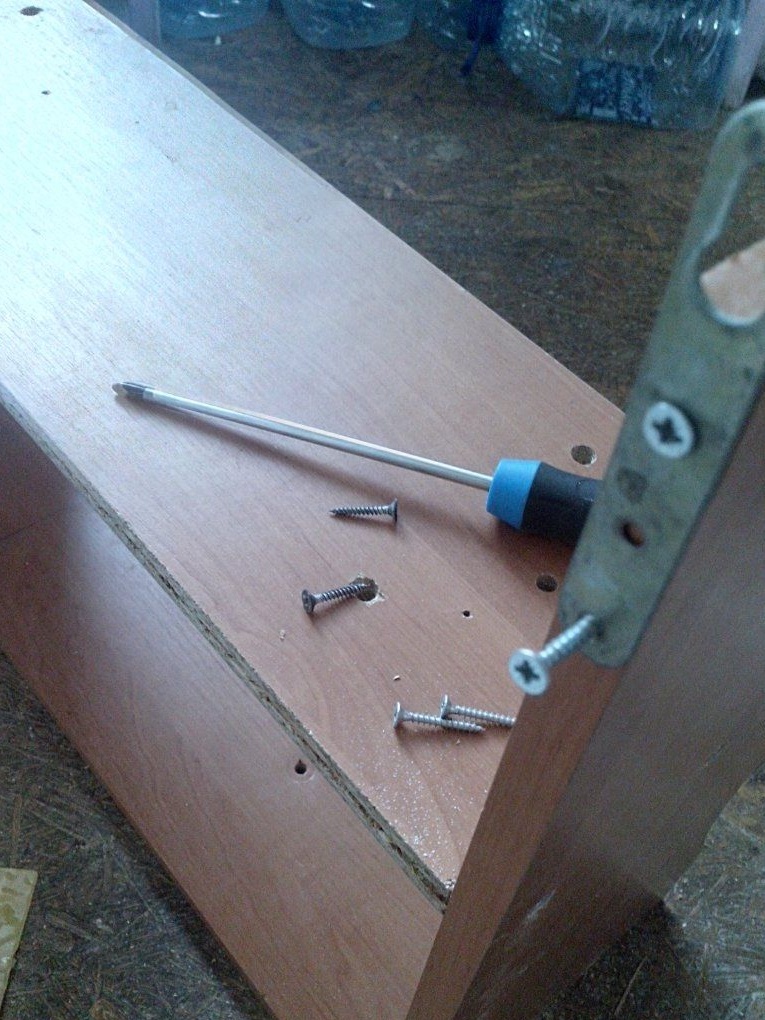
Next, we install mounting canopies in four places, we fix them with self-tapping screws.
In order to hide the presence of confirmations we use special decorative stickers or caps.
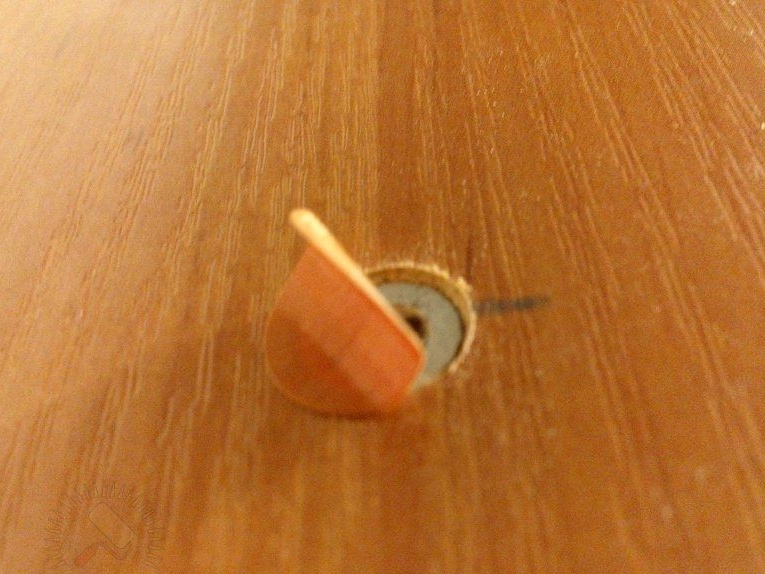
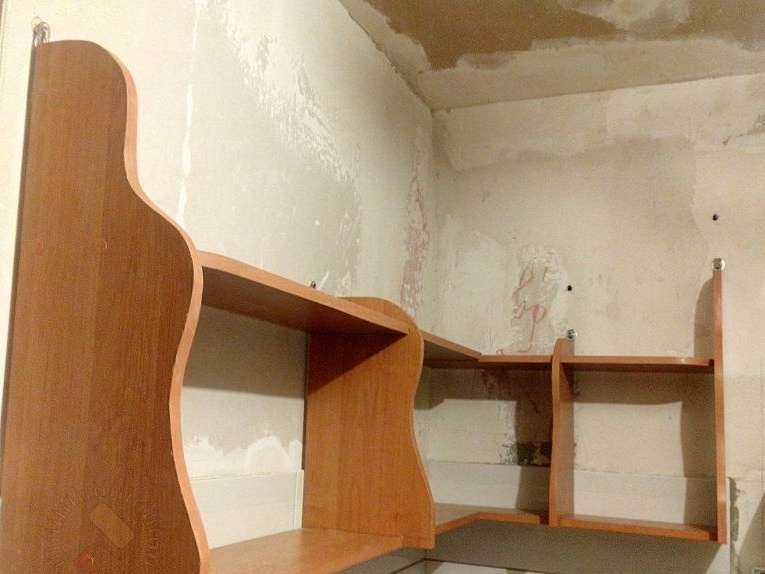
The shelf is ready, now it can be mounted in the place we need.