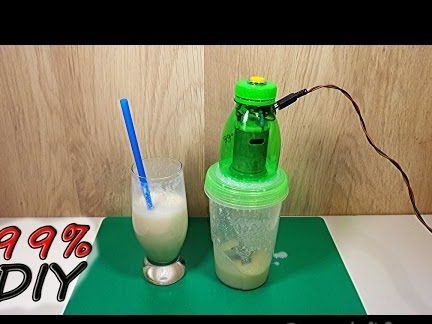
Hi the inhabitants of our site. Every person in the apartment, somewhere in the pantry, has old broken home appliances, electrical appliances, things, parts that seem to be no longer needed, but it's a pity to throw them away. But what if you are smart and try to collect something useful from them - for example, a blender? Let's see how to make a blender. do it yourself. Our homemade blender is certainly not suitable for chopping ice and other solid foods. But for the preparation of milkshakes it will be enough. Because of the simplicity of this homemade product, everyone, even a child, can repeat it.
You will need:
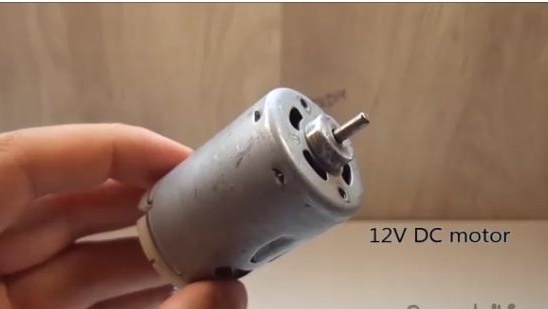
1. A small electric motor.
2. Capacity with a plastic cover.
3. A plastic bottle of 0.5 liters.
4. Switch with wires.
5. Connector for power supply.
6. Ballpoint pen.
7. Power supply.
8. Clerical knife.
9. Soldering iron.
10. Super glue.
11. File.
12. Scissors for metal.
13. Tin plate.
14. Solder.
15. Aluminum wire.
16. Marker or felt-tip pen.
Manufacture:
1. First you need an electric motor, we fix it on the seats to the plastic bottle cap.
2. Mark the places for the holes.
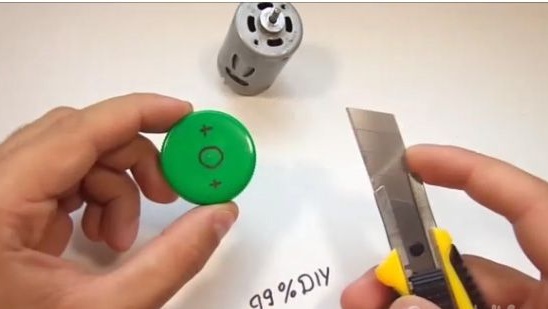
3. Cut holes in the lid.

4. We fasten the electric motor to the cap from the plastic bottle.
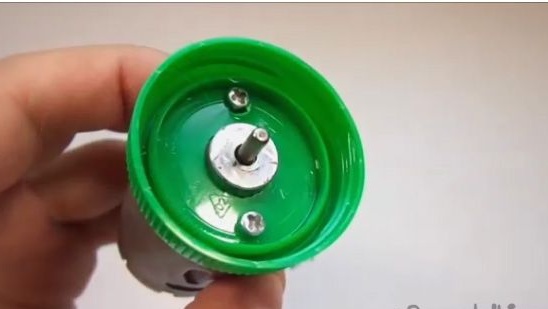
5. Then you will need a similar plastic container (see photo below).
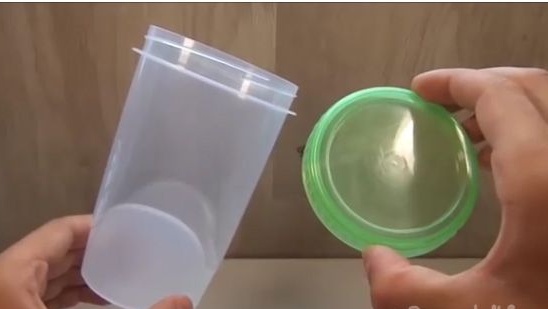
6. In the center of the lid of this container, mark in a similar way (see photo below).
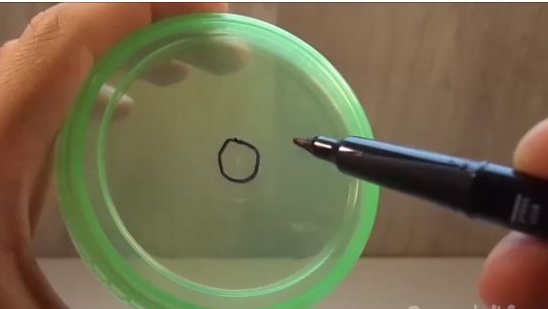
7. Cut out the holes in this plastic cover.

8. Then we install the electric motor on the cover. We will install the electric motor using a glue term.
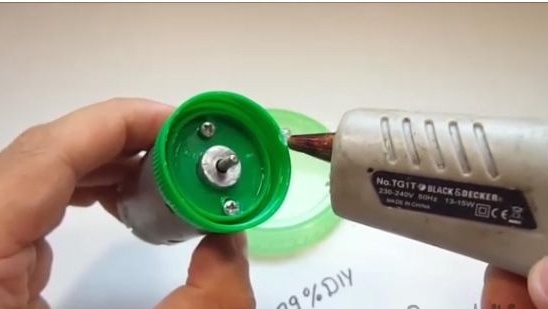
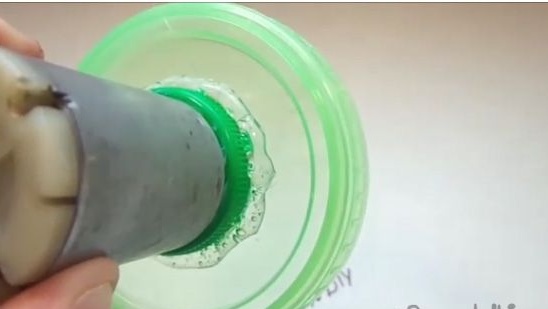
9. And then connect the wires to the electric motor.
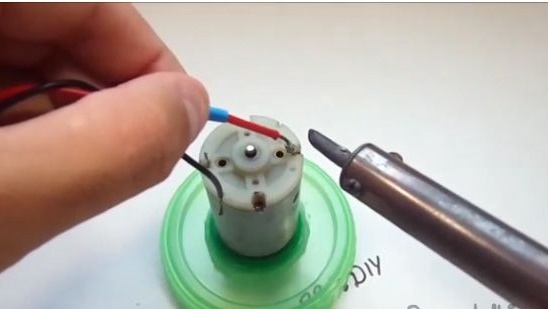
10. After that, we make a housing for the blender from a plastic bottle.
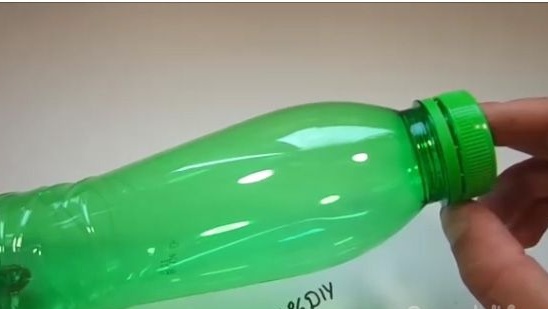
11. On the bottle, mark the marks approximately, such as those shown in the photo below.
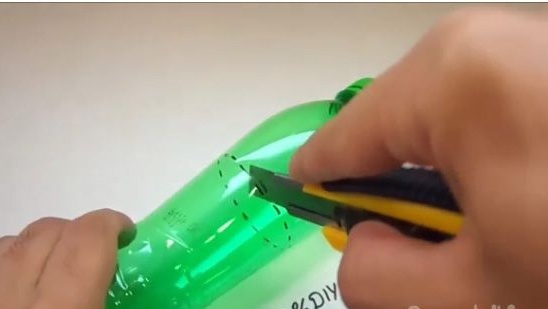
12. We cut off.

13. Next, glue the two blanks, not forgetting to stick the motor wires through the neck of the bottle.
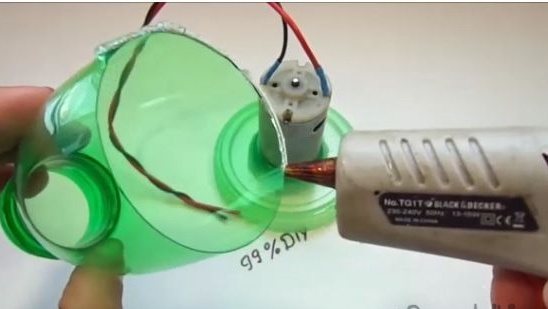
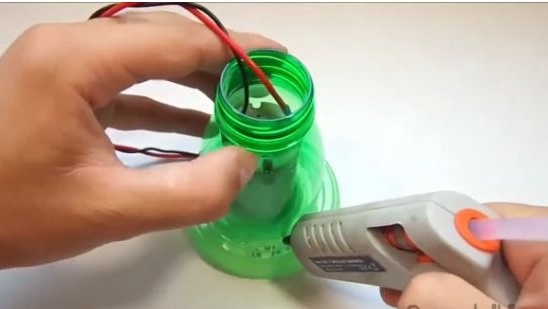
14. In the center of the lid from the plastic bottle we make a hole for the installation of the button.
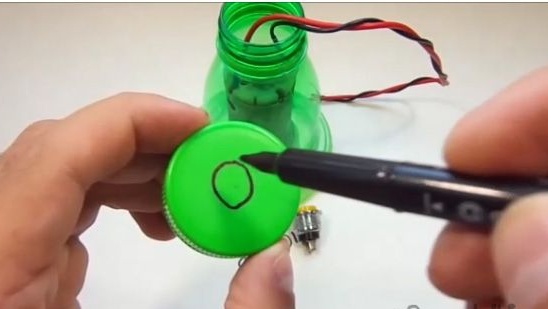
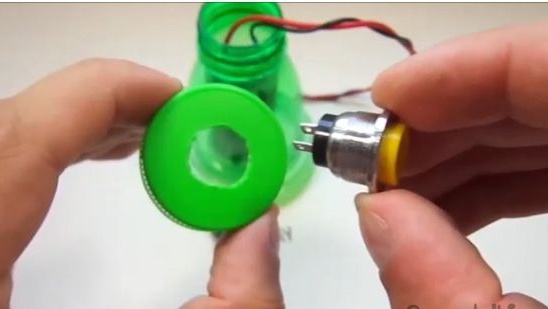
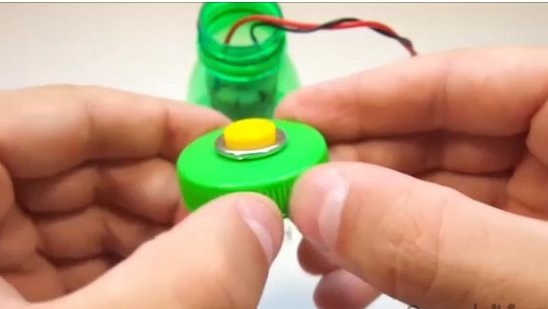
15. We connect the button and the connector for the power supply.
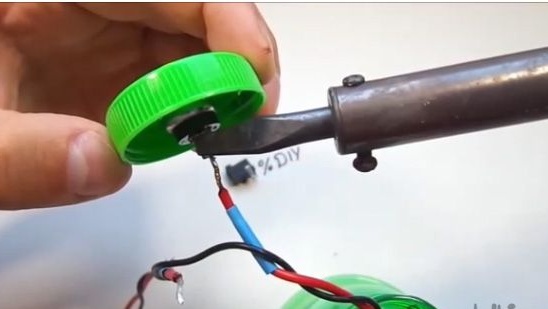
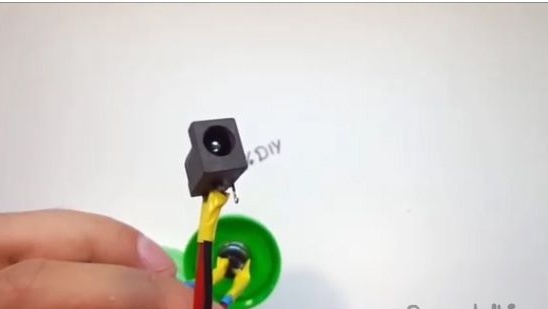
16. We mark and proplat a small window under the power supply connector.
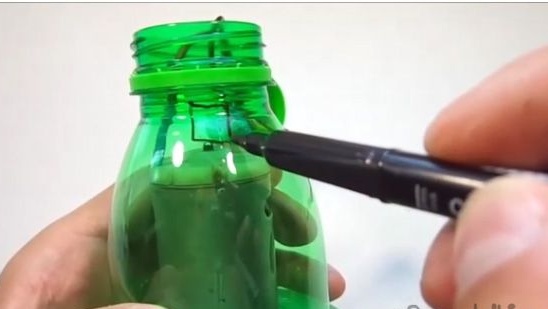
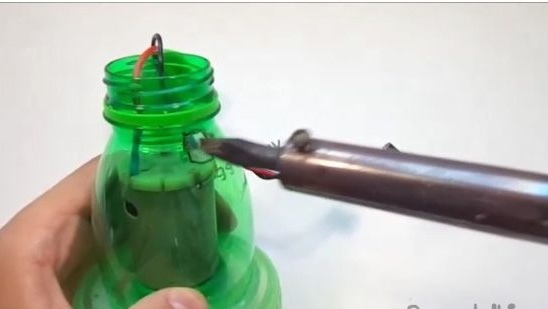
17. Insert and glue the connector to the blender body.
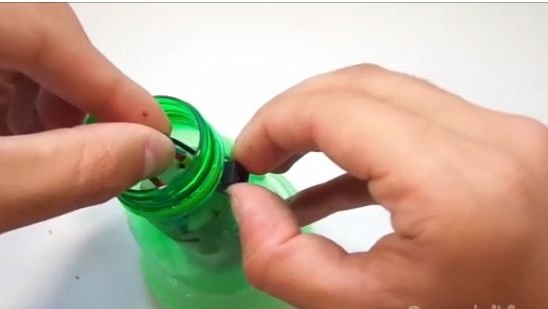

18. We twist the lid with the button and check the performance.


19. Then we will make a cutting element from a metal plate, doing the following.
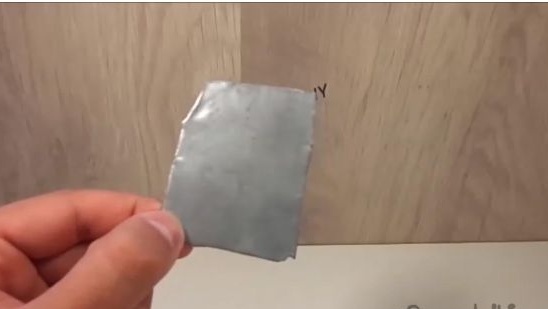
20. On the metal plate itself, mark the cross with a similar shape.

21. Cut the cutting element.
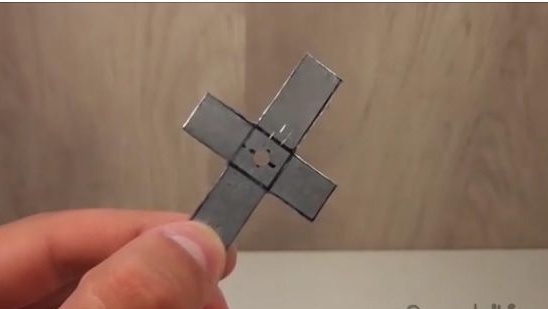
22. And we sharpen it.
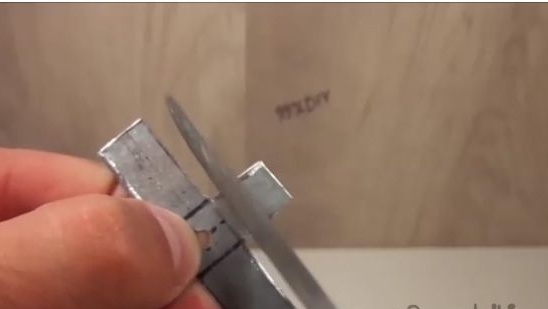
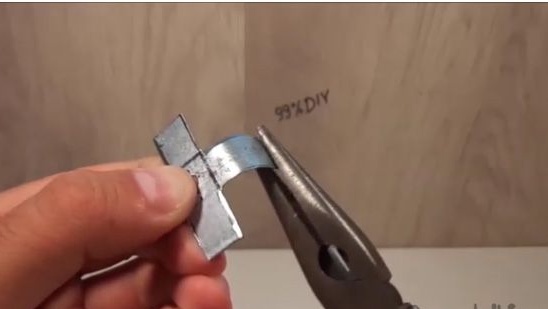
23. Then, using round-nose pliers, we bend the cutting element in a similar way (see photo below).
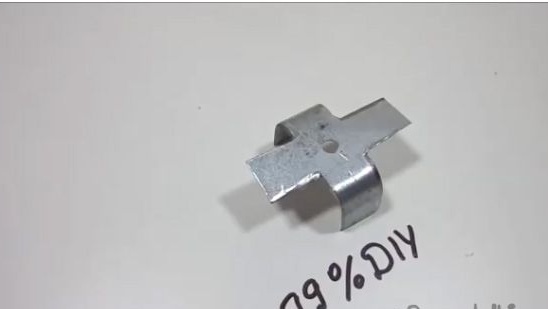
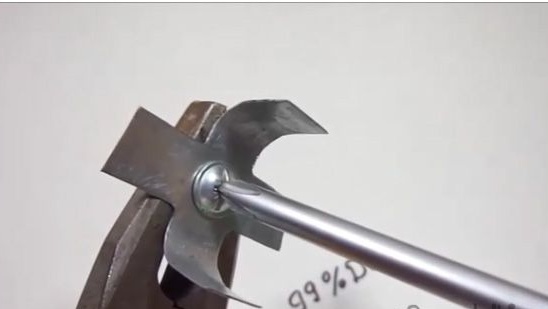
24. Using a screw and nut, we securely fix the cutting element.


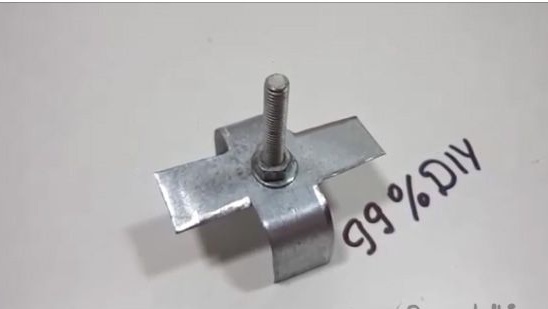
25. Then, from the body from the ballpoint pen, we will produce a shaft for the cutting element.
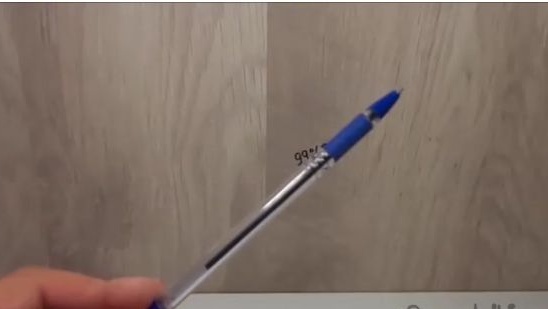
26. In our cases, we simply disassemble the ballpoint pen.
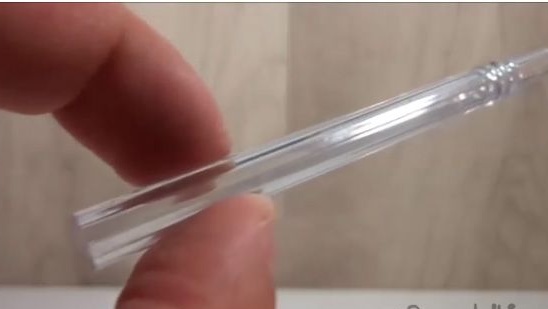
27. Then we collect the working part. Lubricate the screw with super glue, after waiting a bit, screw it into the ballpoint pen housing.
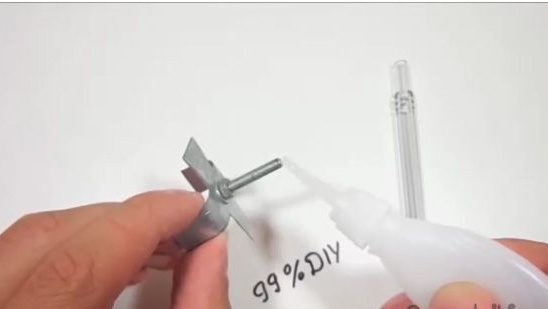

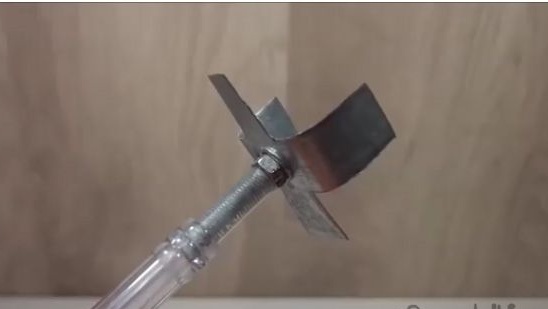
28. Next, we lubricate the other side of the ballpoint pen with super glue, and also after waiting a bit, glue it with the motor shaft.
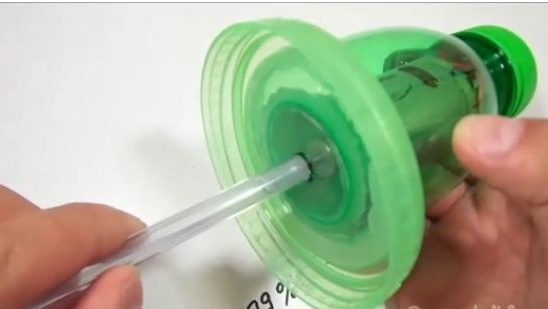
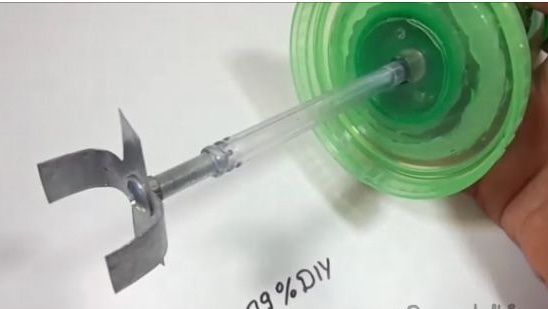
29. We collect and the blender is ready.
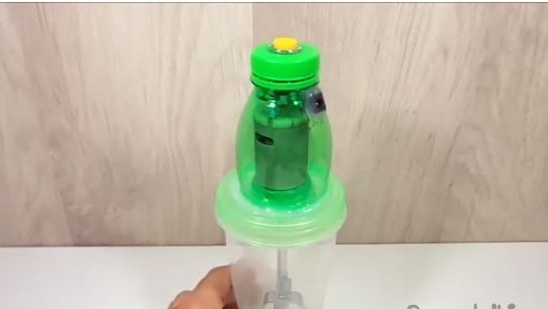
Test:
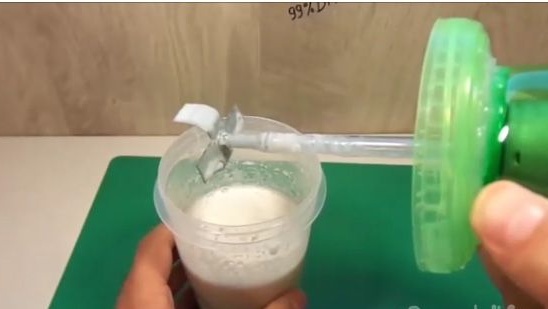
Prepare a milkshake with bananas.
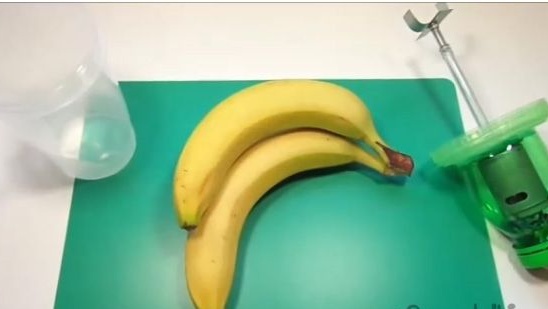
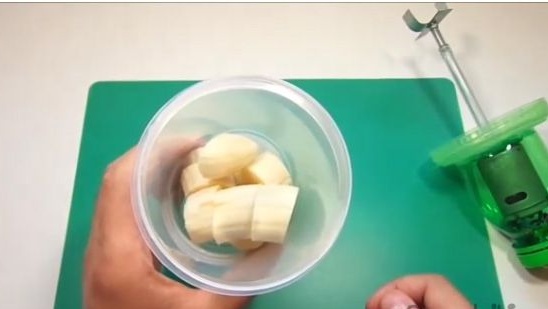
We clean, chop and throw bananas in a blender.
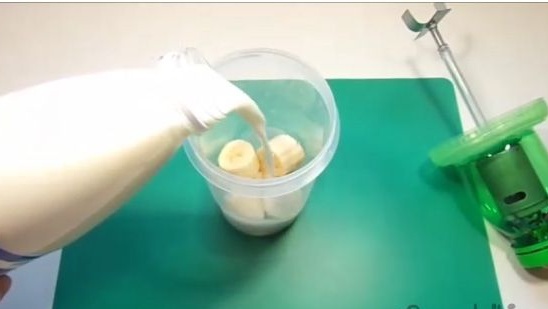
Add milk.
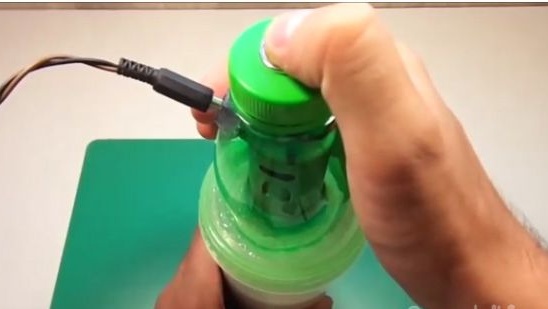
Close the blender and knock thoroughly.
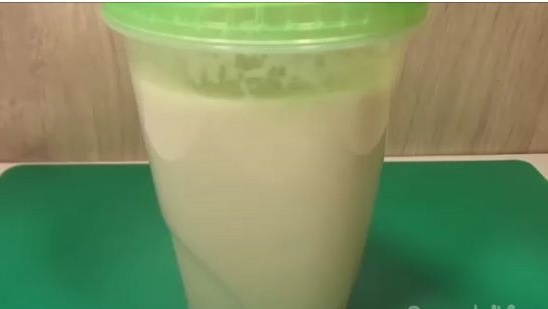
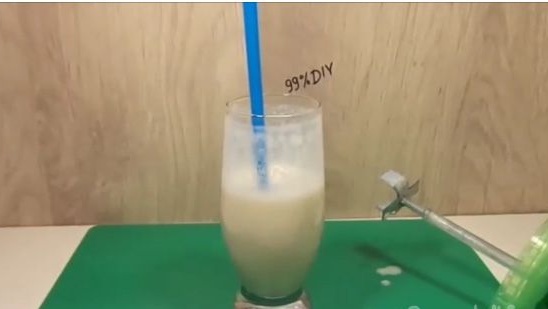
Banana smoothie is ready.
Conclusion:
We got a pretty cool and compact blender for milkshakes. Thank you for your attention. I hope this article was useful for you, and also you have the opportunity to see the video assembly of this homemade product.
