
Hello friends. Surely everyone has long known that you can’t eat at a computer, and for the most part this is due to the fact that crumbs from your food can get into the keyboard. And what to do if you still liked to fool around and eat at the computer, and your keyboard is clogged, and you cannot disassemble it or you are simply afraid to disassemble it.
In order to at least a little help your keyboard you may need this homemade. In this article I will try to describe in detail with step-by-step photos the assembly of a mini vacuum cleaner, which will help you to clean your keyboard a little.
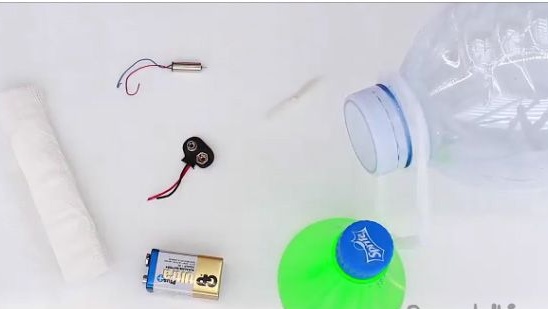
For a mini vacuum cleaner you will need:
1- Five liter bottle
2- Mini electric motor
3- Battery at 9V (krone)
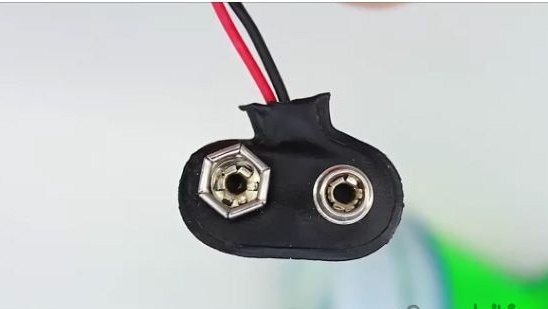
4- Connector for crown
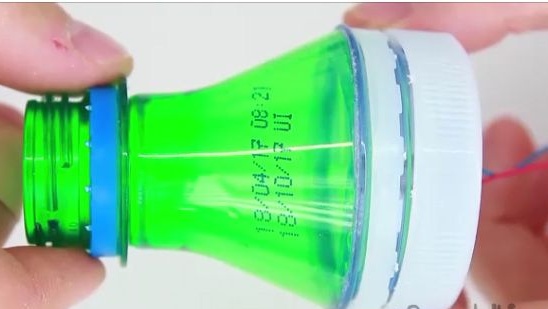
5- Neck from a 1.5 liter bottle
6- Terma glue
7- Scalpel (Chancellor's Knife)
8- Screw (for mini quadrocopter)
9- Bandage (gauze)
10- Scissors
11- Drill (screwdriver)
12- Sandpaper
13- 20 ml and 3 ml medical syringe.
Making a mini vacuum cleaner.
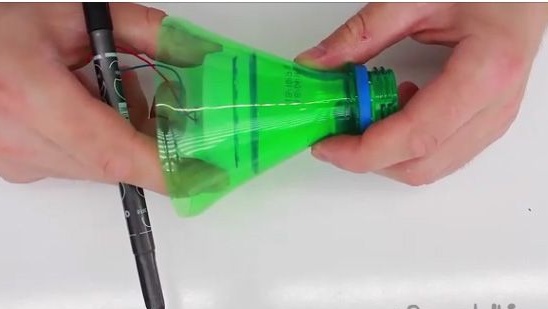
1- First, take a five-liter bottle.
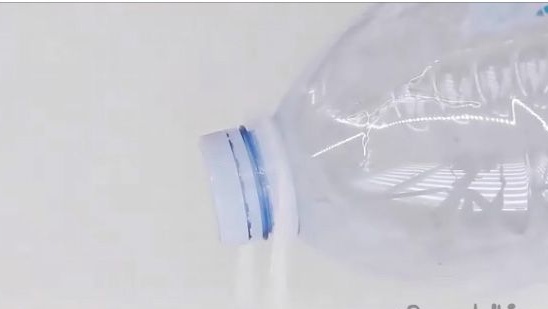
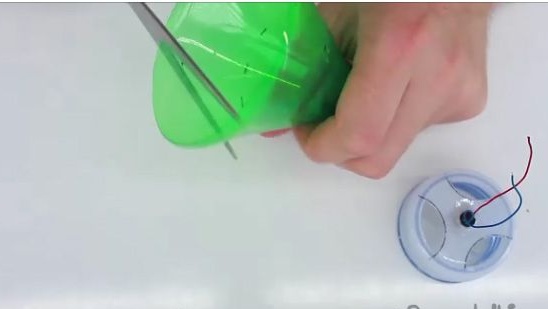
2- We cut off the neck of a five liter bottle, as it is shown in the photo below.
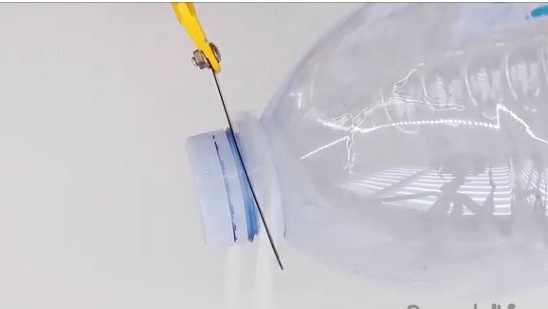
3- We get such a blank here (see photo below).
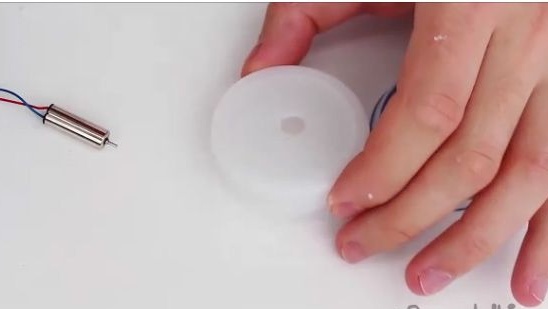
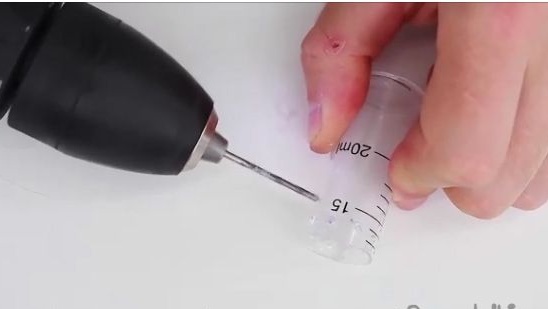
4- We take a screwdriver and a step drill.
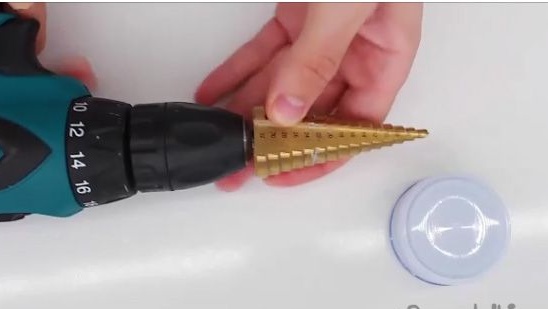
5- We drill a hole equal to the diameter of the taken electric motor.
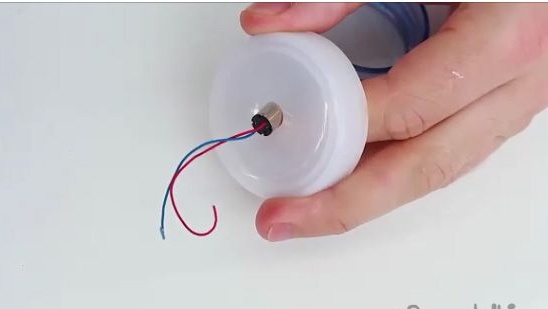
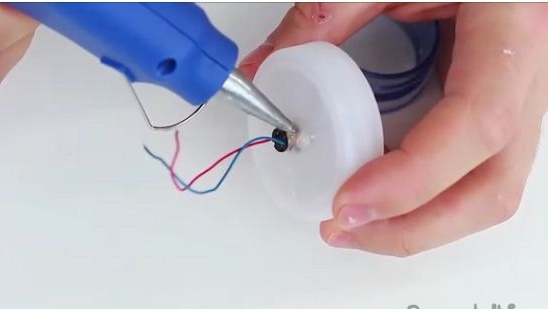
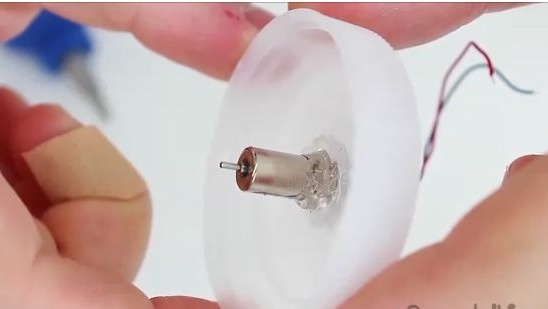
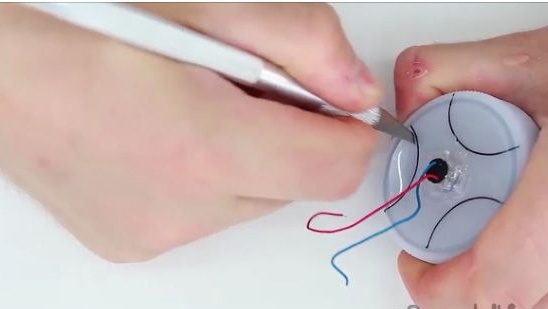
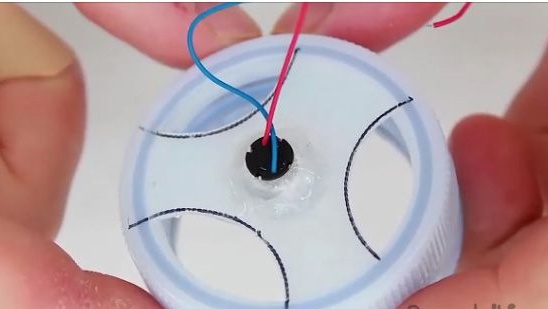
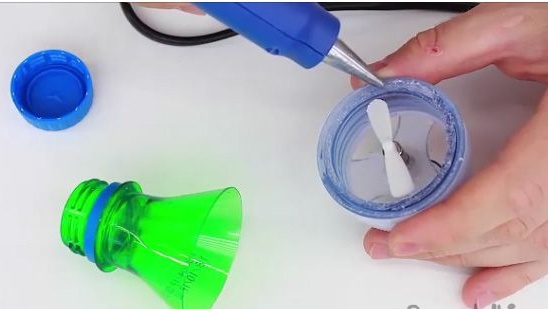
6- We insert and firmly glue the electric motor to the plastic cover of the workpiece. As can be seen from the photo, gluing should be done using a glue term.
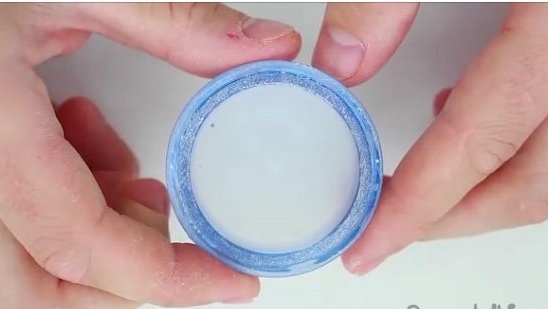
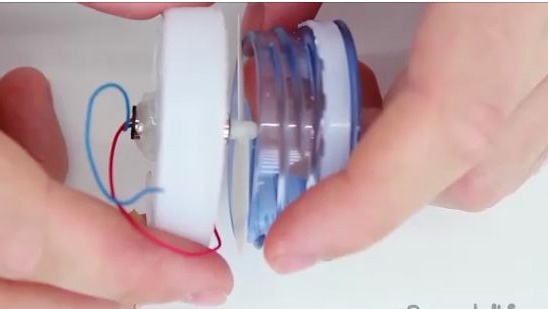
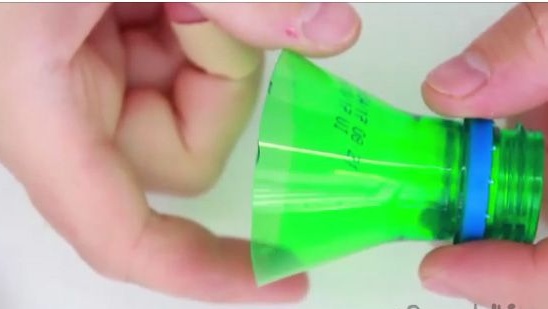
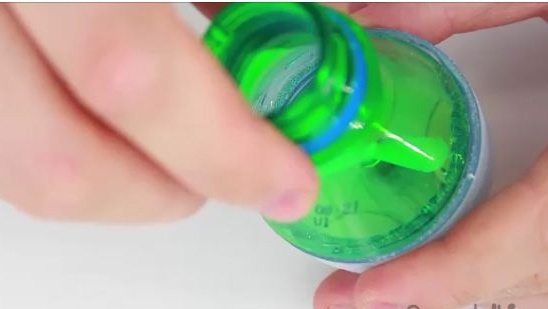
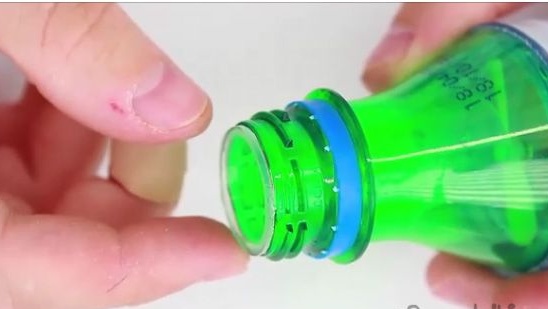
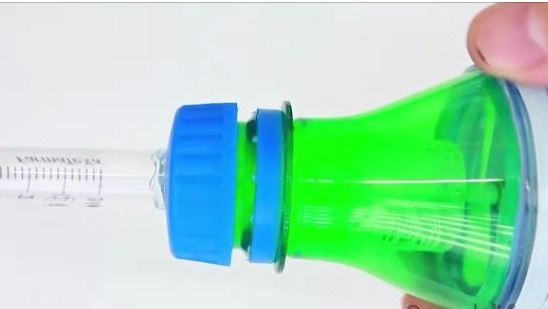
7- Then you need a plastic cap from 1.5 bottles. We attach this cover to the workpiece, as it is shown in the photo below.

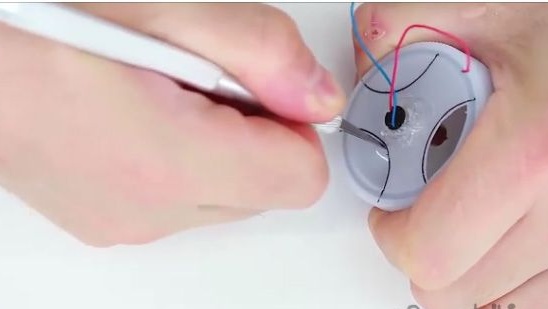
8- And leave the tags as in the photo below.
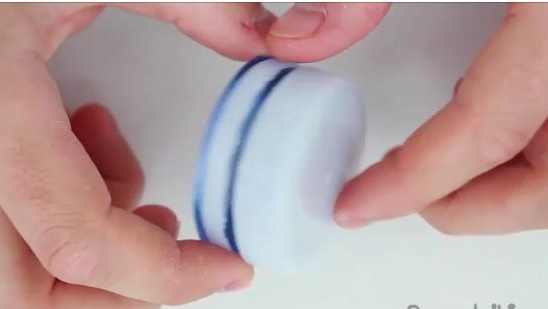
9- In the end, you should get something like this, as it is shown in the photo below.
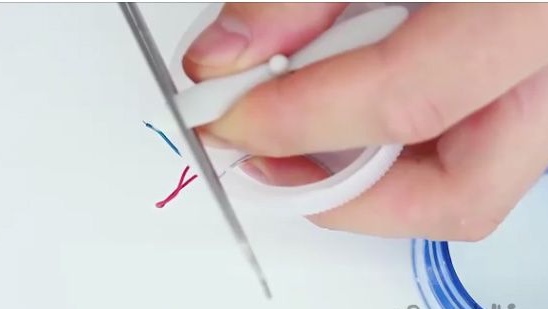
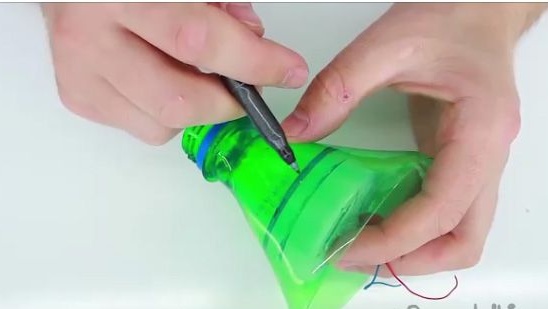
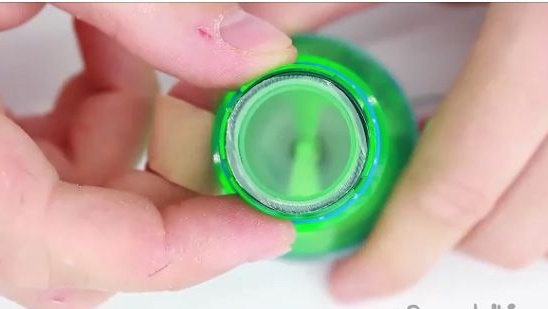
10- We cut holes along the just done contour. Cut with a scalpel (you can also use a clerical knife).
11- We get approximately such a blank (see photo below).
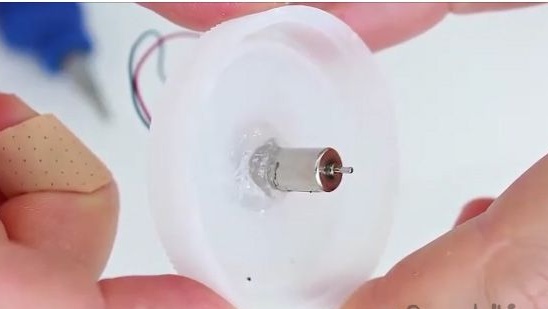
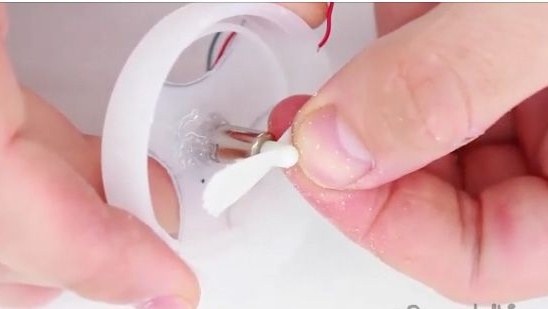
12- Then we put the propeller on the electric motor.
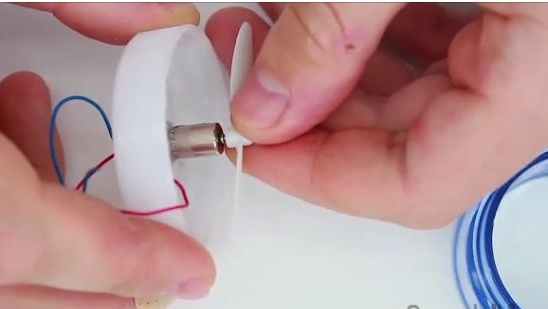
13- And we notice that the propeller is larger than the diameter of the neck of a five liter bottle.
14- We remove the propeller and cut it on both sides at the same distance, we round off the ends ourselves with scissors and then sanded sandpaper.
15- And we put the propeller on the electric motor.
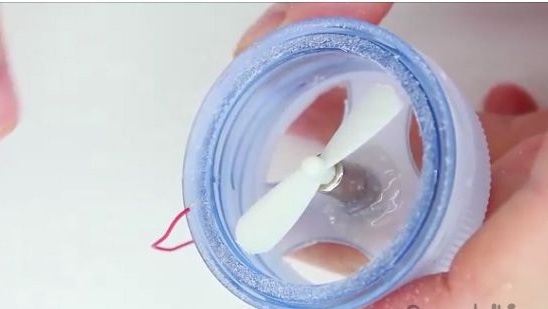
16- Then do the actions as shown in the photo below.
17- After the actions taken, with the help of scissors we cut the workpiece along the contour.

18- Something like this should work out for you.
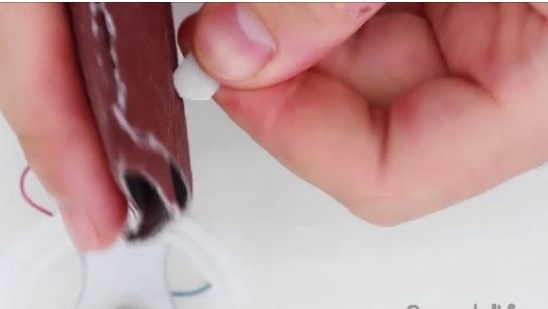
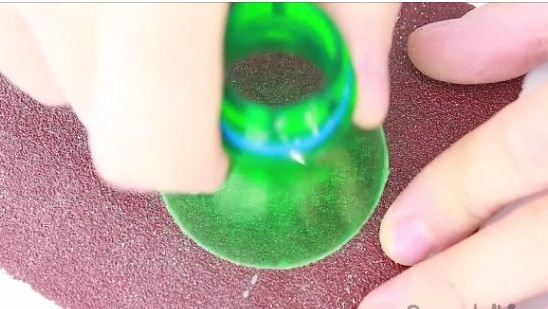
19- After which we equalize the just-made workpiece and smooth out the unevenness using sandpaper.Also, processing the blanks with rough sandpaper will give us a stronger bonding of the blanks.
20- Using a term of glue we glue two of our workpieces. But the main thing is not to overheat the terma glue, since strongly heated terma glue can deform the plastic blanks.
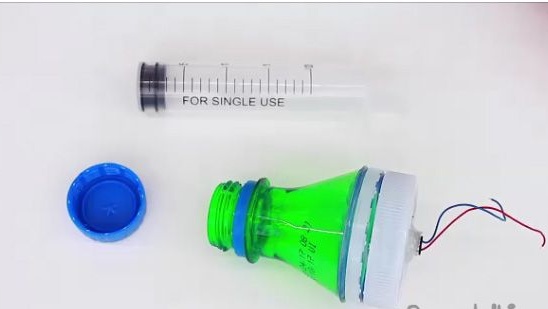
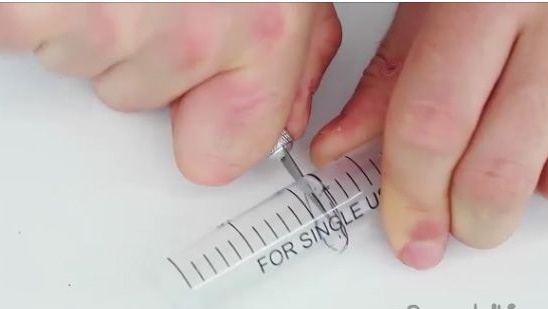
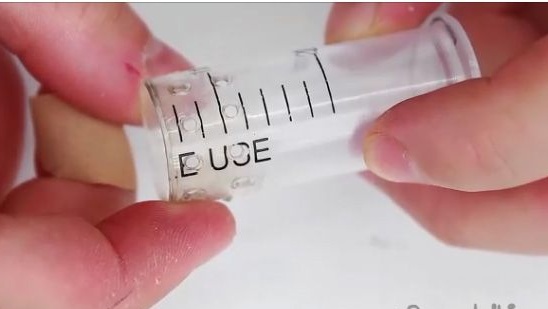
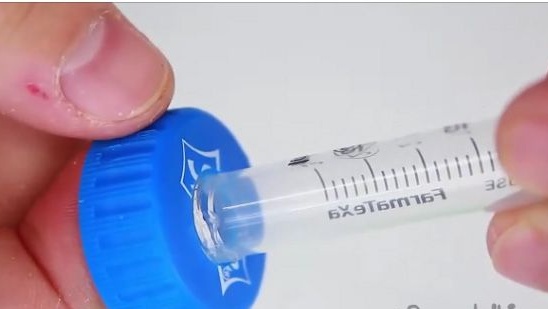
21- Then take a 20ml medical syringe.
22- We put a mark on a medical syringe between 10 and 15 milliliters.
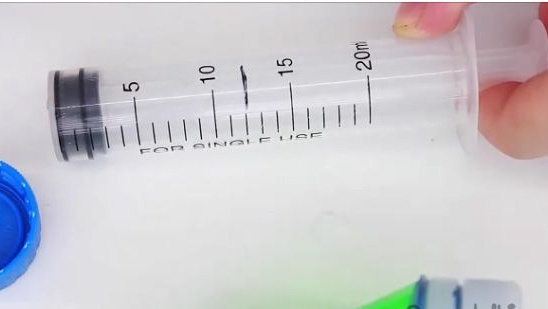
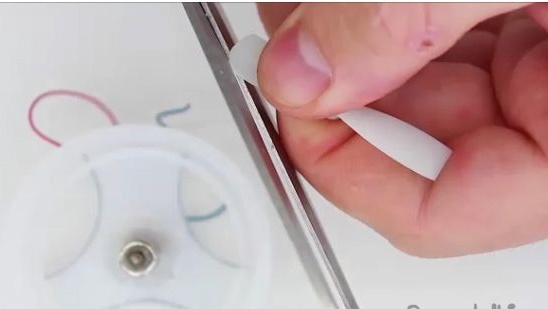
23- We cut off the mark with a scalpel (clerical knife).
24- This part of the medical syringe is required (see photo below).
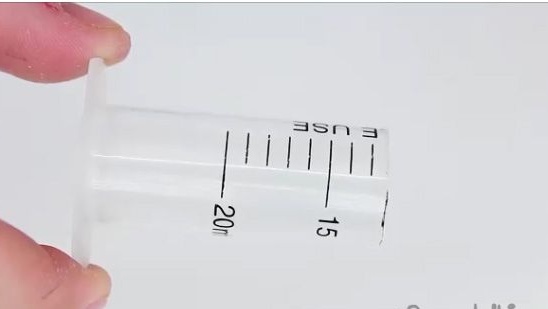
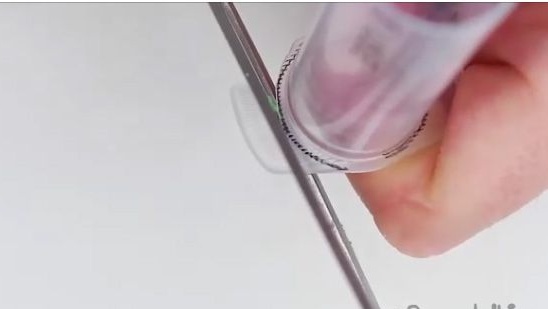
25- Cutaway legs from the syringe (see photo below).
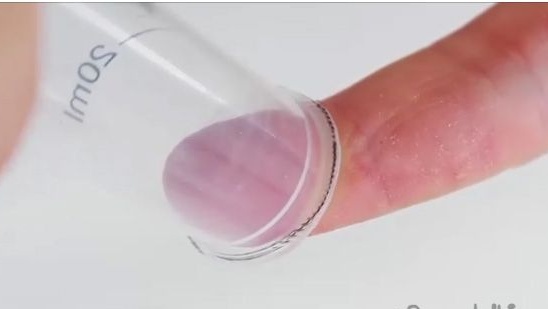
26- You should be able to get the blank from the syringe into the neck of the bottle, and not fall through. So that also the cap of this bottle could twist.
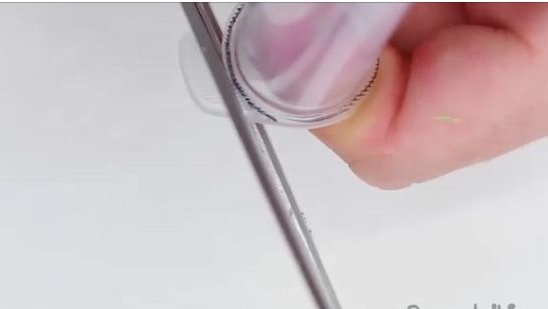
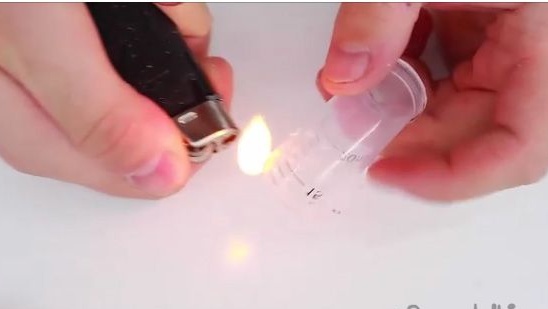
27- In the just made workpiece in its lower part we make holes (see photo below). For
deburring for a short time we will carry out a lighter.
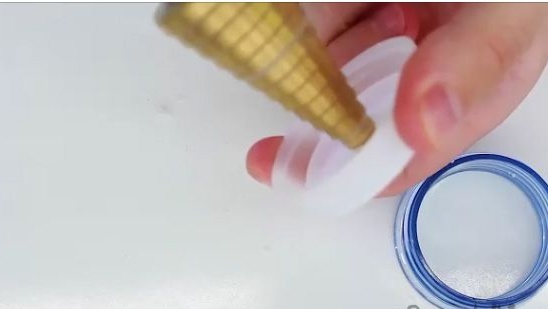
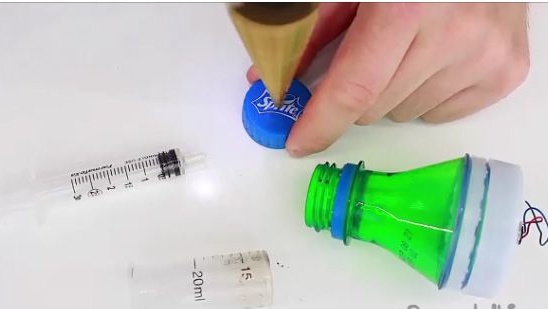
28- In a plastic cap from a liter bottle with a step drill, we make a hole with a diameter equal to the diameter of a medical syringe by 3 mm.
29- Also from 3 ml of the syringe with the help of scissors we cut off the legs.
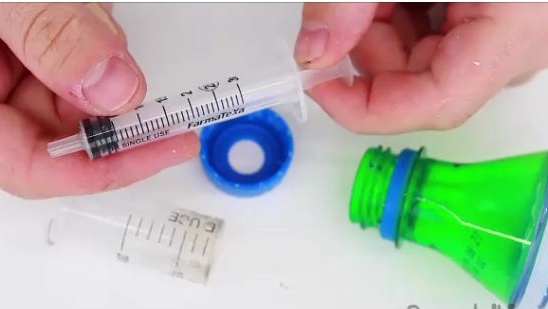

30- And we glue this medical syringe to the lid from a liter plastic bottle.
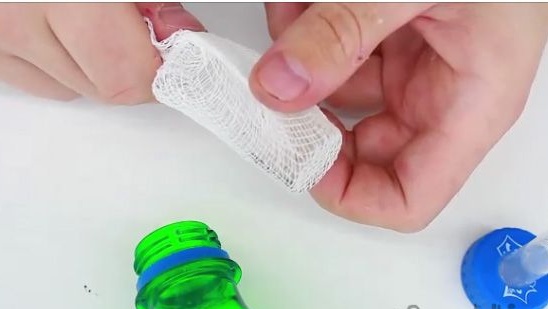
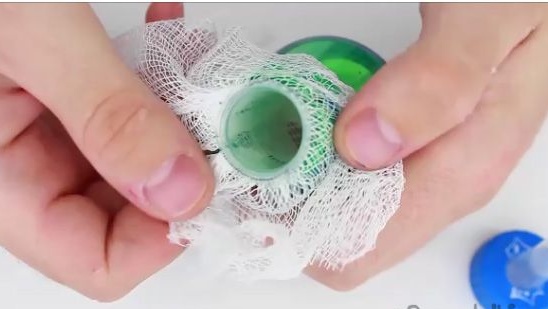
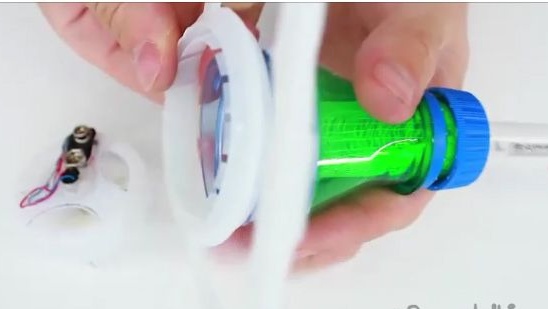
31- We take a blank from a large medical syringe and put on a medical bandage (gauze).
32- And insert into the vacuum cleaner.
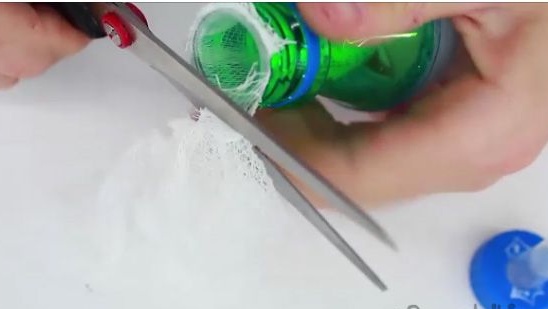
33- With the help of scissors we cut off the excess.
34- We collect the vacuum cleaner.
35- Then you need a connector for the crown.
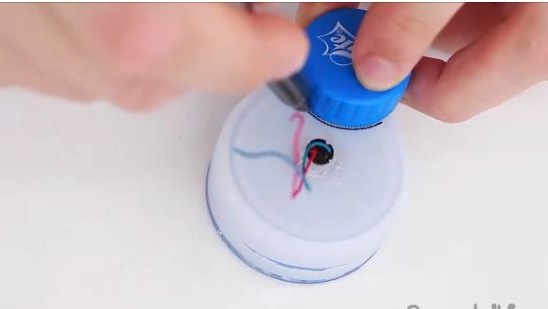
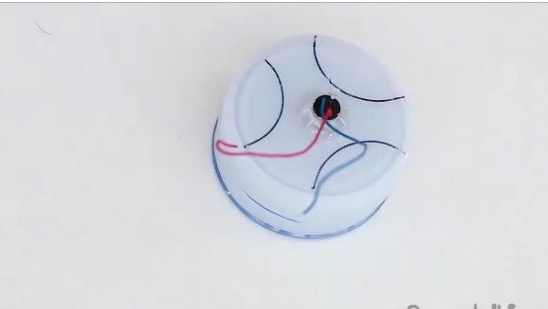
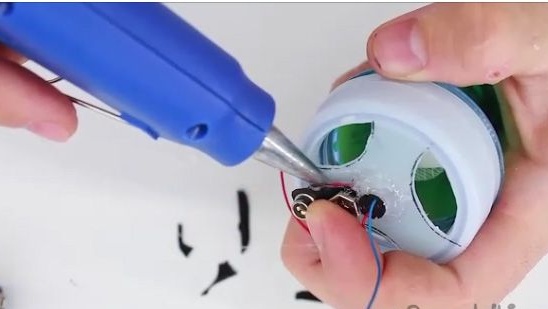
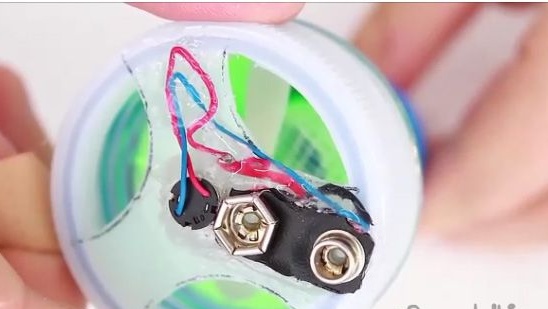
36- We connect the connector directly to the electric motor and attach glue to the terma.
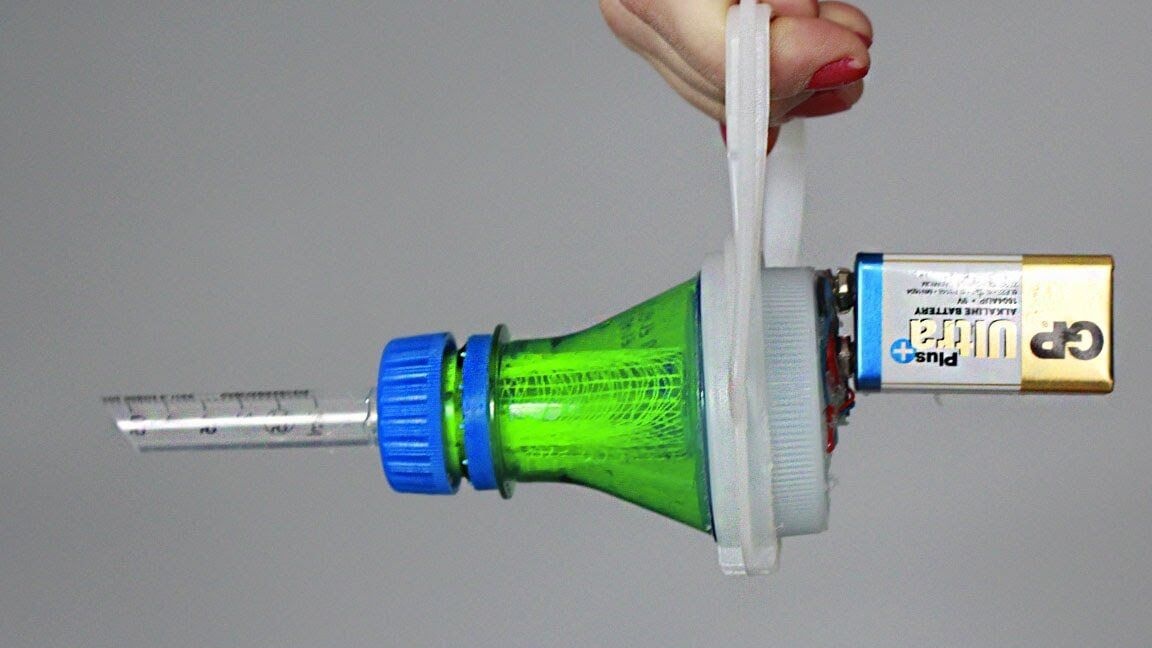
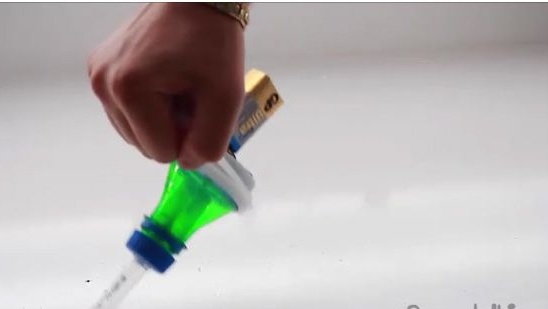
37- For more convenient use of this vacuum cleaner, unscrew the back of the vacuum cleaner and insert the handle from the five-liter bottle there, and then screw the back of the vacuum cleaner back on.

38- Done!
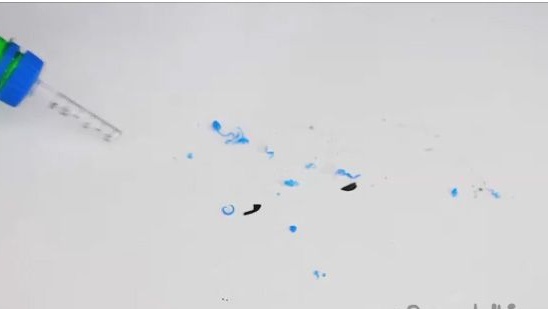
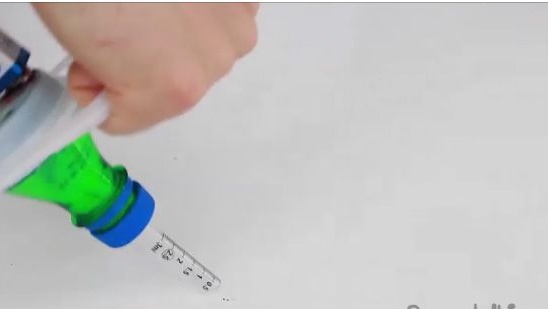
Test:
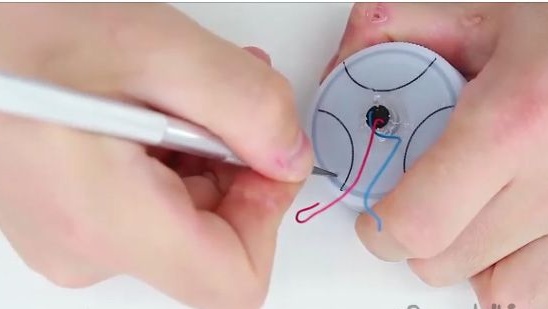
We insert the crown into the connector and go.
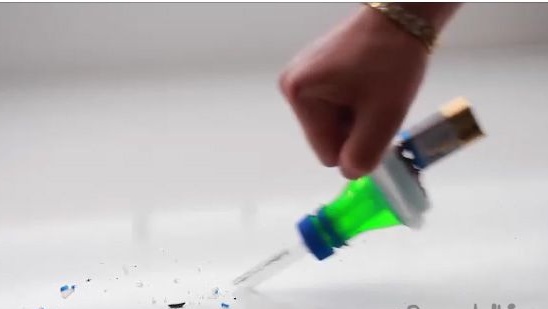
Conclusion:
You now have a great mini vacuum cleaner to clean your keyboard efficiently. I hope this article was interesting and useful for you. Thank you for your attention, and also you have the opportunity to see the video assembly of this homemade product.