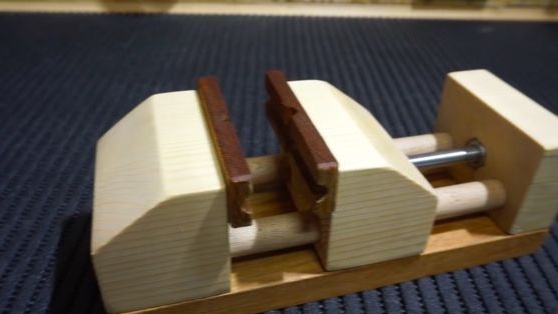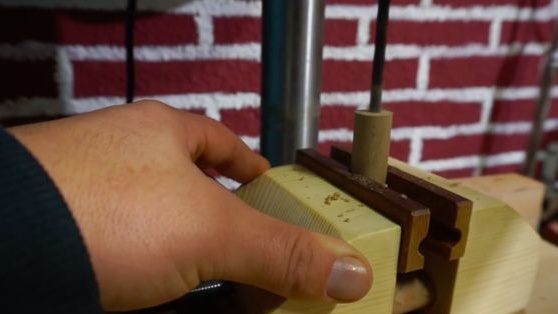
If you are tired of constantly breaking drills and spoiling products for the reason that you do not have a vice at hand, you can look at this homemade. Some author decided to make a vise out of wood. Their feature can be considered that they are very light, when compared with metal. You can easily take them from the shelf and immediately start using if you are working with a drill. Especially homemade will be useful in the manufacture of small parts.
Materials and tools for homemade:
Material List:
- epoxy adhesive ();
- wax for wood processing;
- two nuts and washers;
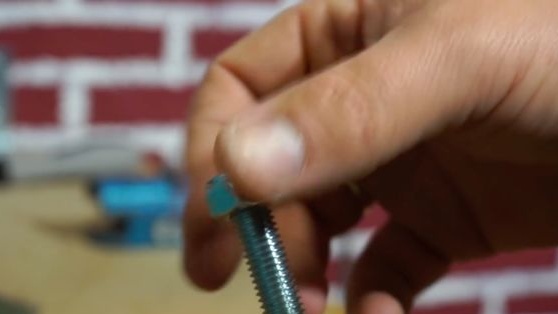
- steel rod with thread (10 mm);
- wooden core with dimensions of 230 mm x 18 mm;
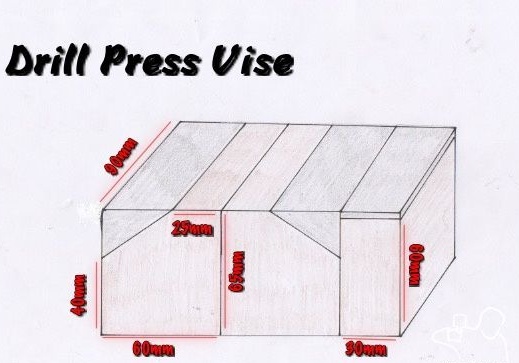
- a wooden blank with dimensions of 150 mm x 70 mm x 90 mm.
Tool List:
- Japanese saw ();
- sandpaper;
- a tool for cutting wood;
- a drilling machine or drill ();
- ruler;
- chisel and more.
Vise manufacturing process:
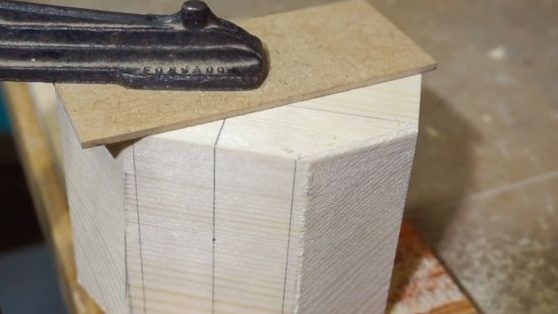
Step one. Foundation preparation
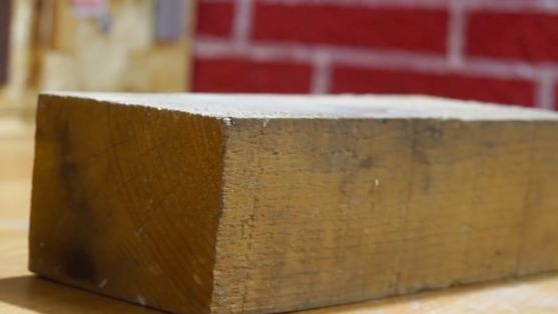
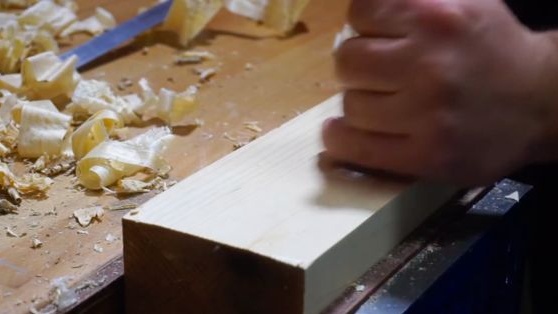
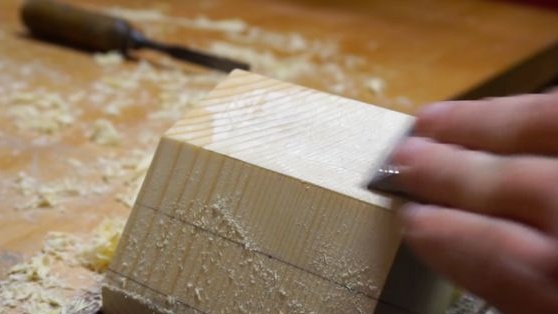
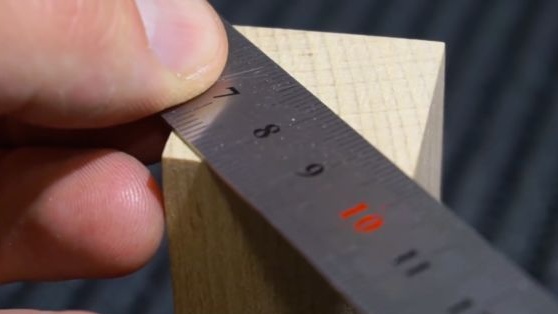
The author begins making a vise by preparing the foundation. For these purposes, waste material has been selected. The author used a wooden bar made of pine. We take a planer or other tool and process the surface of the workpiece. You need to make them perfectly flat and smooth. The size of the workpiece is 150 x 70 mm x 90 mm.

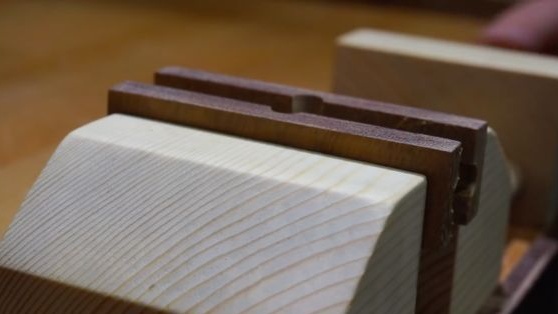
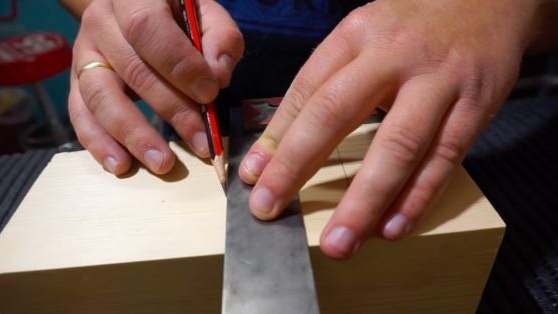
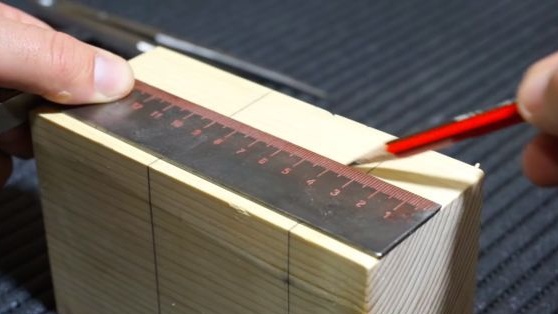
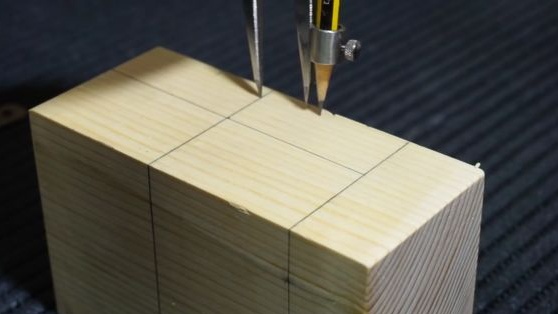
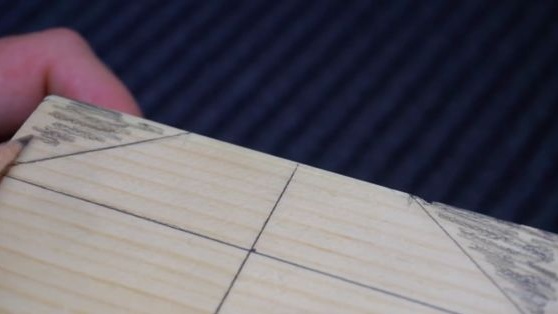
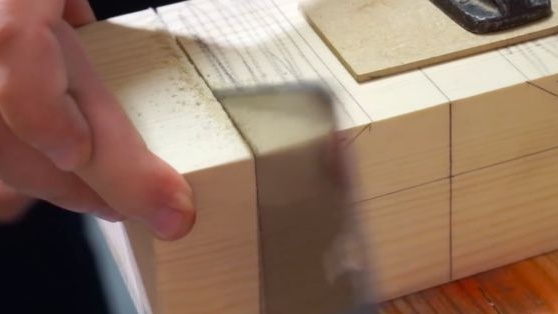
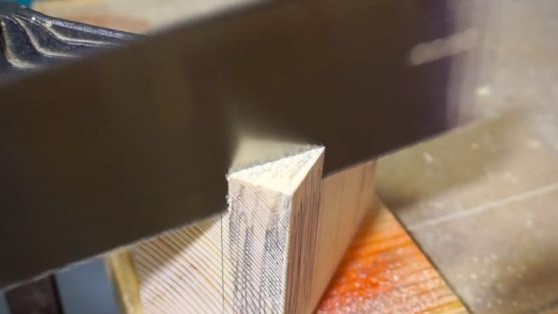
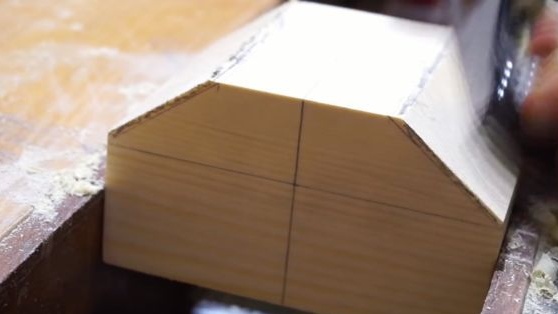
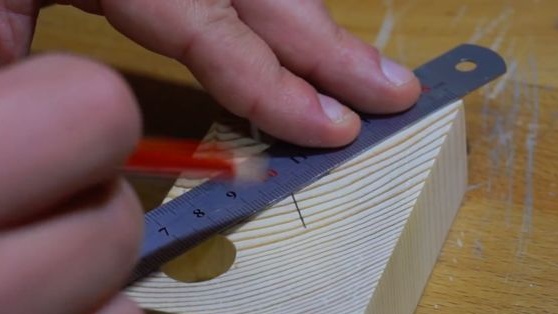
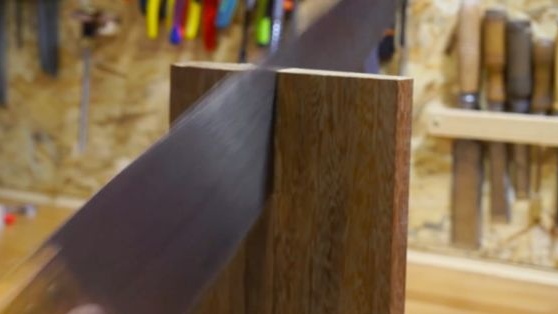
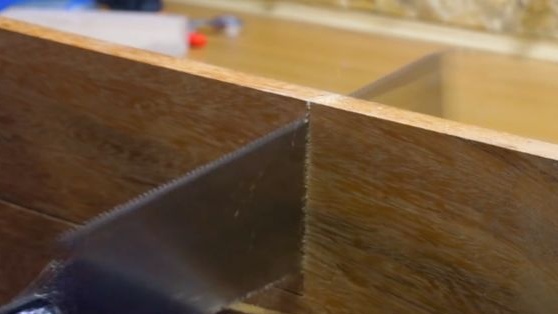
Step Two Cut the necessary details
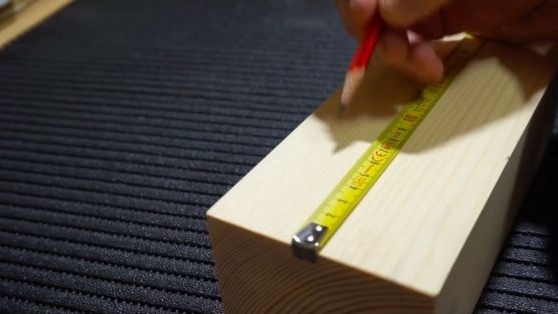
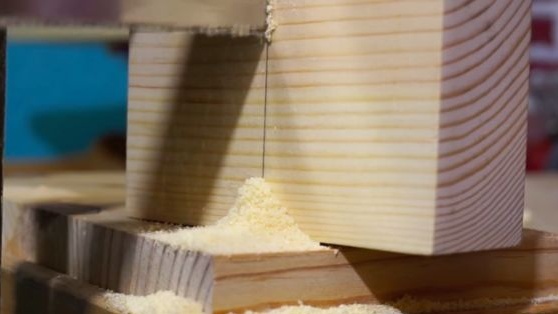
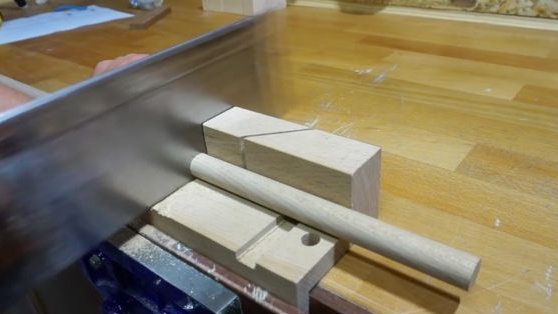
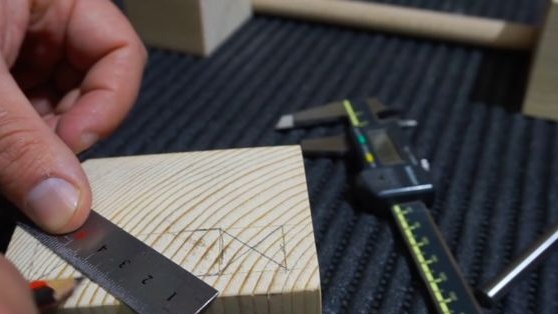
At the next stage, the author marks the necessary details on wood and cuts them out. In total, three details should come out. It is convenient to carry out the work with a Japanese saw.
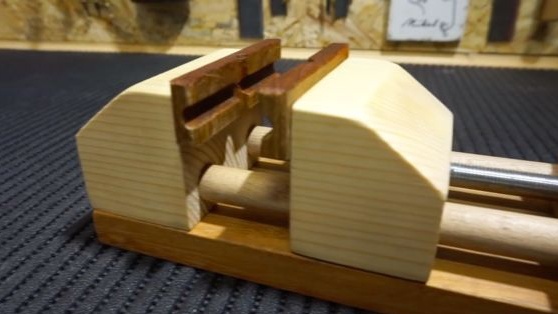
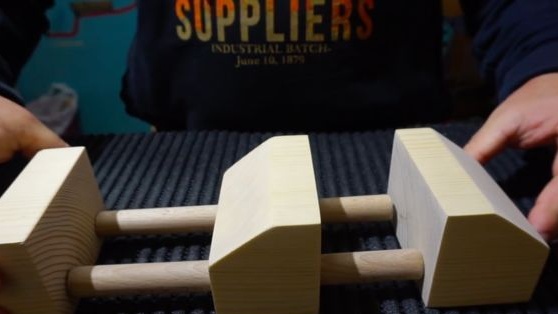
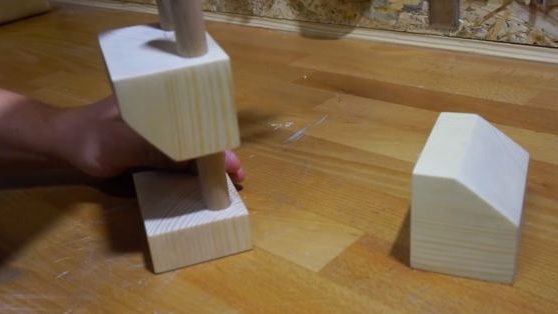
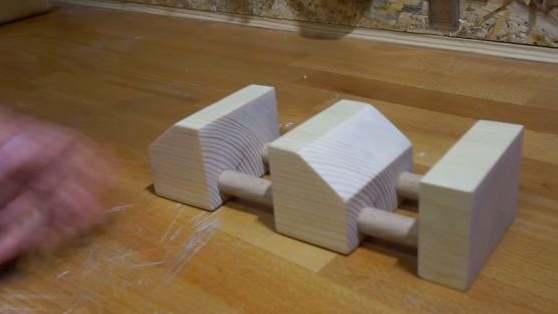
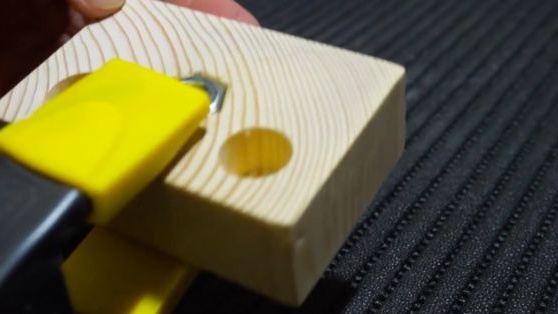
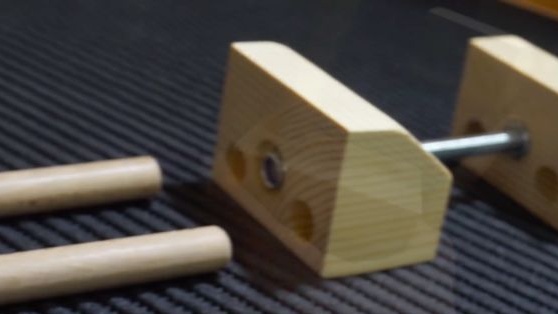
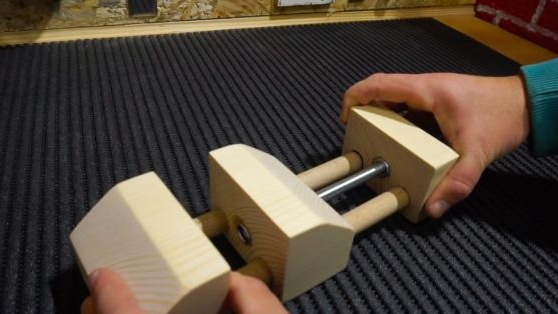
Step Three Putting Three Parts Together
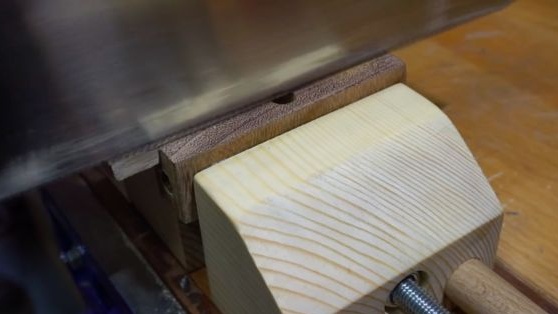
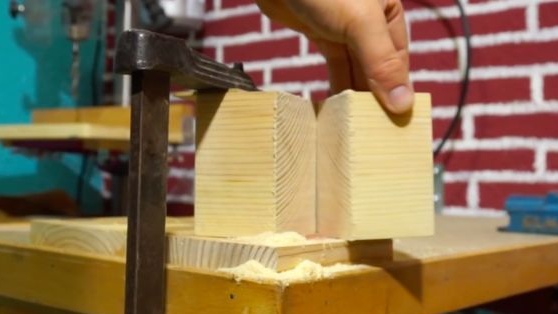
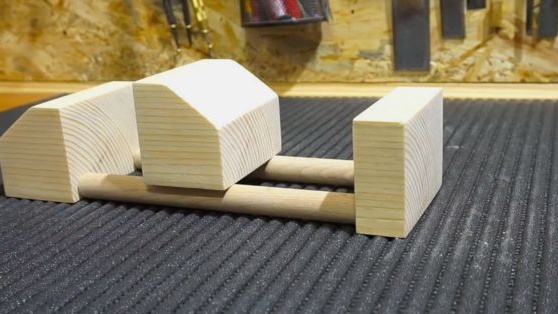
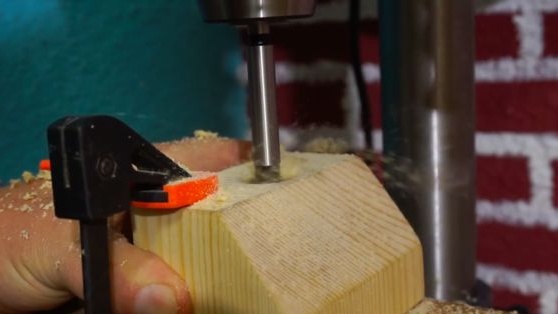
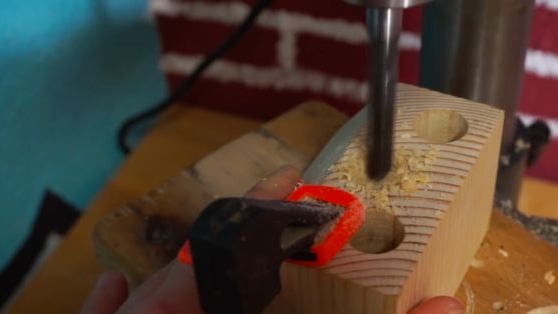
The previously manufactured three parts are the main part of the vice. Two of them are the so-called "lips", and one more is the emphasis, where the threaded rod is attached. Everything is going on two wooden rods, the author used beech. The size of the rods is 230 mm x 18 mm. We drill corresponding holes in the parts under them. In the central part of the hole are made through so that it can move.


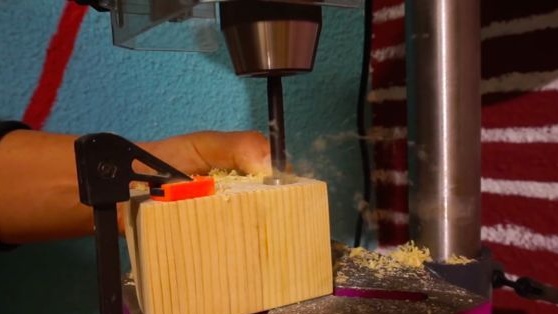
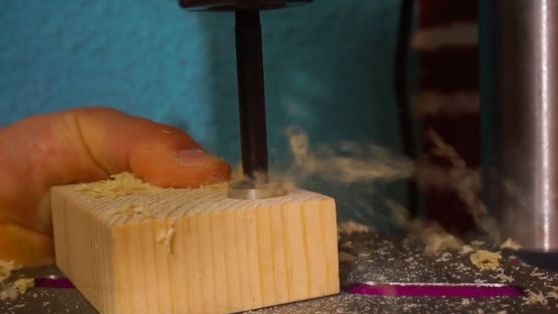
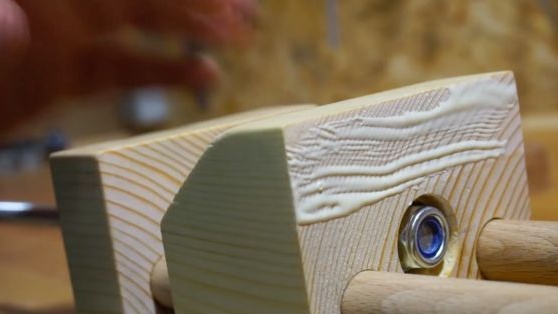
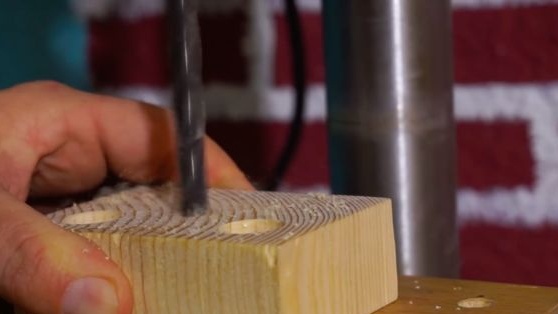
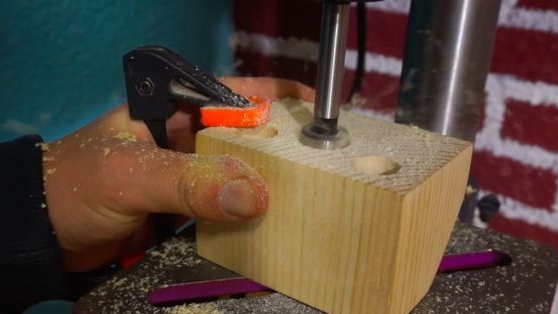
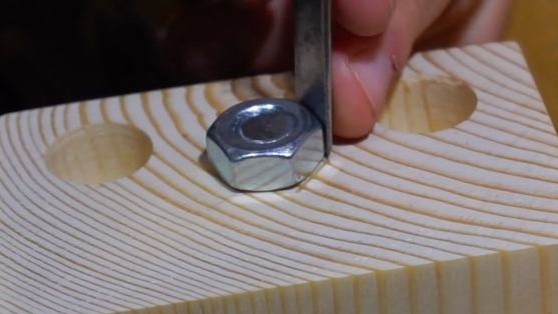
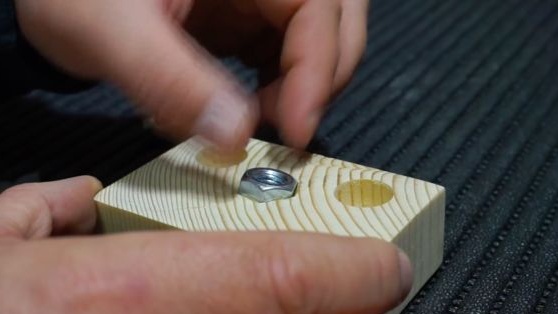
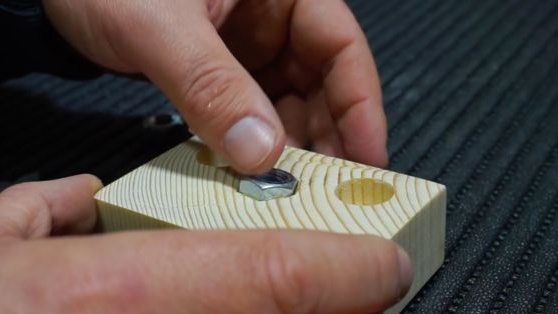
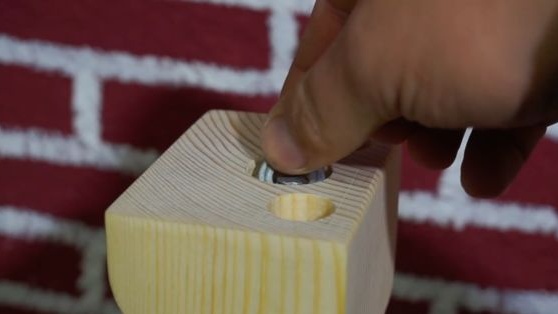
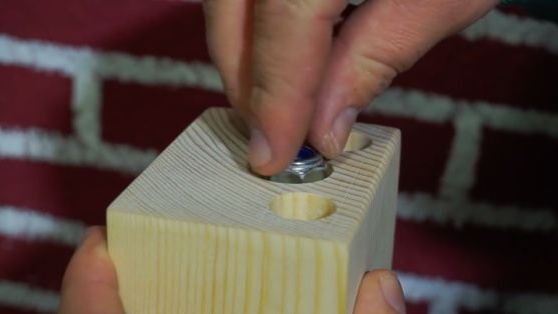
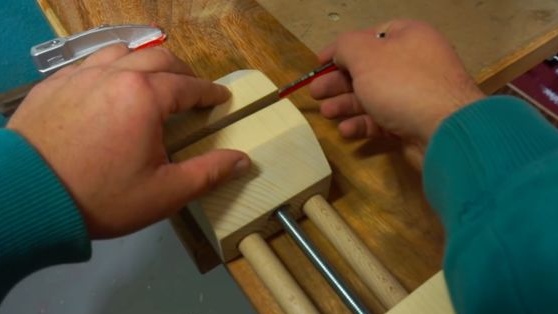
Step Four Nut installation
In the static part of the vise, we drill a hole in the center. It should be slightly larger in diameter than the diameter of the threaded rod used.Next, put the nut on the workpiece so that the hole is clearly in the center. With light blows on the nut with a hammer, we will make an imprint on the wood. Well, then we arm ourselves with a chisel and remove excess wood. The author used two nuts, although one is enough here. The nut must be securely fastened, for this we use epoxy glue.

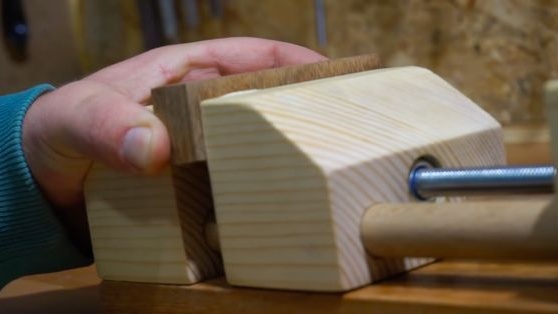
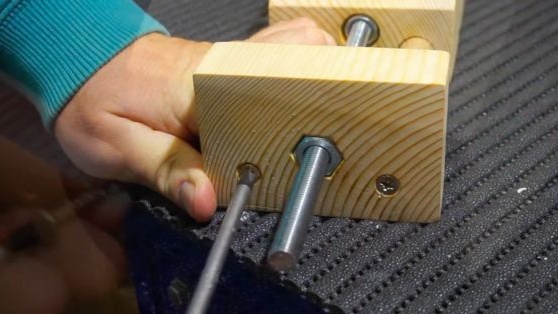
Step Five Vise assembly
The vise lip moves thanks to a threaded rod and two nuts that are glued into the body. But we still have to attach a moving part to the rod, for this purpose we will need two washers, as well as two nuts of the nylock type. The peculiarity of these nuts is that they have a plastic ring that prevents the nuts from loosening. But you can take ordinary nuts and just stick them, lubricating the thread with glue.
Nuts are placed on both sides, and washers must be placed under them. Washers must be selected so that there is minimal friction between them and the nuts. To improve glide, lubricate this area.

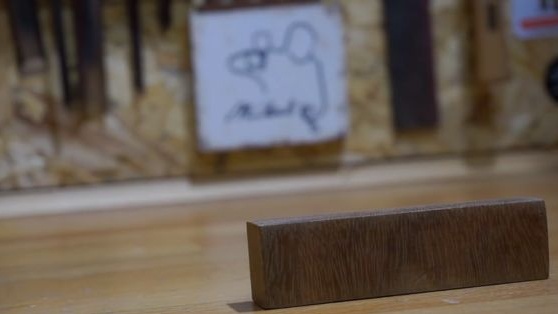
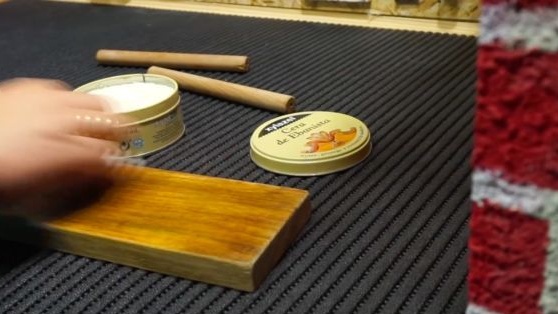
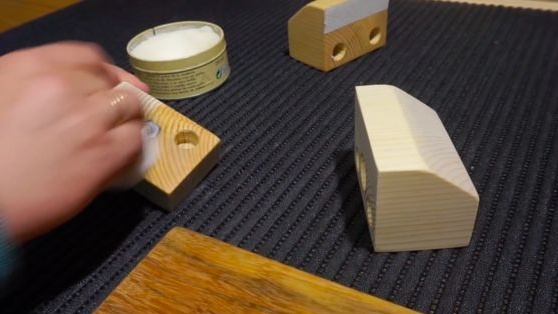
Step Six Foundation preparation
To make the base, you need strong wood, oak, ash and so on are suitable. We cut out the desired piece of the board and protect it from moisture. The author used wax as an impregnation, you can also use drying oil and so on.
Seventh step. The final stage of vise assembly
Almost everything is ready, it remains to collect everything. We take screws and a drill. With the help of screws, wooden rods are screwed. For reliability, they can also be coated with epoxy, although in this case the design will not be collapsible.
You will also need to fix the vice on the base, for this we also use screws, it is possible in combination with glue.


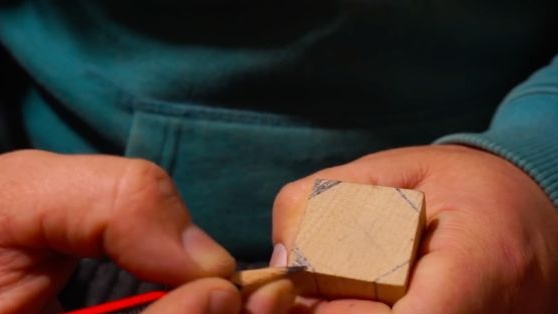
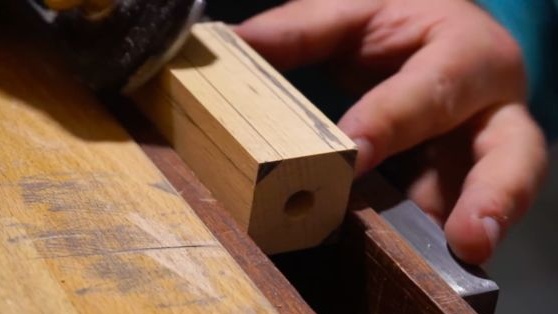
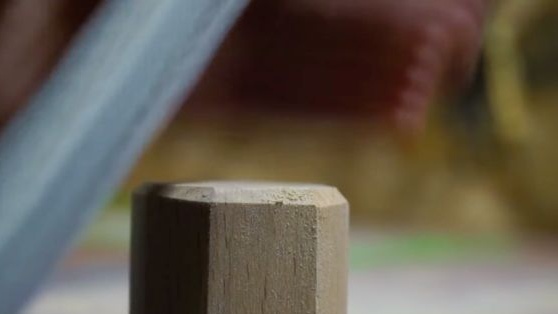
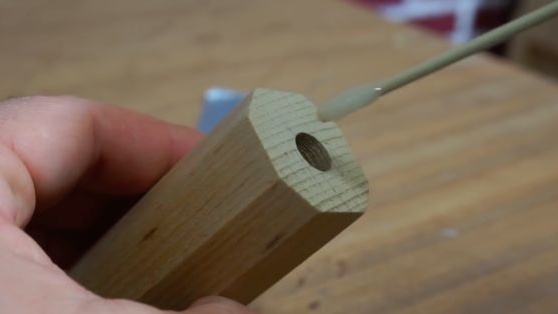
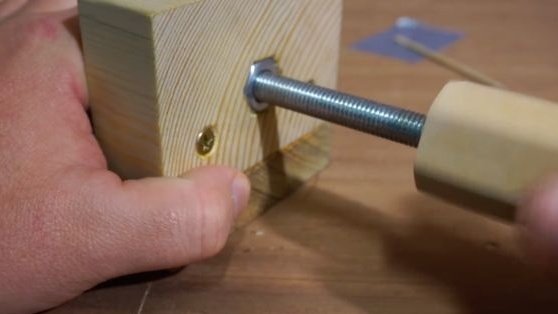
To conveniently manage the vise, you need to make a pen. We grind a handle that is convenient in shape from the bar and drill a hole in the center with a diameter such as a threaded rod. Well, then fill in the epoxy in the hole and put the handle on the steel rod. We are waiting for everything to dry.
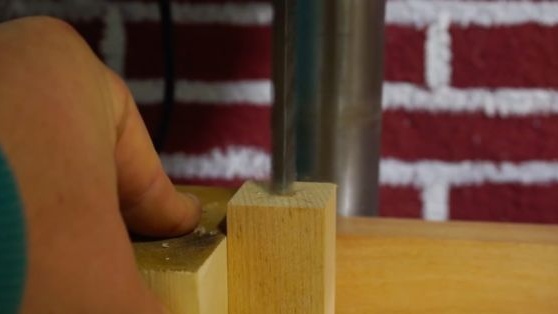
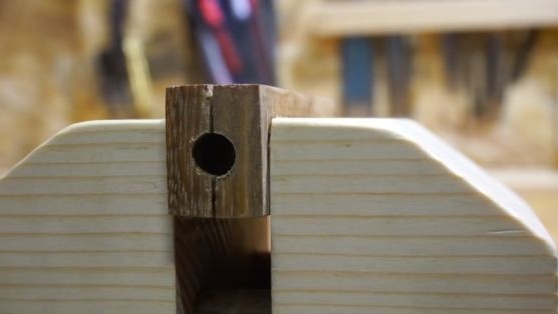
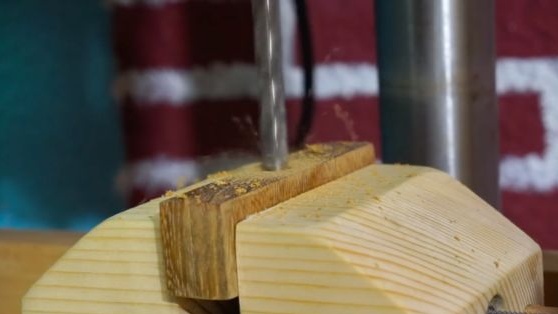
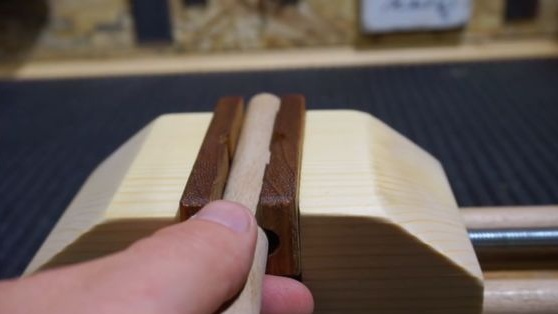
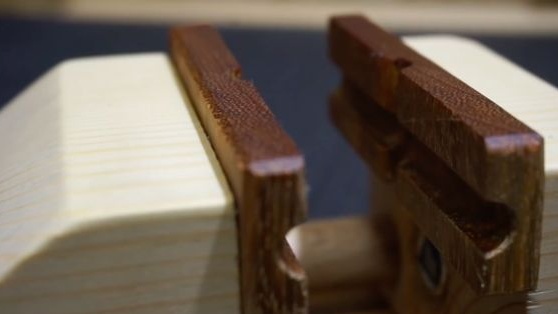
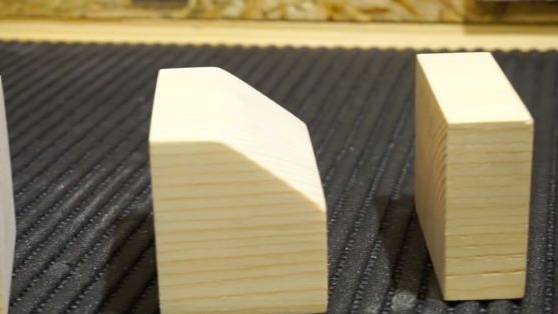
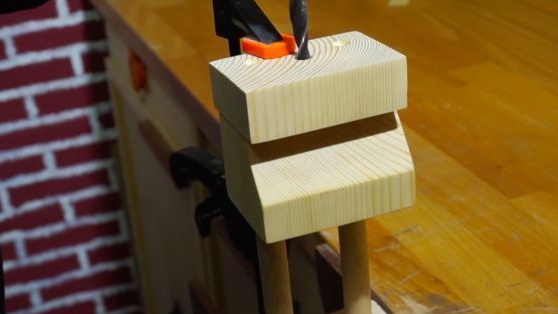
The very last step is to make small “sponges” that can hold various small objects, in particular wooden rods. You will need hardwood. Cut the workpiece of the right size and glue between the main "lips" of the vice. When the glue is completely dry, take a drill and drill along and across future "jaws" of the hole. Next, you will have to cut the workpiece into two parts, as a result, you will get two identical “lips”. It only remains to finish them with sandpaper, and with needle files.