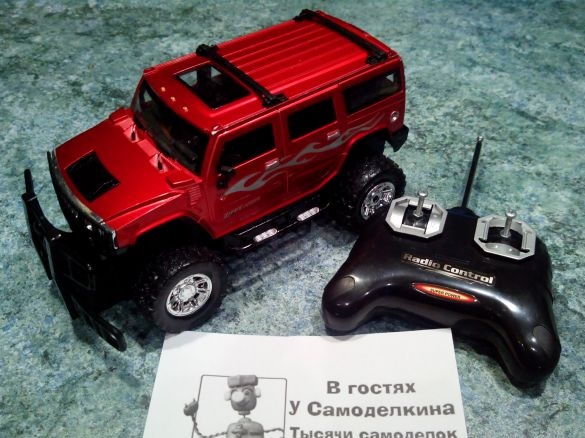
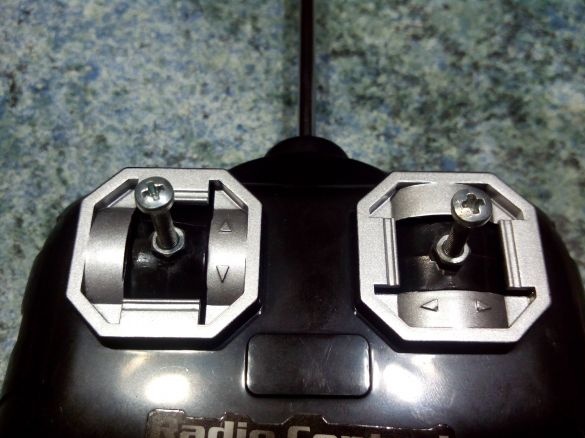
In this article I would like to talk about how you can fix a broken remote control from a simple radio-controlled machine purchased in a supermarket.
In this case, the remote control (of course, not without the help of a son) completely broke both sticks and broke the antenna mount inside the case.
Materials and tools:
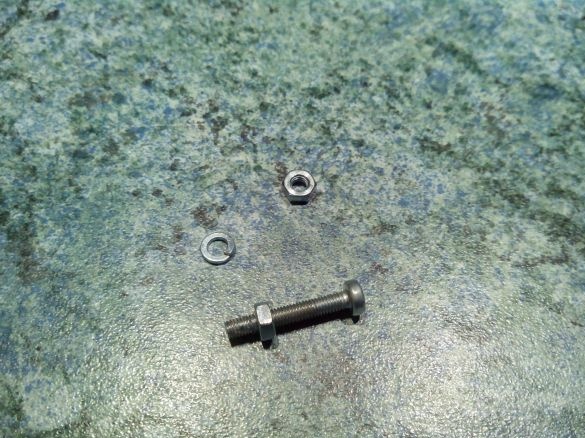
- bolts, nuts, washers
- screwdrivers
- pliers
- screwdriver
- drill
- soldering iron
- sandpaper
- thermal gun
So, let's begin.
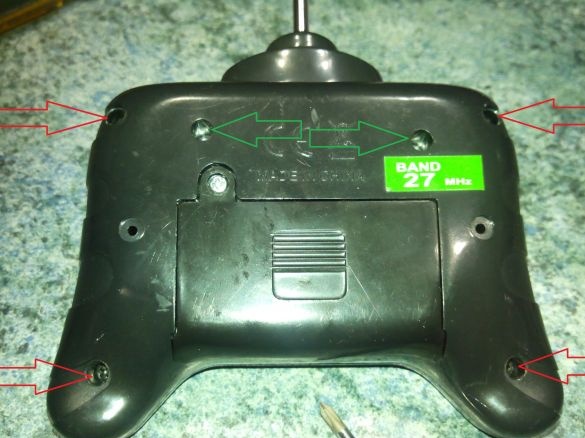
To disassemble the remote control, you need to unscrew 4 bolts in the corners (so to speak about this form) - they are indicated by red arrows. The green arrows indicate the bolts that attach the stick mechanisms above the board. We also unscrew them immediately.
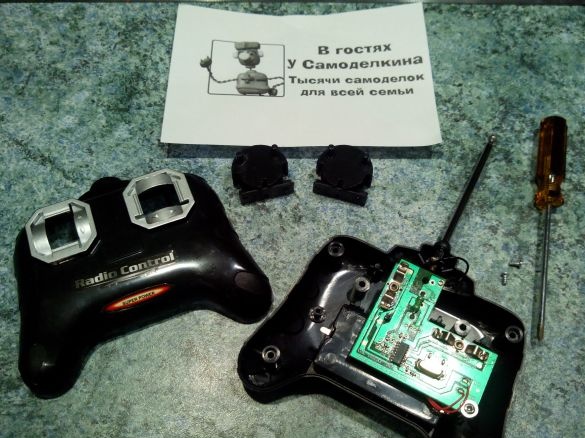
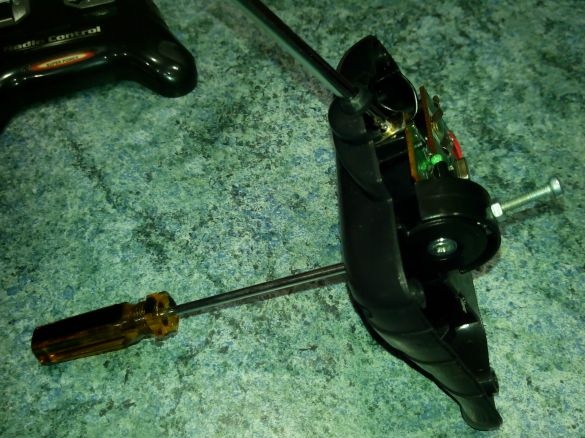
Remove the front cover and remove the stick mechanisms.
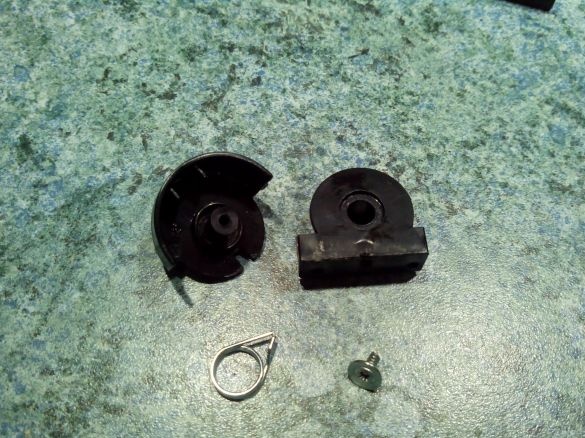
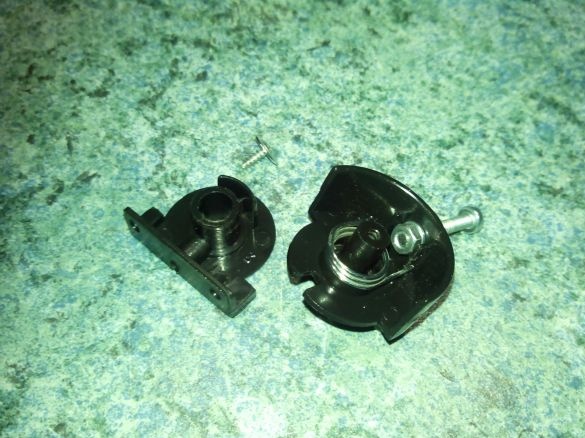
We disassemble the stick mechanism (first you need to unscrew the bolt).
We select bolts suitable for the length (20-25 mm) and diameter, preferably with a round head, washer-grovers and nuts.
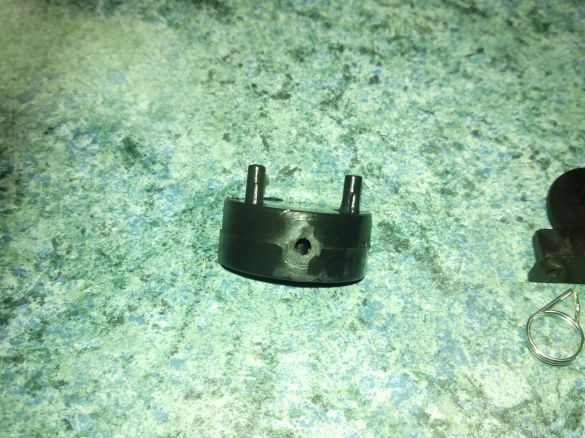
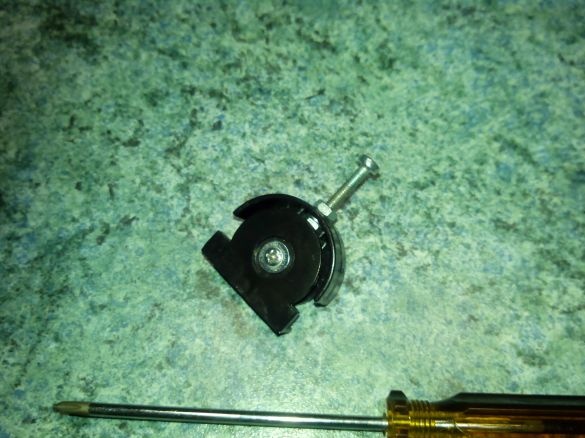
At the place of the broken sticks, we drill a hole along the diameter of the bolt and sanded, removing irregularities.
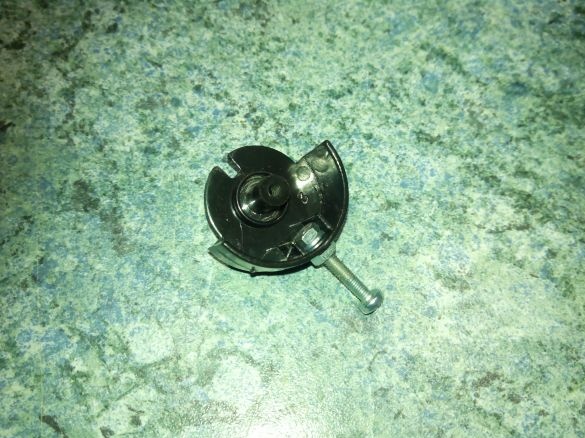
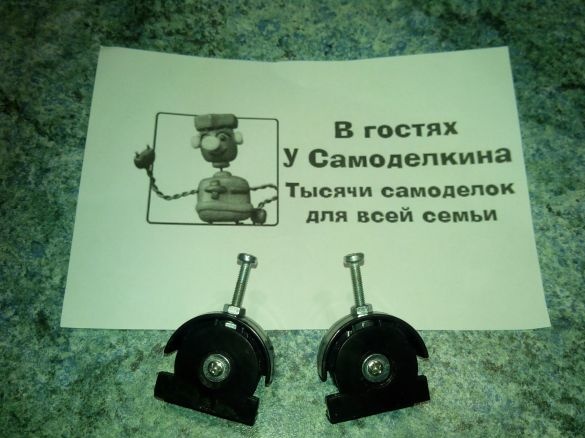
We fix the bolt with two nuts and washers in the hole. The main thing is that inside the bolt does not look out of the nut, otherwise it will touch the second part of the stick mechanism.
We put in place the spring.
We insert the second half of the mechanism and screw in the fixing screw.
Repeat the procedure with the second stick.
You can screw the sticks into place.
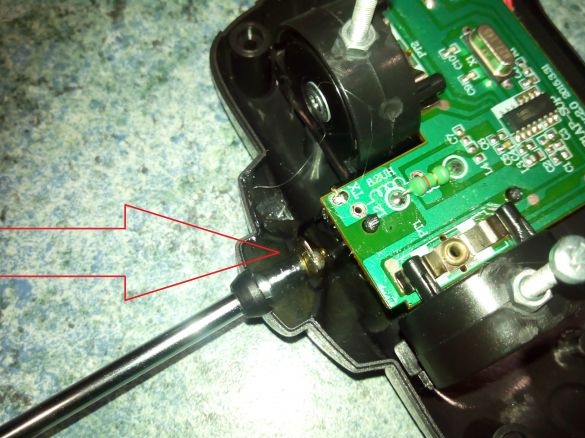
The attachment point of the base of the retractable antenna (shown by the red arrow) is filled with hot glue, previously (if necessary) soldering the torn off wires. It is better to pour hot melt in several stages, allowing the previous portion to solidify.
In the absence of a heat gun, you can use a five-minute epoxy glue, but then it will be much more difficult to remove the antenna.
Putting the remote.
Everything is ready, you can play.


