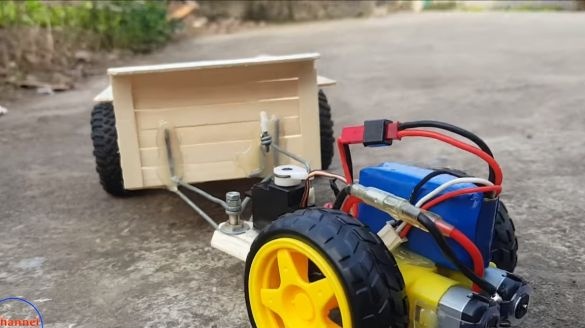
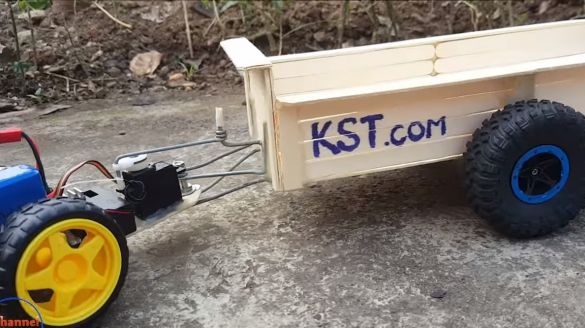
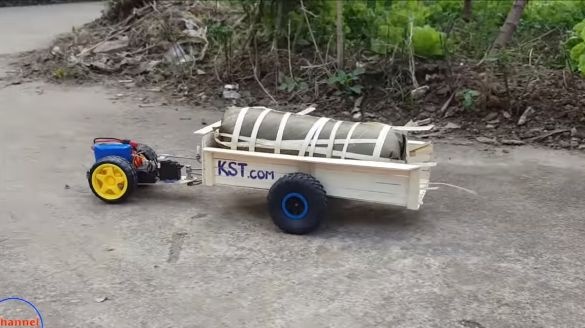
I bring to your attention a useful educational toy for a child - a walk-behind tractor with trailer on the radio! If your child plays with such toys, this will instill in him the ability to be a farmer, if you, of course, wish him such a fate
Another plus is that to make homemade you can together with the child, as a result, he will gain wonderful skills in working with electronics and mechanics.
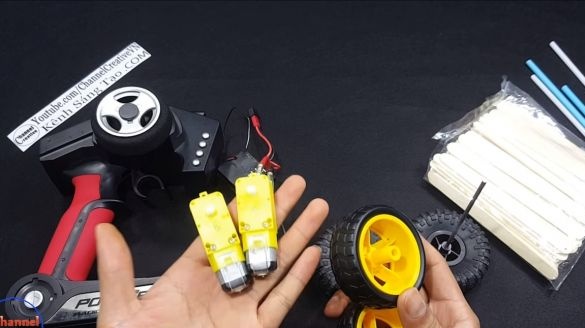
The motoblock is assembled very simply, it is driven by two motors with gears. Similar parts can be ordered from China or found in old toys. Electronics for management is also inexpensive.
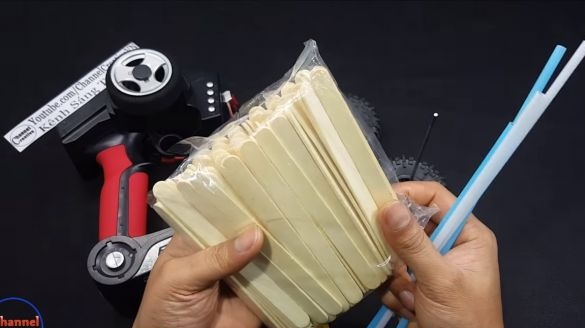
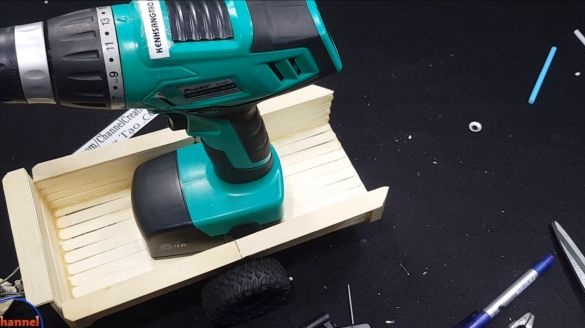
As for the trailer, it is going to be very simple, for this the author used wooden sticks from ice cream, but cheaper material can also be found. It is controlled by a homemade small servo drive. The power of the walk-behind tractor is such that it easily drags a screwdriver! So, let's start making homemade products.
Materials and tools used by the author:
Material List:
- ;
- ;
- ;
- 4 wheels from toy cars;
- ice cream sticks;
- steel wire;
- battery;
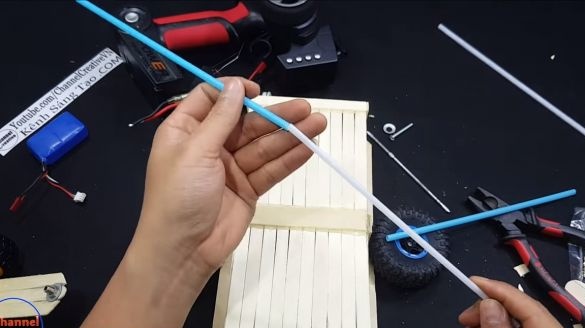
- plastic tubes;
- cogs, washers and other little things.
Tool List:
- glue gun;
- nippers;
- pliers;
- soldering iron.
Homemade manufacturing process:
Step one. Assembly of the walk-behind tractor
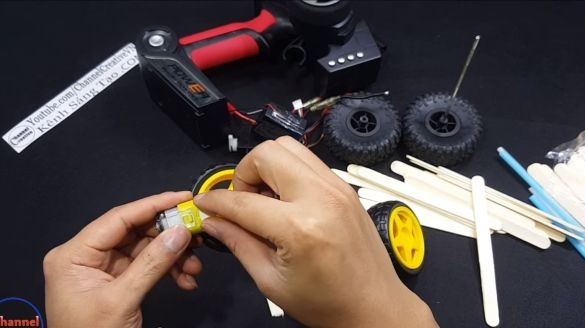
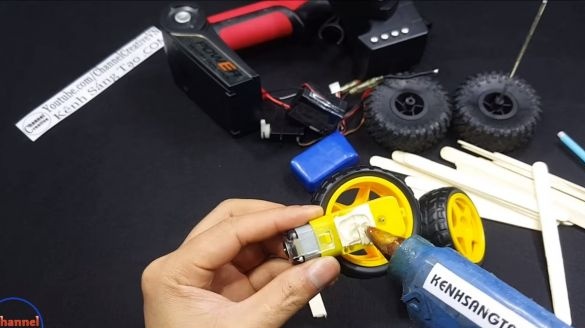
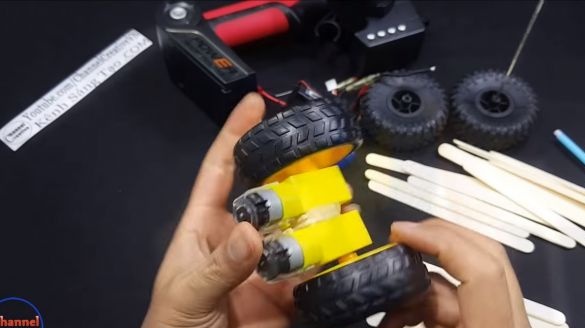
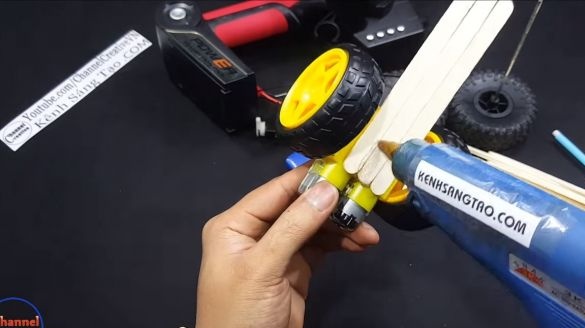
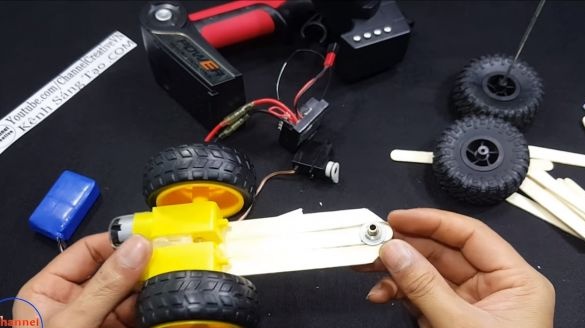
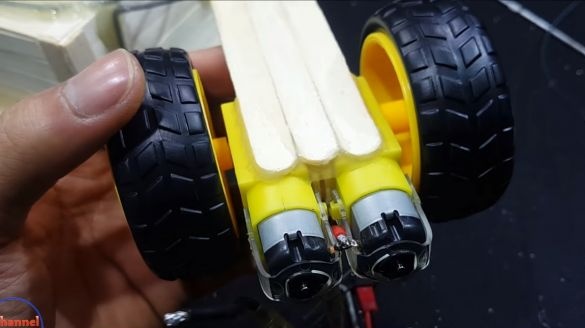
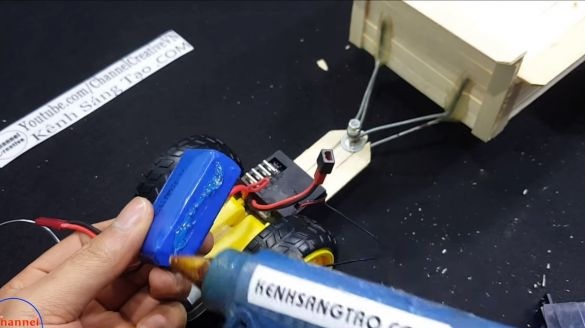
The motoblock is very simple, you just need to glue together two gearboxes on which the wheels are mounted. We choose larger wheels with a powerful tread to drive off-road and carry large loads. For bonding we use hot glue or superglue.
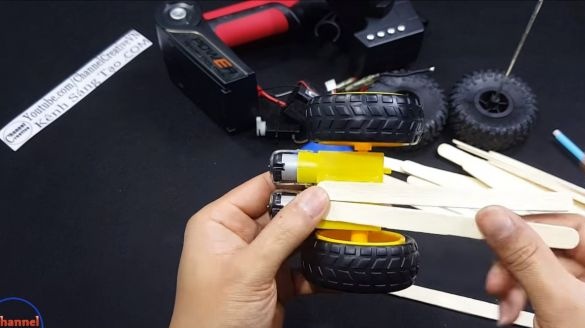
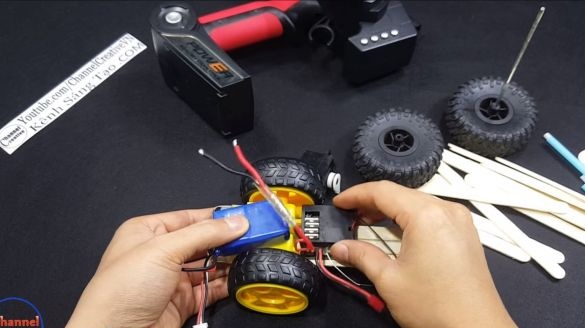
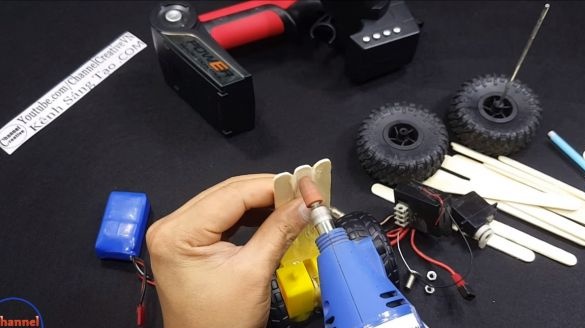
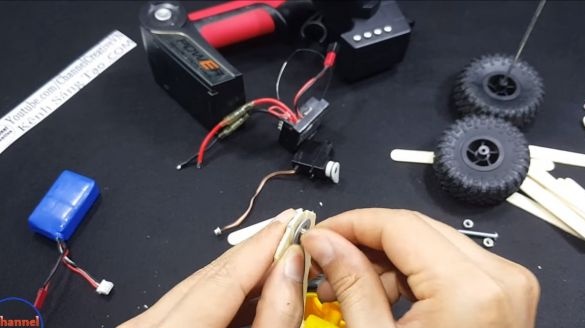
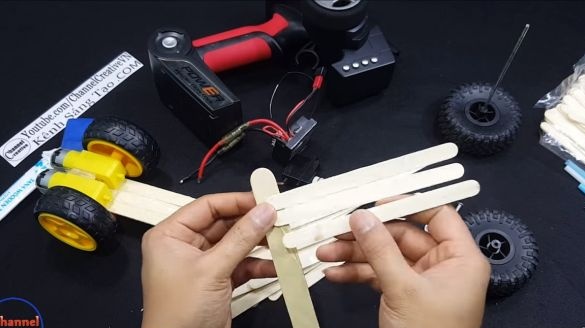
We will need to install electronics, a servo drive and a battery on the walk-behind tractor, this will create an additional load on the wheels and they will skid less. You can also additionally load the walk-behind tractor if necessary. To make a platform for installing electronics, we use ice cream sticks.
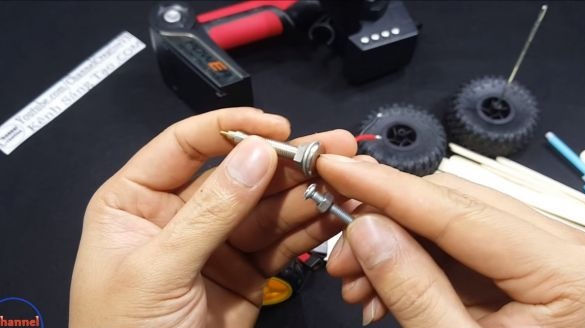
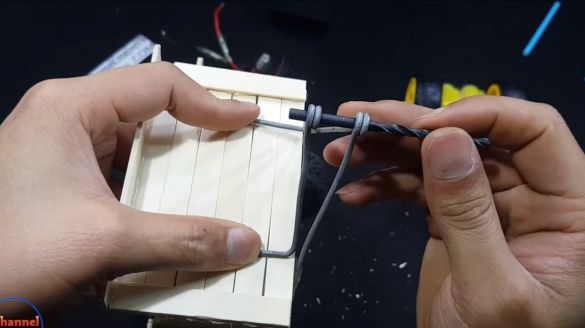
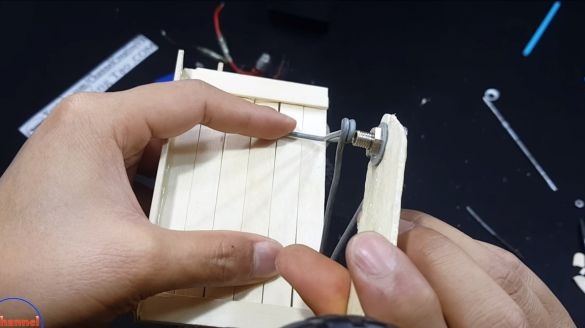
You will also need to install a fastener on the drawbar so that you can connect the trailer. The author used a tube with a thread that is fastened with a nut.
Step Two Collect the trailer
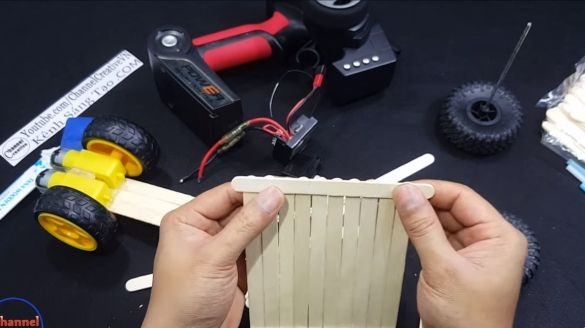
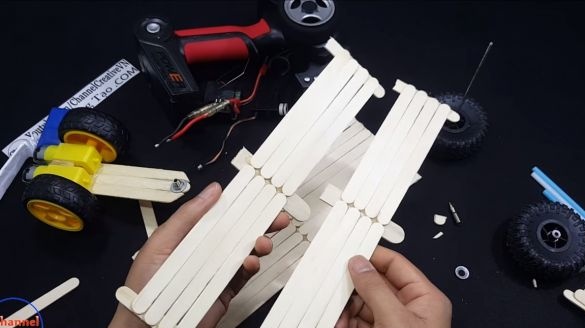
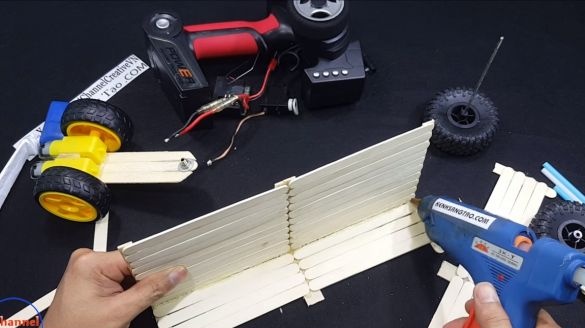
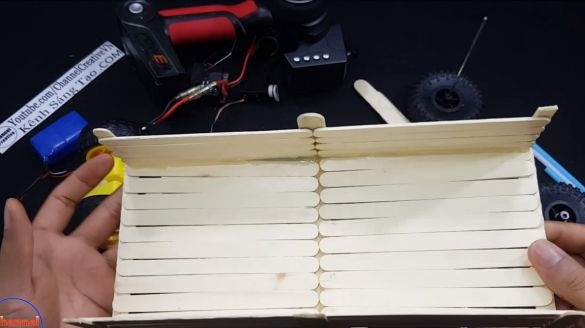
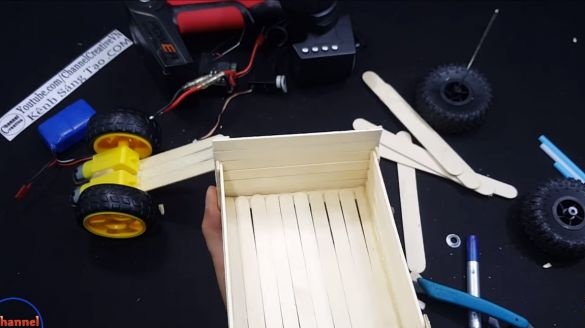
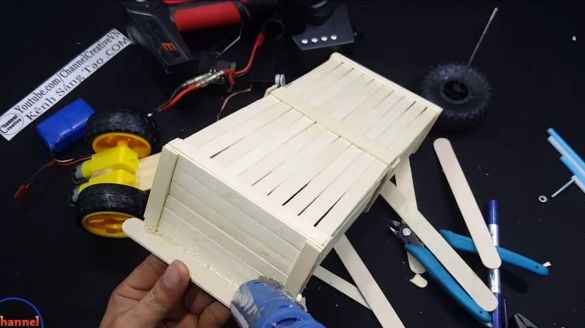
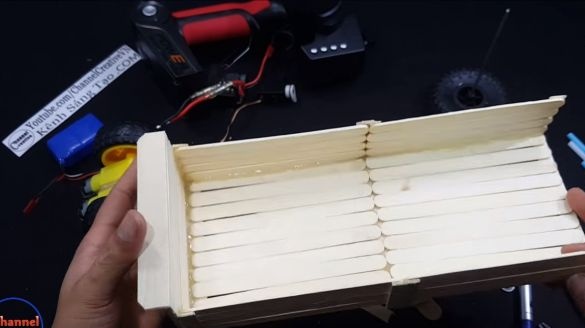
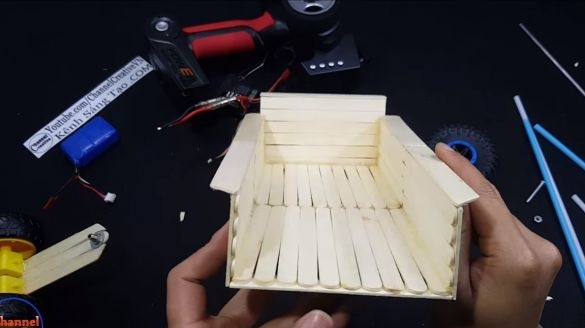
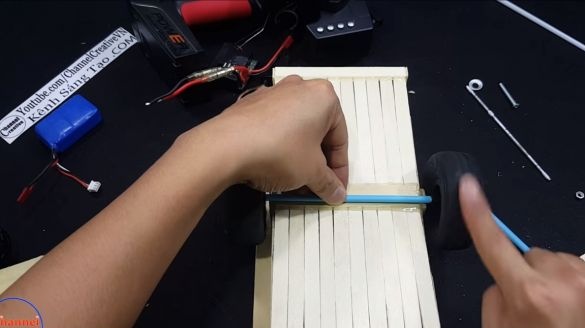
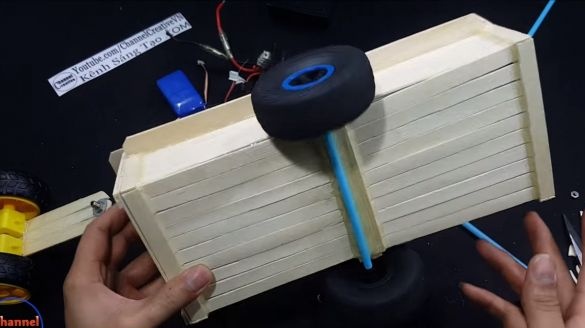
To assemble the trailer you will need ice cream sticks. We glue them with superglue, like the author in the photo. After that, you can install the axle with wheels. To fix it, the author uses a plastic tube, which is well glued to the bottom with hot glue. That's all, the trailer is ready, it remains to do drawbar!
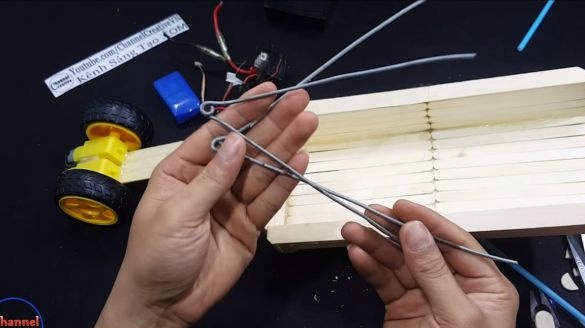
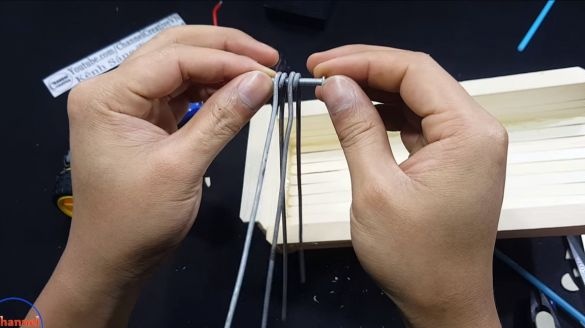
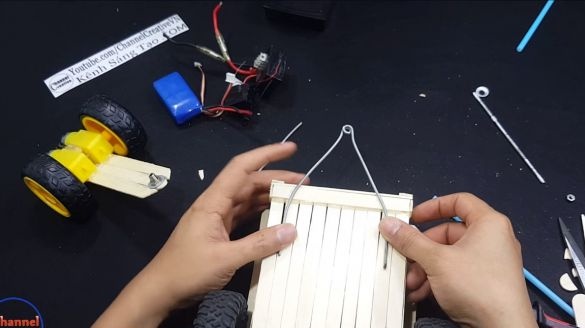
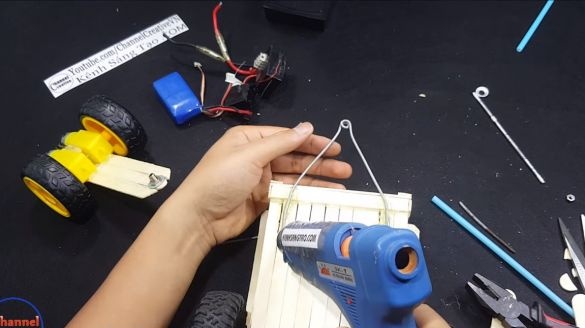
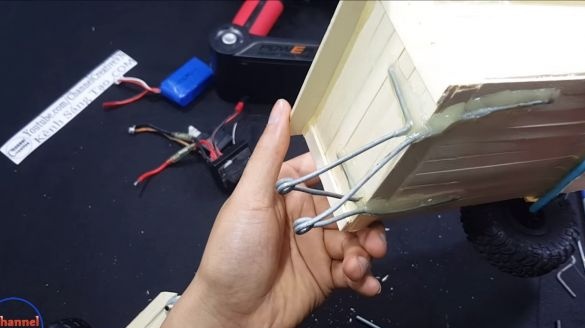
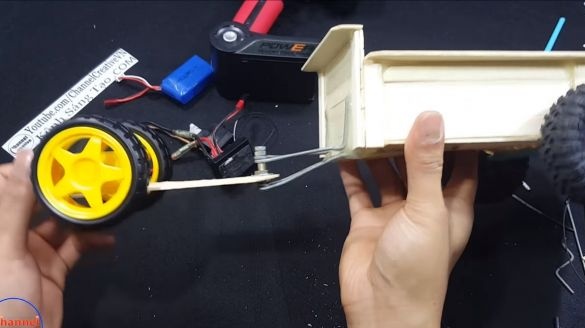
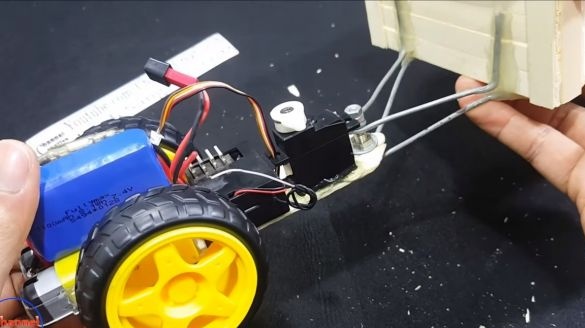
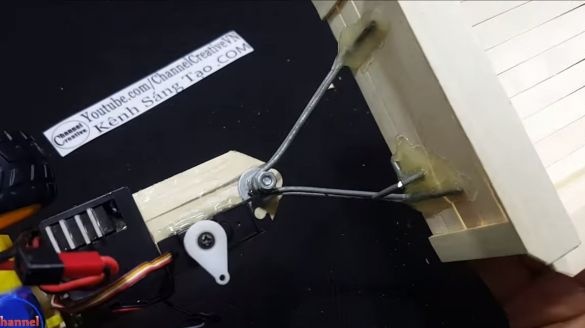
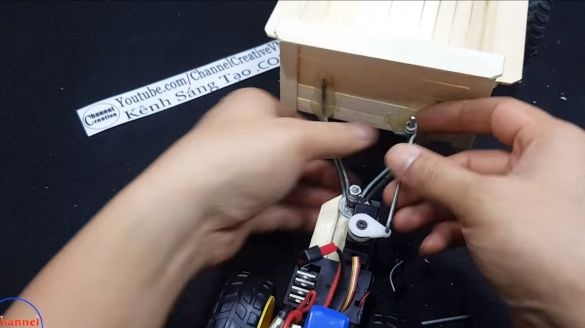
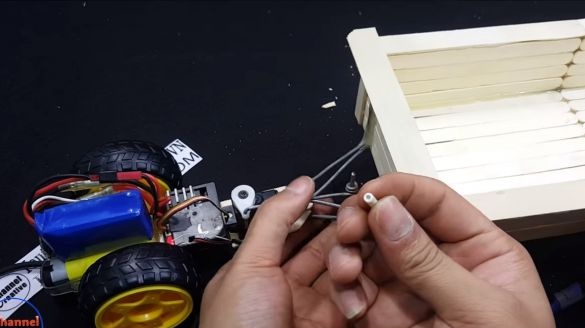
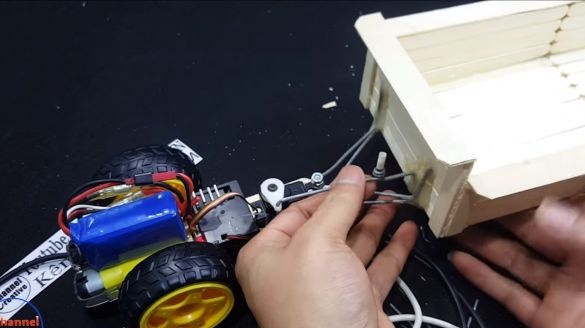
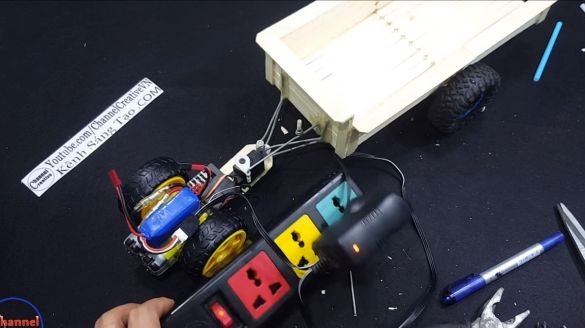
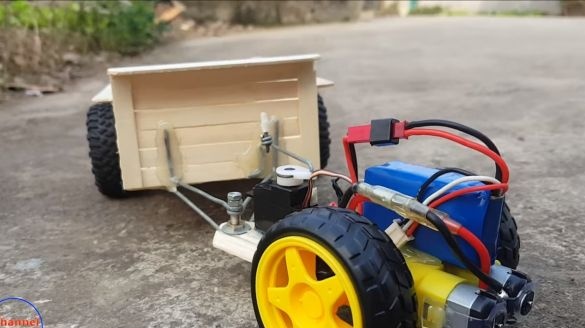
To make the drawbar, you will need a steel wire, make two parts out of it, as the author in the photo. Further, these parts are glued to the trailer using hot glue. Now you can connect the walk-behind tractor to the trailer! To do this, use a bolt with a nut or something similar.
Step Three Finishing touches
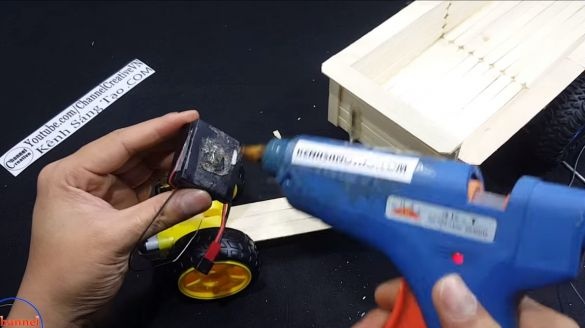
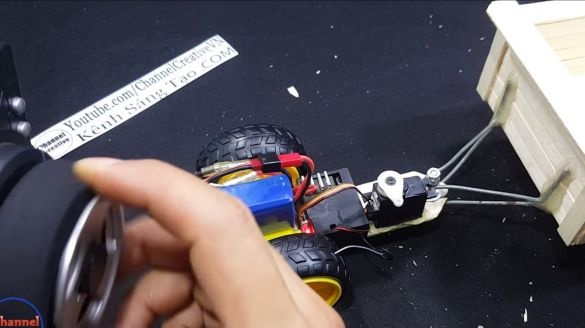
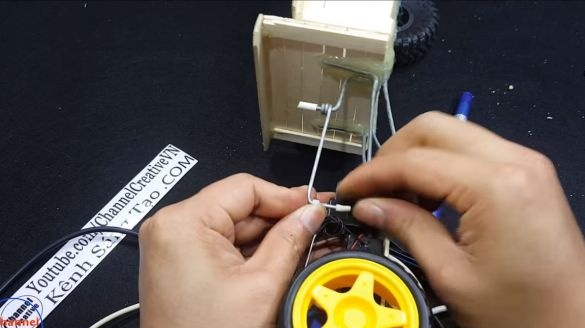
The motoblock is almost ready, it remains to fix all the electronics on its board. For these purposes, we also use hot glue. At the end, you will need to make the steering, the power element here will be the servo. Fasten the servo to the walk-behind tractor using hot glue. On the trailer, you will need to install a lever, to which we connect the servo through another steering lever. Install rubber tubes on the ends of the levers from the insulation of the wire so that they do not fly off.
That's all, the walk-behind tractor is ready! We are going to test. In the video, the author installs a screwdriver on the trailer and our homemade product confidently tows it. Transport turned out pretty nimble and powerful. Now your child will be busy around the clock with the delivery of valuable goods! That's all, I hope you liked the homemade. Good luck and inspiration in the manufacture!

