

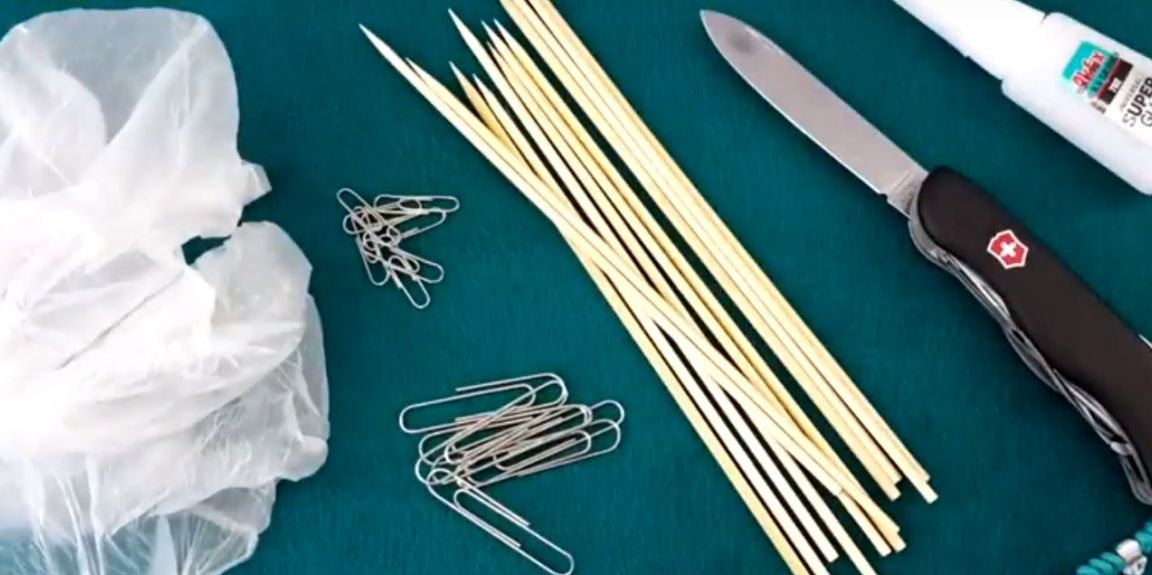
For this homemade the author needed such materials: wooden skewers, large and smaller office paper clips, a baking sleeve, super glue.
First of all, the author, from skewers, prepared pieces of the right size.
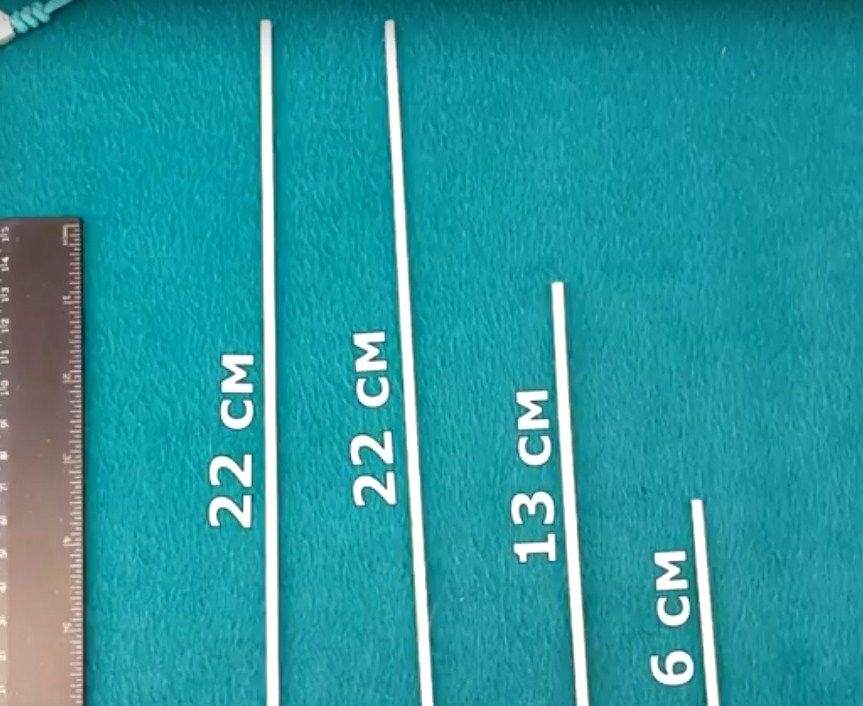
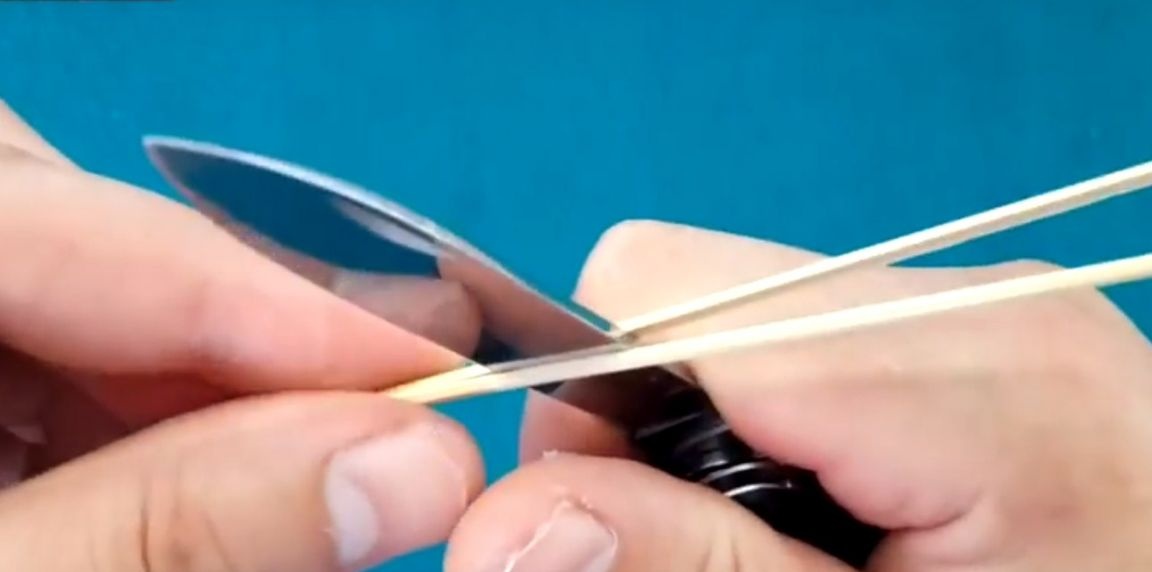
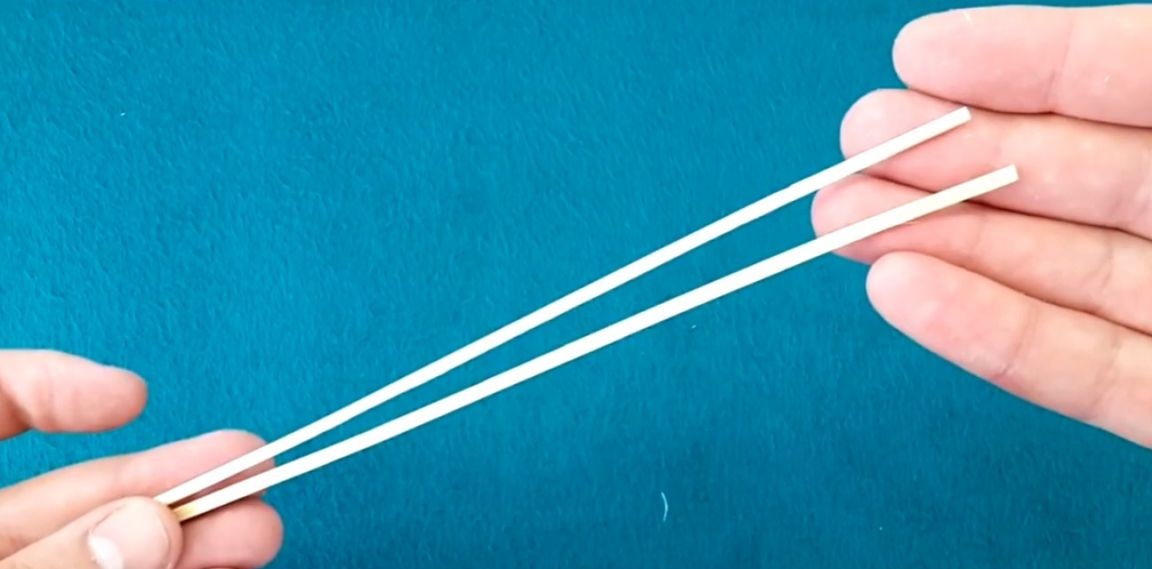
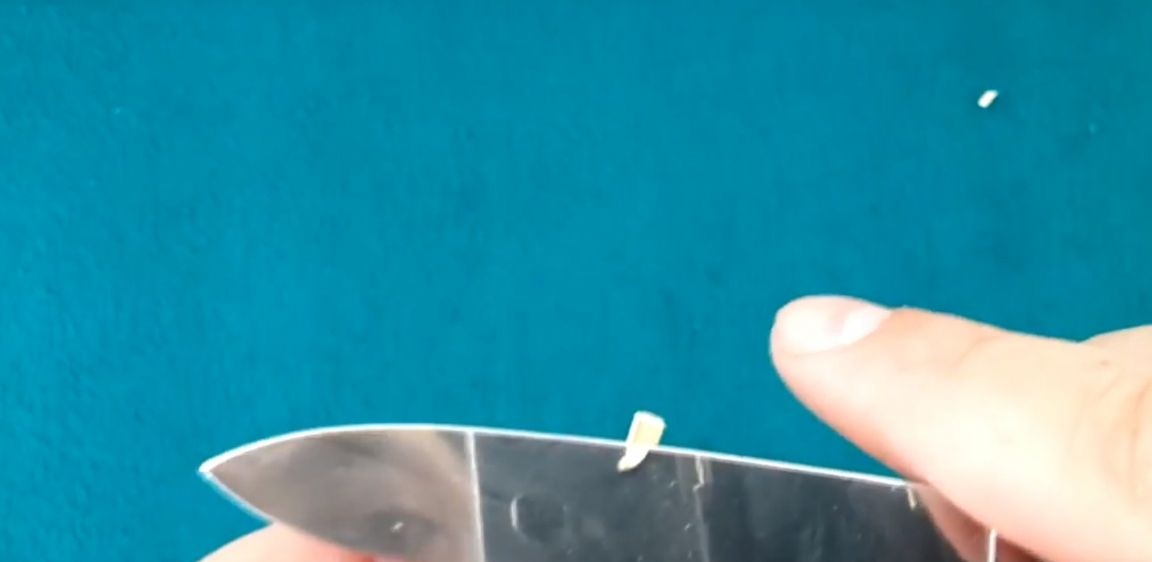
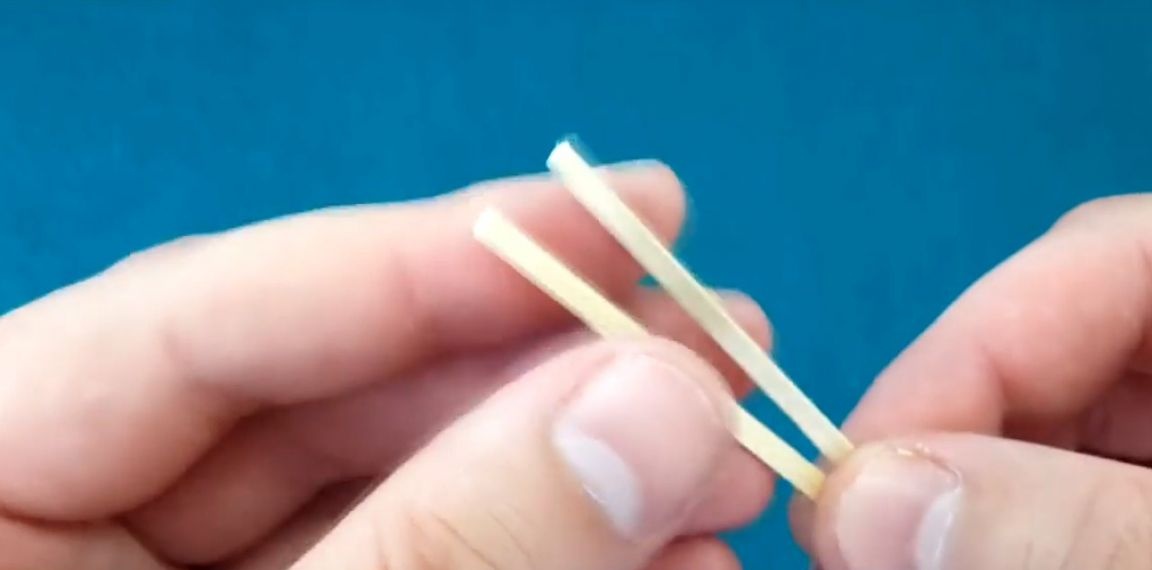
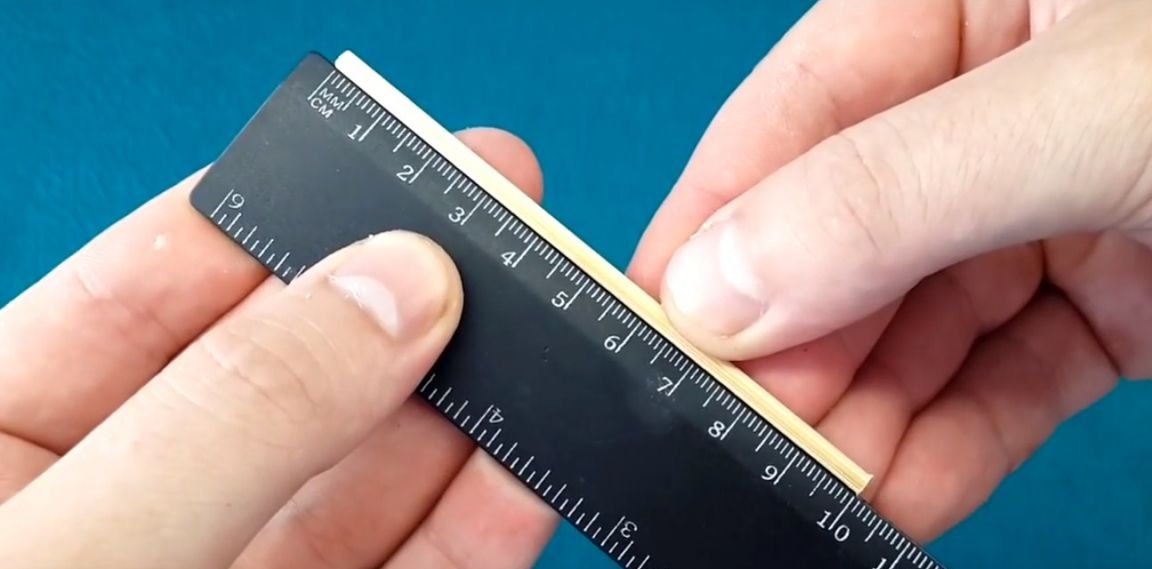
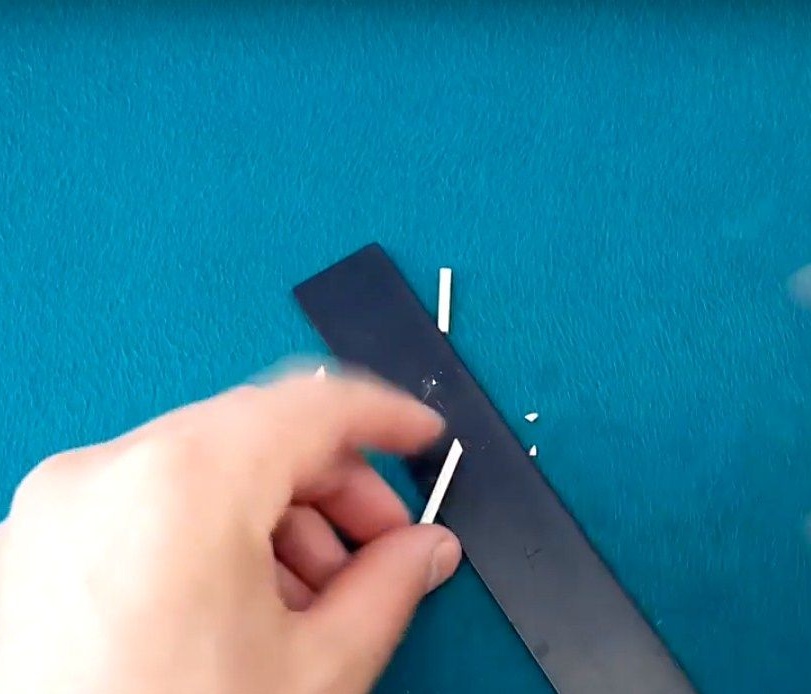
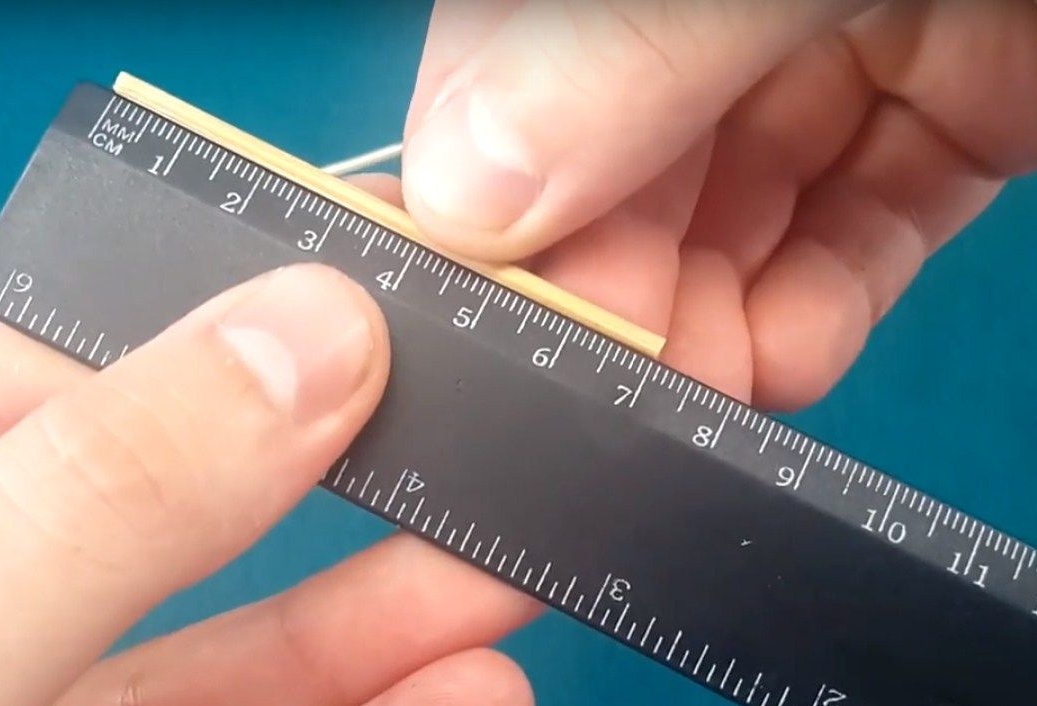
Then, using a knife, he divided along a skewer 22 cm long into two identical halves. Of these, the author will make wings.
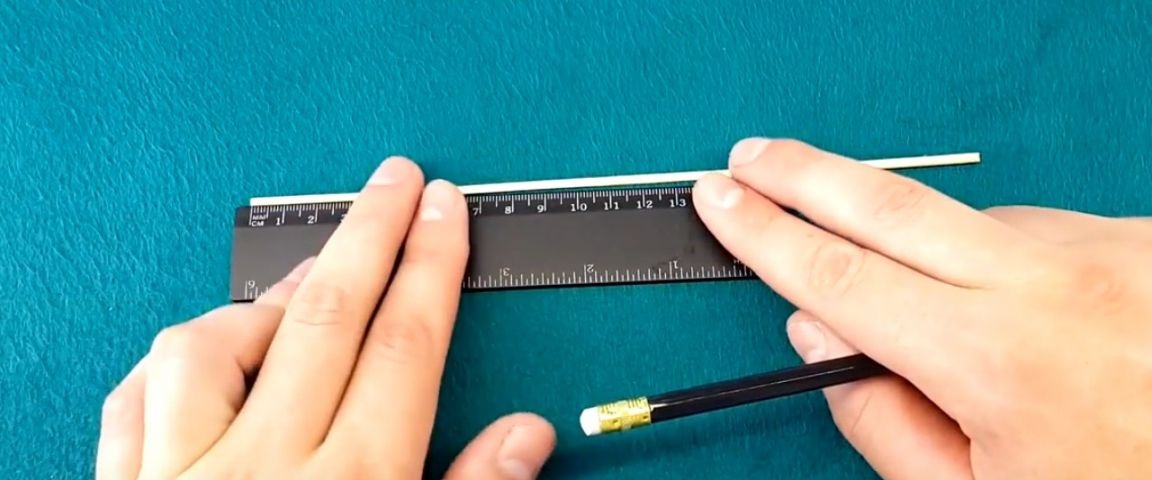
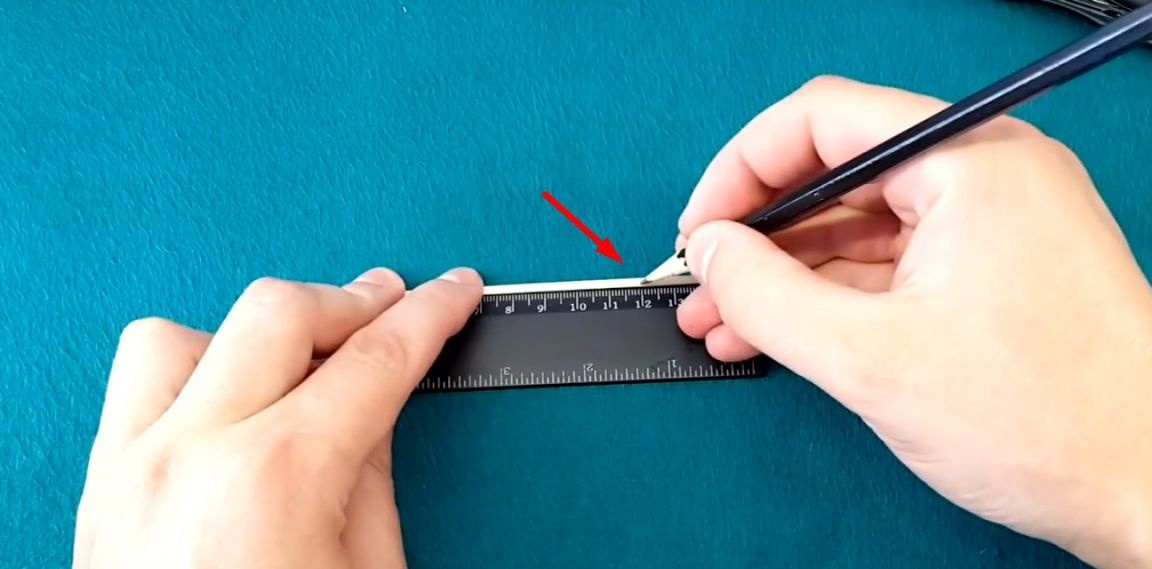
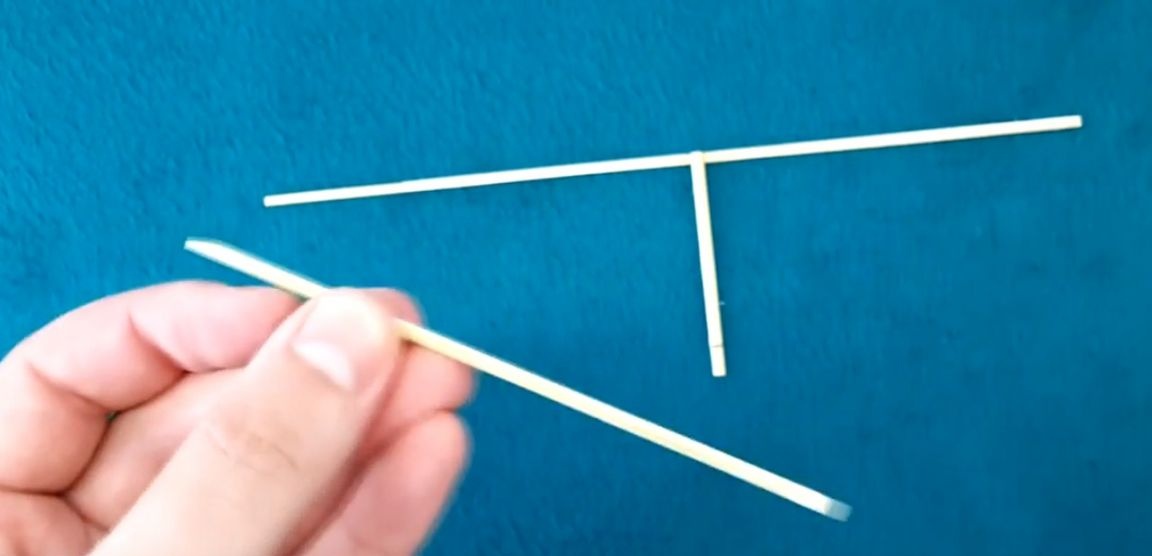
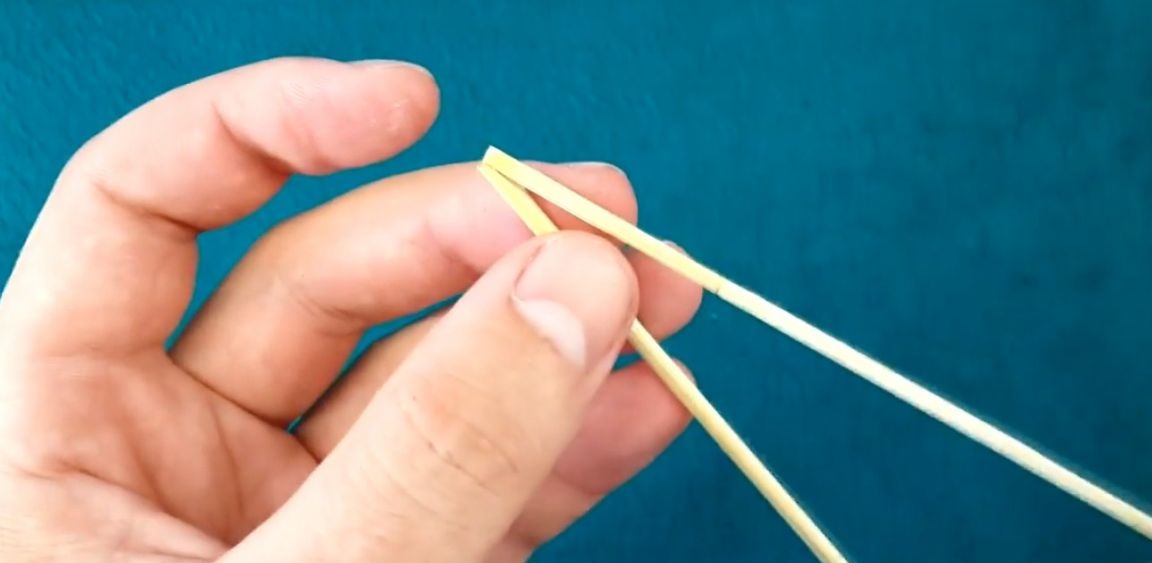
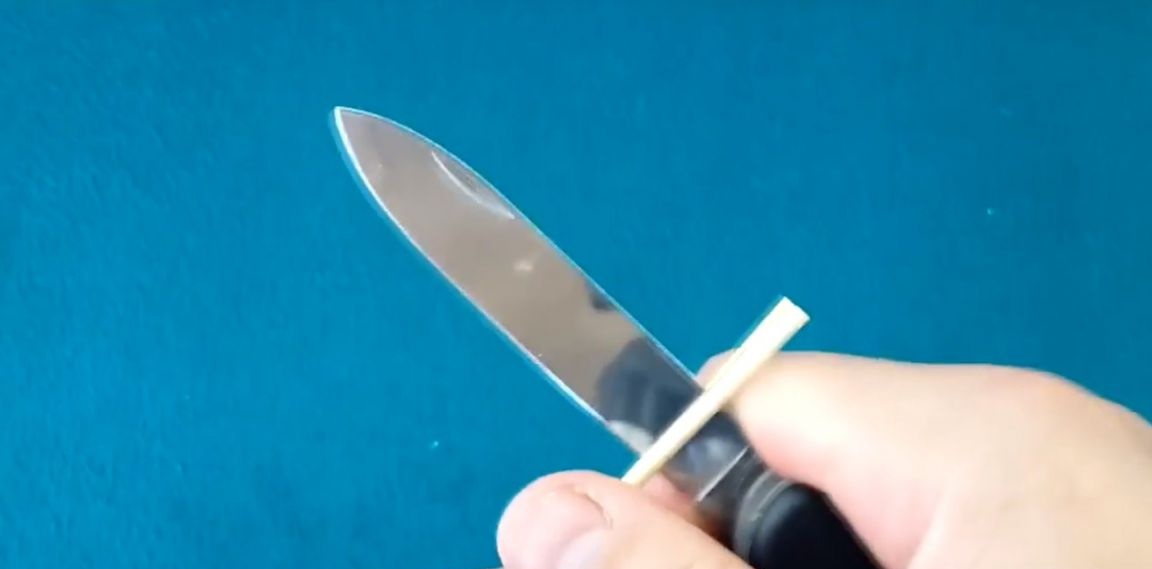
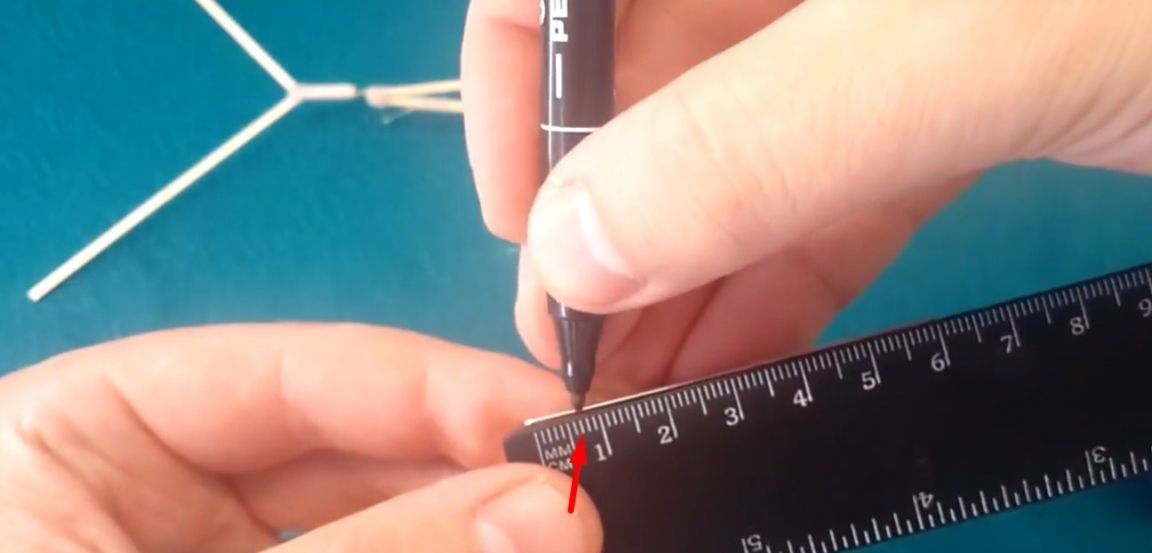
Then he took a 13 cm stick and cut off one edge as shown in the photo below.
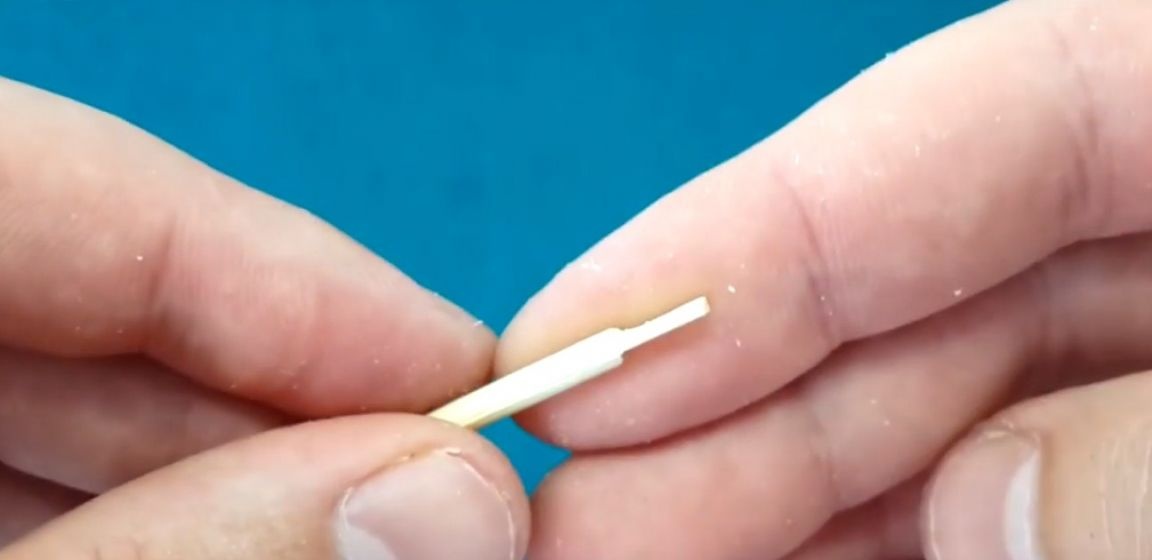
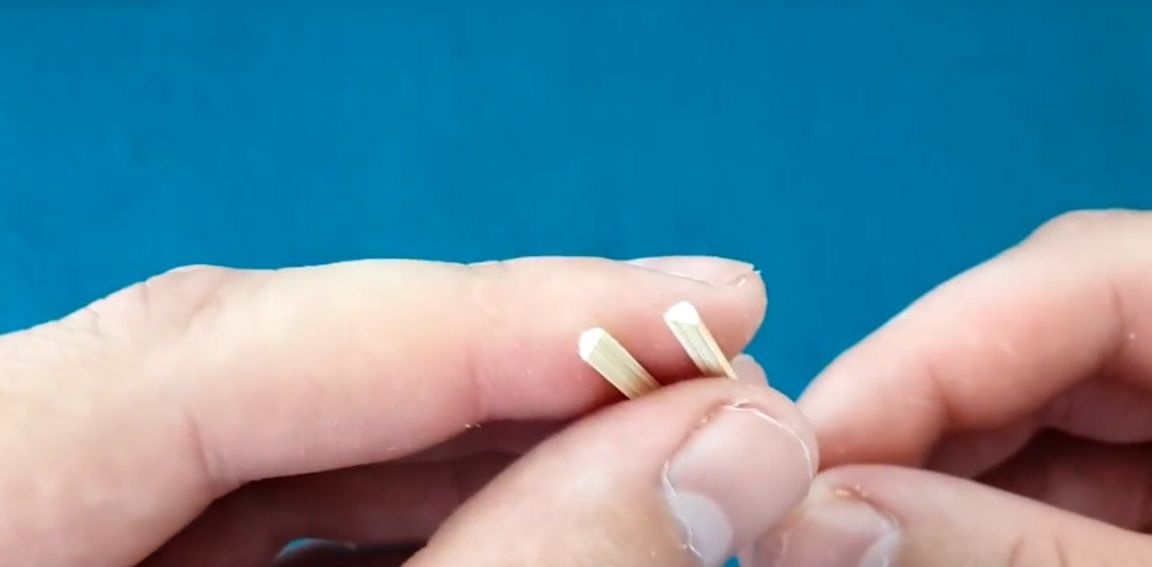
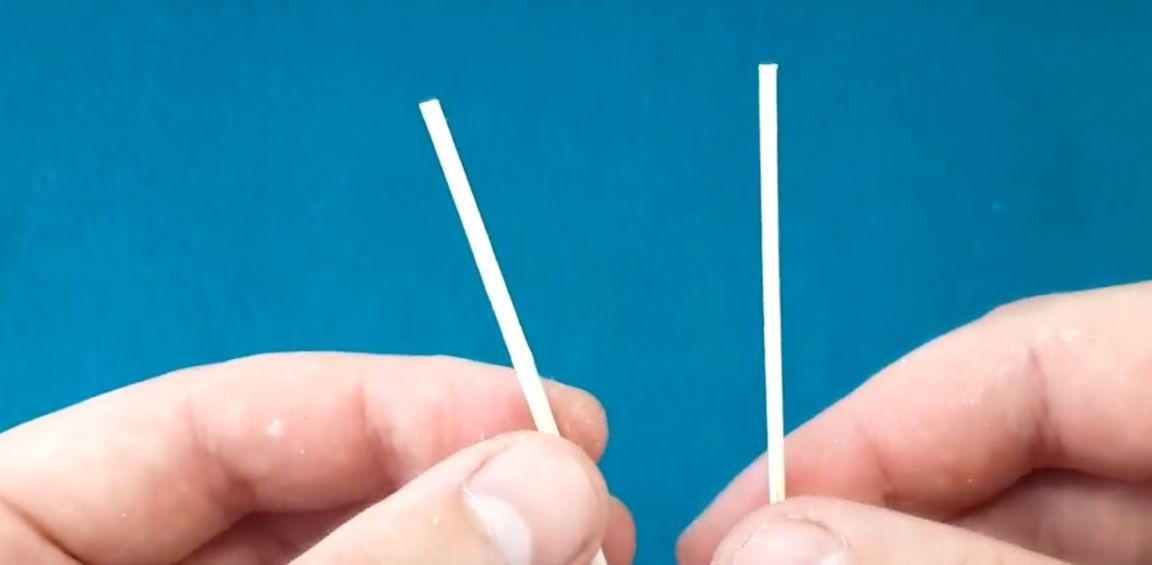
The 6 cm stick was also divided into two identical parts.
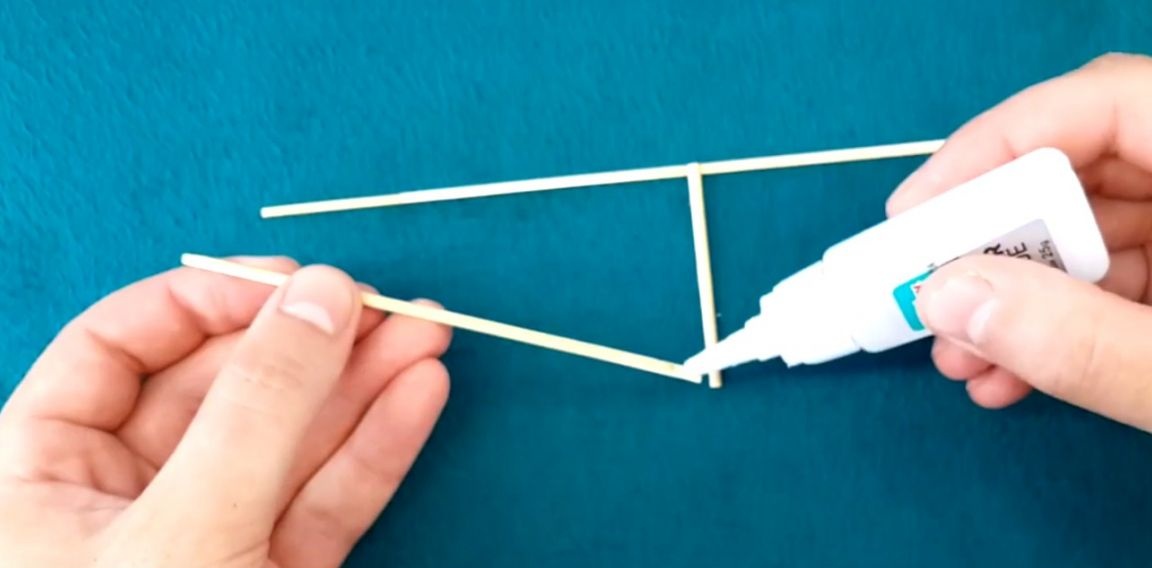
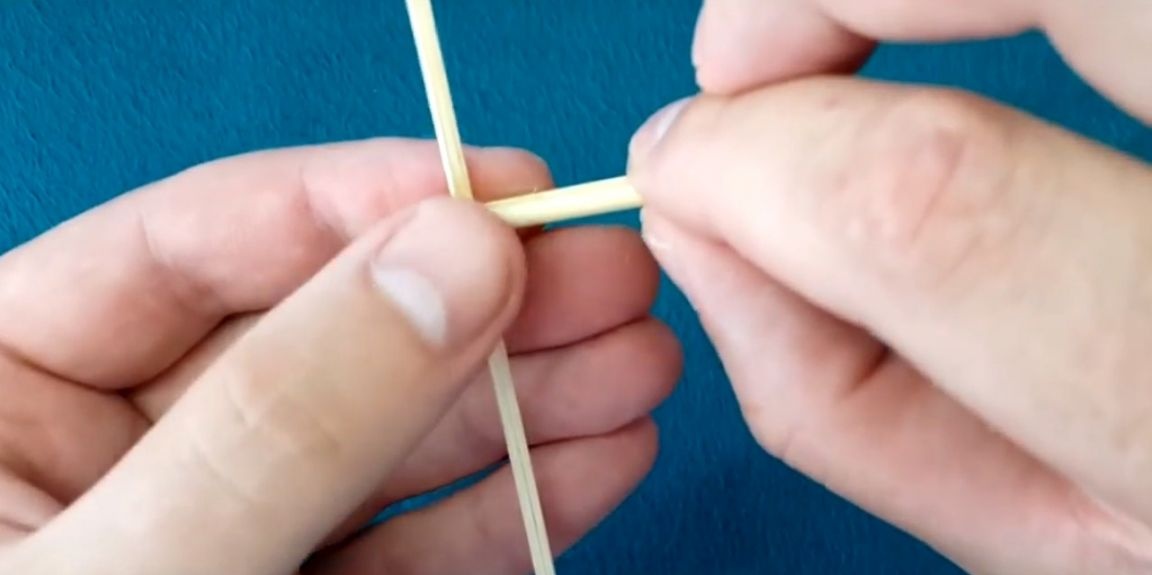
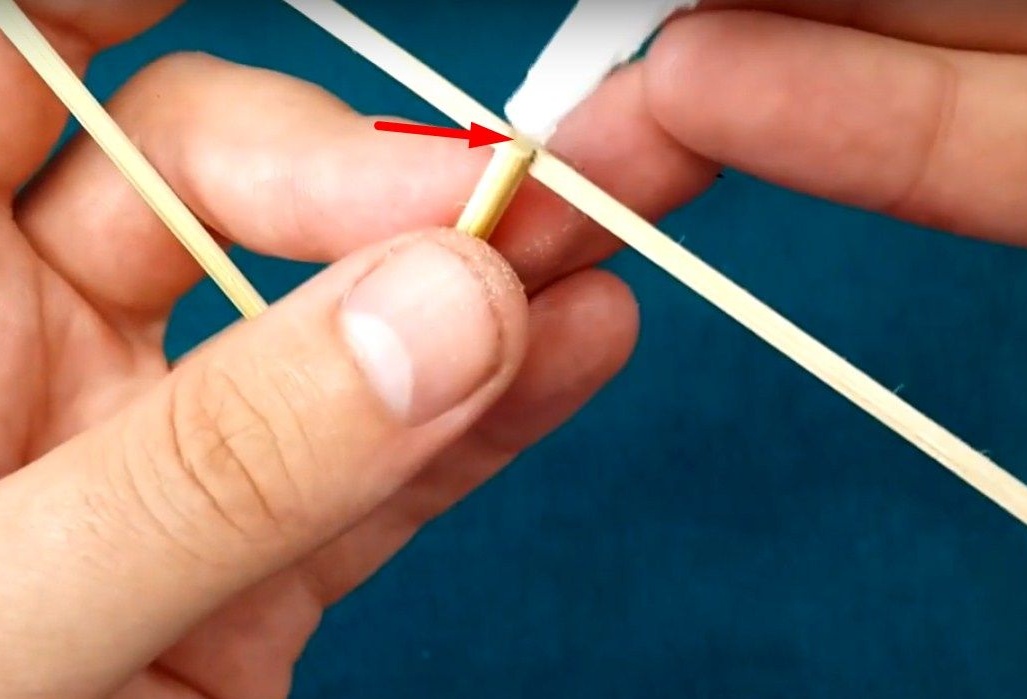
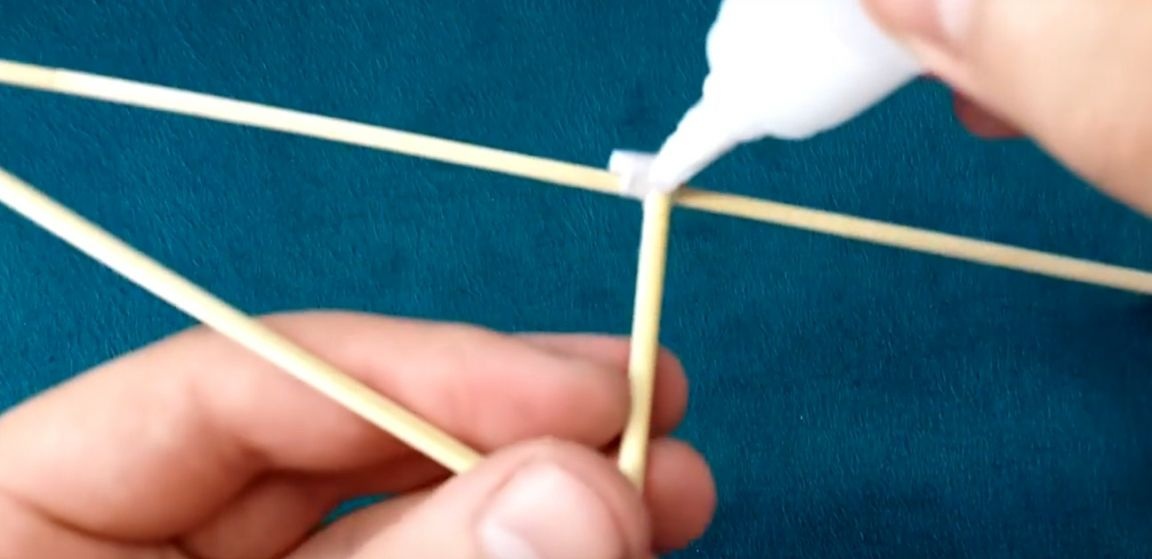
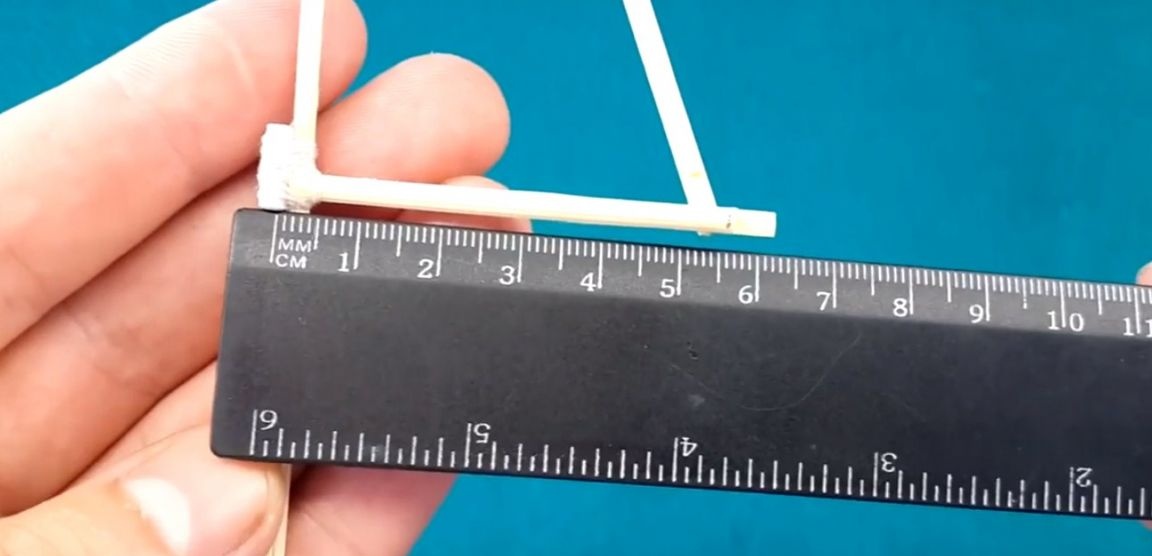
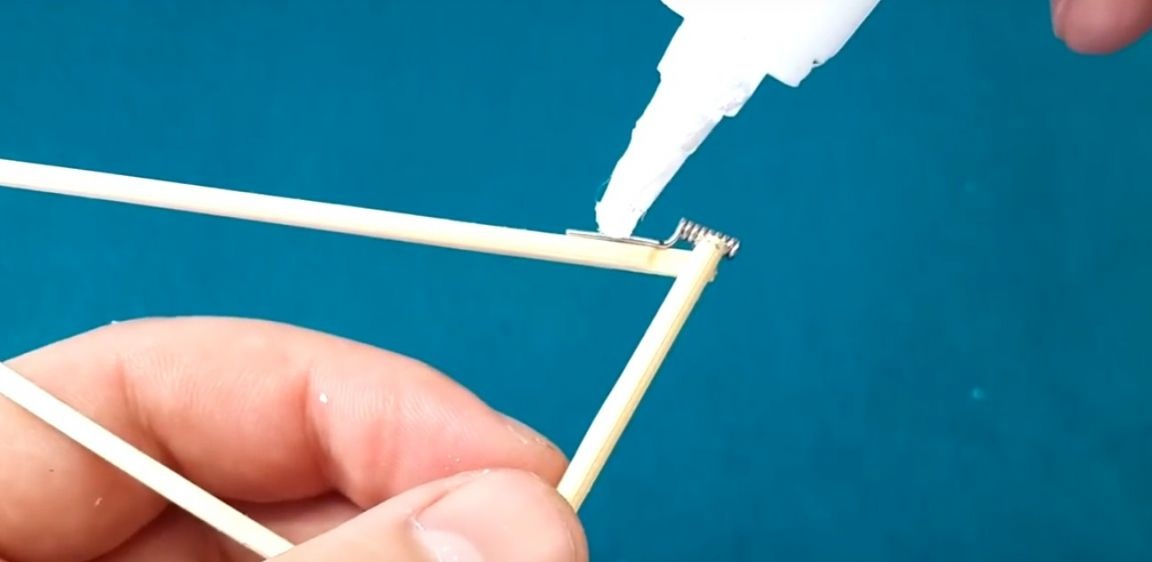
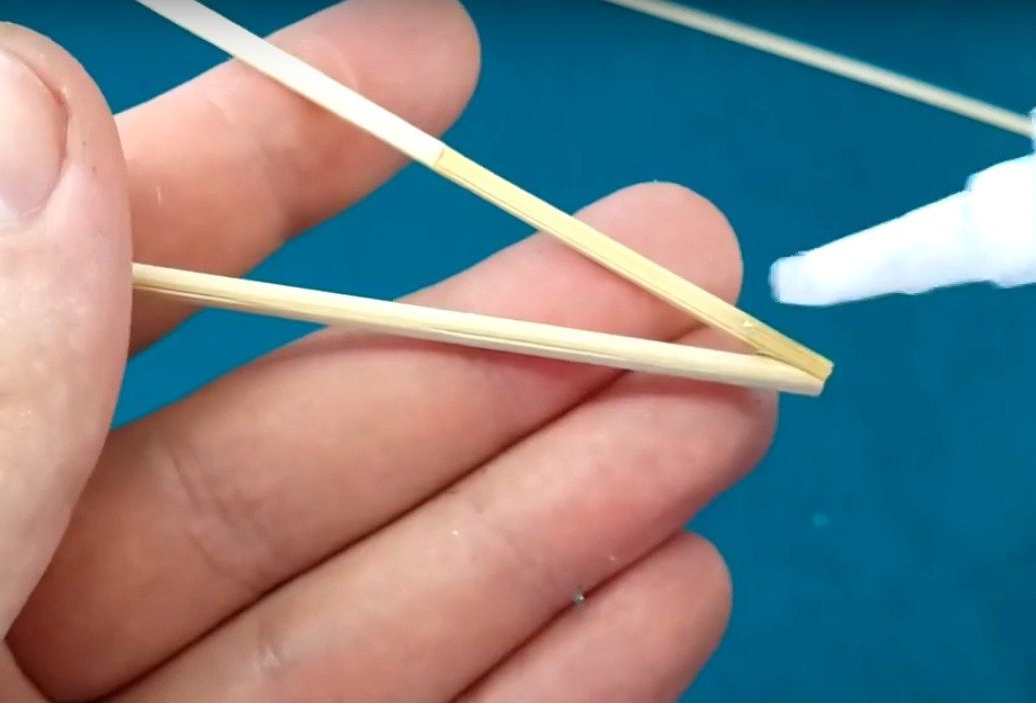
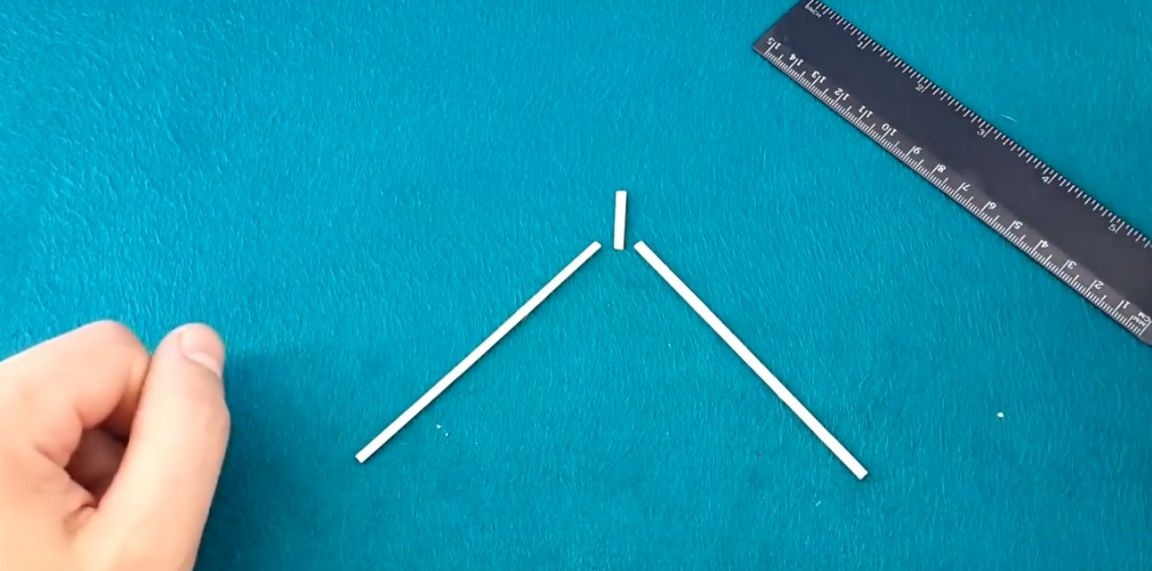
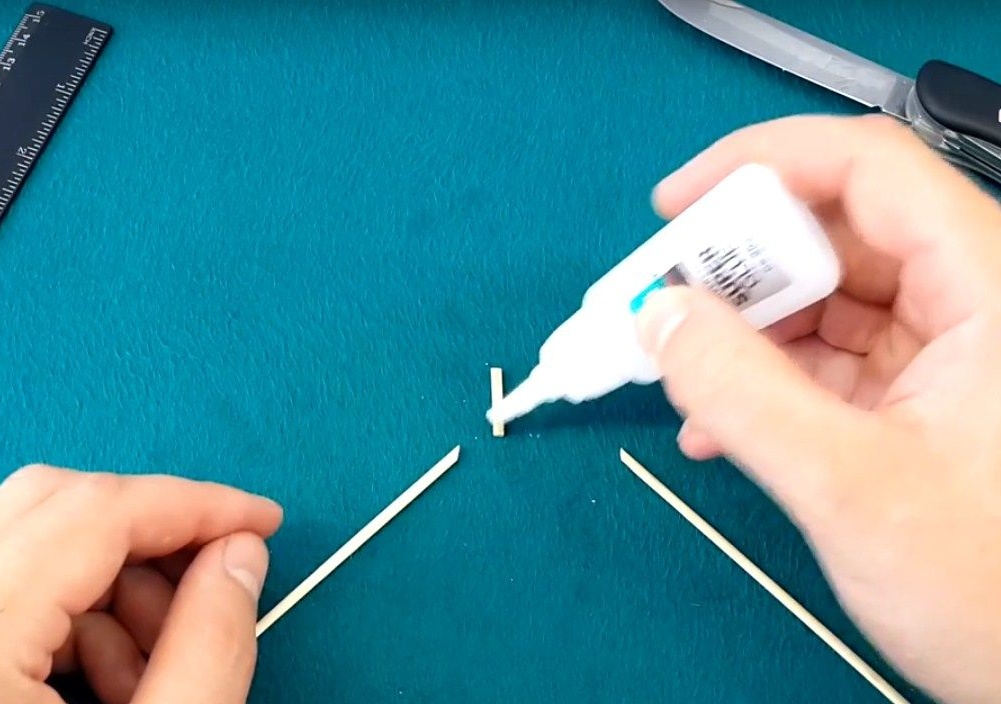
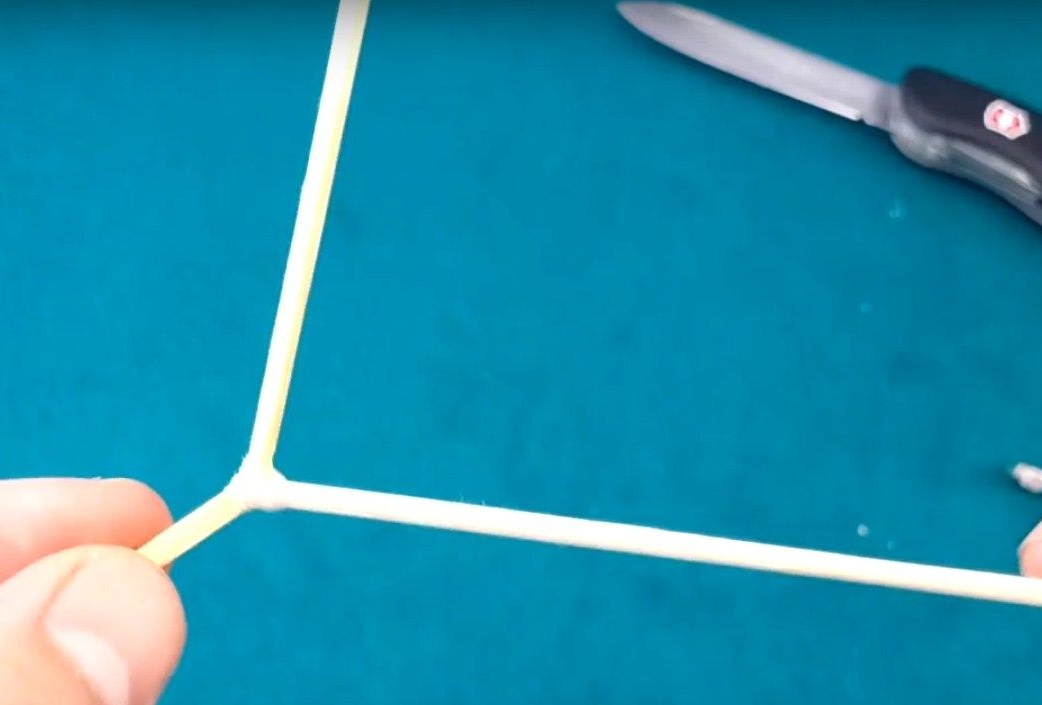
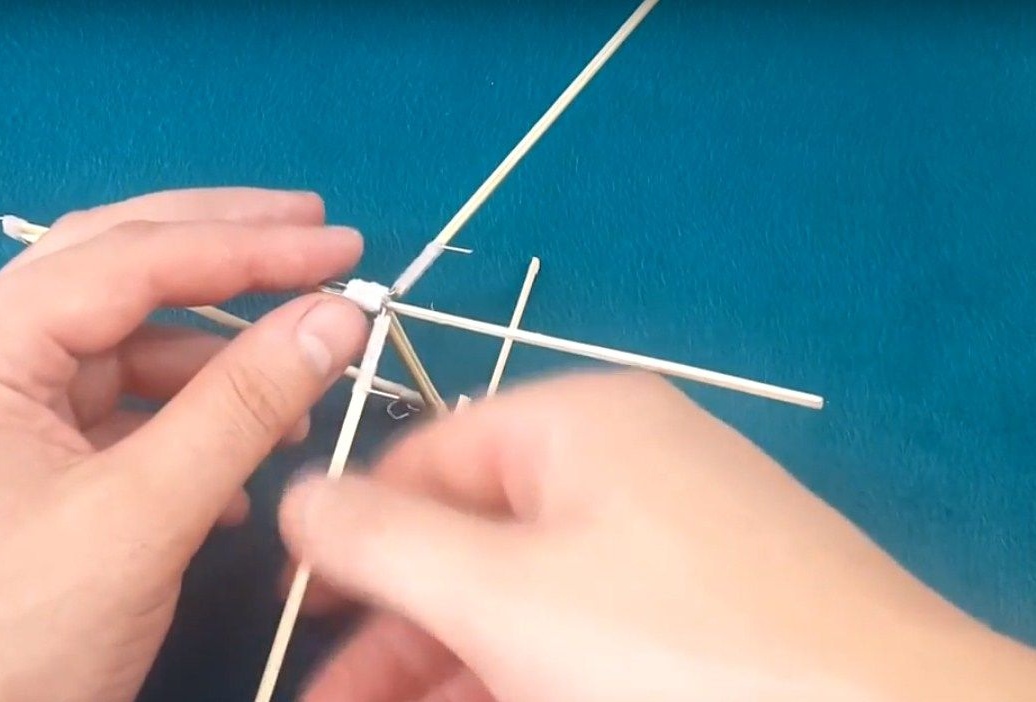
The second 22 cm stick will be the basis, on it the author made a 12 cm mark and in this place glued one half of the 6 cm stick at an angle of 90 degrees.
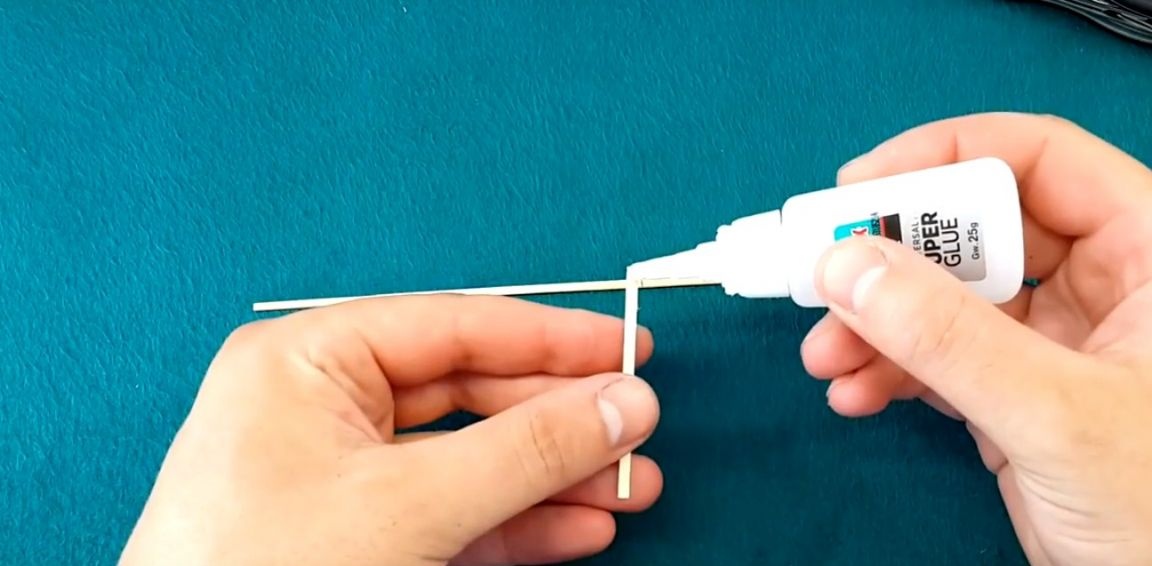
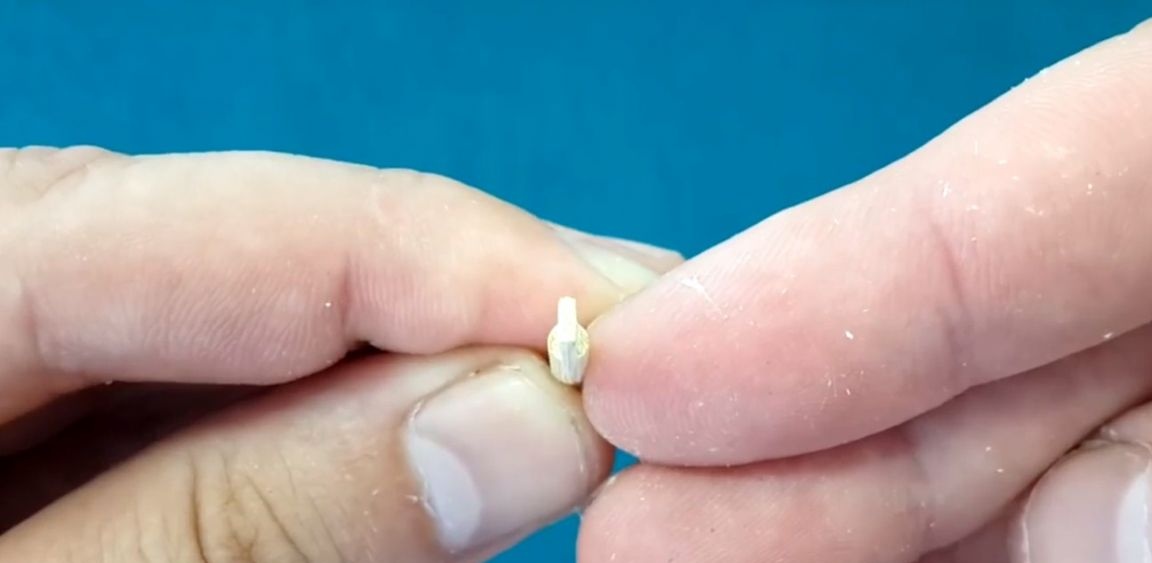
On this small stick I made a mark of 5 cm.

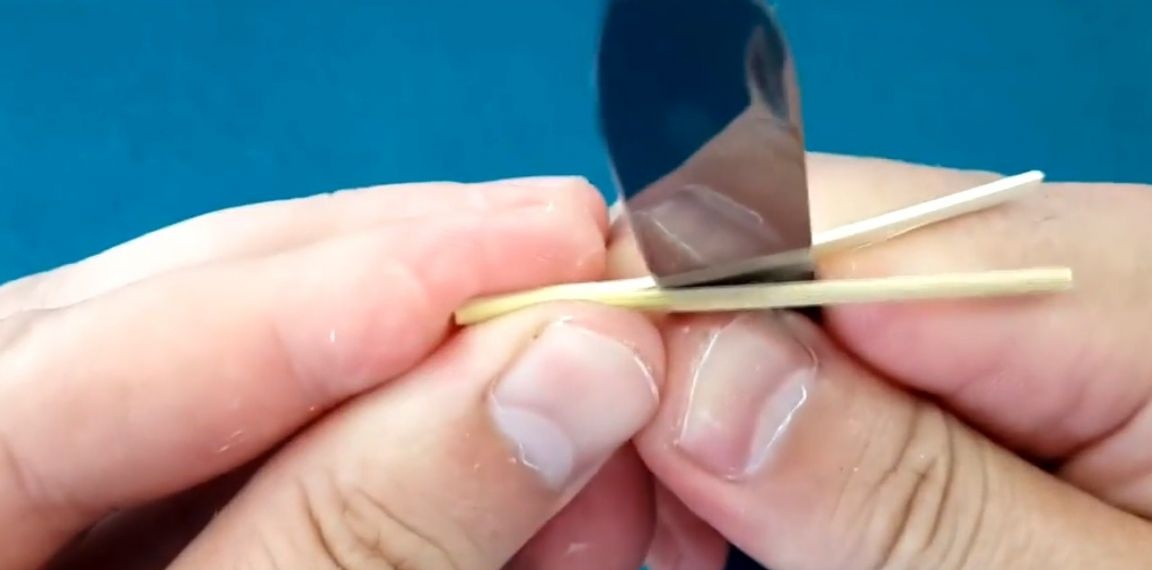
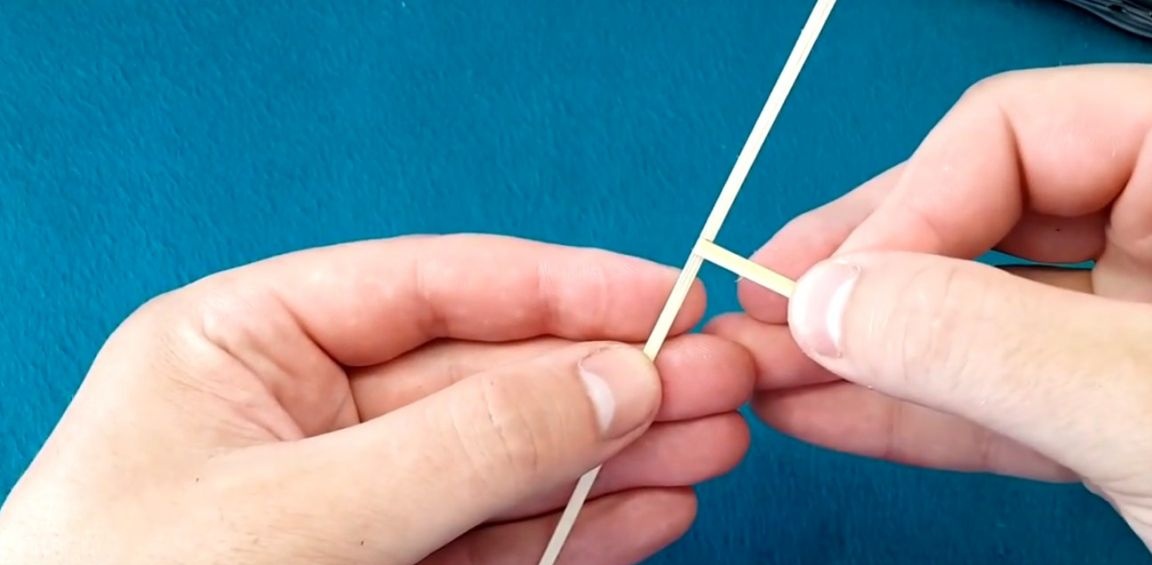
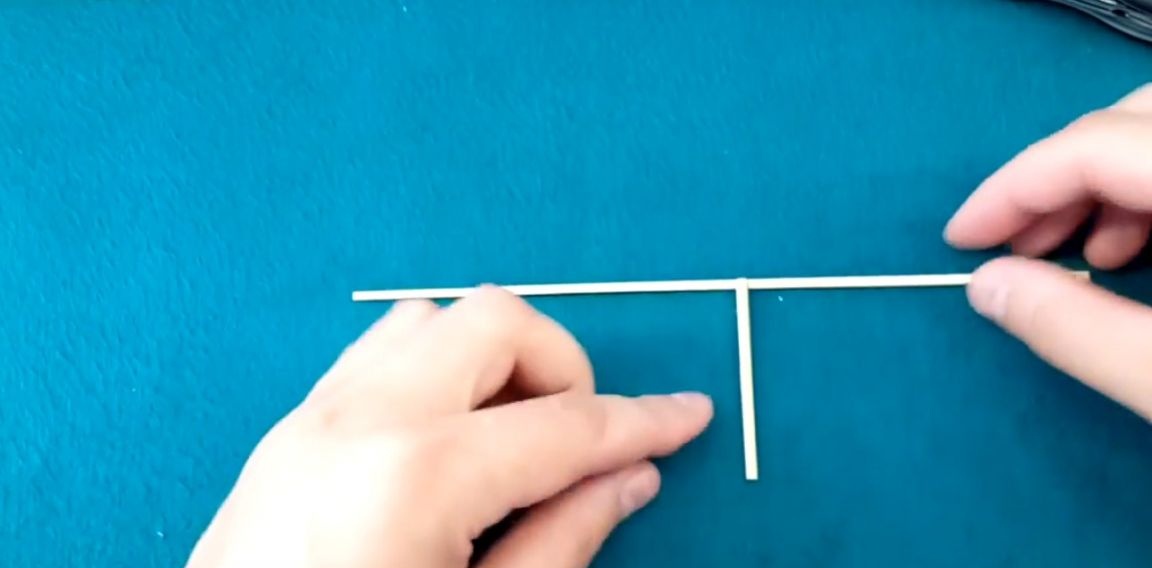
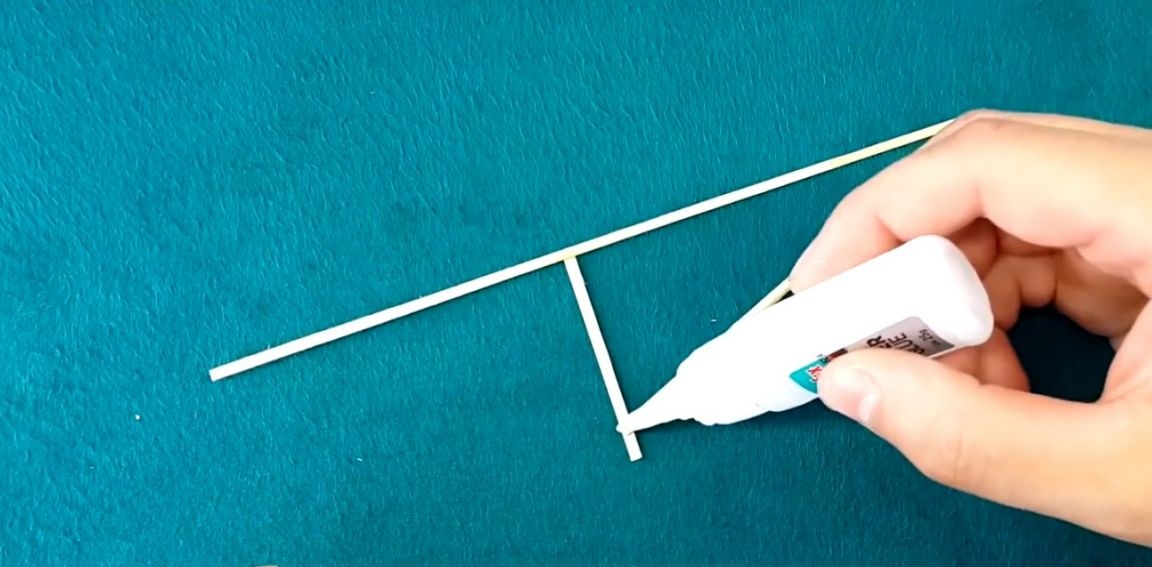
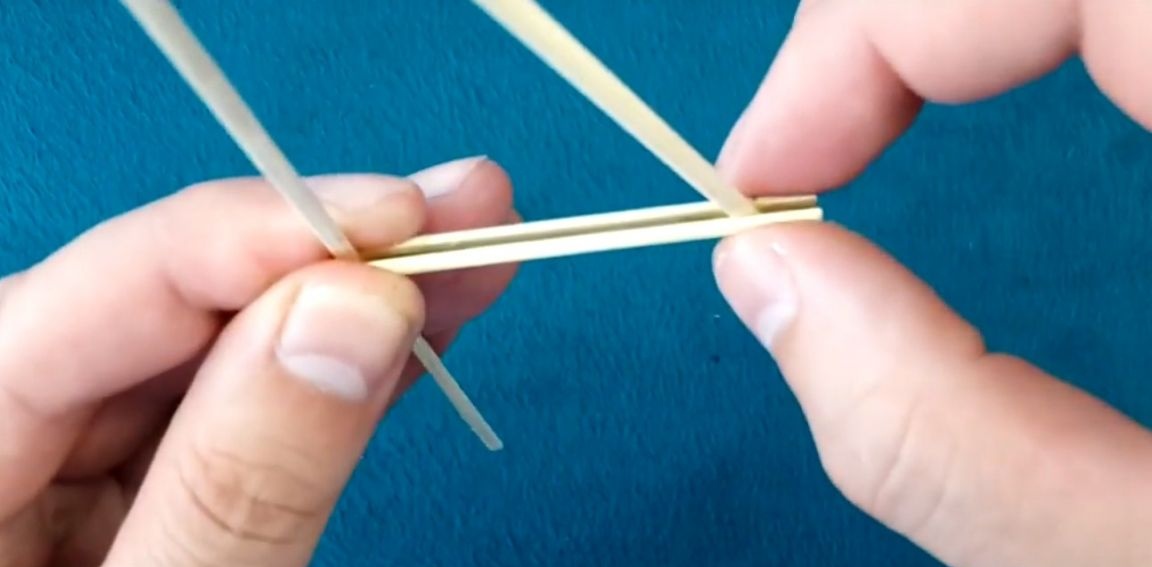
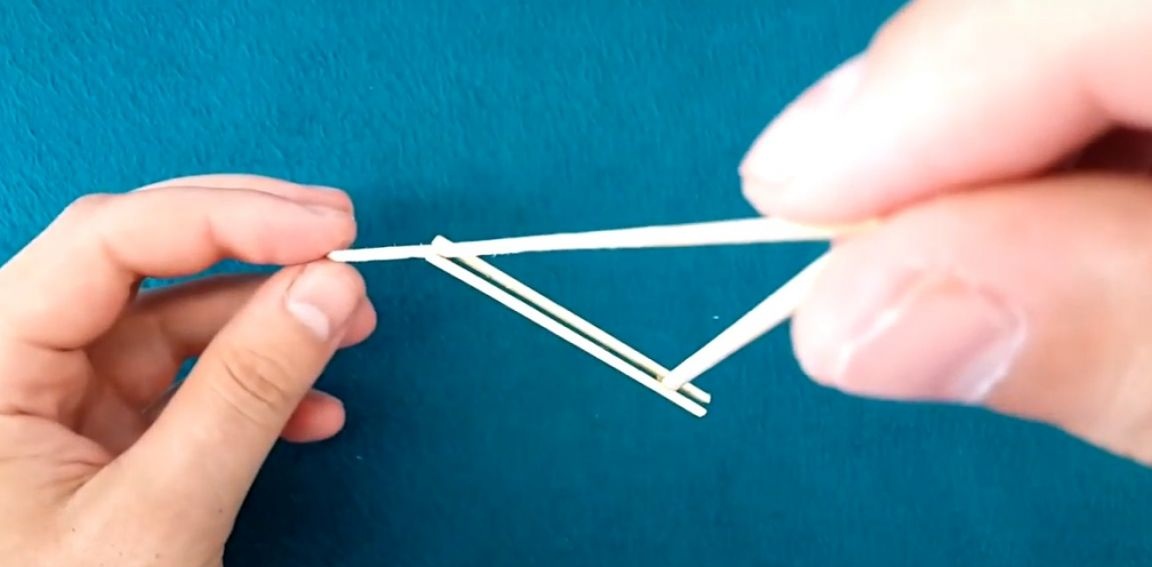
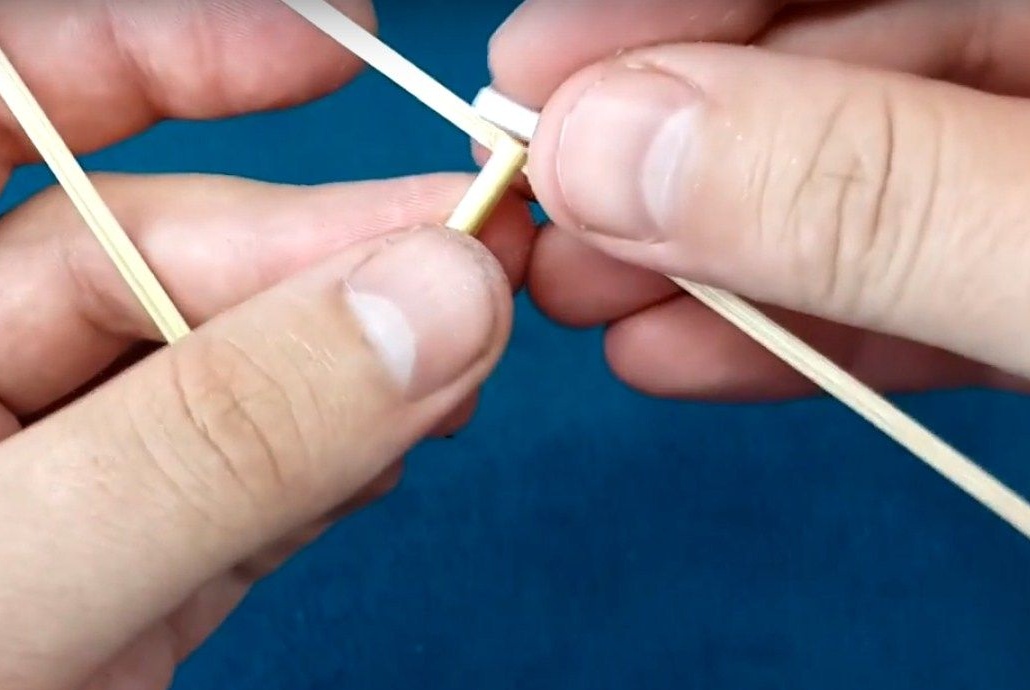
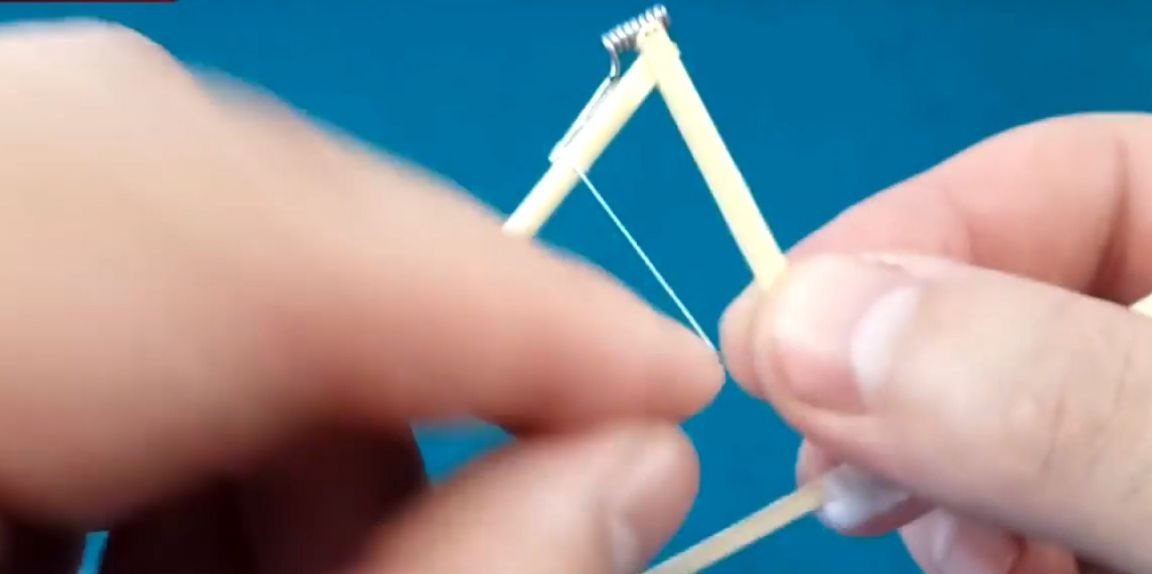
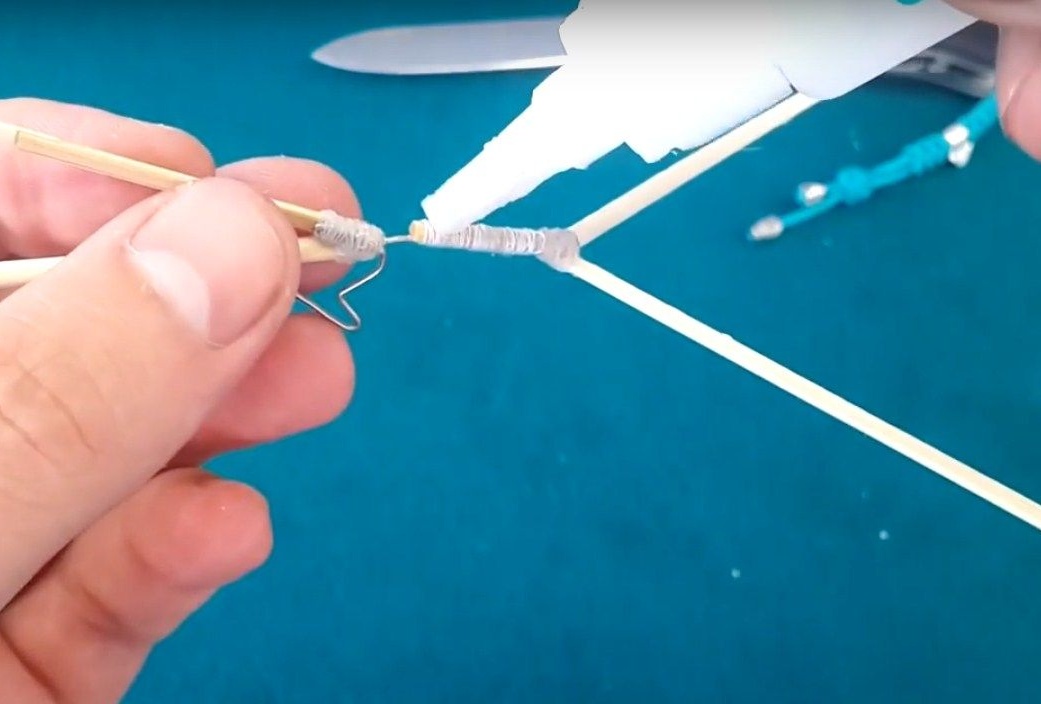
Then he took a 13 cm stick and glued it as in the photo.
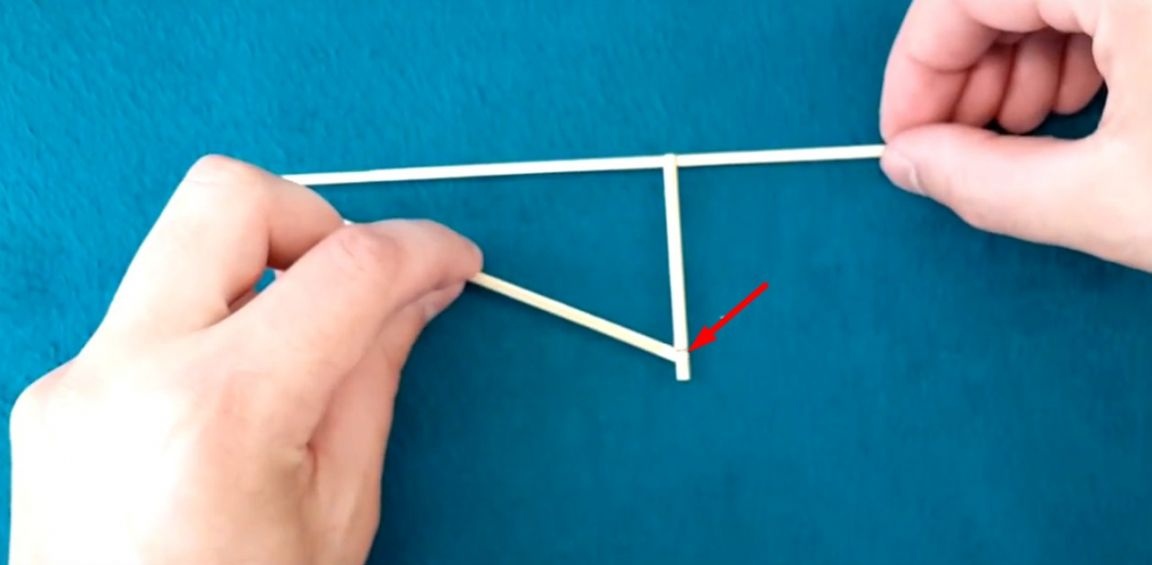
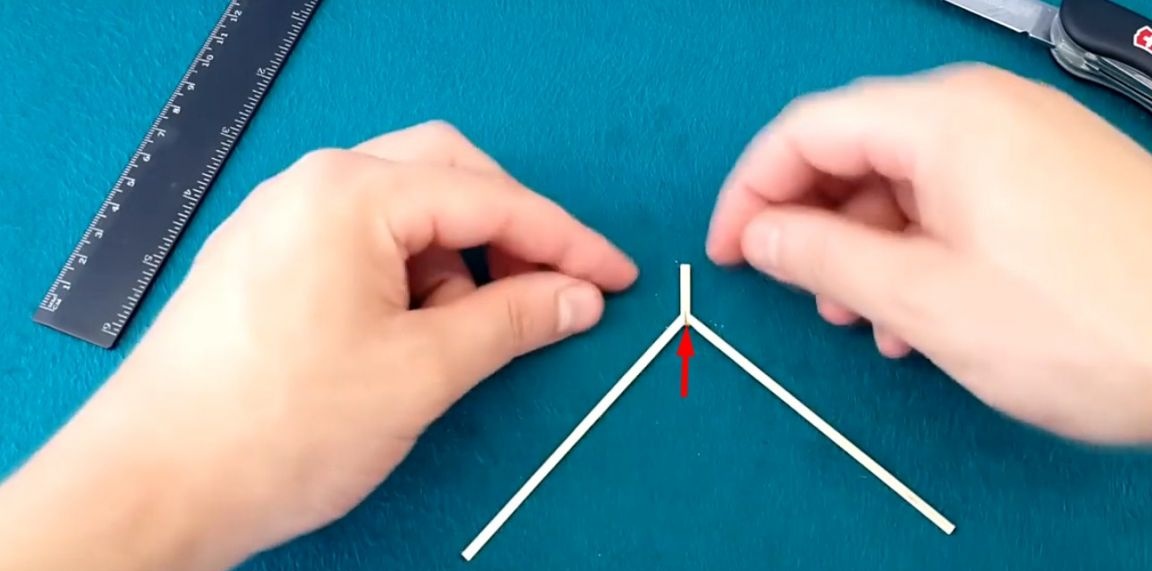
Then he turned the base over and pasted the other half of a 6 cm stick.

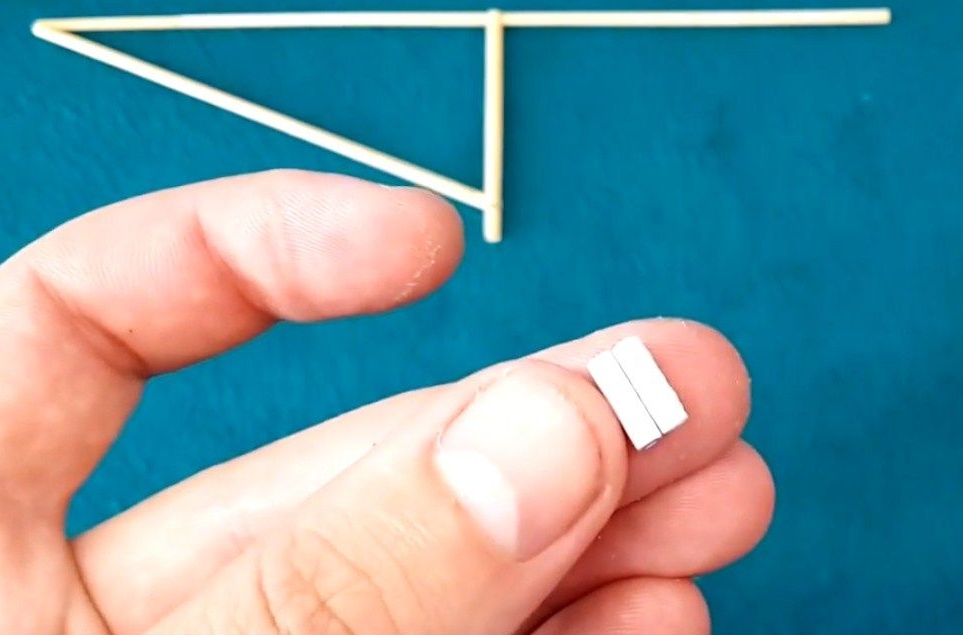
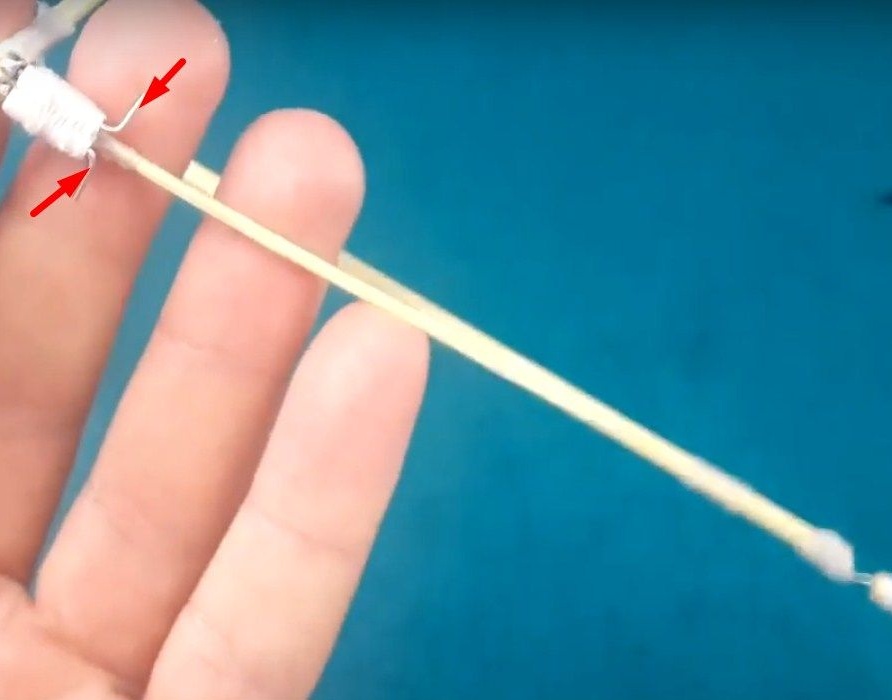
Next, the author cut out strips of paper and wrapped it on a paper clip.
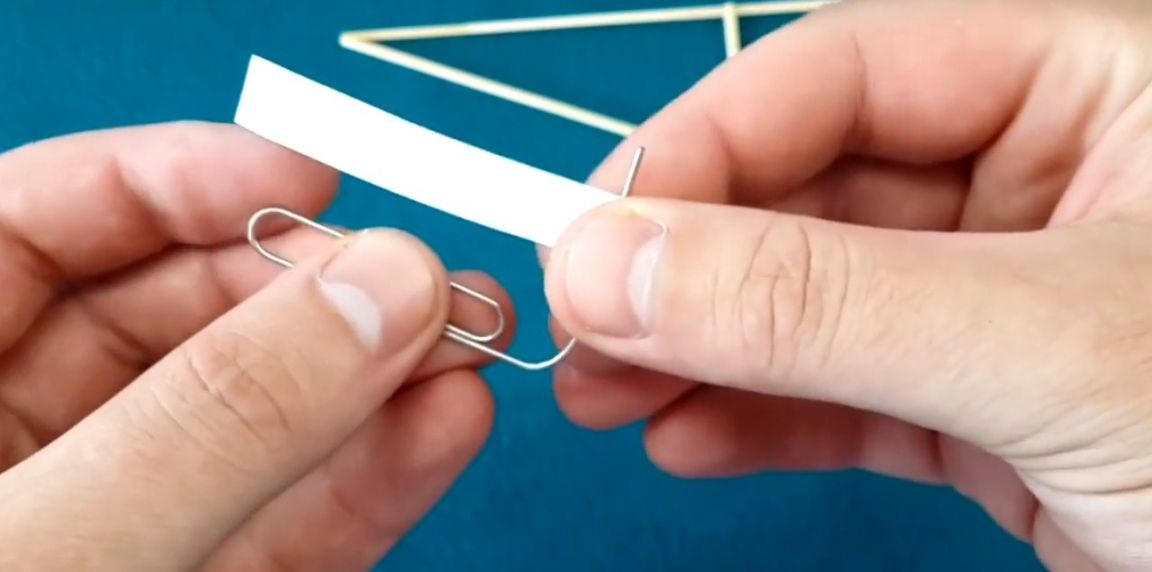
I glued the second edge of the strip.

I removed them from a paper clip and I got such bushings, they will be needed for the movement of the wings.
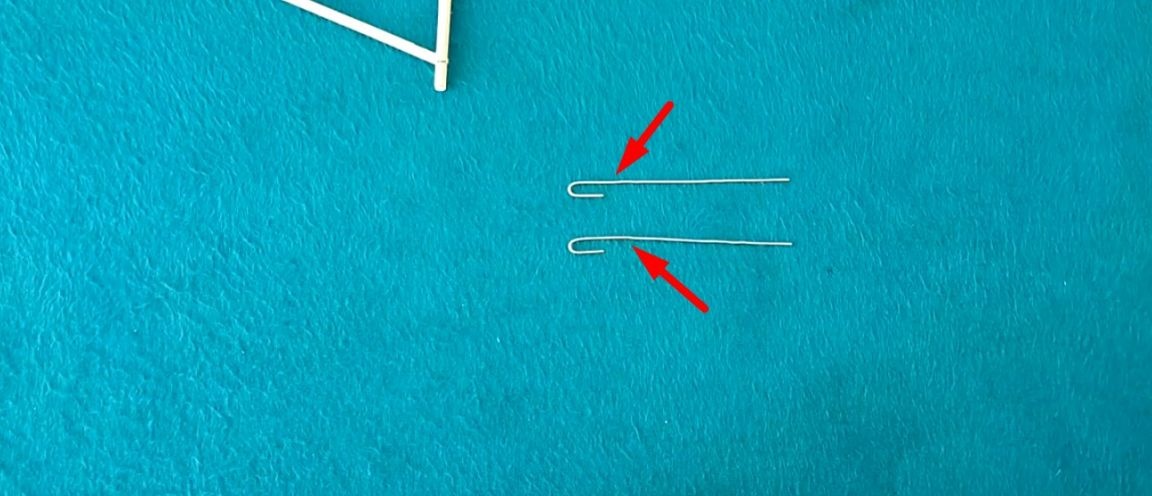
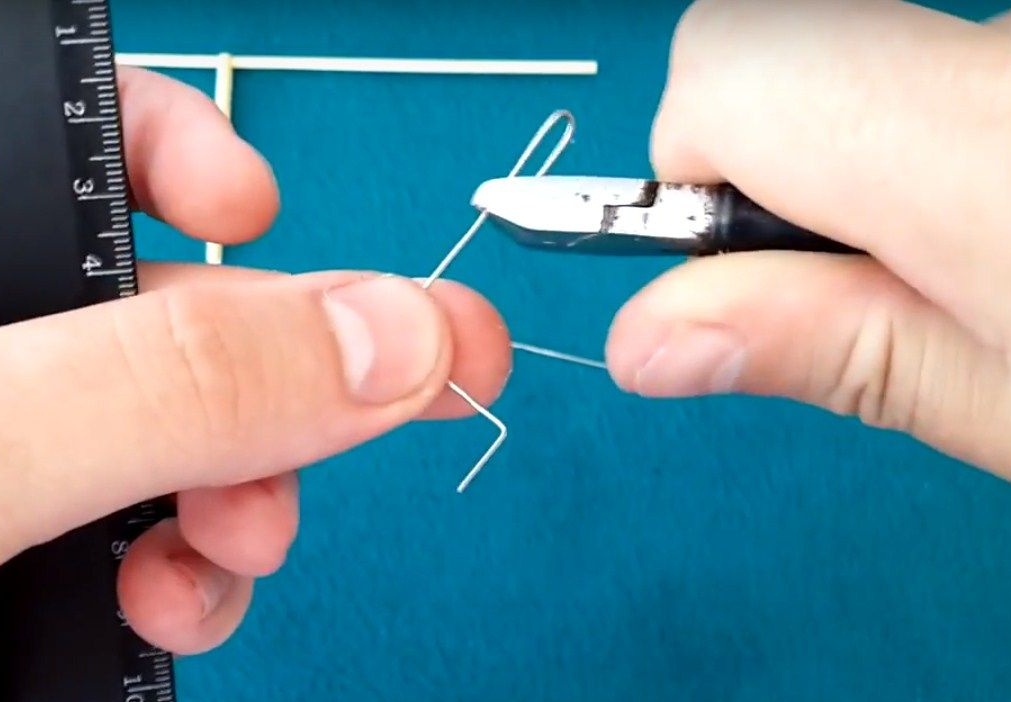
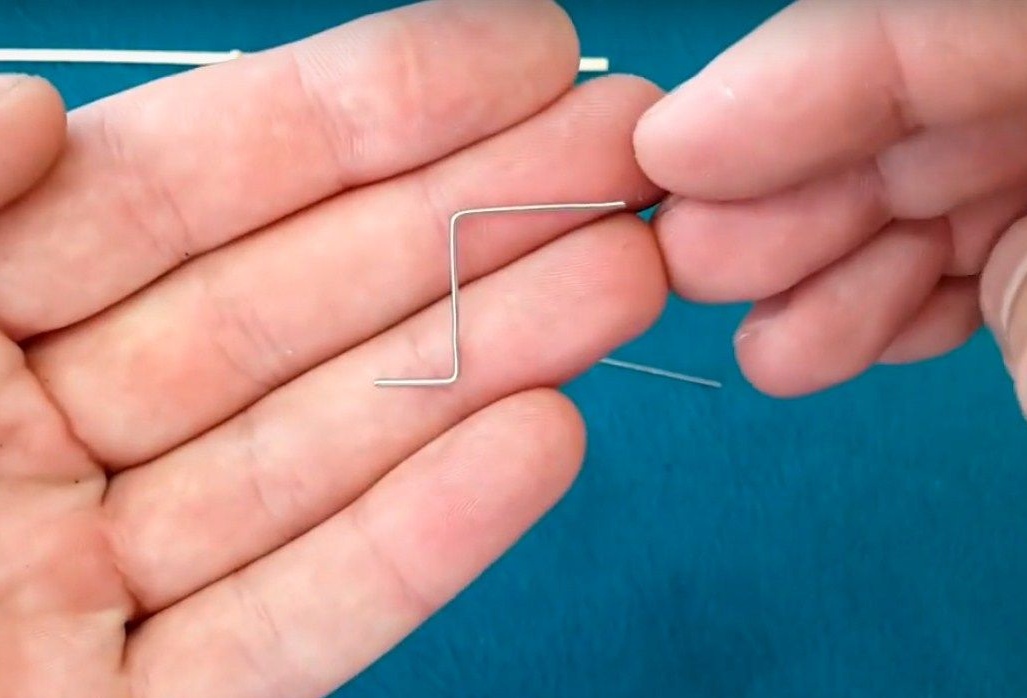
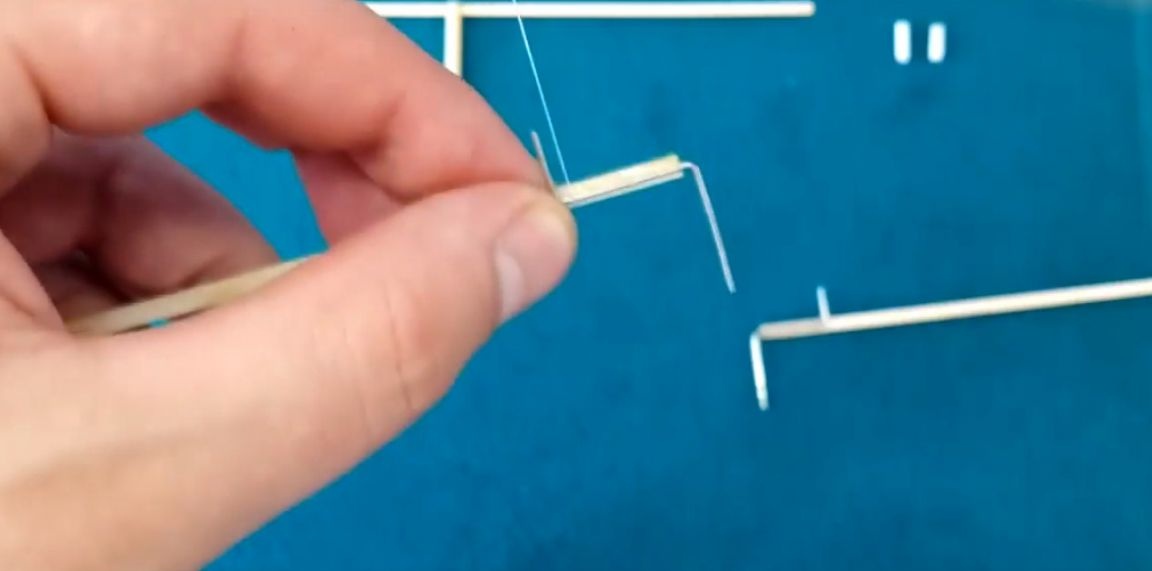
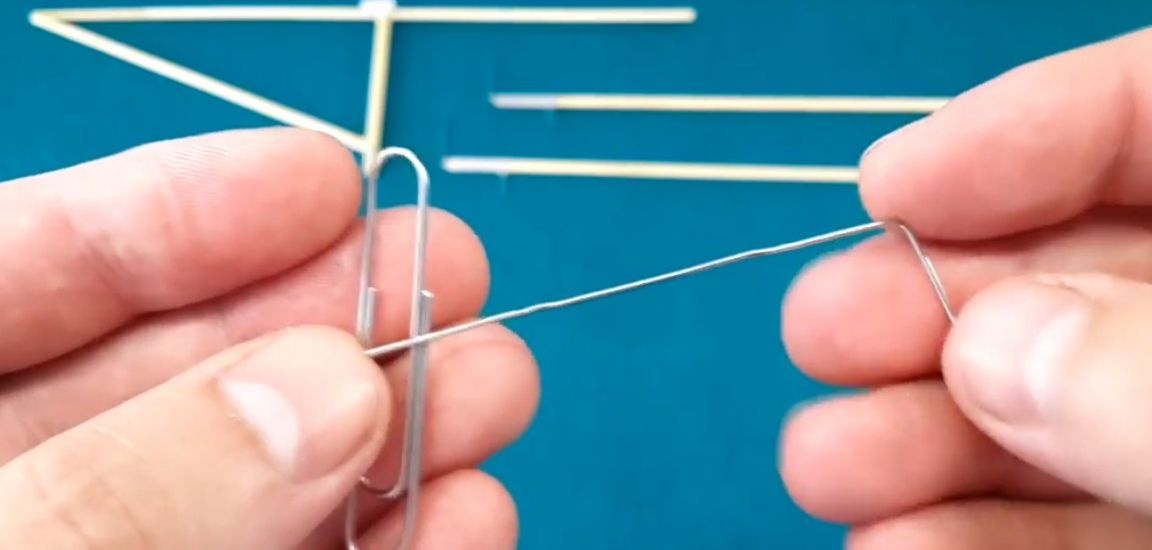
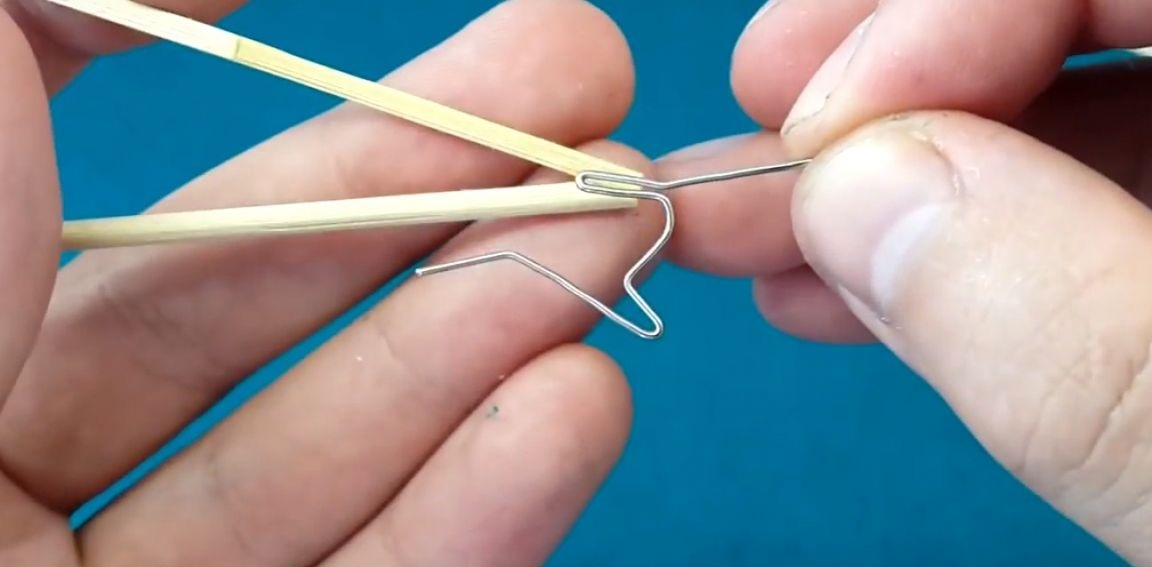
Now the author took small clips of 2 pcs. aligning them bent in this way.
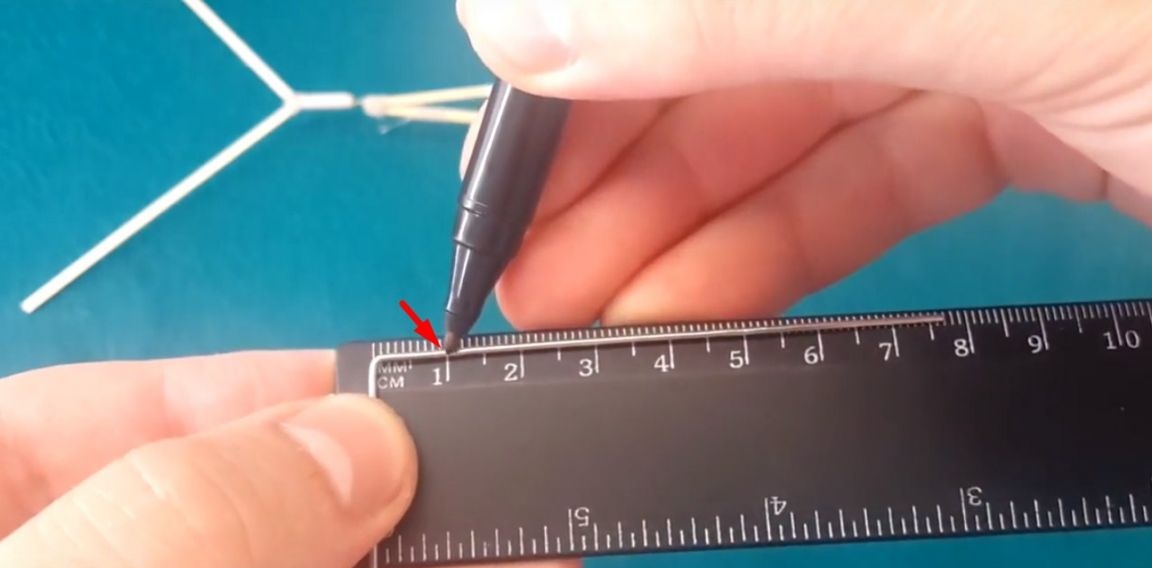
Then he measured 1 cm from the flat edge of the paper clip and bent it 90 degrees.
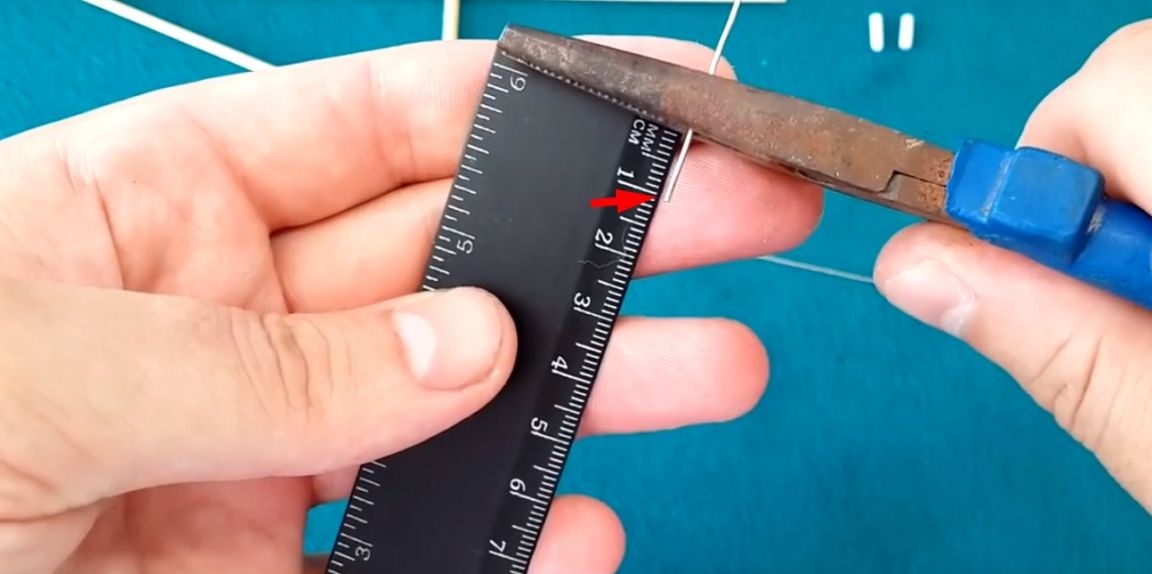
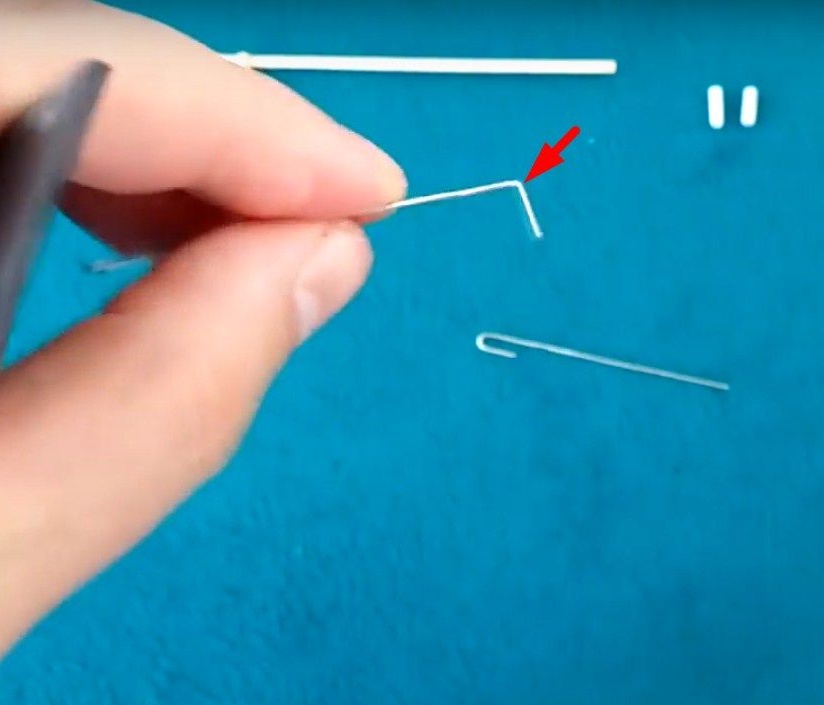
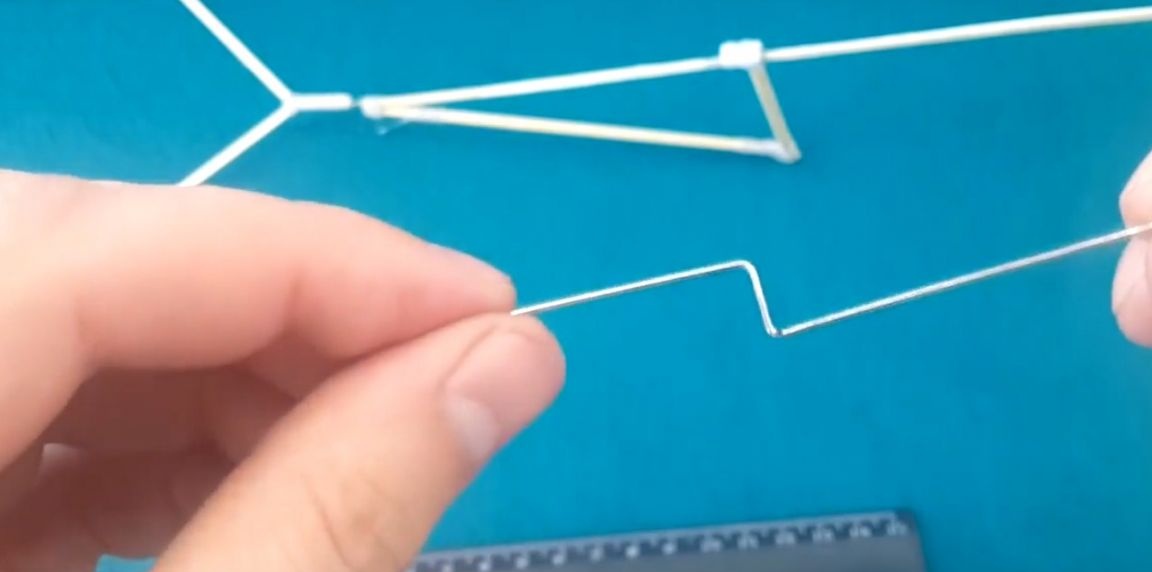
Further from this bend, measured 2 cm and bent 90 degrees in the opposite direction.
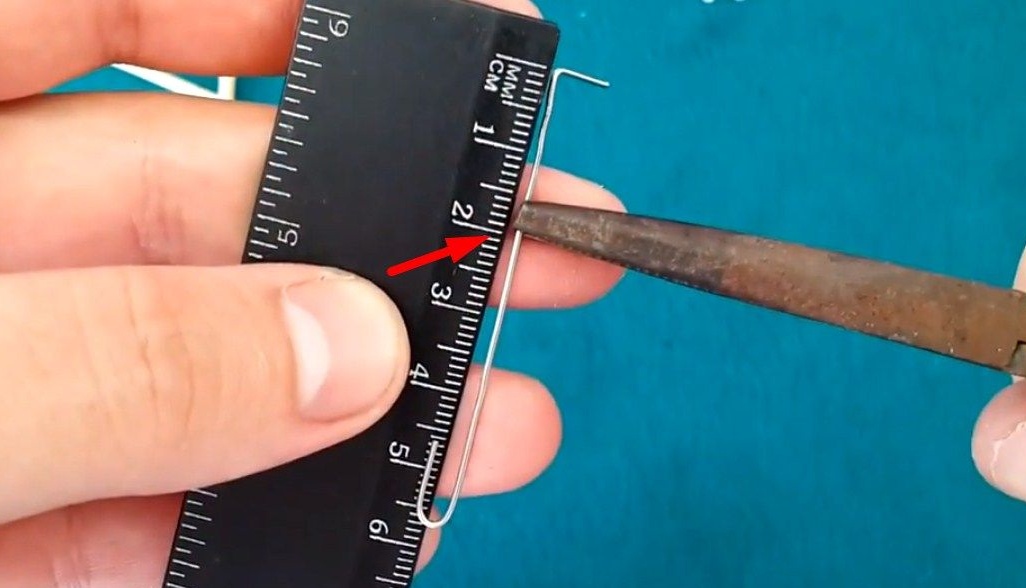
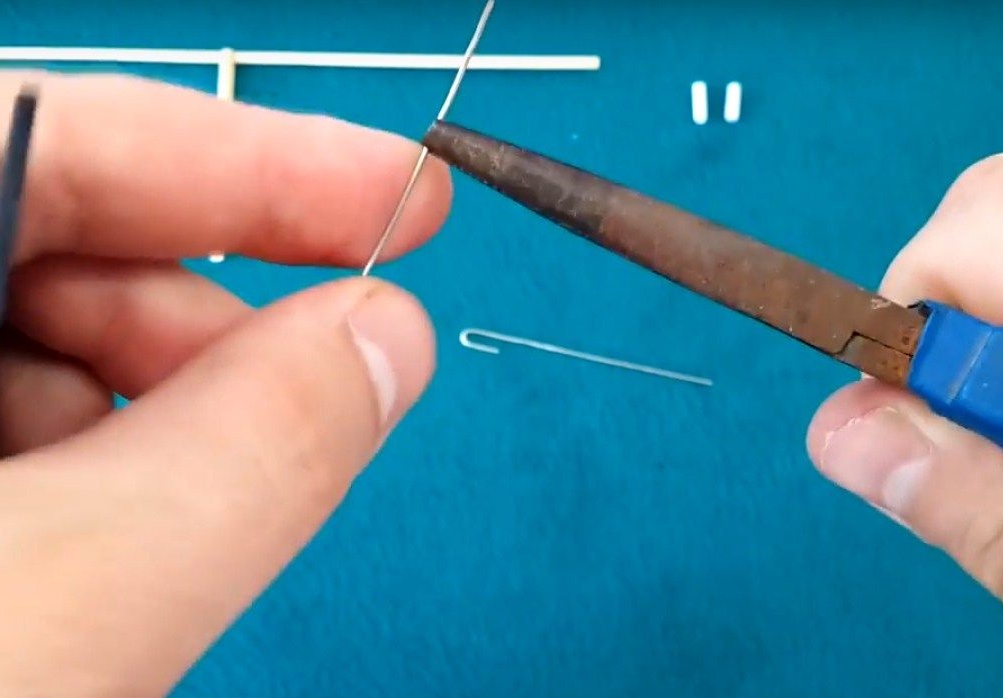
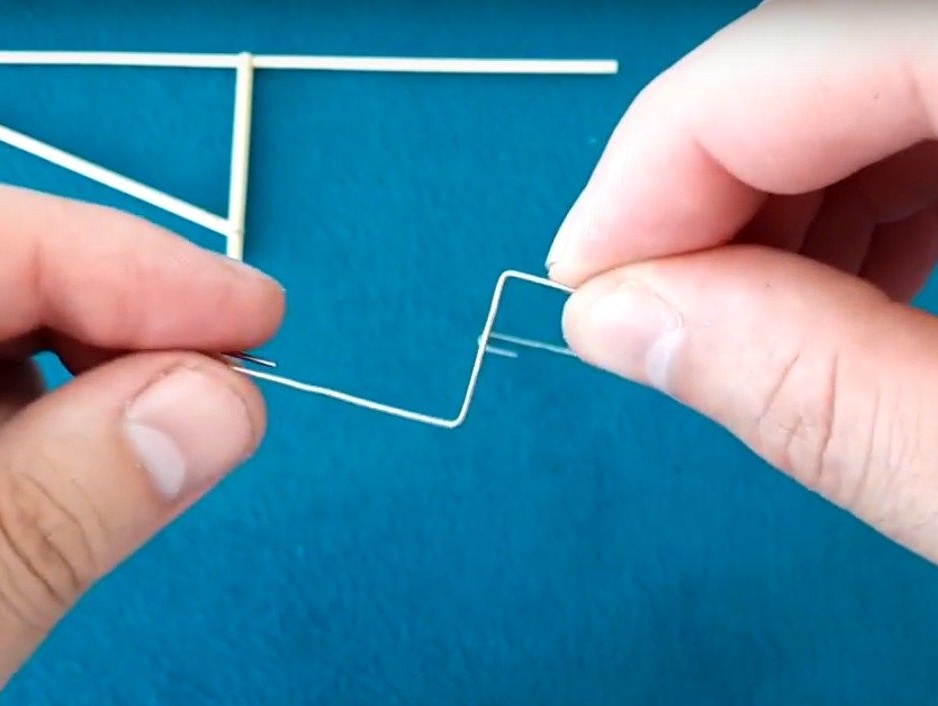
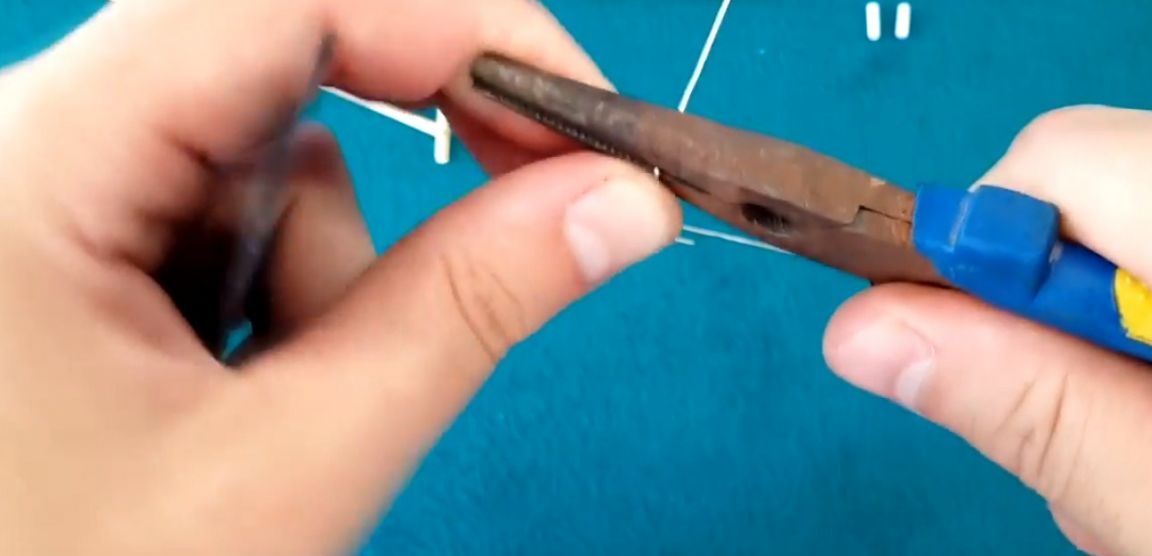
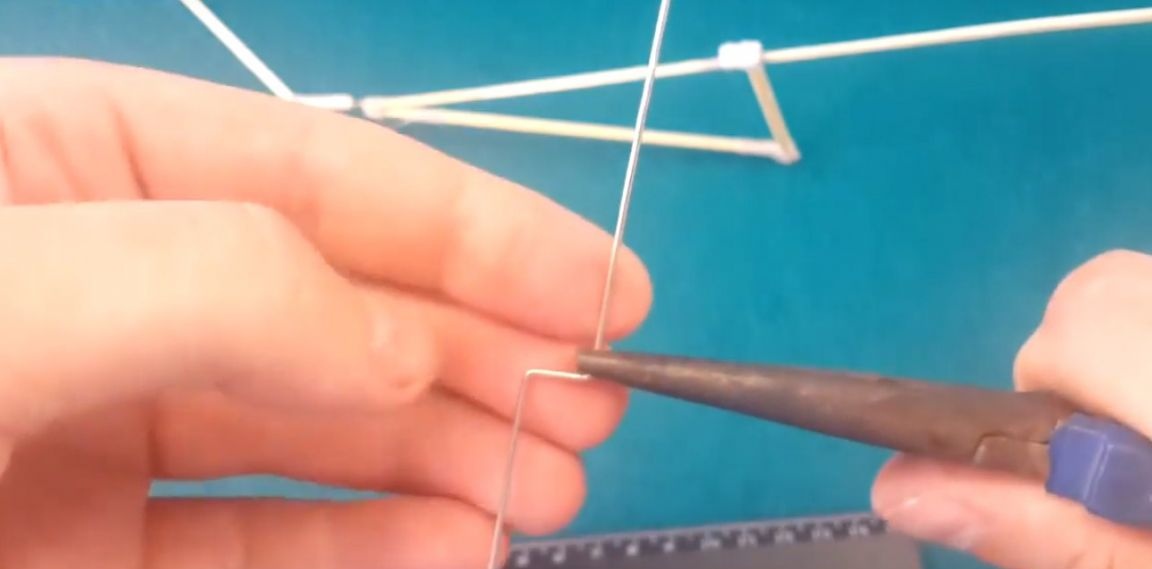
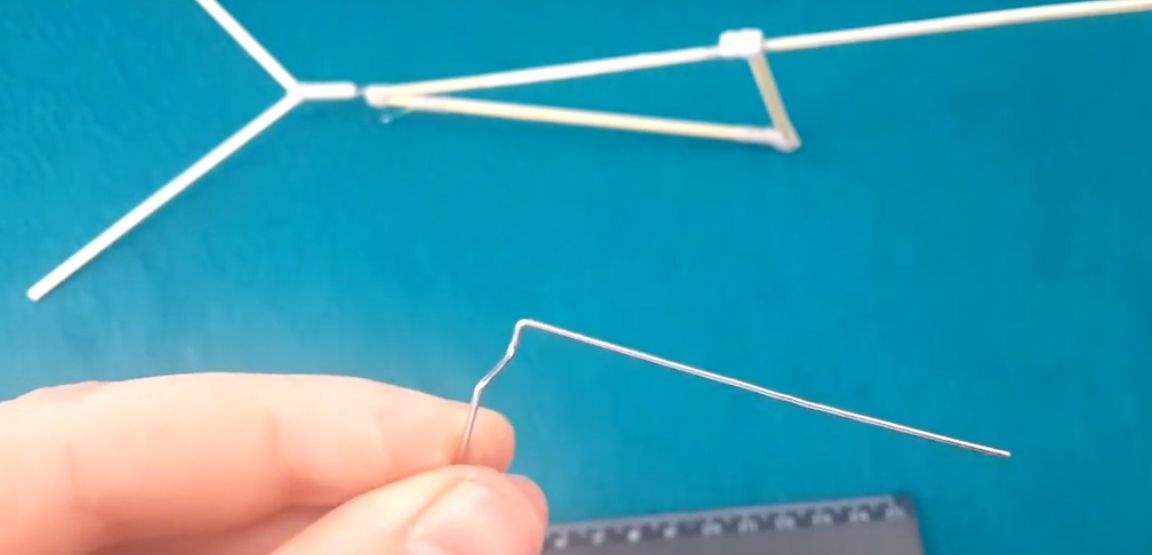
Then he measured another 2 cm and cut off the excess. With the second clip, he did the same operation.

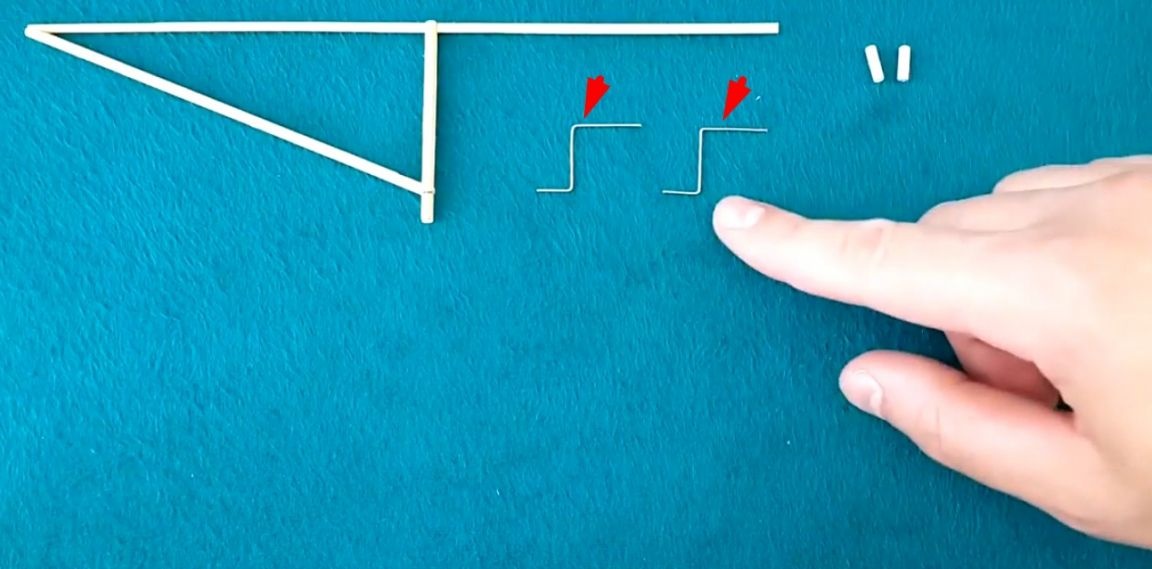
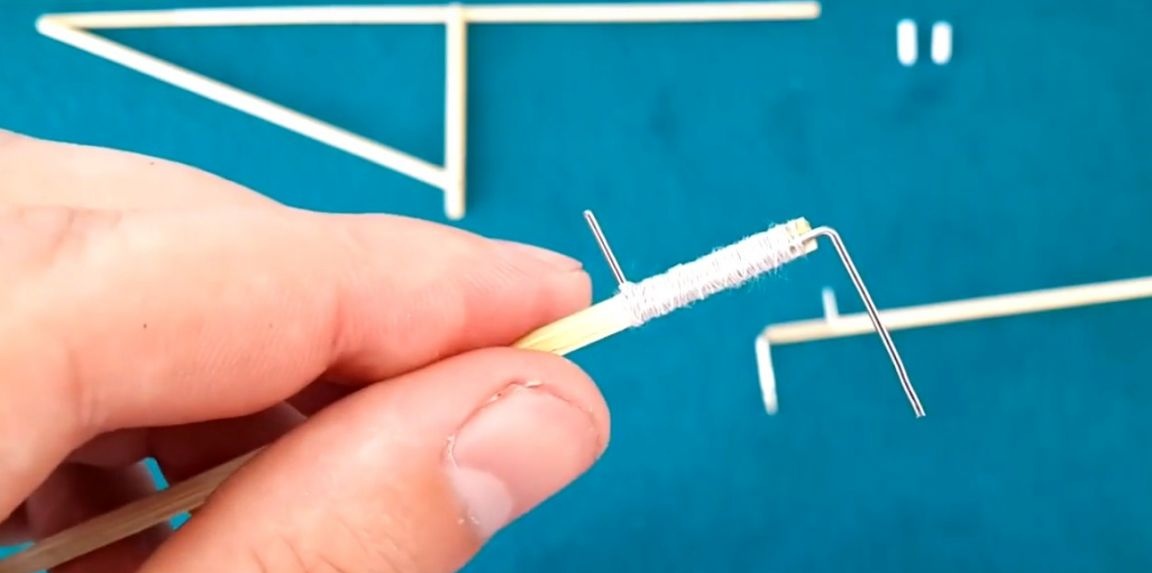
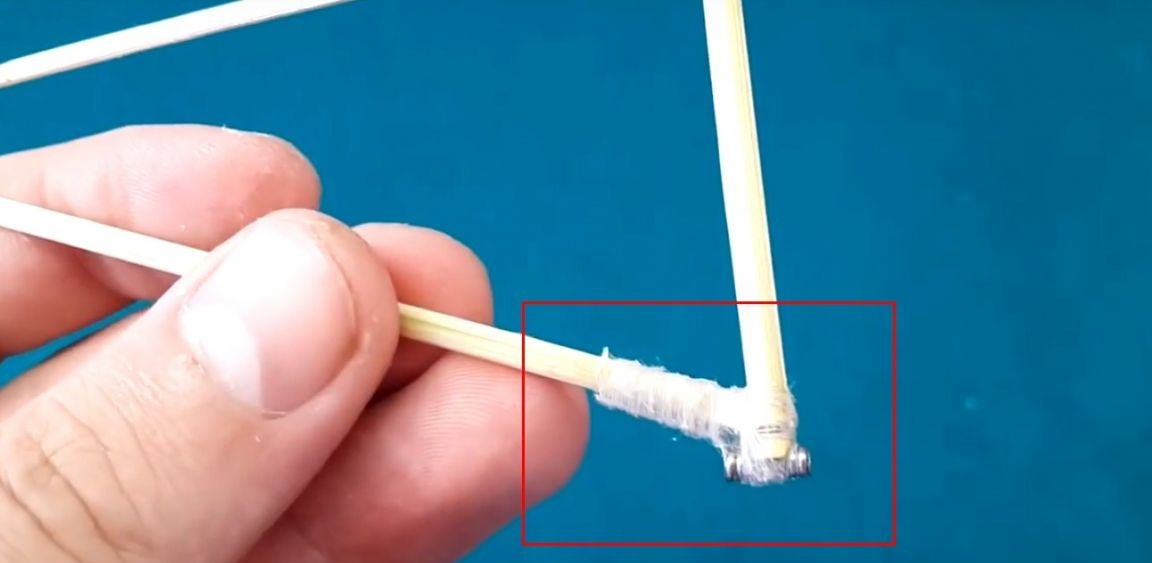
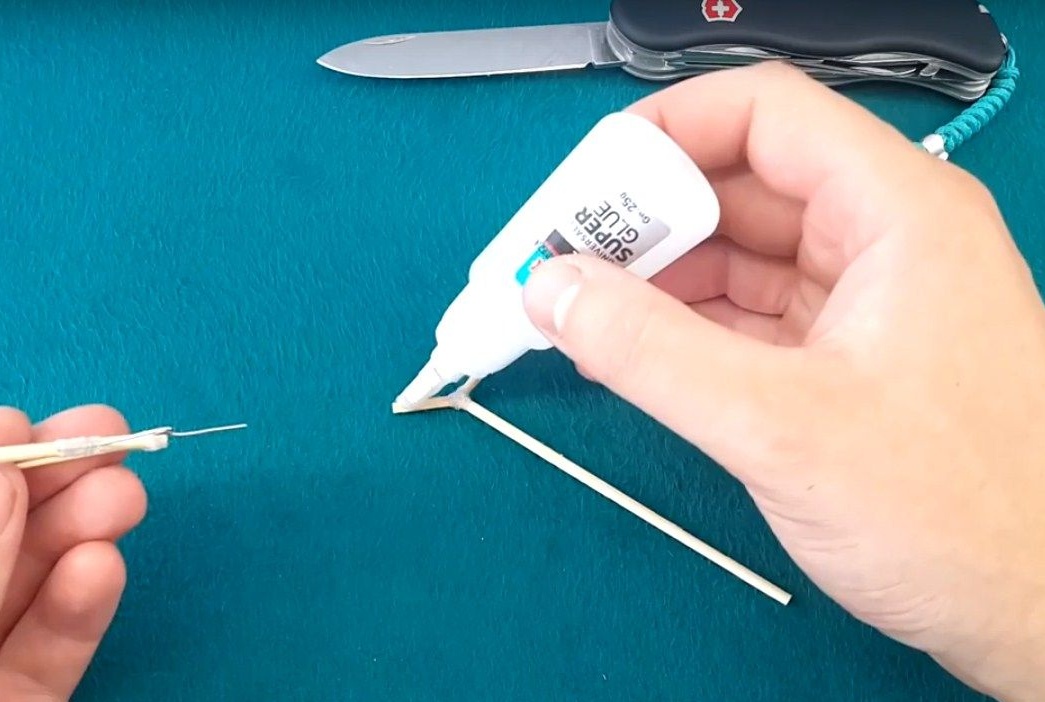
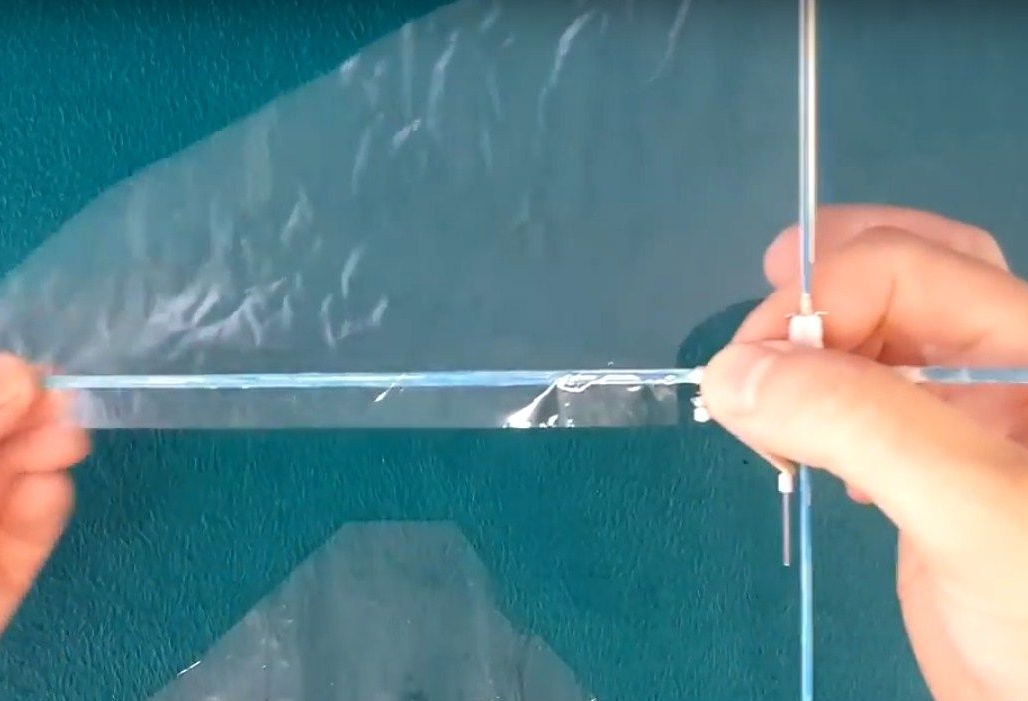
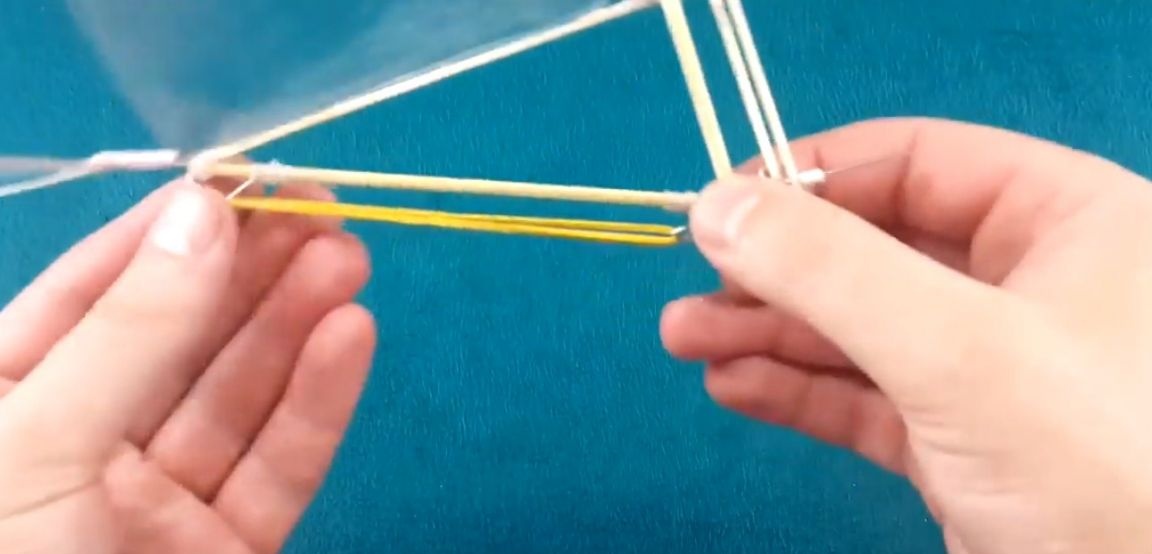
Further, the author took previously prepared halves of the sticks for wings. And glued paper clips to them.

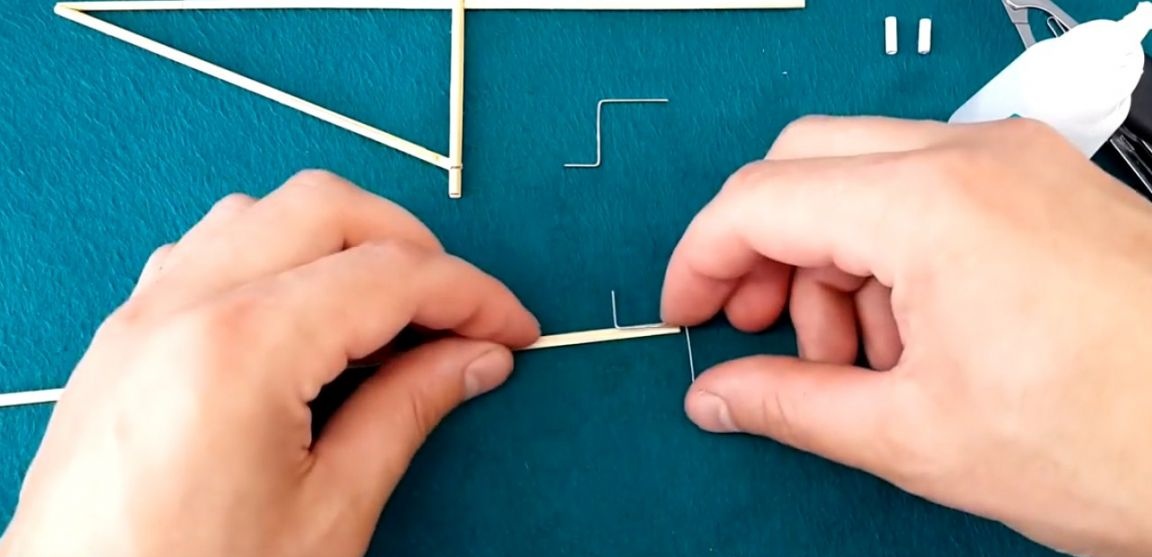
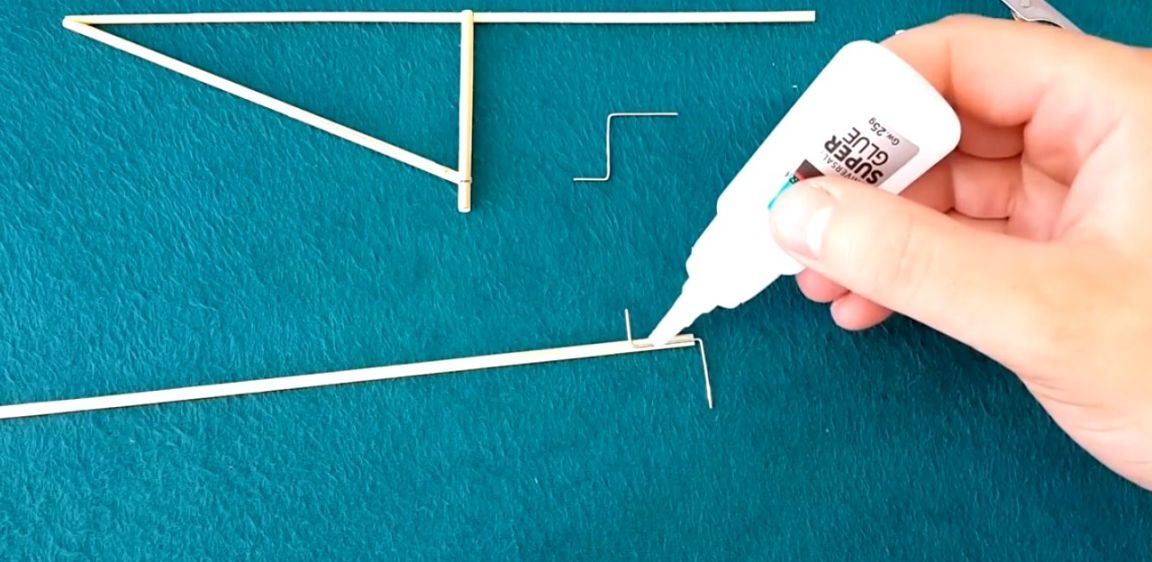

For greater strength, he wrapped the gluing points with a thread in two layers and impregnated it with glue.
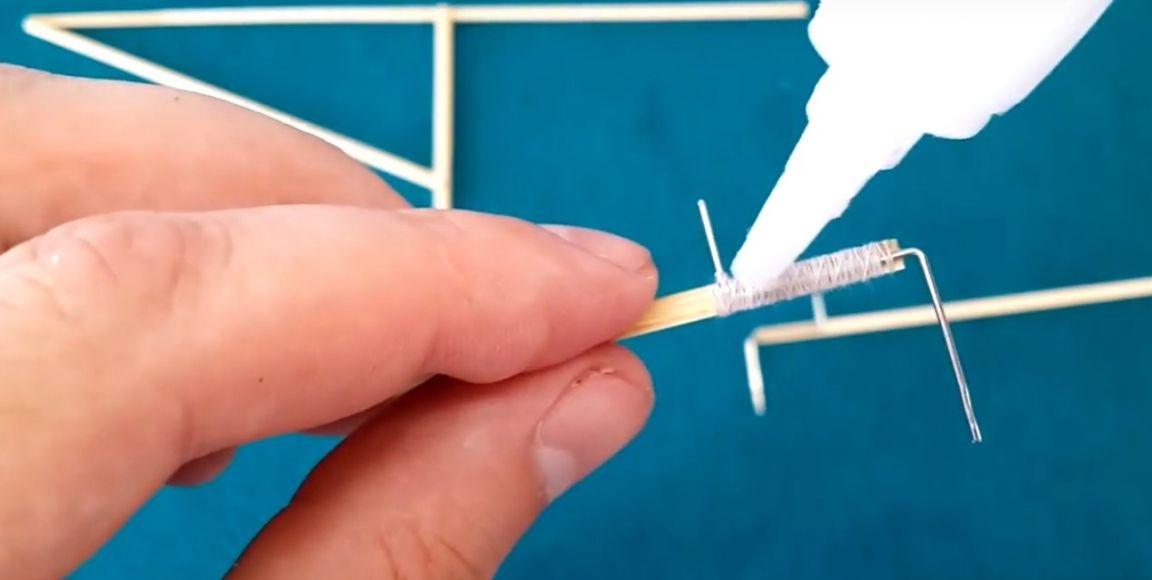
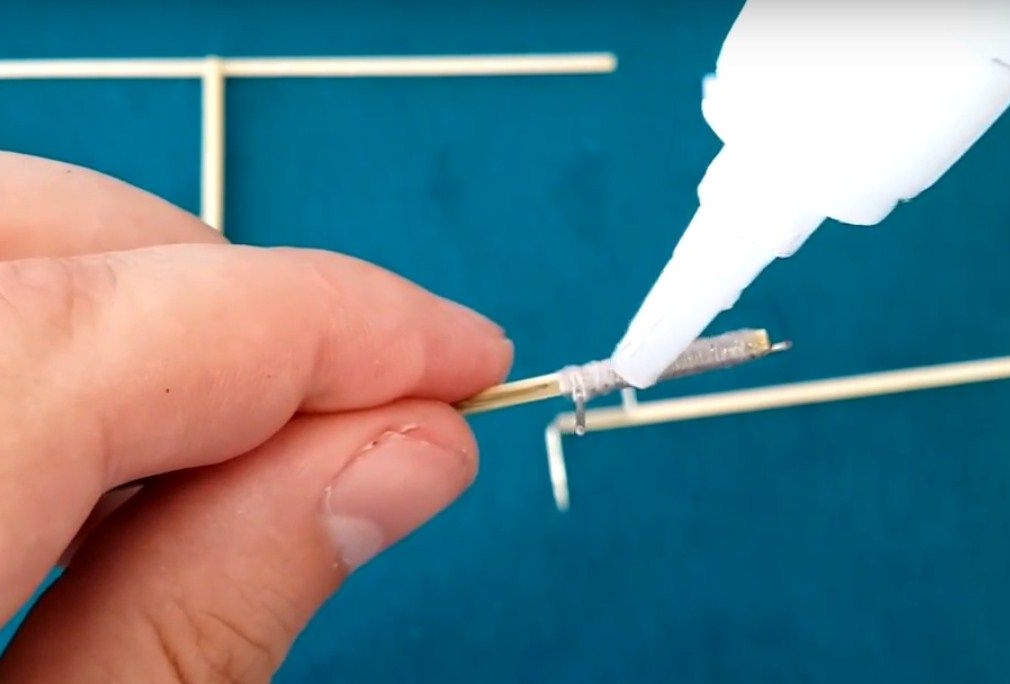

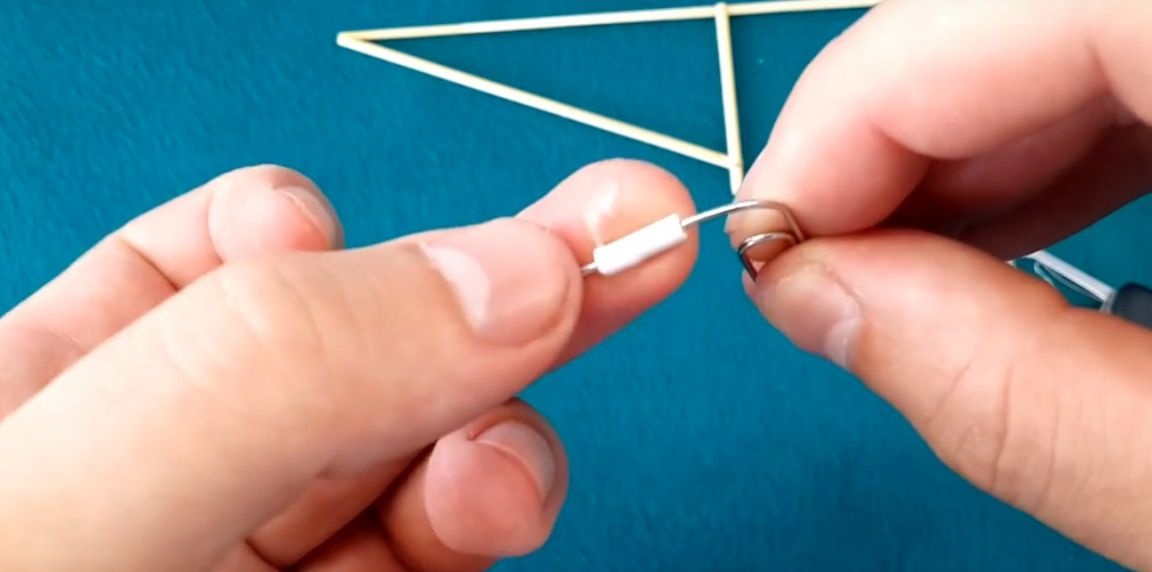
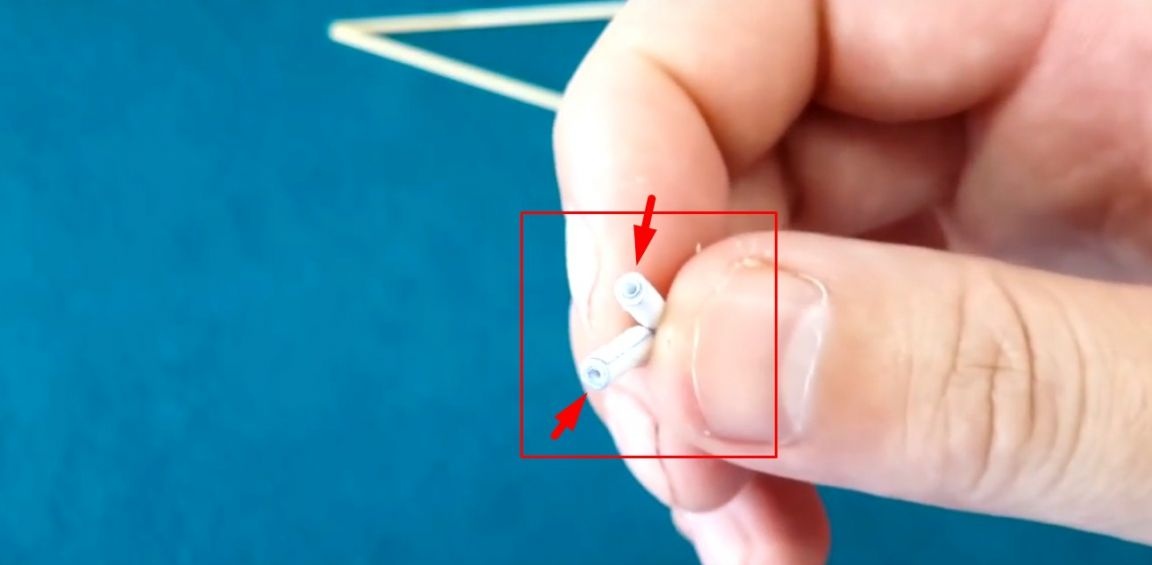
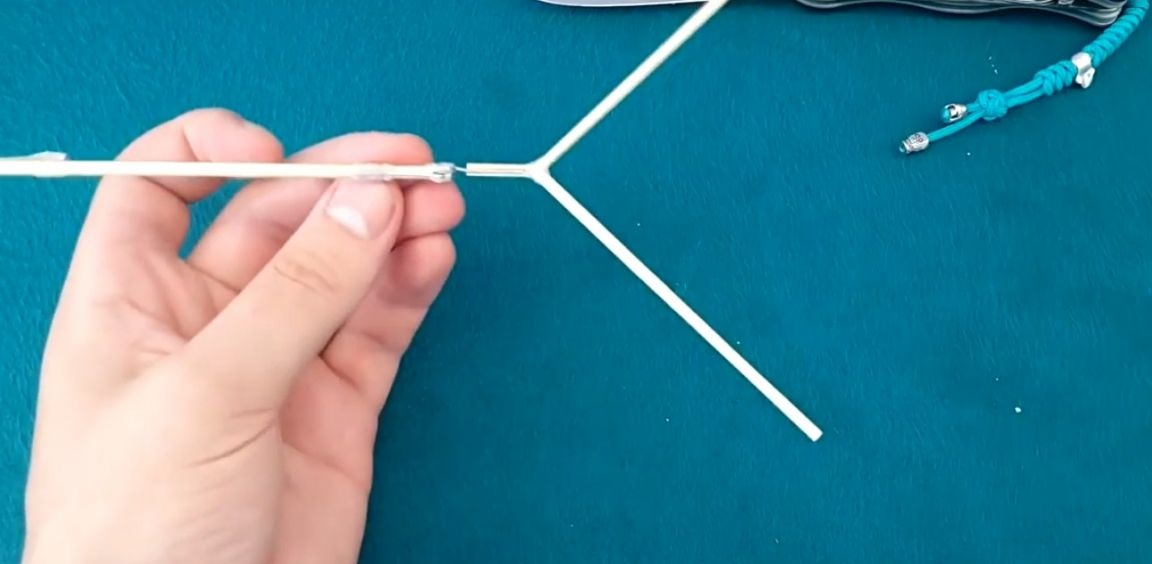
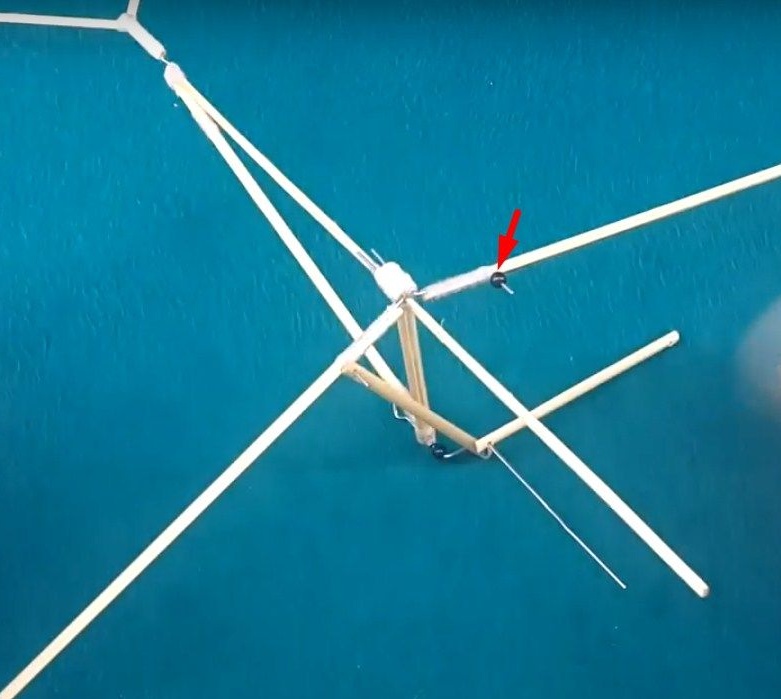
Further, the author glued the bushes together, then glued them in the indicated place.
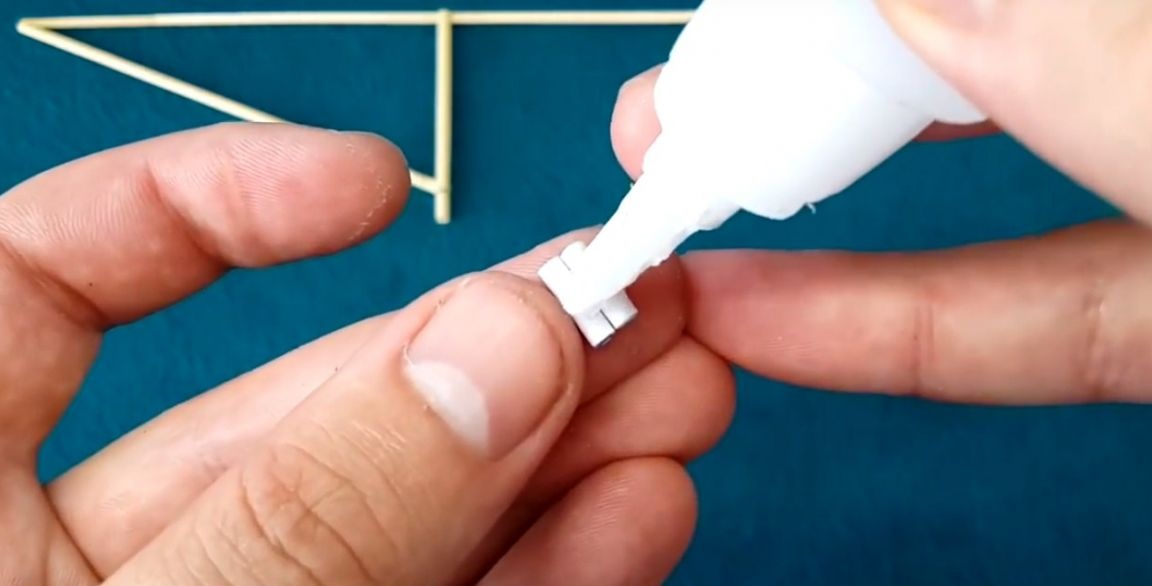

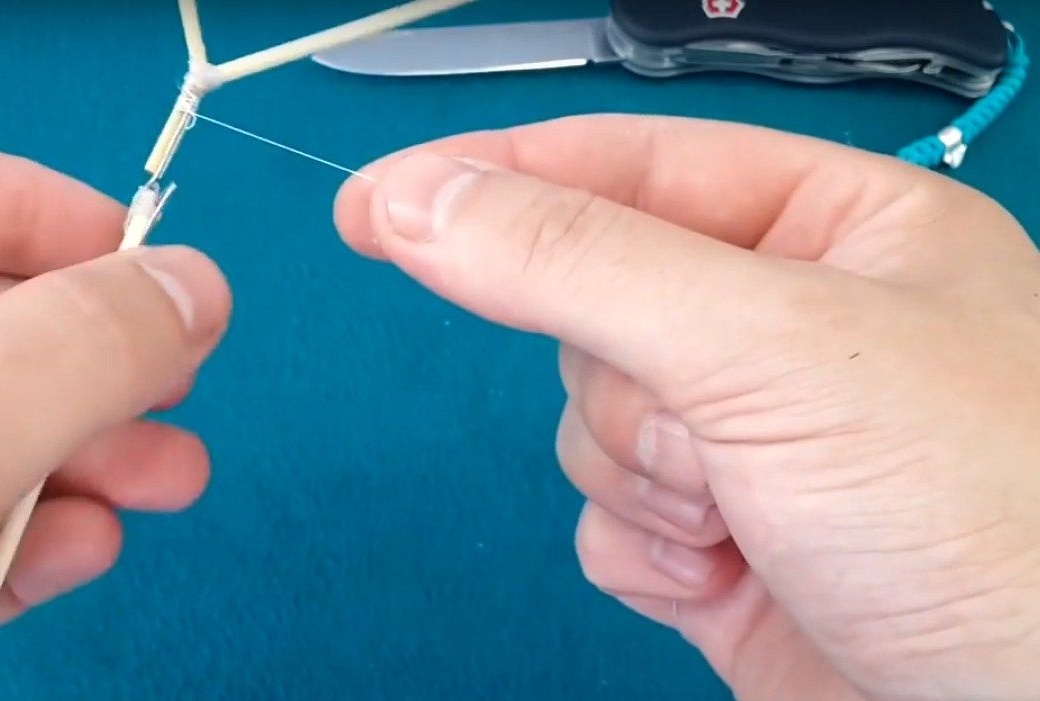
And again, the procedure with thread and glue. The main thing is not to glue the holes on the bushings with glue.

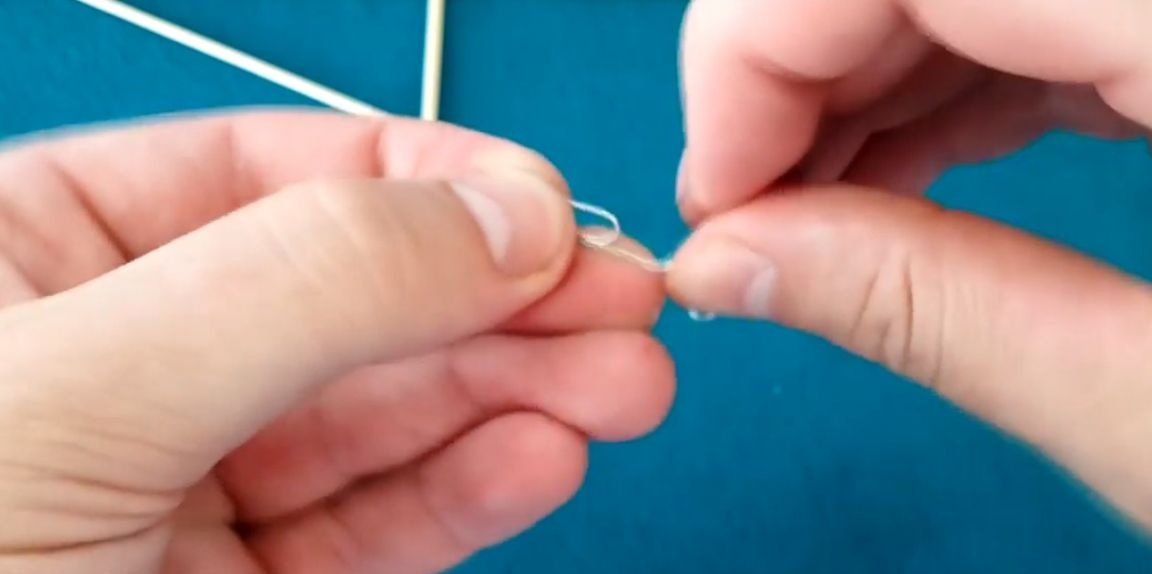
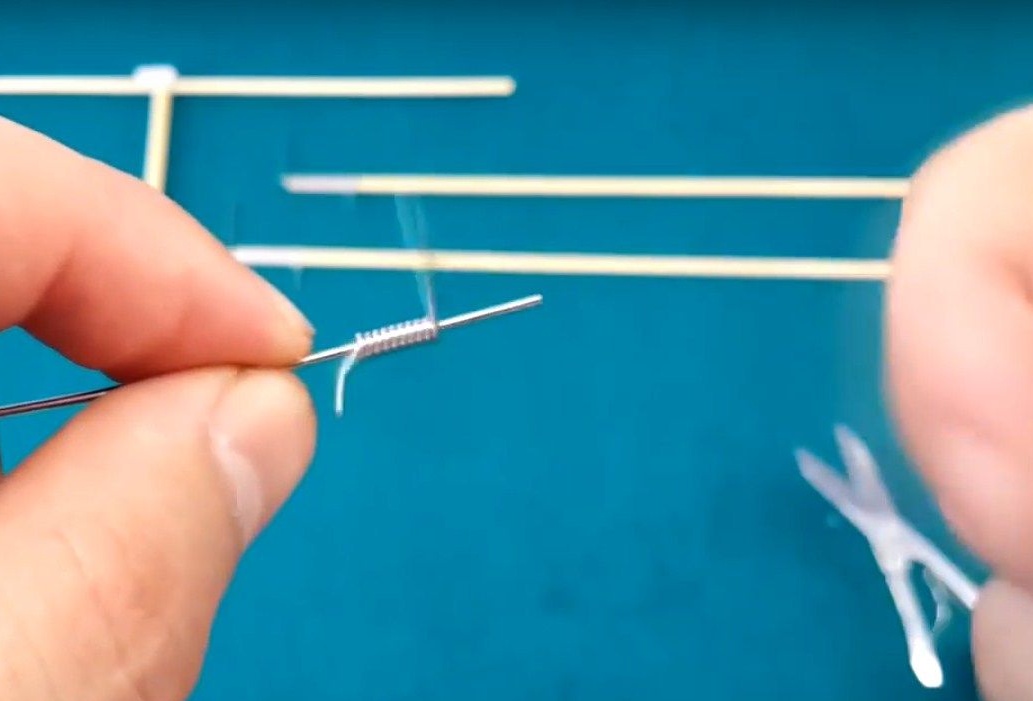
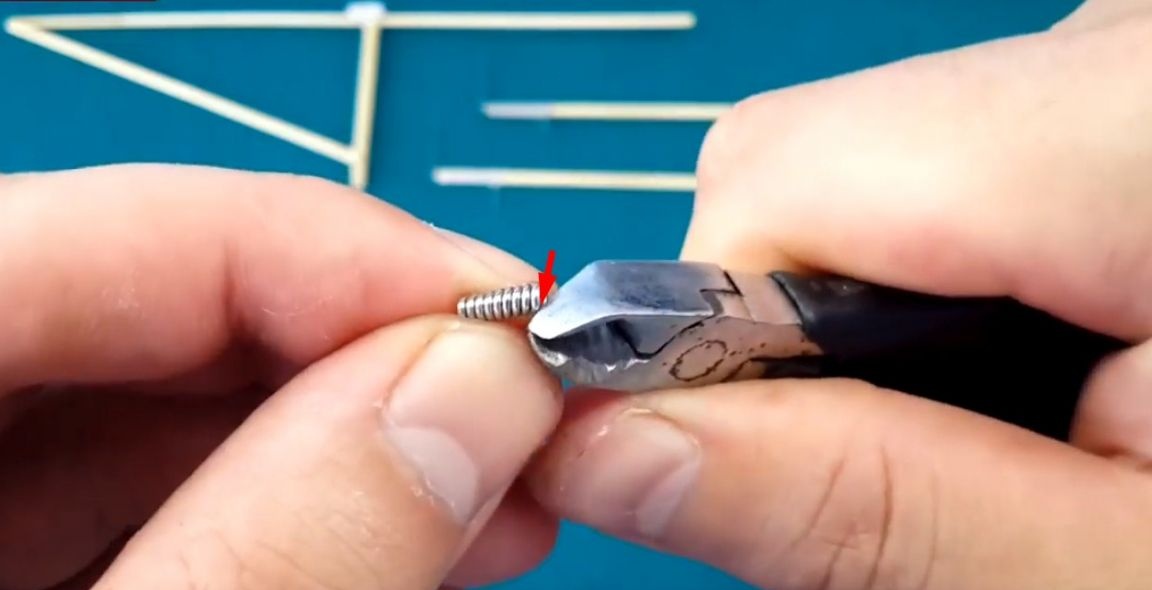
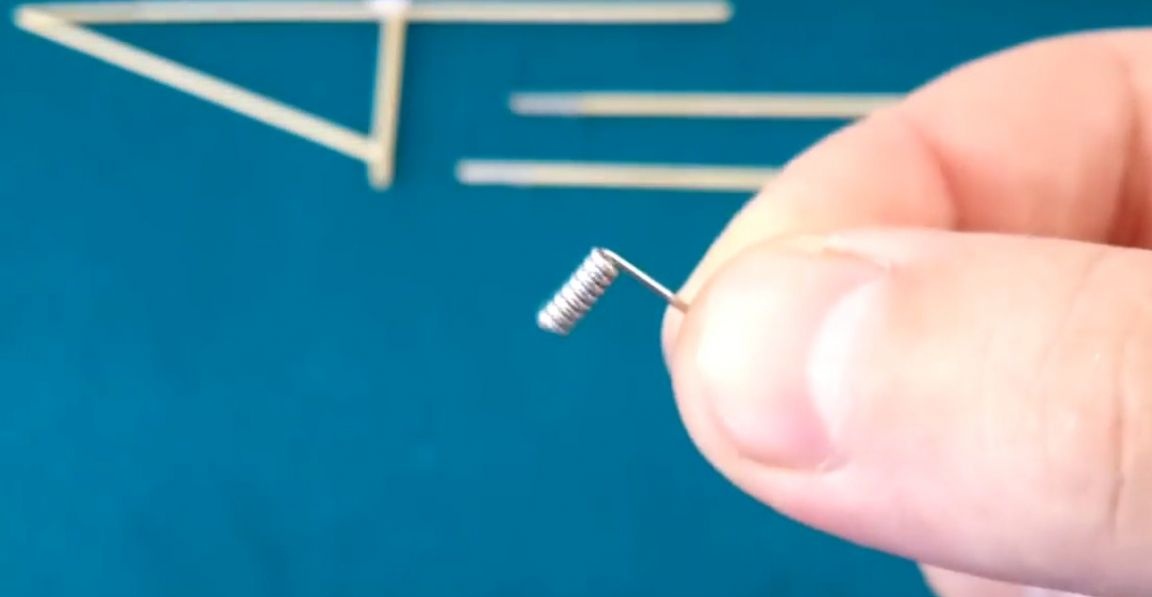
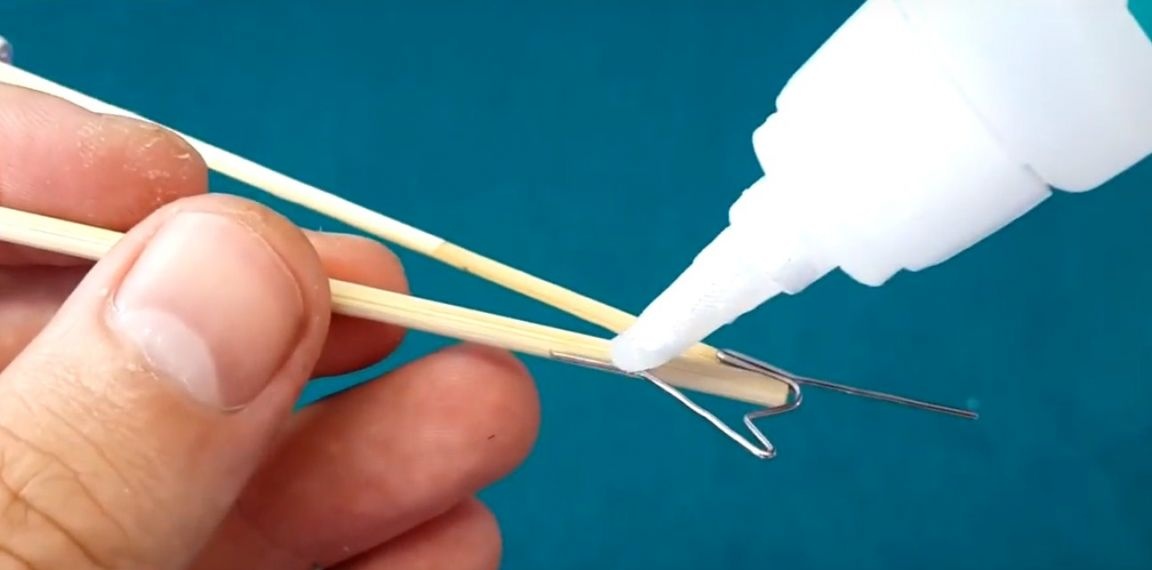
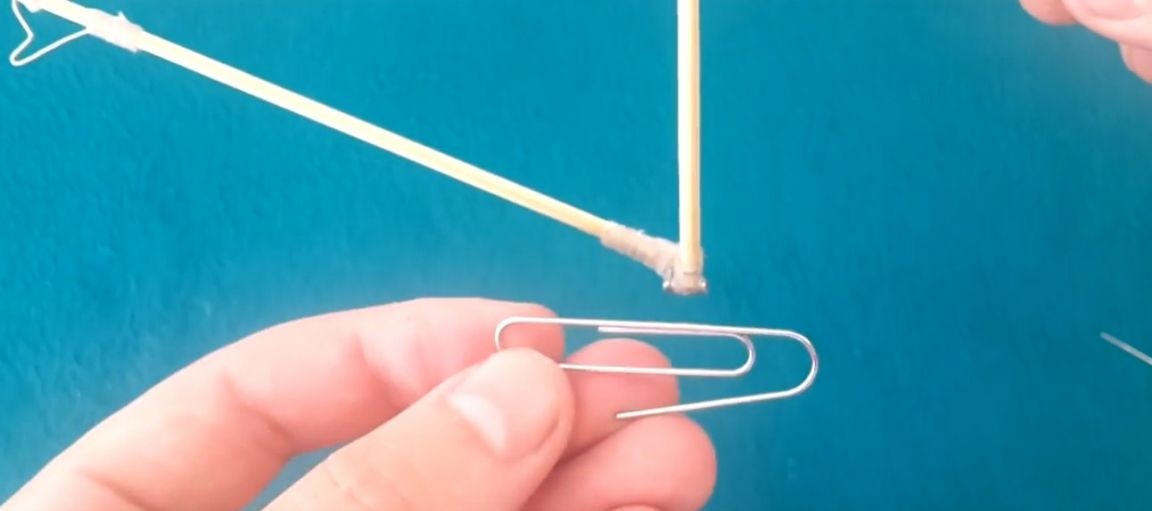
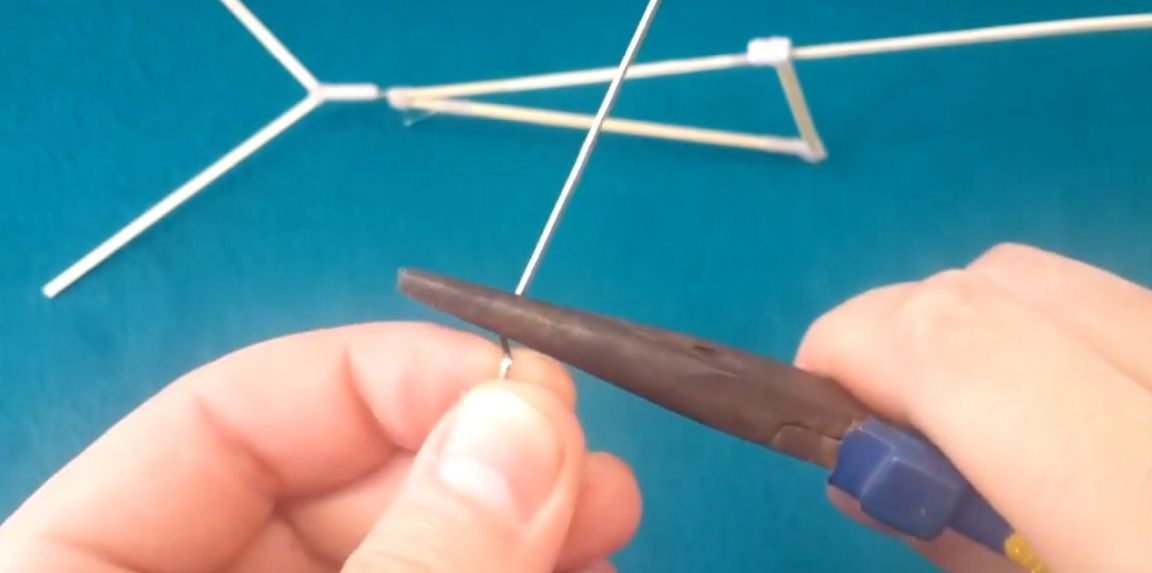
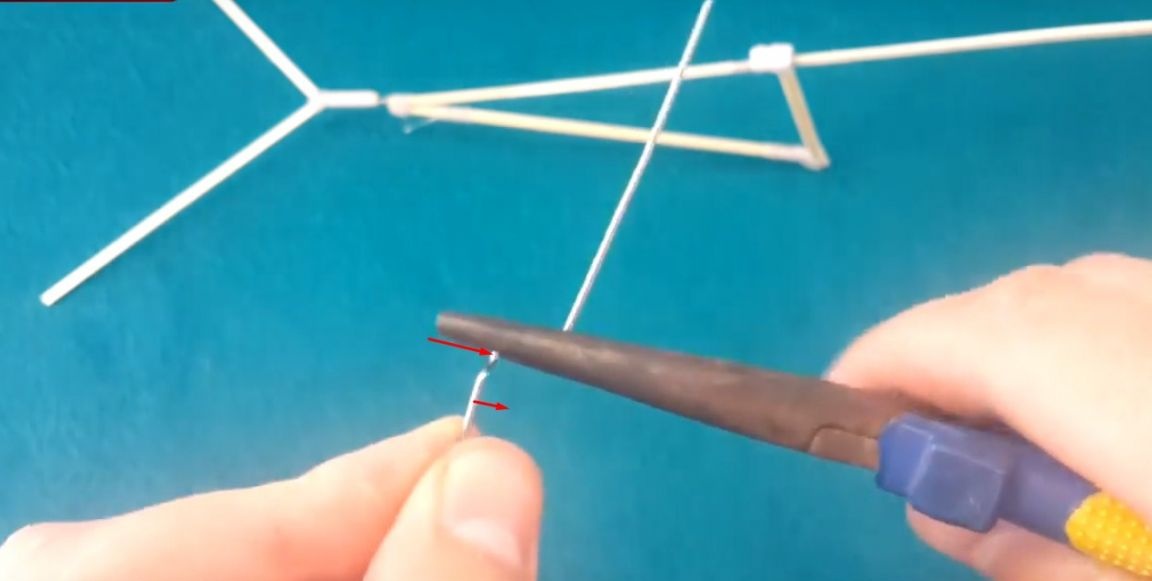
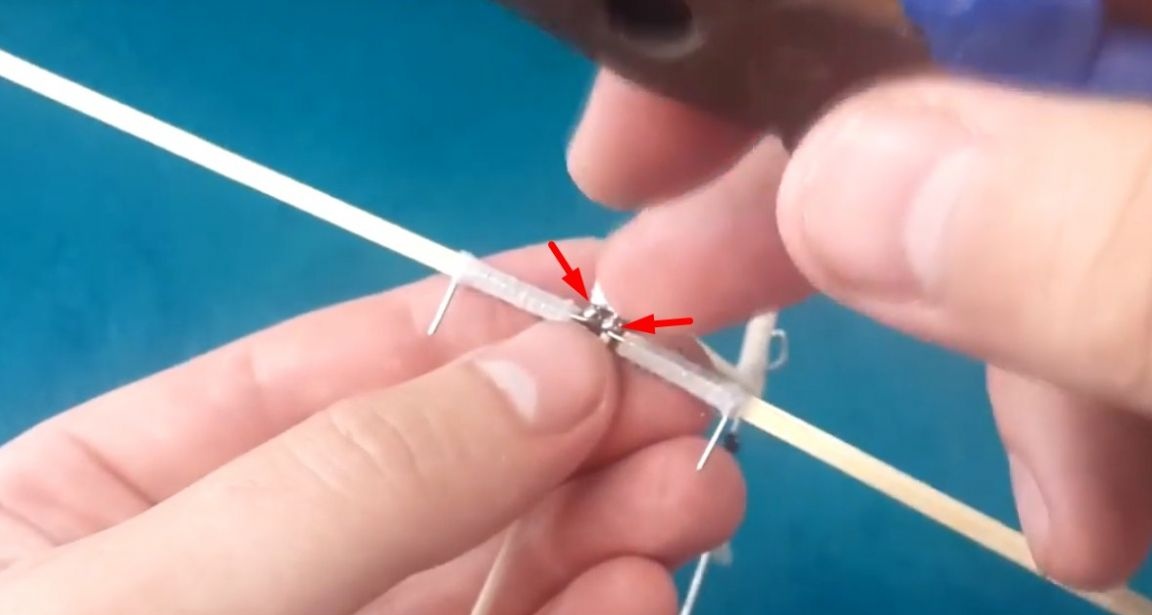
Then the author made a fastener of a future shaft from a small paper clip. Having straightened it, he wound it around a large paper clip in the form of a spring without a gap between the turns.

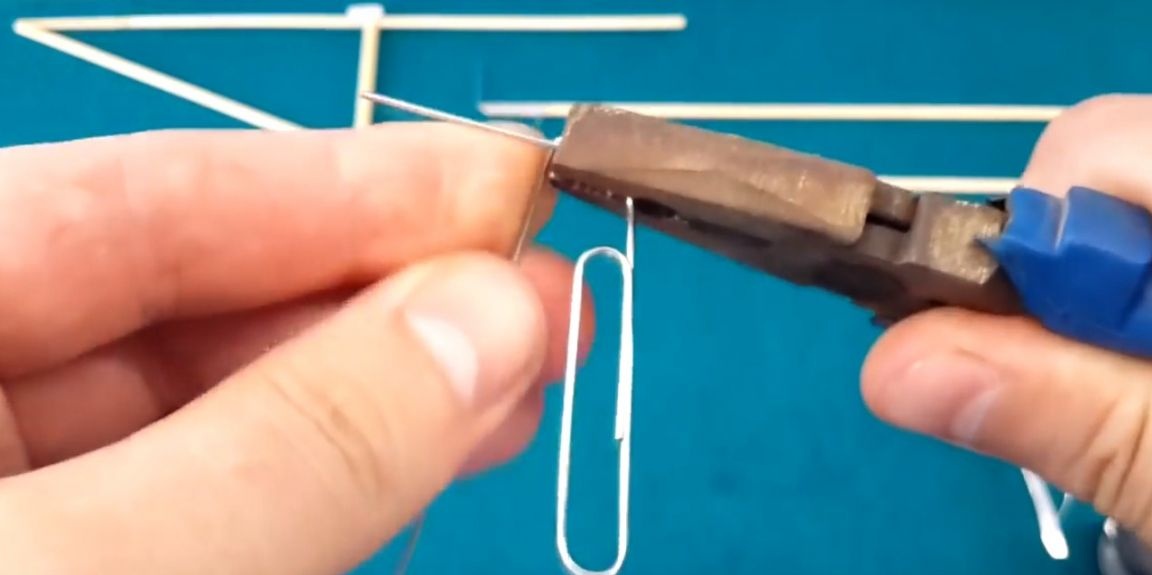
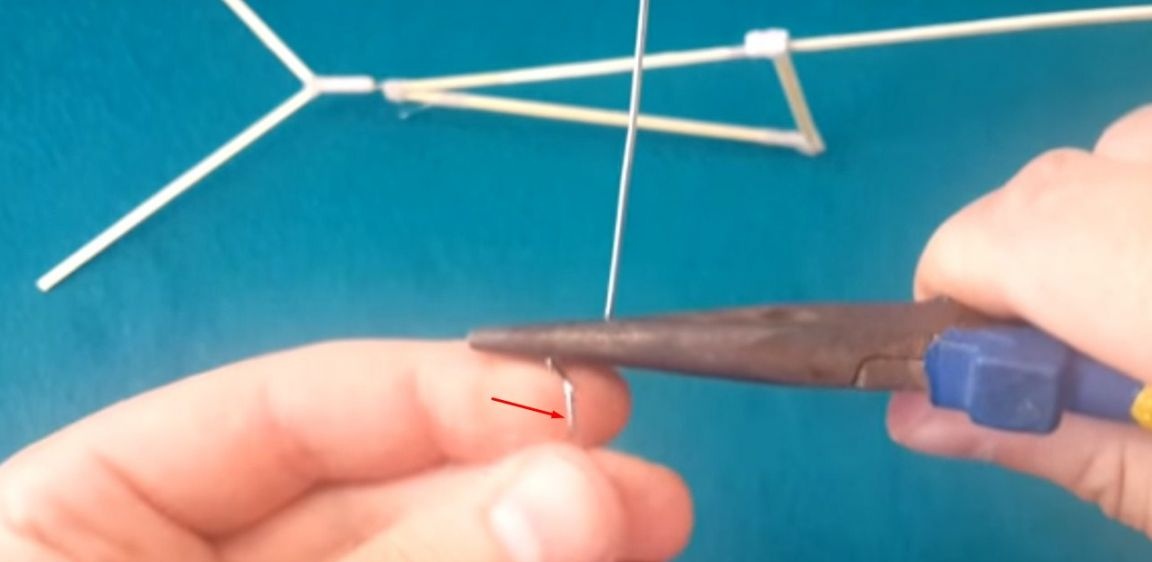
Also, it should rotate freely on a large paper clip.
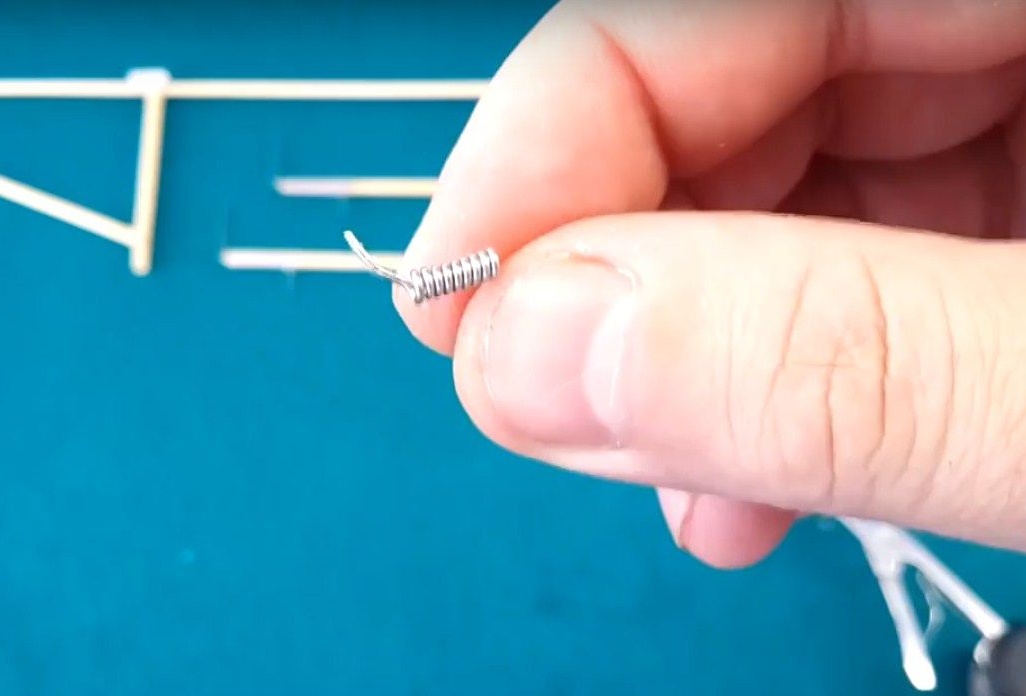
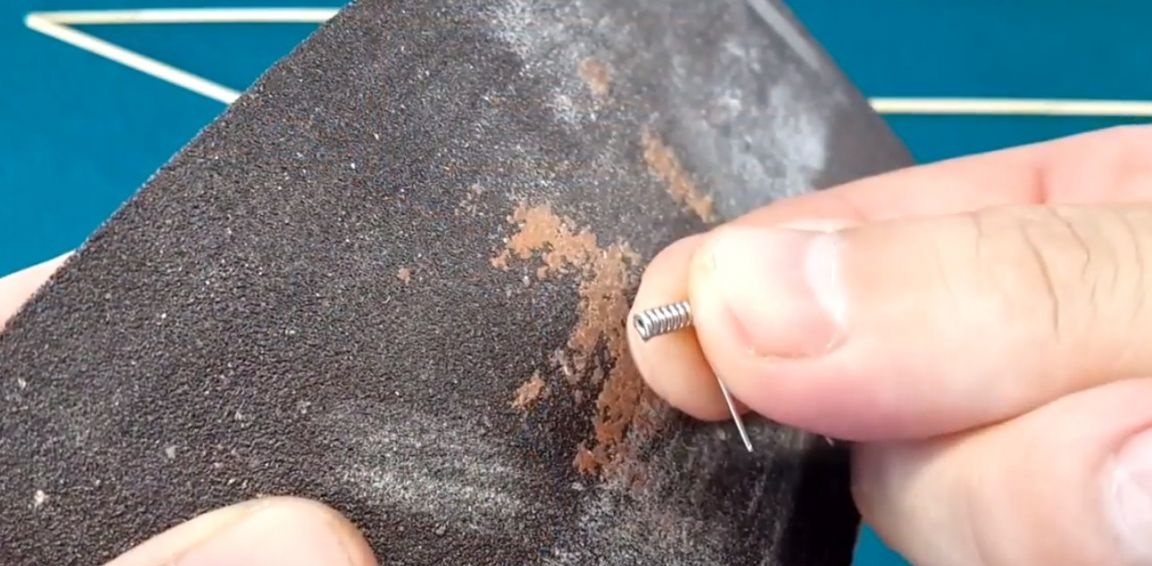
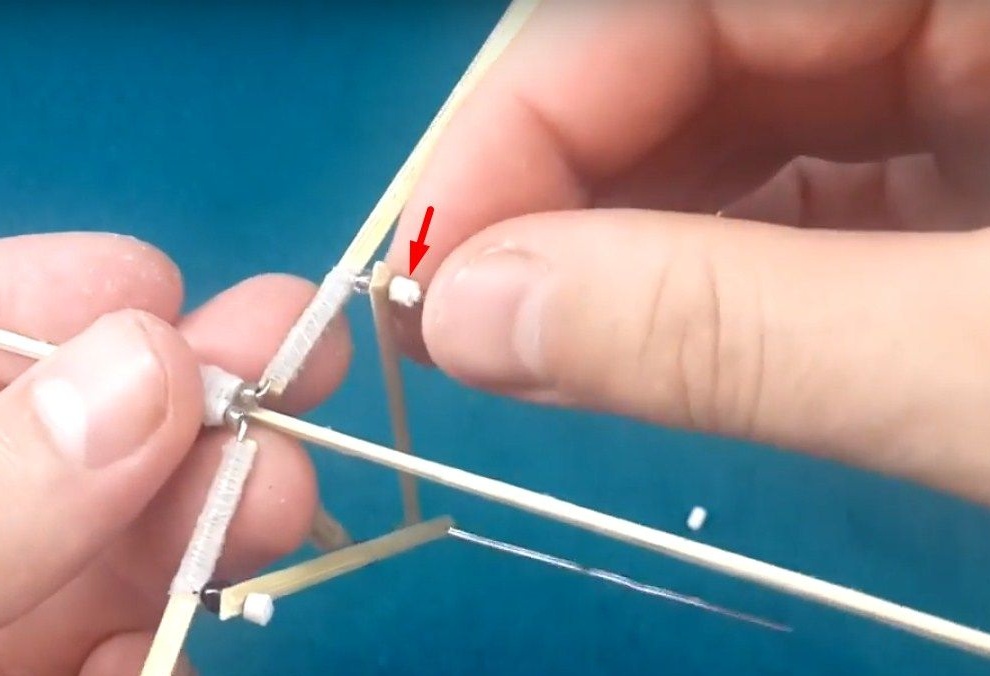
On one side, the protruding edge, the author cut and processed the place on sandpaper to a smooth surface.

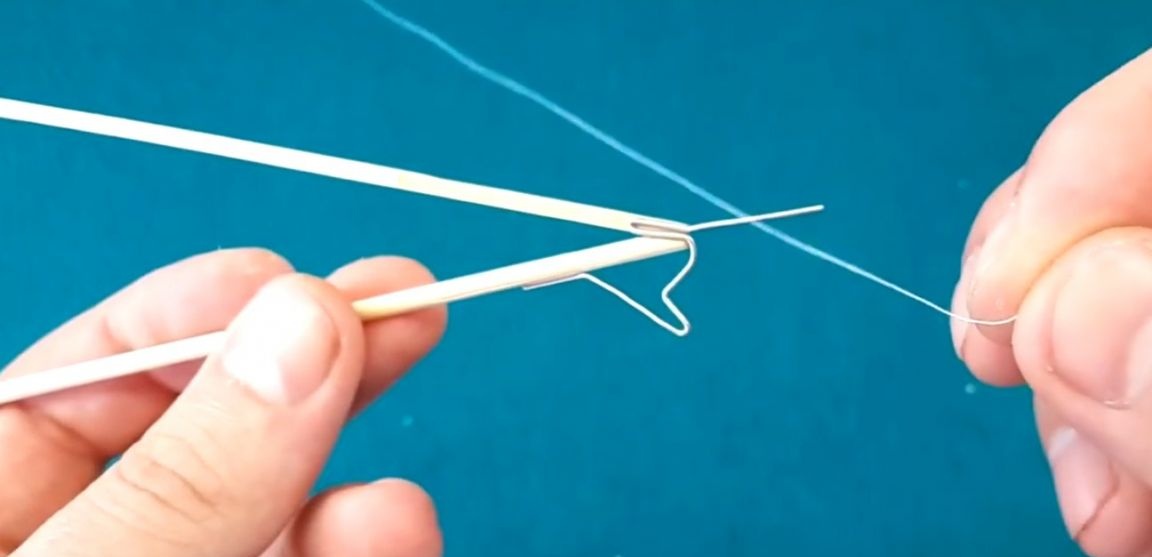
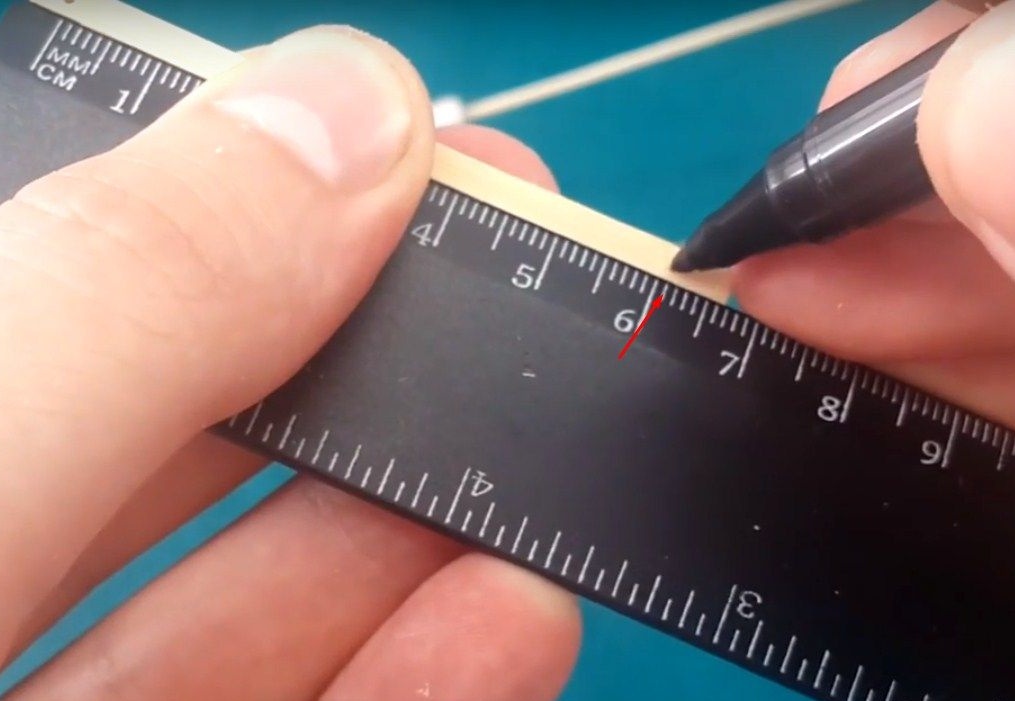
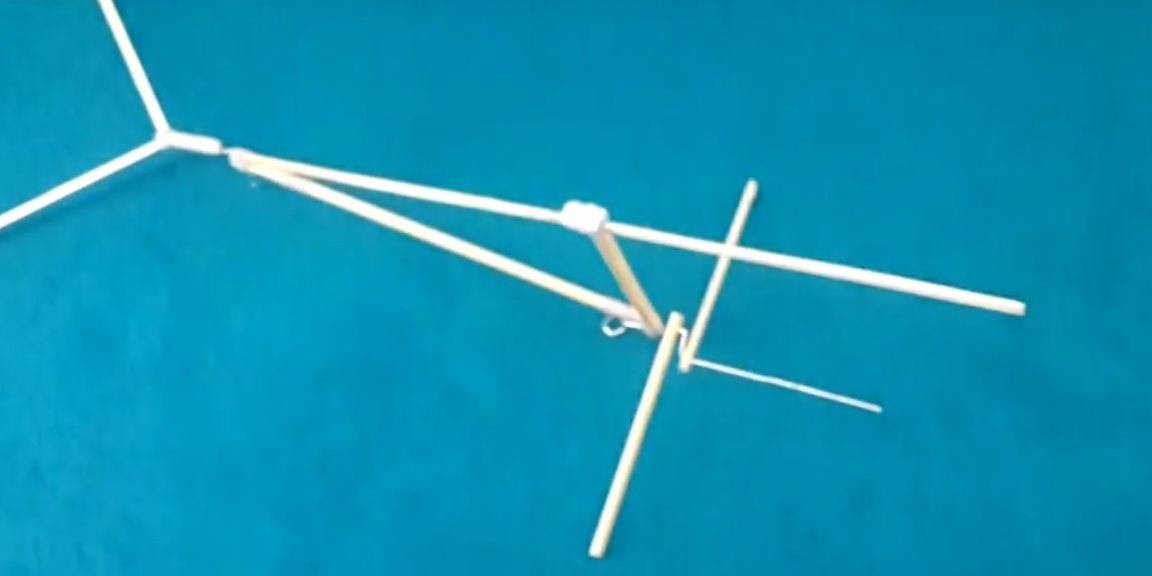
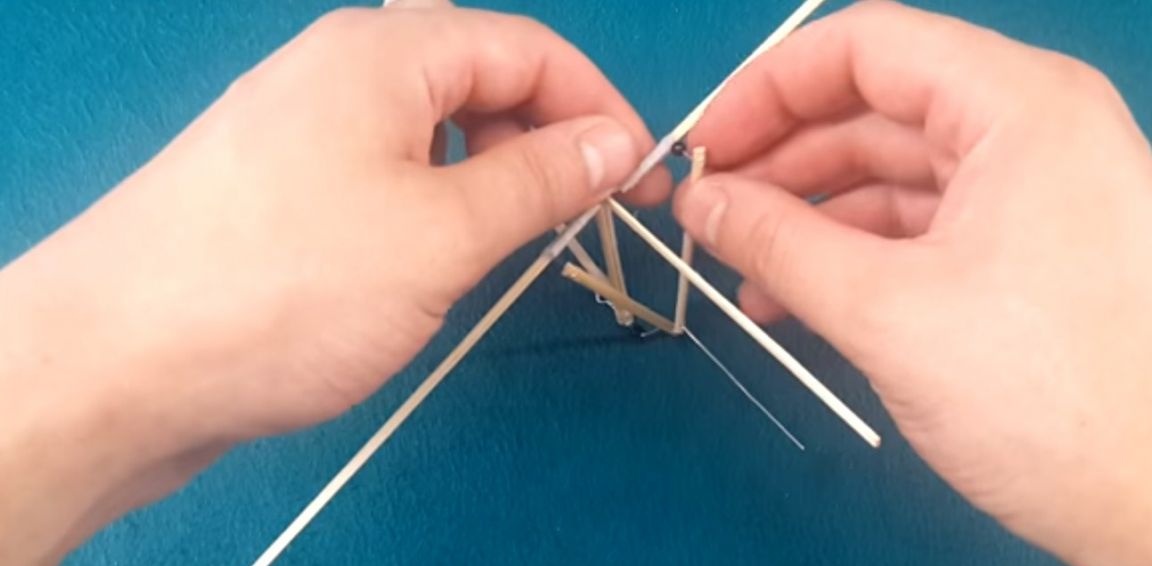
Then on the frame he made a mark of 5.5 cm from the center of the upper bushings.
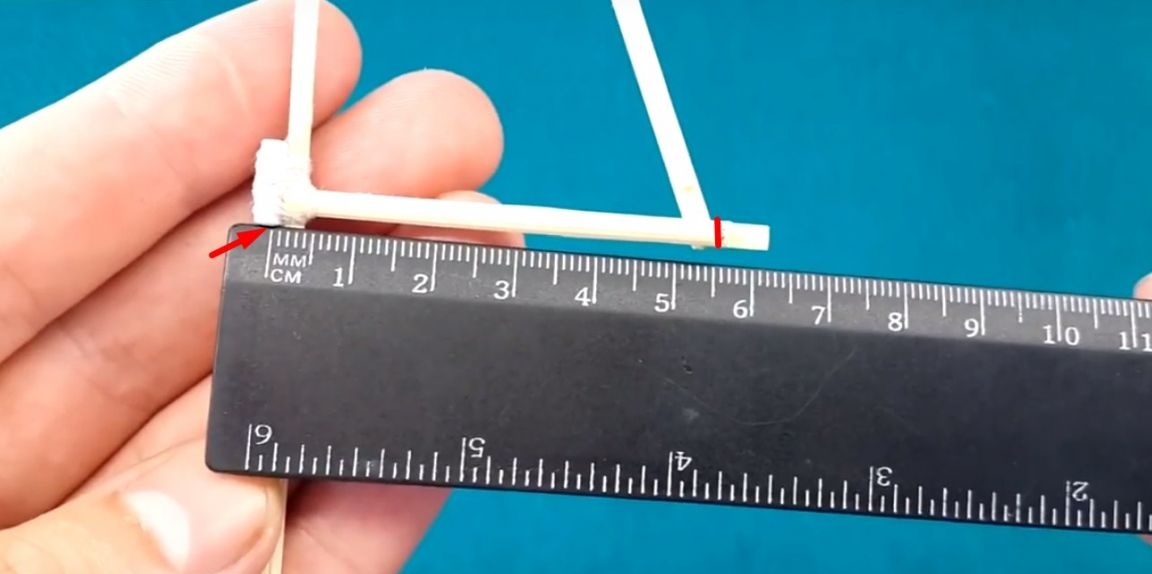
I cut the excess and glued the prepared part in the form of a spring to this place.


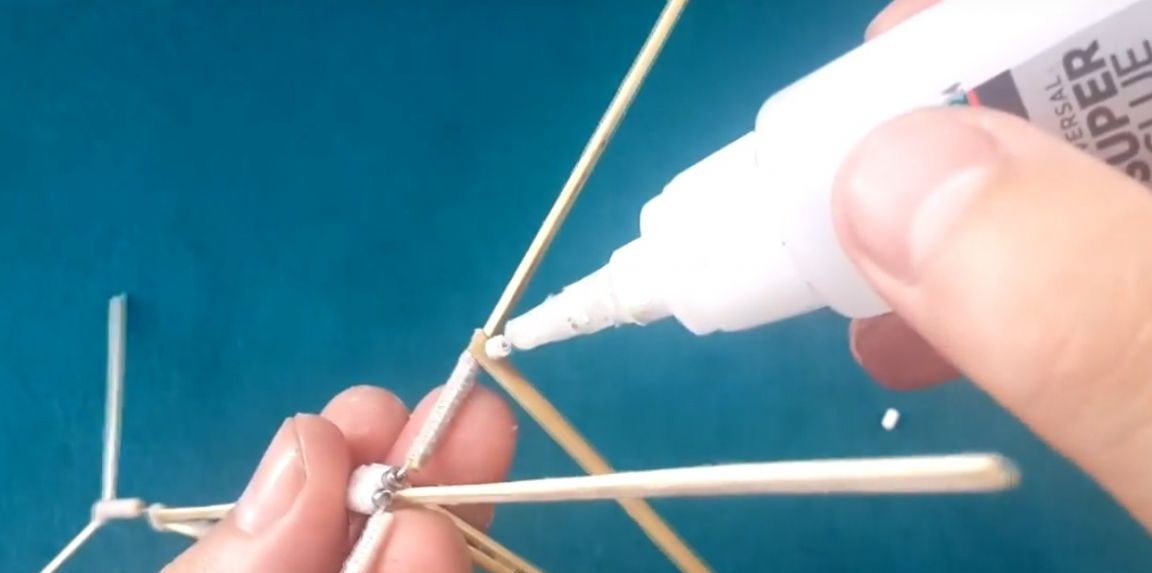
And again, threads and glue. Glue should not get inside the part.
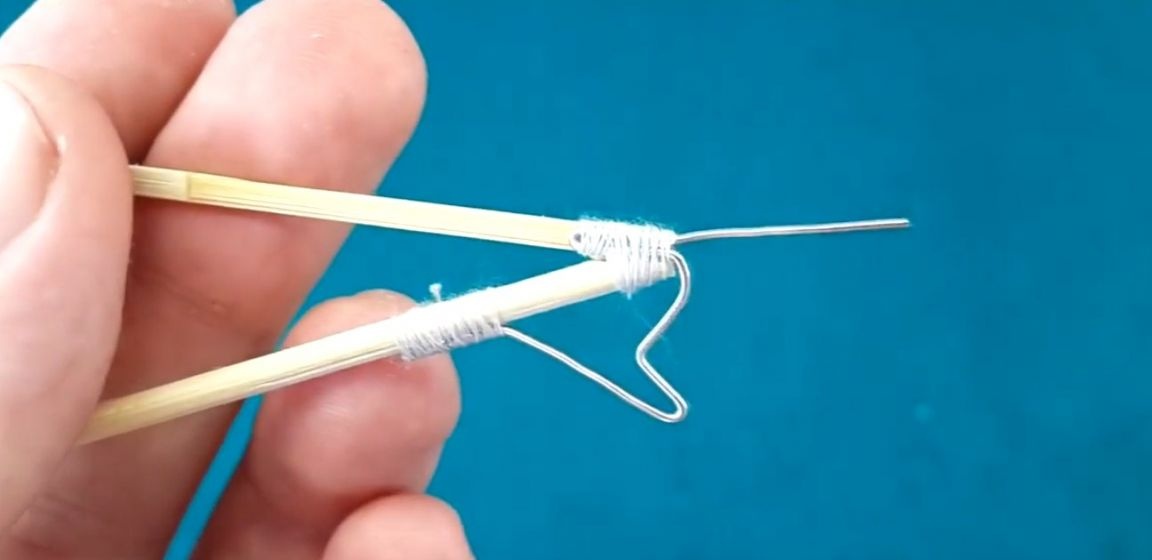
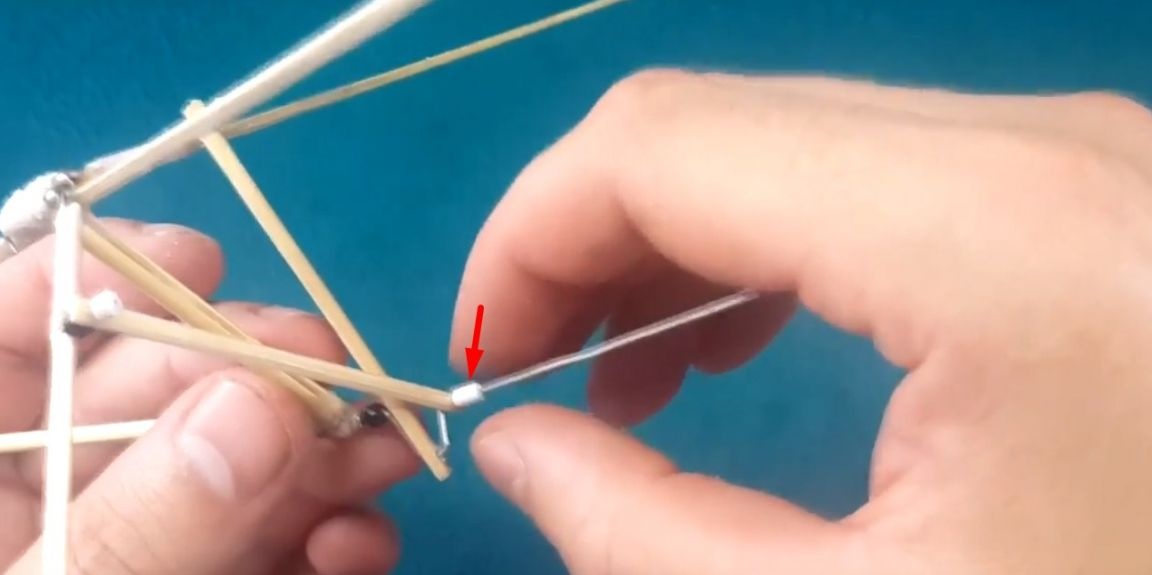
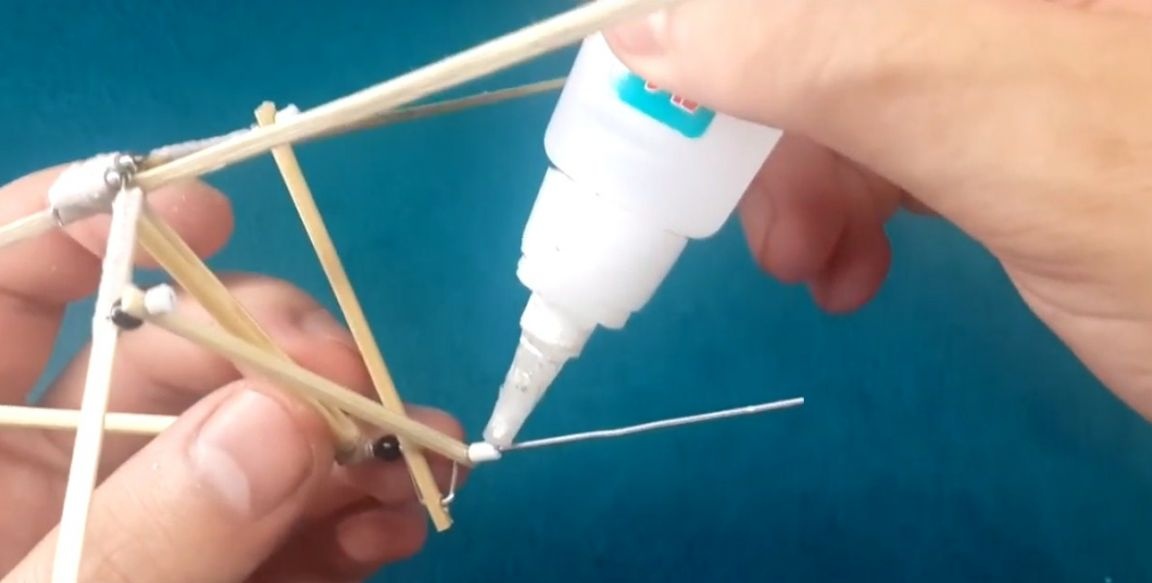
Further, the author bent out of a small paper clip such a detail that it would hold the tail and one end of the elastic bands.

And stick it in its place.
Not forgetting the threads and glue.
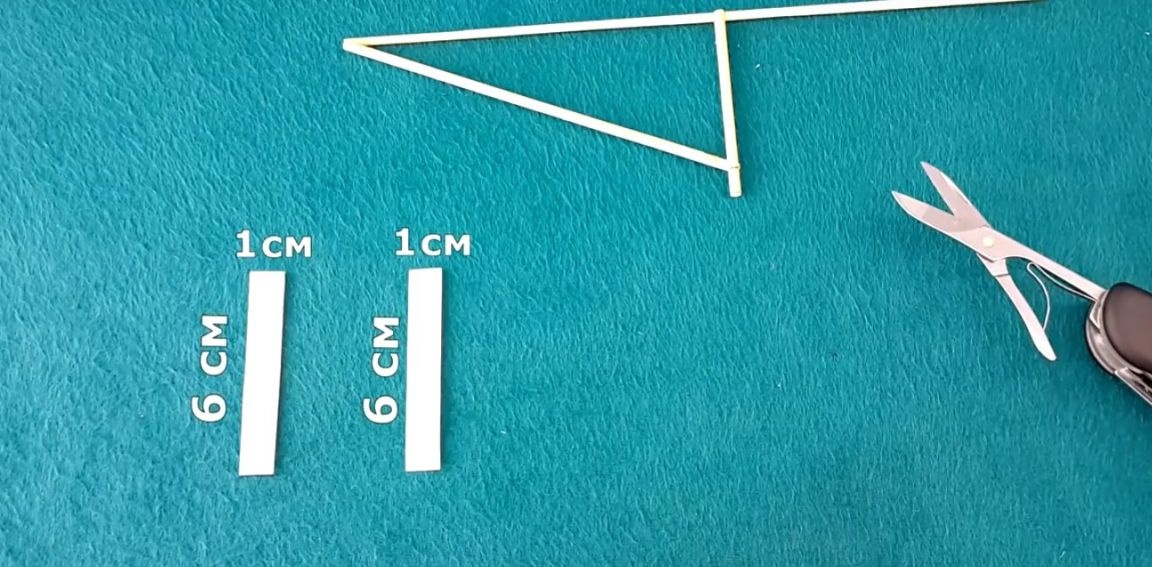
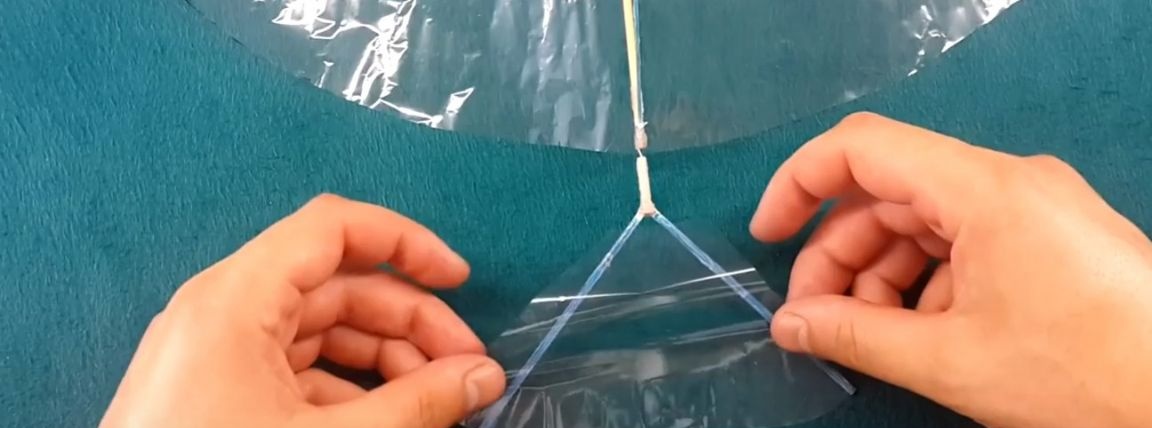
Now the author will make the ornithopter's tail. To do this, he will take a 10 cm skewer and divide it lengthwise into two equal parts.
He also divided the stick 2 cm long. From it, the author will need only one part.


In order to make it more convenient to glue the tail, the author cut one edge on both 10 cm sticks at an angle of 45 degrees.

And after that I glued two long sticks on the edge of a small one, this will be the tail of the ornithopter.
And again, threads and glue for strength.
Then glued the tail to the frame.
Not forgetting the strength of the mount.
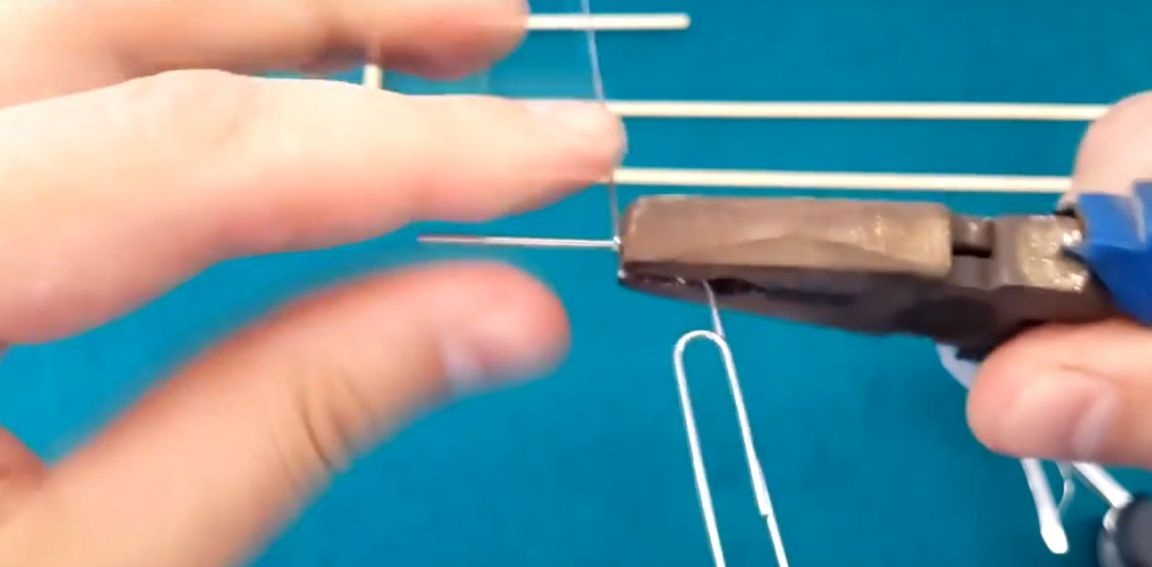
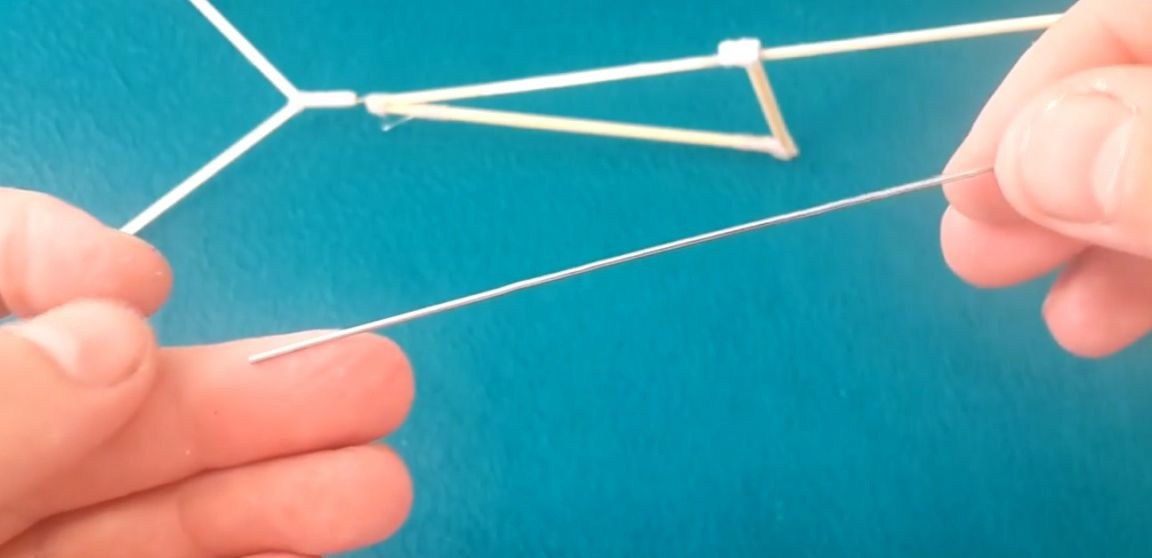
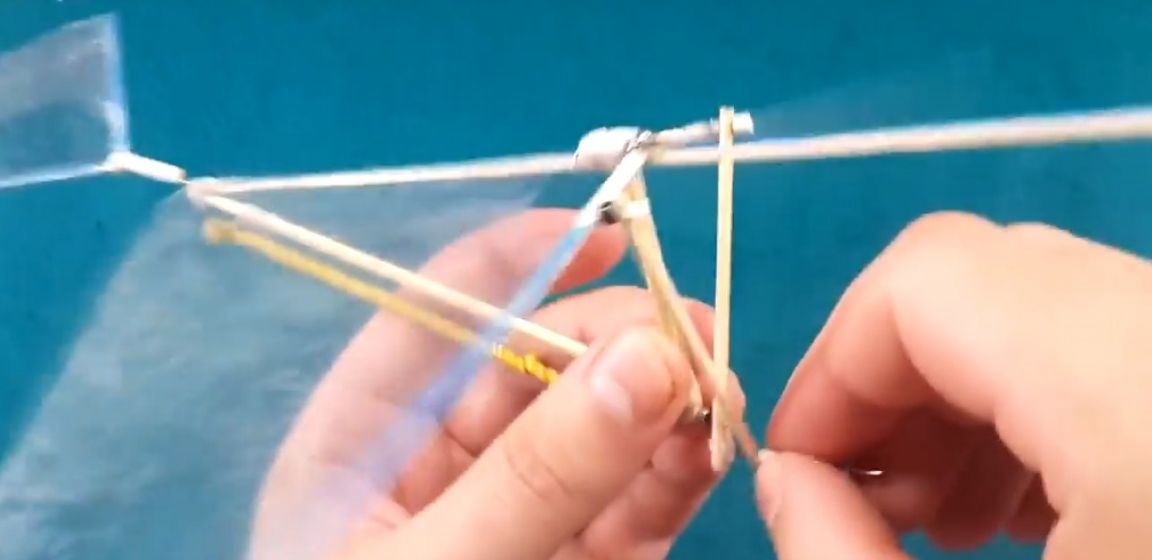
The next step of the author is the manufacture of a shaft that will move the wings. First, the author aligned a large paper clip.
Then he measured 4 cm and bent at an angle of 90 degrees.
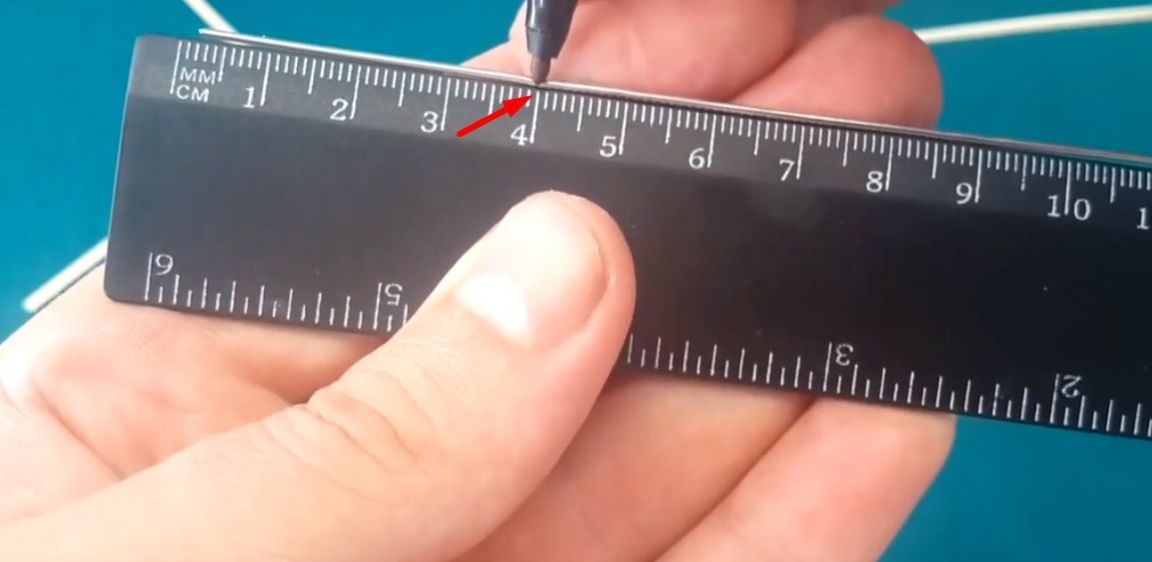

Then mark 1 cm and bend in the opposite direction.
Then measures 2 - 3 mm and bends to the side.
Then mark 8 mm and bend towards the guide.

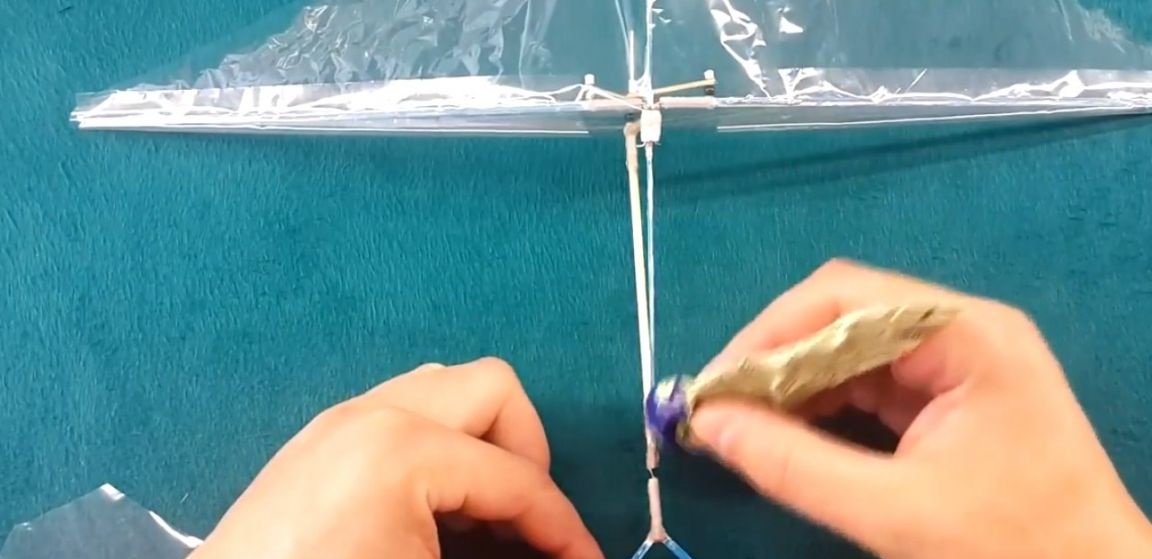
Now the author will fit it a little in the specified place.
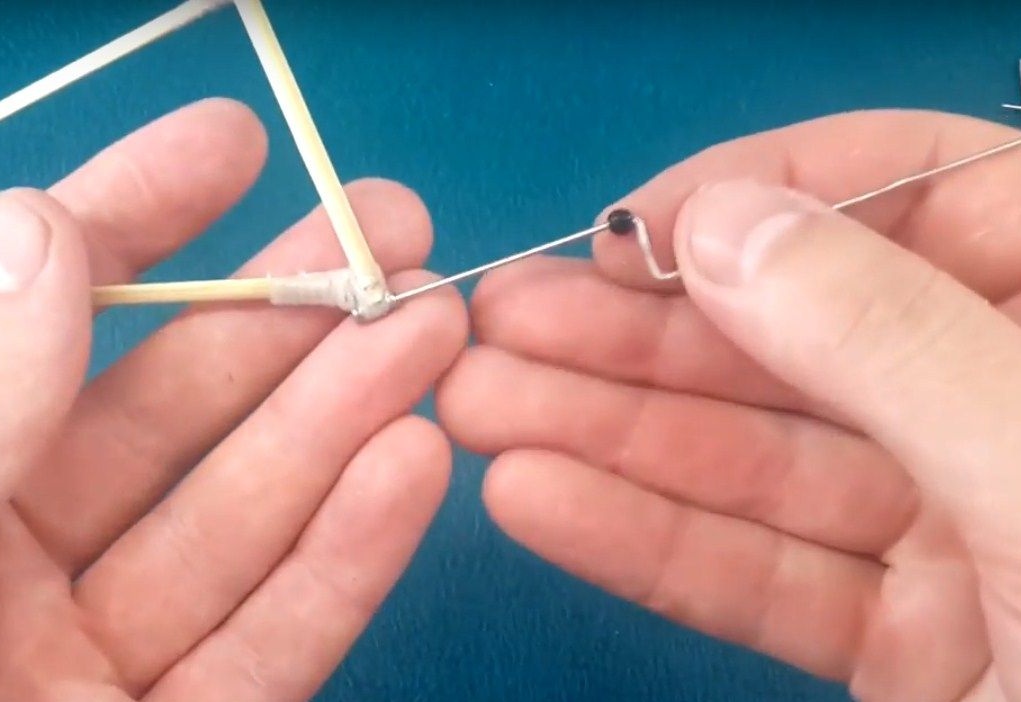
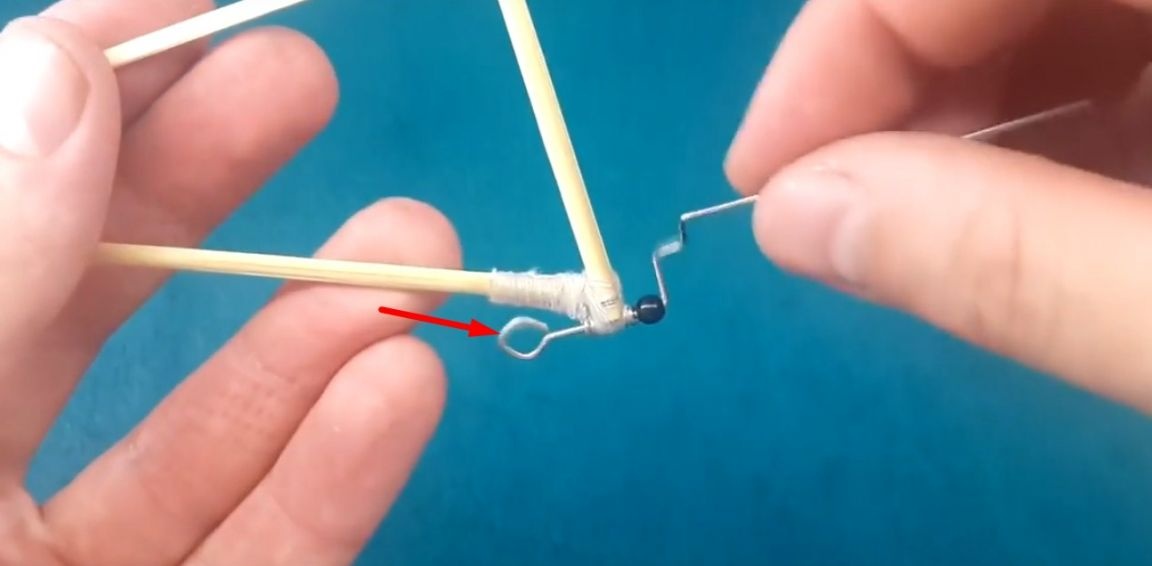
For better rotation of the shaft, the author put a small bead on one of its edges.

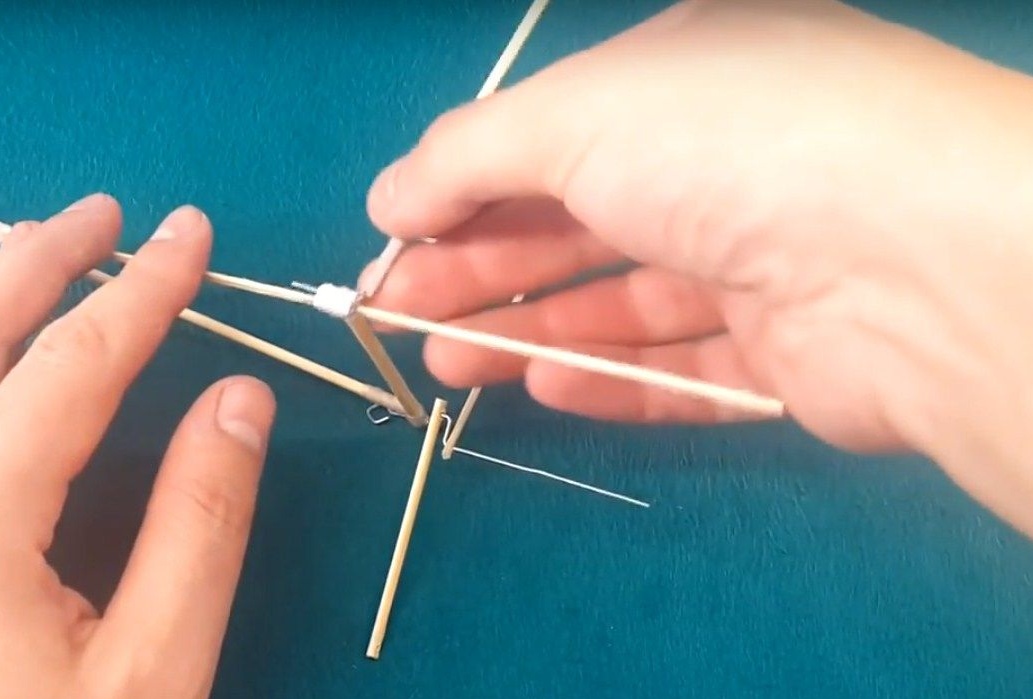
Then the author took a 7 cm stick and cut it lengthwise.

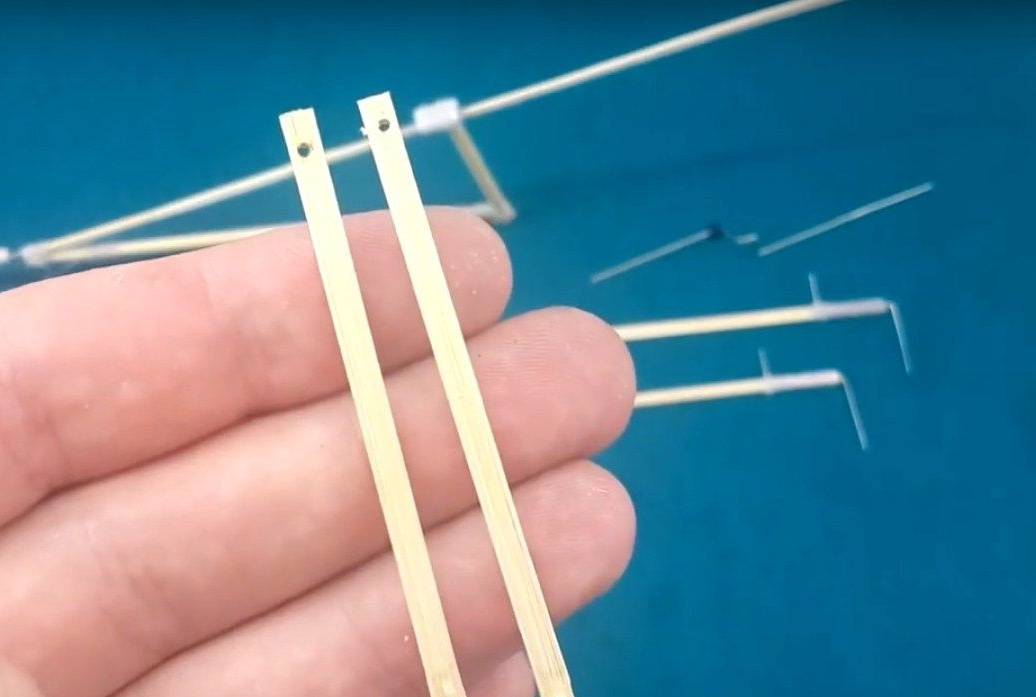
On these halves, he made a small hole on both sides.
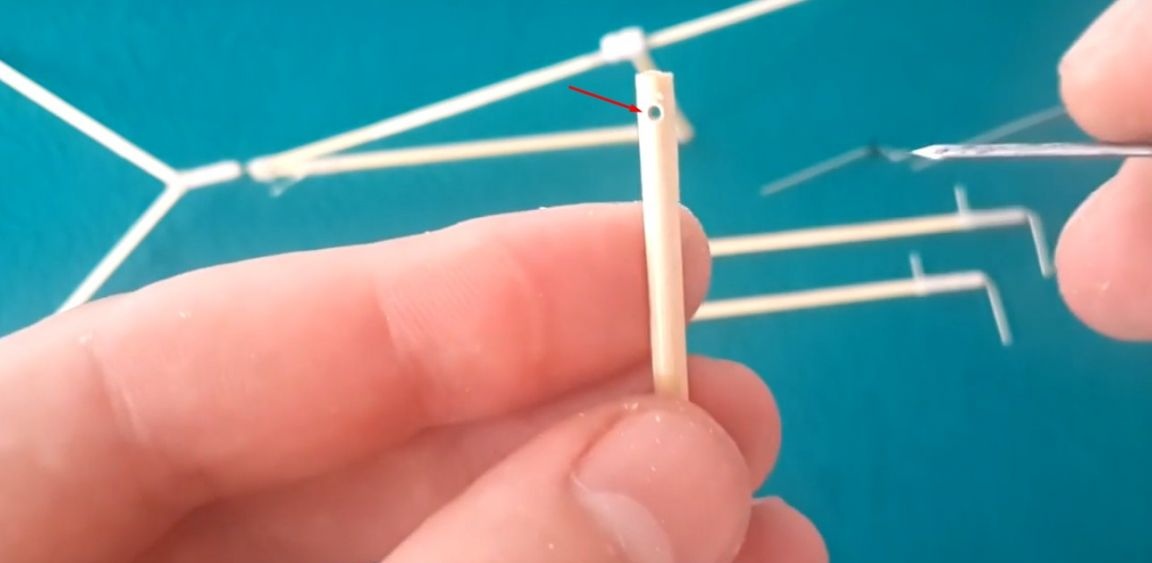
The distance between the holes is 61 mm.
Further, the author passed the shaft into a glued spring from a paper clip. And he made a hook for attaching rubber bands.
He put one of the strips with holes on the bend of the shaft, and the second on an even part of the shaft.

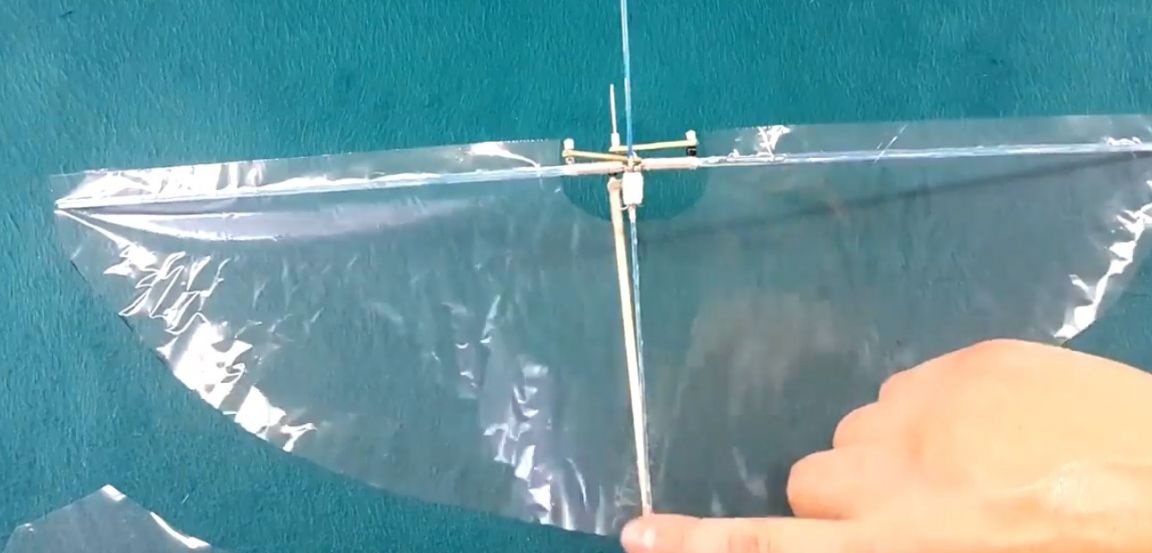
Then he put on his wings.
And on wings I put on at first one guide.

Then a second one placed a bead under it.
Under the wings, the author also decided to put on a bead and then bent the edges of the paper clips.
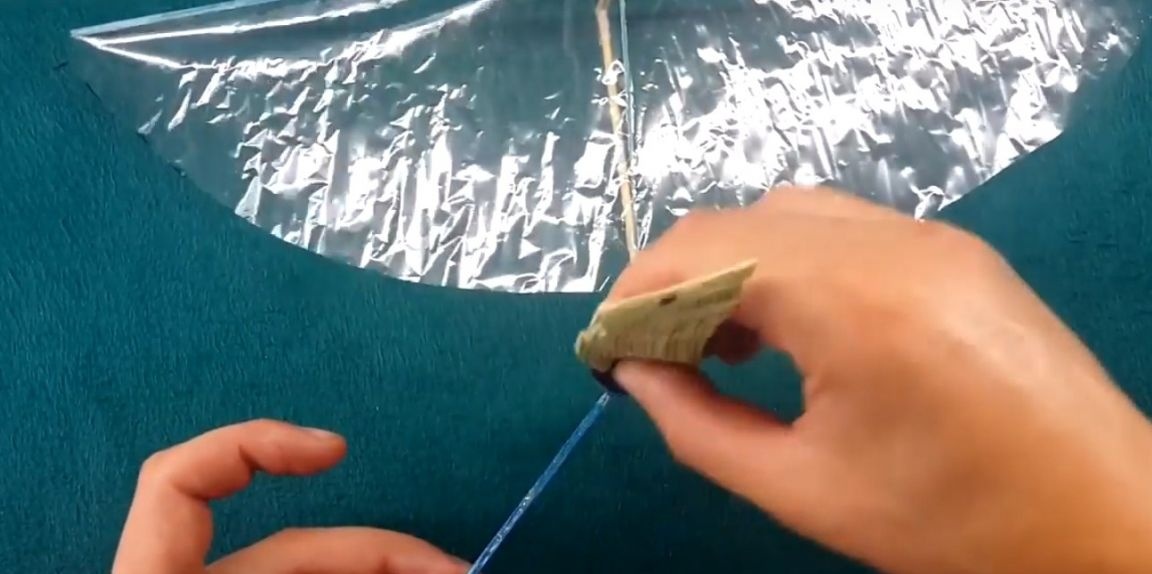
So that the guides do not fly off, the author put on paper sleeves and poured glue.
In the same way, he secured the guide to the shaft.
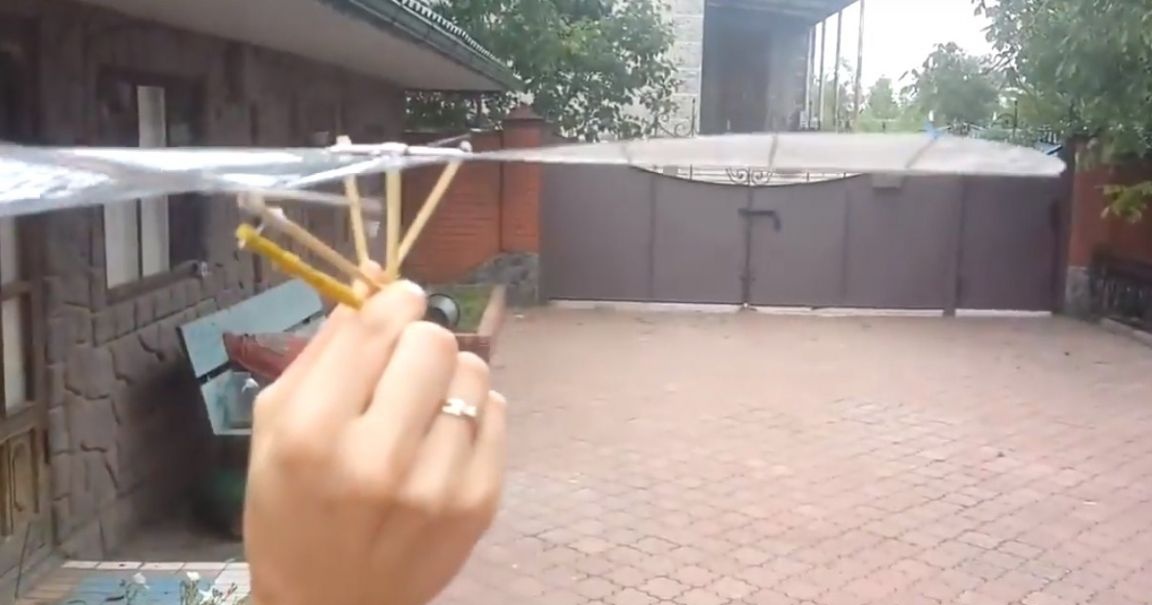
The mechanical part is ready now the author will stick the film on the wings and tail.
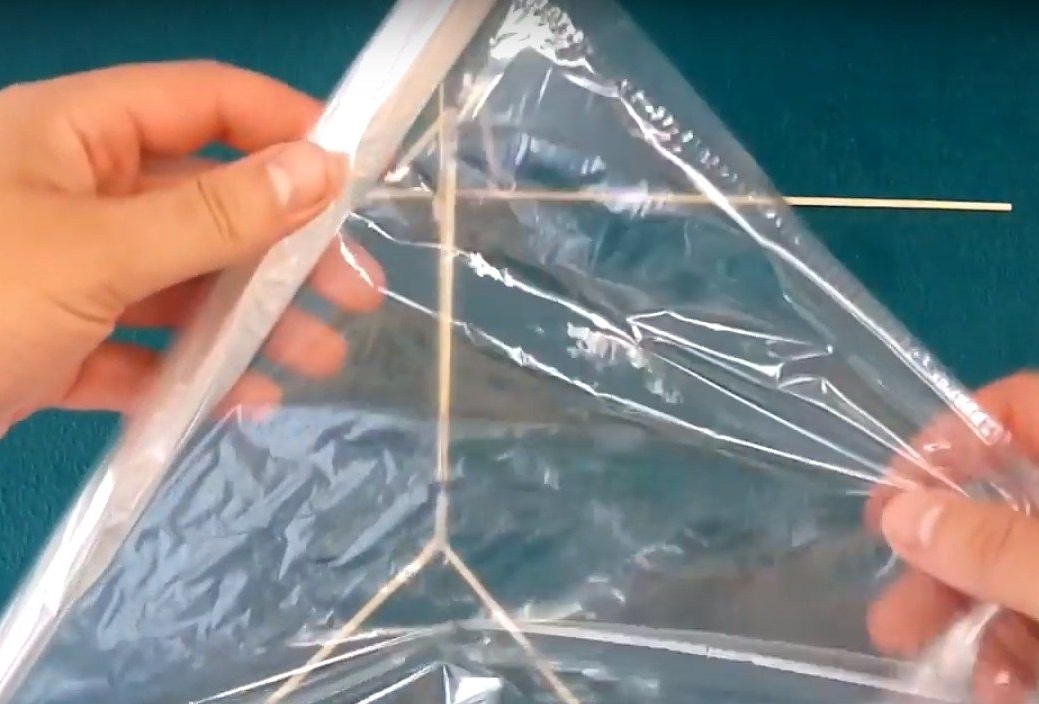
Pre-marking and cutting the film.
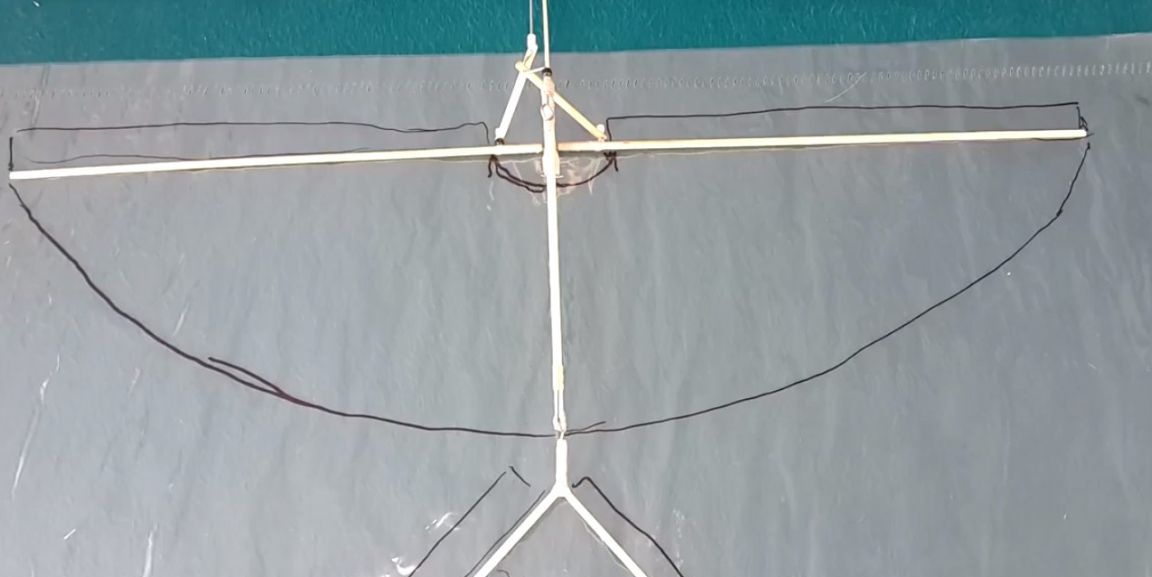
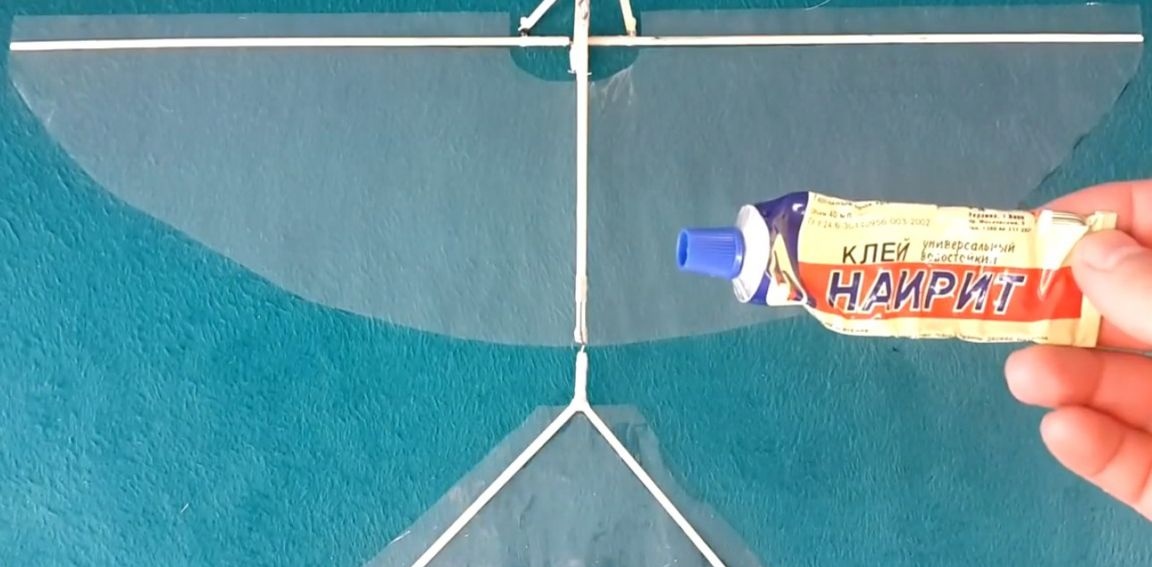
Wings first.
And then the tail.
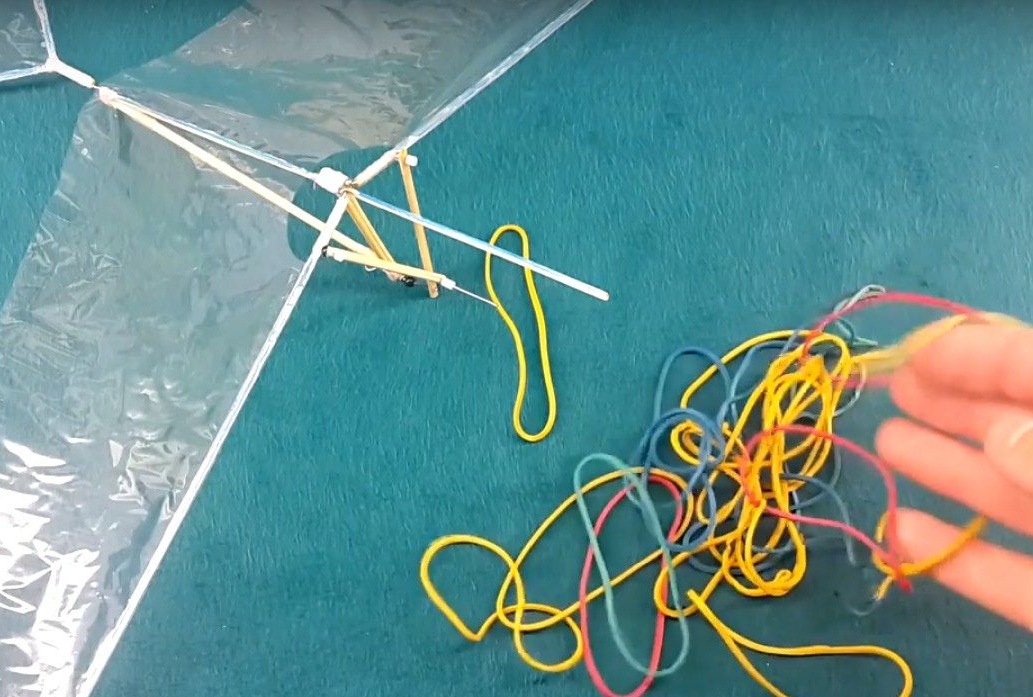
The last stage, the author puts on gum 3 pcs. (You can more or less depends on how much elastic the gum is.)
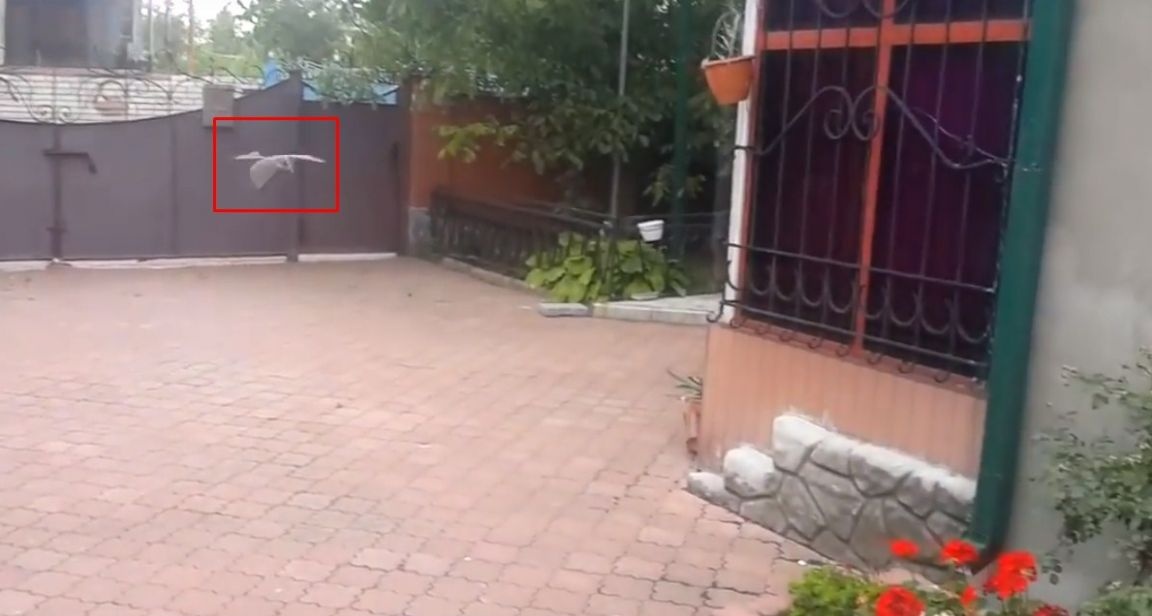
Starts the ornithopter mechanism and launches it in flight.
So this ornithopter soars this guy.
Ornithopter video:
Thanks to everyone. See you.