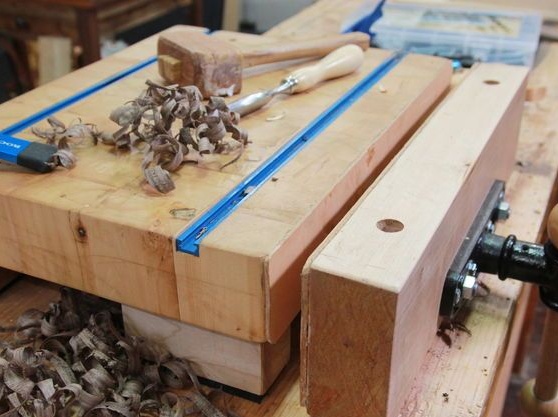
In this article, we will consider how to make a small workbench for woodwork, with a vise and guides for a clamp. For its manufacture, the master needed the following
Tools and materials:
-Bar;
-Miter saw;
- Clamps;
-Glue;
-Scraper;
-Putty knife;
-Cuvette;
-Grinder;
-A circular saw;
-Pencil;
- The mechanism for a vice;
-A screwdriver;
Milling cutter;
-Metal paths;
-Fasteners;
- Band saw;
-Plane;
-Drilling machine;
-Pistol knife;
-Rule;
-Leather;
-Rubber;
-Chisel;
- mallet;
-Threaded insert;
-Shellac;
Step One: Desktop
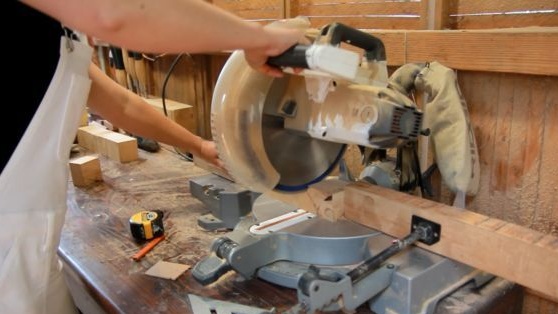
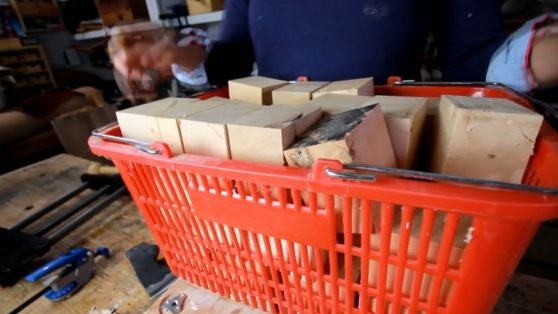
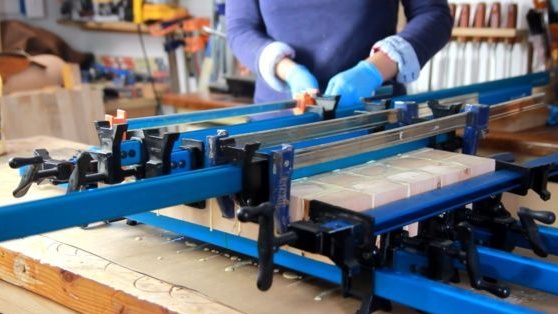
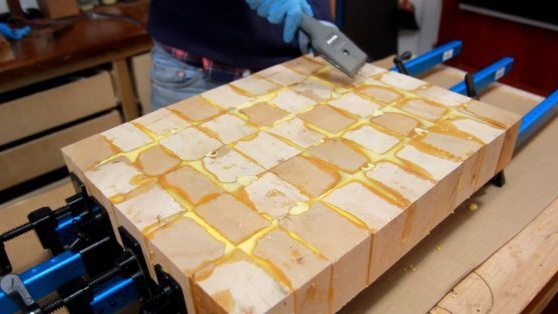
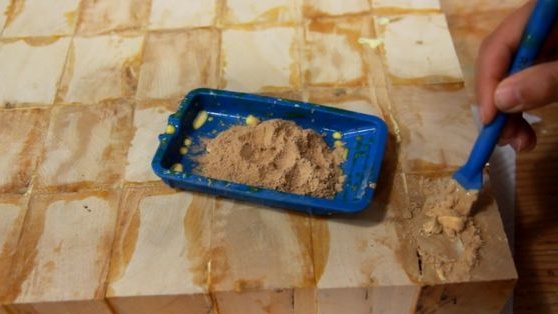
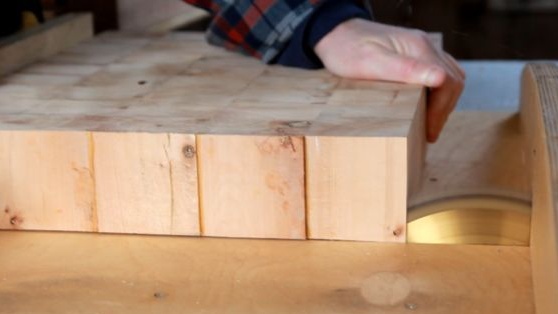
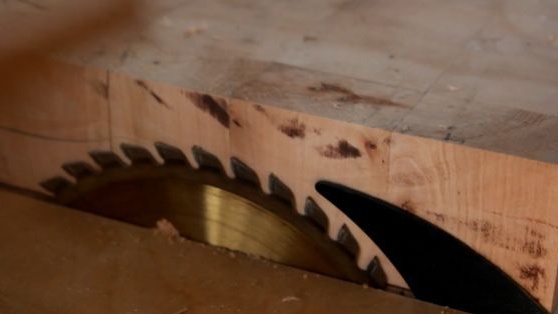
First, the master made a table. From a bar cuts cubes. Glues them. It tightens with a clamp. Seams are filled with sawdust with glue.

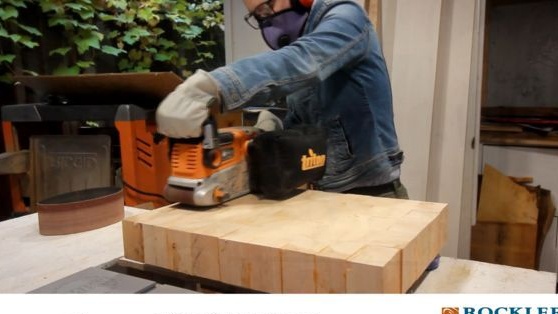
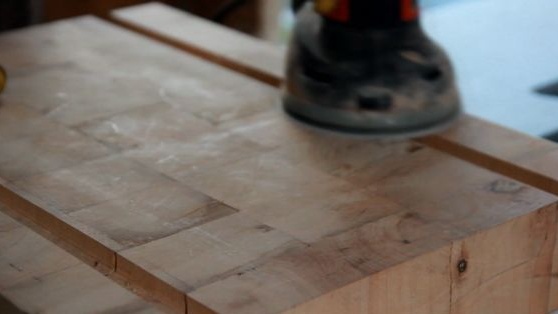
Grinds the table. Evens the ends.

Step Two: Vise
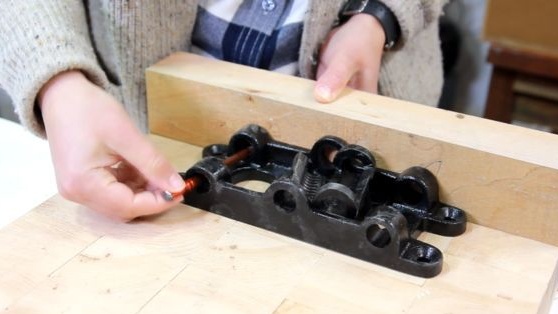
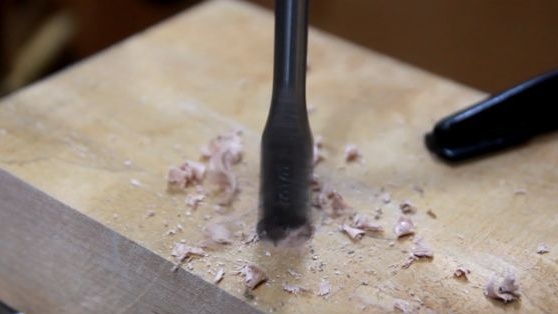
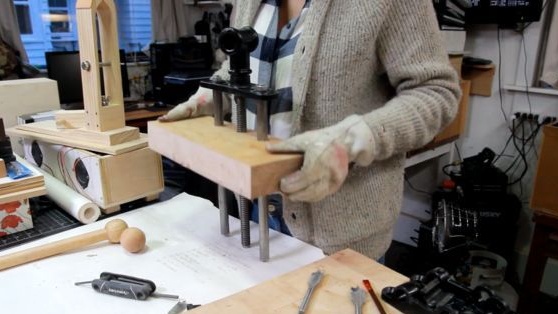
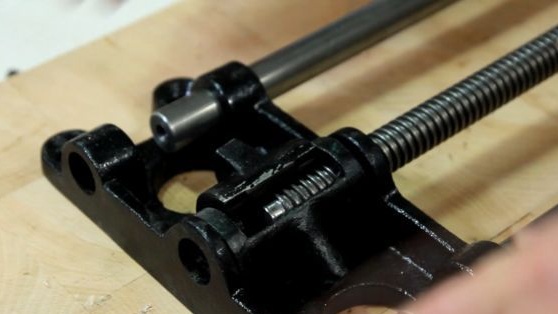
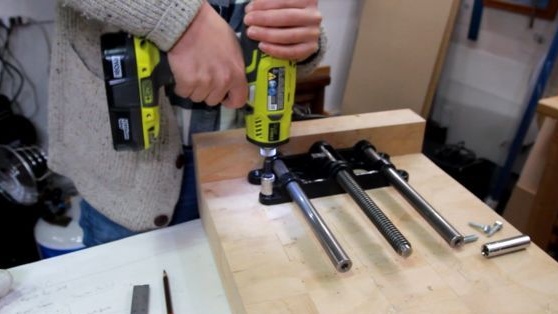
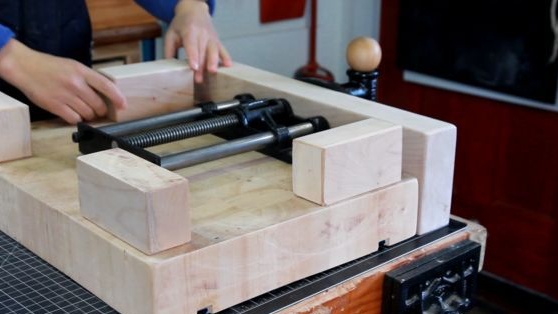
Parses the vise mechanism. It makes a movable sponge from a bar. Assembles a mechanism with an installed sponge. Screws the vise to the table.

Step Three: Optional Attachment Mechanism
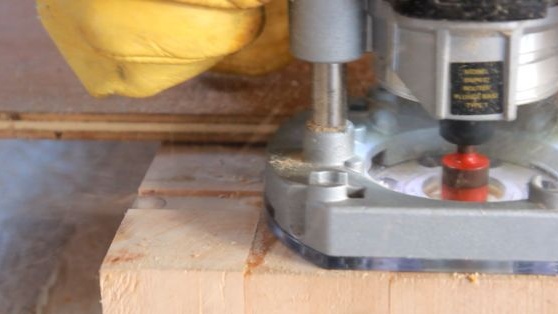
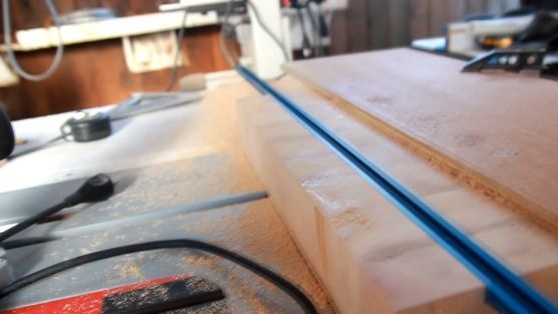
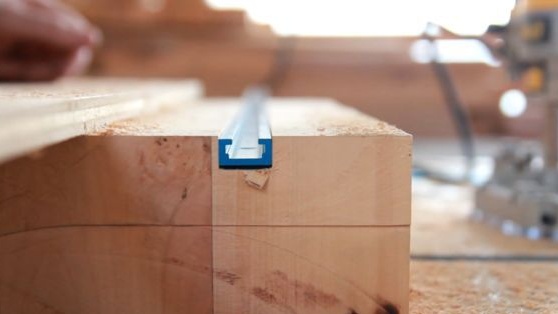
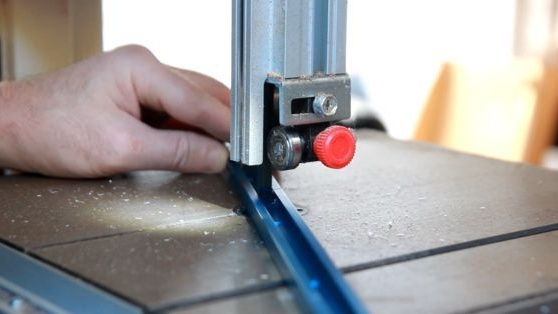
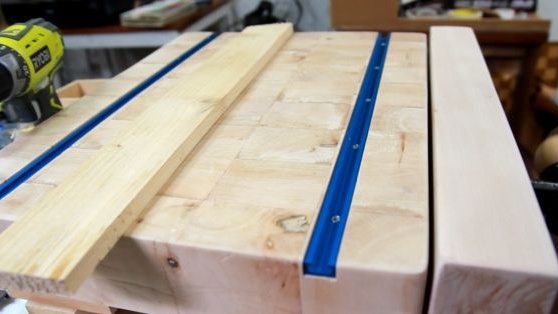
On the table, the master makes two longitudinal recesses. Installs metal tracks (guides) into the recesses. The guides are equipped with additional clamping mechanisms. More details can be seen in the video at the end of the article.
Step Four: Feet
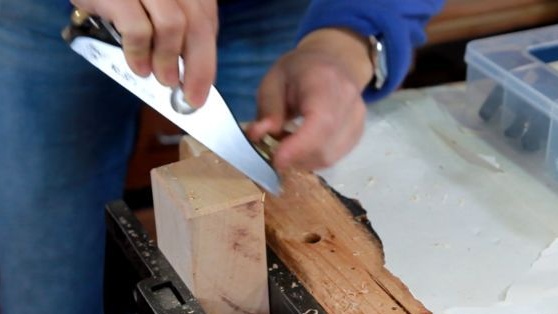
Cuts four whetstones for legs. A plane cuts corners. Screws the legs to the workbench.
Glues rubber on the legs.
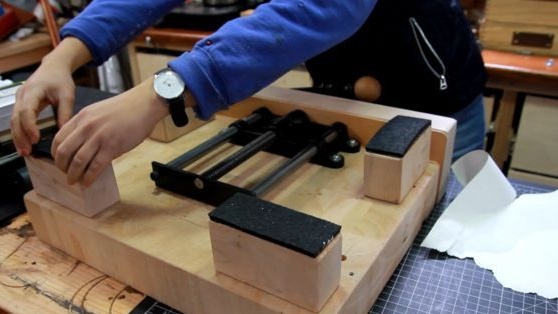
Step Five: Leather Pads
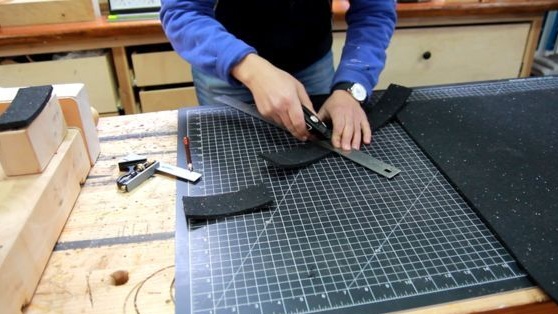
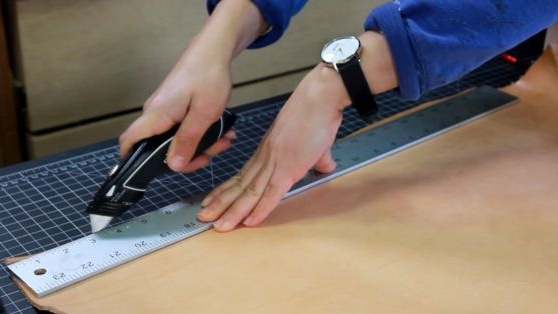
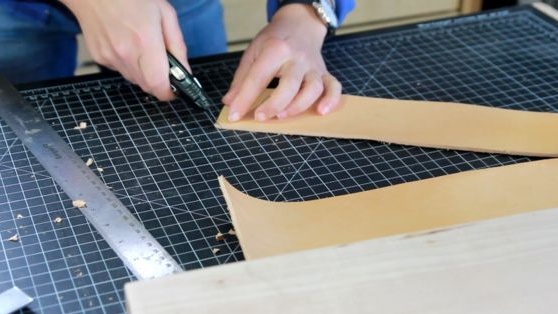
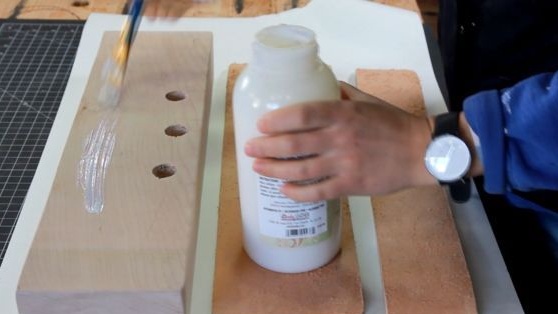
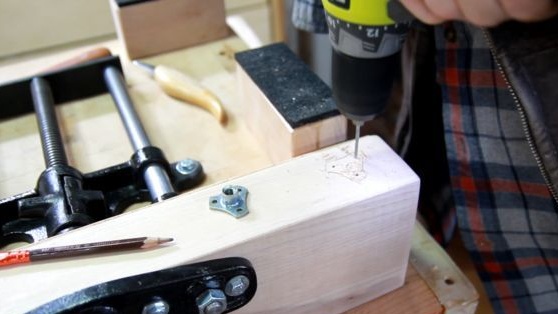
Parses a vise. Cuts sponges from leather. Adhes pads. In the upper part of the movable jaw makes additional holes.
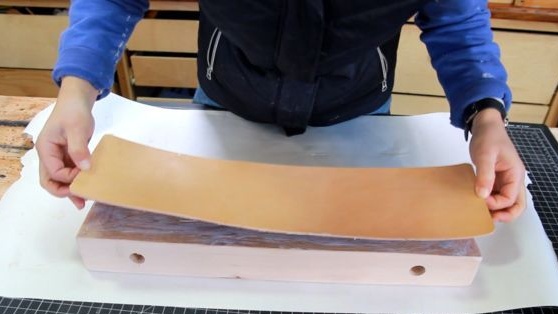
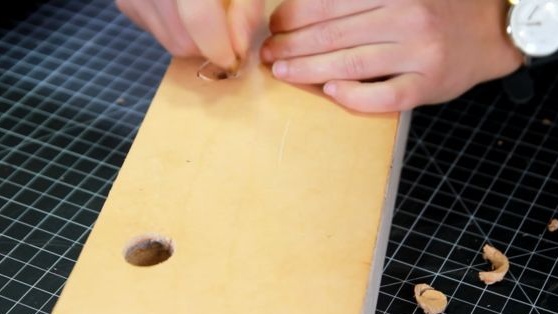
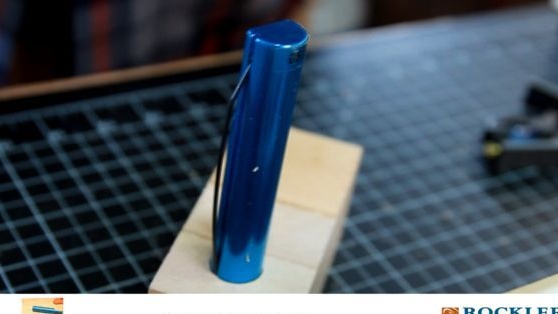
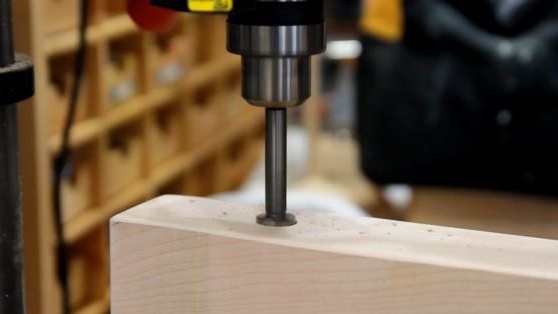
Screws the vise into place.
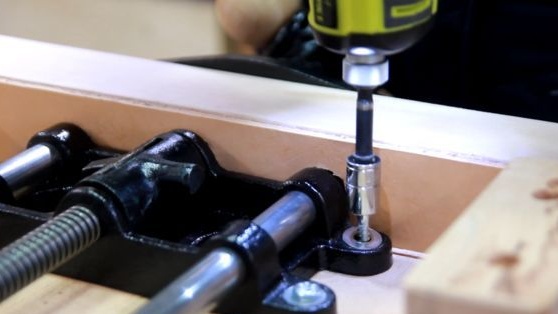
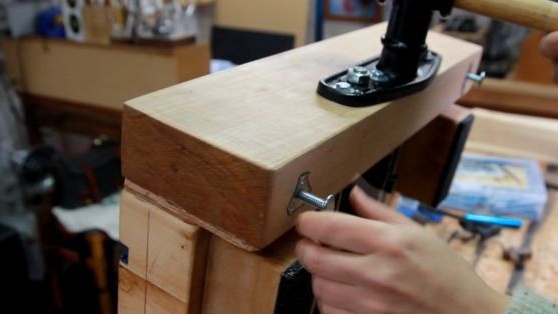
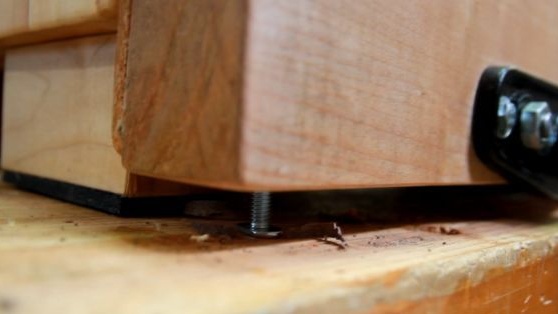
For stability, installs adjustable legs on the bottom of the movable jaws.
Step Six: Pressure Board
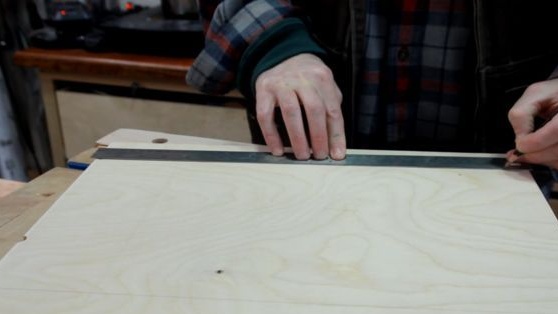
It makes a pressure board from plywood sheet. A series of holes are drilled on both sides of the sheet. More details can be seen in the video below.

Seventh step: varnishing
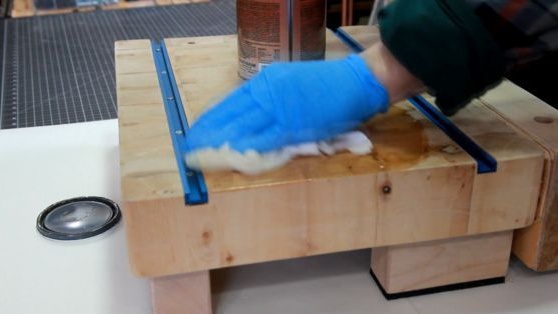
Covers the surface of the workbench with shellac.
