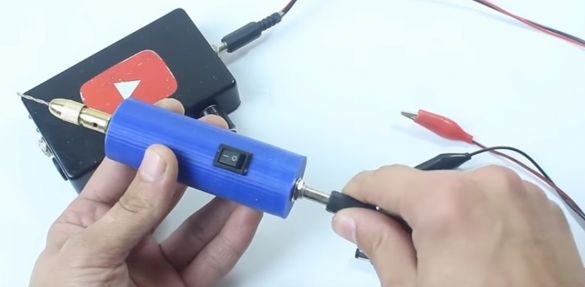
Good day to all. In this article, we will consider how the master assembled a portable mini drill with speed control. Materials that the master will need.
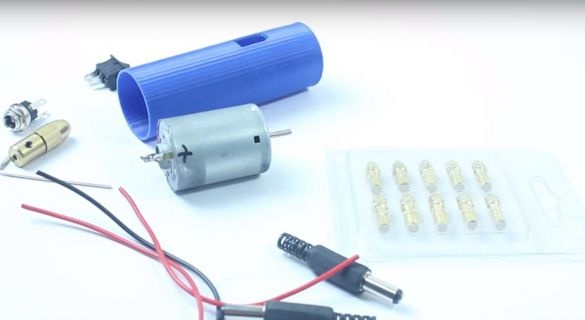
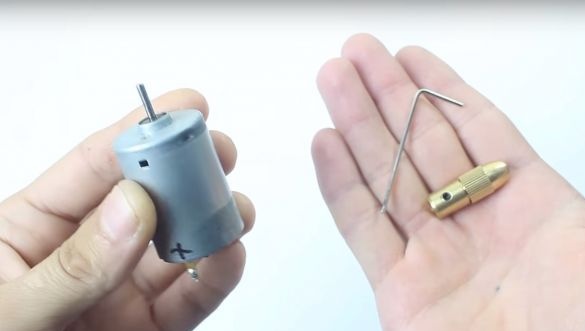
The heart of the mini drill will not be a large, but rather powerful engine, the author took it out of the printer.
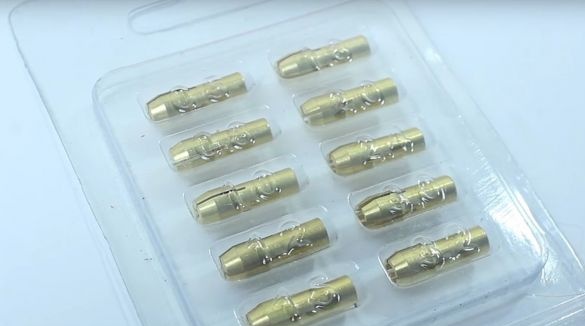
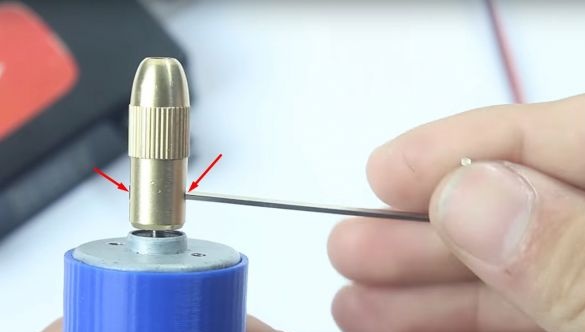
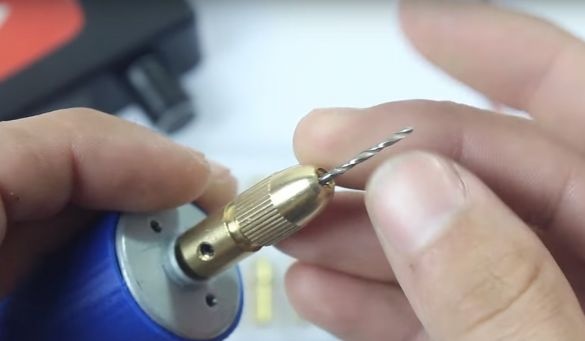
A collet chuck will also be required. (The size of the cartridge depends on the size of the motor shaft.)
To use drills of different diameters, the author took a set of collets.
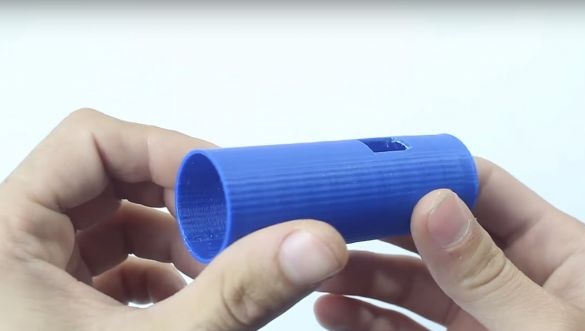
The author printed the case for the future mini drill on a 3D printer.
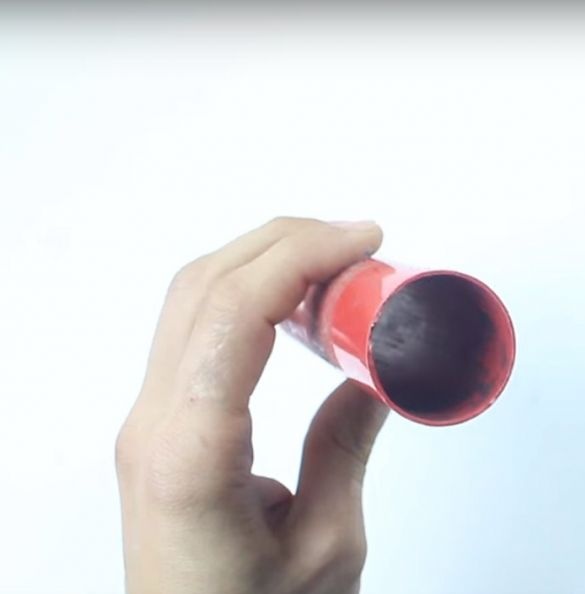
But you can use a piece of plastic pipe suitable for the size of the engine.
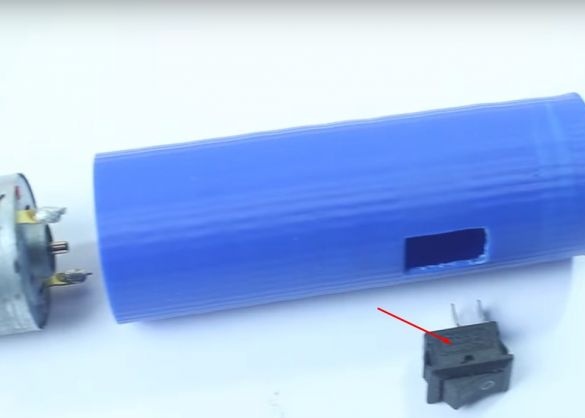
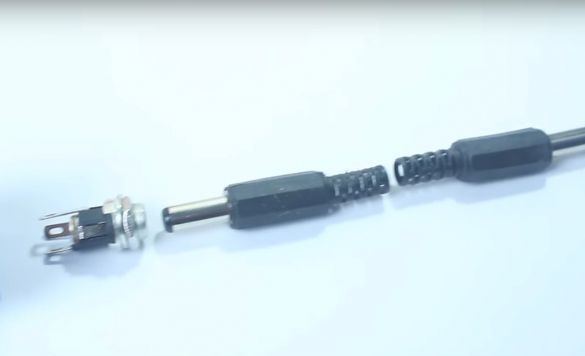
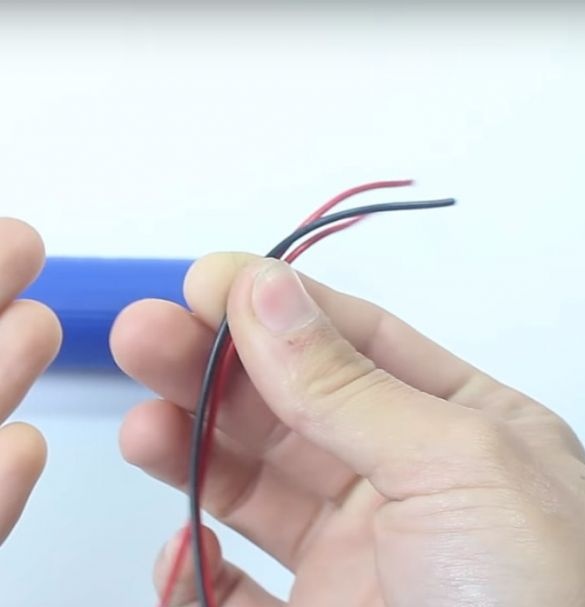
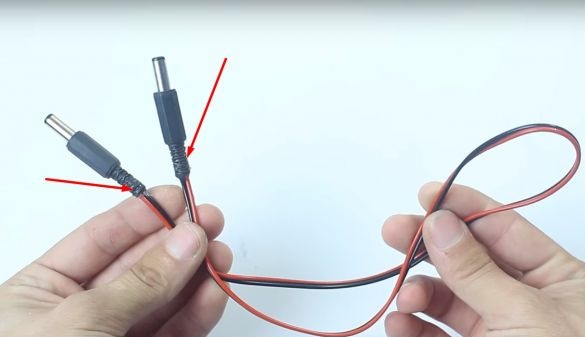
You will also need: a small switch, socket 5.5, two 5.5 plugs and wires.
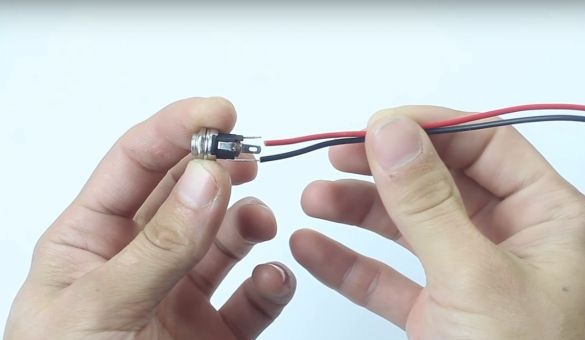
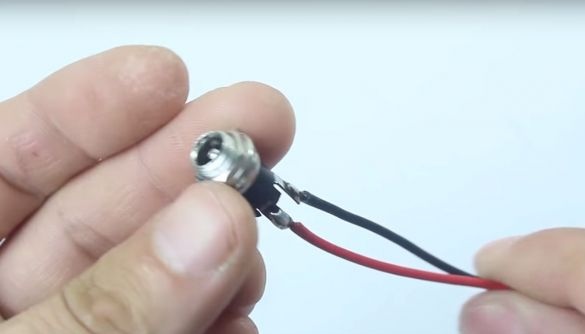
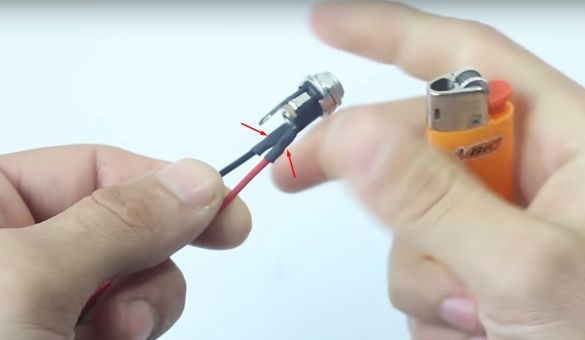
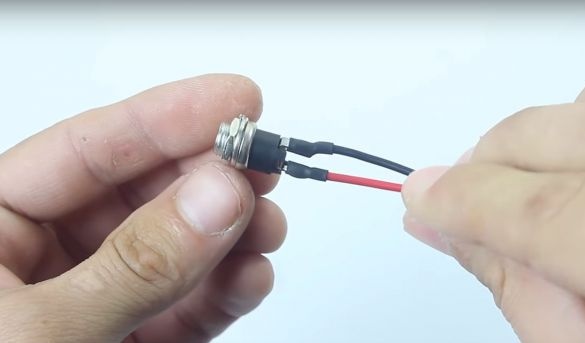
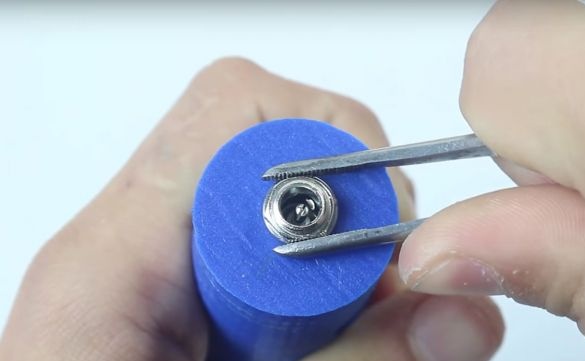
The author soldered the wires to the socket.
Insulated thermo shrink.
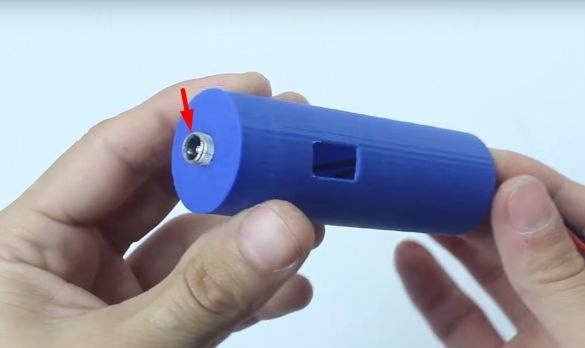
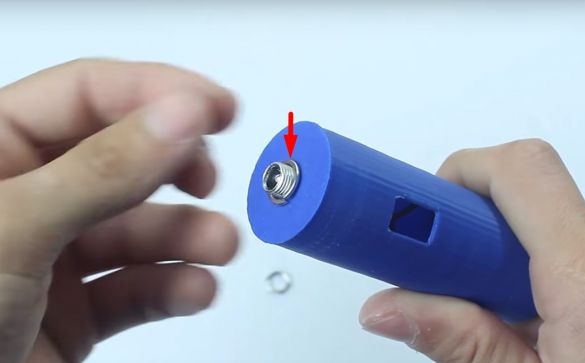
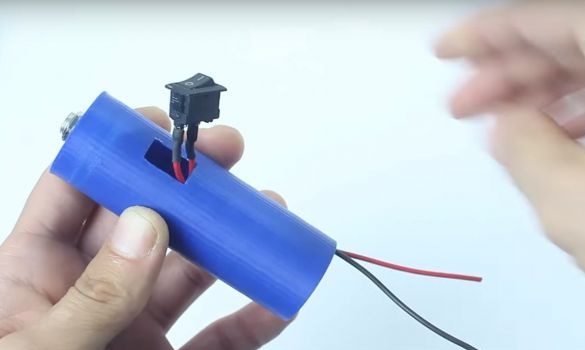
He pushed the socket into the housing and put the washer in place with a nut.
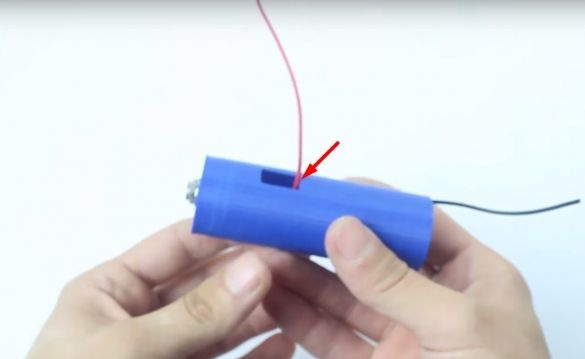
The positive wire was routed through the hole for the switch.
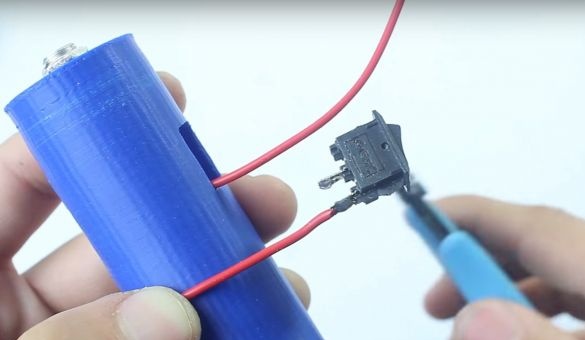
I took a switch with a pre-soldered wire to one of the contacts.
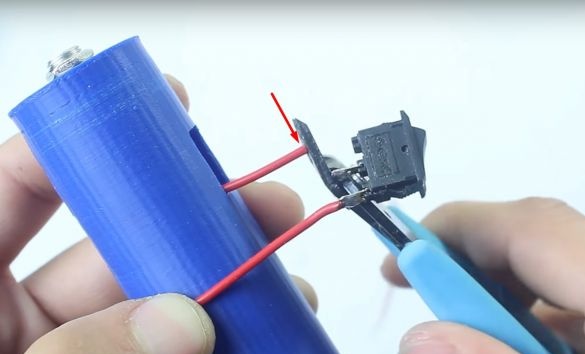
Having cut off the excess, soldered the wire to the second contact of the switch and isolated it.
Passing the wire into the inside of the case set the switch.
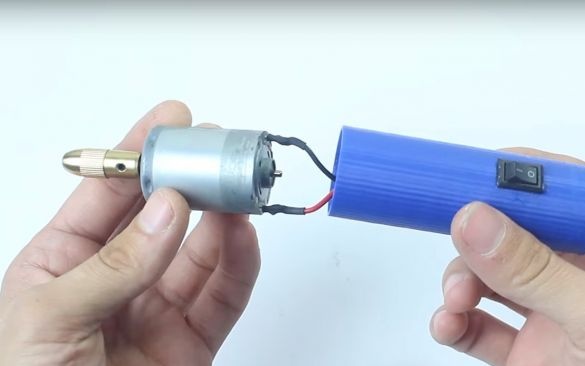
Shortening some wires soldered them to the motor contacts (observing polarity) and insulated them.
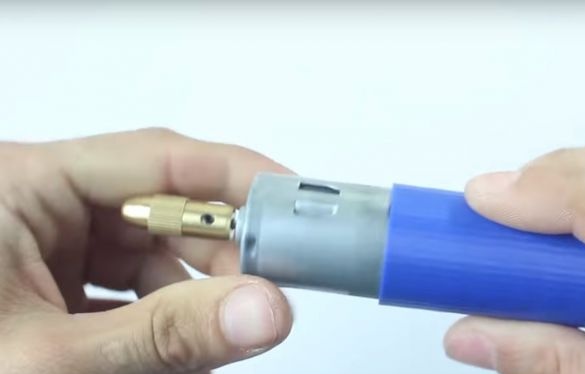
Pressed the engine into the housing.
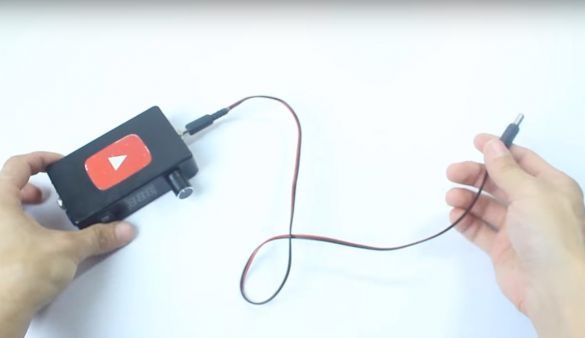
For power, the author took a power supply with voltage regulation from 4 to 30 volts and with a current of 3 amperes.
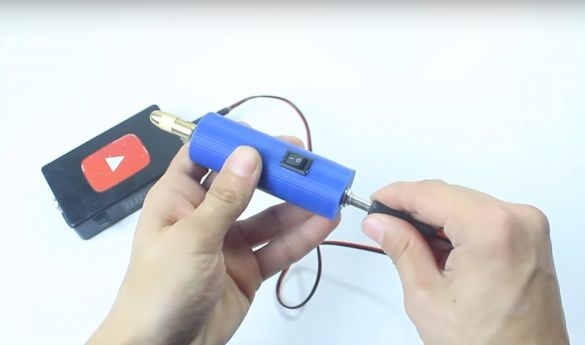
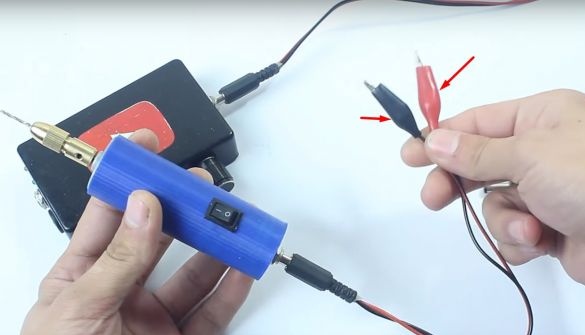
The author will connect the mini drill to the power supply using the wire to which he soldered the 5.5 plug from both ends.
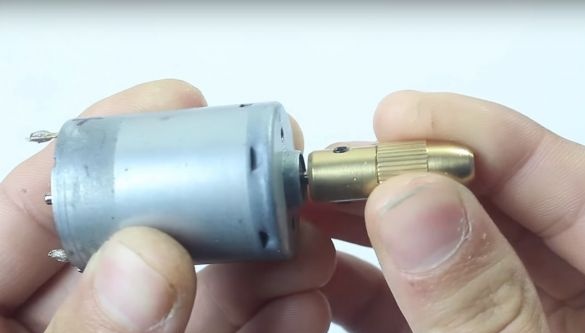
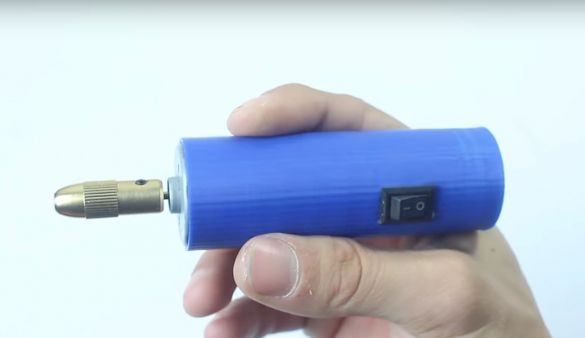
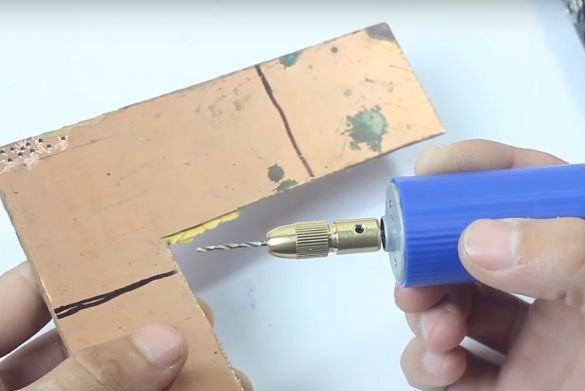
The cartridge fixed on the shaft and putting the drill picking up the collet of the right size and proceeded to test the mini drill.
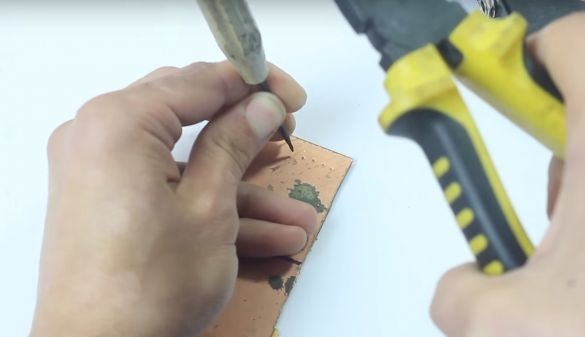
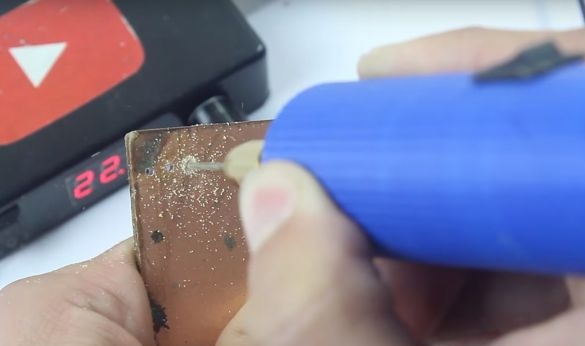
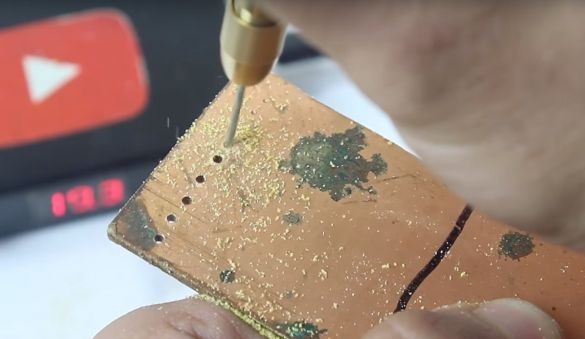
The author conducted the test on a 1.6 mm thick piece of hetinax, having preliminarily turned the places for drilling.
As you can see in the photo, the tool coped with the task.
And also according to the author, the power source may be different, you just need to solder an additional cable, on one side of which there will be a 5.5 plug, and on the second two crocodiles.
Thanks to all. See you again.
Video homemade:

