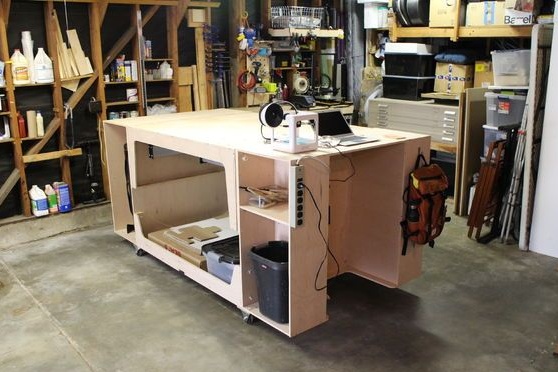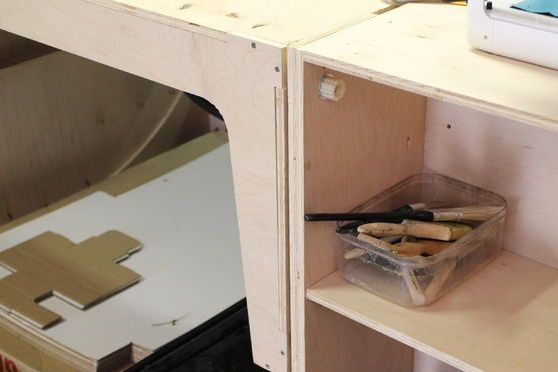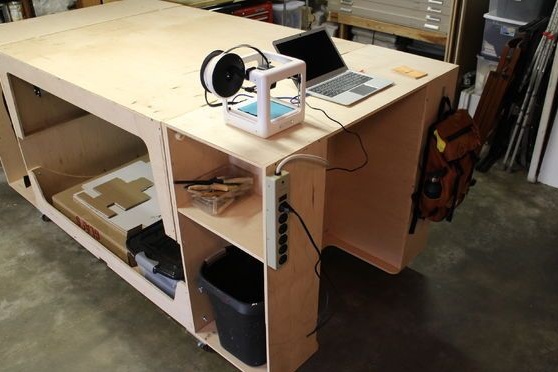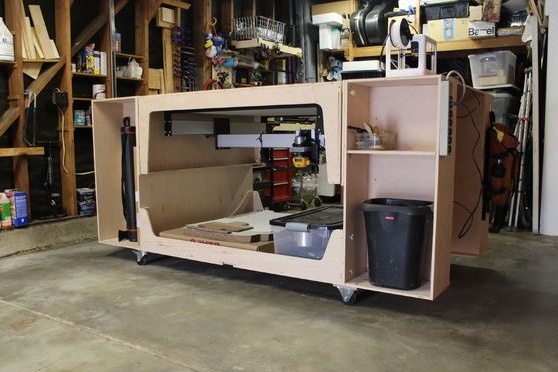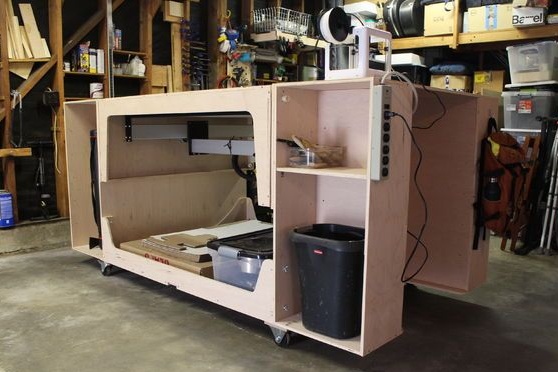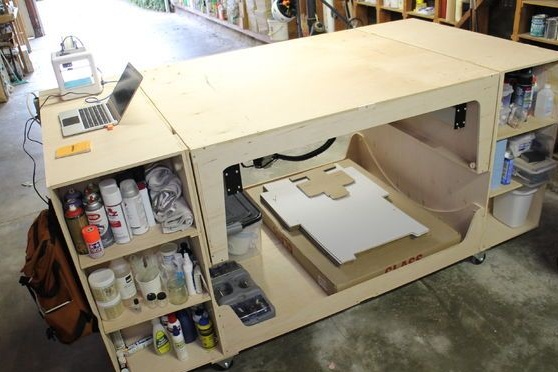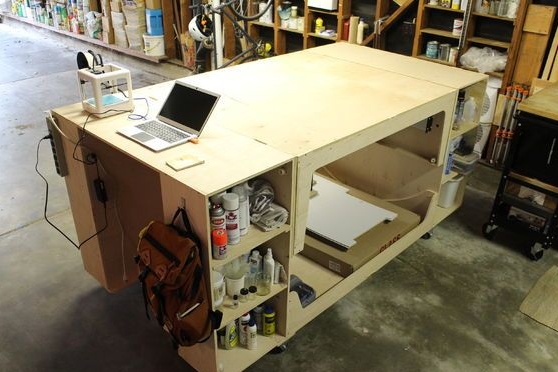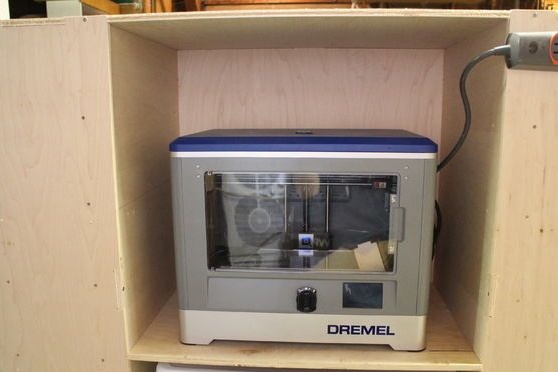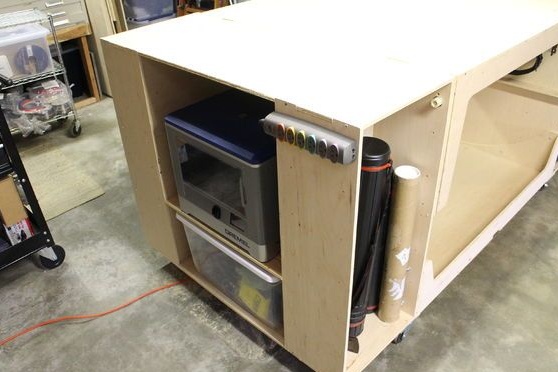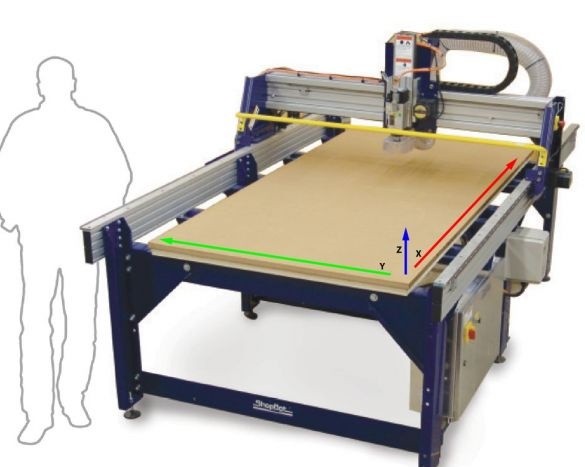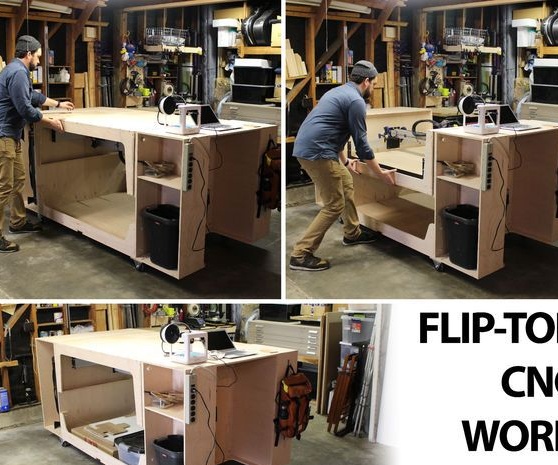
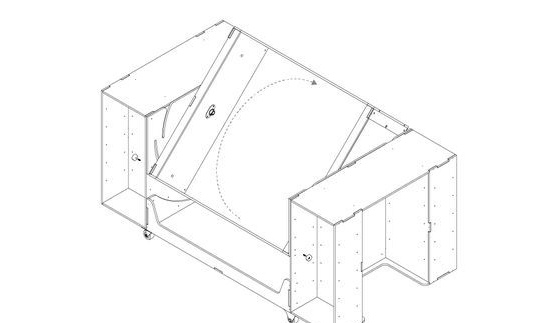
To save space in the workshop, the Master designed and manufactured a table with a rotary table top. On one side, a CNC machine is placed on the countertop. When turning the countertops, the machine hides in the lower part, and on top is the working surface of the table.
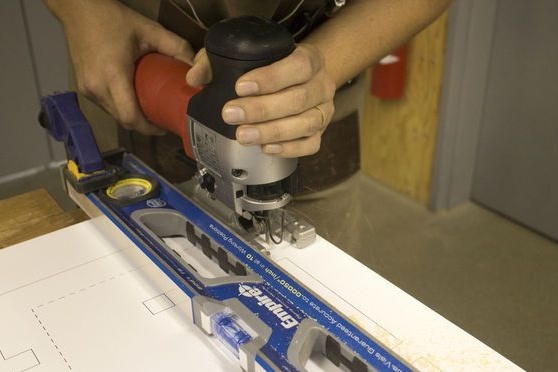
The master cut out parts of the table using CNC. But for those who do not have CNC, you can make parts using a jigsaw.
Tools and materials:
-Plywood;
- CNC machine or jigsaw;
-3D printer;
-A computer;
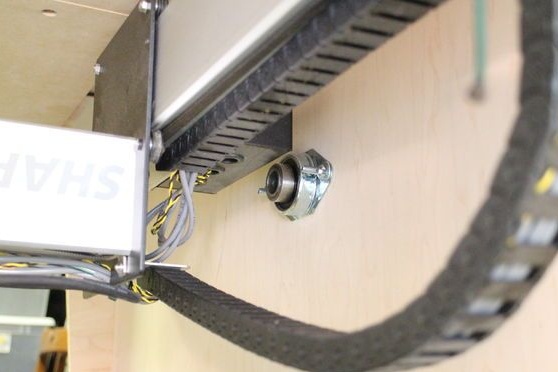
-Two flange bearings;
-Two quick couplers;
-Steel pipe;
-Threaded inserts;
-Furniture screws;
-Bolts;
-Furniture wheels;
- Corner;
-Board;
-Drill;
-Keys;
-Screwdriver;
Step One: Design
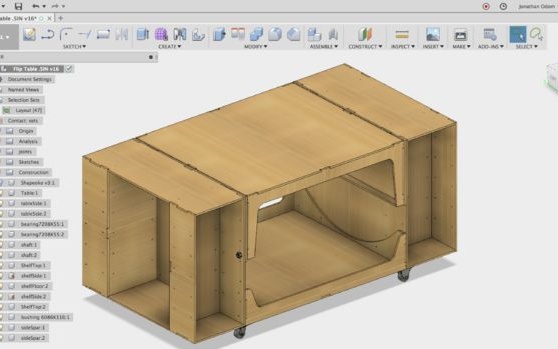
The project was developed using the Fusion 360 program. The following are links to files.
The first file includes material parameters (plywood thickness, number of parts, etc.) of the table and the project with the ability to make changes for your goals.
.
3D printing options file.
.
Files for printing on paper and transferring templates to plywood.
File ,,,,,,,.
Step two: procurement of parts
On the machine cuts parts.
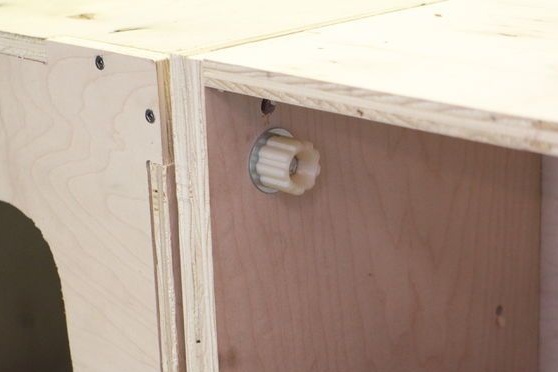
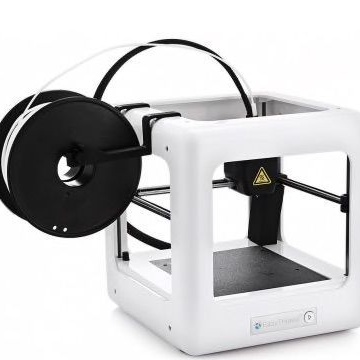
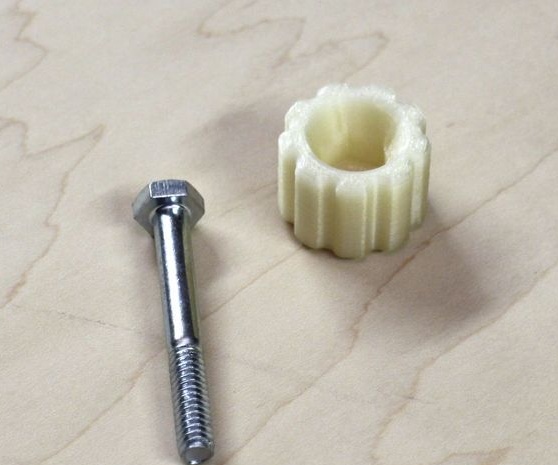
Using a 3D printer, prints bolt handles.

Step Three: Build
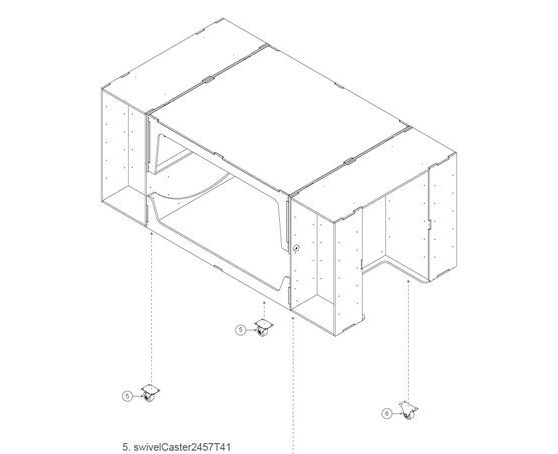
Starts assembling the table.
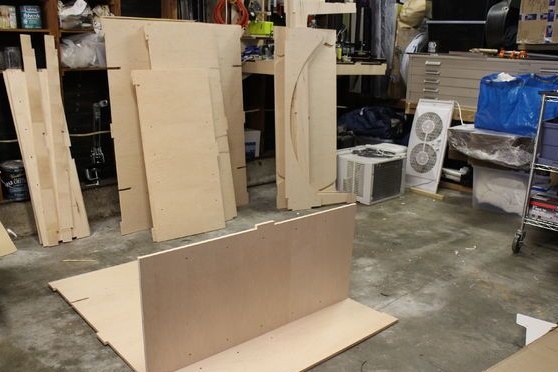

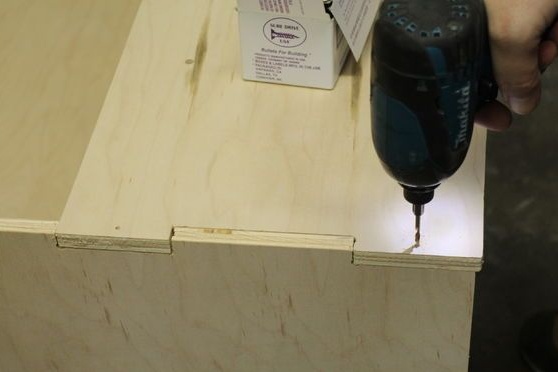
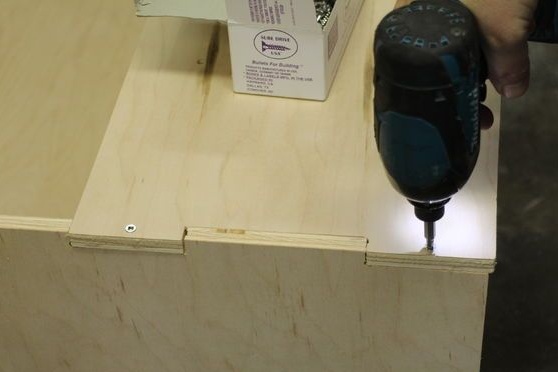
Collects side shelves.
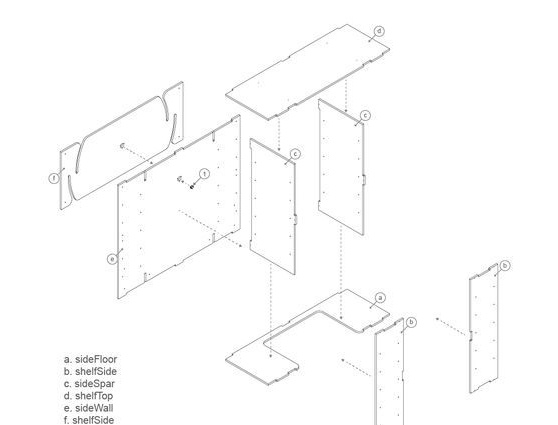
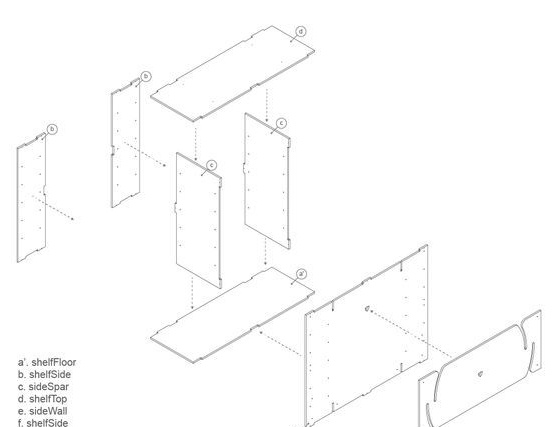
Then the countertop and the lower shelf.
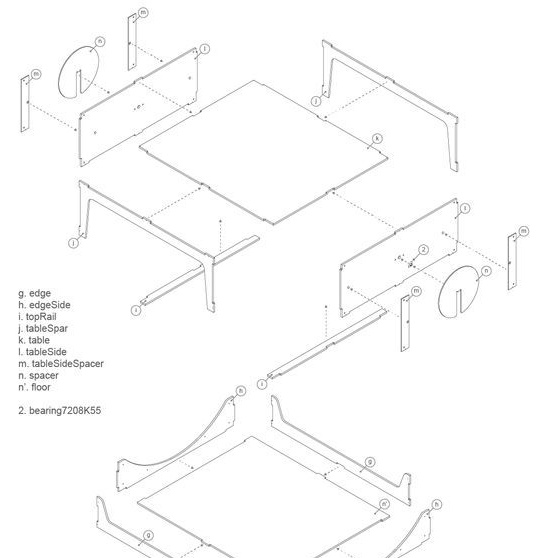
Connects shelves to the main part.
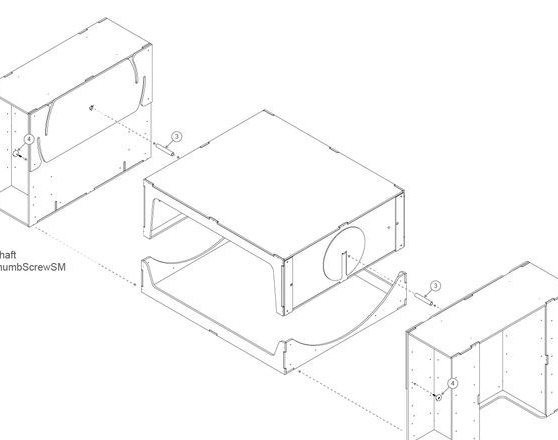
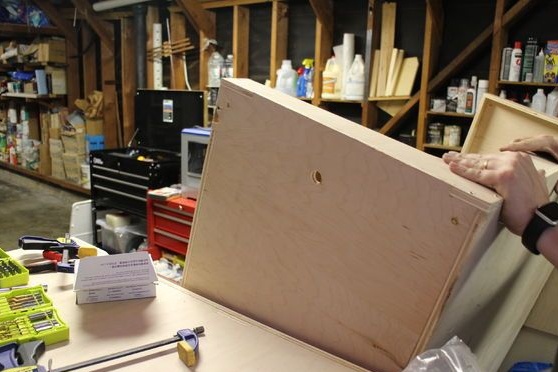
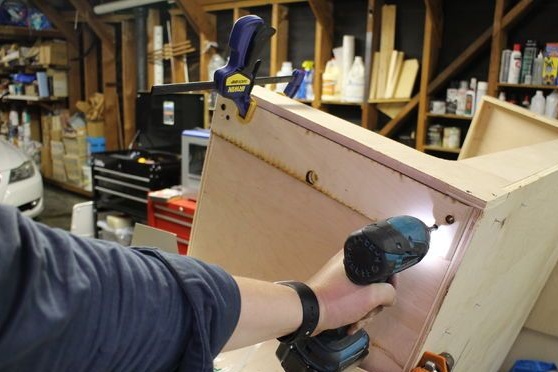
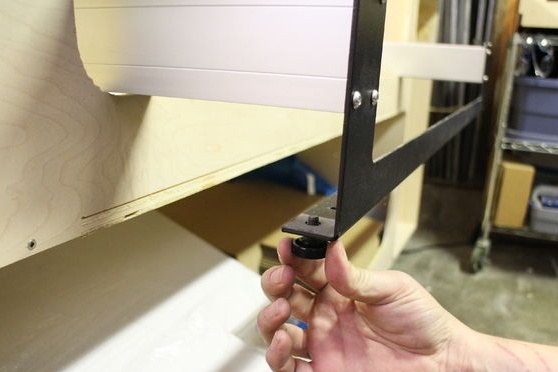
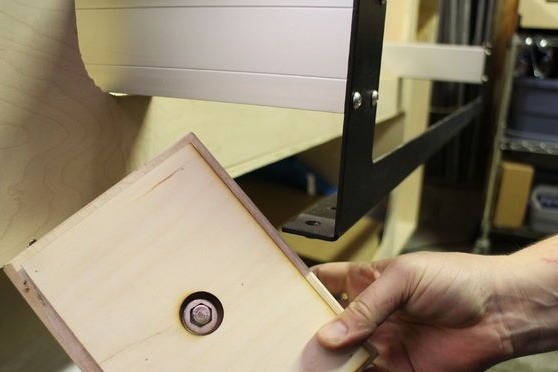
Installs threaded inserts and tightens the bolts holding (the countertop from turning).
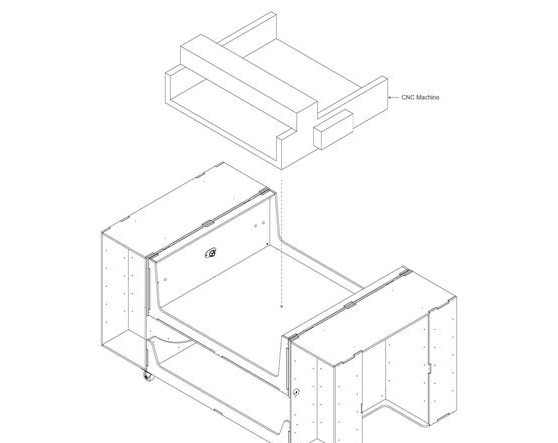
Step Four: CNC Installation
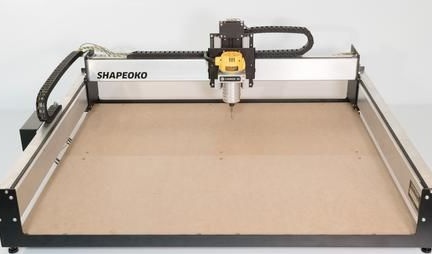
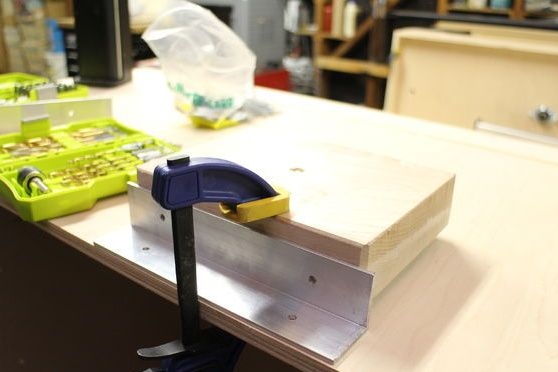
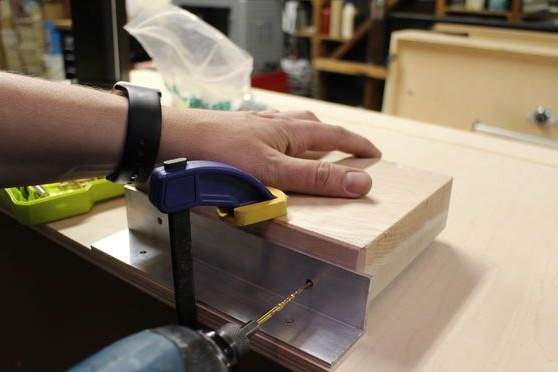
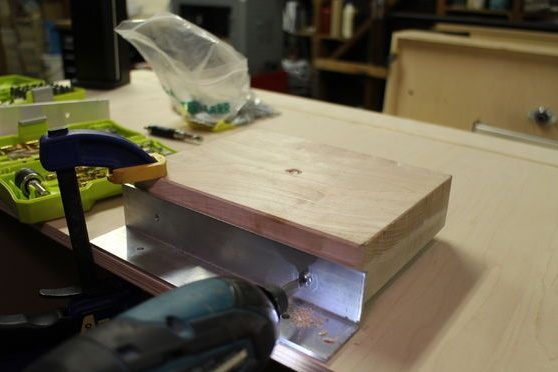
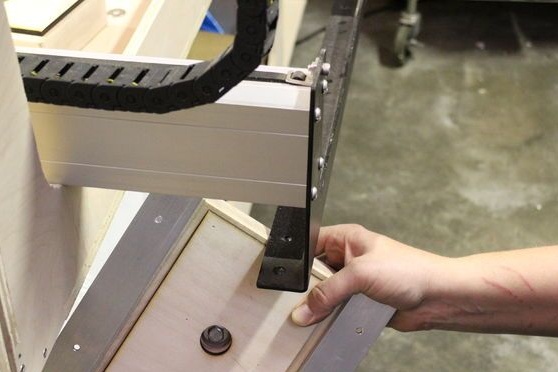
Sets the CNC machine.
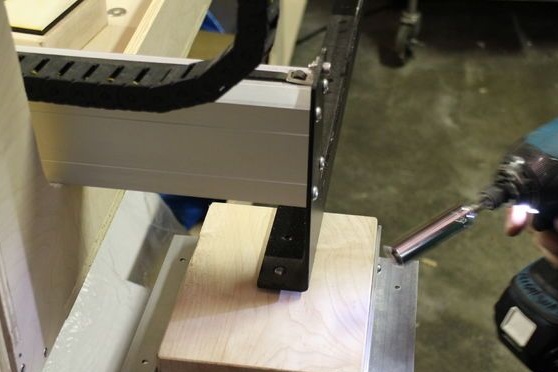
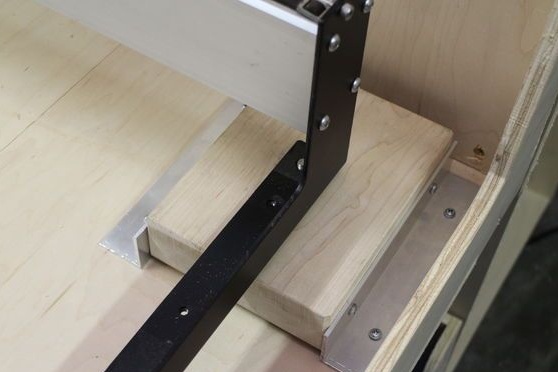
The table is ready. In my opinion, the idea itself is interesting. And what to place on the surface of the table is your business.
