
Have a nice time of day, Friends. Many of us have encountered such a problem when you start to drill a hole, it turns out not at right angles. A boring machine easily helps us make a straight hole, but sometimes we need to drill it in a place where there is no machine in the vicinity, or you don’t have it at all. And such an idea arises, and what if you make such a machine so that you can take it with you, it was compact and easy to manufacture. And this is exactly what I found on the Internet, where the author clearly showed the method of its manufacture. Have a nice viewing!
Necessary materials:
- bar
- plywood
- chuck from a screwdriver
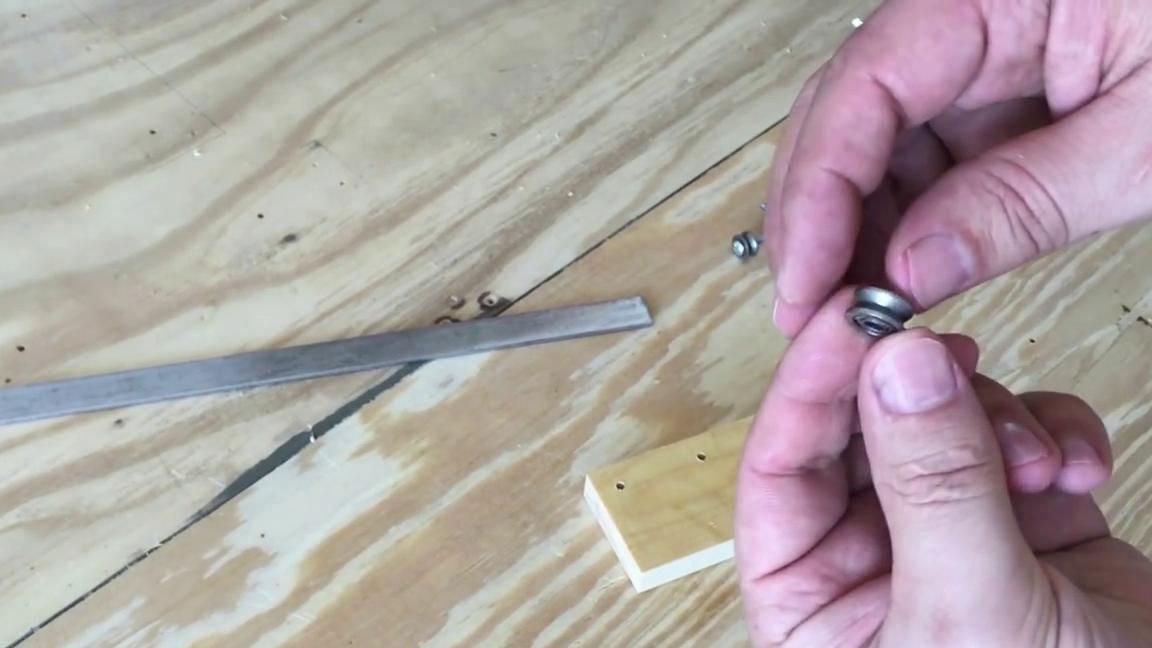
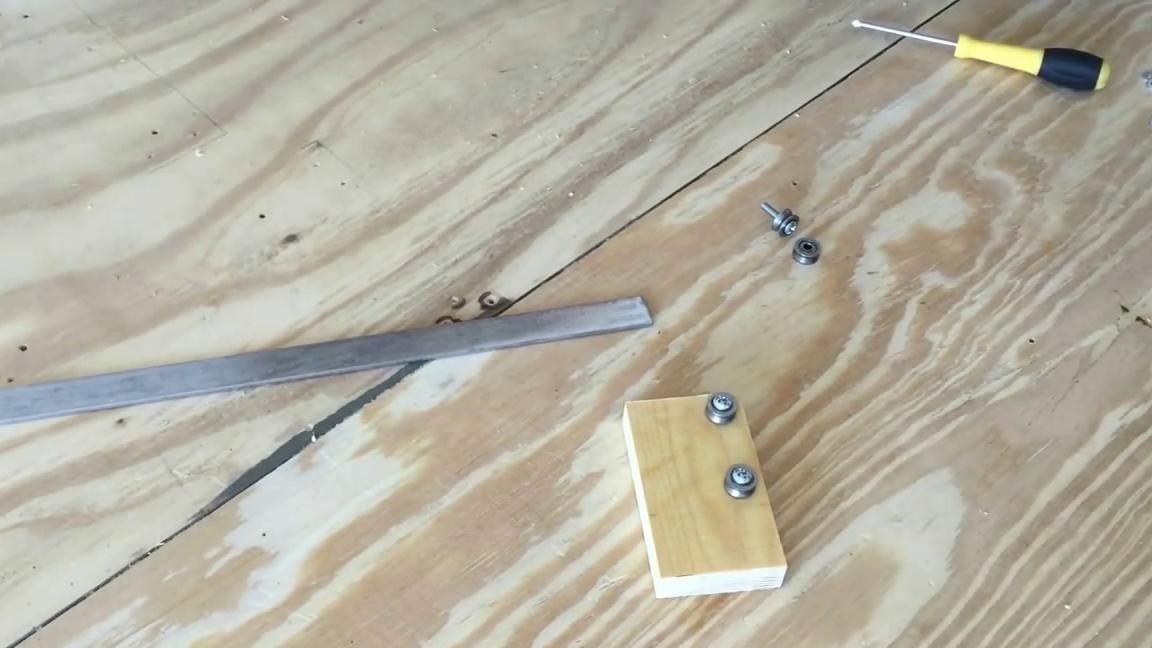
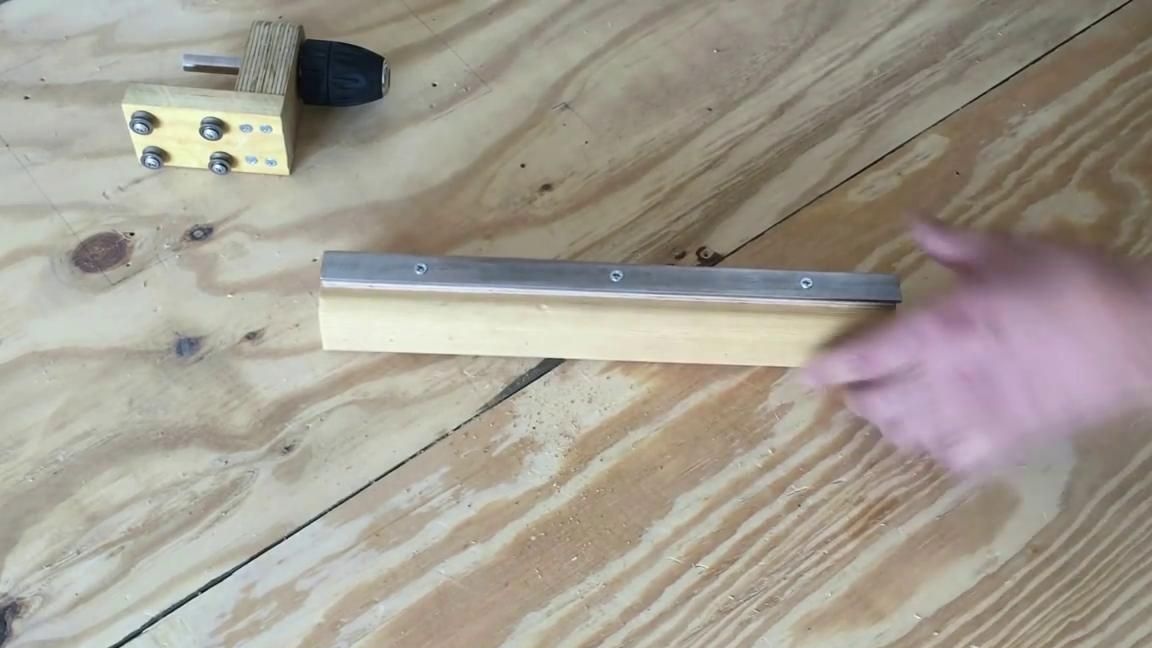
- metal plate
- 4 roller bearings
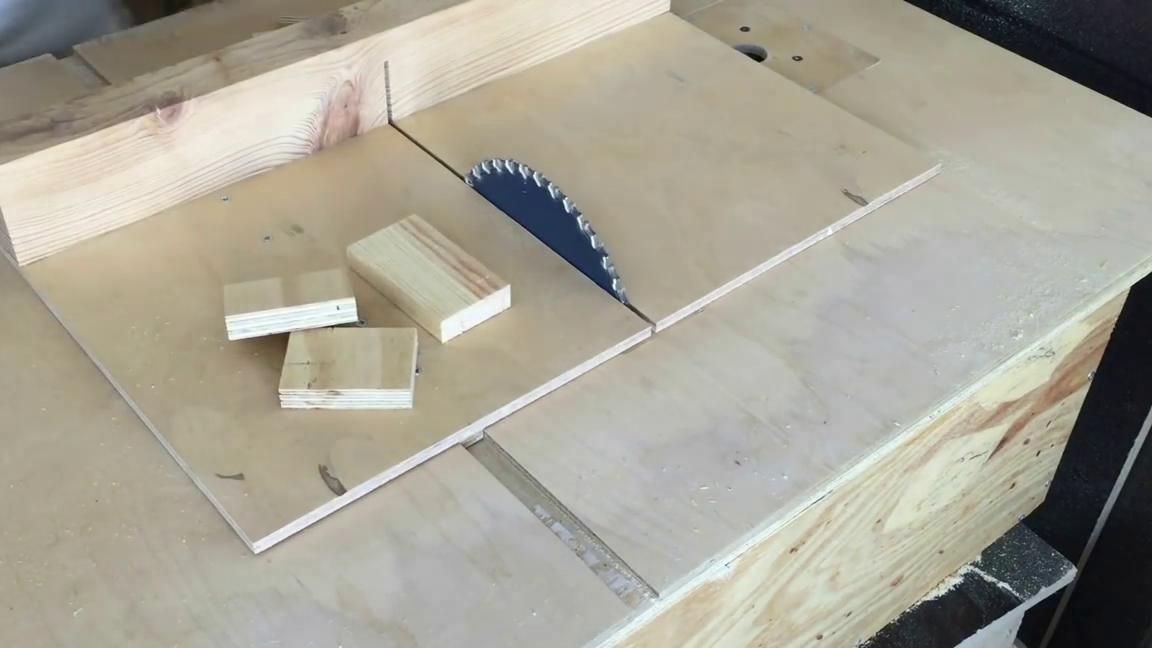
Step 1: First of all, the author cut out 3 blanks, two of them are the same. Unfortunately, there are no drawings, but it will not be difficult to make them yourself.
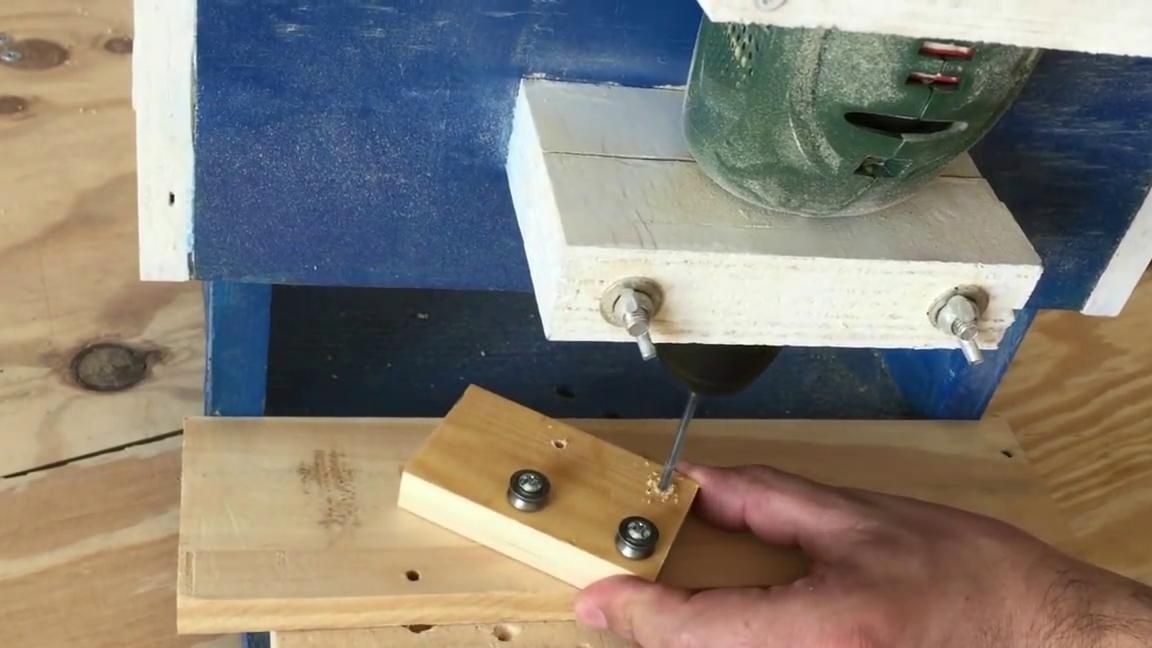
Step 2: Then the author drilled 2 non-through holes in the blank, as shown in the photo. 2 rollers - bearings, he screwed to the workpiece with the help of bolts, putting a washer between the bearing and the block. Then, cutting off a metal plate, the author applied it to the workpiece and made a marking. Then he drilled holes and screwed the bearings.
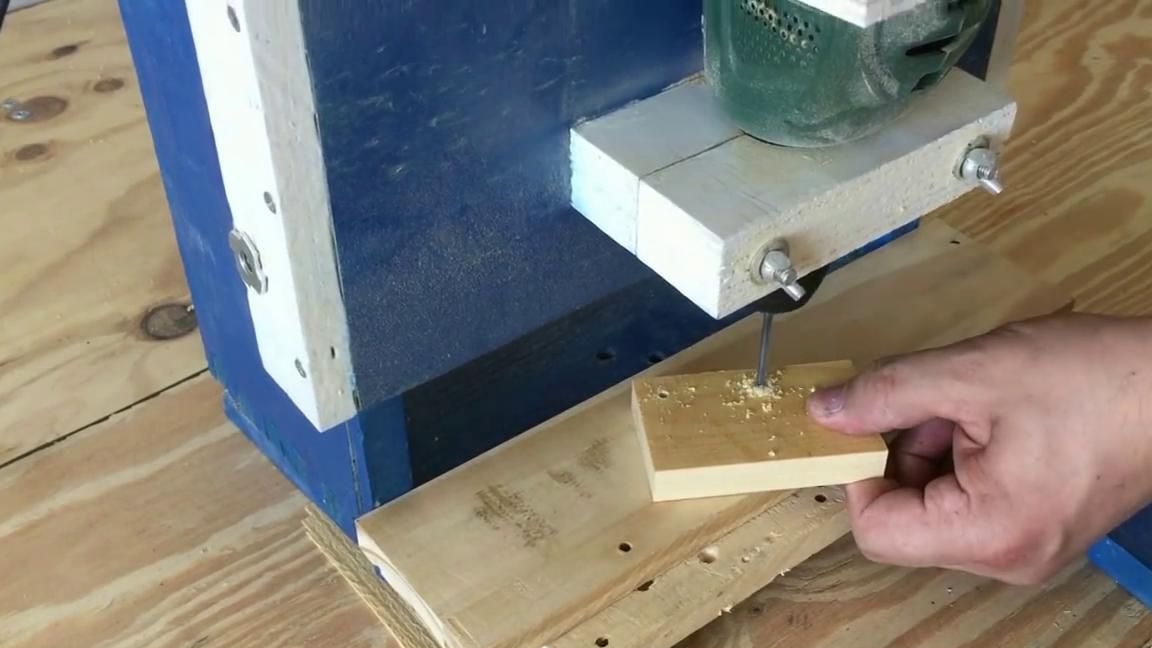
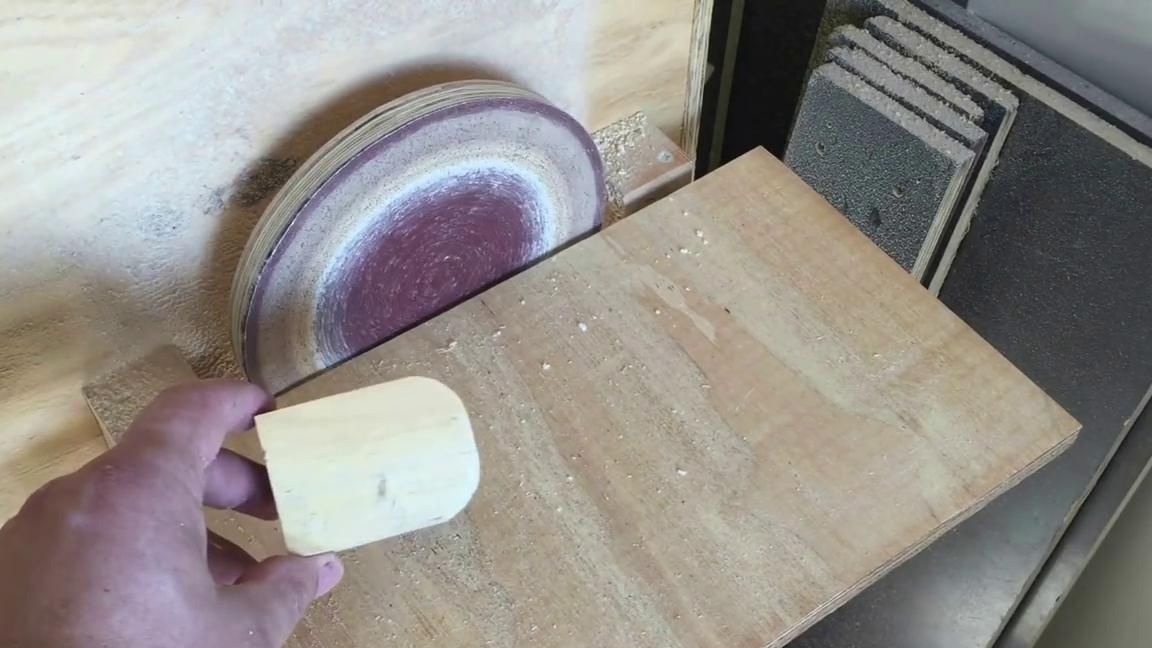
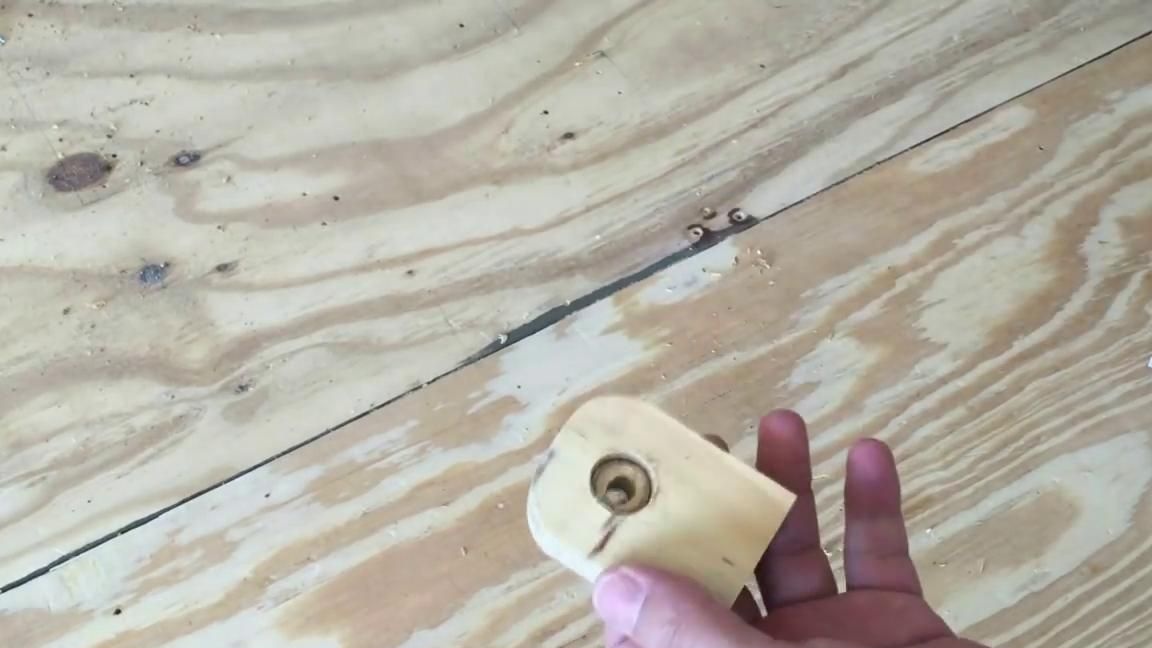
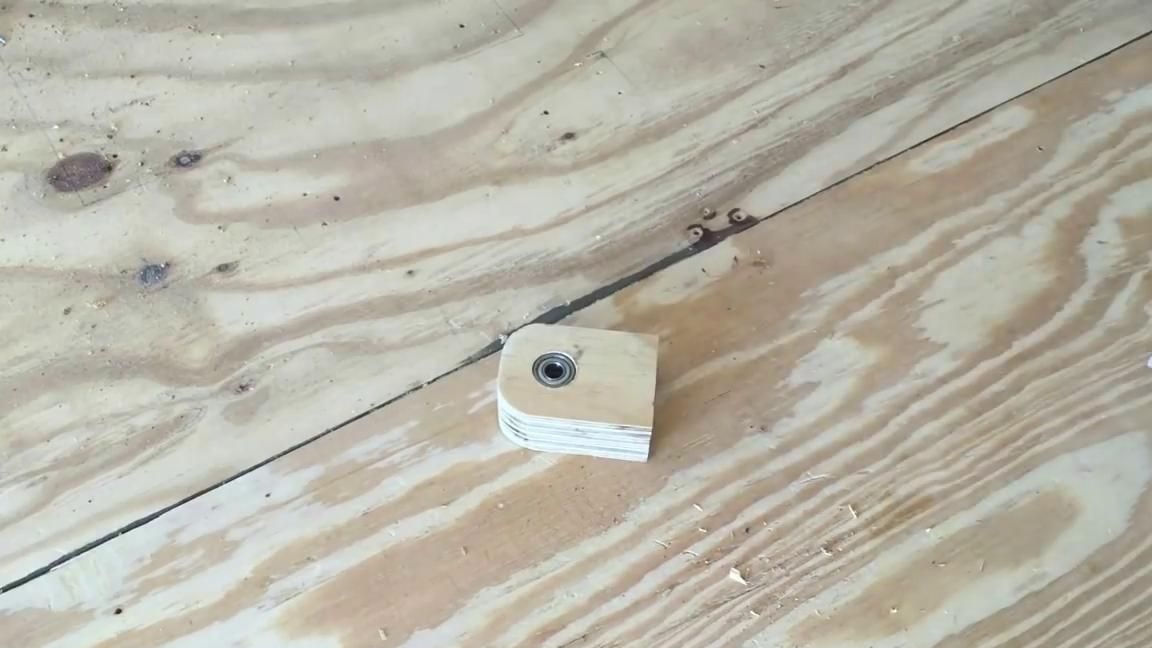
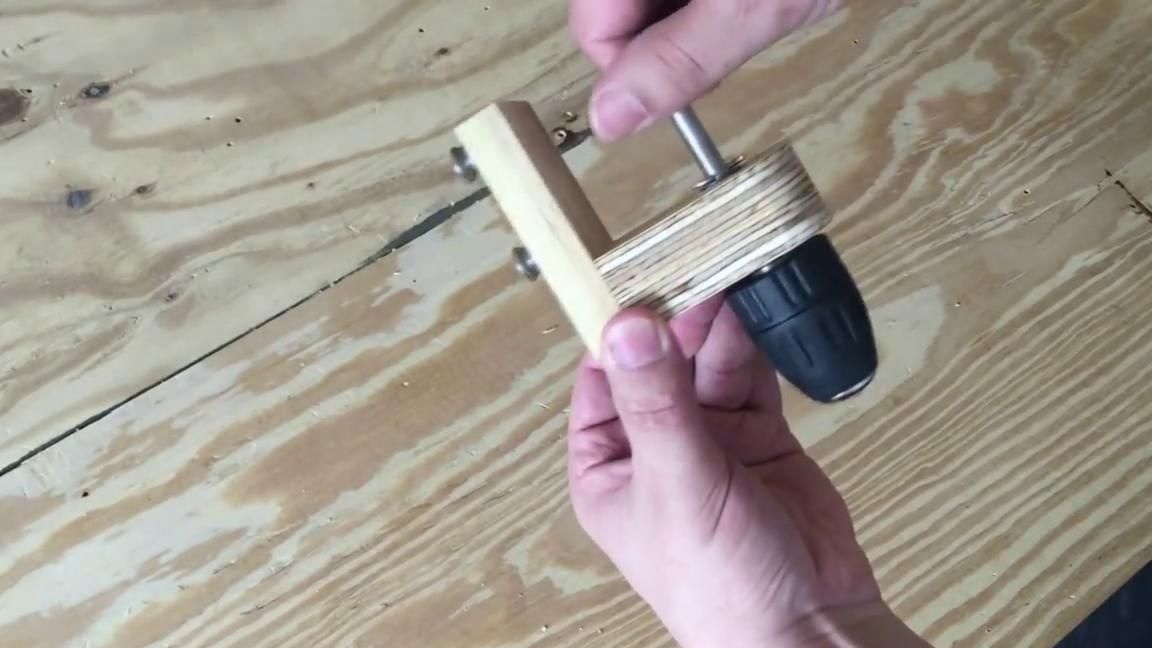
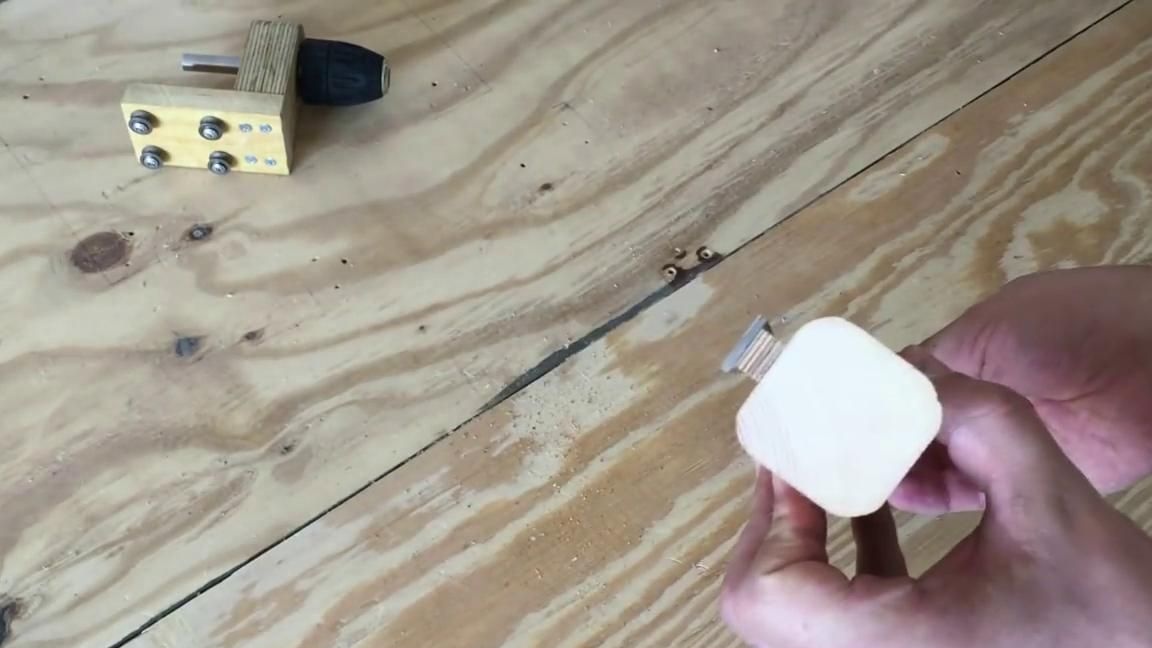
Step 3: Two blanks that the author prepared earlier, he glued together with each other, getting one. After drying, using a grinding machine, he rounded the edges of the workpiece. Then he drilled one through hole with a small diameter, and in the same hole (with a drill of a larger diameter) not through, on the sides of the workpiece. In them, he inserted bearings.
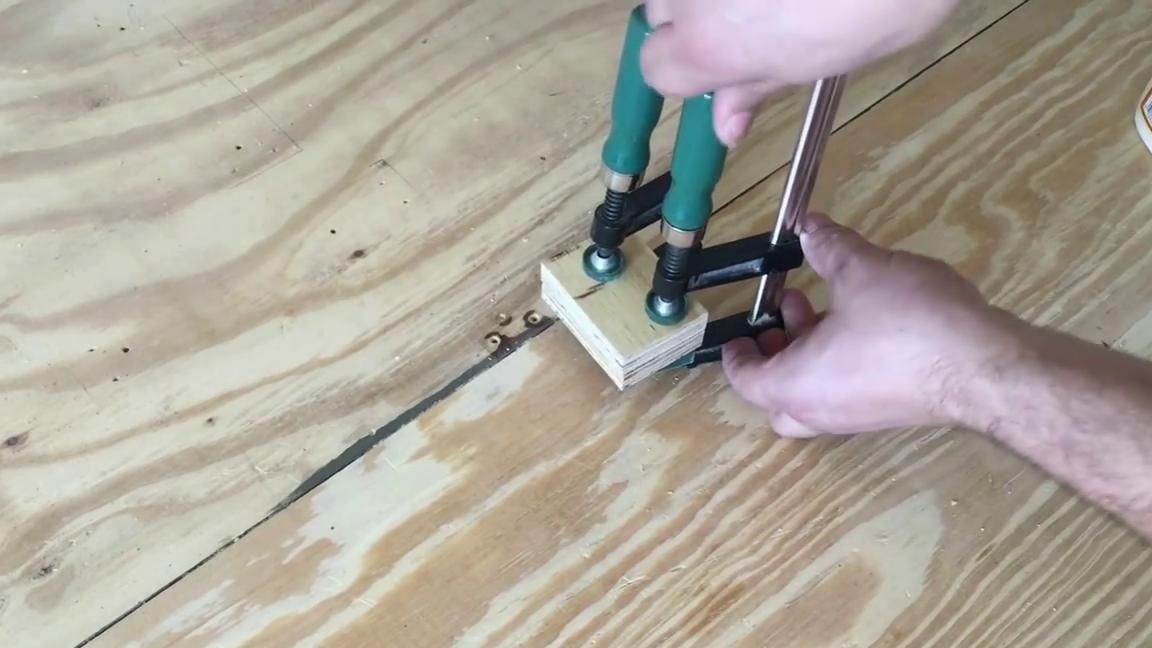

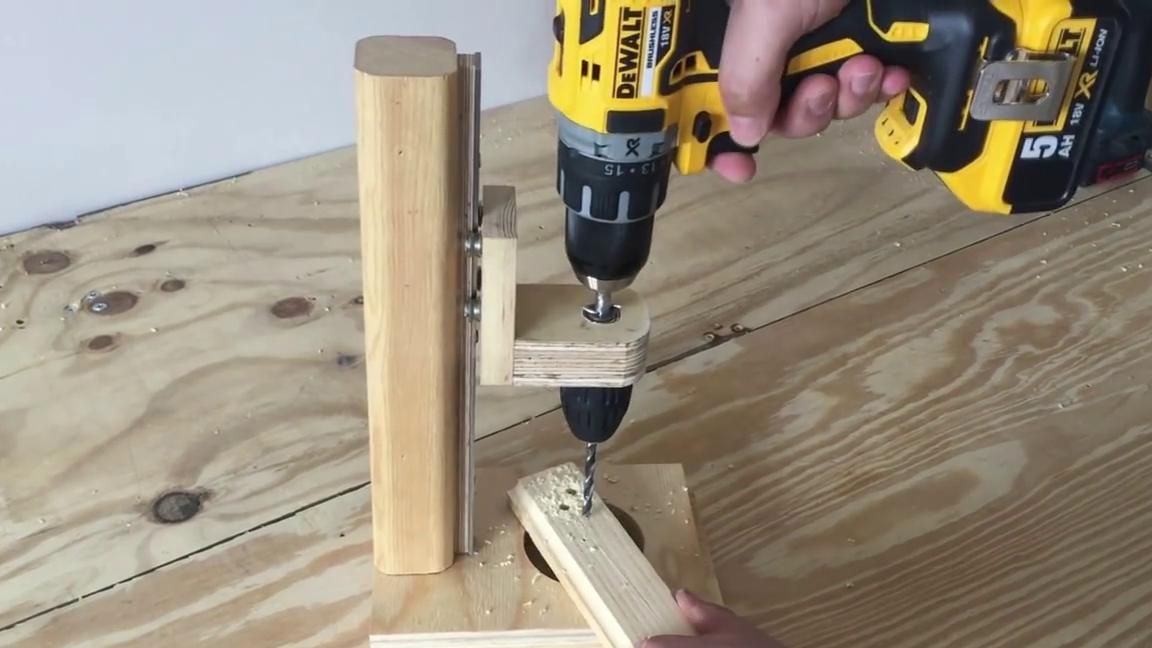
Step 4: He connected the two blanks with each other with screws. Then I installed a cartridge with a pin from a screwdriver, as shown in the photo.

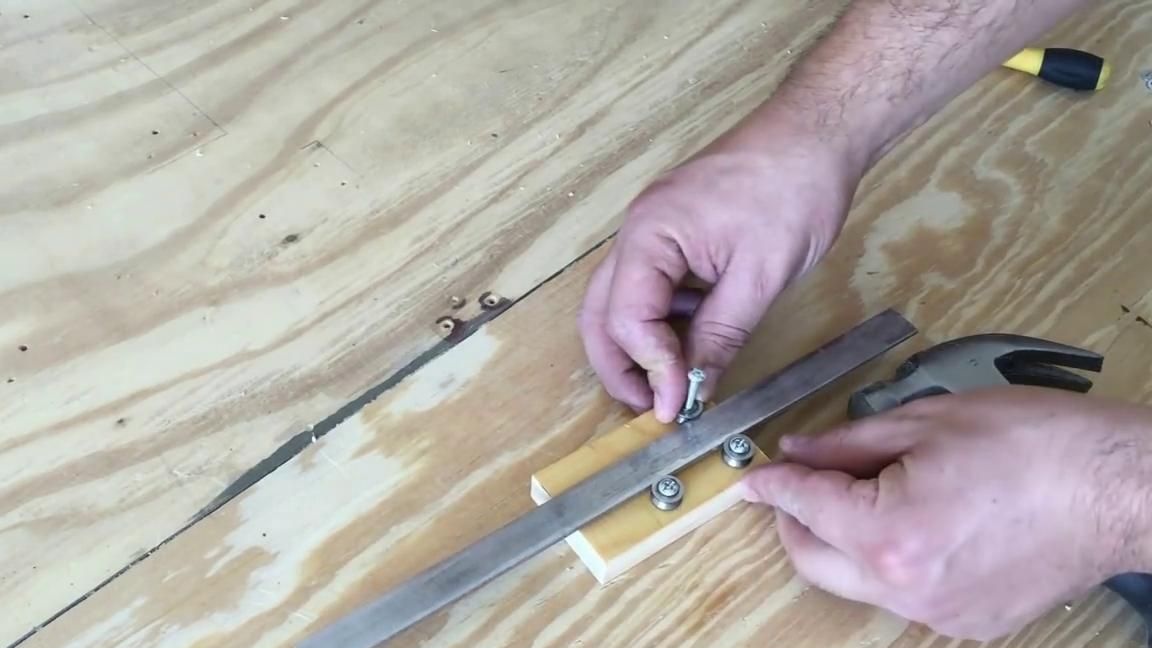
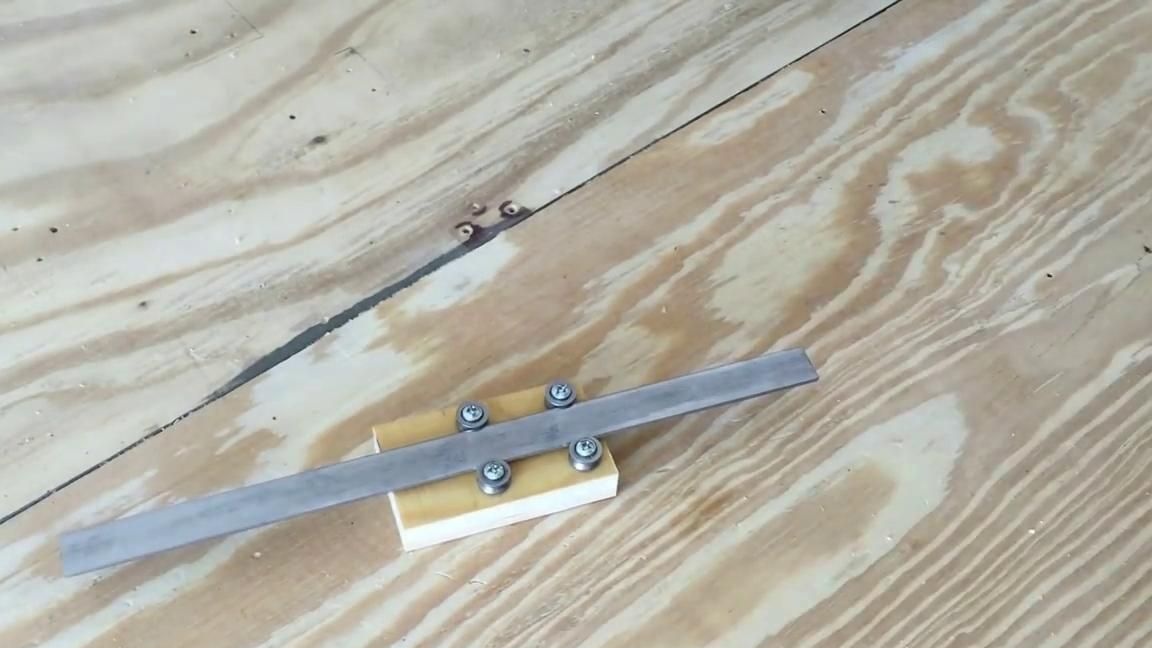
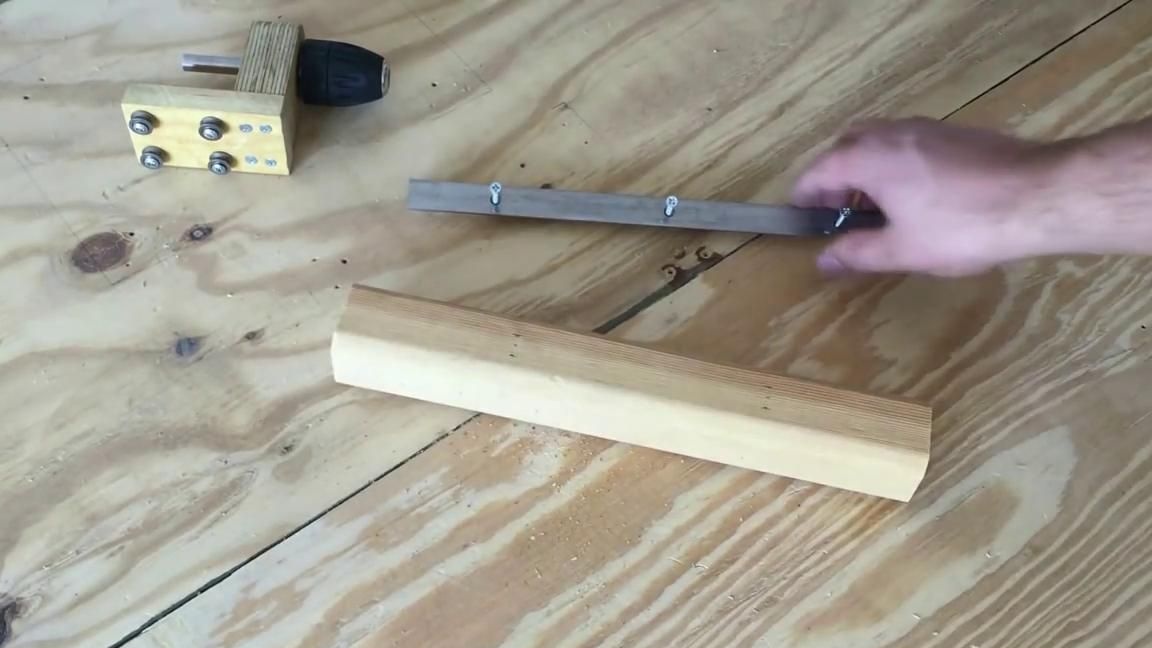
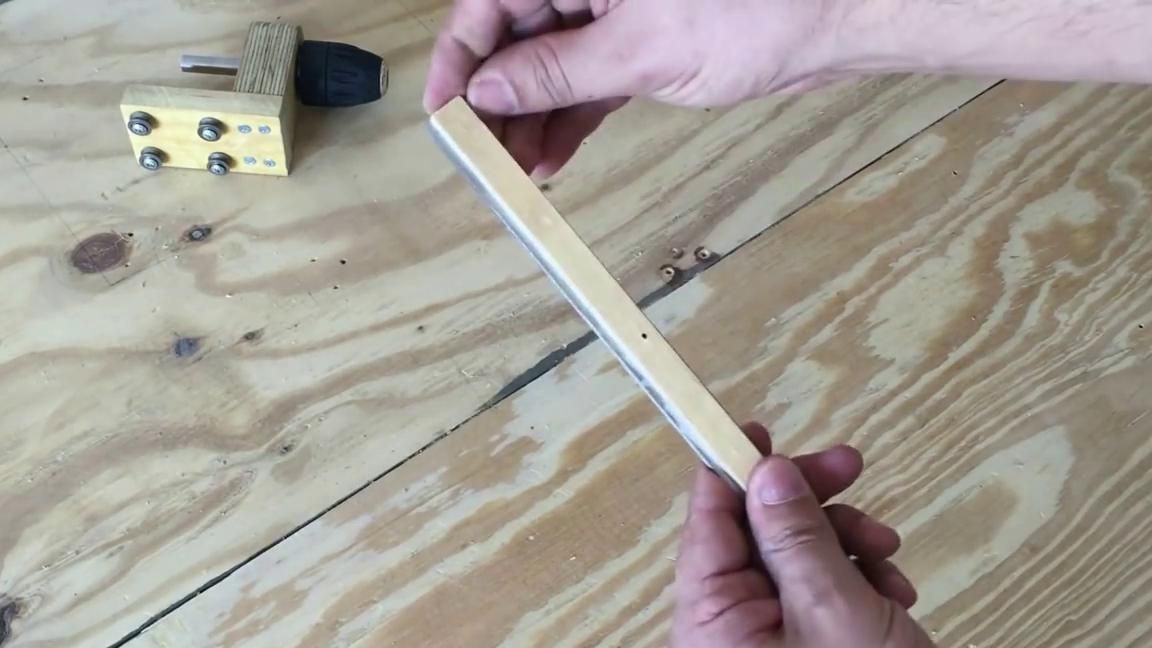
Step 5: He drilled several holes in a metal plate. And he made a wooden rail to her. Then I screwed this workpiece to the bar, as shown in the photo.
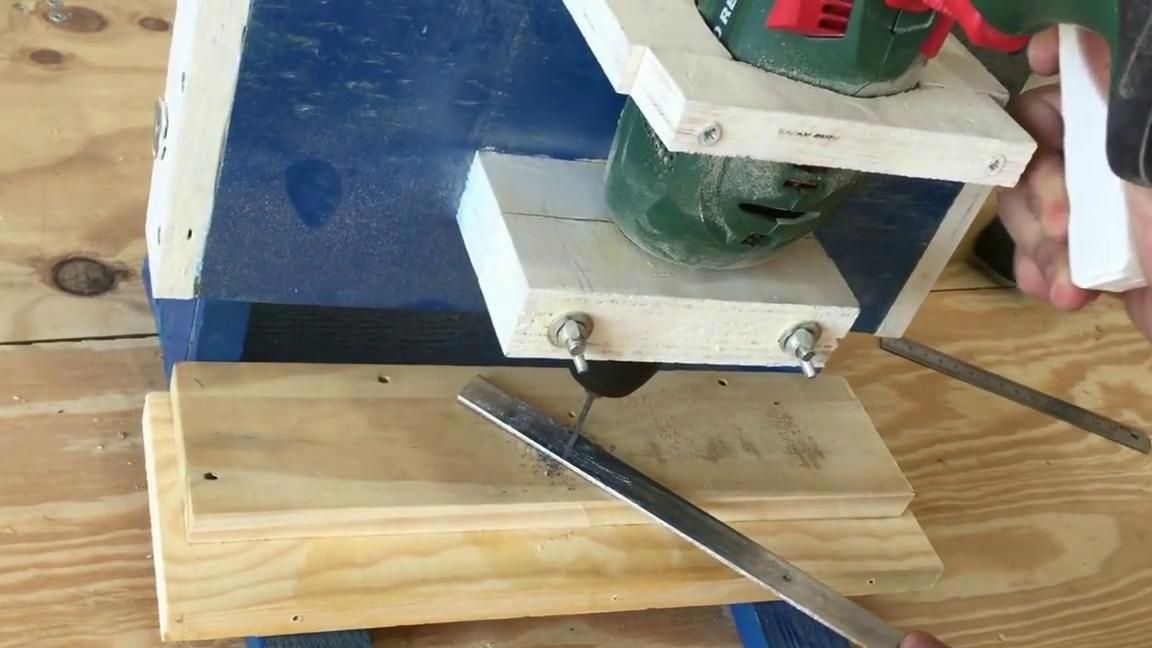
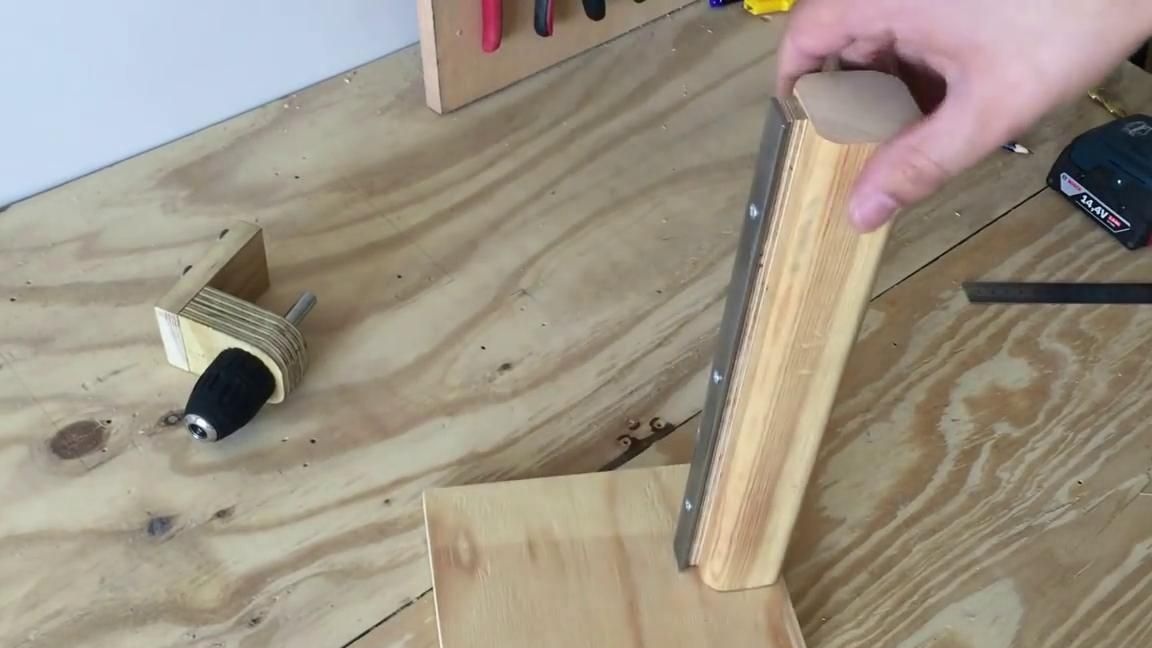
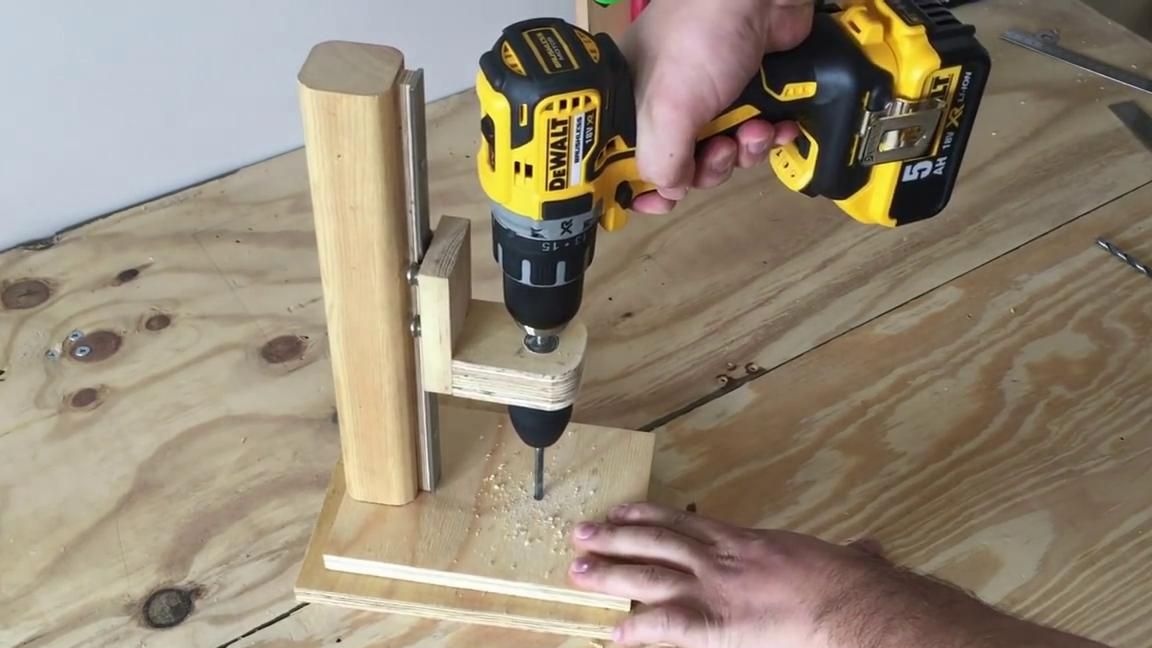
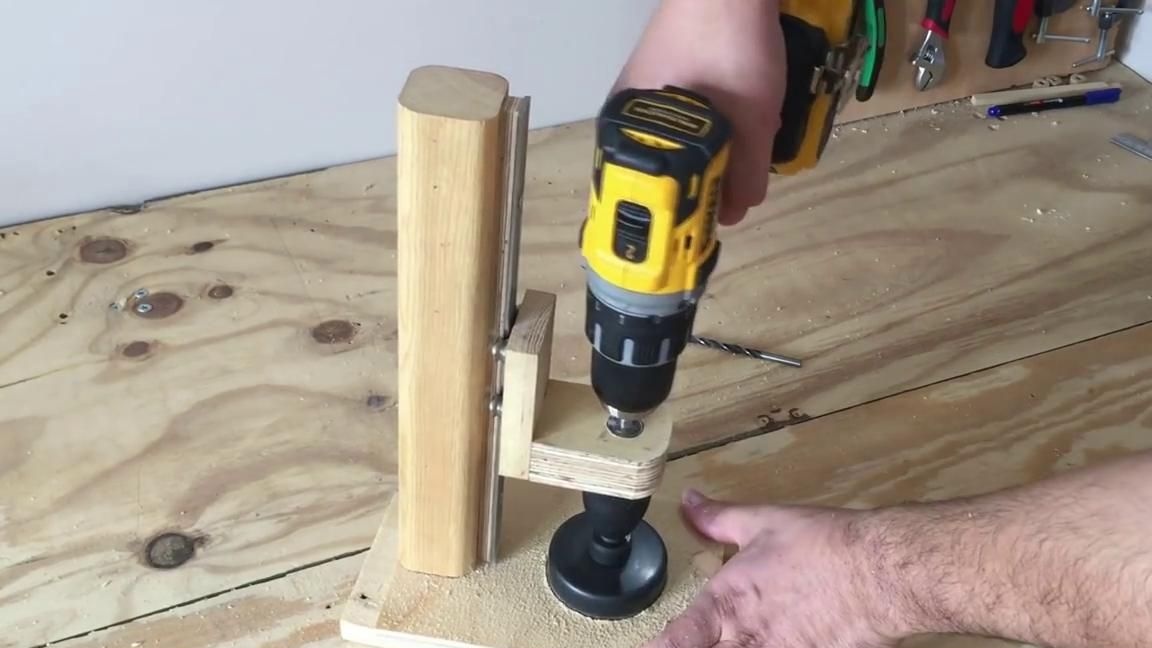
Step 6: For the foundation, the author took rectangular plywood. And he "acquired" a blank with a self-tapping screw, which he made in step 5. Then, on the guide, the author put on a blank with a cartridge, in which he clamped the drill.Then, having verified that the drilling angle would be strictly at an angle of 90 degrees, he reinforced this design with more self-tapping screws.

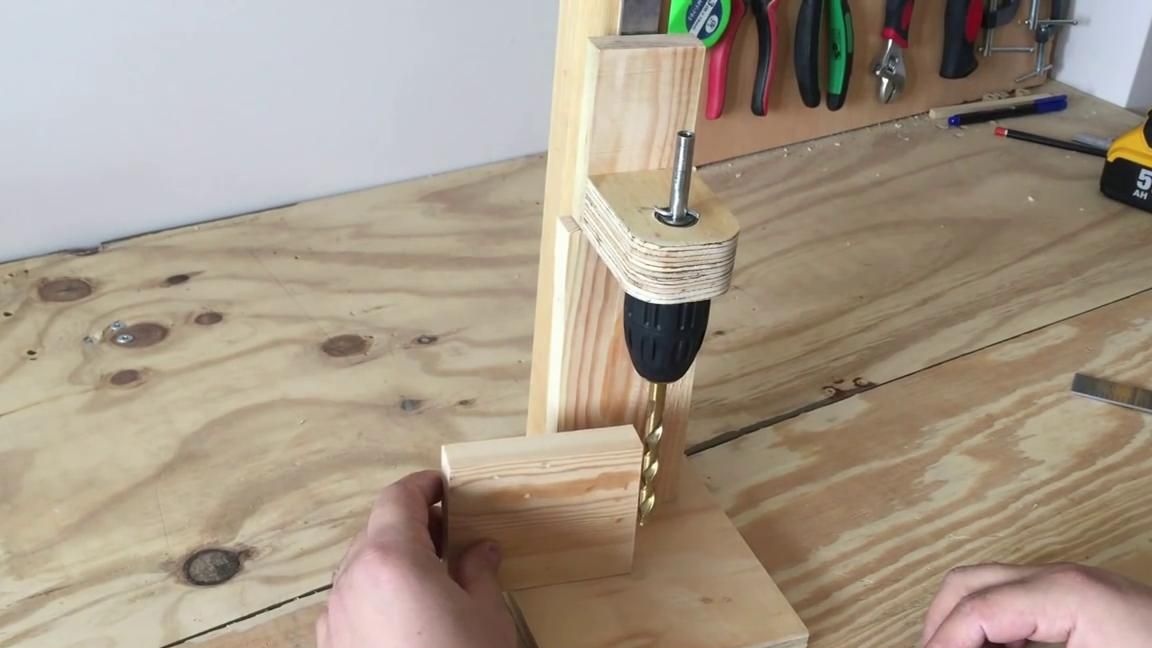

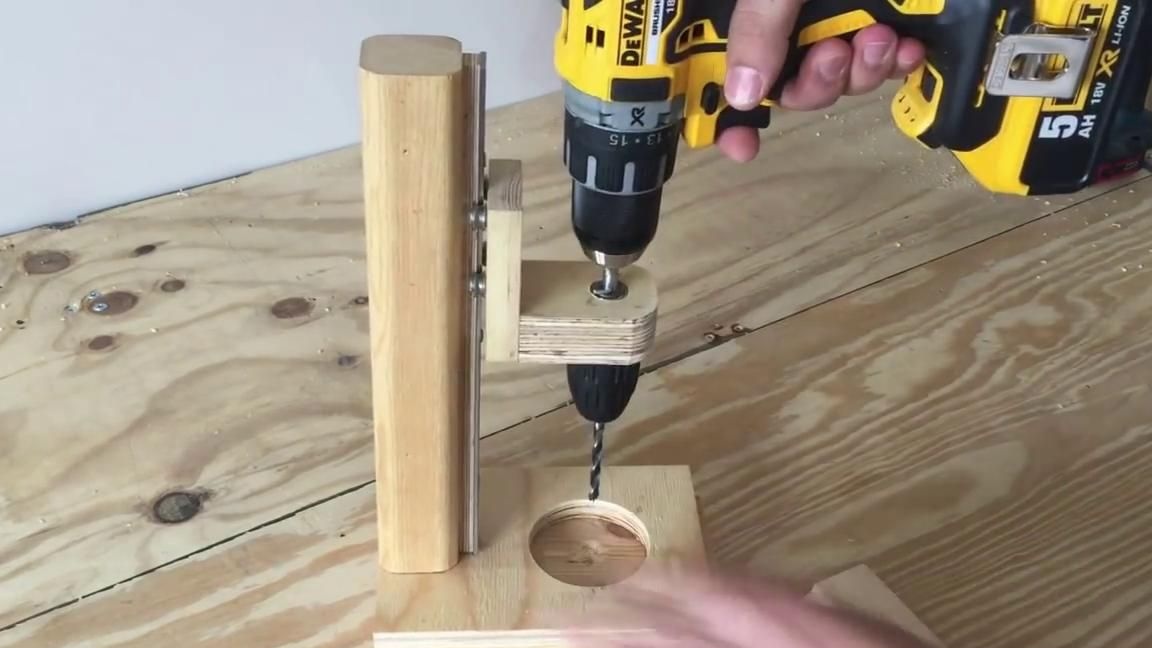
Step 7: In the last step, he drilled a hole in the base of this tool.
And this is not tricky device It turned out from the author, who is always useful on the farm.
Thanks for attention!
Video author: