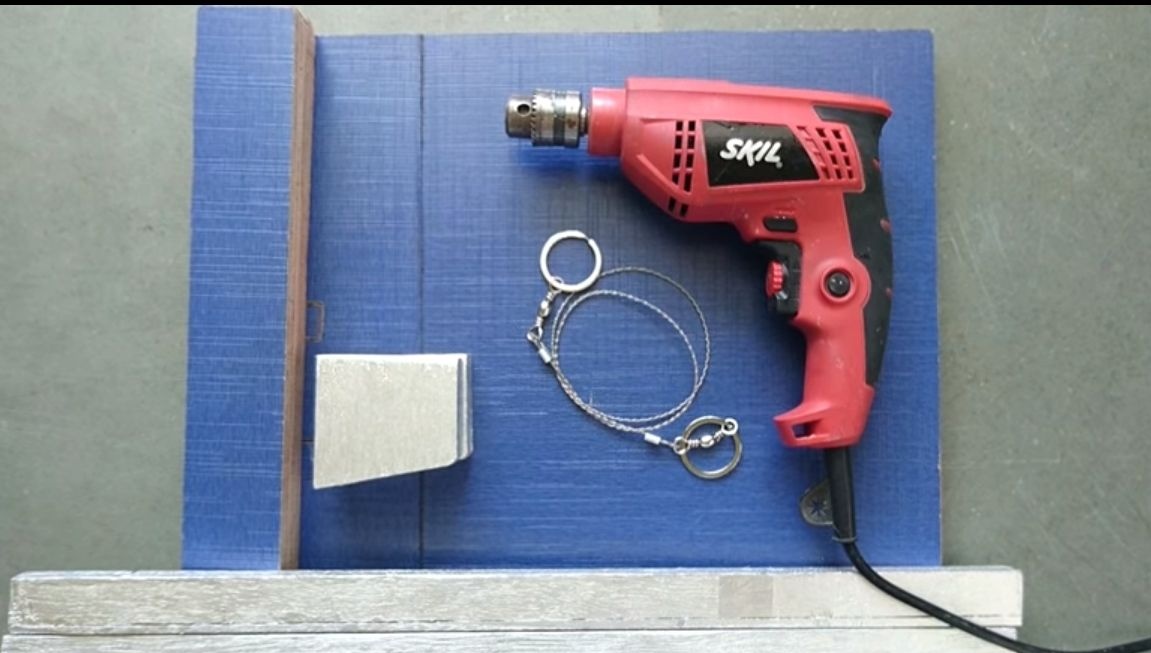
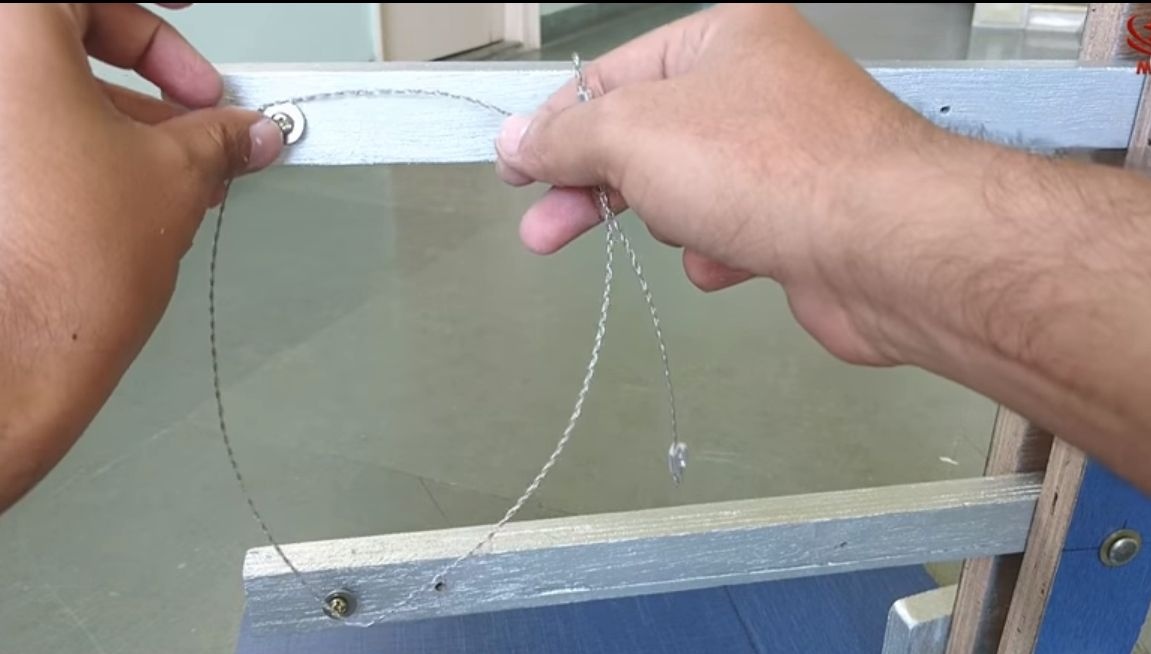
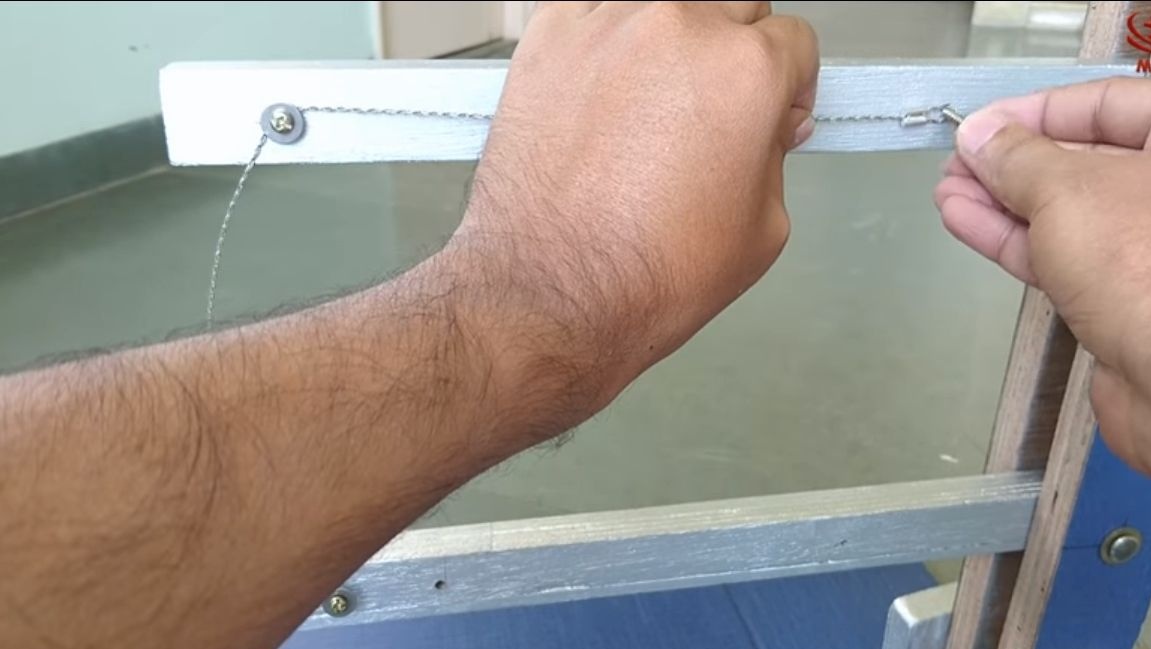
For those who don’t know, today there are such interesting fixtures as . They are mainly intended for hand-held small jobs. They can easily cut the board, cut the desired shape and so on. In some sense, such a cutting tool is more promising than a jigsaw, since a jigsaw knife can cut in only one direction, and a cable in absolutely any direction.
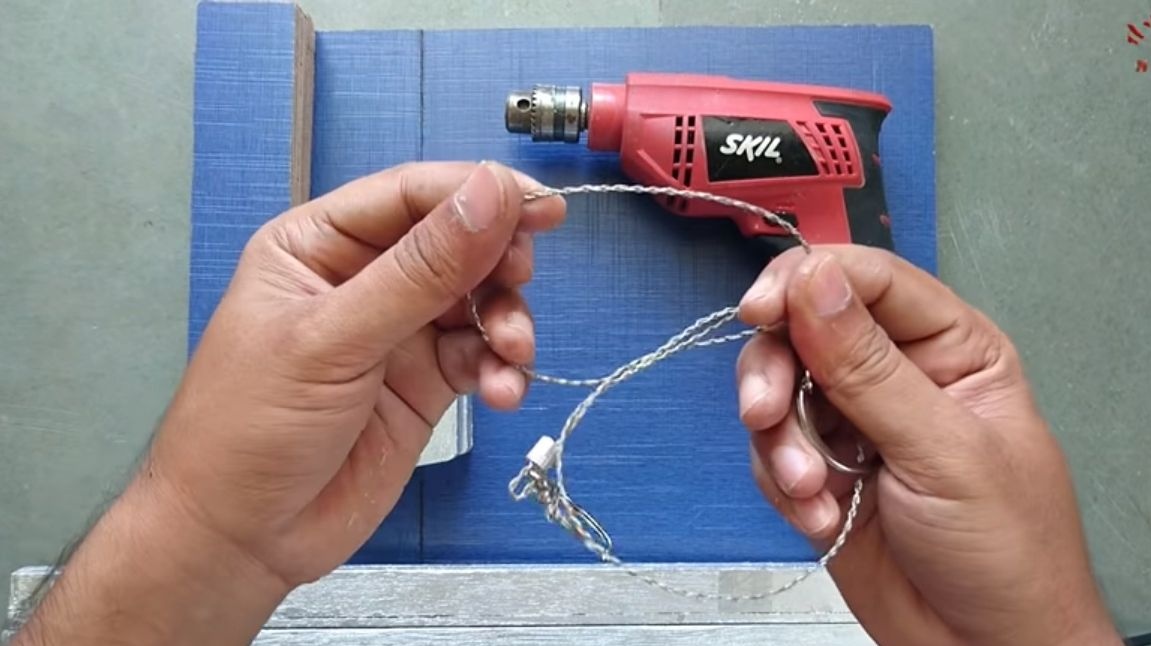
As a rule, these cables are equipped with two rings for the fingers. You can work with this tool together, or you can do it alone. One decided to upgrade this device, equipping it with an electric drive. An ordinary drill acted as a power element. The main structure is assembled from plywood, all the materials for assembly are easy to get, and not much is needed from the tools.
List of materials and tools that the author used:
Materials:
- plywood;
-
- drill;
- glue for wood;
- wood screws;
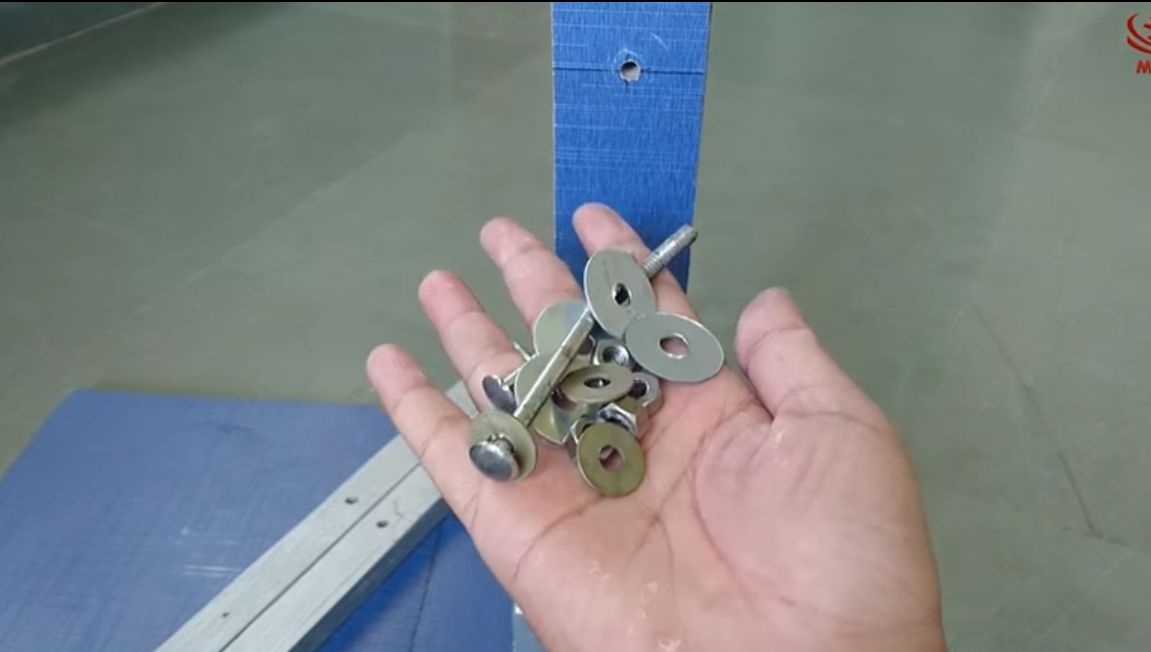
- many different bolts with nuts and washers under them;
- two springs;
- sheet metal;
- steel bar (for the manufacture of a crank);
- PVC pipes (or the like for making table legs.
Instruments:
- pliers;
-
- a tool for cutting plywood (enough hacksaws);
- drill with drills;
- glue for wood;
- paint (optional);
- ruler;
- marker;
- scissors for metal.
The process of manufacturing the machine:
Step one. Blanks
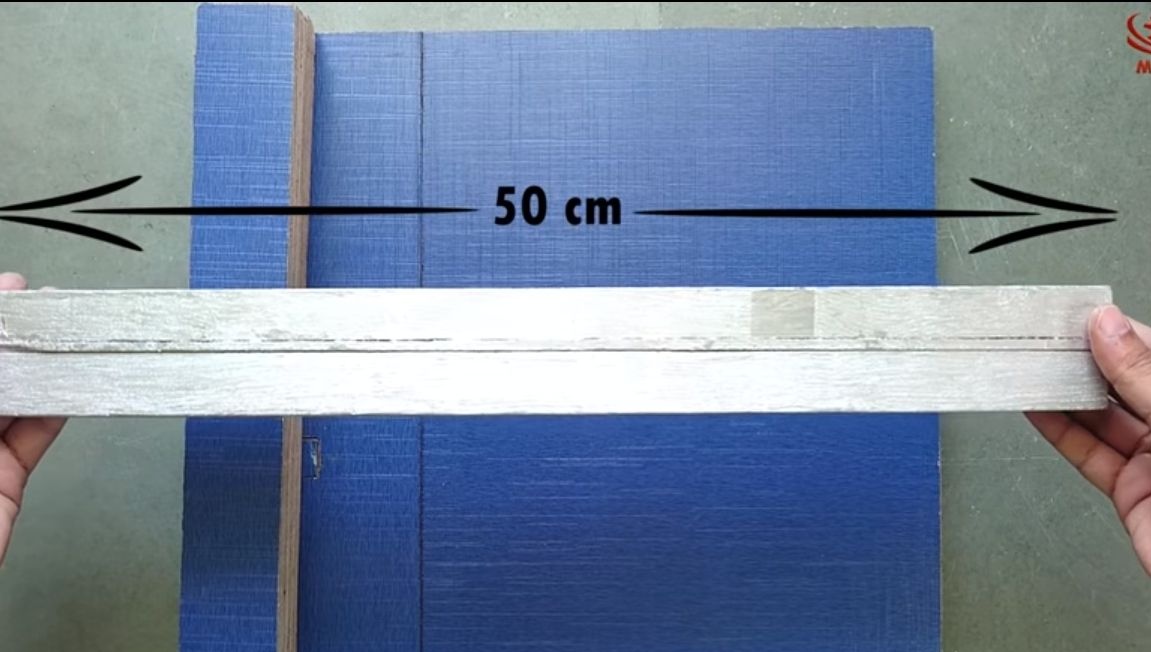
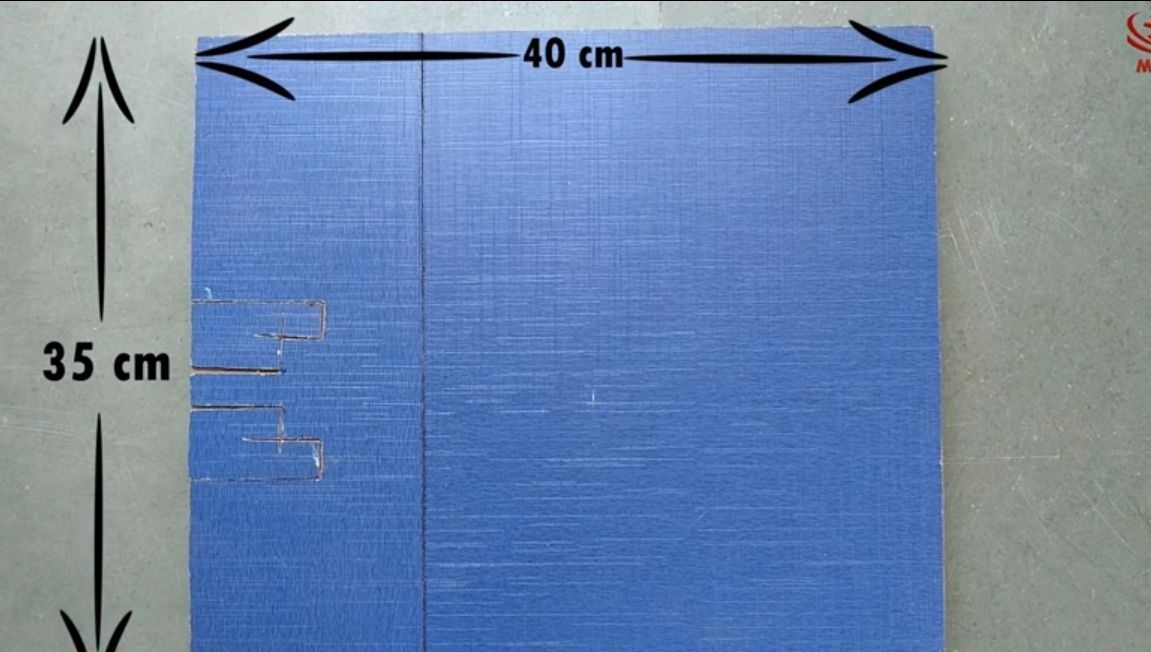
First of all, you have to find plywood of suitable thickness. Cut it into blanks, which are visible in the photo. You will need a piece of 40 by 35 cm plywood to make the base.
Two blocks or pieces of plywood for the manufacture of two levers, the author has them painted in silver.
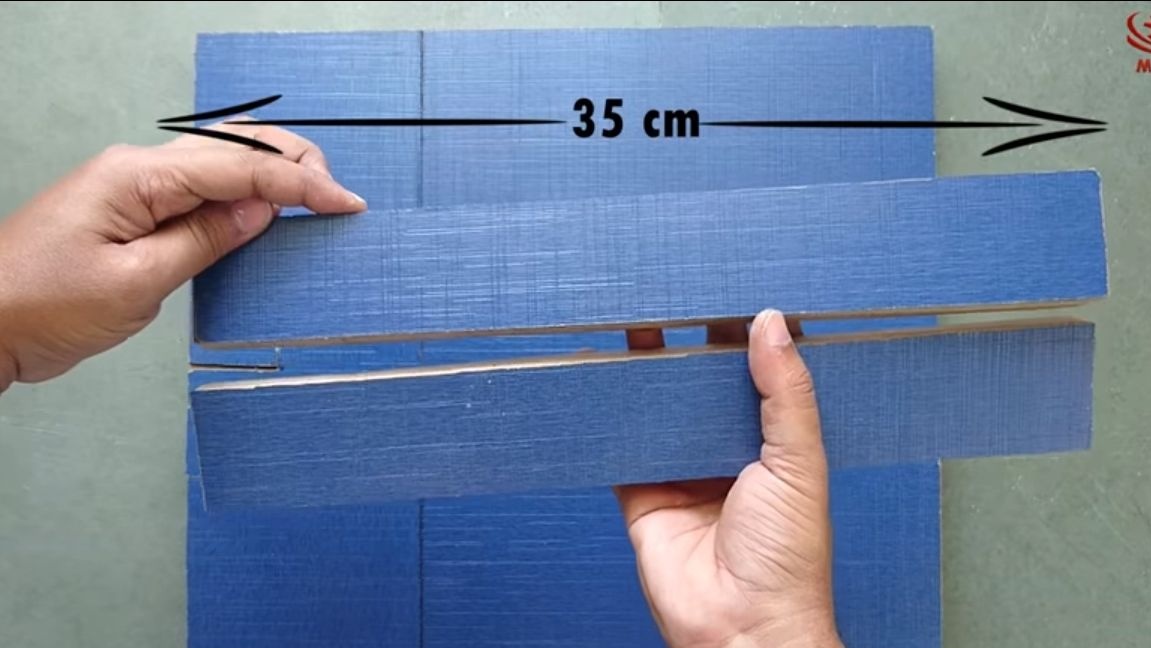
Two pieces of plywood 35 cm long, they are used as vertical racks.
Another rectangular piece of plywood will be needed to make the desktop.
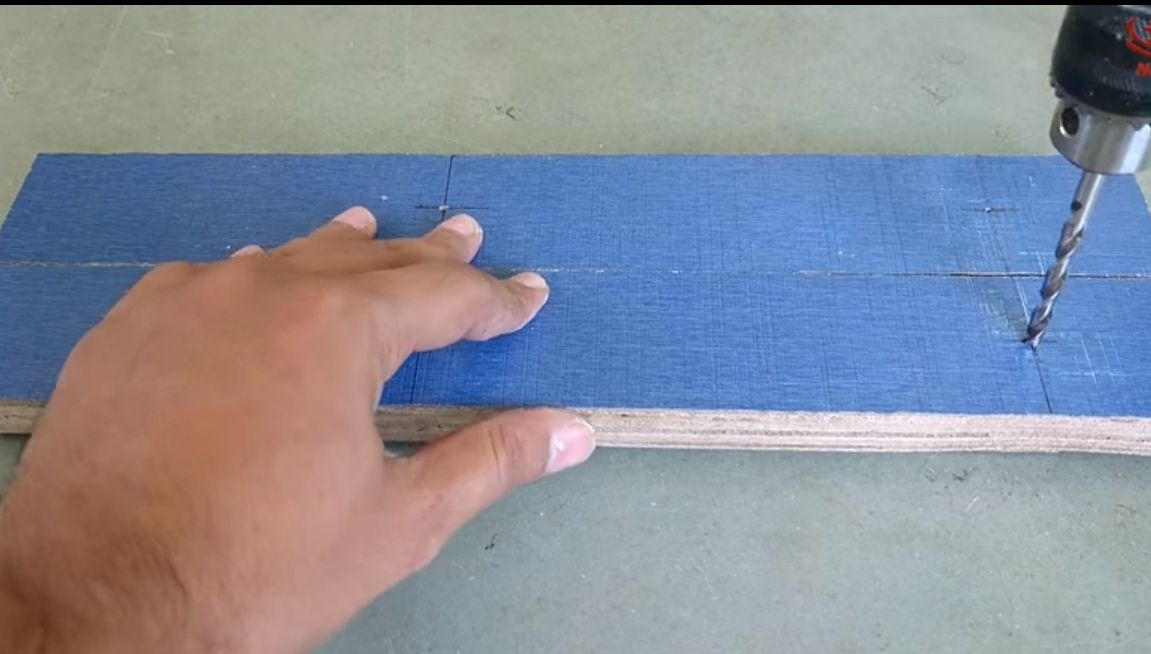
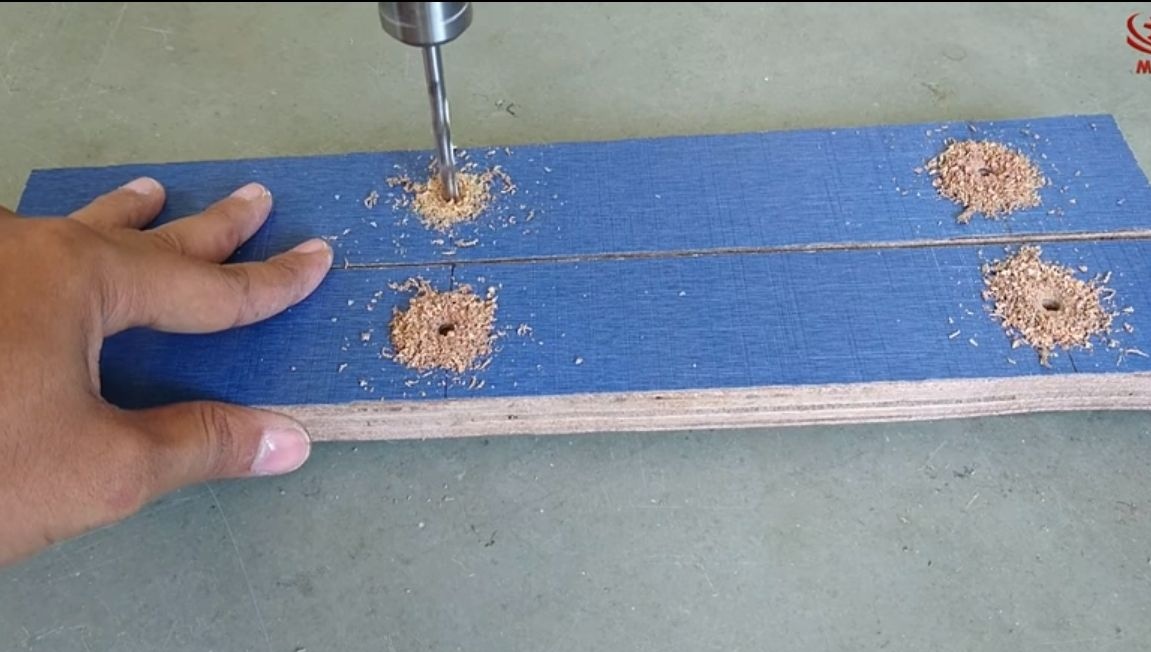
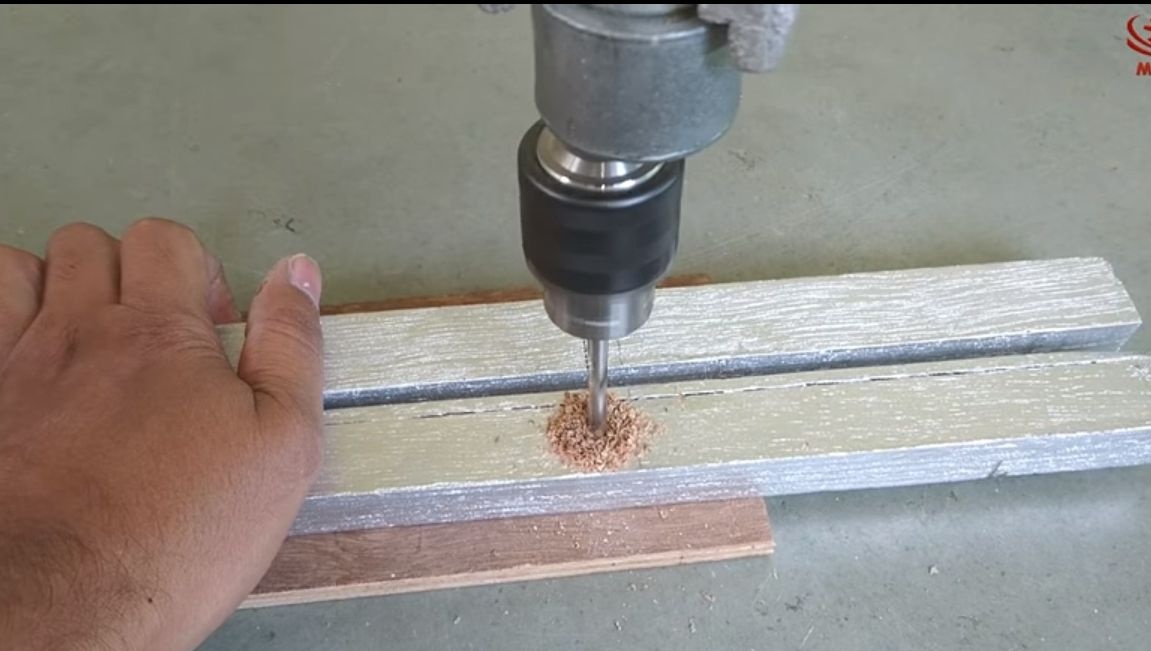
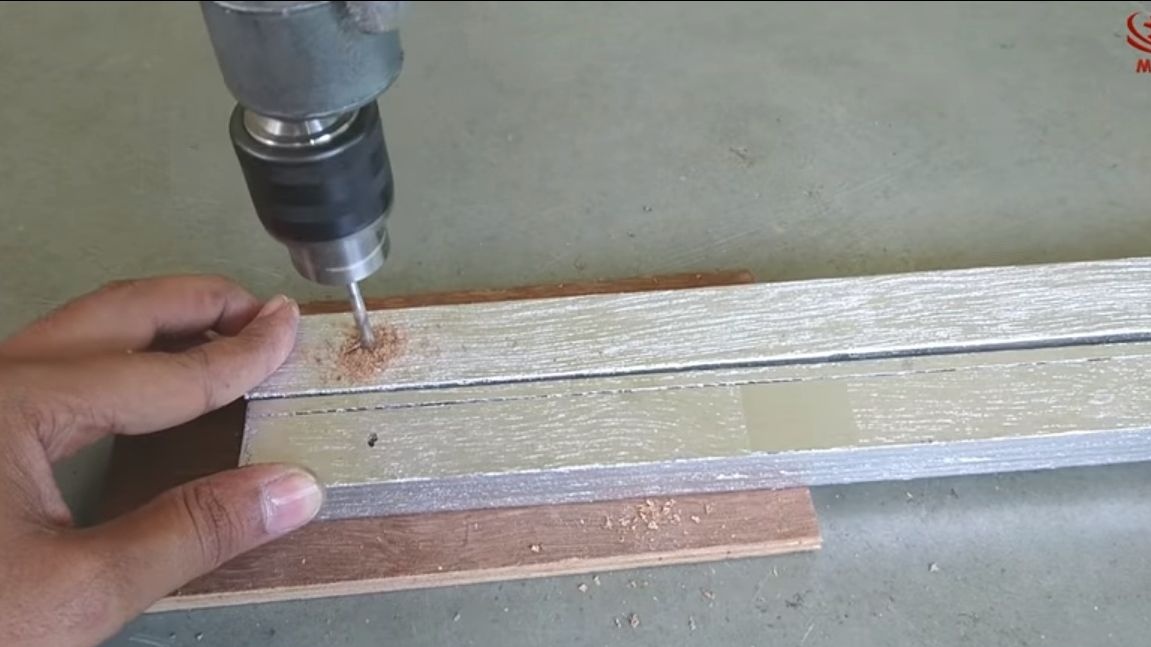
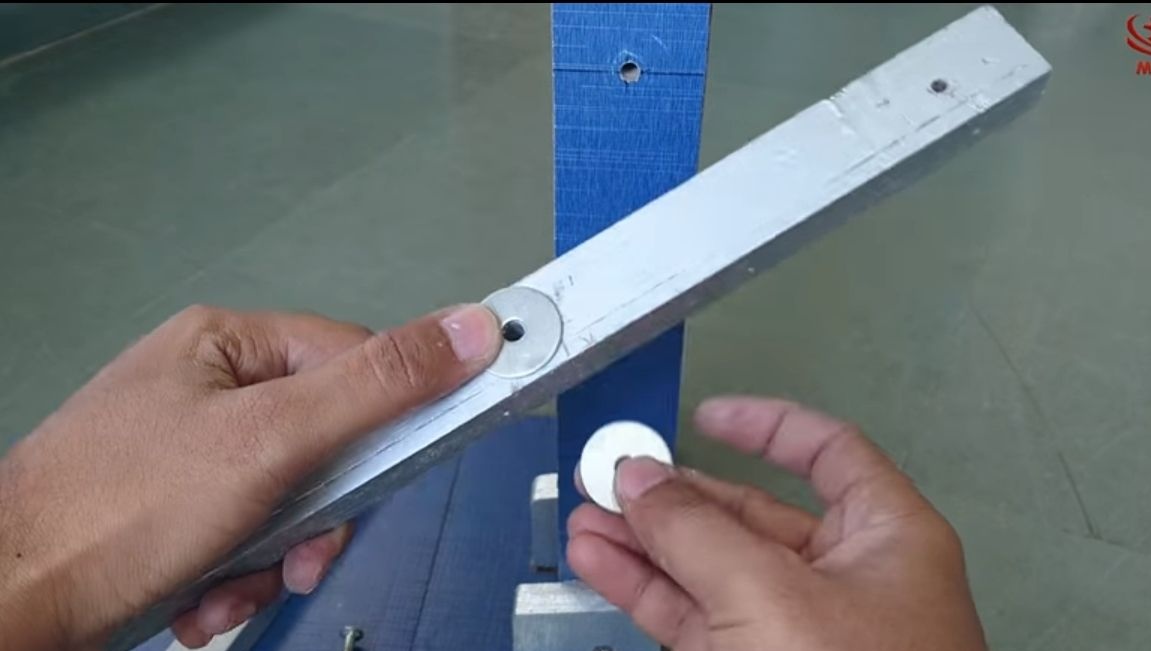
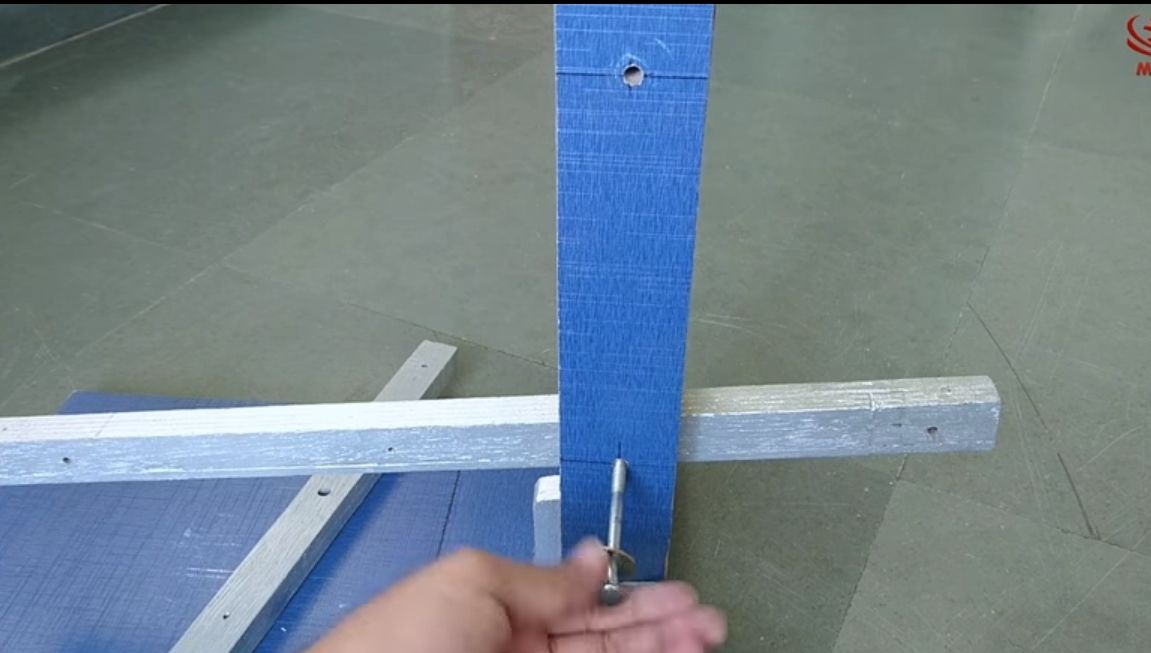
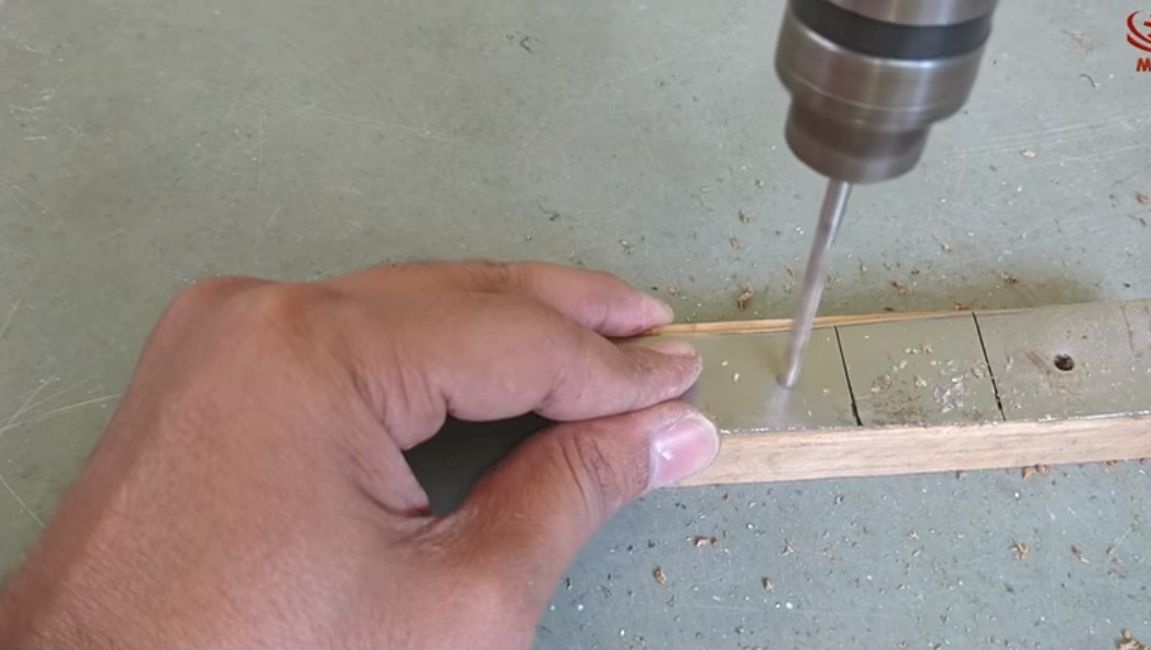
Step Two Drill holes in the uprights and levers
We take a drill and drill holes in the uprights; they are made of blue plywood from the author. In each part, two holes are drilled, they are needed for fastening two levers. Drill holes in the levers as well, these are silver-colored workpieces. The diameter of the hole should be such that they can safely move on the mounting bolts.
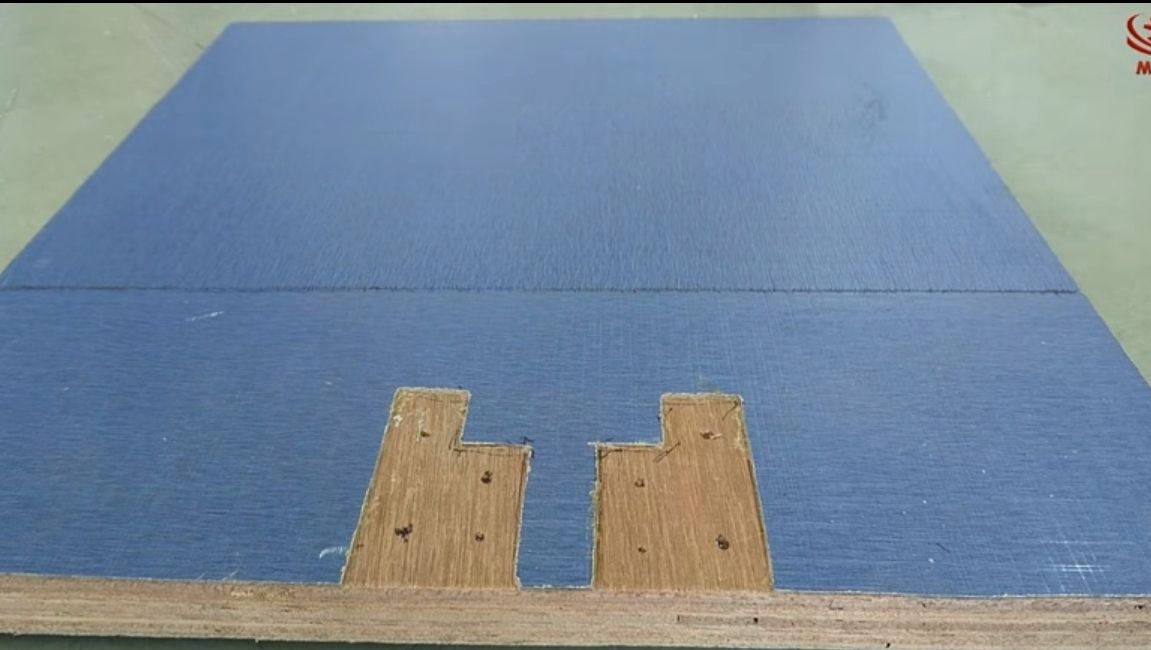
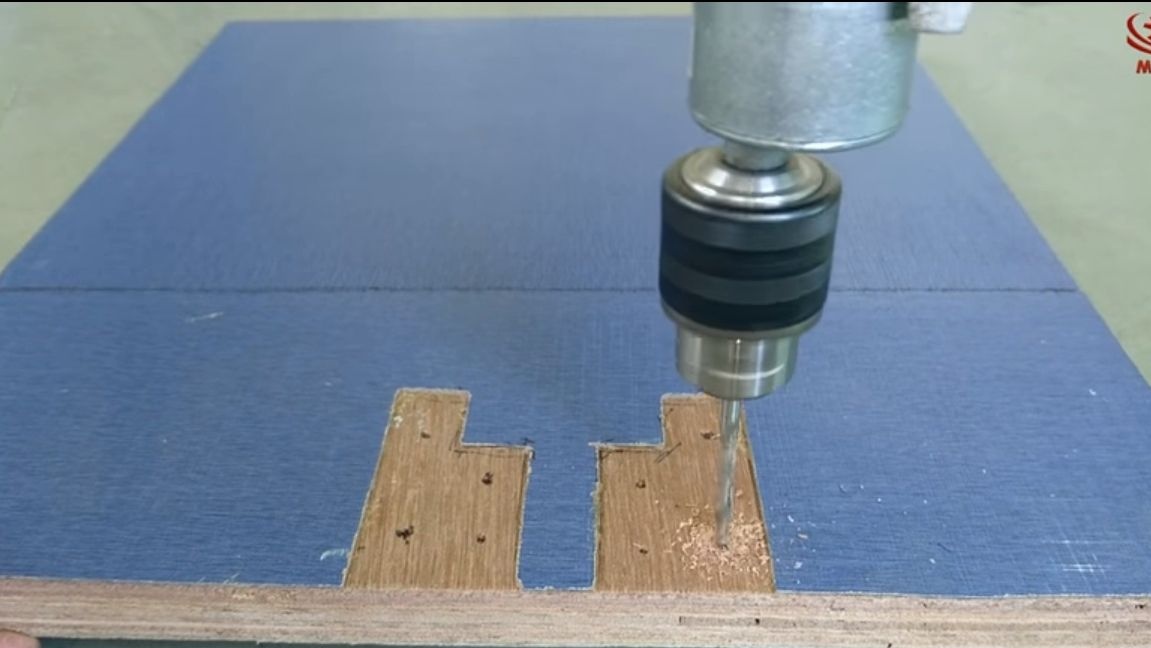
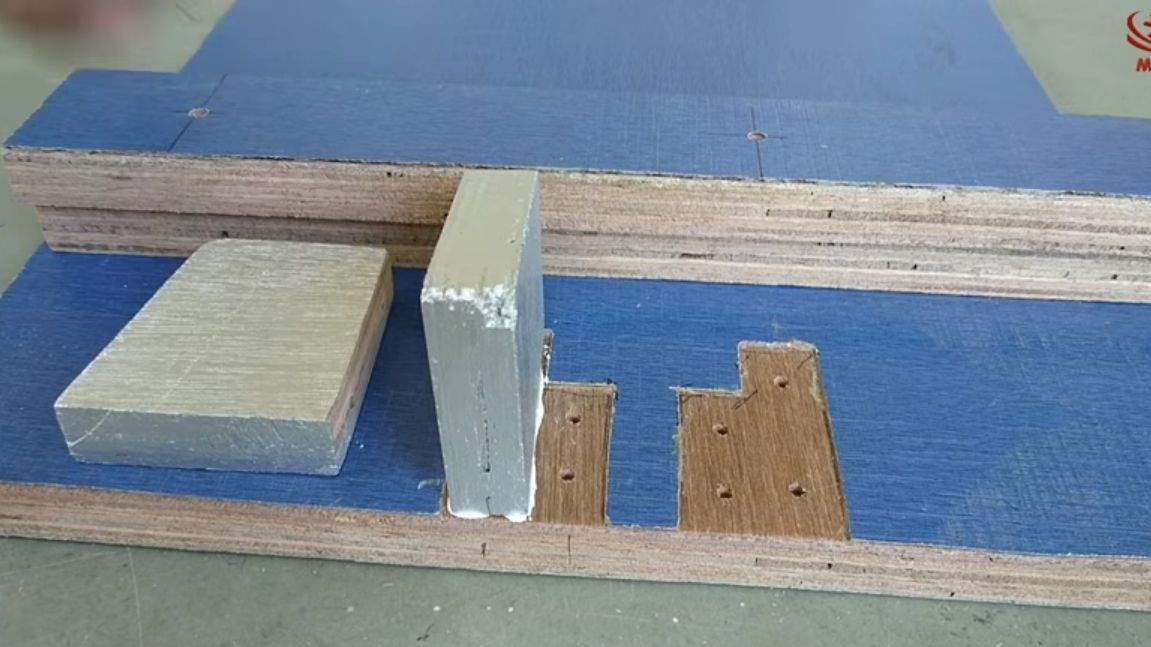
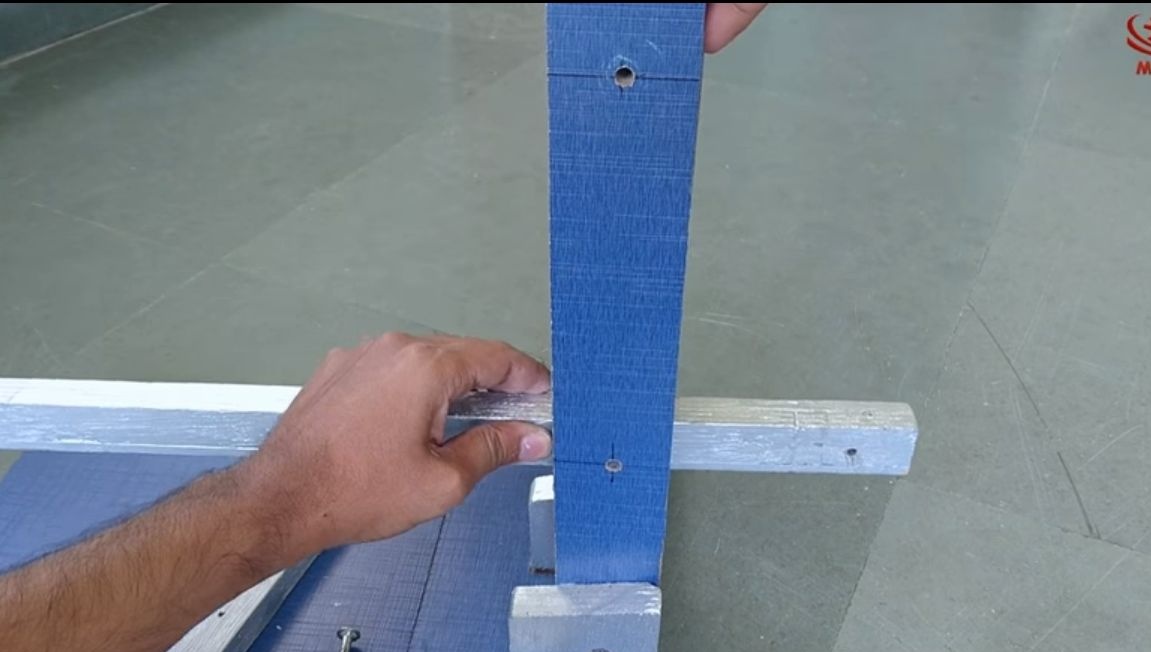
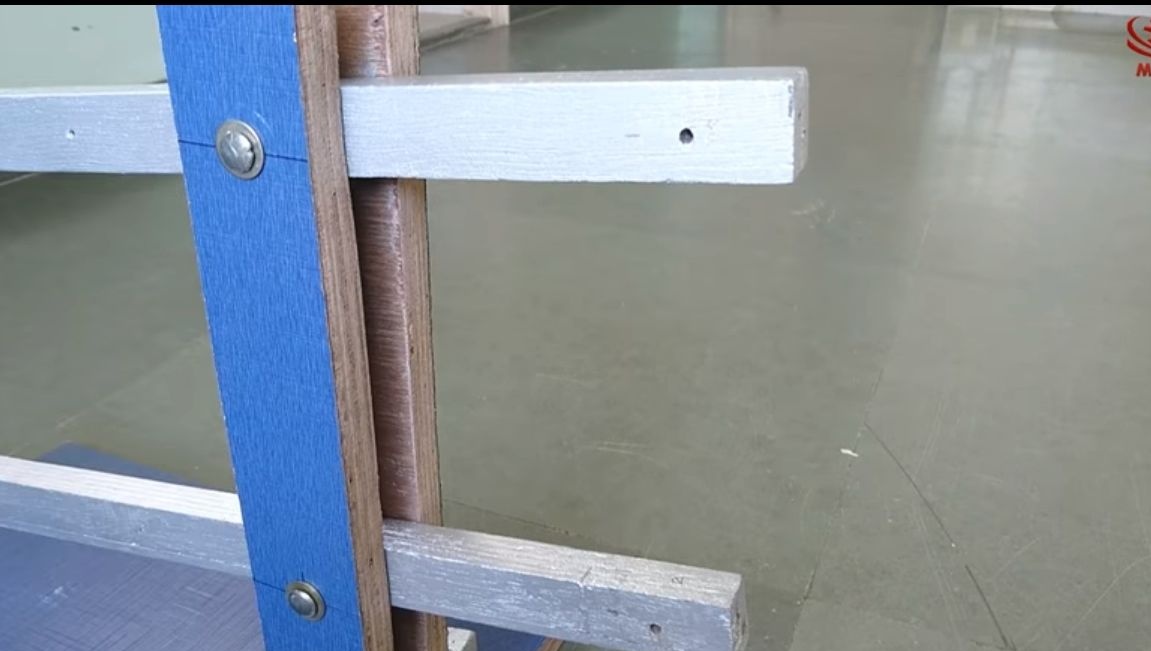
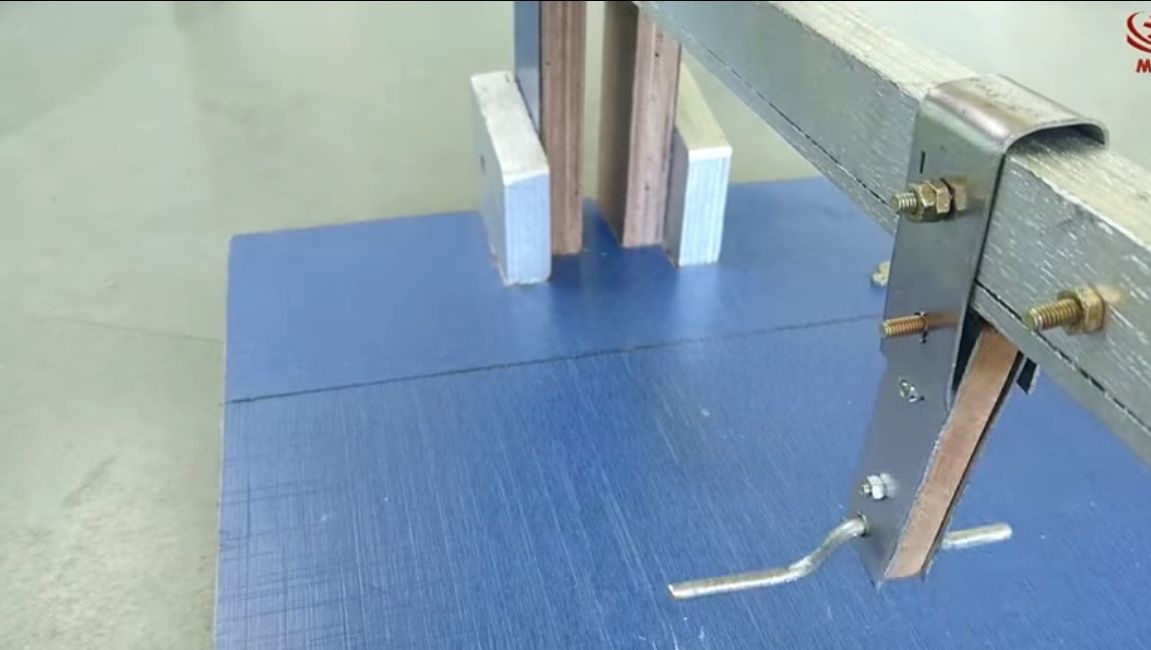
Step Three We establish vertical racks
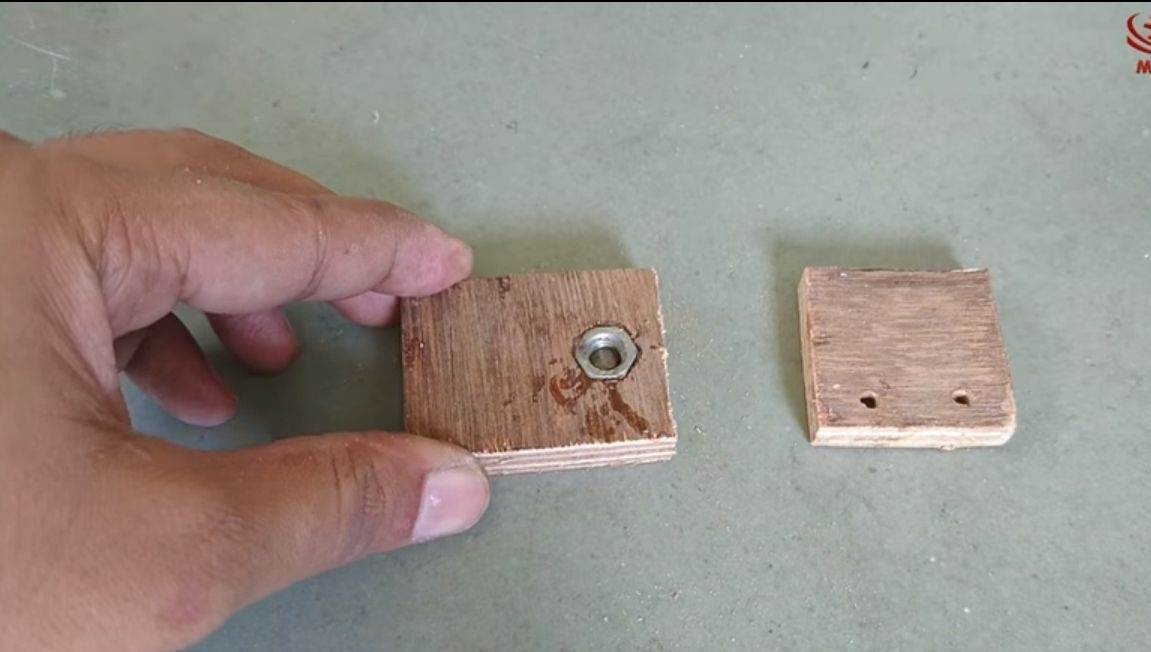
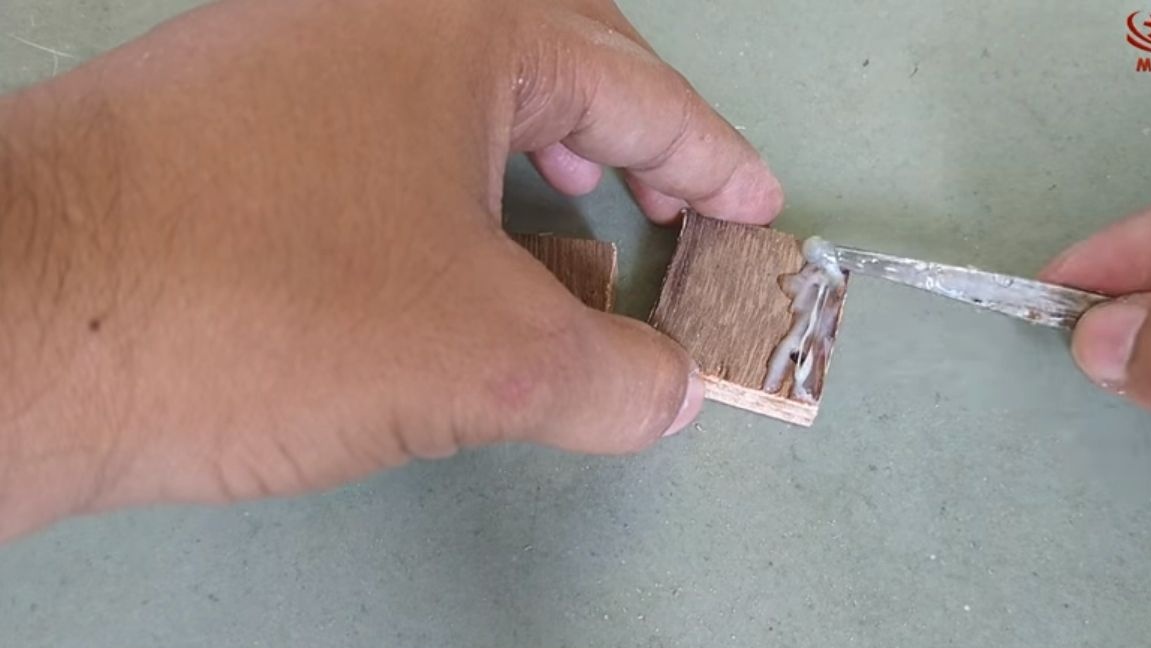
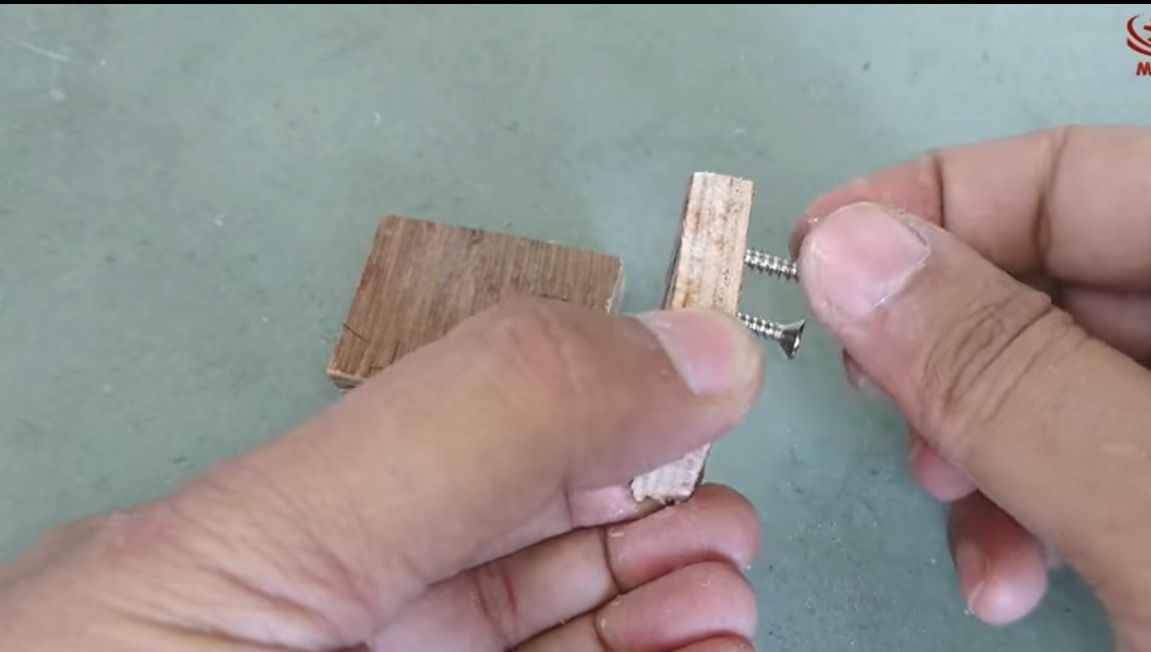
Vertical racks must be securely fastened, for their reliable fastening you will need to cut two small squares of plywood.At the author these details are painted in silver color. Remove the outer cover from the plywood, if any, and drill the mounting holes. We apply glue and install silver parts, on the other hand they are screwed onto wood.
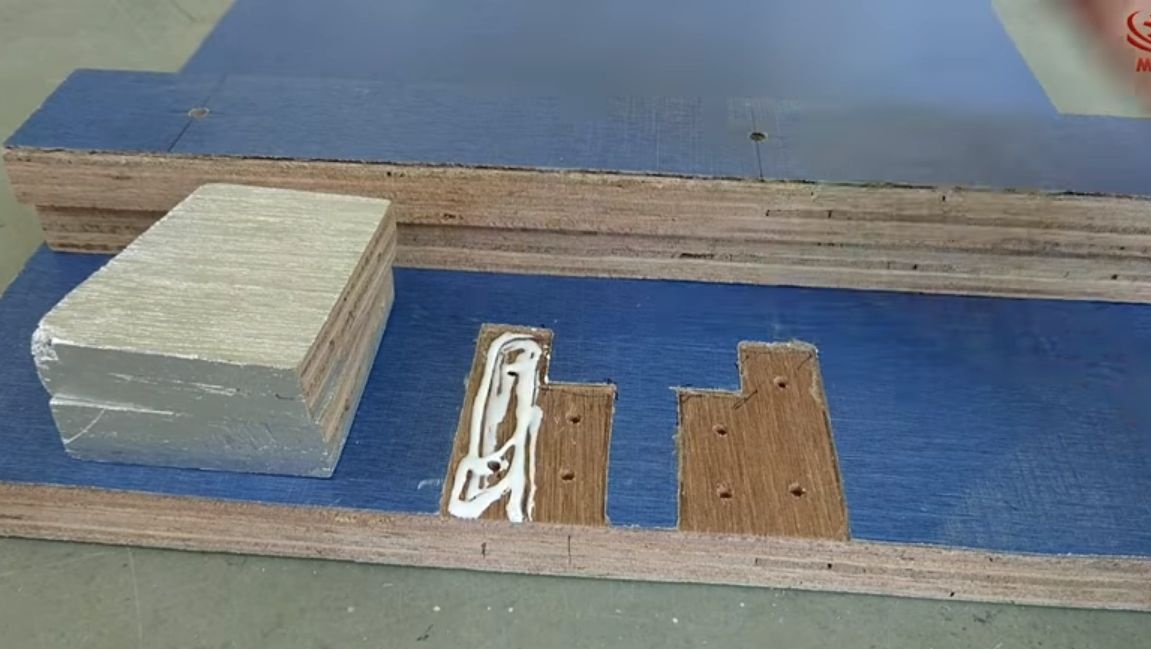
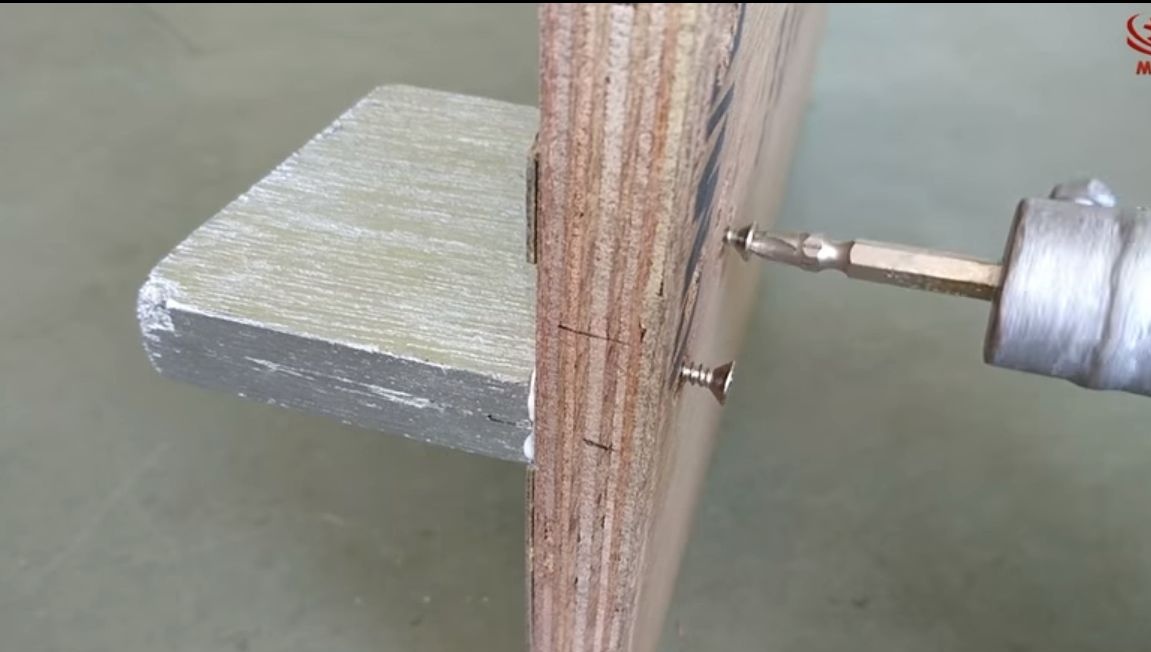
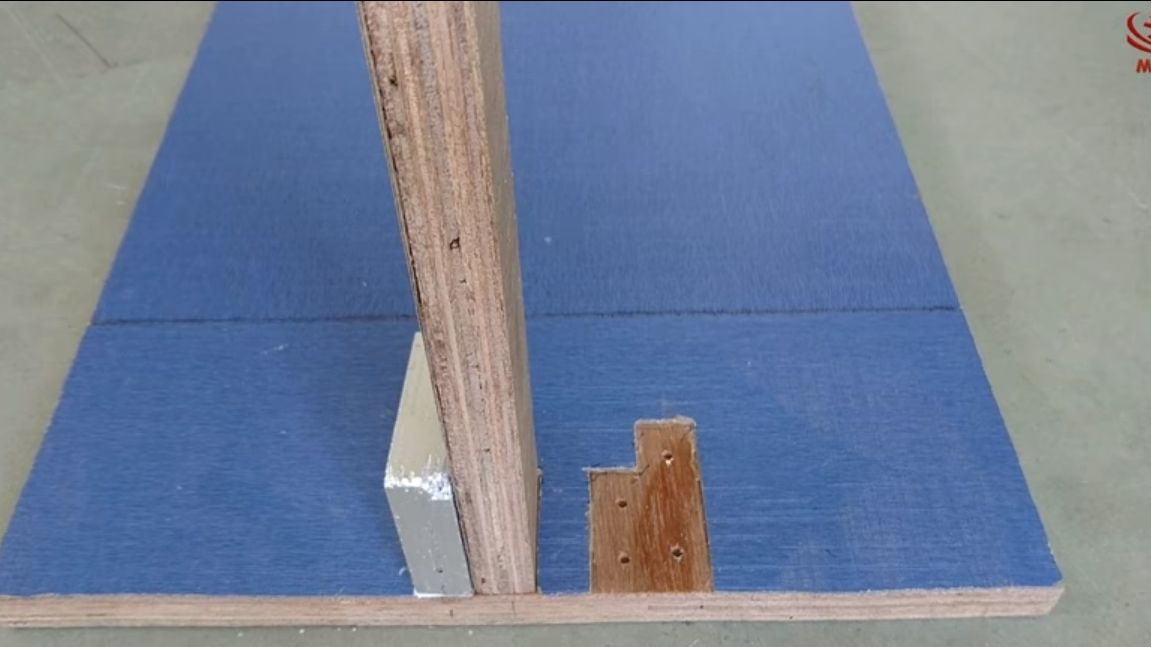
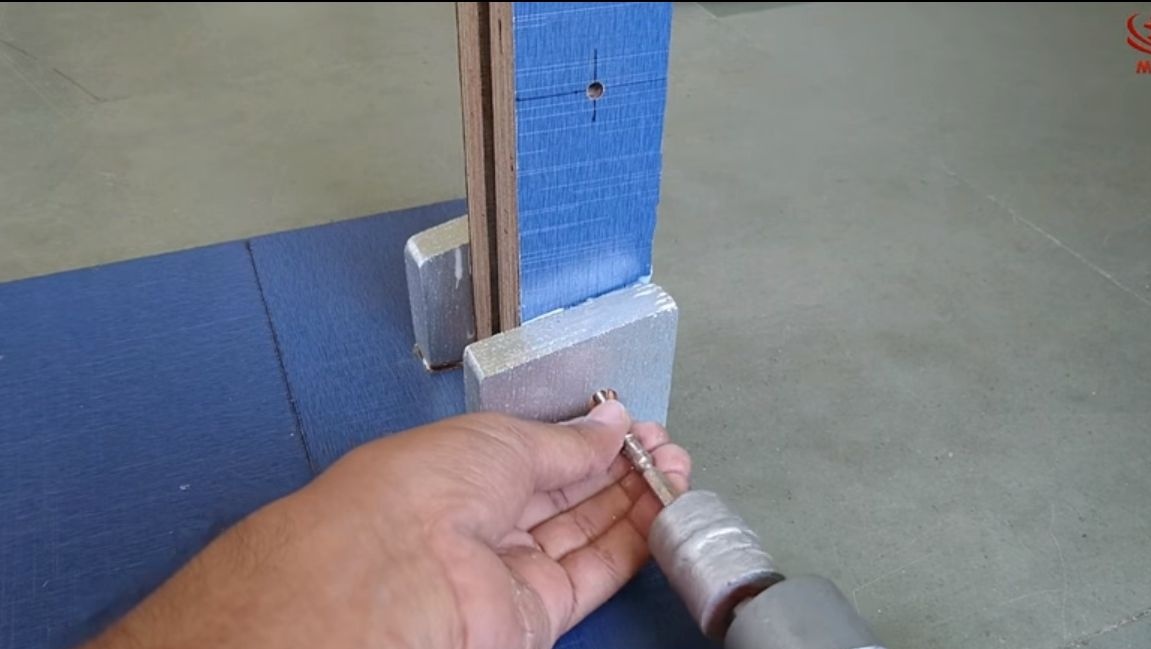
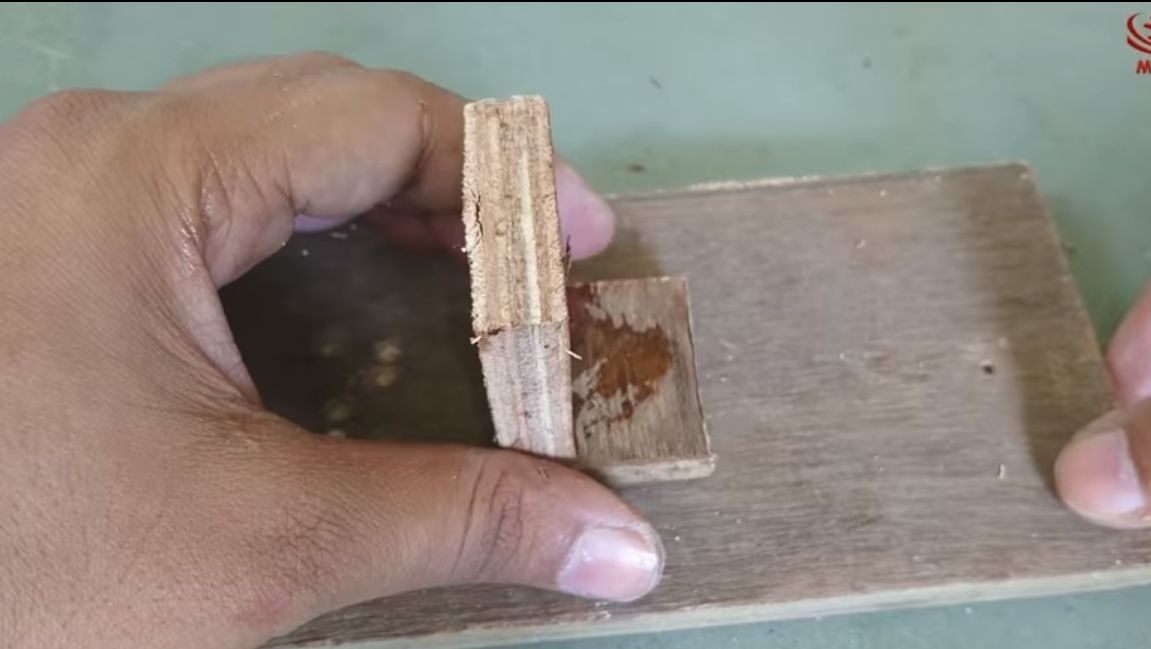
Now you can install the racks. They are attached in the same way, that is, with glue and screws. If you wish, you can glue them to the installed square parts, or rather screw them. As a result, the racks will be securely fixed to the base.
If desired, a through hole can be drilled through all the parts below and a bolt with nut can be installed. Remember that there must be a gap between the drains so that the levers can move freely.
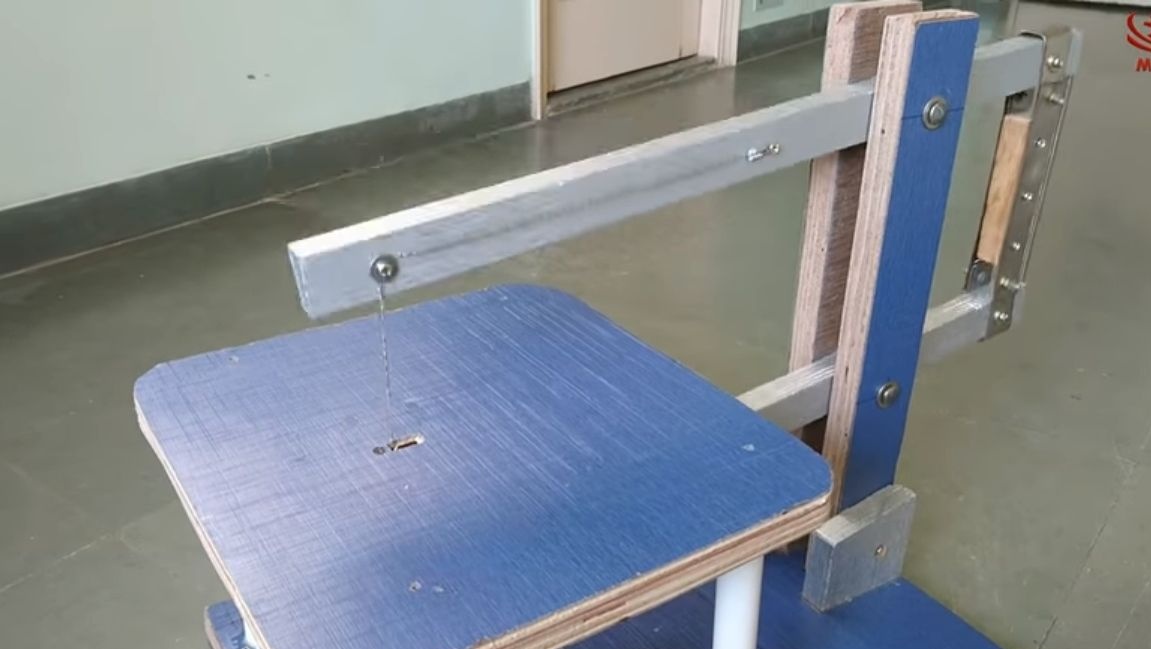
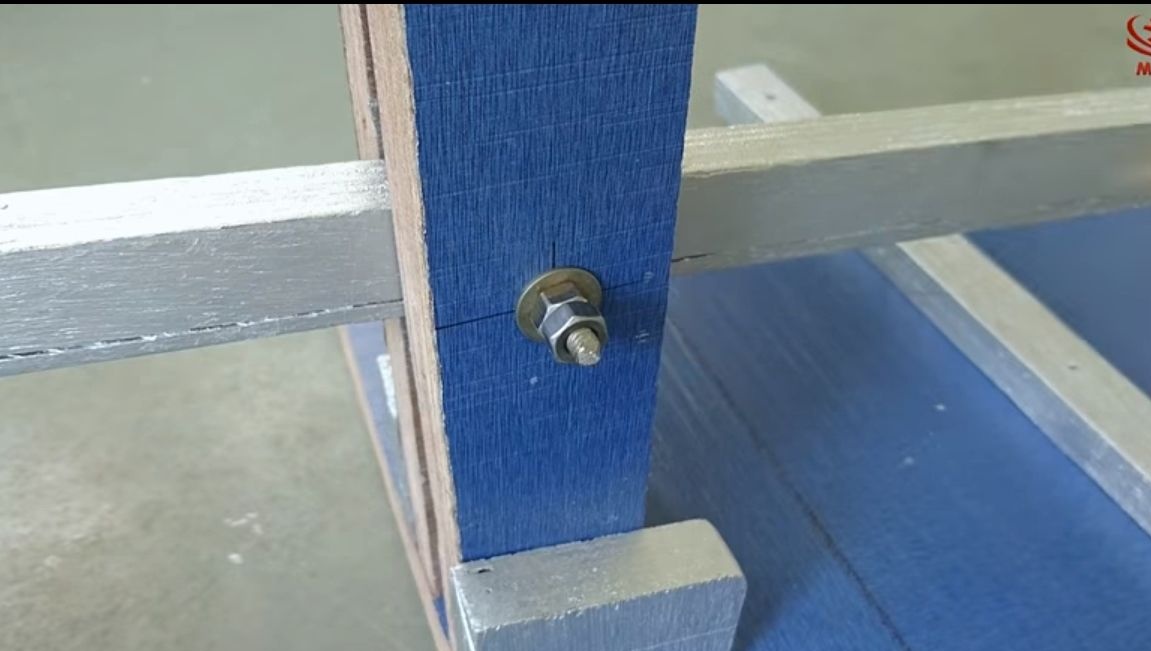
Step Four Set the levers
The levers are needed so that a cutting cable can be fixed between them. To install the levers, you will need long screws with nuts and washers. Install washers on both sides of the lever so that it does not rub against the uprights. Install the bolts and tighten the two nuts so that the structure does not loosen. If desired, you can drop super glue on the thread.
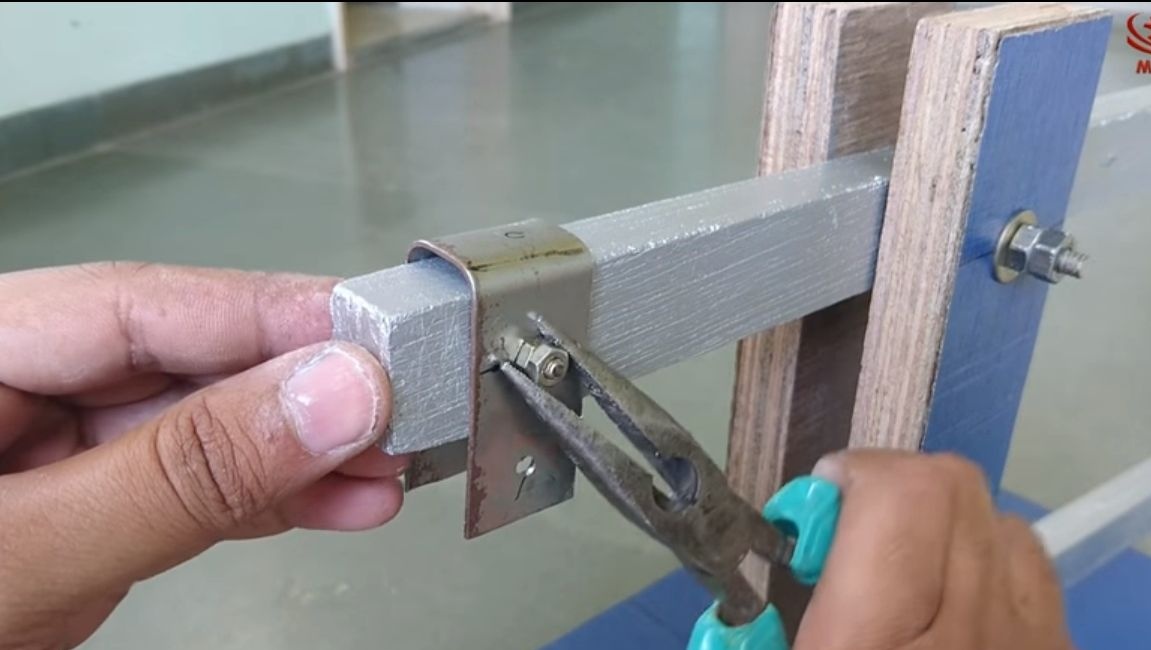
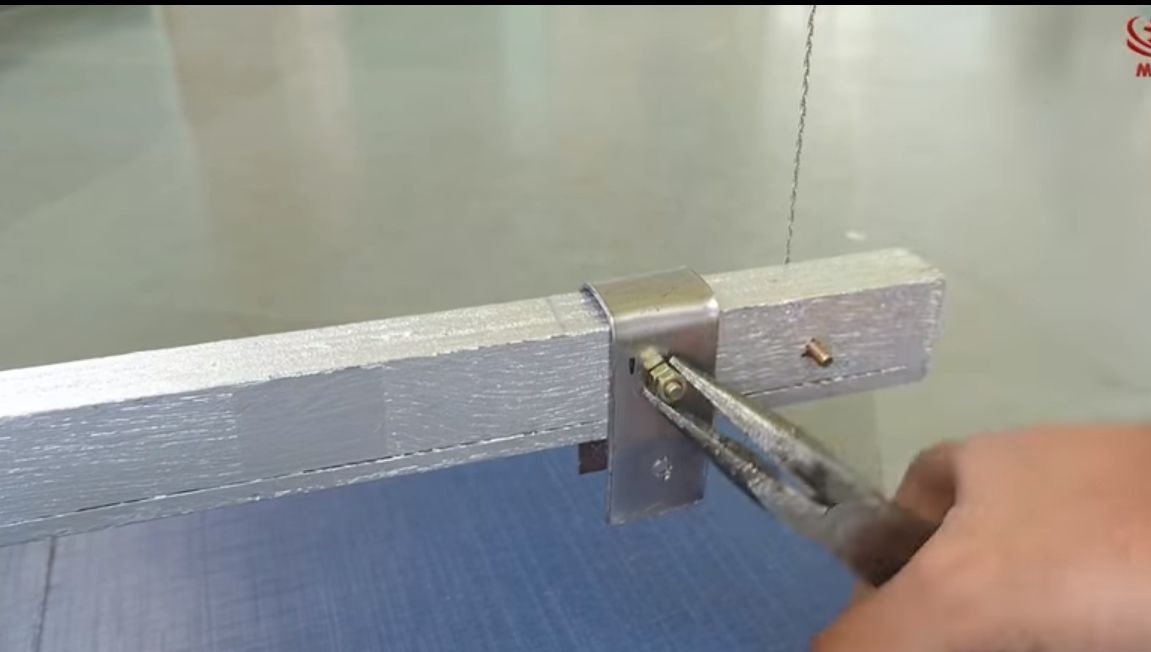
Step Five Mounting Brackets and Lever Connector
So that the levers can move synchronously, they are connected on the one hand. To do this, you need to make special nodes. There is nothing complicated in their manufacture; you will need sheet metal and metal scissors.
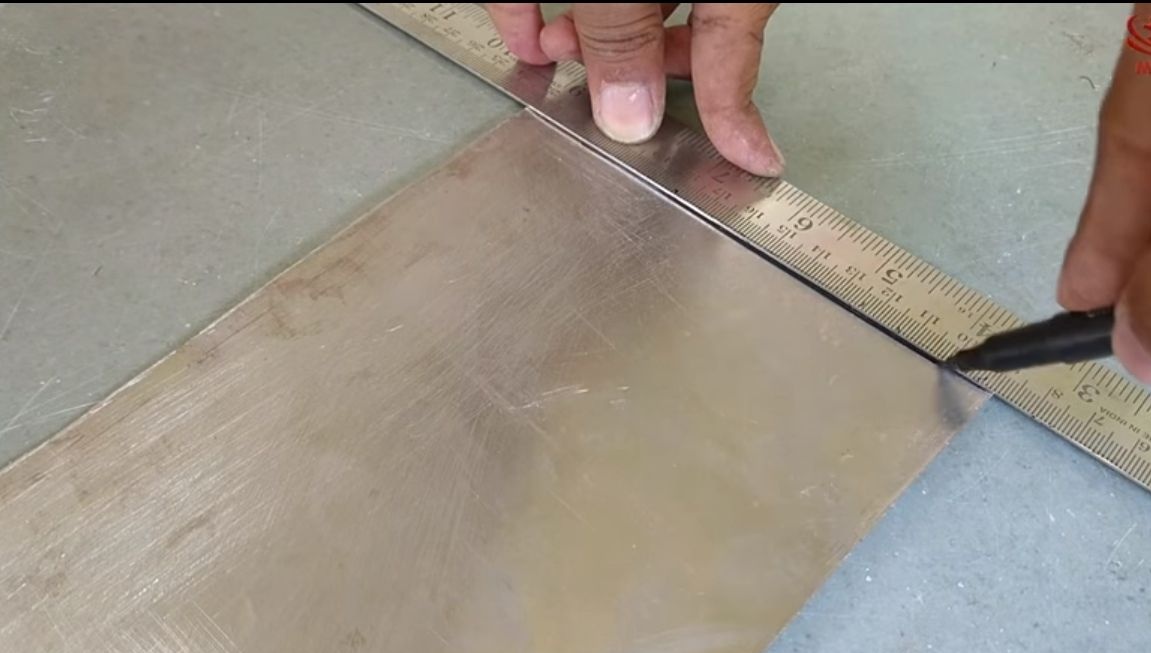

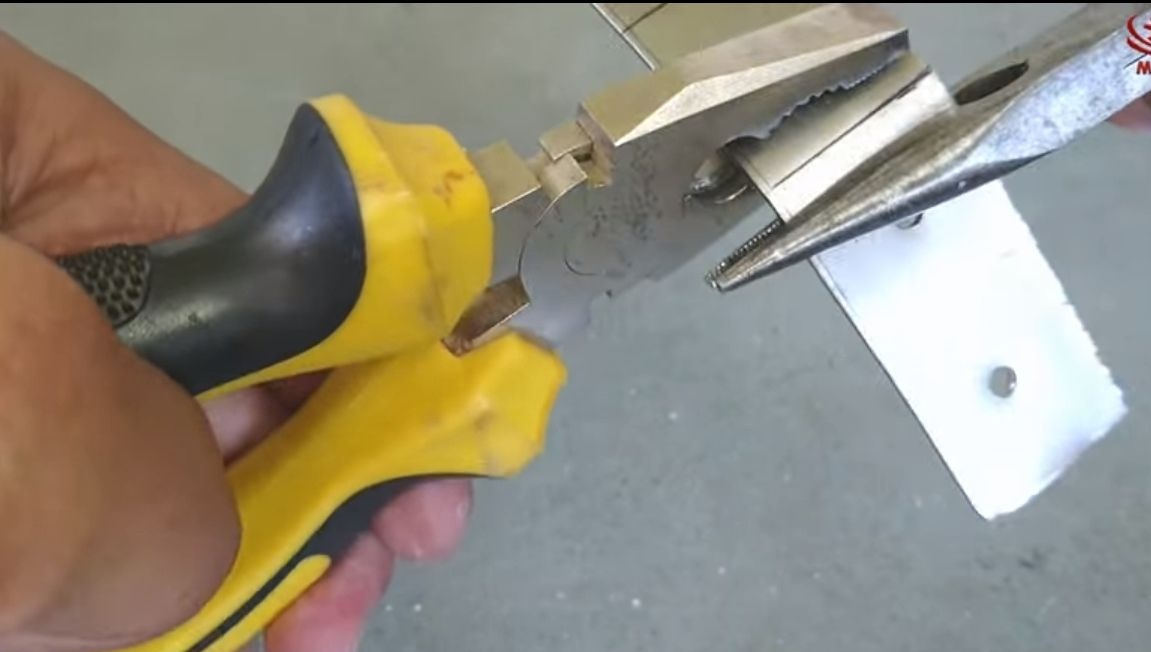
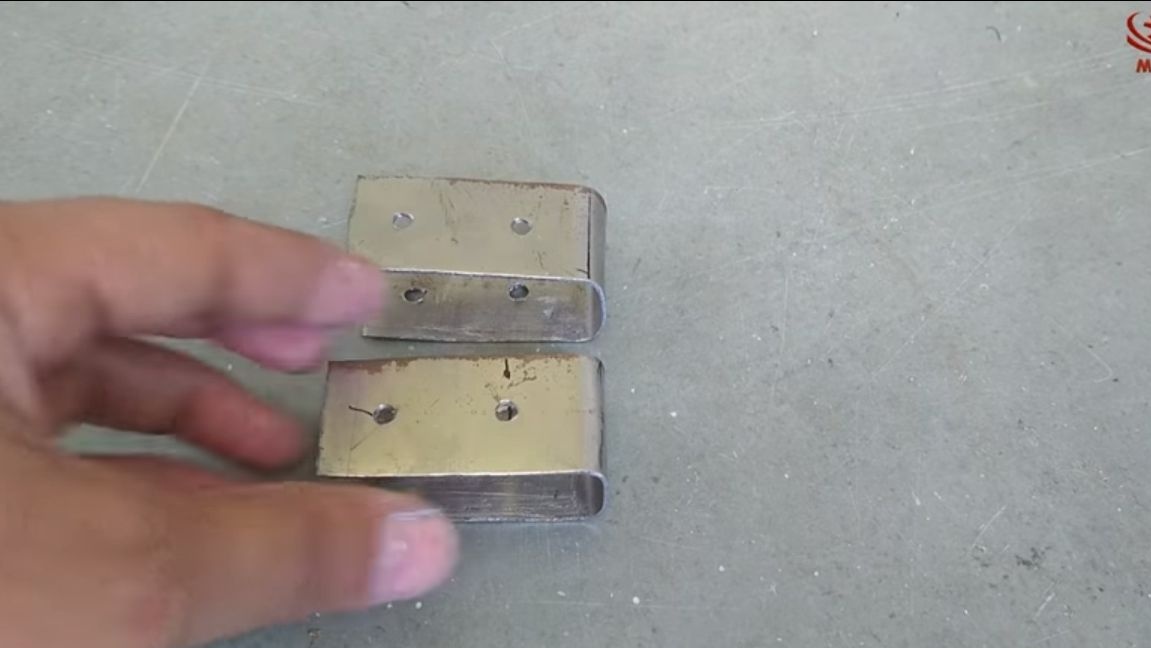
Cut two segments, bend them in the form of the letter "P", not forgetting to drill holes. Install the brackets on the ends of the levers, they are fastened with screws and nuts. Nuts everywhere can be used in two pieces, so as not to loosen.
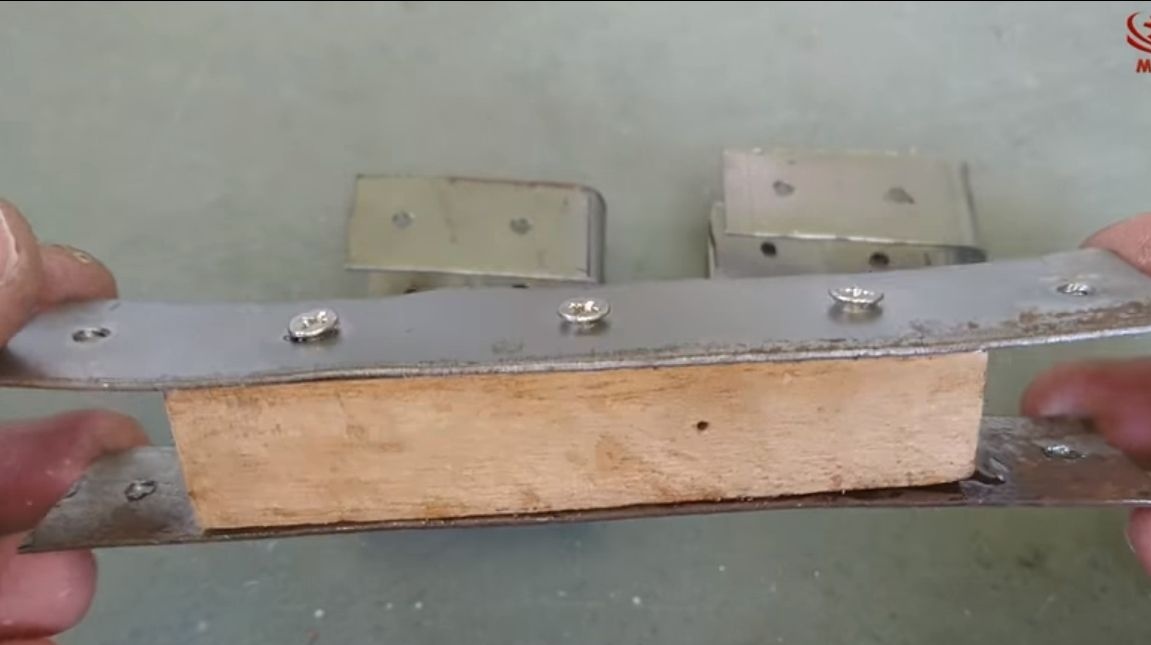
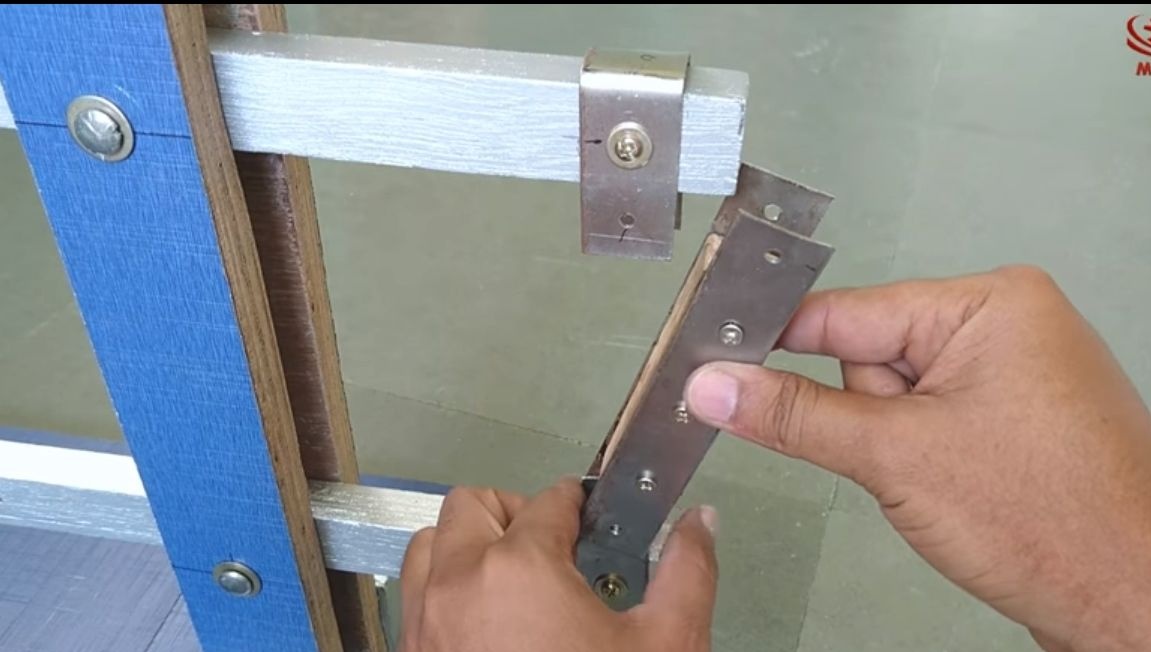
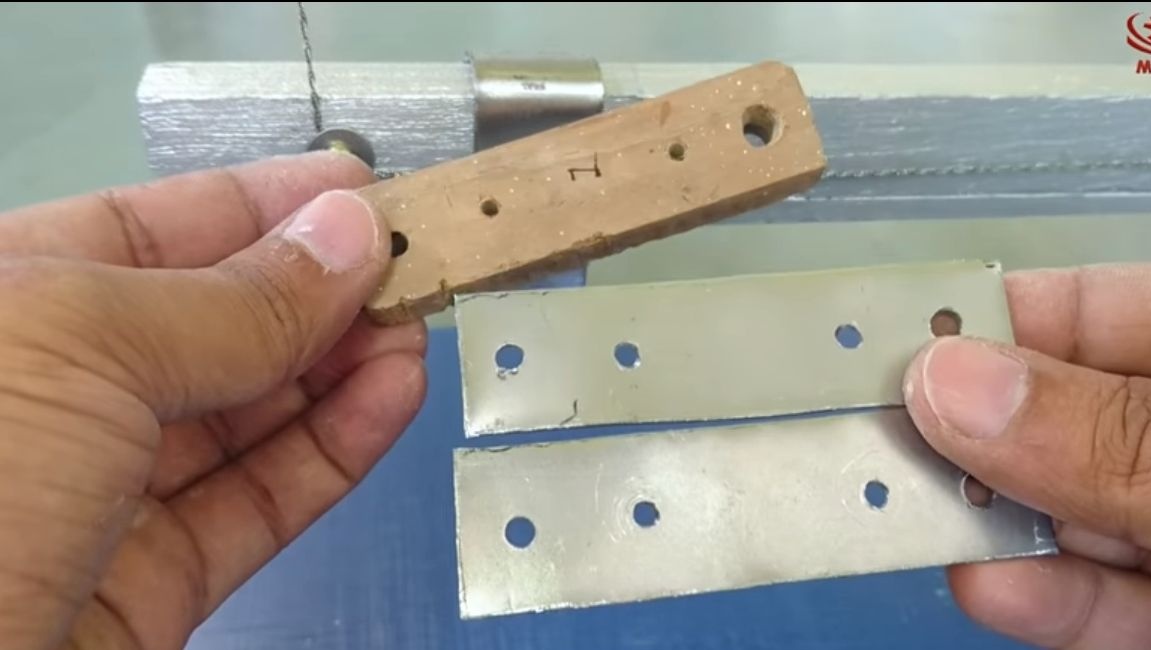
Now you can make the connecting part. Cut two plates of suitable length for its manufacture, drill a plate, and then squeeze a piece of plywood between the plates, as the author did. The plywood plates can be screwed on wood. That's all, now the connecting piece can be installed. It is fastened with long bolts using double nuts.
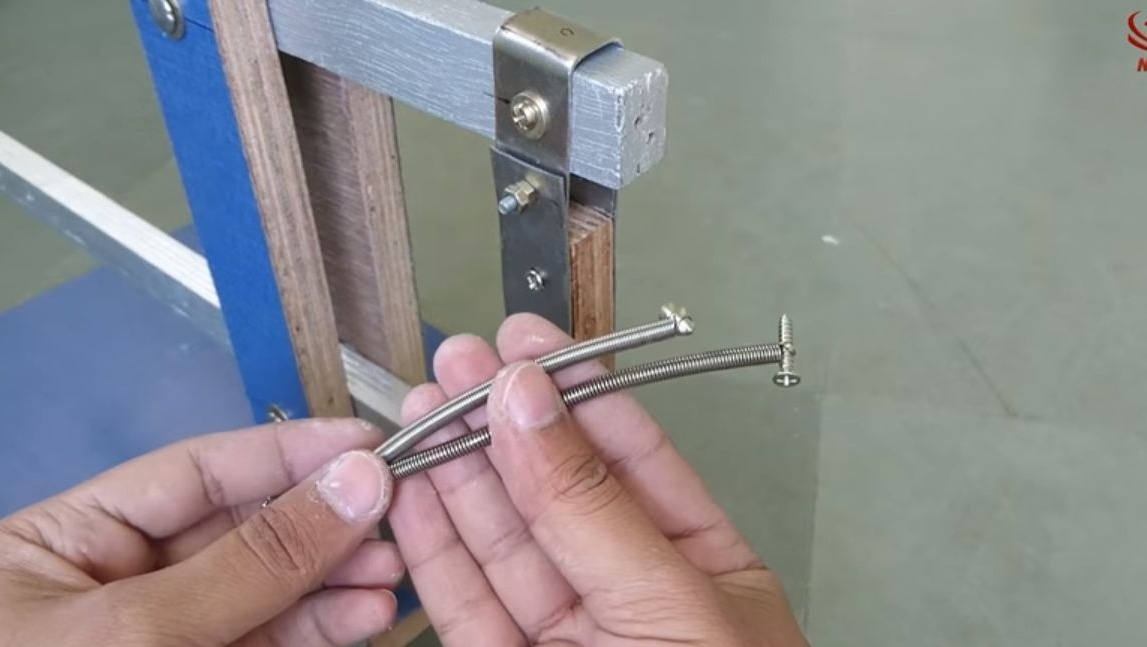
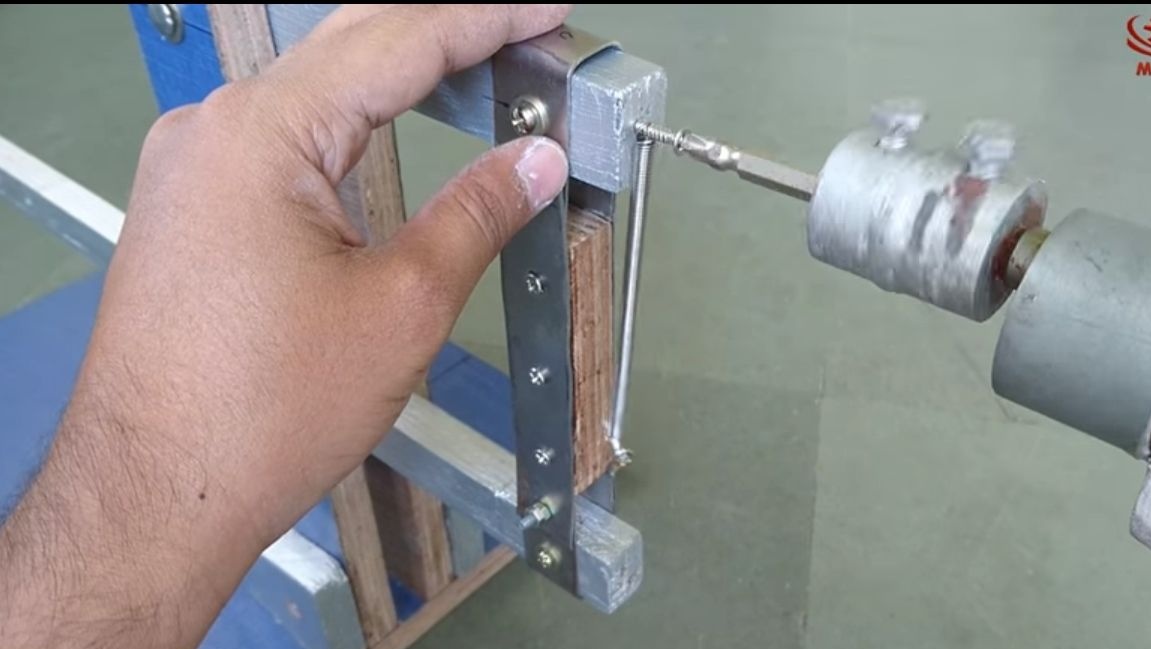
The author sets the rear springs. Their purpose, in addition to the fact that they align the levers strictly in the center, I did not understand. To obtain the desired stiffness, you can use two springs, we fasten them with screws.
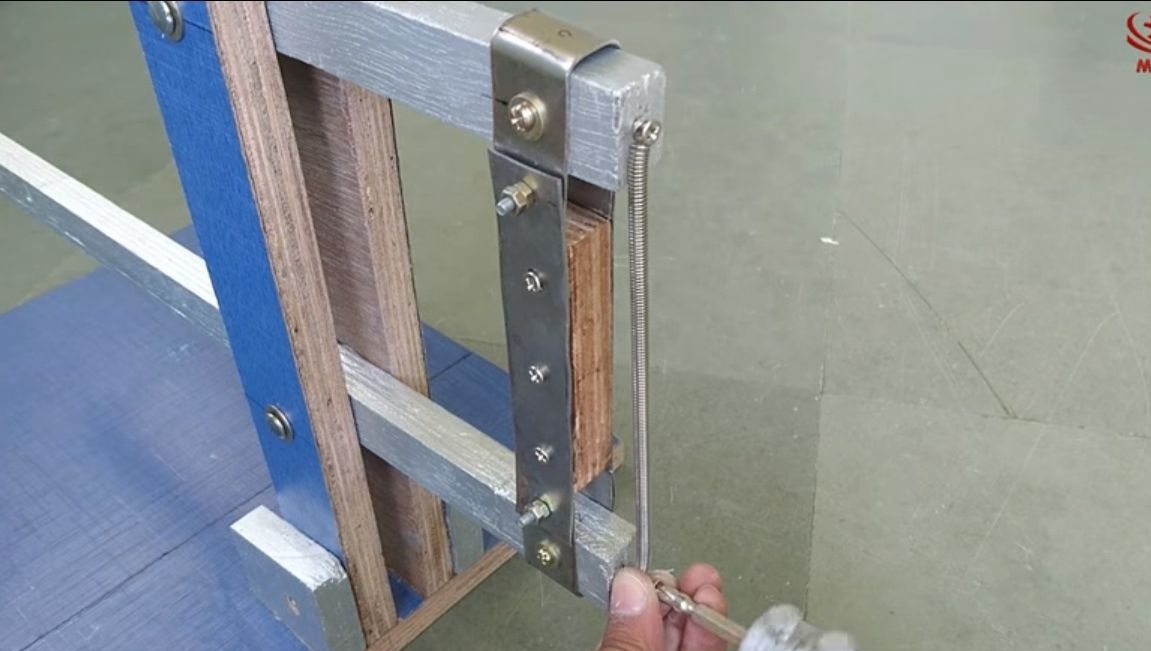
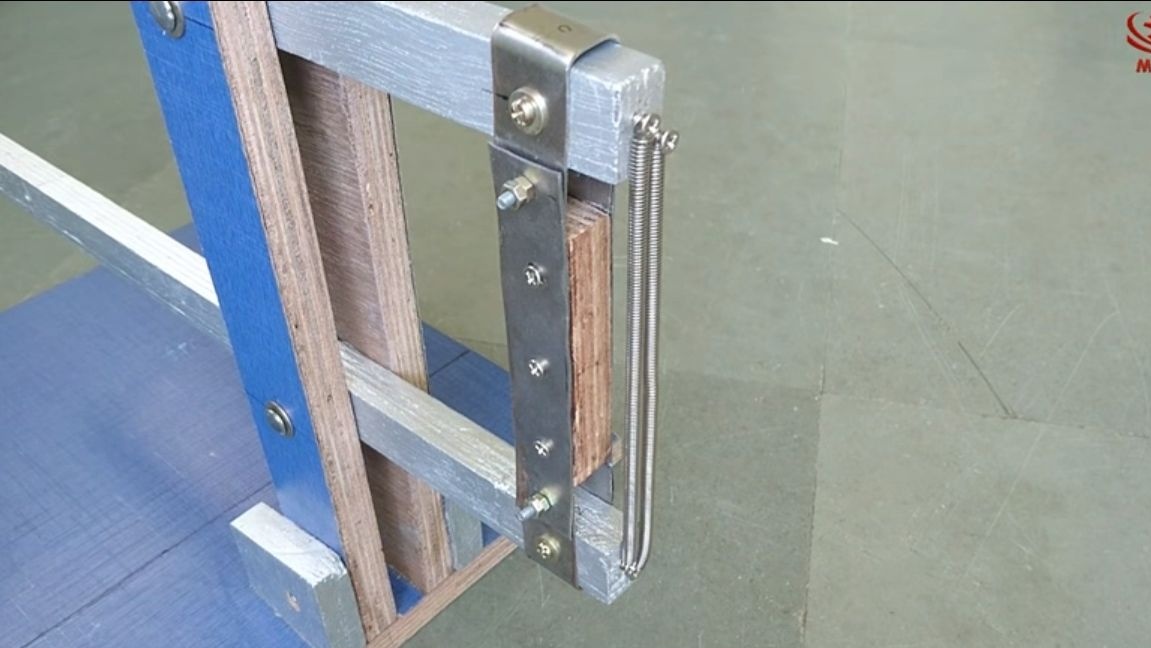
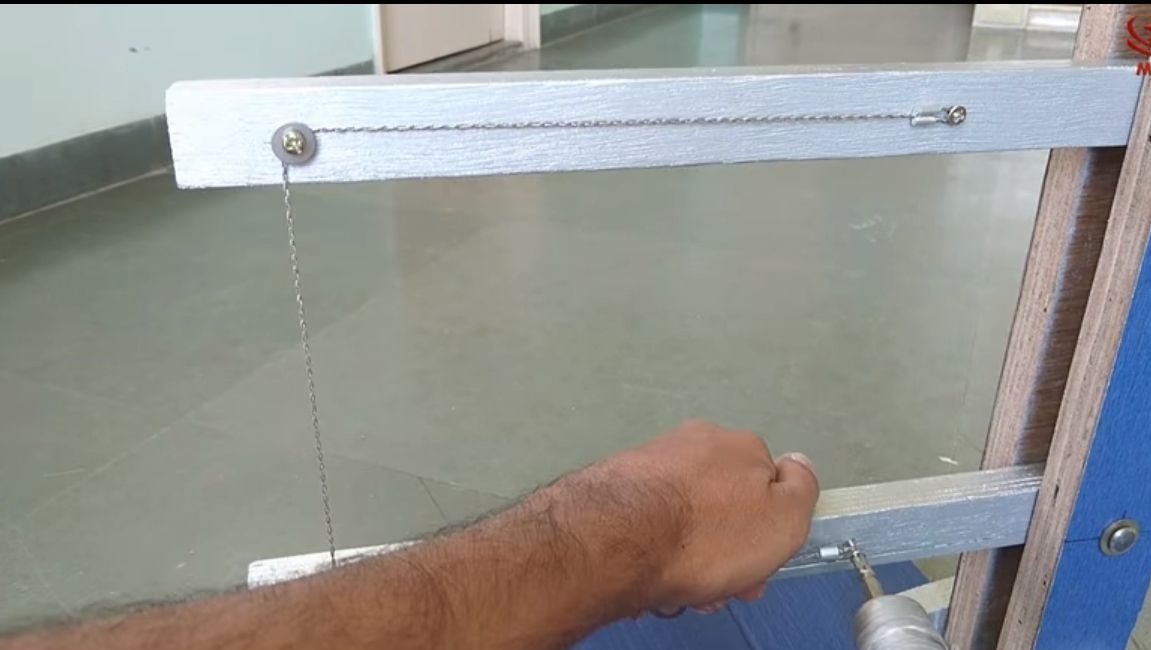
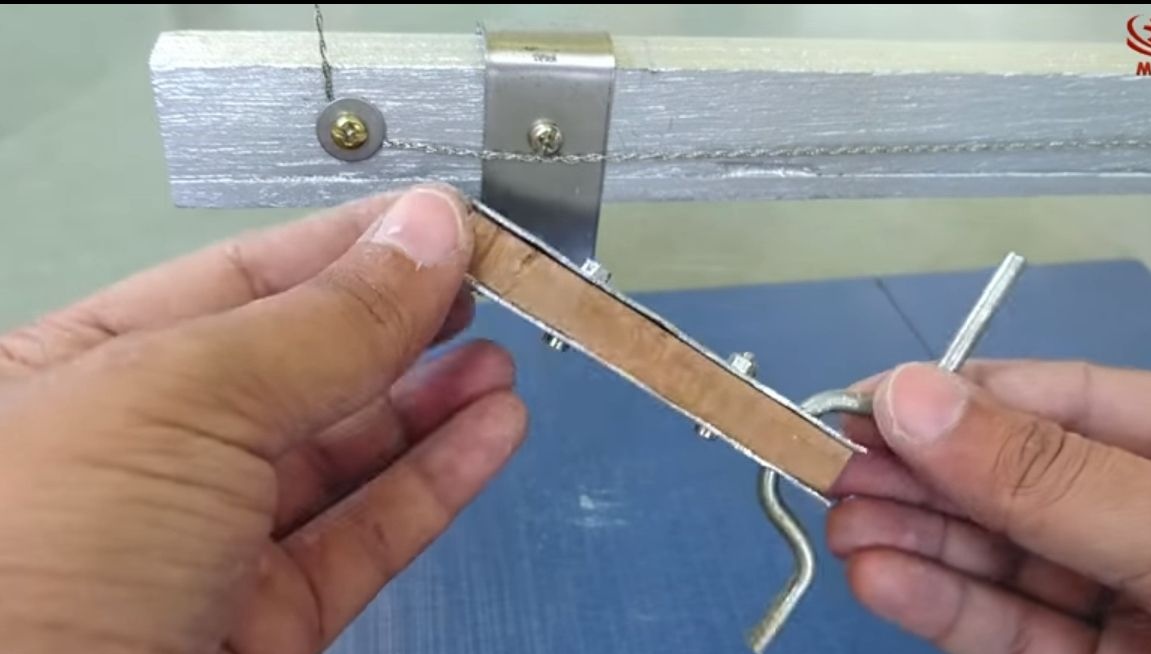
Step Six Installing a cutting cable
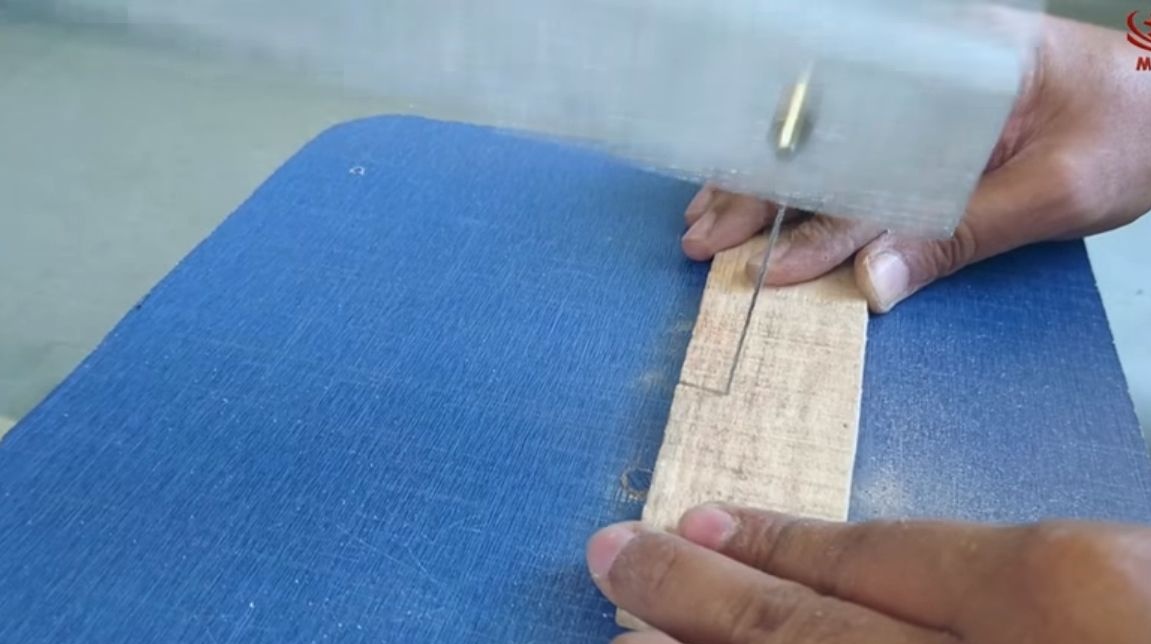
Installing a cutting cable is very simple, and if necessary, it also just changes. You will need four screws with nuts and washers. Install one screw with washers in the nose of the levers, and to fasten the ends of the cable at a certain distance, fix one more screw with washers. Tighten the nuts and the cable is securely fixed.
Seventh step. Connecting Rod and Crank
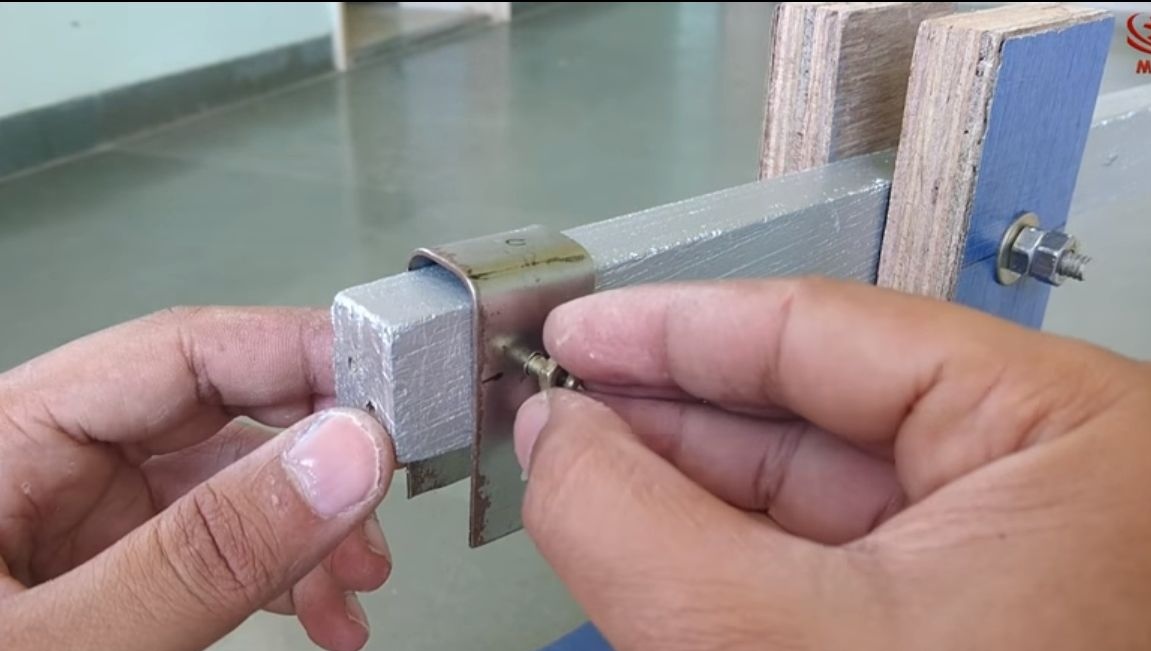
To transfer movement from the drill to the machine, a crank mechanism is used. Let's start with the manufacture of the connecting rod. First of all, you need to make a “P” shaped bracket, such as we do before. Fasten it with the screw on the end of the lower arm.
We make a connecting rod. It is made of a piece of plywood and two metal plates, we also made a similar part earlier, so there should not be any difficulties. Fasten the connecting rod to the bracket with a screw and two nuts.
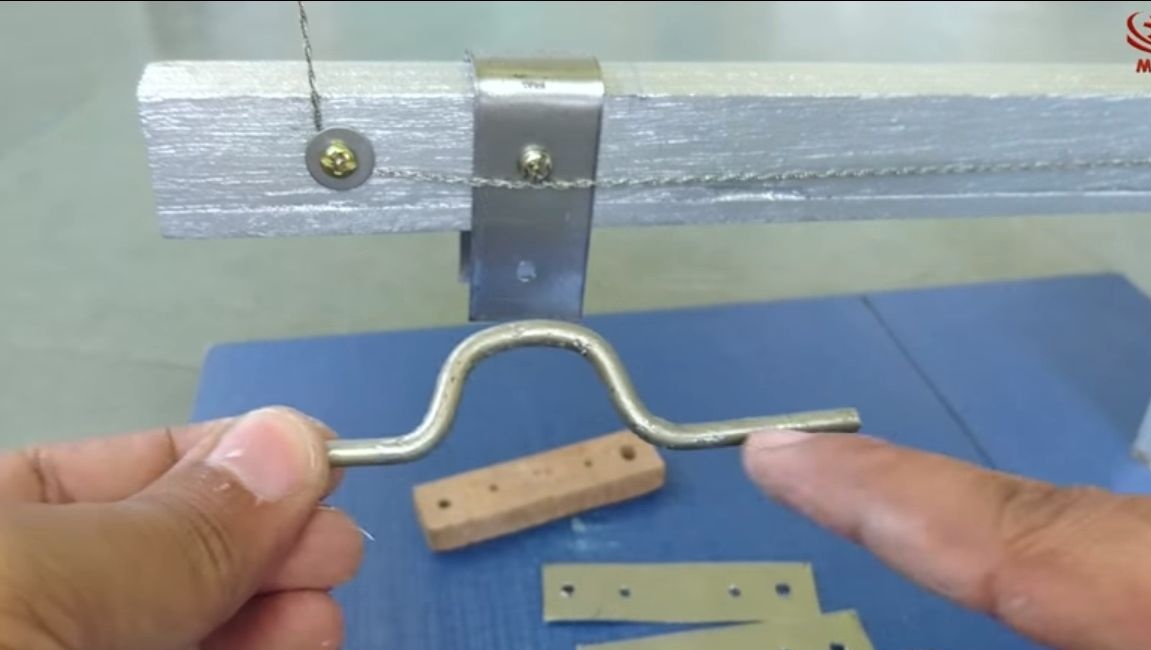
It remains to make a crank. The author makes it out of a metal rod. Bend it to the desired profile and install it in the lower hole of the connecting rod. Note that the crank height of the connecting rod is equivalent to half the stroke of the cutting cable. You may have to experiment with this detail.
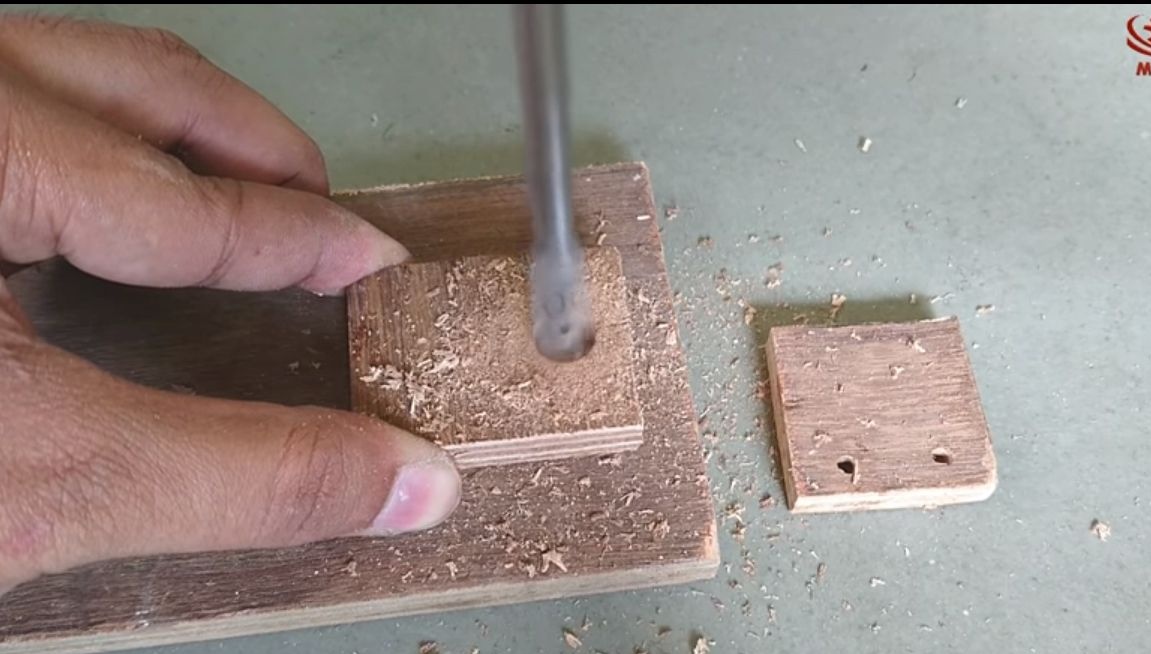
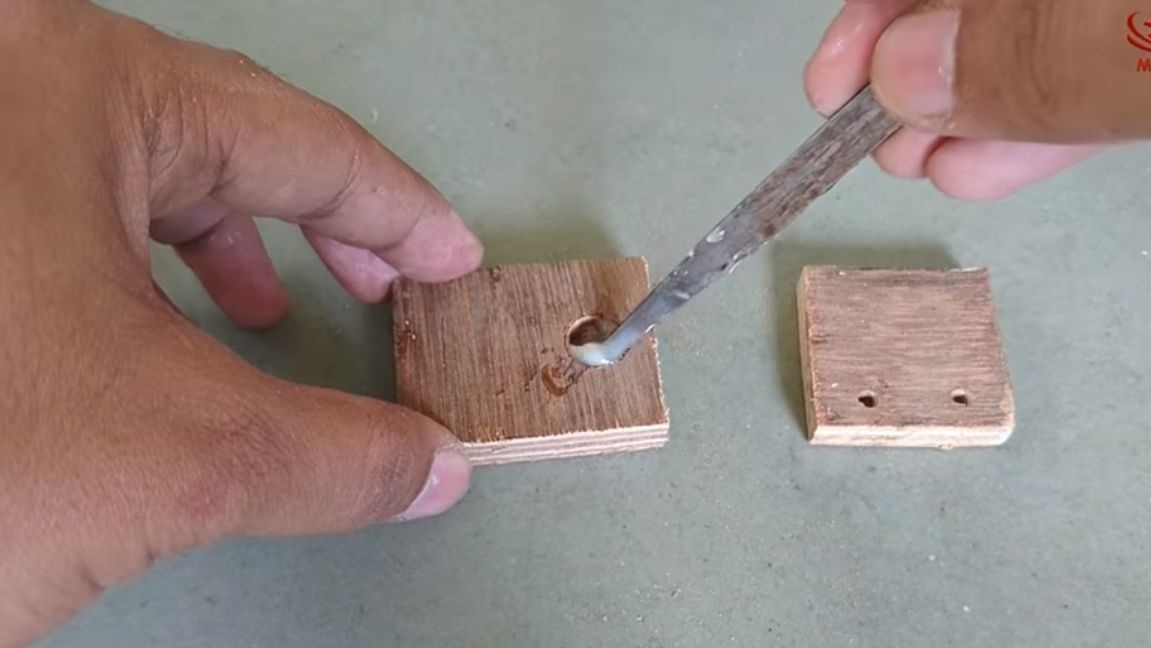
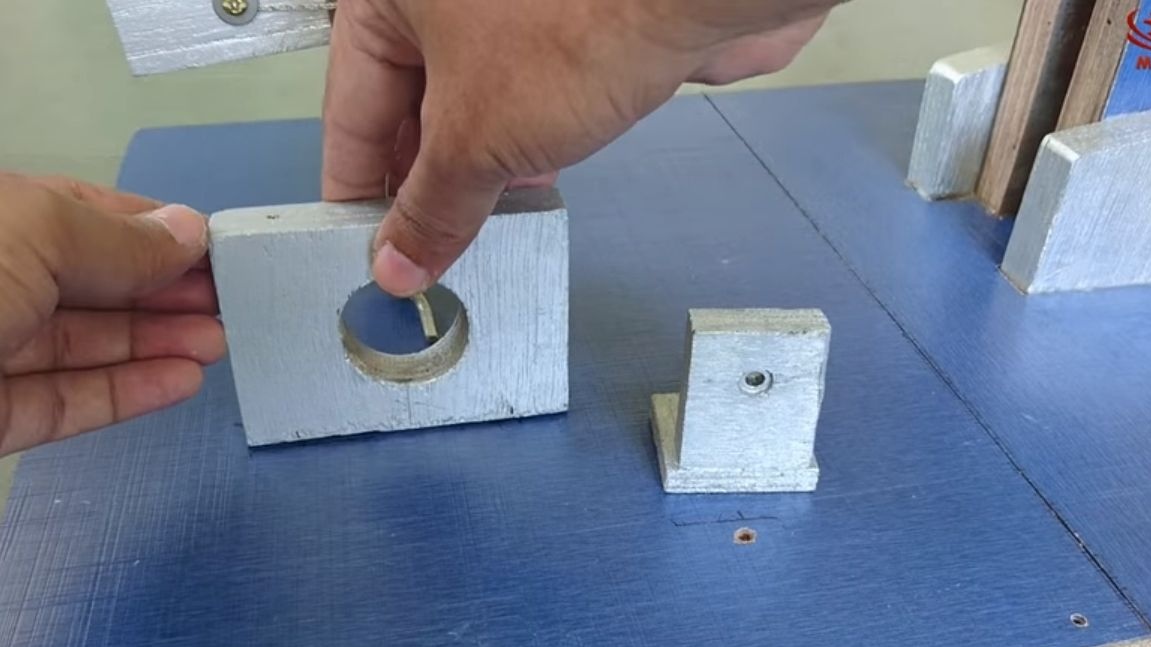
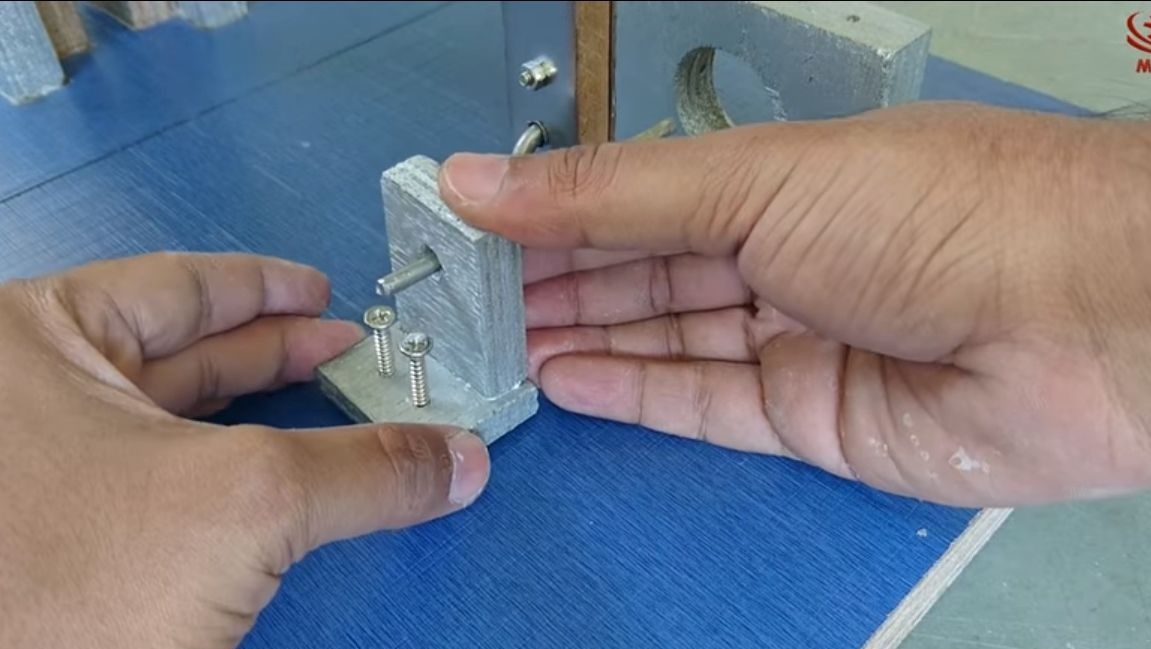
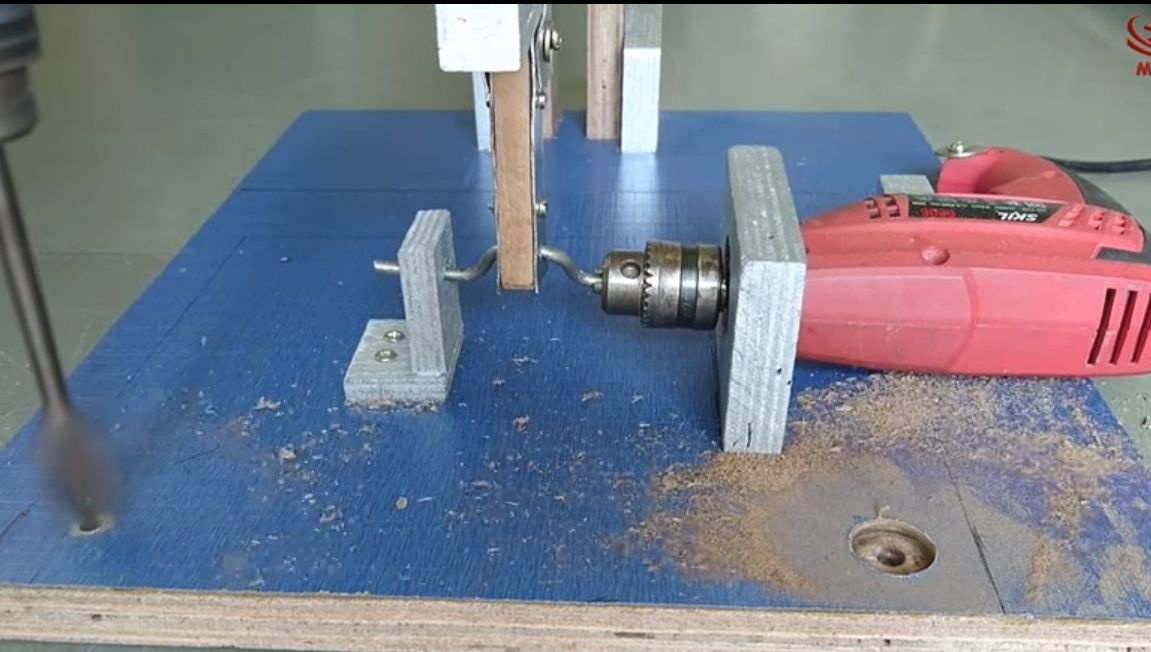
Step Eight. Crank support
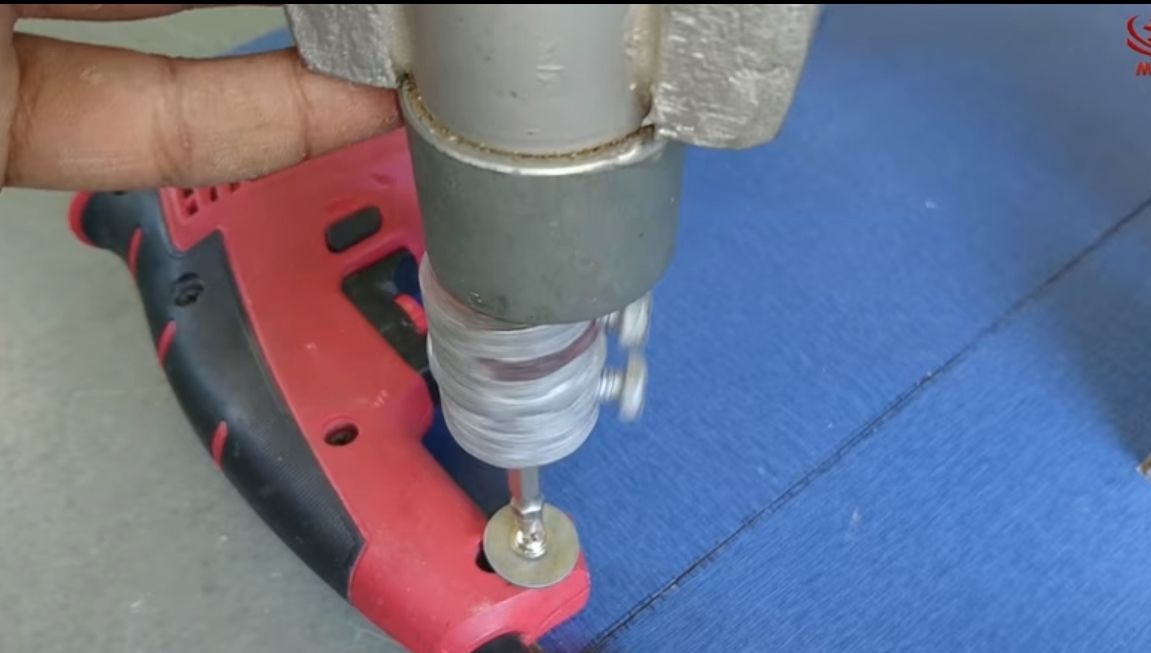
You will need two pieces of plywood. Drill a through hole under the crank axis in one part, and then drill it under the nut. Apply epoxy glue and press in the nut. Attach the second piece of plywood with glue and wood screws. Drill the mounting holes in it for installation on the base.The nut will act as a sliding bearing, however, this is not a very good option.
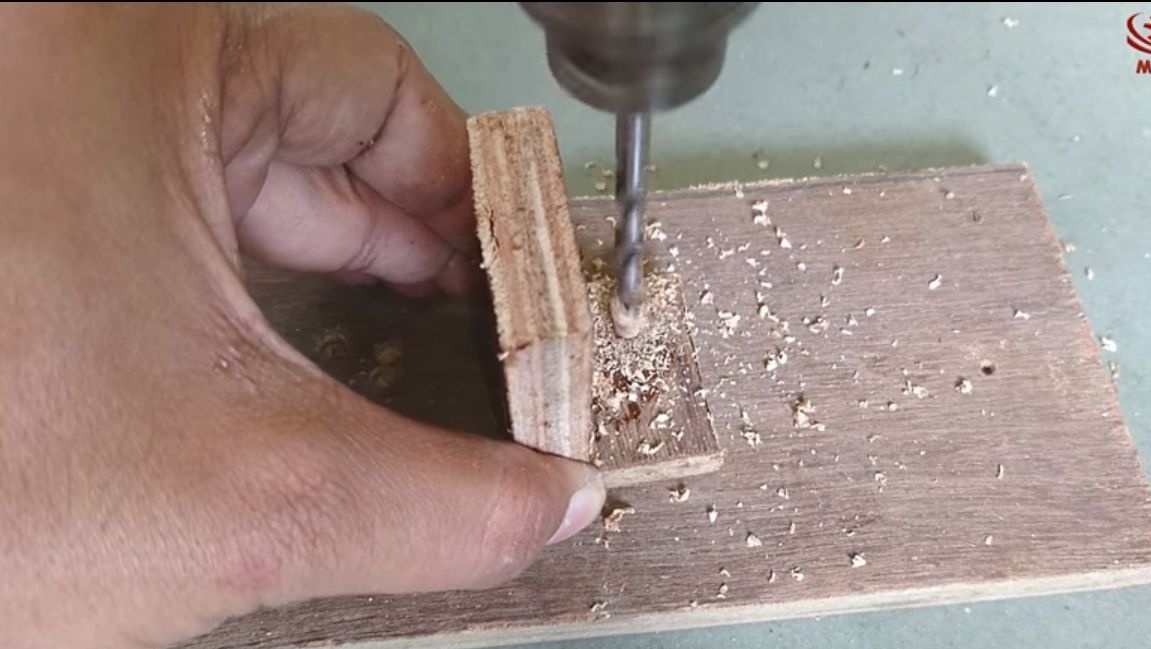
Step Nine. Drill installation
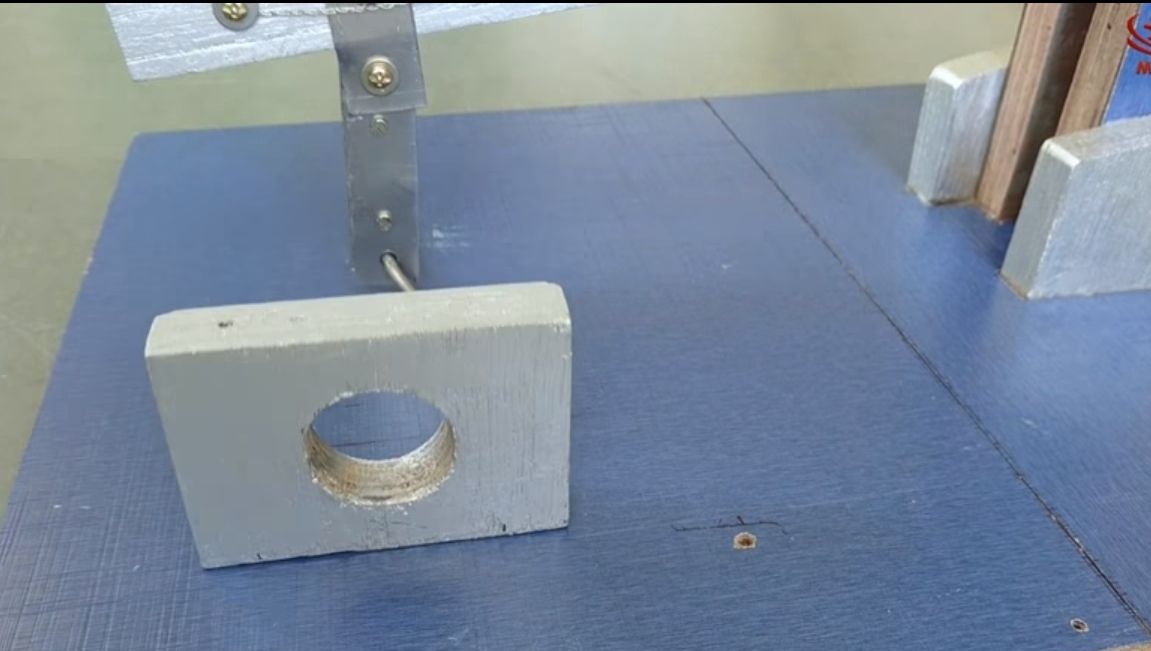
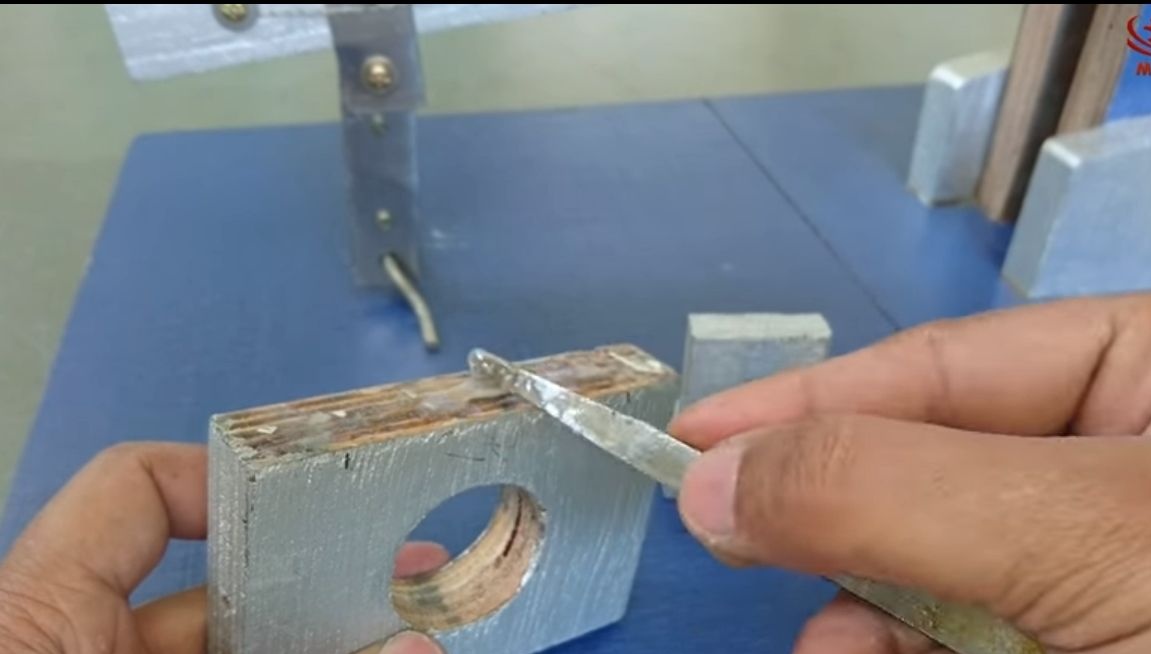
To fix the drill, you will need to make a fastener for it. It is a piece of plywood in which a large hole is drilled under the nose of the drill. The drill should come into place tightly where the front handle is screwed to it. Fasten this part in front of the crank using screws and wood glue.
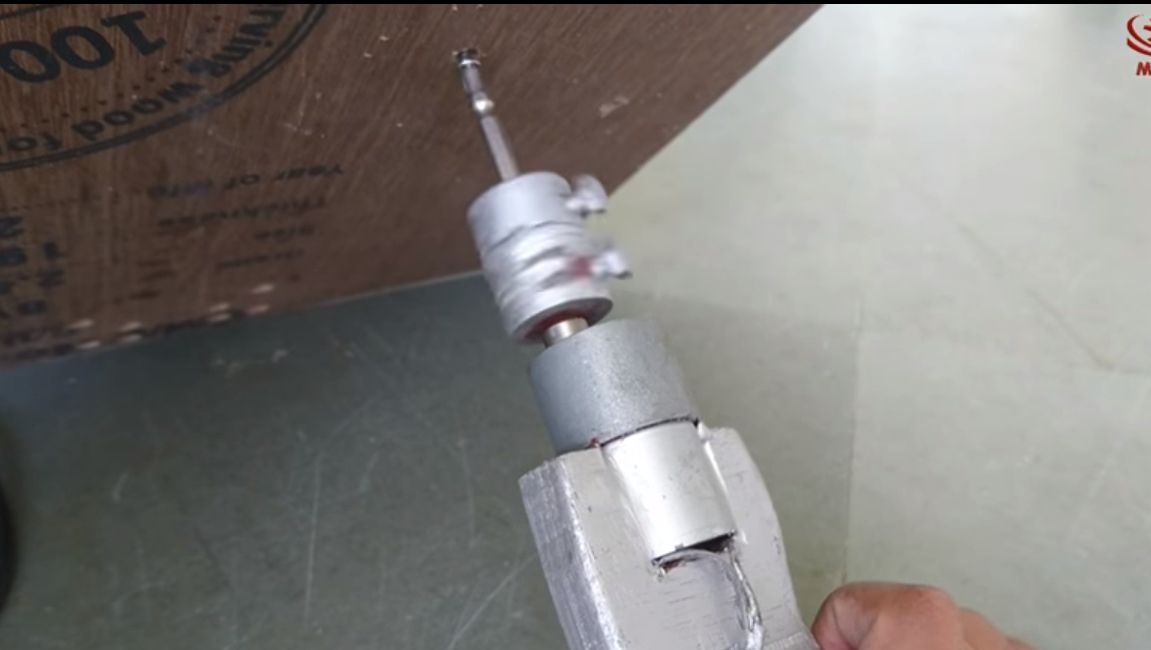
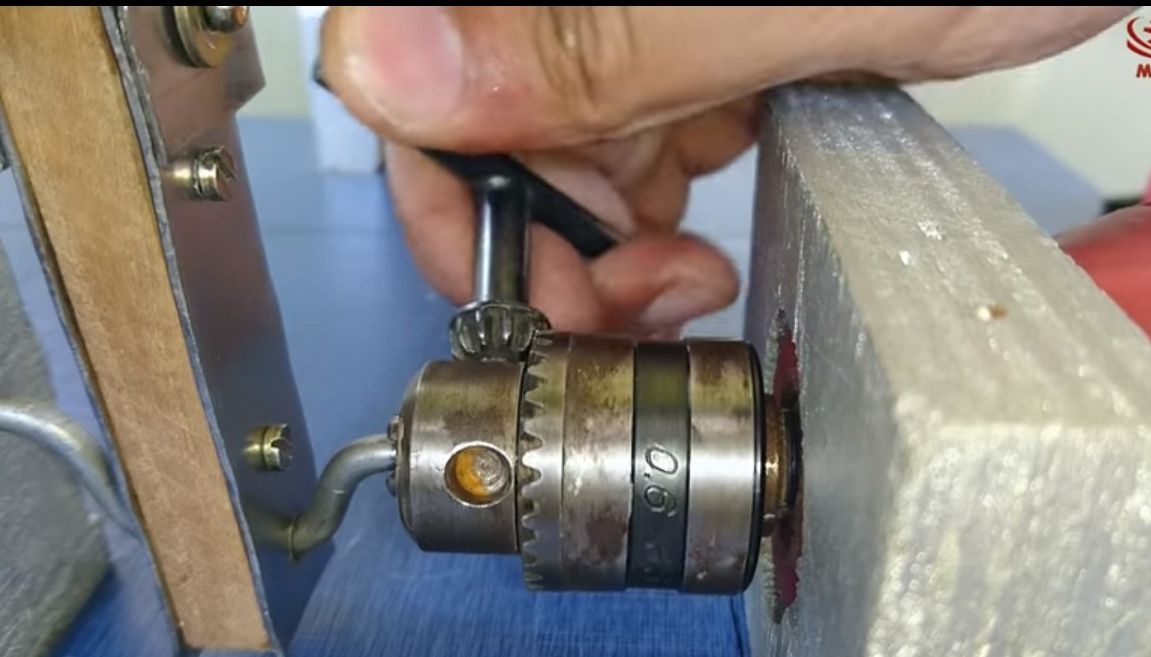
On the other side of the crank, you need to install a pore made earlier. Again we use glue and screws on wood. Install the drill in its place, clamp the crank axis into the chuck. We attach the drill itself by the handle using a screw with a nut. Make sure that the drill chuck is exactly opposite the crank axis. Manually twist the chuck and make sure everything is working fine.
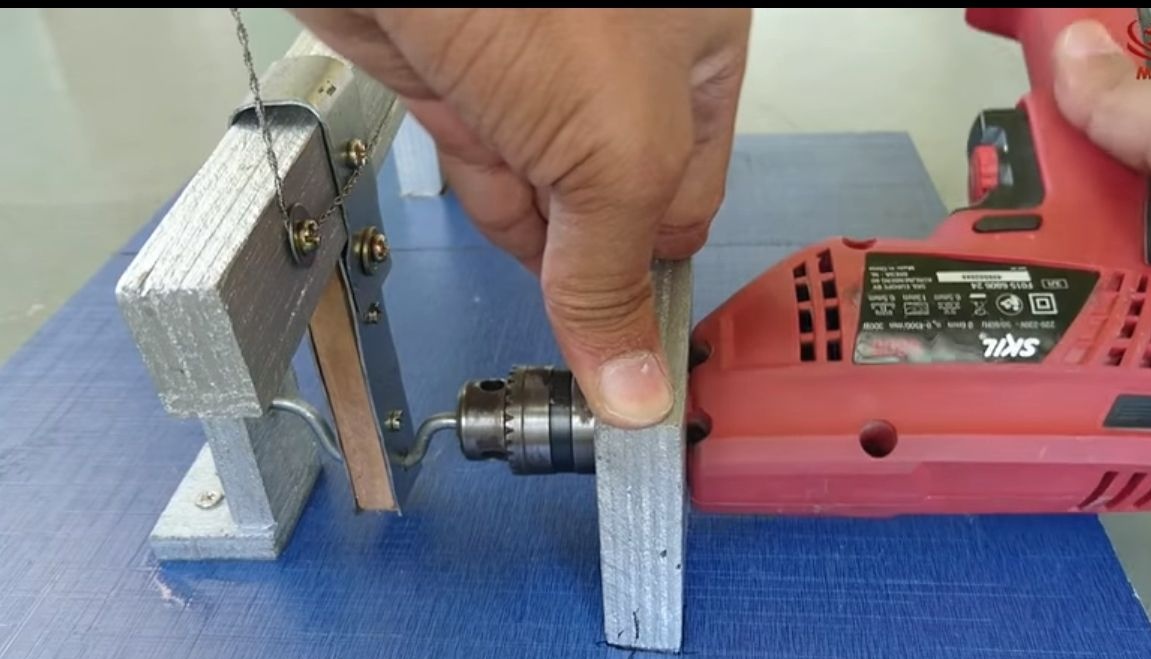
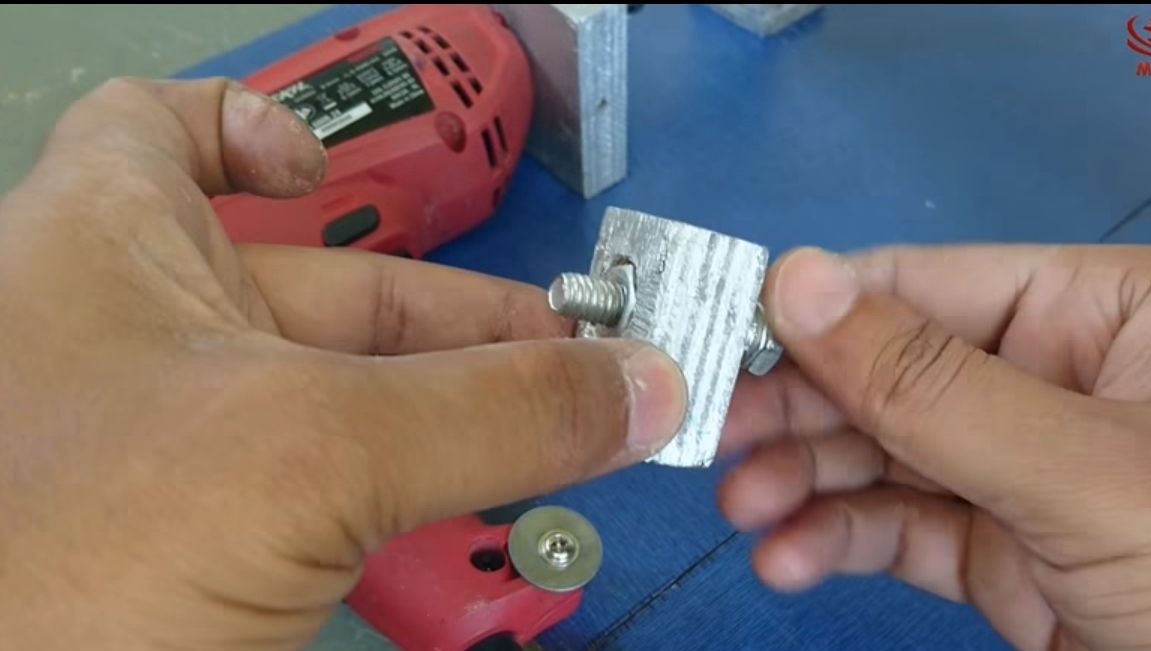
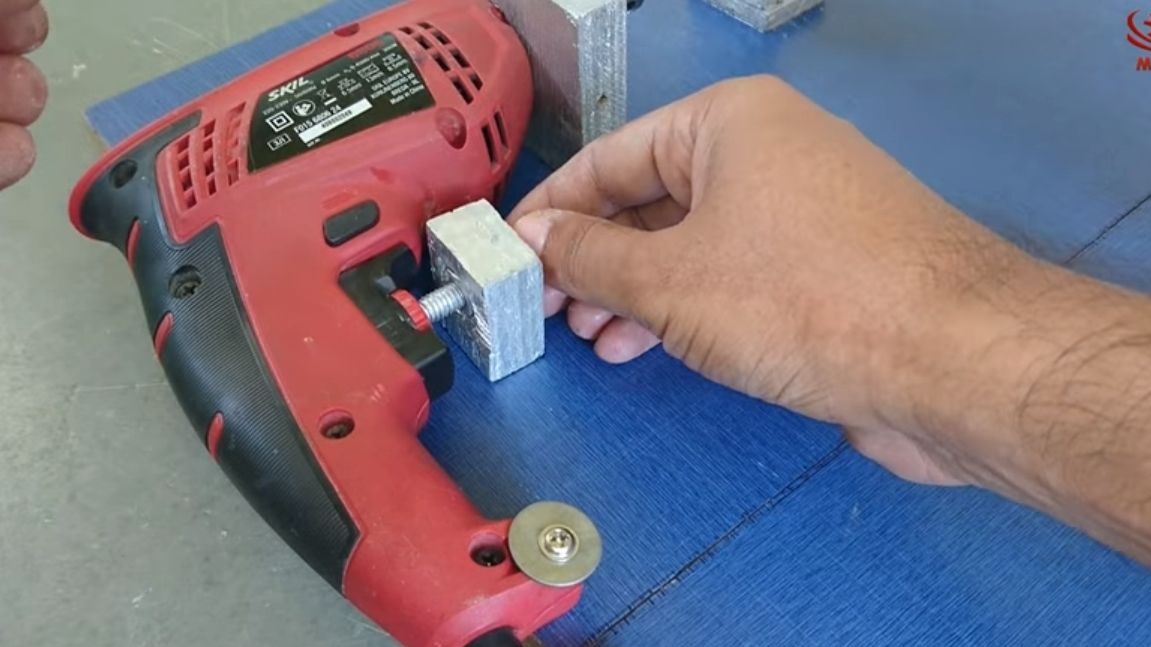
So that you can turn on the drill and adjust the speed, make the part as the author. We take a piece of plywood, drill a hole for the bolt and install the nut on epoxy glue. Place this part opposite the trigger of the drill and screw in the bolt. As the bolt is screwed in, it will press the trigger and turn on the drill.
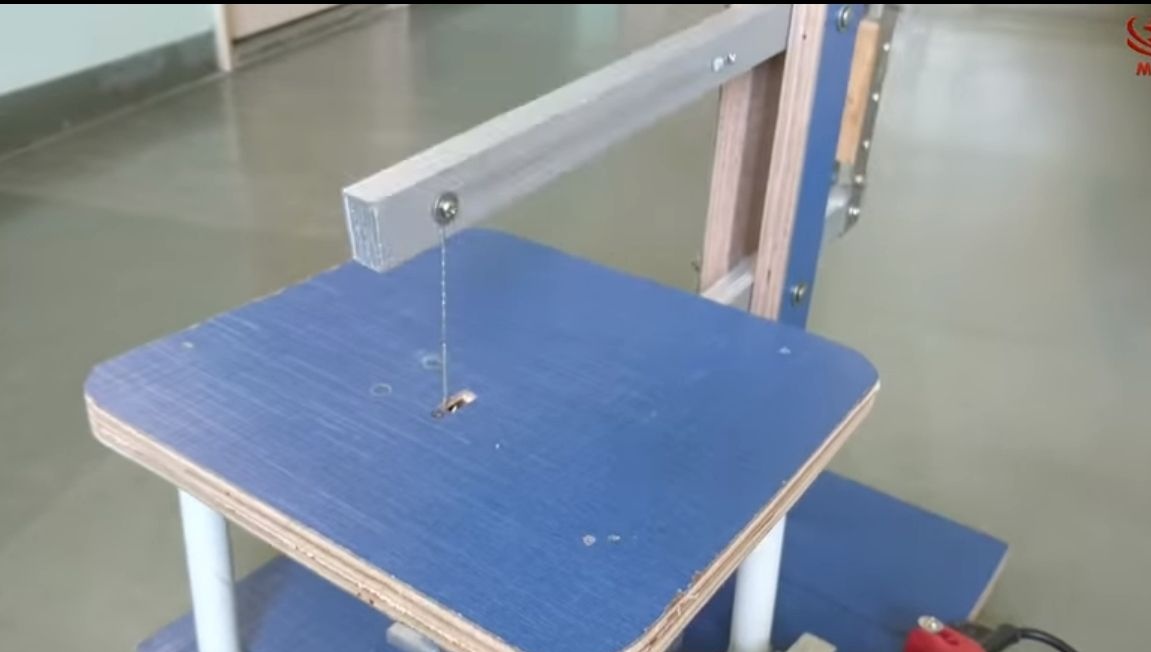
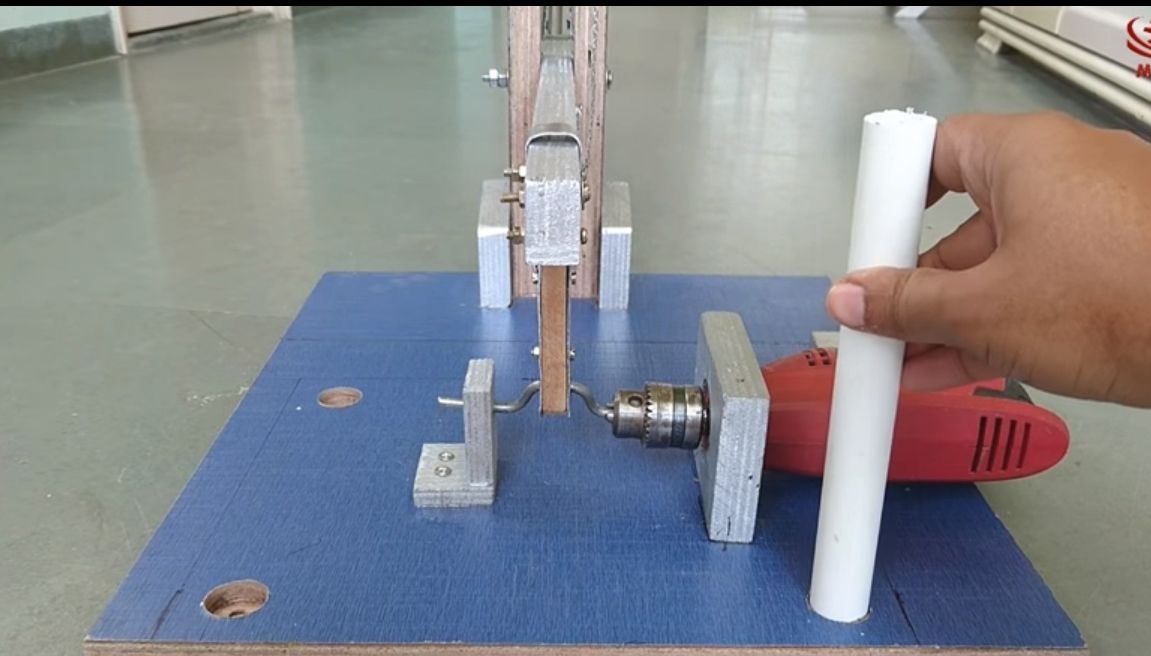
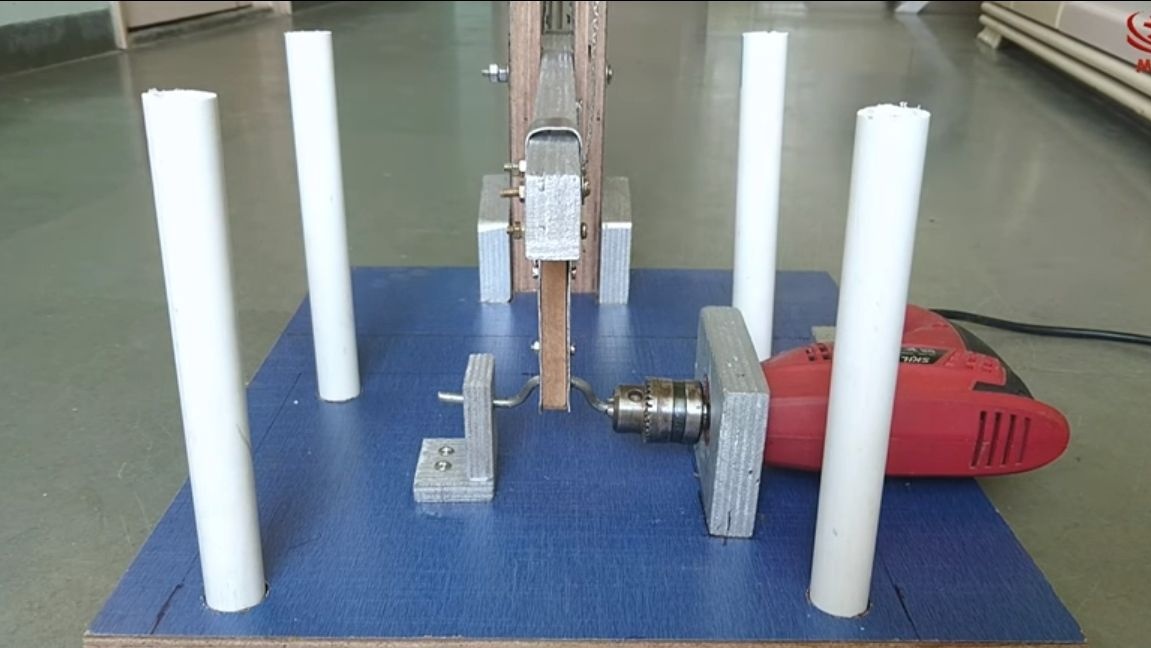
Step Ten Work table
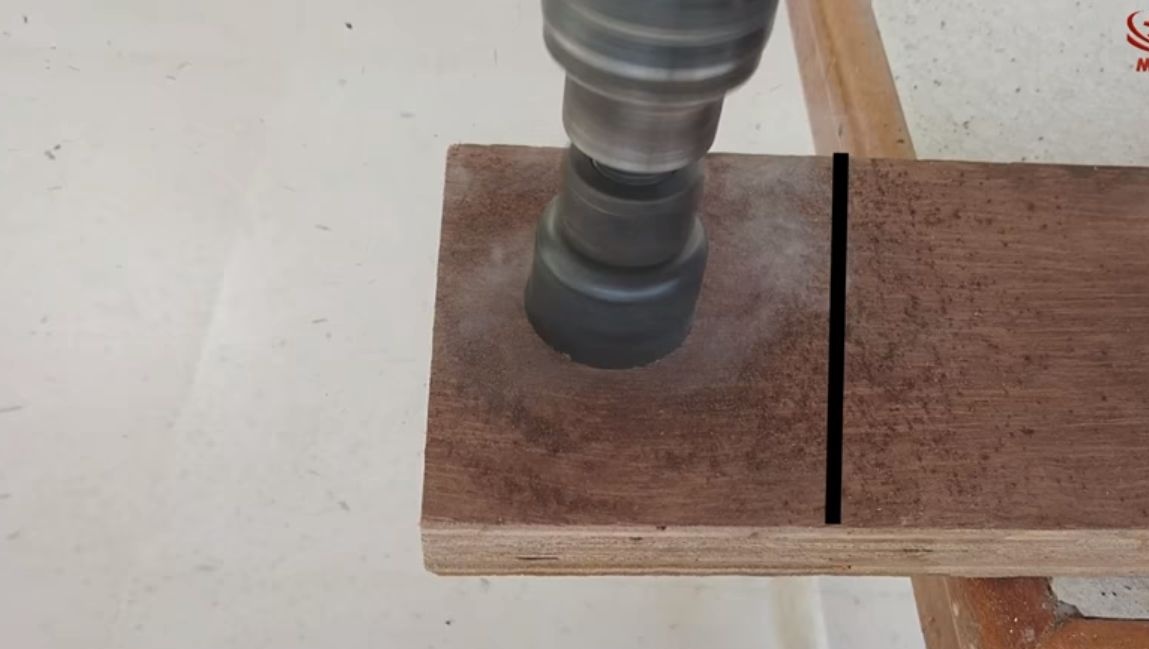
The machine is almost ready, set the work table. You will need a piece of plywood and four pieces of PVC pipe to make the legs. Drill grooves under the legs in the base and tabletop and paste the legs onto epoxy glue.
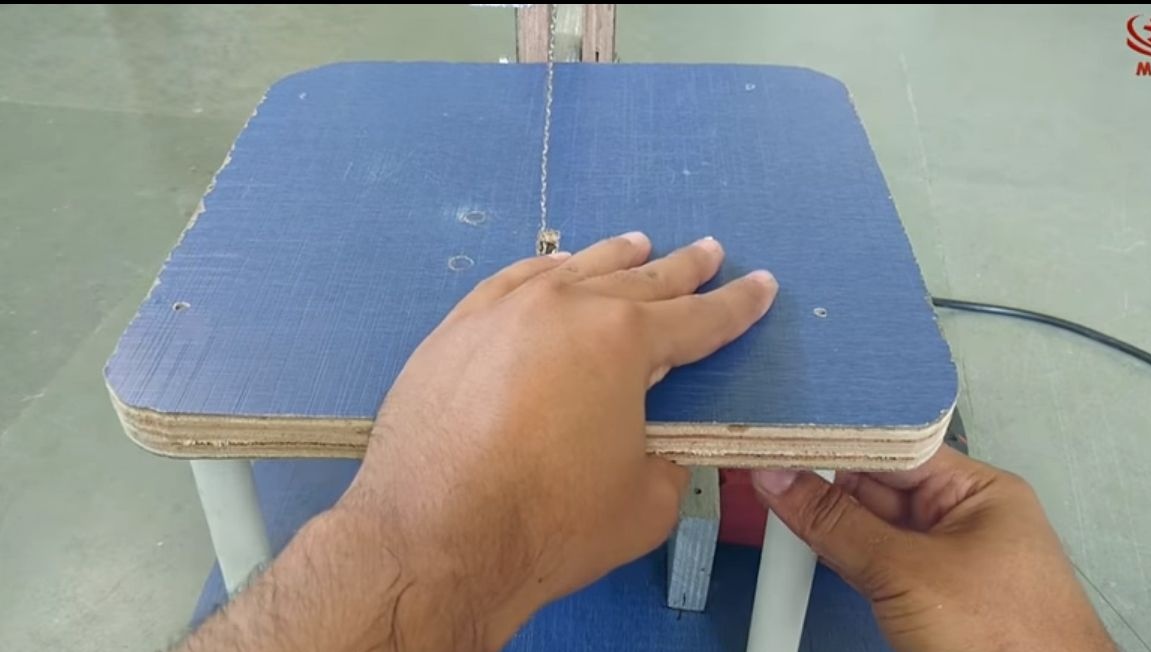
Congratulations, the machine is ready! Have a good use.