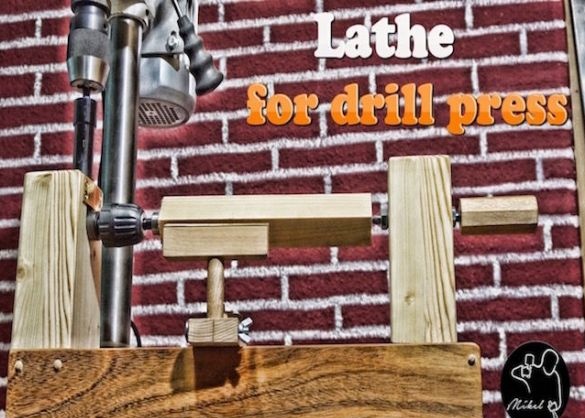
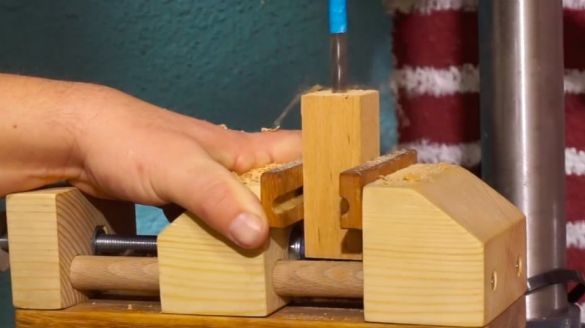
If you have little space in the workshop to install the whole set of machines, you can make them universal. For example, making drum grinding device expand the capabilities of the lathe. A lathe can be made on the basis of a drill. In this article, the Wizard will tell and show how this can be done.
Tools and materials:
-Angle nozzle;
-Board;
-Threaded stud;
-Glue;
-Wax;
-Threaded inserts;
-Brass;
-Bolt plumbing with double thread;
-Gon;
-Japanese saw;
-Hacksaw;
-Plane;
-Calipers;
-Chisel;
- Clamps;
- woodcarvers;
-Rule;
-Drilling machine;
Cutters;
-Dremel;
-Pencil;
-Roulette;
- Reysmus;
-Crown on wood;
- dowels;
-File;
-Compass;
-Sandpaper;
-Vise;
- Wing nut;
-Double-sided tape;
-Knife;
Step One: Dimensions
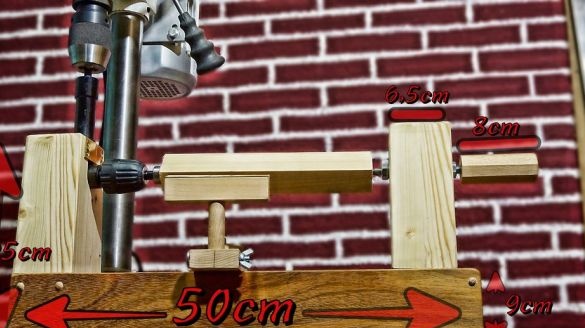
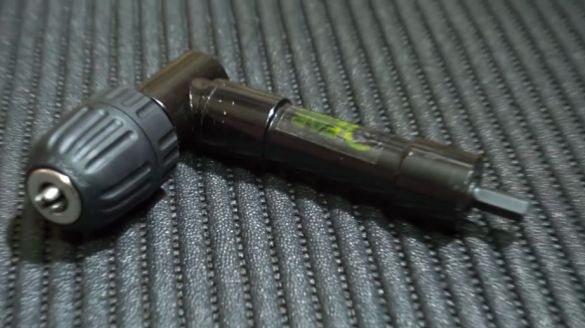
As can be seen from the photo, there is nothing complicated in the manufacture of the machine. The main and most expensive part is the angle nozzle, not counting the drilling machine of course. The main dimensions are shown in the photo of the wizard.
Step Two: Guide
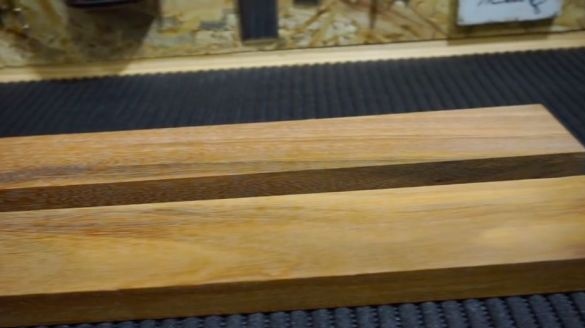
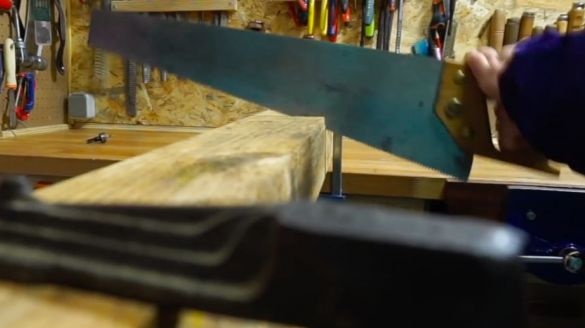
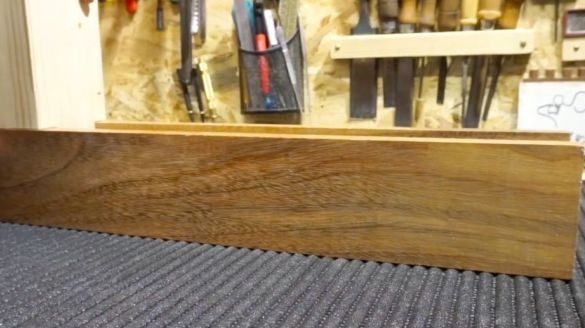
Guides, they are also the supporting part of the machine, the master made of solid wood. The size of the two guides is 50 cm x 9 cm x 2 cm each.
Step Three: Front and Rear Headstock
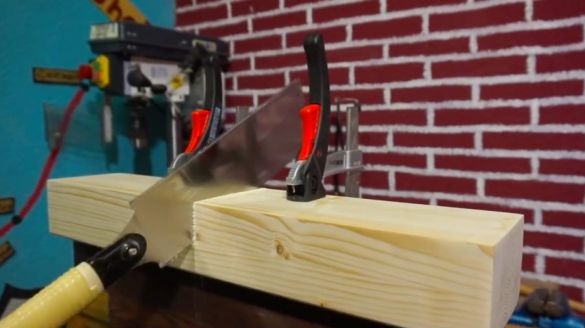
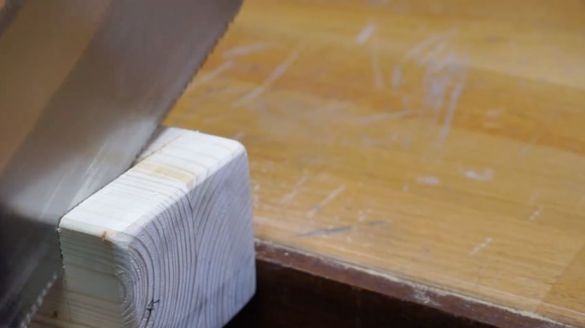
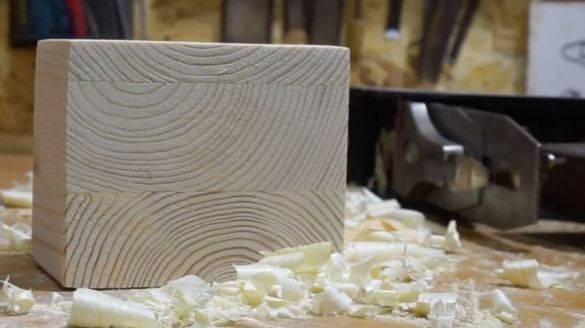
The front and rear headstock are made of a bar of 25 cm x 9 cm x 6.5 cm each. At the bottom of the headstock makes a spike.
Step Four: Install the Angle Tip
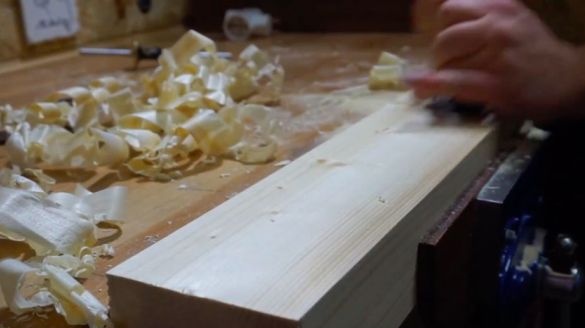
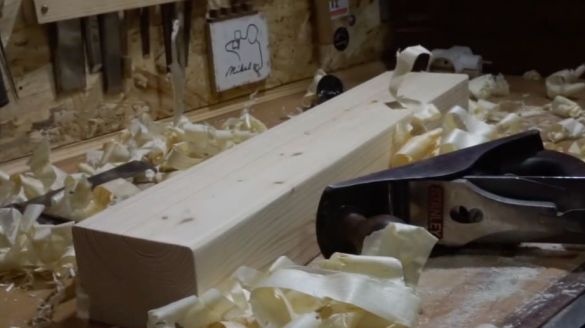
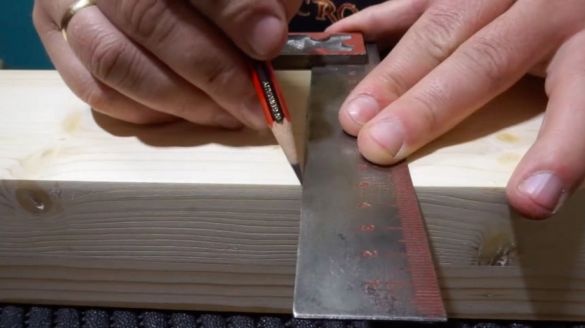
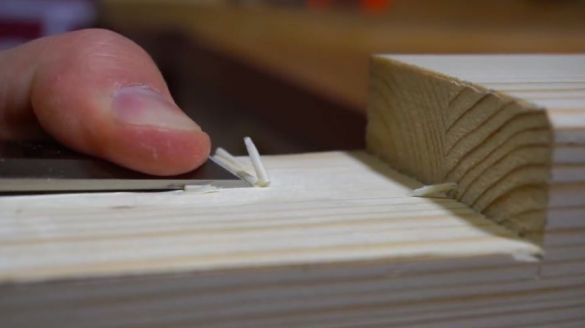
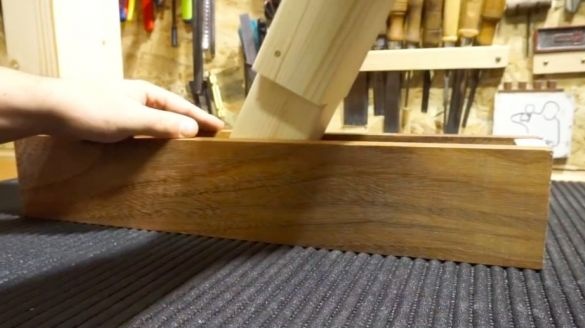
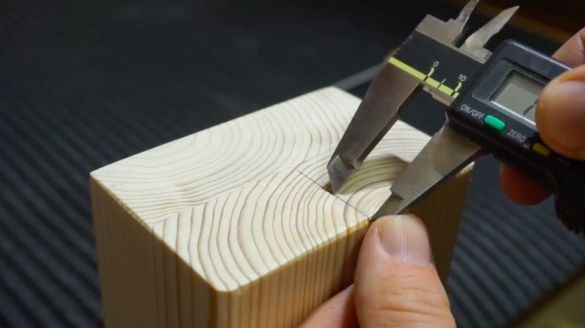
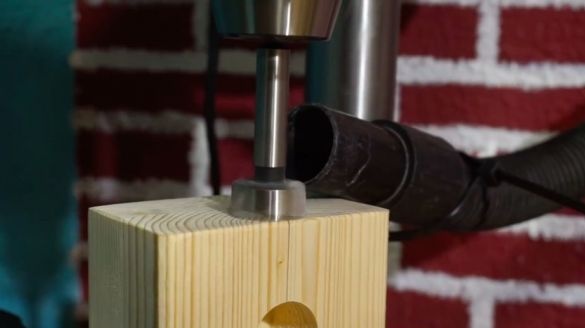
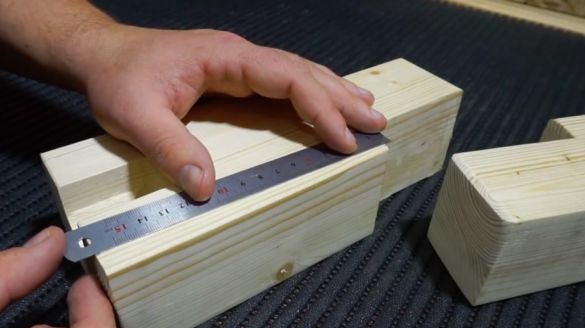
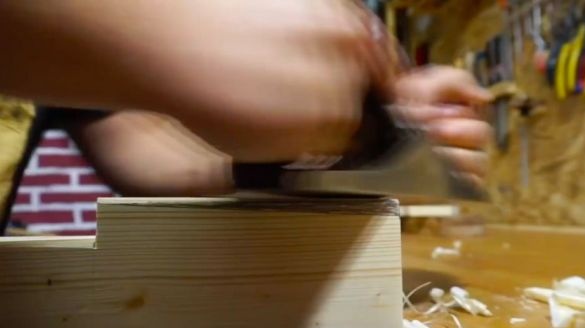
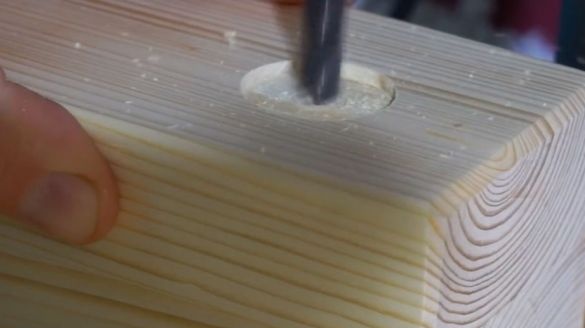
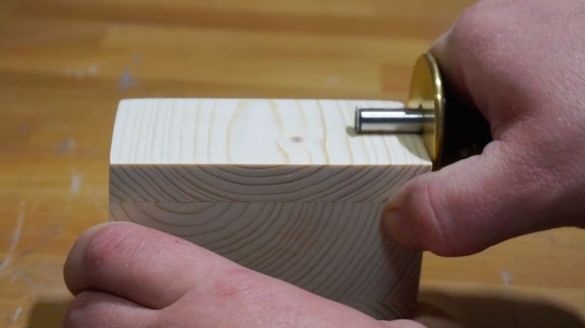
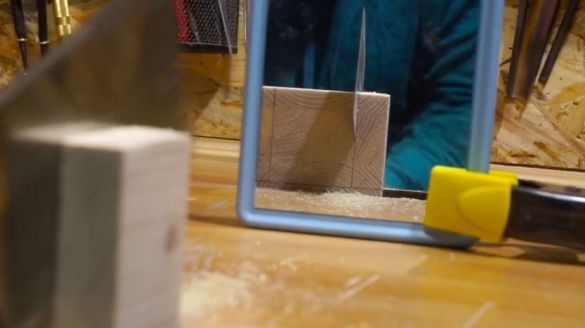
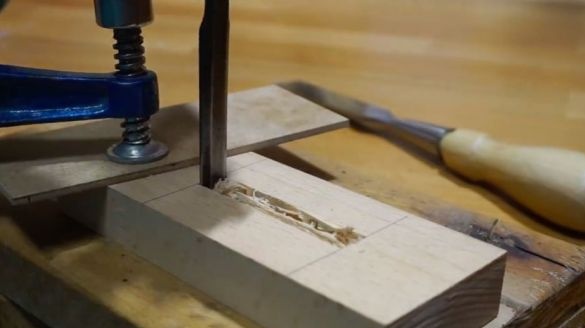
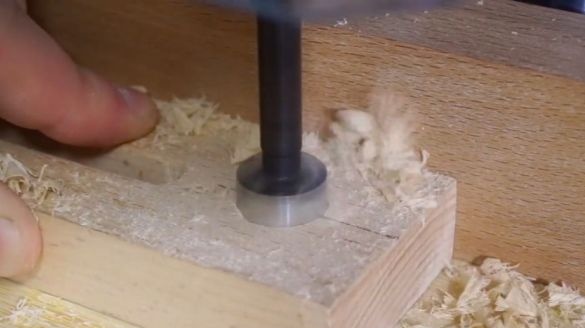
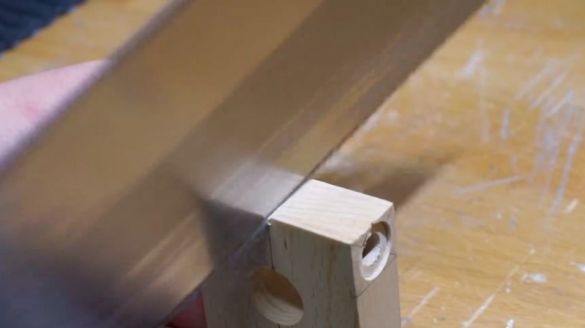
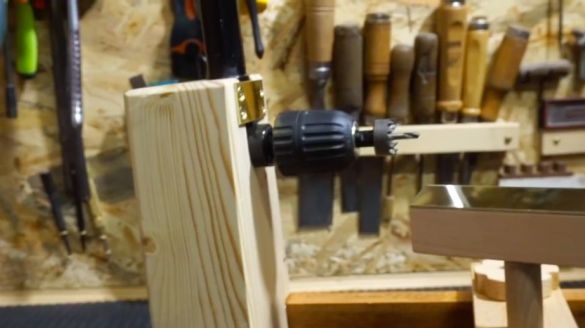
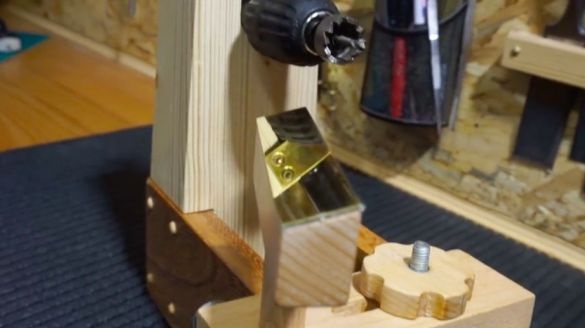
Makes markings on top of the headstock. The angle nozzle must be installed without deviating in any direction. From the end and top, the crown makes the channel. Then he cuts the channel wall. Trim the side of the headstock with a planer.
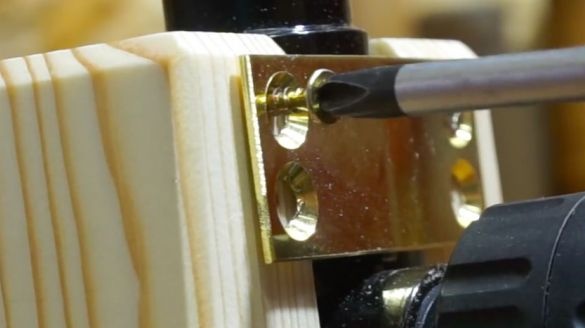
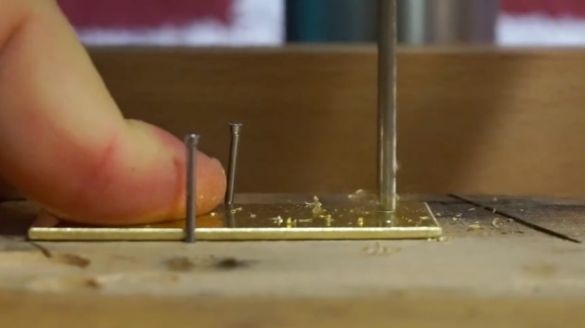
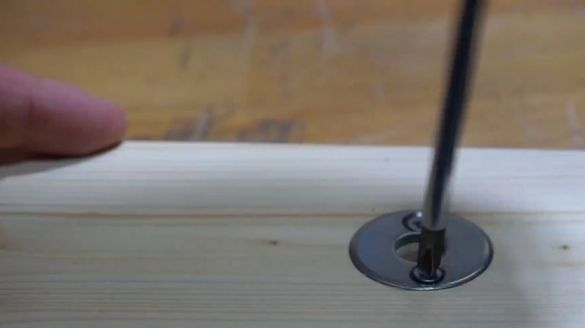
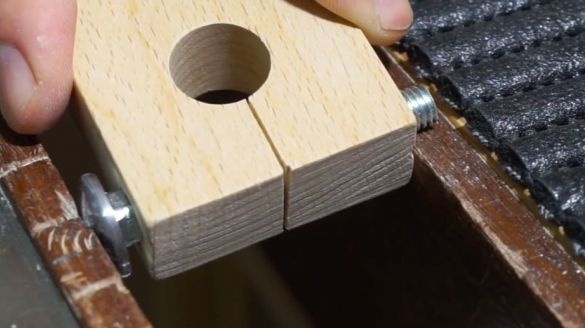
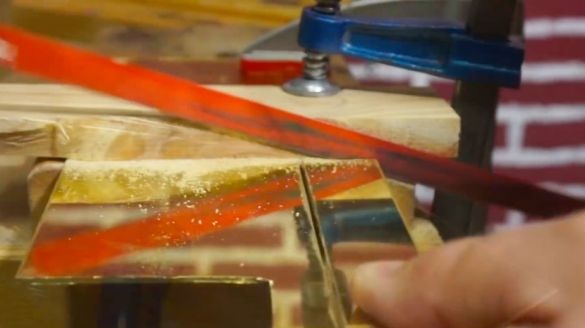
To fix the corner nozzle, it makes a pressure plate from brass. Sets the nozzle to fix the plate.
Step Five: Install the Taper Clamp Screw
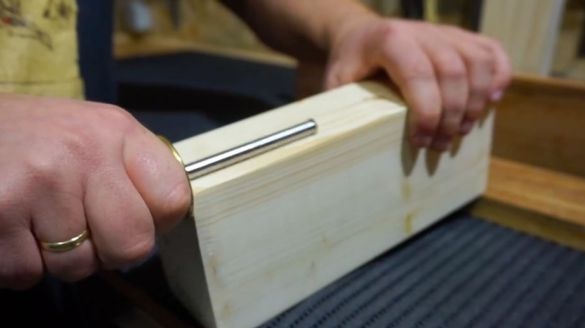
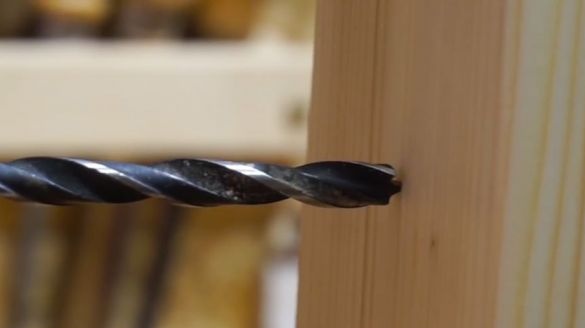
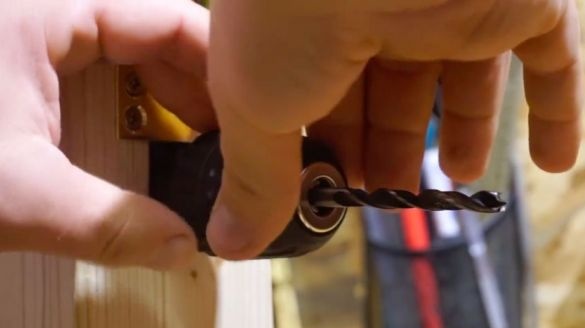
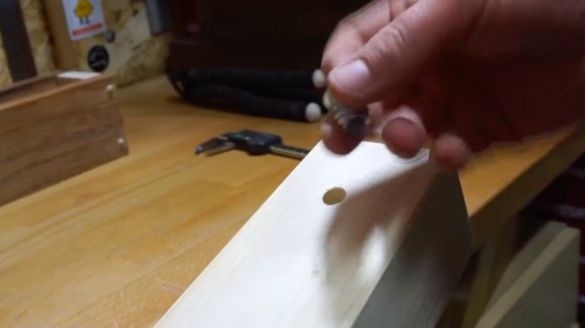
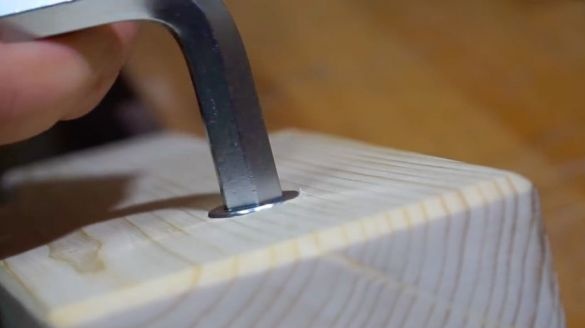
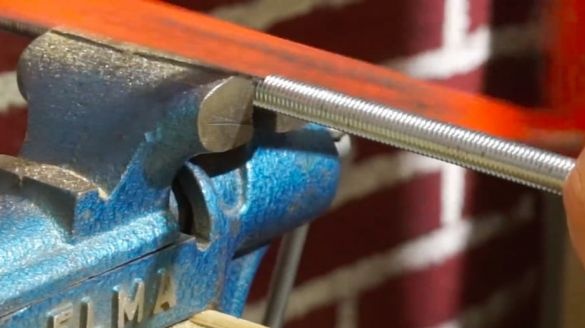
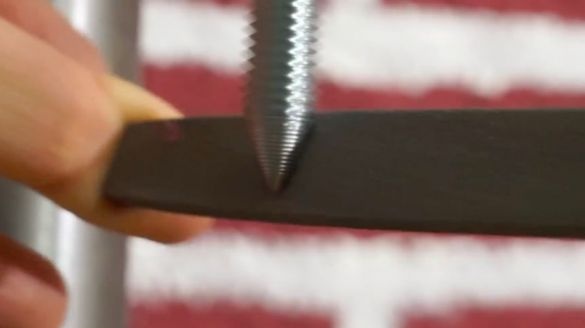
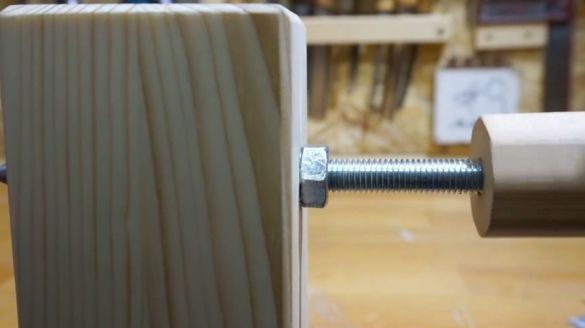
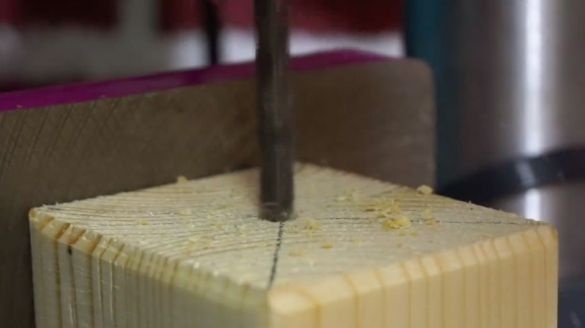
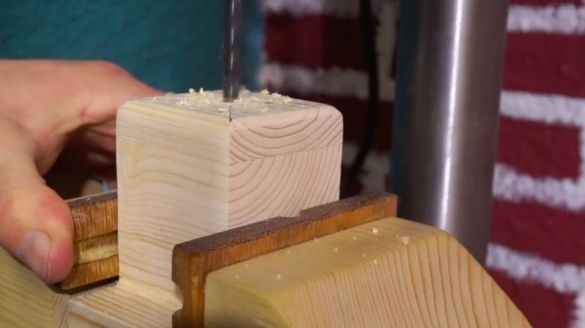
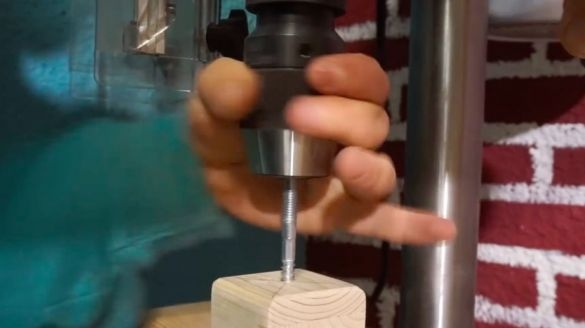
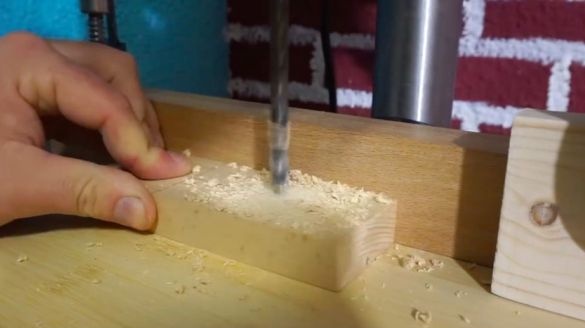
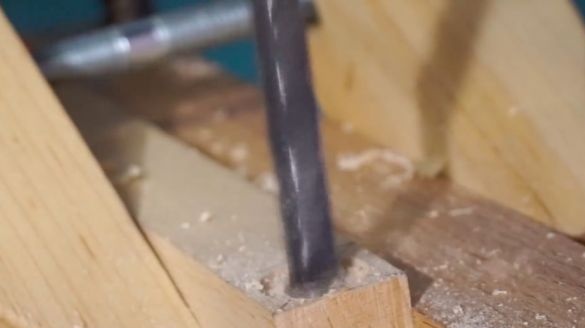
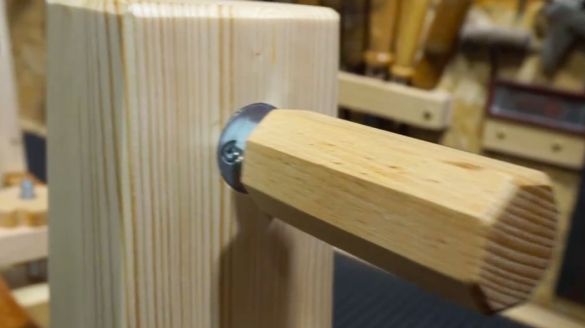
Installs a drill in the chuck of the corner nozzle. He brings the tailstock to the drill along the guide and marks the center. Drills a hole in the center. Installs a threaded insert into the hole. Sharpen a bolt on a cone. Screws the lock nut onto the bolt all the way.Screws into the threaded insert. A handle with a hole inside is made of a large diameter wall plug. Wraps a hand on a bolt against the stop.
Step Six: Connect Guide and Headstock
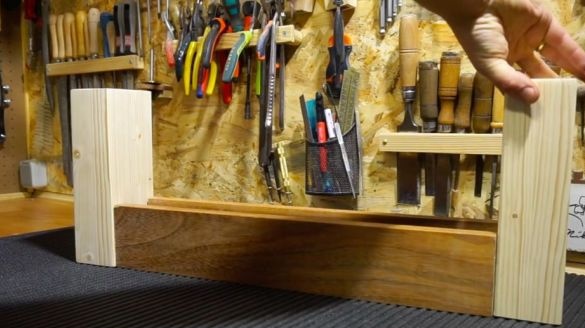
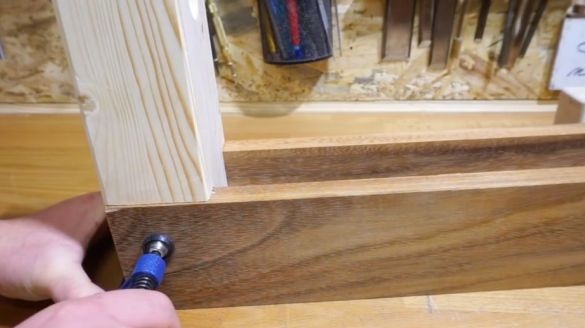
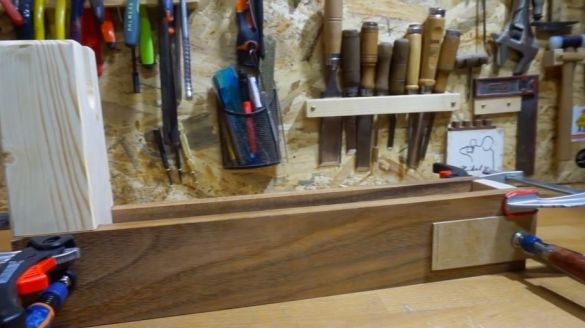
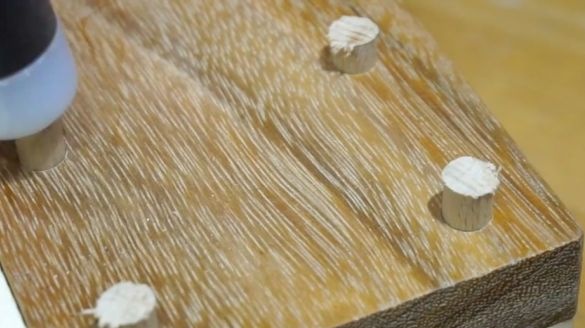
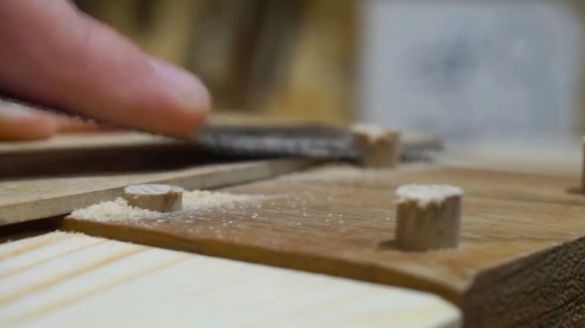
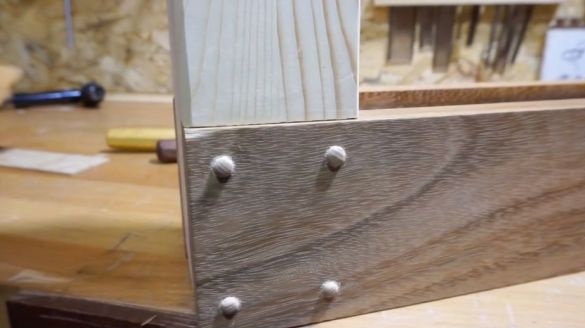
Installs the headstock. It fixes the headstock and guides with glue and dowels. In the back between the rails sets the block. Thus, the front headstock is stationary, and the tailstock moves.
Seventh step: making pens
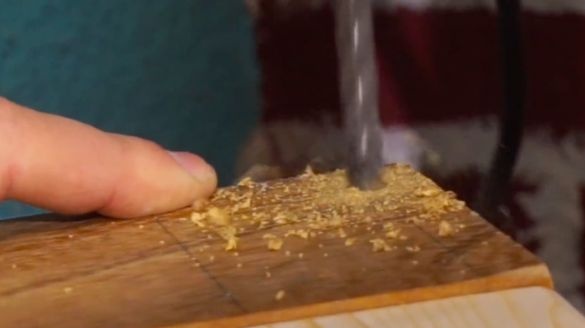
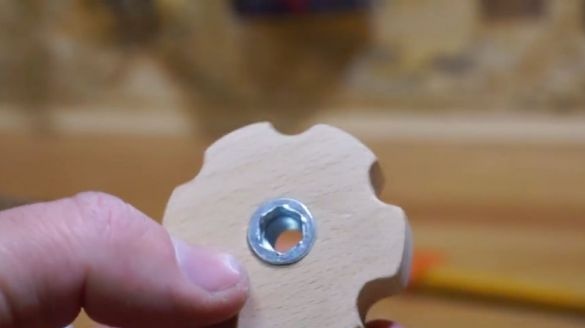
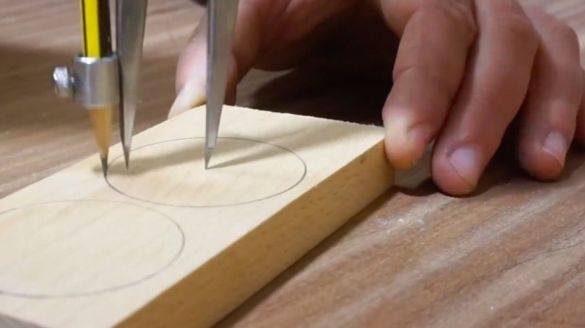
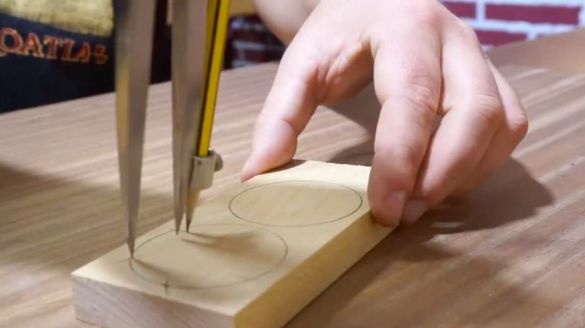
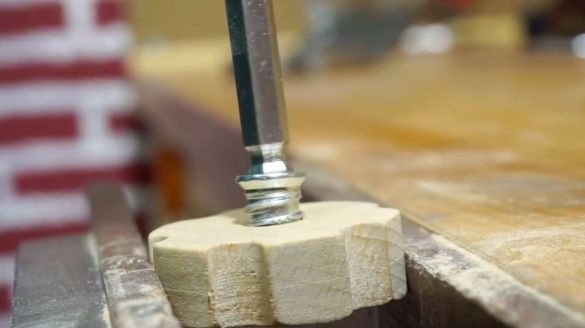
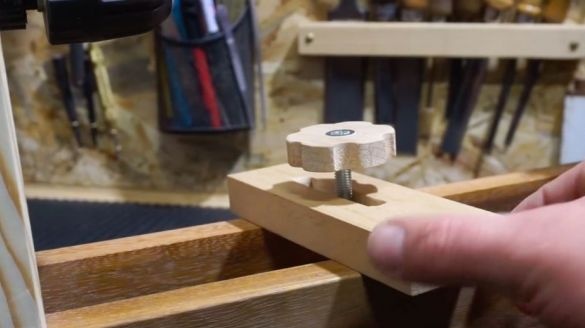
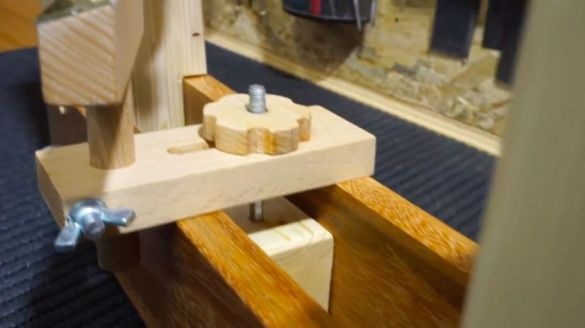
Makes two clamping handles. On a blackboard, a compass draws two circles. Divides the circle into six equal parts. At the intersection points, and in the center drills holes. Cuts circles. Handles sandpaper. In the center of the handle installs a threaded sleeve.
Step Eight: Fixing the tailstock
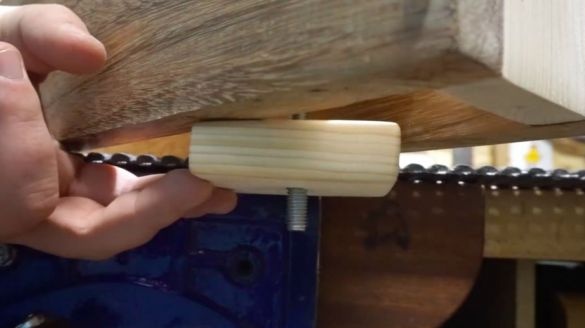
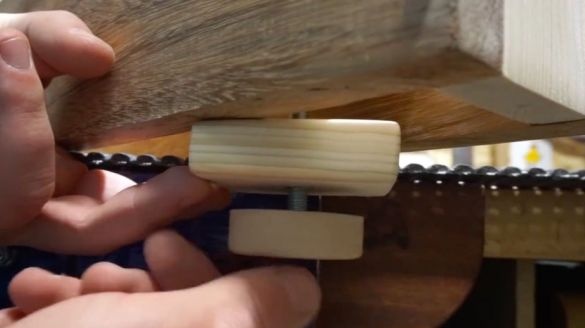
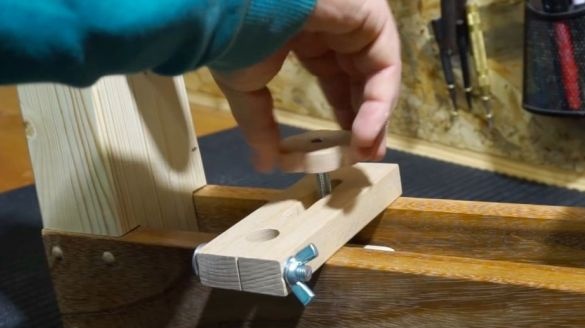
Slices a bar (clamp). Drills a through hole in it. Drills a hole in the bottom at the end of the tailstock. Screws in a double-threaded bolt. Sets the headstock in the guides. Installs a clamp on the bolt. Screws the handle onto the bolt. Now the tailstock can be fixed.
Step Nine: Handyman
Makes a bar in the shape of the letter T. The leg of the letter T goes into the middle of the guide. A hole is drilled at the end of the leg and the double-threaded bolt is screwed in.
In the center of a rectangular plank cuts a groove. Drills a through hole from one edge. Then cuts the end part. Gathers the base of the handicraft.
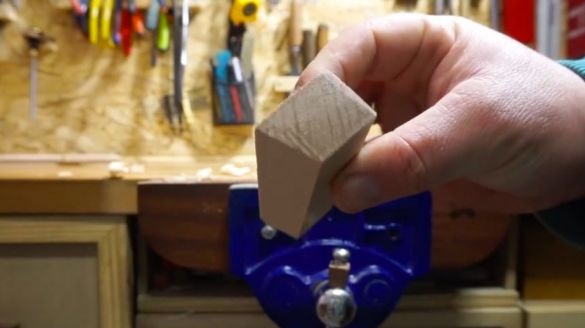
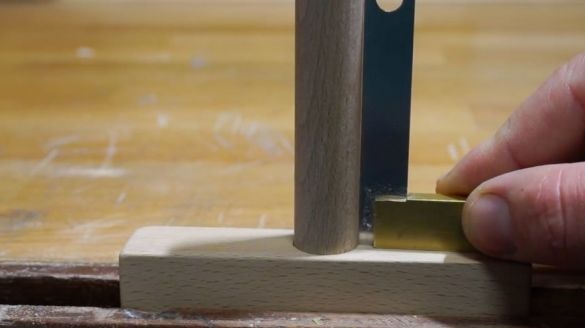
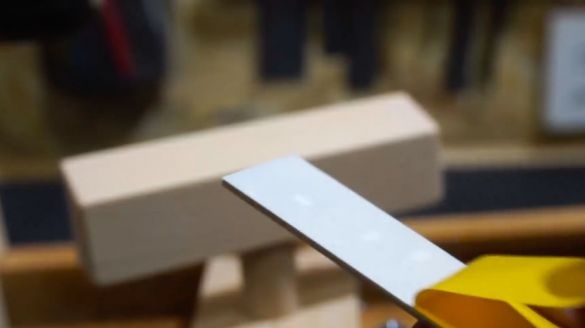
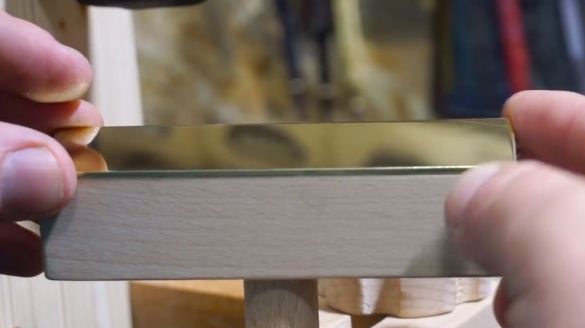
For the handyman, he cuts a block of 11 cm x 3 cm x 2 cm. He cuts one side at an angle of 15 degrees (cutter support). The support will be turned to the master by the support. From below it drills a hole and installs a dowel. Inserts the second end of the dowel into the split hole on the base and clamps it. Cut a copper plate. Double-sided tape glues it to the supporting part of the handcuff.
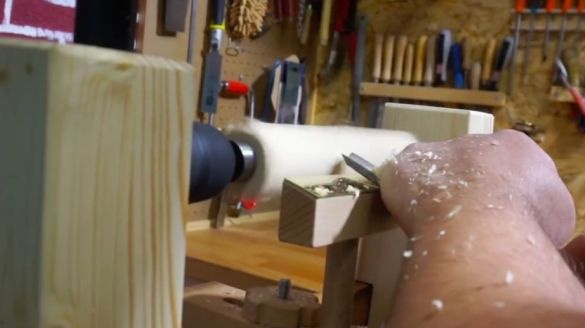
The lathe is ready. Clamps the bit of the angle nozzle in the drill chuck and you can get to work.
The whole process of making a lathe can be seen in the video.

