

A cutting machine or a pendulum saw allows for a more accurate cut, withstand the desired cutting angle, simplifies the work of a grinder with metal and other materials. I bring to your attention a simple pendulum saw from the twenty-thirty angle grinder.
Tools needed.
1. Welding inverter.
2. Angle grinder.
3. Drill.
4. Electric fretsaw.
Materials required.
1. Textolite with a thickness of one centimeter.
2. A metal profile with shelves forty by twenty-five millimeters.
3. A metal strip three centimeters wide.
4. The axis of the bicycle carriage.
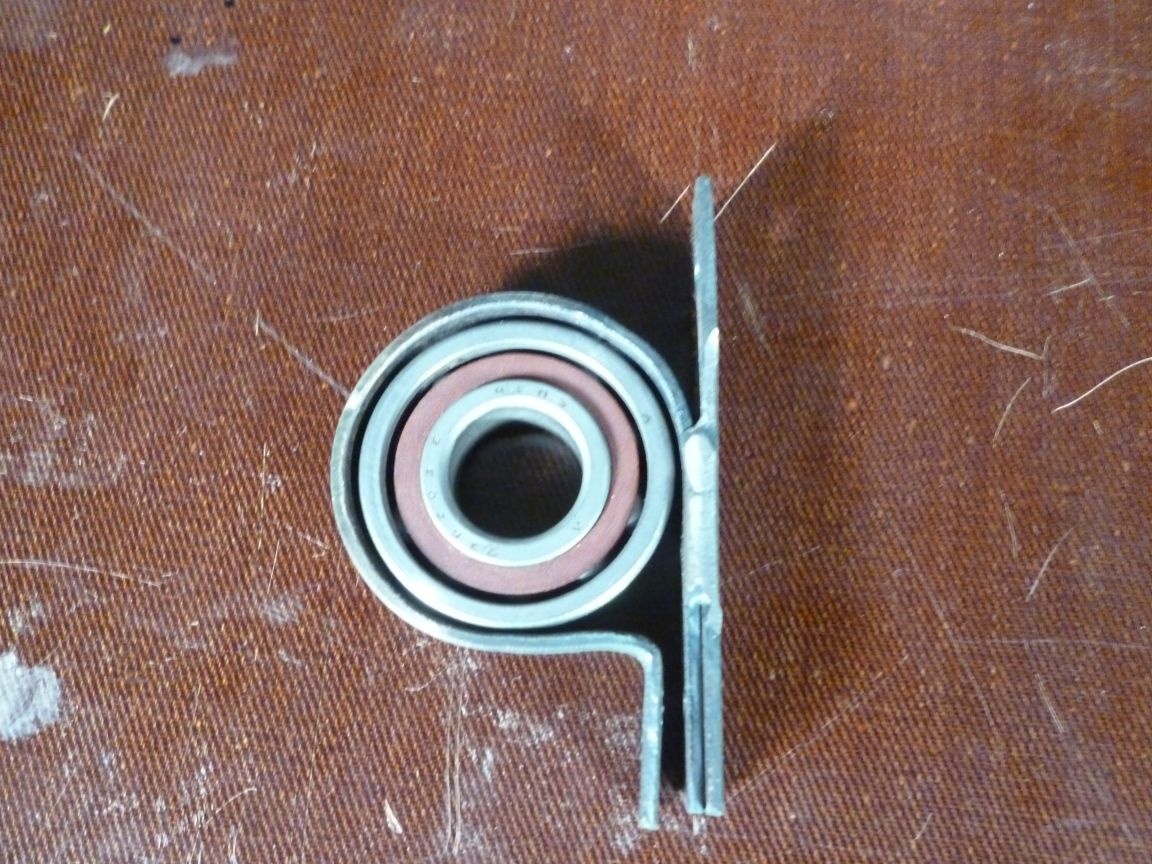
5. Two bearings.
6. A piece of metal with a thickness of one millimeter.
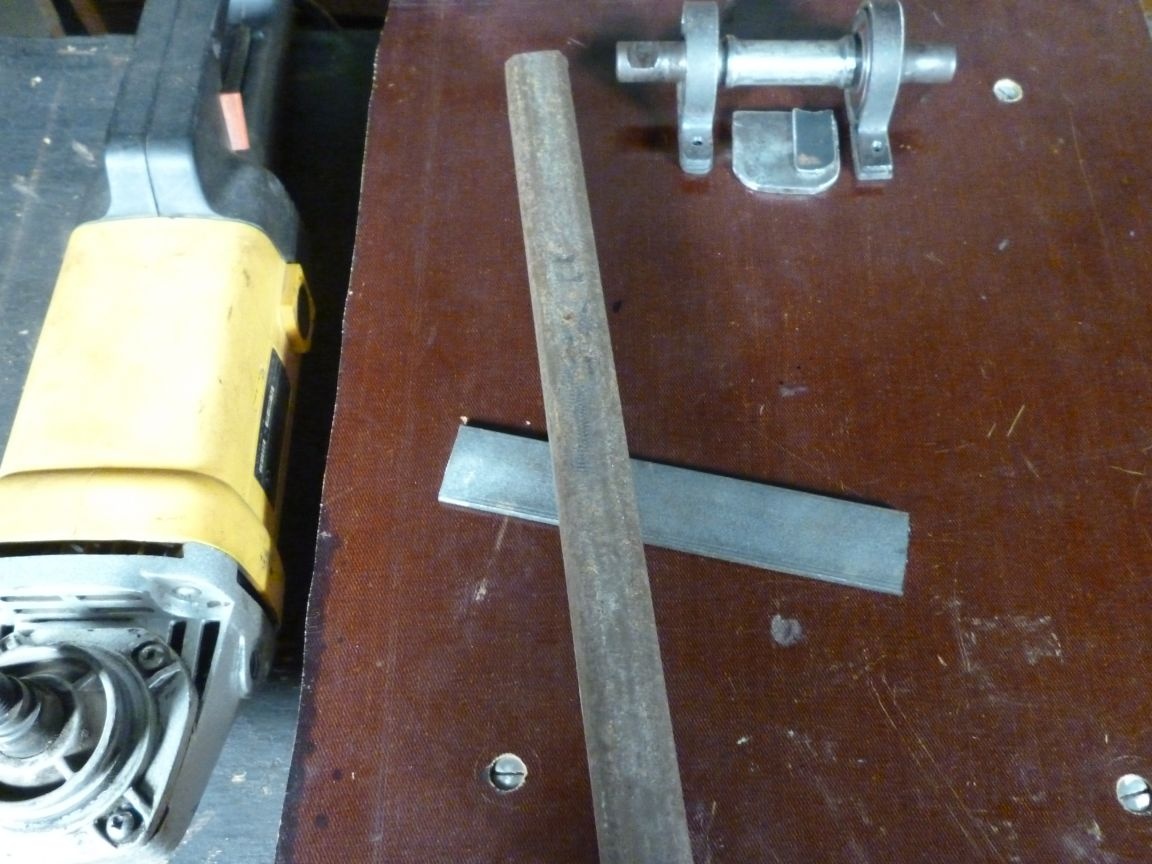
7. A metal bar with a diameter of fourteen millimeters.
8. Tight spring.
9. Socket.
10. Cable with plug.
11. Non-latching power button.
12. Various bolts and nuts.
13. Plastic ties.
14. Paint.
15. A metal corner thirty by thirty centimeters.
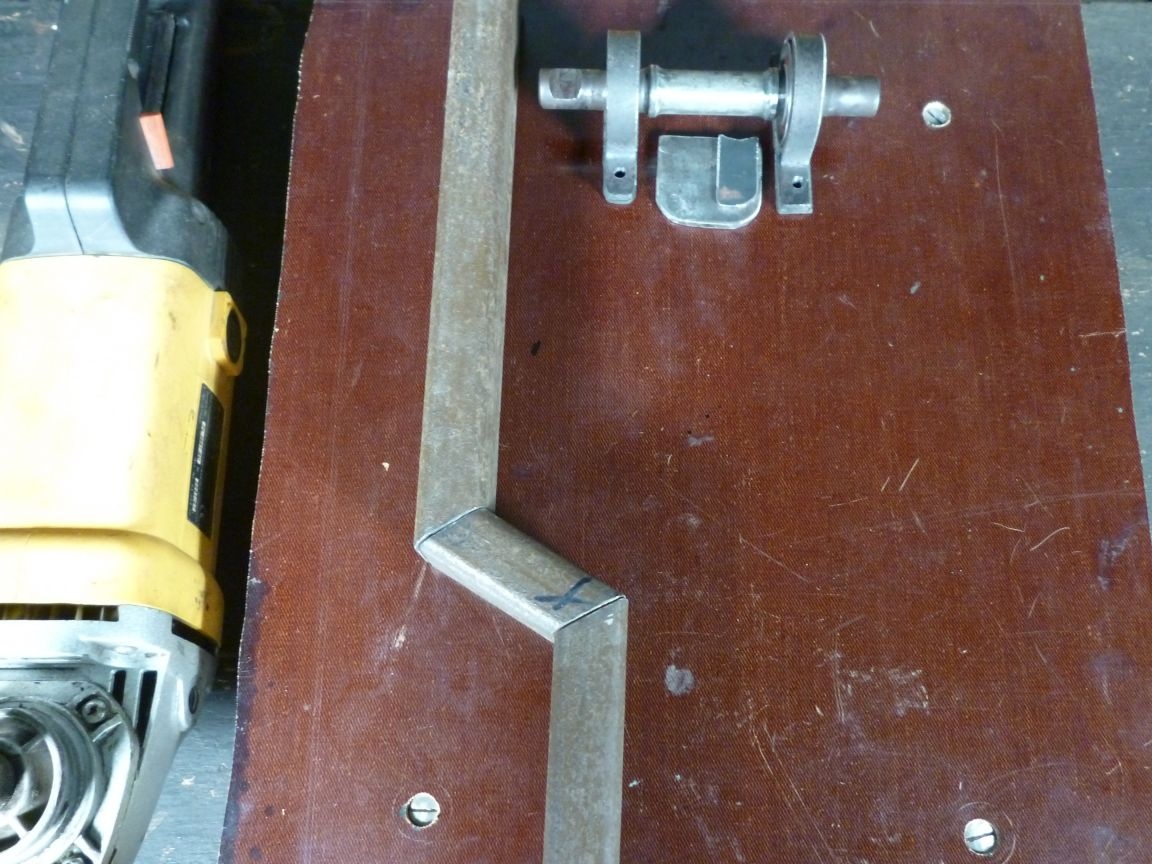
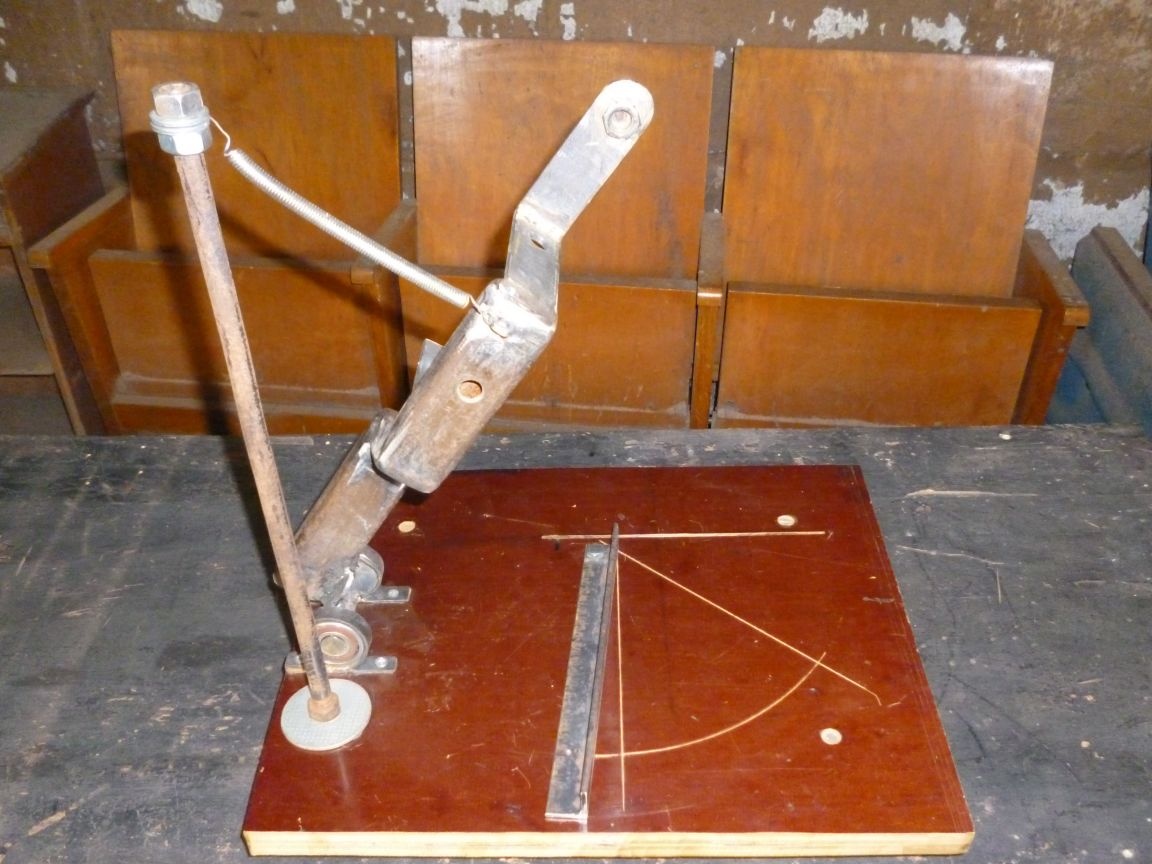
To begin with we will make a bed.
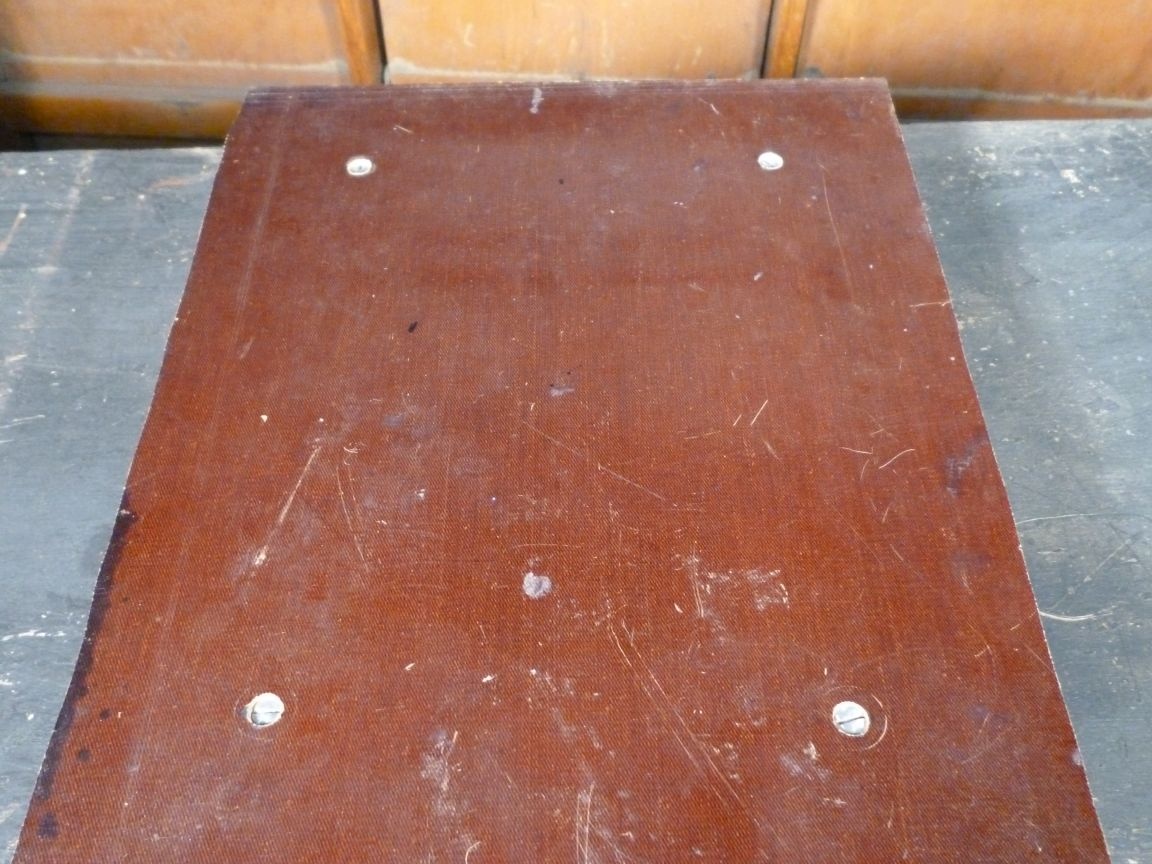
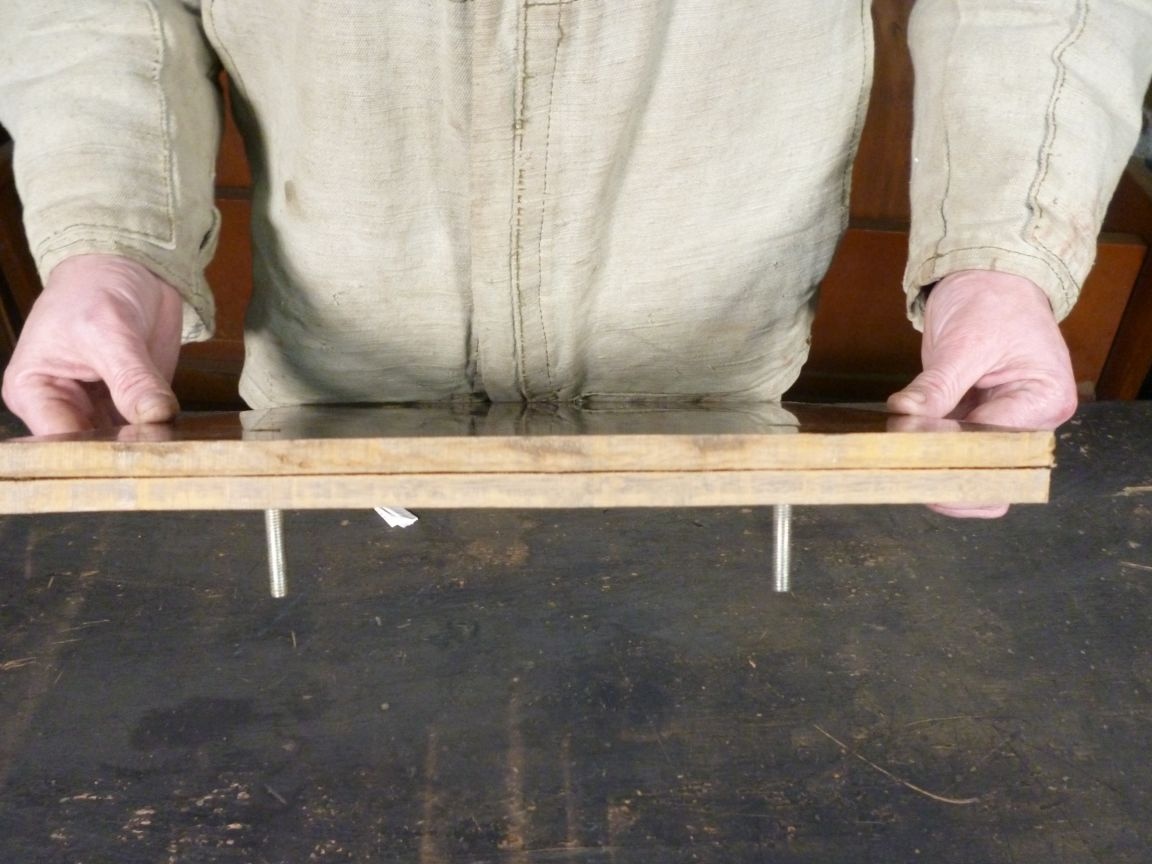
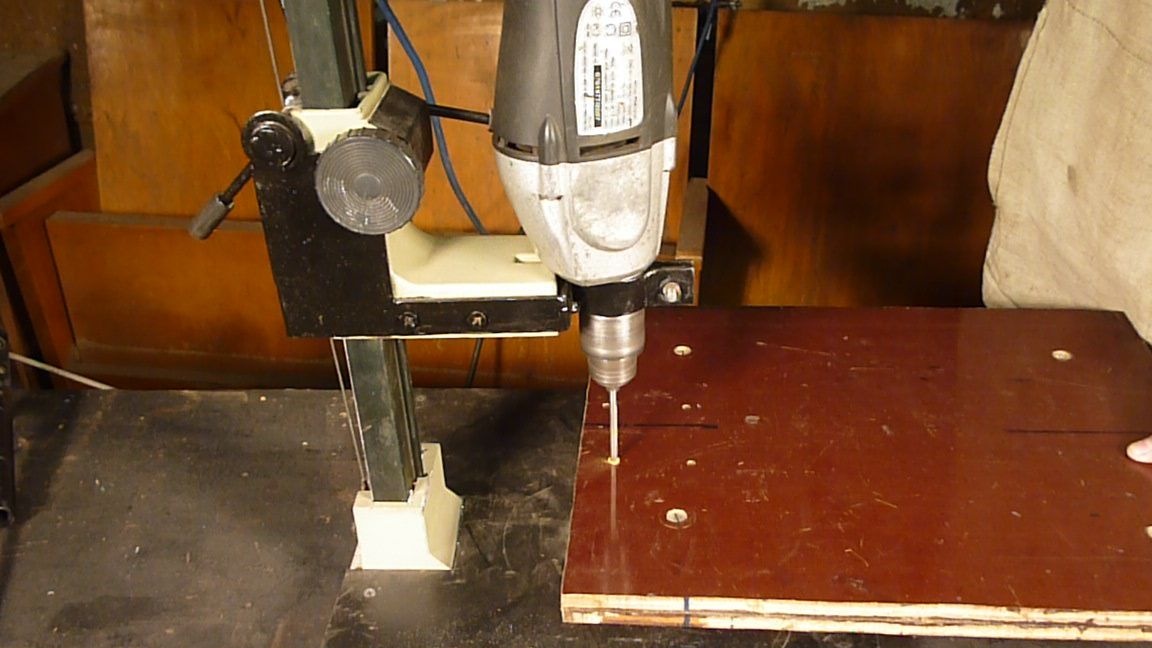
From a centimeter textolite we cut two pieces and glue them together on an epoxy resin. We drill holes and tighten the textolite with screws.
If there is any other smooth and durable material, then the frame can be made of it.
By the way, the screws not only tighten the bed, but also act as legs.
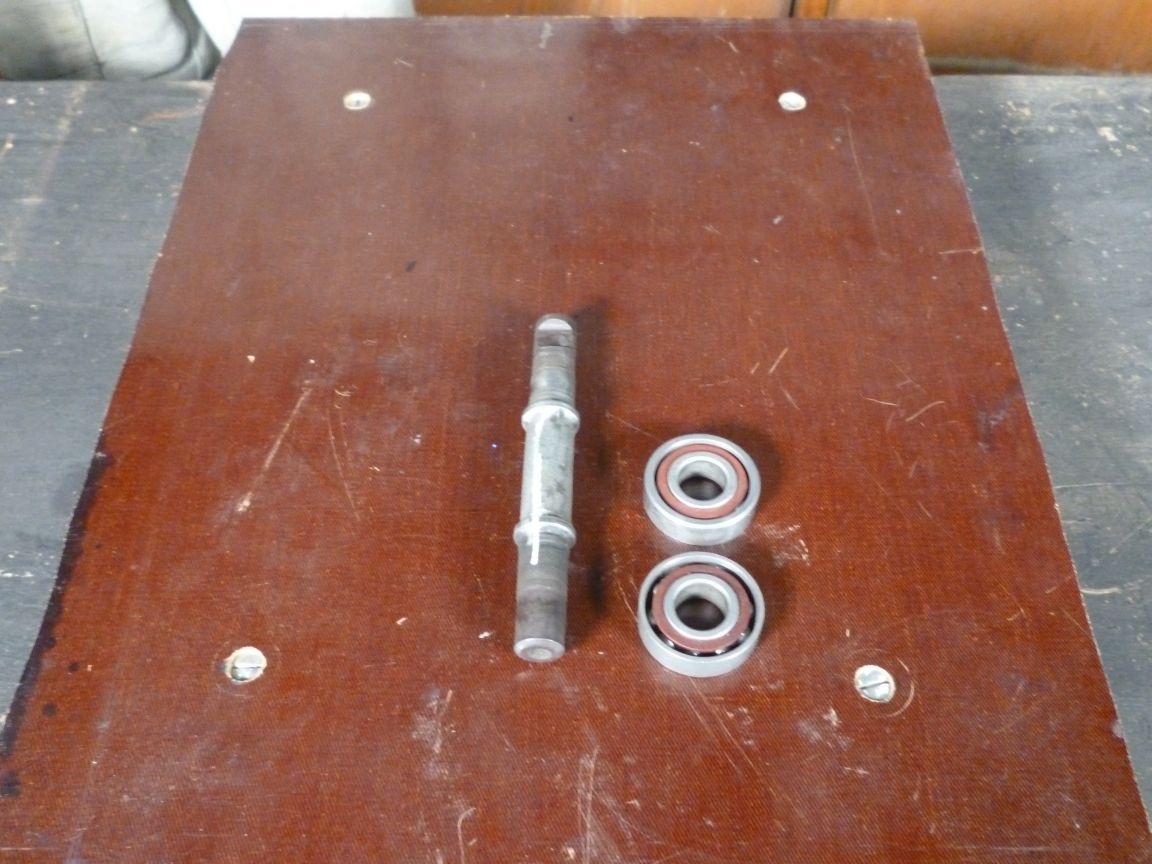
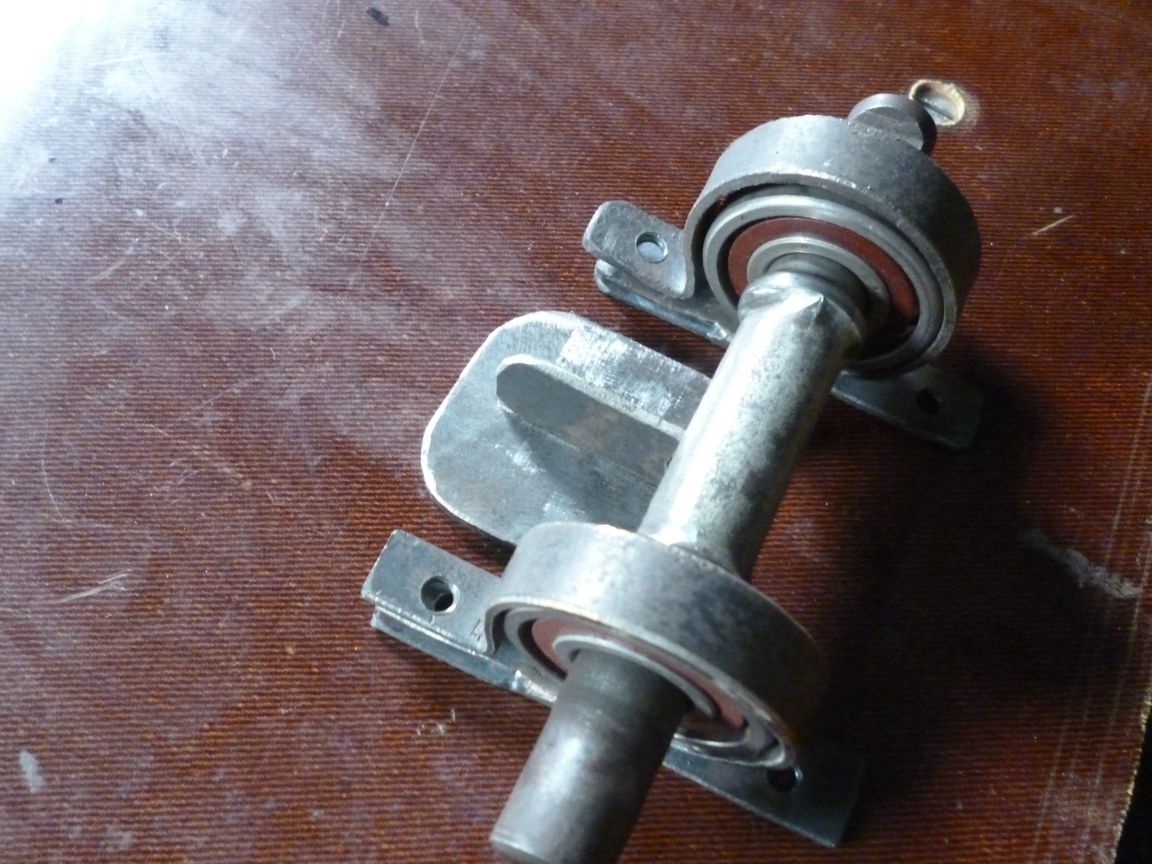
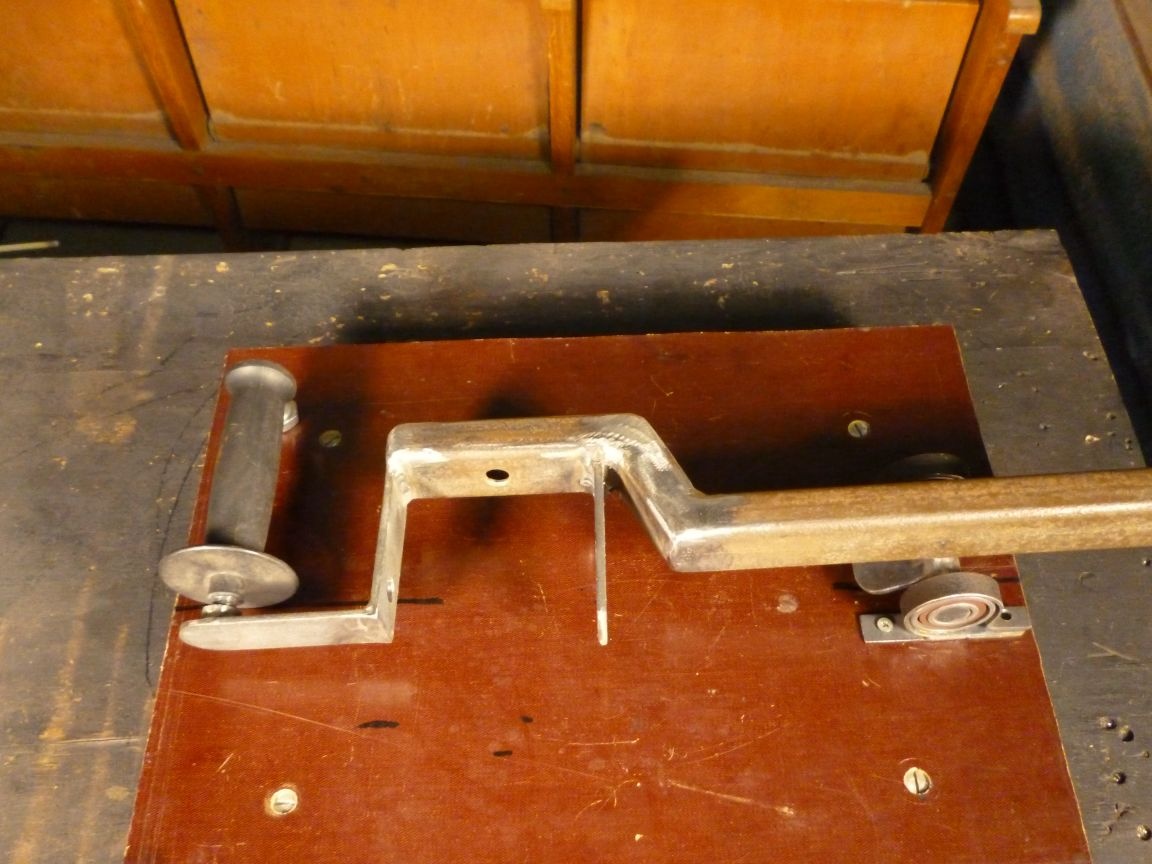
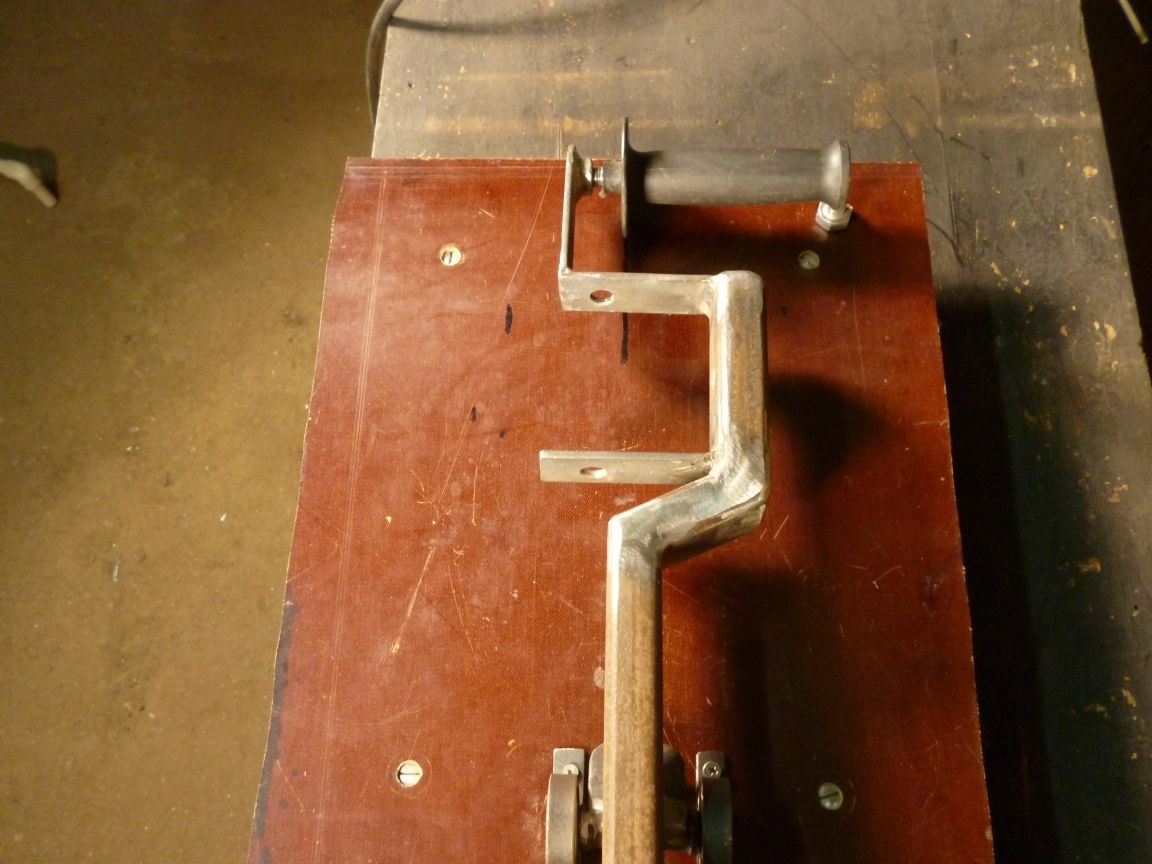
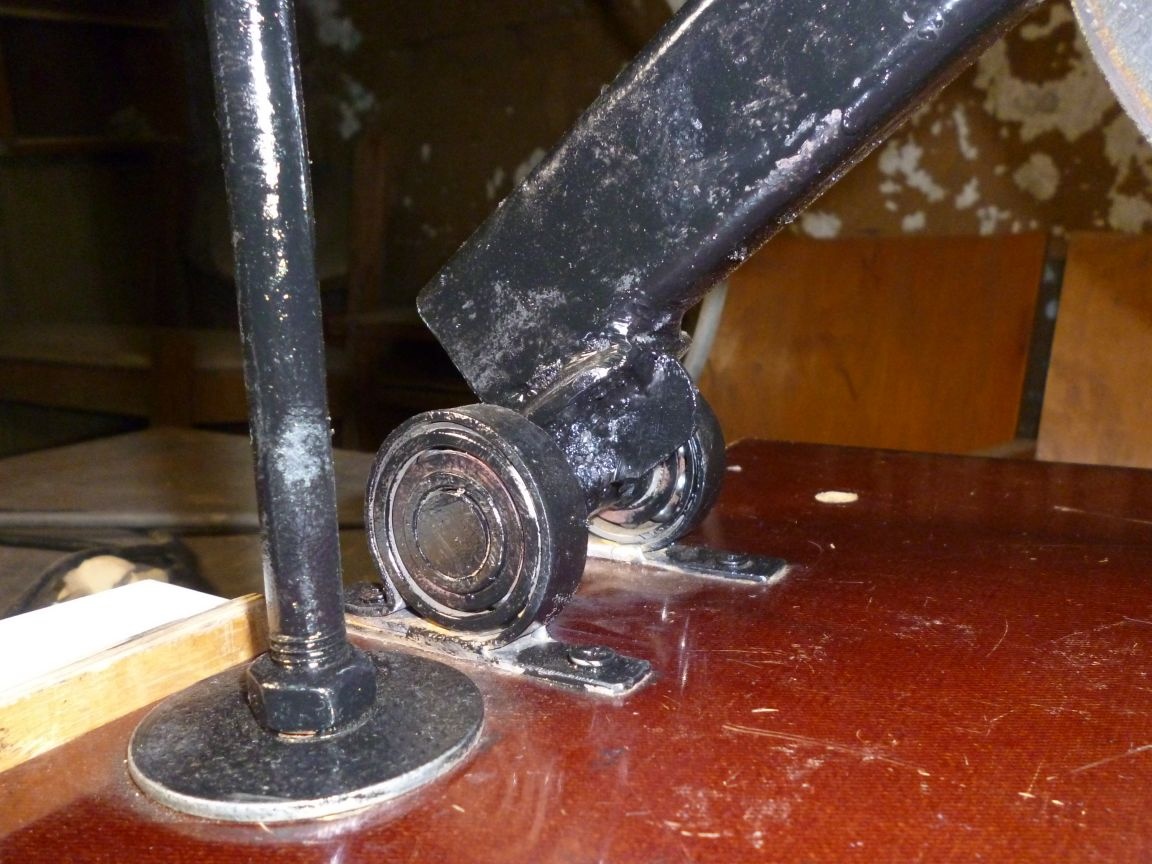
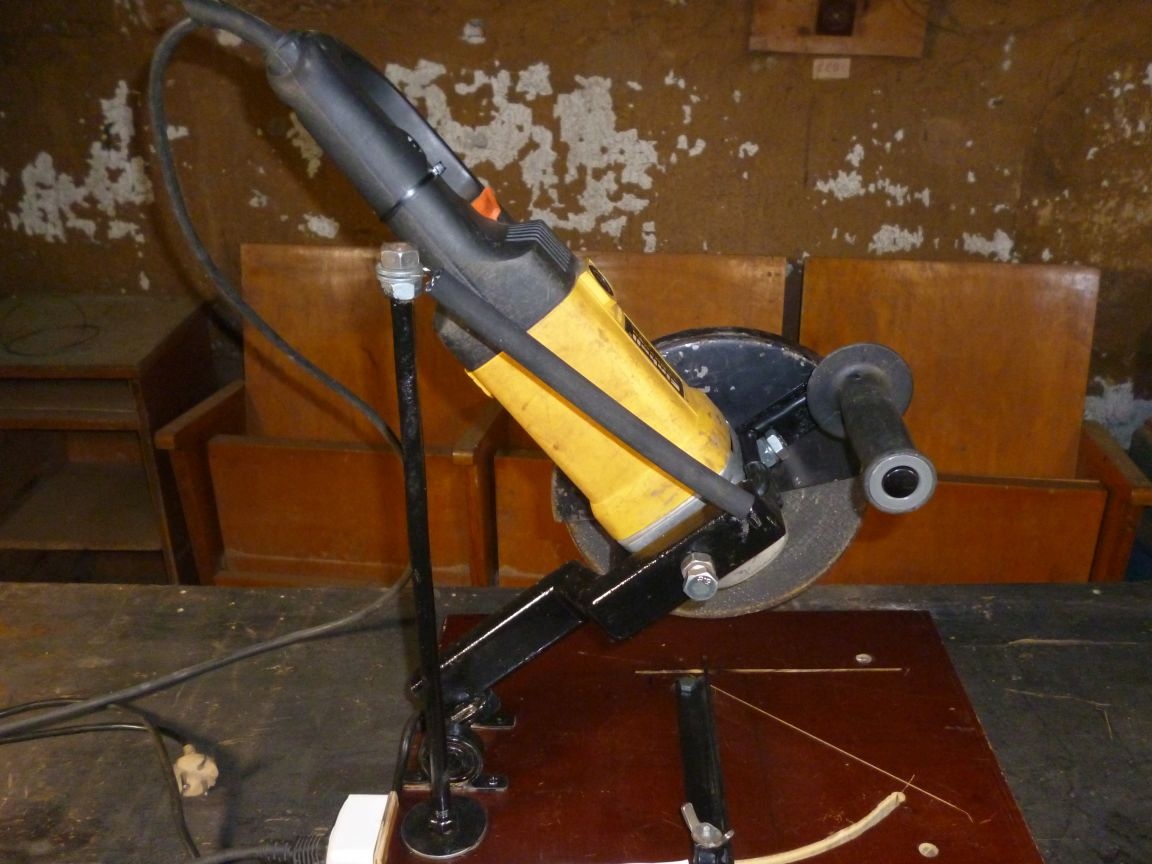
We will make the rotary mechanism from the axis of the bicycle carriage, with bearings fitted to it in suitable size.
We also weld a metal segment to the axis for subsequent fastening of the rack. We strengthen the fastening by welding a stiffener from below. Two clamps were made from millimeter metal for attaching the rotary mechanism to the bed.
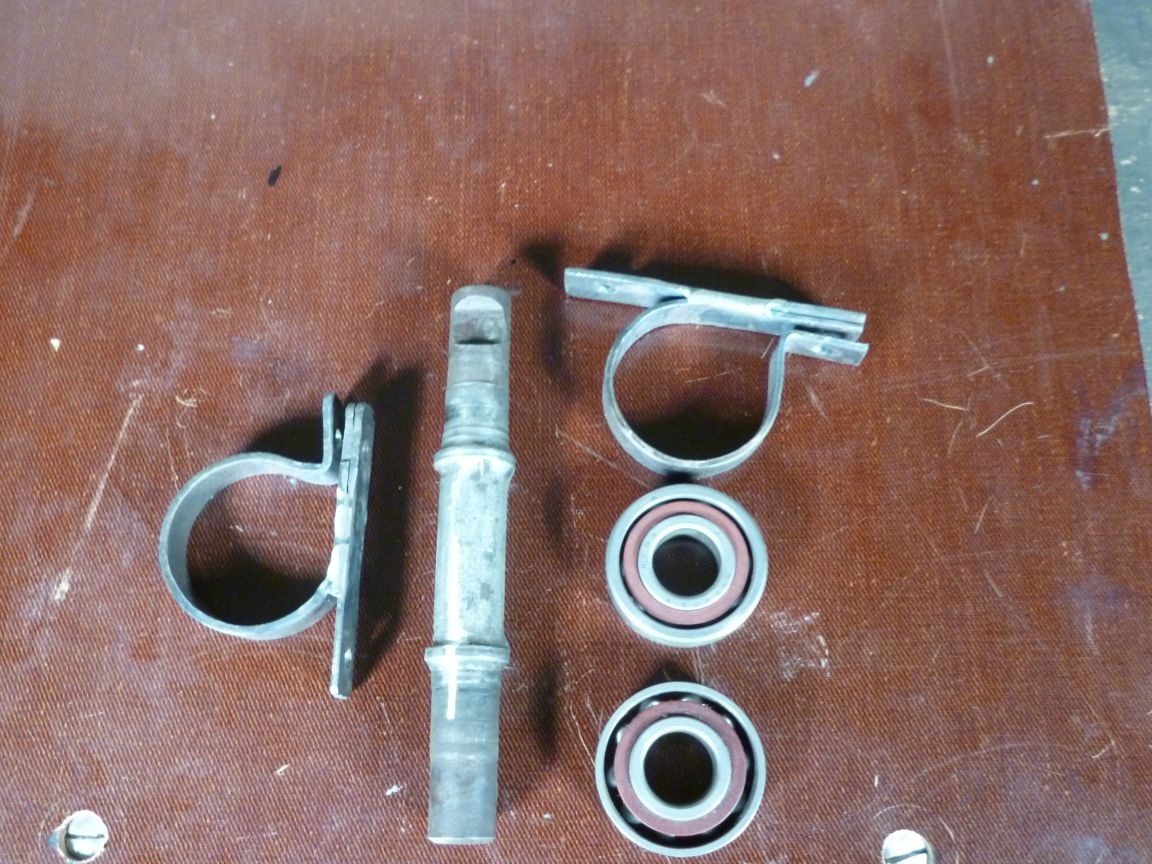
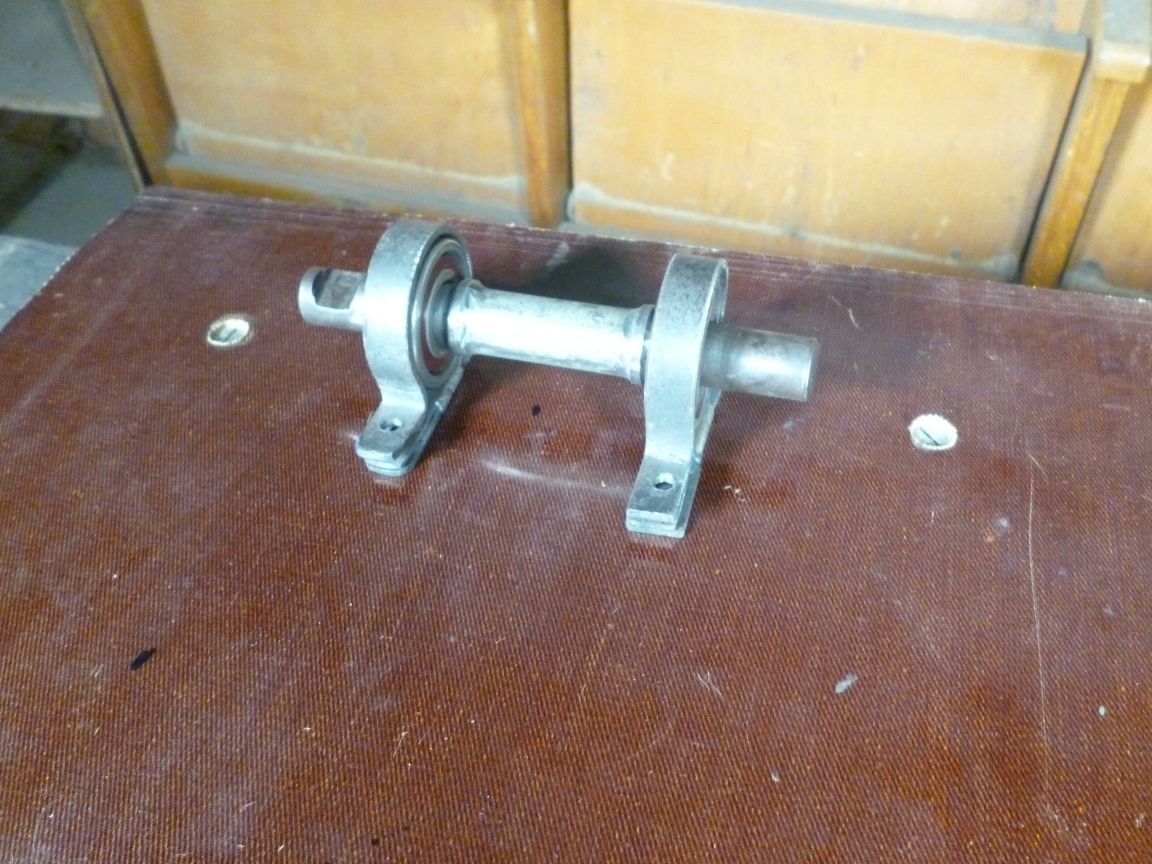

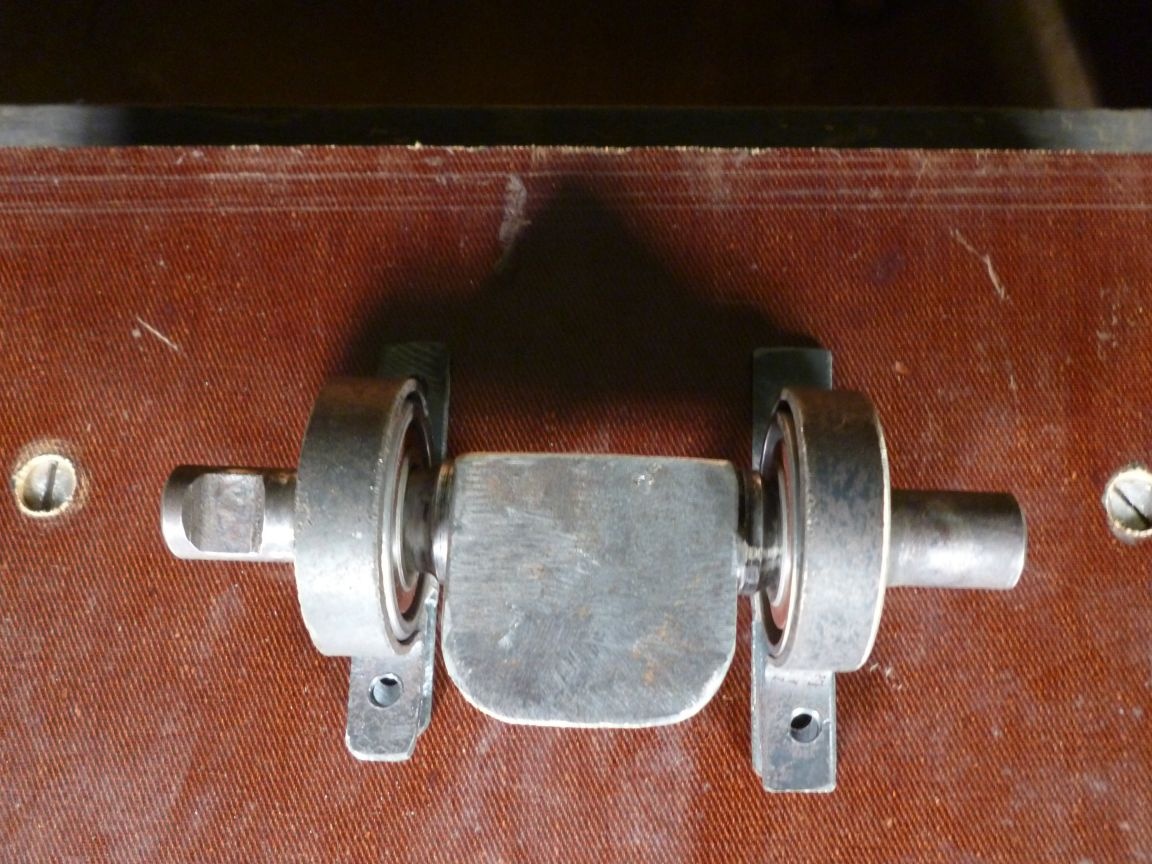
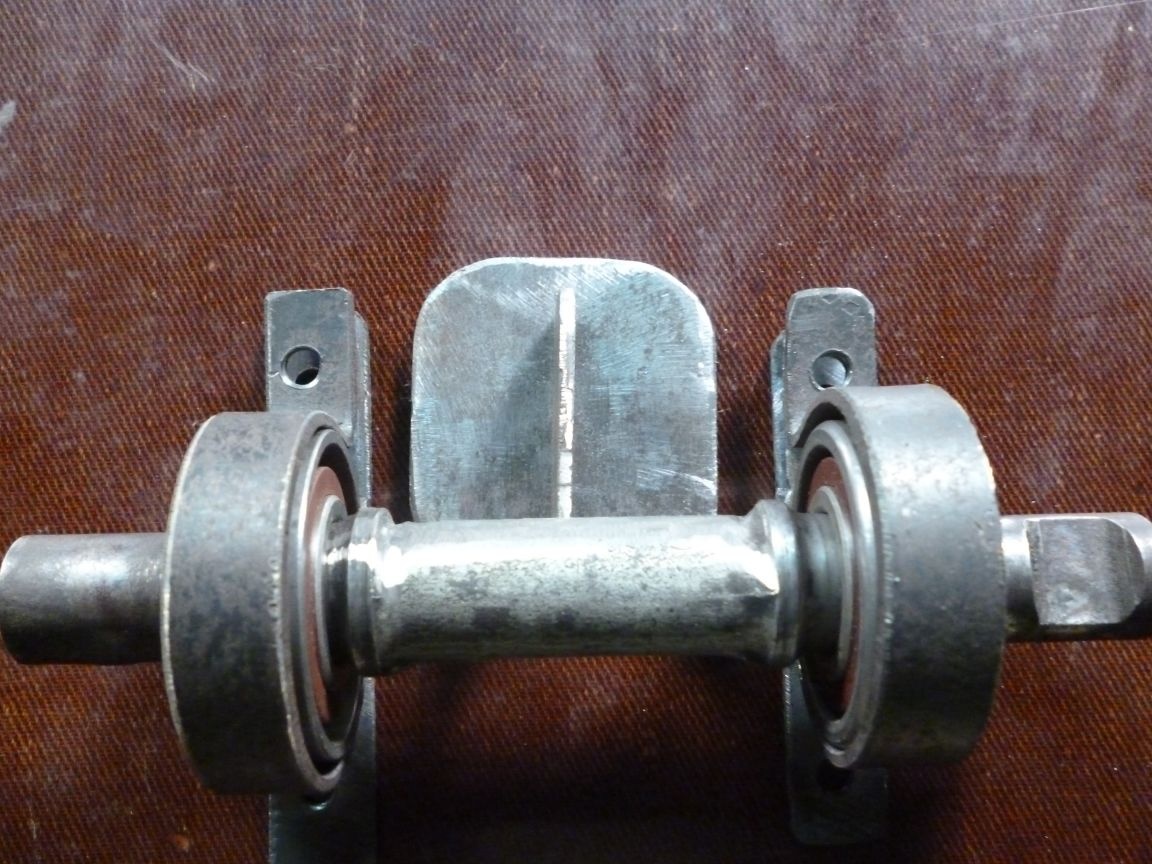
We drill holes and pull the clamps to the bed with bolts.
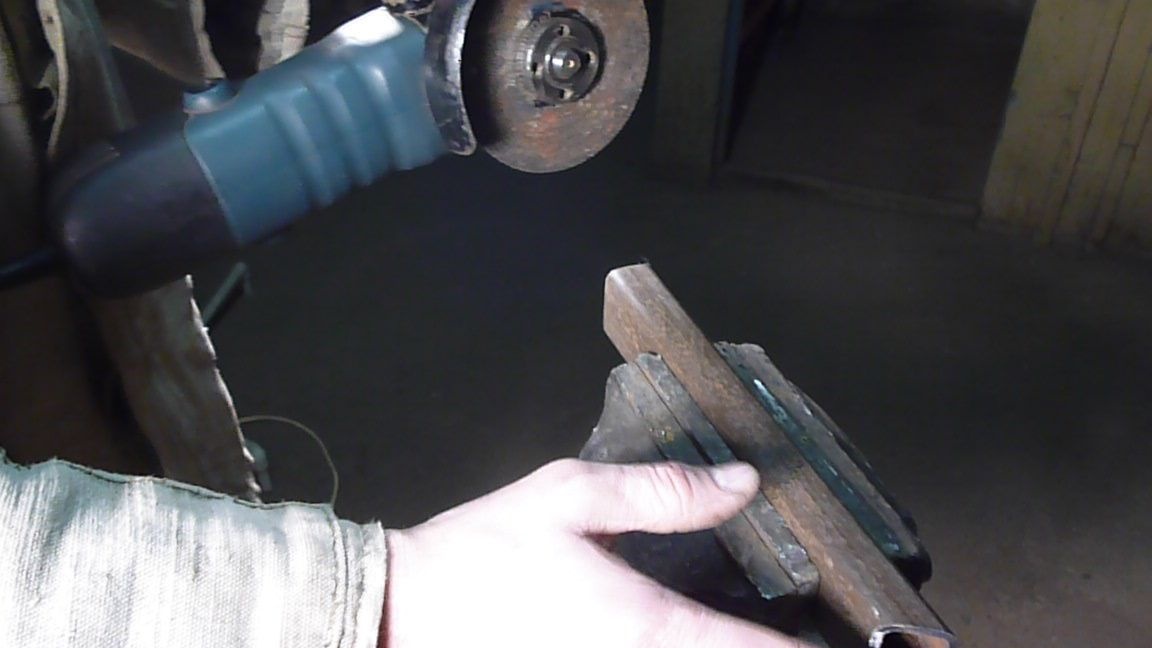
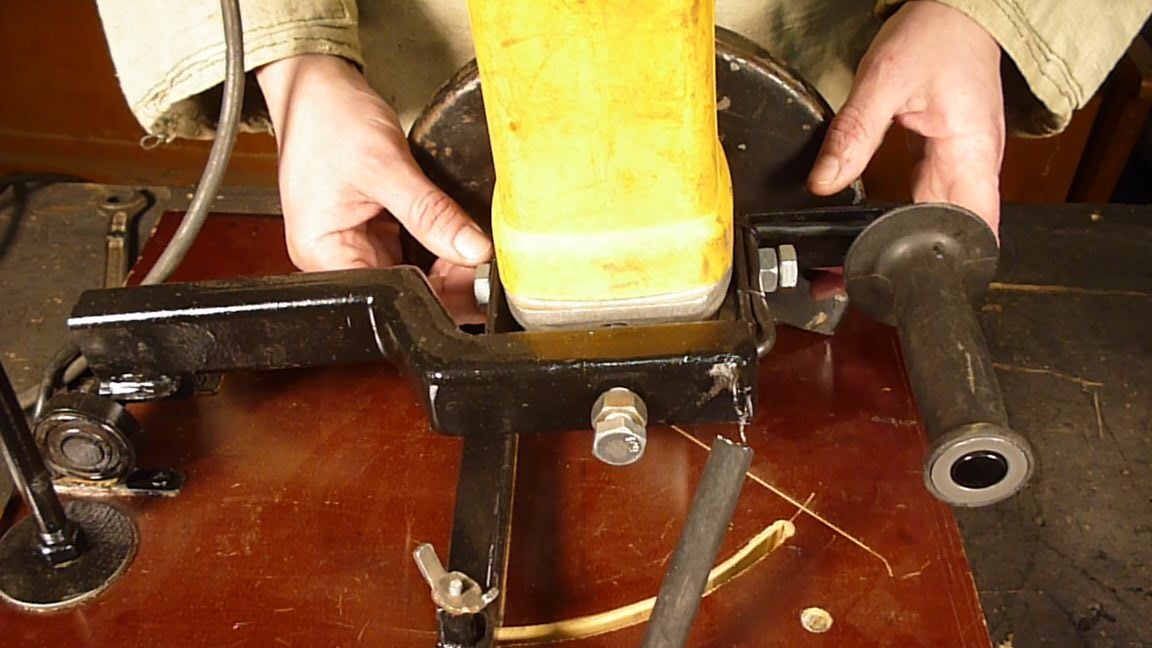
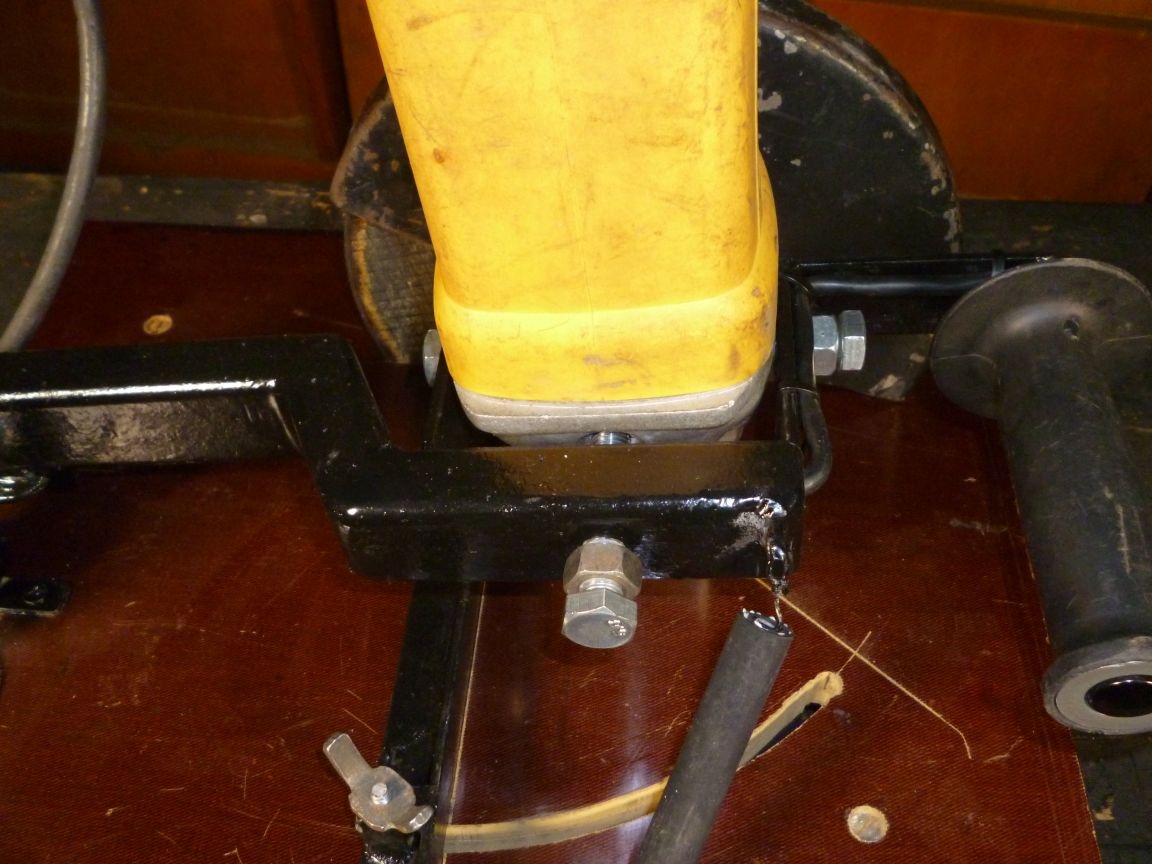
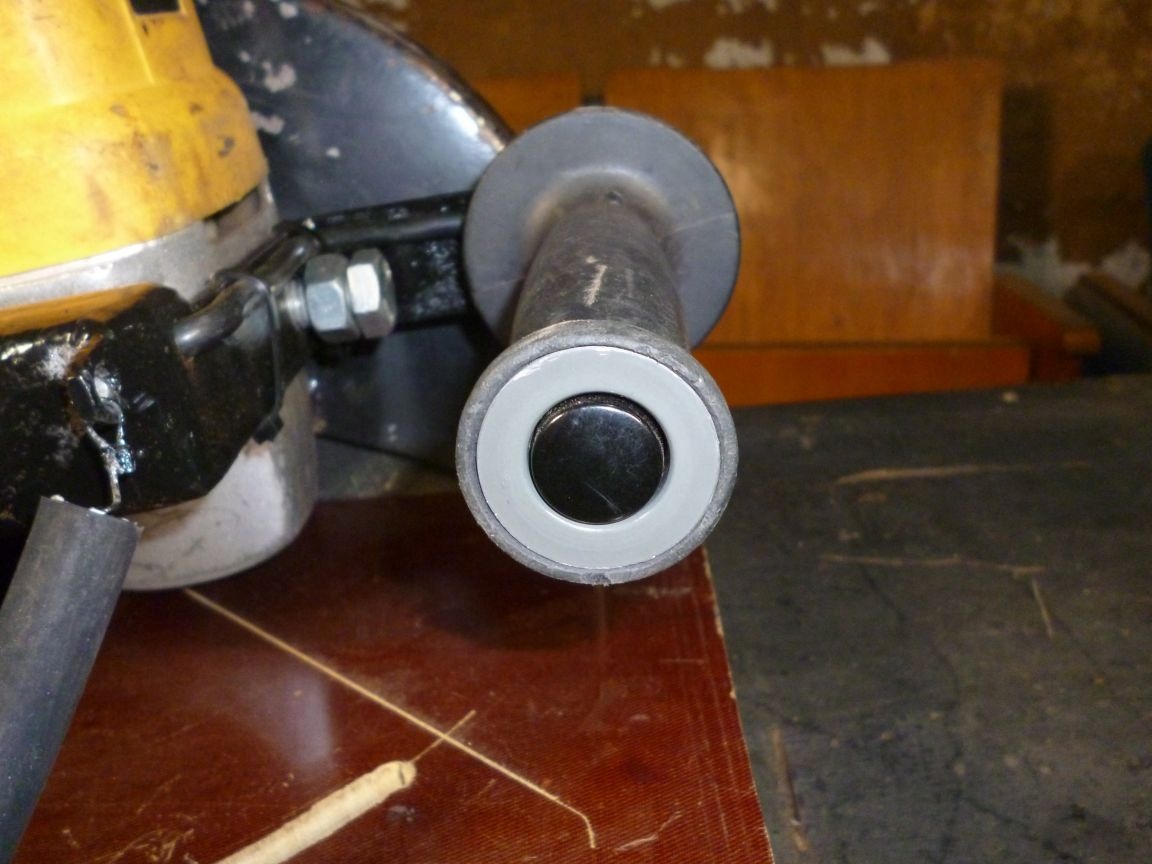
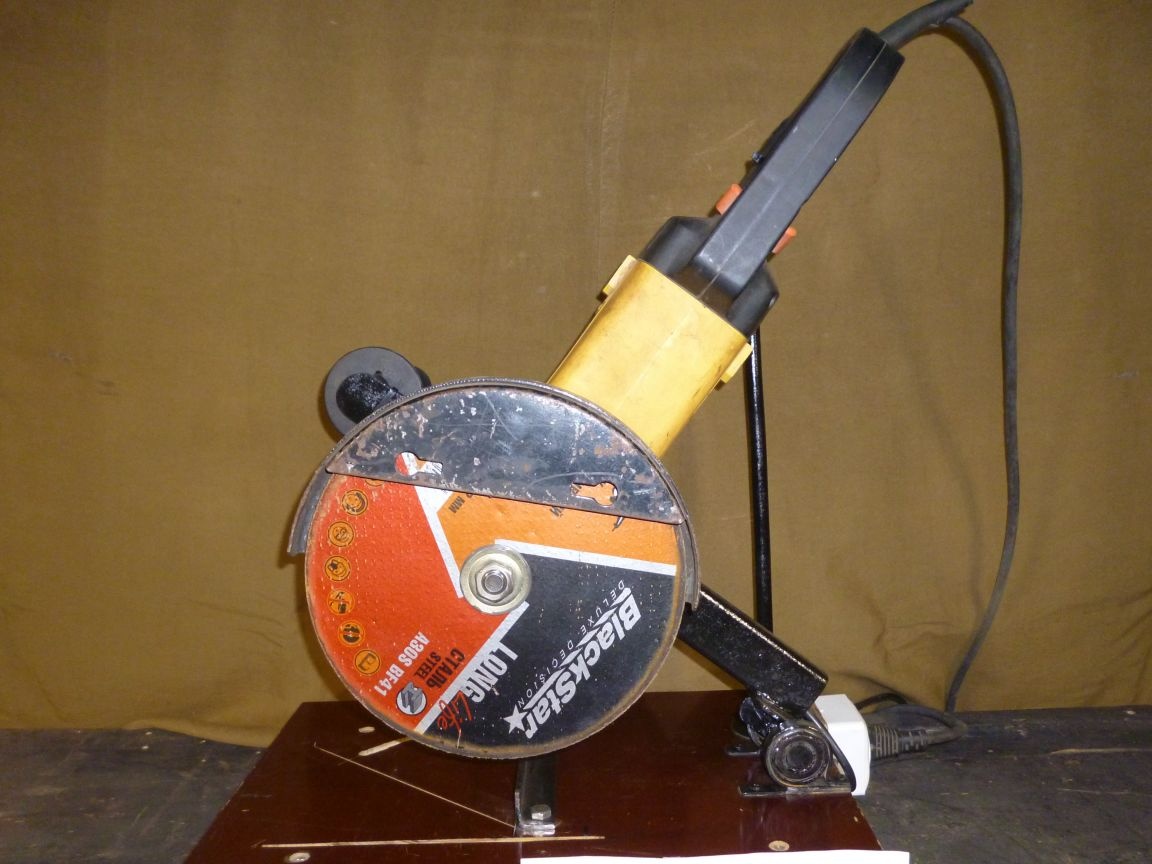
We take the sizes from the available angle grinder and proceeding from the received sizes we make a rack. For the manufacture we use a metal profile forty by twenty-five millimeters and a strip three centimeters wide.
We calculate the angles on the profile so that the rack centers the grinder relative to the rotary mechanism.
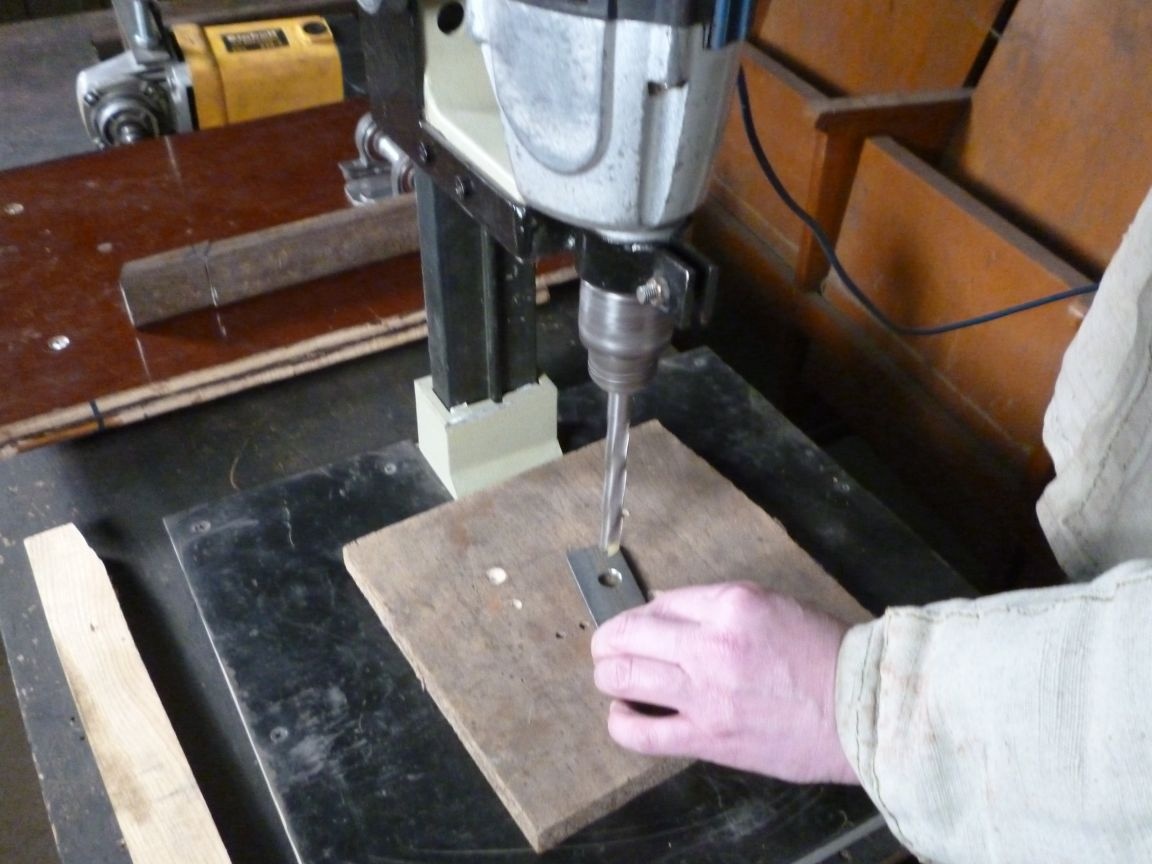
We find the bolts that are screwed into the standard sockets for fixing the handle on the grinder and drill holes for them in the profile and metal strip under them.
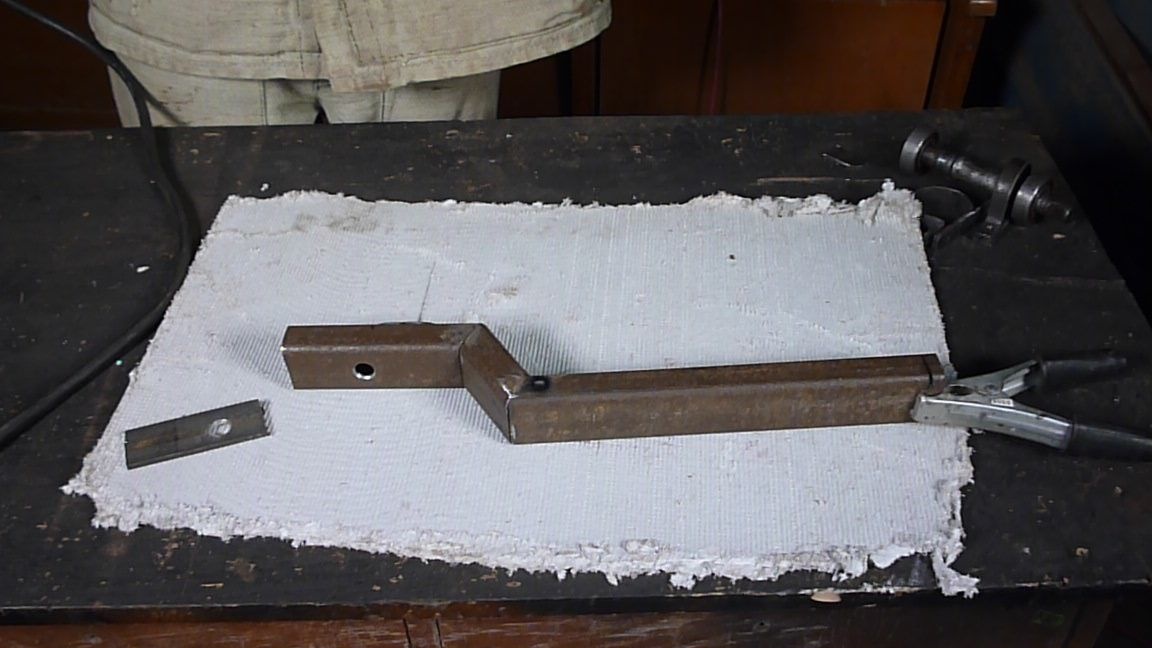
We weld the received parts to each other.
We clean the seams with a petal disk.
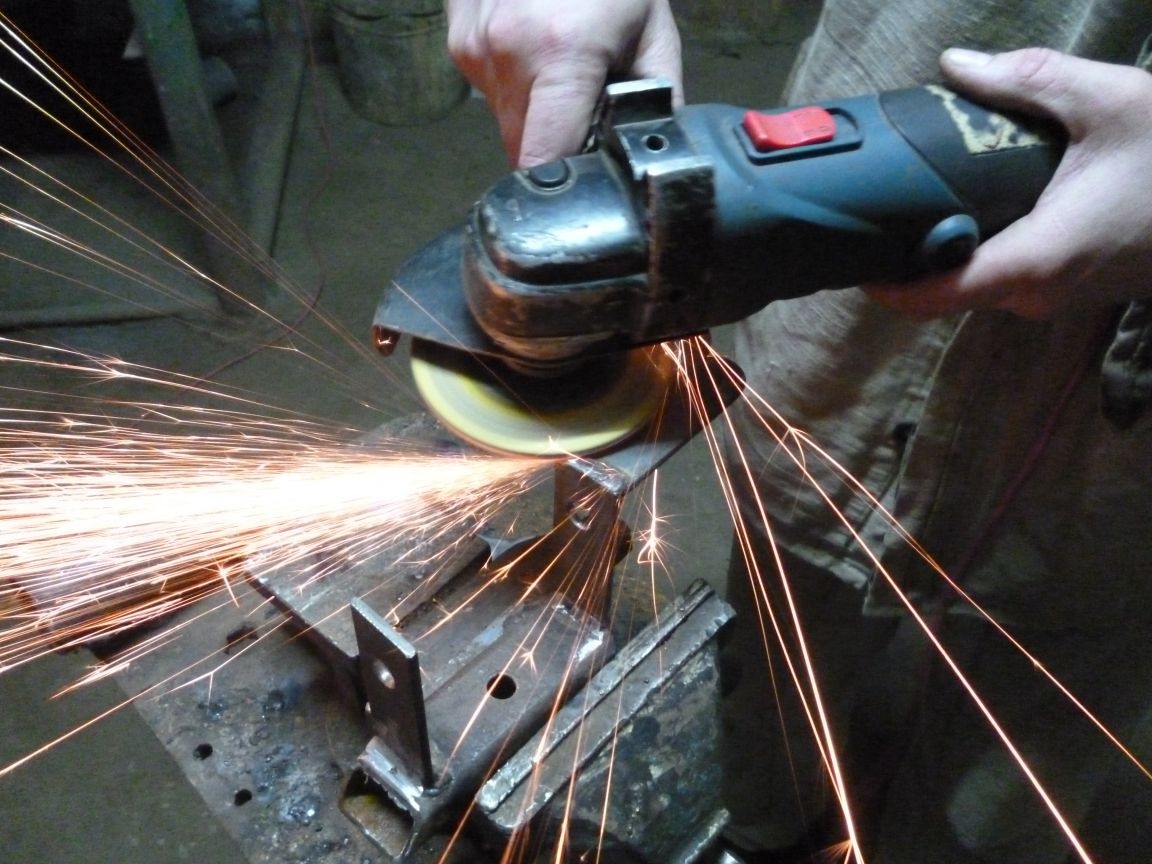
We also weld a nut for fixing the handle.

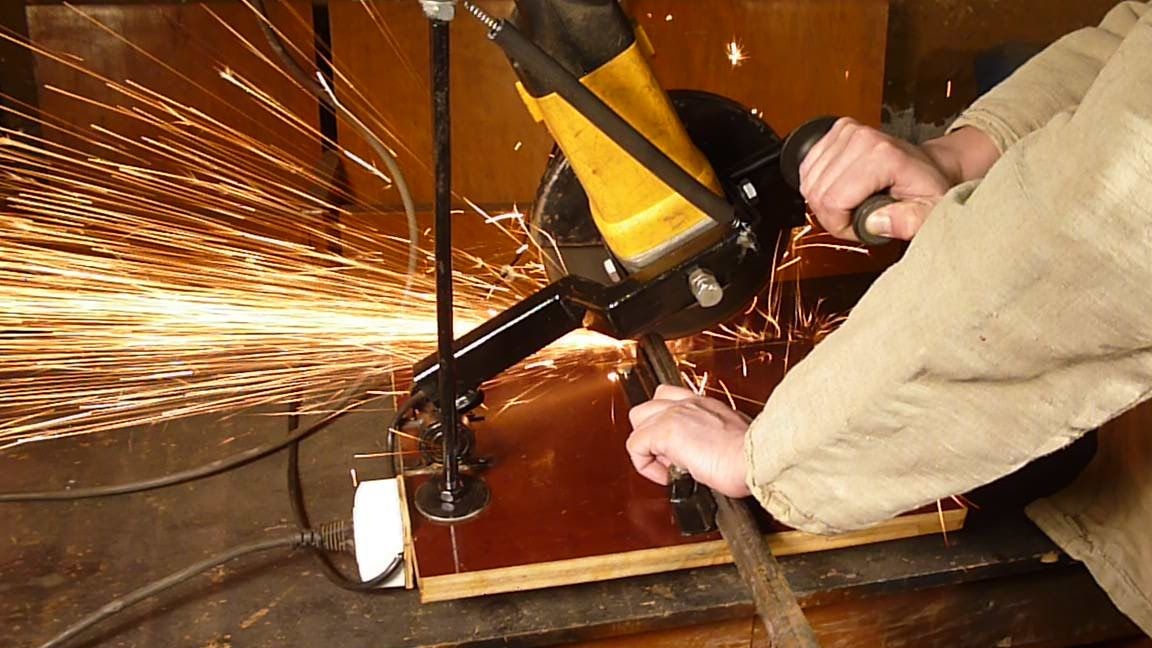
The most important part of the job is to weld the stand to the rotary mechanism so that the saw blade of the grinder falls on the bed strictly vertically.
To do this, we make a cut in the bed and, after inserting a disk into it, we center the angle grinder.
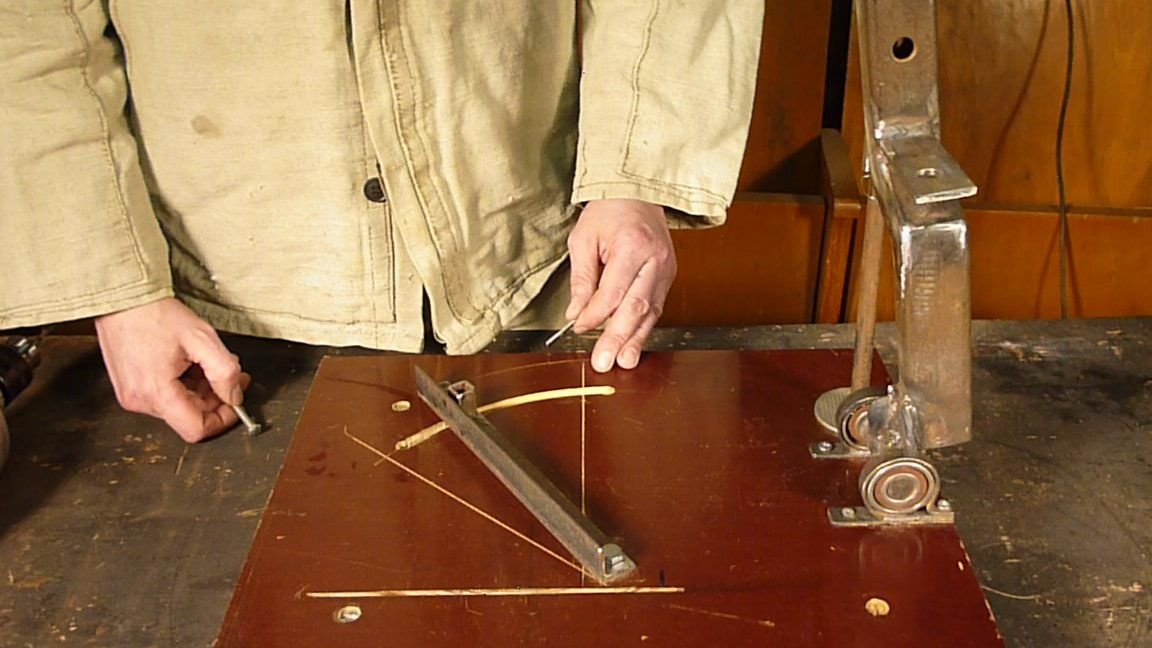
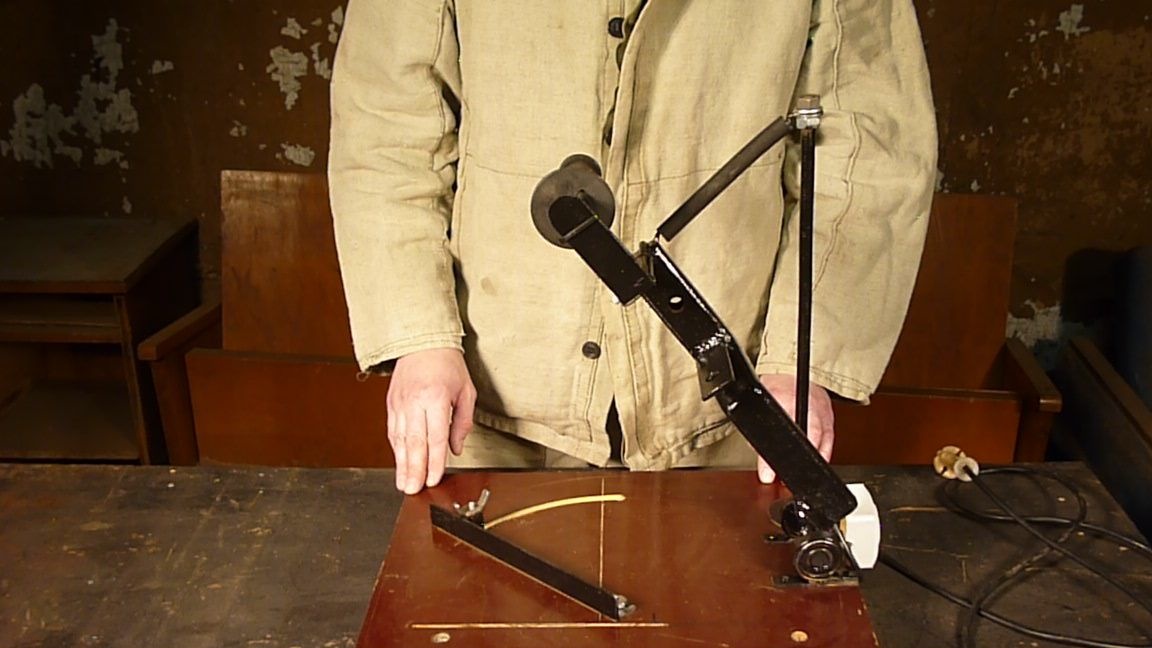
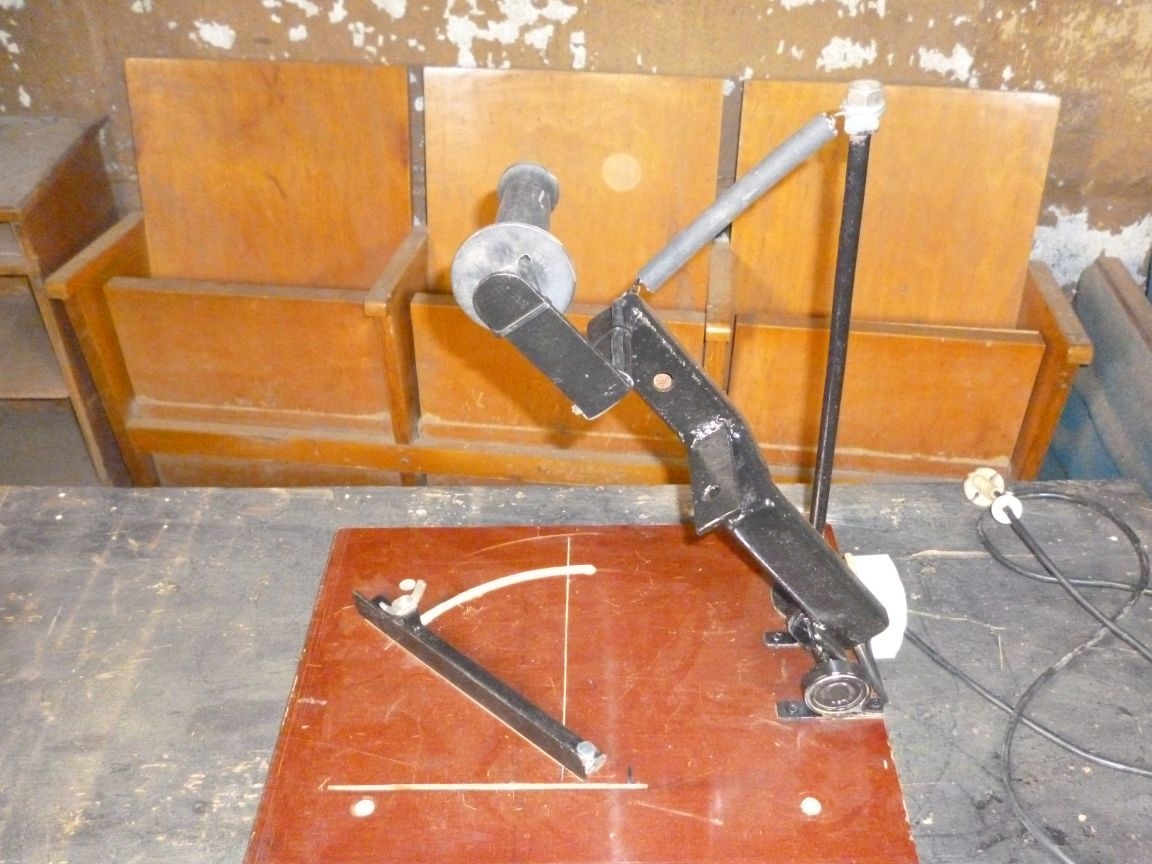
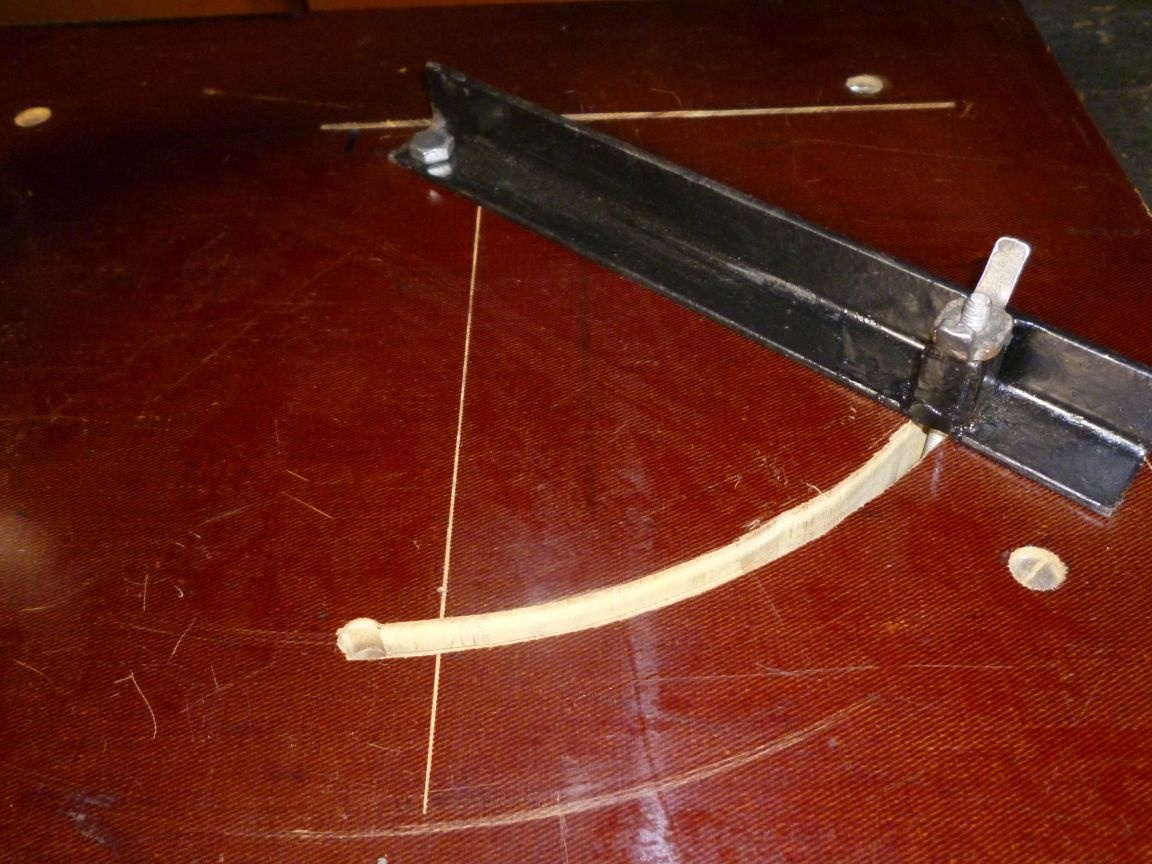
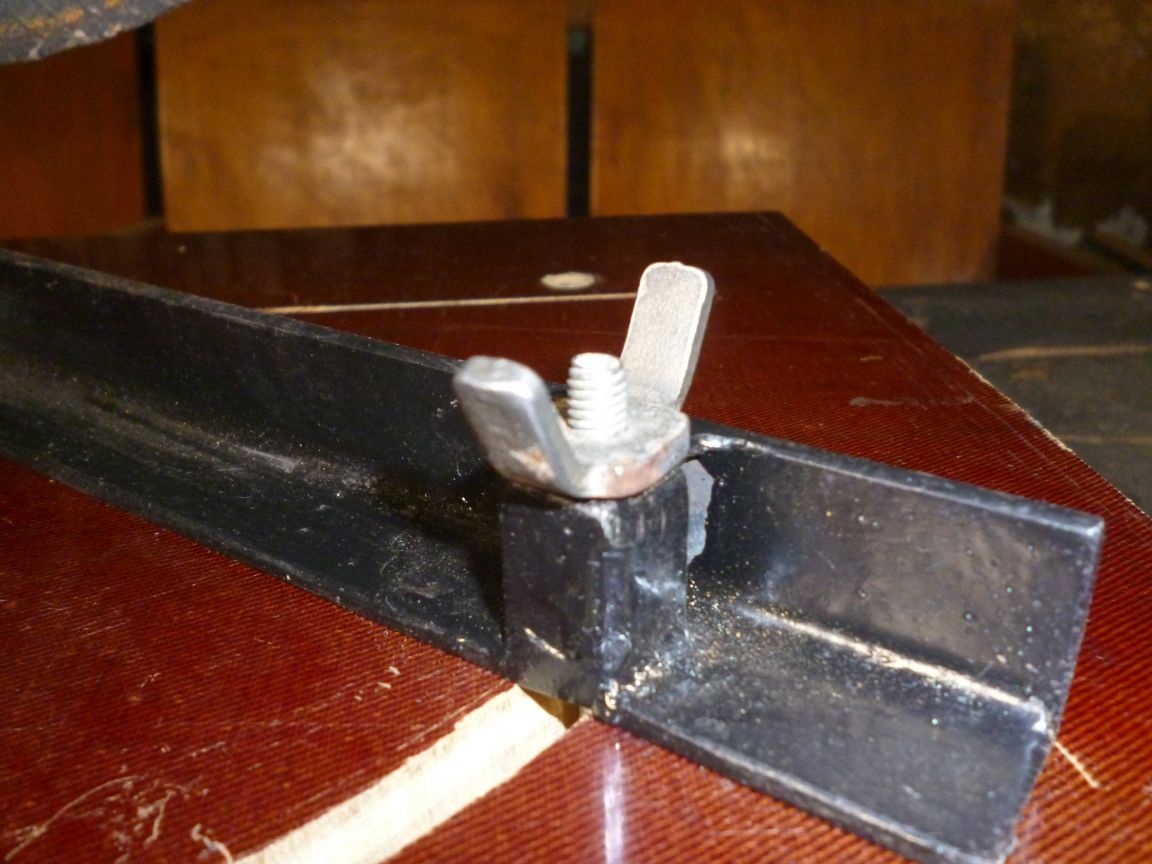
We install a rack with a spring, for easier lifting of the grinder. We also make a moving emphasis from a corner.
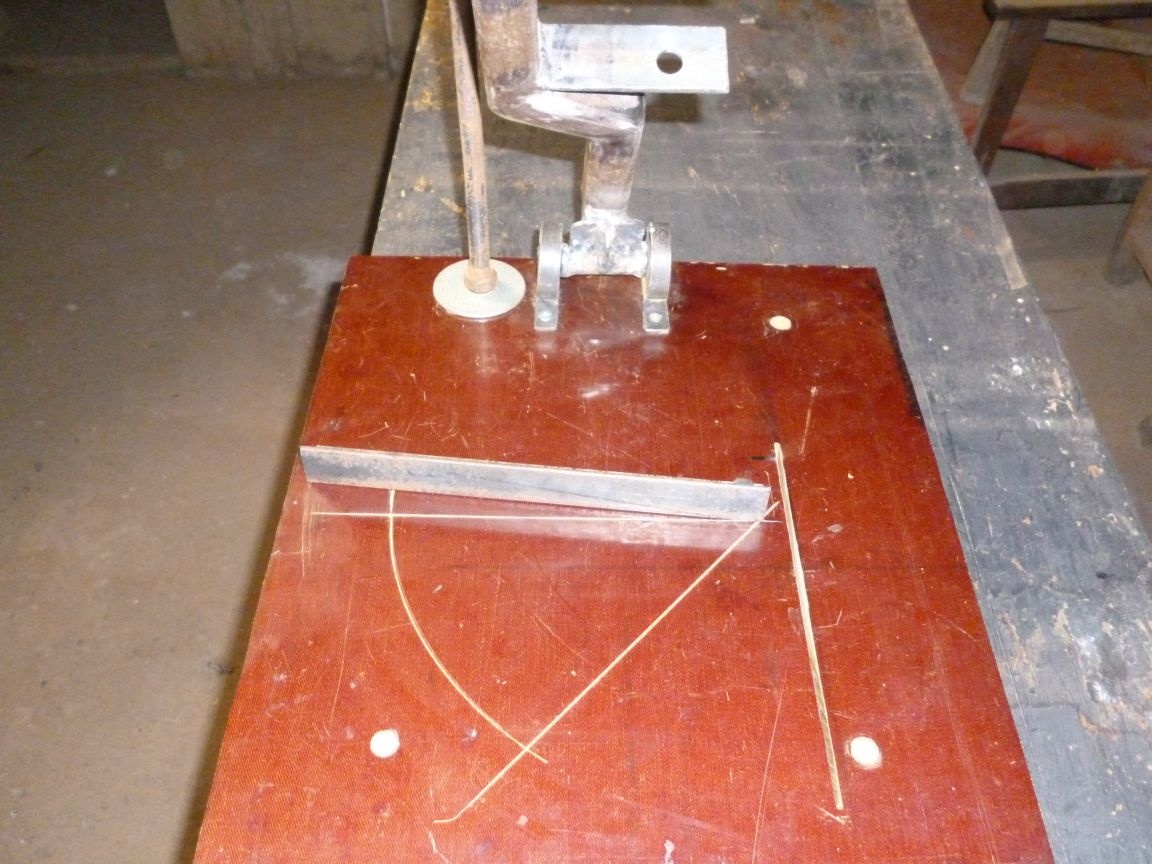
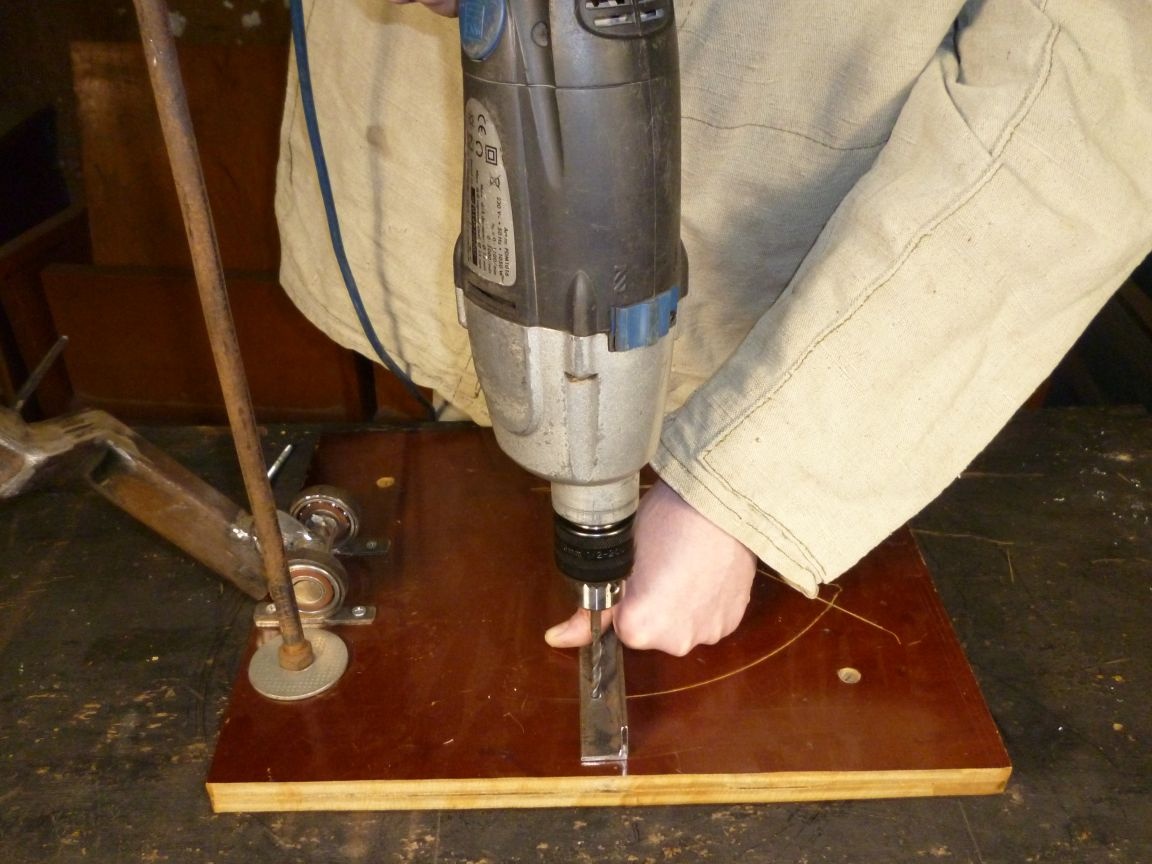
We mark on the bed an arcuate cut, drill holes and cut with a jigsaw.
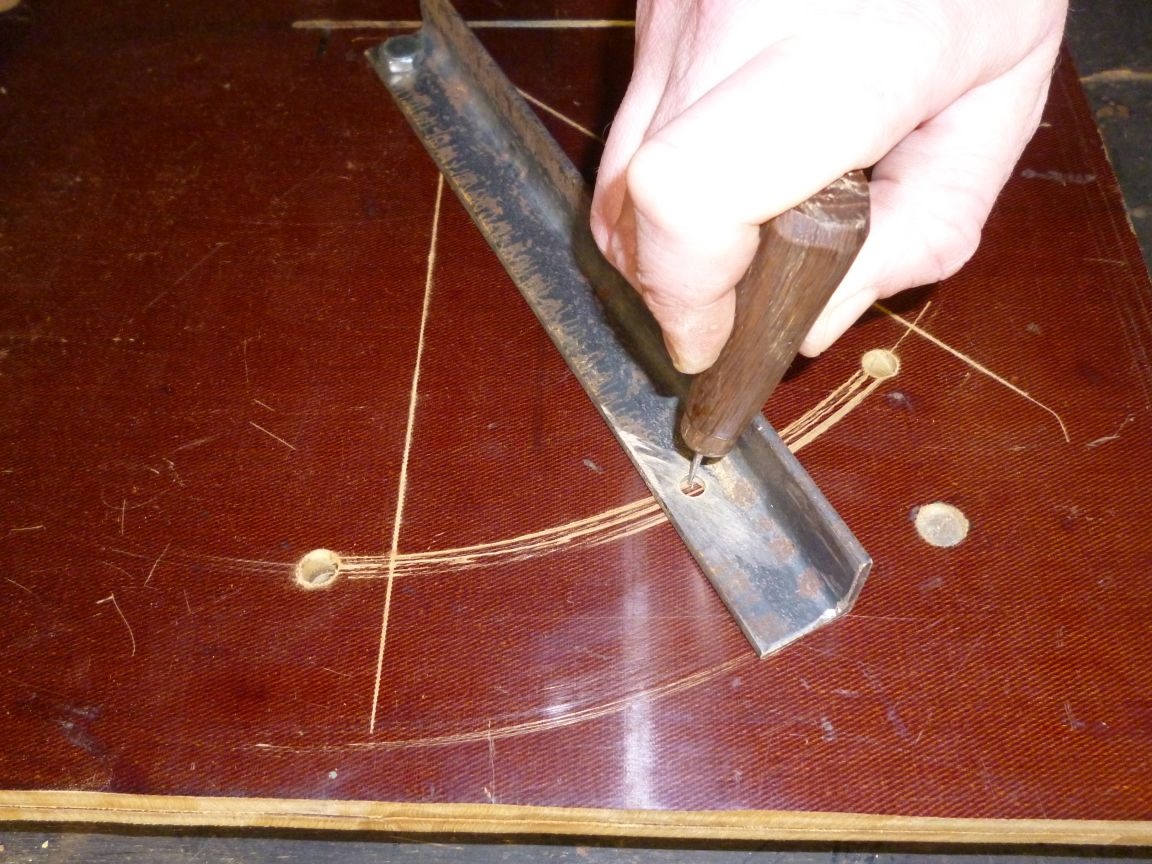
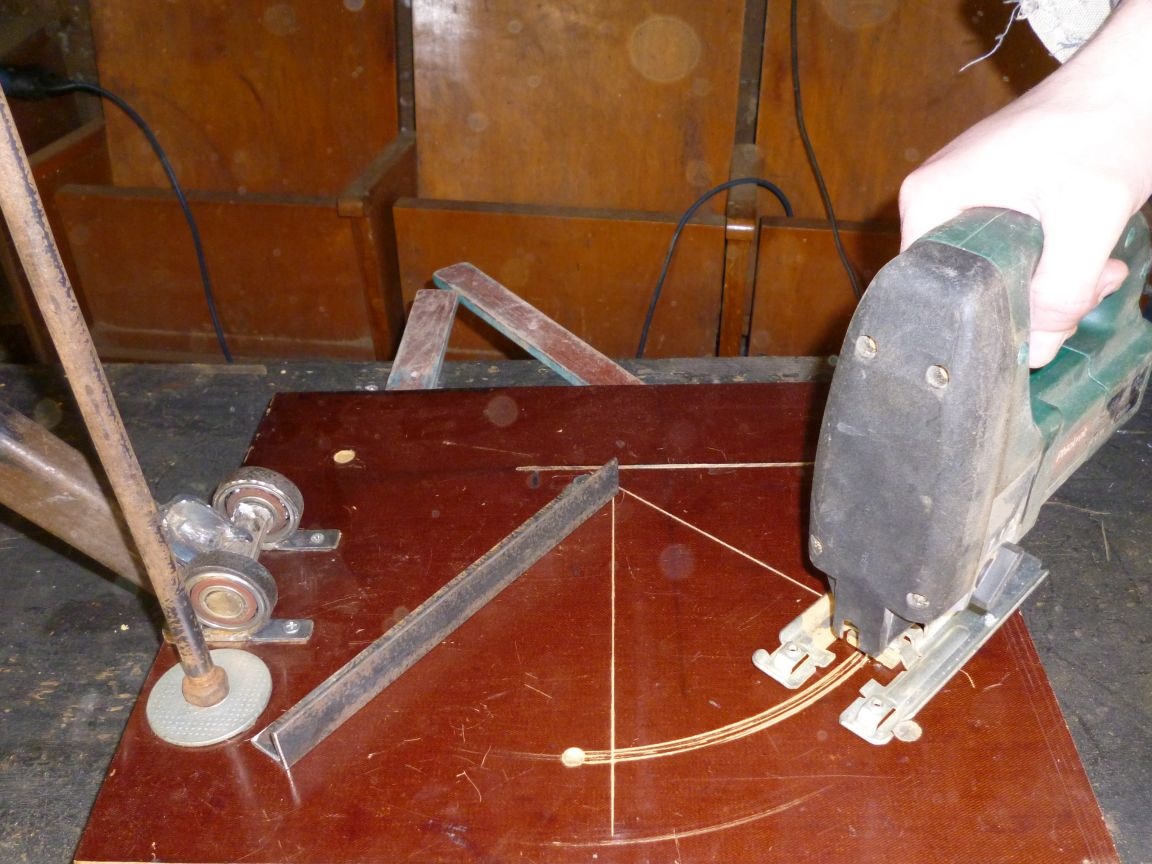
We fasten the fasteners for the clamping bolt to the stop.
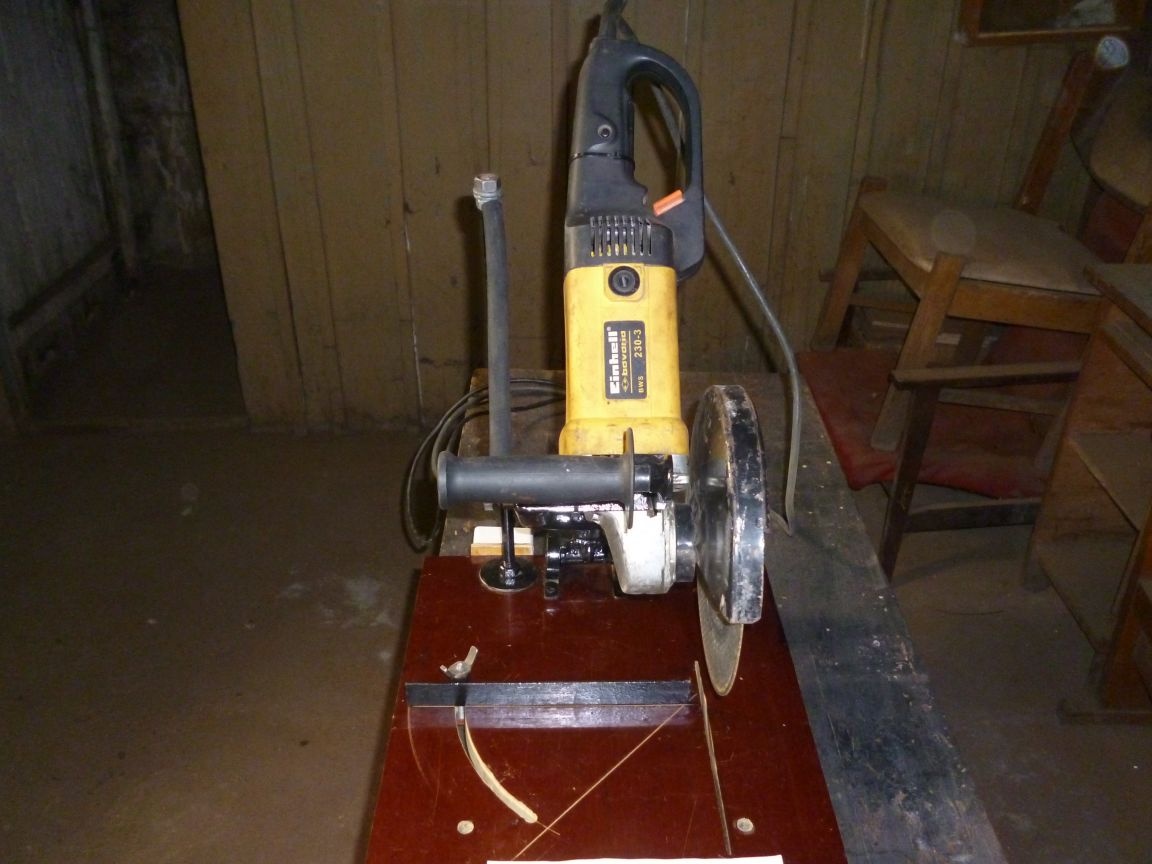
We paint our rack and install the socket.
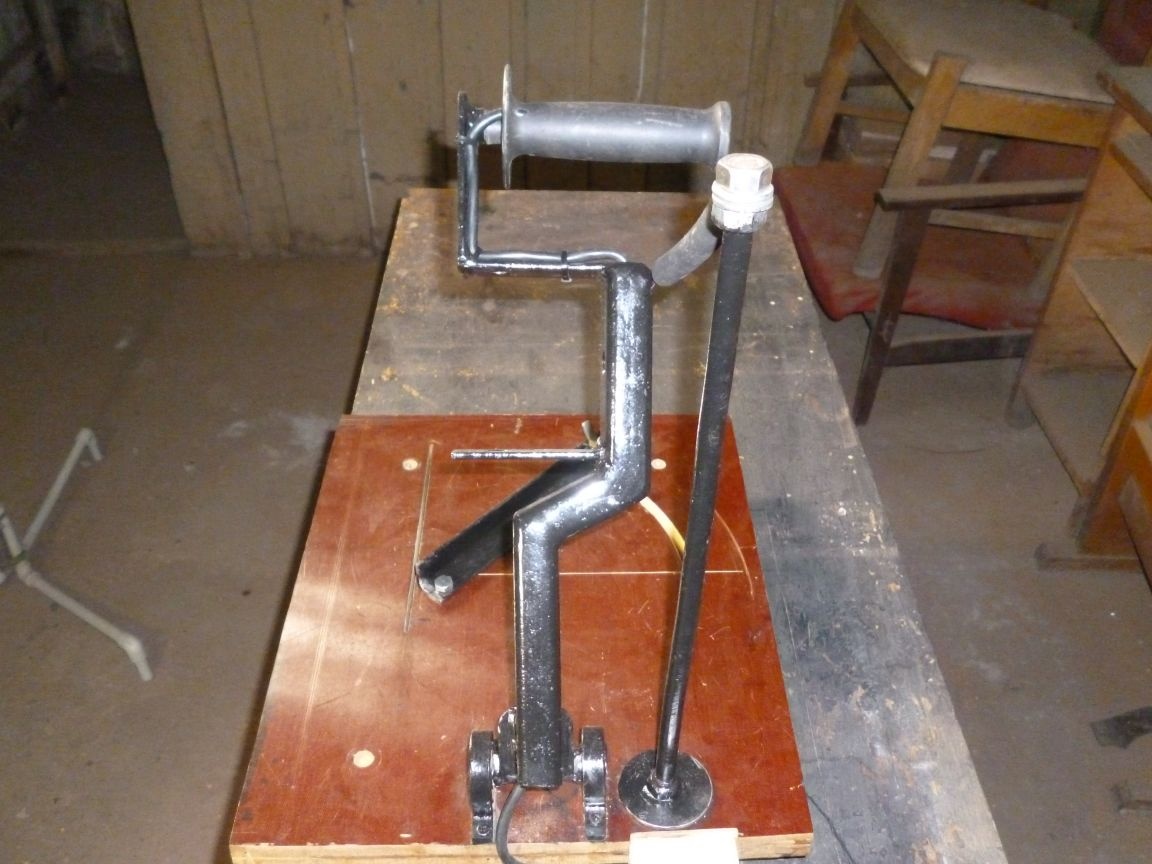
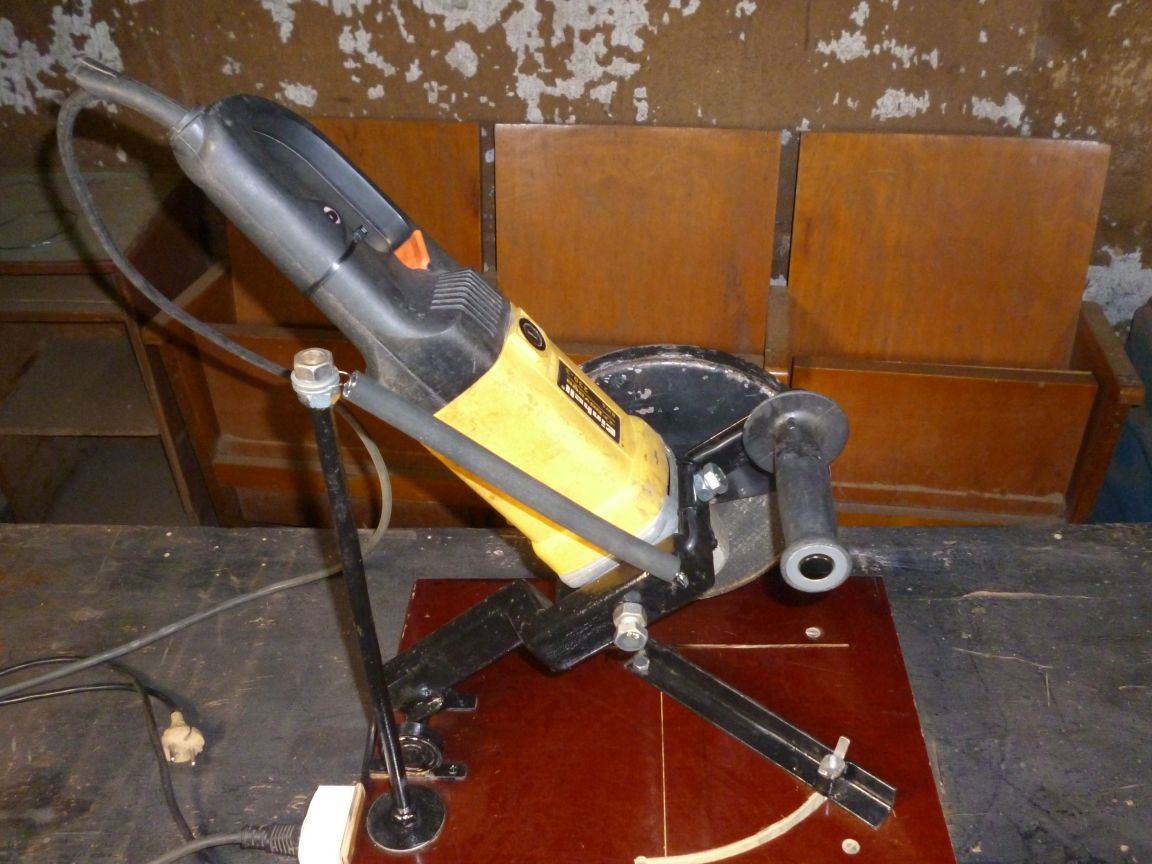
We fasten the grinder and the pendulum saw is ready.
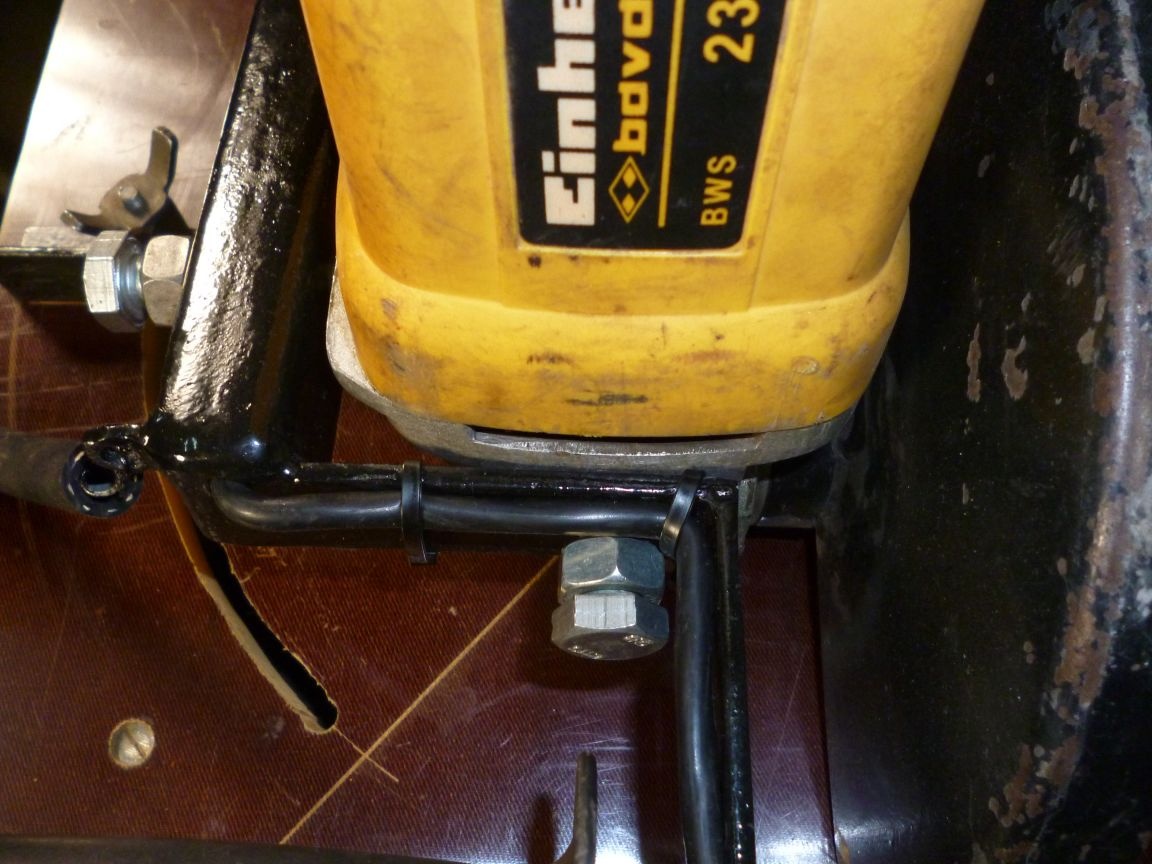
The start button on the grinder is locked in place with a plastic screed. A new start button is inserted into the handle of the machine. The button is not fixed, it is necessary to increase security. The power cable to the button is drawn inside the profile.
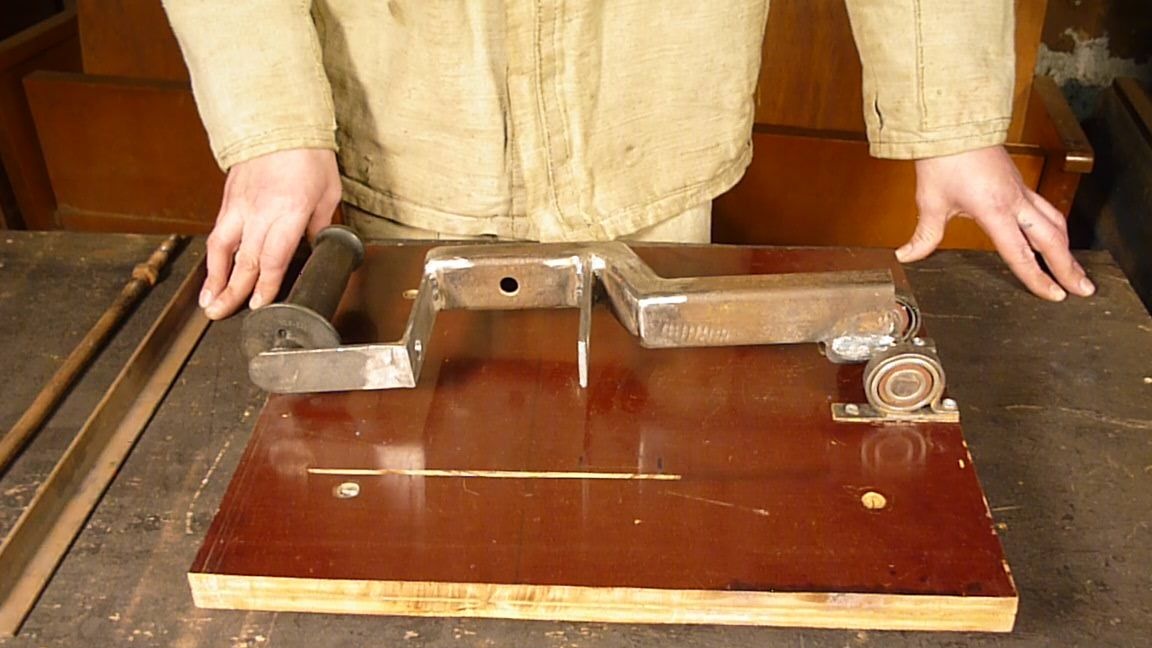
Some nodes are larger.
The product is ready, you can test.
It turned out very useful devicewhich is useful to any home master.
Video on the manufacture of the pendulum saw can be seen here.