


Hello to all lovers homemade. Often, in the manufacture of their homemade products, there are not enough tools and devices that would facilitate the assembly process, in this article I will talk about such a device that will allow you to fix an electric drill strictly perpendicular to the part being drilled, in order to get a perfectly even hole, in other words, a drilling machine from a drill.
To make a drilling machine do it yourself, you will need:
* Electric drill
* Plywood
* Electric fret saw
* File
* Screwdriver
* Screws with a press washer
* Return spring
* Drill 3 mm and 5 mm
* PVA glue
* Bolts with nuts
* Wing nuts
* Wooden beam
That's all that is needed to make a home-made drilling machine, I think it’s all there will be with those who to some extent worked with wood.
Well, when all the details are there, we proceed with the step-by-step assembly.
Step one.
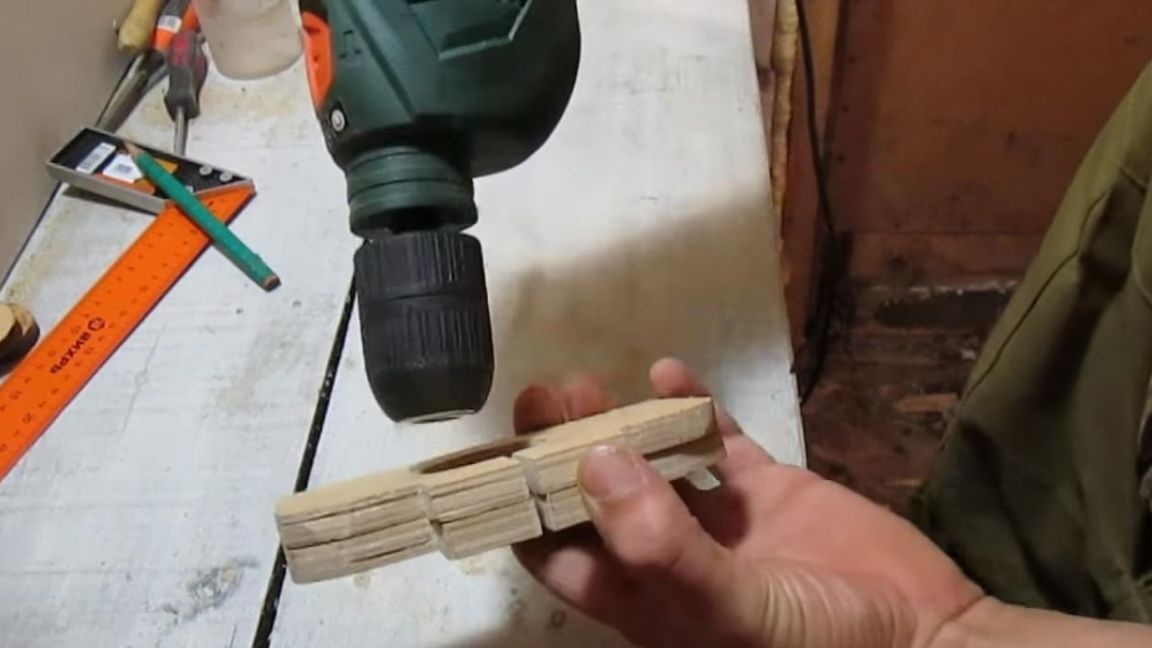
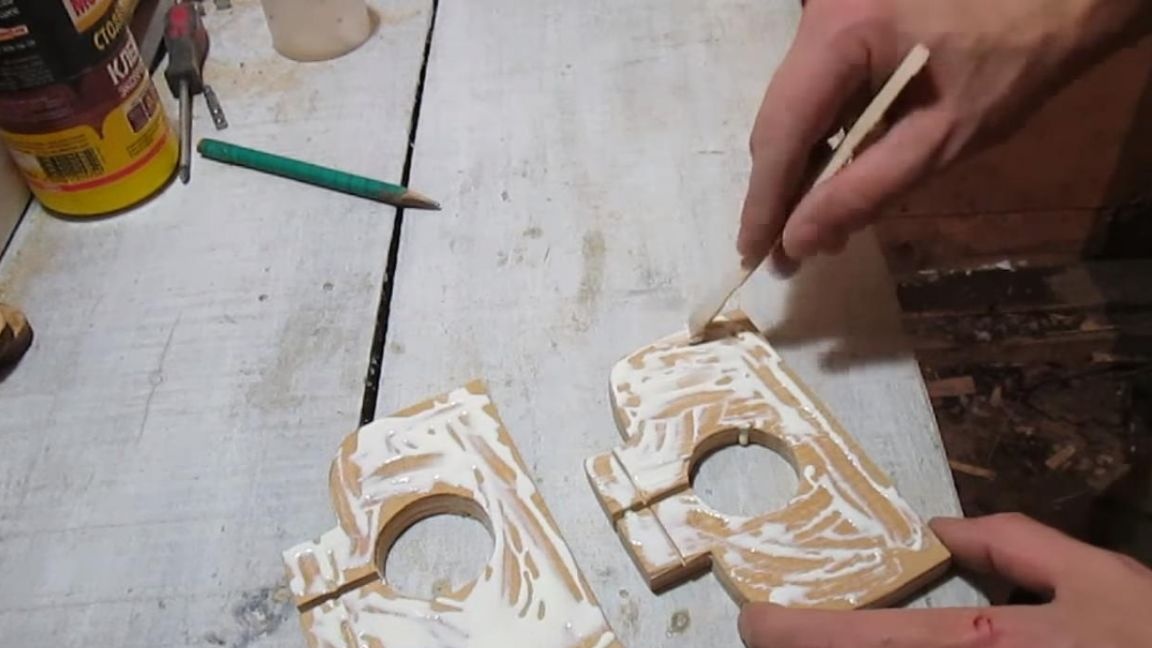
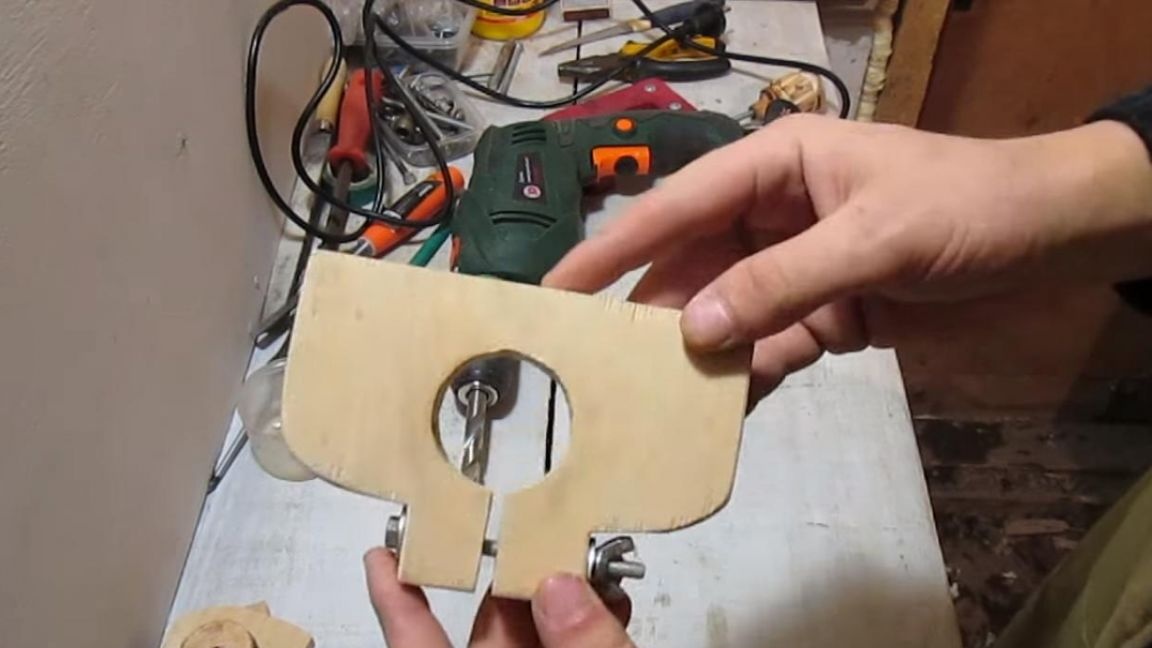
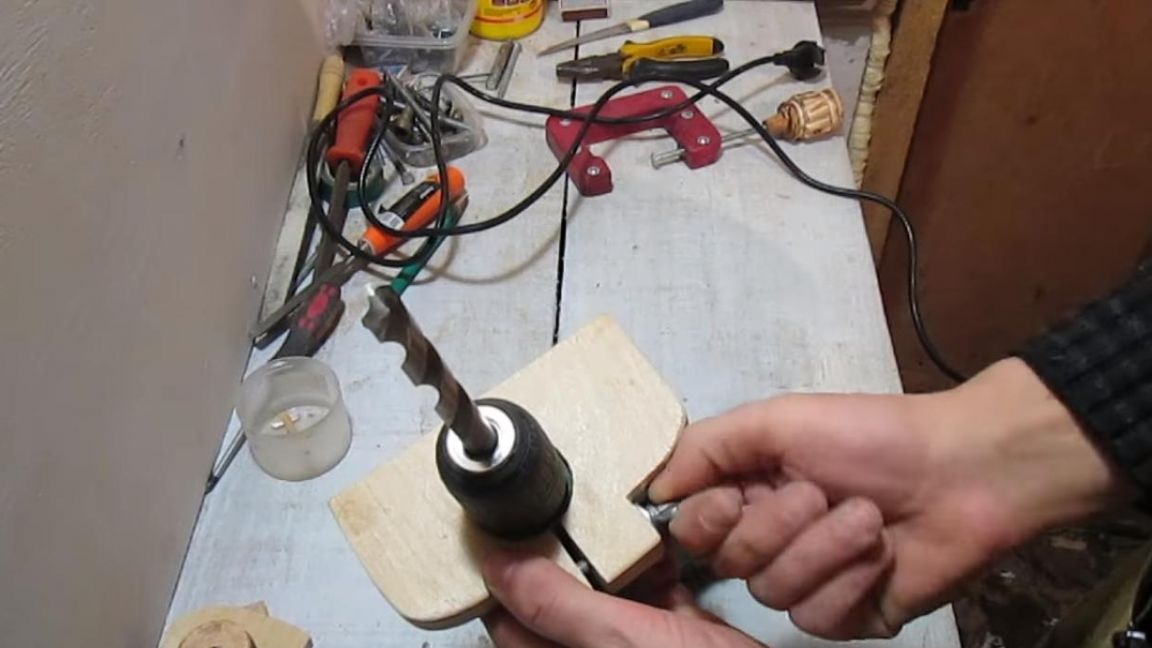
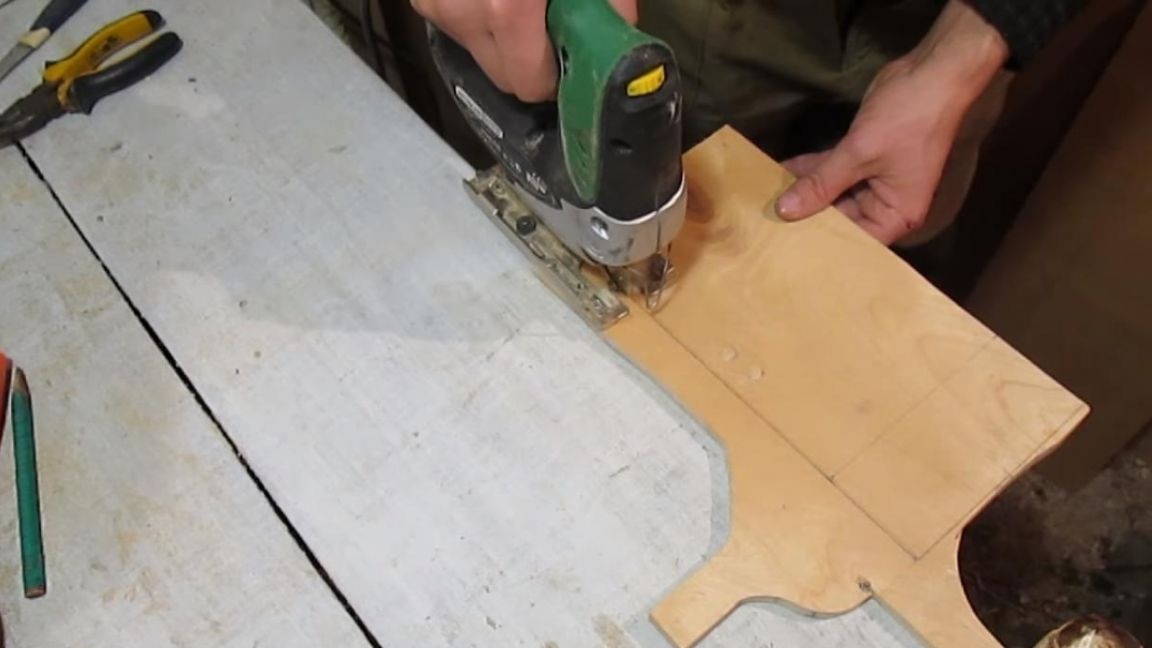
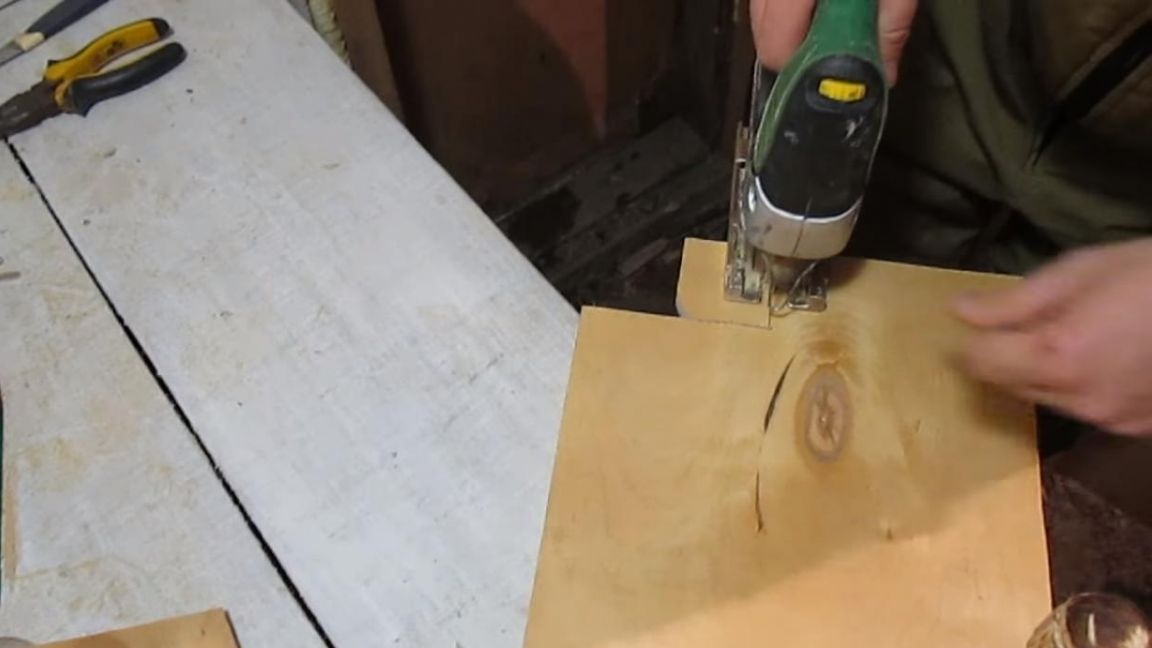
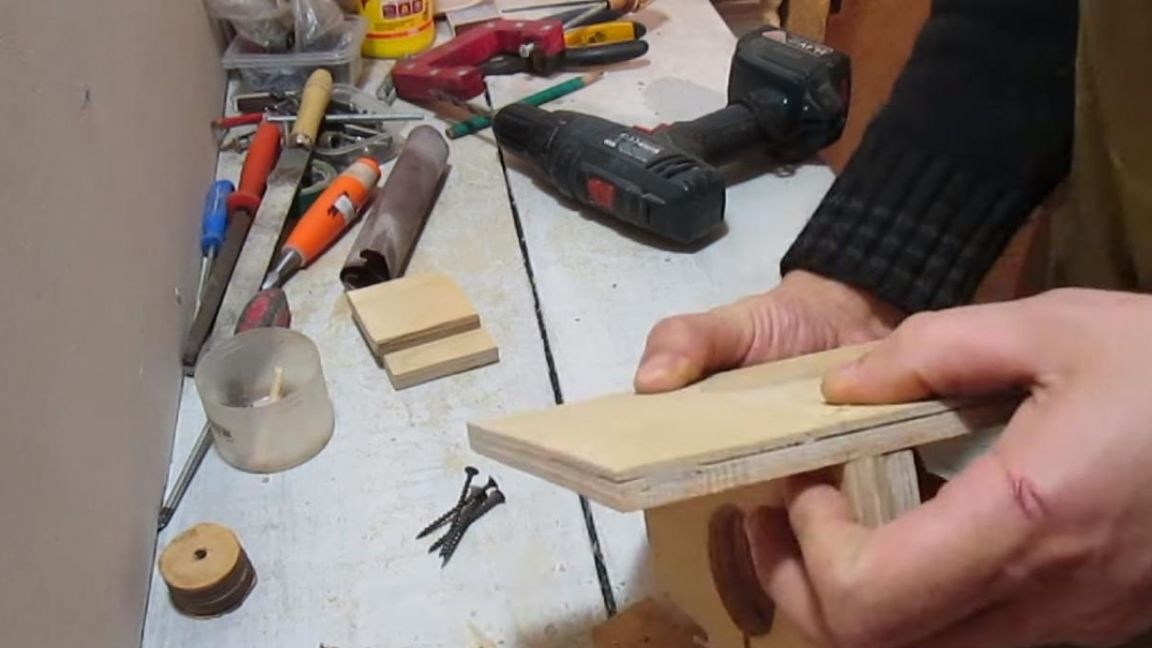
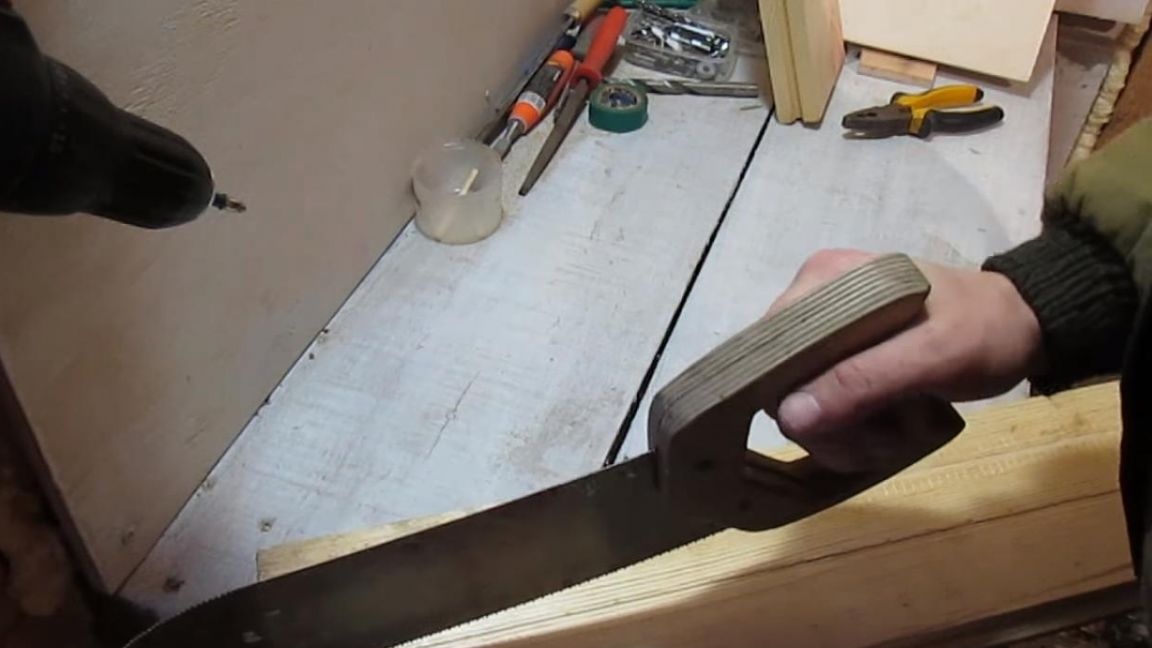
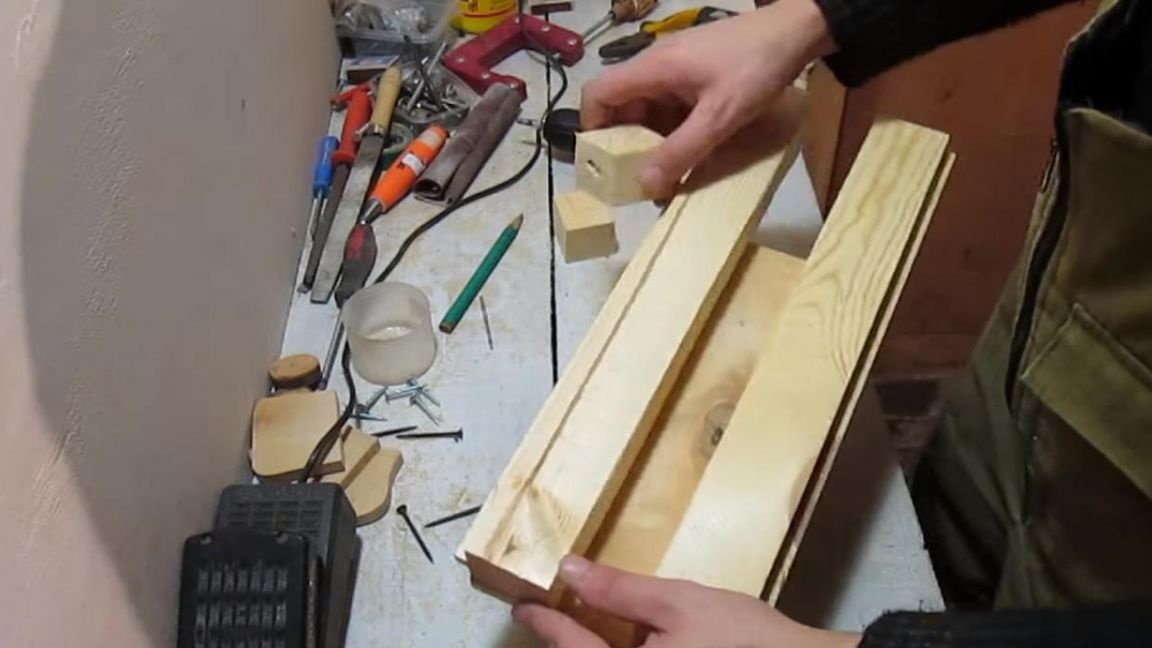
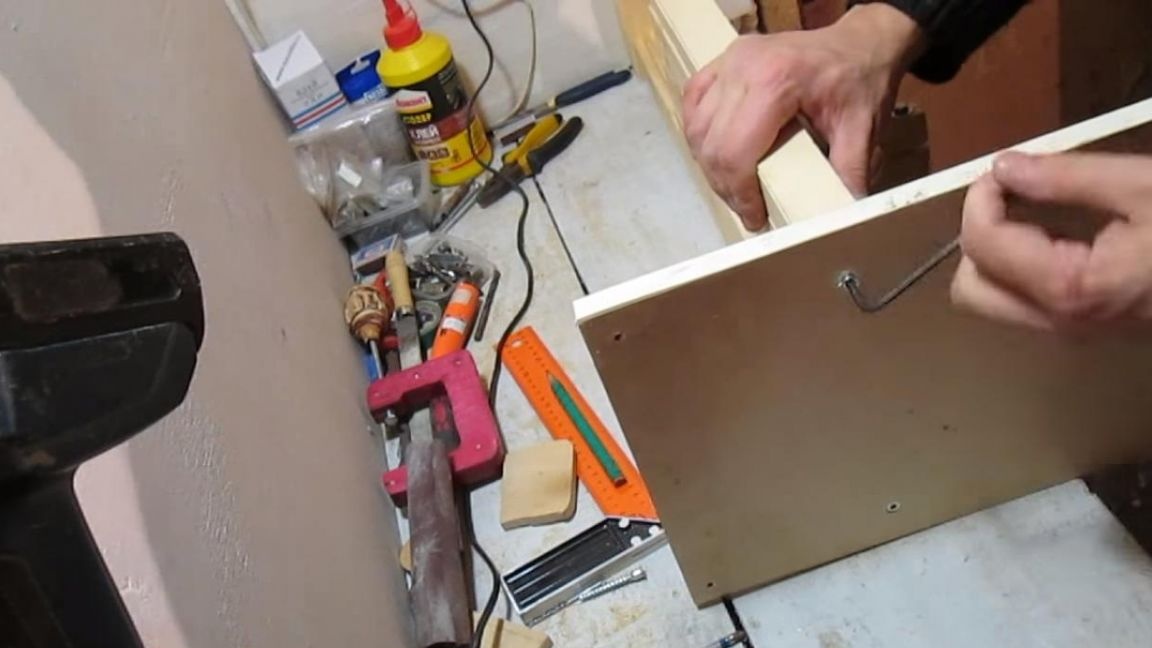
Since the drill will be the main working tool in this homemade product, it will need to be fastened for it to be installed on the machine, and if necessary, removed to use as intended by the manufacturer or just maintain the drill, lubricate bearings, etc. A plywood sheet can cope with this task well, we cut two blanks according to the template with an electric jigsaw, then we drill a hole for the center of the crown, and then with the help of the crown we make a through hole in two blanks at once.

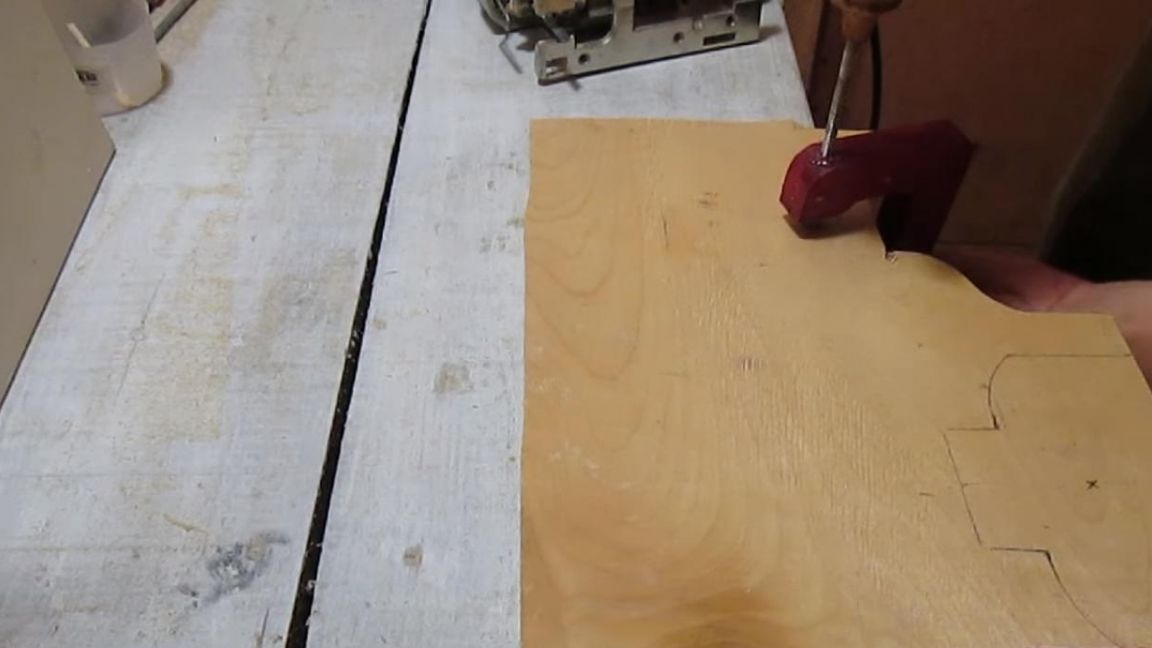
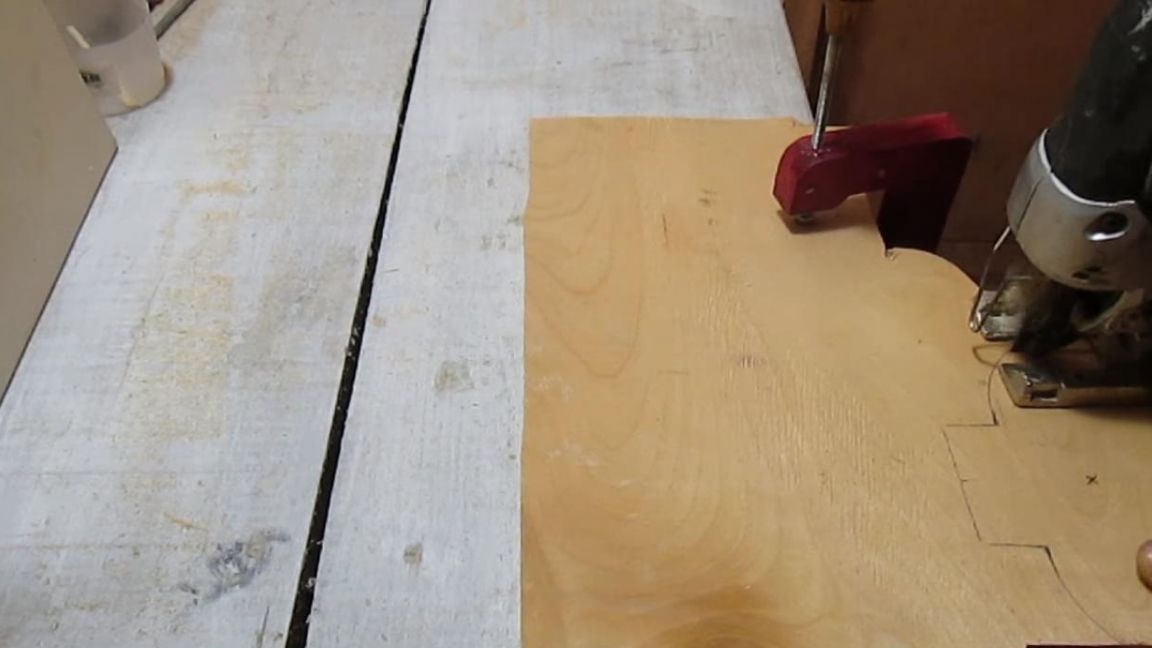
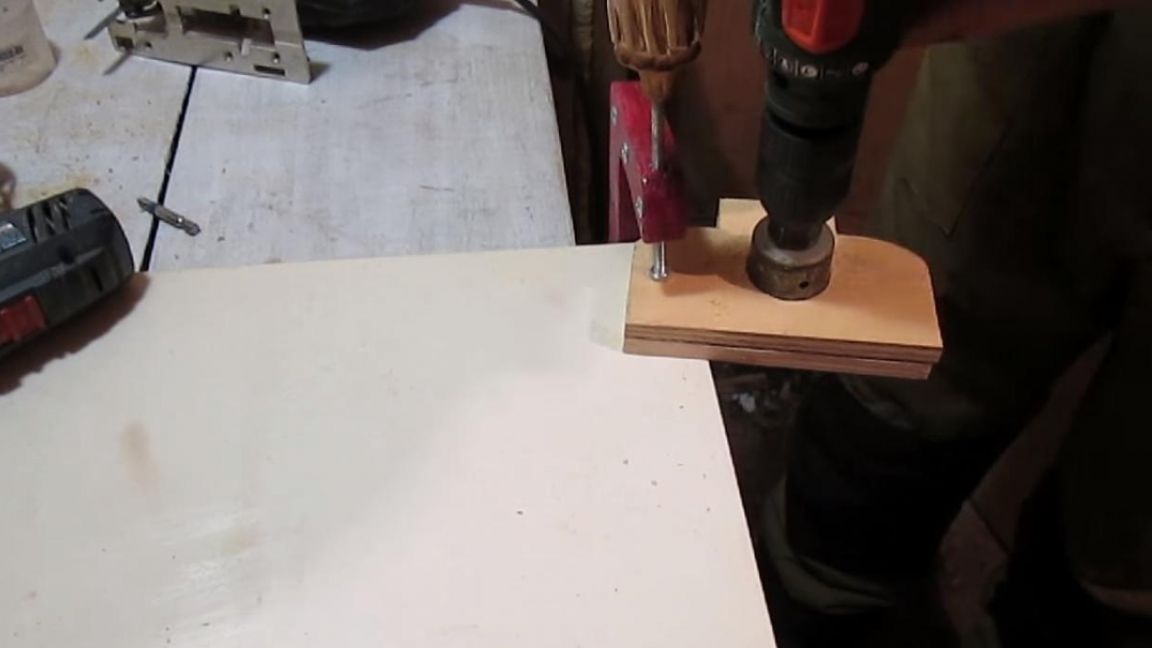
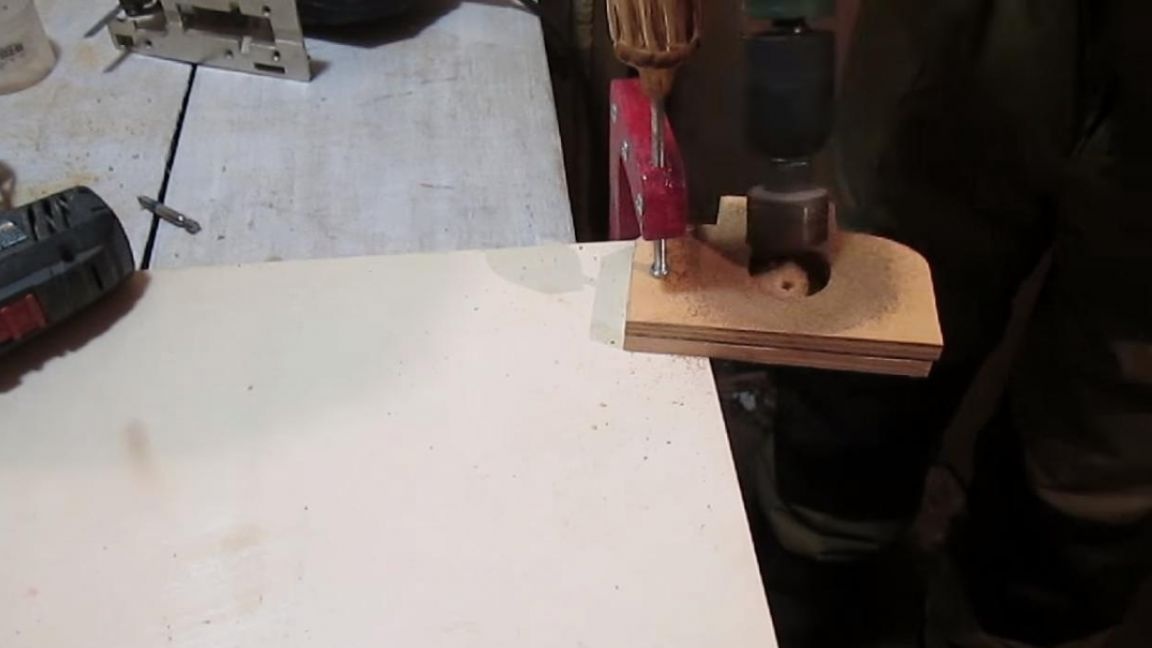
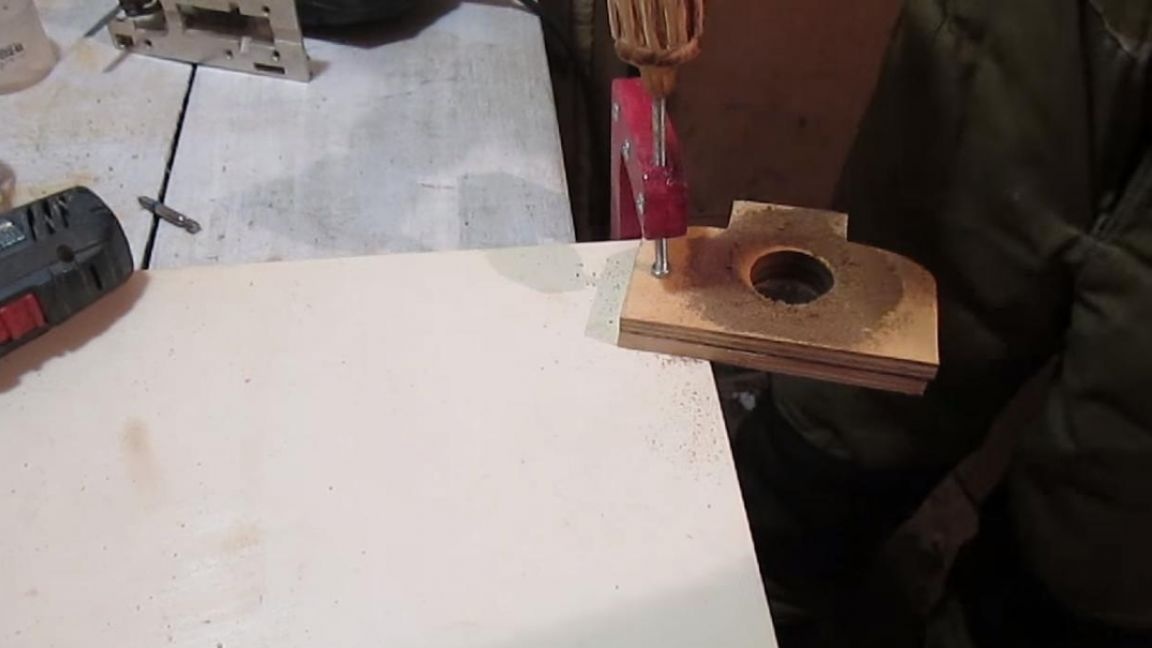
Mark the middle and make a cut with a hacksaw to the hole that was made earlier.
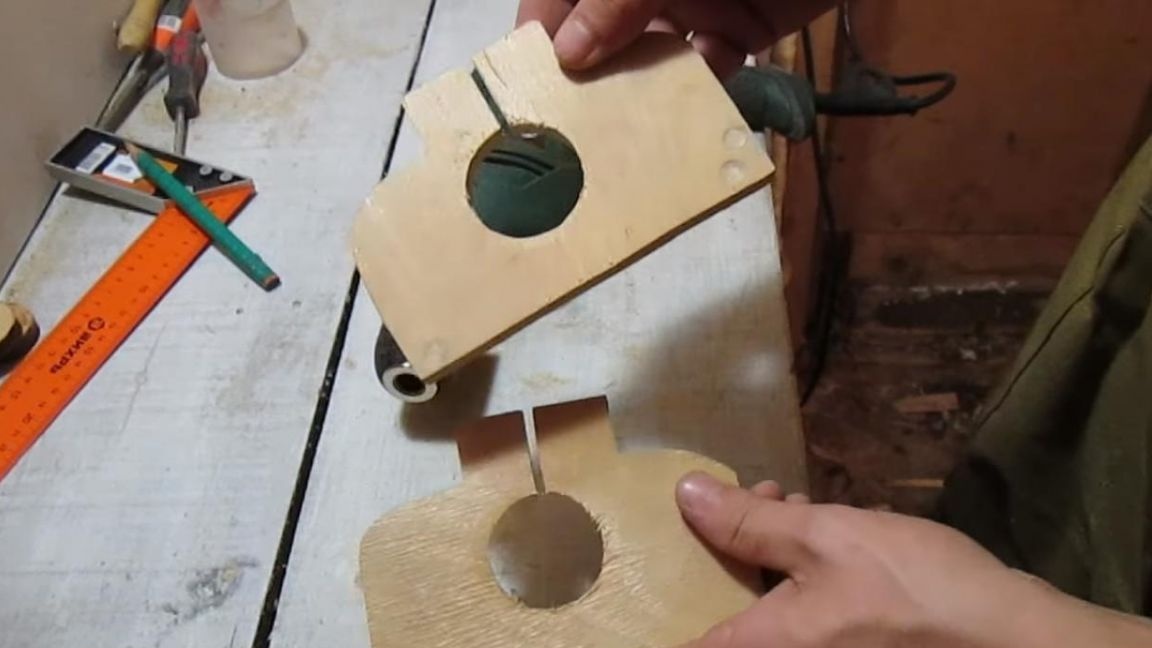
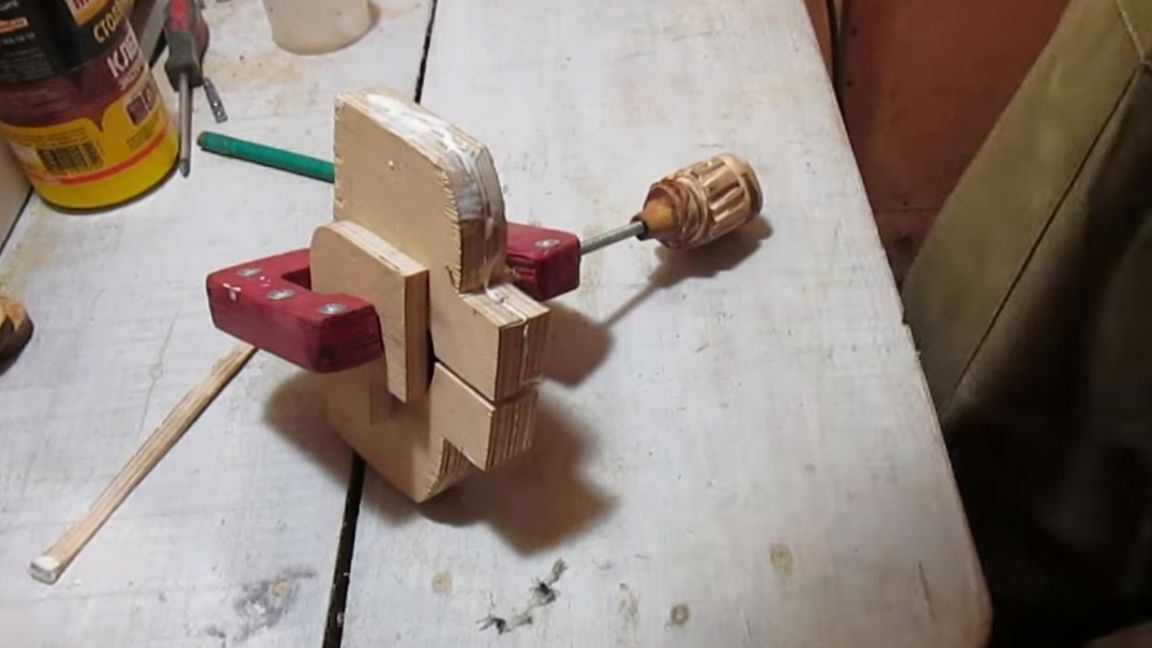
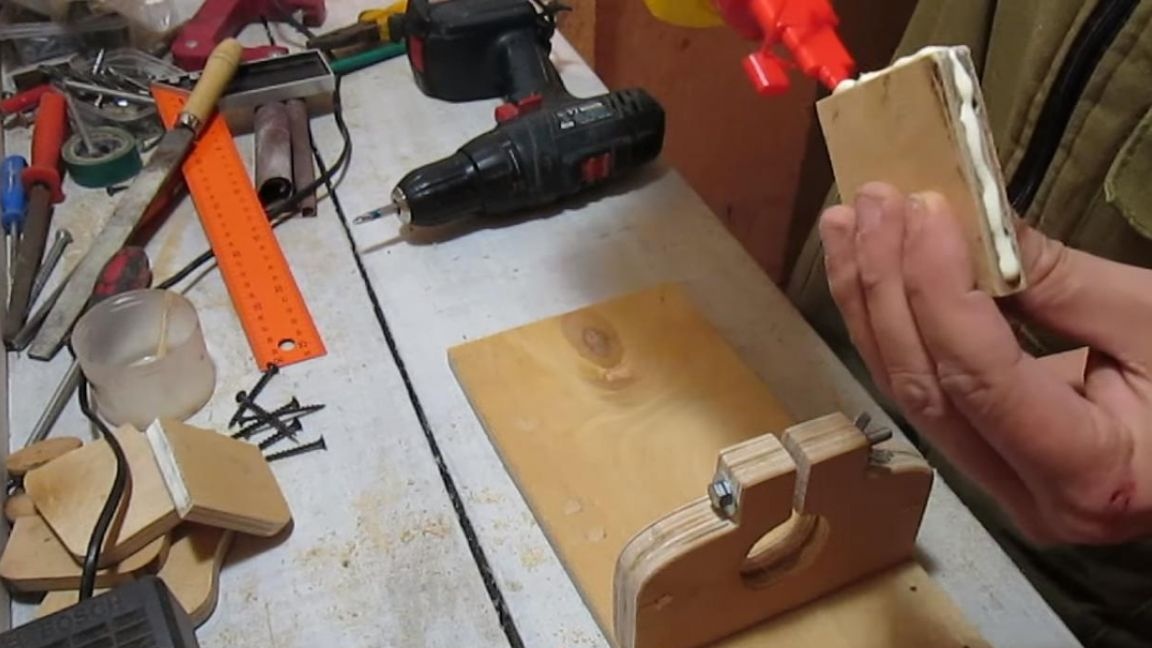
Try on a drill clamp.
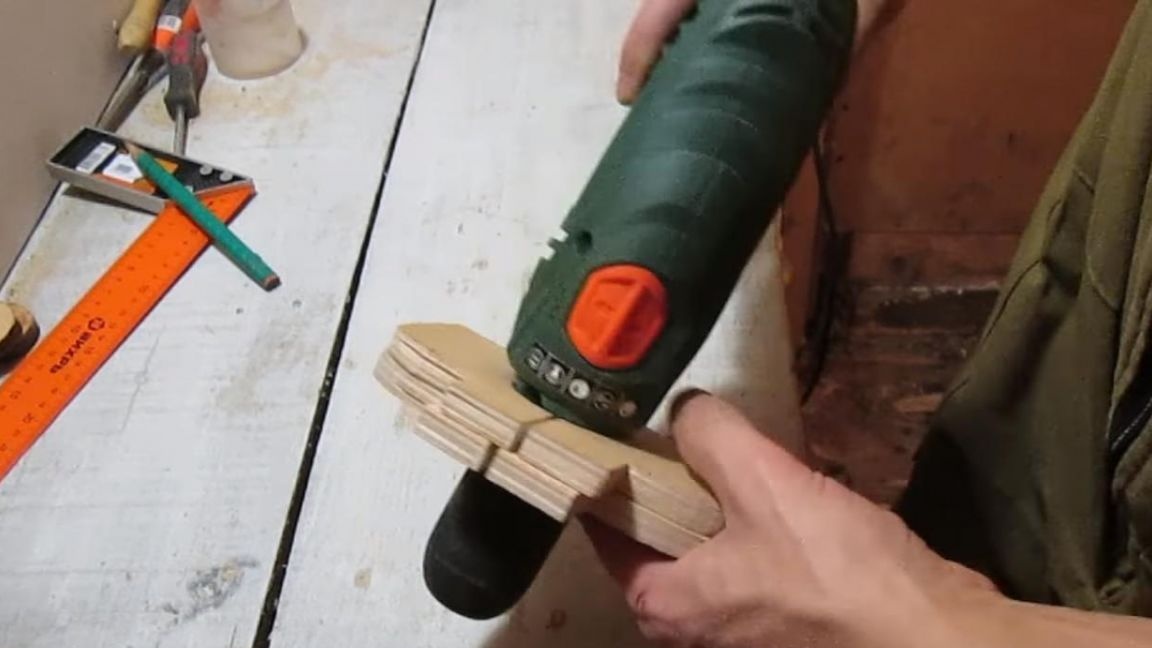
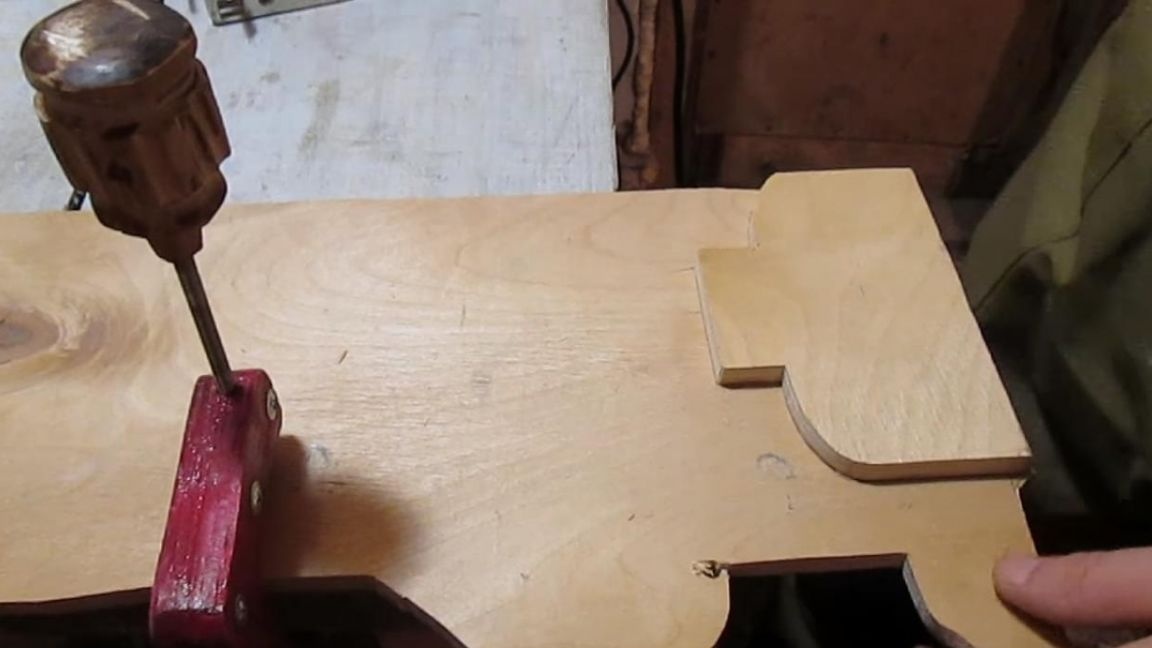
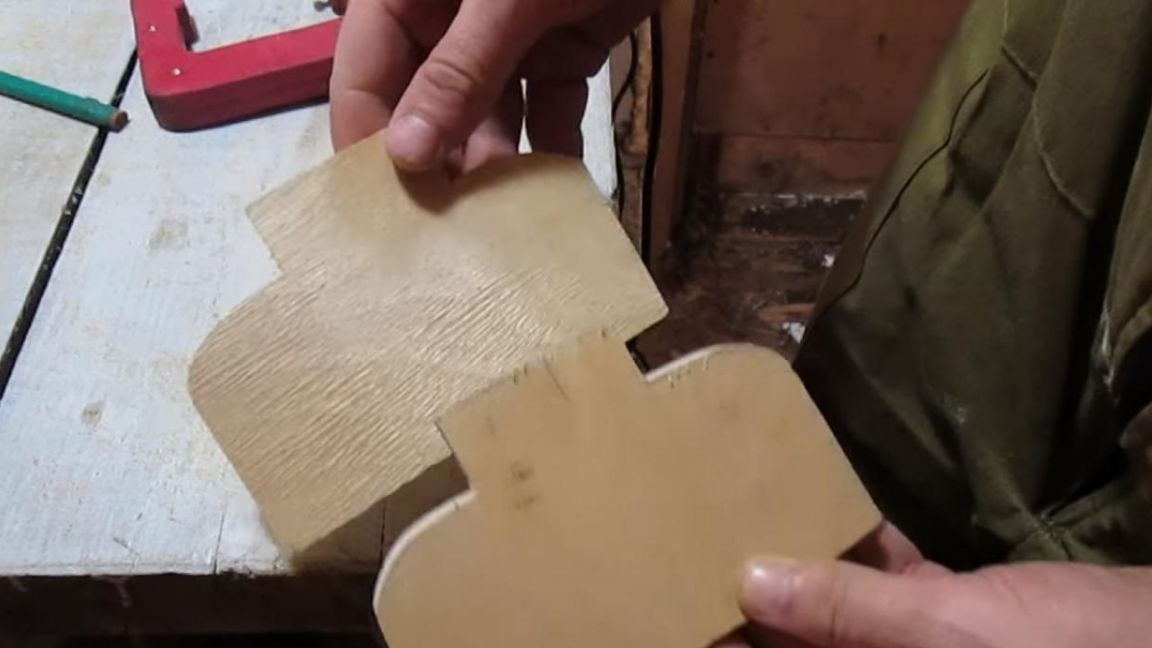
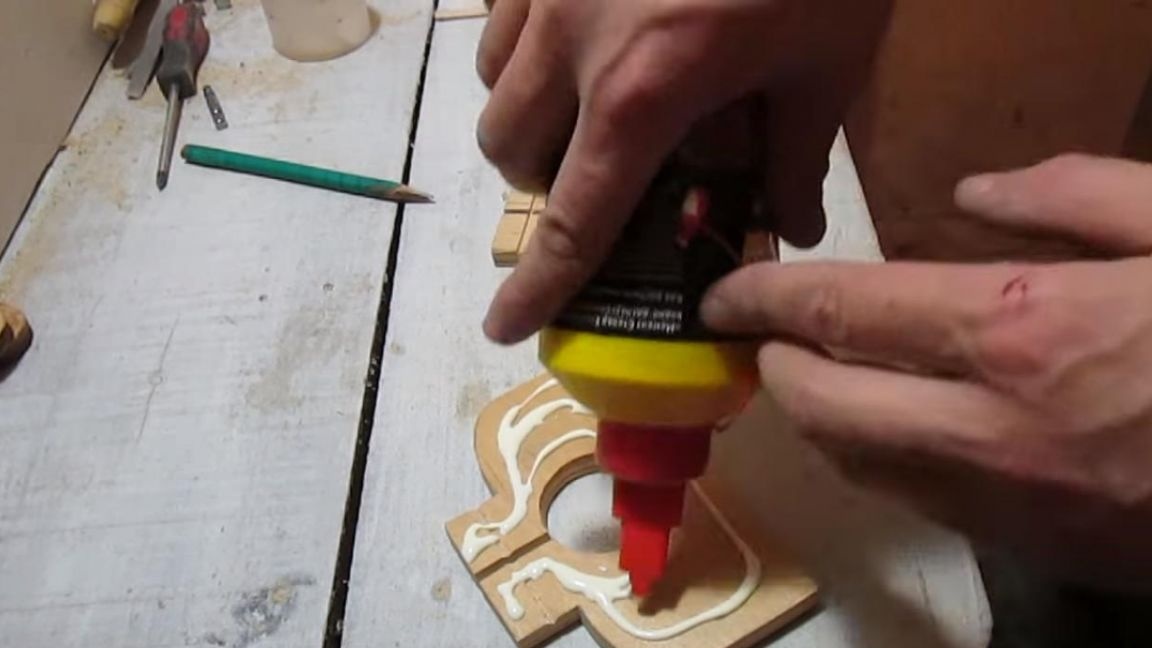
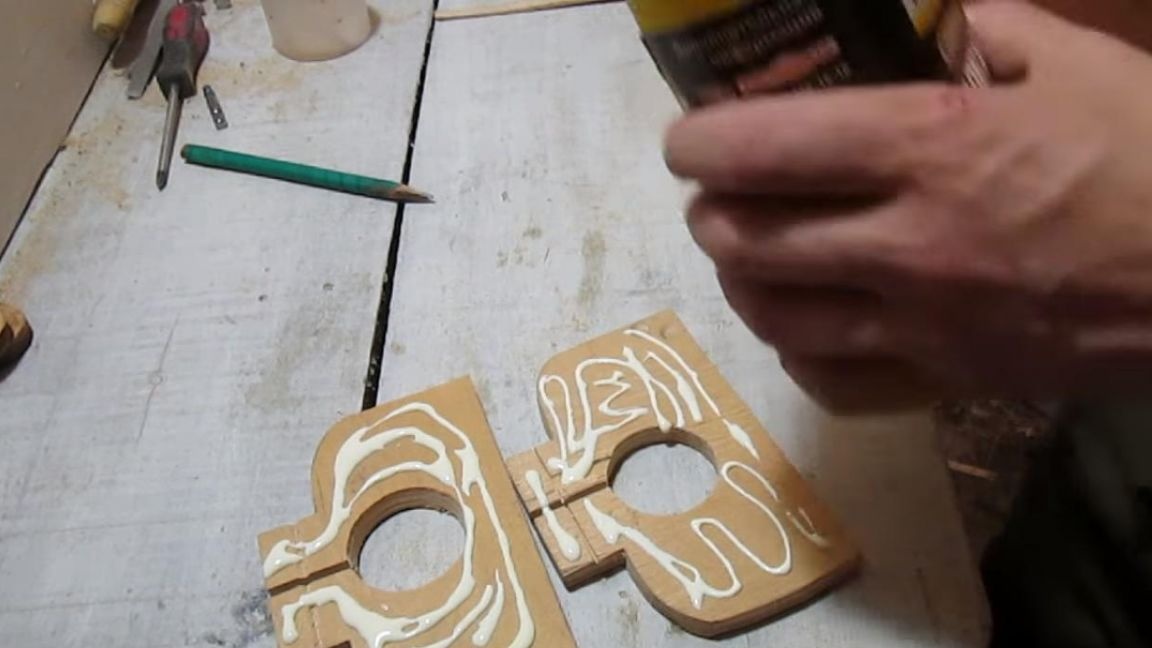
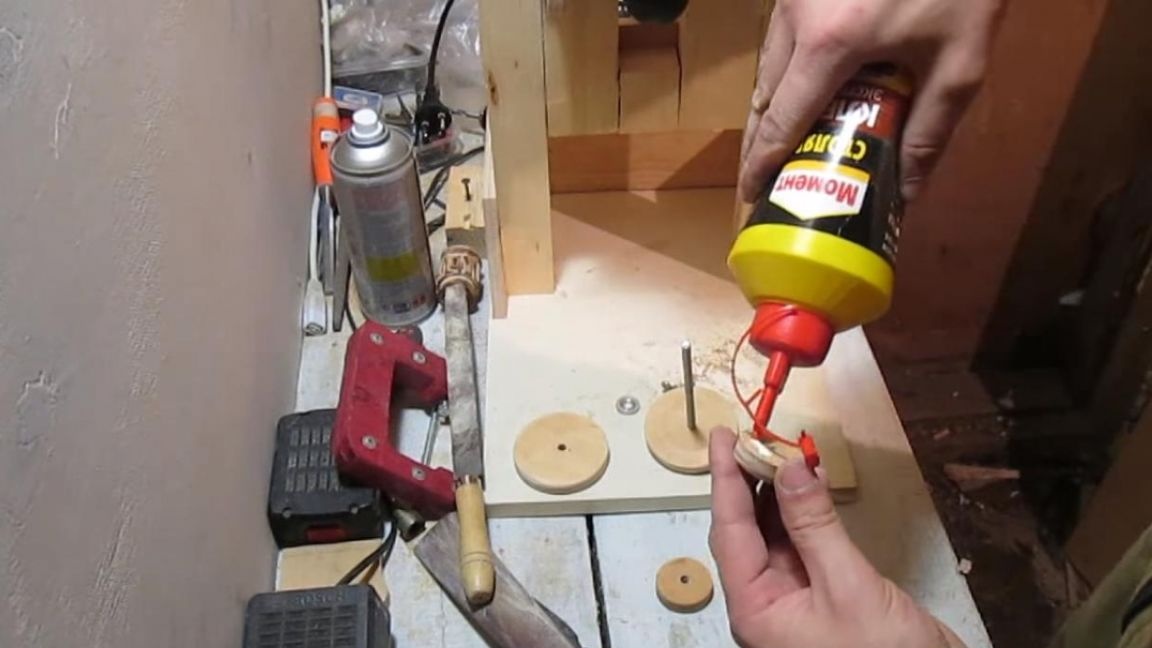
Armed with PVA glue, we coat one side of each part and connect it together. For better bonding, we press the parts with a clamp so that there is no dent left from the clamp foot, we put a piece of plywood under it.

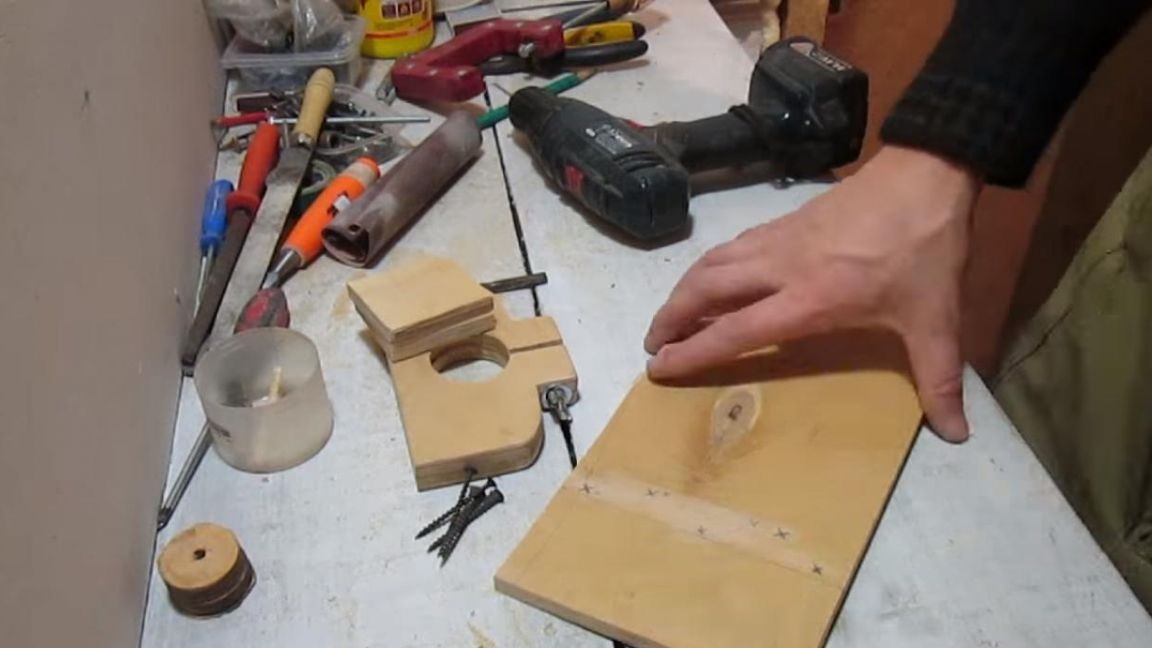
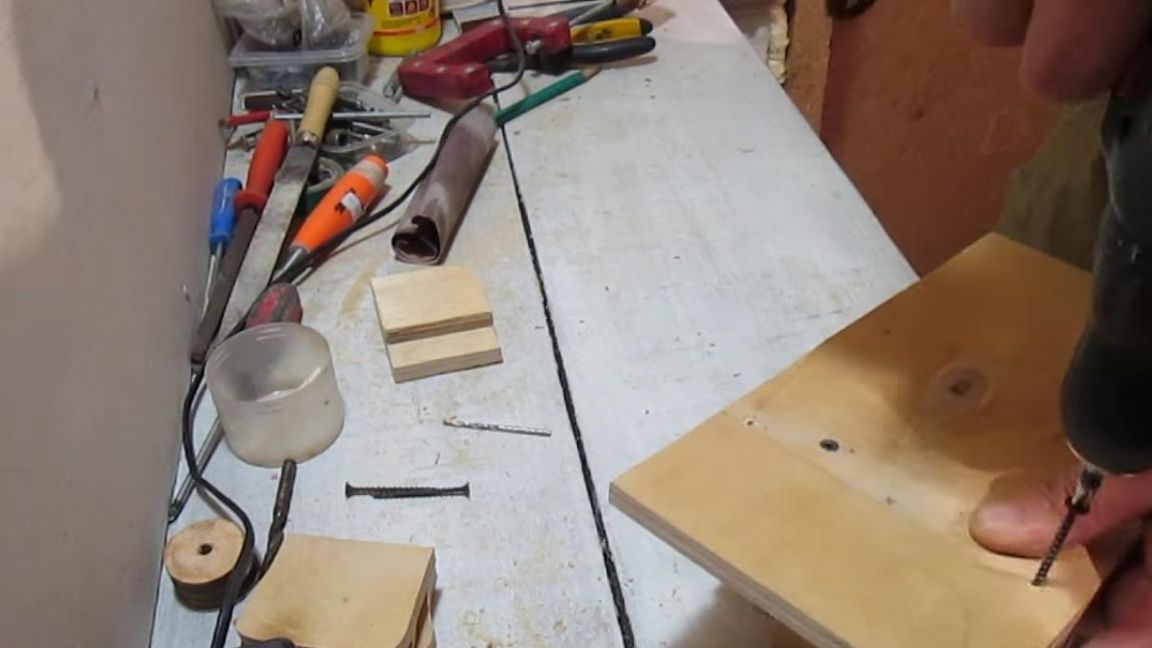
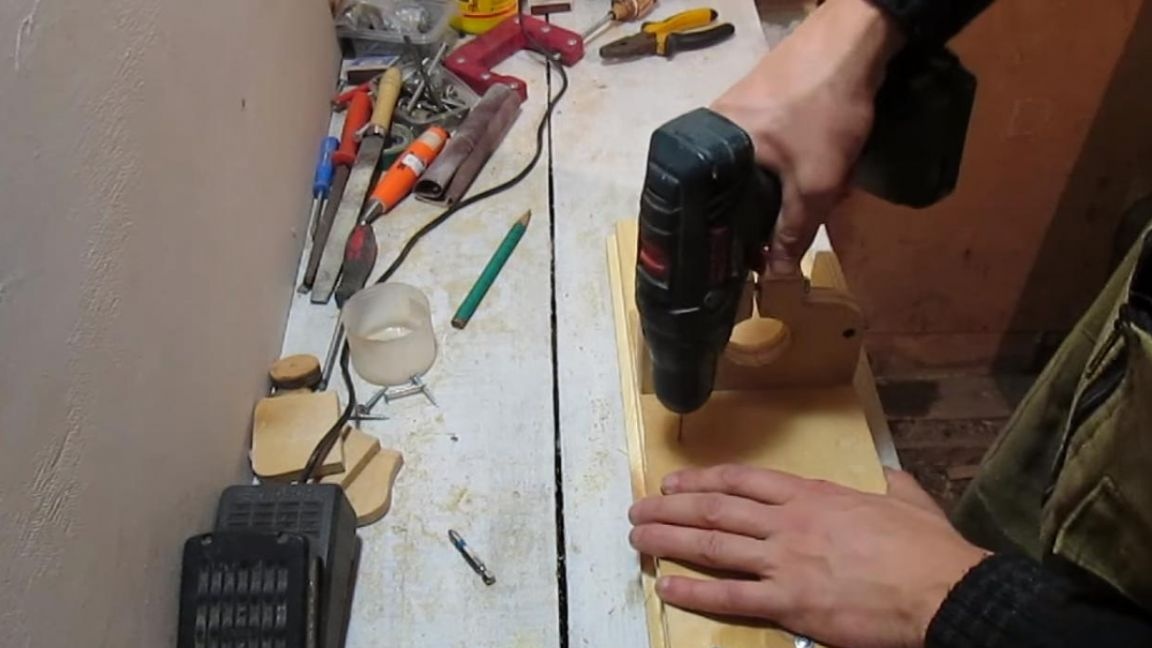
Step Two
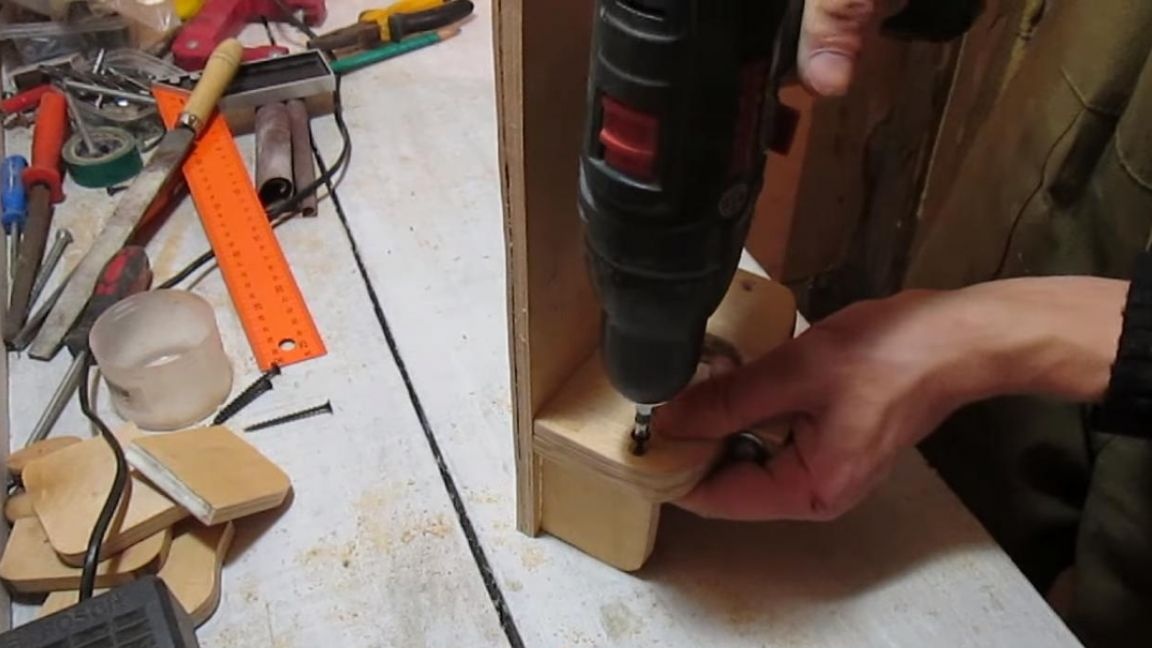
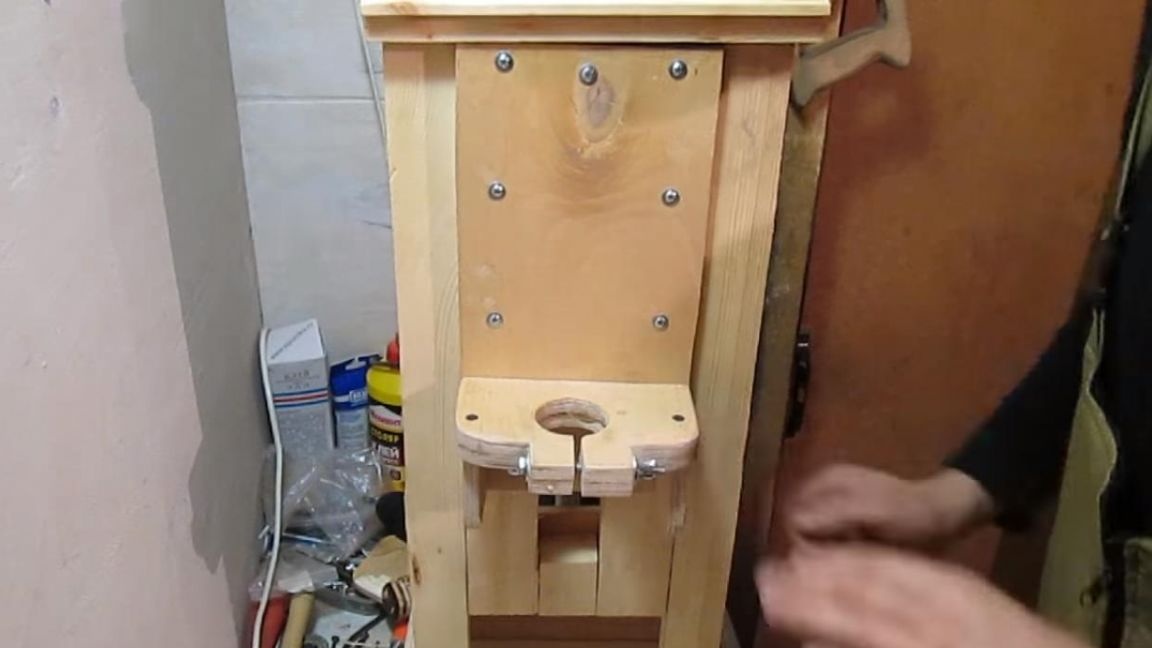
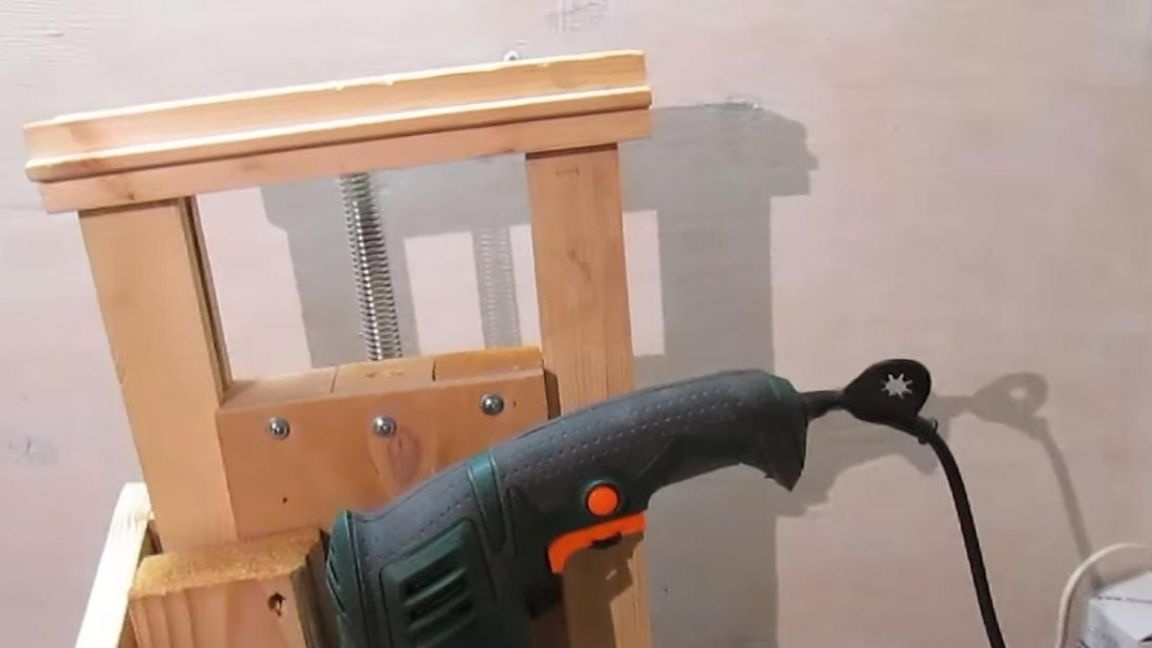
After the glue has dried and the two parts hold confidently with each other, it is necessary to drill a hole for the bolt that will tighten this clamp, thereby fixing the power drill. For speed and convenience, it is best to use the wing nut. Now you can try on this part of the machine on the drill itself, the clamp should fit well on the round part of the drill, and when loosening the nut, loosen it freely.
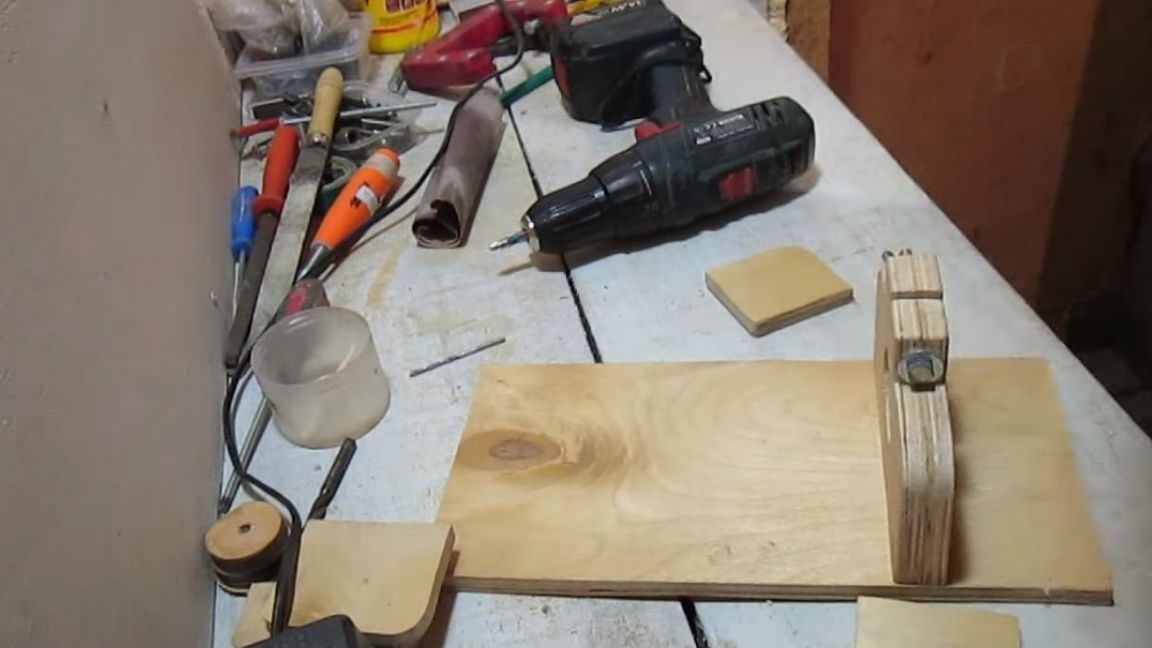
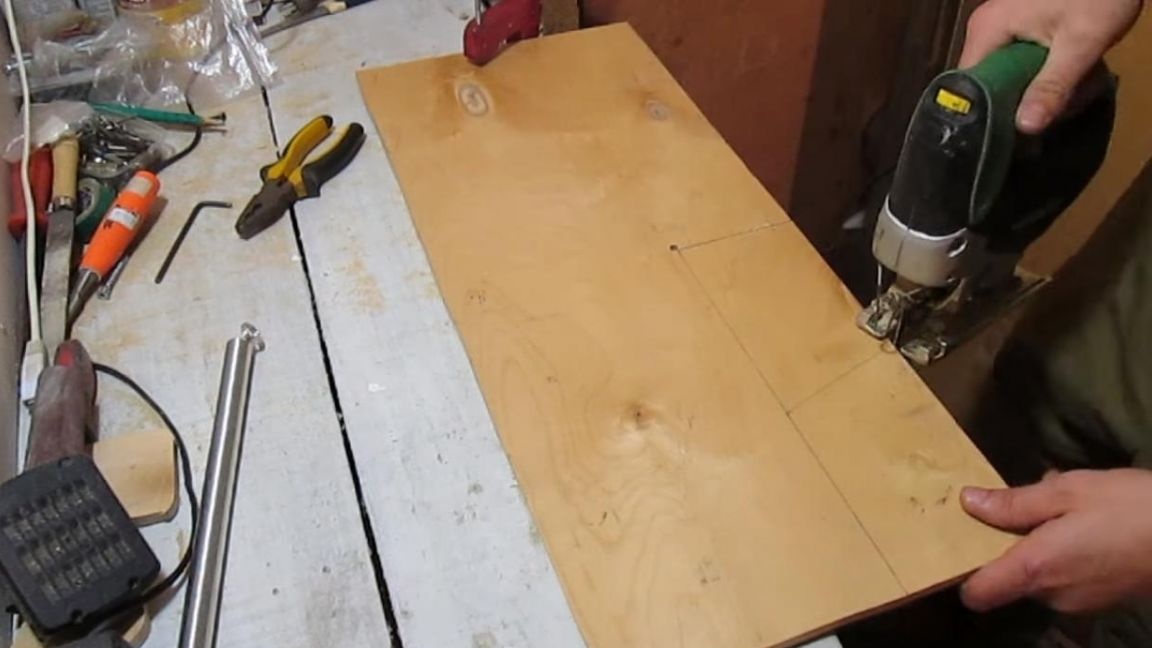
Step Three
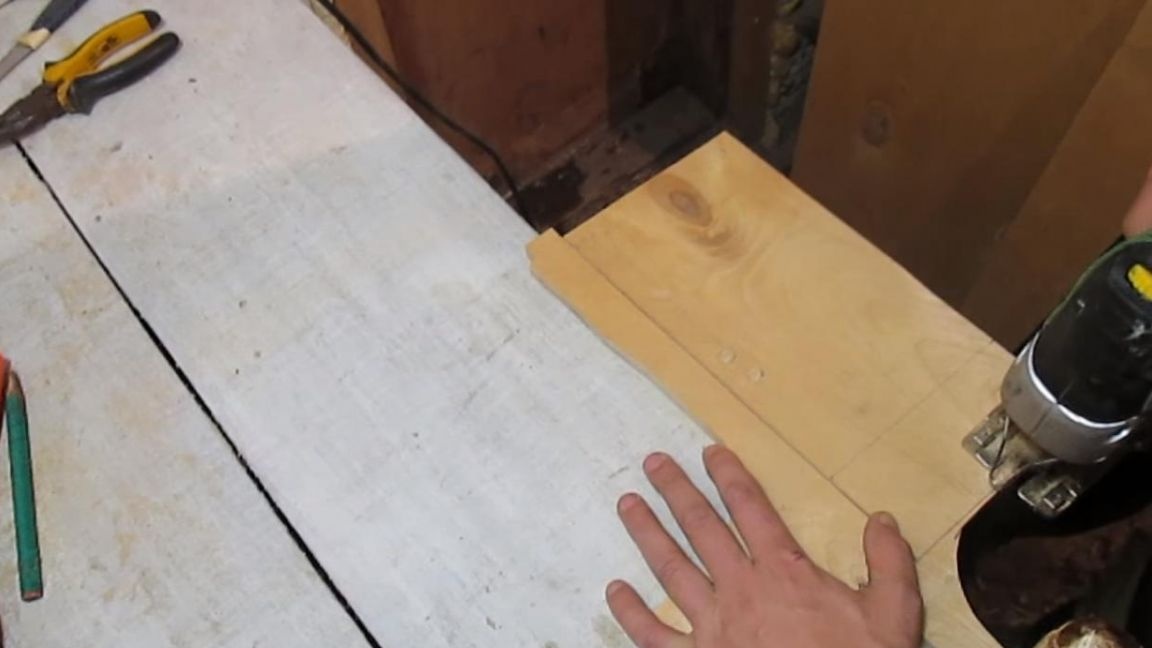
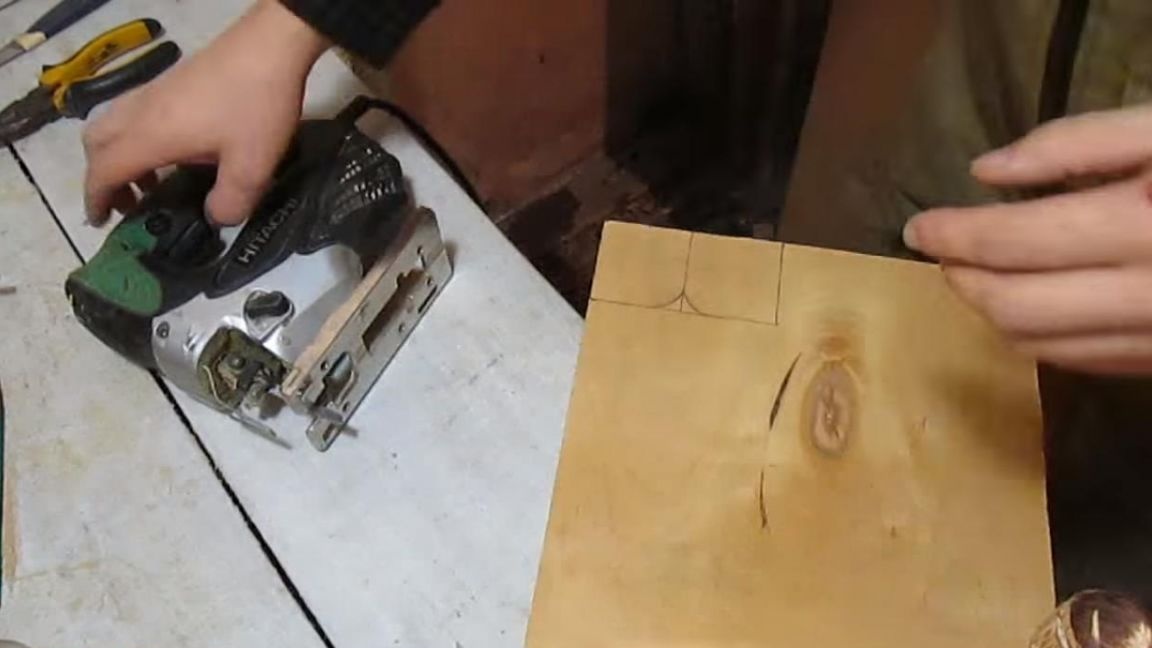
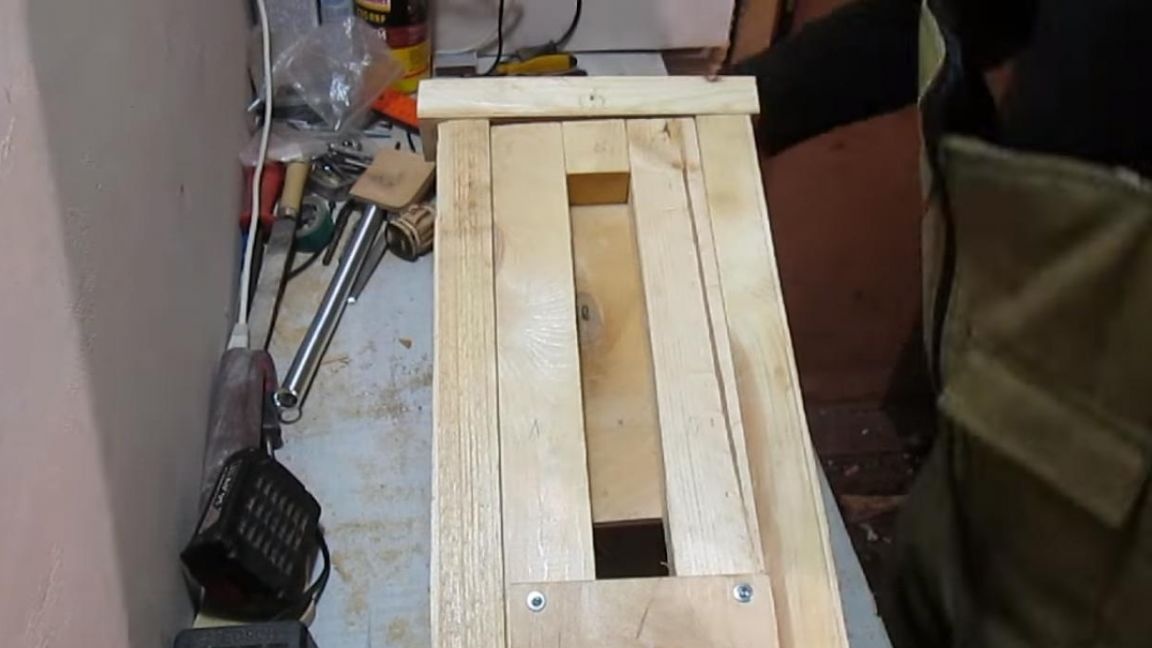
It's no secret that in almost every drilling machine there is a movable base on which the drill itself or the engine with transmission is held.We also make the base from a sheet of plywood, mark the required dimensions with a pencil and use a jigsaw to cut out a rectangle, which will be the base on which the remaining parts will be attached.
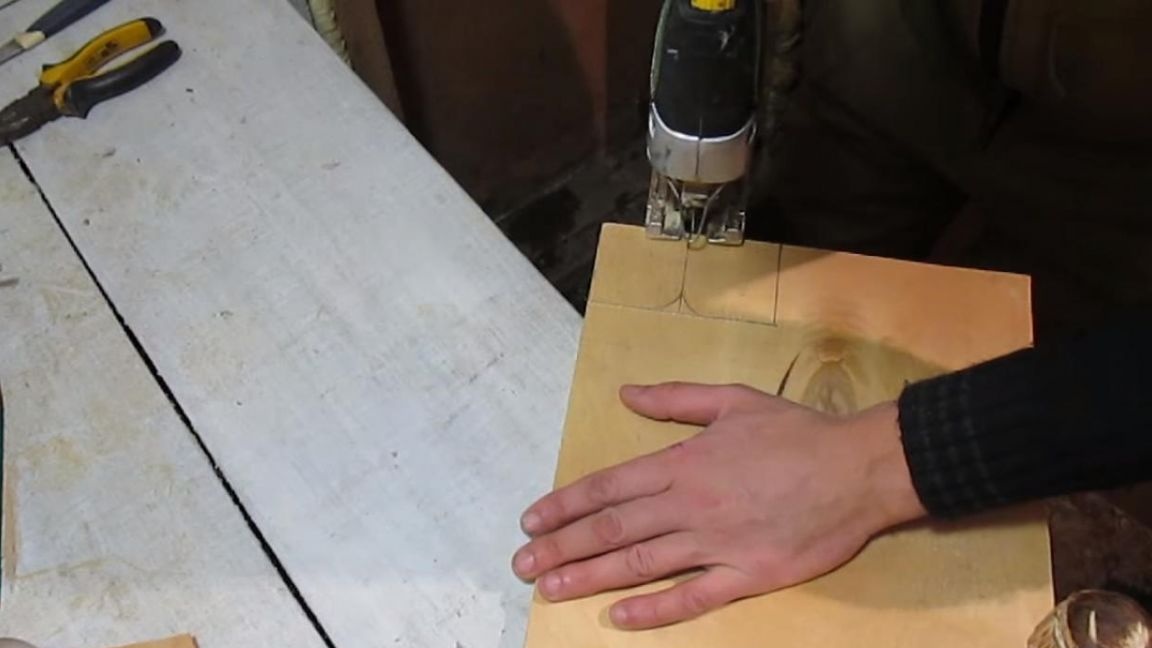
We cut out two scarves from the same sheet of plywood, this is done in order to strengthen the design and maintain perpendicularity.

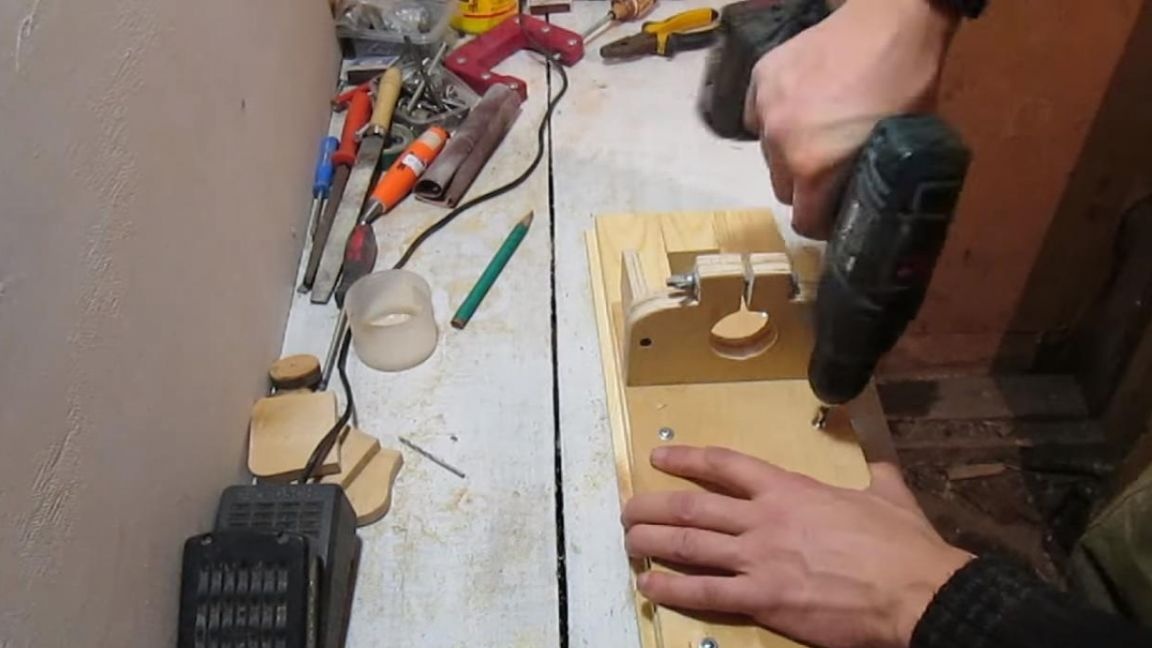
Step Four
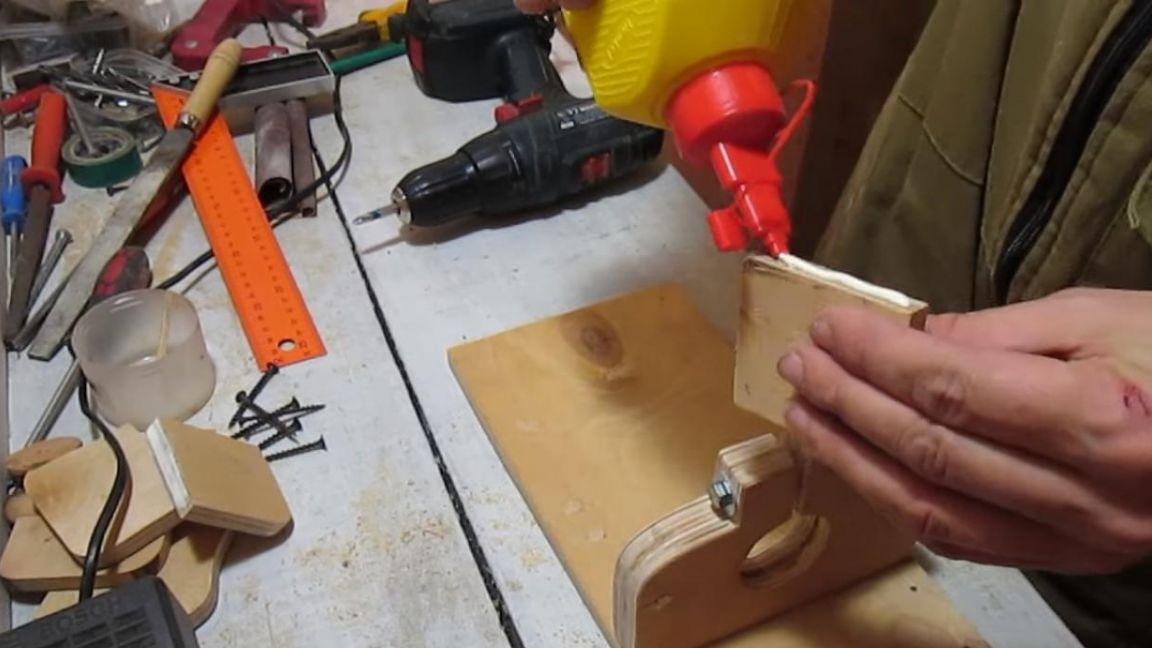
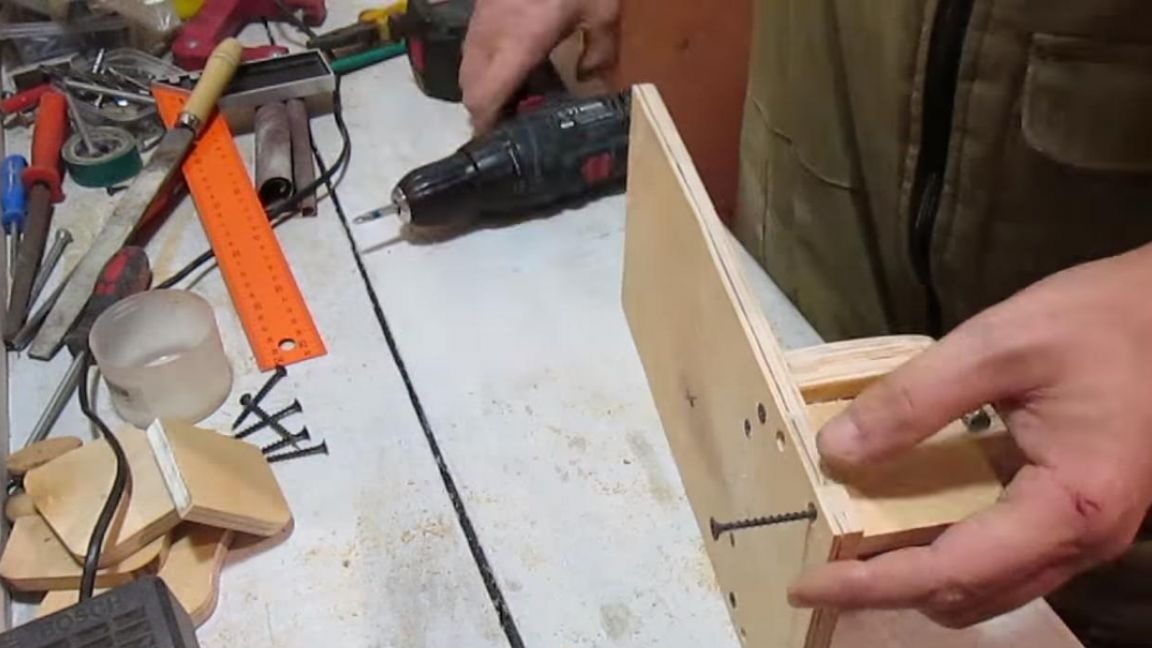
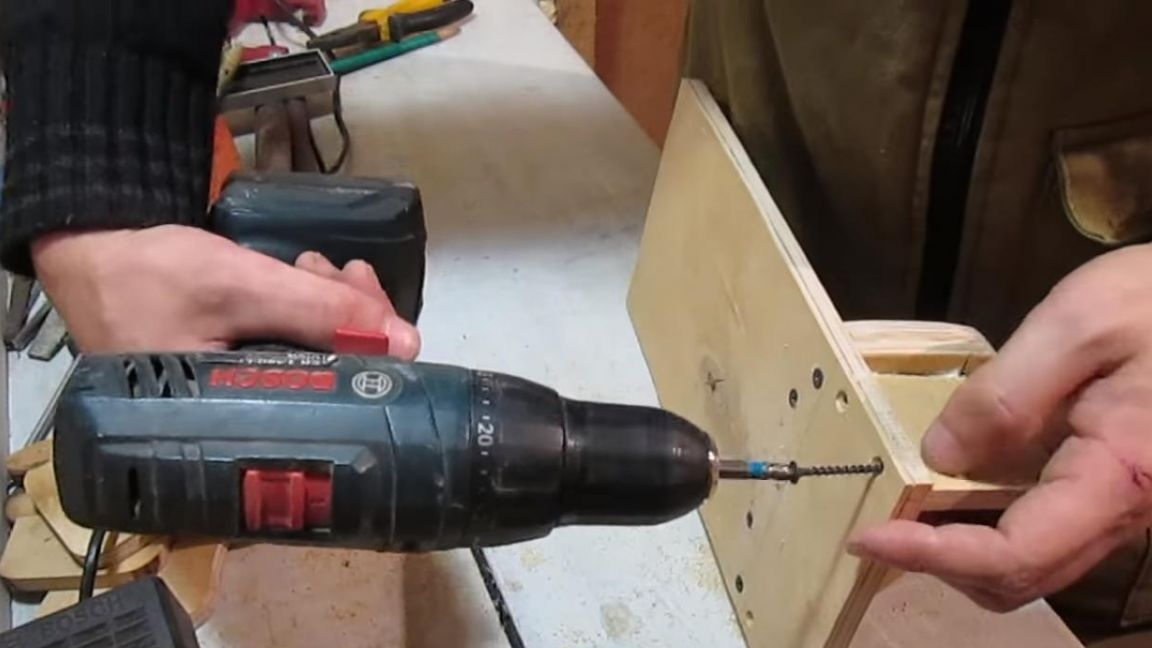
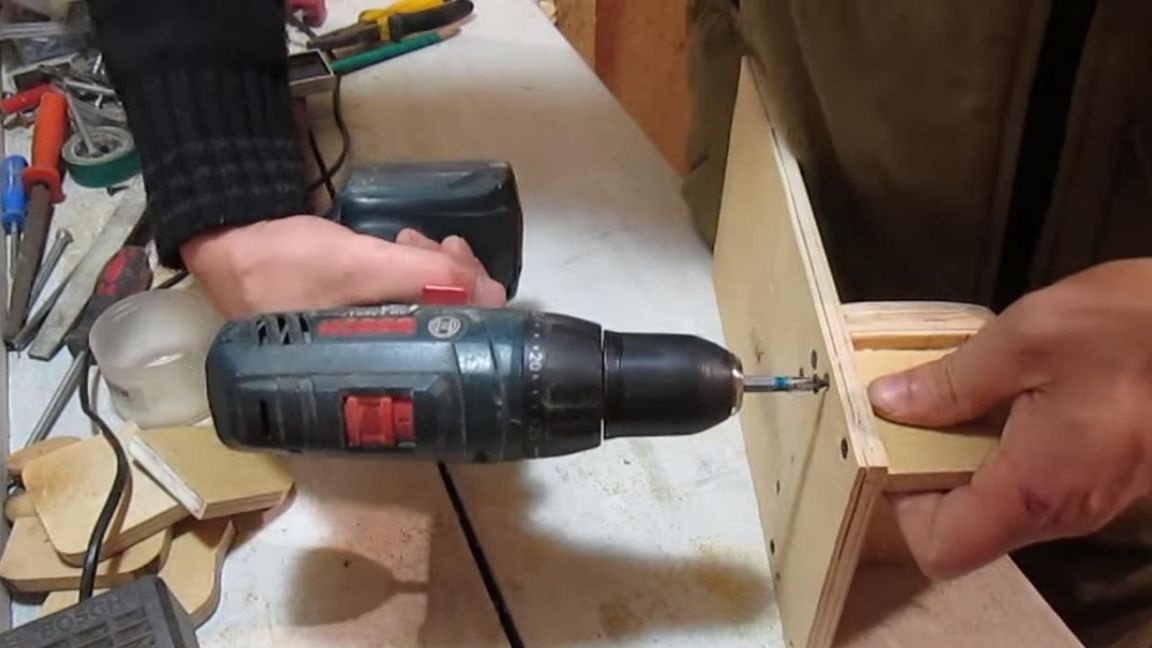
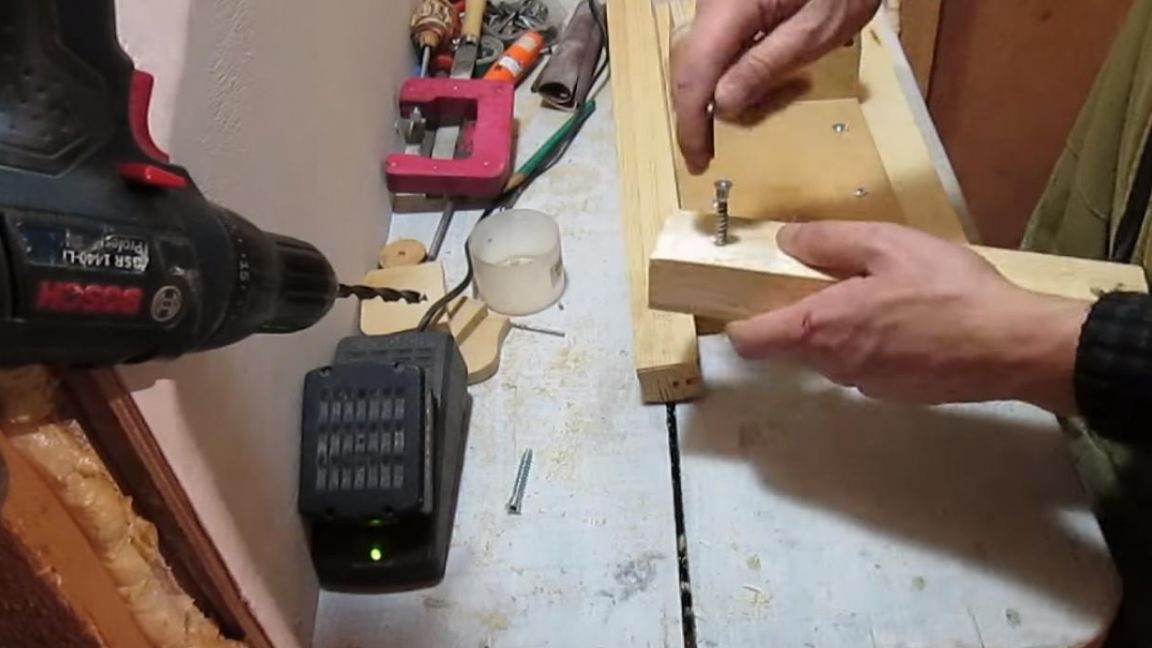
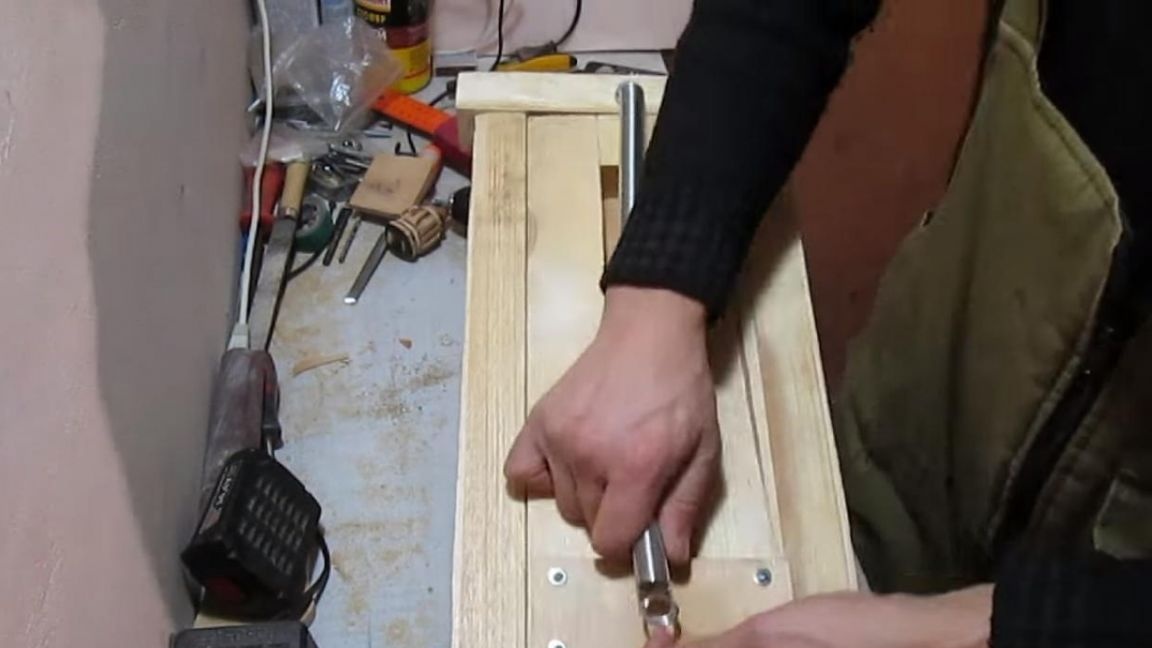
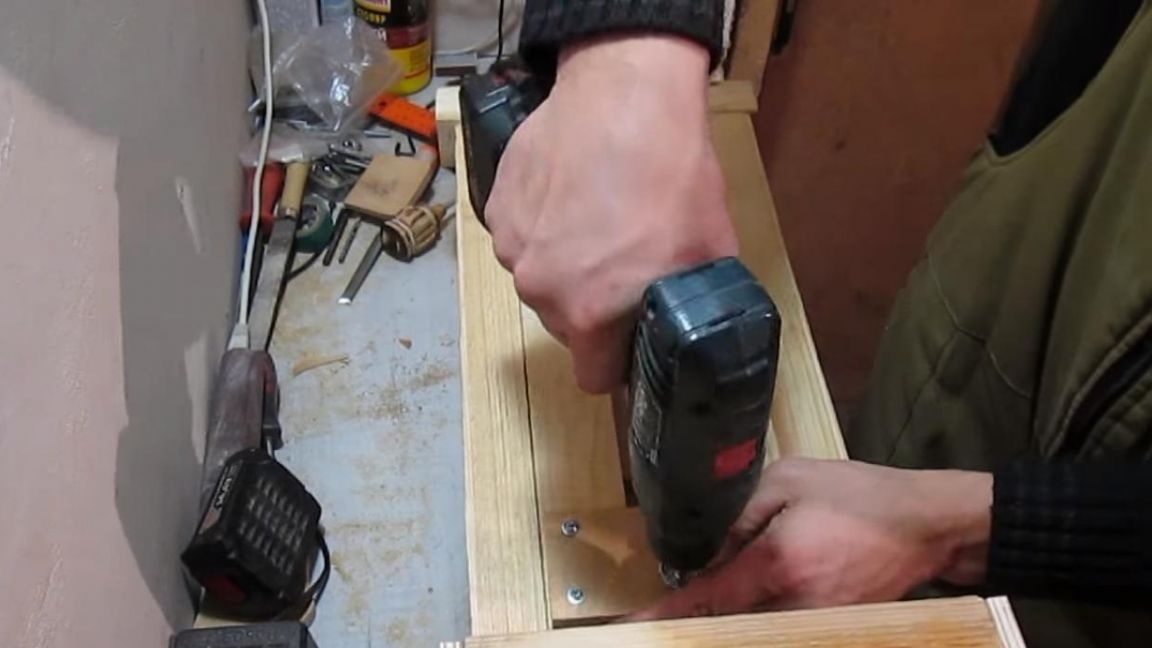
At the base, we drill holes for the previously made clamp, first we drill 3 mm with a drill of 5 holes, and then screw the screws with the screw head into these holes with a screwdriver.
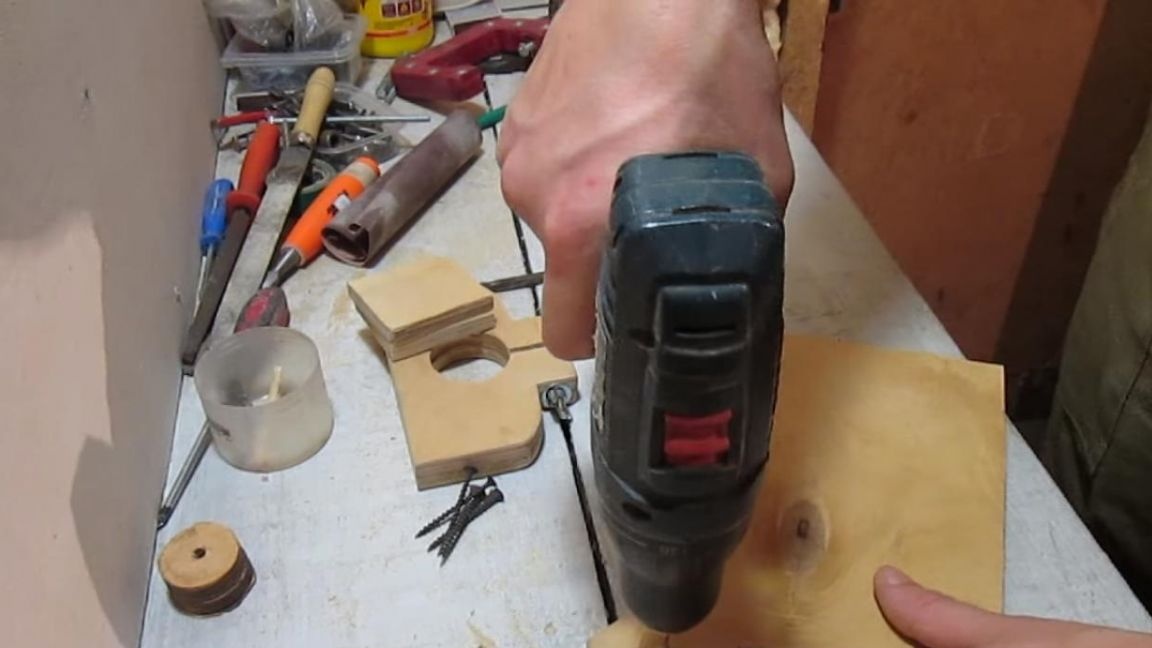
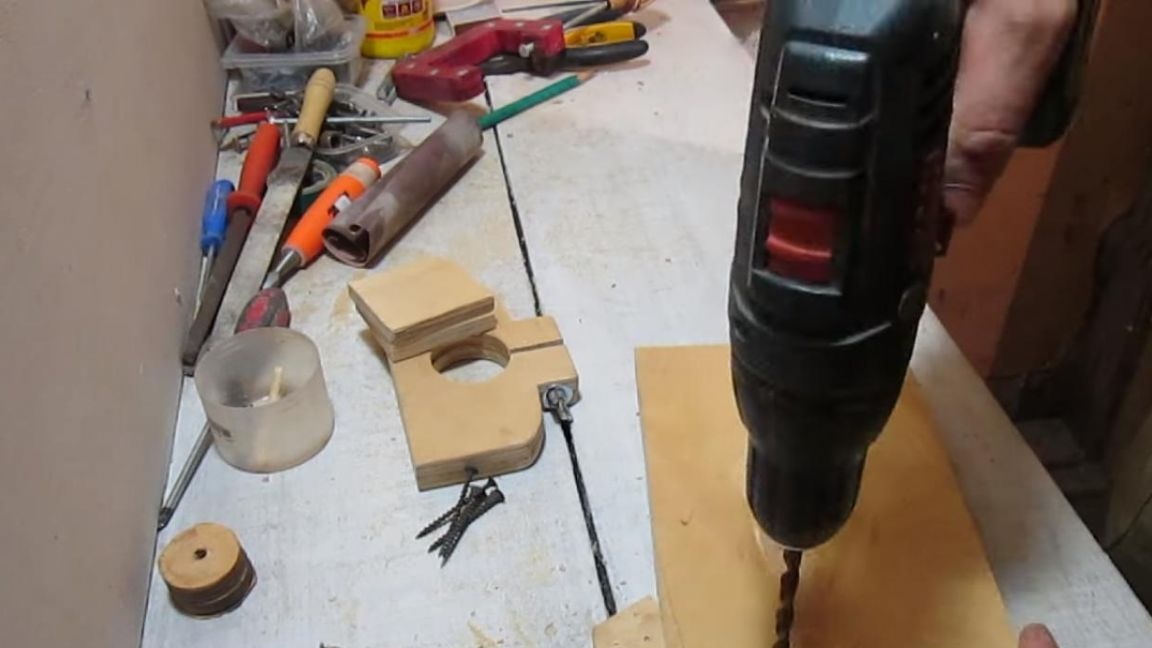

For rigidity, we fasten two corners that were cut earlier, for reliability, before that, we coat the joints with PVA glue.

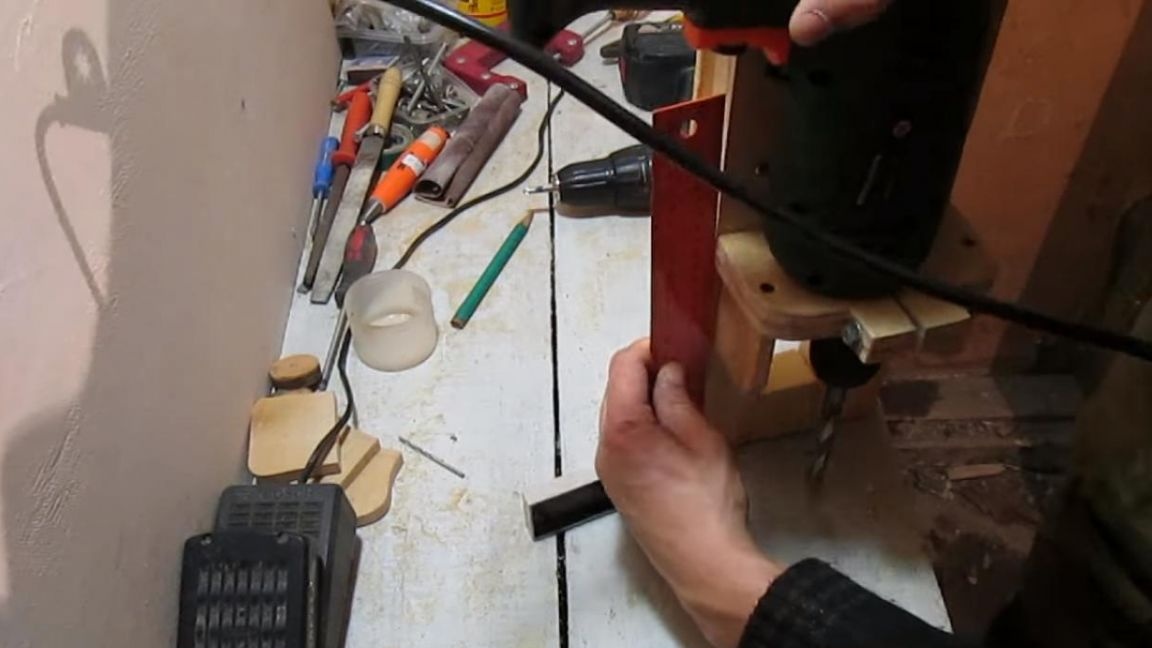
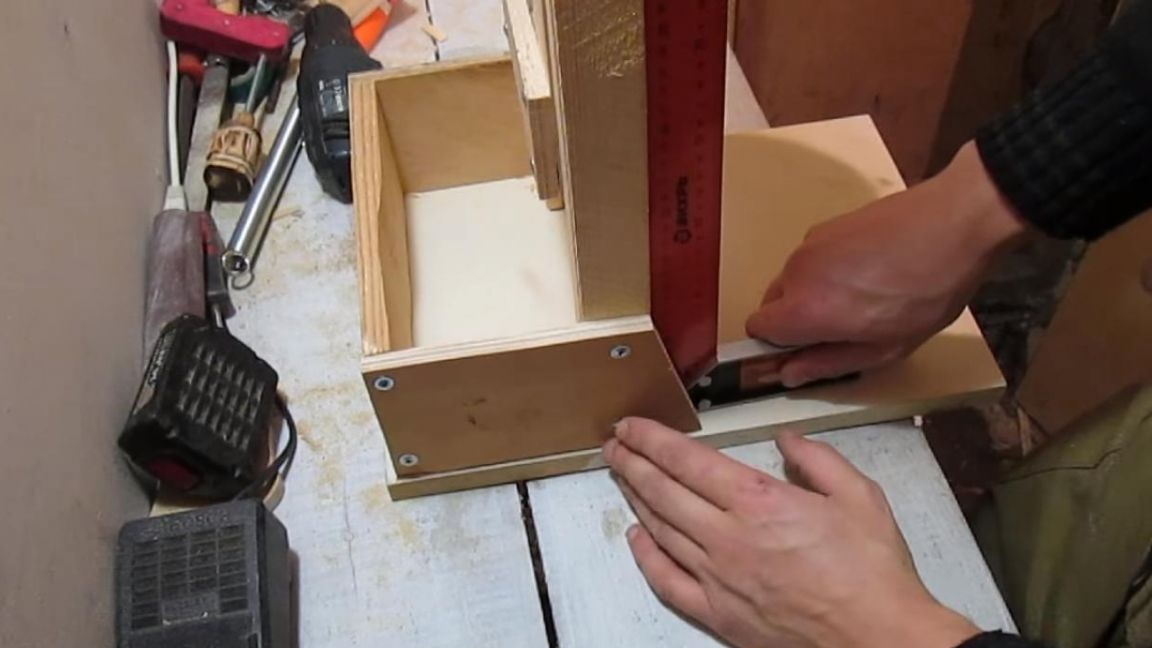
Step Five
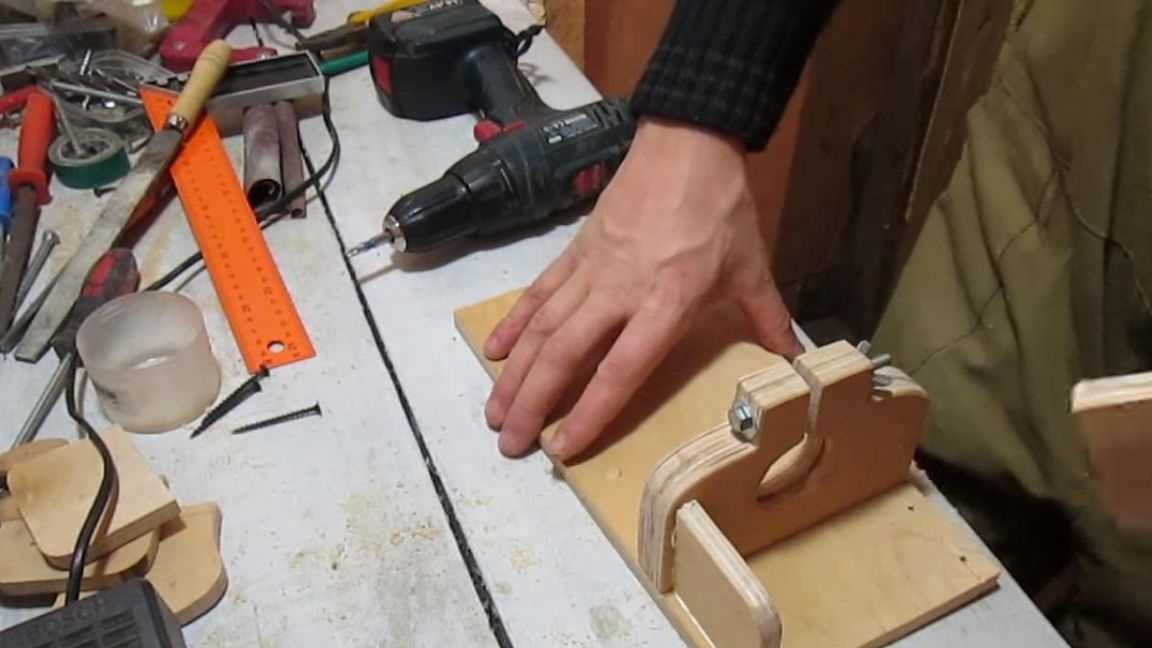
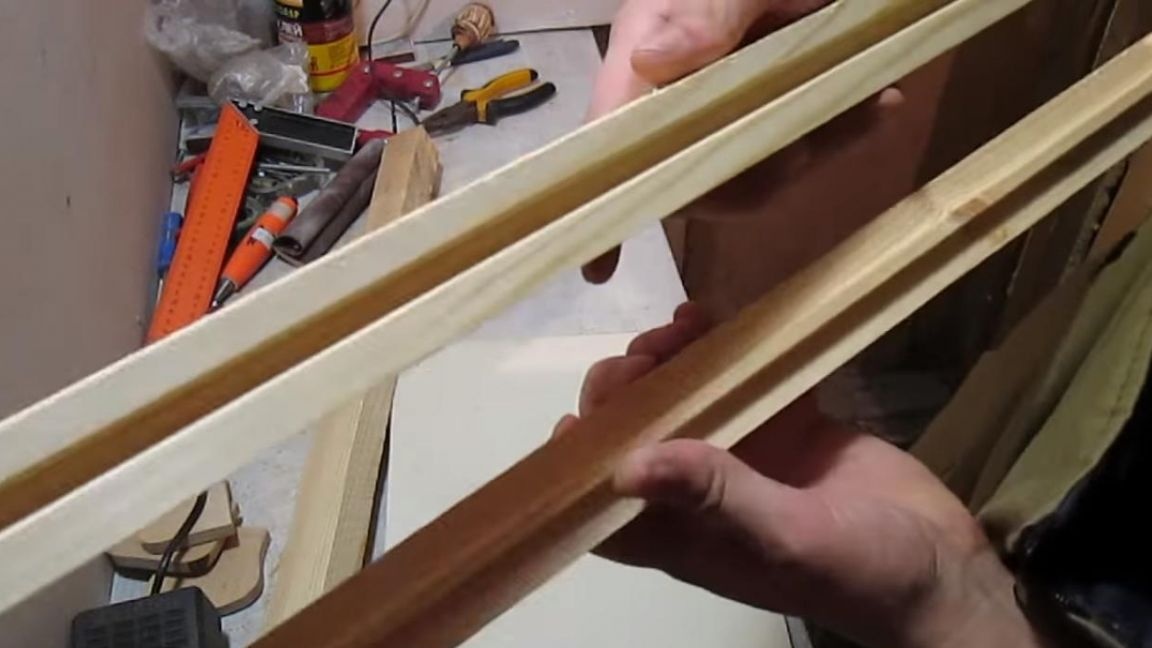
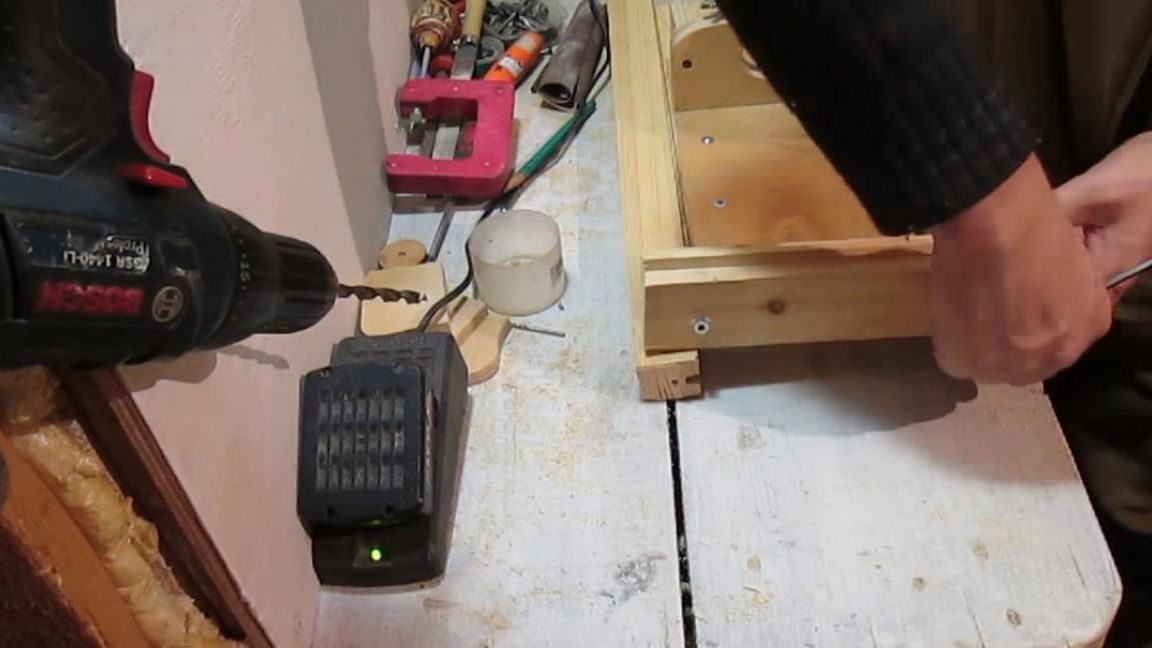
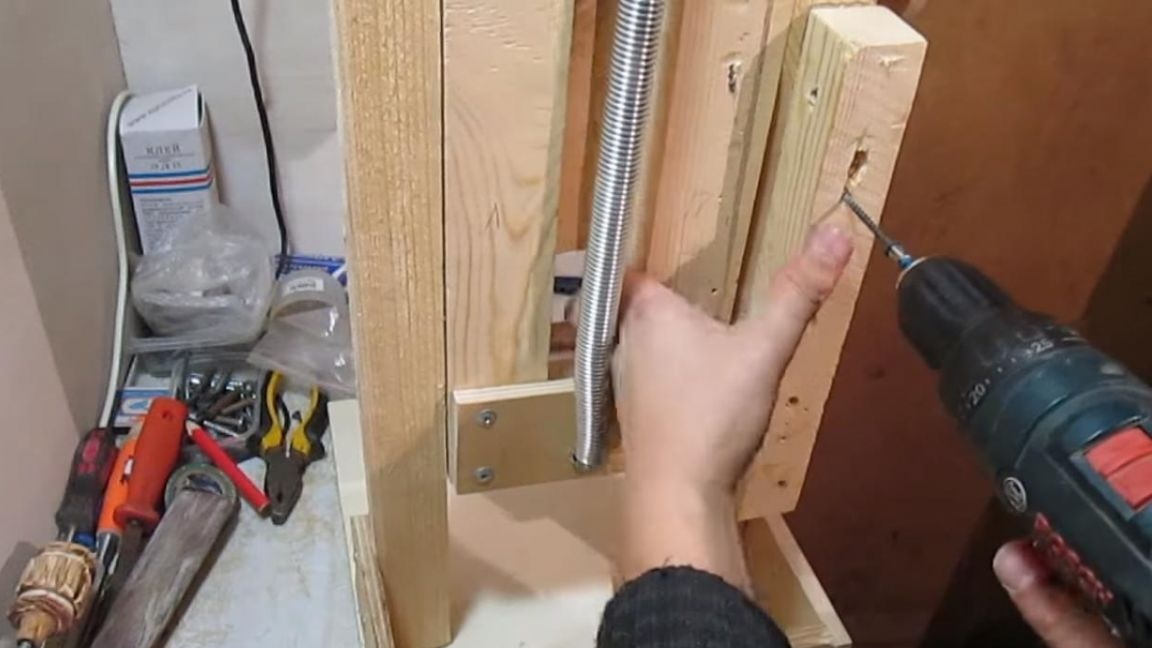
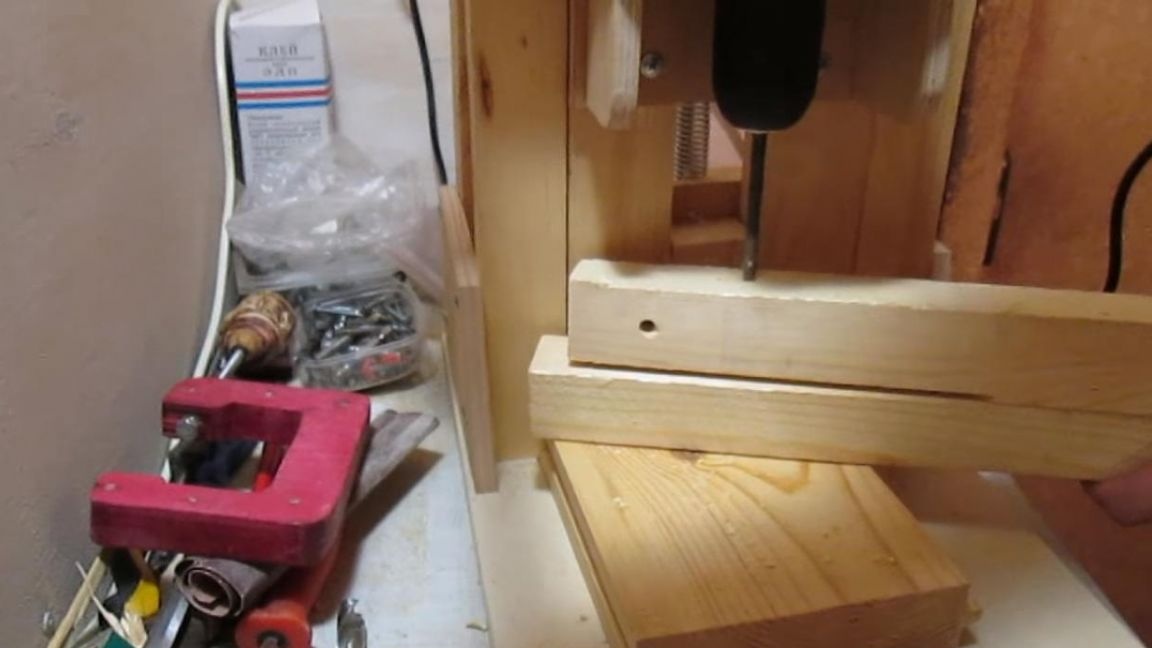
In order for the drill clamped in the mount to move vertically, it is necessary to make guides along two bars with a groove along which the structure with the drill will move. We screw them on the screws with a press washer to the base with a clip for the drill, then we install a small block between them so that the structure does not deform and the distance between the guides is constant over the entire distance, we put the same block on the other side.


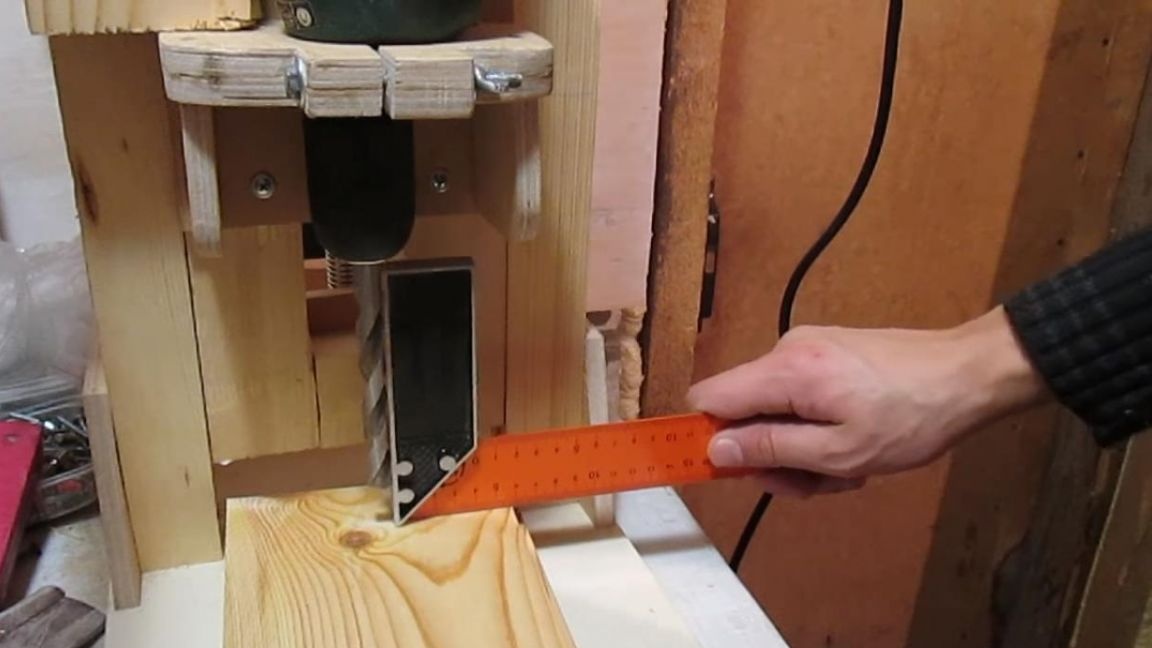
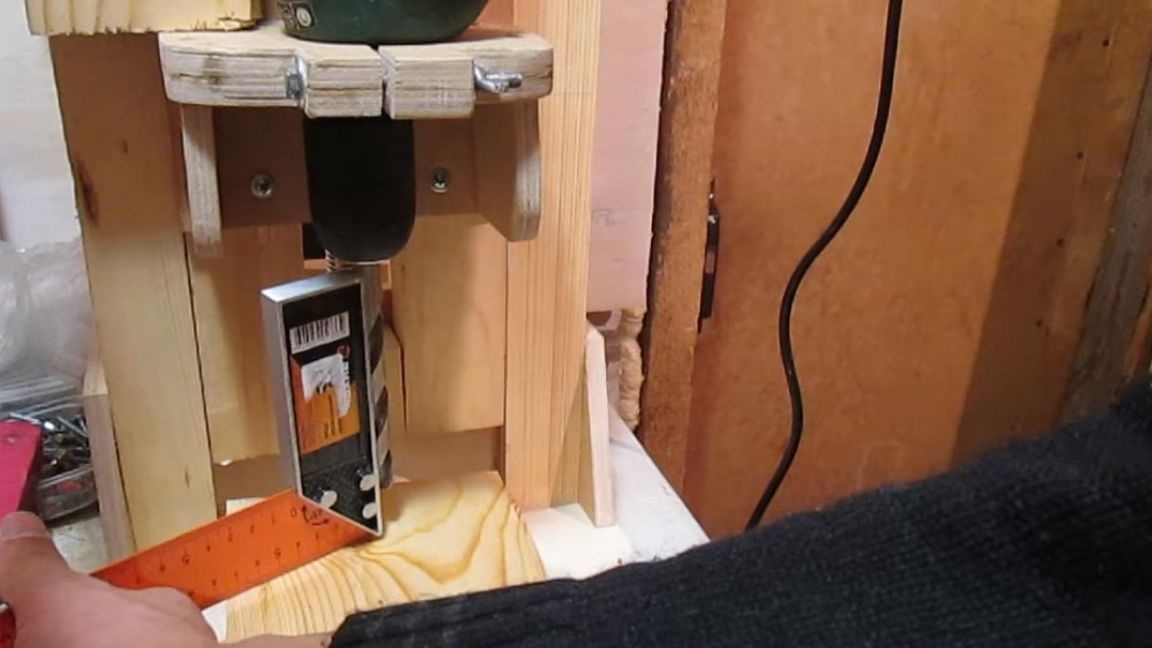
Before proceeding to the next step, we check with a square the perpendicularity of the assembled product, but still incomplete.
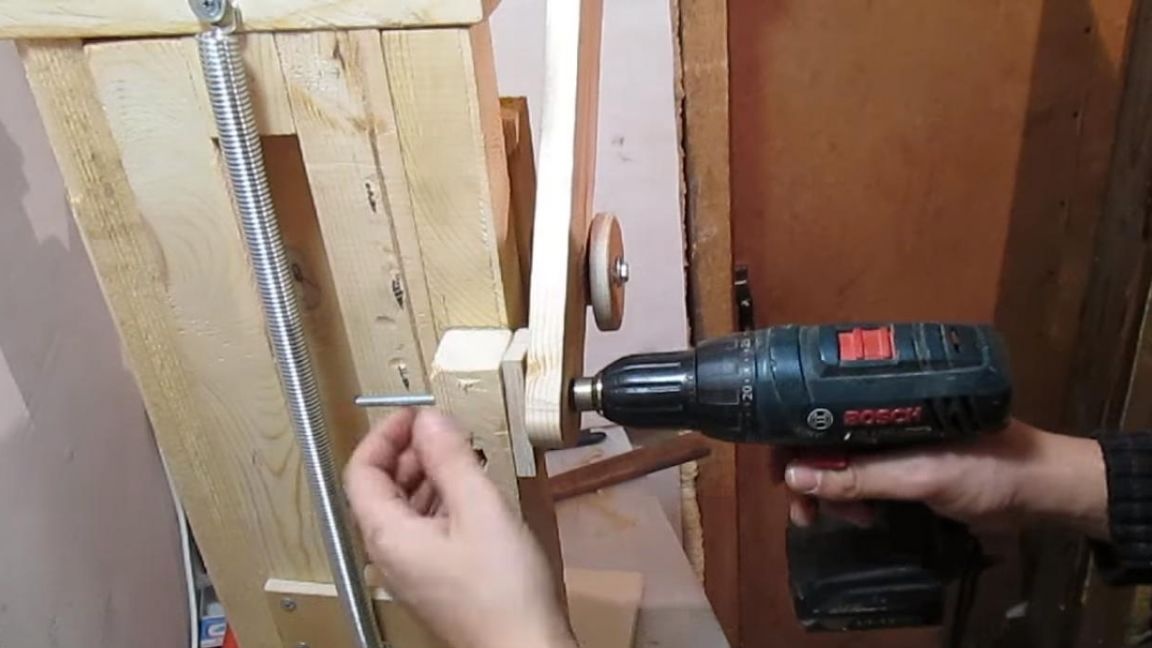
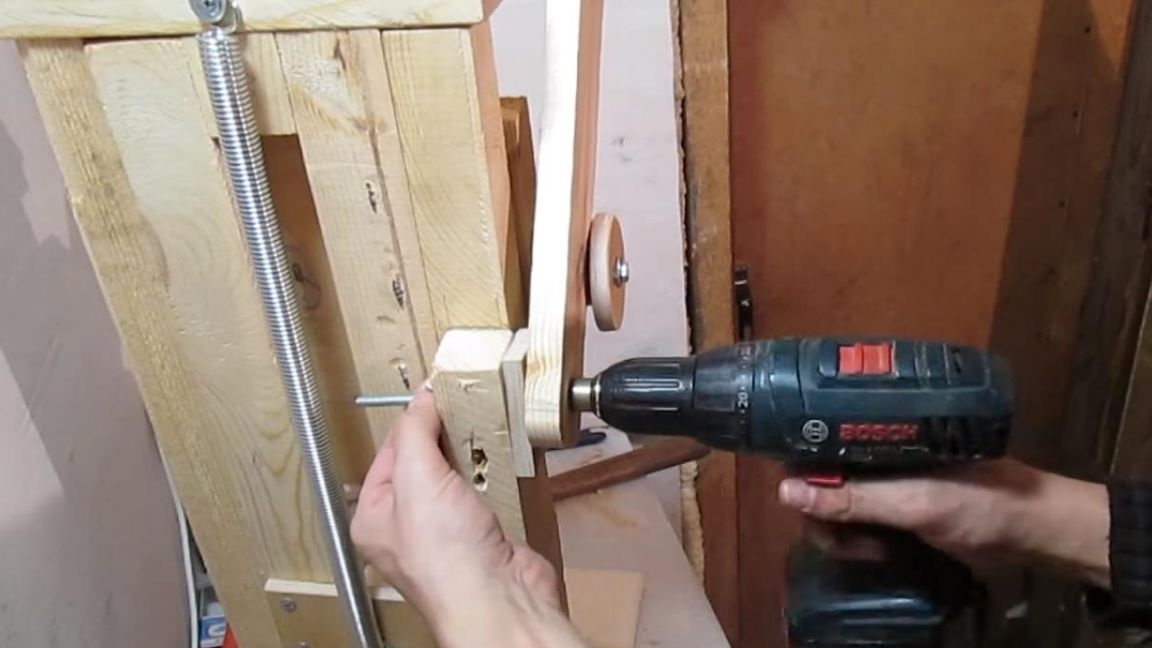
Step Six
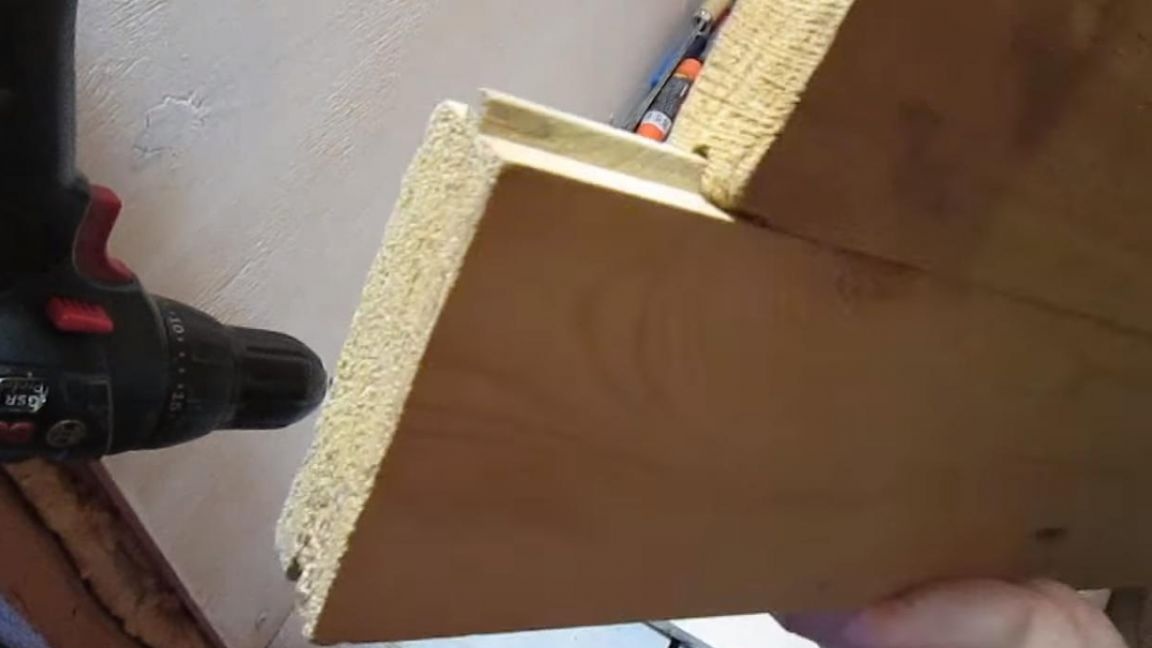
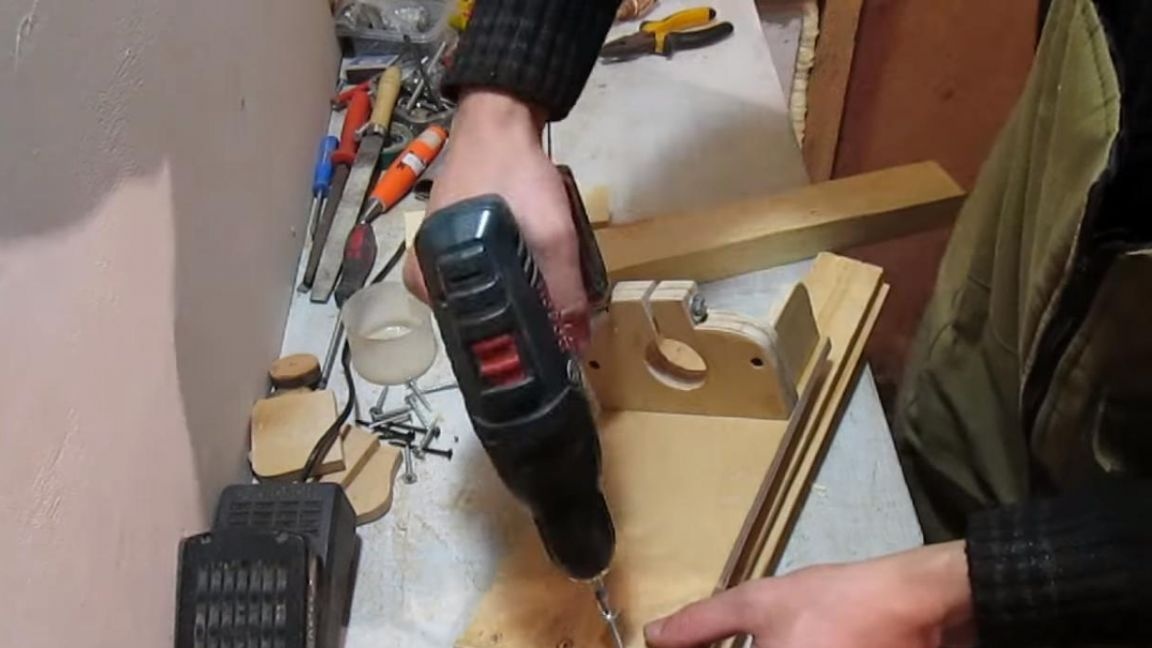
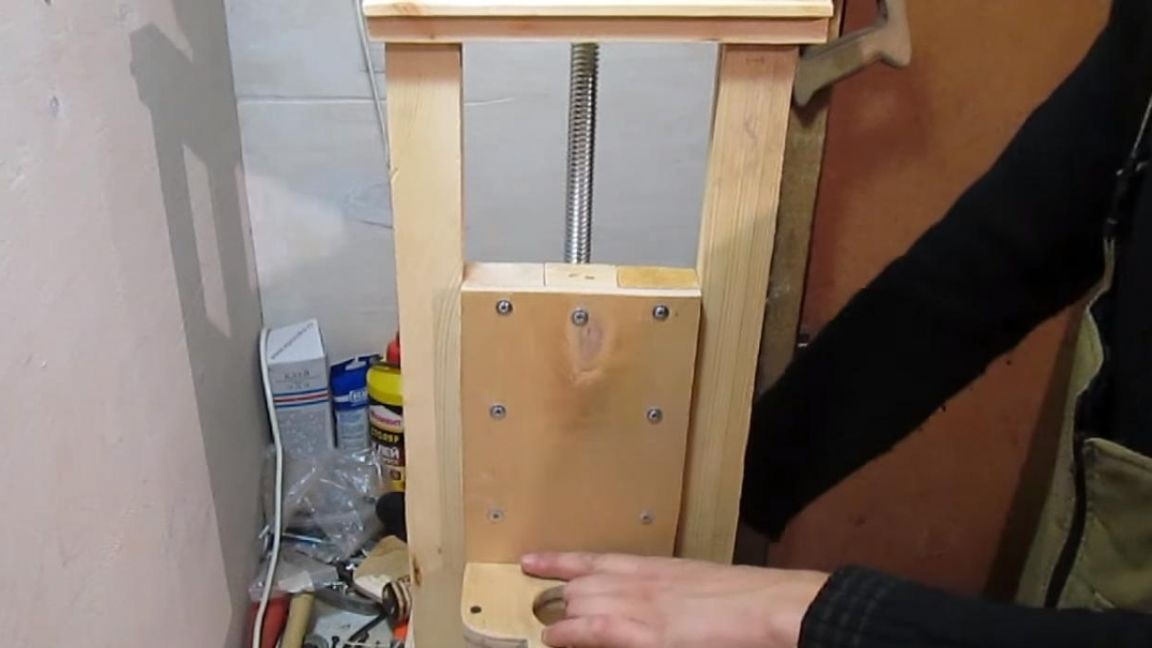
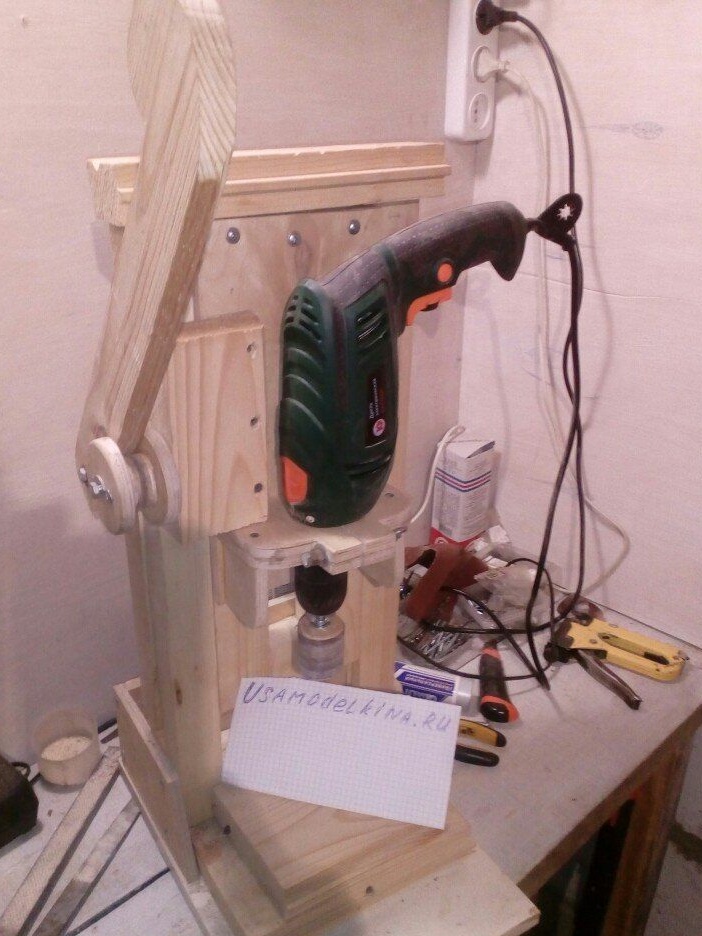
It's time to make the stand itself. We assemble a rack from two bars with an internal groove, and the distance between the guides will be fixed by a short bar from above, twisted by two screws with an internal hexagon, which is often used in of furniture.
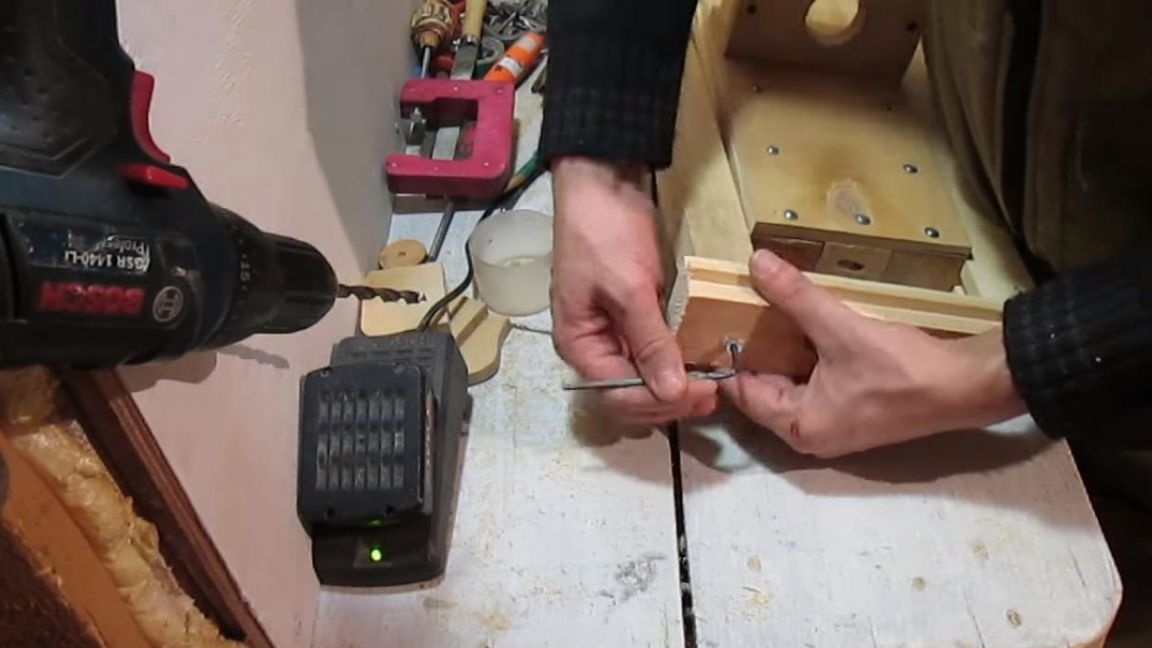
We fasten the bottom of the rack to the same hexagon screws, but this fastener will obviously not be enough here, therefore, to strengthen the structure, we cut out two stops from plywood, which we connect using self-tapping screws with guides, on the other hand we screw a rectangle from plywood connecting the two stops.

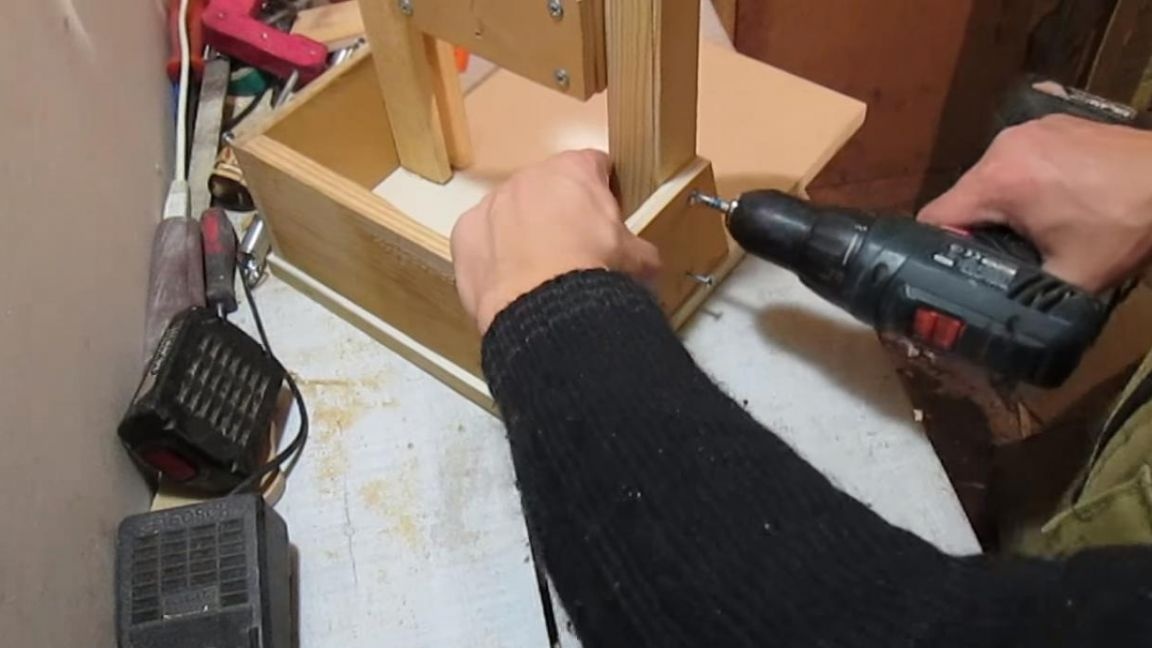

Do not forget to check perpendicularity in the manufacturing process.

On the reverse side we fasten the self-tapping screw to the upper bar, this screw will hold the spring, and fasten the second end of the spring to the moving part.

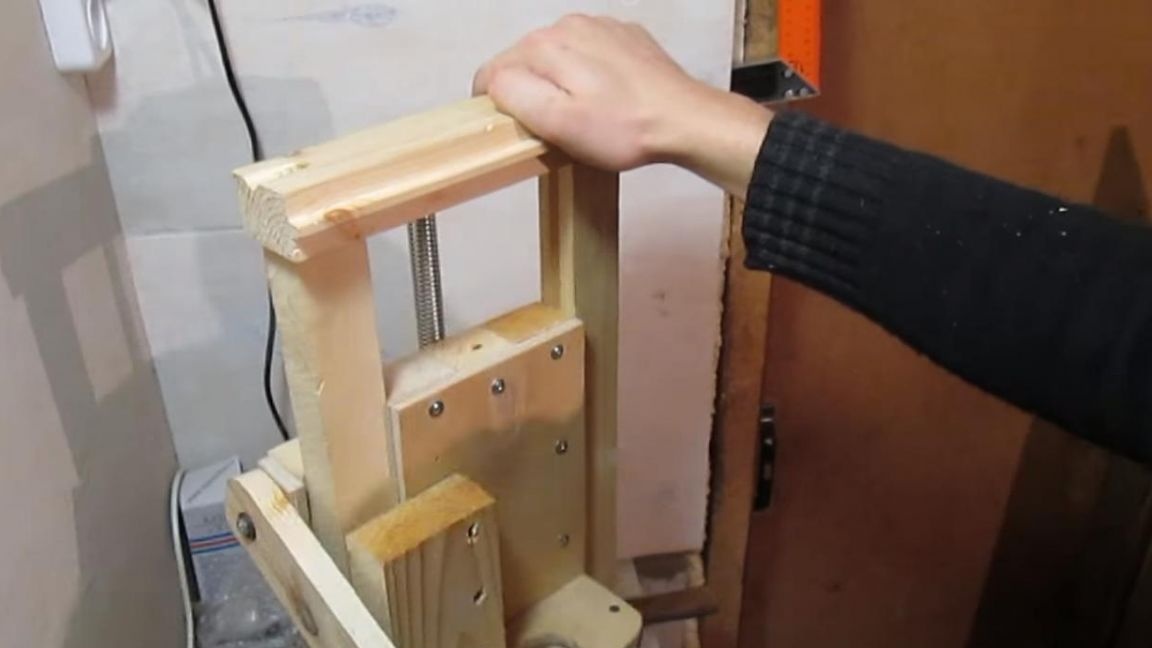
Seventh step.
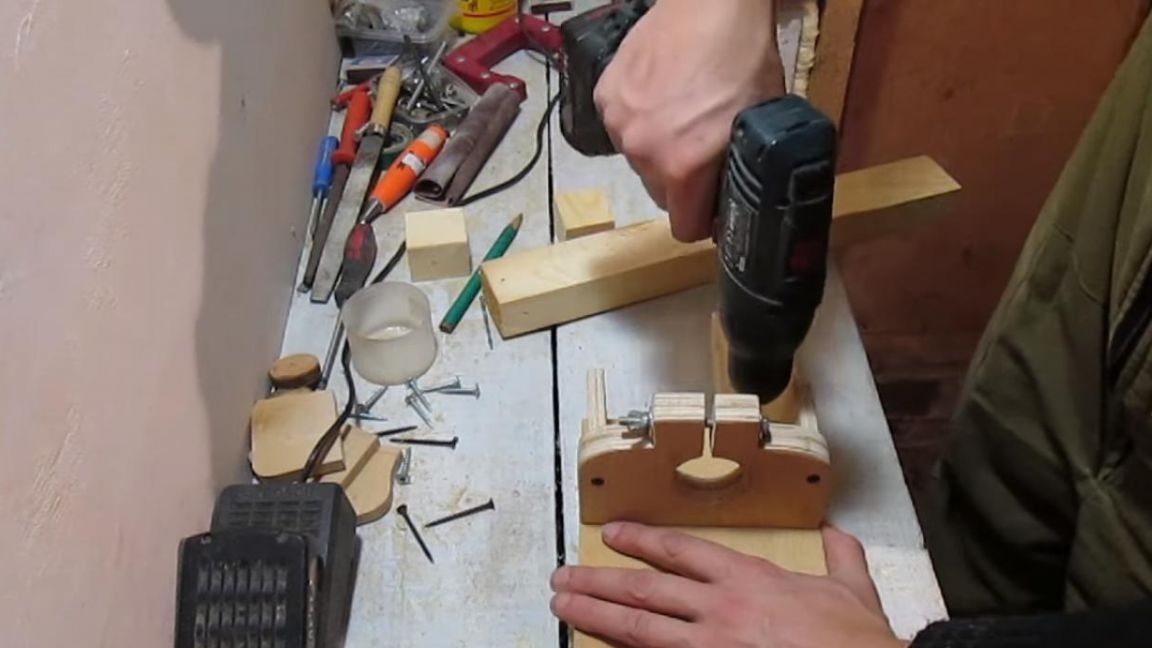
It is inconvenient to lower the movable structure by pressing on it with your hand, so it was decided to make a lever that would be convenient and had a simple construct.
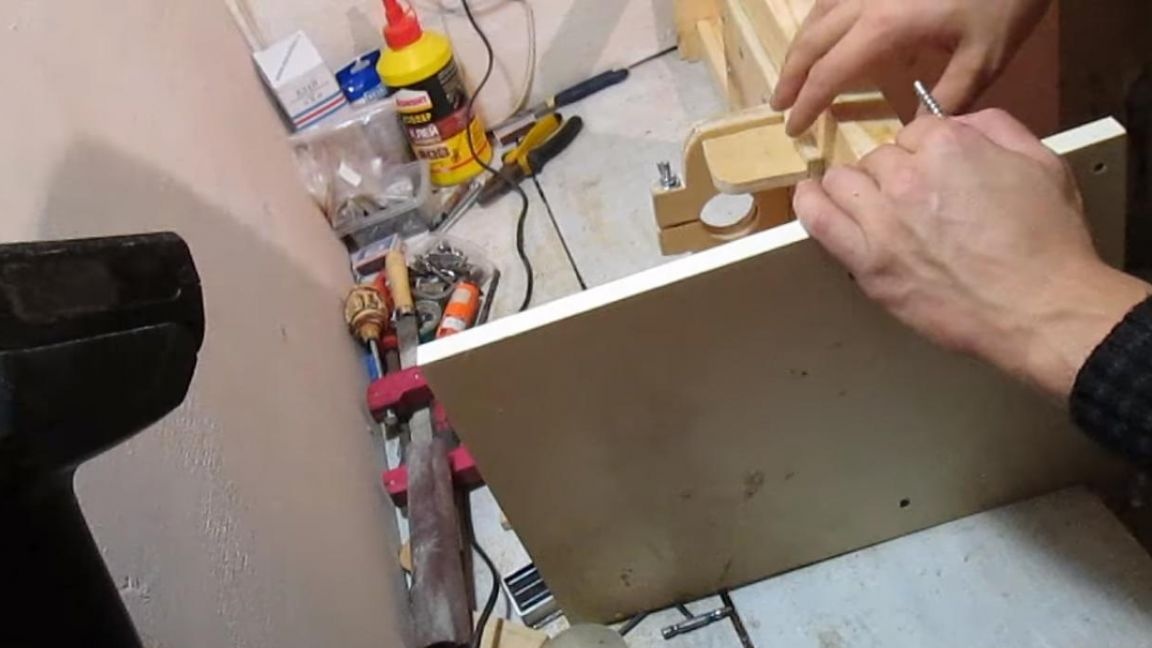
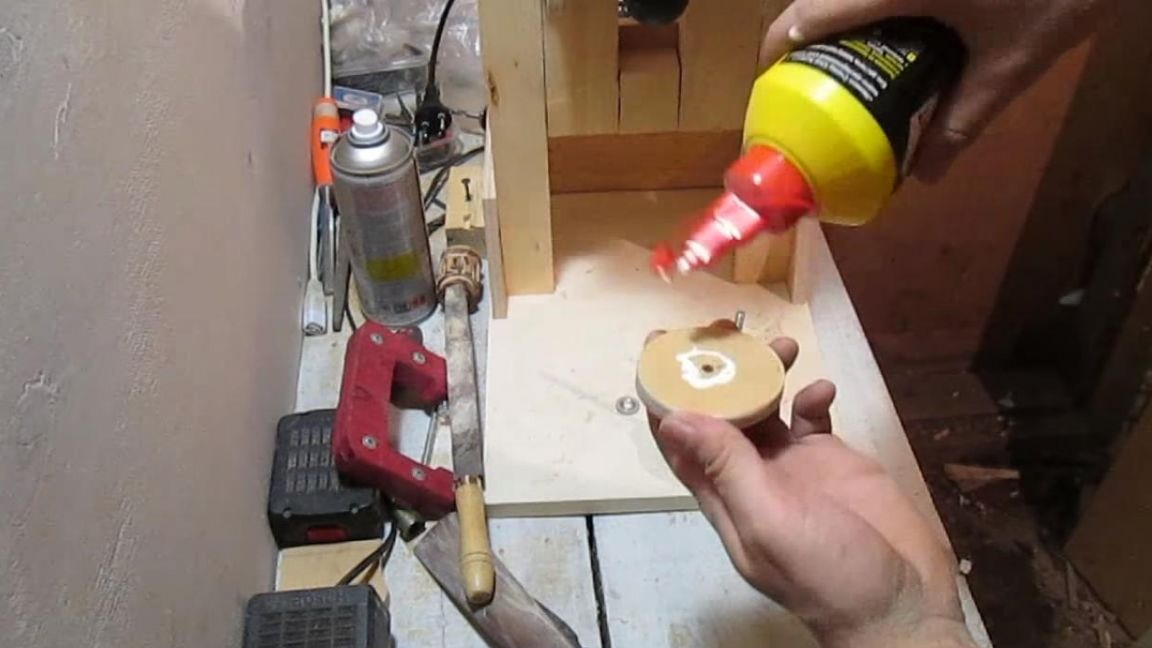
Having circled the spray can, we saw out two circles with a jigsaw.
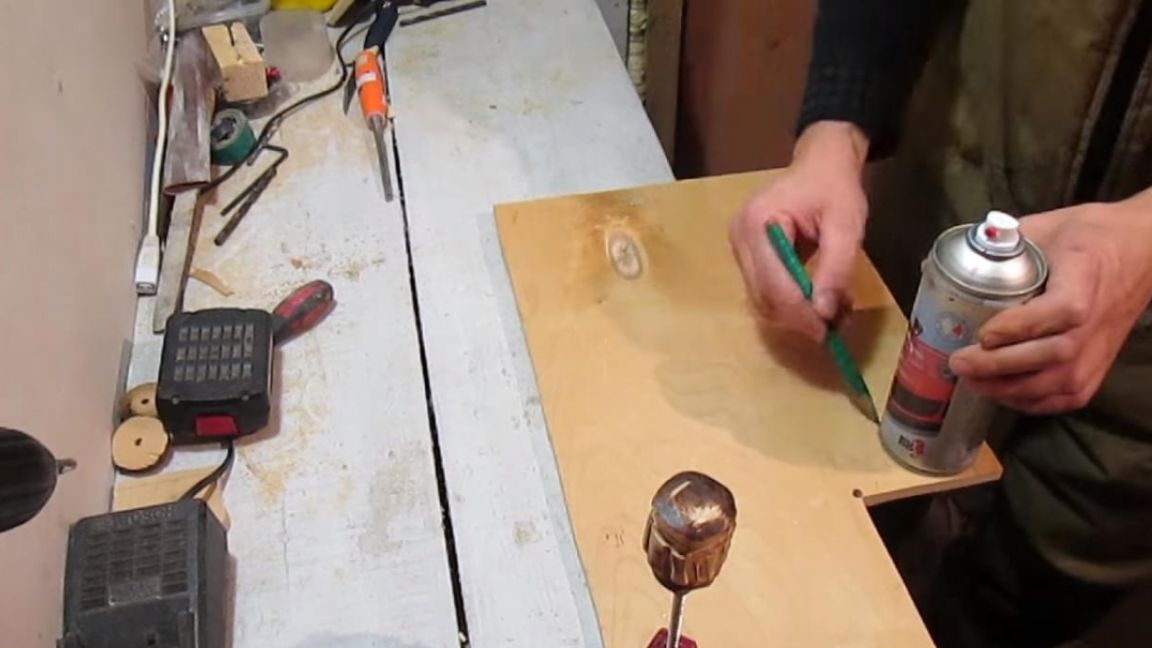
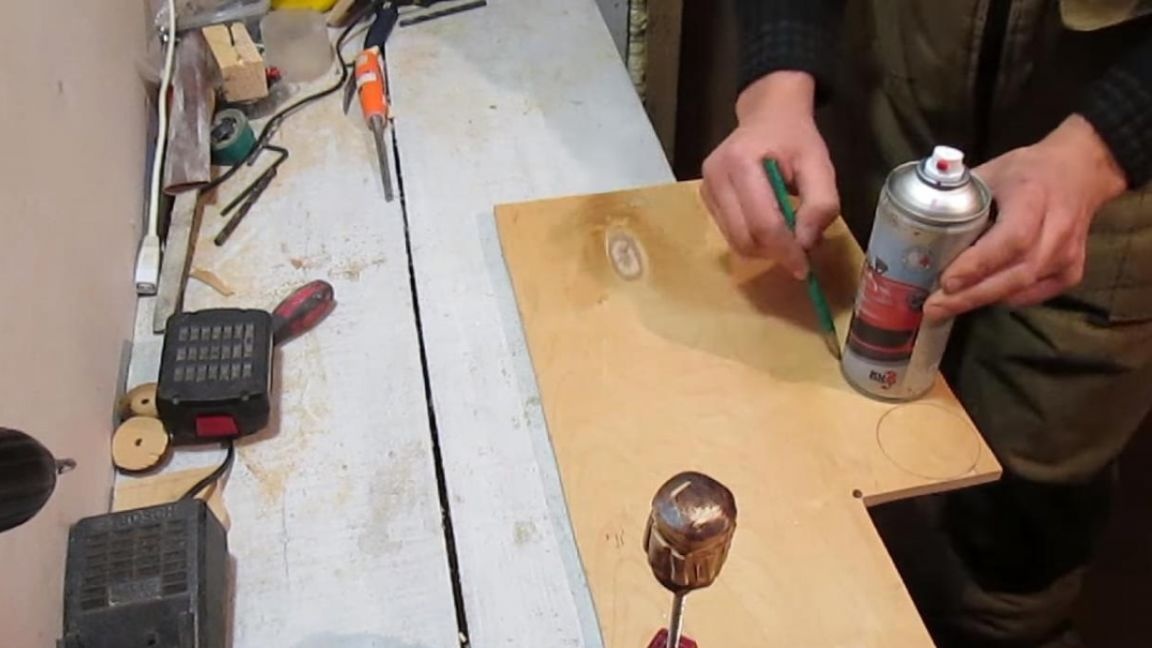

Since it is impossible to cut out a perfectly even circle with a jigsaw, we clamp the workpieces with a bolt using a bolt and rounding out the file.


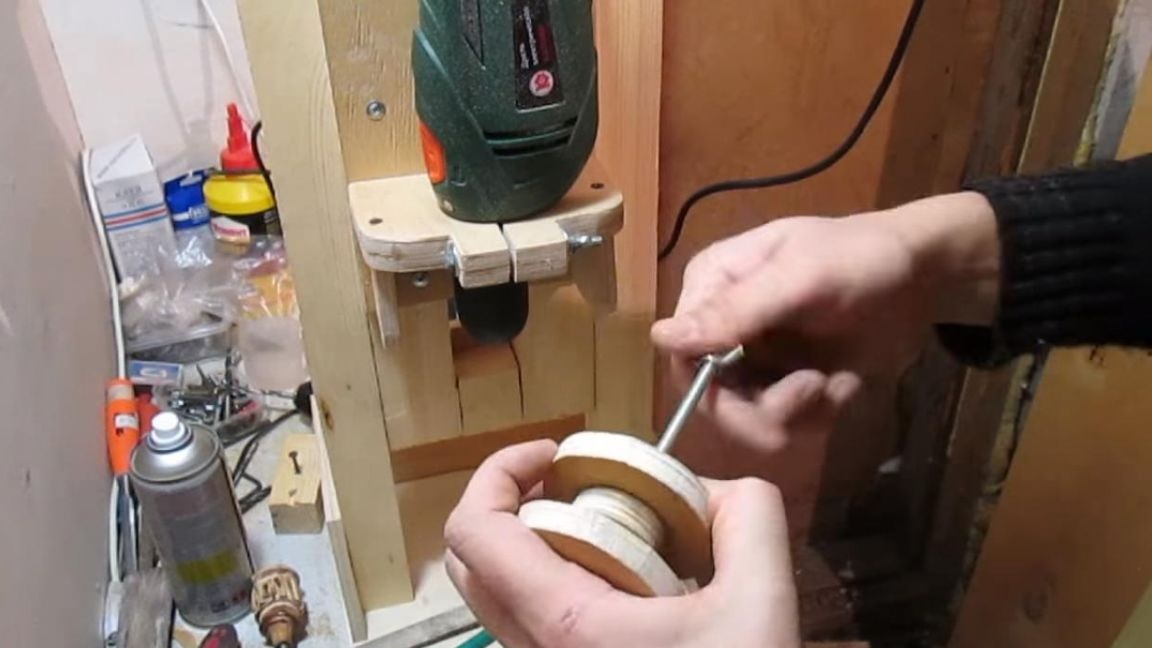
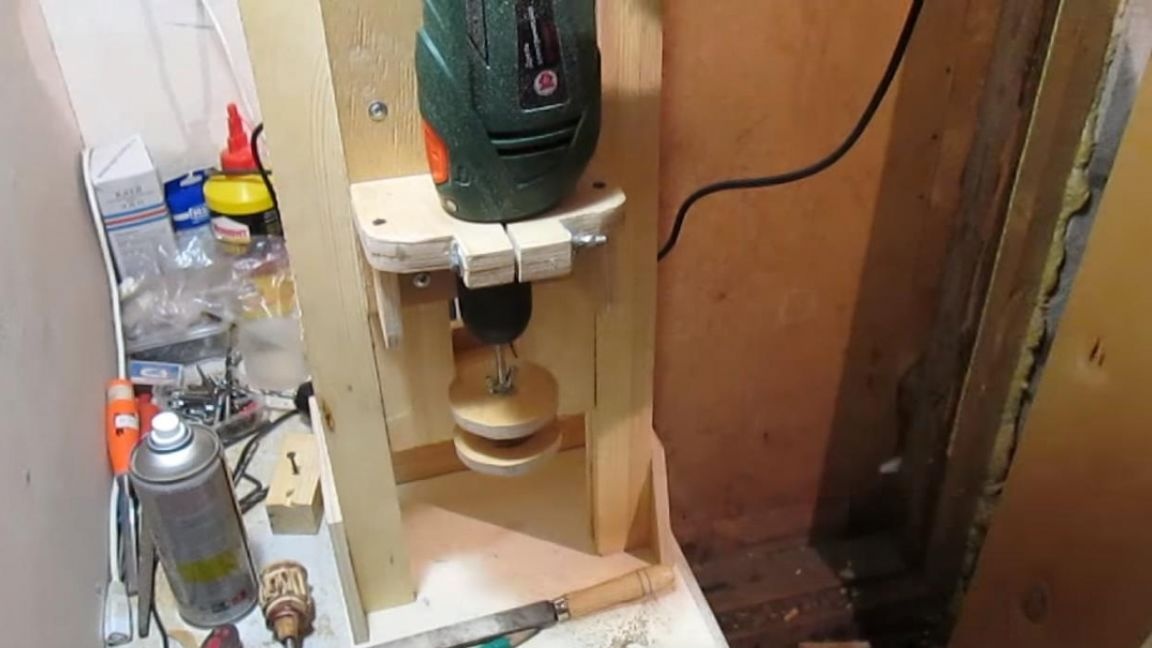
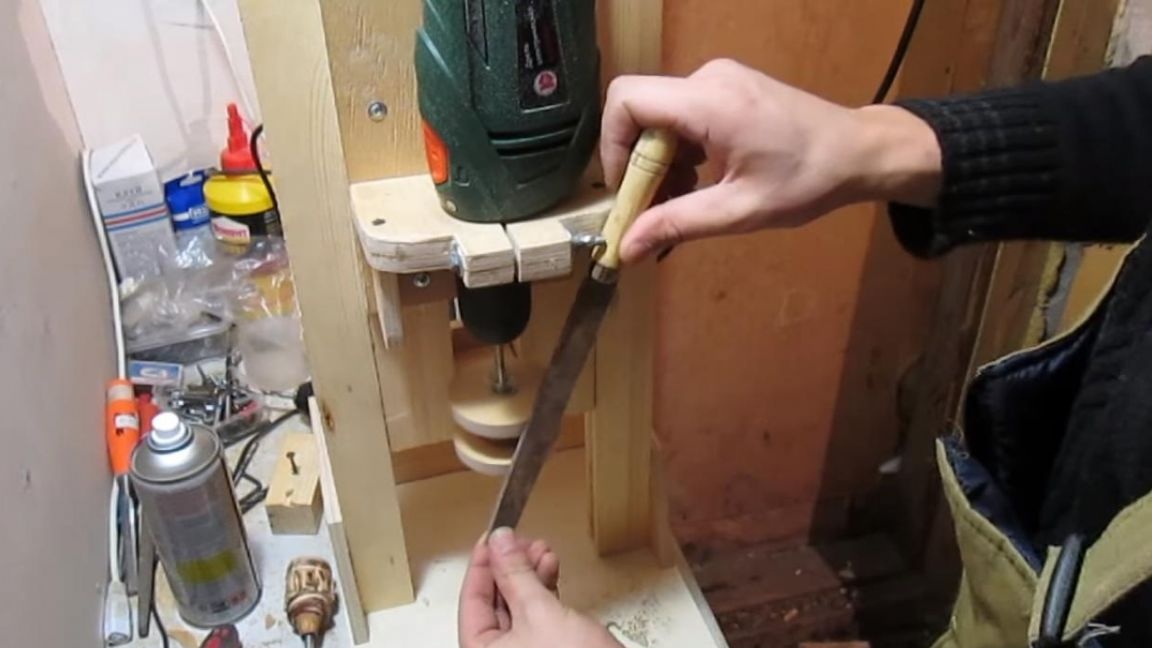
Four such circles are needed, two small and two more, of which we collect the so-called pulley with glue.
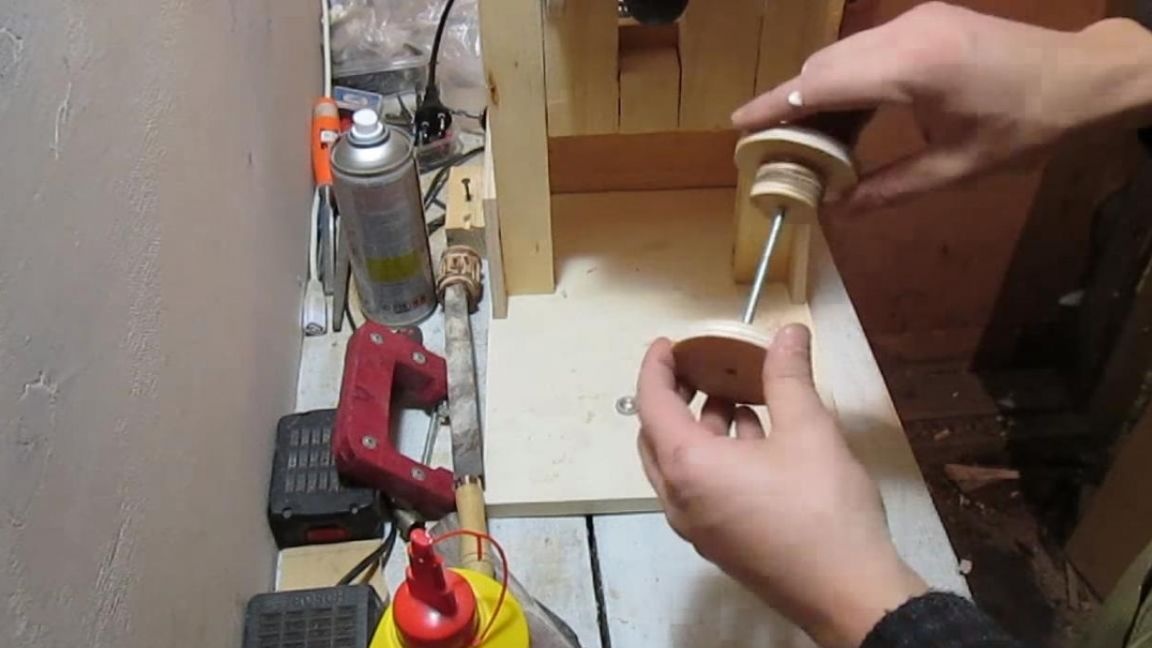
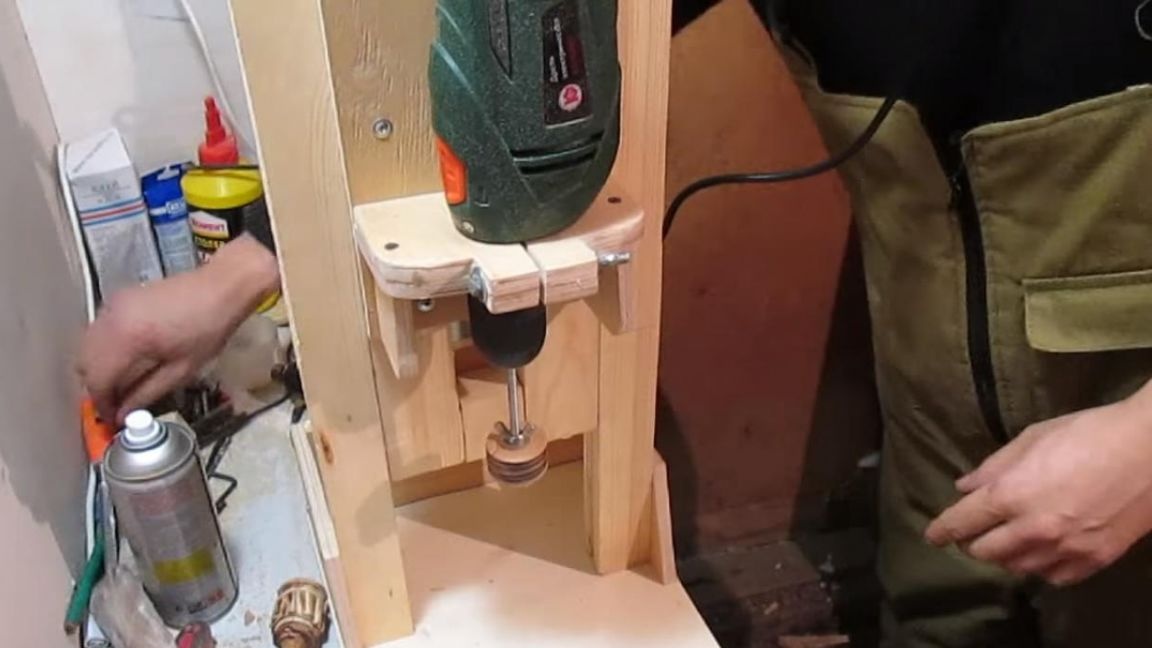
After drying, we fasten this pulley to a bar to a bar, which, in turn, is screwed onto long movable screws on long screws.

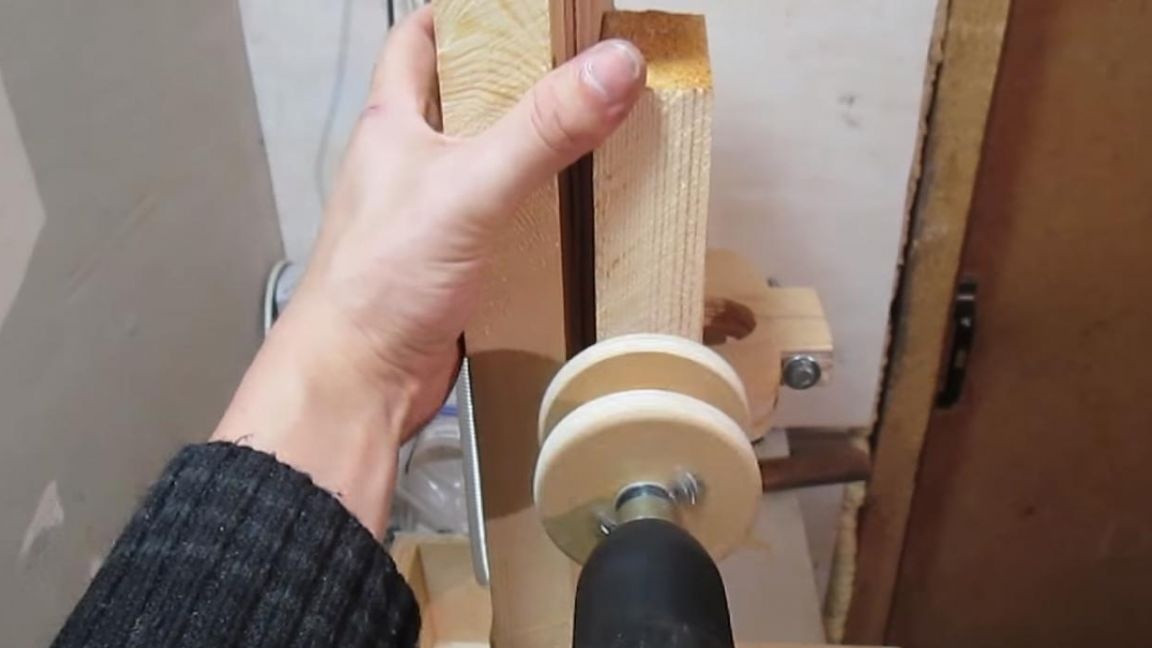
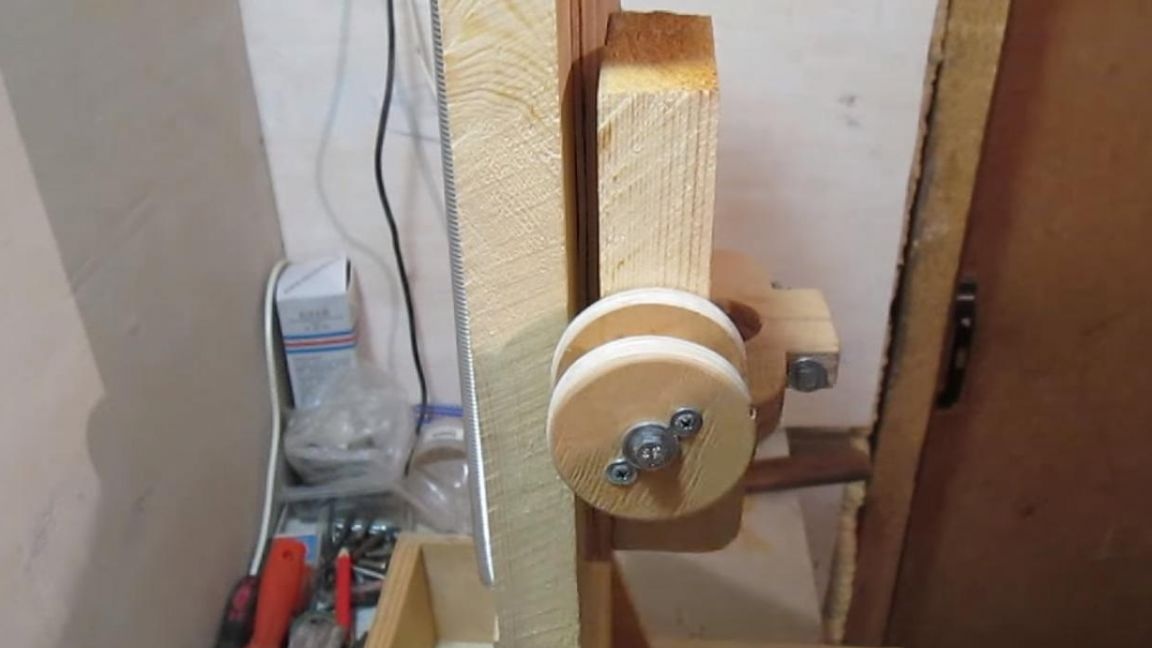
To the fixed part on the back, we fasten a timber to the screws, to which we bolt the lever sawn from the board. He will press on the pulley, thereby reducing friction between the parts.


I would also like to say that this machine is fully operational, but before use it was necessary to wax grooves, as in the good old days skiing was rubbed.

That's all for me, in this way I saved on the purchase of a drilling machine, and the design of a homemade one can always be upgraded if desired.
Thank you all for your attention and creative success.