
Surely, if you are fond of grinding and other similar works, you have already heard about such useful things as a belt grinder, an orbital, grinding vibrator and so on. But it’s quite possible that you haven’t seen this devicelike a rotary sander. Its difference is that here the grinding element is not a belt or a disk, it is a shaft! Such a machine is simple, and its efficiency can be fully compared with a belt sander, if, of course, you do not need a perfect plane perfectly. However, accuracy is not a problem here, it all depends on the build quality.
The essence of the machine is as follows, it consists of a shaft on which sandpaper is fixed. The grinding rotor, let's call it that, is driven by a drill. Opposite the rotor is the working plane, it is adjustable in height. Everything works very simply, we take a bar or a board that needs to be sanded, and we adjust the working table in height so that the board does not go between the rotor and the table with a gap of a couple of millimeters. Turn on the car and sharpen the desired plane.
If you wish, you can conveniently process any of the width of the plane (given the maximum width of the machine), you can easily process the ends of the material. Let's consider in more detail how to make this a miracle of technology.
Materials and tools used by the author:
Material List:
- sandpaper;
- plywood;
- drill;
- long threaded rod;
- two bearings;
- nuts, lamb, washers and other little things;
- two long screws with nuts and washers;
- self-tapping screws;
- door hinges;
- wood glue, epoxy glue, superglue.
Tool List:
-
-
-
- jigsaw;
- spanners;
- clamps.
Machine manufacturing process:
Step one. Production plane
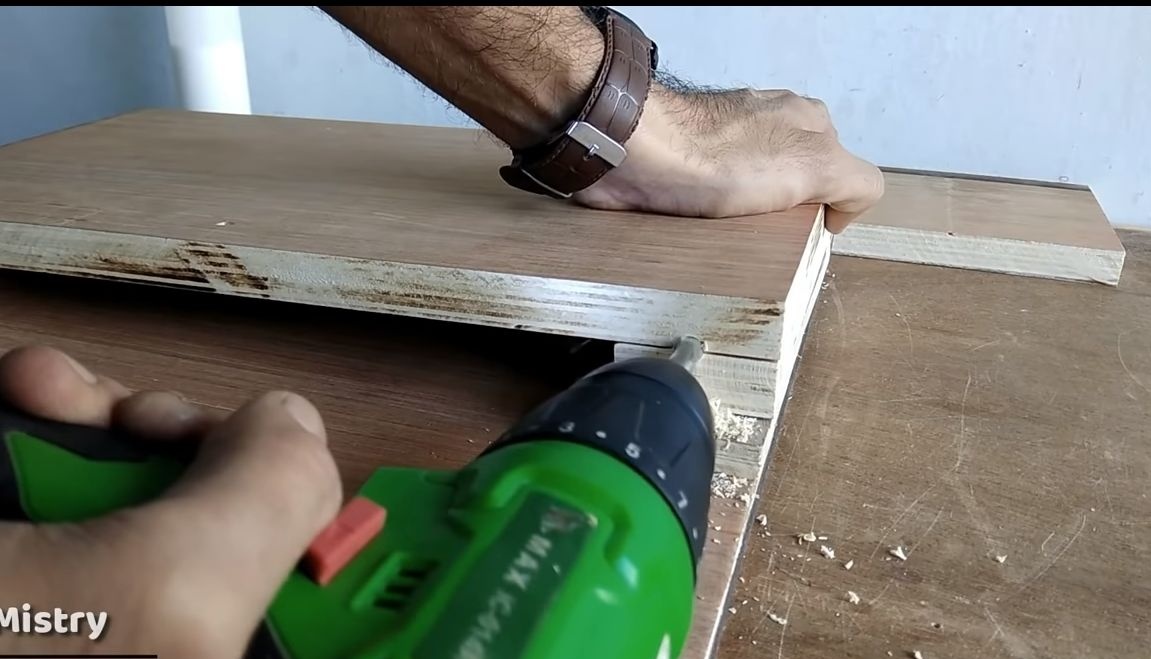
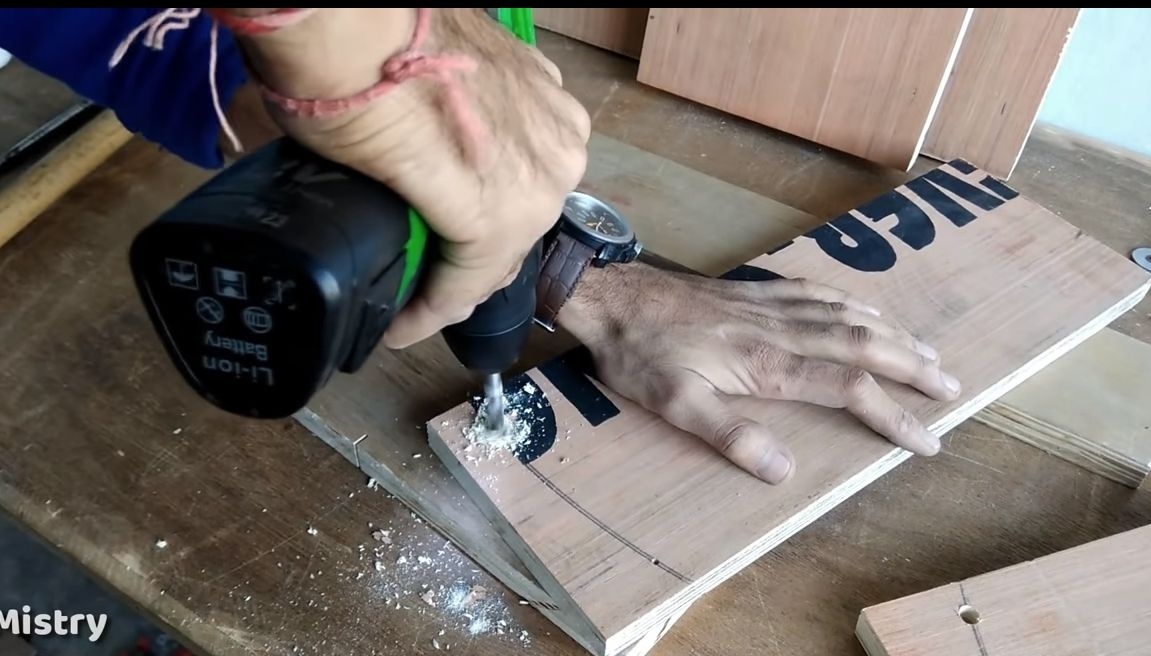
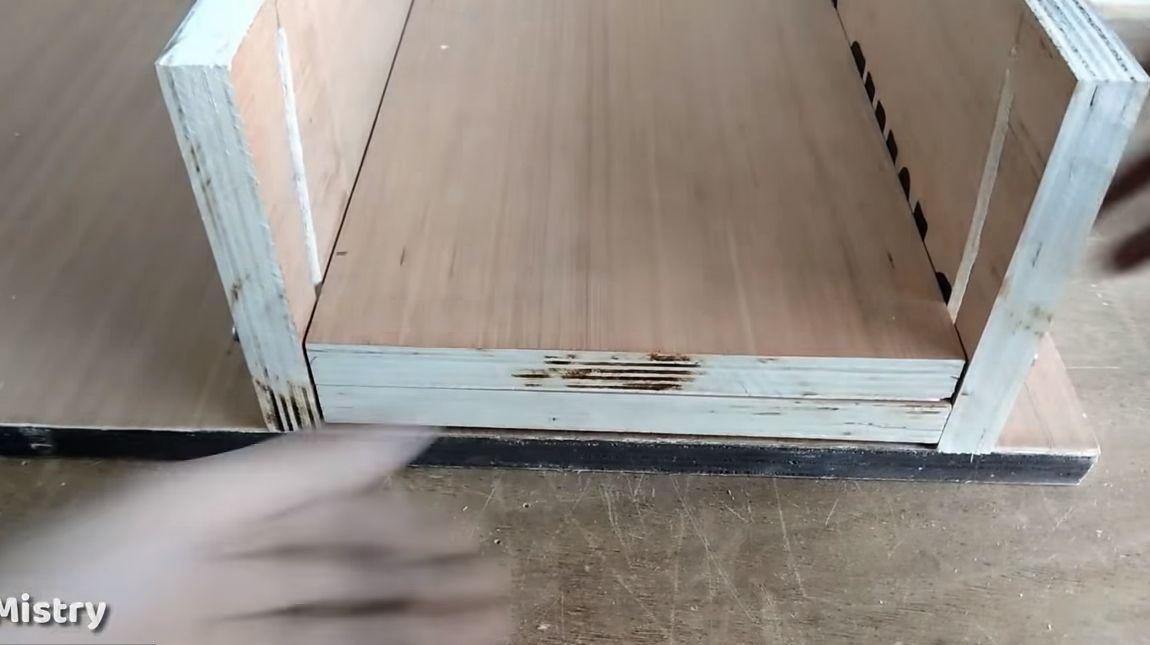
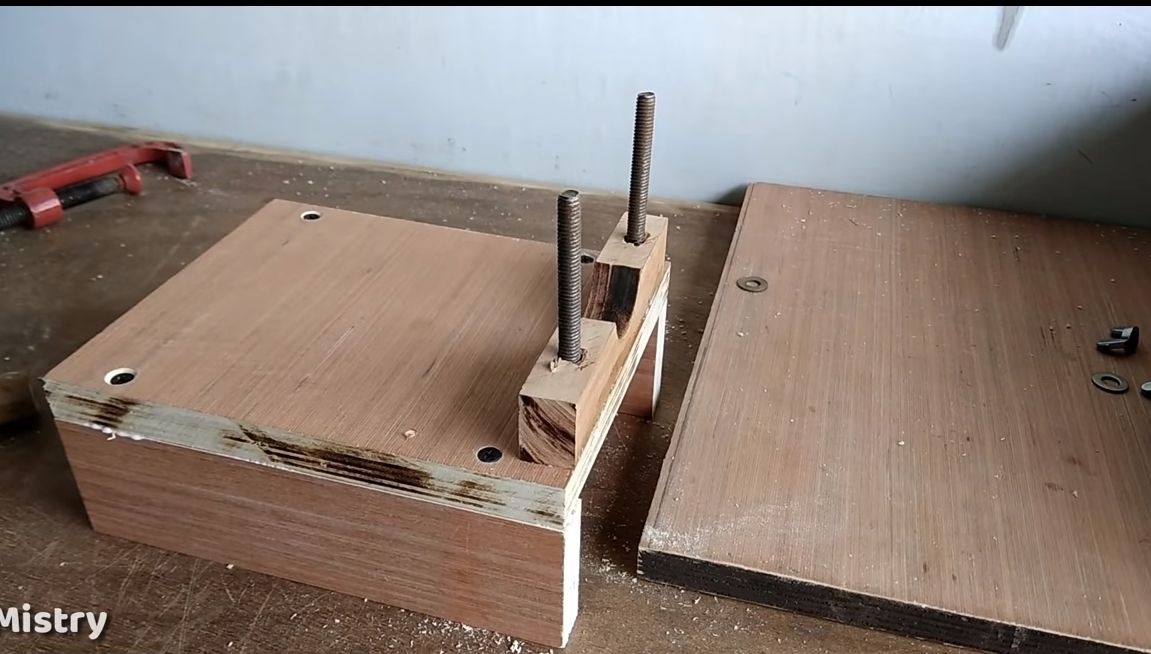
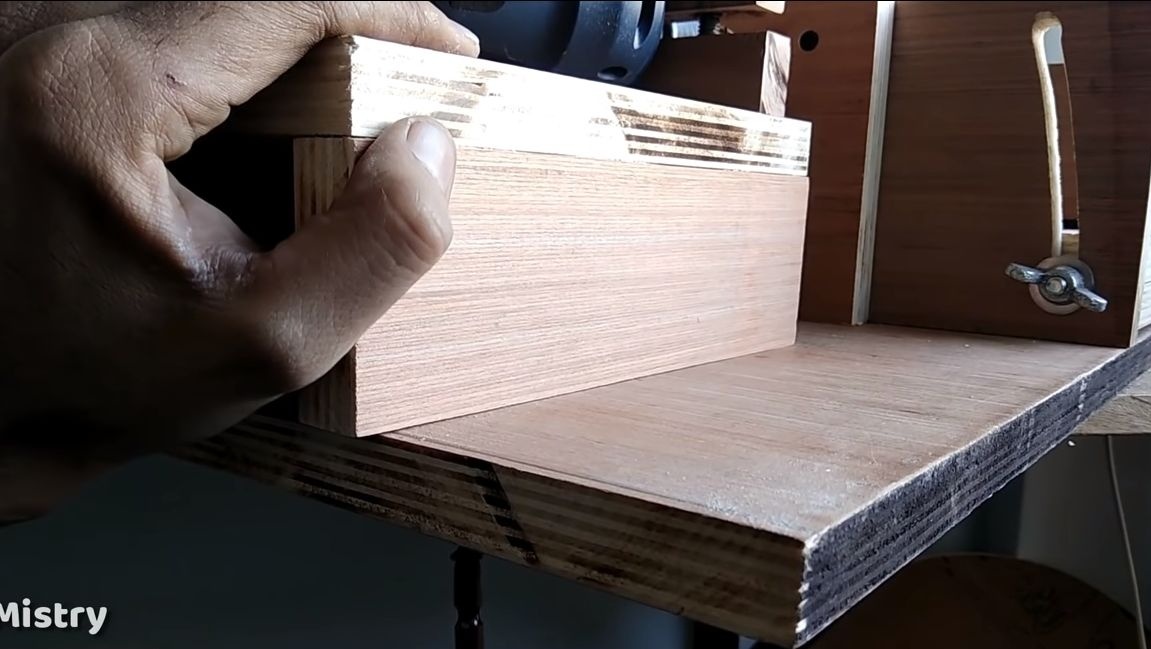
The main element of the machine can be considered the working plane, it is thanks to it that you can adjust the distance to the grinding shaft. The working plane must be able to rise and fall. Make it very simple. We take a sheet of plywood and cut out the base from it, to the base we fasten two rectangles of plywood. We plant them on wood glue, and on the other hand we additionally wrap the screws.

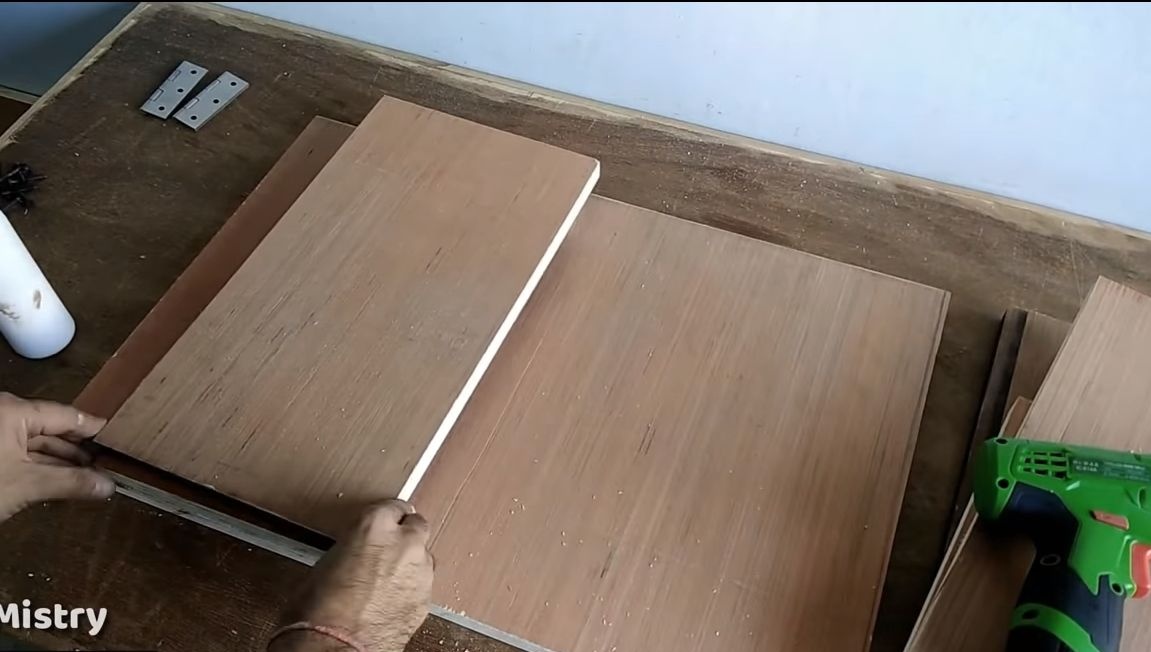
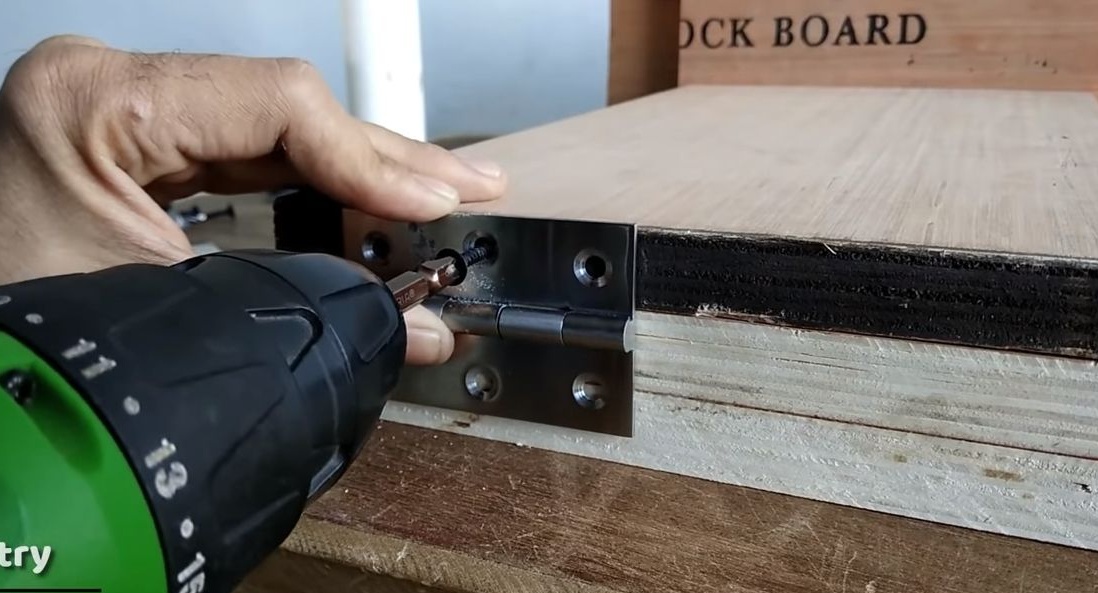
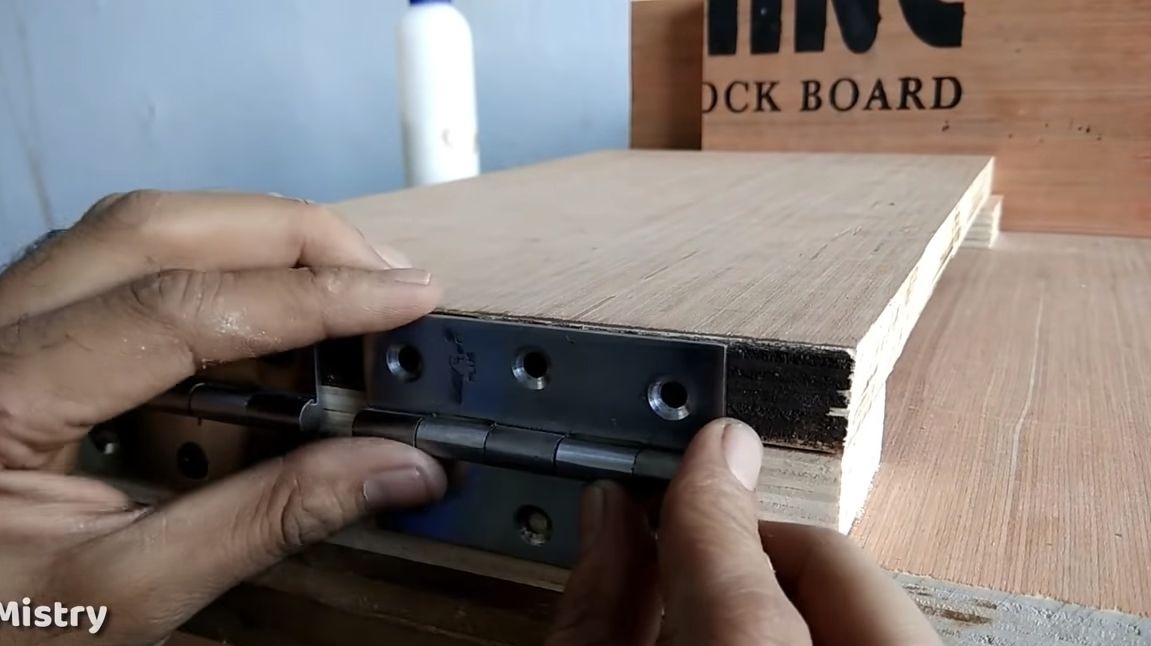
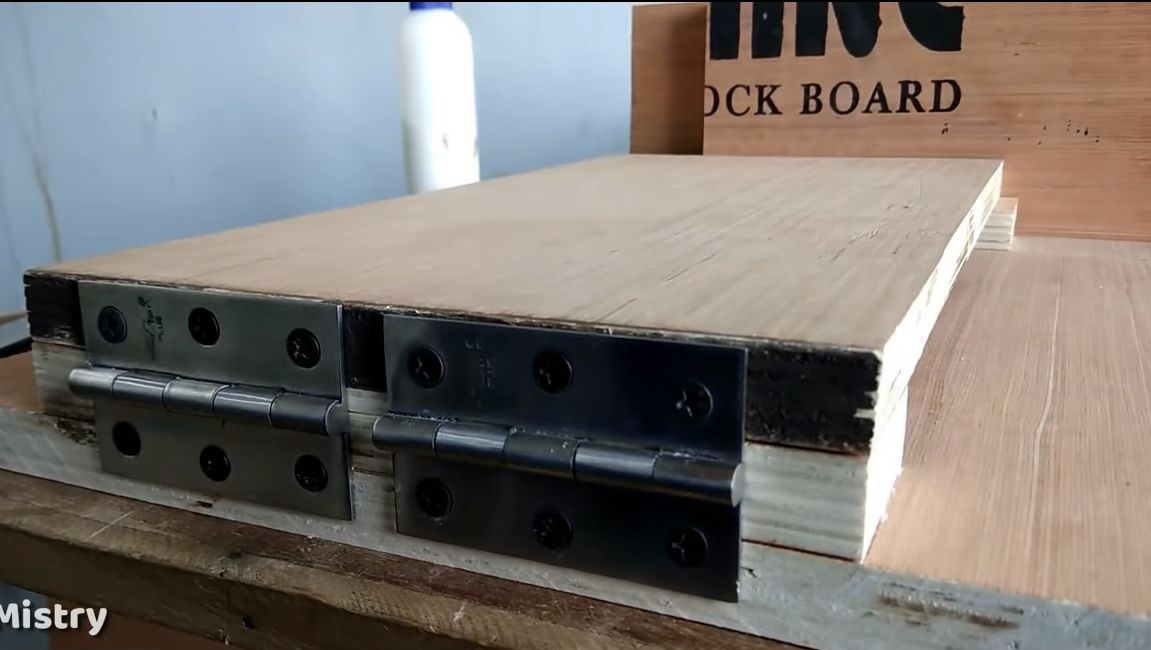
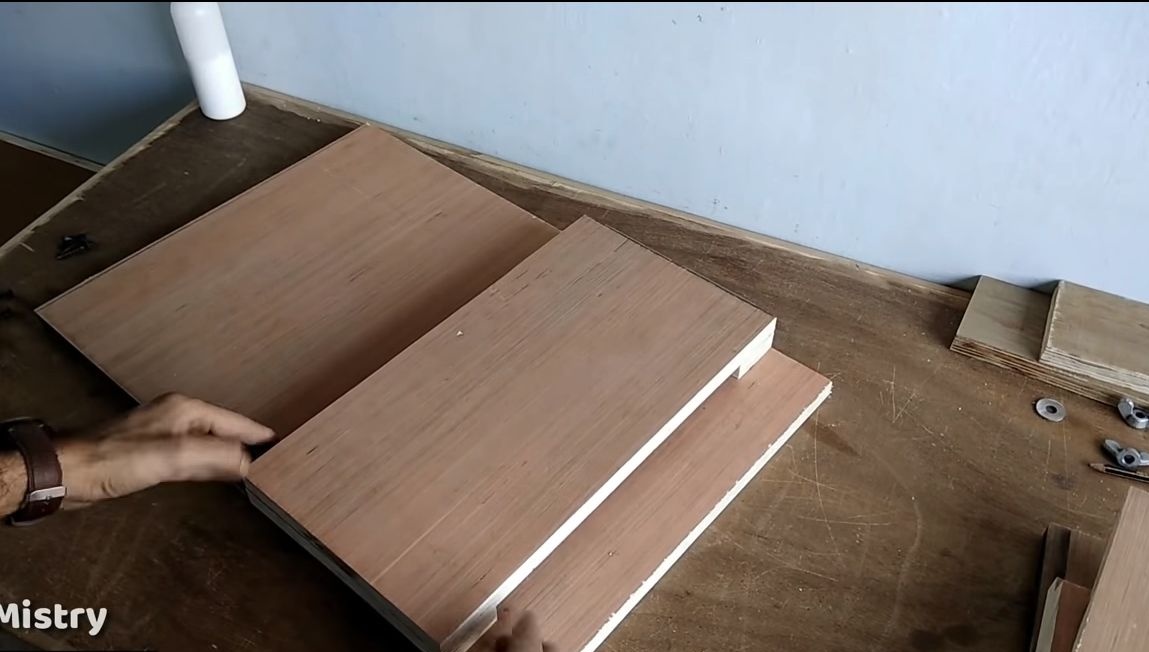
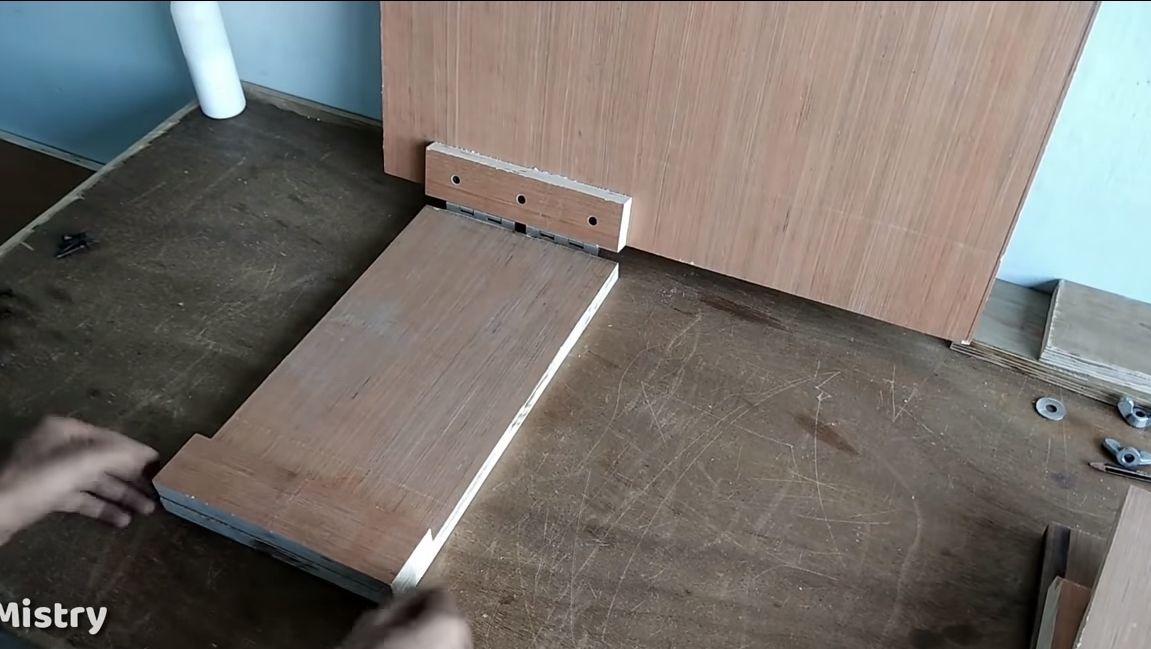
Now one more piece of plywood will be needed, it will be directly the working plane. We take the door hinges and fasten it on them.As a result, the plane will be able to rise and fall.
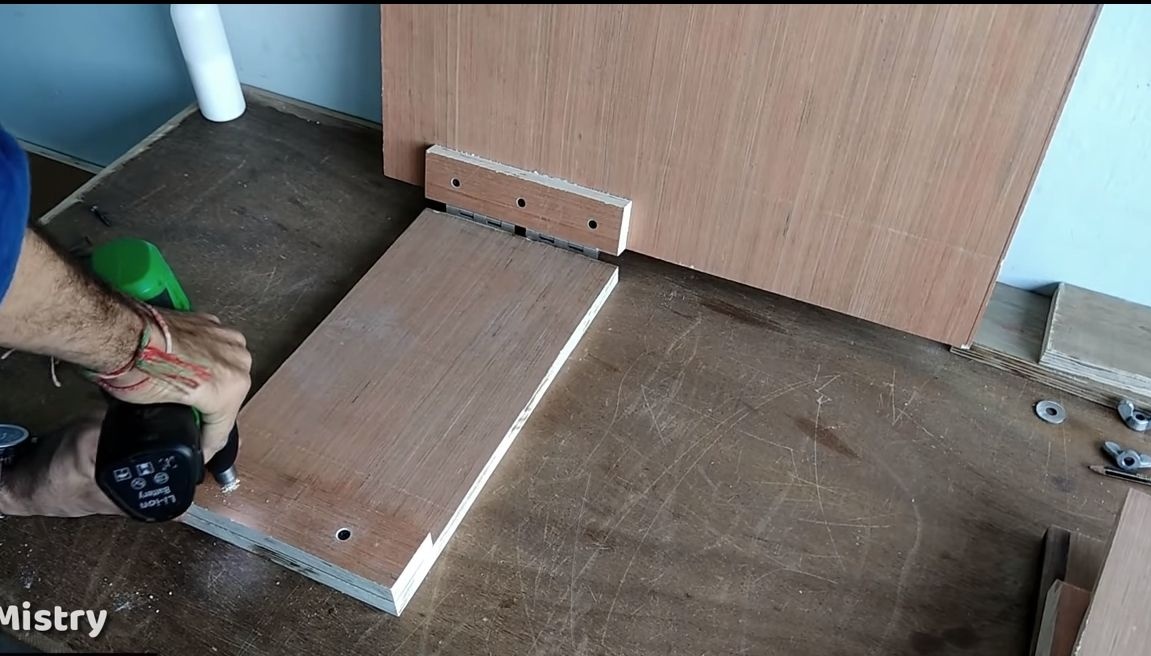
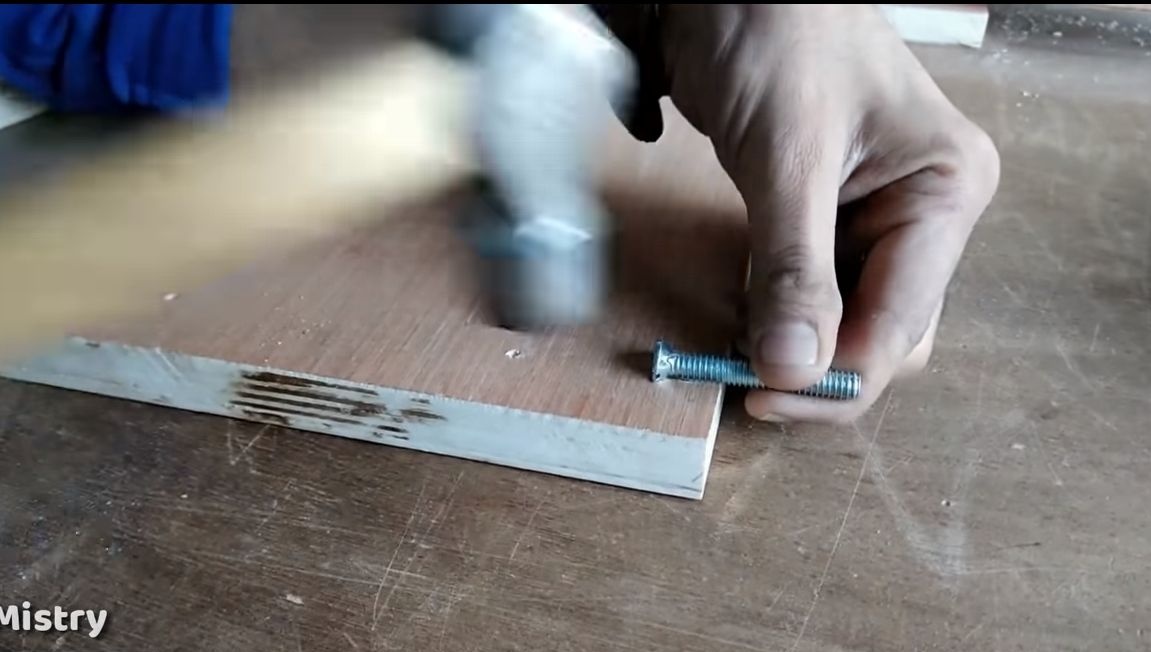
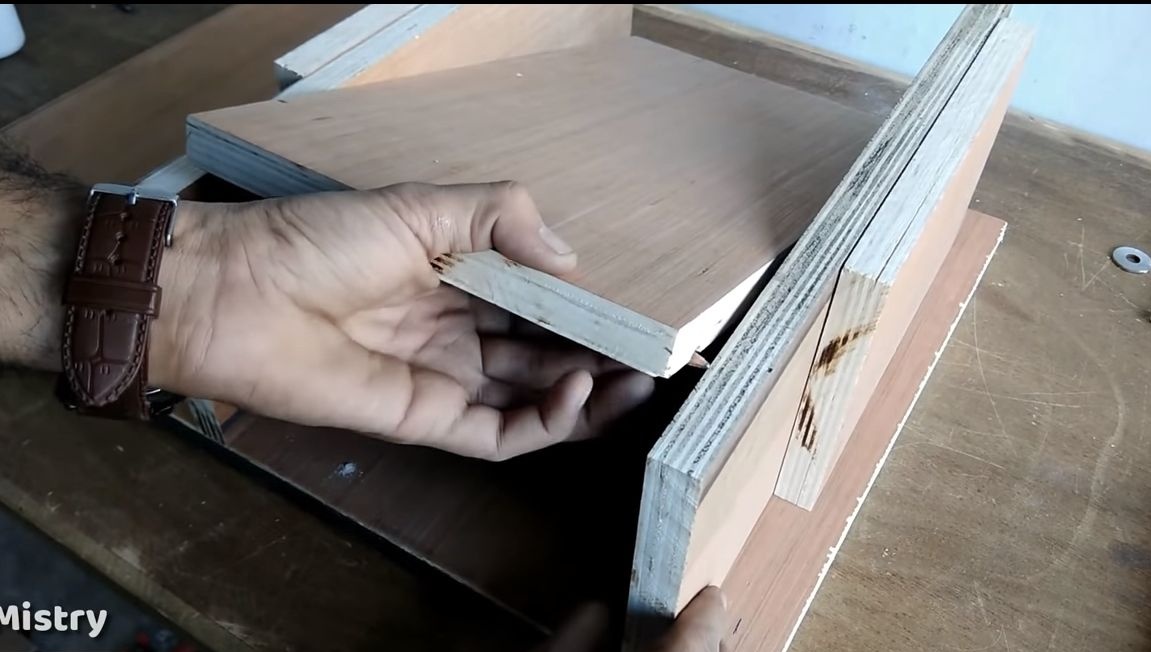
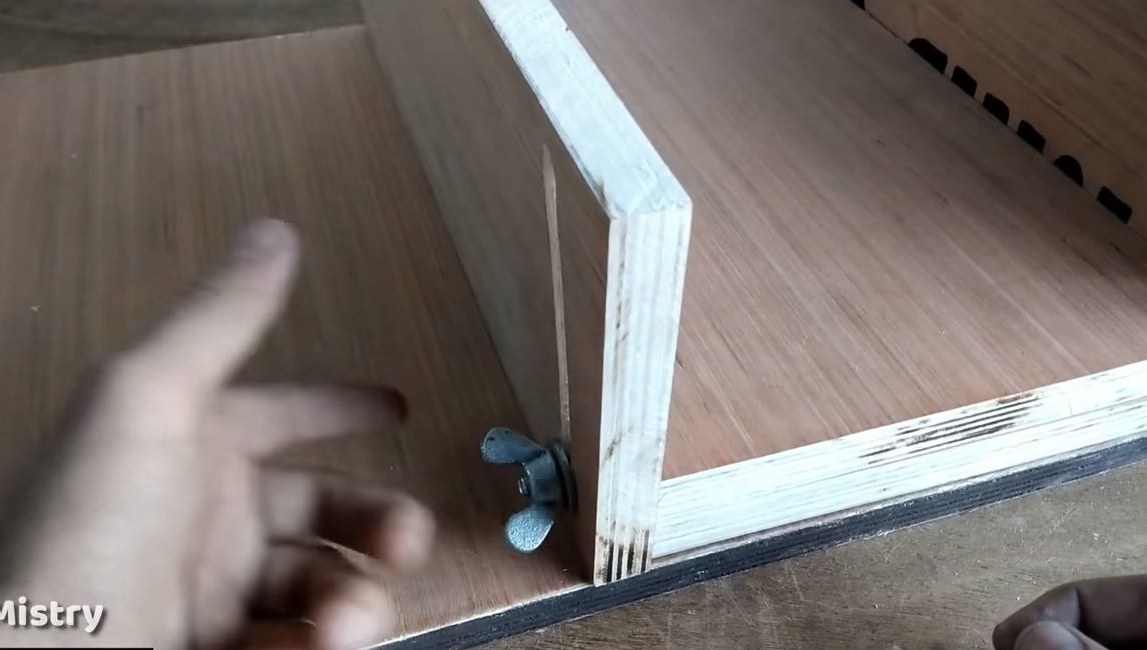
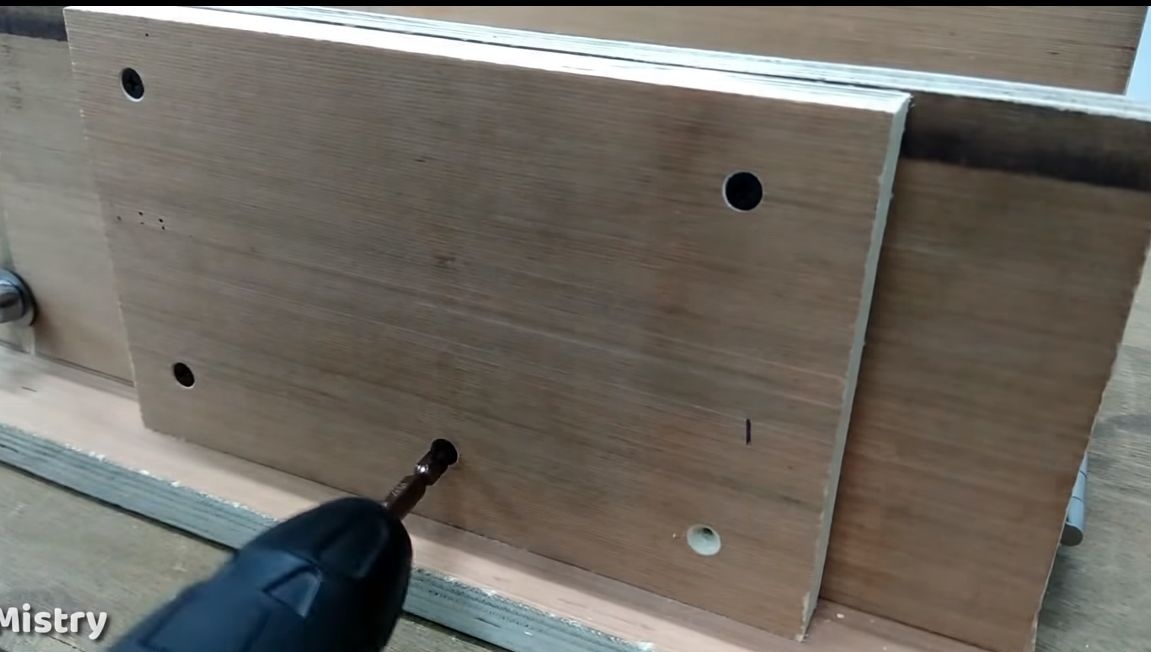
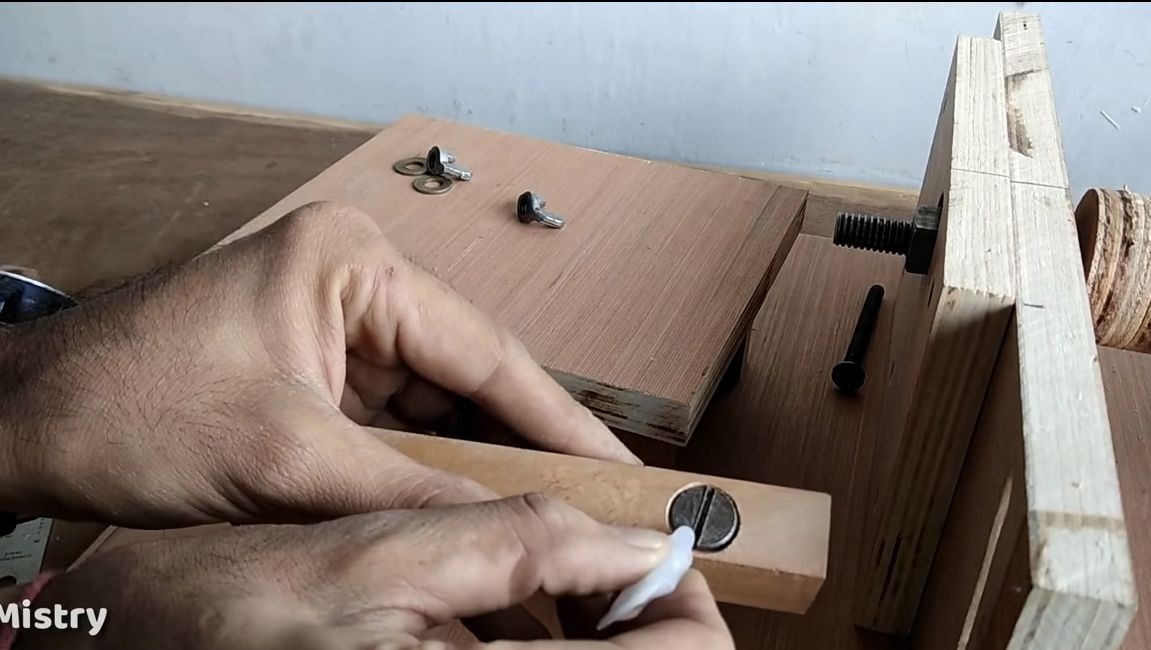
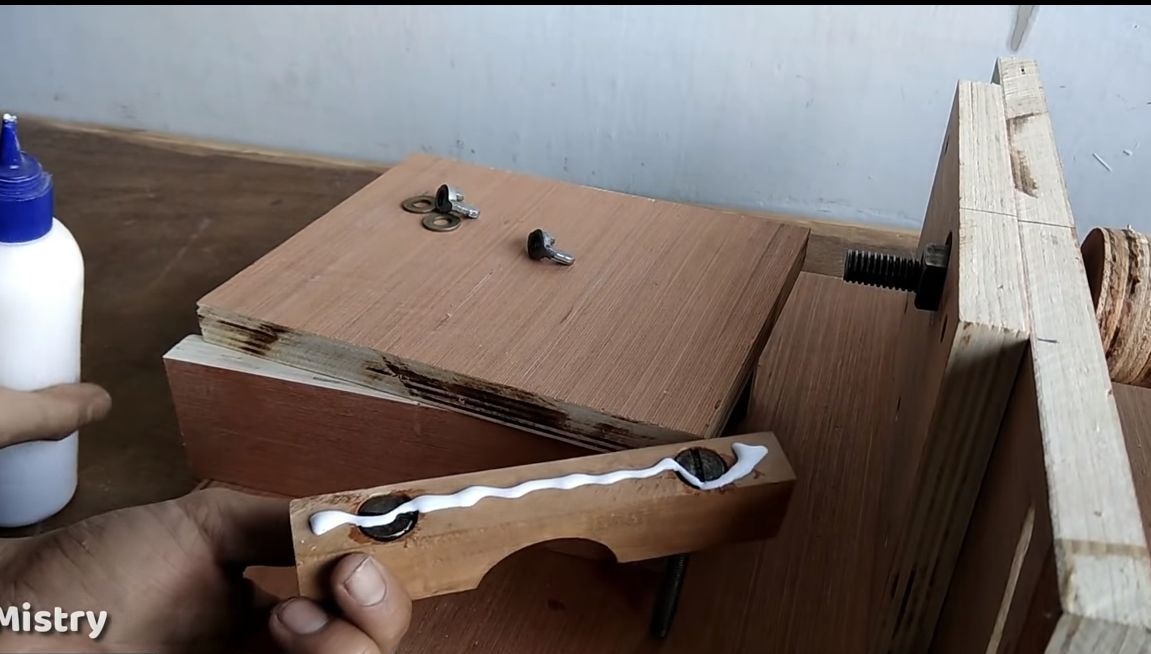
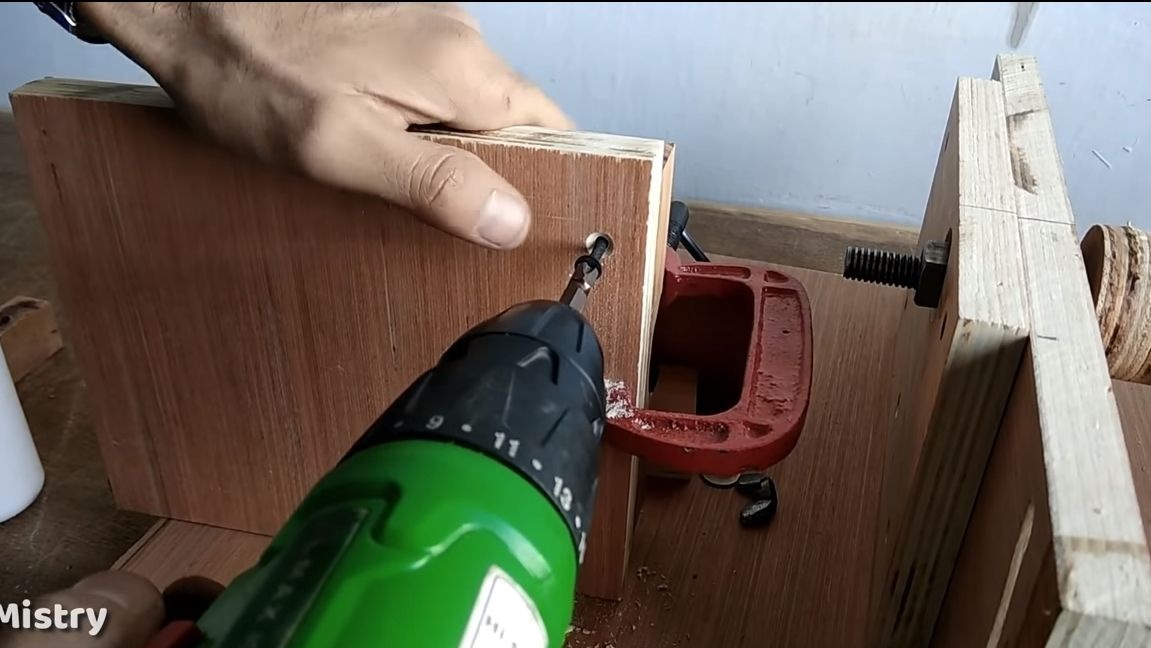
Step Two Installing the fixing screws
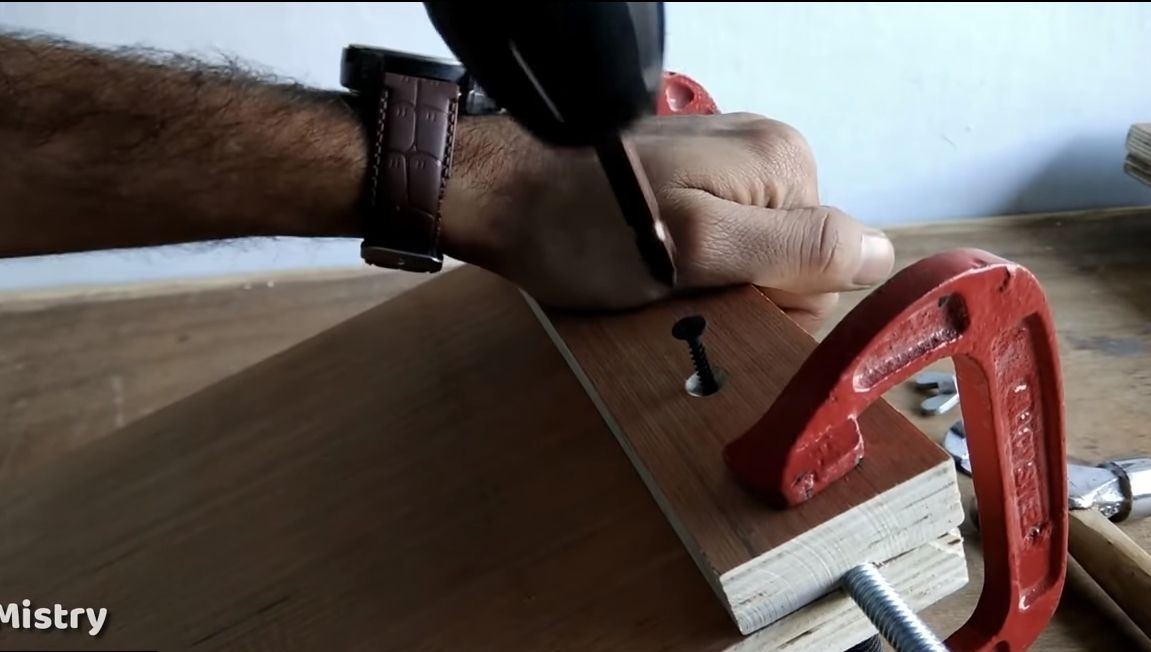
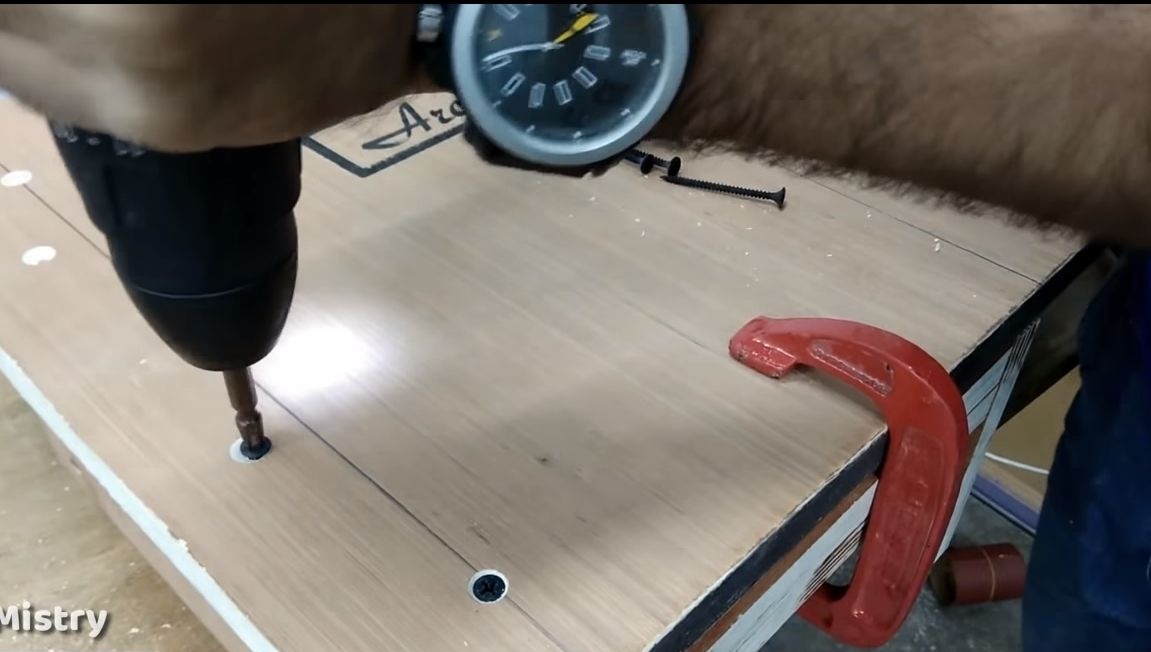
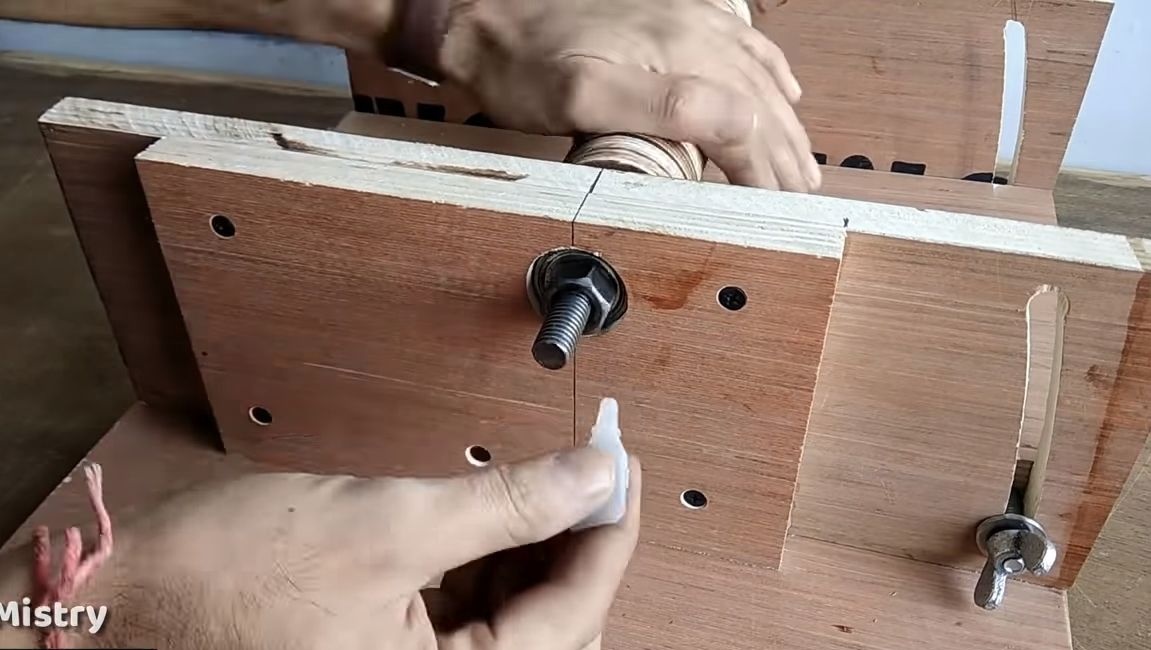
Two screws are installed on the sides of the working plane, they are designed to fix the table at the desired height. Under them, you need to drill holes between the two halves of plywood, for more details about what I see in the photo. Then unscrew the plywood strip, between which the holes were drilled and put a bolt in the groove. With light hammer strokes, drown the cap to half the diameter in plywood, similarly you need to do it on the other side. As a result, you will get excellent grooves for screw caps.
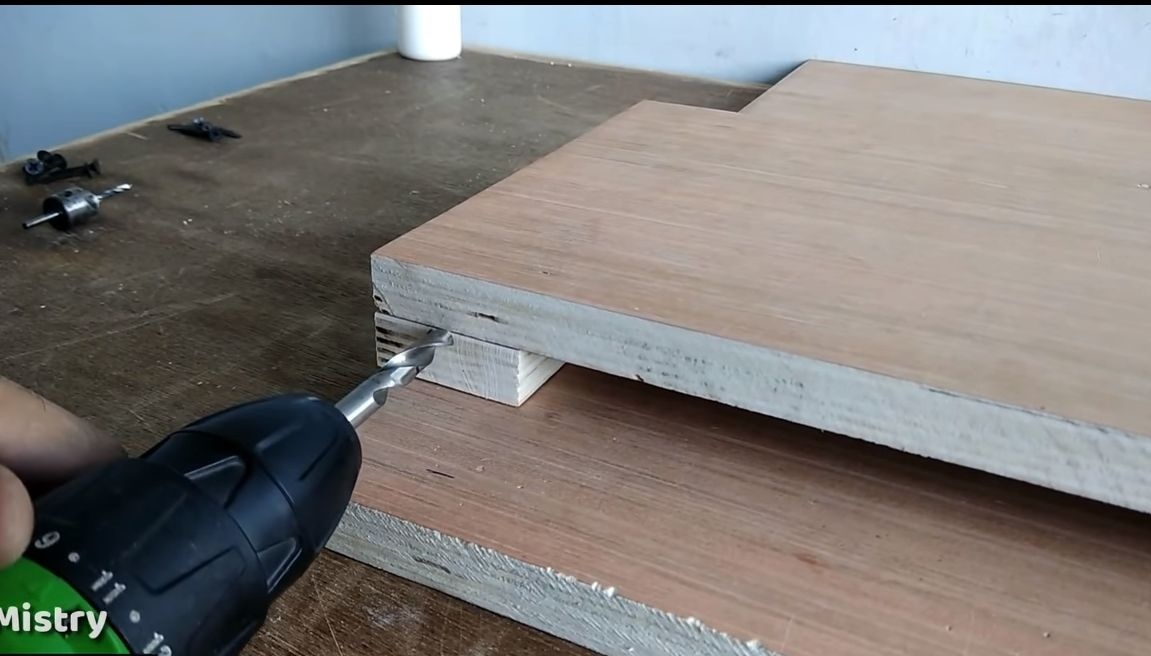
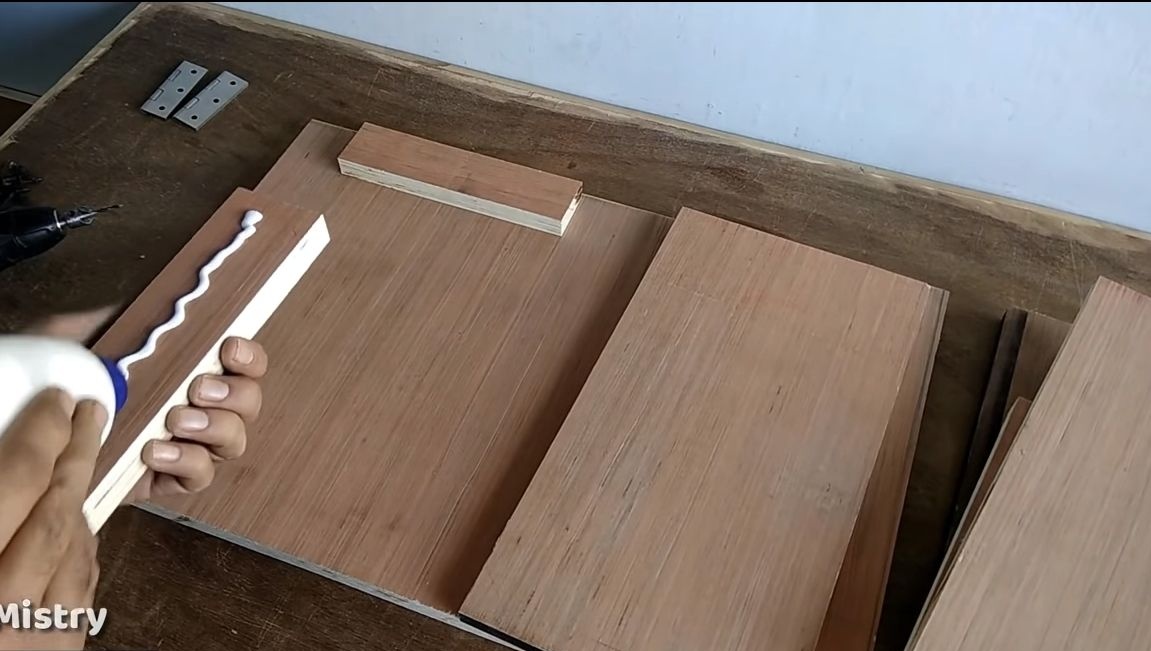
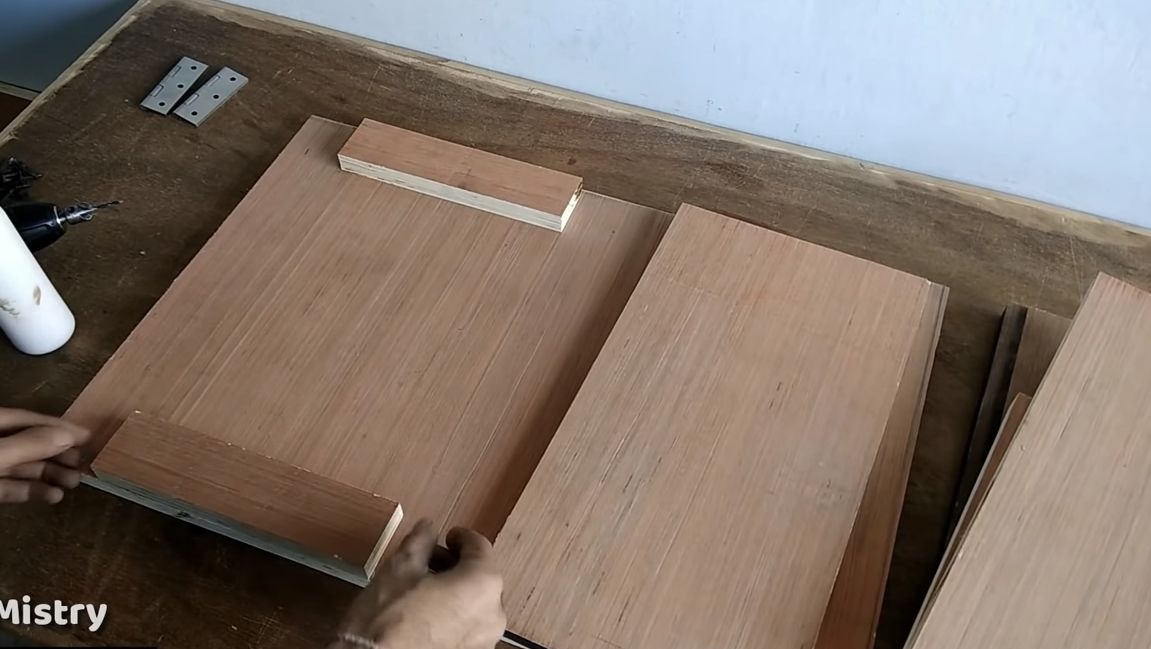
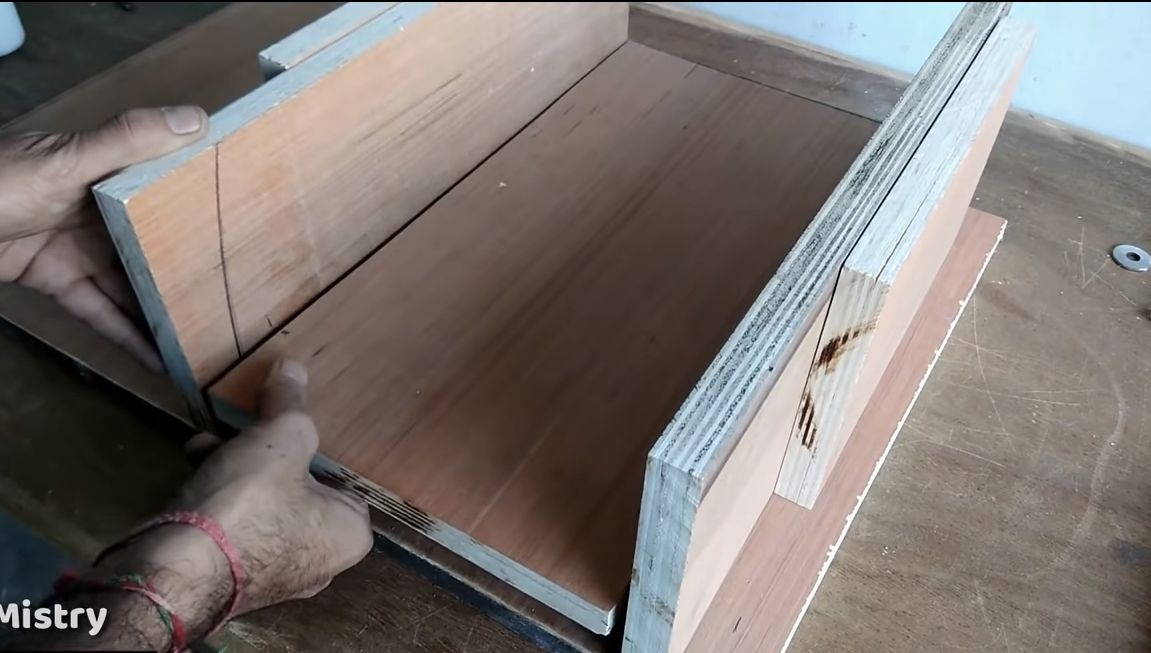
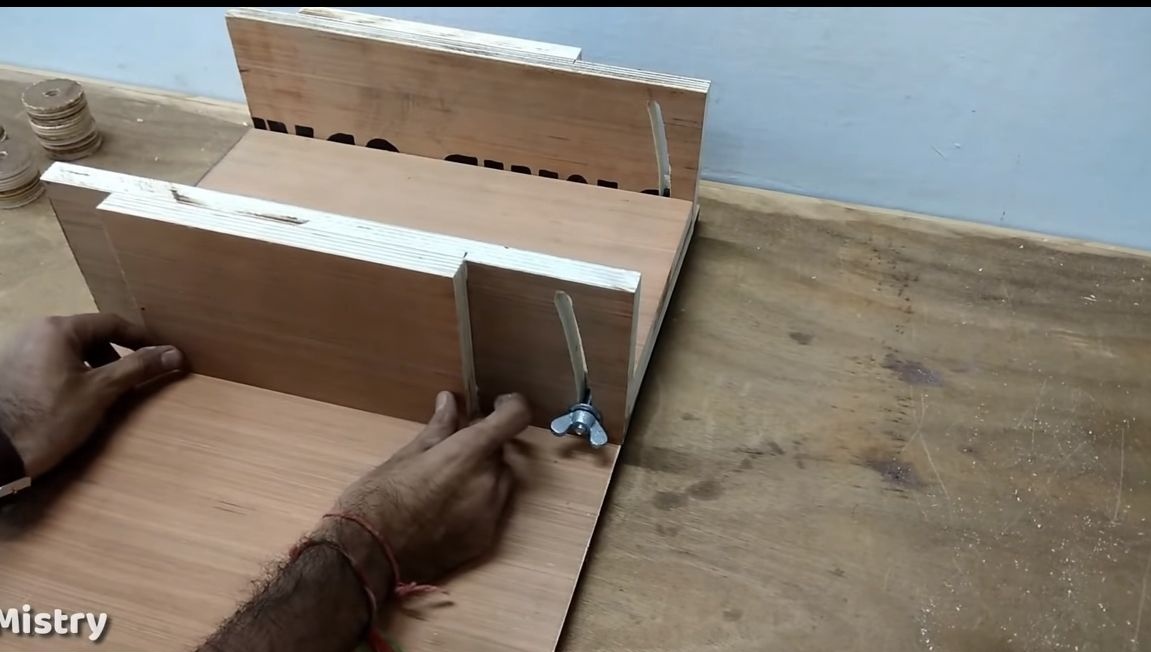
Step Three Side wall installation
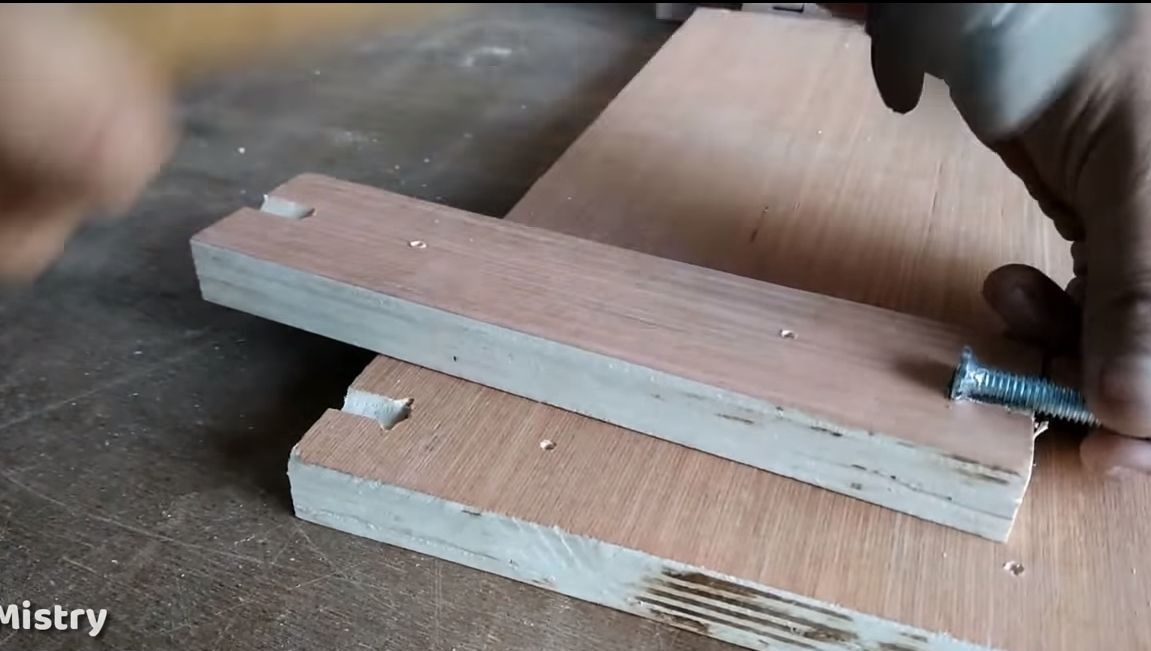
The author also makes side walls of plywood. They are double, the widest wall is designed to support the working plane, and a narrow one is needed for reliable fastening of the grinding rotor.
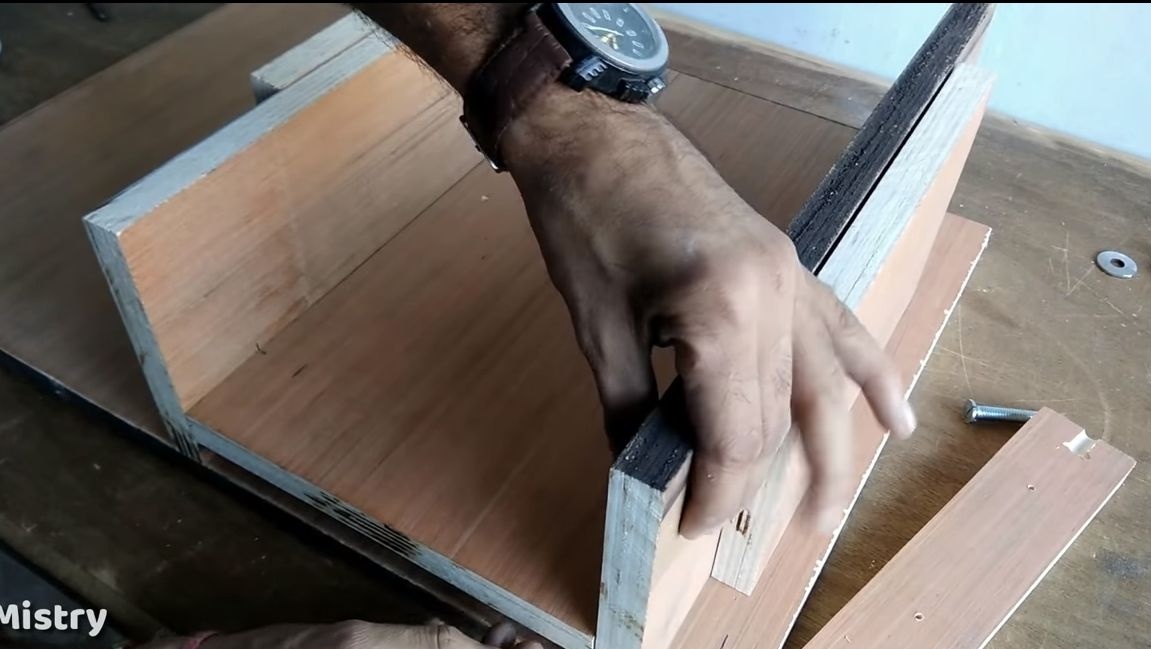
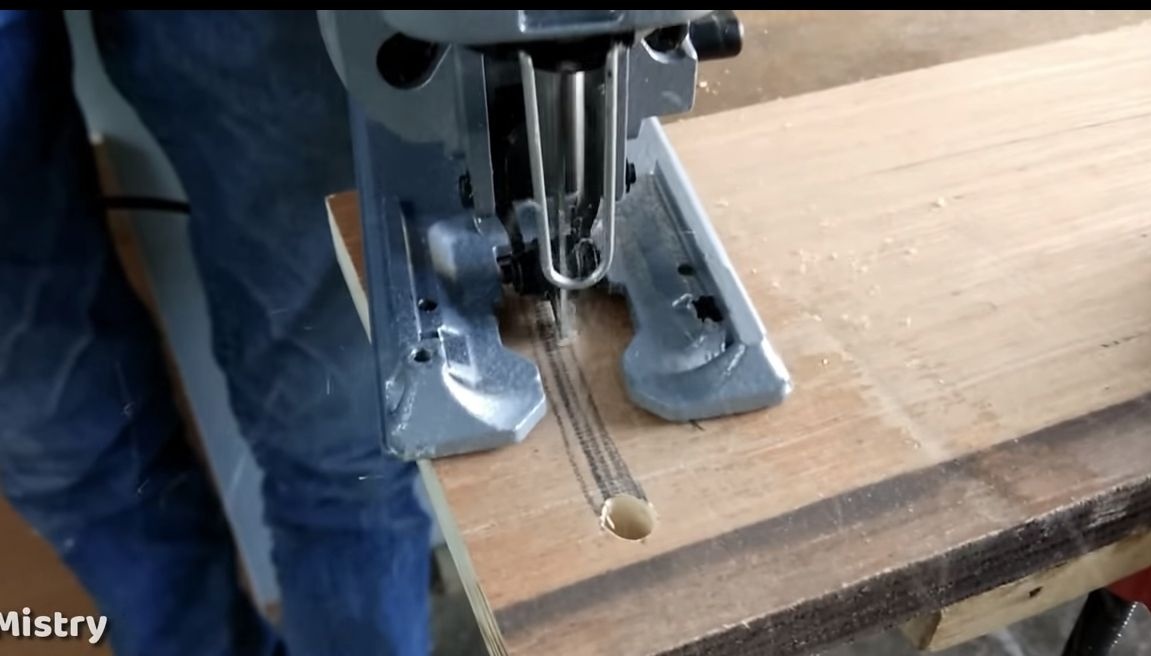
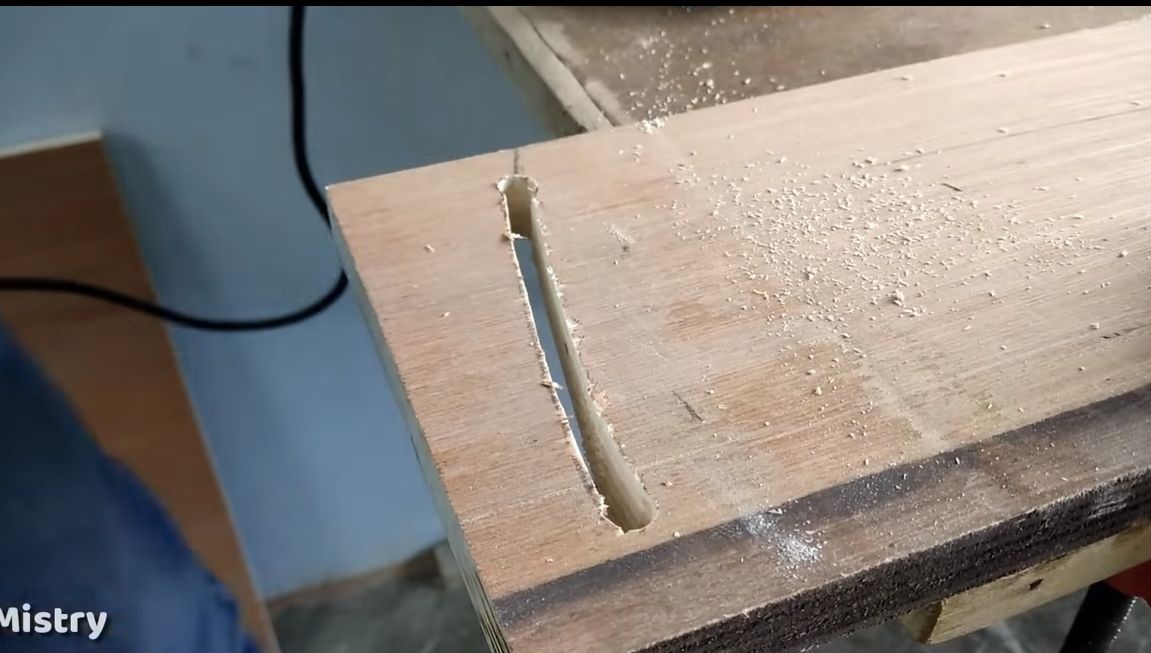
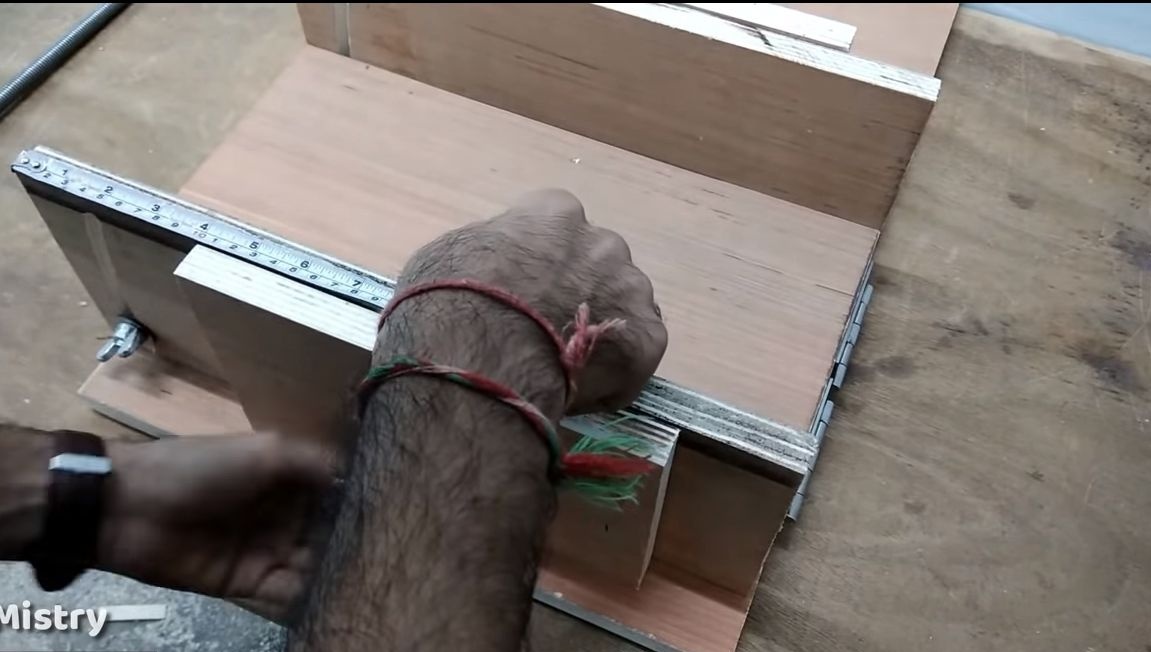
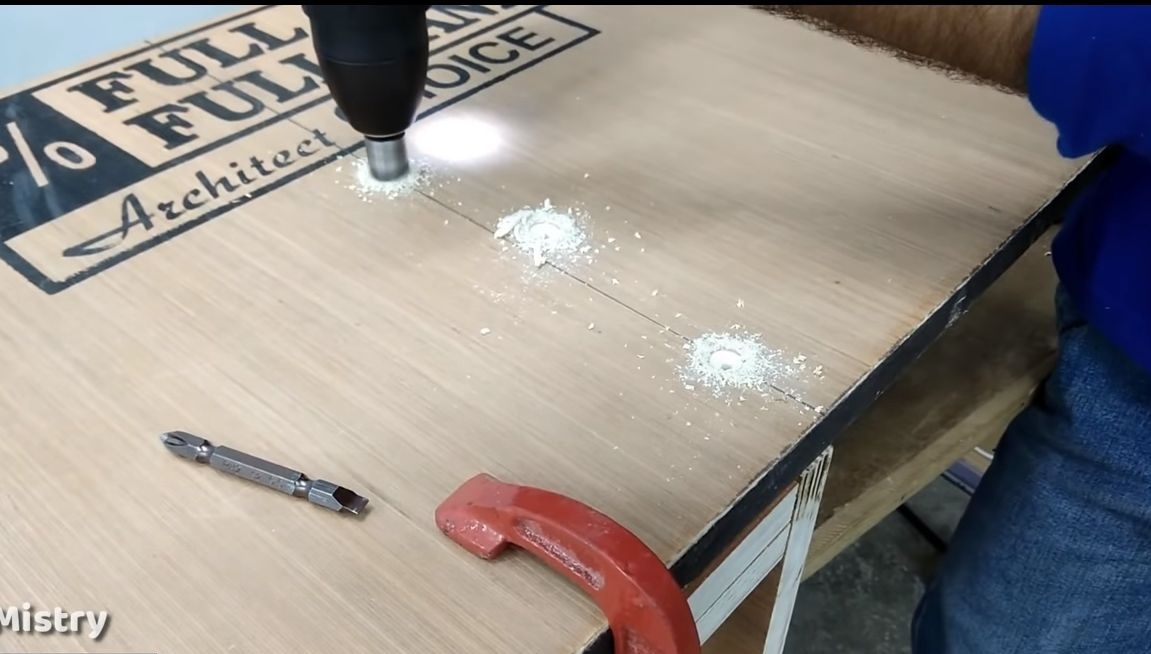
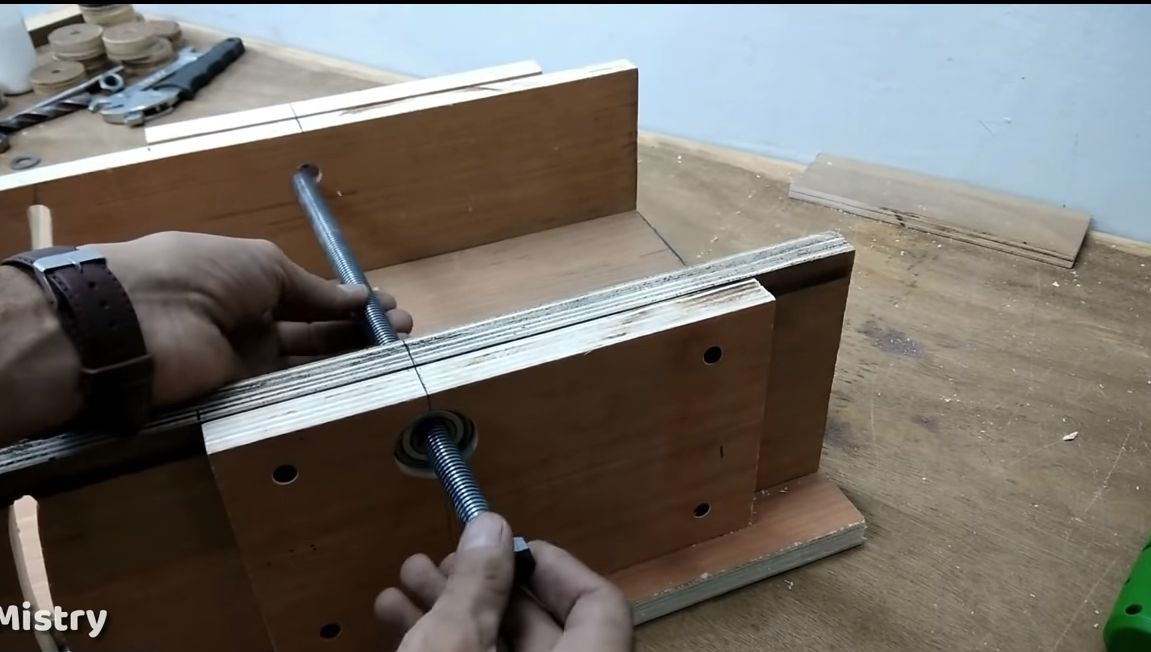
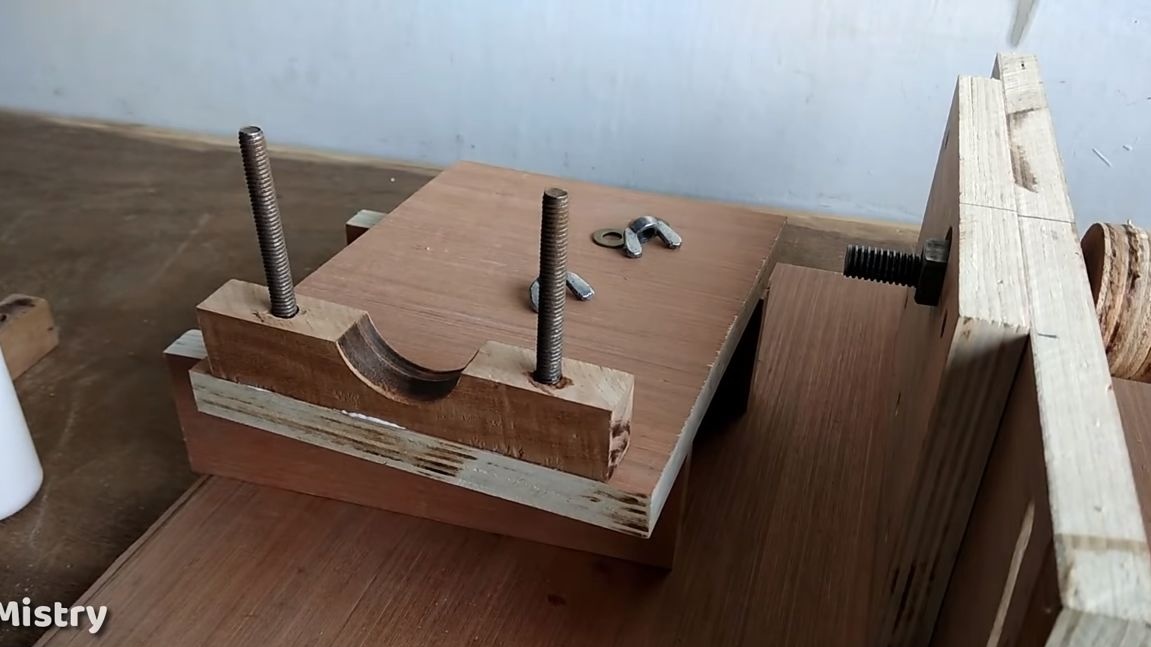
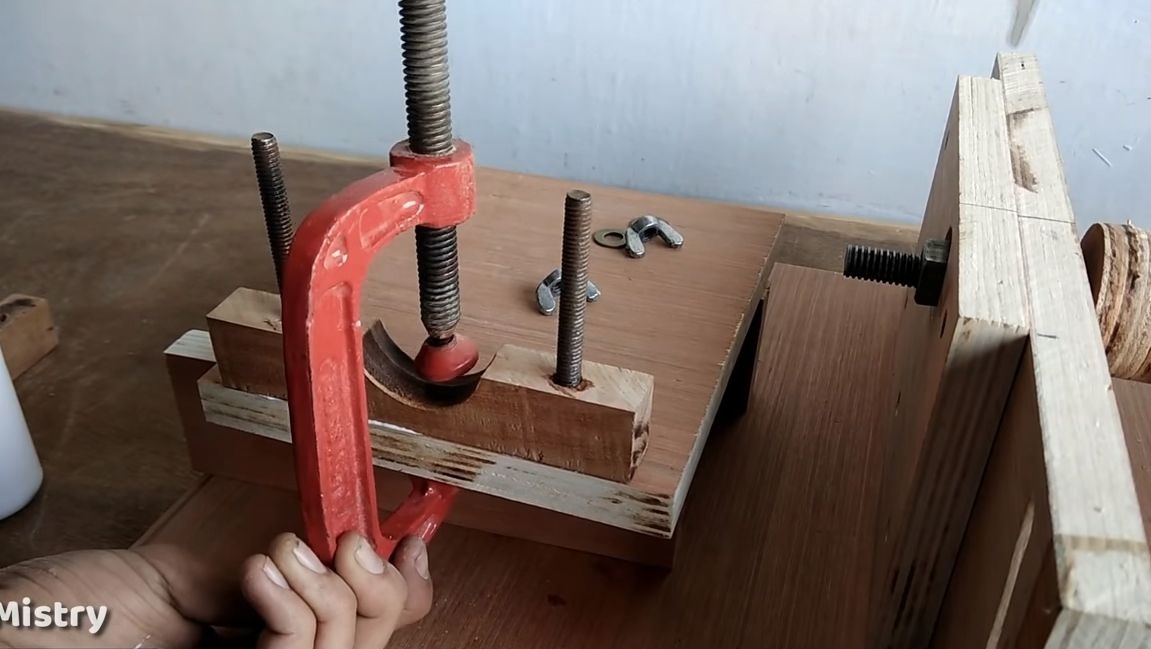
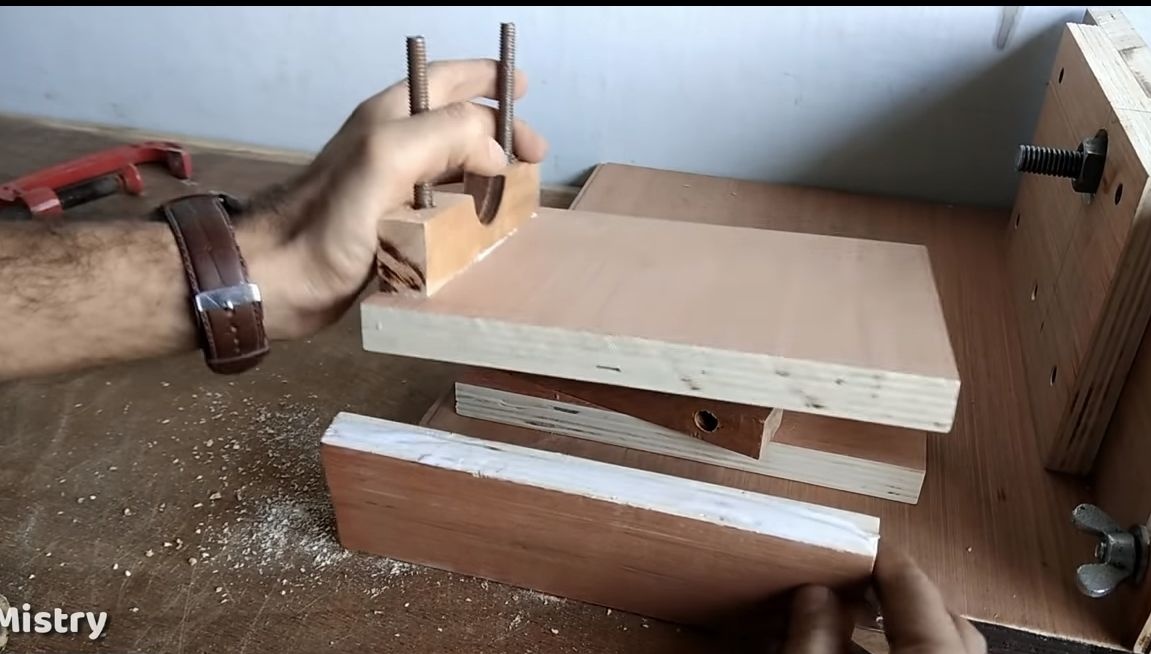
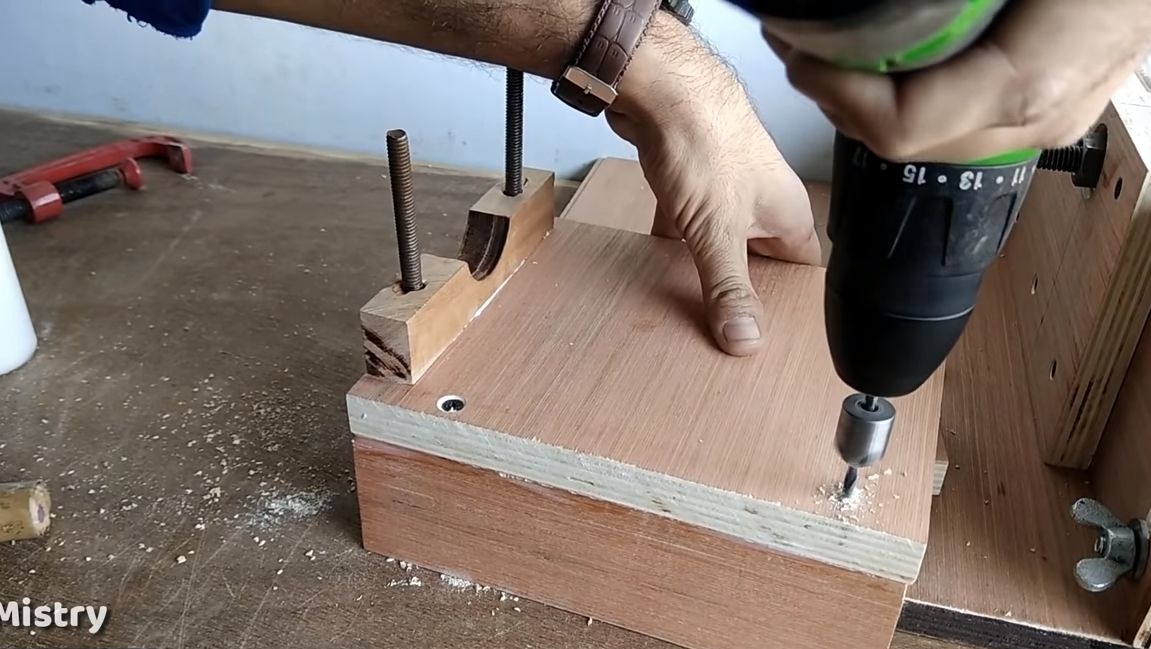
Screw rods that are installed in the desktop should go into the wide side wall. We take a pencil and draw a line along which these screws will move when raising and lowering the table. We drill at the beginning and end of the hole lines, and then cut out the grooves using a jigsaw.
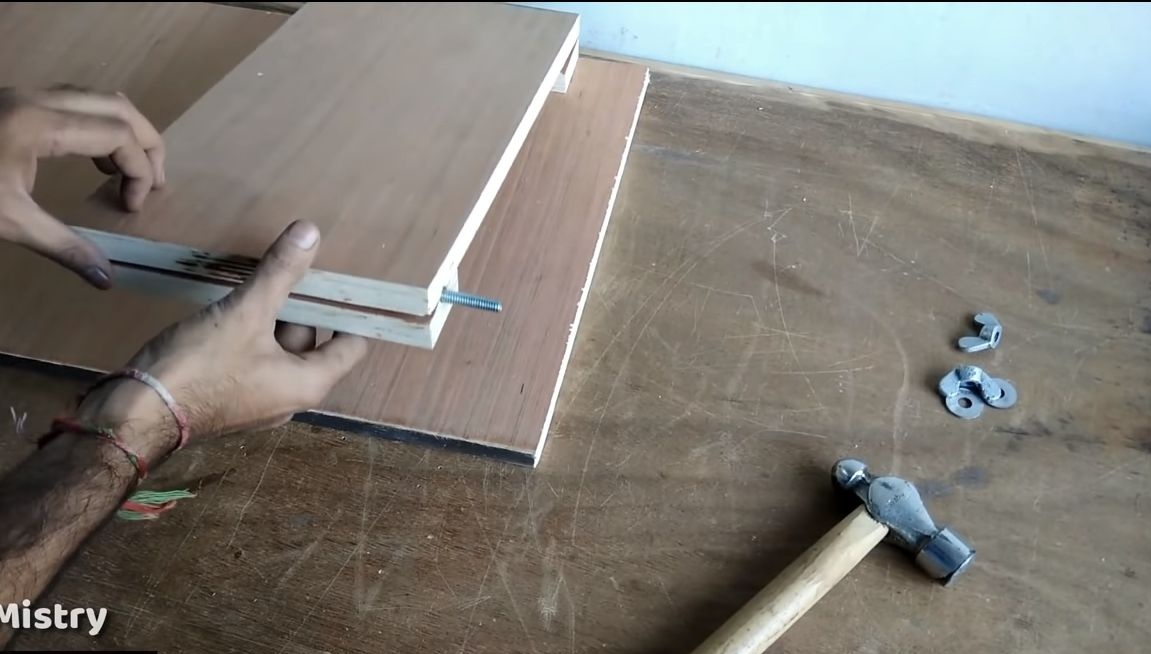

Install the screws in their places on the desktop, it is advisable to glue the plywood and then twist it with screws. Now install the side walls, and on the other hand, install the washers and wing nuts on the screws. Using these nuts, you can quickly lock the work plane in position.
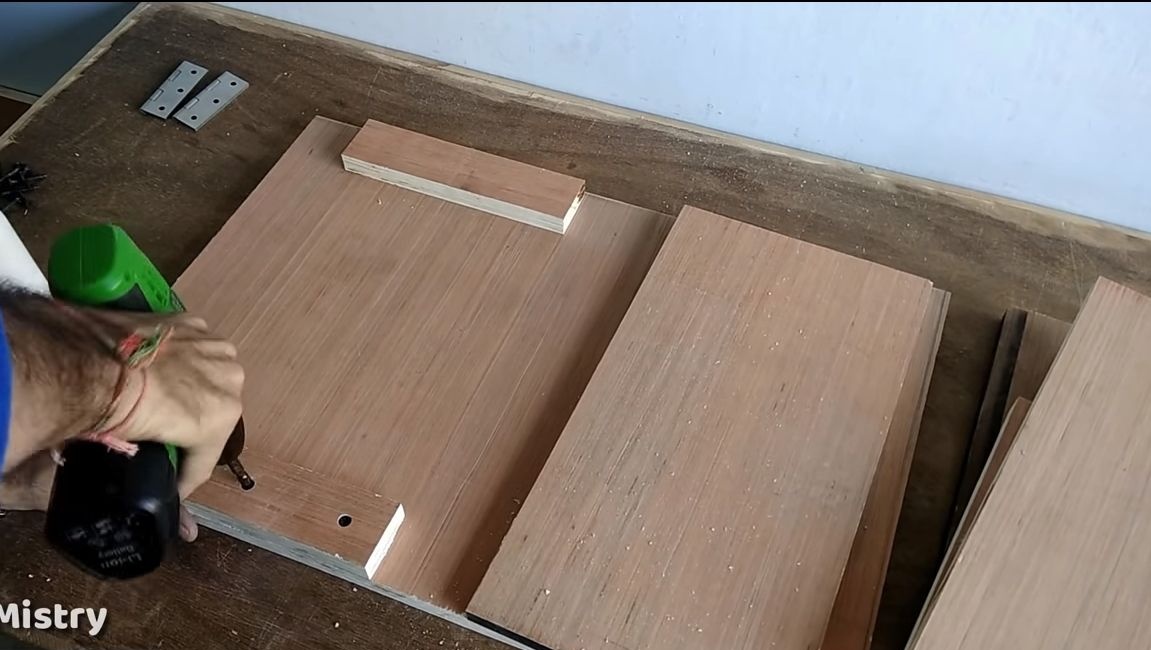
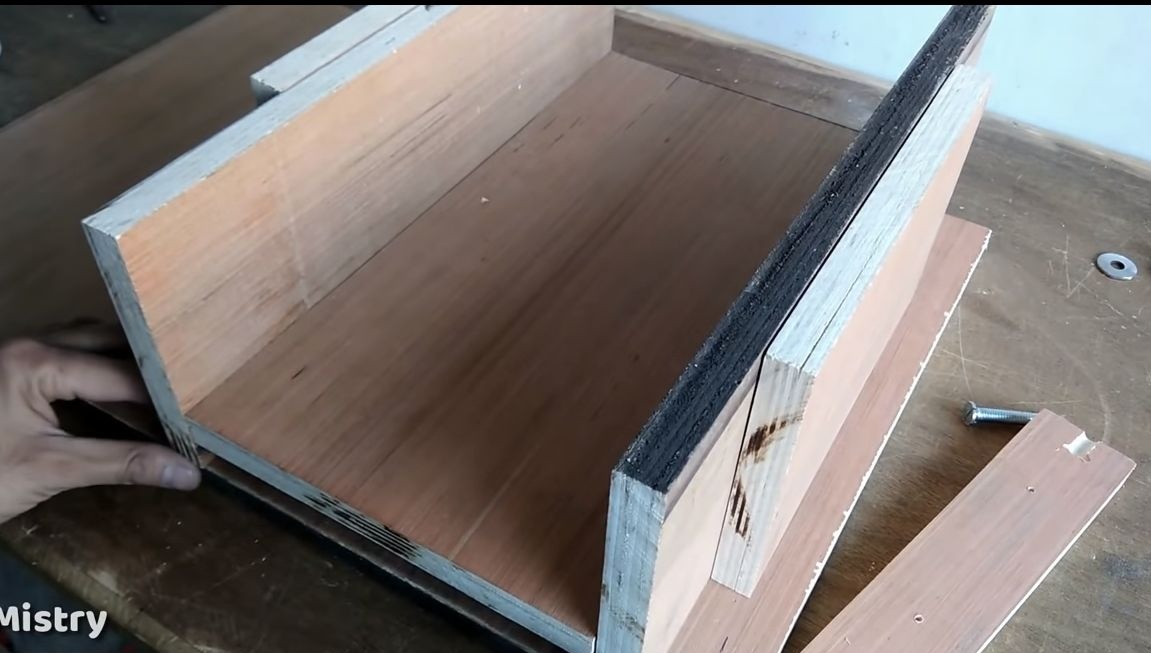
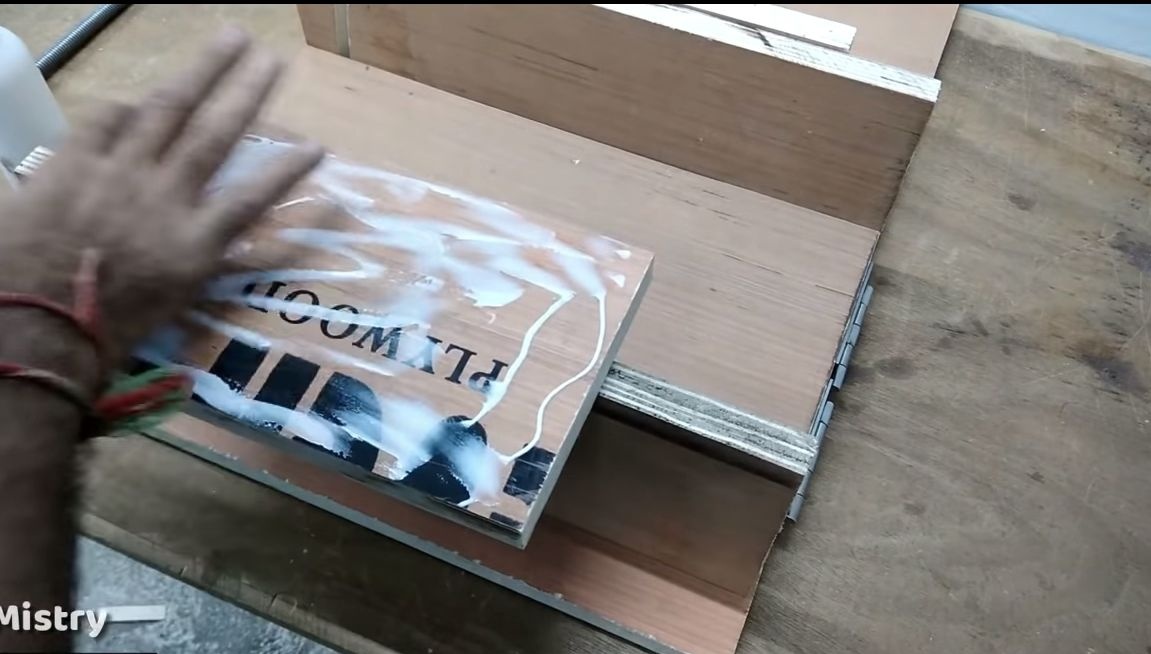
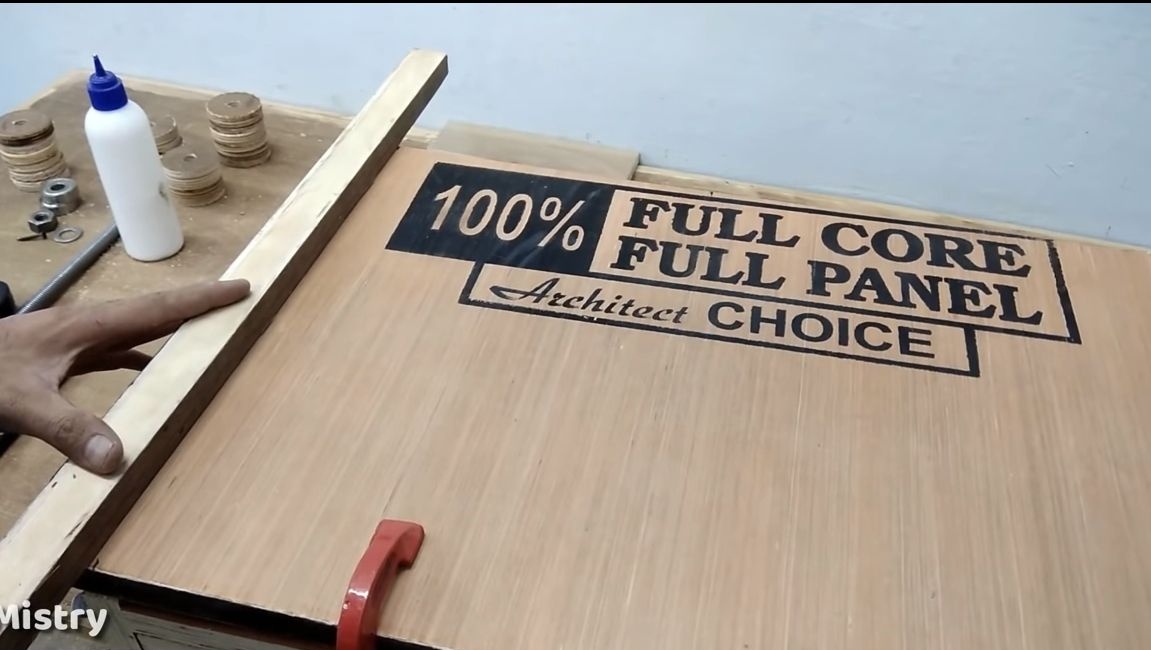
Step Four We fasten the base
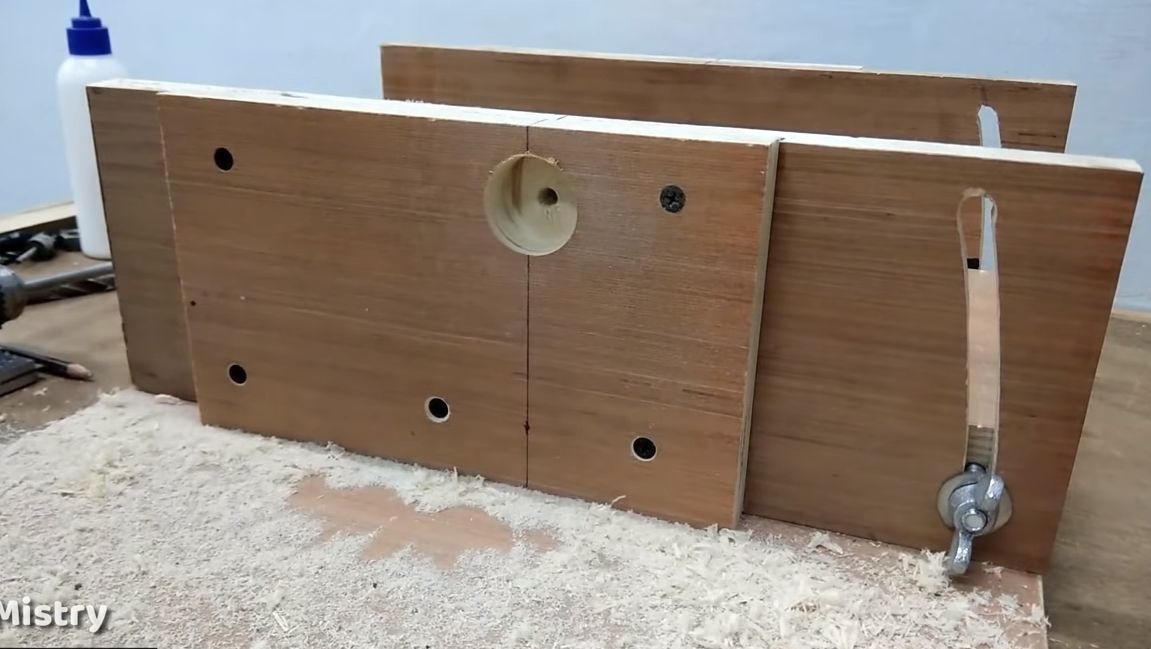
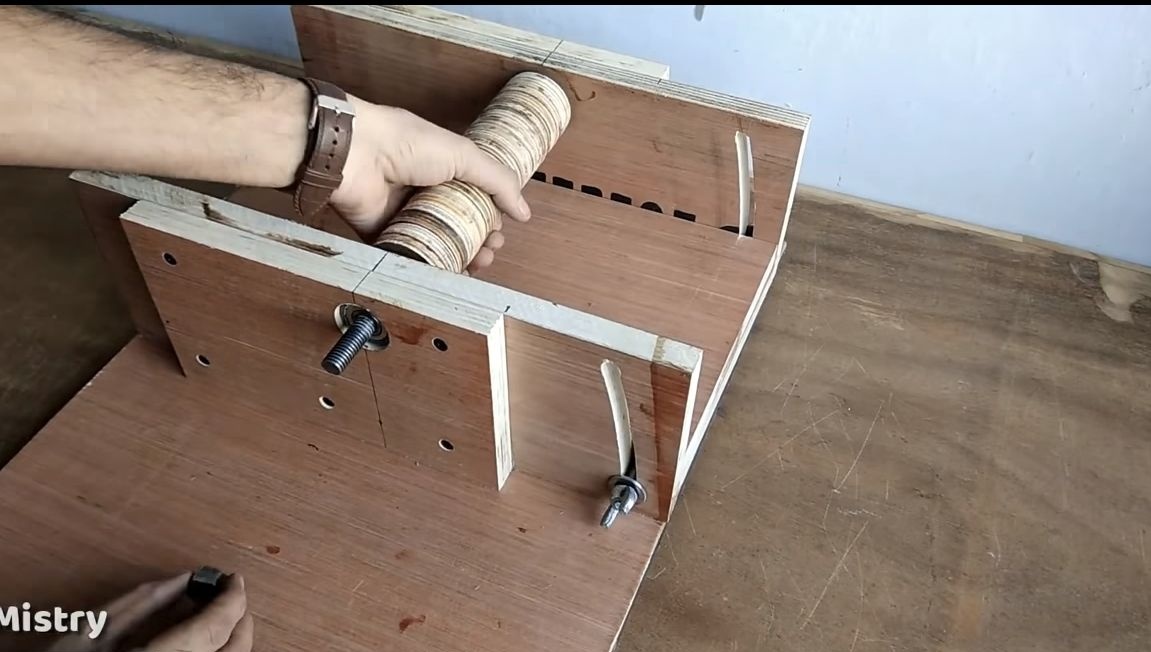
To hold the entire structure together, you will need a sheet of plywood from which the base is made. First of all, glue the short walls intended for the installation of bearings to the side walls.
Turn the structure over and fasten the base on the other side. The main frame is assembled!
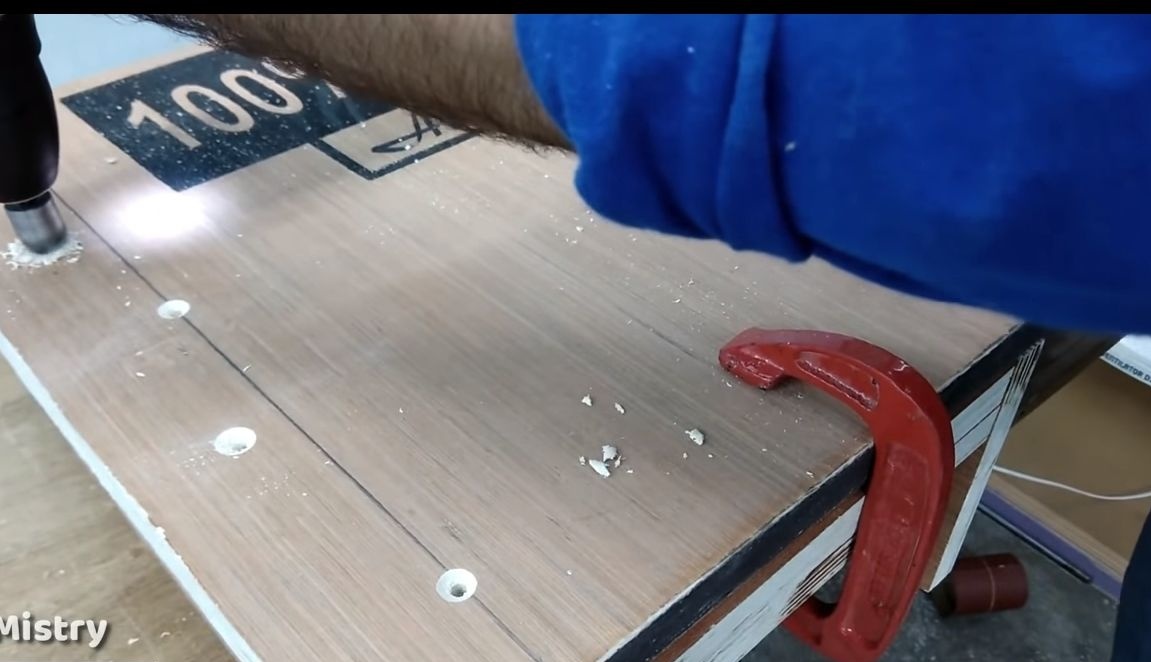
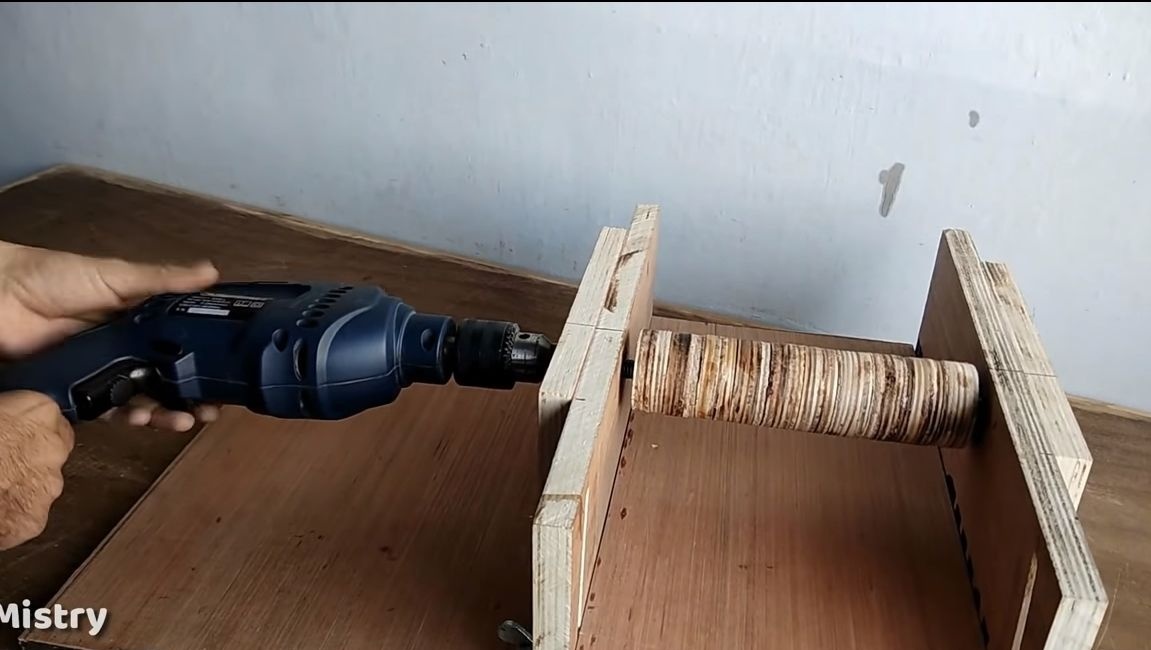
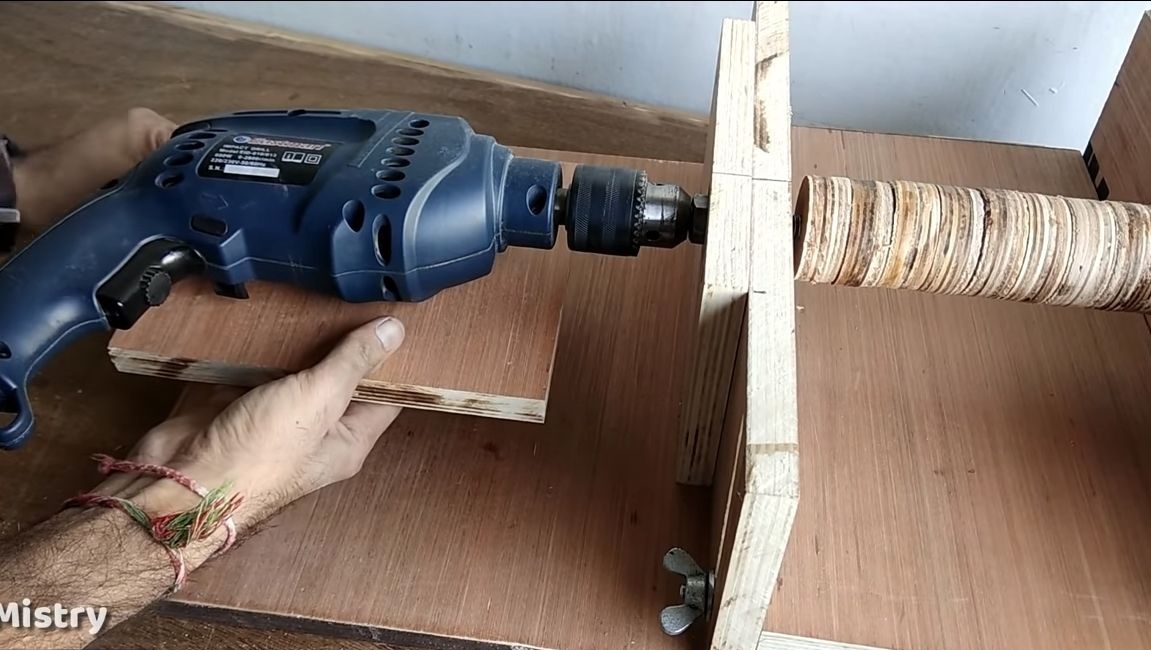
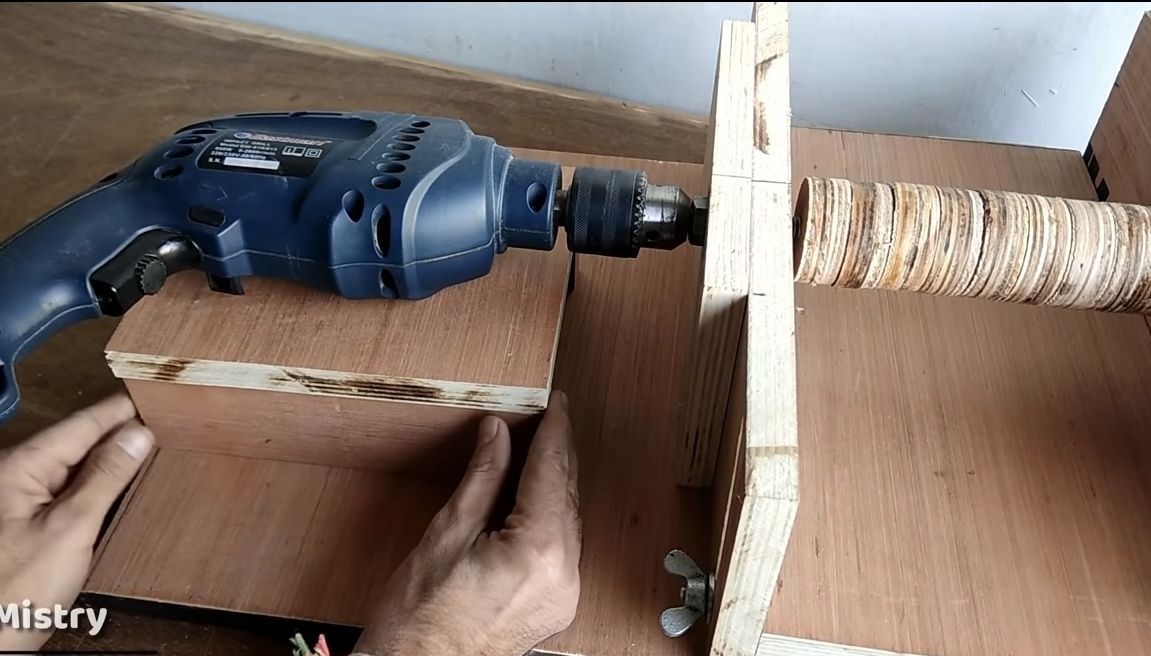
Step Five We install bearings for the rotor axis
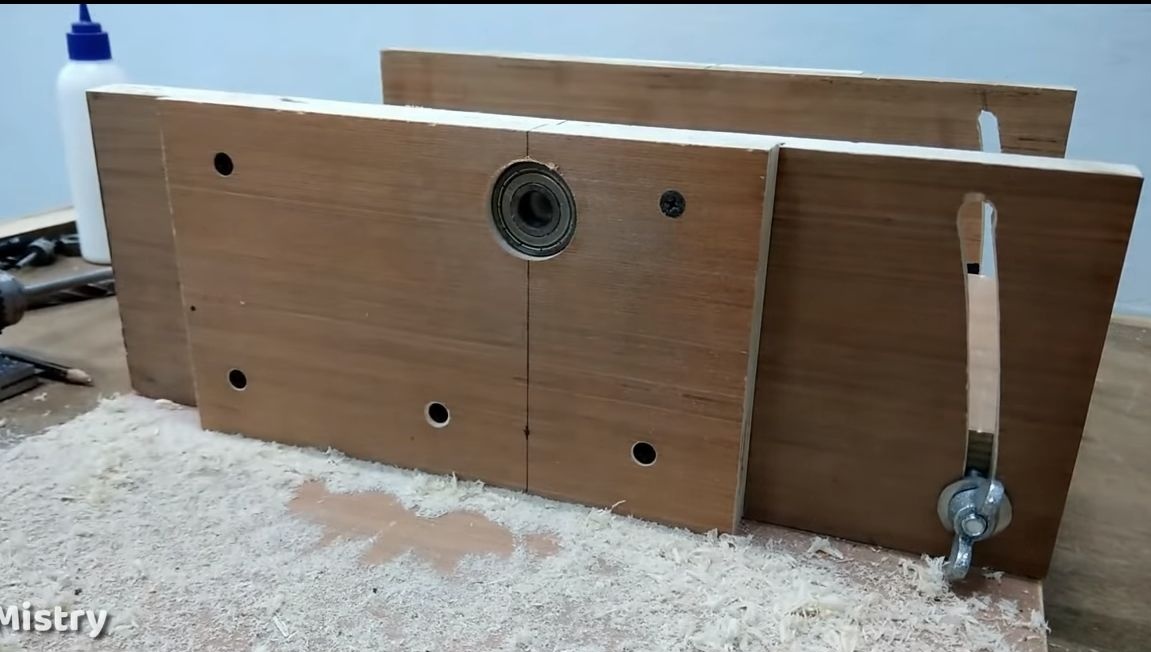
It is time to install the bearings. For them, you need to drill seats, in this case, a drill with the appropriate bat will help you. Then drill holes for the rotor axis, which is a long bolt or threaded rod.


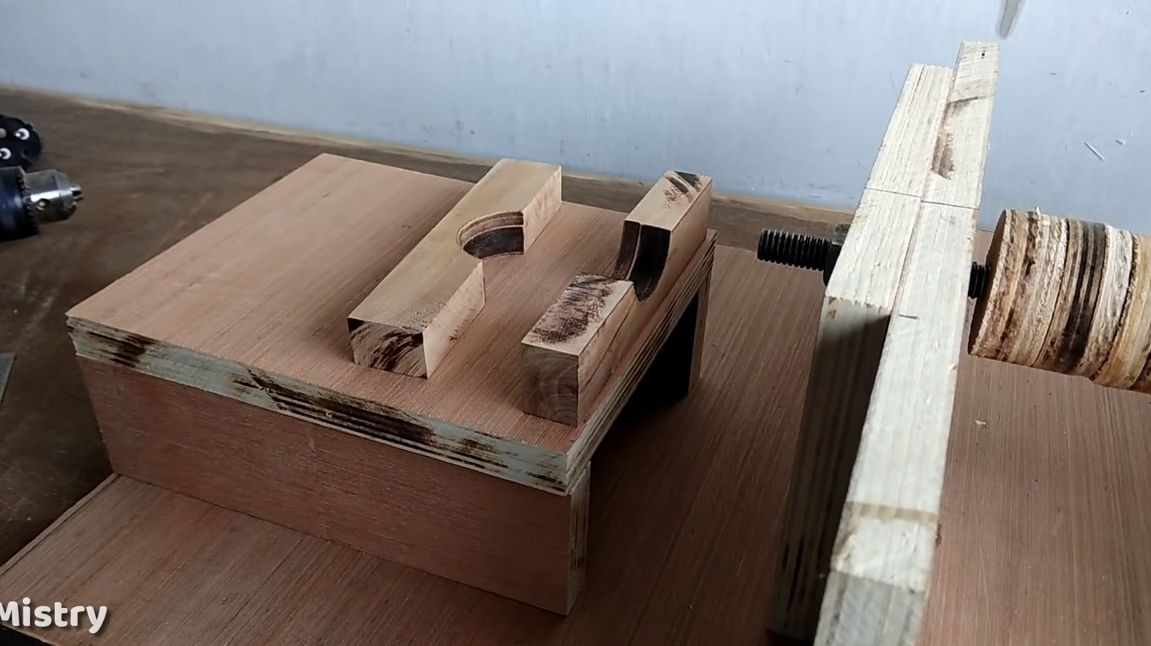
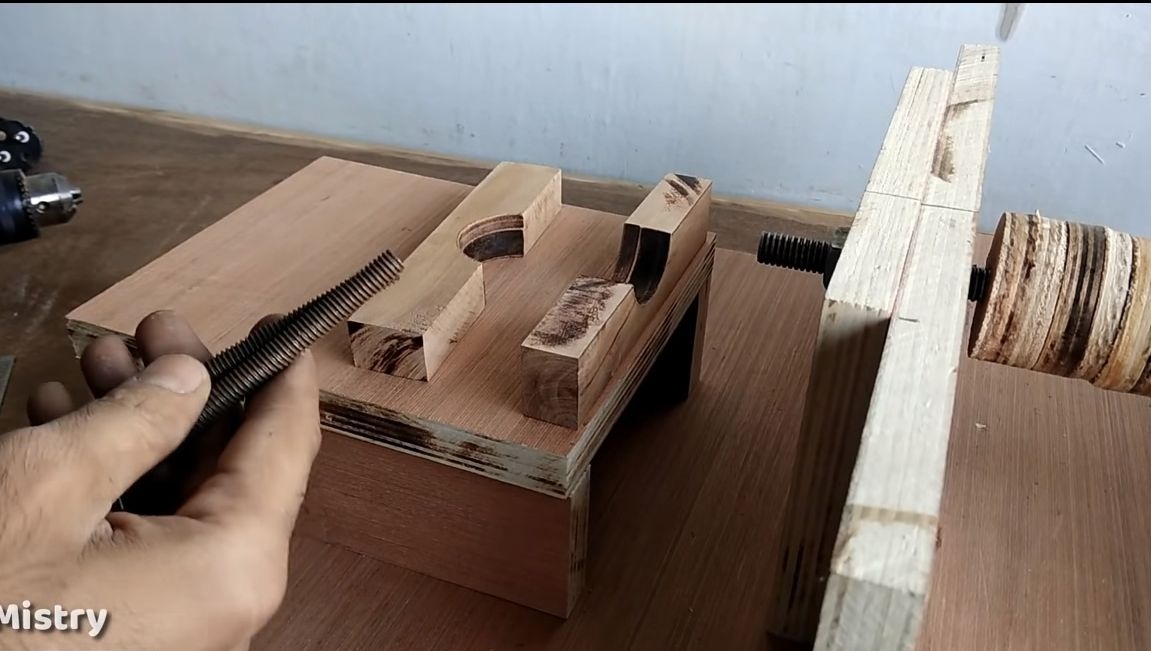
Step Six Production and installation of a grinding rotor
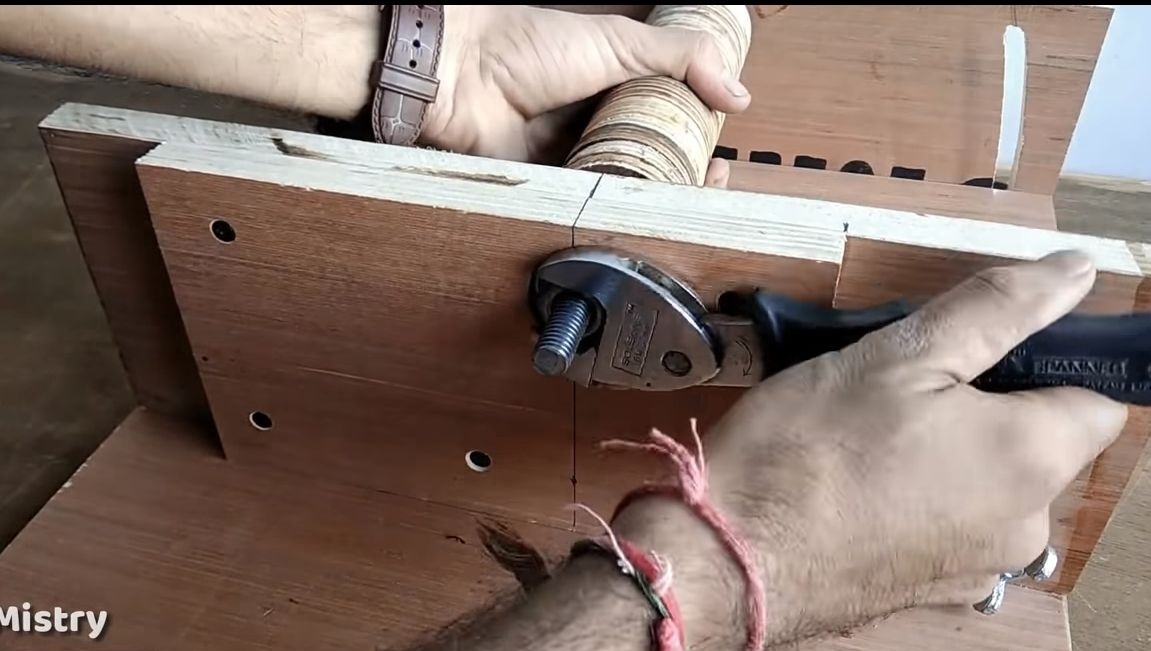
Put the bearings in place, remembering to lubricate well, and also prepare the nuts and washers. The rotor is made of round plywood, which are cut on a drilling machine. We dilute the epoxy resin and alternately put round logs on the axis, apply epoxy glue between each part! When you collect all this garland, squeeze it well and let the glue dry completely.


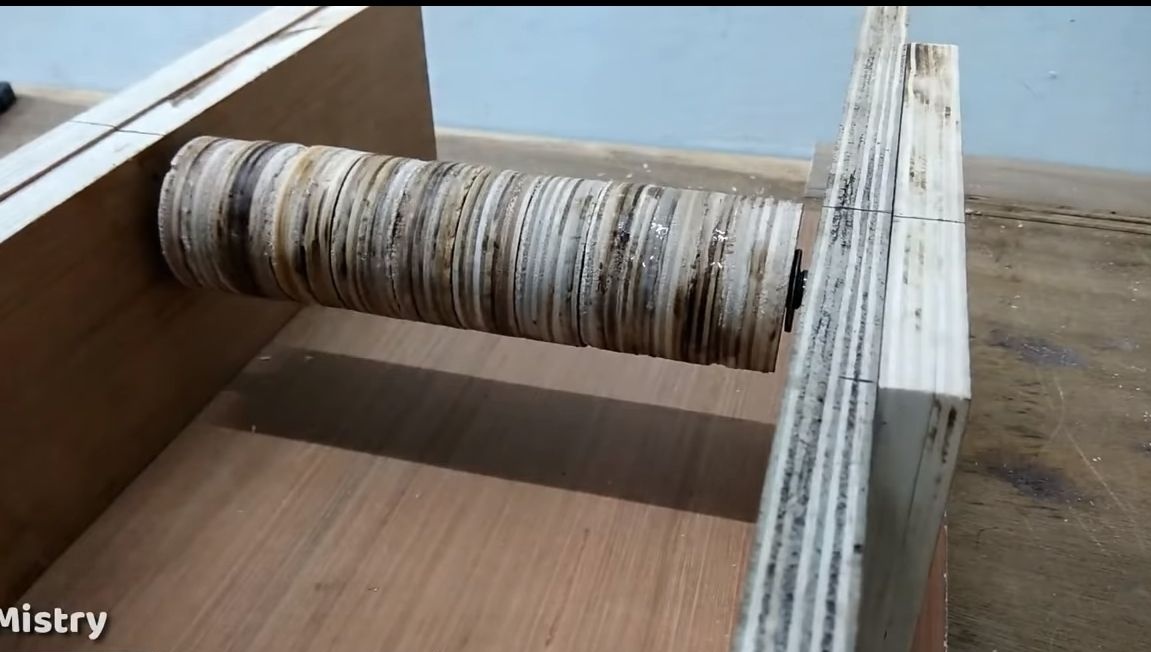
When the glue has dried, lock and adjust the grinding rotor. This is done using nuts. Tighten them so that the shaft play is minimal, but the bearings should not be overtightened! Fix the nuts with super glue, or just put in two nuts.
Seventh step. Install a drill
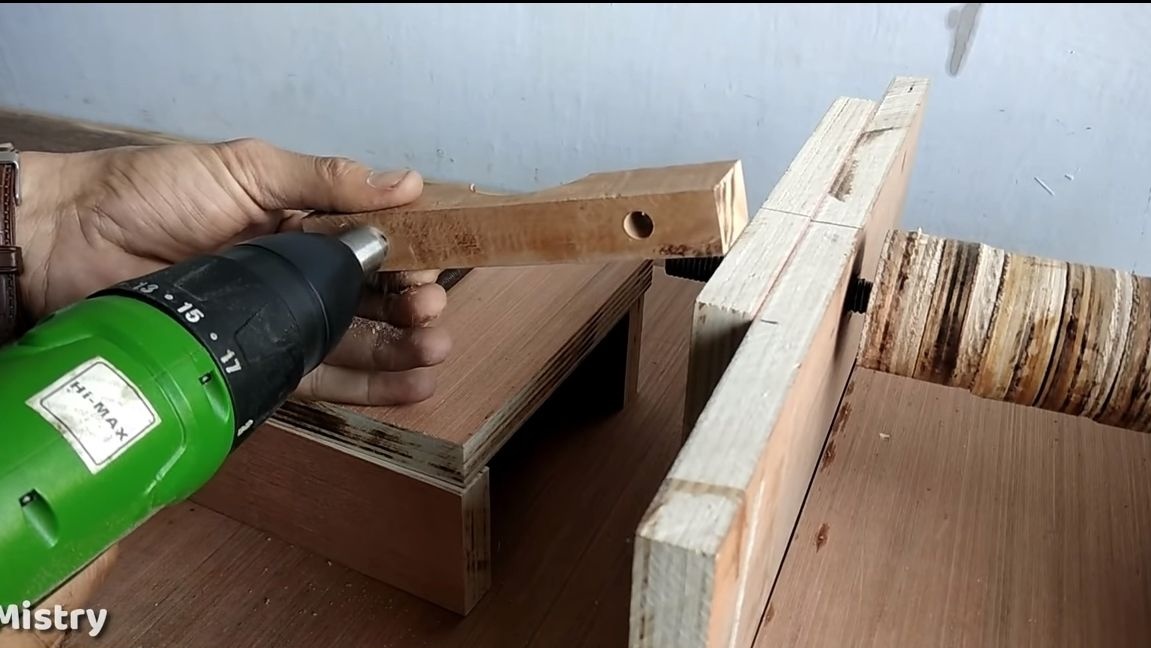
To install a drill, you need to make a small "table" with a bracket. This table is made of plywood. Fasten the drill chuck to the shaft and cut the parts in height. Twist the "table" using self-tapping screws.
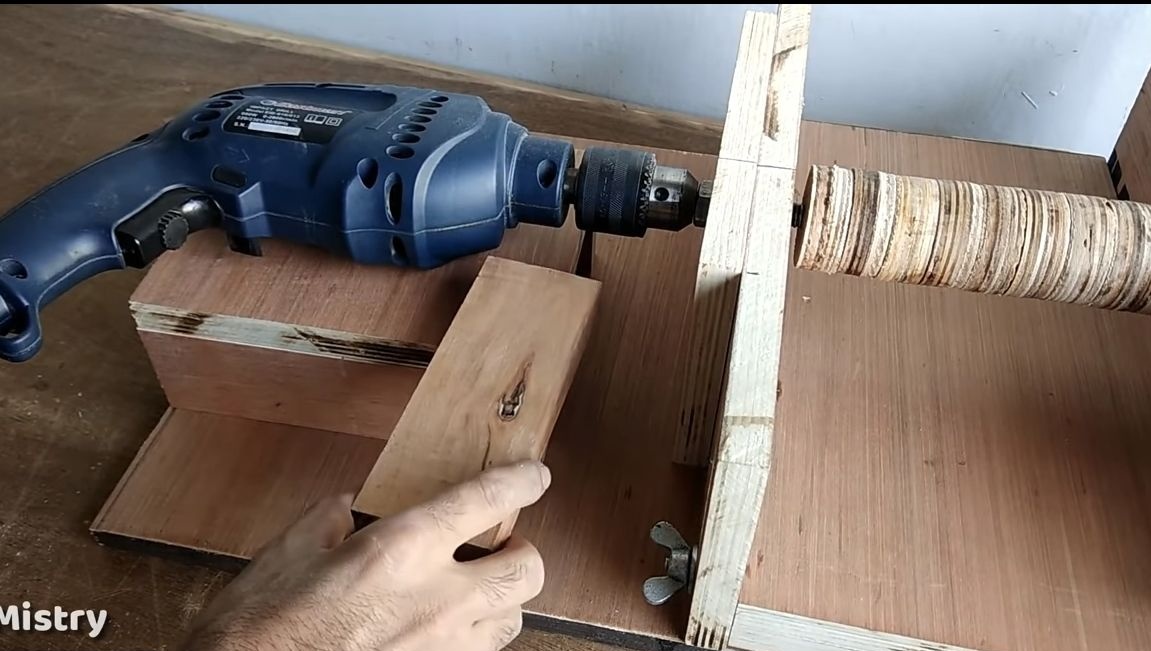
Now you can make a mounting bracket, for this you need plywood or a wooden beam. We make the necessary measurements and cut the plywood lengthwise into two parts. Next, between the two halves, put a thick bar and drill a hole of such a diameter on the drilling machine so that the nose of the drill could then enter it.
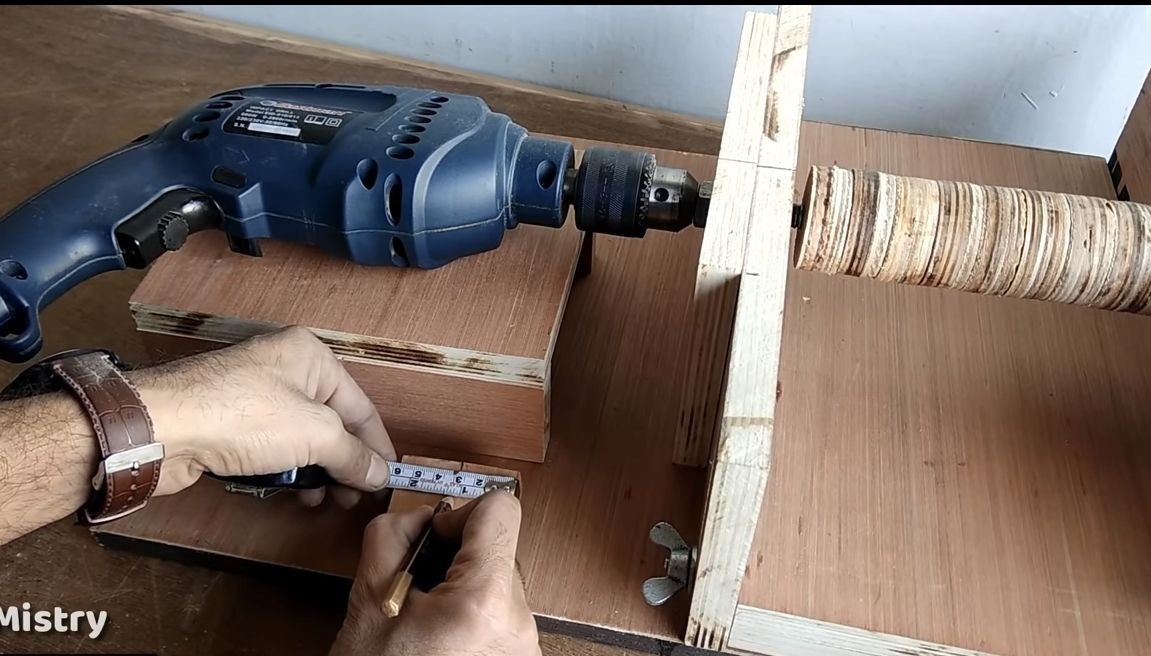
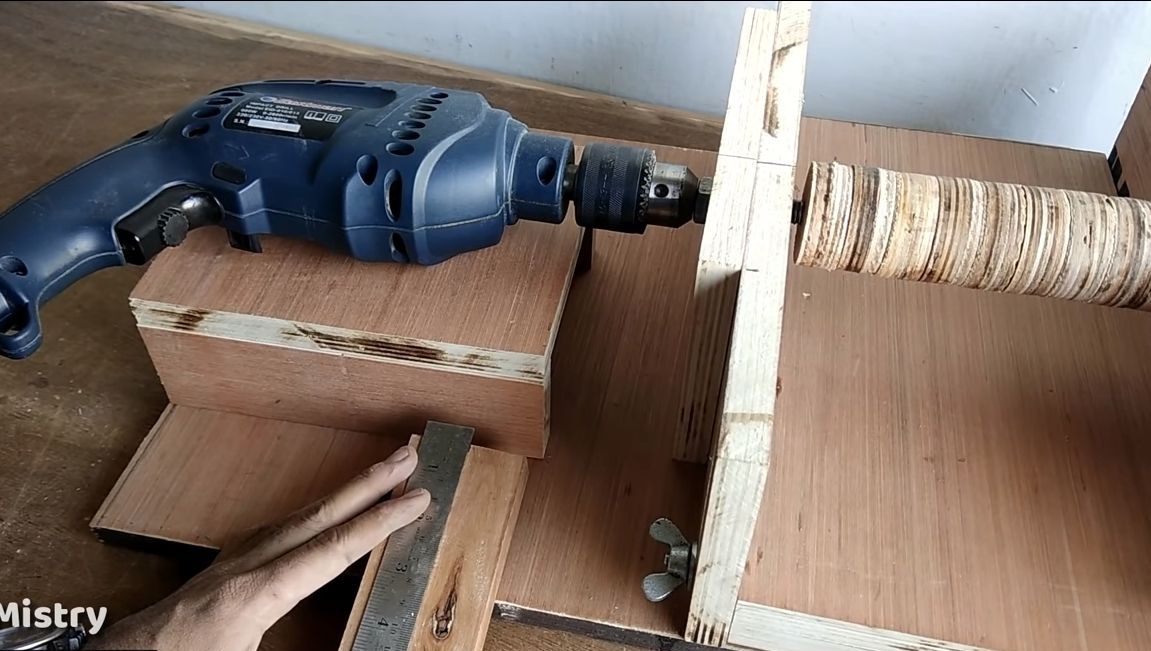
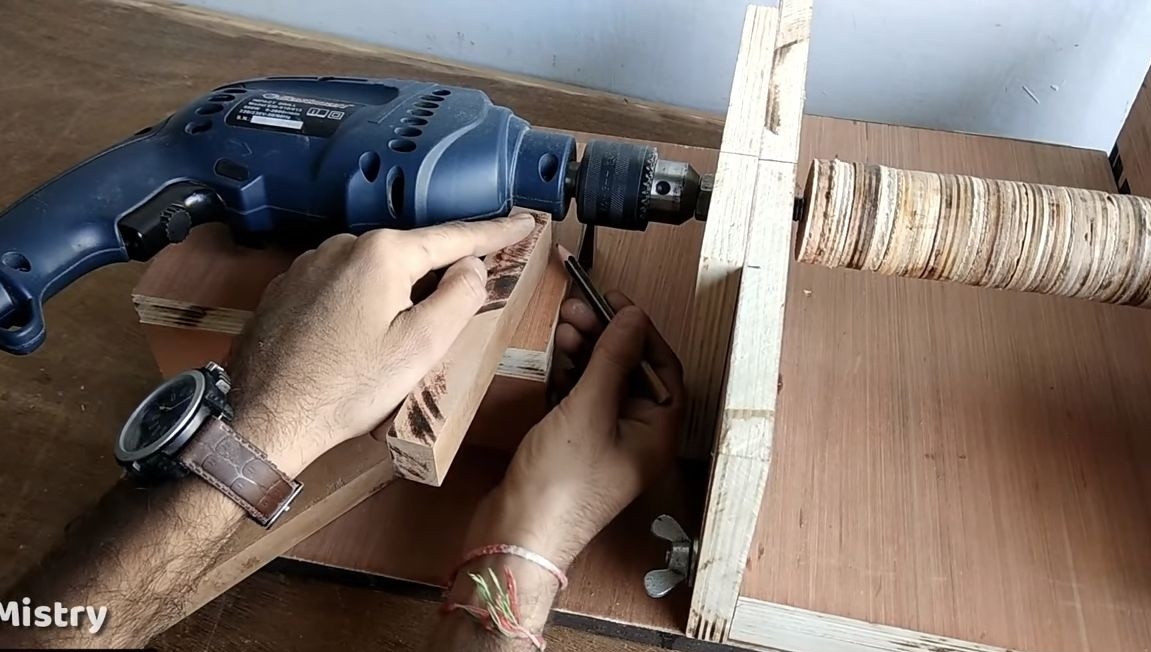
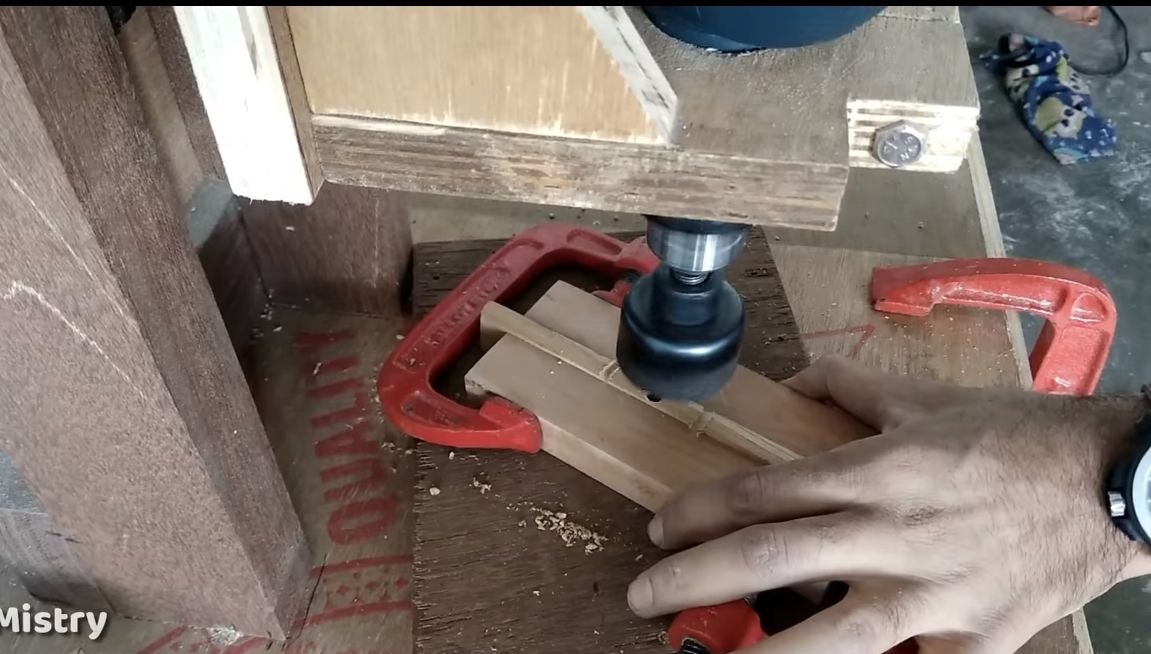
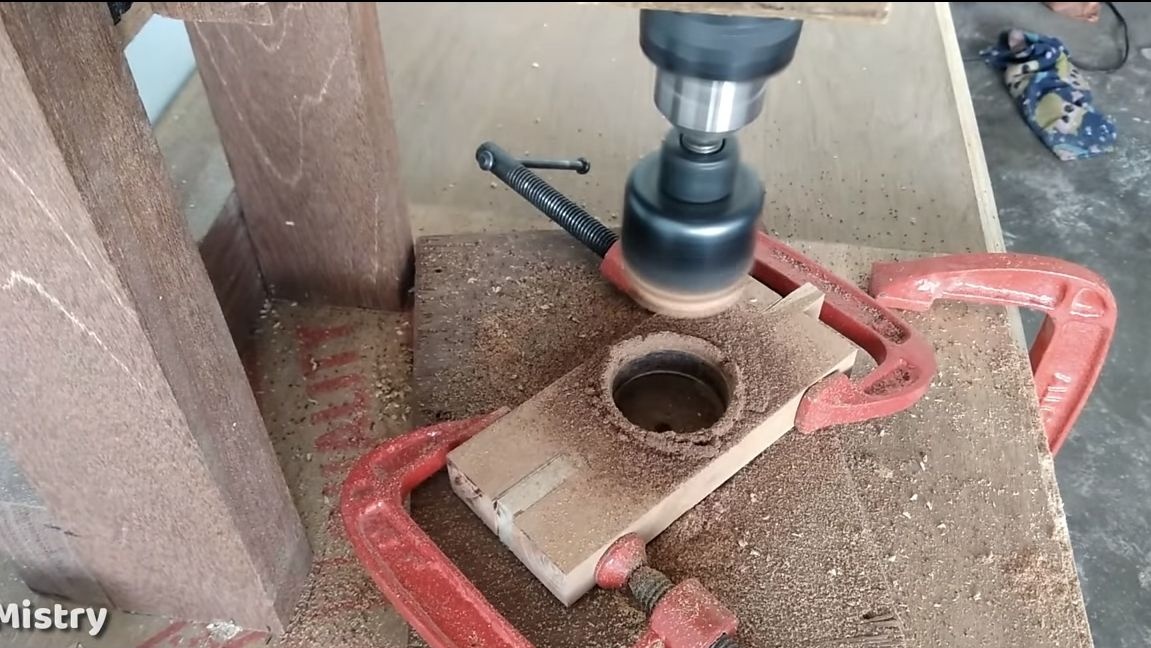
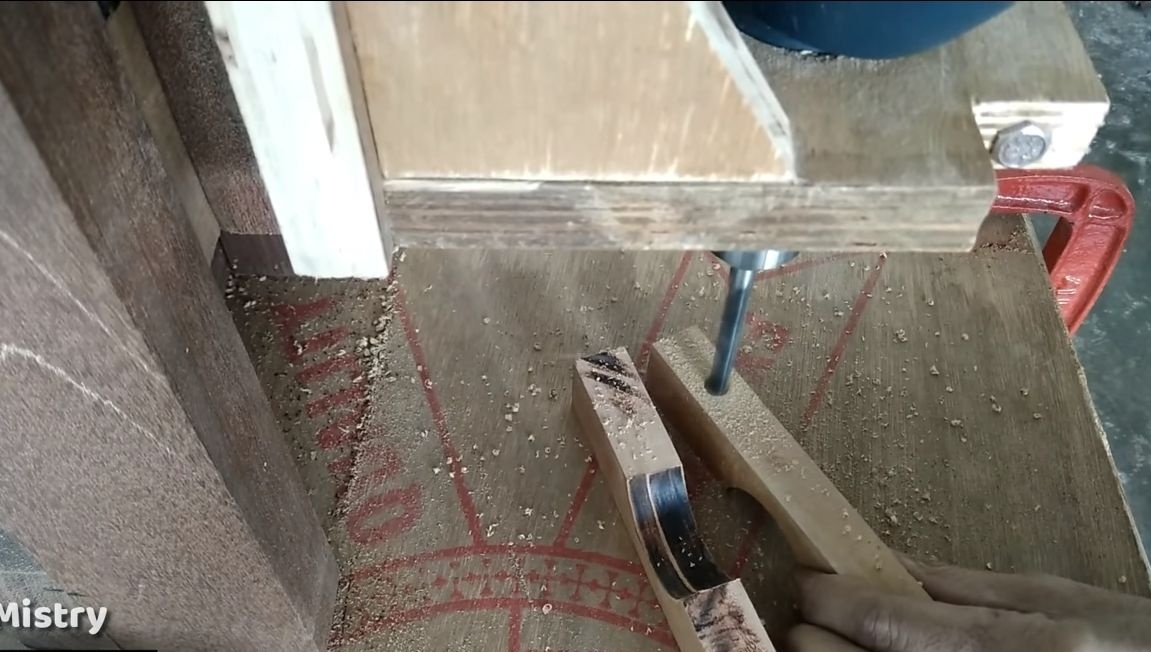
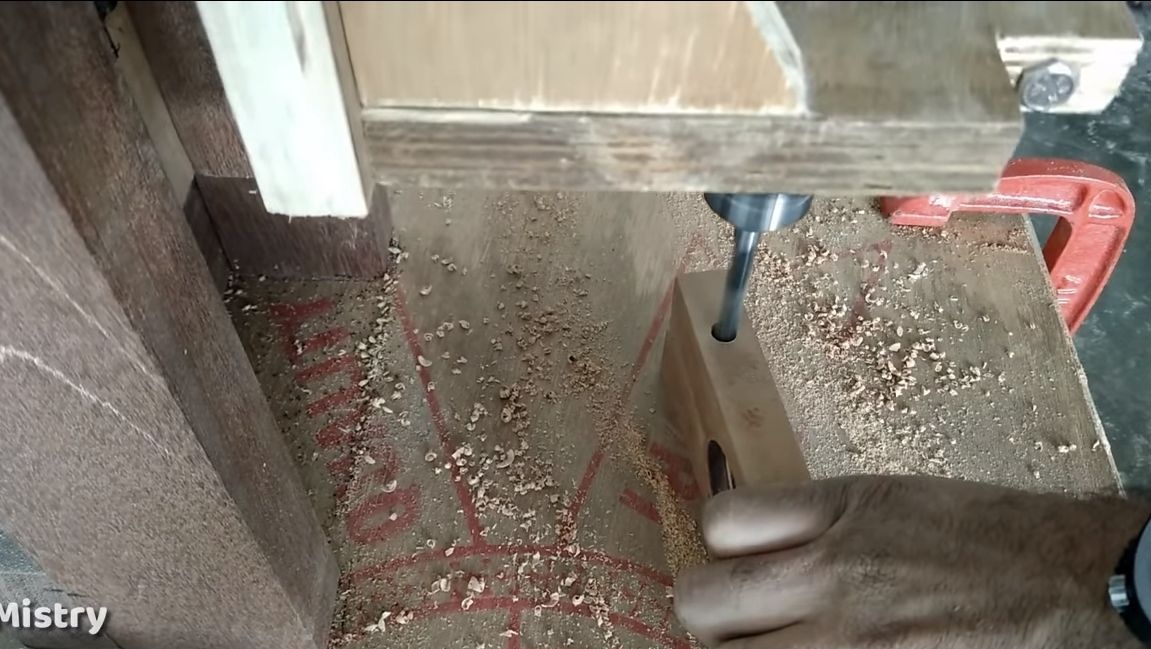
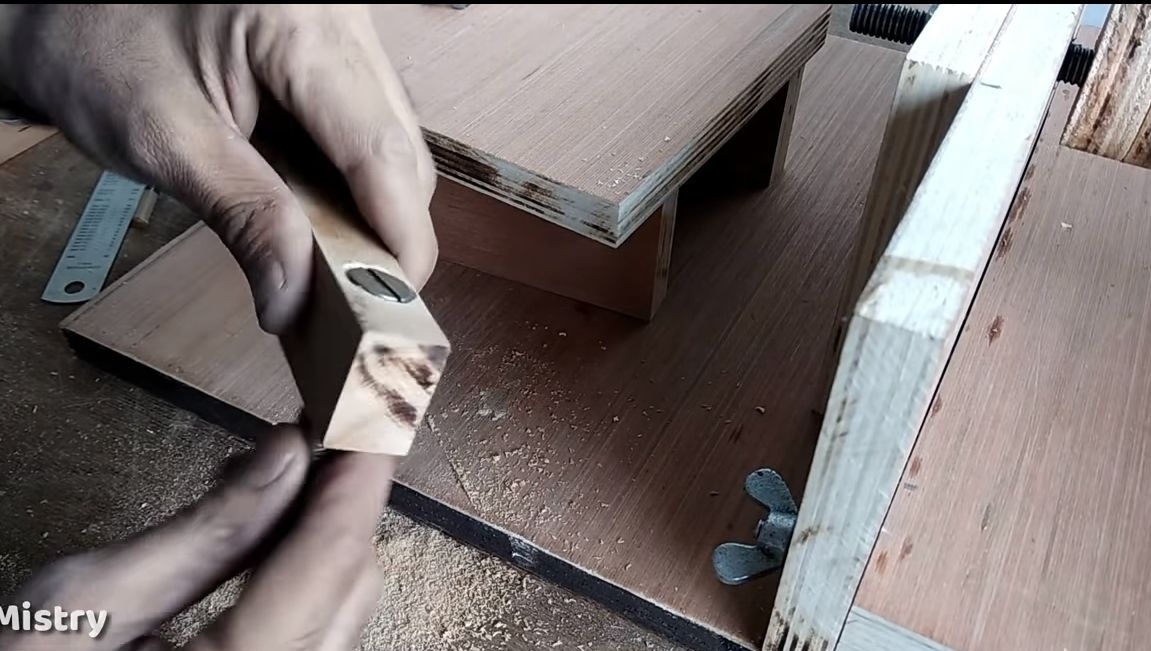
That's all, the bracket is almost ready. It remains to install the screws with which the drill can be clamped in the bracket. We drill holes for the screws and install the screws. You need to drill the seats for the screw caps so that they do not protrude. Install the screws and fill the hats with superglue or epoxy. Bracket can be installed! We apply glue for wood, install, and on the other hand we attract with screws.


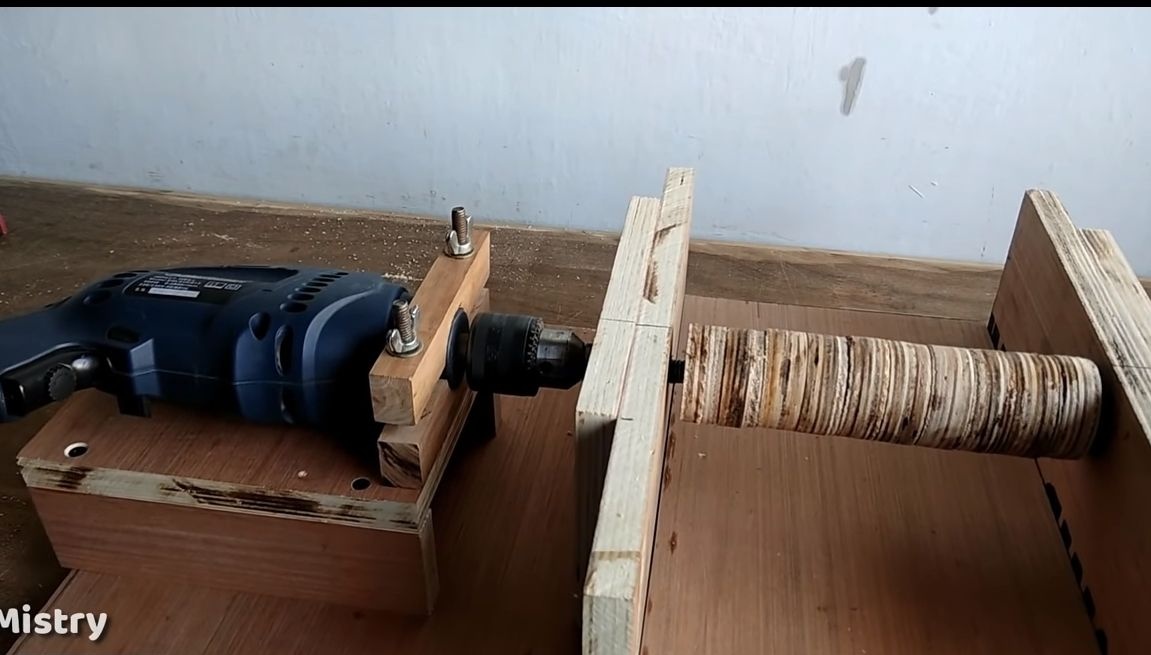
Fasten the drill and turn it on.She must be centered. Then fix the “table” for the drill with screws. The machine is almost ready, it remains to finish the rotor!
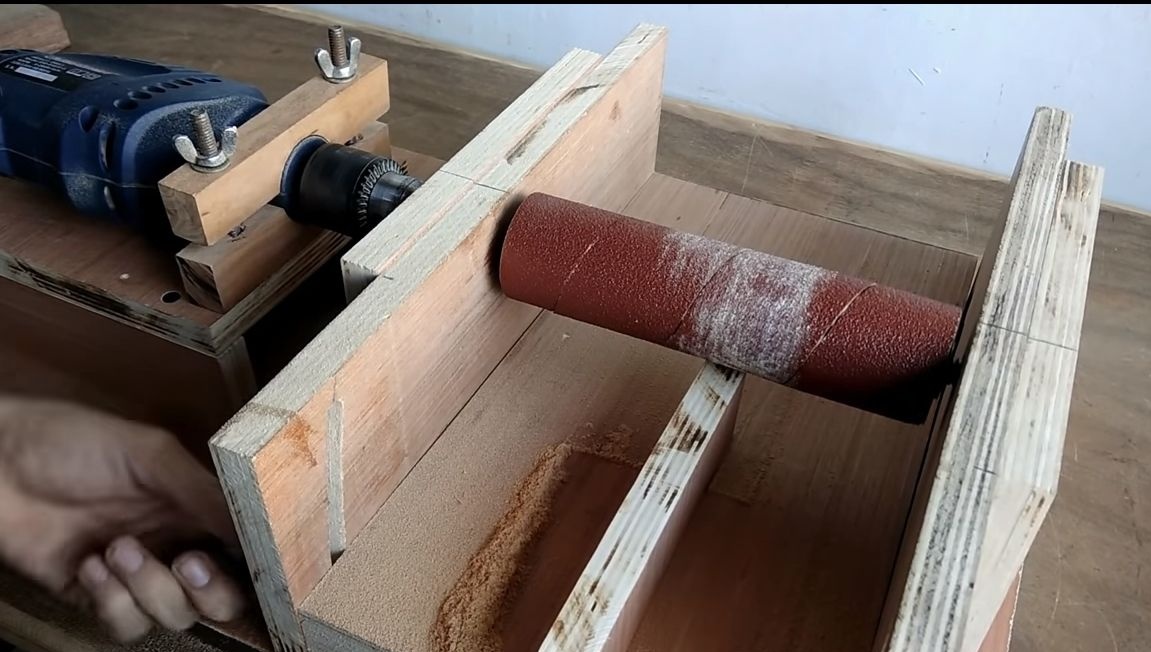
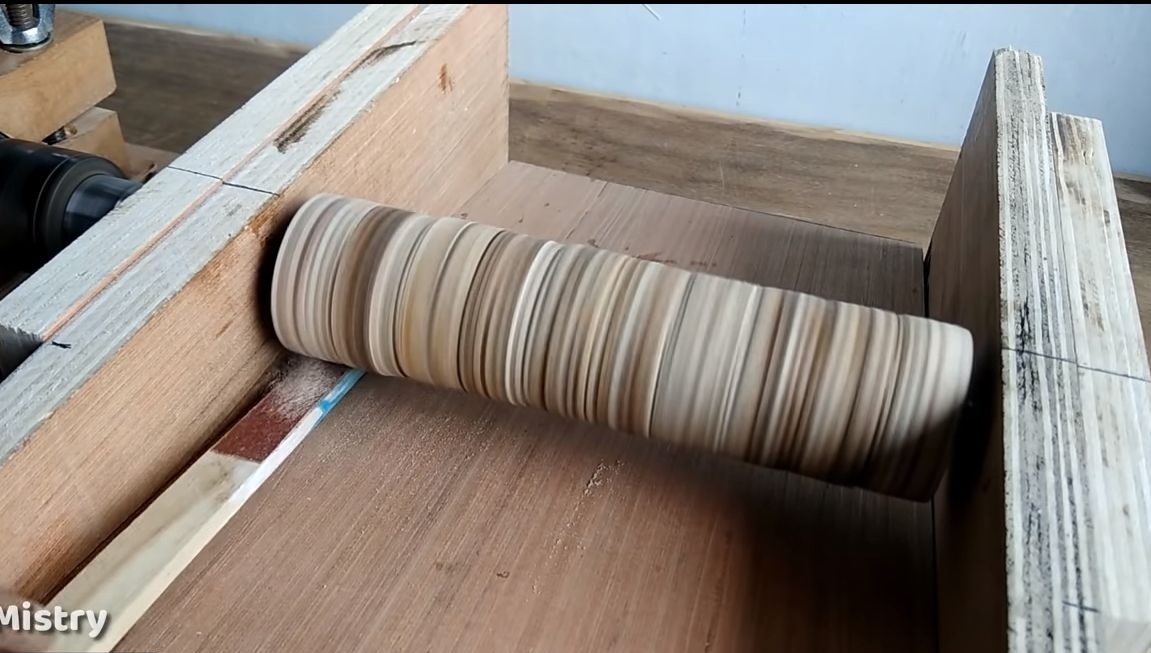
Step Eight. Grinding rotor
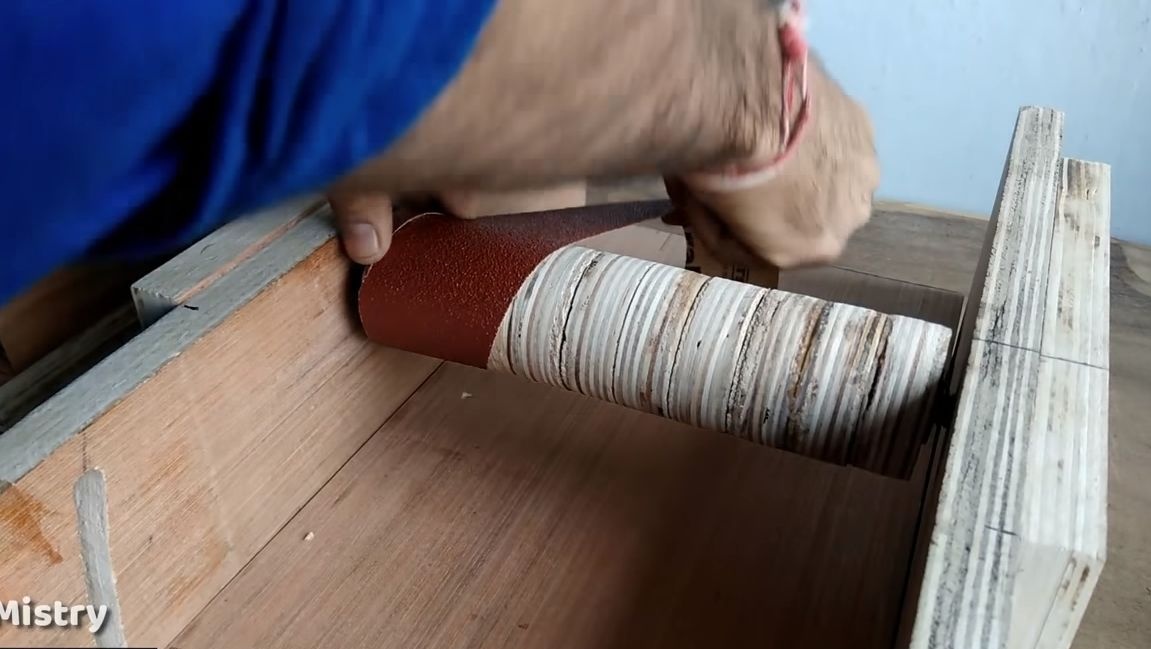
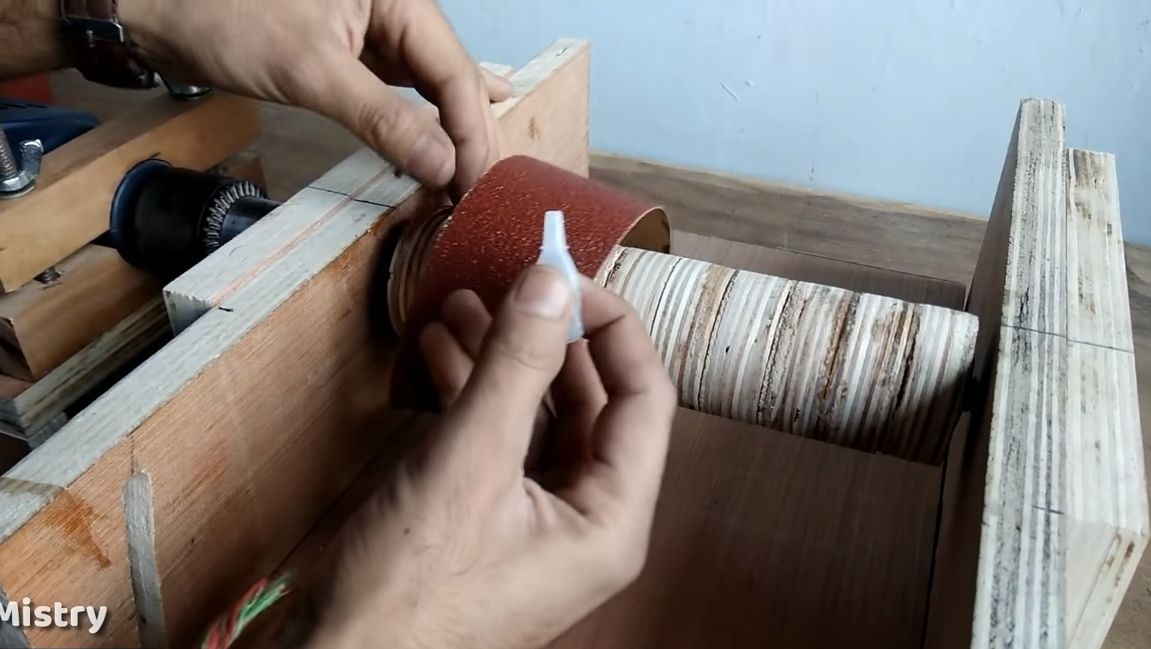
The grinding rotor will not be level, it must be sanded. To do this, turn on the machine and walk along the shaft with sandpaper or files. It is necessary to make it even and smooth, otherwise the machine will not work qualitatively.
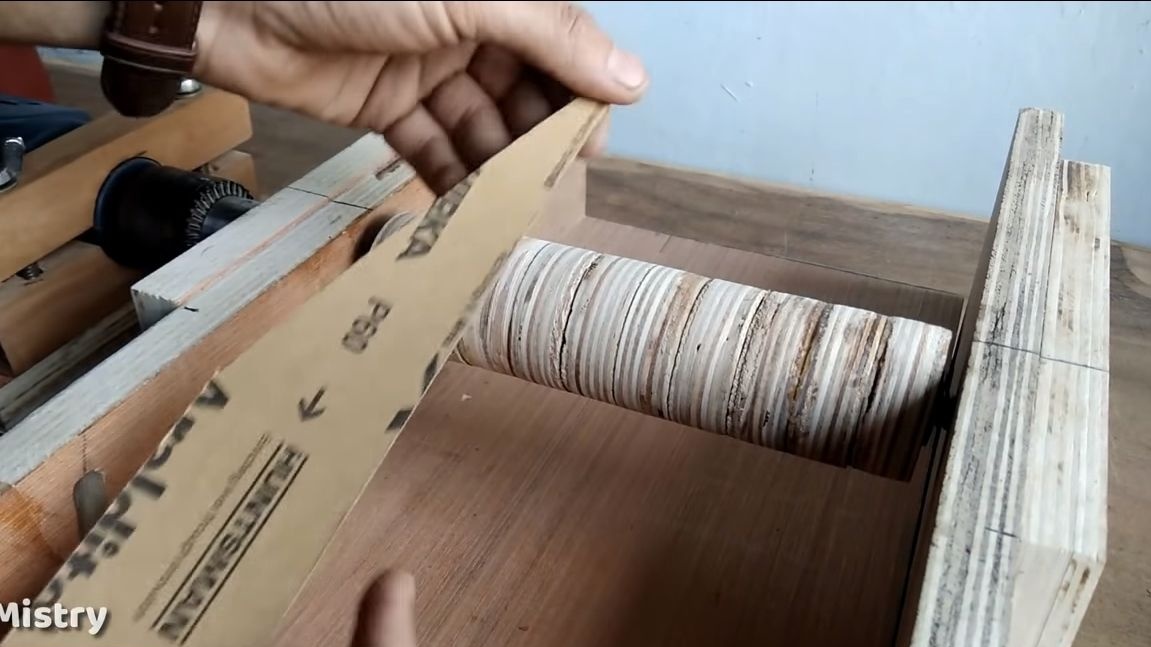
Now you can mount sandpaper. For the author, for some reason, it consists of two halves. We fasten the bow of the tape to the shaft with superglue and slowly wrap it around. Constantly apply superglue to paper or roll while winding. Similarly, the second half is wound, then the ends of the paper are finally glued with wood glue. Use superglue at the seams to glue sandpaper securely.

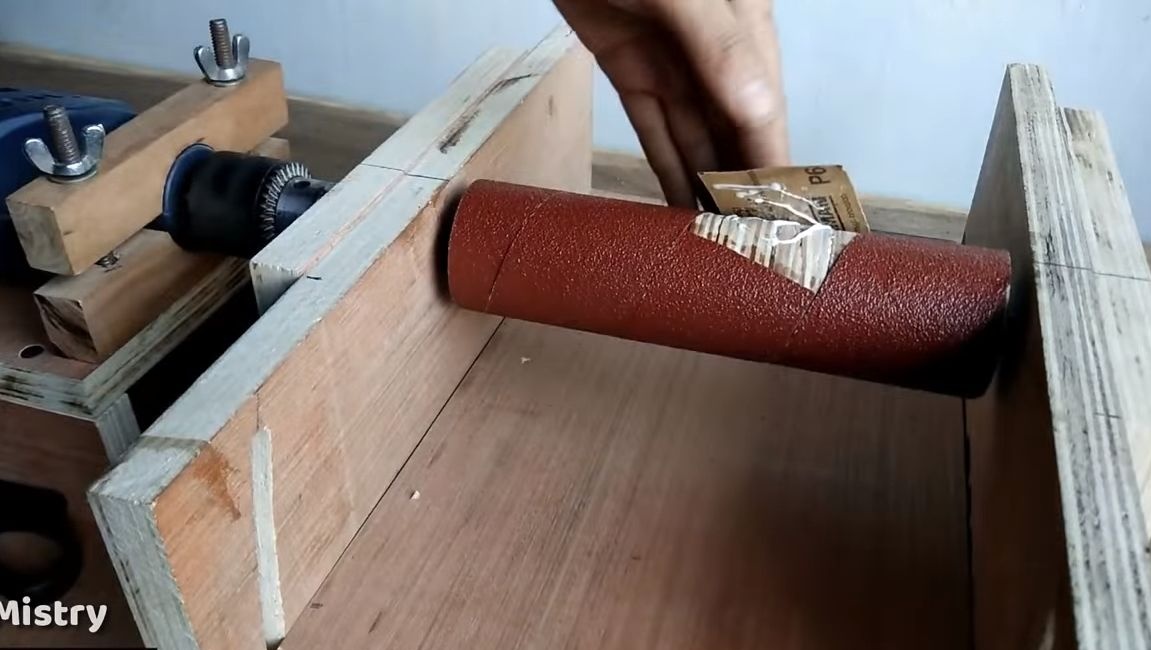
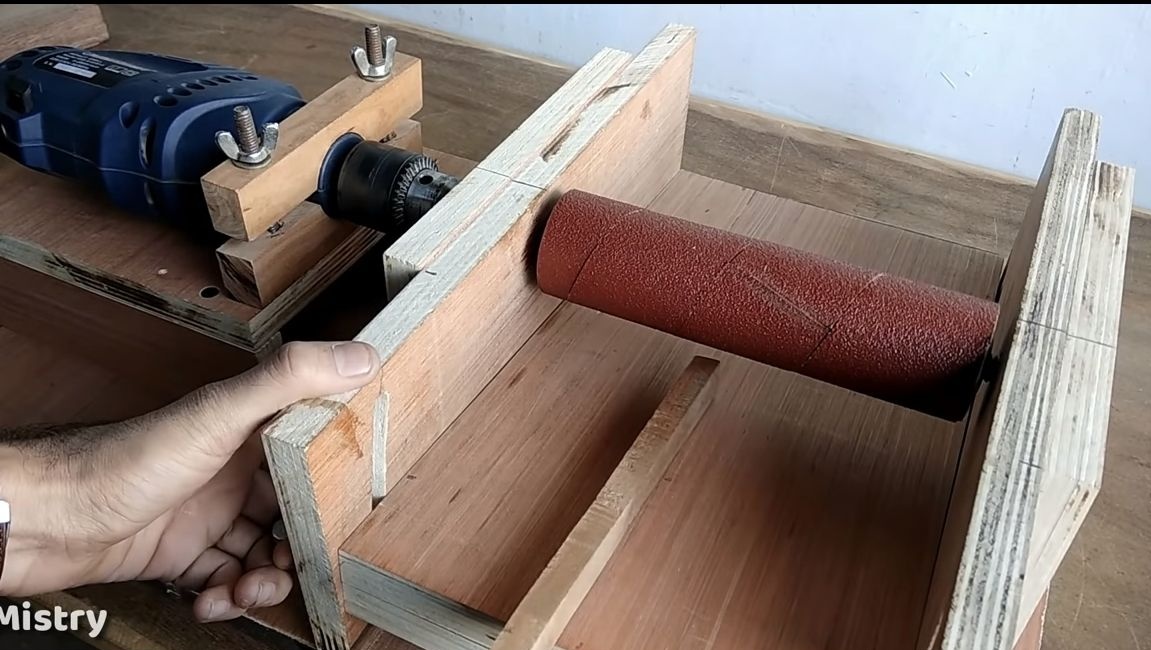
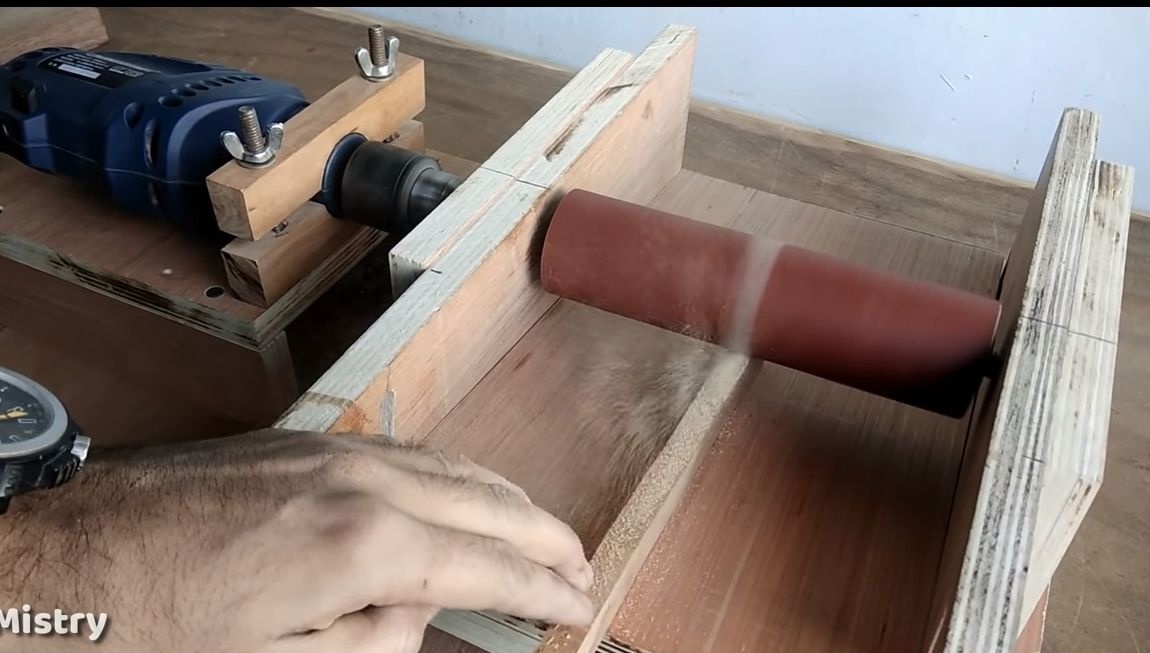
When the glue dries, the machine can be tested! As can be noted, it is going to be quite simple, but, as for me, you need to come up with a simpler way to install sandpaper on the shaft. As an example, the tape can be made whole and use hot glue, as an example. Well, or fasten it around the edges with screws.