

Hello to all lovers homemade and those who accidentally got here. Once I needed to glue the plywood in home conditions, but there was no cargo at hand to fix all this for a couple of hours for gluing. Without thinking twice, I decided that a clamp would help me cope with this task. But bad luck, it is not there either. That is what prompted me to make a clamp do it yourself, which will help save time, money and gain experience with carpentry inventions, which will never be superfluous.
In order to make a homemade clamp from plywood, you will need:
* Plywood sheet
* 120 mm bolt with nut
* PVA glue
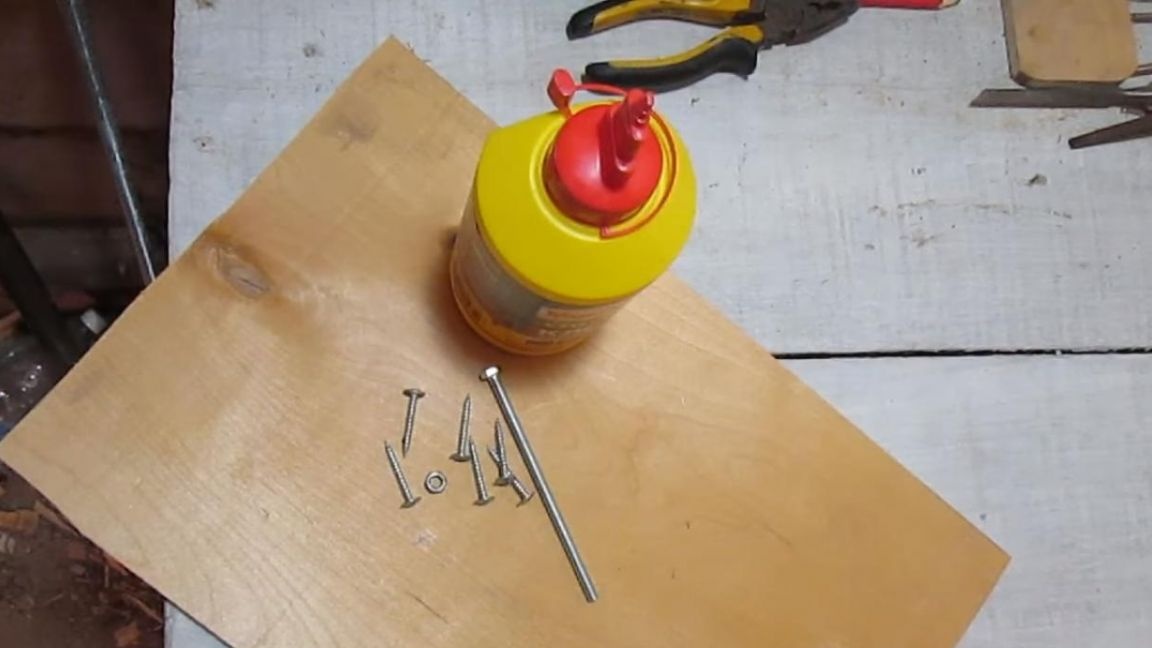
* 6 self-tapping screws with a press washer
* Electric drill or screwdriver
* Electric jigsaw
* Angle grinder or in the common people "Bulgarian"
* Sanding disc
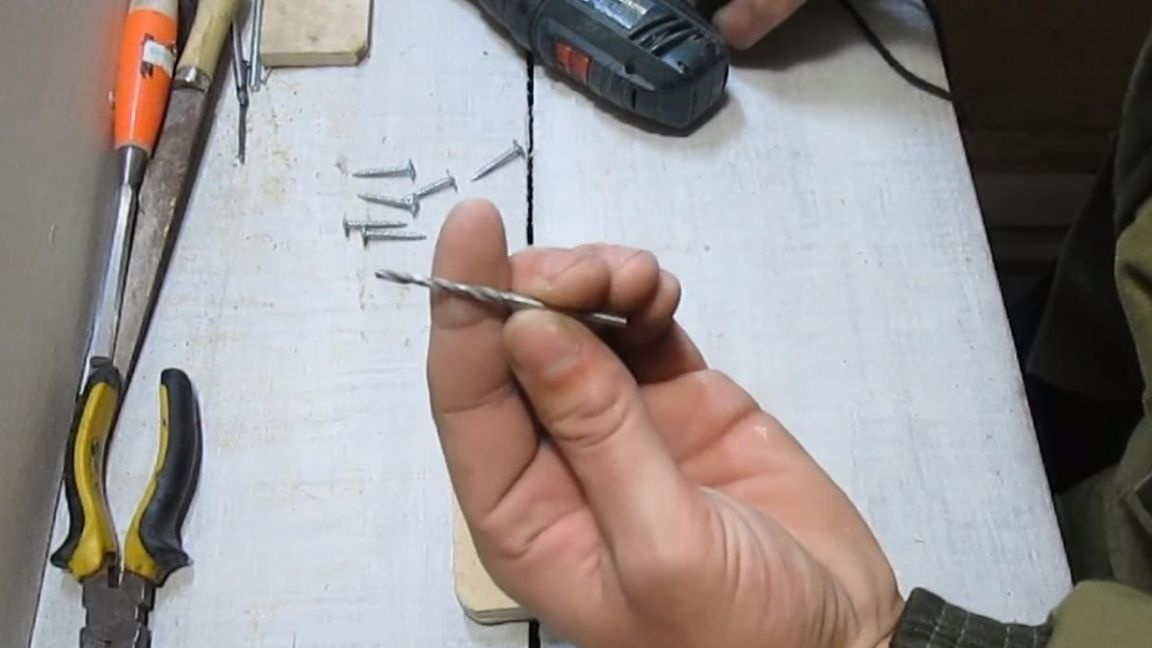
* Drill 3mm and 6mm
* Paint tank
* Wooden block
* Square construction
* Saw wood
That's all that helps to make a clamp with your own hands, I think no one will have the trouble to find all the components.


Well, now the assembly process itself, but before that, I suggest watching a video in which the manufacture of this homemade product is graphically shown.
Step one.
First of all, you need to find a sheet of plywood, the thickness of which will be 8 mm, I do not recommend using plywood thinner, since such rigidity will not be enough and it can simply break.
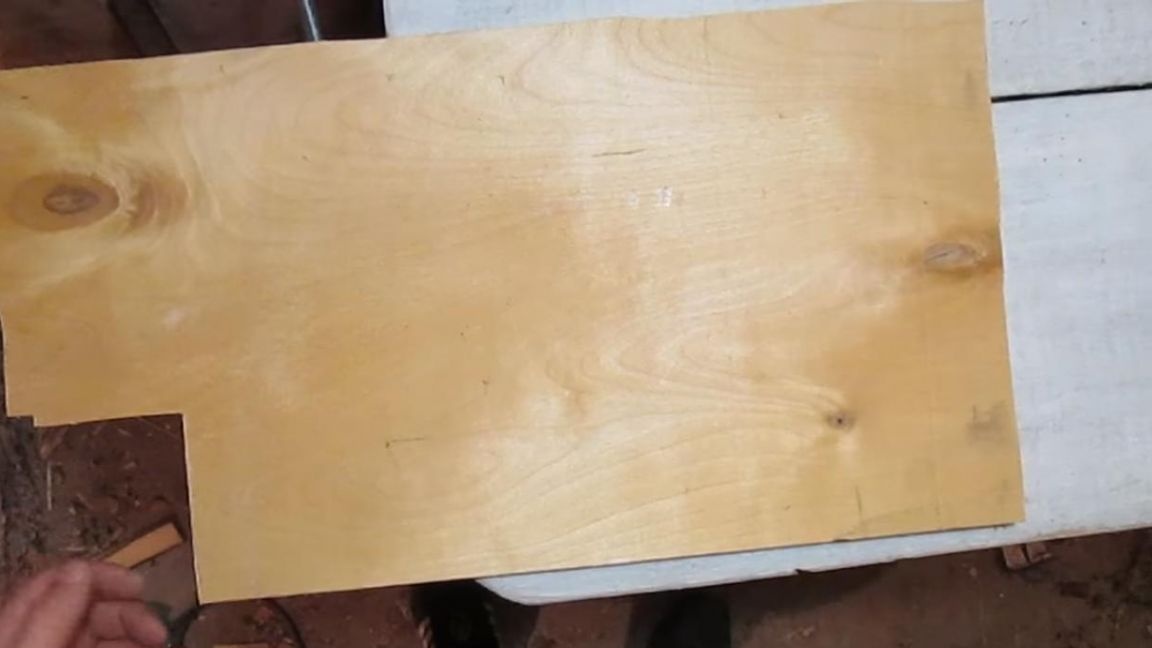
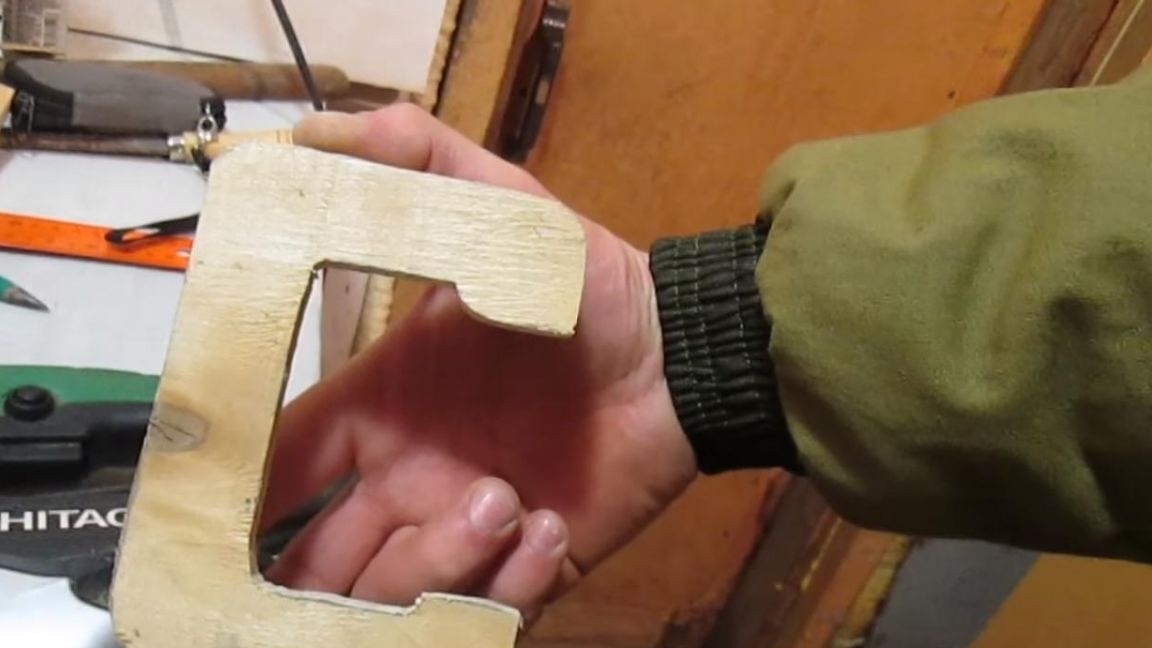
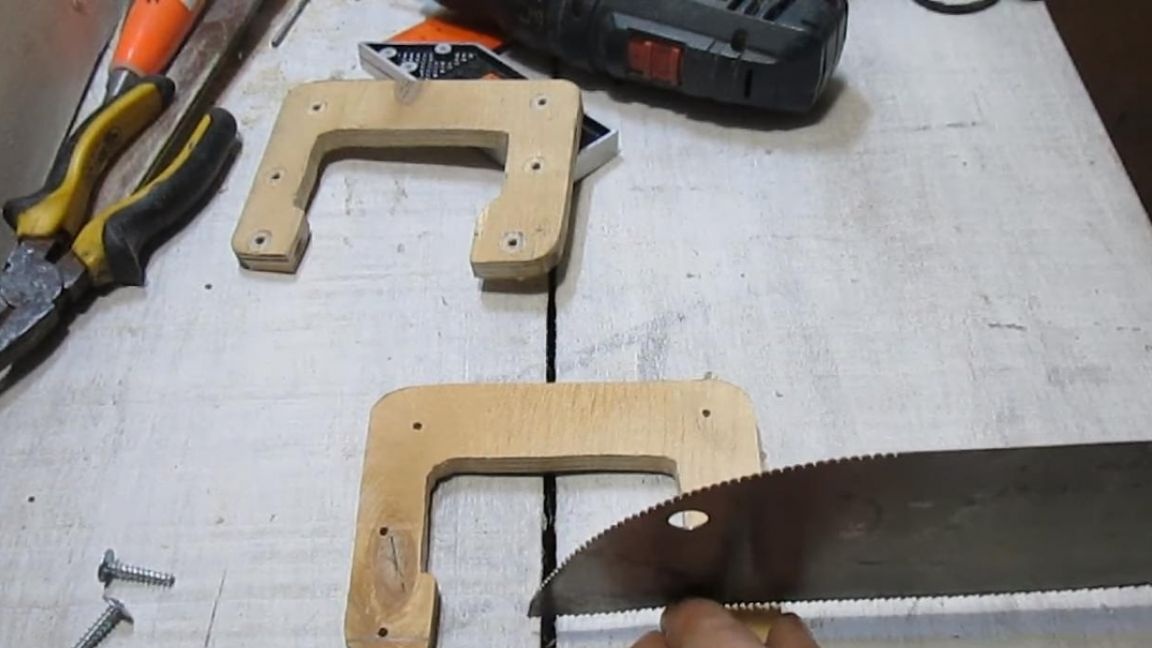
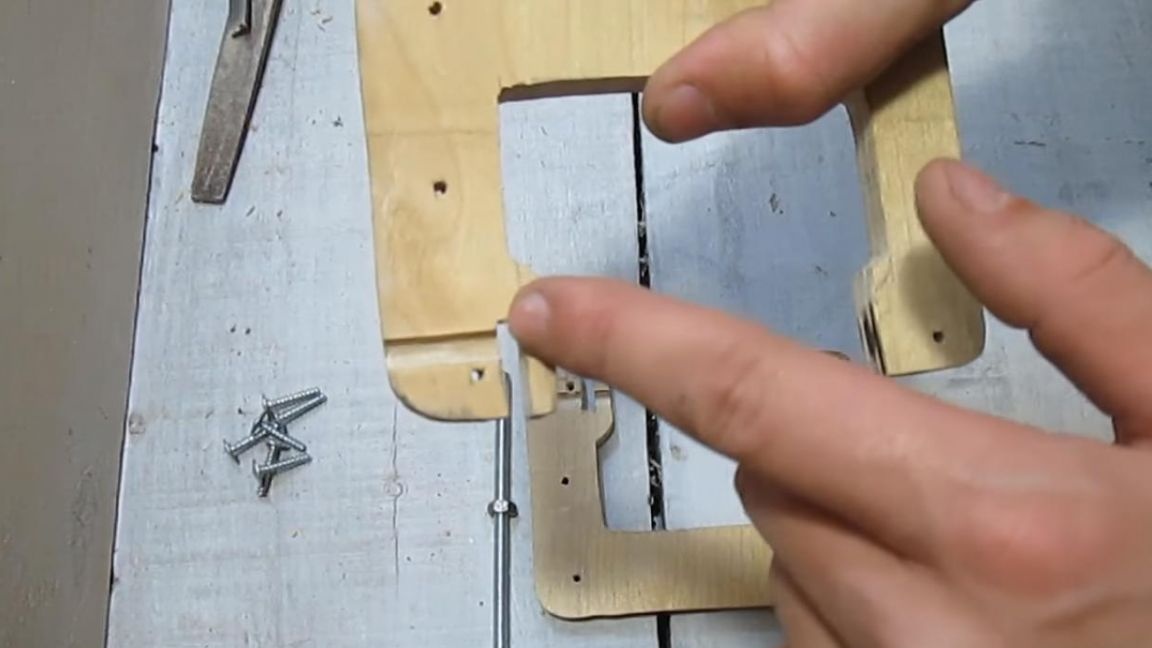
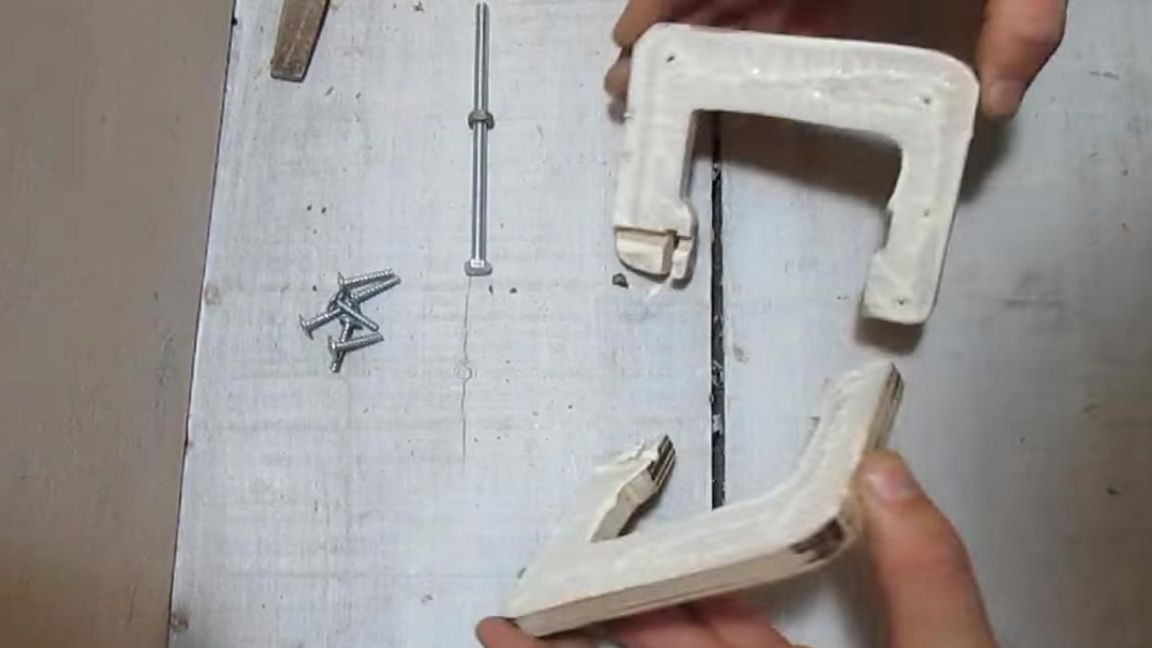
We place the plywood on the workbench and note the dimensions of the future clamp, or rather its half, since it will consist of two parts cut from plywood.
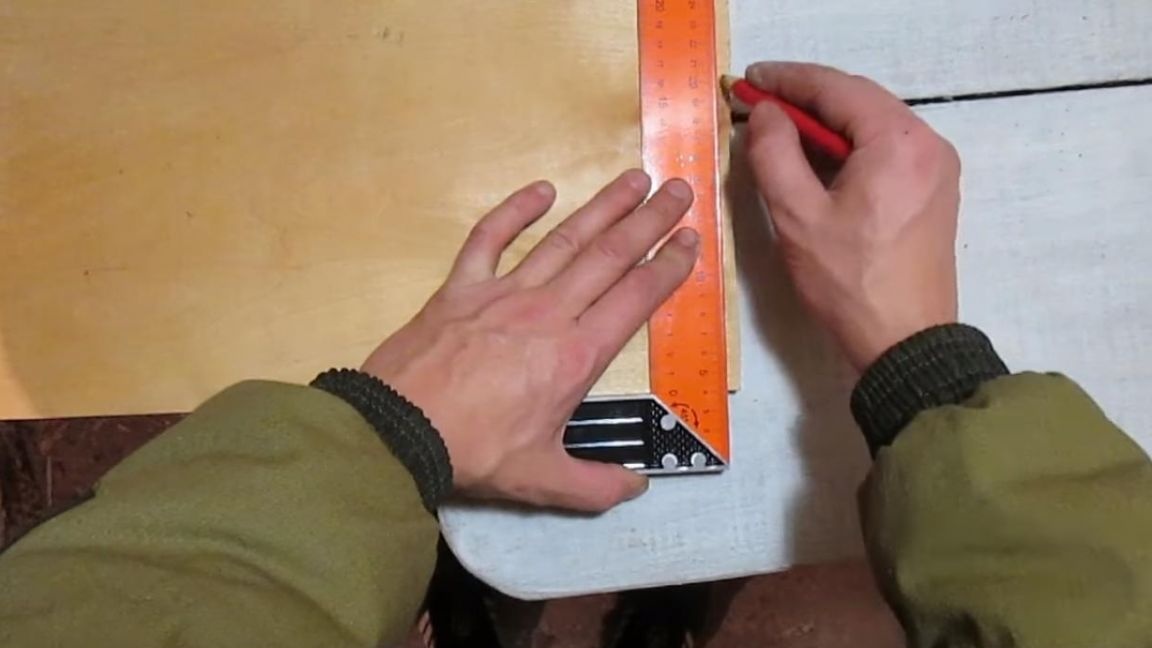
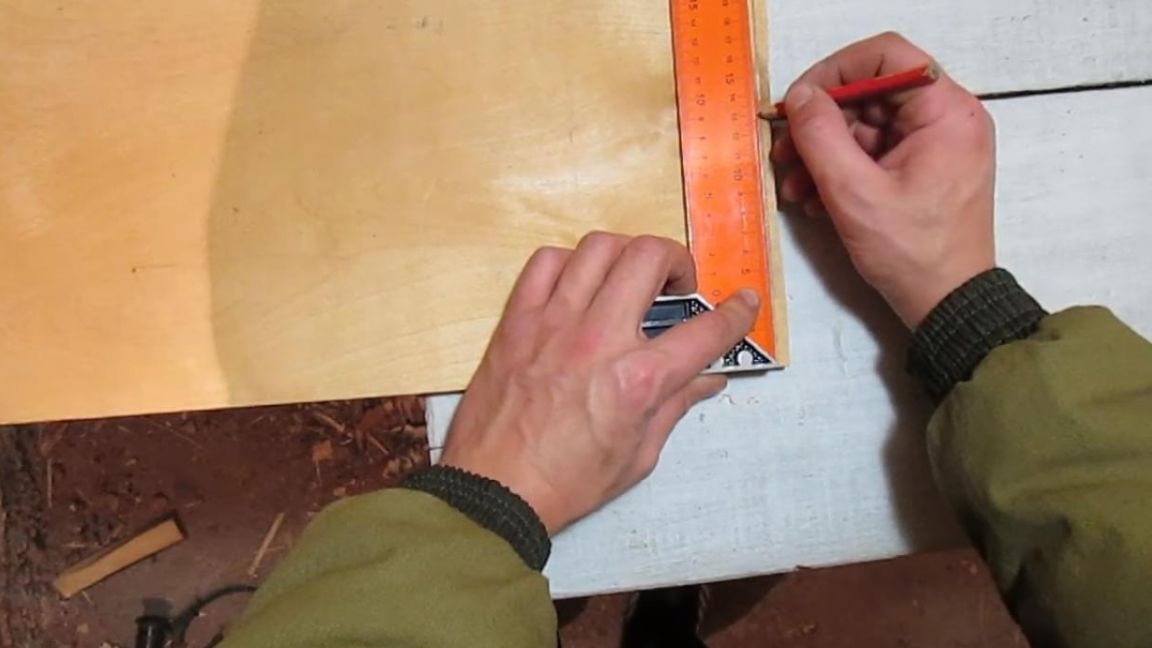
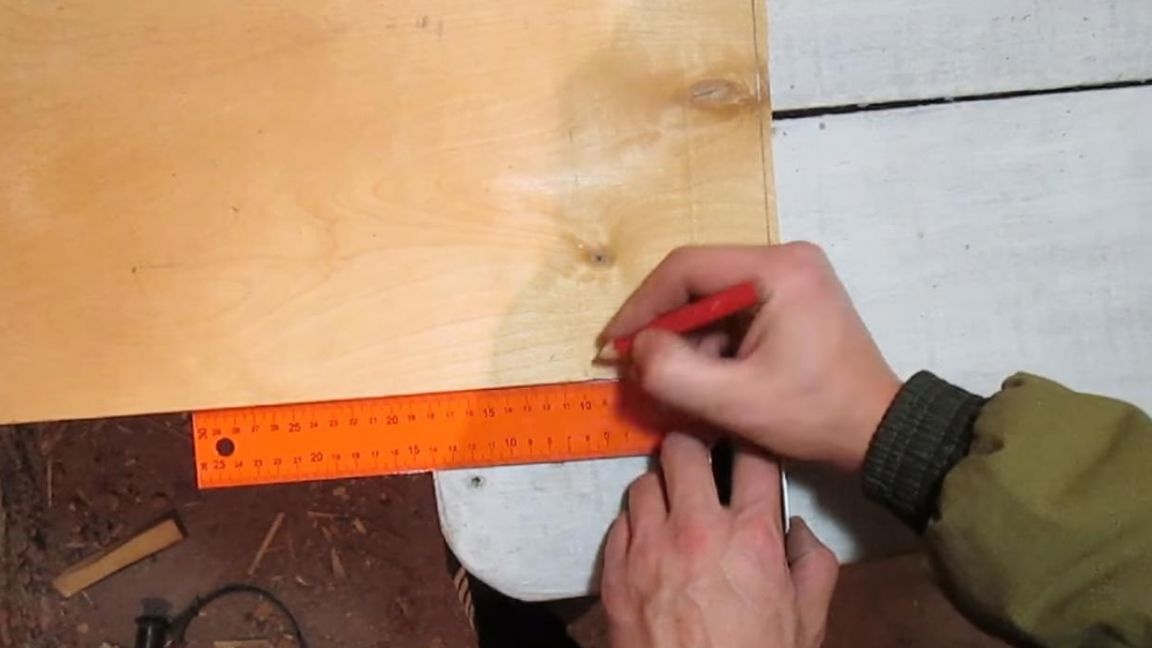
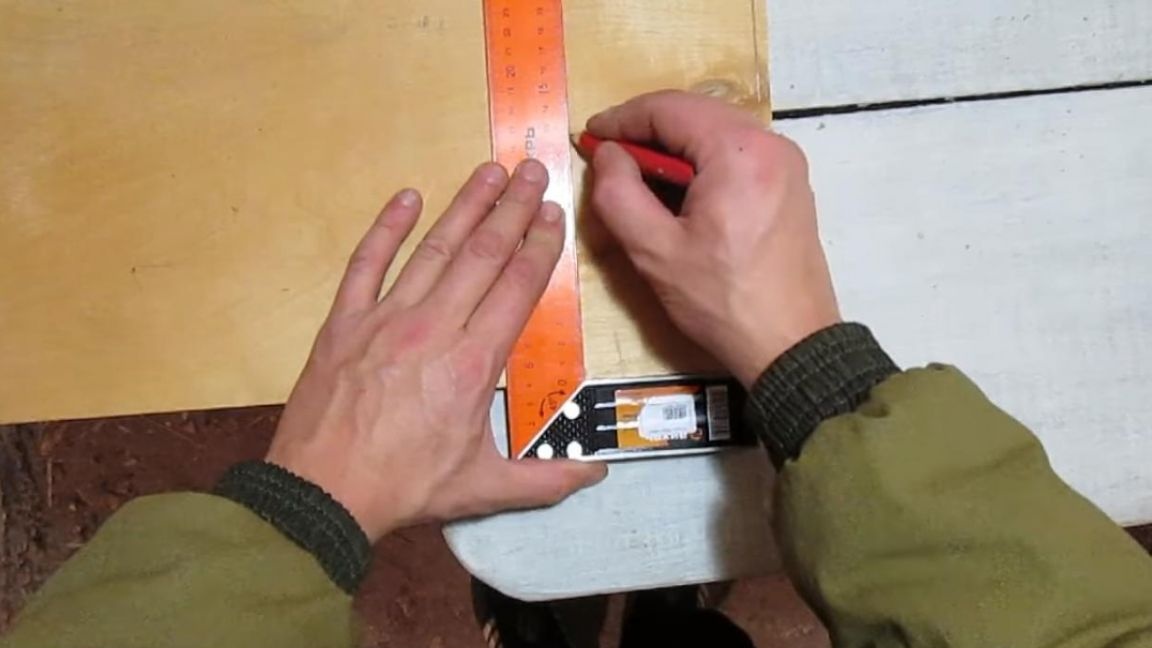
The height of the future clamp is 130 mm, and the width is 100 mm, it is also worth paying attention to the thickness of the jaws, both upper and lower. The lower lip has a thickness of 30 mm, since then a nut will be mounted in it and there will be a large load, and the upper one will be 20 mm thick, which will be enough.
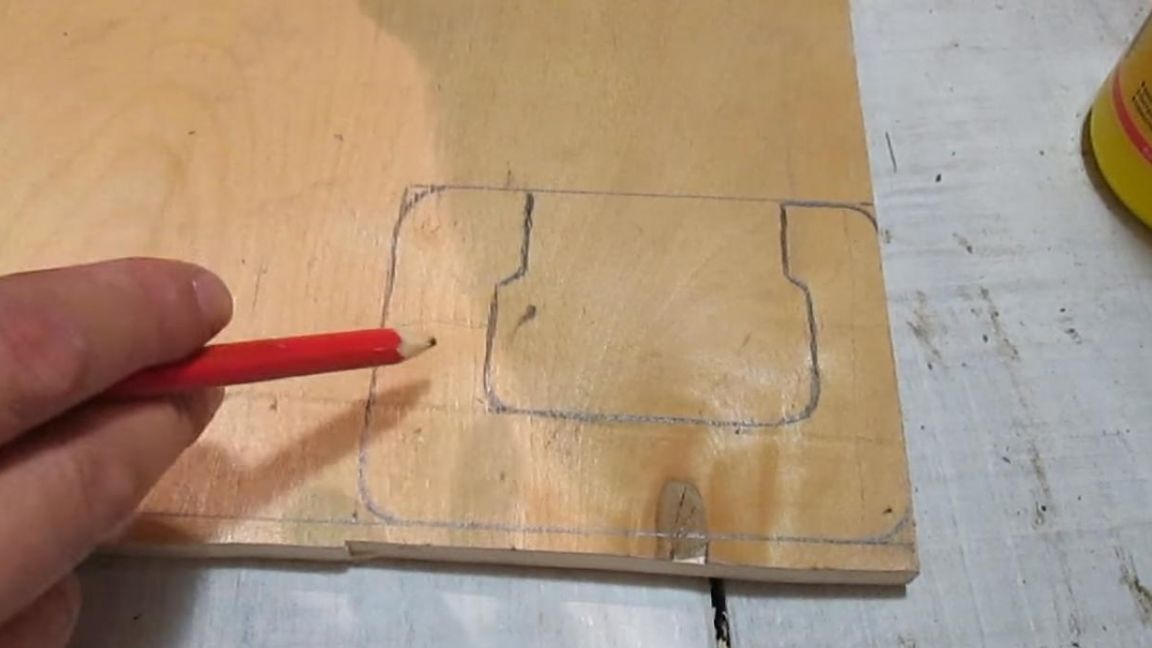
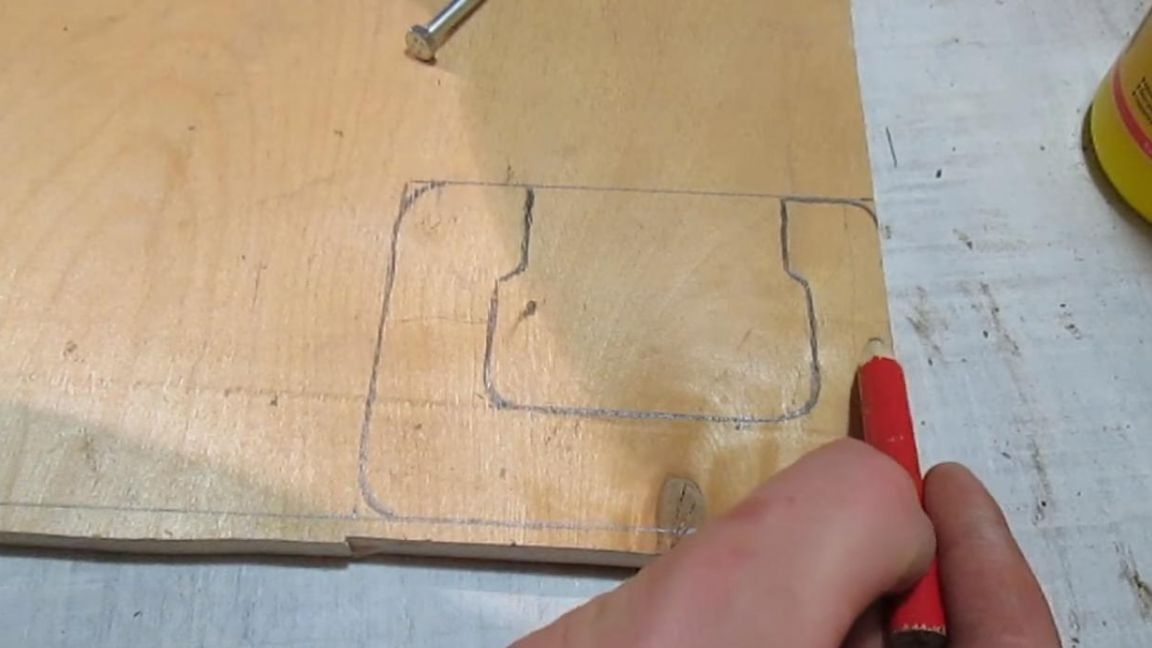
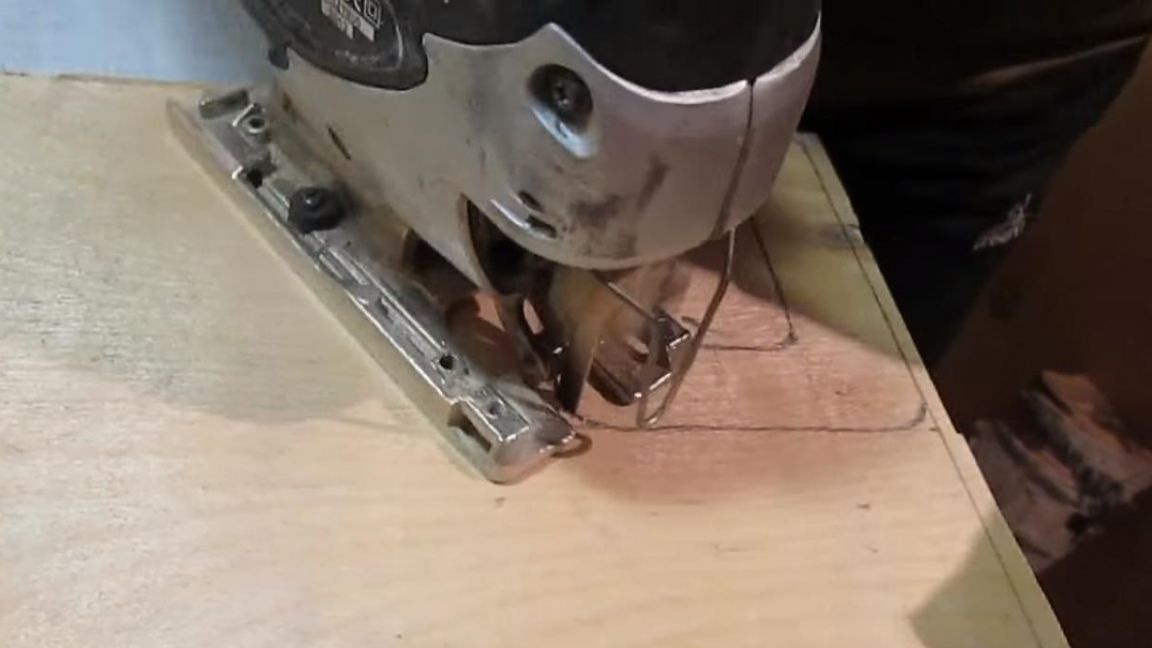
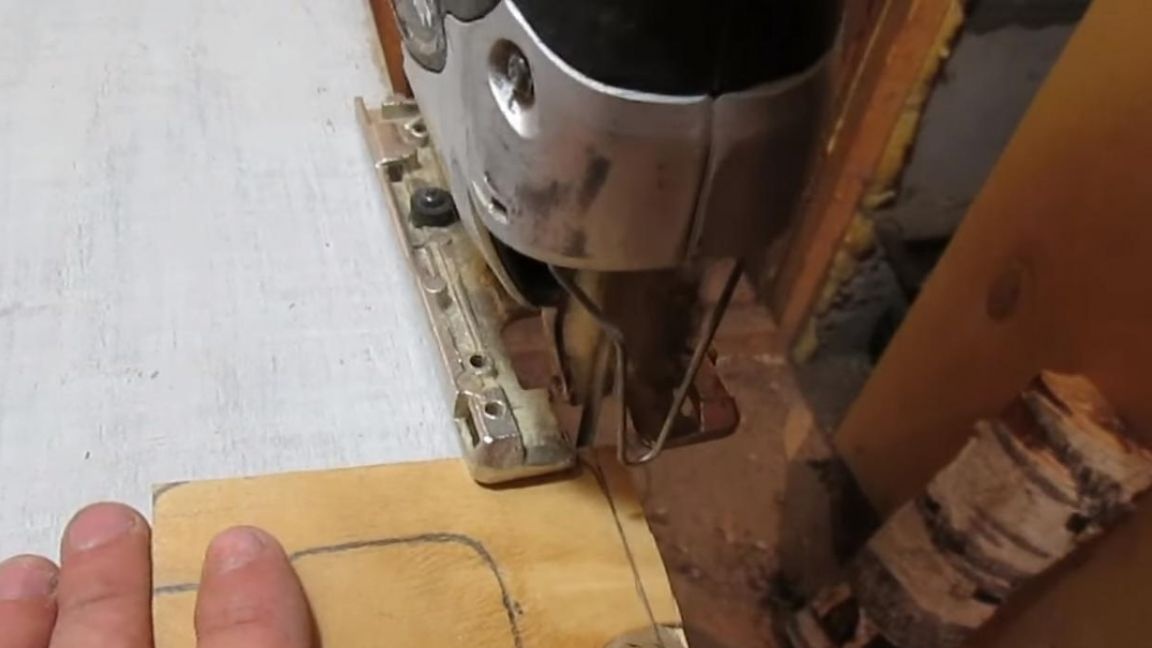
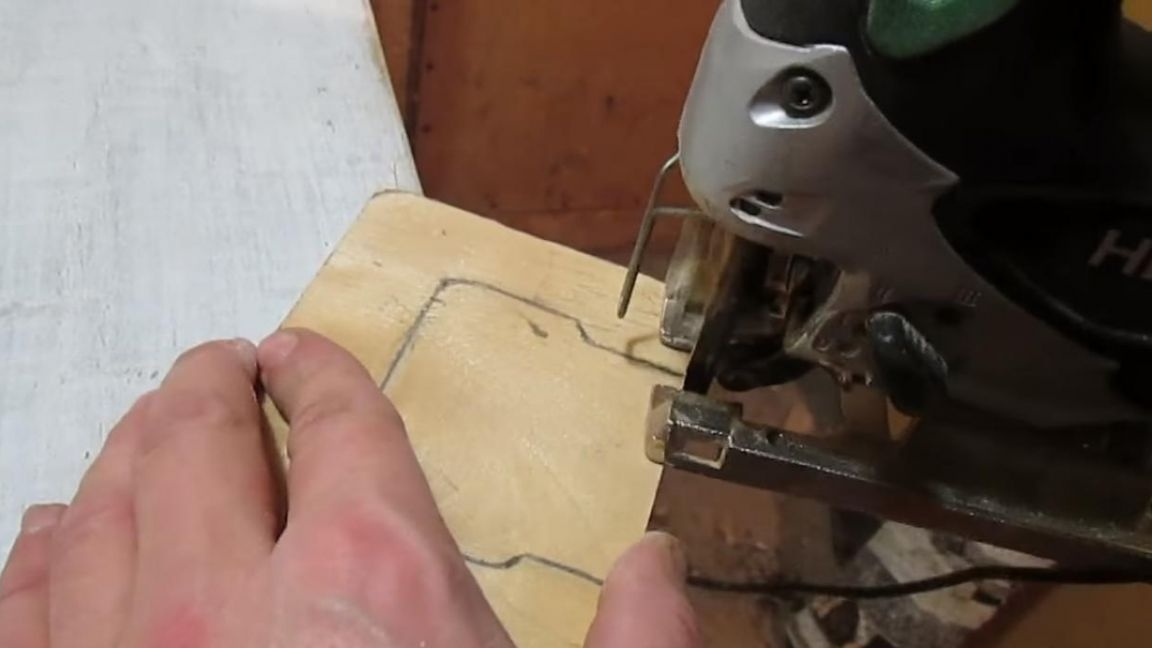
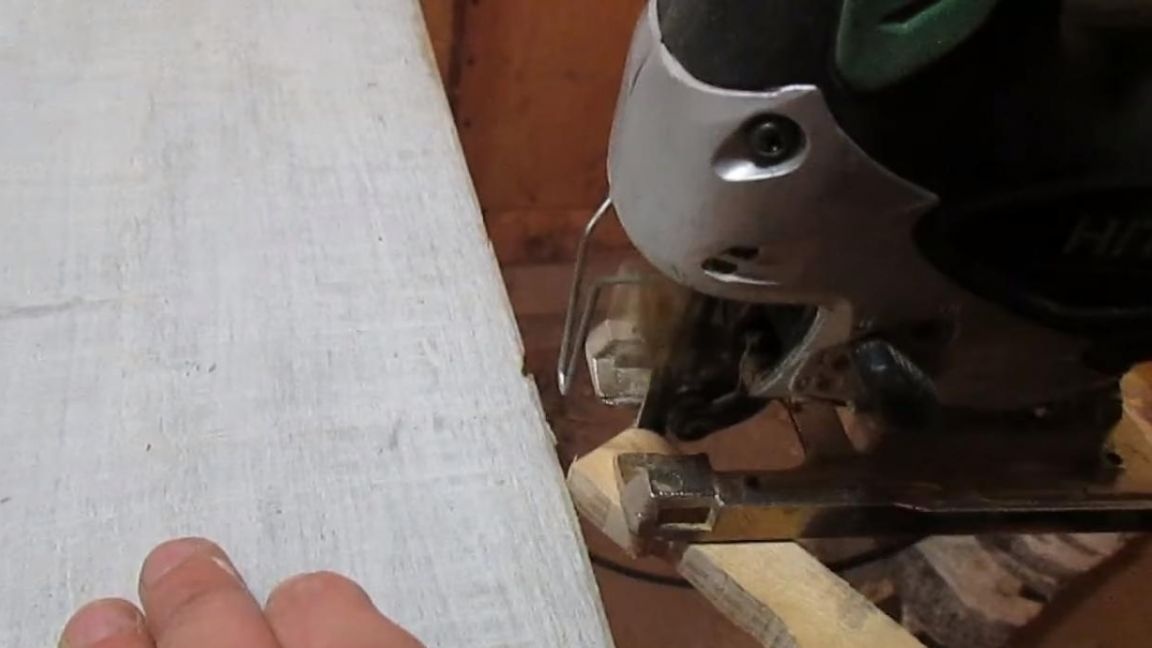
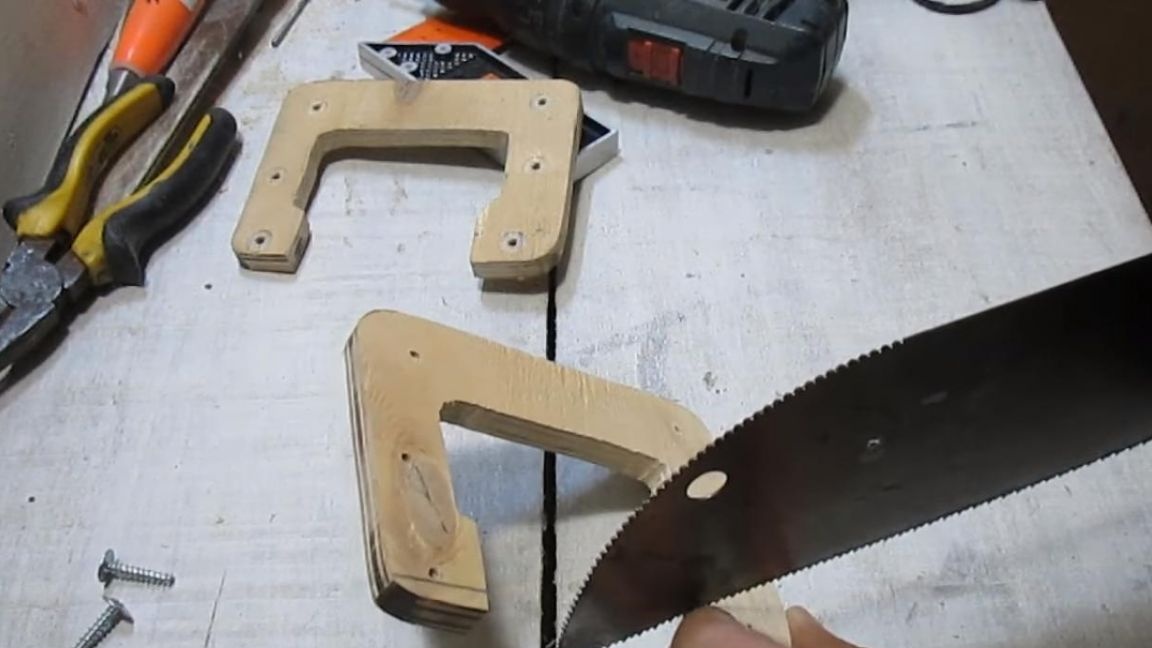
After drawing a sketch, you can cut two identical parts, a jigsaw with a file with a small tooth copes well with this task, which allows you to get a neat cut.
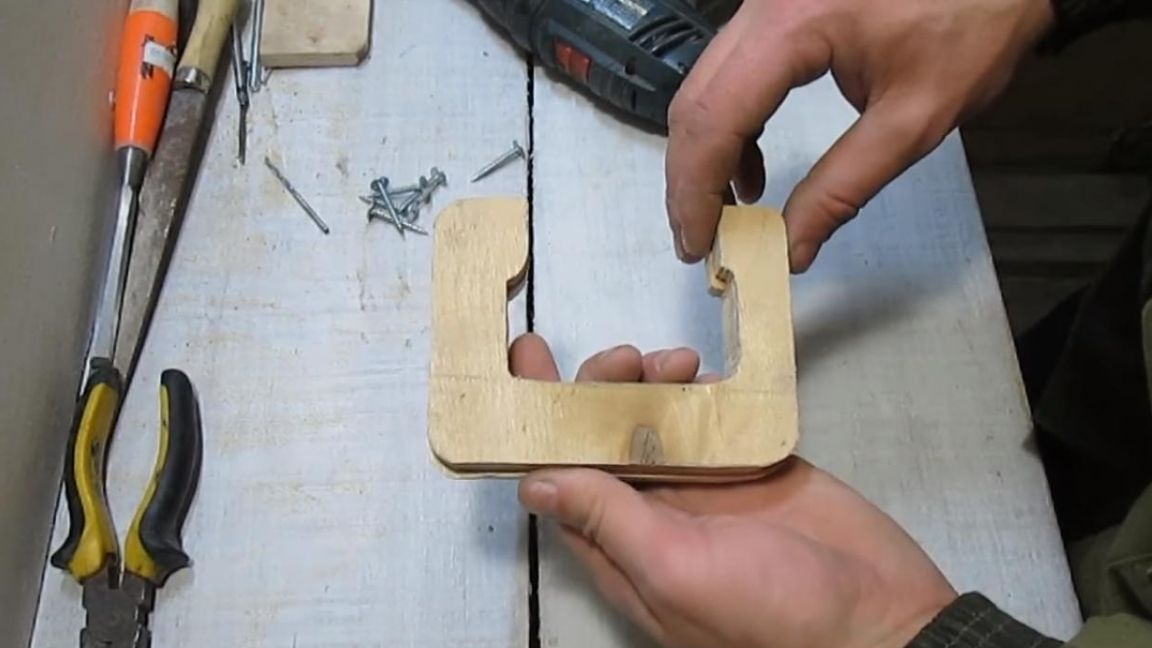
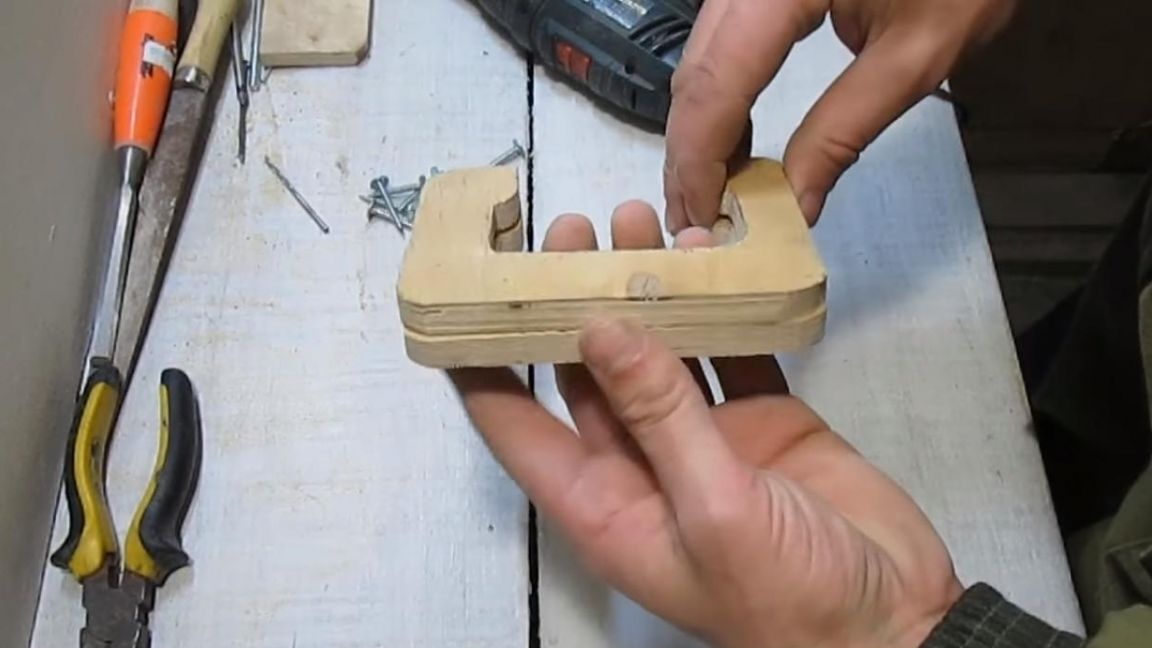
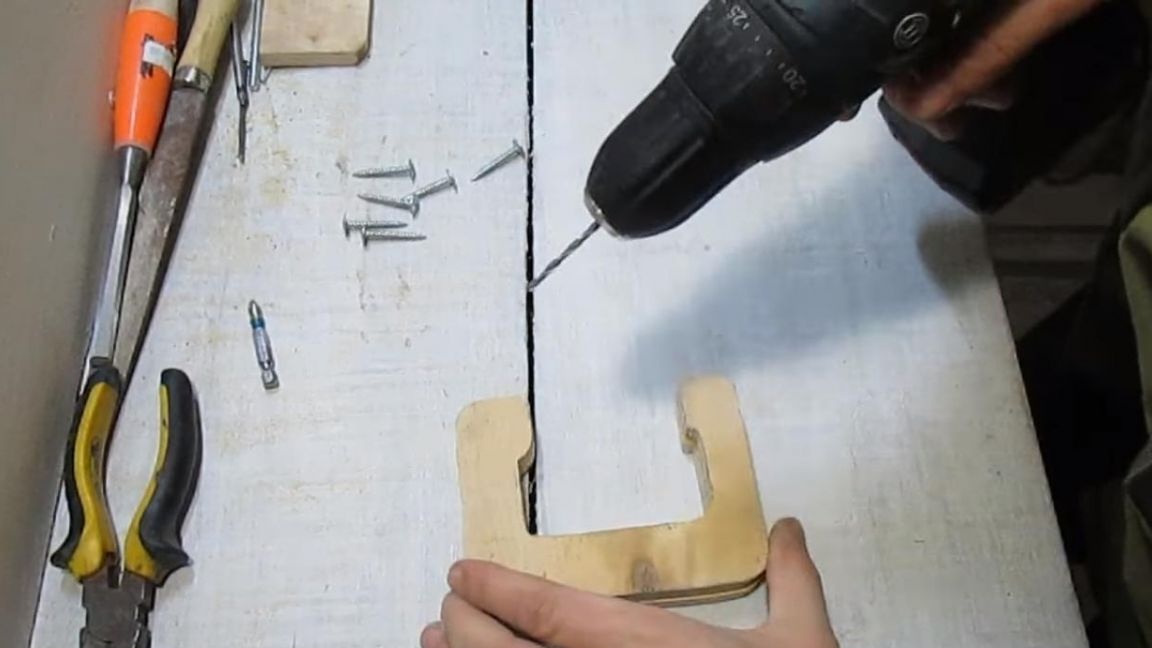
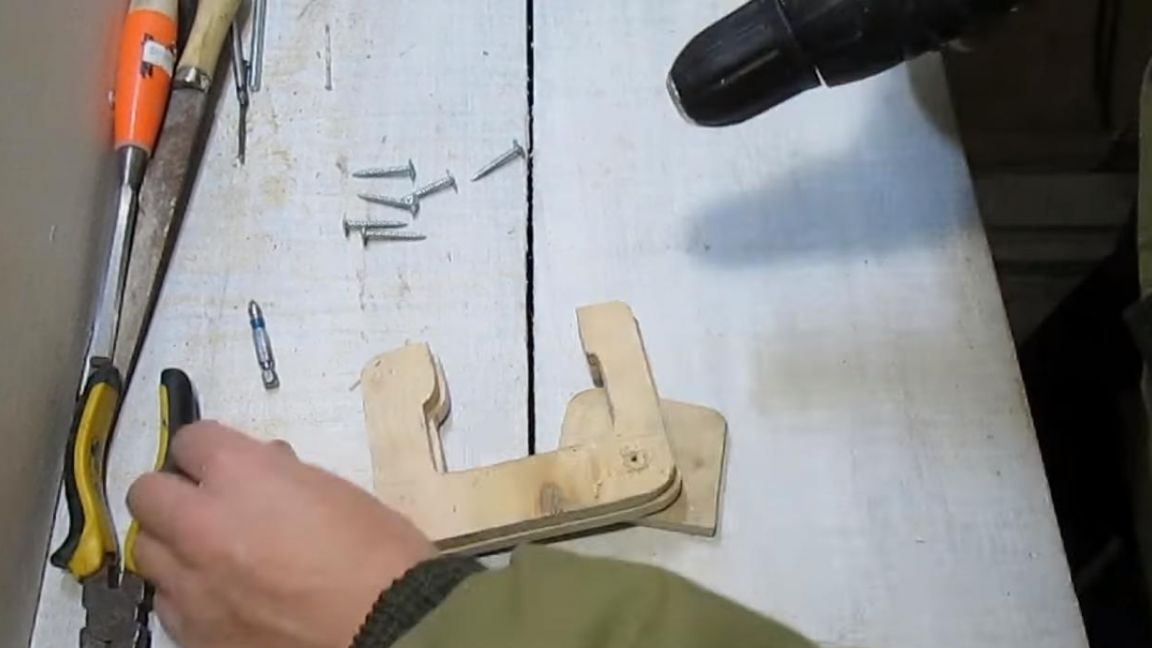
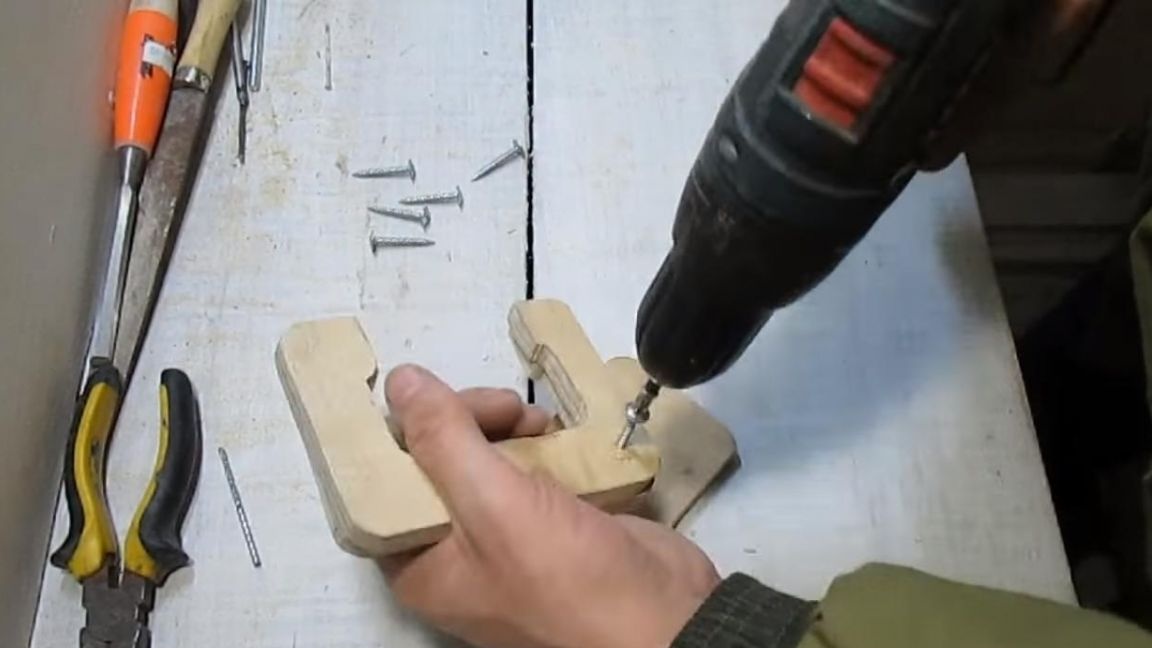
Step Two
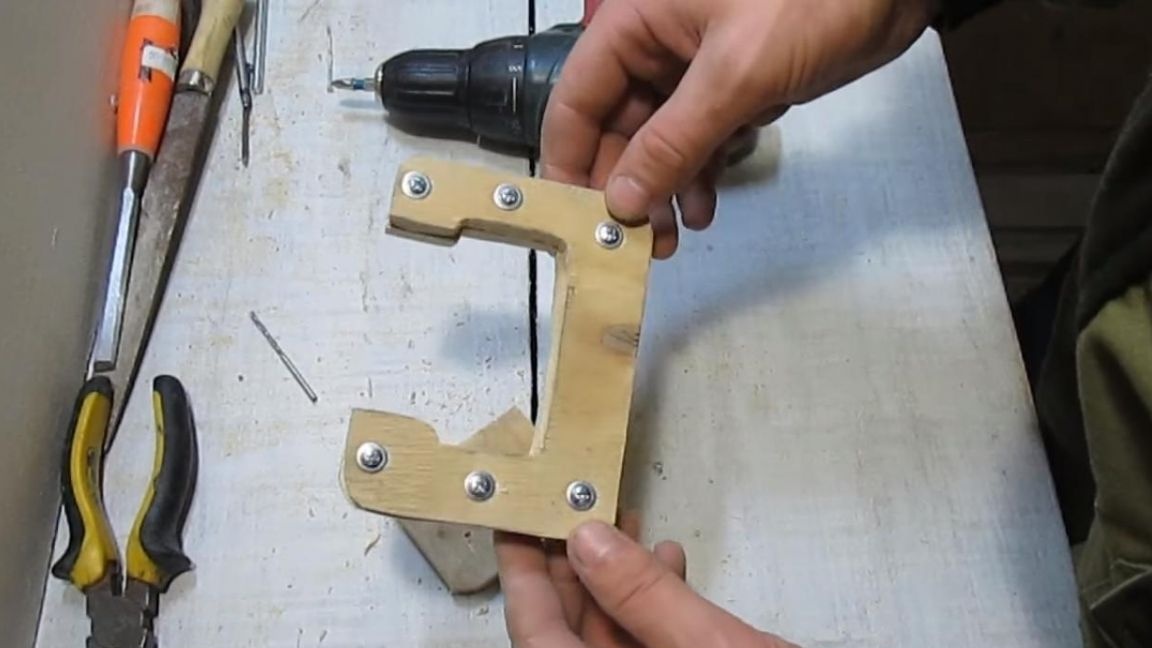
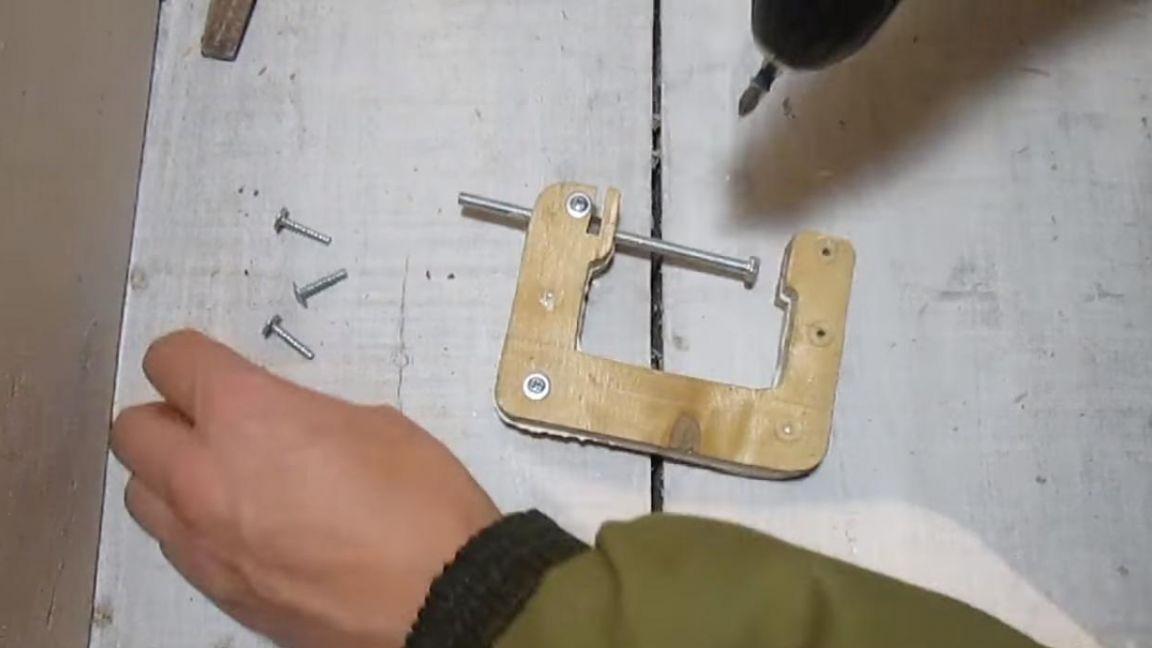
After the two parts sawn according to the template are ready, we proceed to their processing.But before that, they must be fastened with self-tapping screws, which will make it possible to make two completely identical parts. Before twisting the screws, you need to drill holes with a 3 mm drill, otherwise plywood can crack, which we do not need at all.

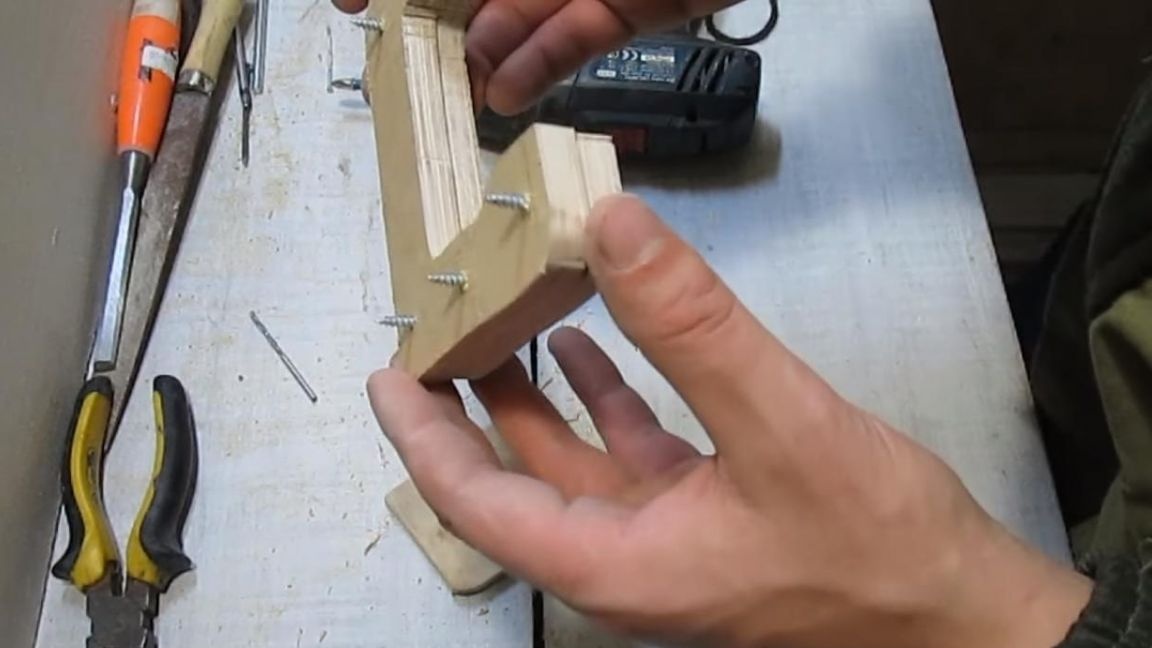
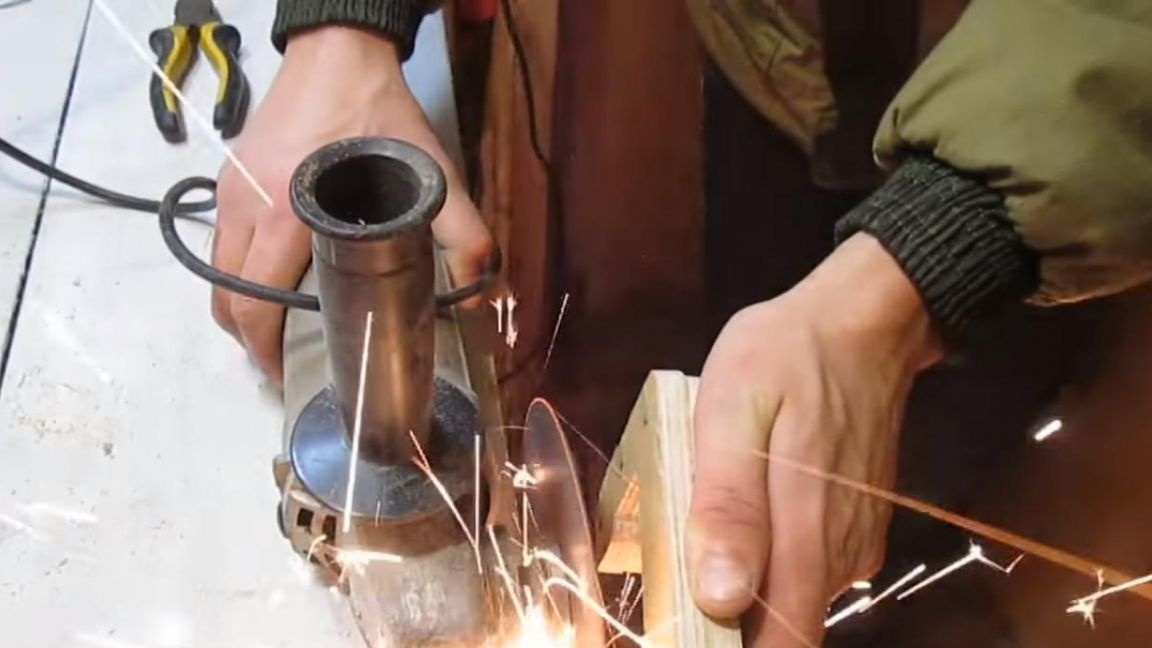
Now go to grinding parts. I do not recommend this method of grinding with a grinder, since it is completely unsafe, if you have a grinding machine or a special machine for these matters, then it is certainly wiser to process these two parts on them than to use angle grinders.
Step Three
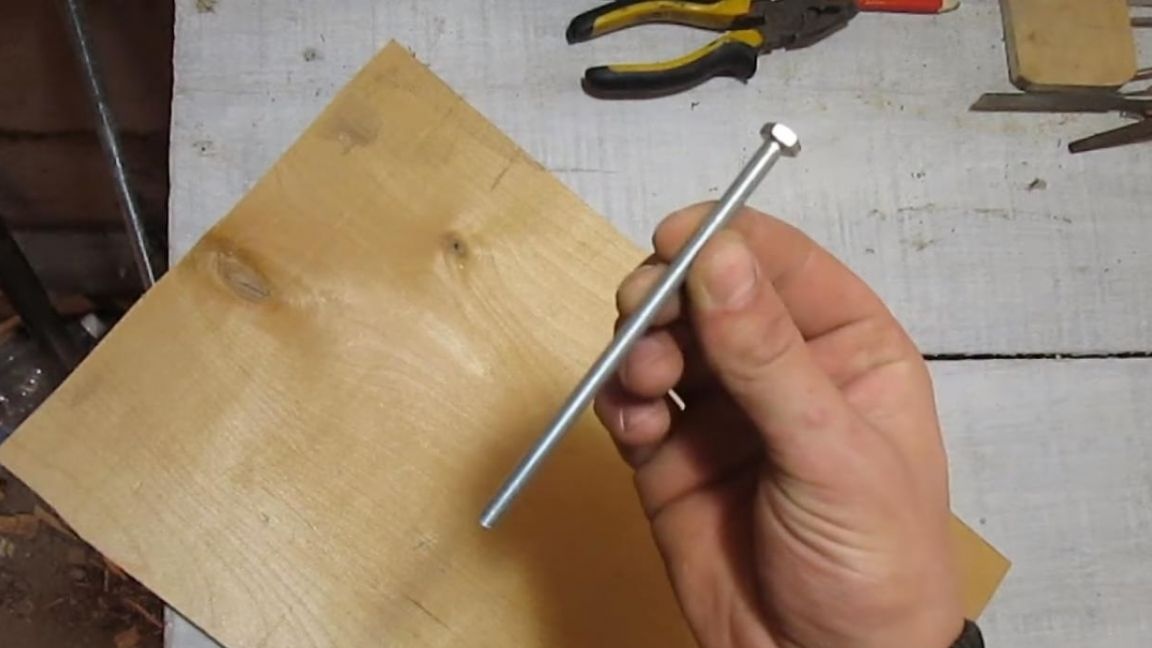
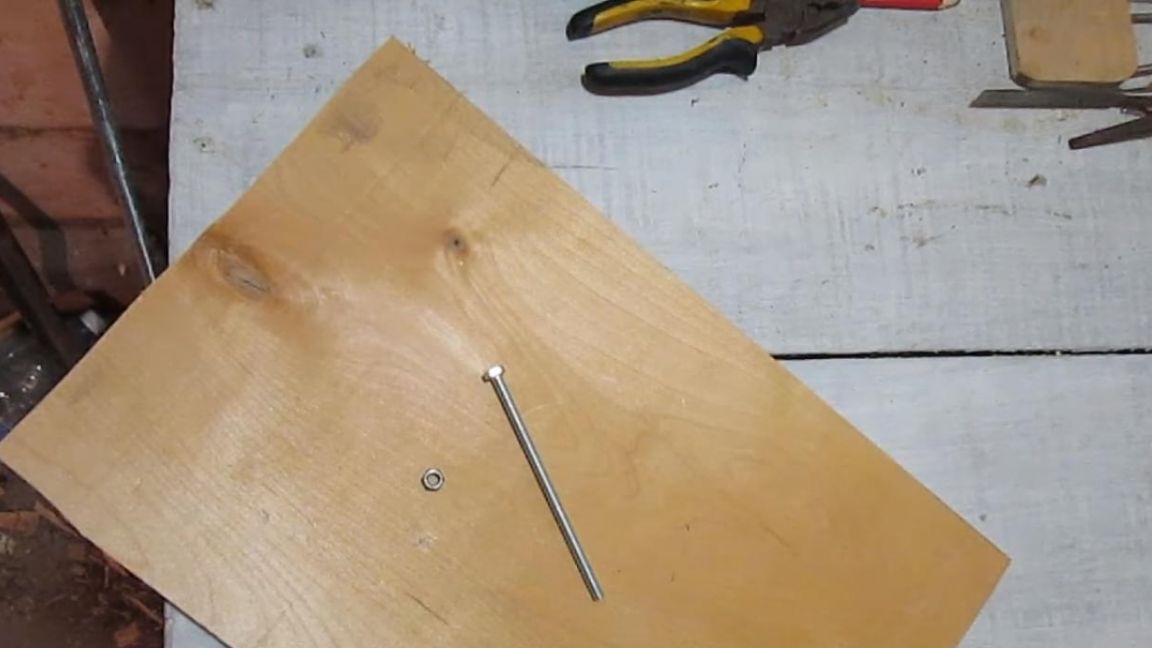
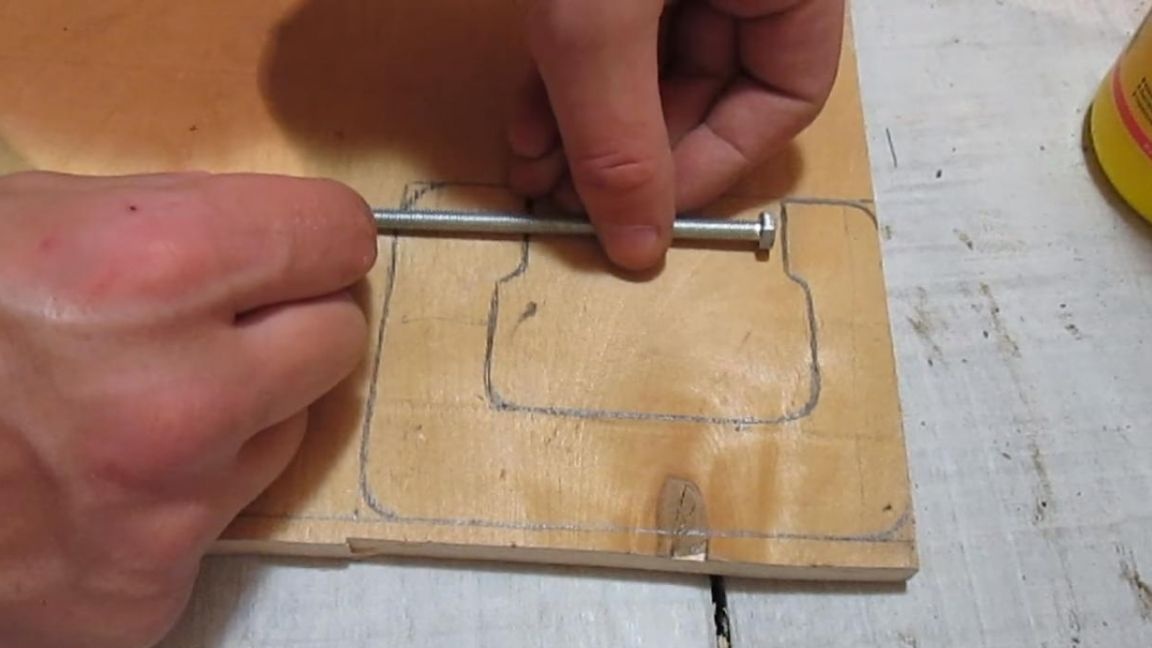
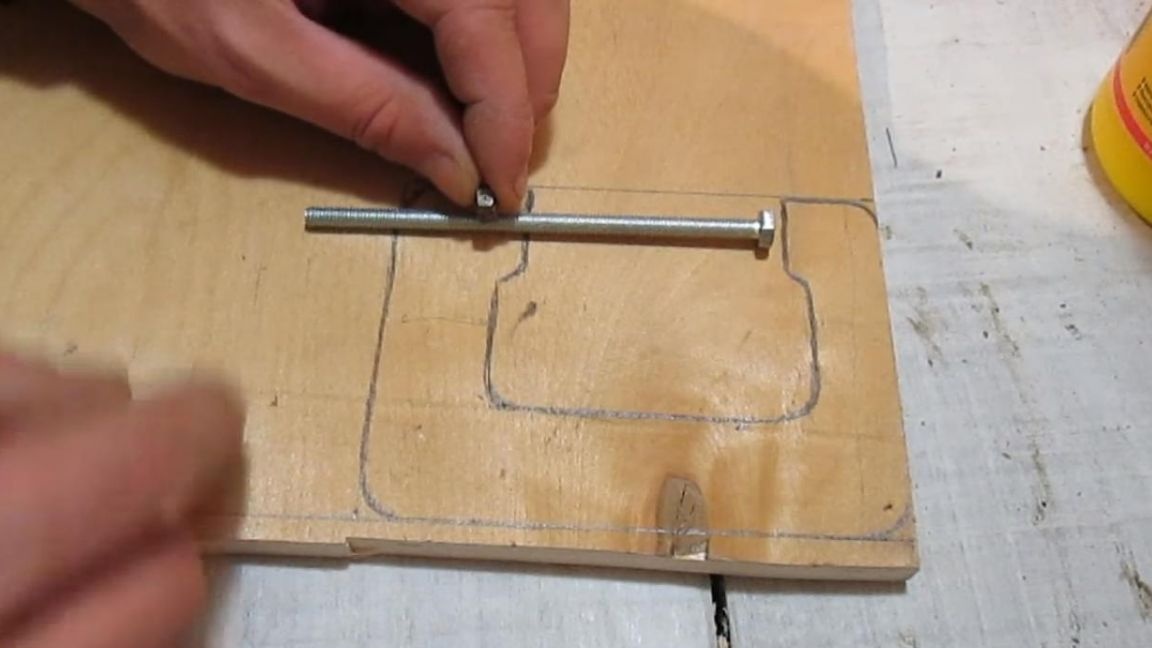
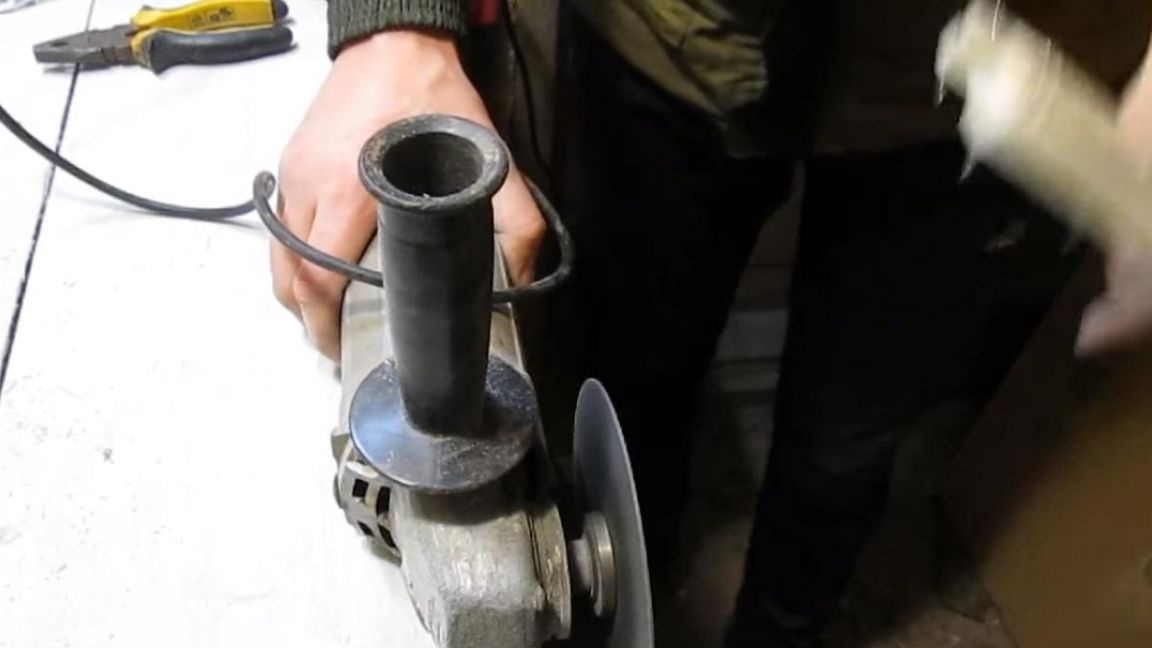
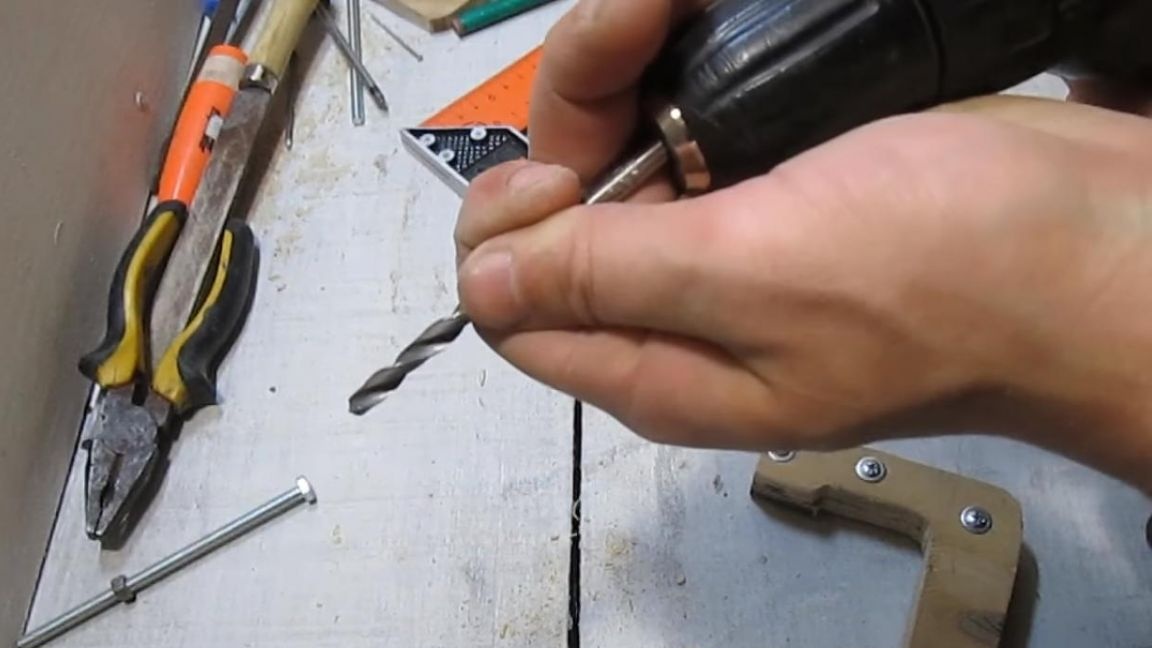
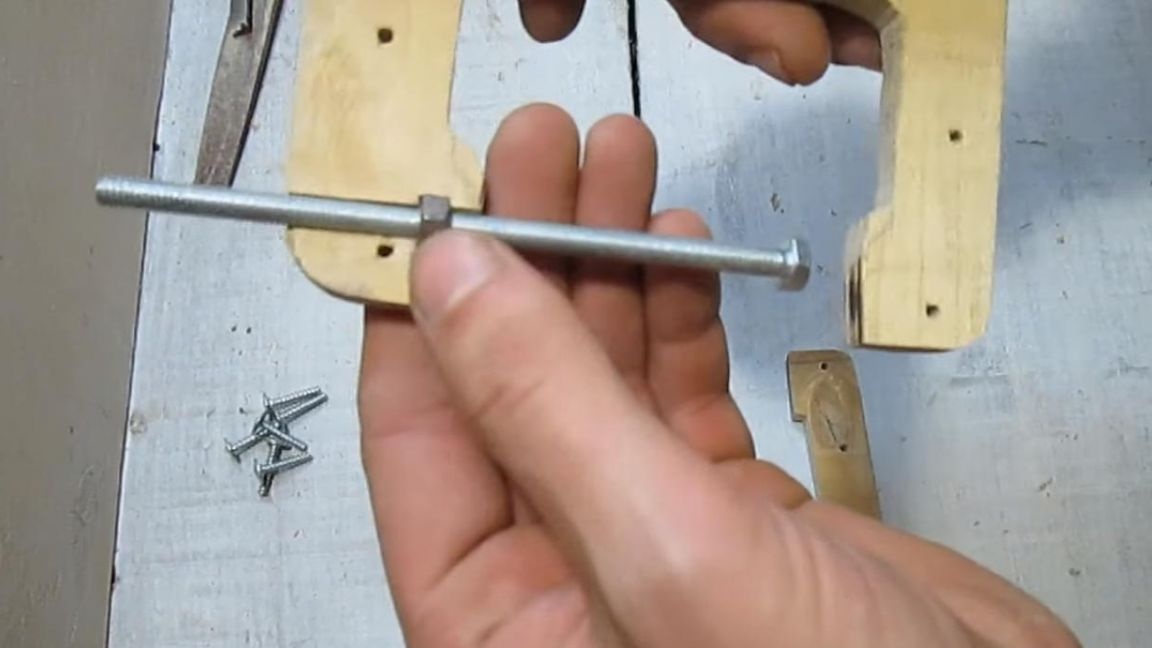
After grinding, go to the movable part of the clamp, in this case, it is a bolt with a nut. To be able to clamp the parts more, I decided to use a bolt 120 mm long. We unwind the screws and with the help of a hacksaw we make a small cut.
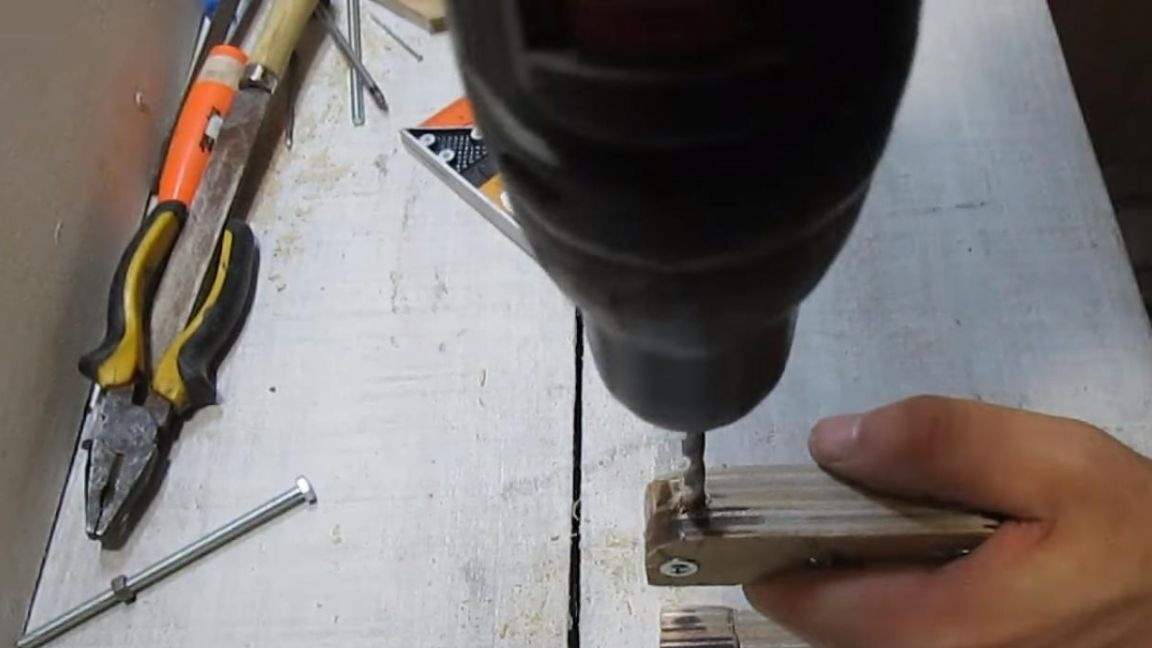
This is done so that when drilling a hole it was strictly in the center and without distortions, at least it should be in theory. After the cuts are made, you can twist and drill a hole for the bolt.
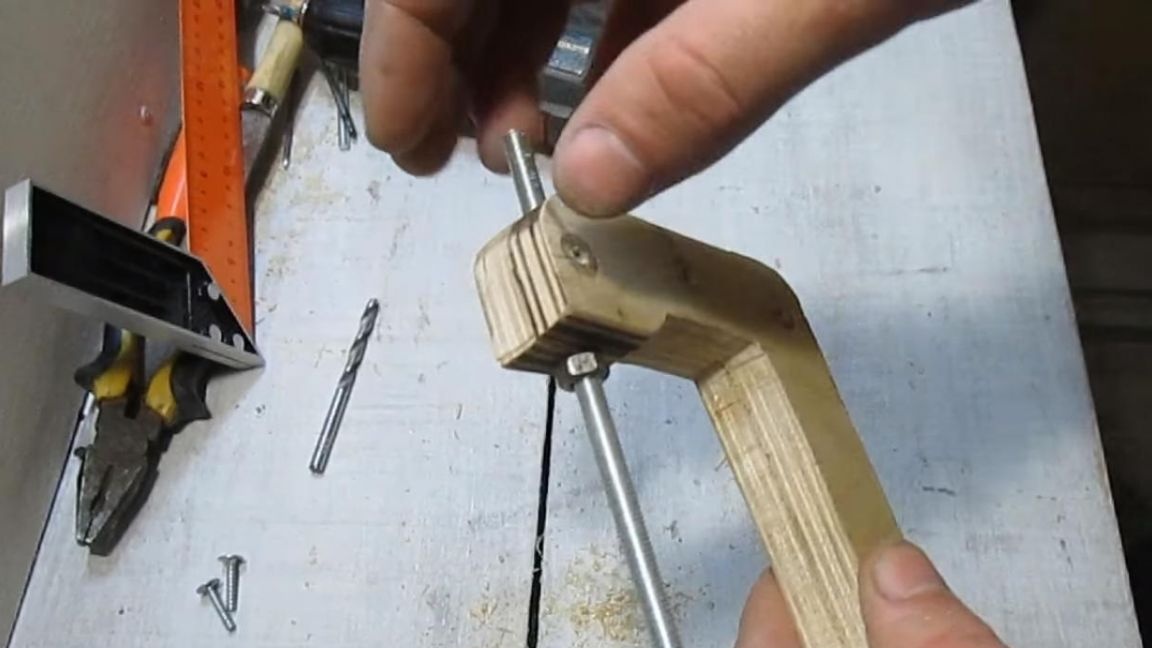
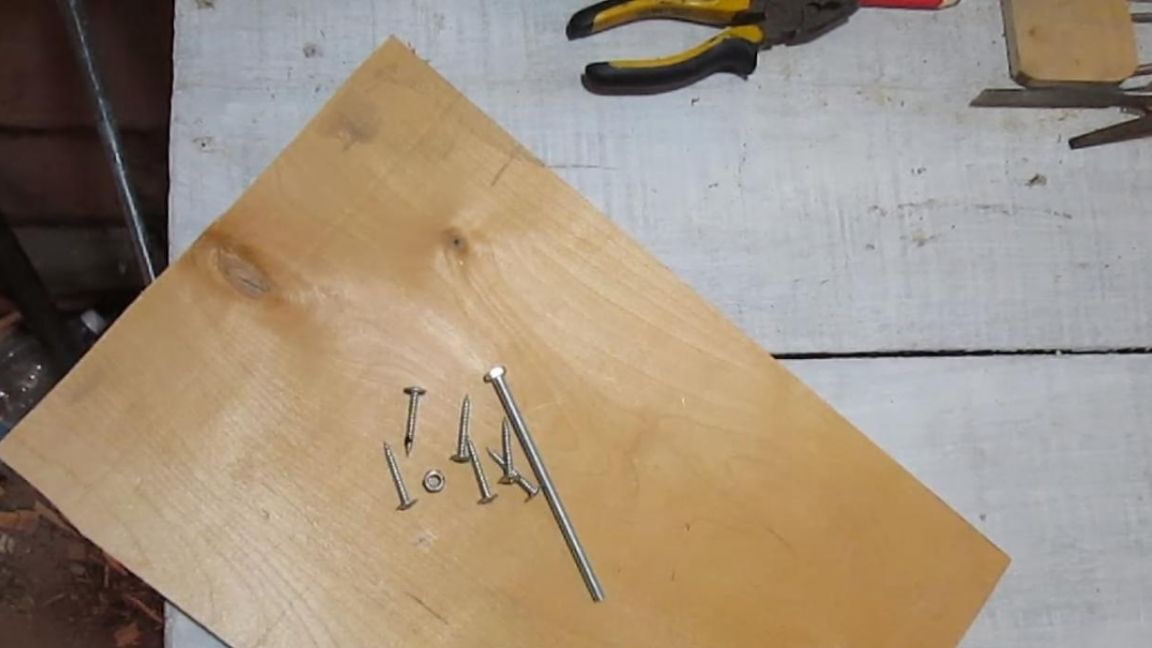
Next, you need to make a groove under the nut with the same hacksaw.
Step Four
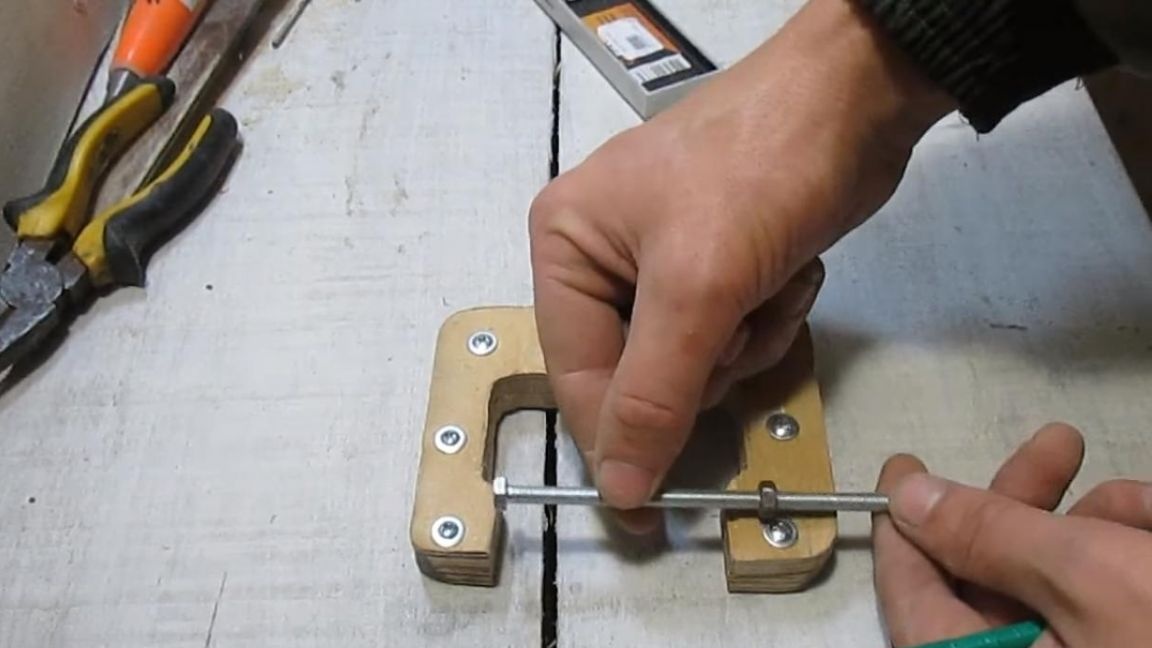
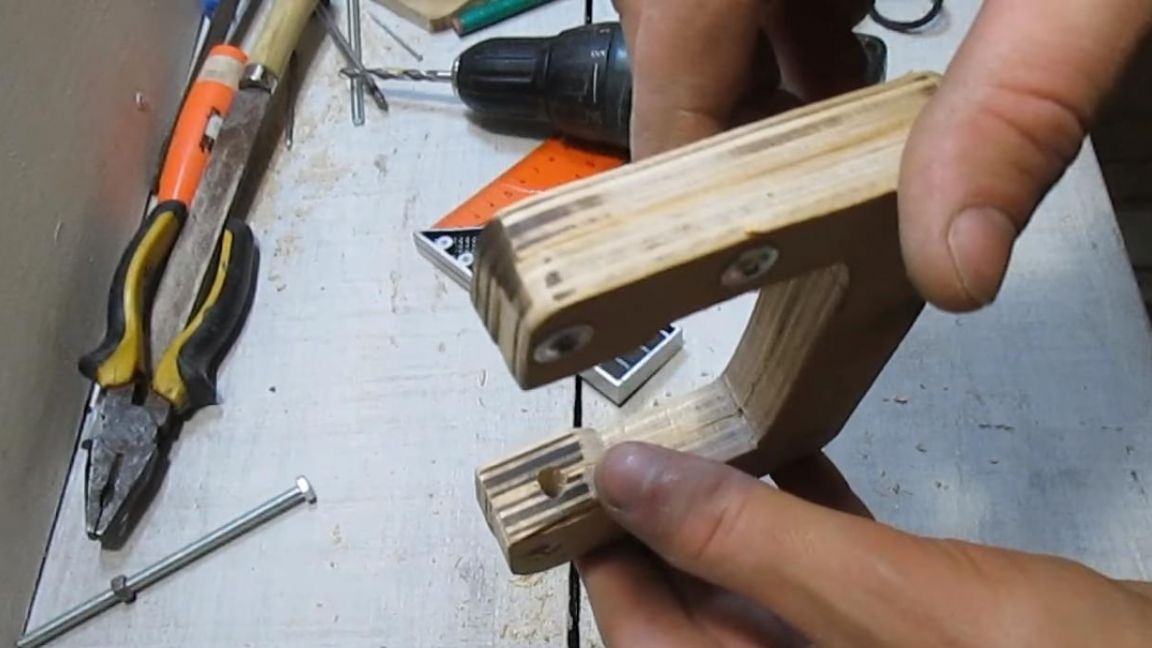
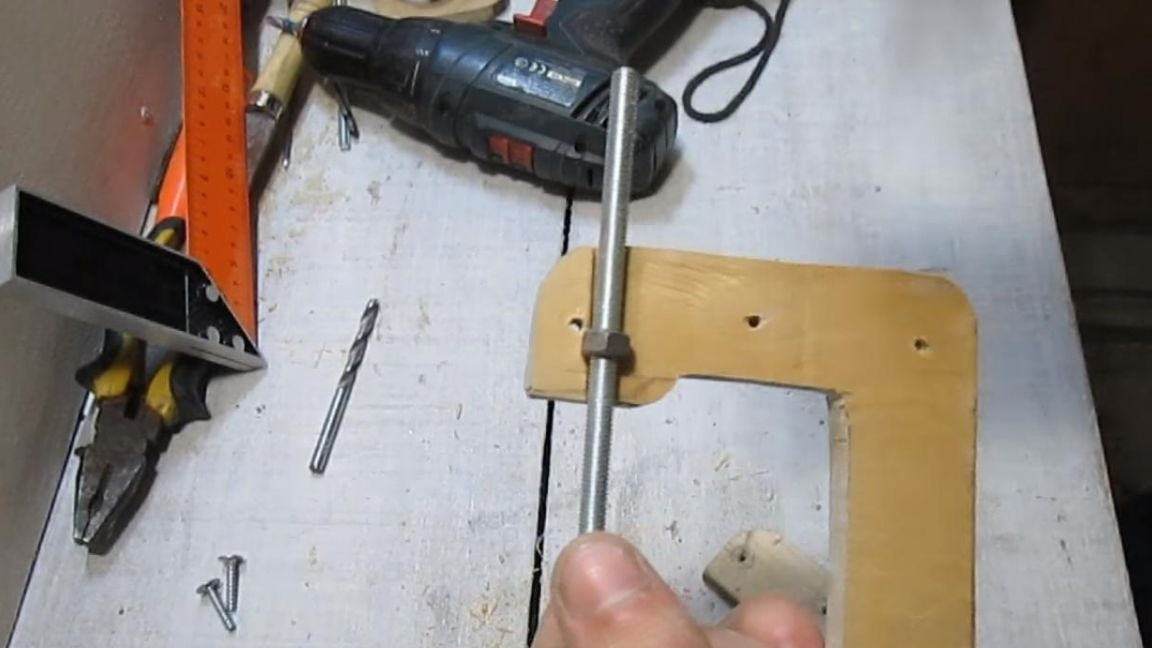
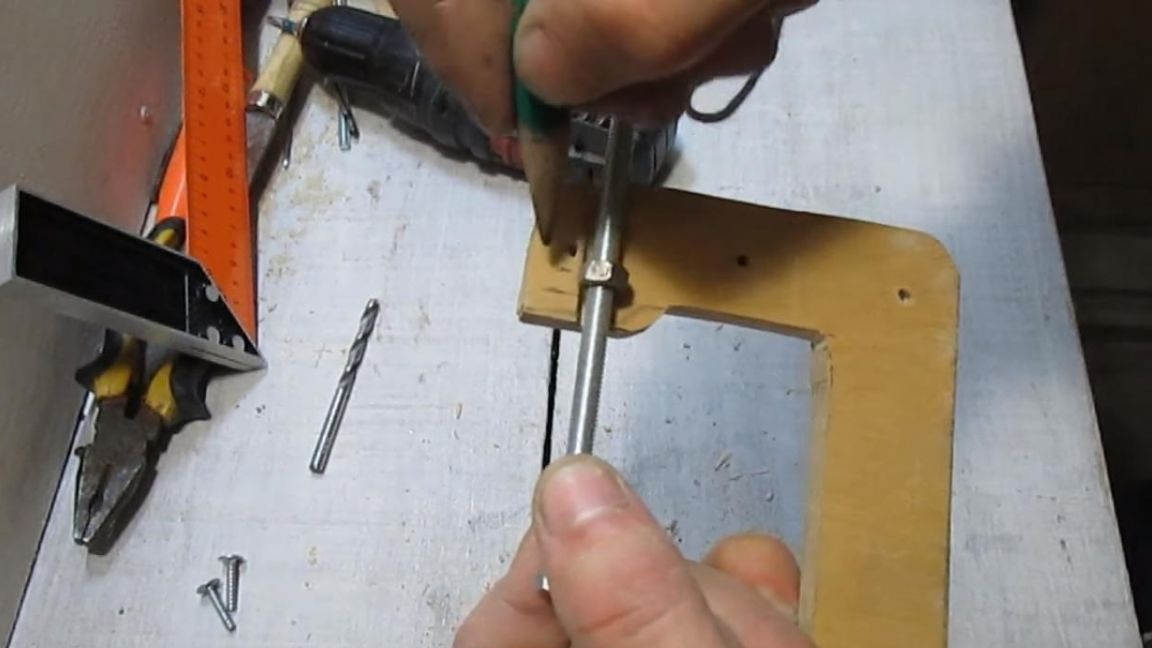
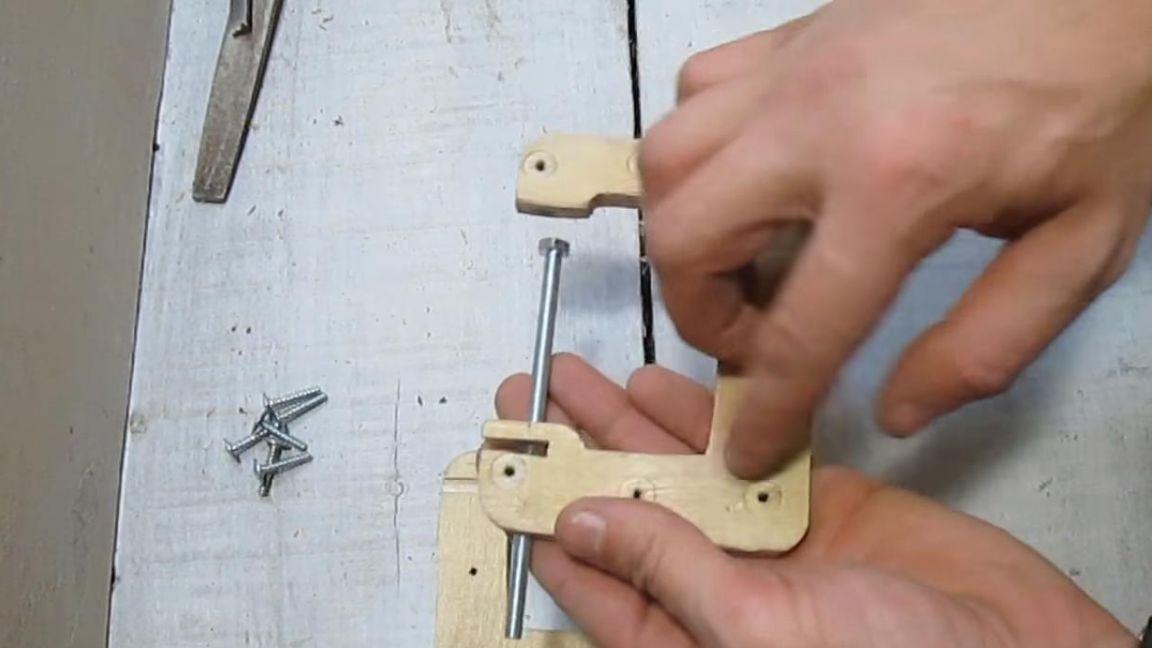
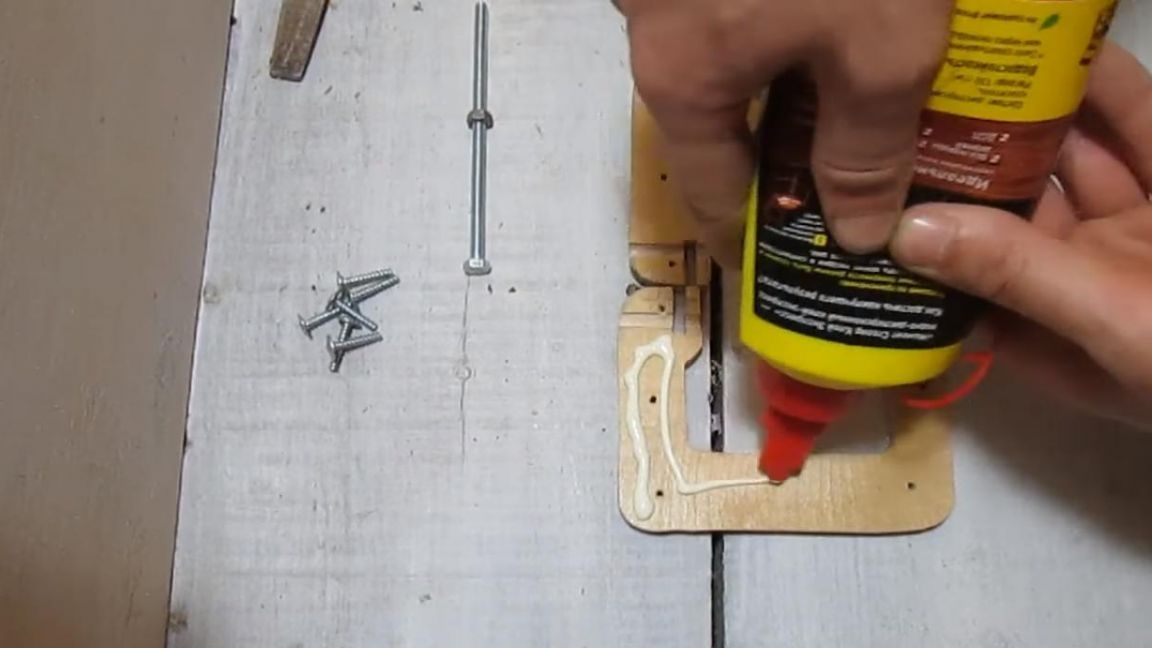
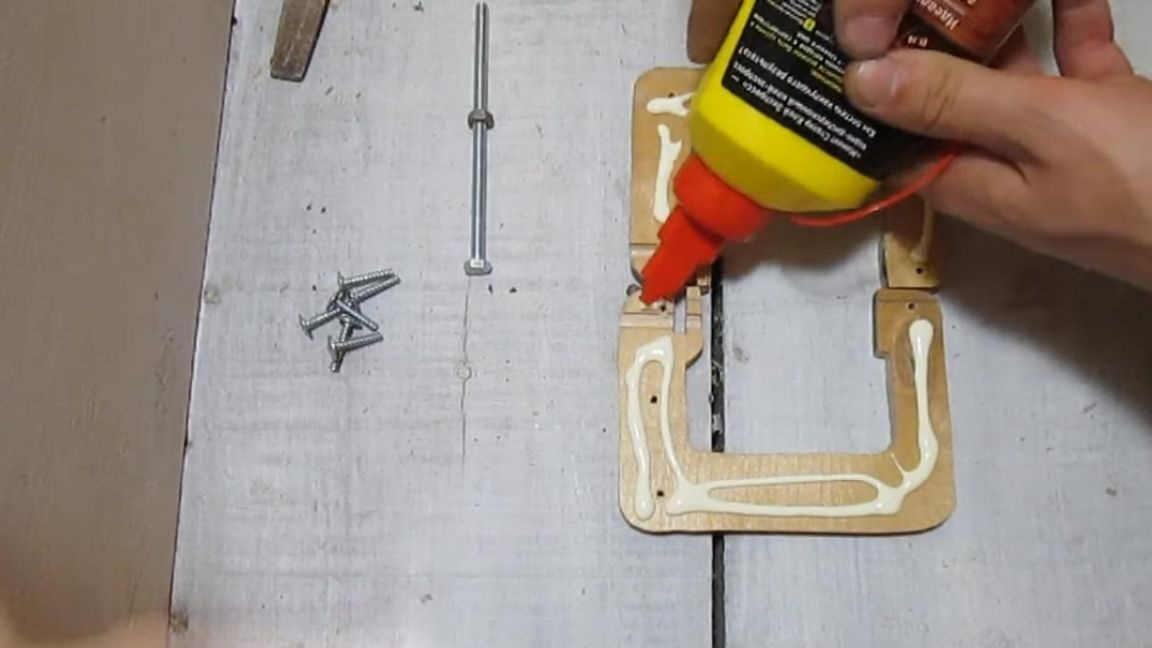
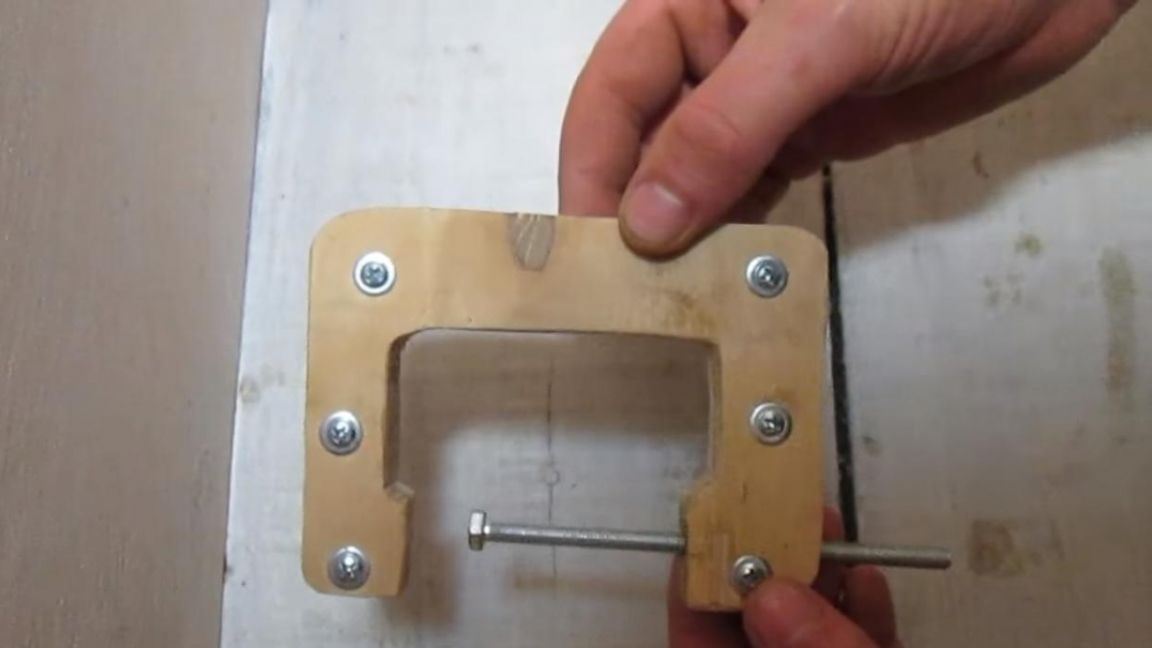
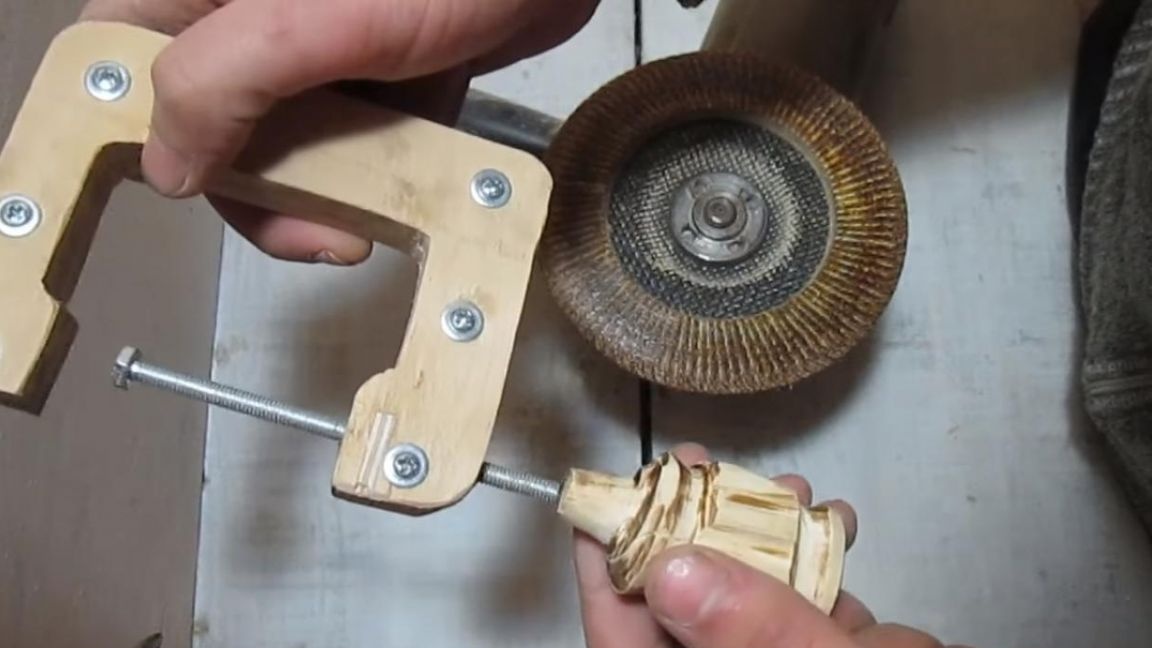
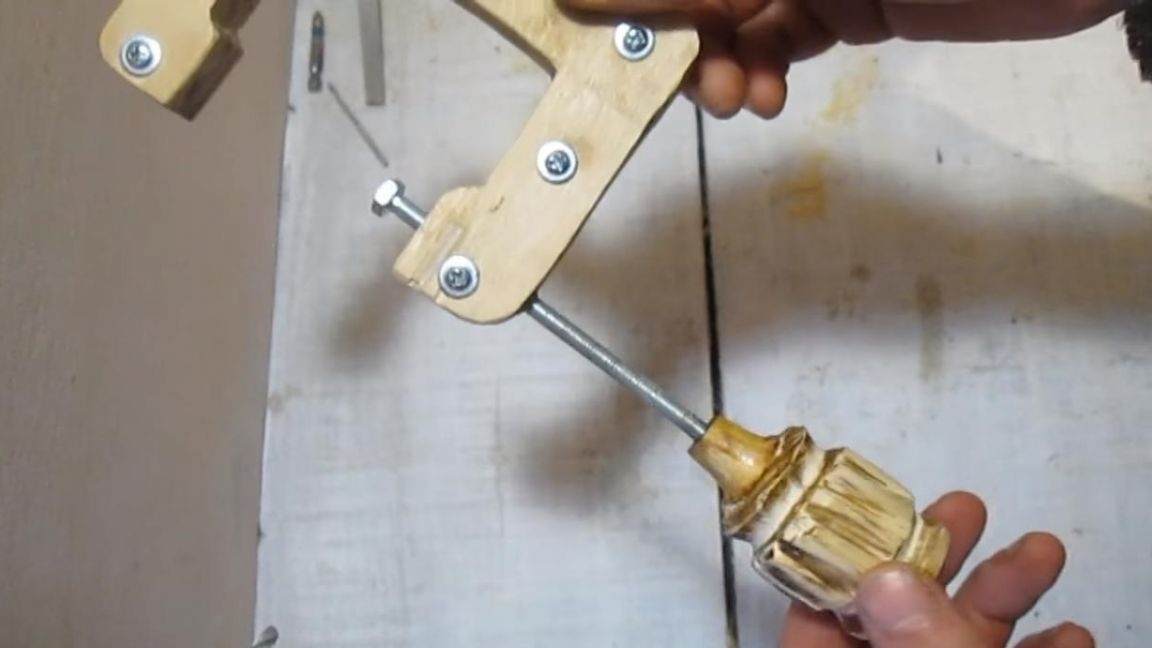
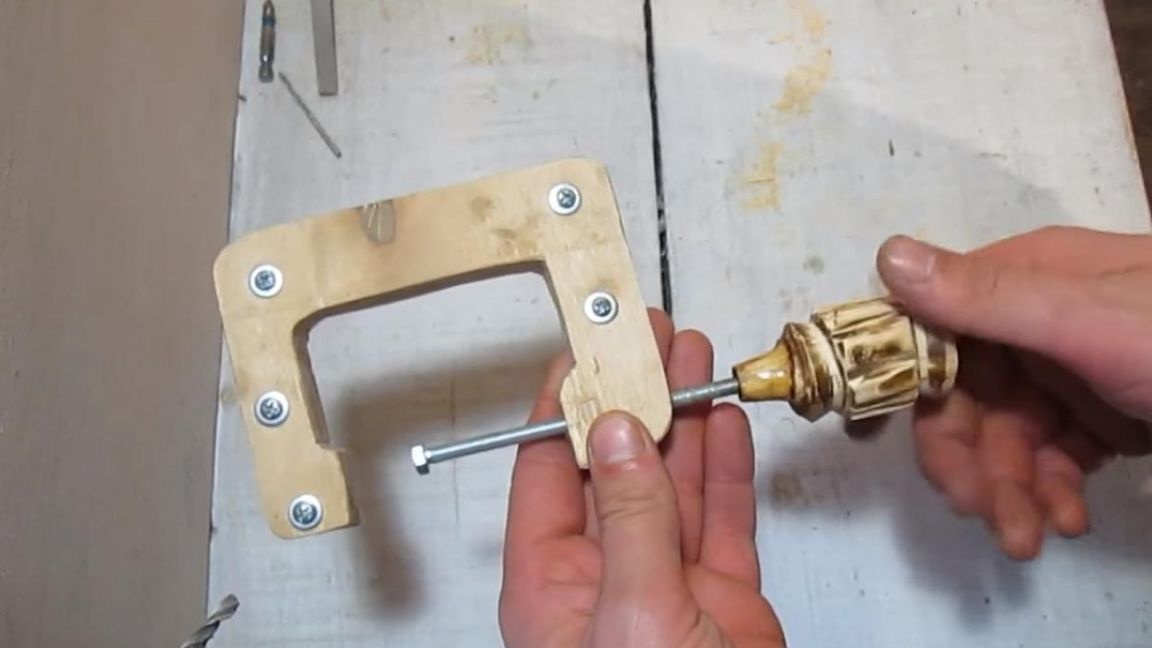
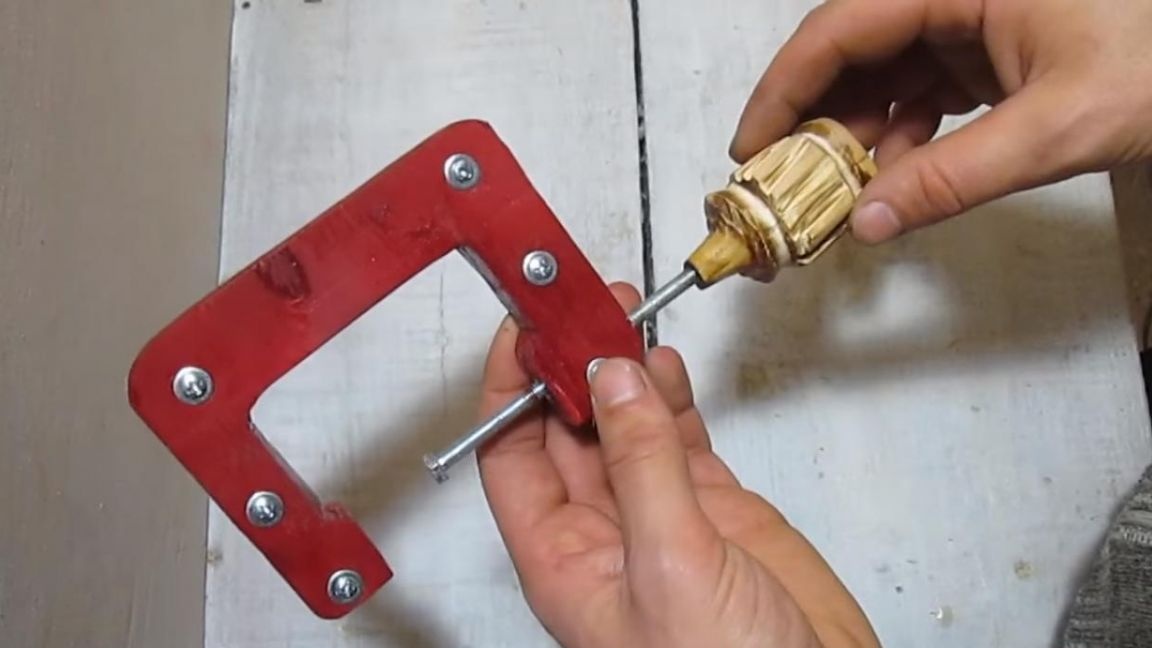
Now we assemble all the parts in a single unit, we lubricate two adjacent surfaces with PVA glue, spread them evenly and, without forgetting to install the bolt and nut, twist the screws in their places.
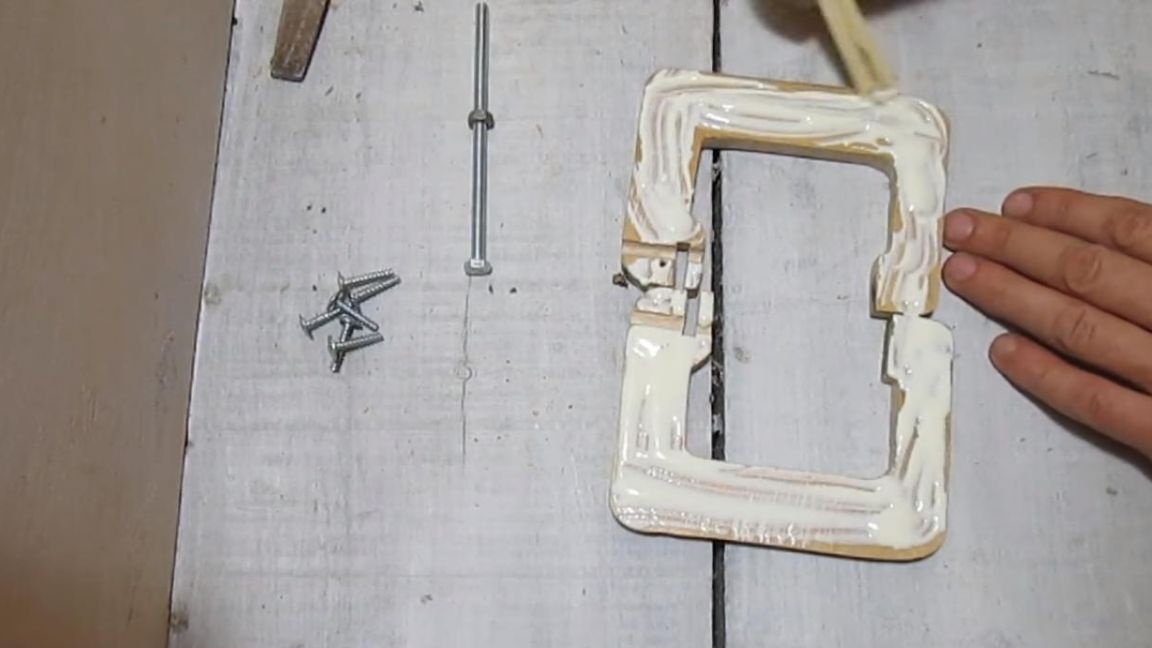

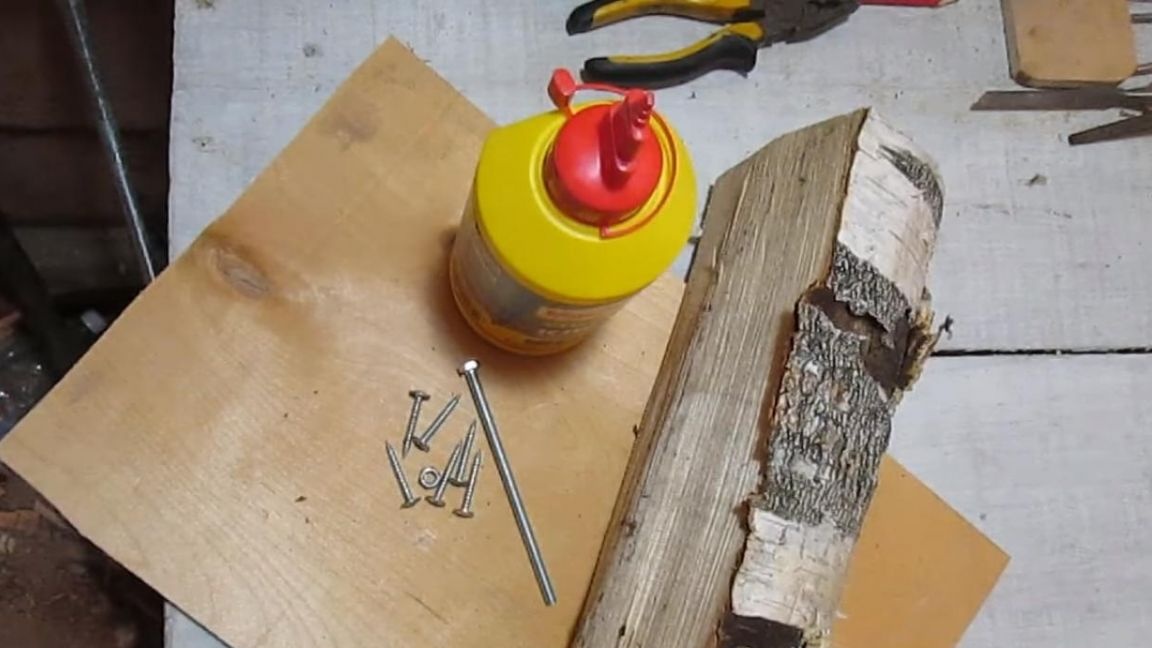
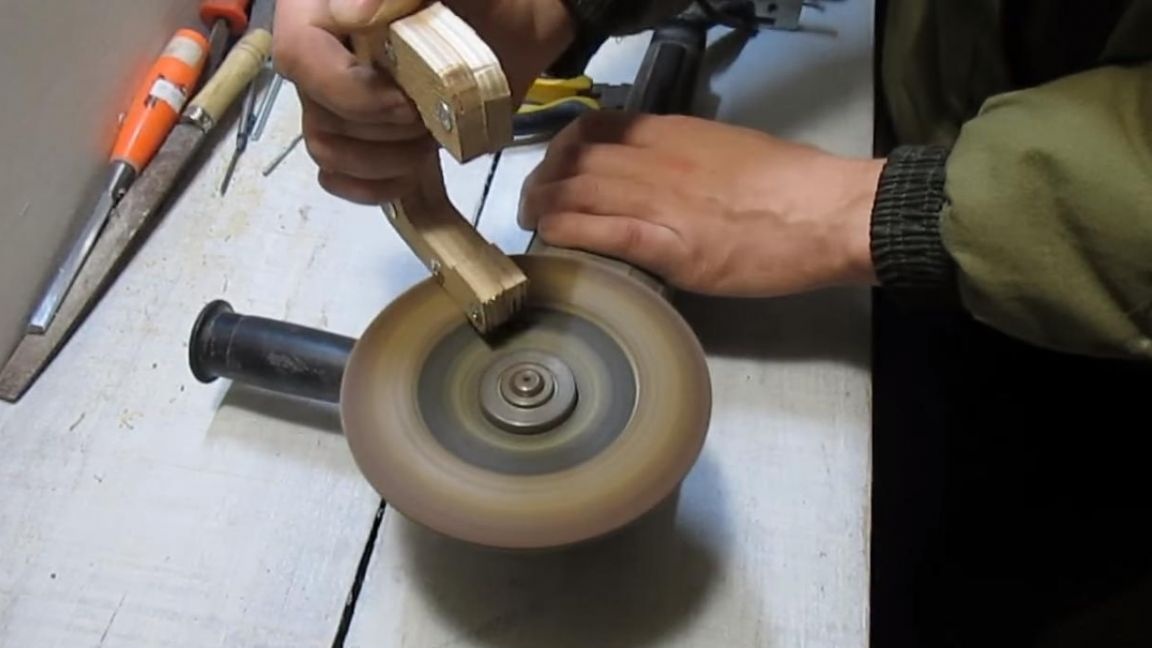
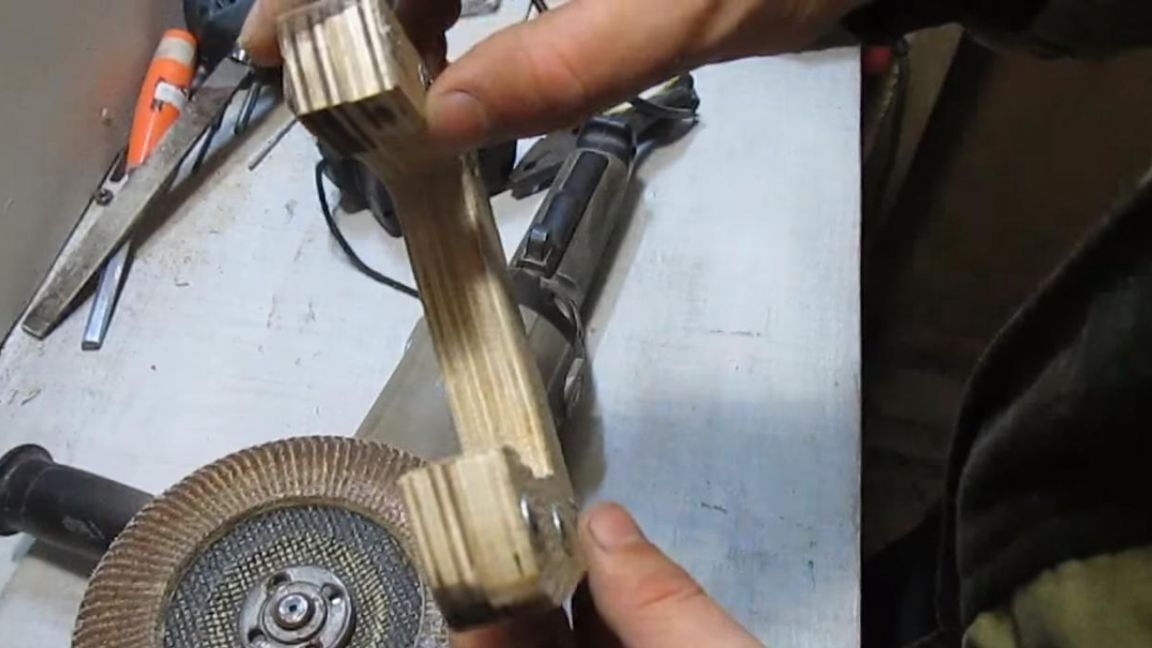
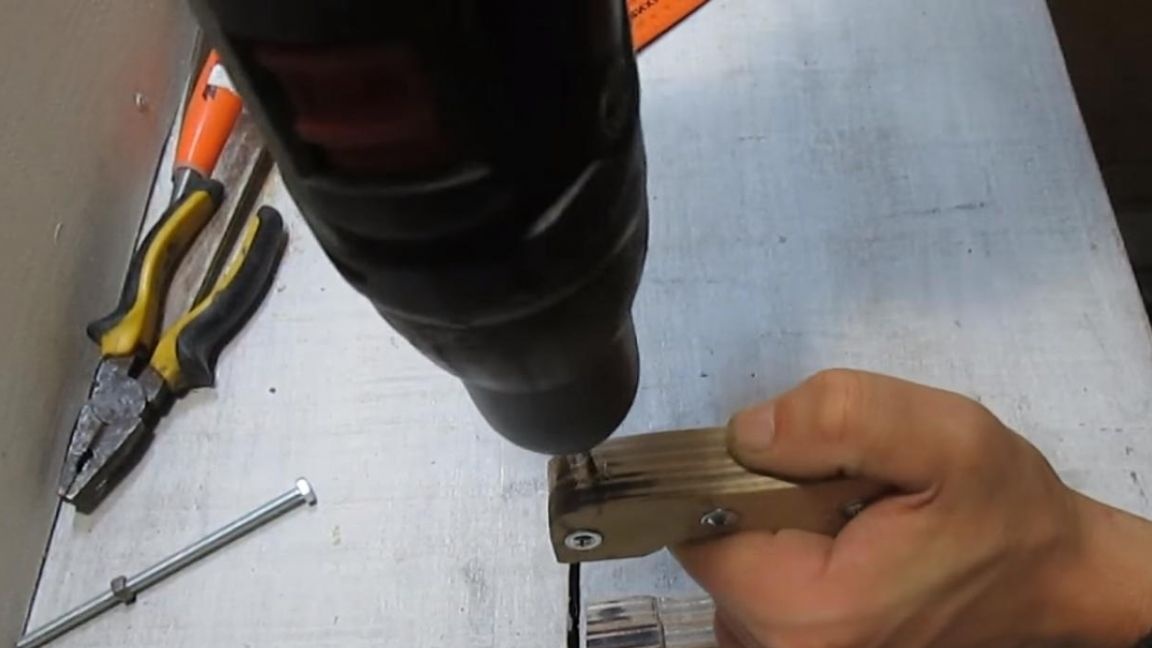
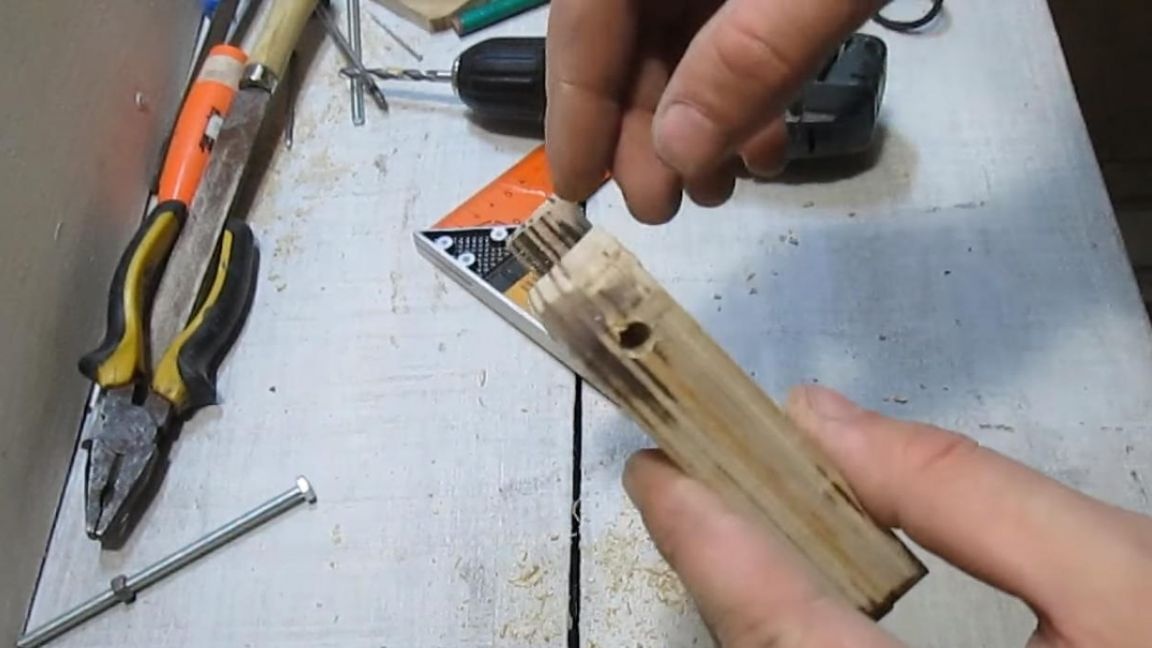
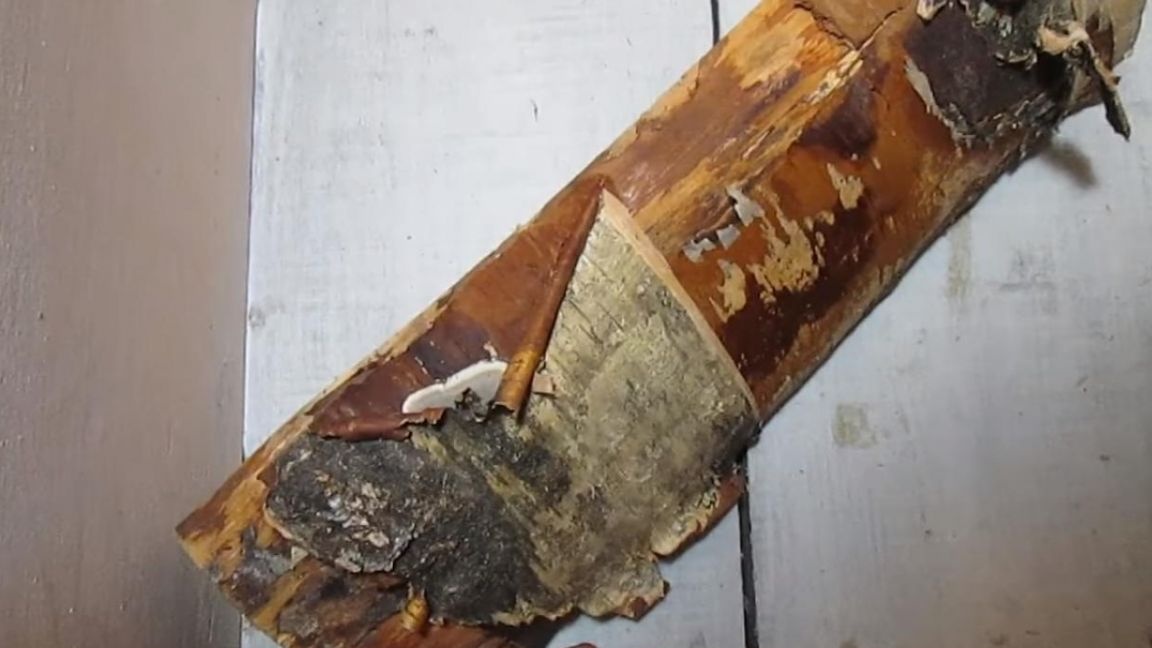
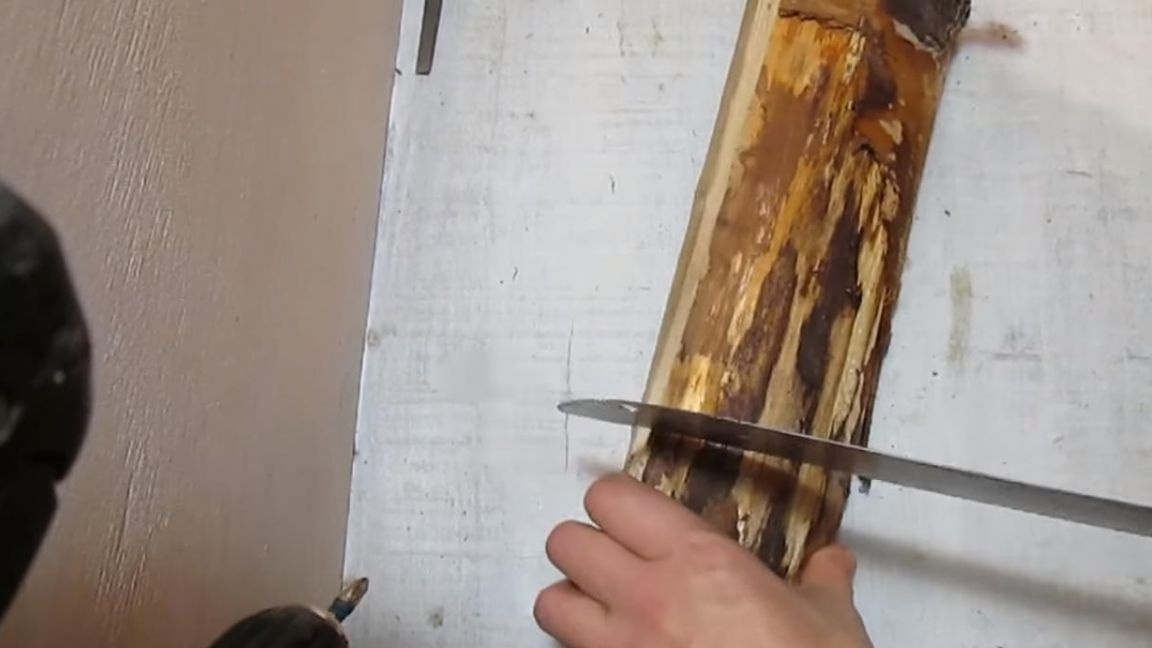
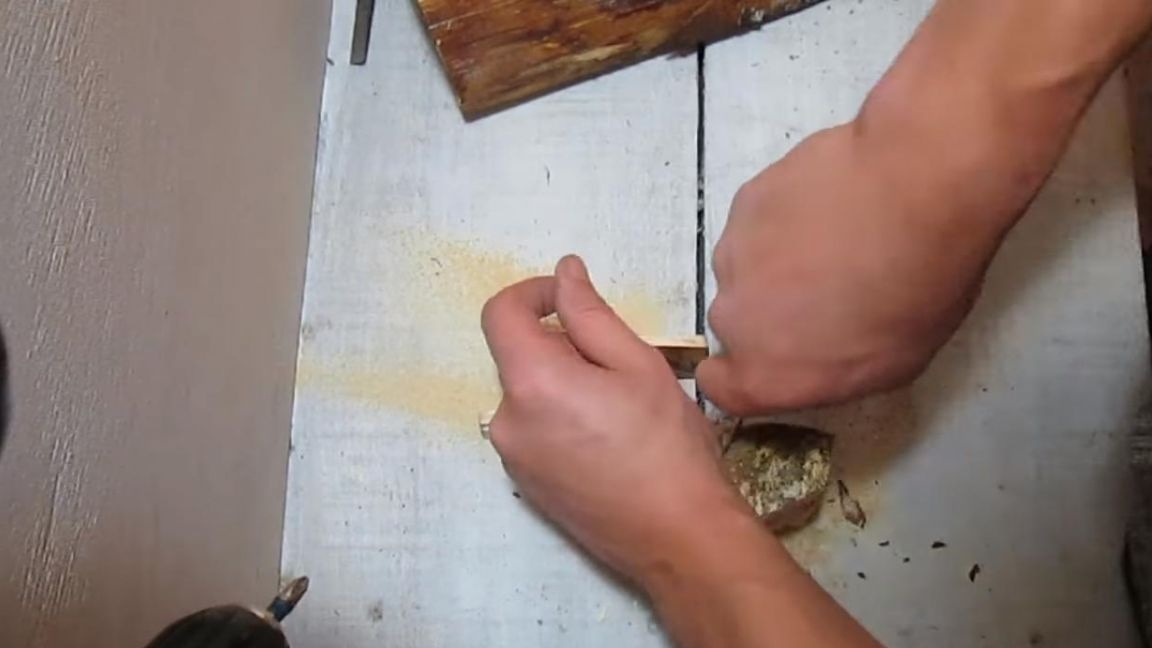
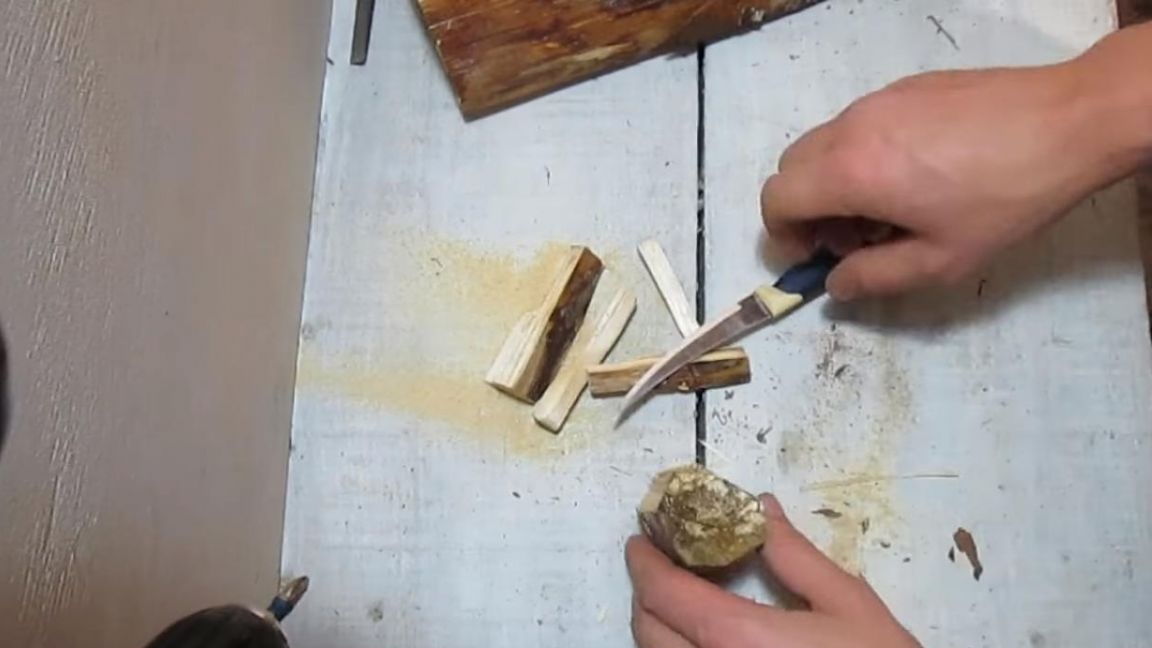
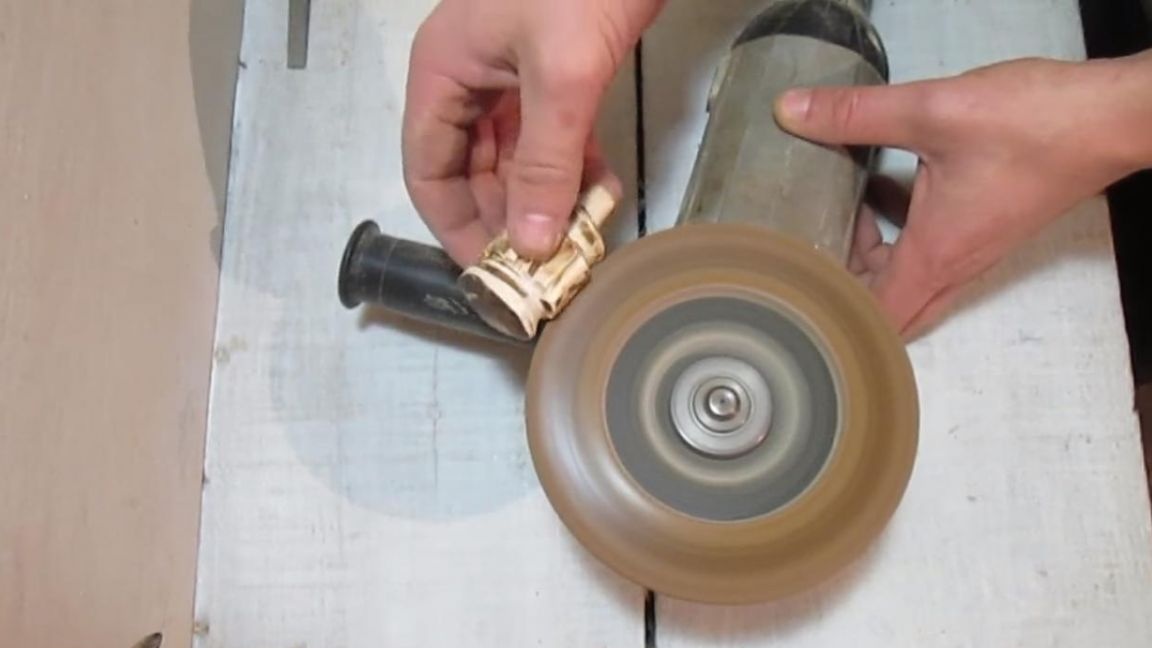
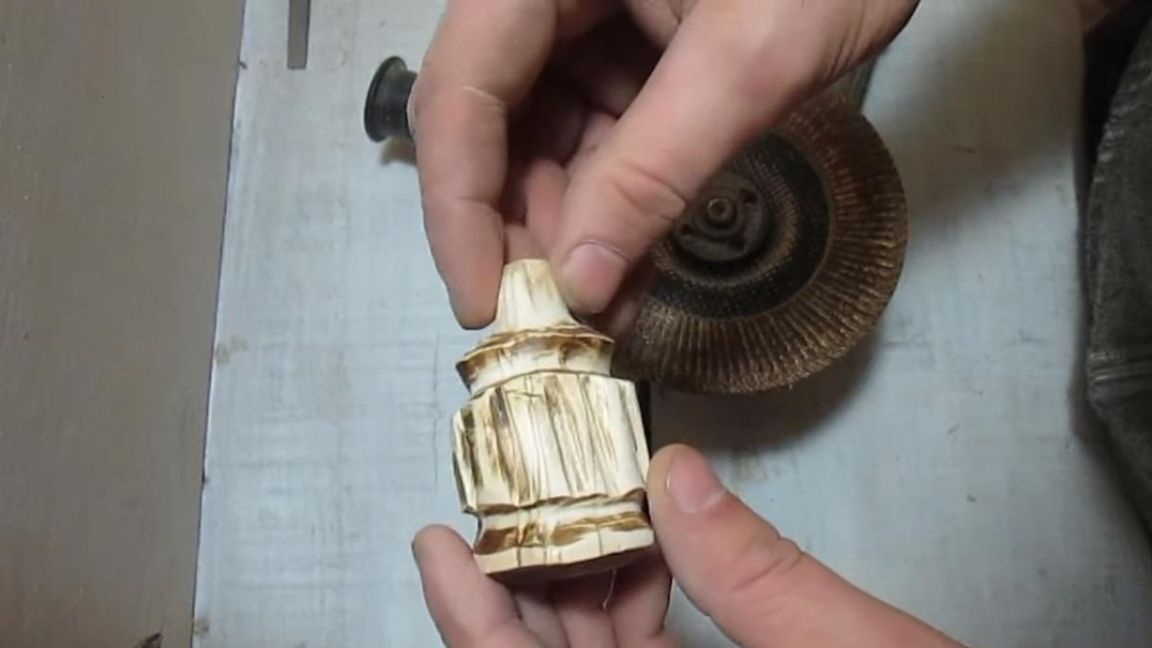
Almost everything is ready, it remains to remove the excess glue, wait until it seizes, and in order not to waste time, we will make a handle for the clamp. It was decided to make a pen out of what Papa Carlo used to make pinocchio, namely log. Saw off the desired piece and then use the sharp knife to remove the excess, giving the piece of wood a rounded shape.
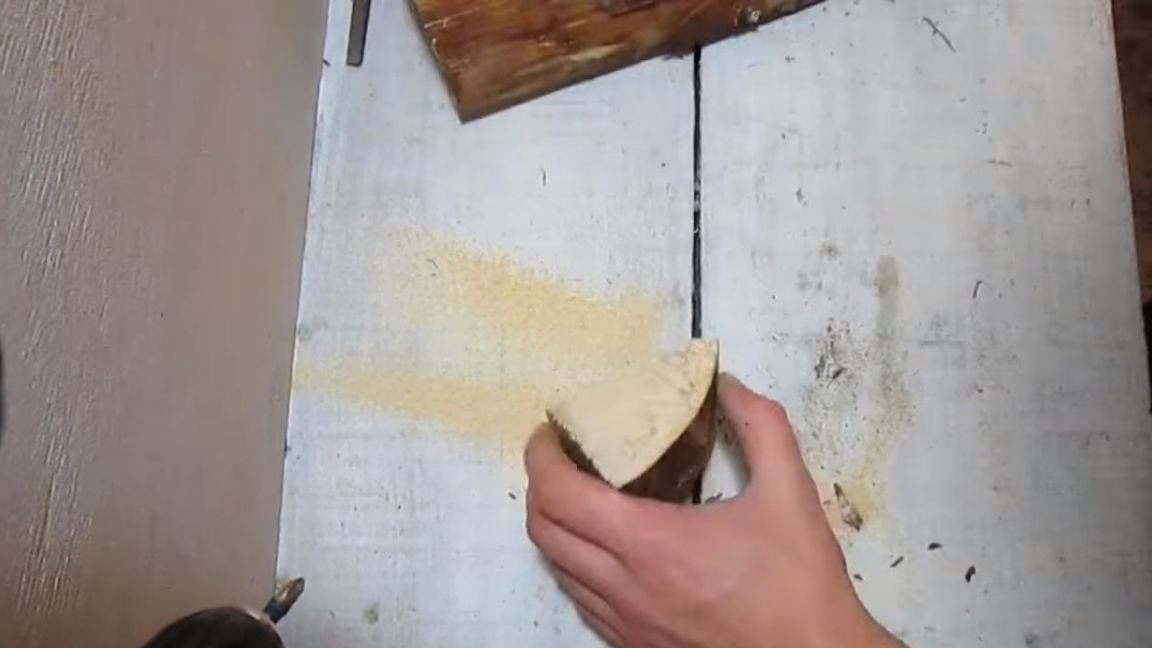
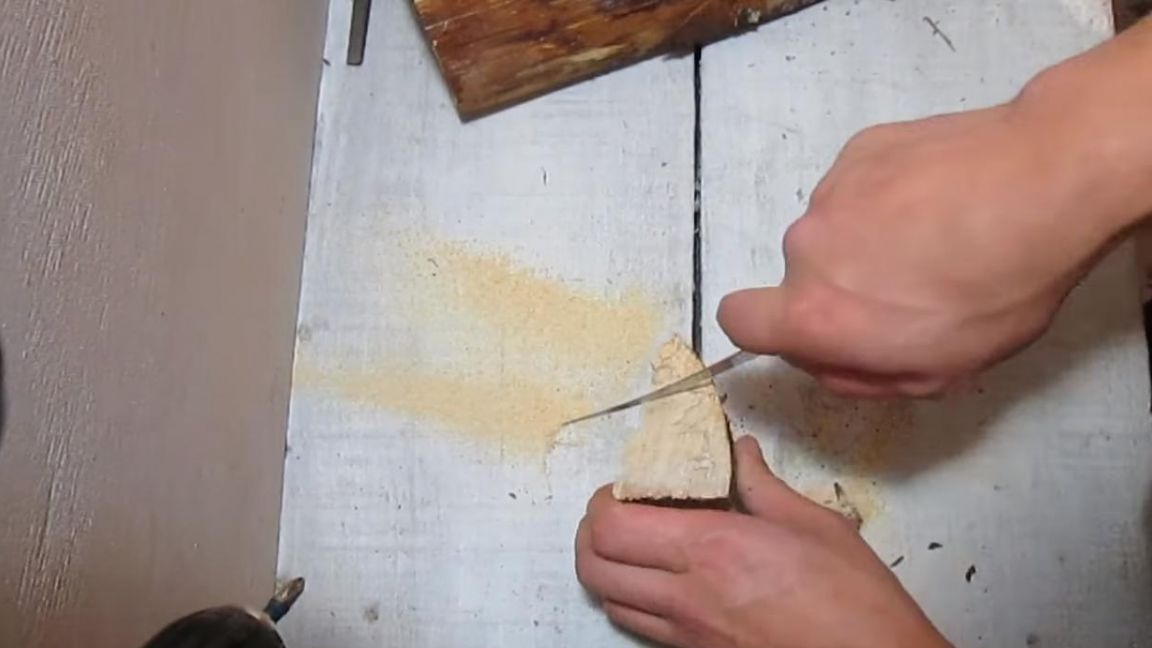
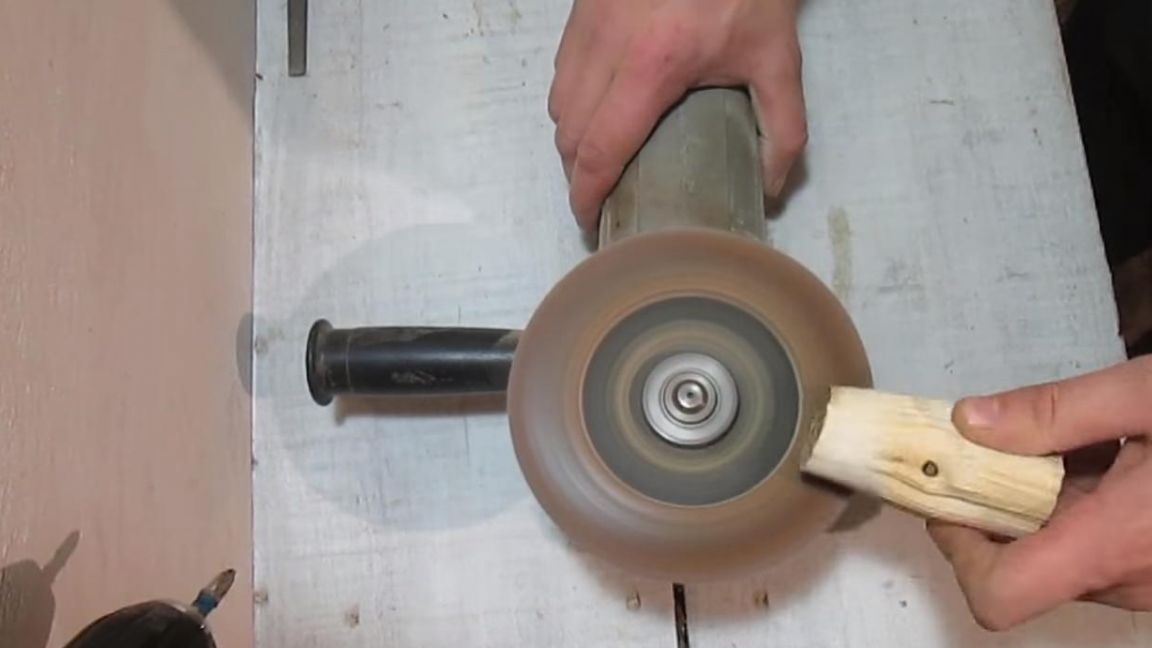
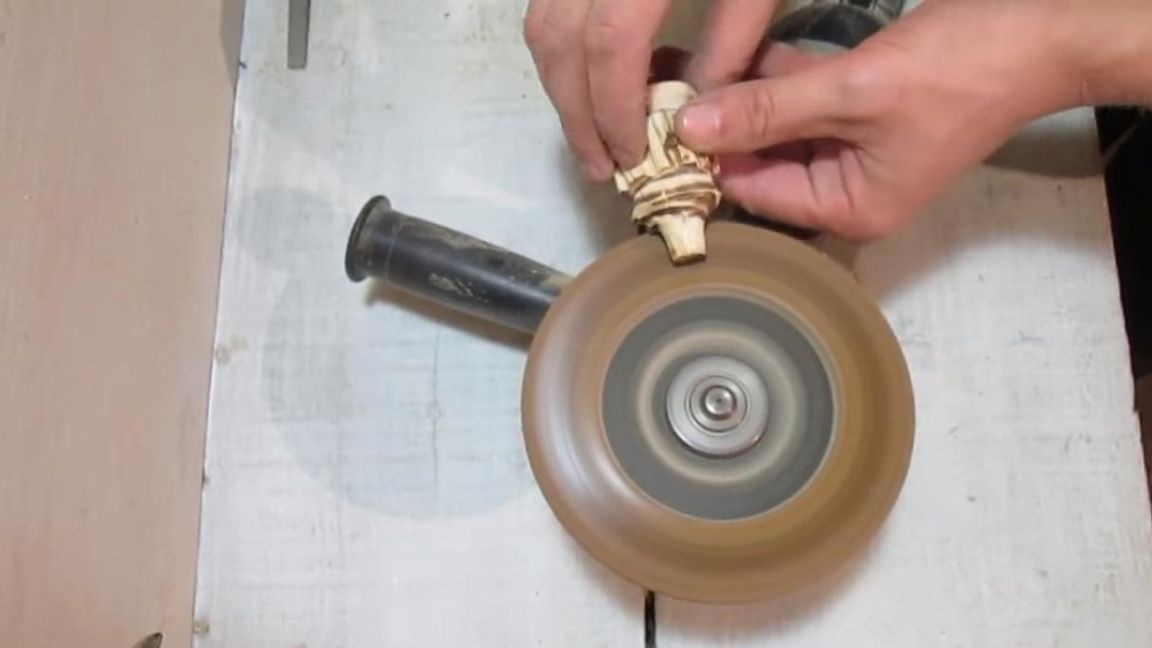
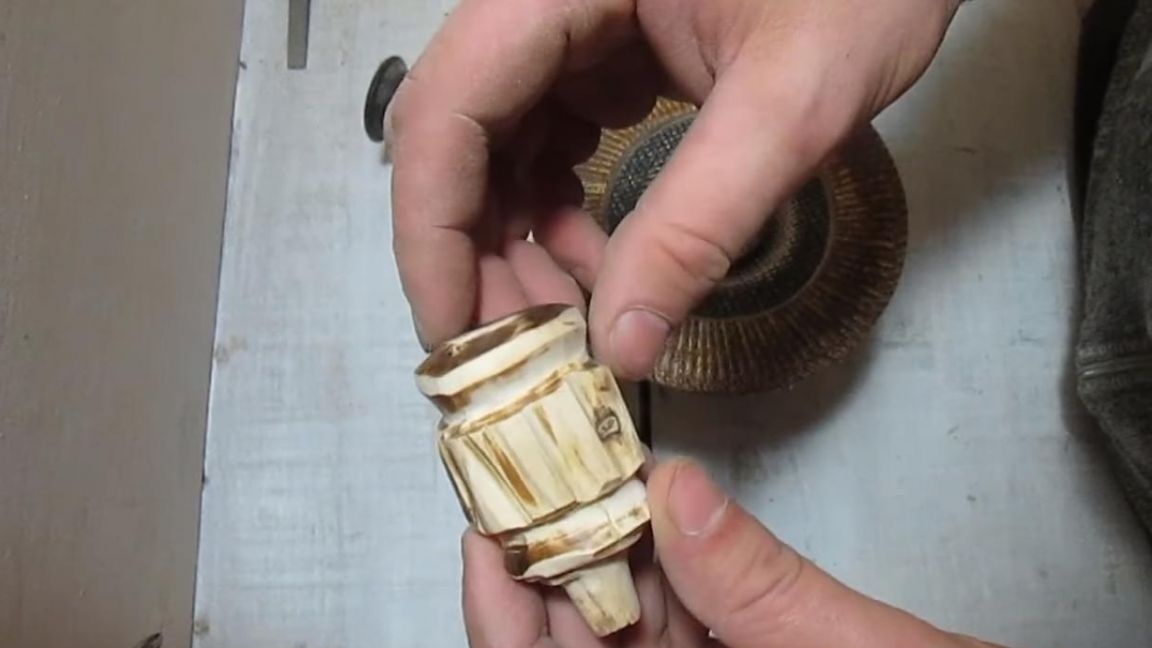
After the part has become a bit like a handle, we process it using a grinding wheel mounted on a angle grinder. We also make notches to prevent slipping in the hand while tightening the bolt.
Step Five
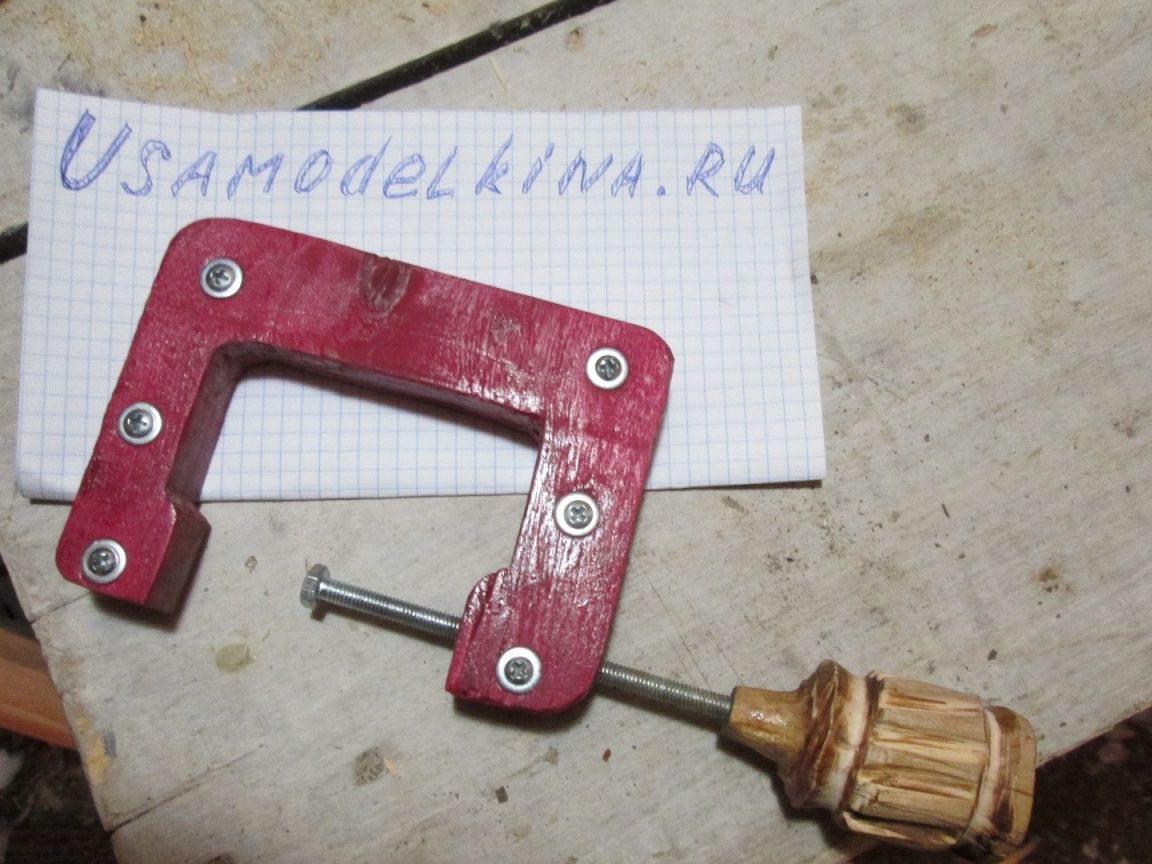
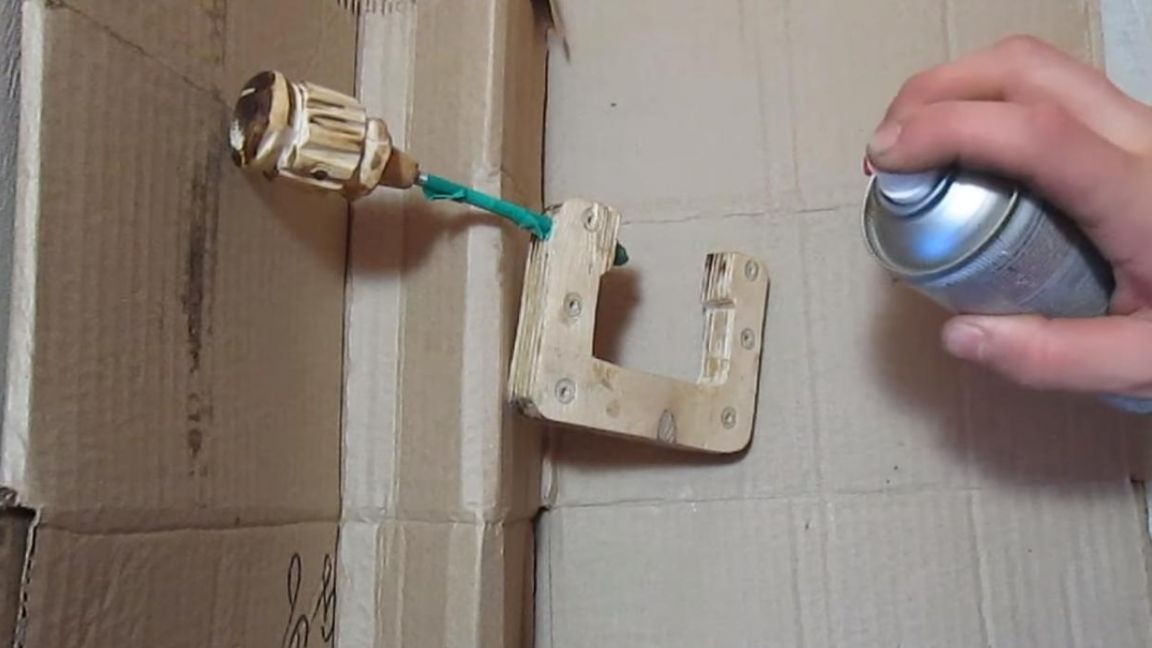
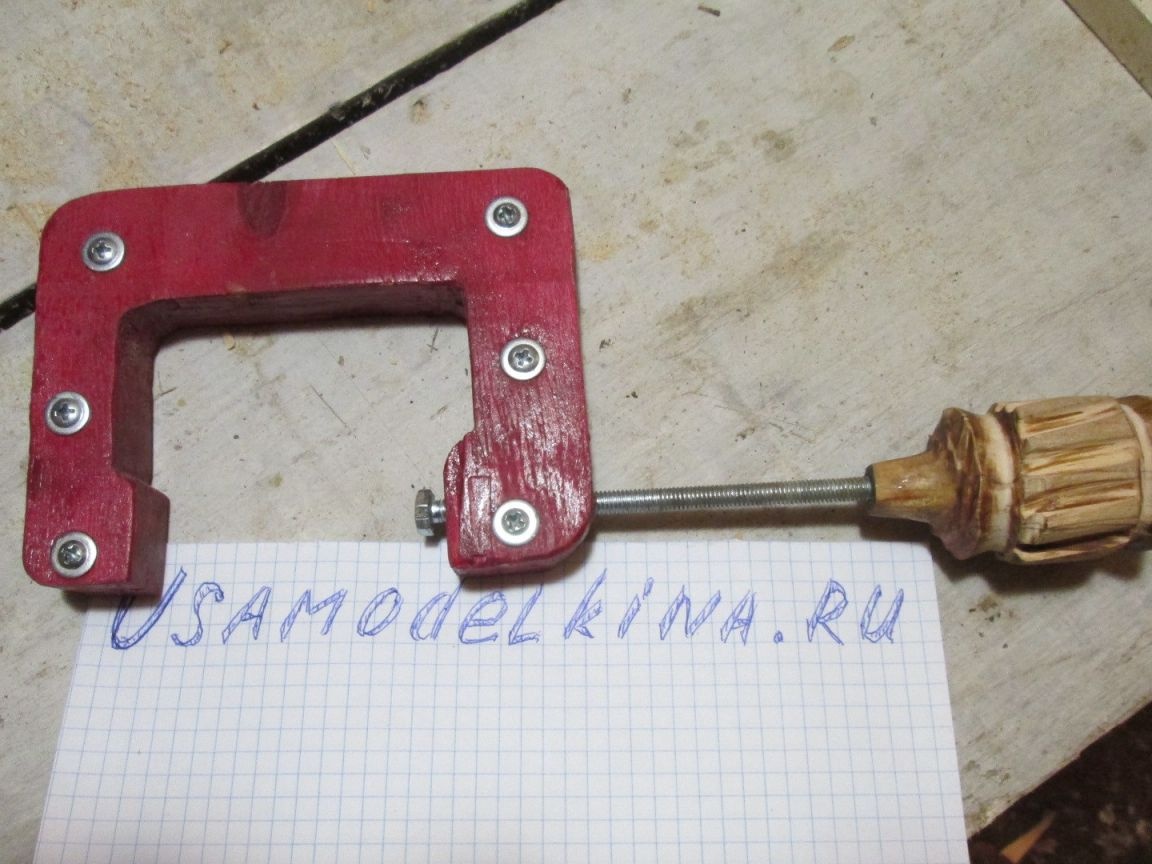
The homemade product can be considered finished, but only on the part of the fact that now it can perform the functions laid down in it, that is, clamp the parts. But what about the aesthetic component, we’ll do it now. I have a little red paint left in the spray can, wrap the thread of the bolt with tape and paint our finished device.
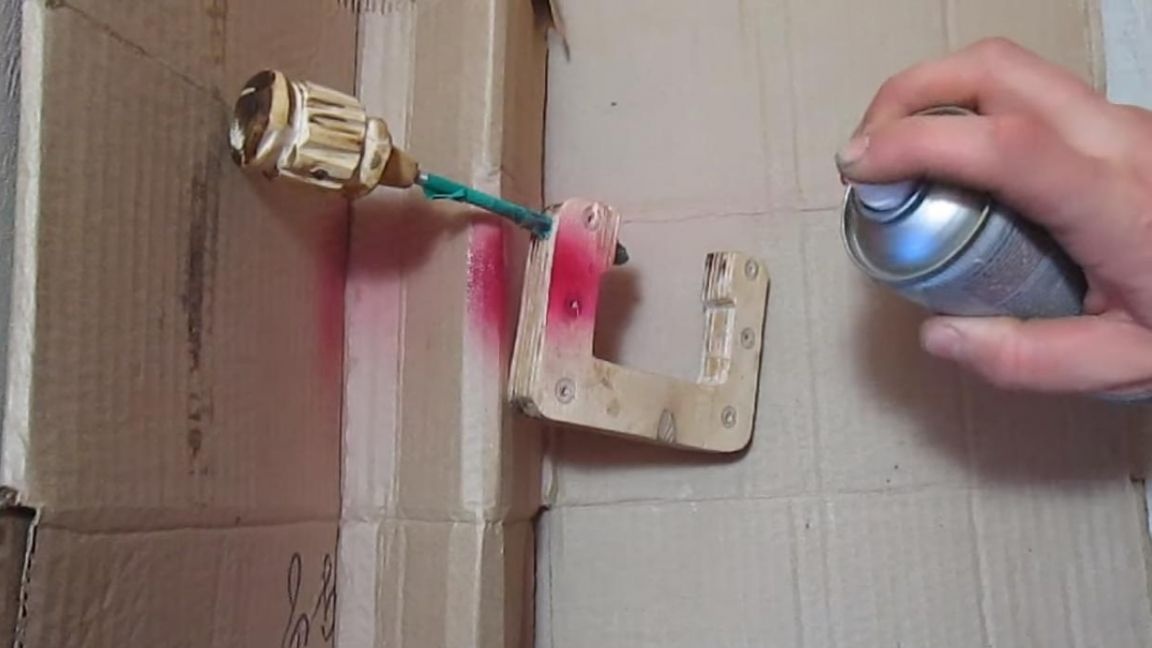
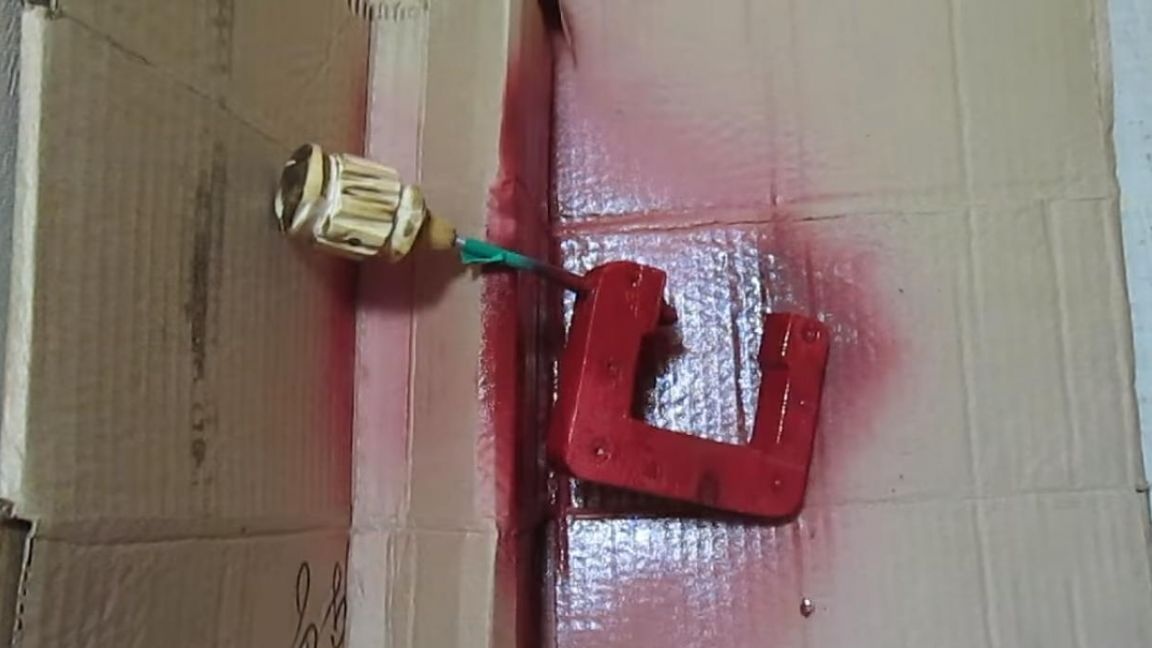
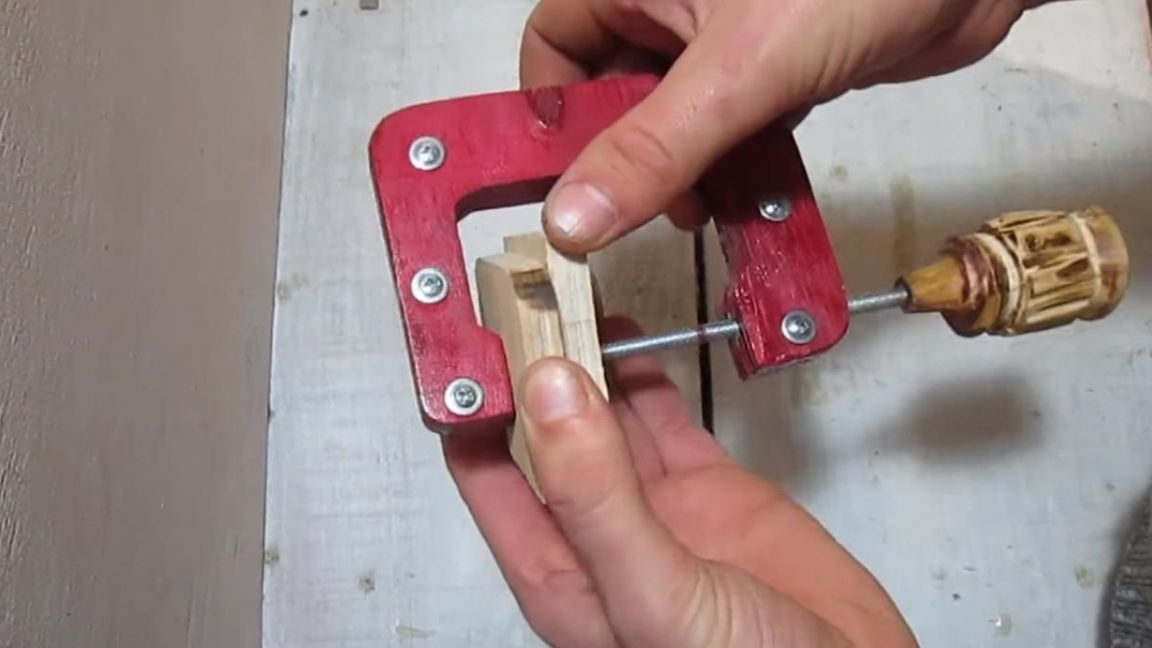
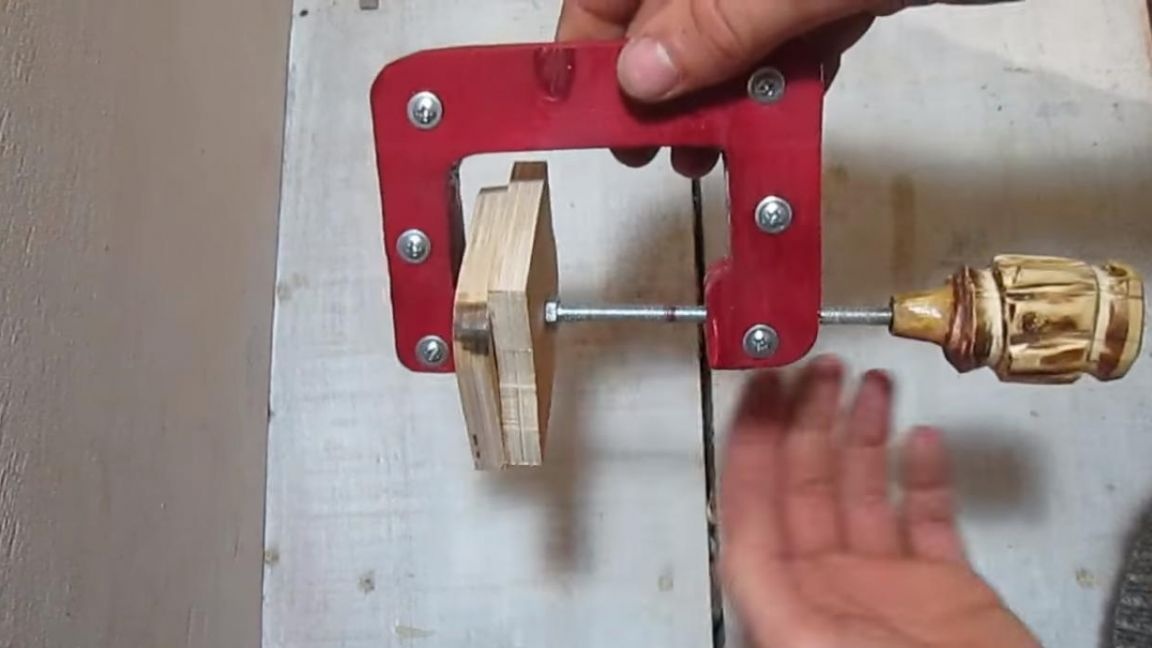
Wait until the paint dries, and then test the clamp. As tests showed, the homemade product fully met all my expectations, gluing plywood using this homemade product is convenient and quick.
That’s all for me, I wish you all success and thanks for your attention.