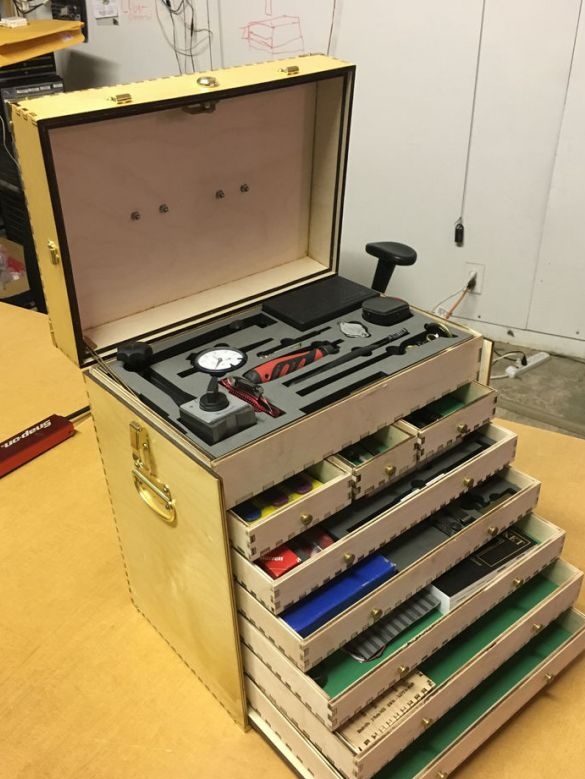
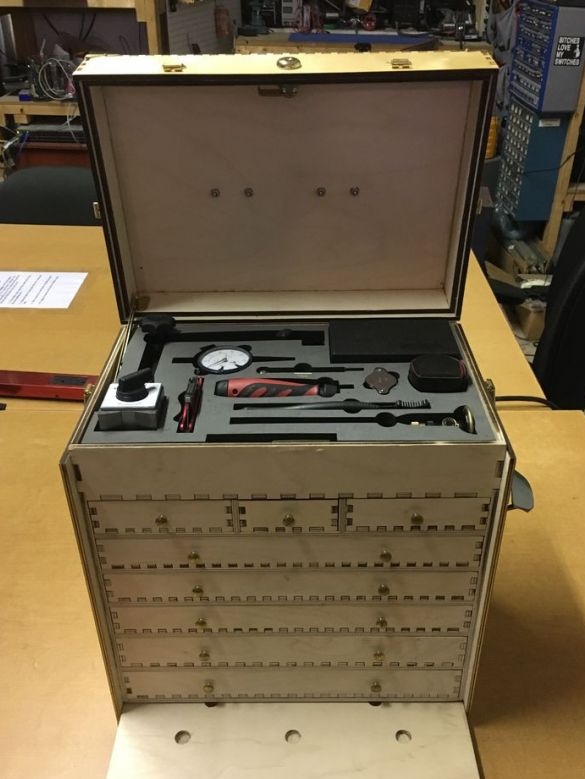
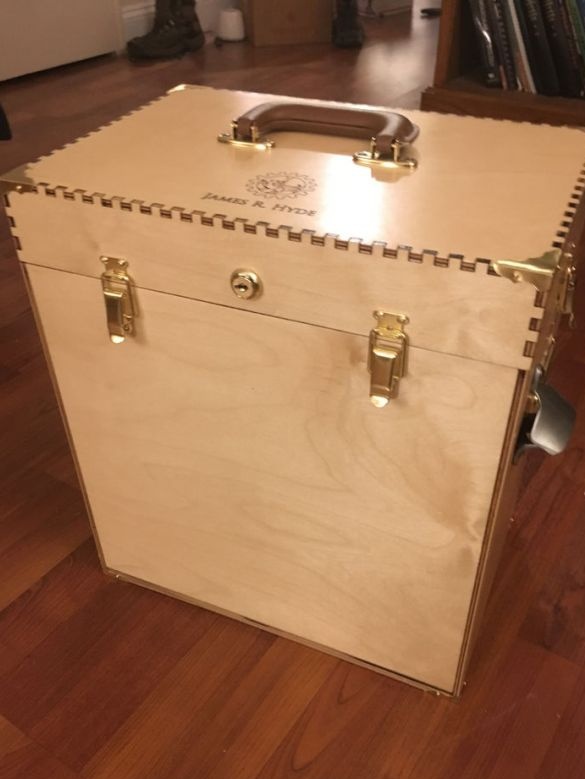
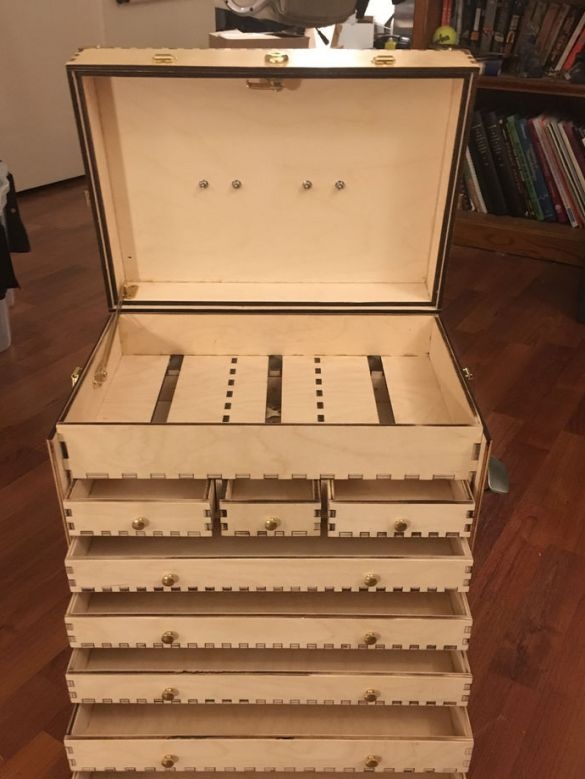
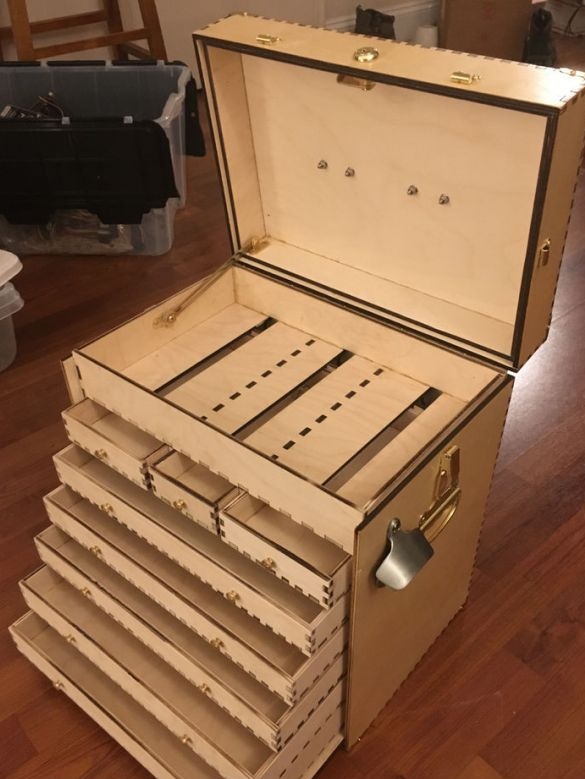
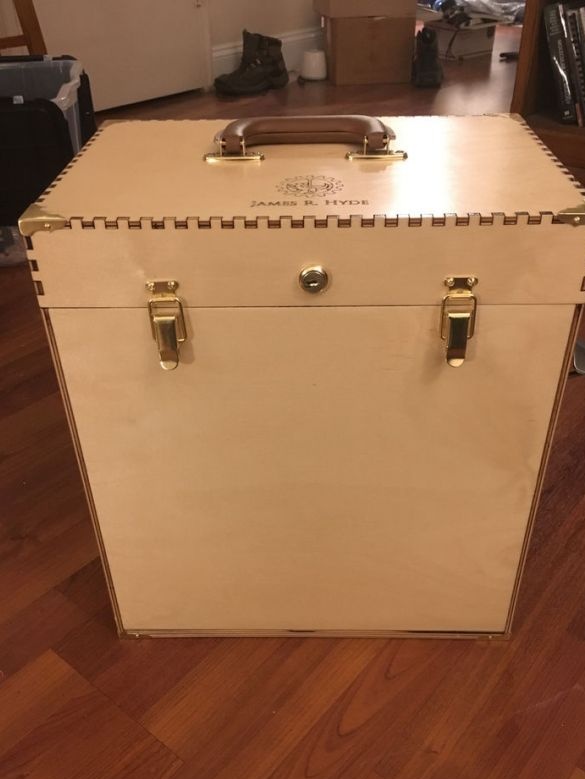
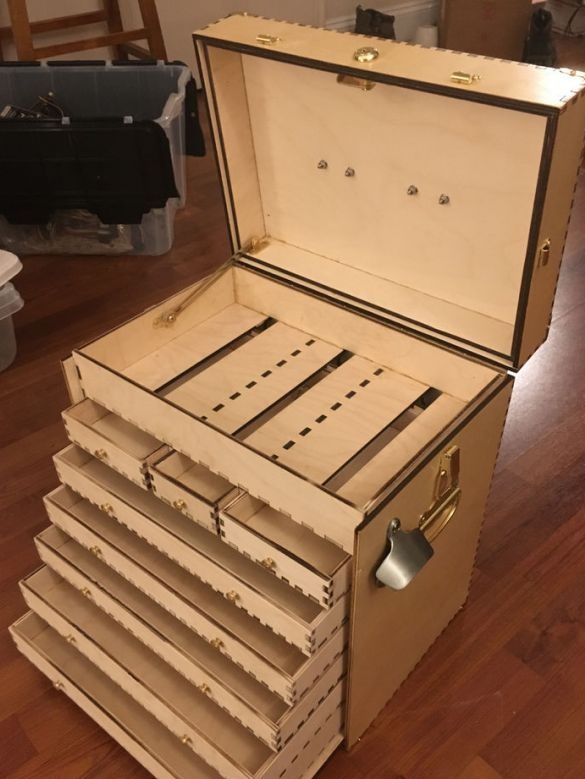
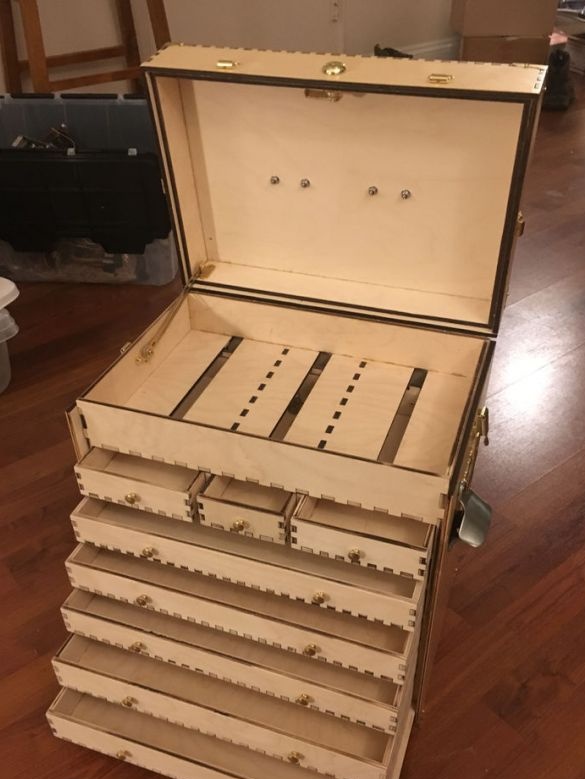
In this article, we will look at how to make a stylish box for storing and carrying tools. Of course, you won’t put a drill or angle grinder in such a box, but each master has his own tasks. There are nine compartments in the box and it is designed for reliable storage of expensive tools. To make the box, the master needed the following
Materials and tools:
- Birch plywood;
-Styrofoam;
-Varnish;
-Fasteners;
-Royal loop;
-Latch lock;
-Pens;
- Limiter;
-Angle pads metal;
-Foam cutting machine;
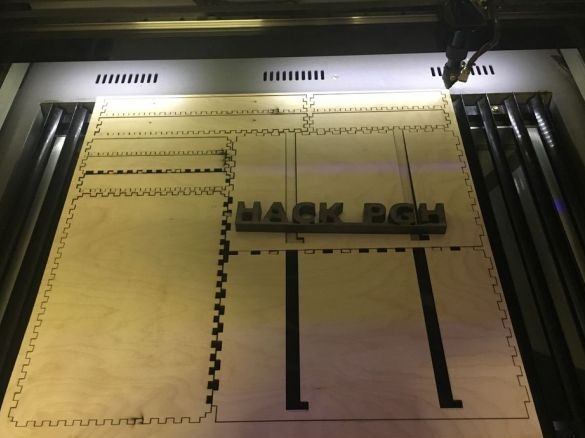
- The machine for laser cutting;
-Grinder;
-Glue;
- Clamps;
-Dremel;
The box consists of an inner box and an outer skin. Below you can go to the site to download files.
.
Step One: Cutting Parts
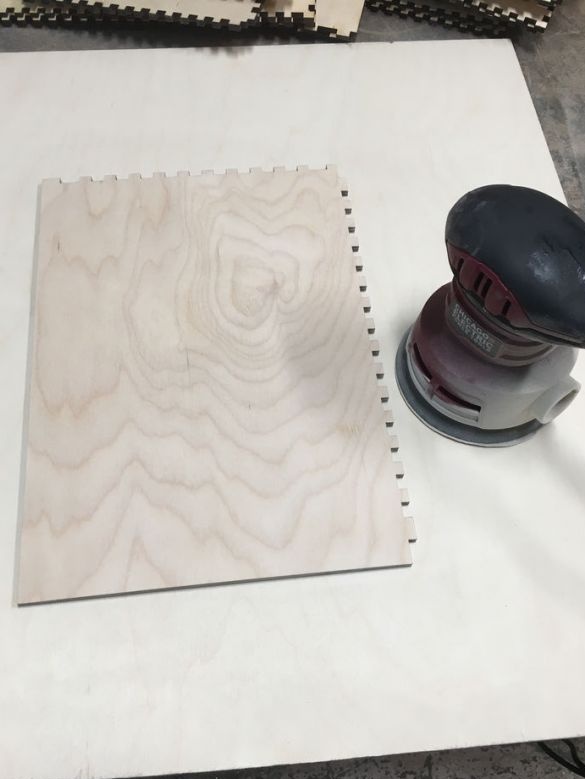
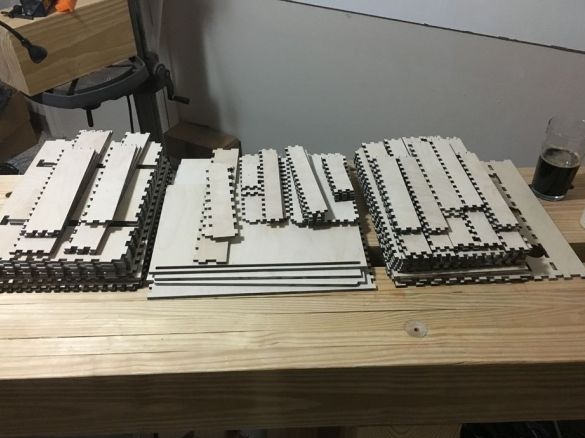
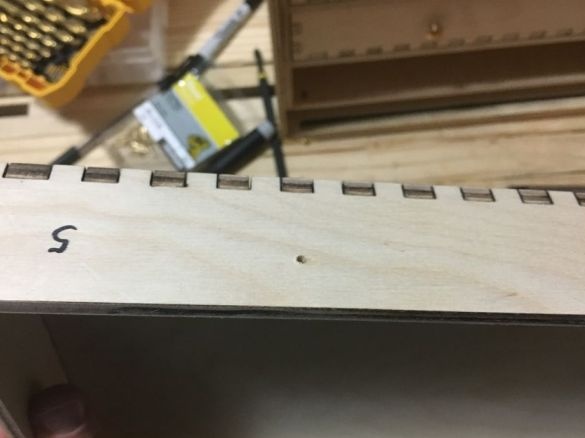
From plywood cuts out the details of the box. Grinds them with 220 sandpaper.
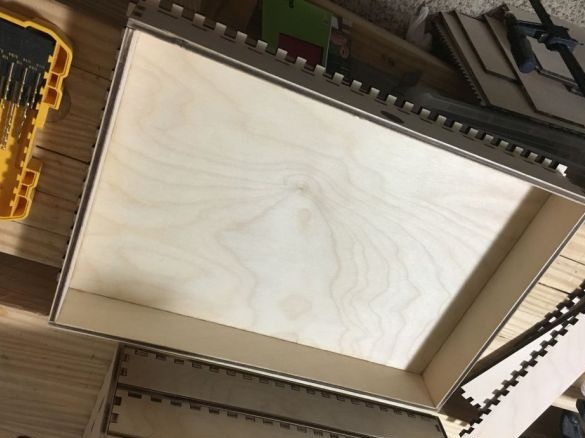
Step Two: Assembling the Inner Box
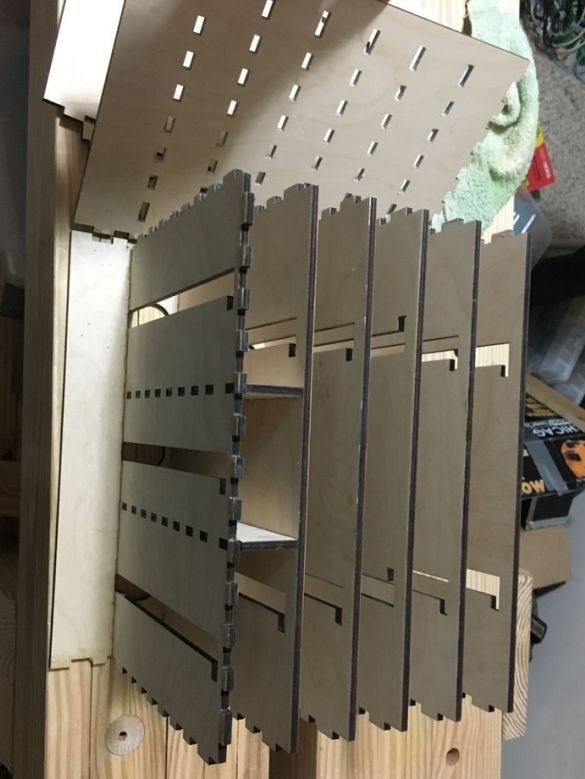
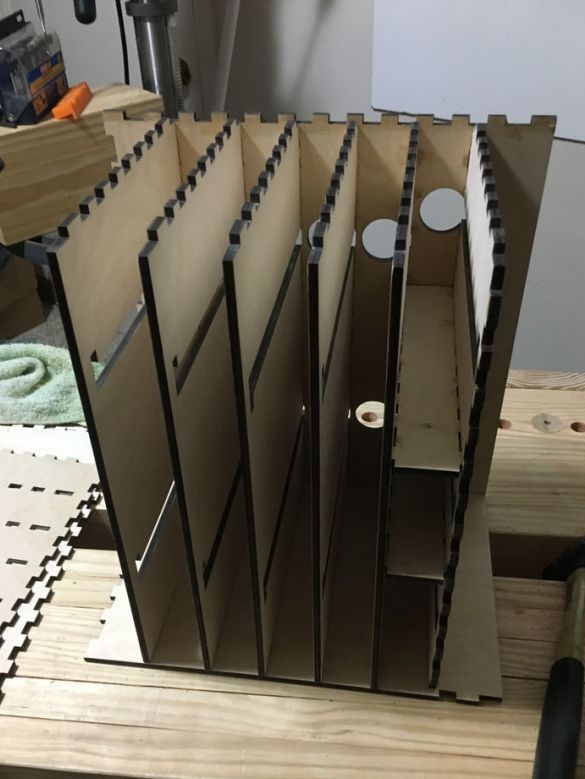
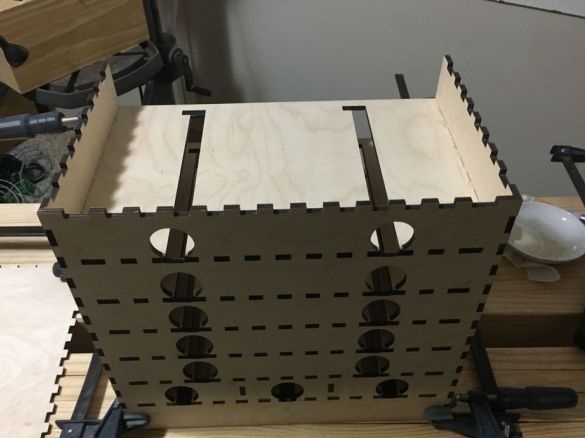
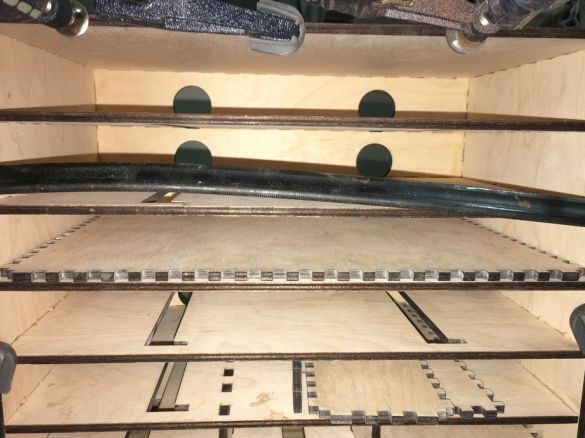
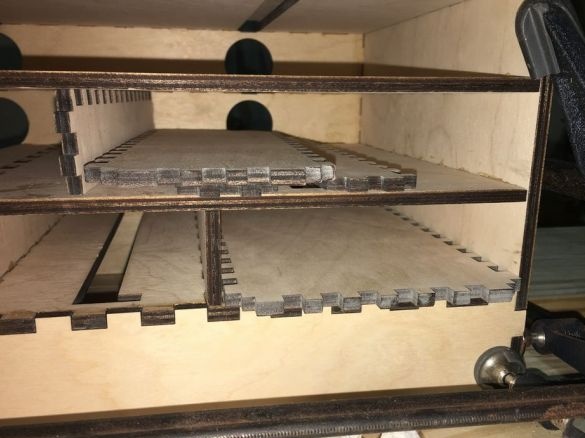
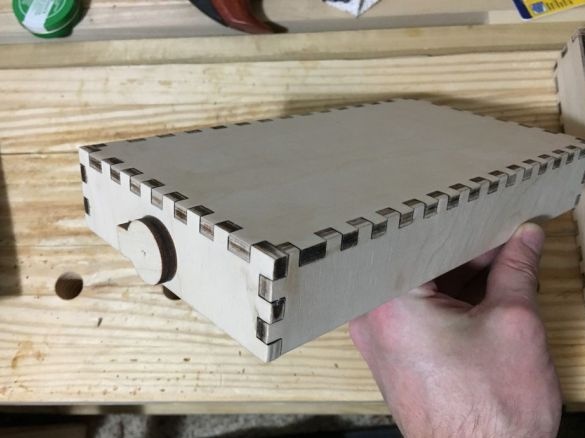
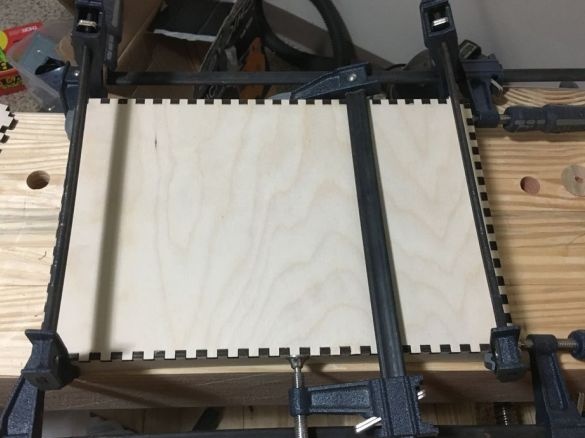
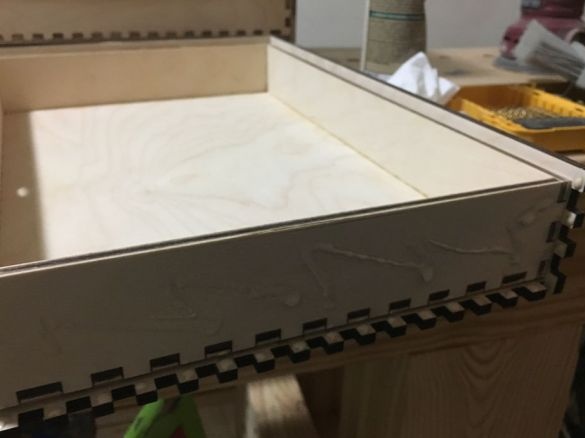
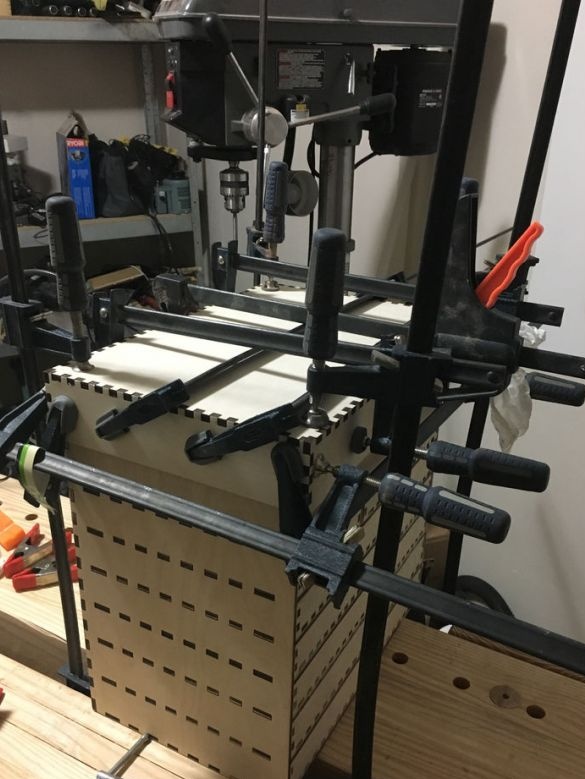
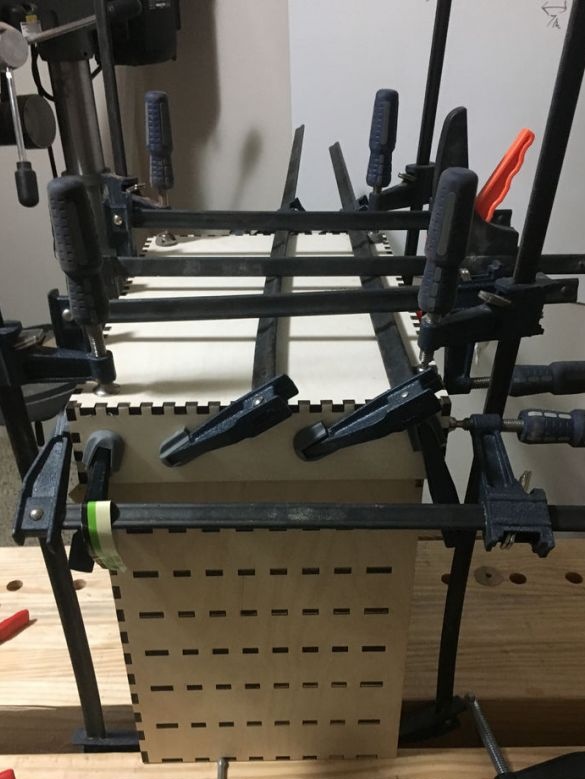
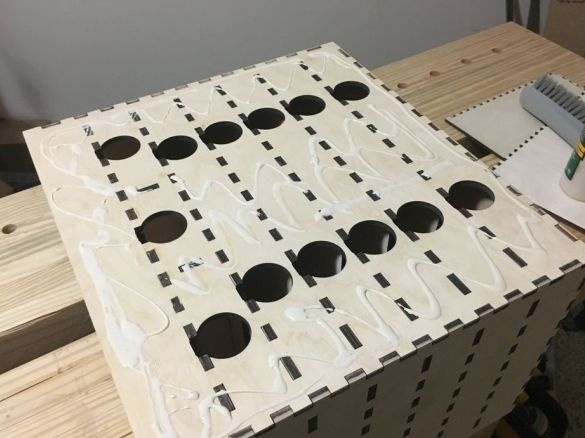
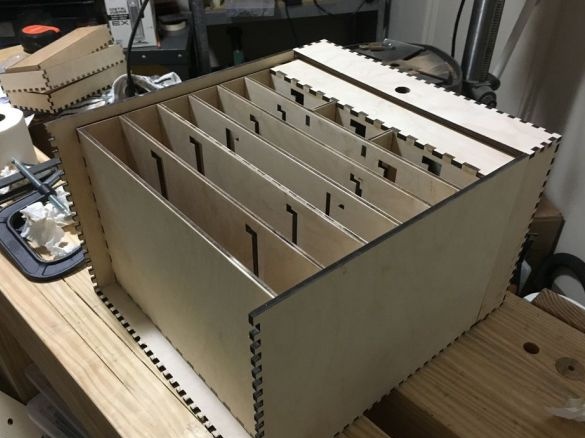
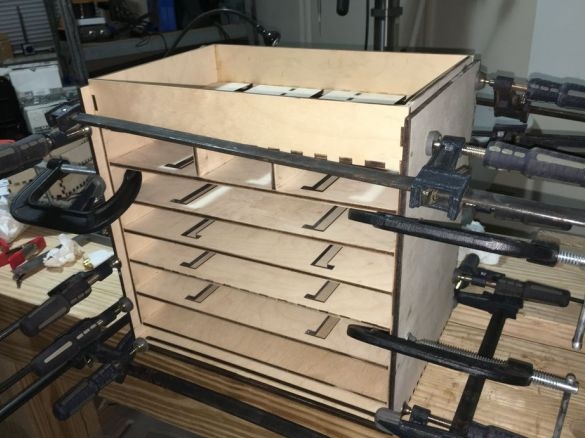
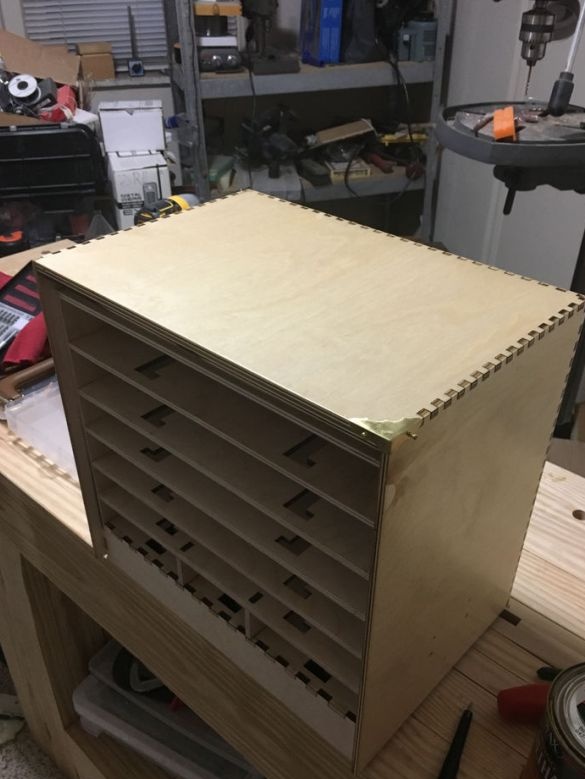
Assembling a box is like assembling a 3D puzzle. Collects a box using glue. Attaches partitions to the back wall.
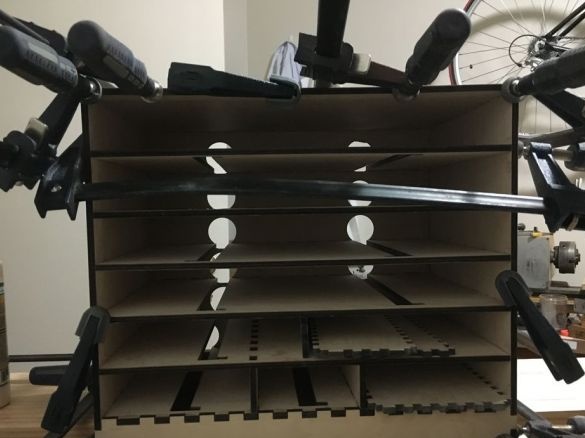
Attaches the side walls.
Fixes with clamps. Removes excess glue.
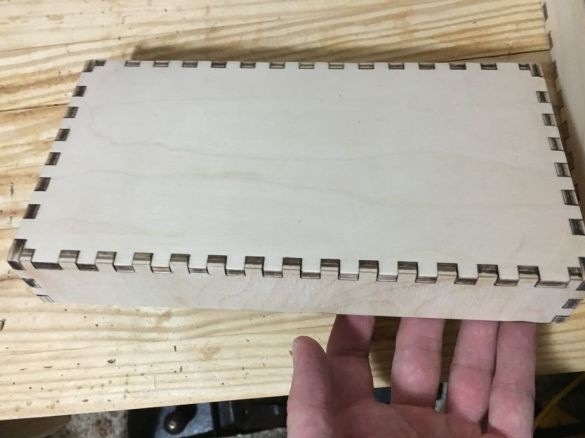
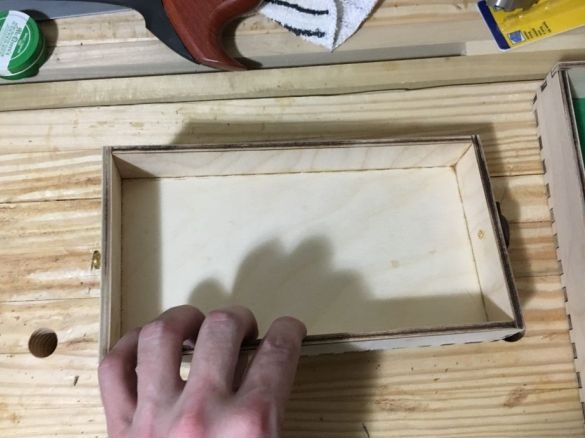
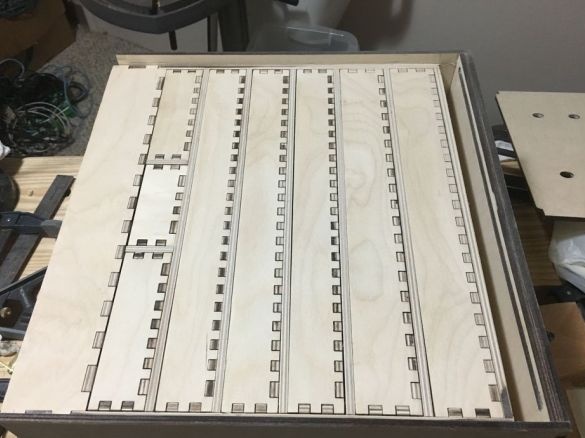
Step Three: Build Crates
Collects boxes. Grinds.
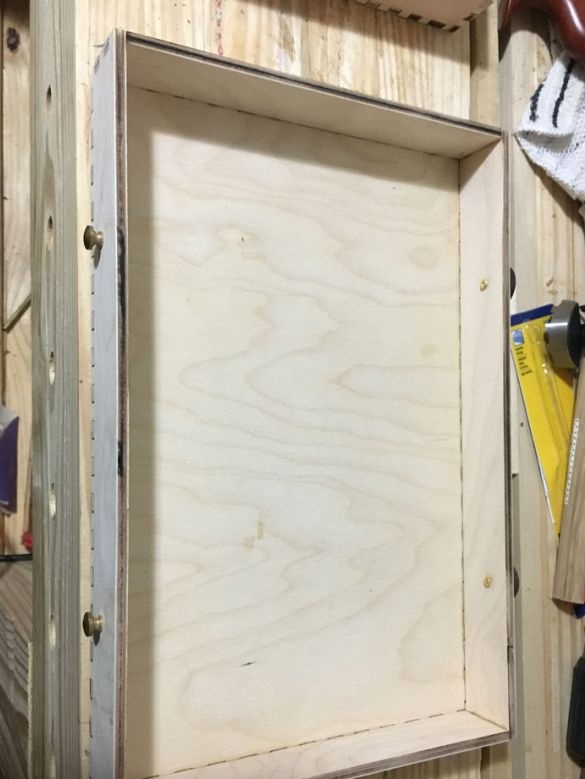
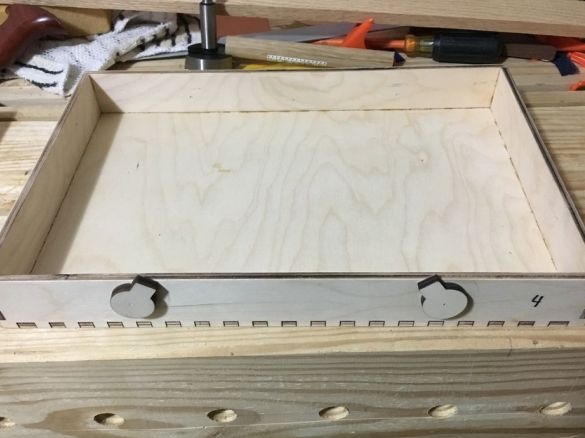
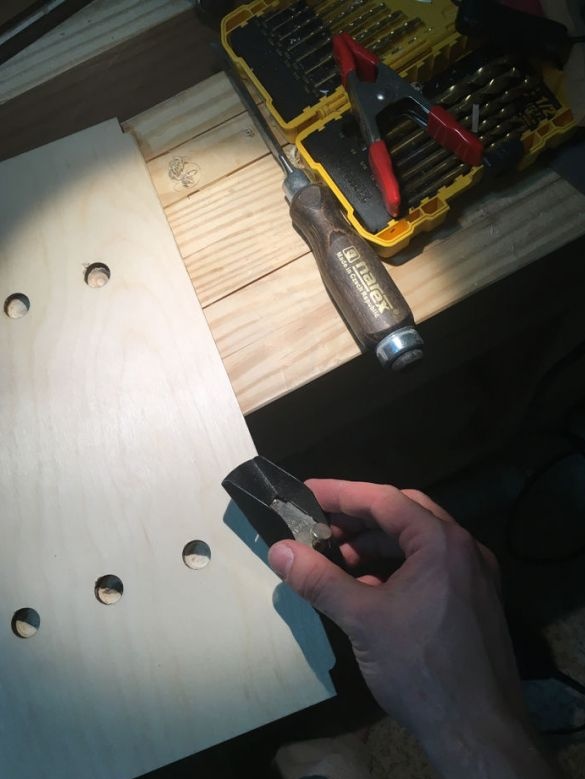
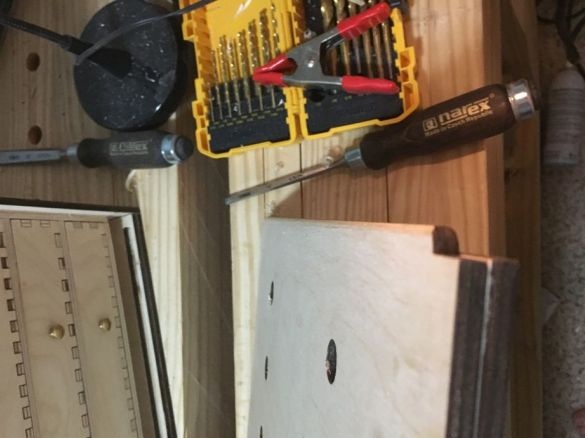
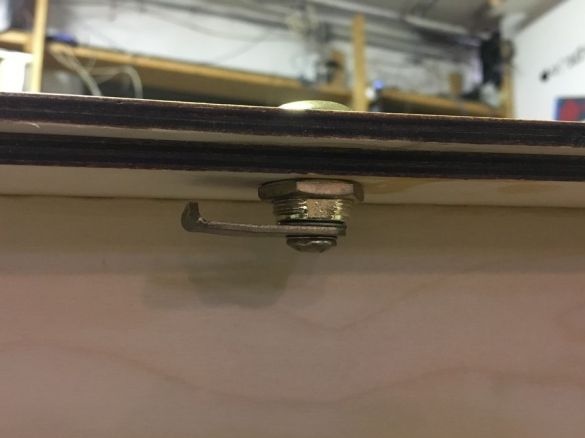
Drills holes and installs handles and drawer lock. On small drawers, one locking device, on large two.
How the lock works we look at the video.
Step Four: Cover
Assembles a box lid.
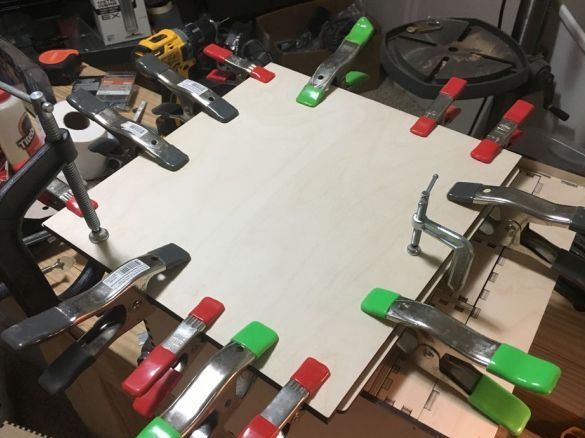
Step Five: Sheathing
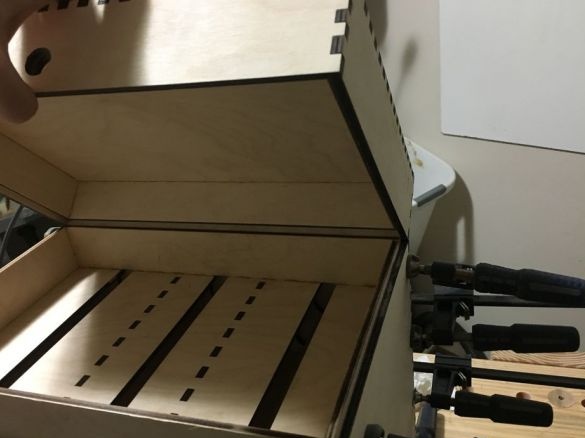
Glues the bottom, two side and back walls.
Step Six: Front Cover
Glues the front cover. Emery rounds one edge. Grinds.
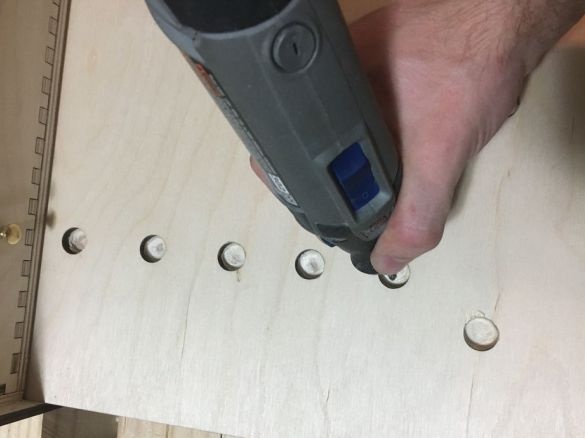
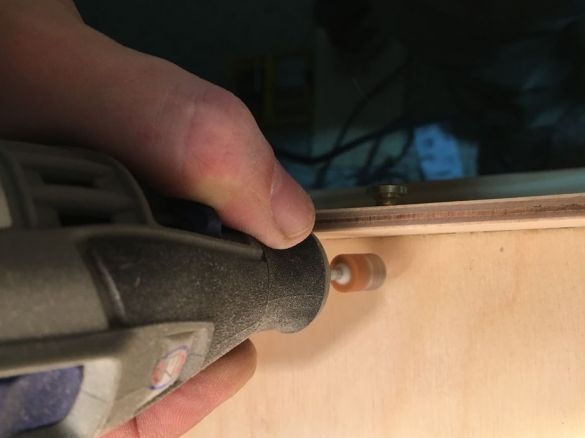
Dremel cuts openings under the handles of boxes.
Seventh step: installing hinges, locks, handles
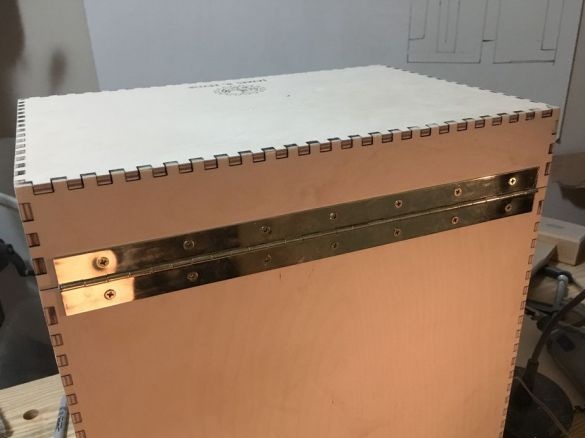
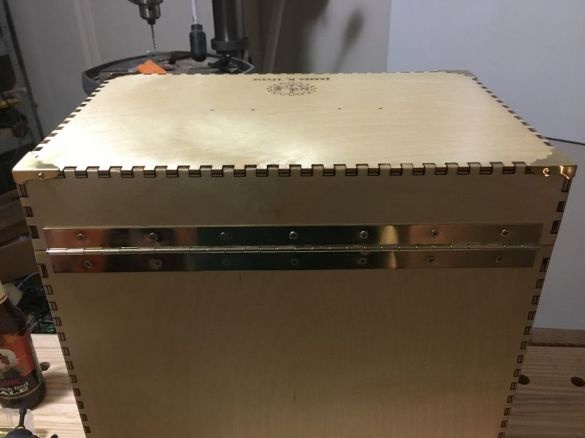
Screws the piano loop.
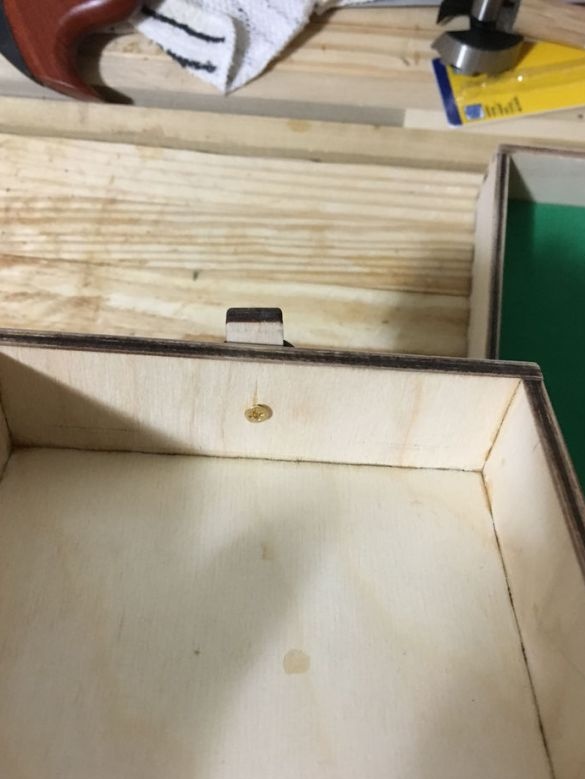
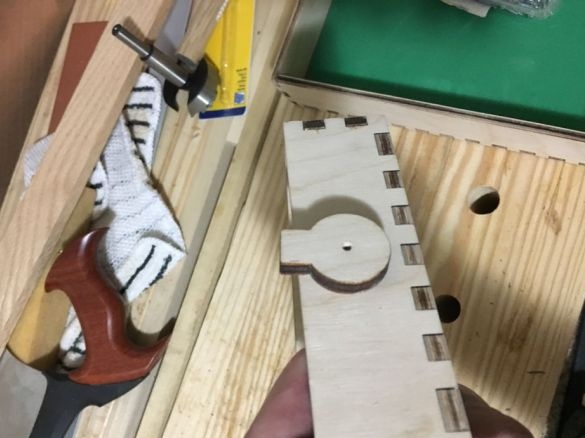
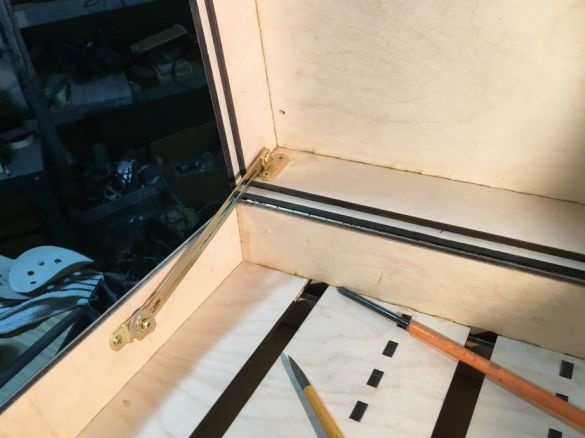
Limiter.
Stitches protruding parts of screws.
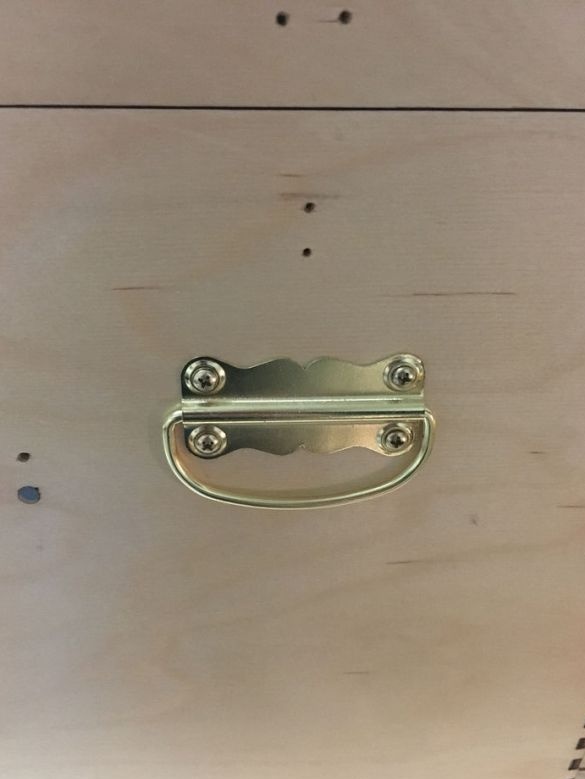
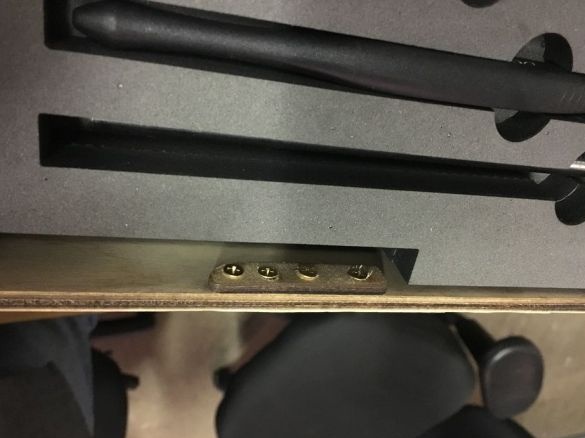
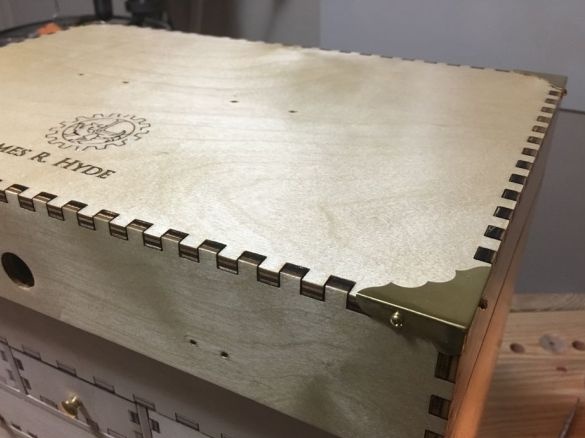
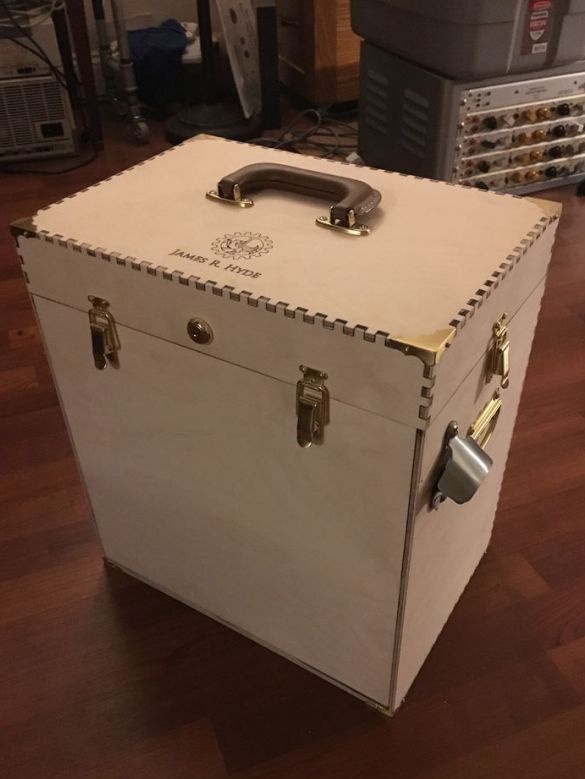
Screws handles and brass corners.
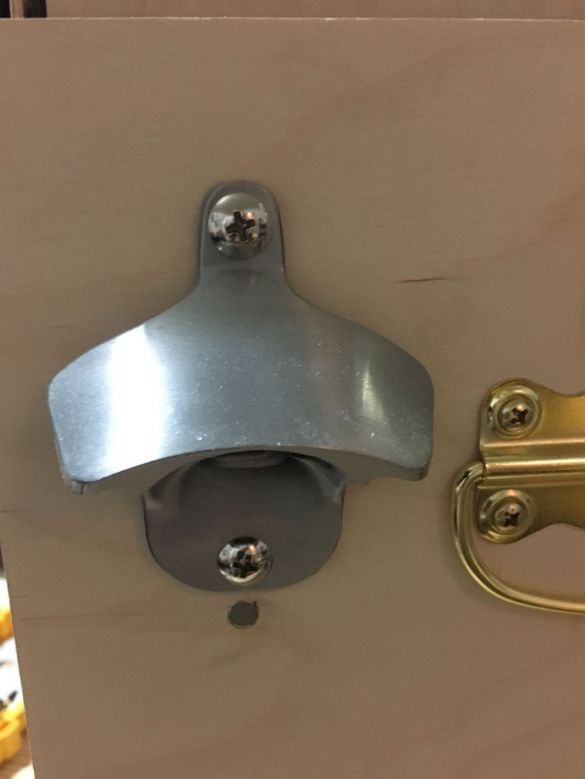
Screws the lock.
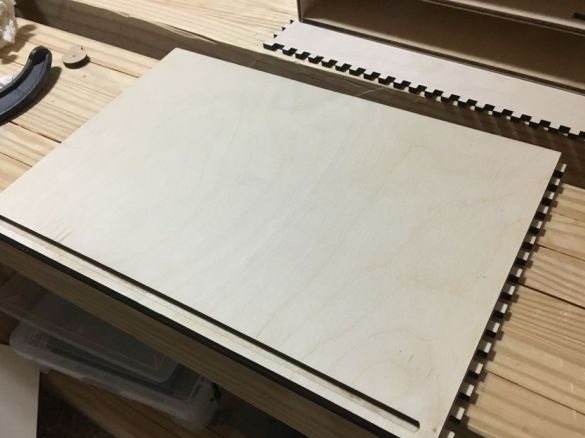
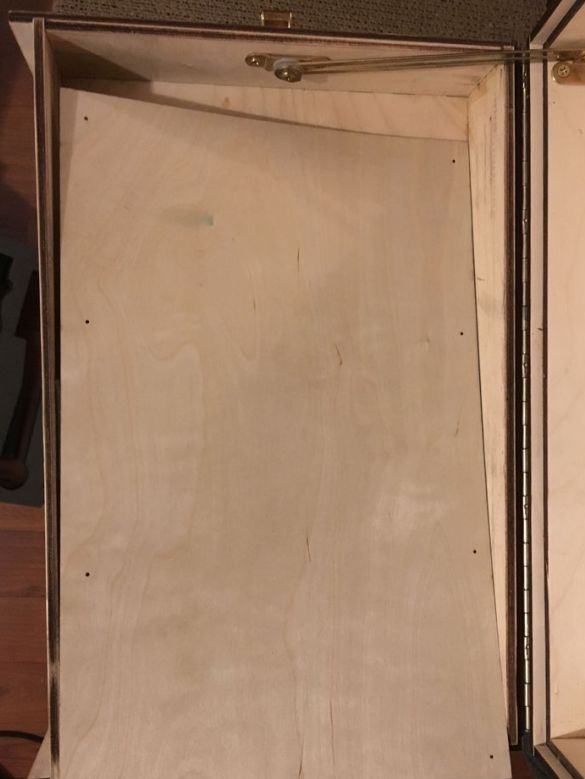
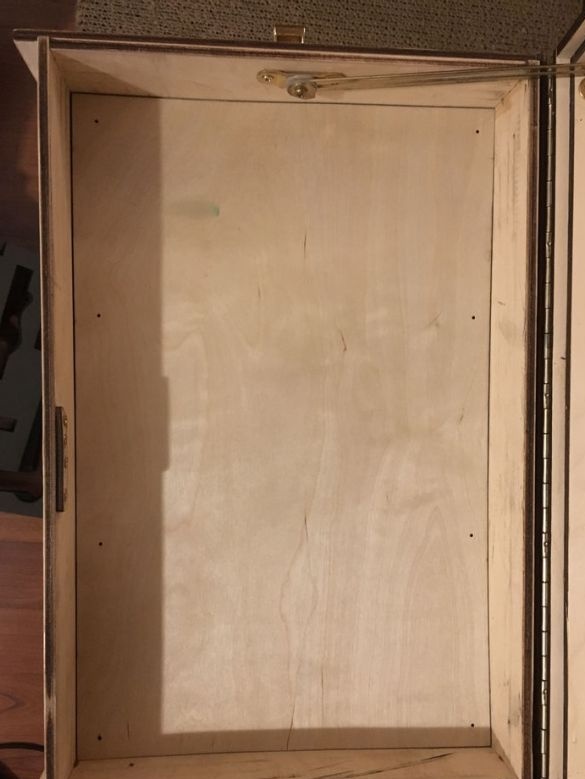
Plywood sheet glues into the lid.
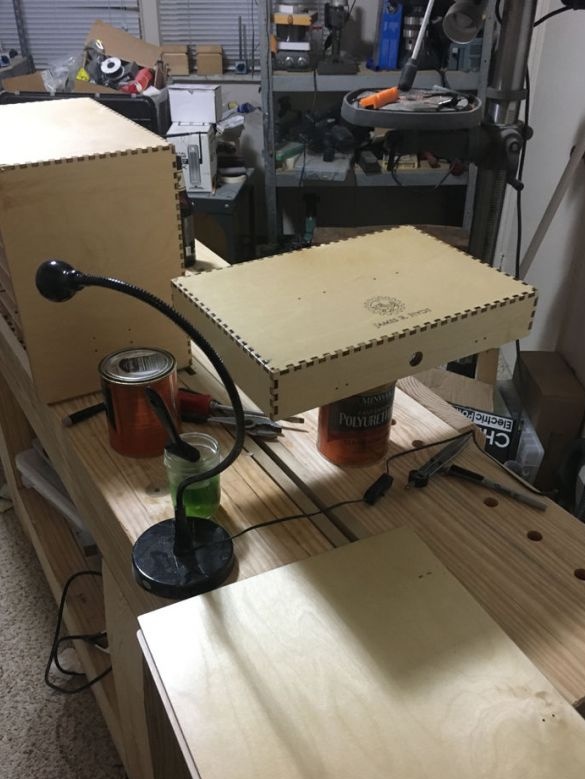
Step Eight: Varnish
Apply four layers of varnish to the outer walls of the box.
Step Nine: Insert into a Drawer
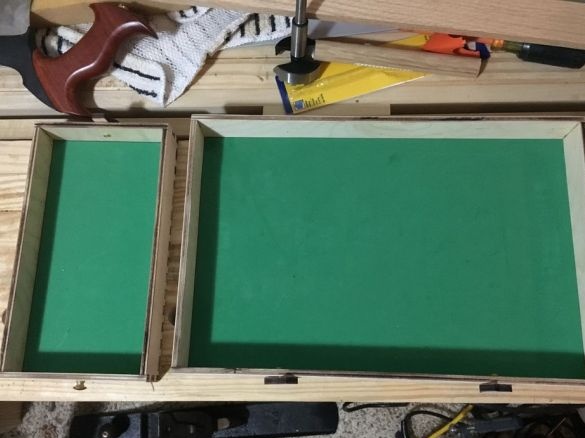
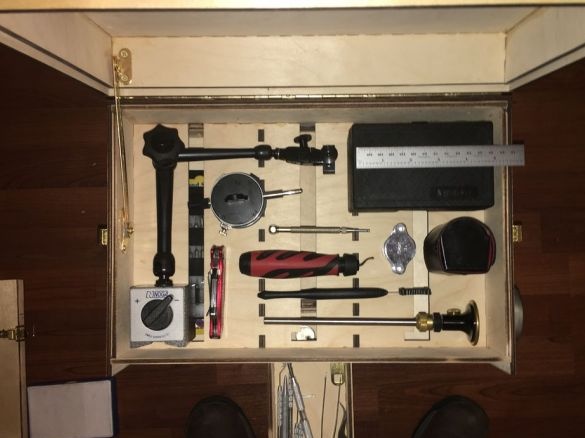
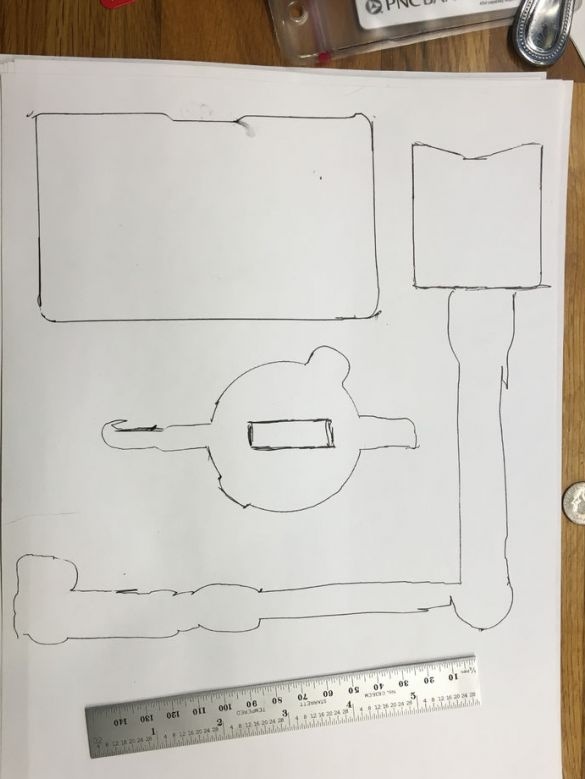
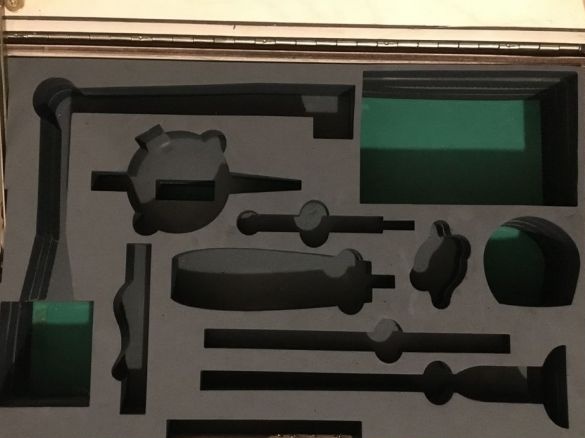
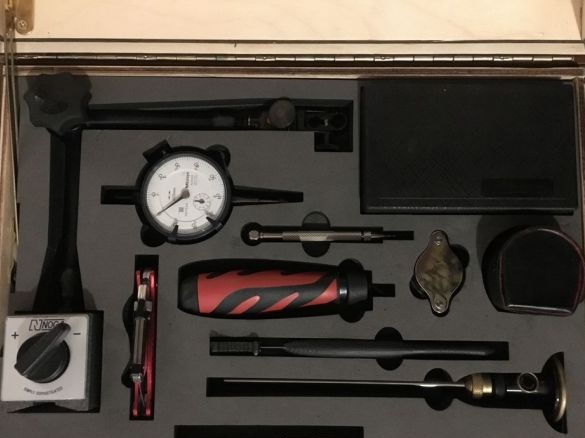
Lays out the tool. Makes a pattern. From the foam cuts the insert.
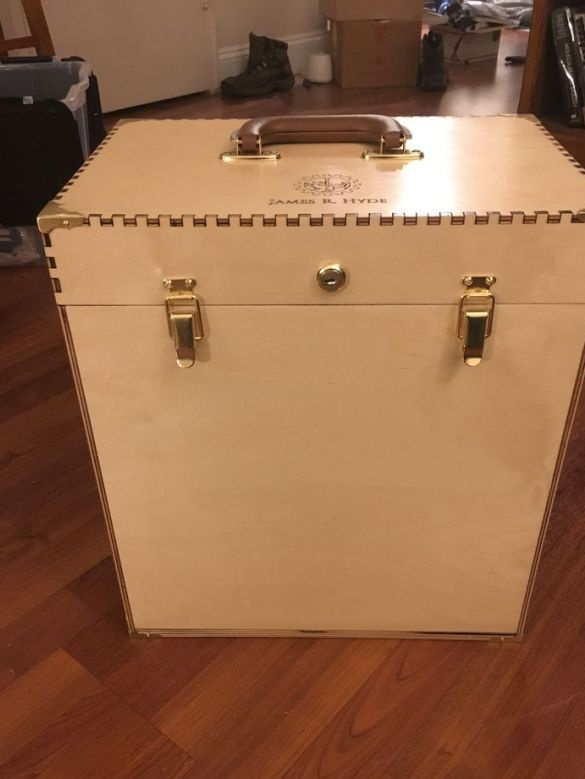
The box is ready.

