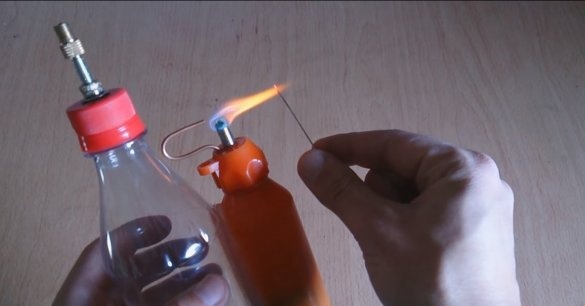
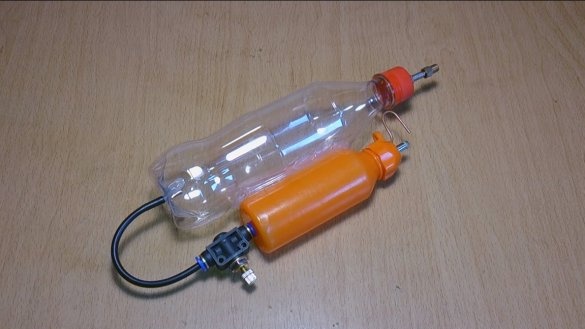
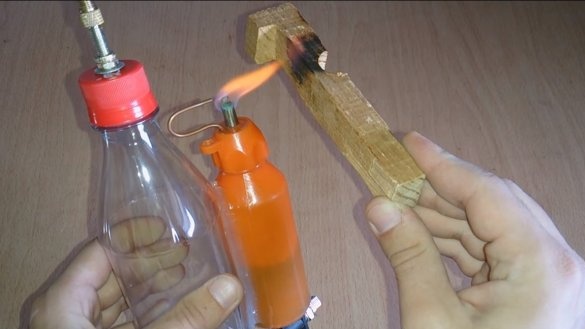
Hello to all fans of craftsmen, today we will consider how to make a simple alcohol burner. Homemade the author made of bottles, a nipple from a bicycle chamber and other details that can be easily obtained. The result is a good torch with which you can burn and whether to heat steel. The assembly of the homemade product is quite simple, but you must always remember the safety precautions! If you are interested in the project, I propose to study it in more detail!
Attention! Dangerously!
An explosive mixture of alcohol and air vapor is in the fuel tank! All experiments should be carried out only on the street! If the fuel tank explodes, the alcohol will spill and catch fire!
Materials and tools used by the author:
Material List:
- two bottles;
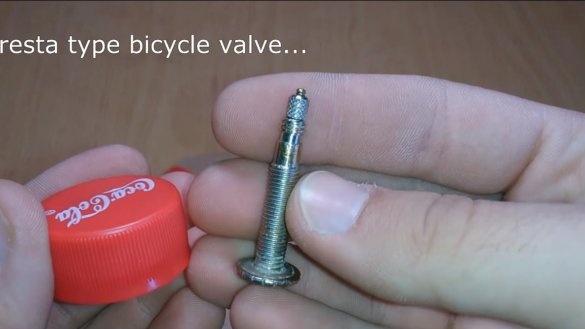
- a nipple with a spool from a bicycle chamber;
- metal tube (possible from the antenna);
- a copper tube (through which gas will escape);
- material for the wick;
- epoxy adhesive;
- silicone sealant;
- oil / benzo - resistant hose;
- .
Tool List:
- drill;
- nippers;
- pump;
- pliers.
Burner manufacturing process:
Step one. Installing the nipple and outgoing tube
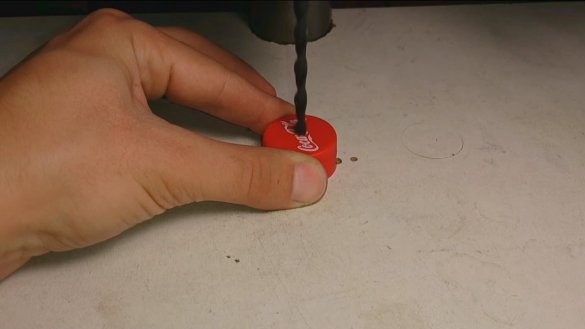
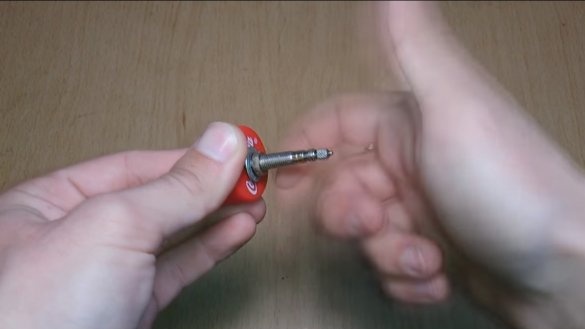
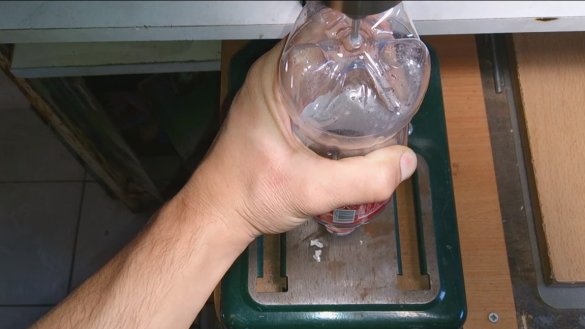
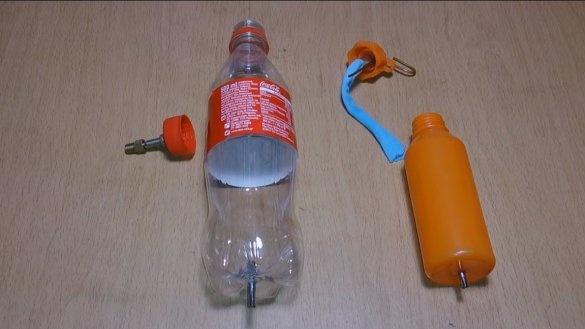
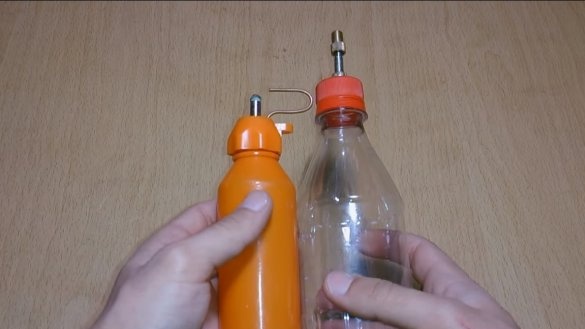
First of all, you need to install the nipple in the bottle cap. We drill a hole of the desired diameter and fasten the nipple from the bike to the cover. We also install a spool inside the nipple. Thanks to the nipple, we can pump air into the bottle using a pump.
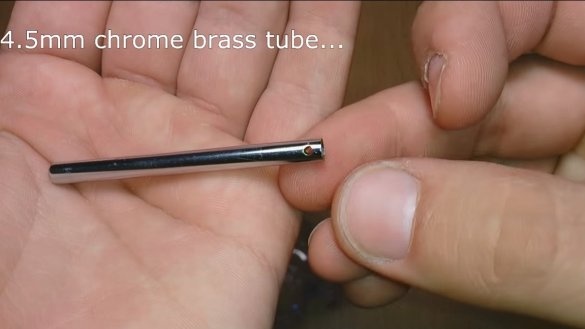
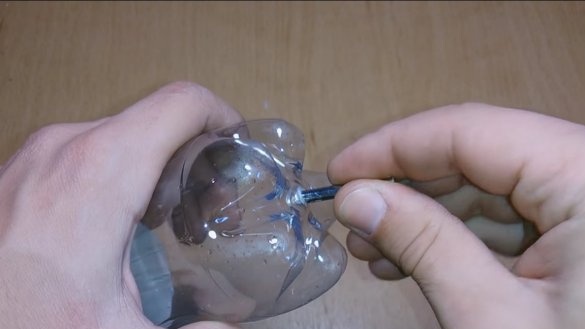
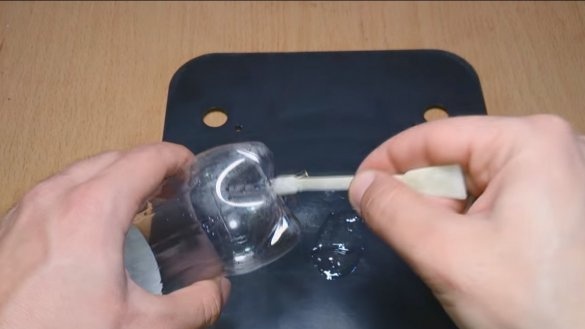
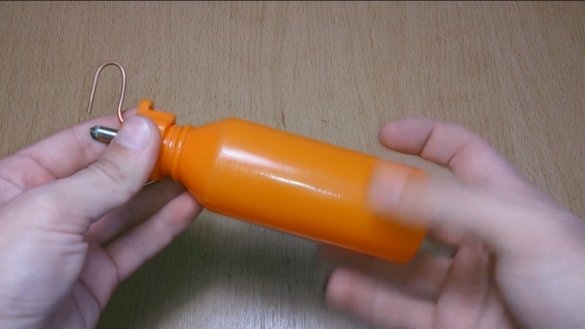
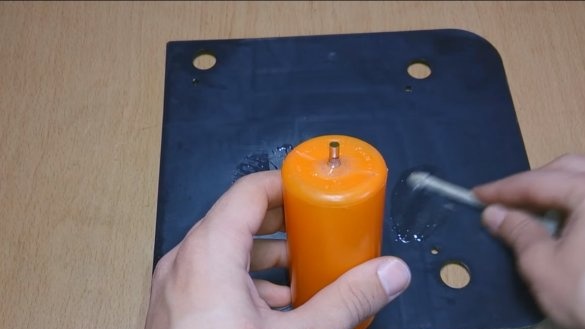
As for the outgoing tube through which air will go into the tank with fuel, its author built it into the base, since here the material is the thickest and most durable. We drill a hole and glue the tube onto epoxy glue, scratching and degreasing the glued surfaces well. The author used a brass tube, this is part of the antenna.
Step Two Fuel tank
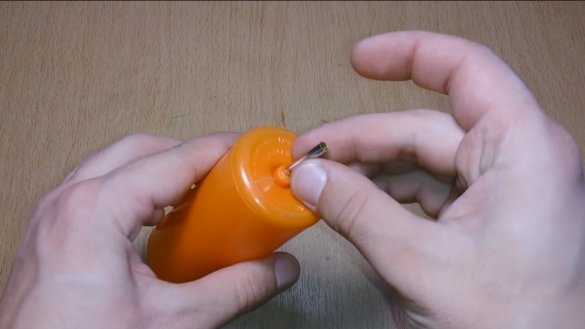
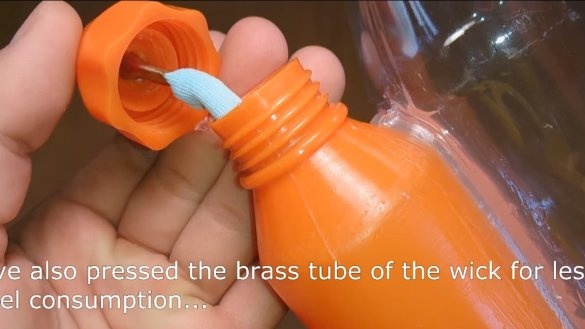
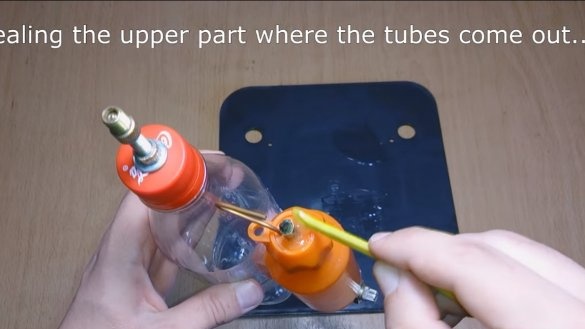
We make a fuel tank from another bottle, and for security reasons we take a container as small as possible. We also build into the bottom a piece of tube through which air will enter. The author mounted a wick in the lid, as well as a copper pipe through which gas would escape. Reliably coat all joints with epoxy glue.
Step Three Assembly
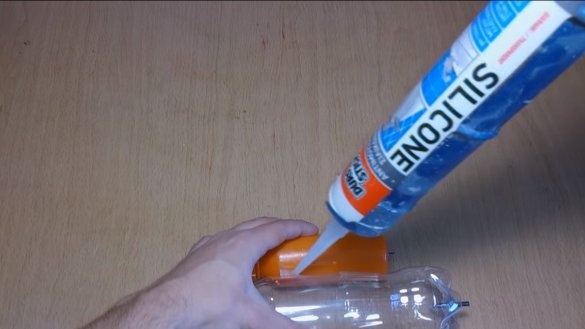
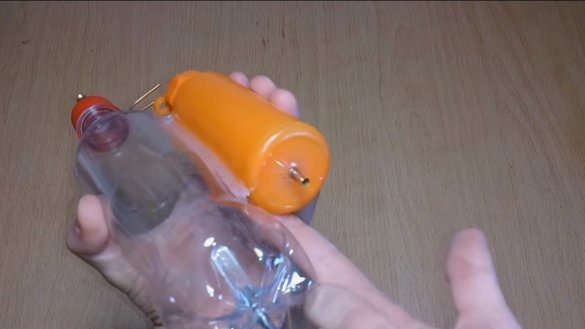
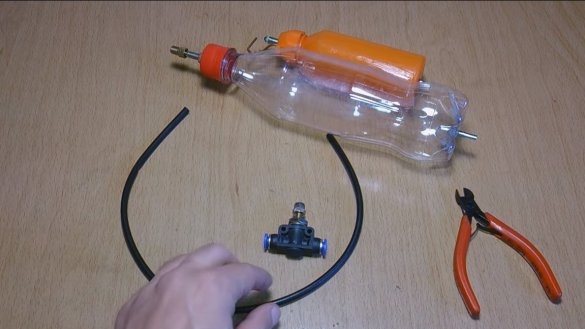
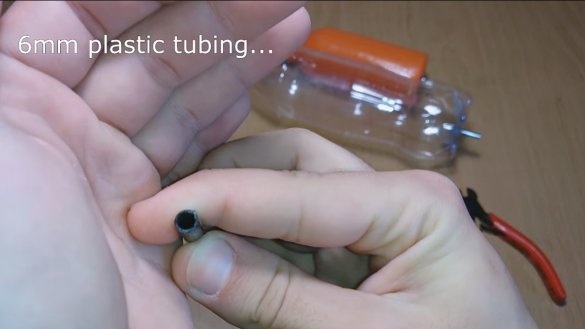
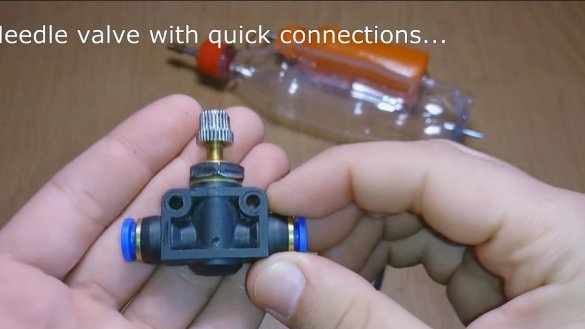
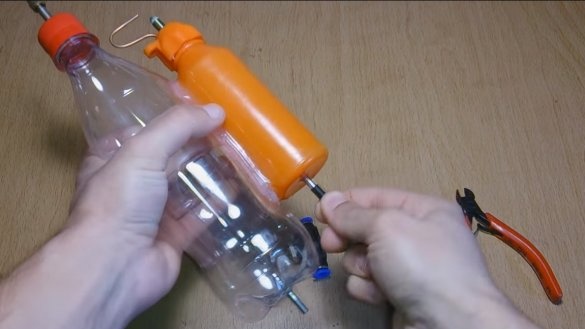
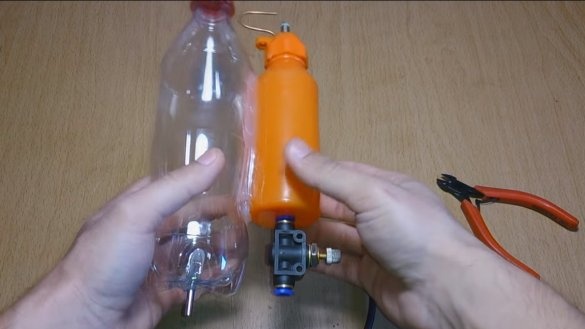
We assemble the design, the author glued the bottles together using silicone sealant. We will need two pieces of hose as well. We connect both containers through hoses and a tap. That's all, now everything is ready.
Step Four Test
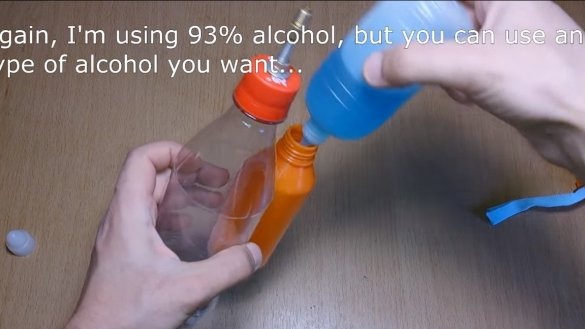
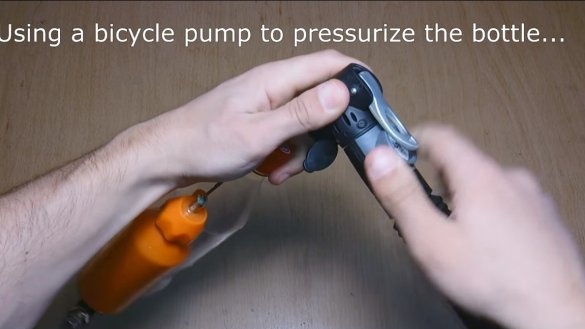
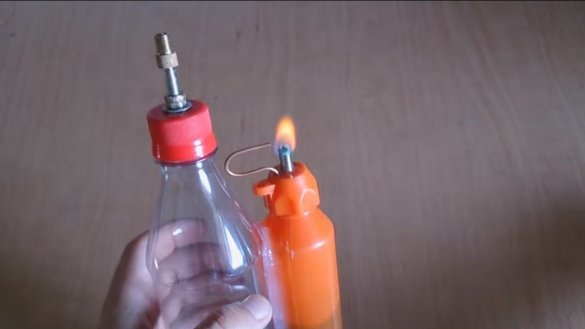
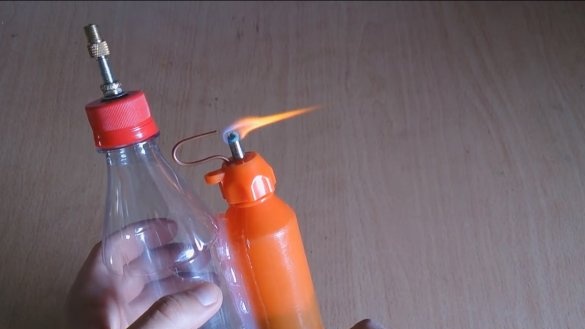
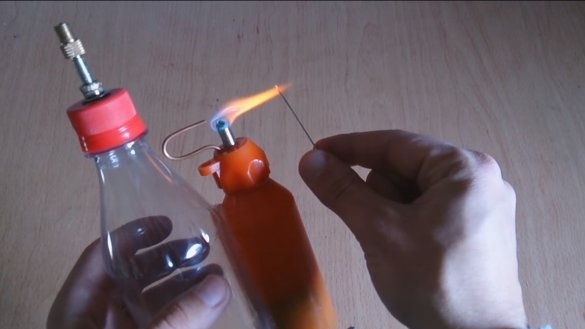
Pour fuel into the fuel tank, remembering to close the tap. We pump air into a transparent bottle using a pump. Now we set fire to the wick and with the help of the crane we slowly organize the air supply. After that, flammable gas will flow through the copper pipe and you will see a torch. I regulate the amount of air, you can correctly configure the torch.
This is the end of the project, I hope you liked the homemade work, and you found useful thoughts for yourself. Good luck and creative inspiration, if you decide to repeat this. Do not forget to share your ideas and homemade things with us!

