
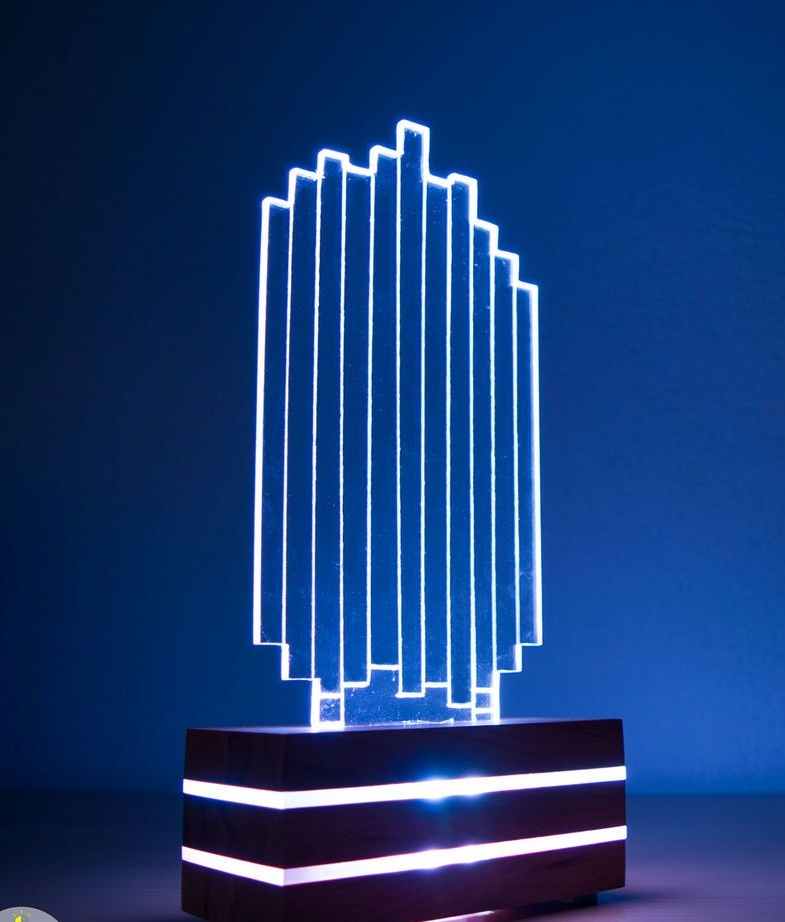
In this article we will consider the next model LED luminaire using materials such as wood and acrylic. For its manufacture, the master used the following
Materials and tools:
- Beech board;
-Acrylic;
-RGB tape;
Epoxy resin;
-Shellac;
-Felt;
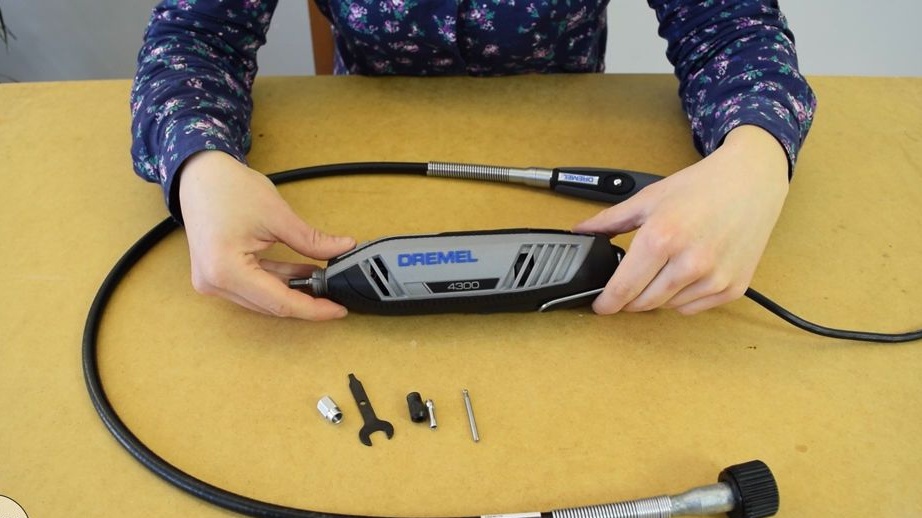
-Dremel;
-A screwdriver;
-Soldering iron;
-Stripper;
-Hacksaw;
-Crown for wood;
-Bit;
-Rule;
-Scissors;
-A circular saw;
-Scissors;
-Glue gun;
-Pencil;
-Glue;
- Clamps;
-Sandpaper;
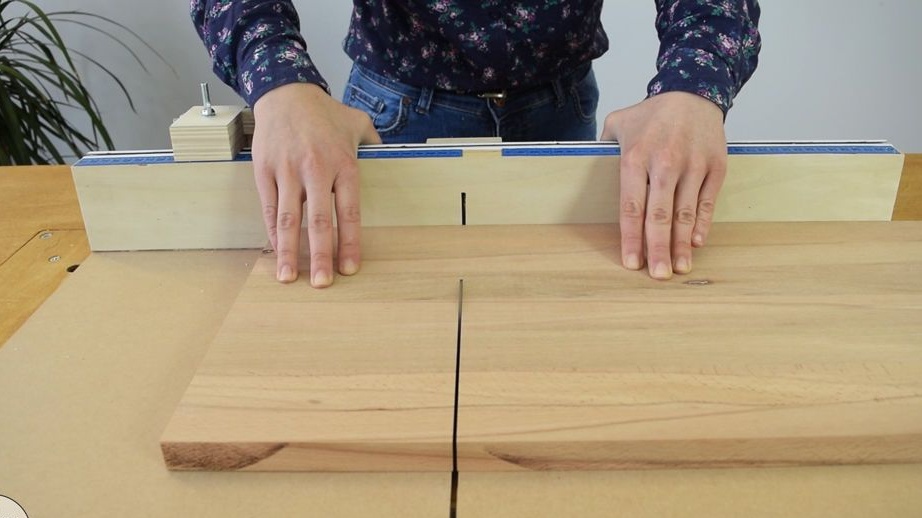
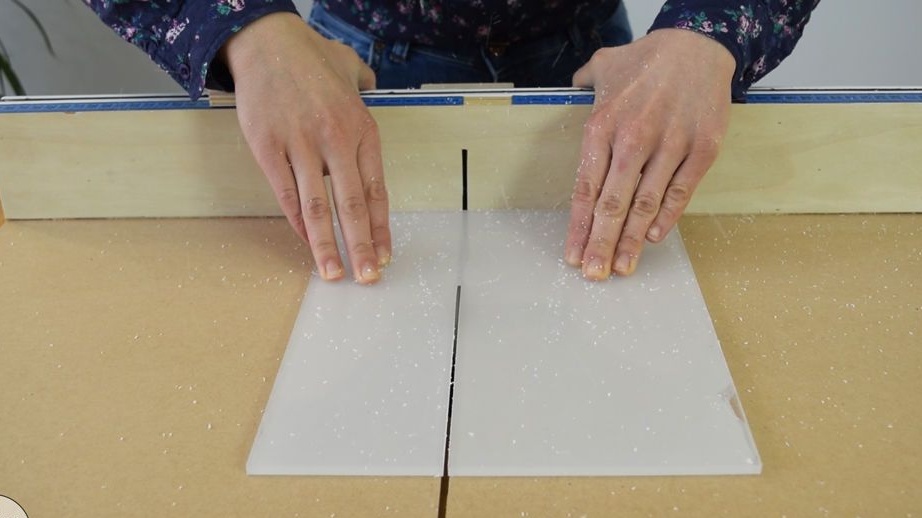
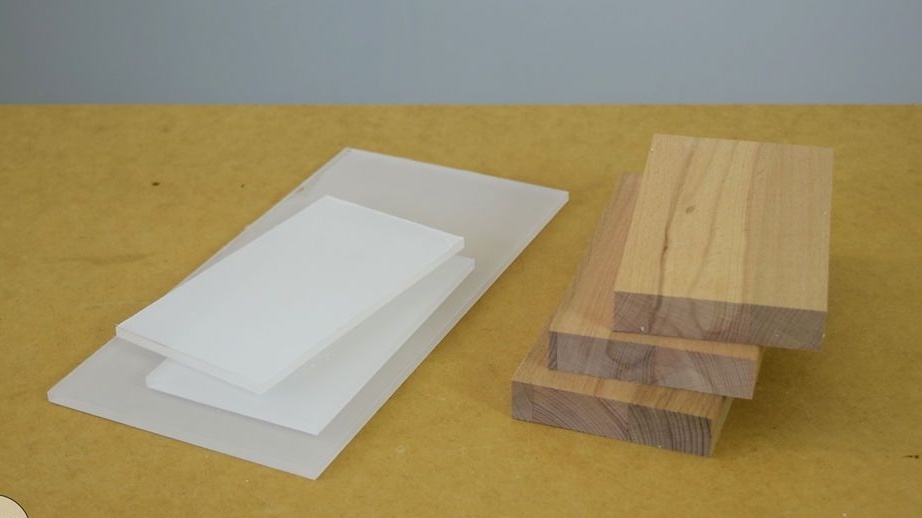
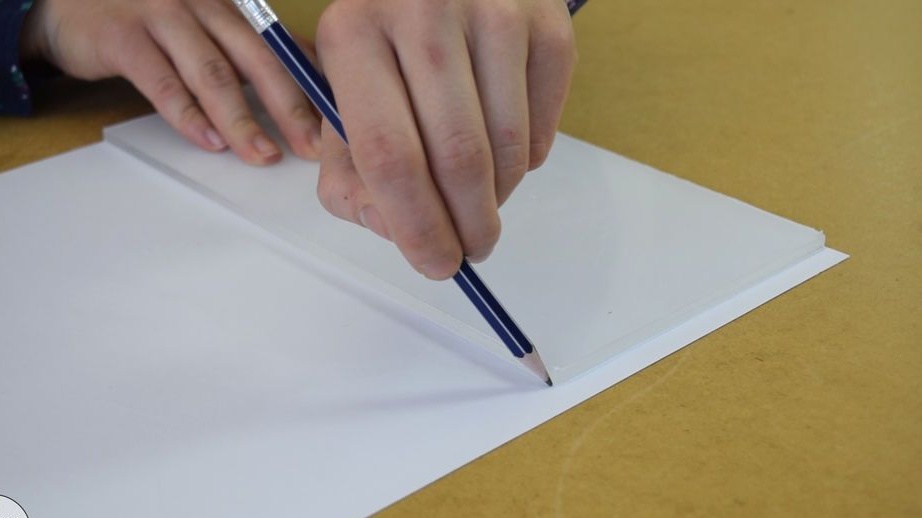
Step one: procurement of parts
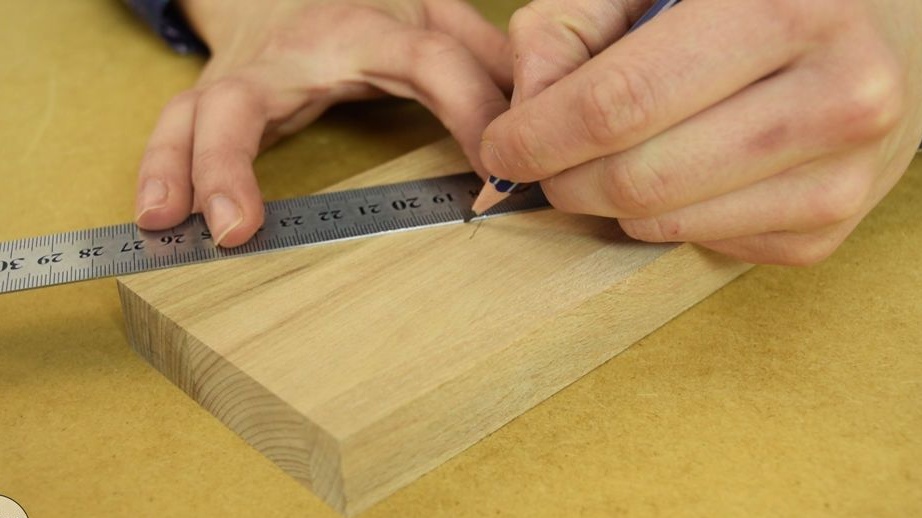
From a beech 20 mm board cuts out three rectangles 16 * 9 cm.
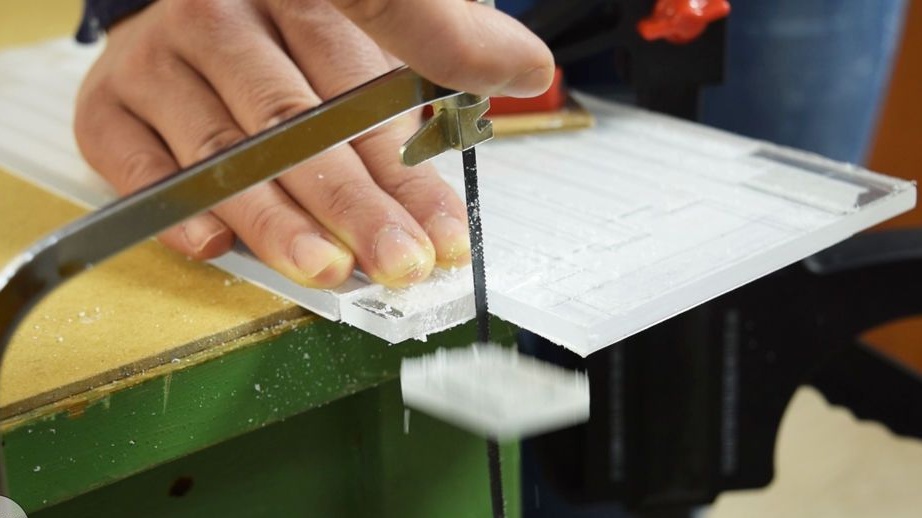
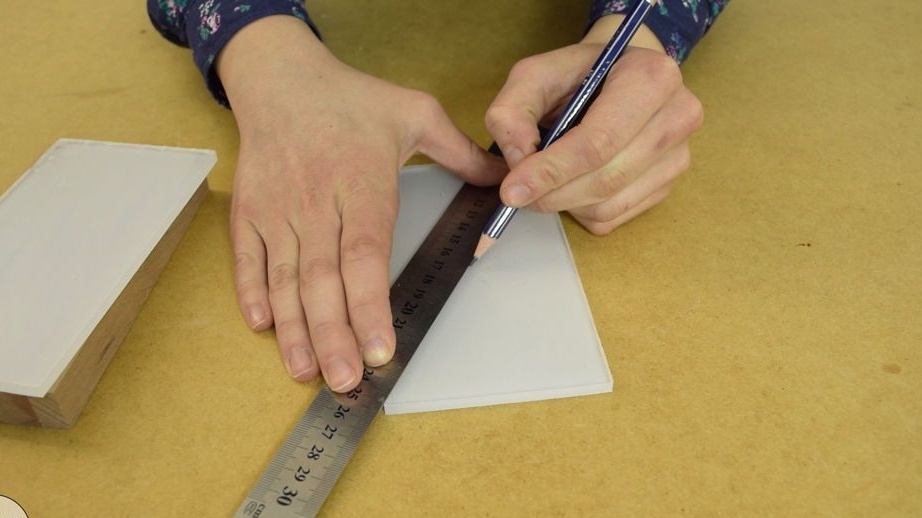
A rectangle of 28 * 14 cm and two rectangles of 16 * 9 cm are cut from acrylic.
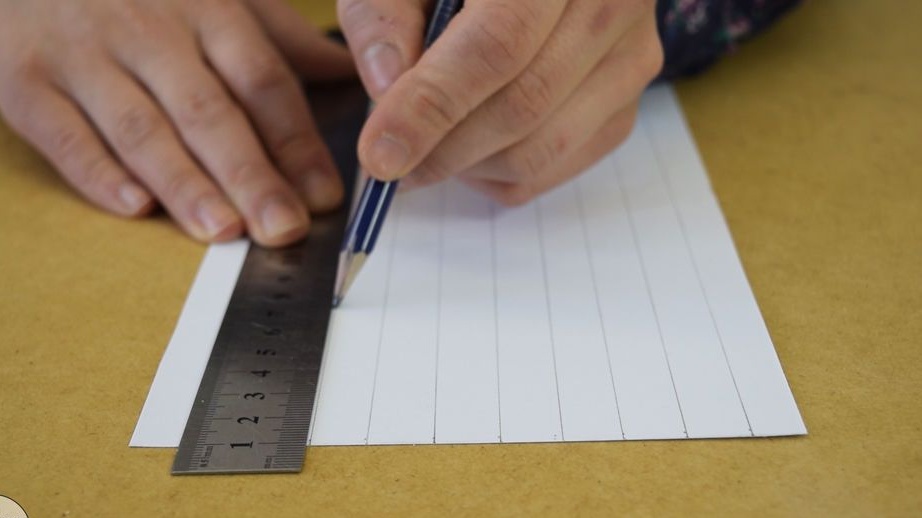
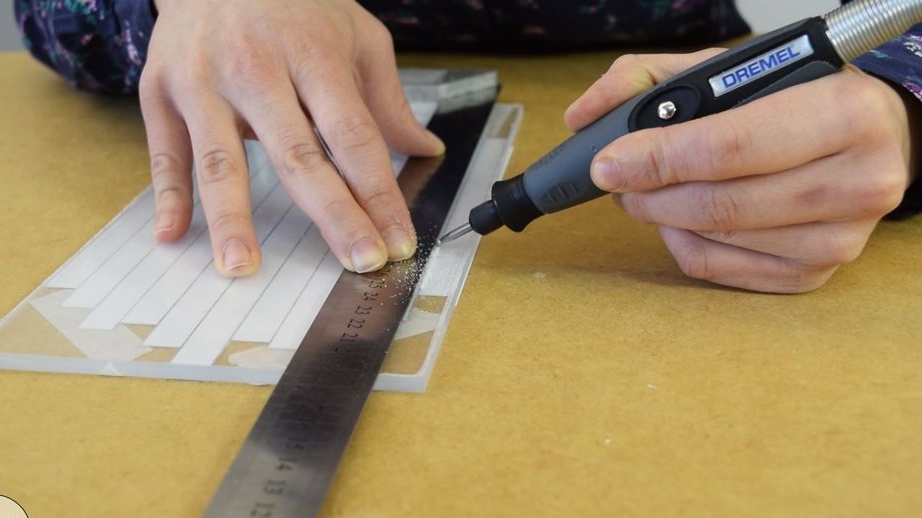
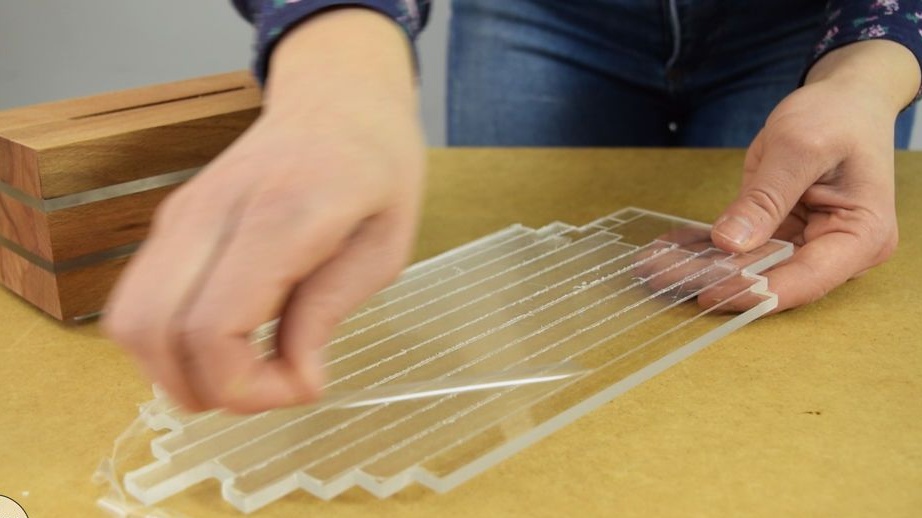
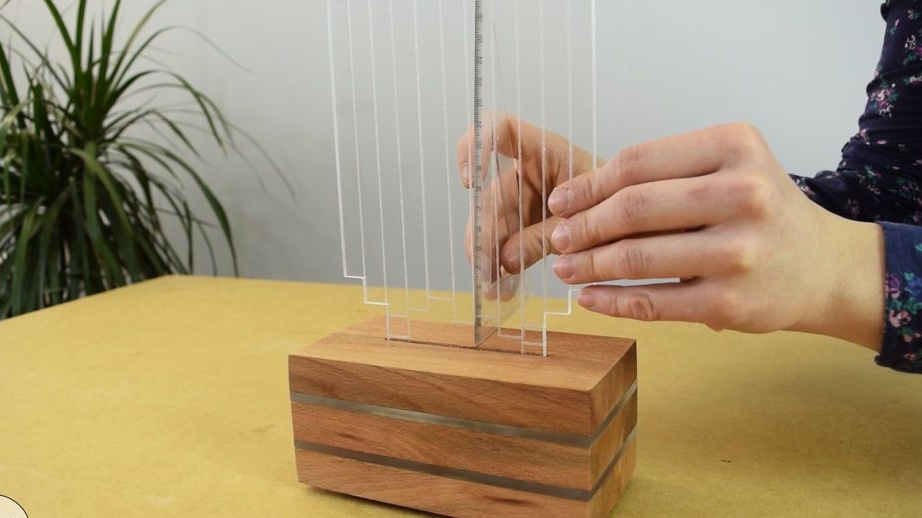
Step Two: Diffuser
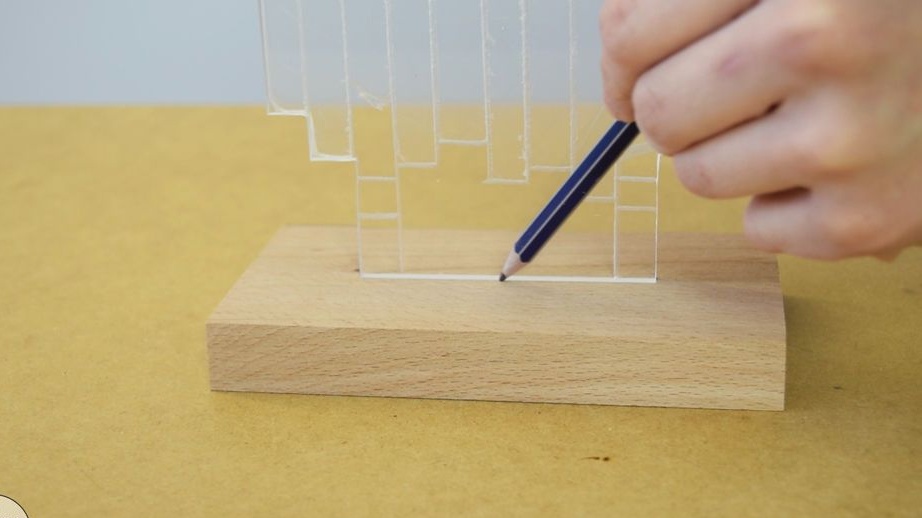
Draws a sketch of a diffuser on paper. Sticks a pattern on acrylic.
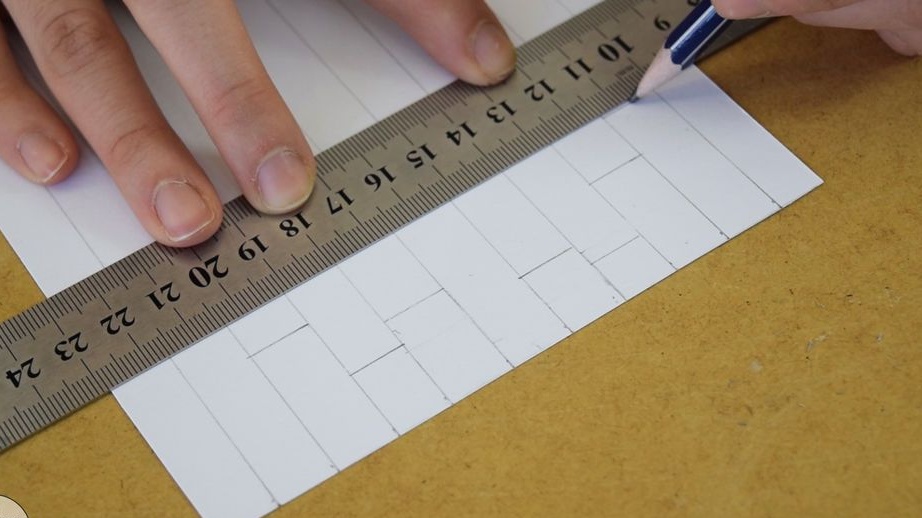
Engraves and cuts out the diffuser.
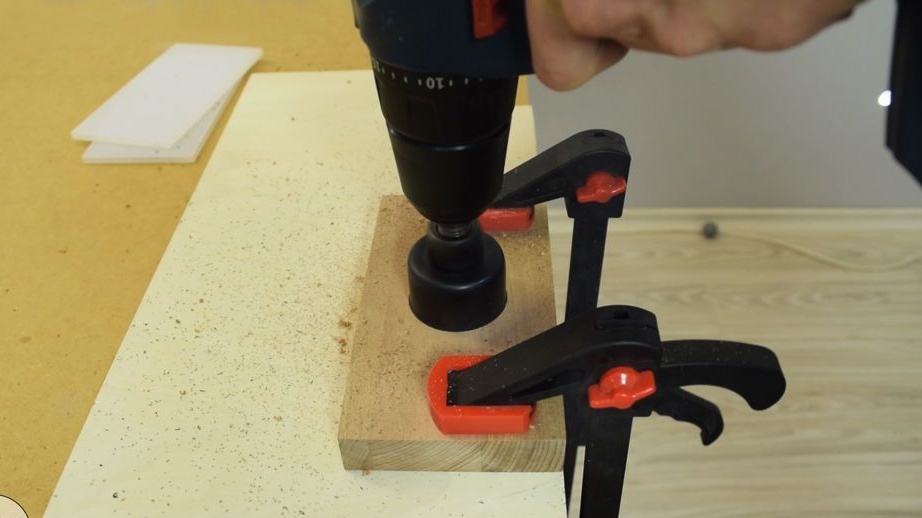
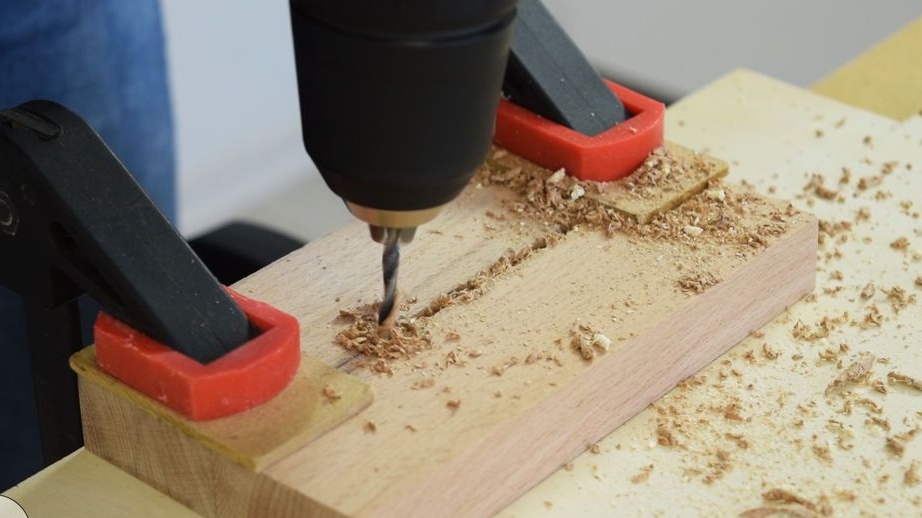
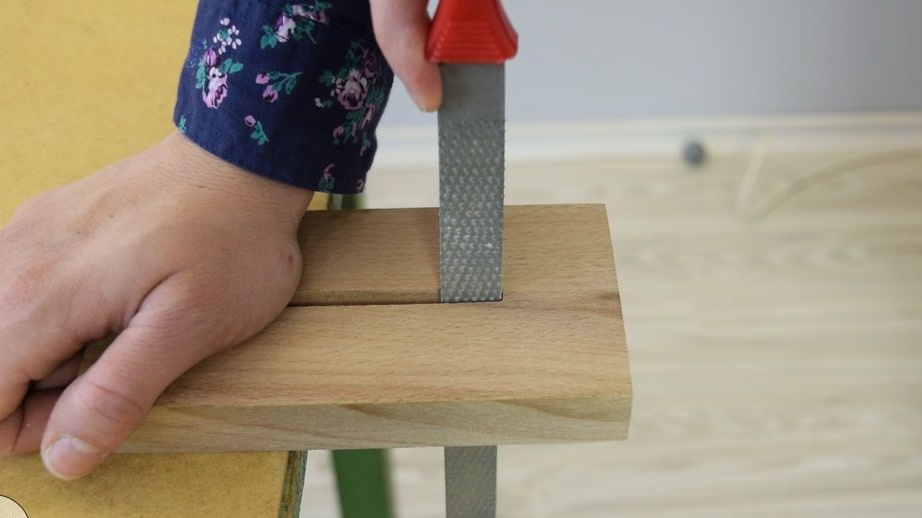
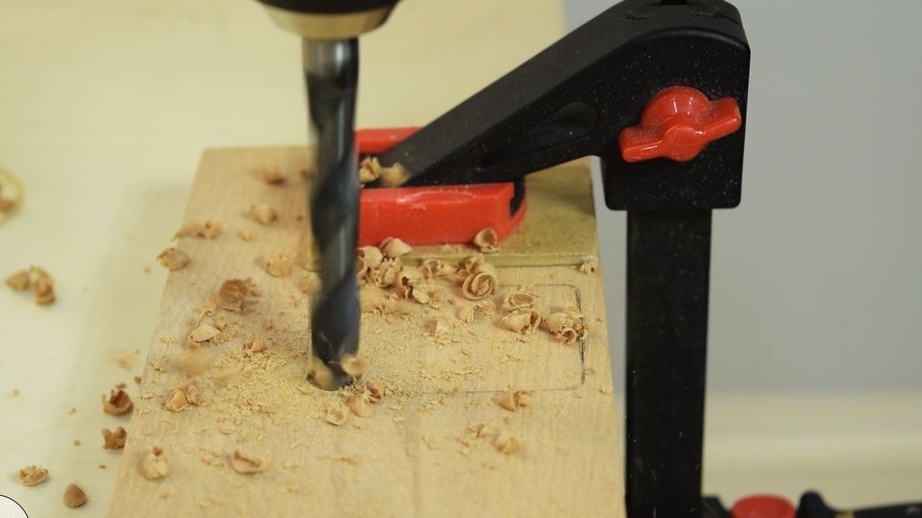
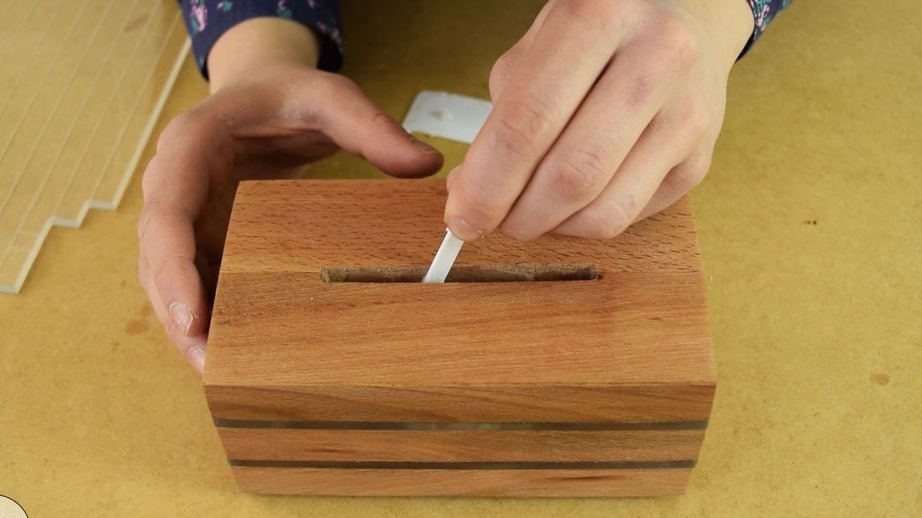
Step Three: Preparing the Corps
In the middle bar and two acrylic rectangles in the center, a hole cuts out with a crown.
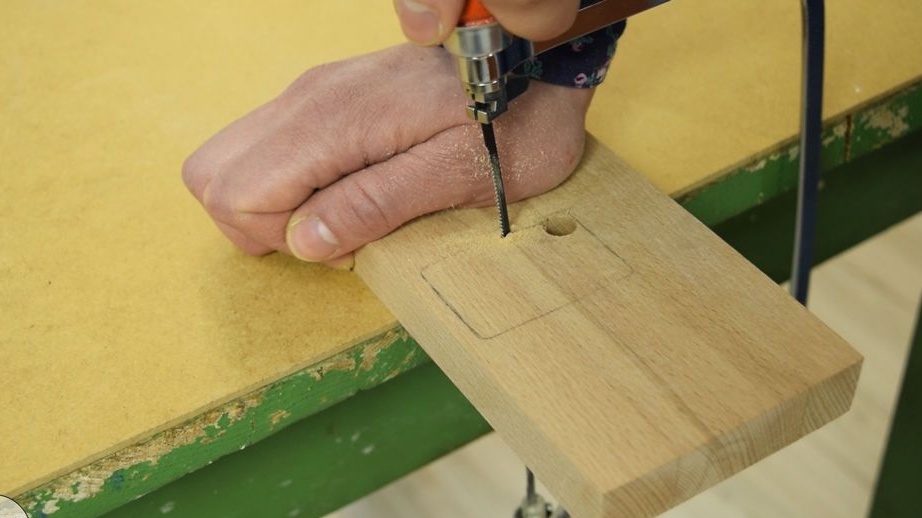
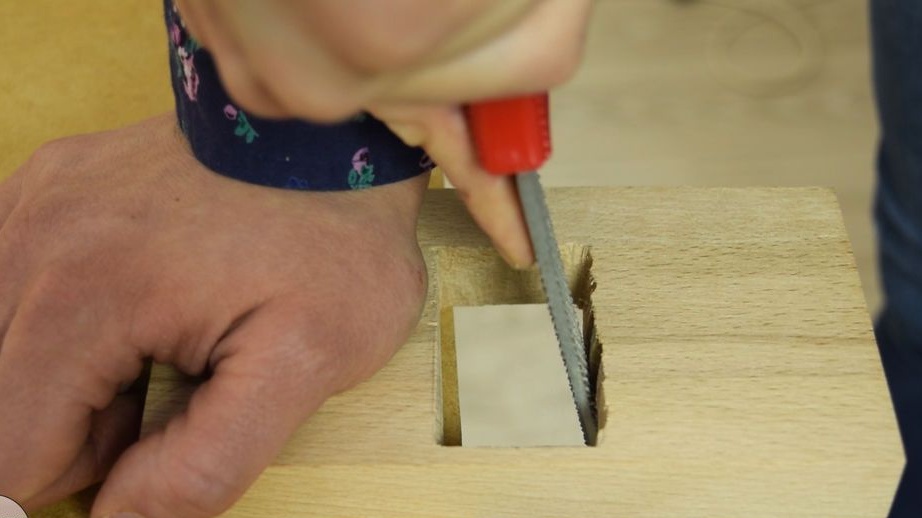
In the upper bar, first drills, and then cuts out the channel for the diffuser.

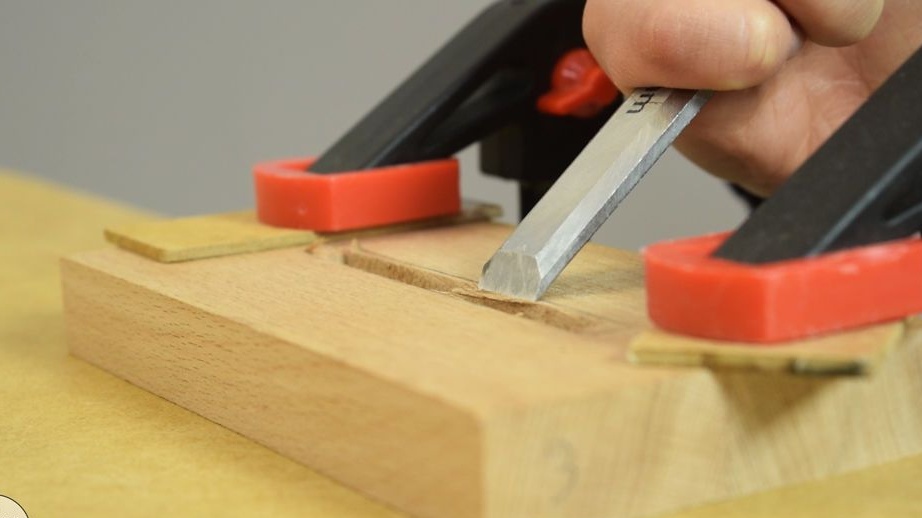
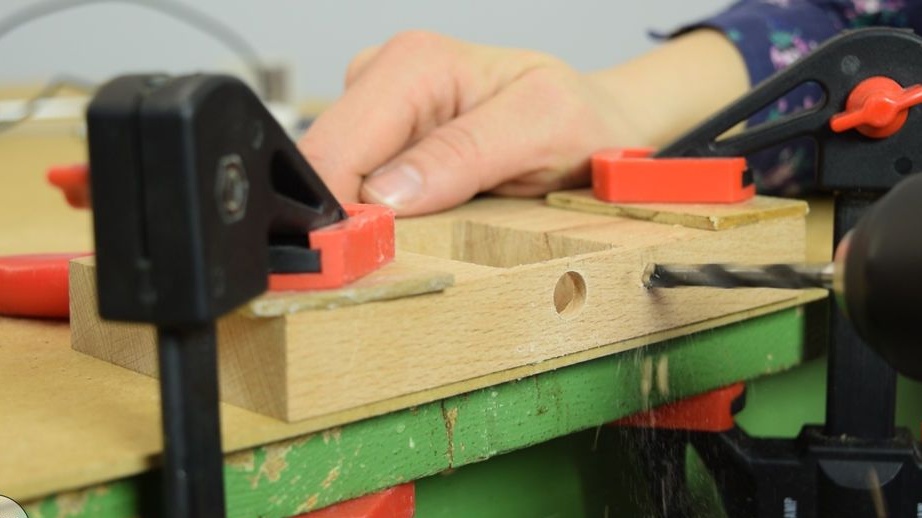
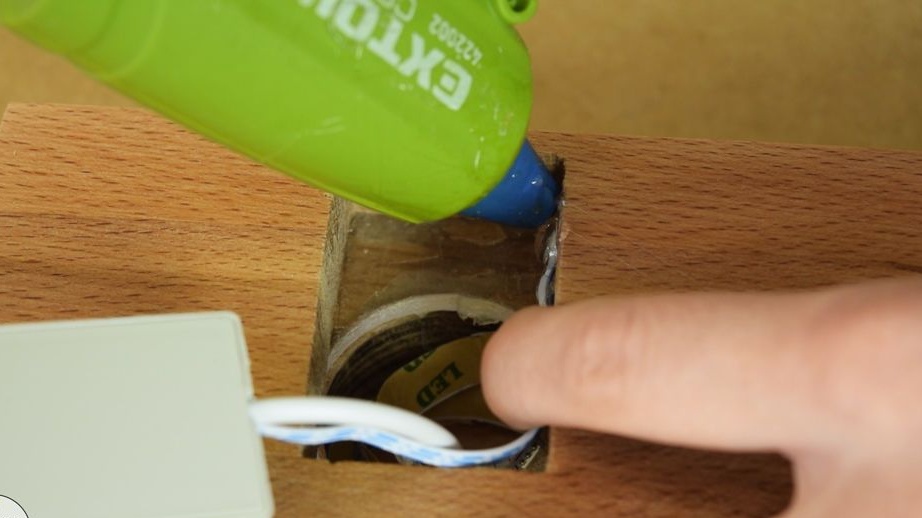
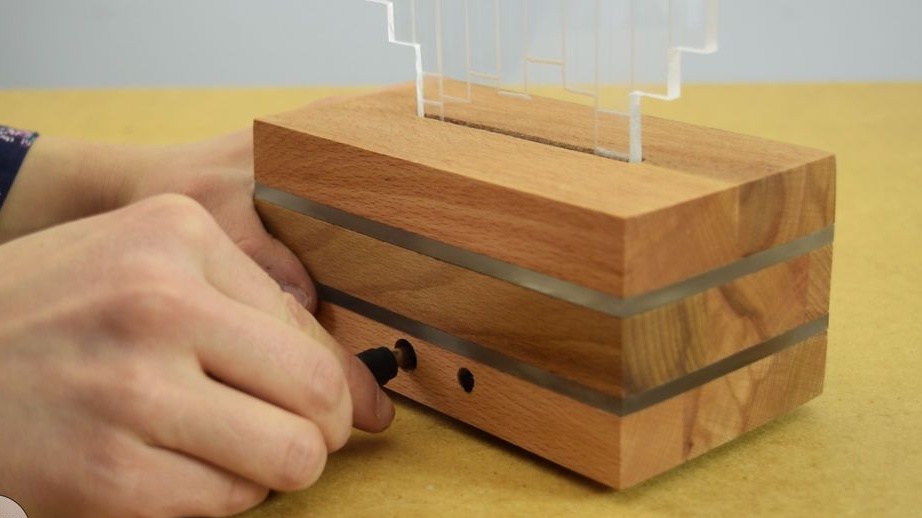
In the bottom bar makes a niche for the controller. Drills two holes in the side wall, under the connector and under the IR receiver.
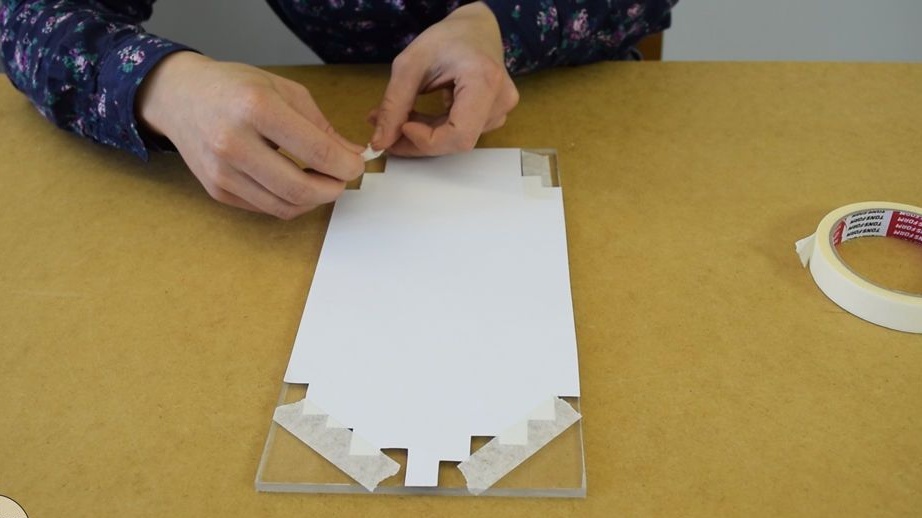
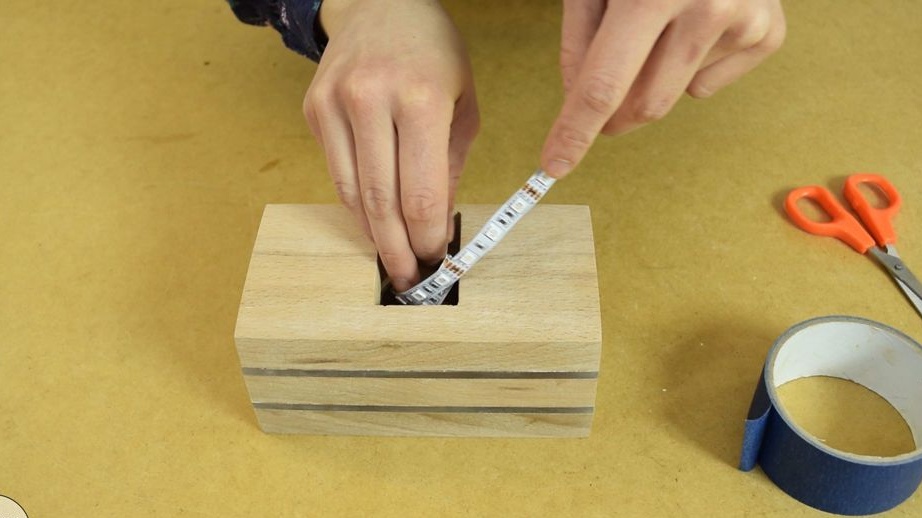
Step Four: Build
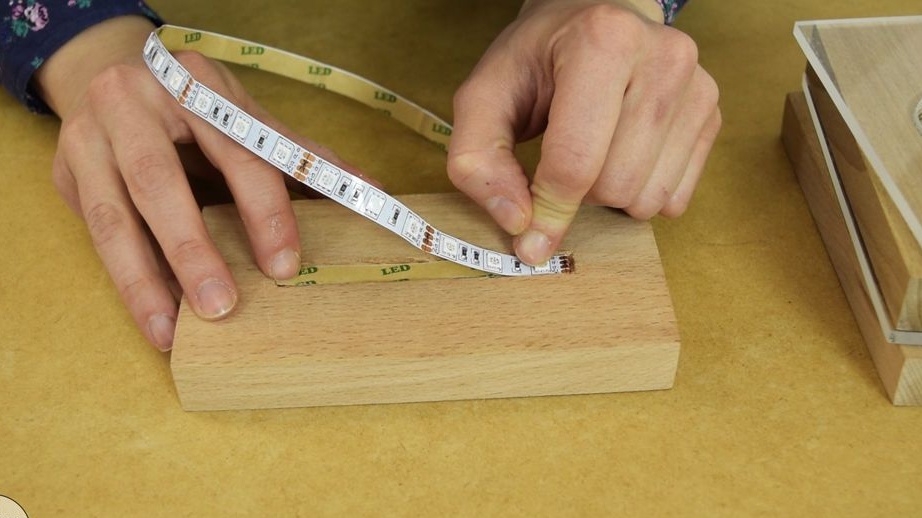
Starts assembling the lamp. Cuts off 50 cm of LED strip.

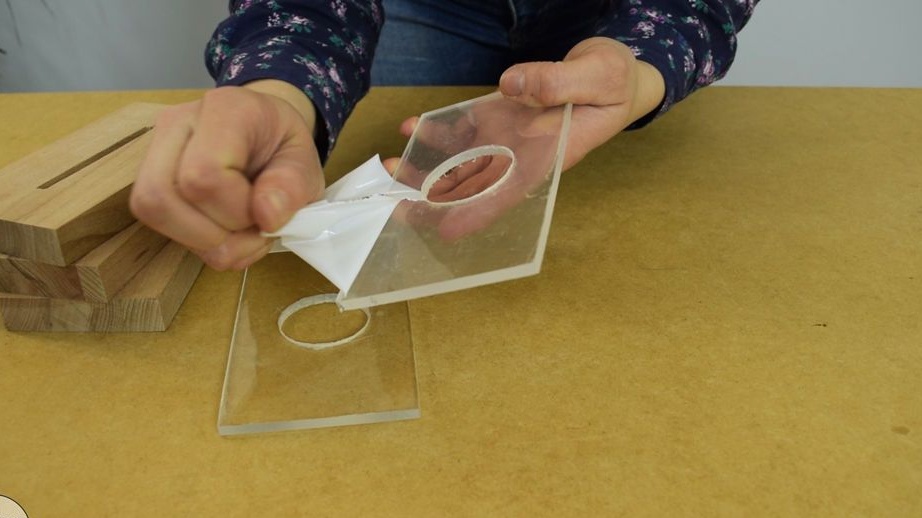
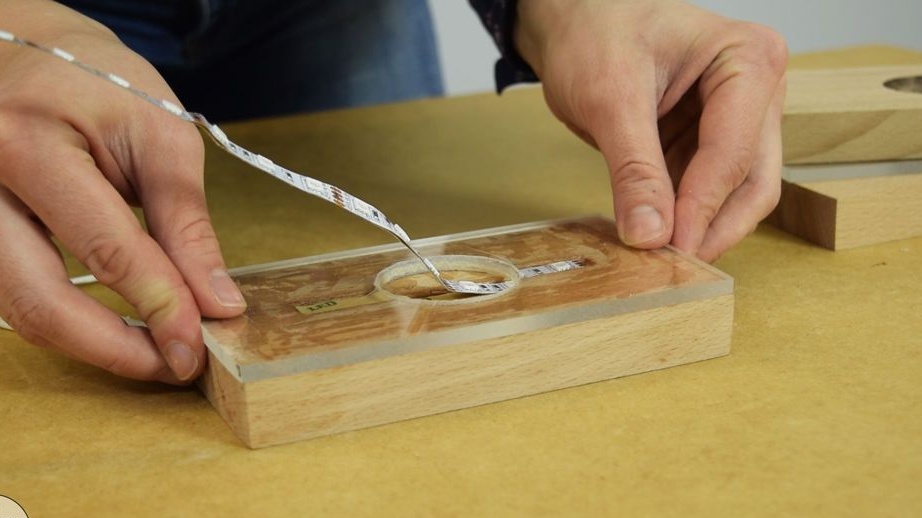
Removes a protective film from acrylic.
In the groove of the upper bar glues the edge of the LED strip with the LEDs up.
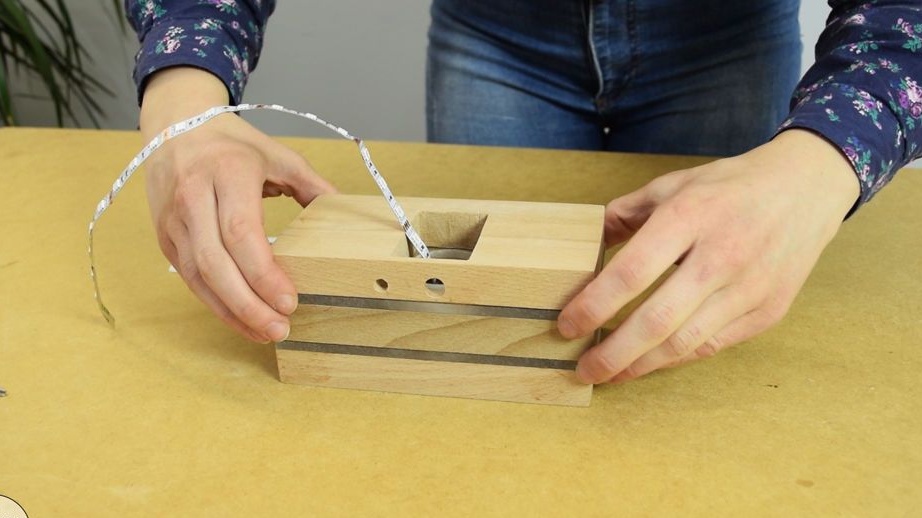
Bends the rest of the tape with LEDs in the opposite direction. Glue acrylic to the bar, on top of the acrylic bar. Then again acrylic and the lower bar.

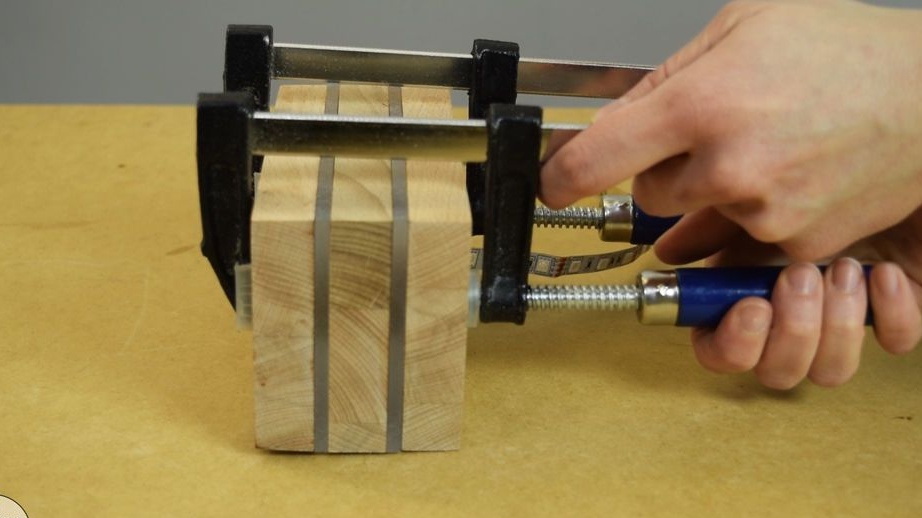
Fixes with clamps.
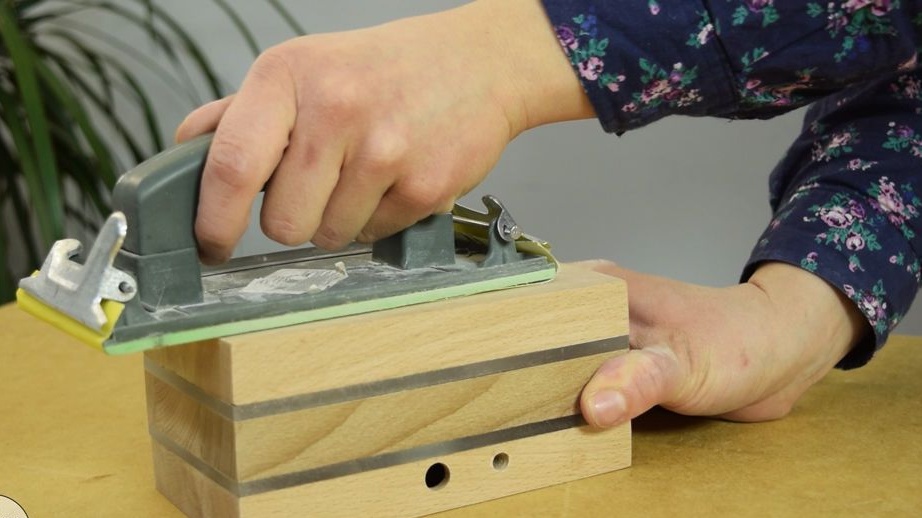
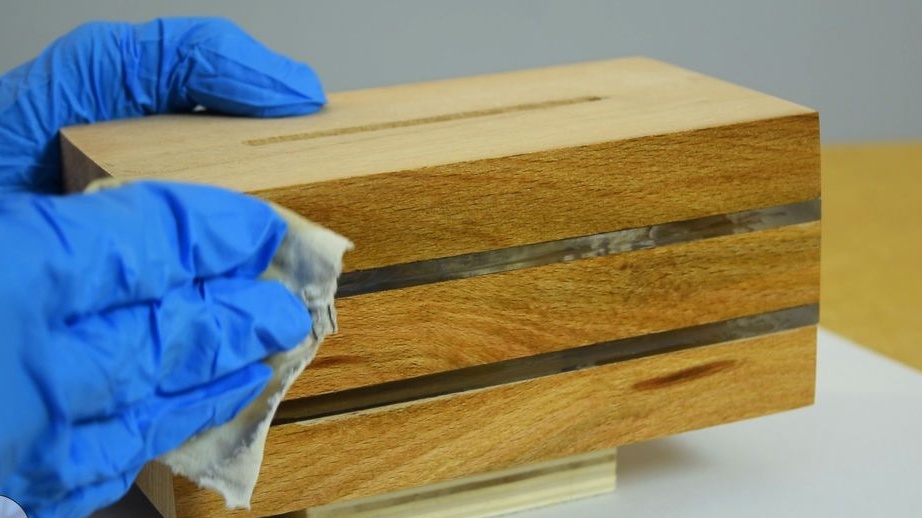
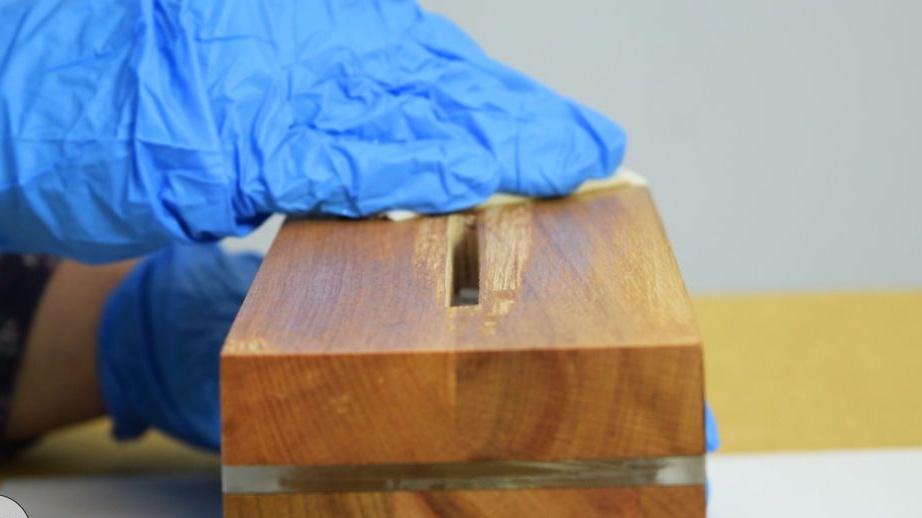
Step Five: Varnishing
After gluing the body, polishes the surface and covers with shellac.
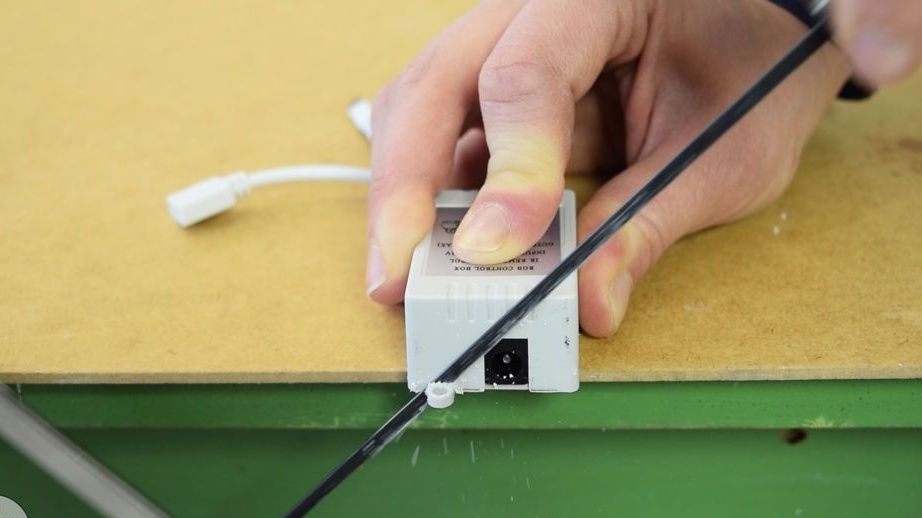
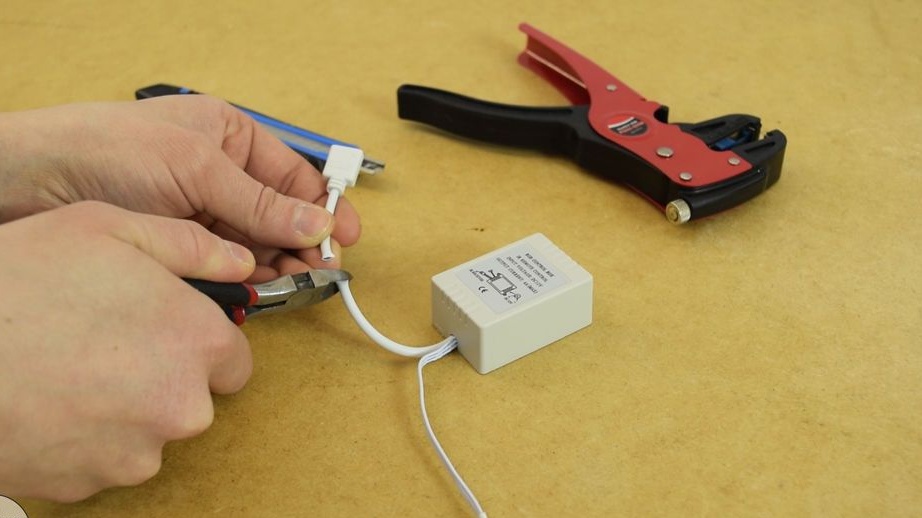
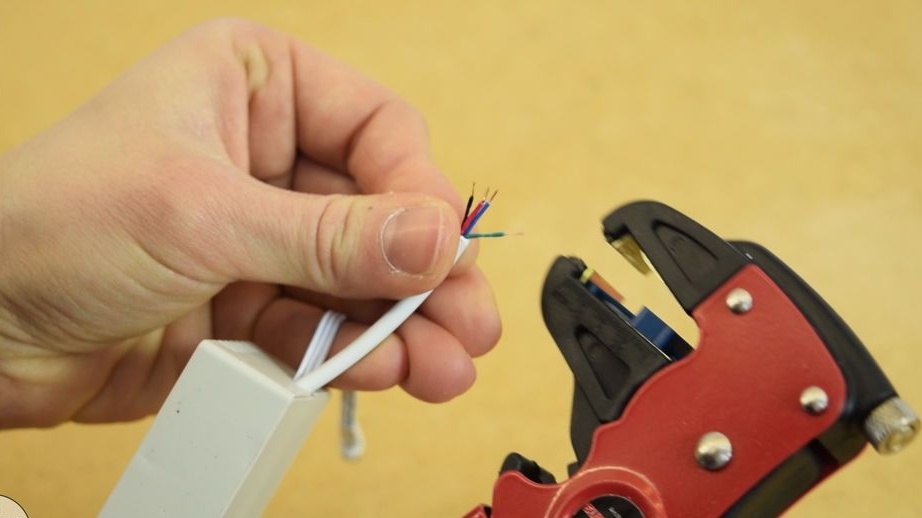
Step Six: Controller
Truncates the plug of the controller. Strips and solders wires to the contacts of the LED strip.
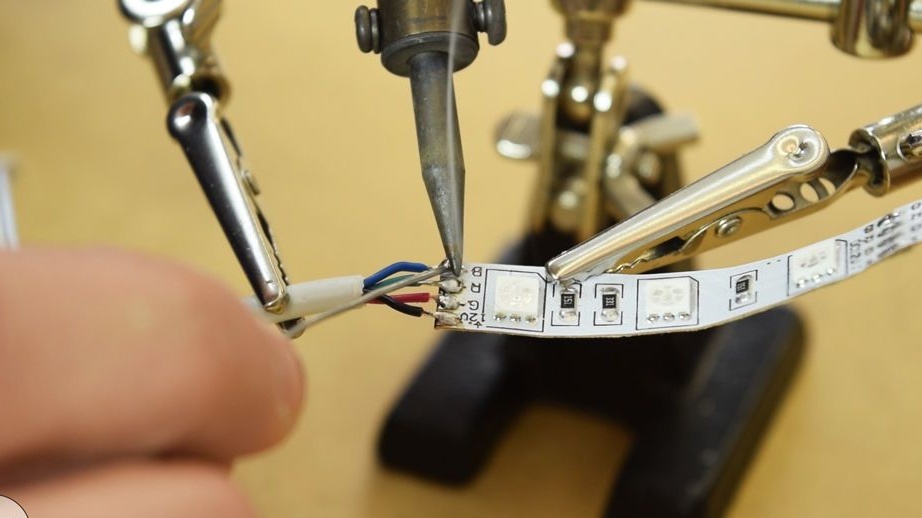
Checks the operation of the LED strip.
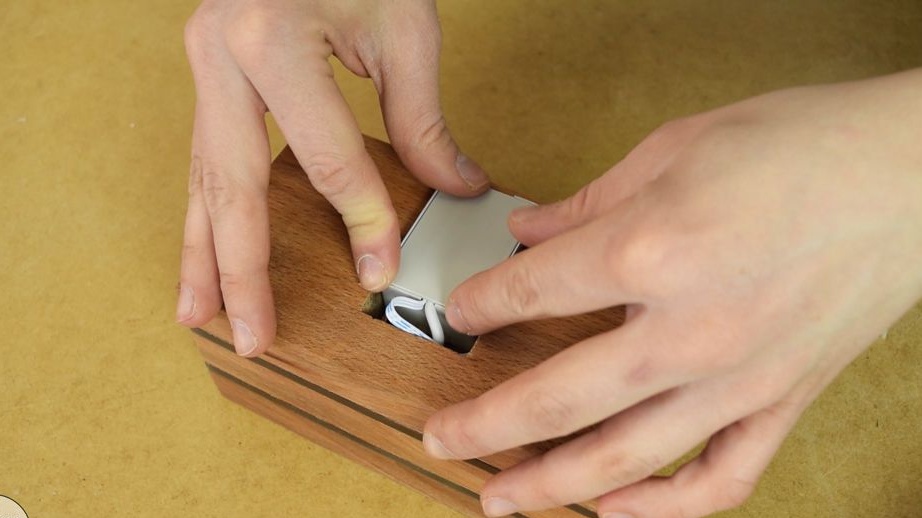
Installs a connector and an infrared receiver in the hole. Installs the controller in a cell. Fixes with hot glue.
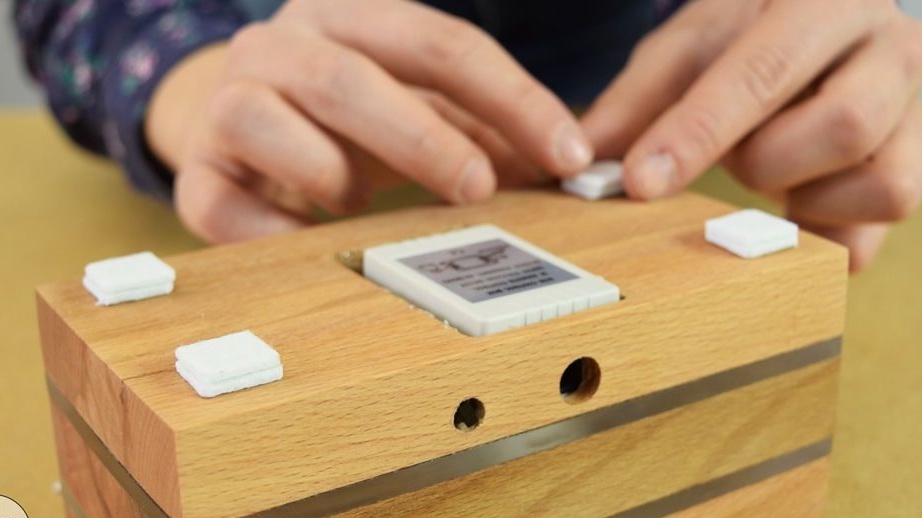
Seventh step: overlays
Cuts out felt pads. Glue them.
Step Eight: Installing the Diffuser
Removes protective film from the diffuser. Glues its lower part into the groove.
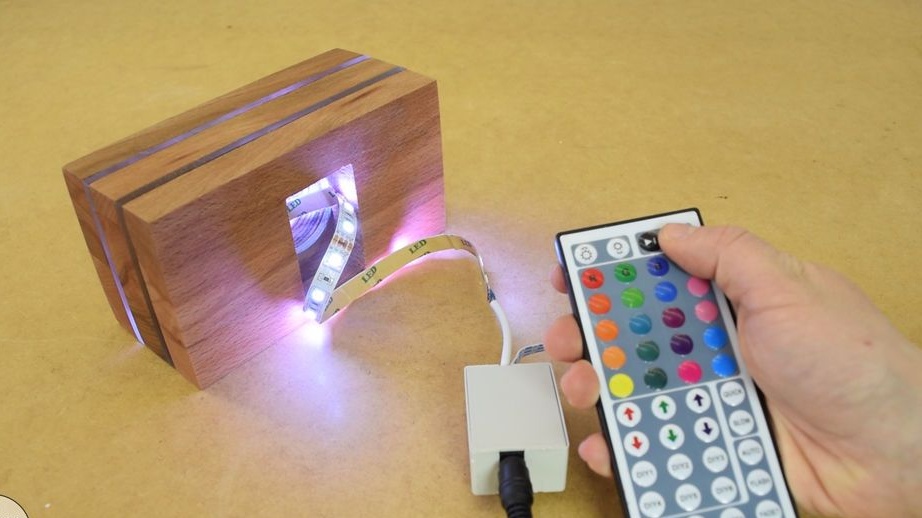
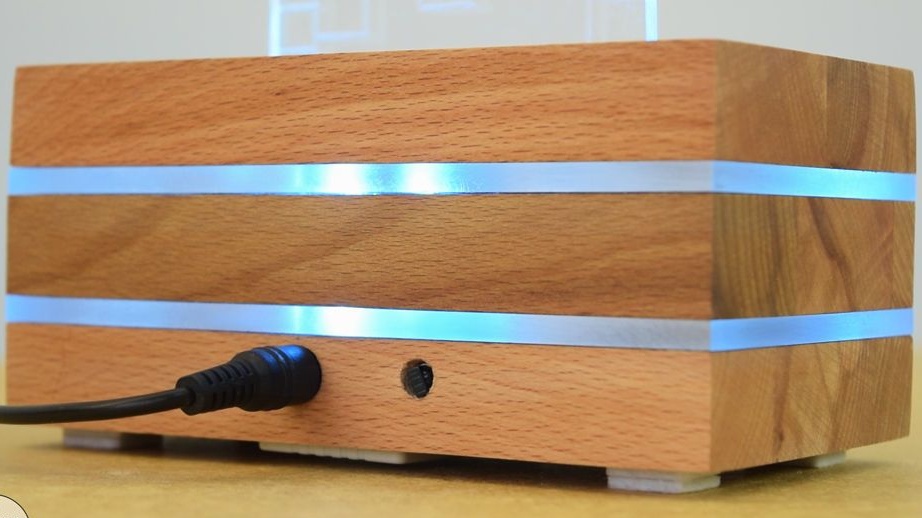
Connects power supply.
The lamp is ready.

The entire process of manufacturing the lamp can be seen in the video.