
Hello to all fans of craftsmen, today we will manufacture a useful tool for car body repair and more. It will be about those moments when the car has a dented wing or other part of the body, which is difficult to straighten with suction cups and other similar tools. Homemade, proposed by the author, works on the principle of spot welding, while the tool is welded with the tip to the body and an excellent hook is obtained for leveling the body. The homemade product is powered by a conventional starting car battery, and the power relay was made from parts from the starter. If you are interested in the project, I propose to study it in more detail!
Materials and tools used by the author:
Material List:
- 12V battery (you can adapt the welding machine);
- retracting from the starter (preferably with a good contact group);
- iron rod;
- terminals for the battery;
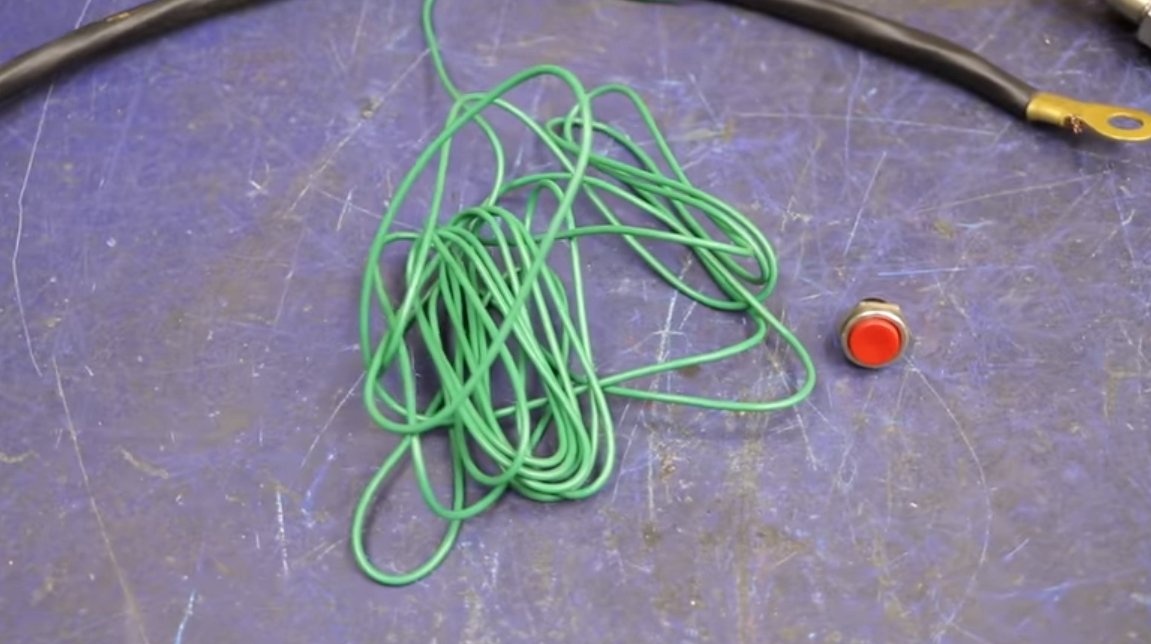
- power wire;
- ;
- wires and button (for switching on the retractor);
- bolts, nuts;
- sheet copper (for an electrode);
- details for turning (optional).
Tool List:
- welding machine;
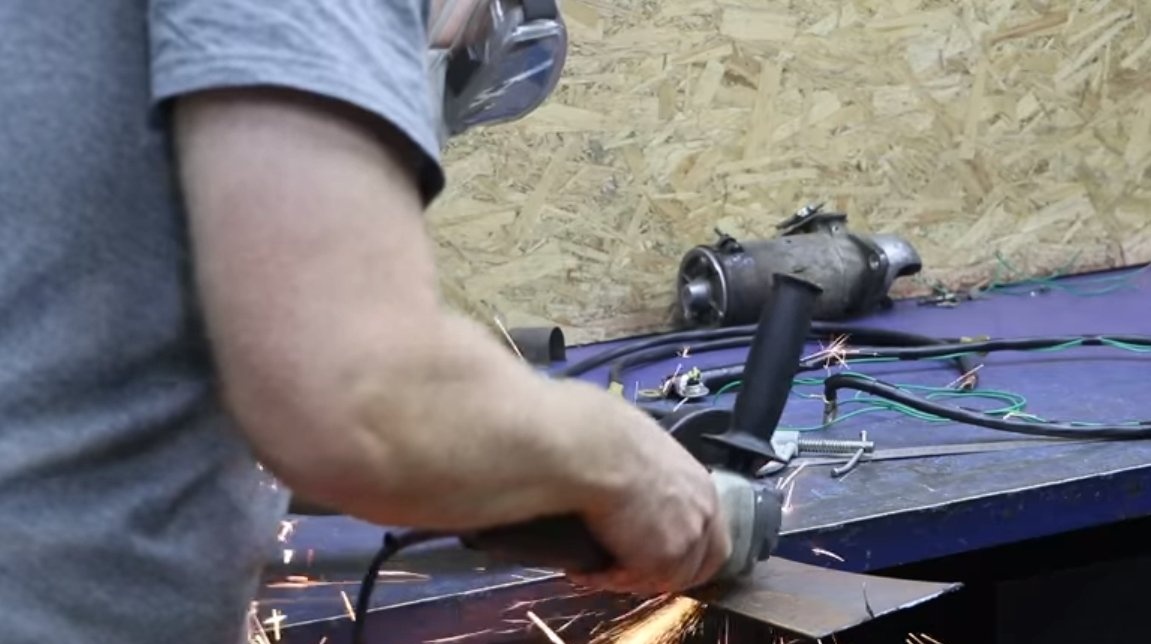
- grinder;
- wrenches, screwdrivers;
- vise;
- tool for threading.
Homemade manufacturing process:
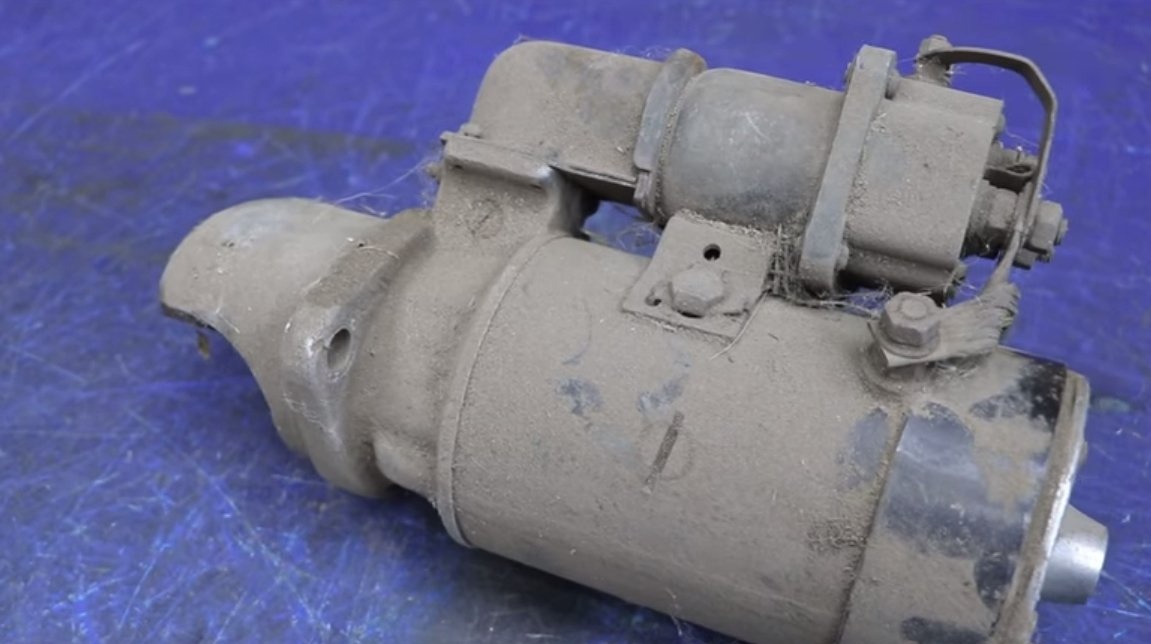
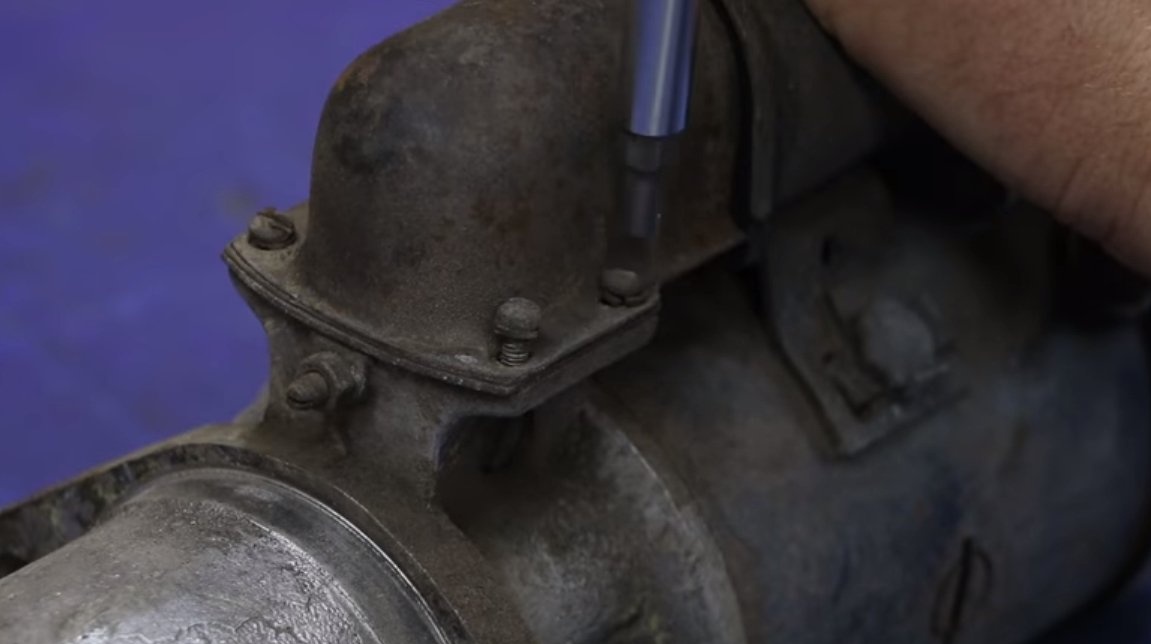
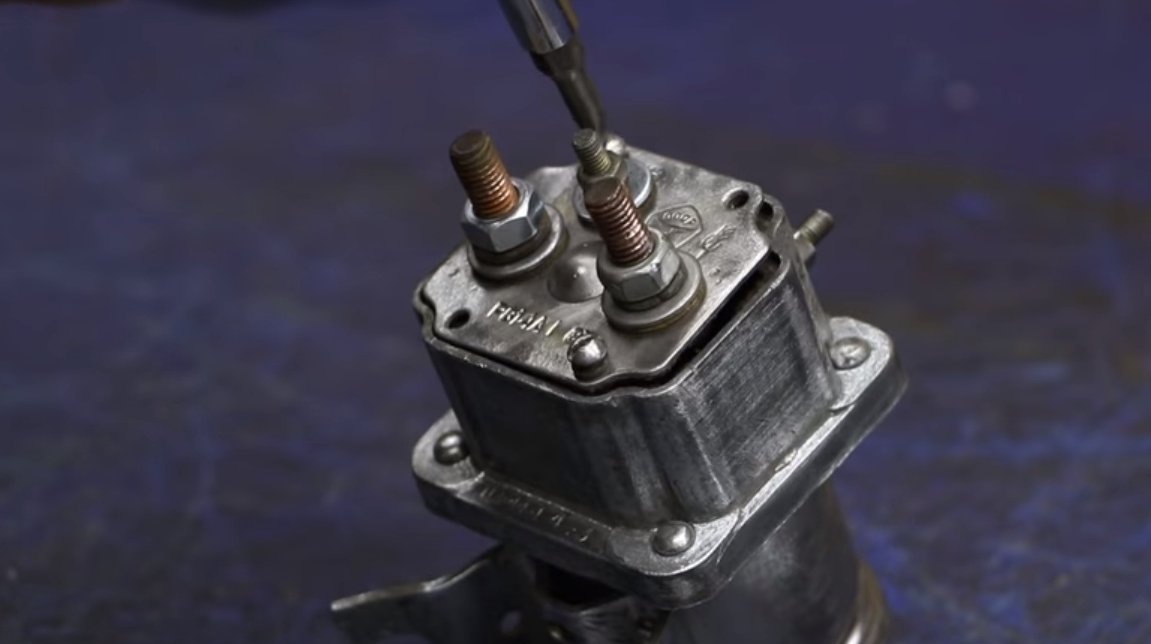
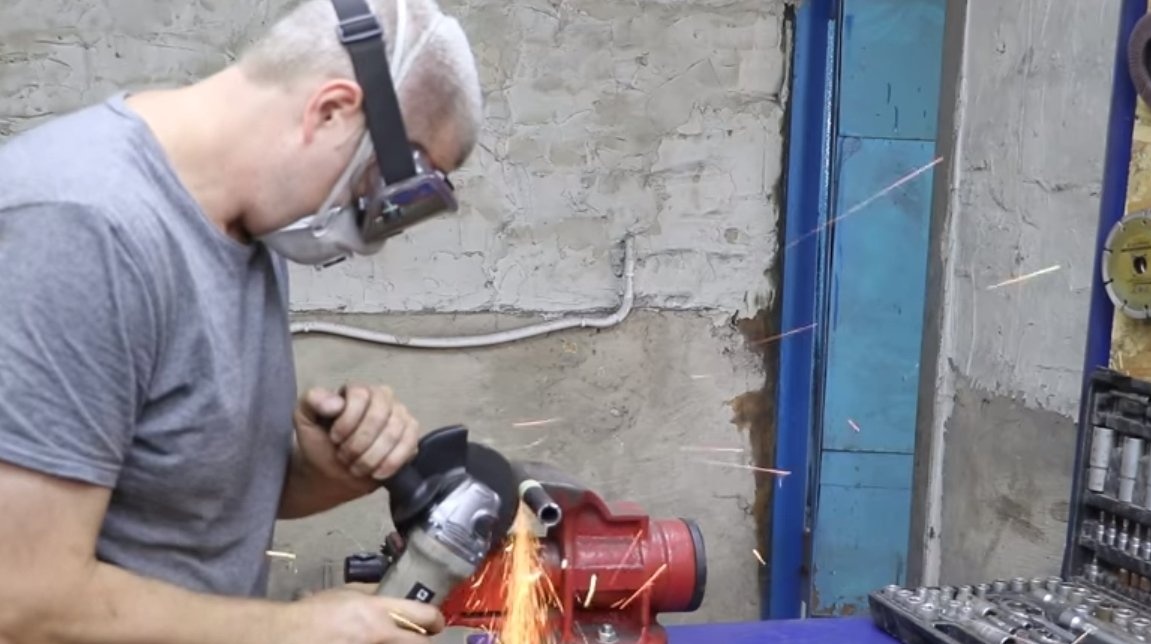
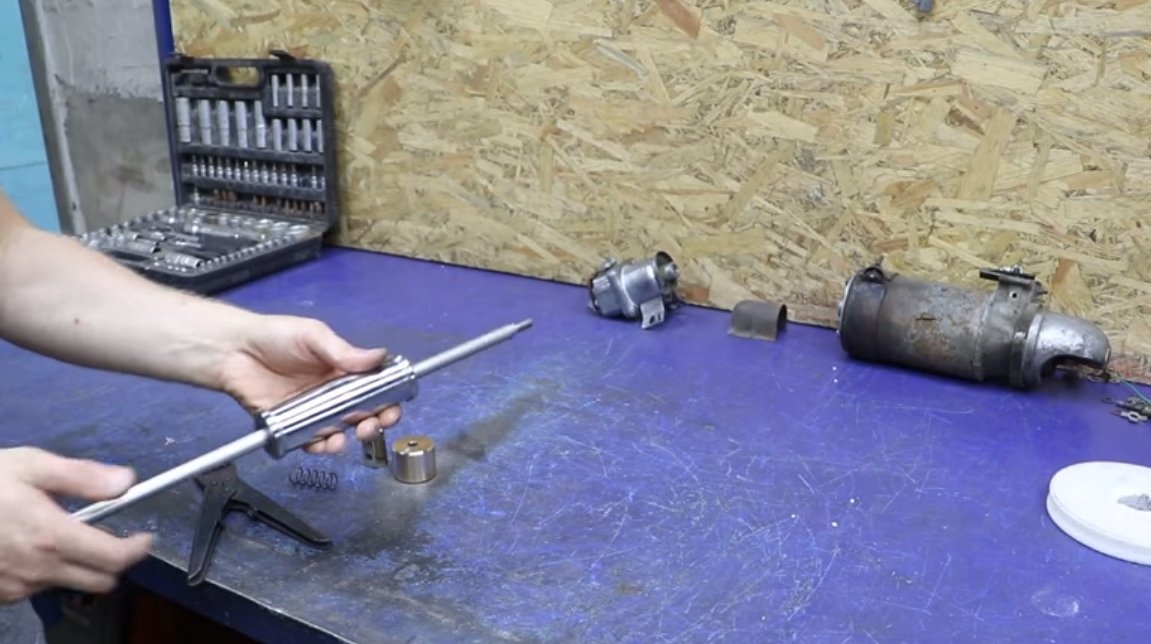
Step one. Retractor preparation
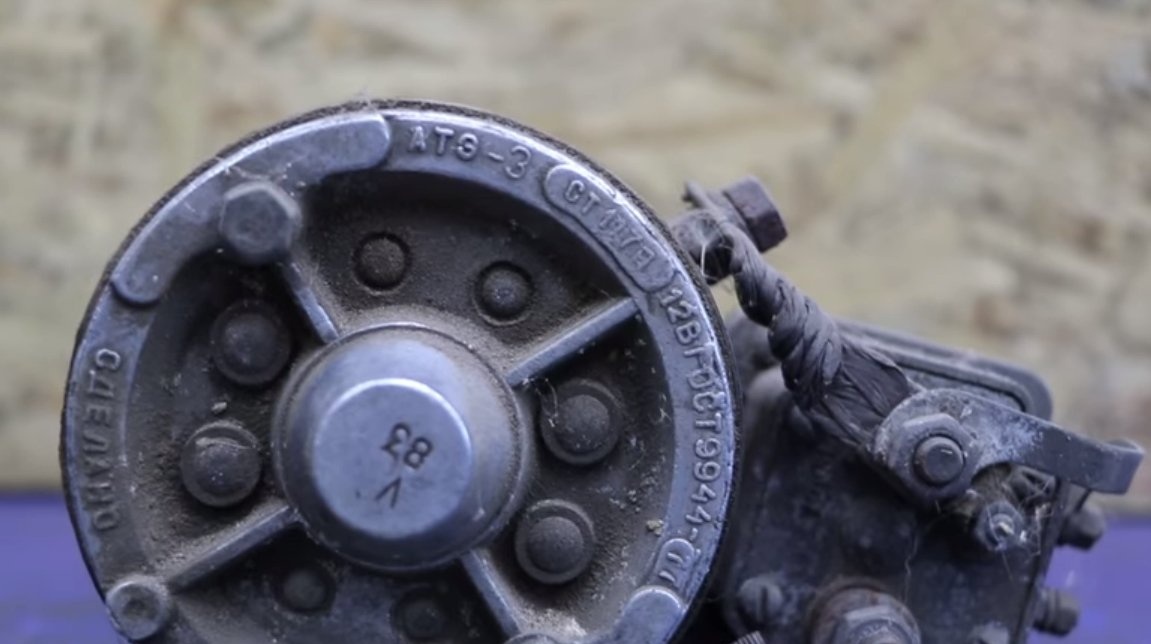
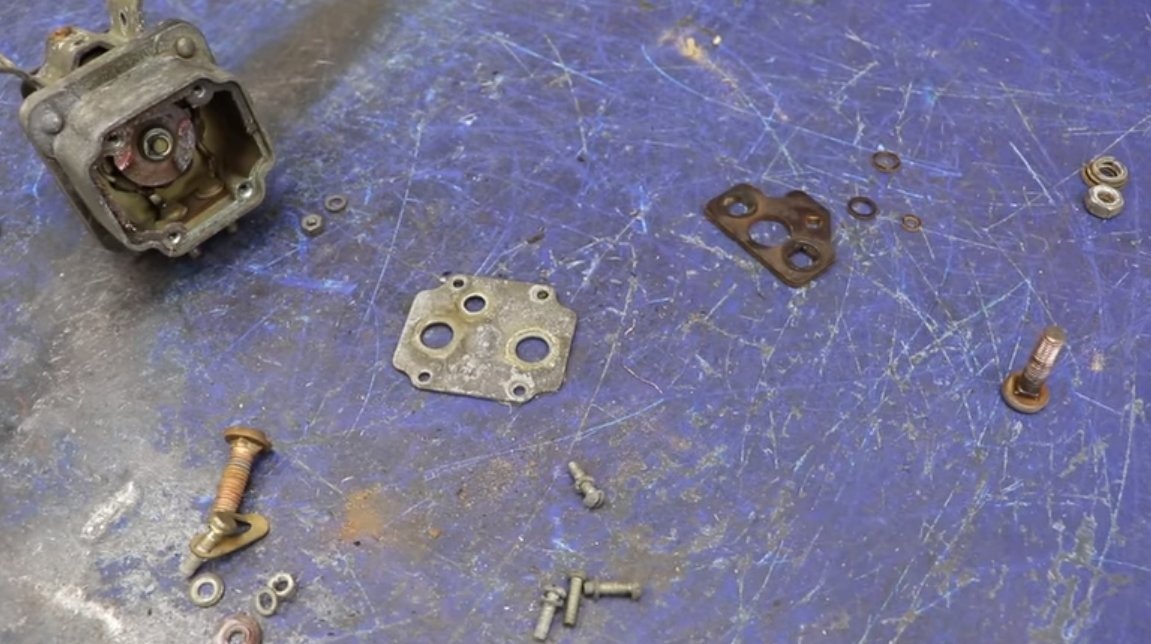
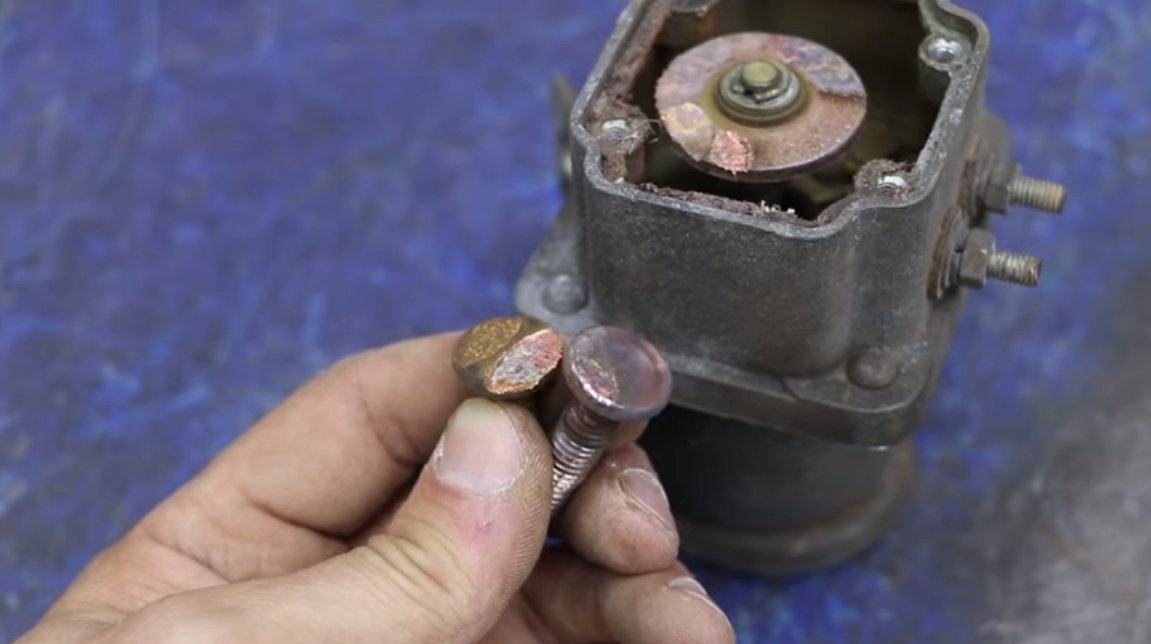
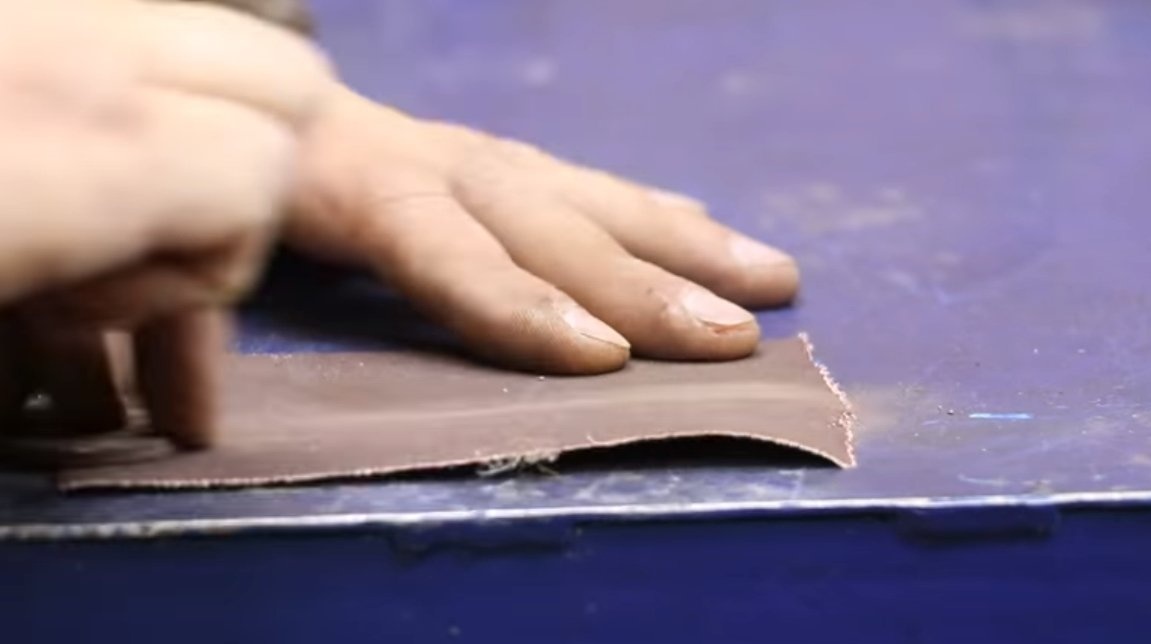
First of all, remove the retractor from the experimental starter, check its performance. It is extremely important for us that the contact group of the power relay is in working order. We disassemble the retractor, remove the nickels and grind them on sandpaper, if they are very dirty. If the five-copeck coins have a strong output, they can be turned over or replaced. It is important that the contact group works well, otherwise it will burn out quickly.
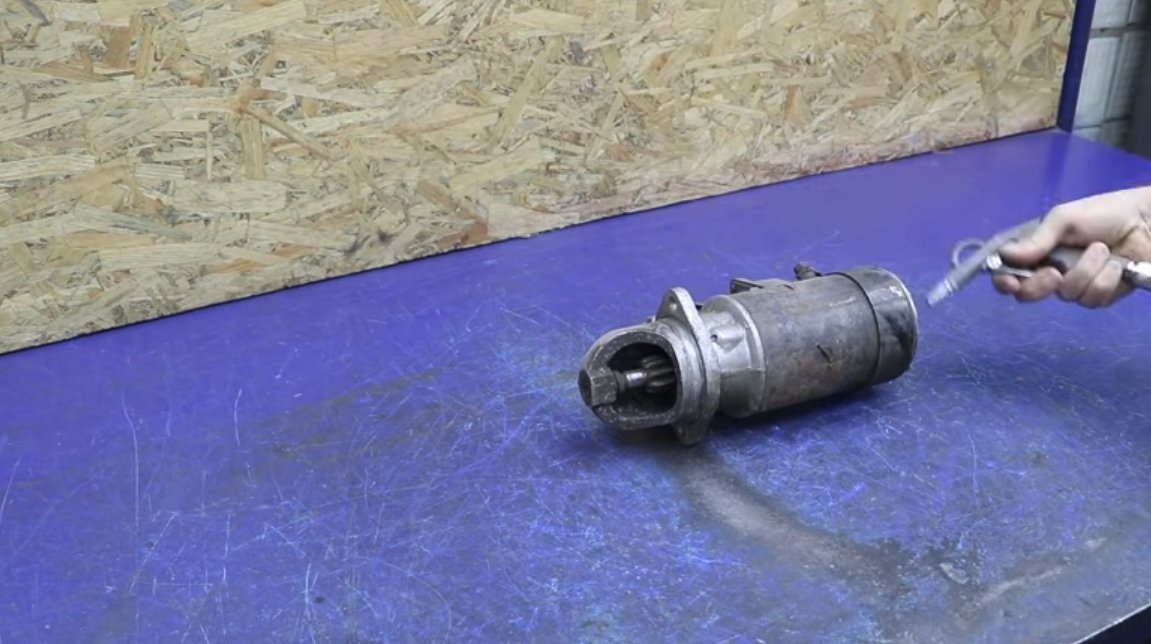
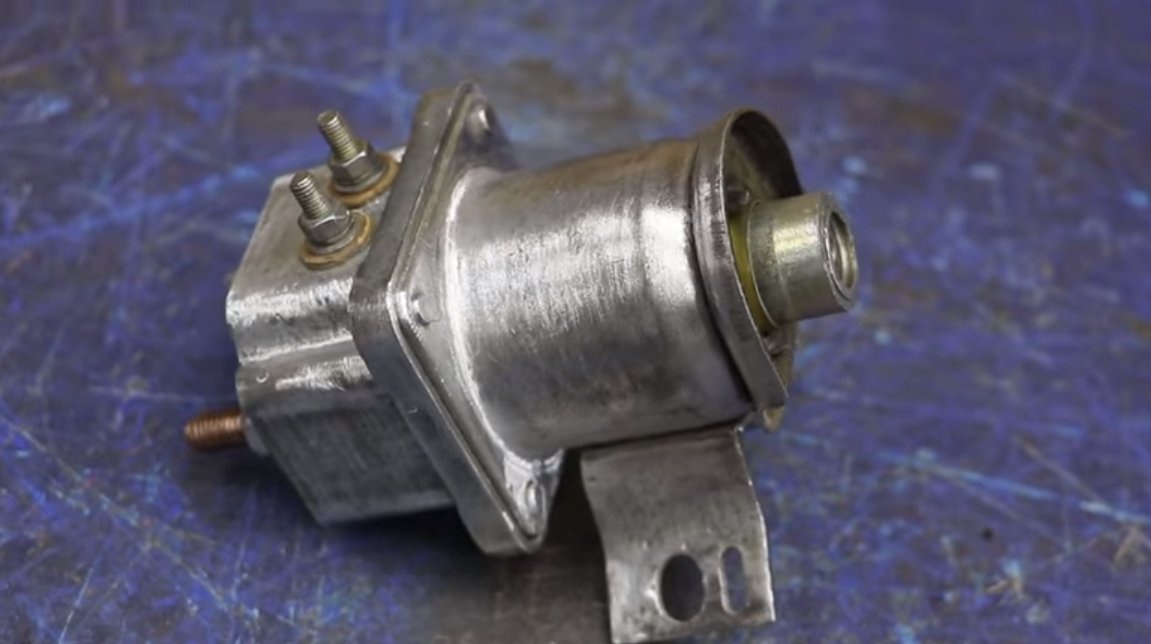
The author’s retractor case has also been cleaned out like a cat’s tricks, now everything looks beautiful and neat. The nose of the retractor rod can be cut off altogether, only the relay is important to us.
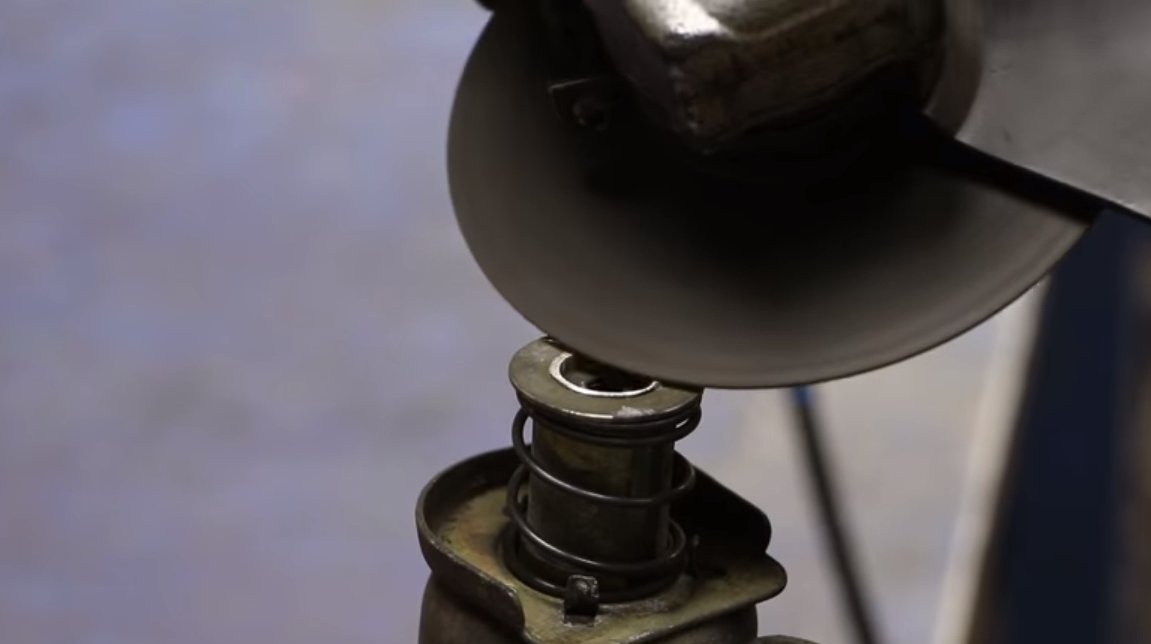

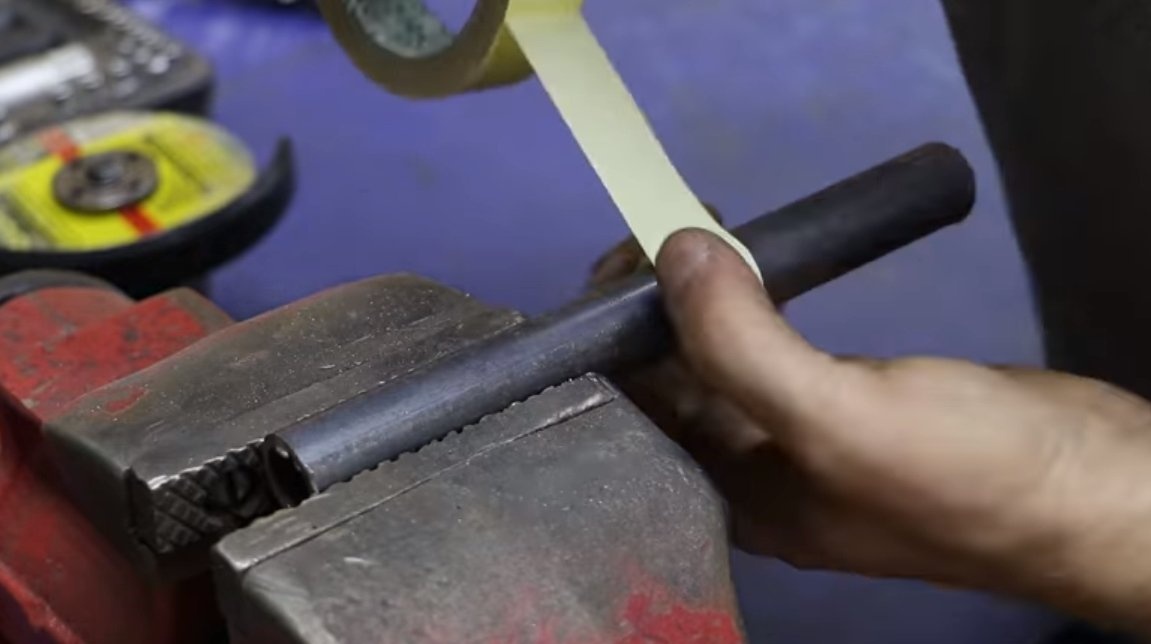
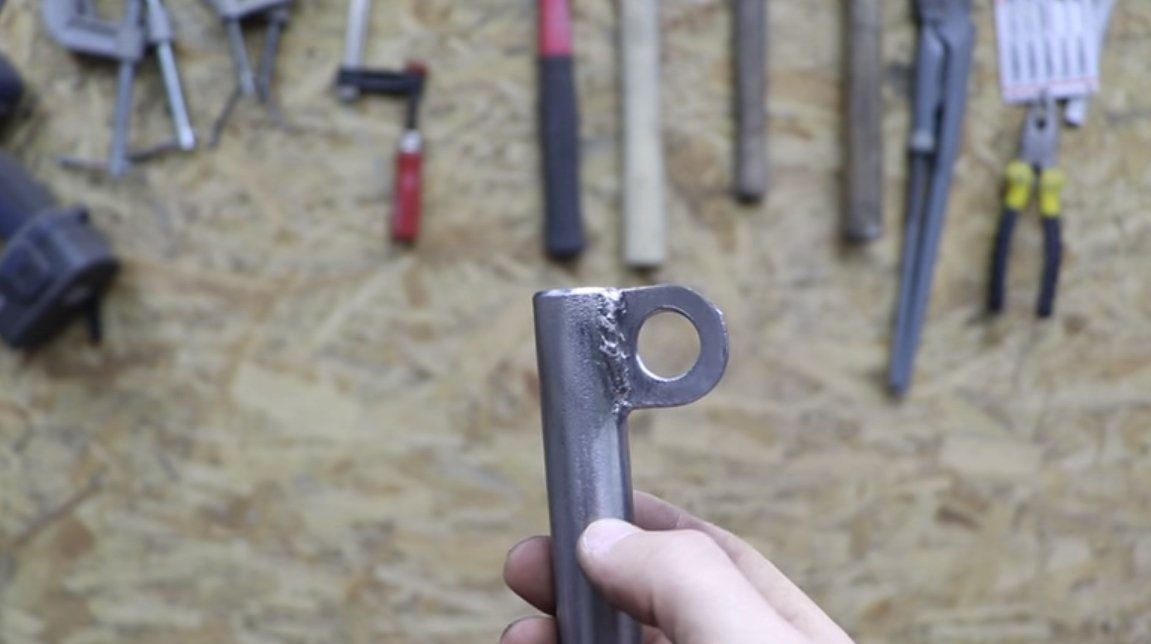
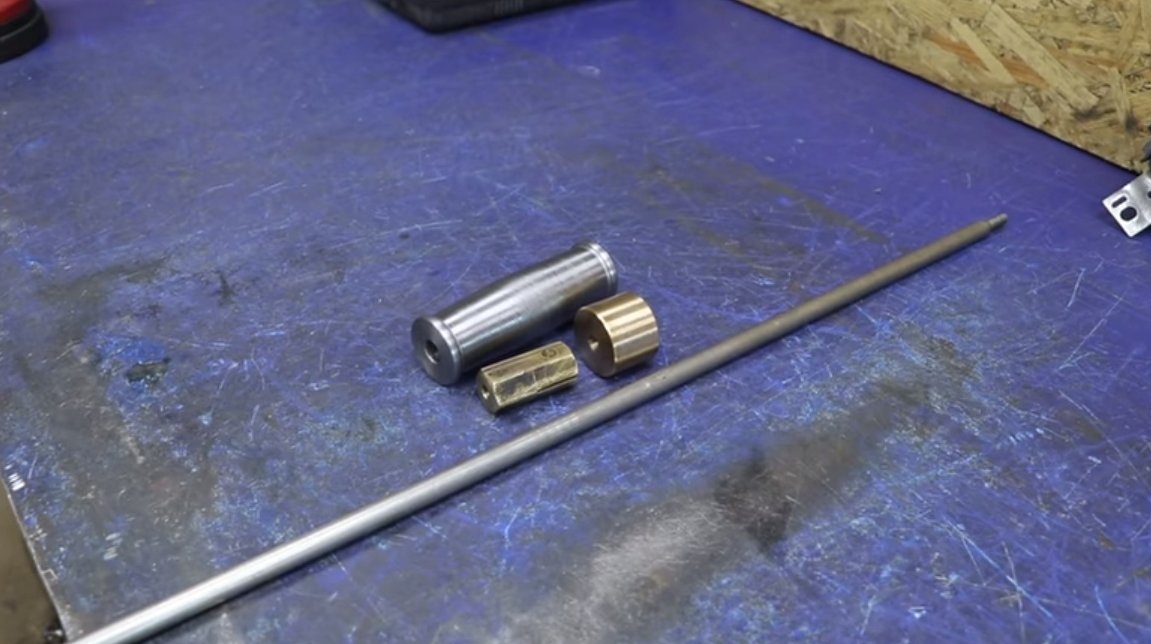
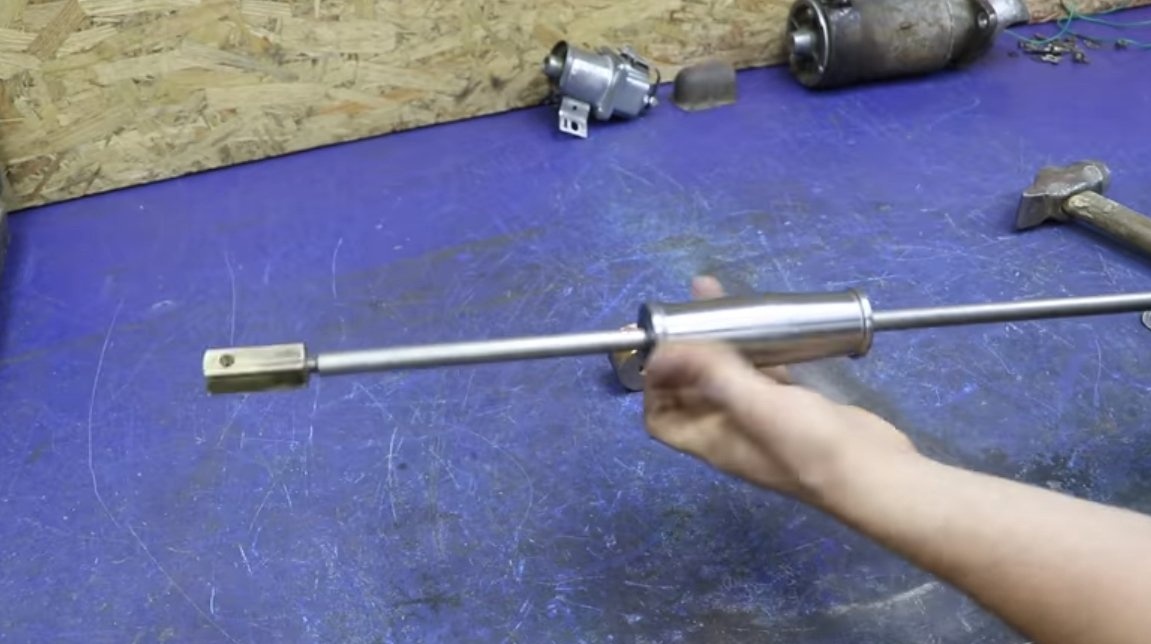
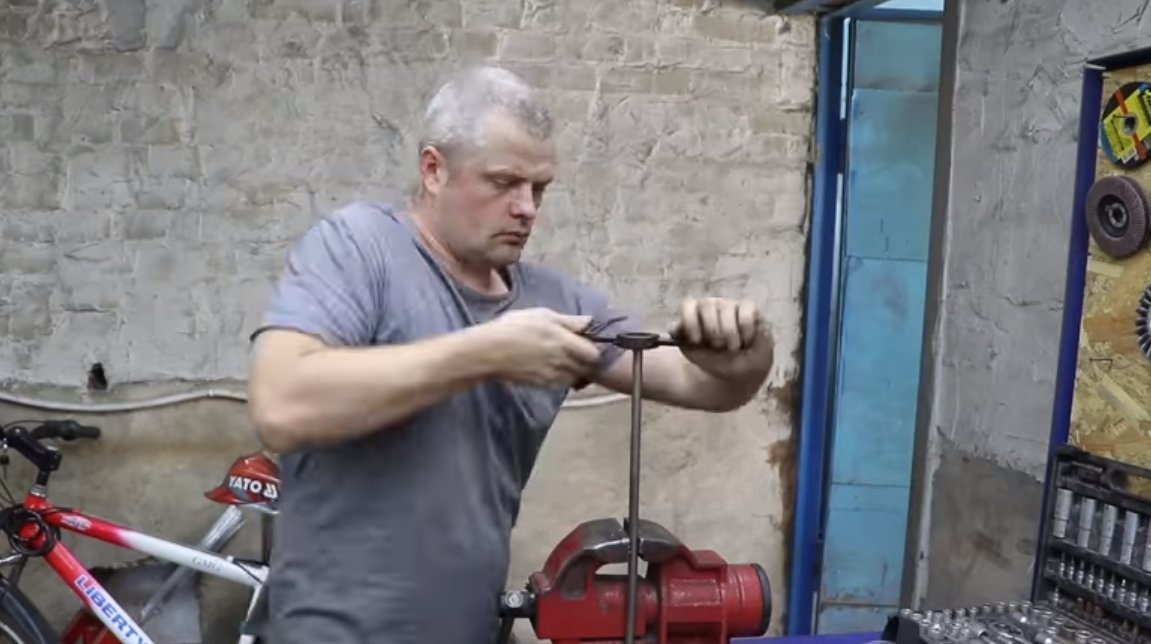
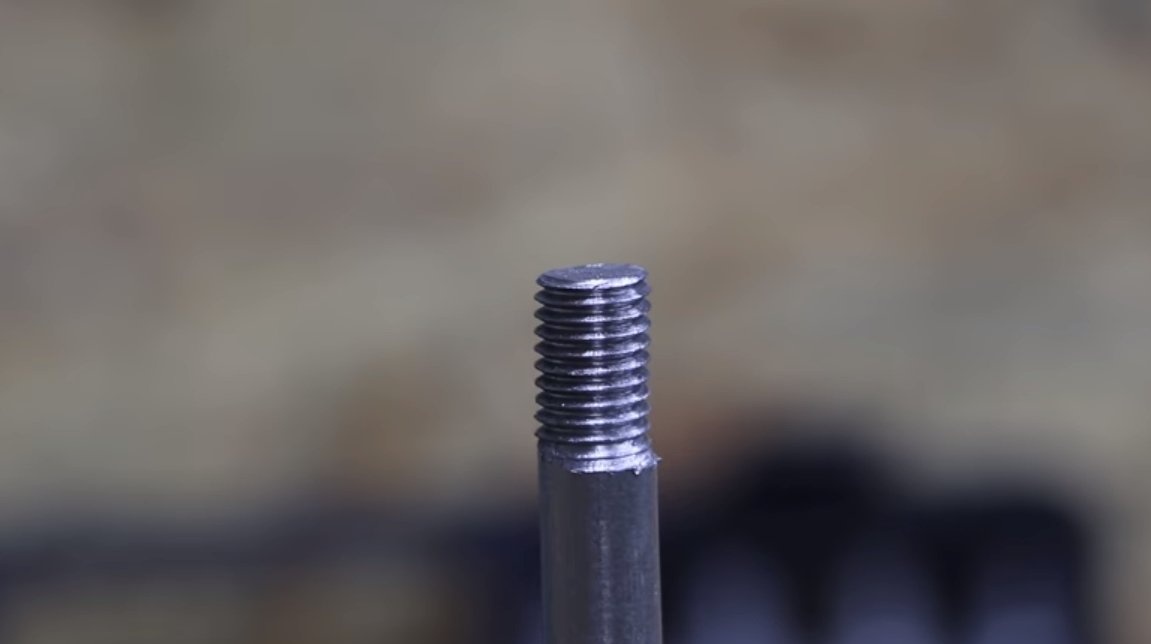
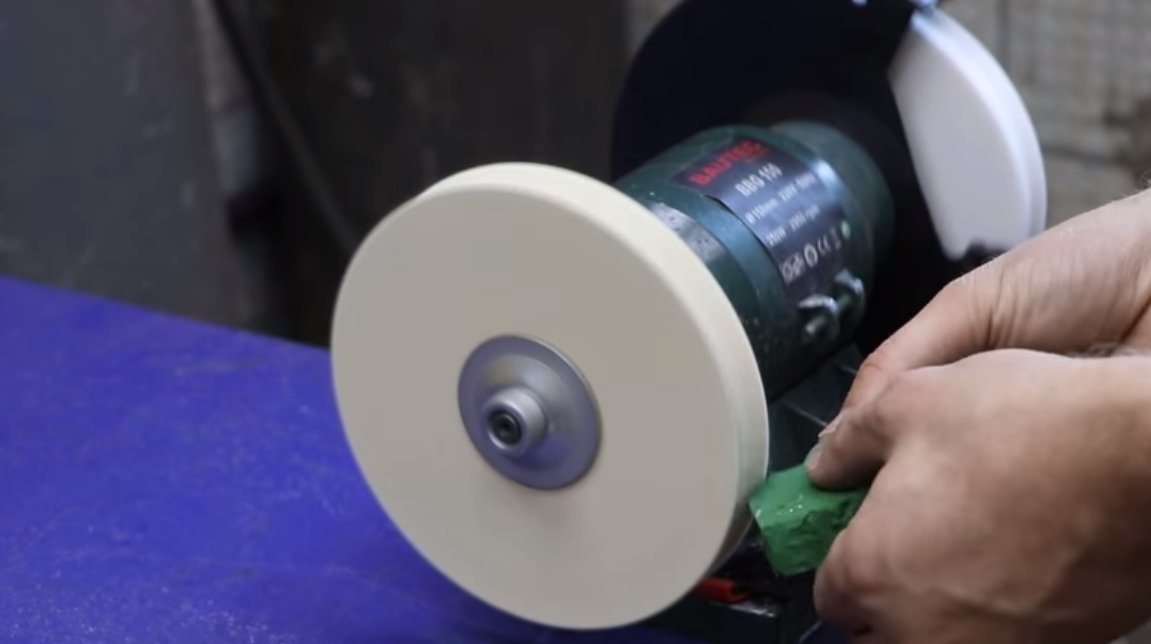
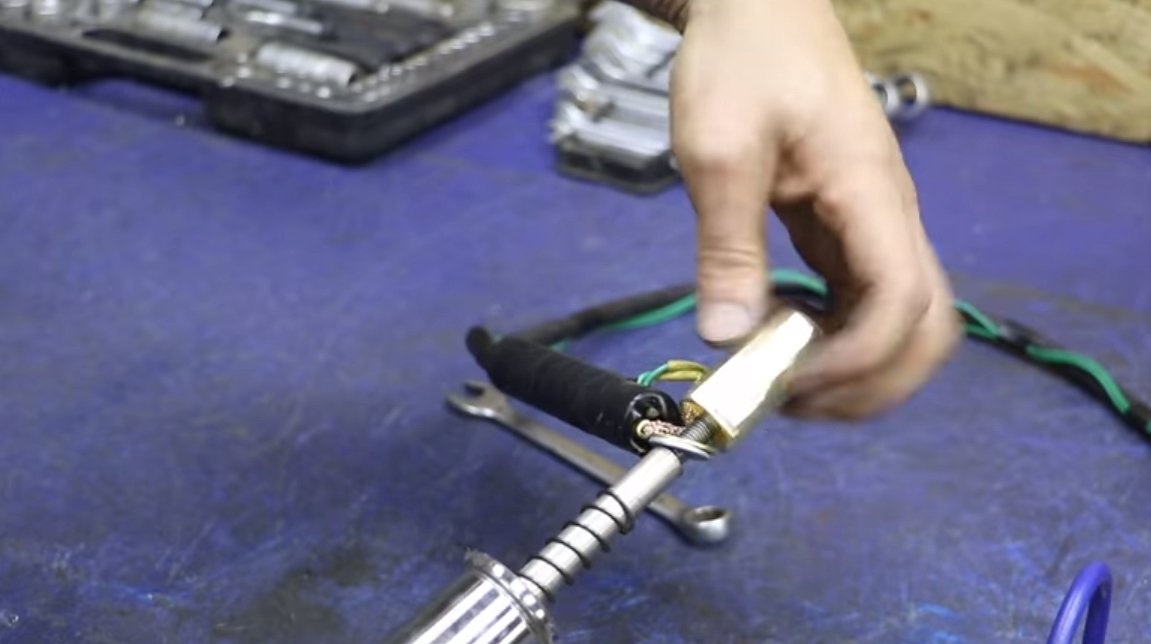
Step Two A pen
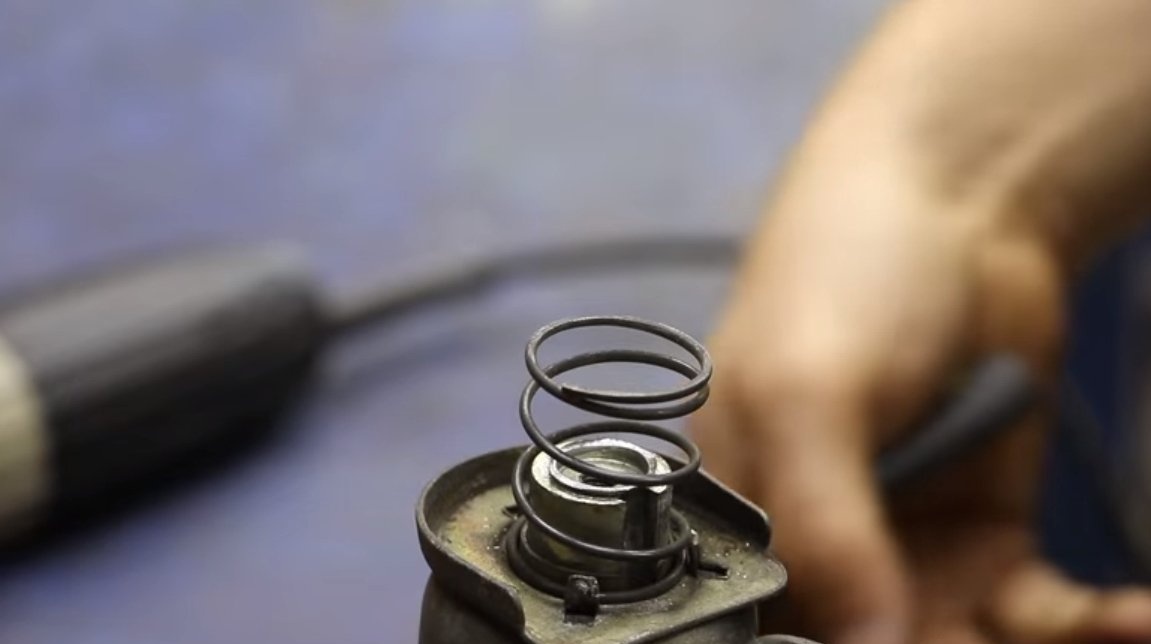
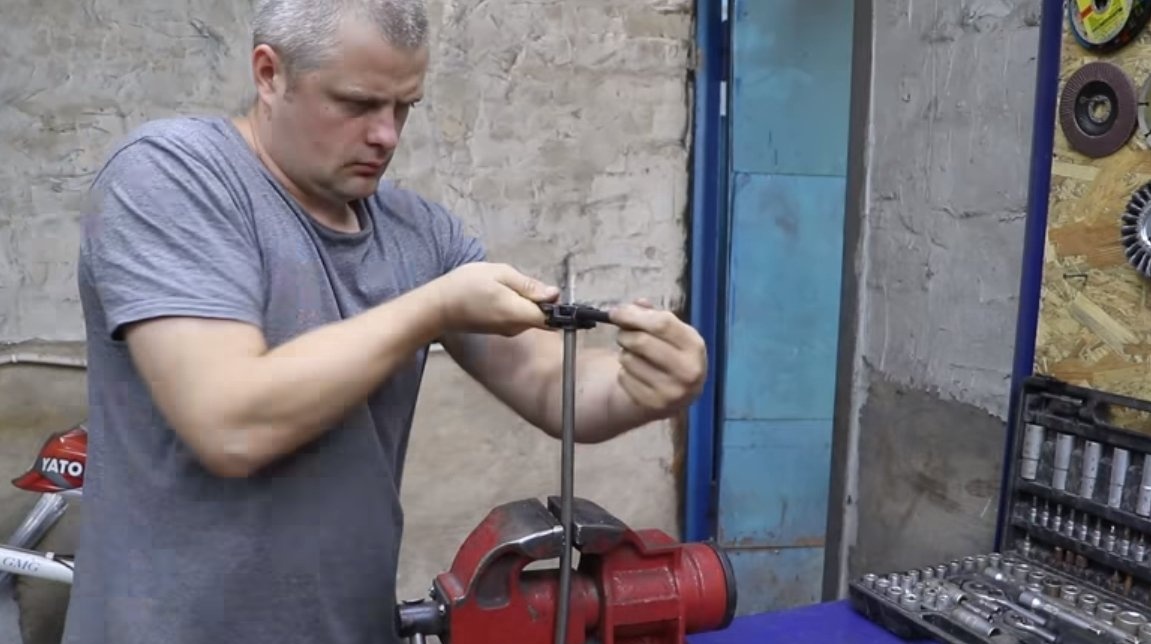
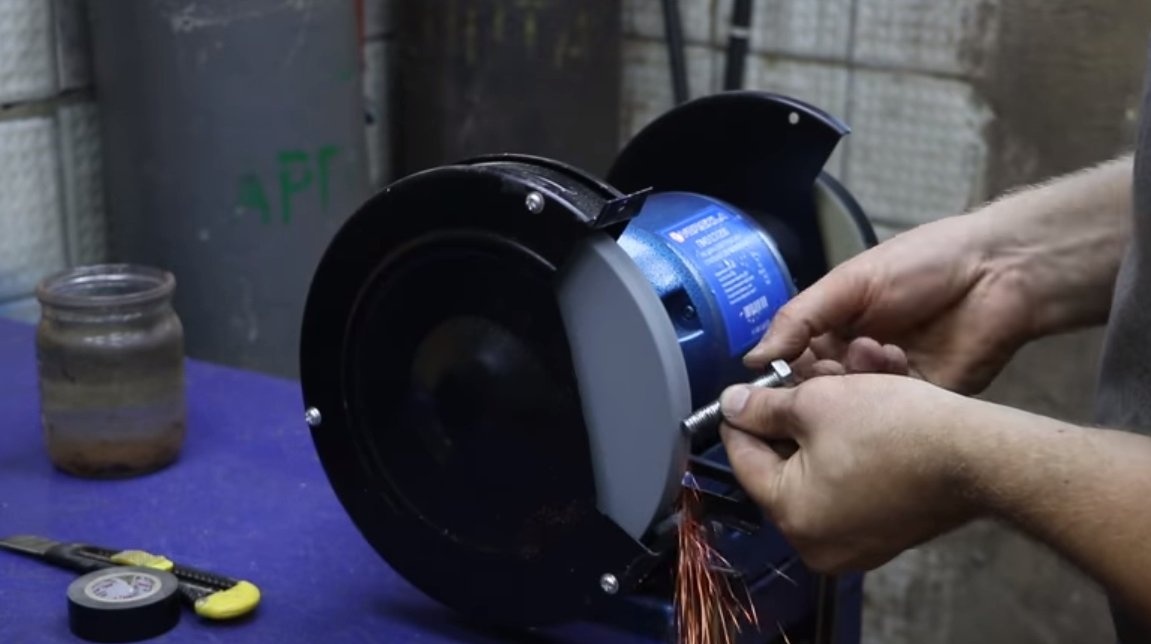
Next, we will make a handle on which the electrode will be fixed, here the author decided to adapt the iron rod. We cut the threads at both ends of the rod, an electrode of sheet copper is installed at one end, it is important that the tip of the electrode is well sharpened.
The author installs a spring and a “hammer” on the handle, which slides along the handle. Thanks to this hammer, we will, by striking, align the dent of the body, “bend it out”.
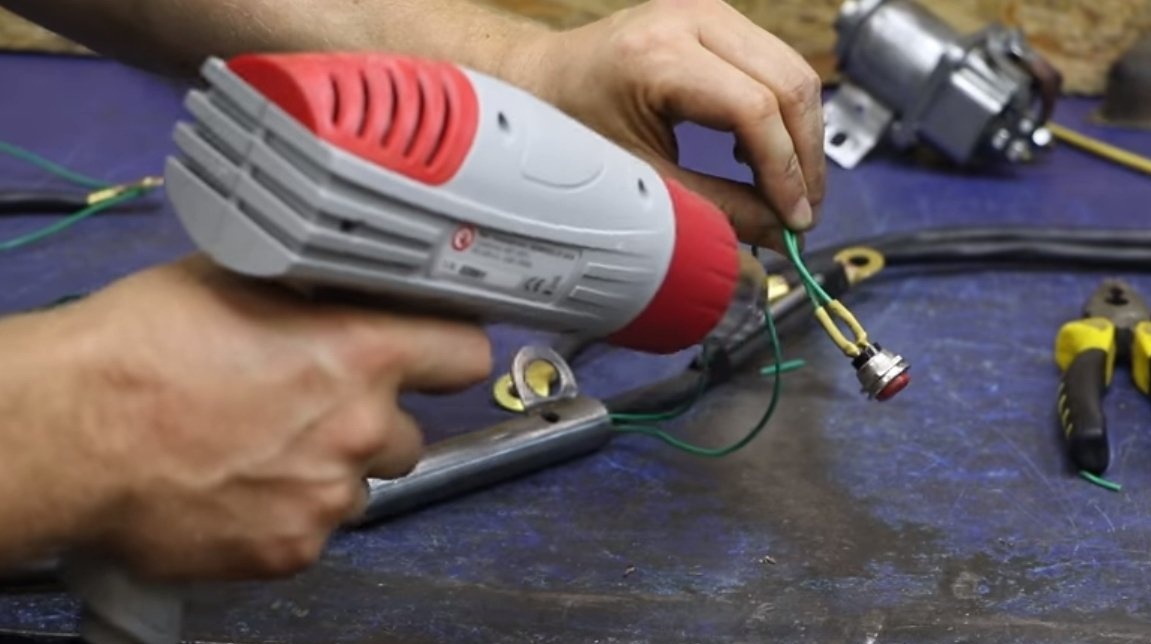
Also, an additional handle with a button is fixed on the main handle, the author decided to wind this handle with electrical tape, although the voltage is 12V and not noticeable by a person.
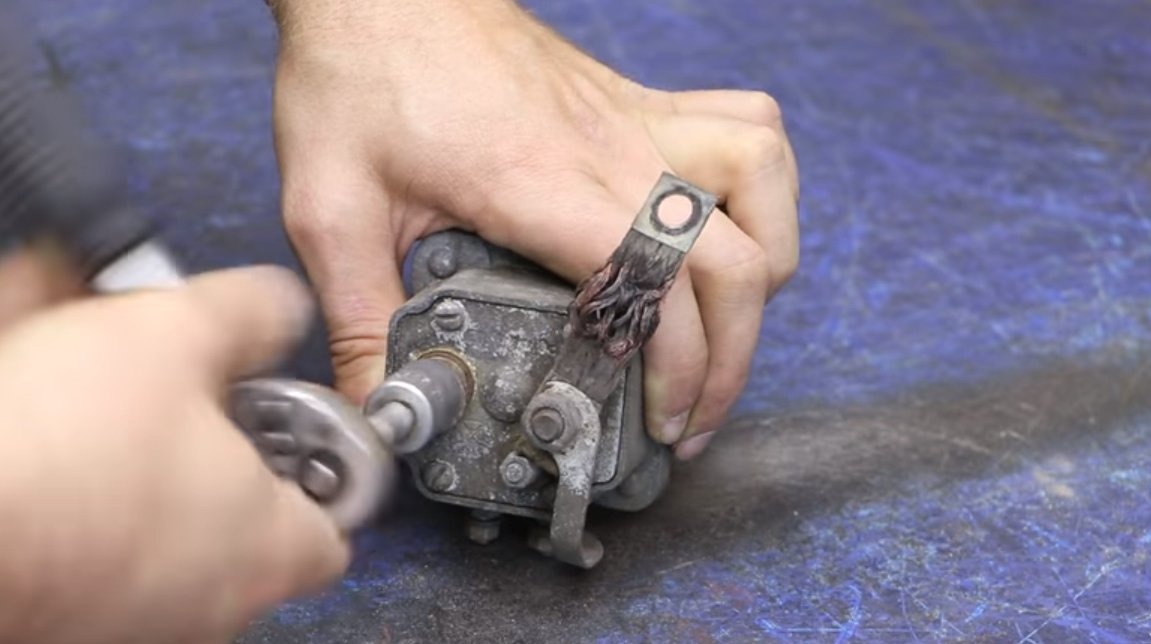
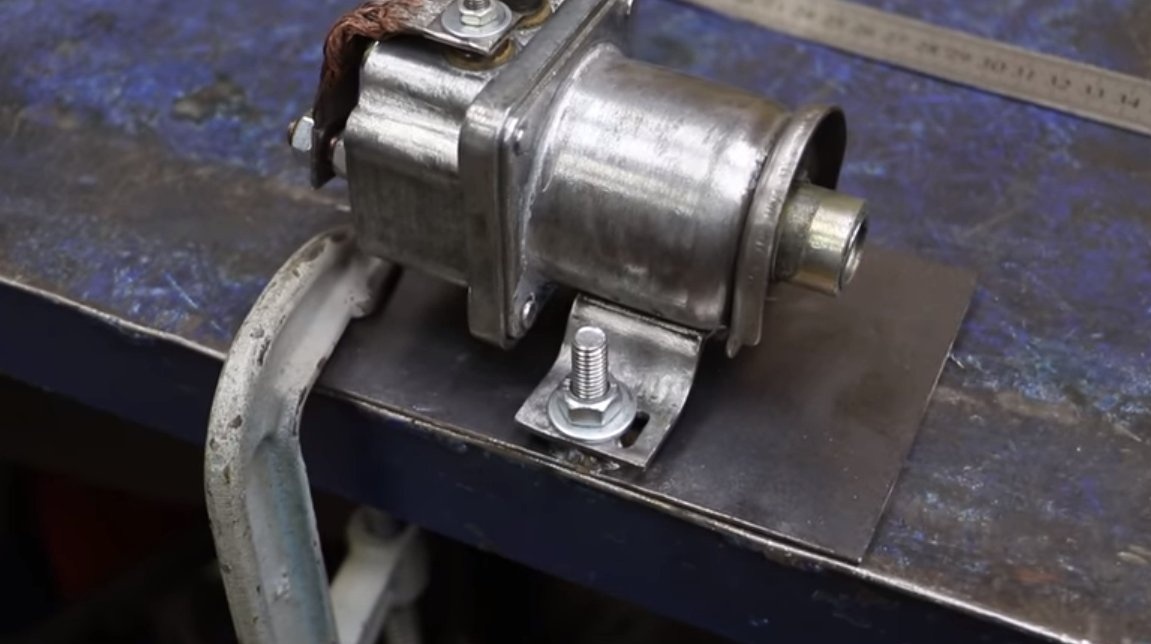
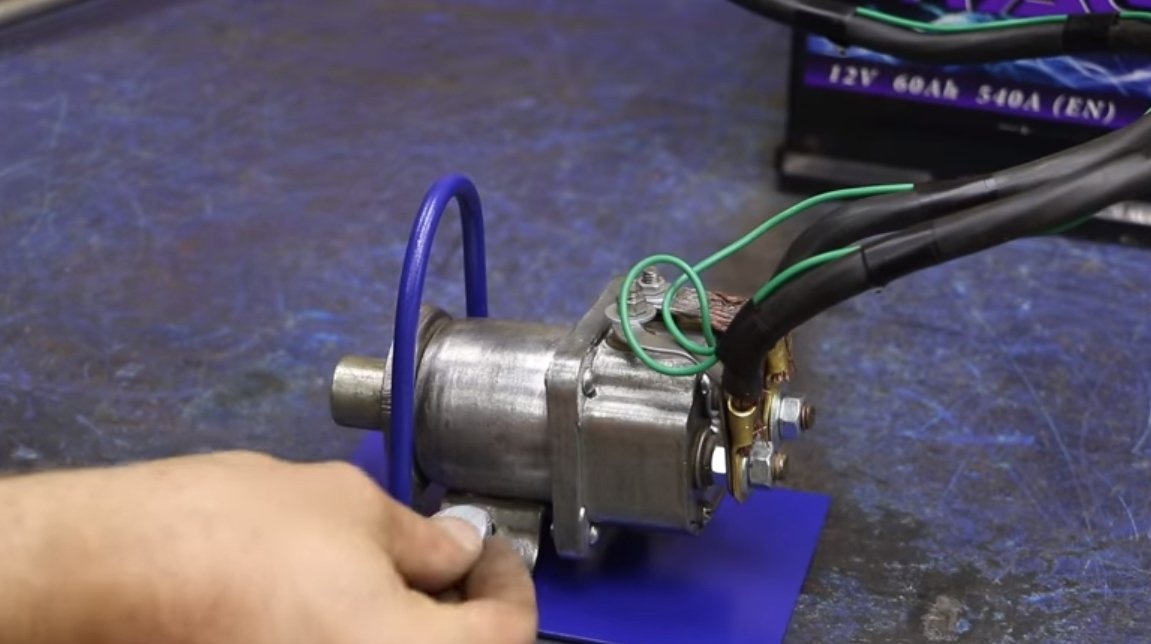
Step Three Assembly
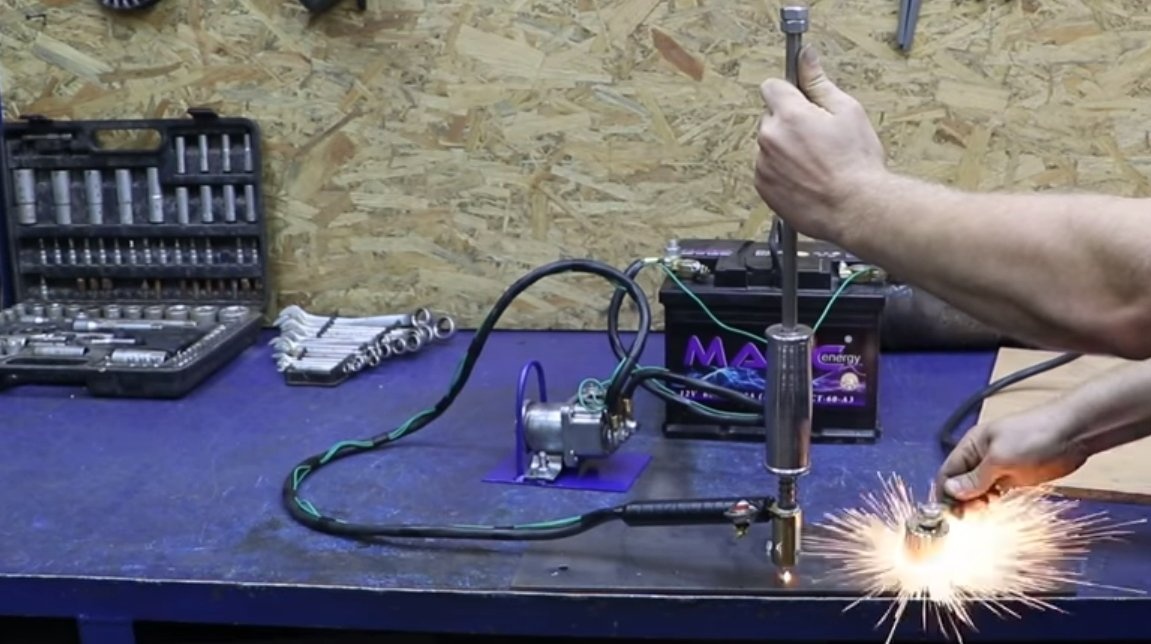
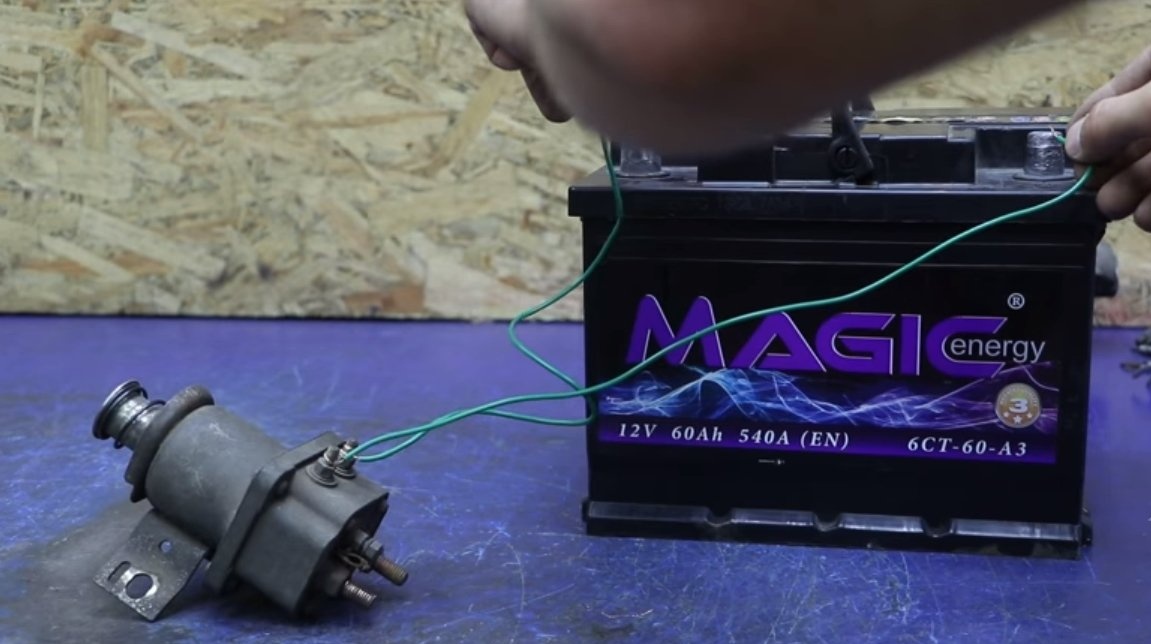
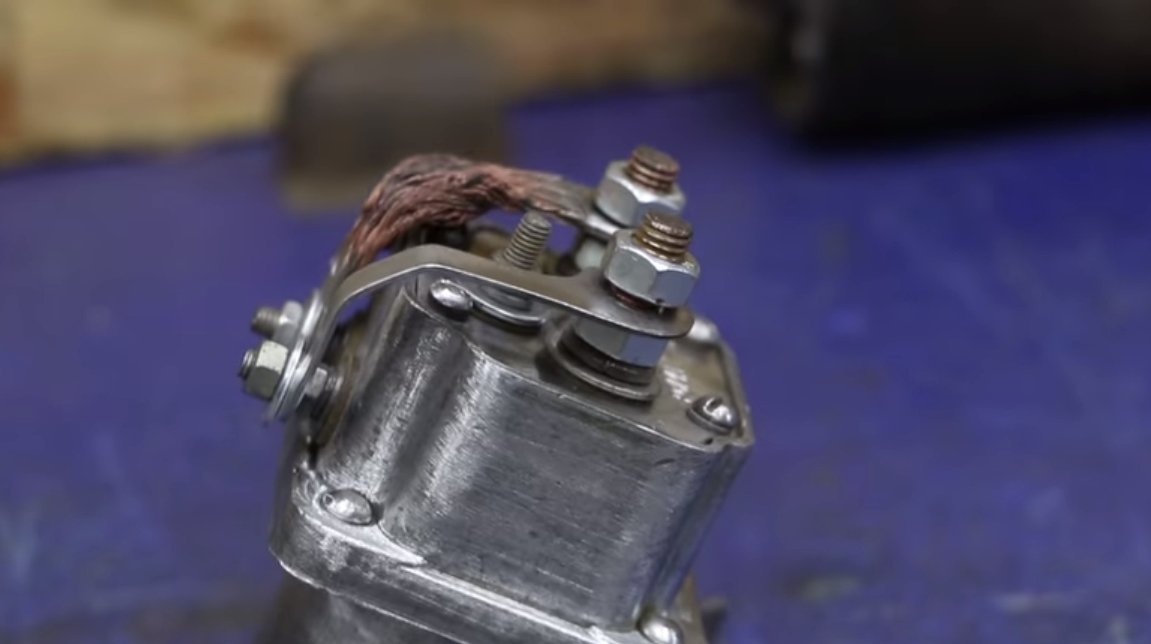
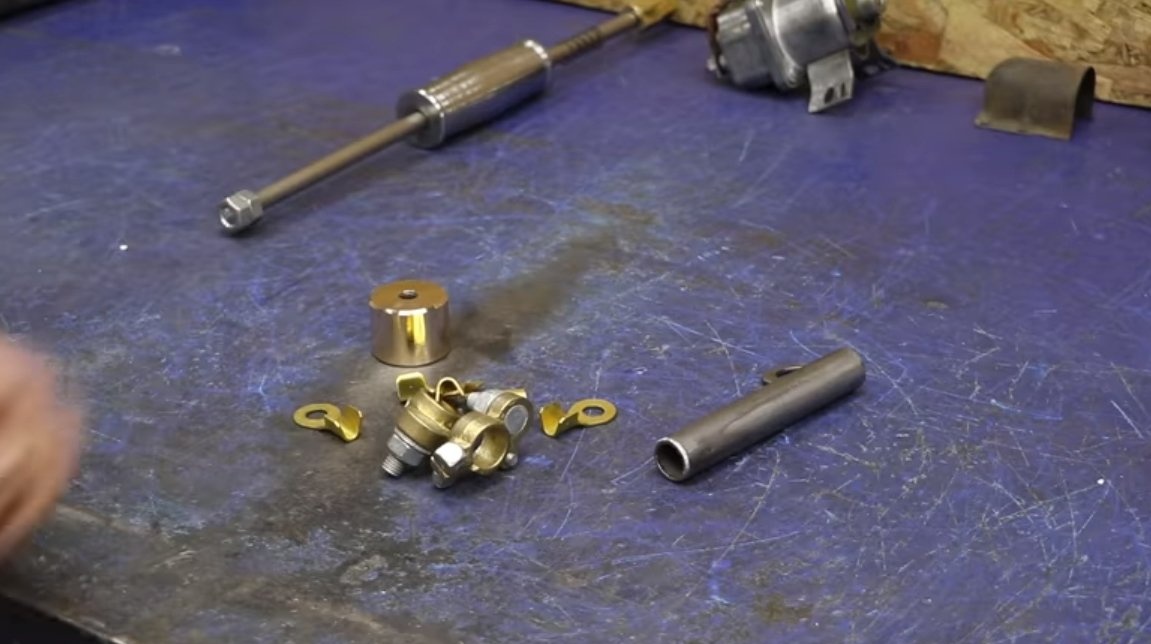
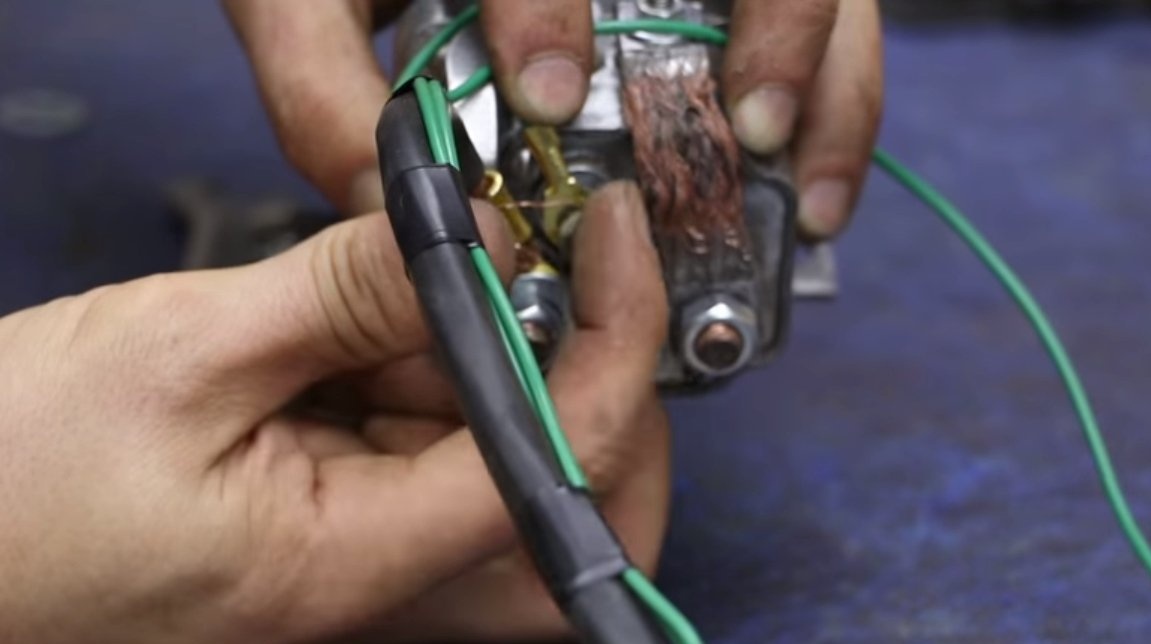
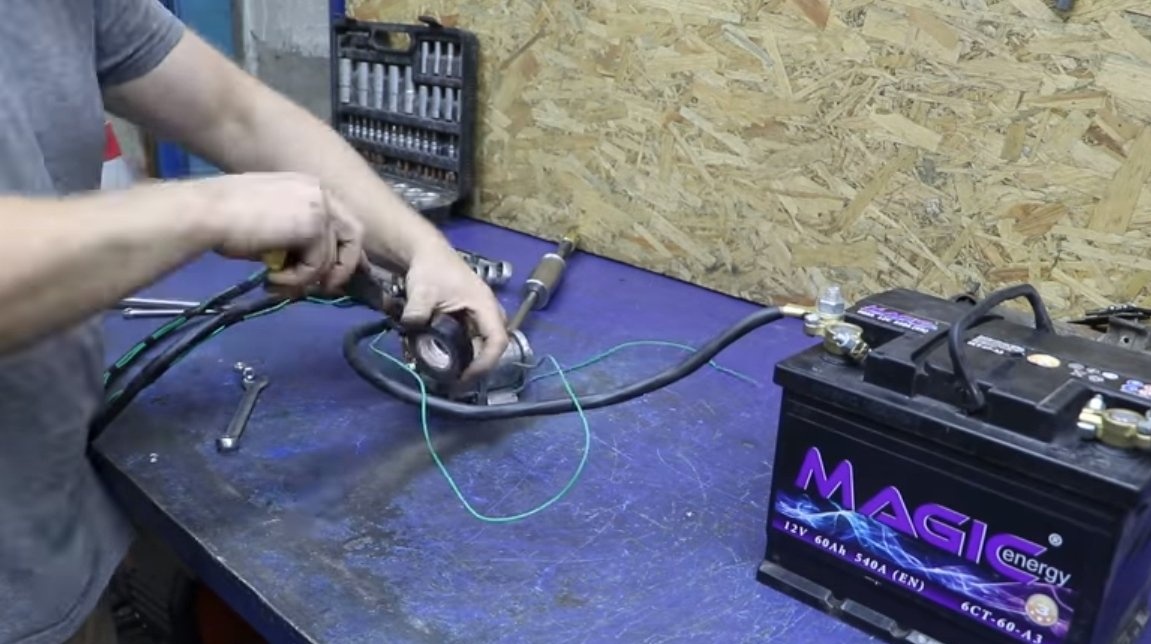
We assemble the device, the retractor is better fixed on an iron plate so that it does not jump around the garage. We connect power wires from the battery to the one that draws into the relay, the relay will close the circuit at the moment the button is pressed.
As for the button, we connect it to the retractor leads that go to the coil and turn on the retractor.
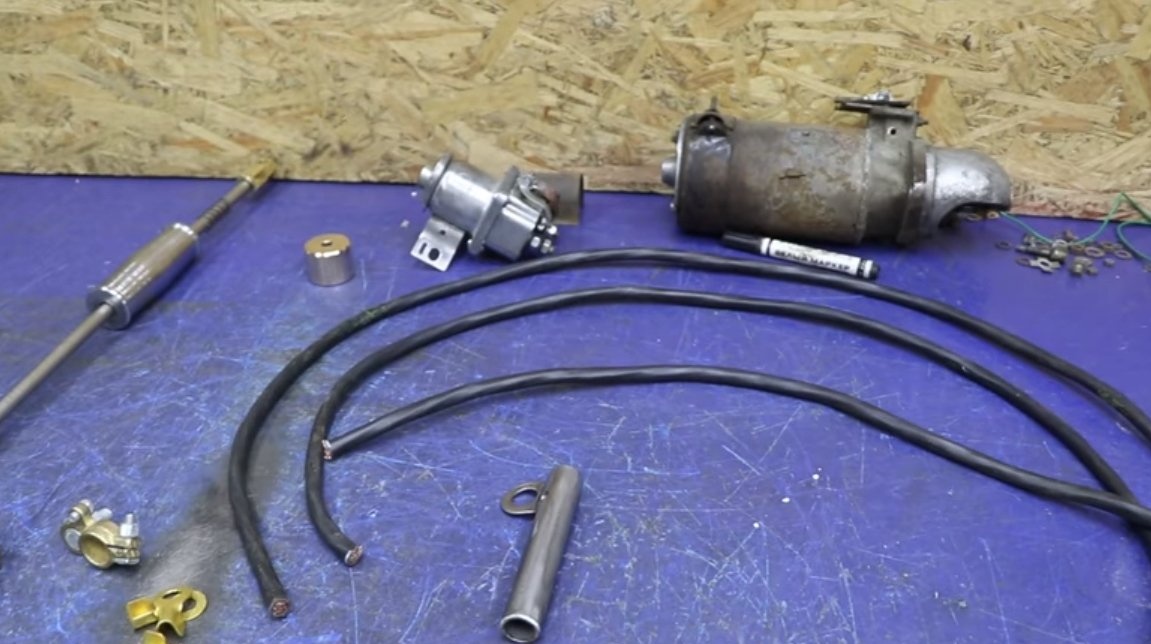


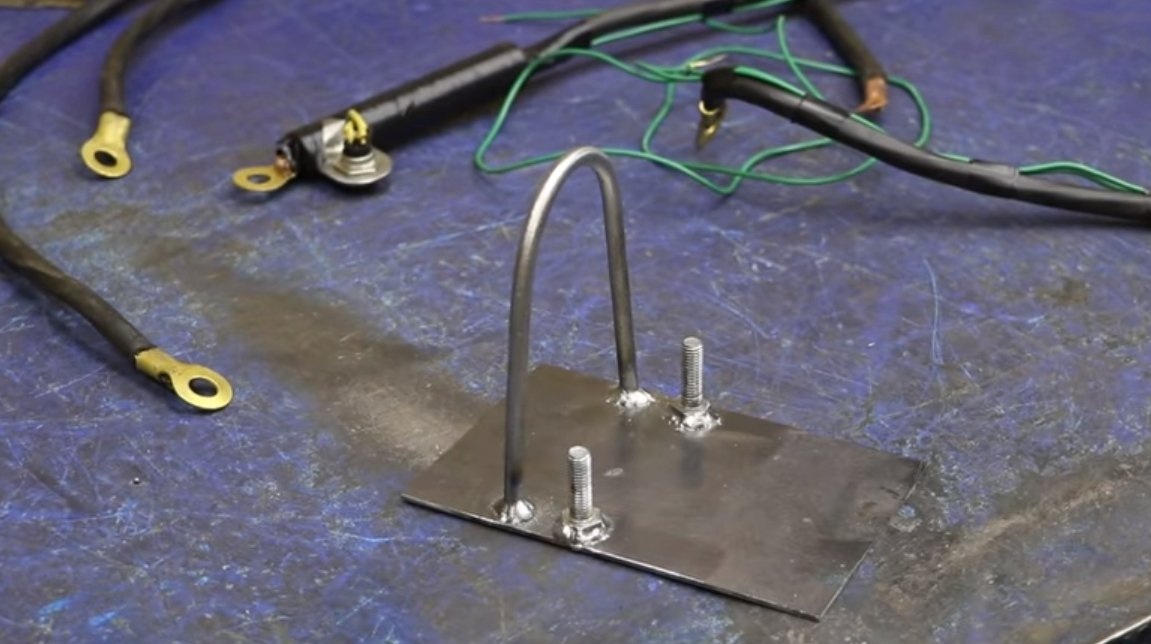
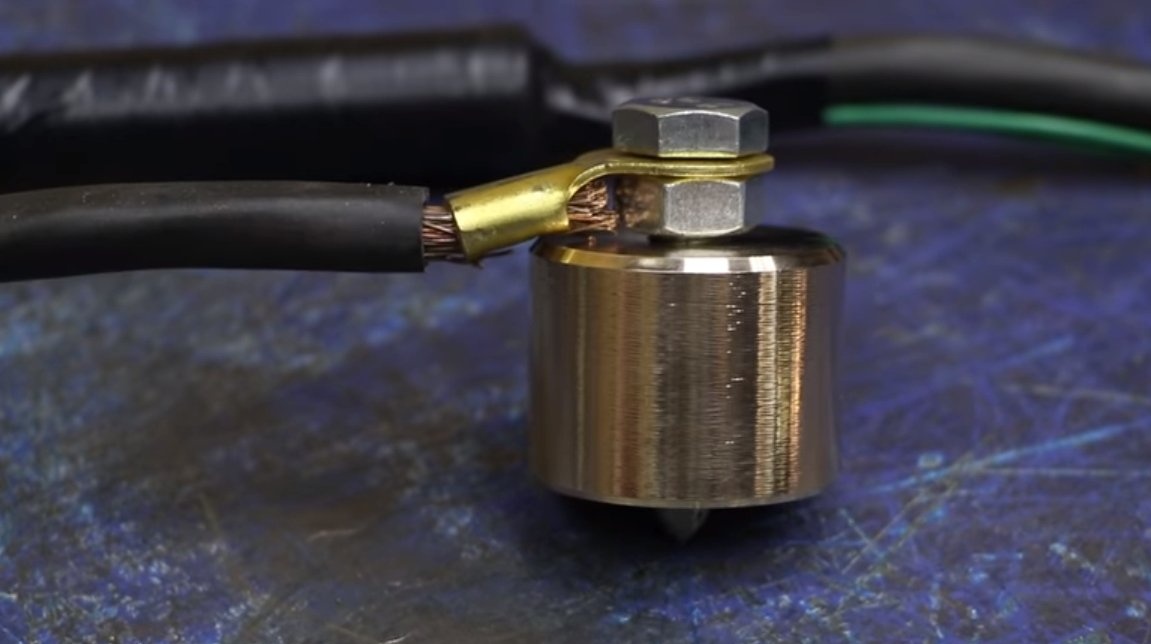
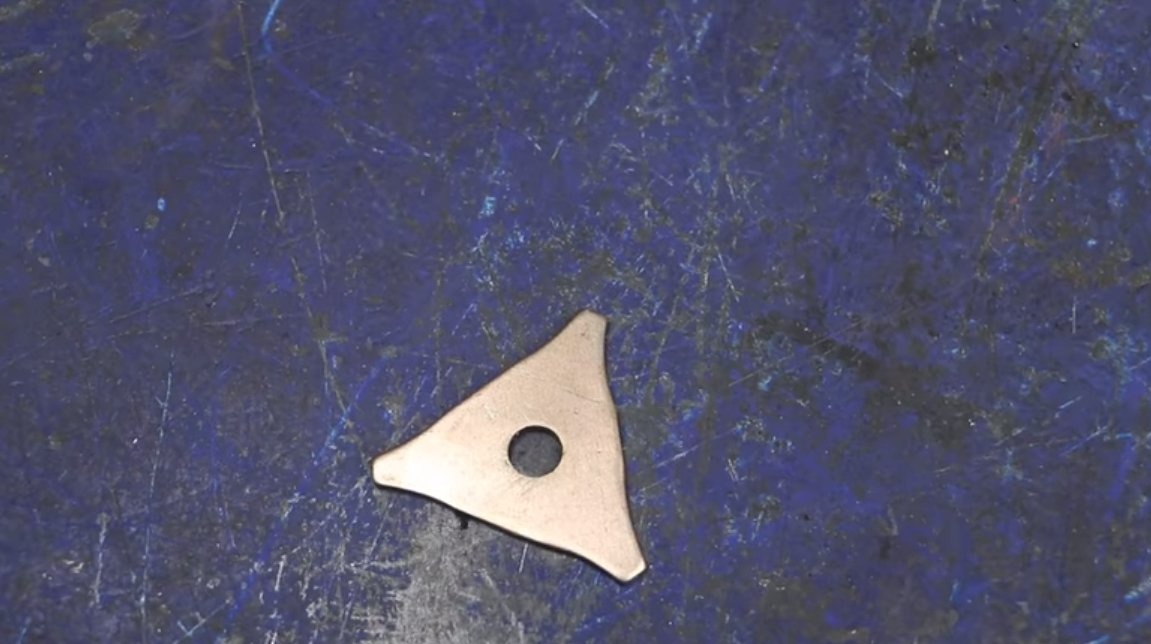
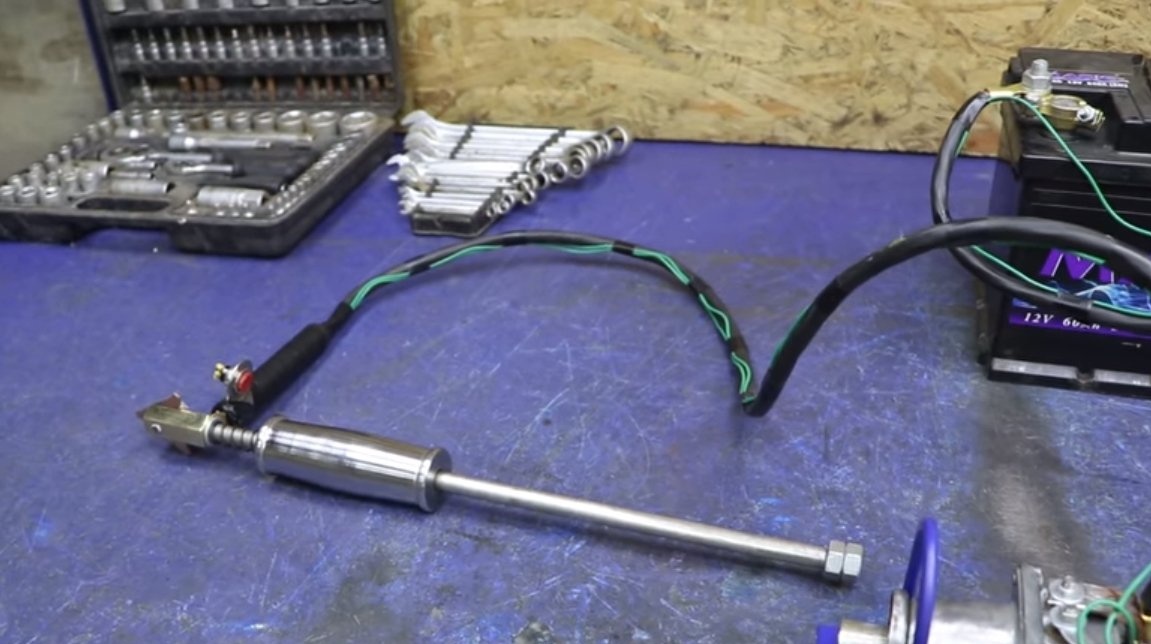
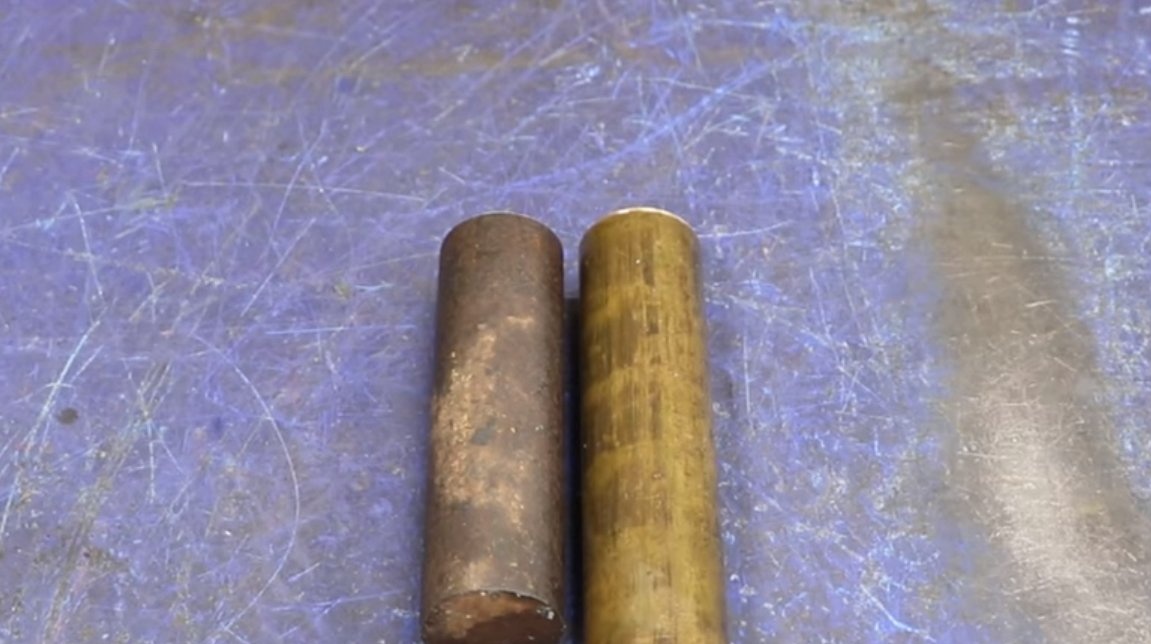
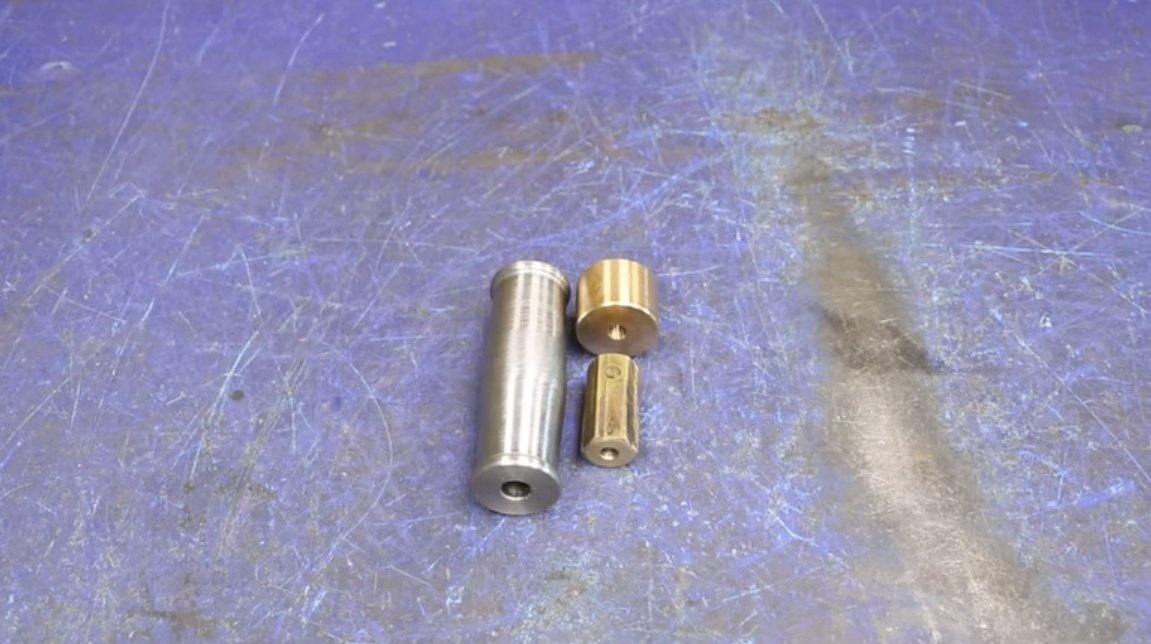
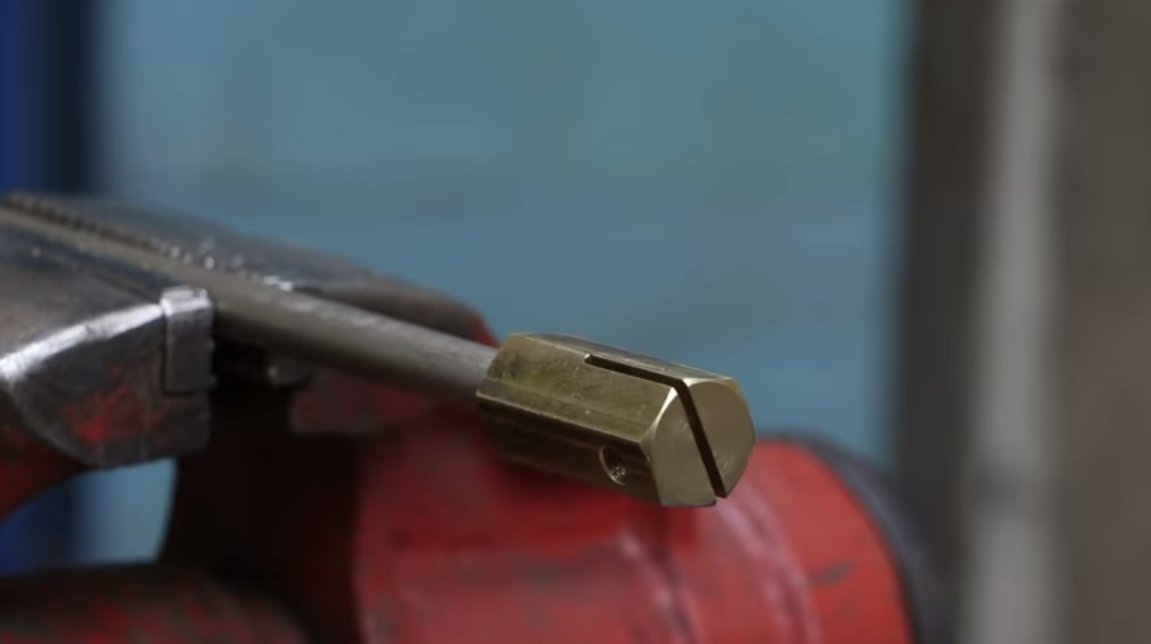
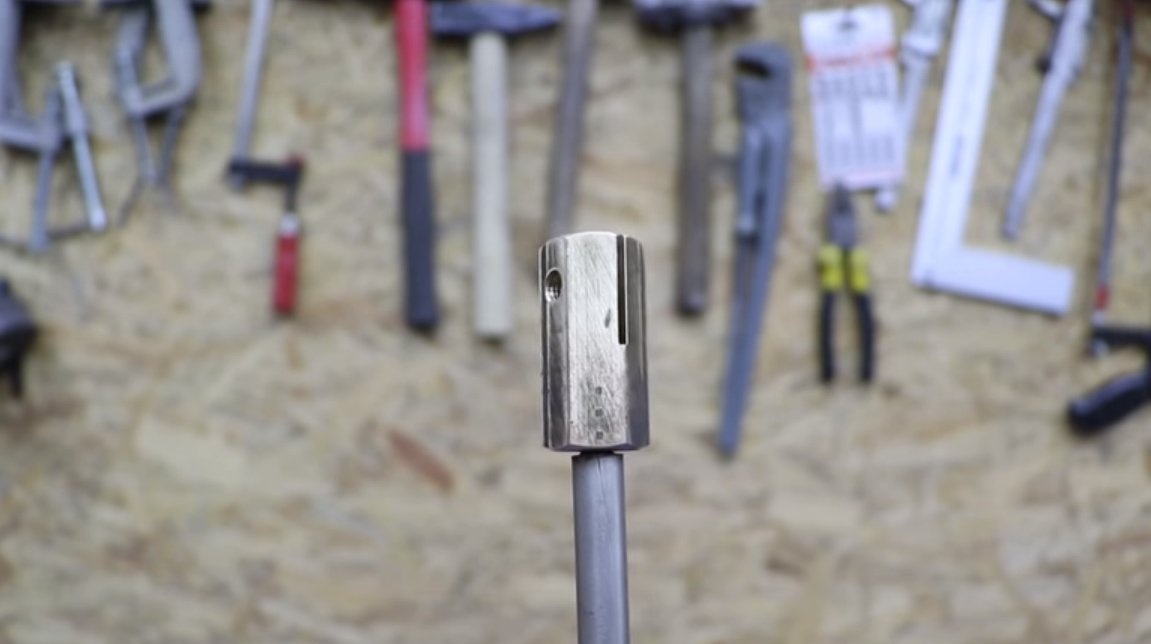
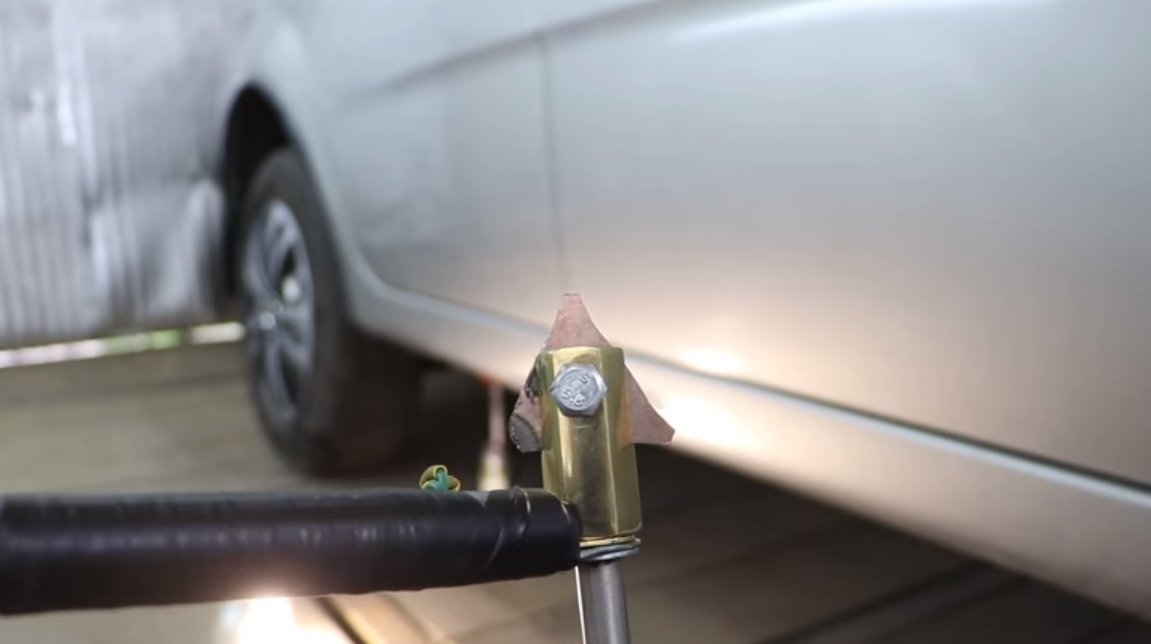
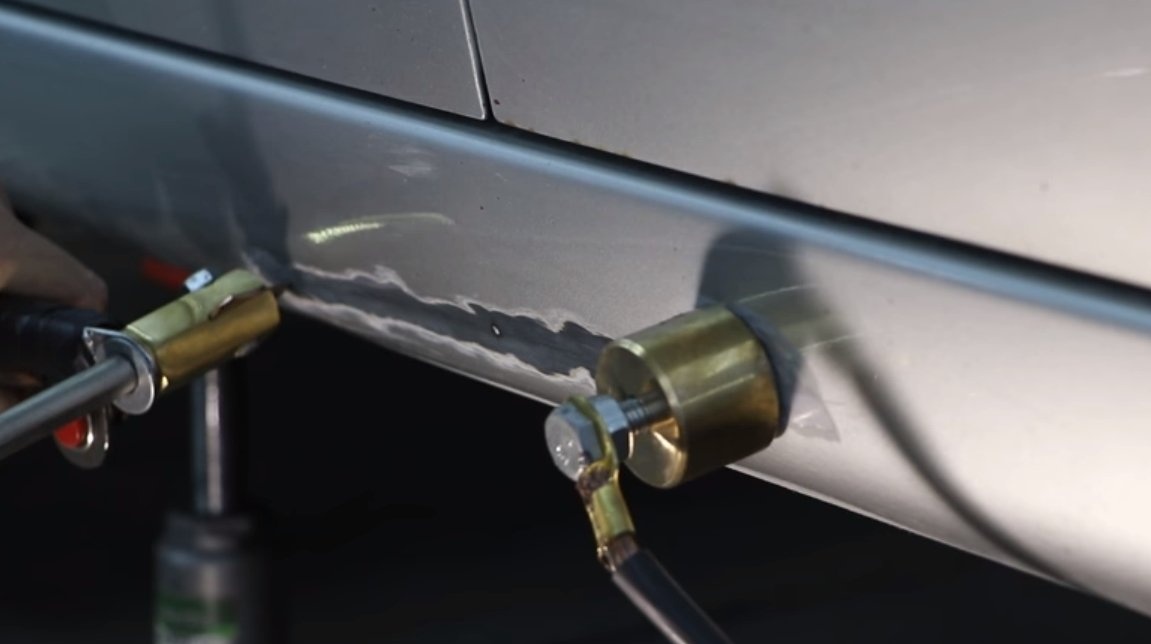
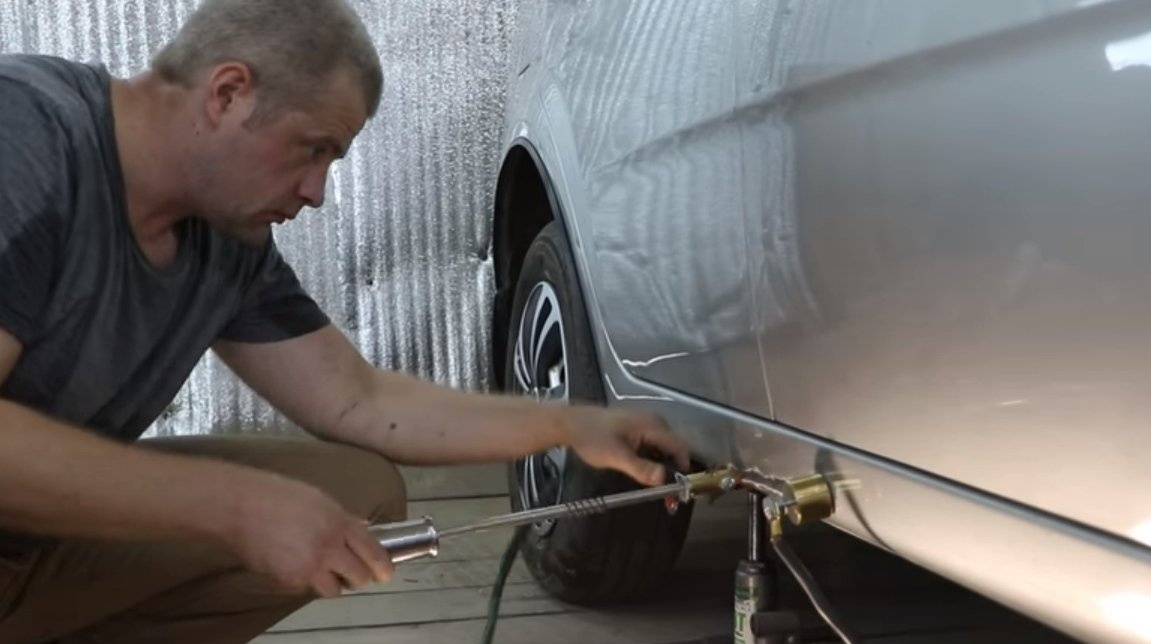
It is important to make a reliable electrode and grounding, the working electrode is made of sheet copper, the author’s electrode is trident, which makes it easy to replace a damaged tip. Of course, you can use a sharpened copper rod as an electrode, but it is more difficult to securely fix it, and it can be more difficult to find.
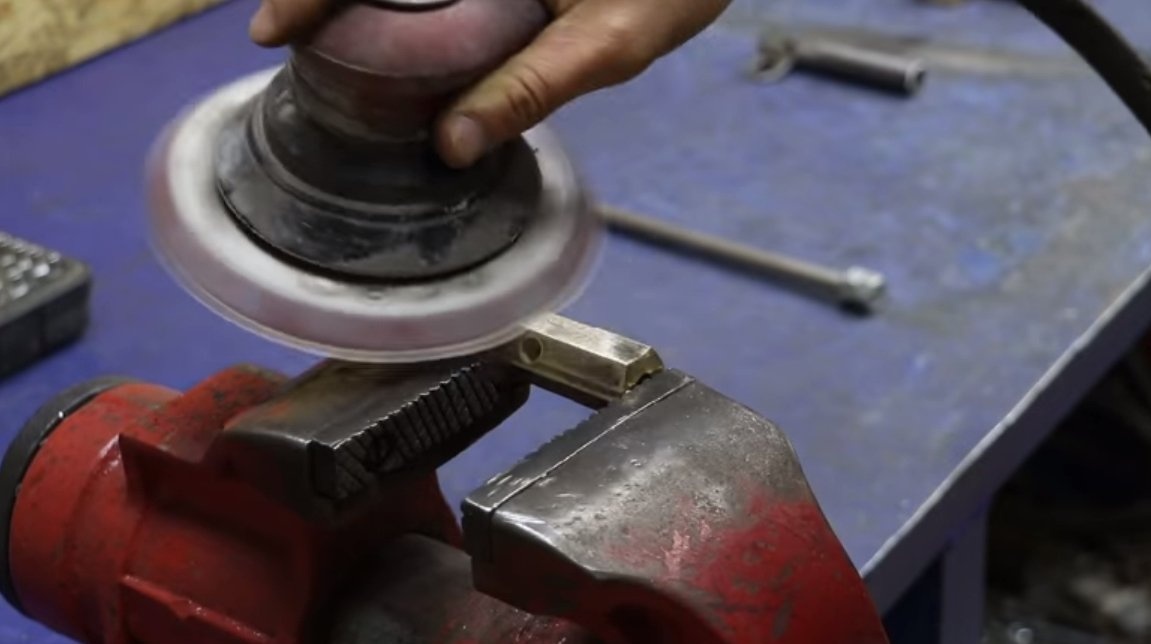
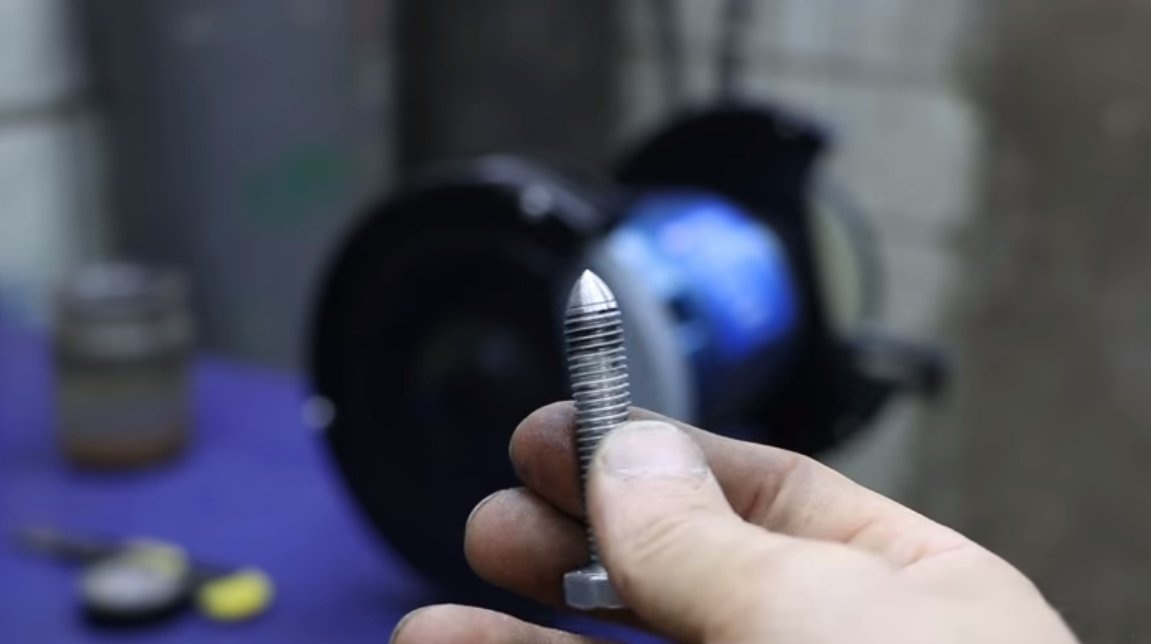
As for the "grounding", it is made of a sharpened bolt and a special round nut made of brass. When the tip of the bolt is welded to the body, you can unscrew the nut so that it is pressed against the body and forms a more reliable contact.
Step Four Test
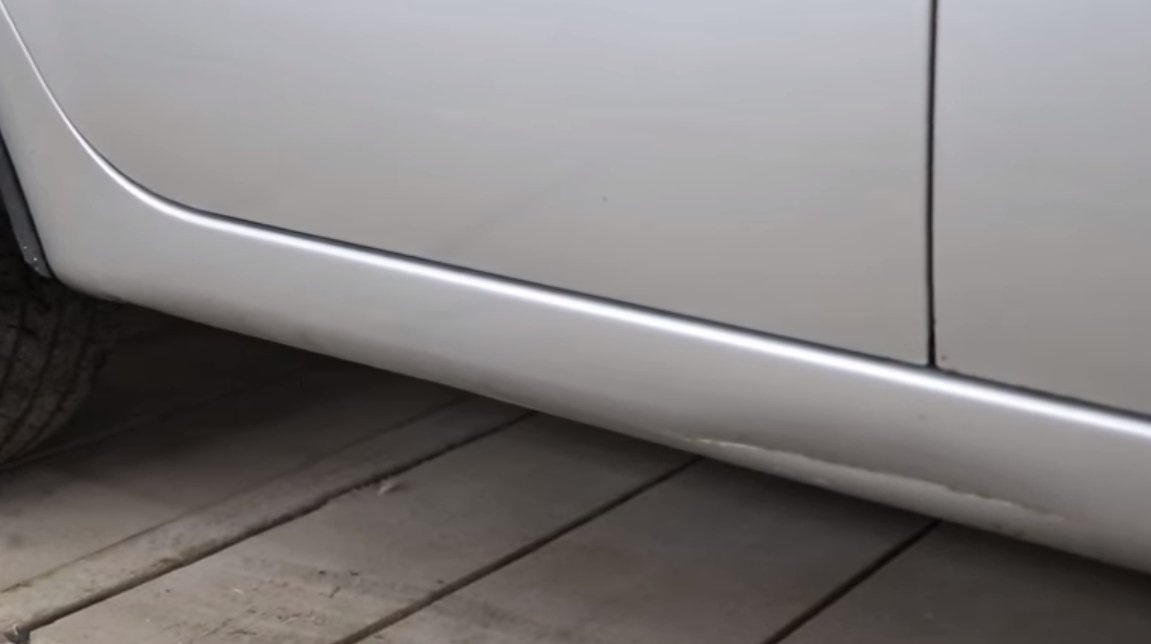
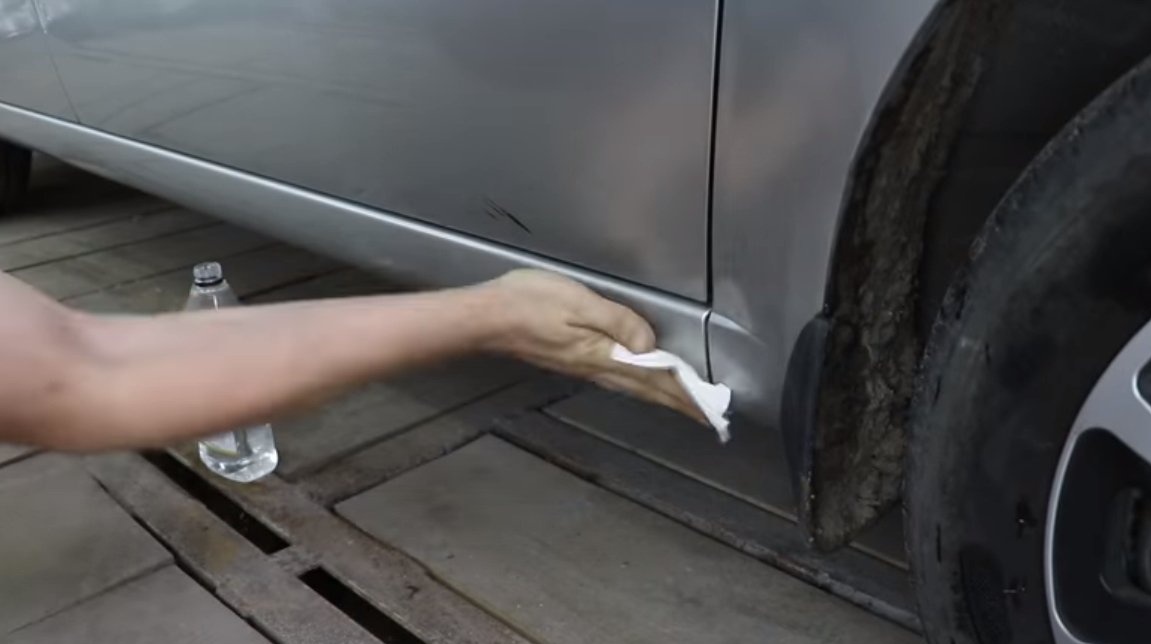
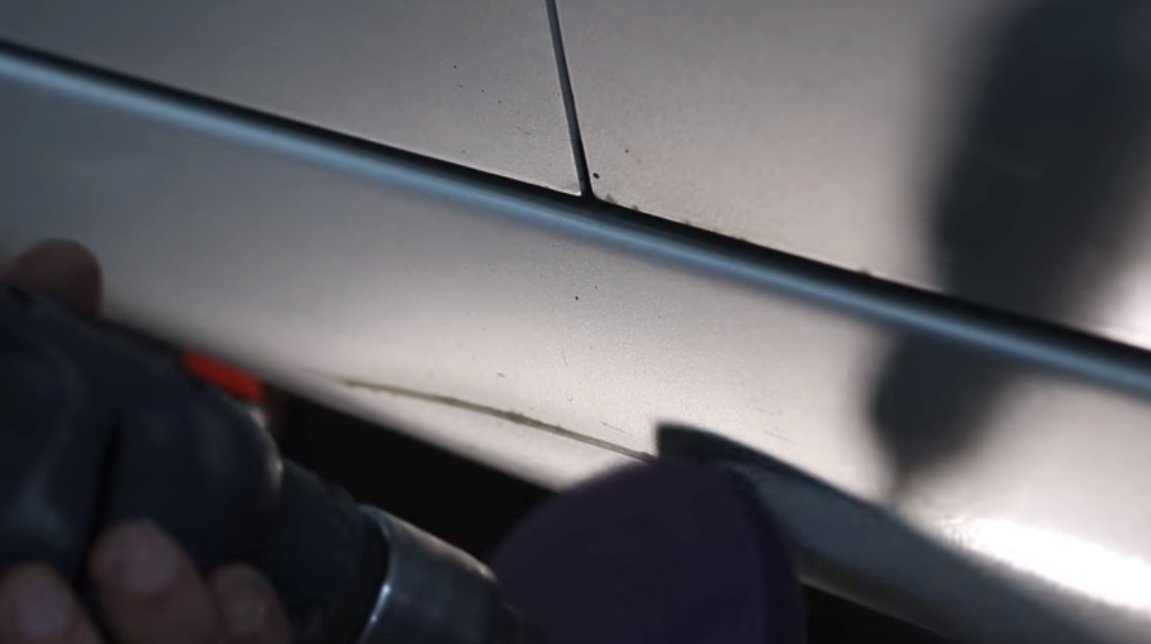
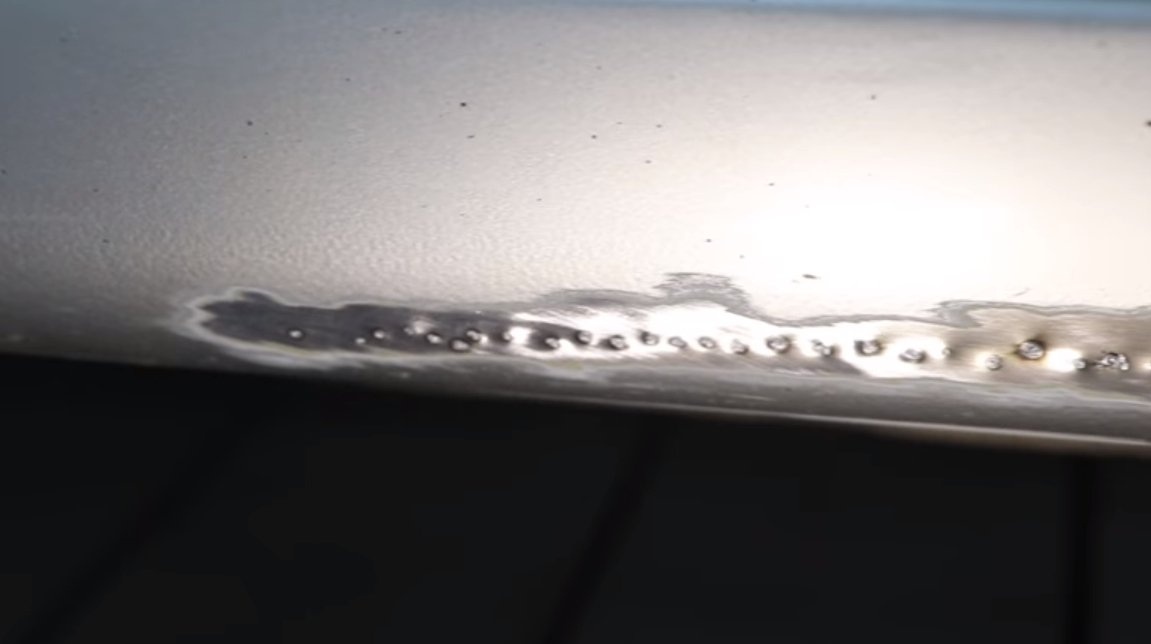
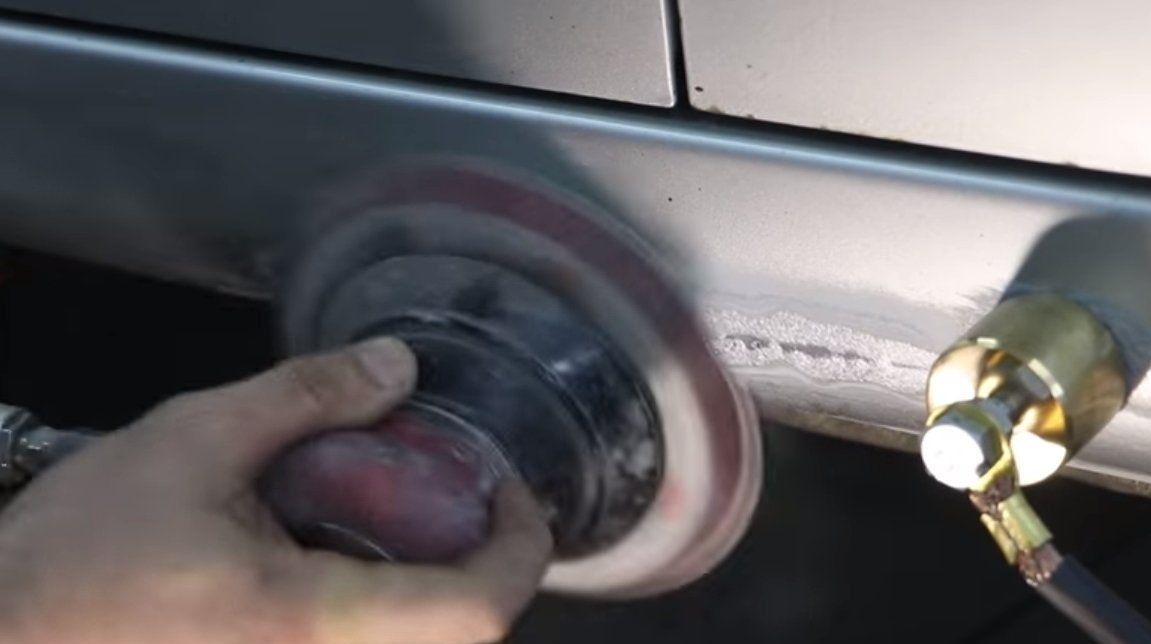
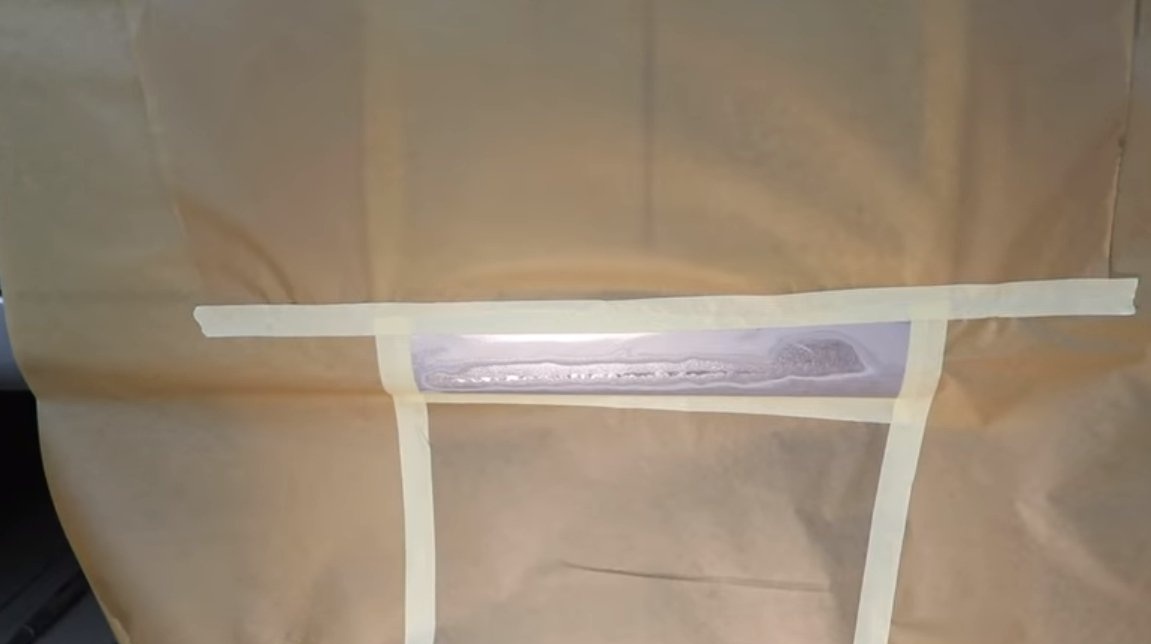
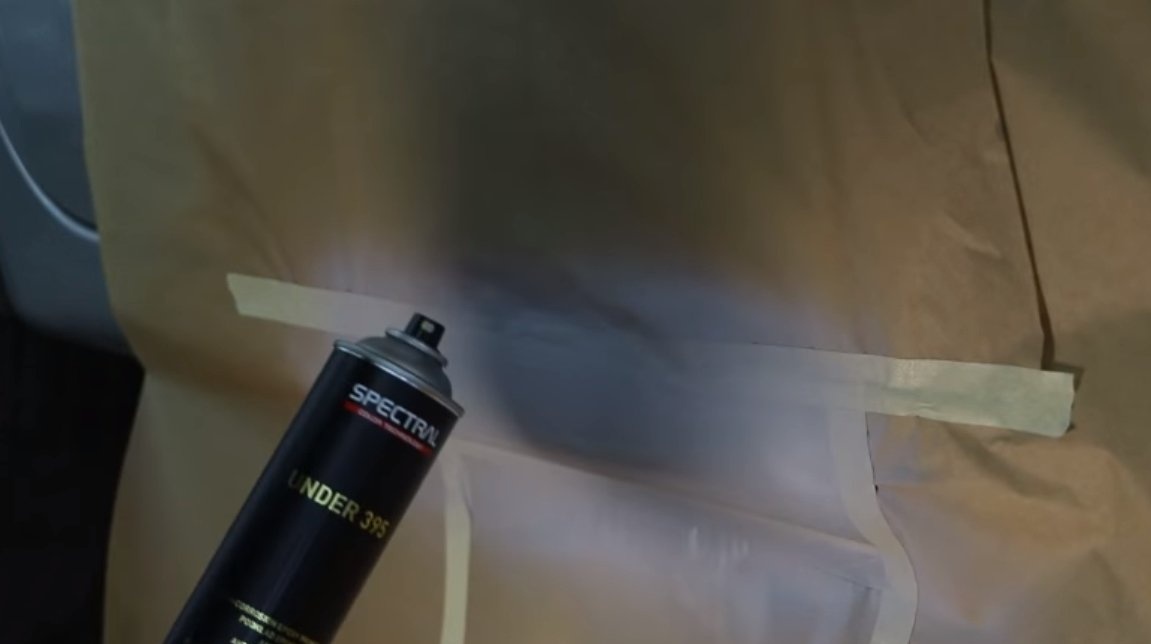
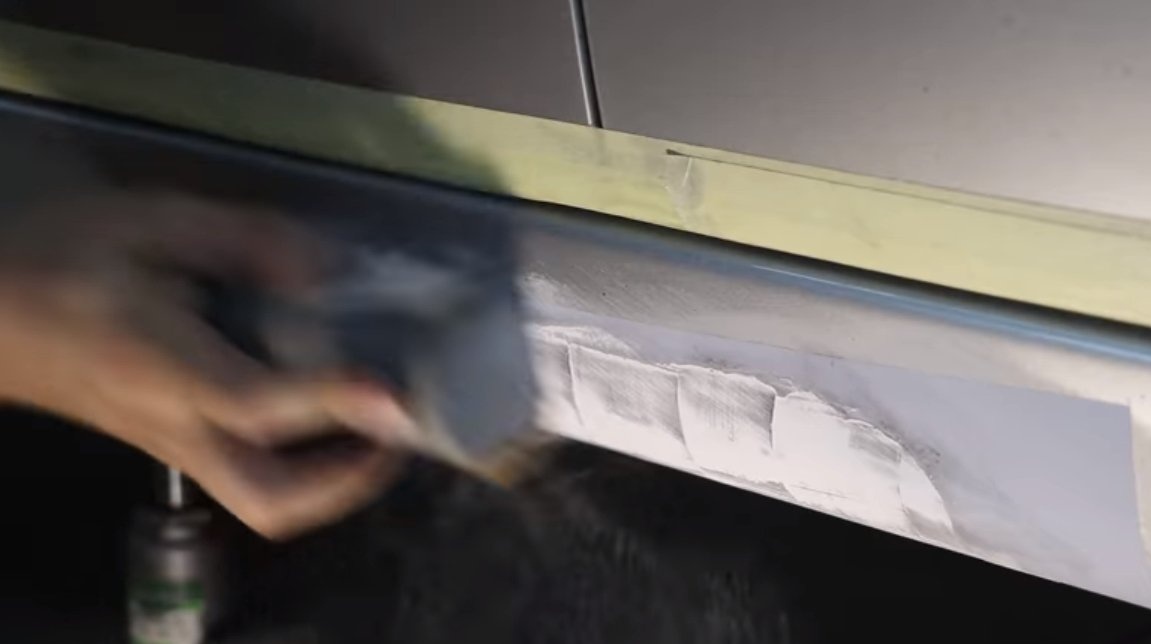
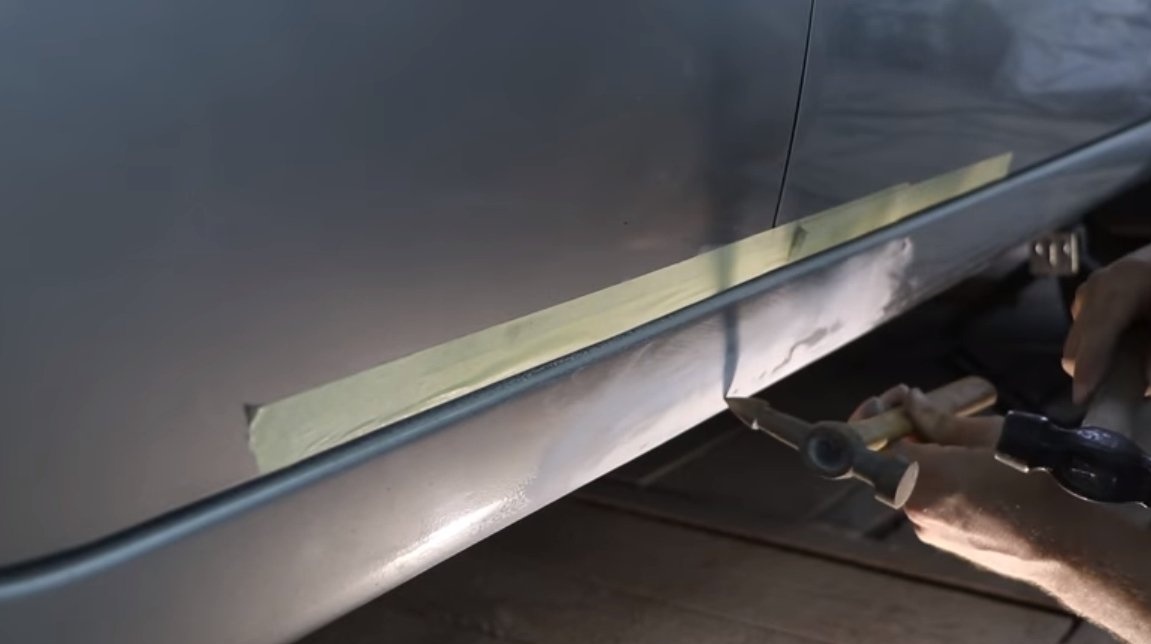
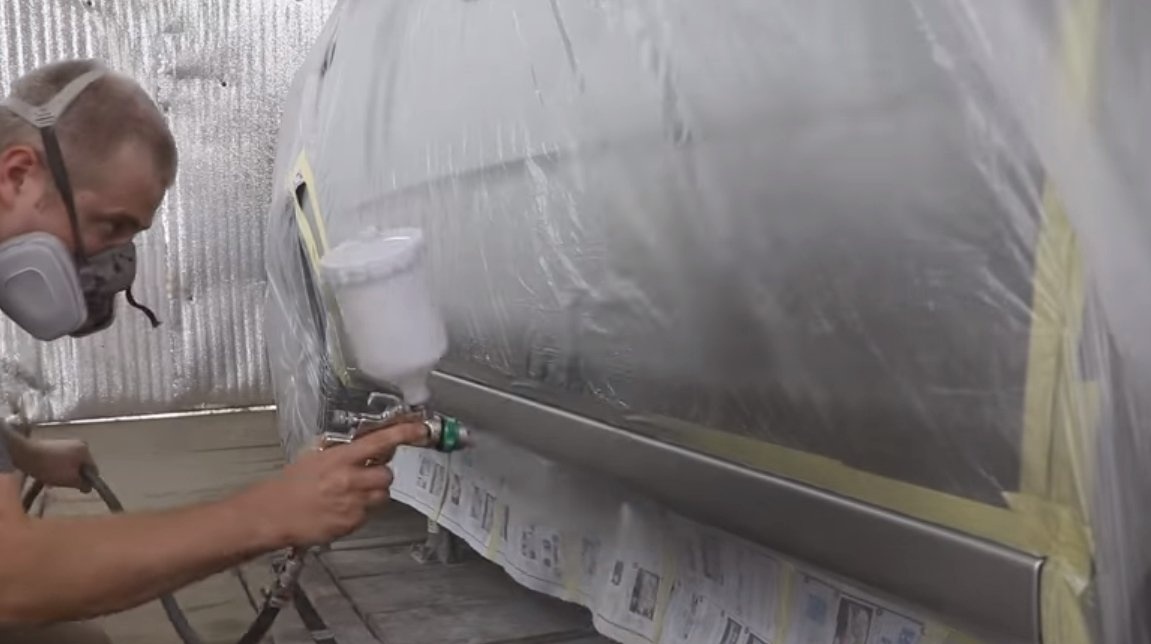
We start the tests, first we clean the problem area to bare metal, and then we get to work. We touch the body with both electrodes and press the button for a short time. As a result, the retractor is triggered and the electrodes are welded to the body. After that, using the built-in mallet on the handle, gently knock the dent out. So step by step, point by point, align the dent. Well, then primer the metal and apply several layers of putty. Putty will be much better to hold thanks to the formed points on the metal. Well, then it remains to paint the treated area and now the body is already like new.
Of course, for more professional work, it would be nice to replace the battery with a welding machine and install it, which itself will close, and open the circuit clearly in time.
On this, the project can be considered completed, the self-made turned out to be workable and convenient. I hope you enjoyed your homemade work and found useful thoughts for yourself. Good luck and creative inspiration, if you decide to repeat this. Do not forget to share your ideas and homemade things with us!