
Hello everyone, not so long ago a lot of different home-made machines, hand tools and other devices were added to the site. But we forgot about another useful device - a hand-held circular saw! Using it is very convenient to cut sheet material and not only, moreover, such a saw is mobile, it can be easily taken out into the yard.
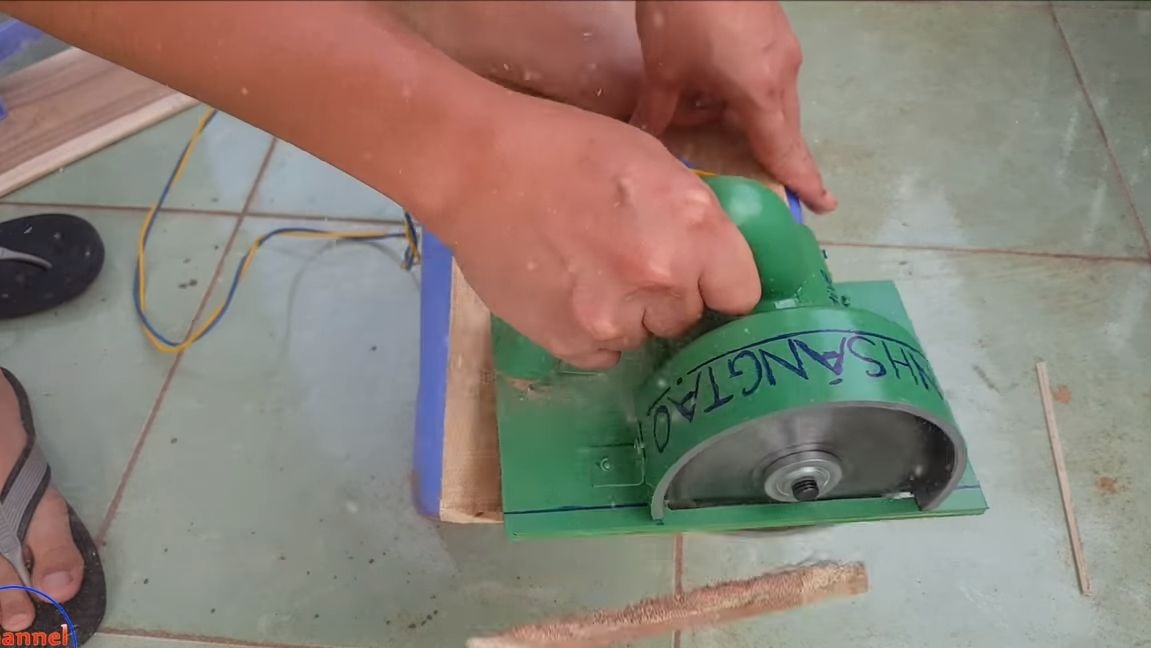
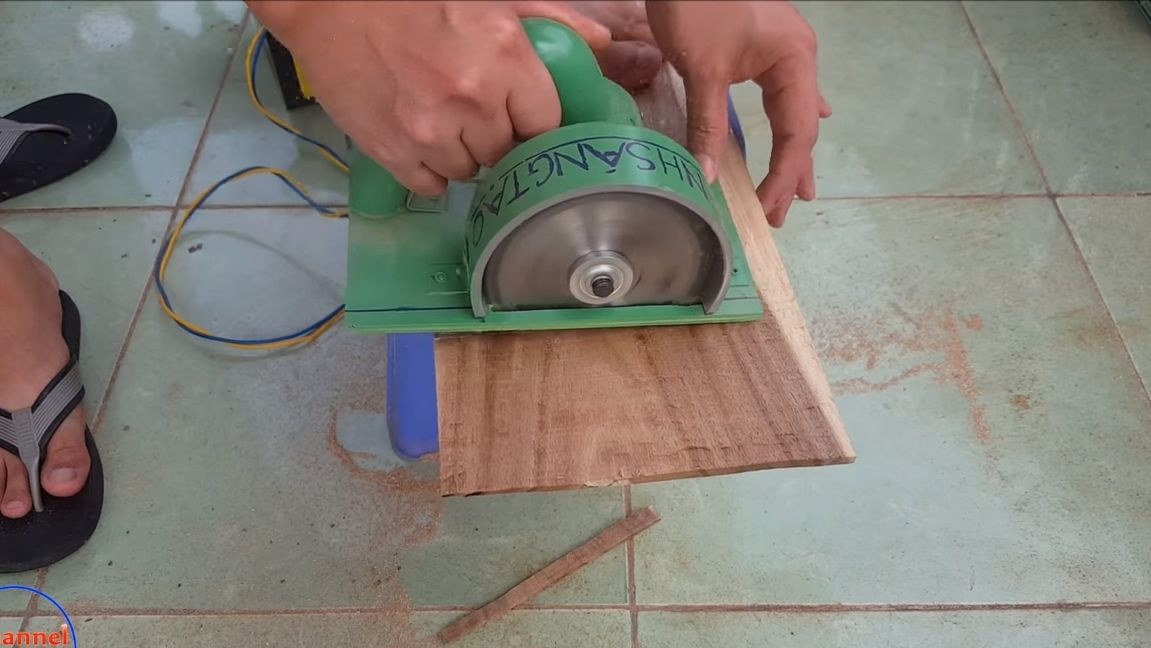
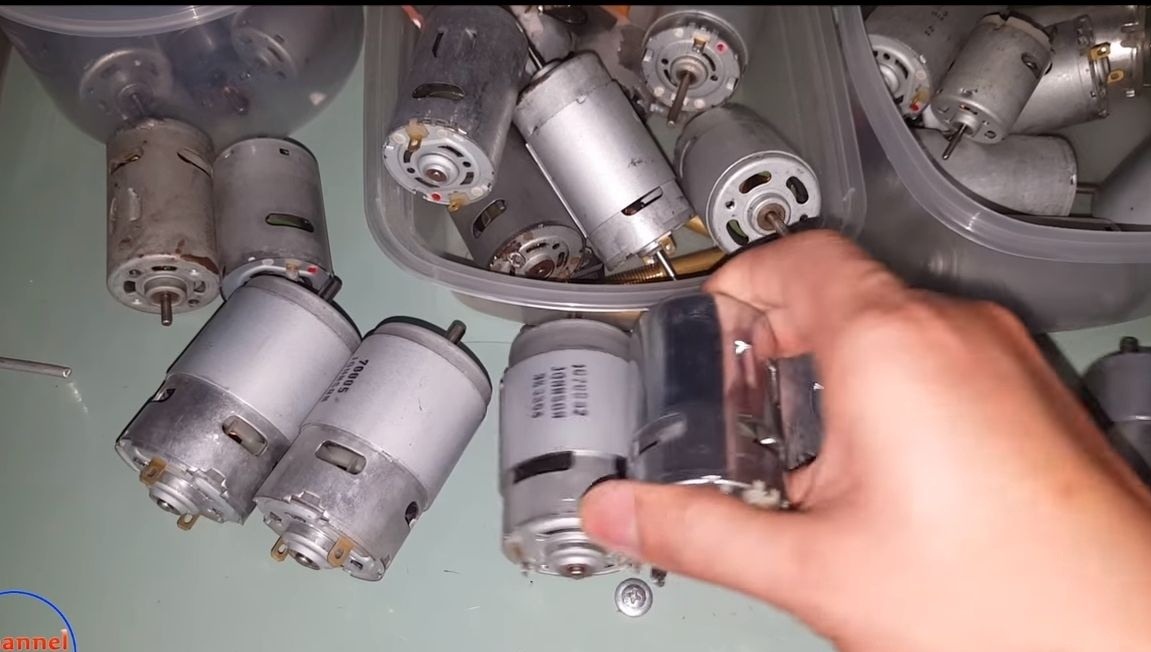
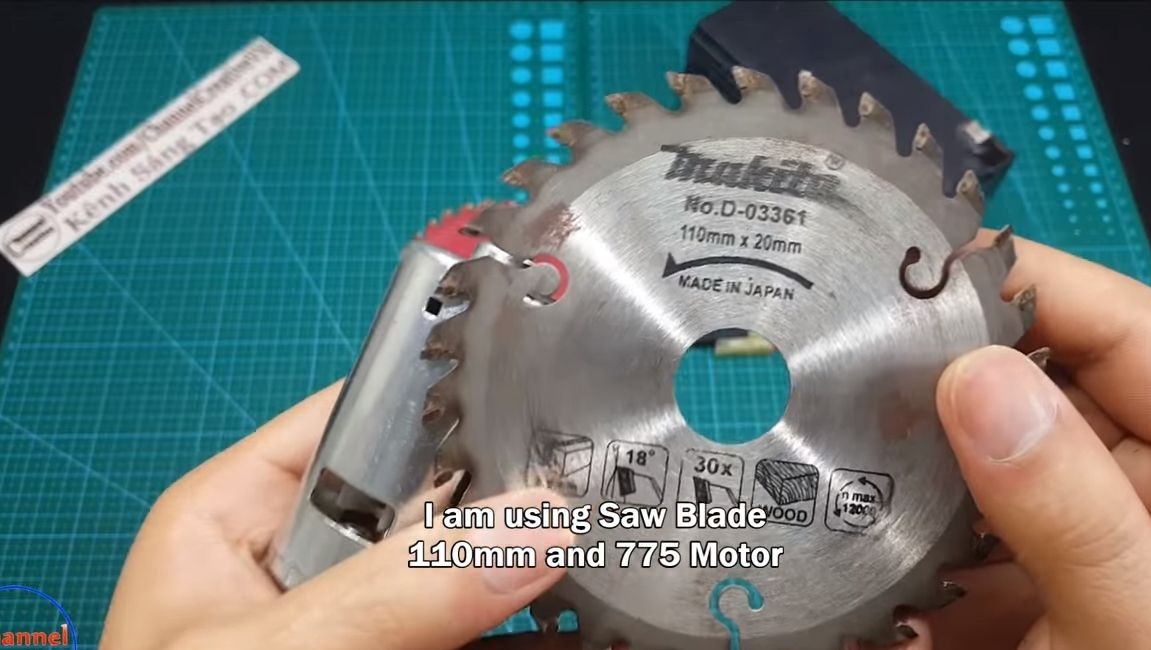
In this manual, we will look at how you can make a small circular saw do it yourself. It works from a 12V engine, so you can power it from batteries! Now you can take the saw with you into the car and connect it from the car’s network to carry out some work. The author easily cuts with the help of a saw board. For greater work efficiency, we choose a more powerful motor.
Materials and tools used by the author:
Material List:
- ;
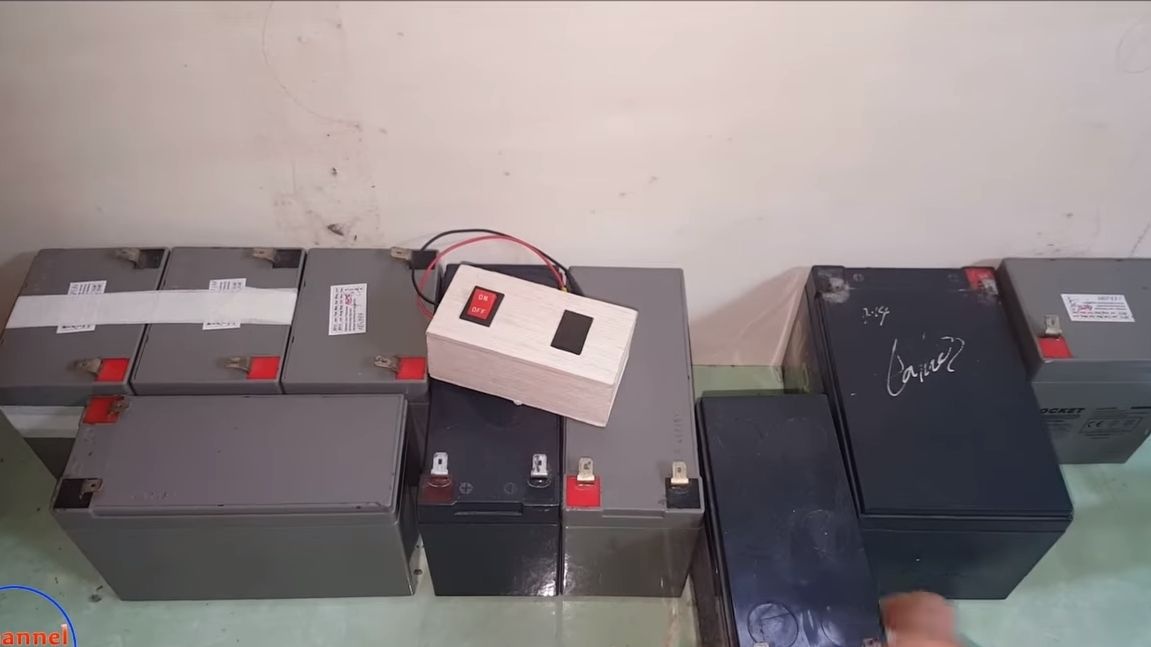
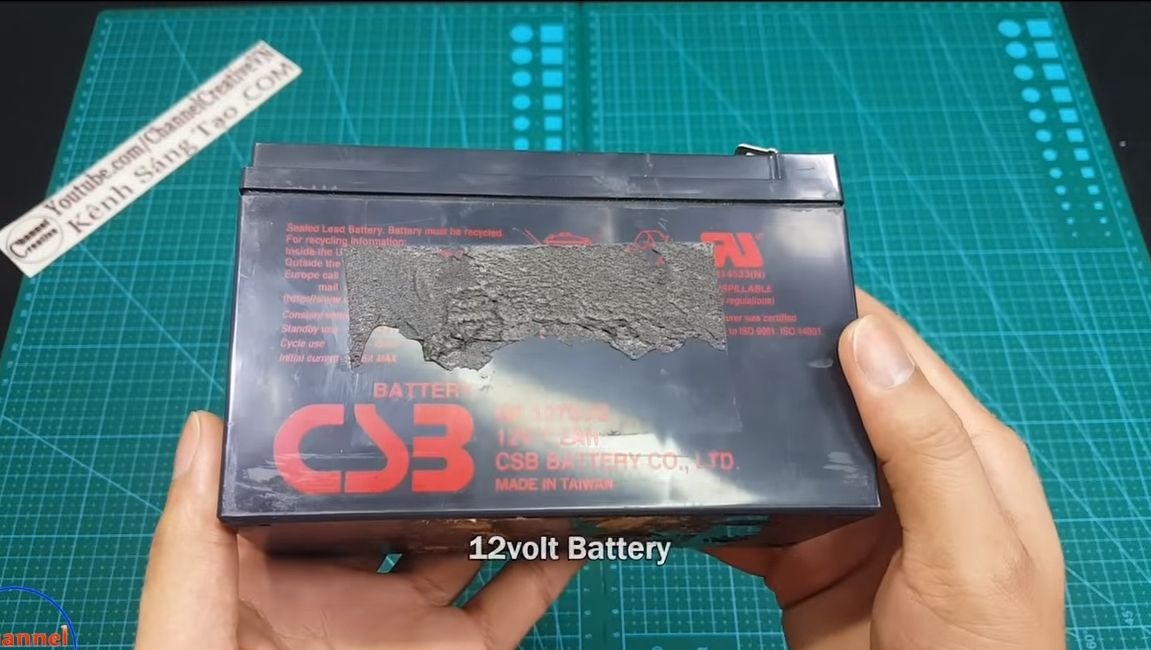
- 12V batteries or power supply;
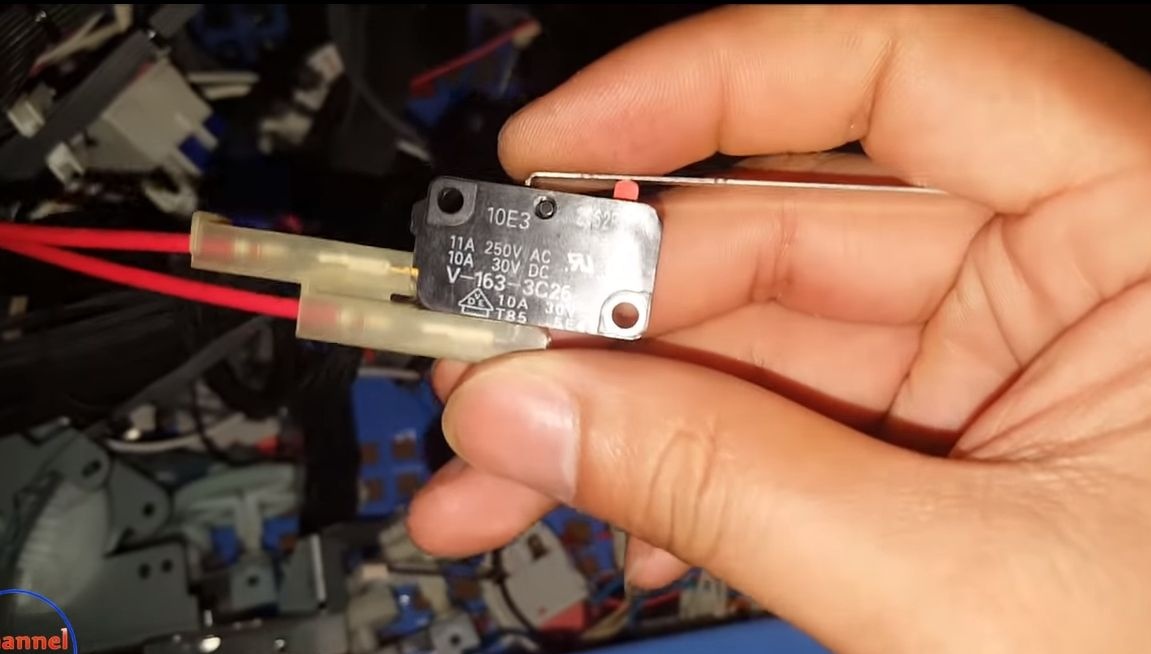
- switch;
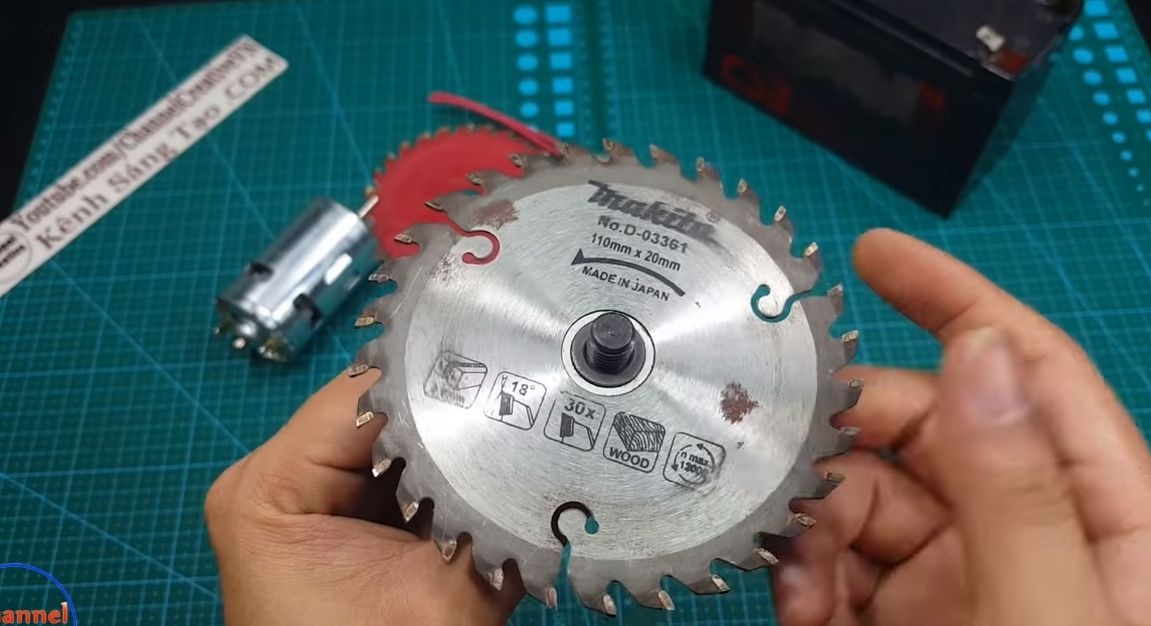
- cutting disc 110X20 mm;
- (for installing disks);
- sheet plastic, plywood or the like;
- small screws with nuts and washers, self-tapping screws;
- epoxy adhesive;
- metal clamps;
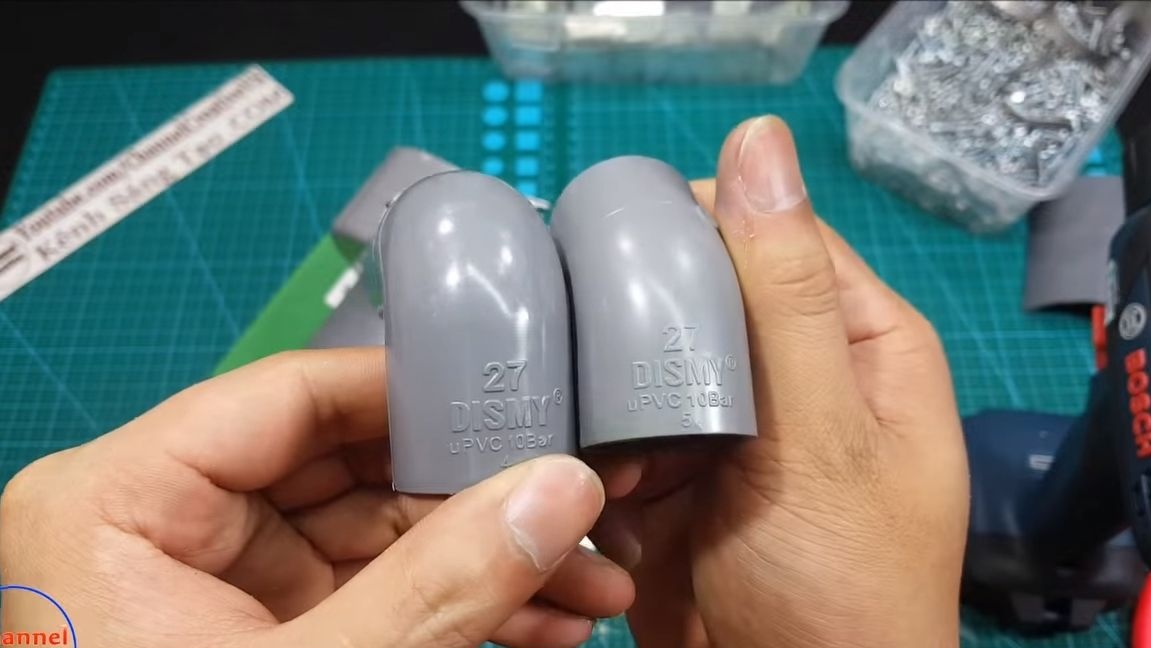
- caps for PVC pipes (110 and 60);
- two corners of PVC pipes (27) + a piece of pipe (a handle is made of them);
- a piece of PVC pipe to create a protective casing;
- a block with contacts (for connecting a power wire);
- heat shrink;
- paint.
Tool List:
- a hacksaw for metal;
- glue gun;
- drill;
- soldering iron;
- marker;
- ruler;
-
- screwdriver;
- "dremel" (preferably).
The process of manufacturing a circular saw:
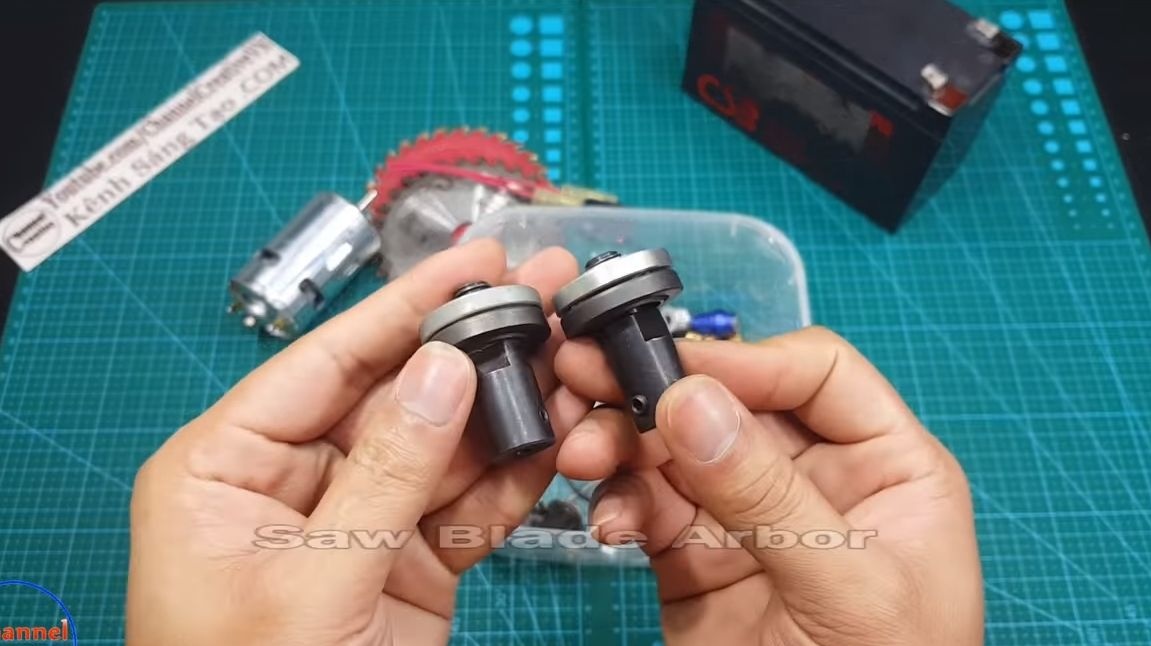
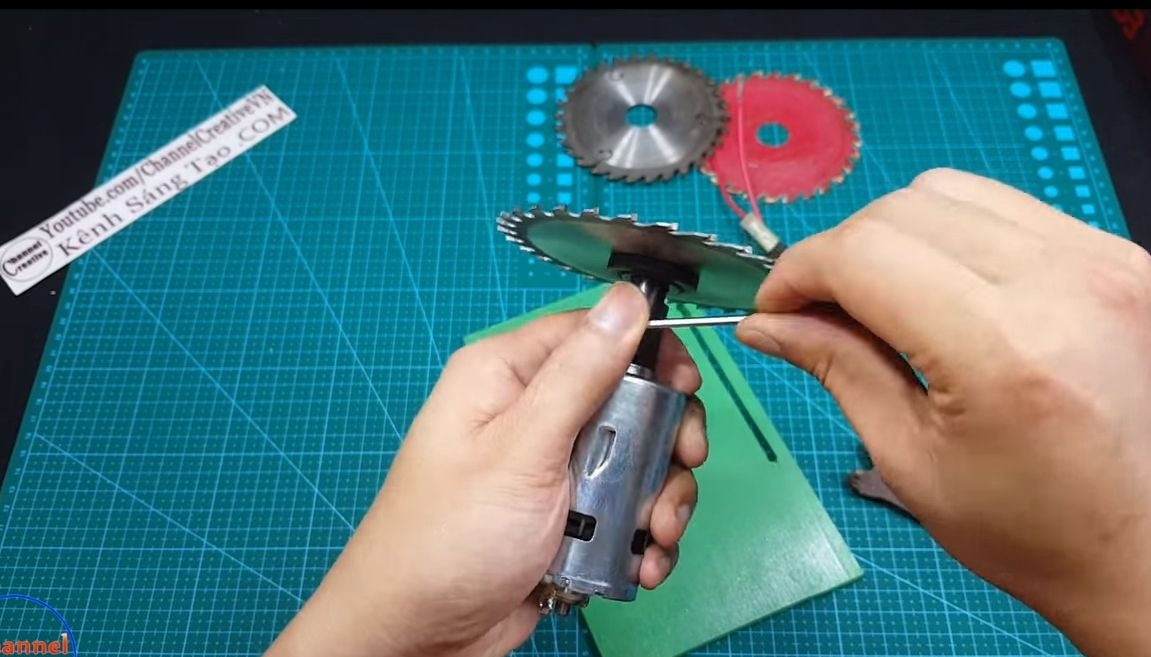
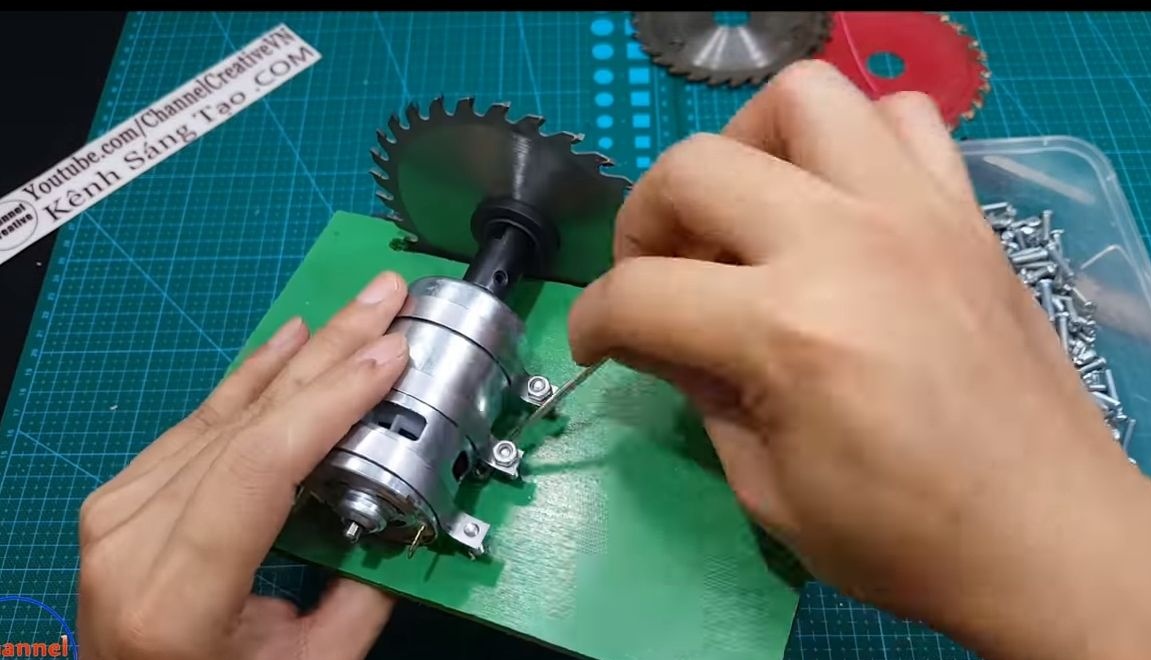
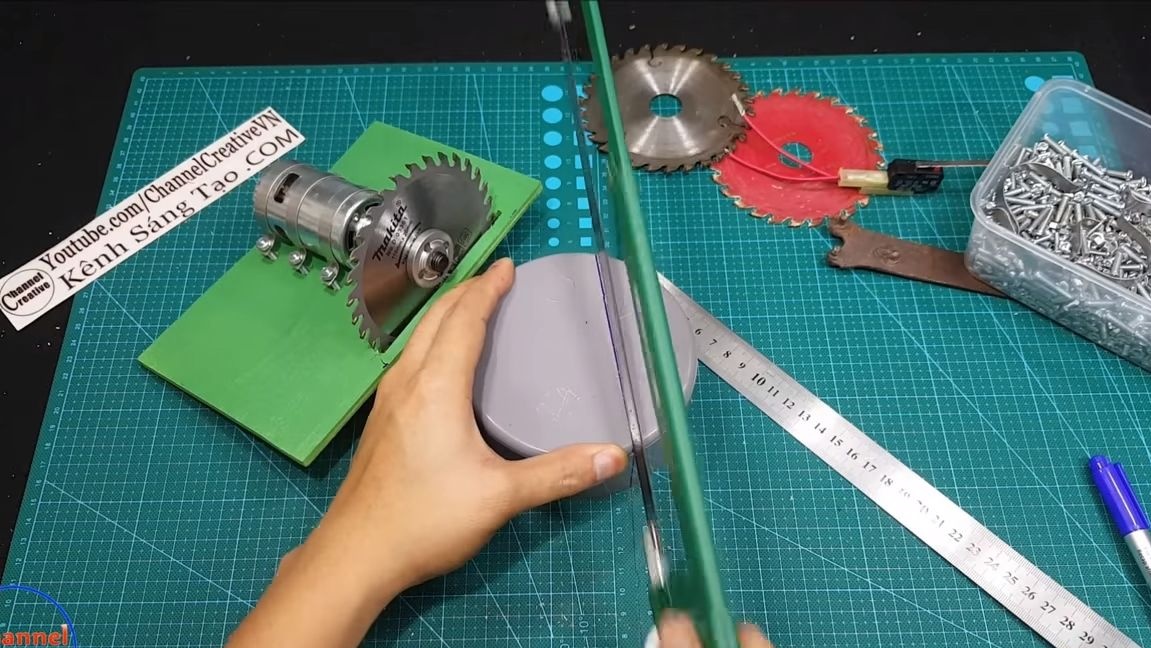
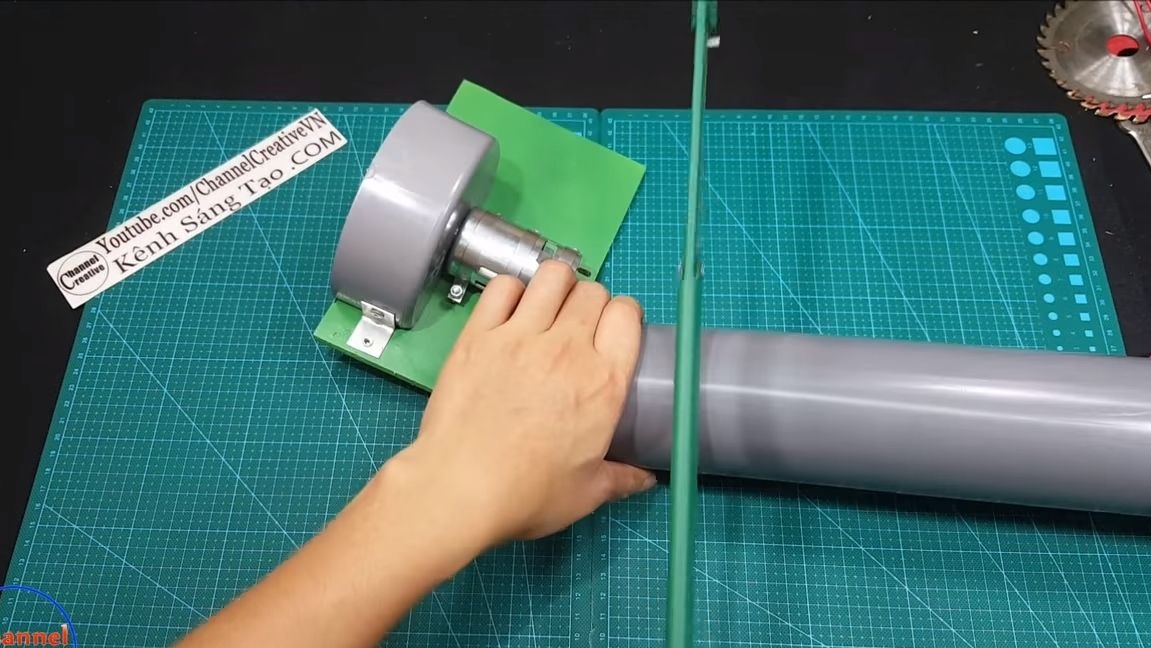
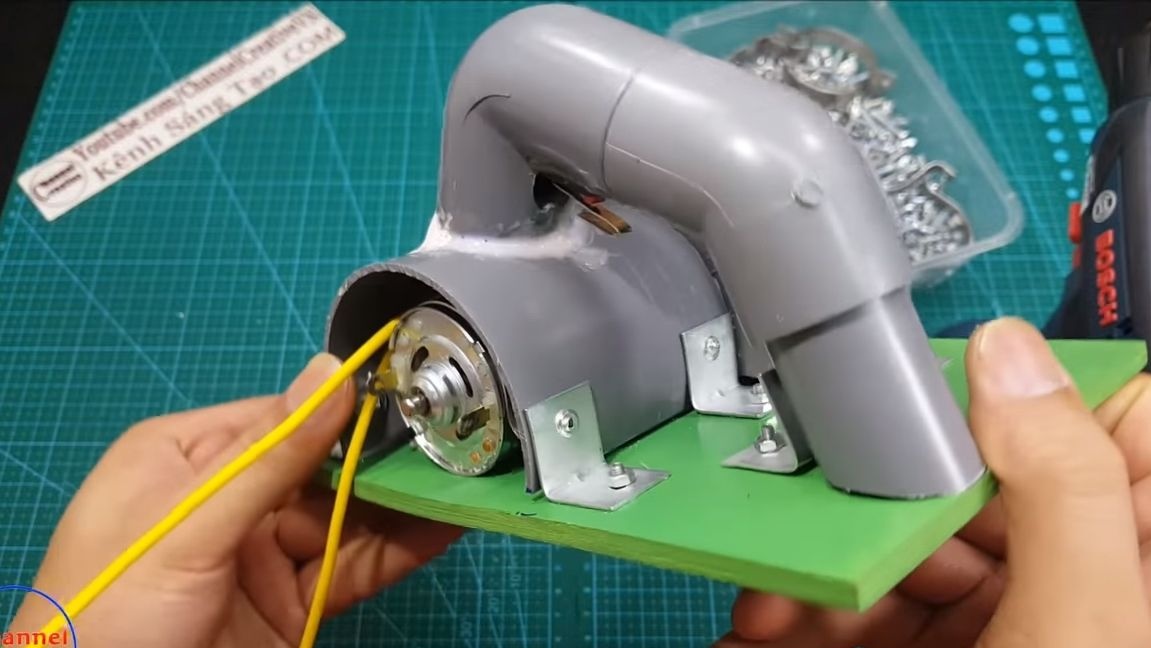
Step one. Installing a cutting disc
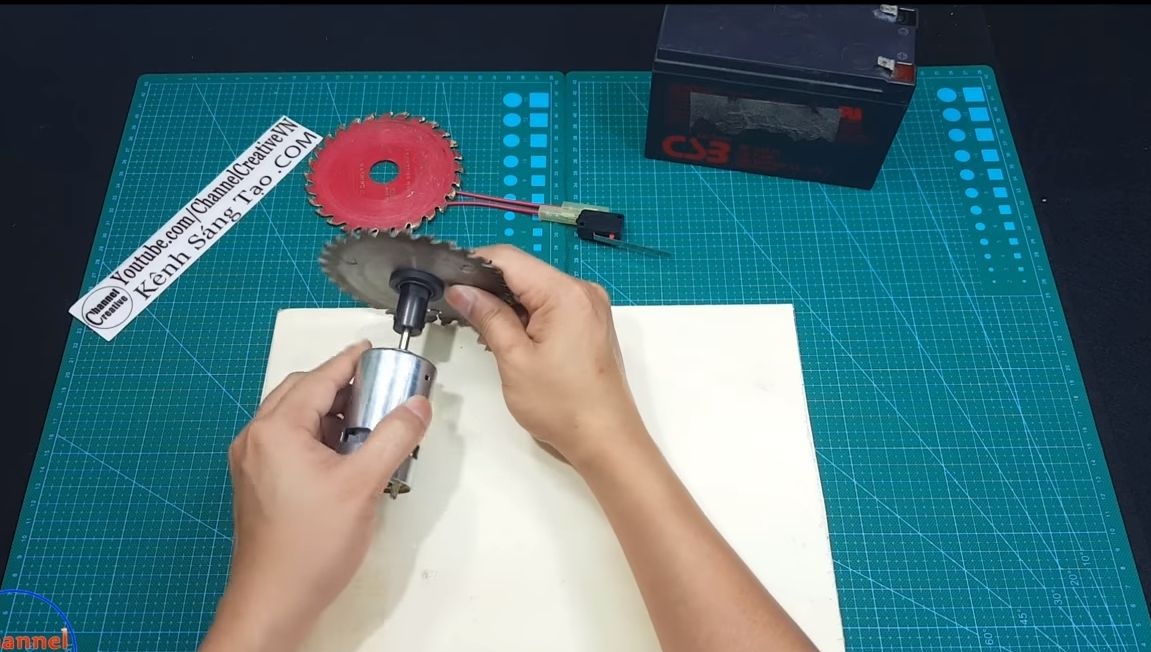
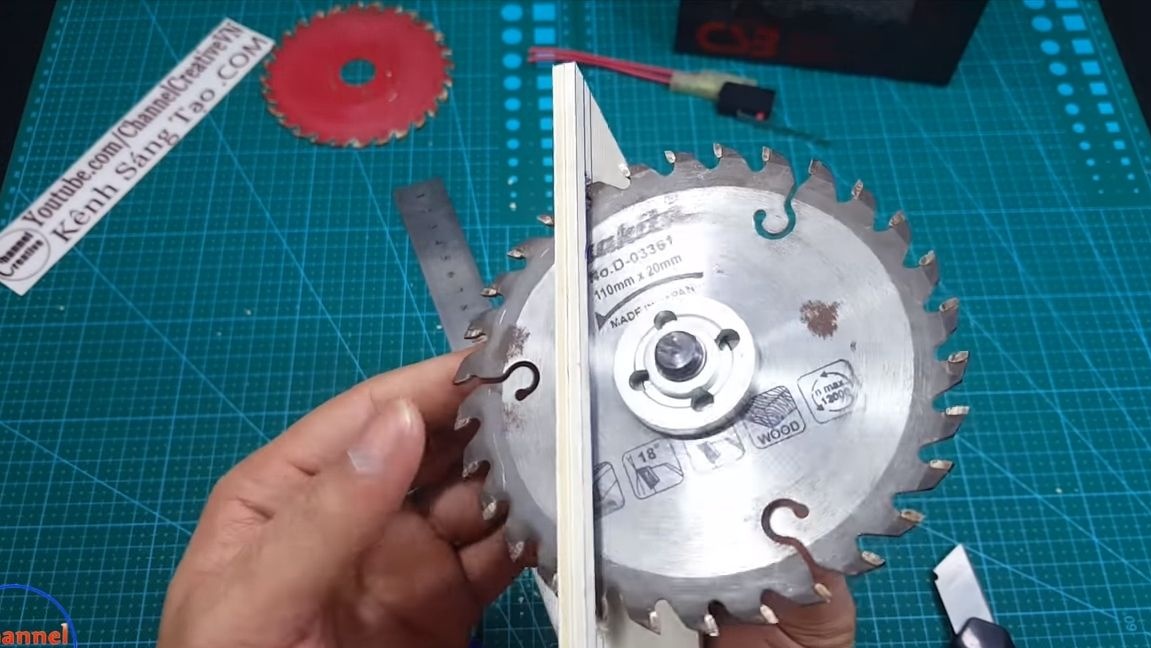
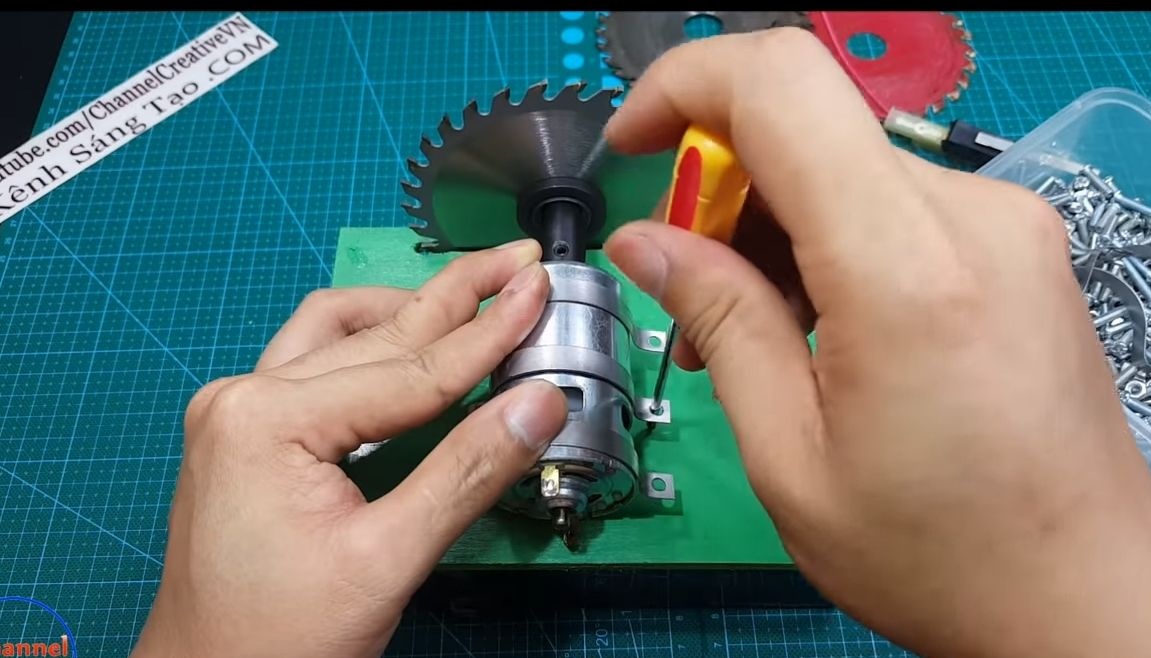
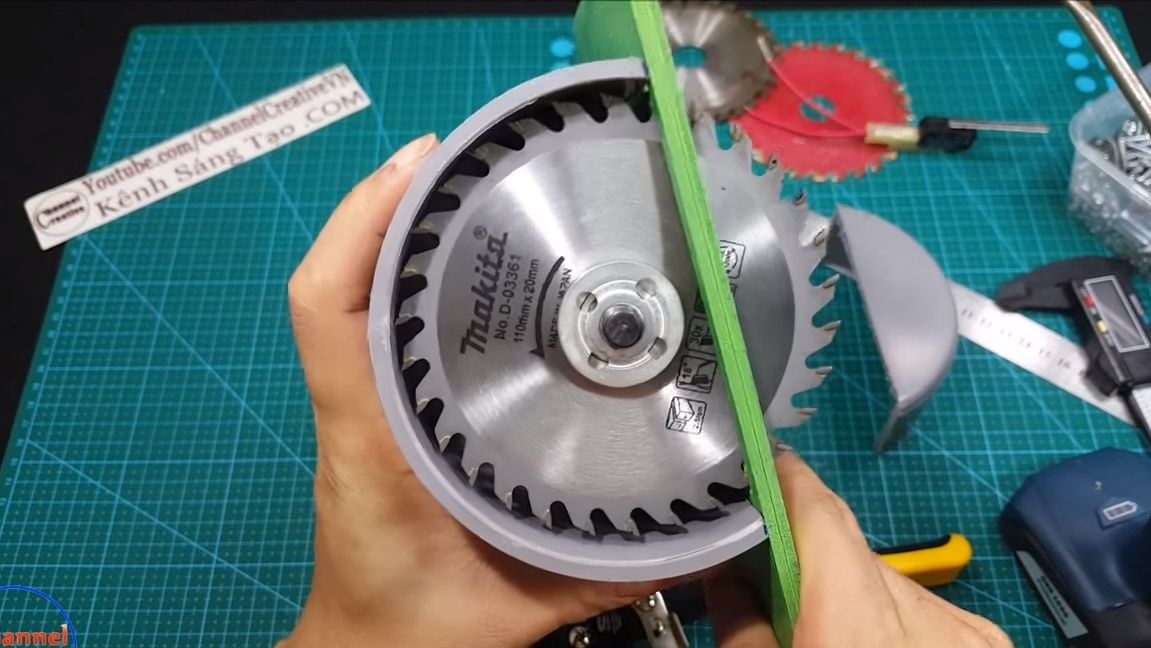
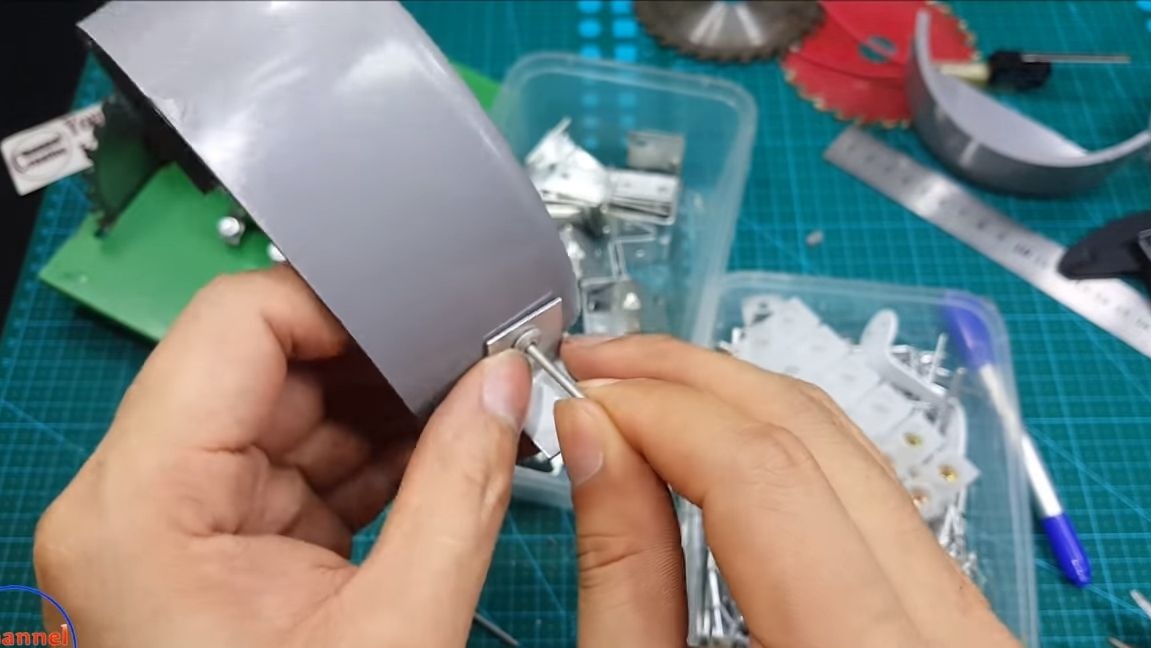
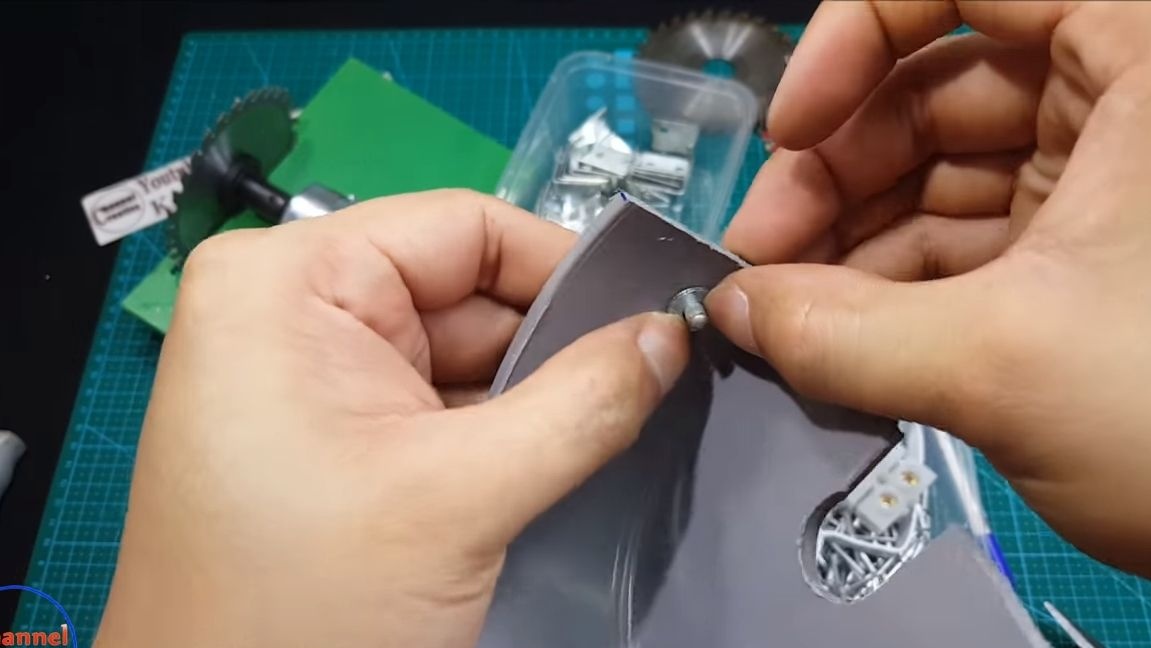
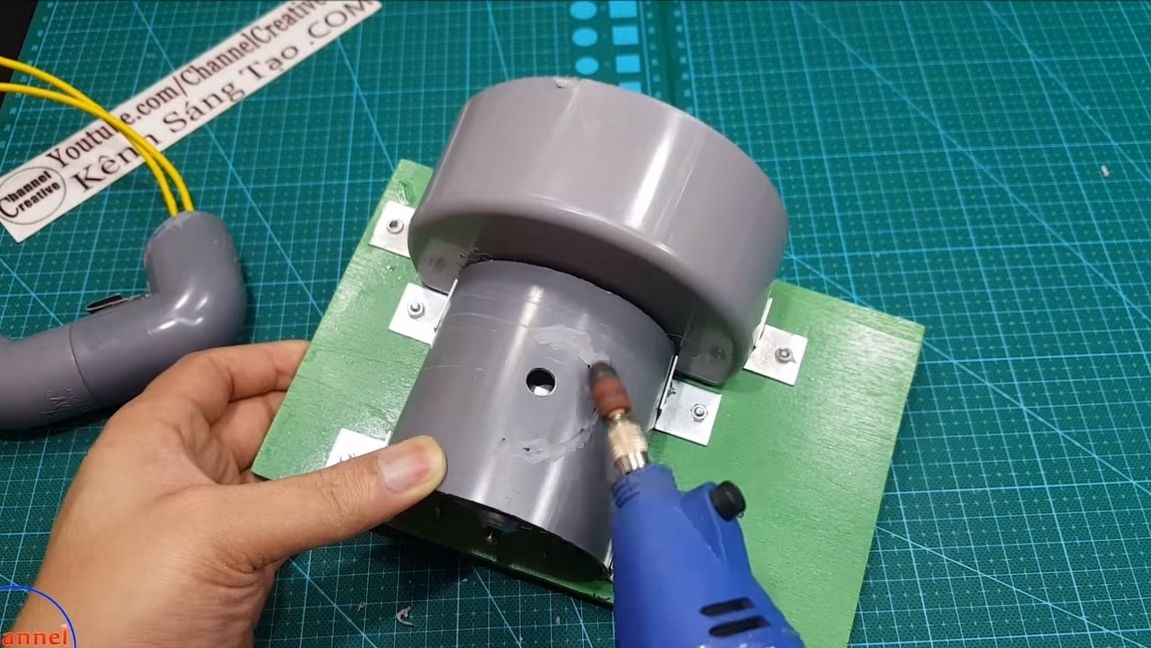
To mount the cutting disc to the motor shaft, you will need a special adapter (). You will have to buy it, there is no problem with it now. Install the adapter, tighten the screws securely. Now you can install the disk, it is mounted as on a grinder. Tighten all components well so that the drive does not loosen during operation.
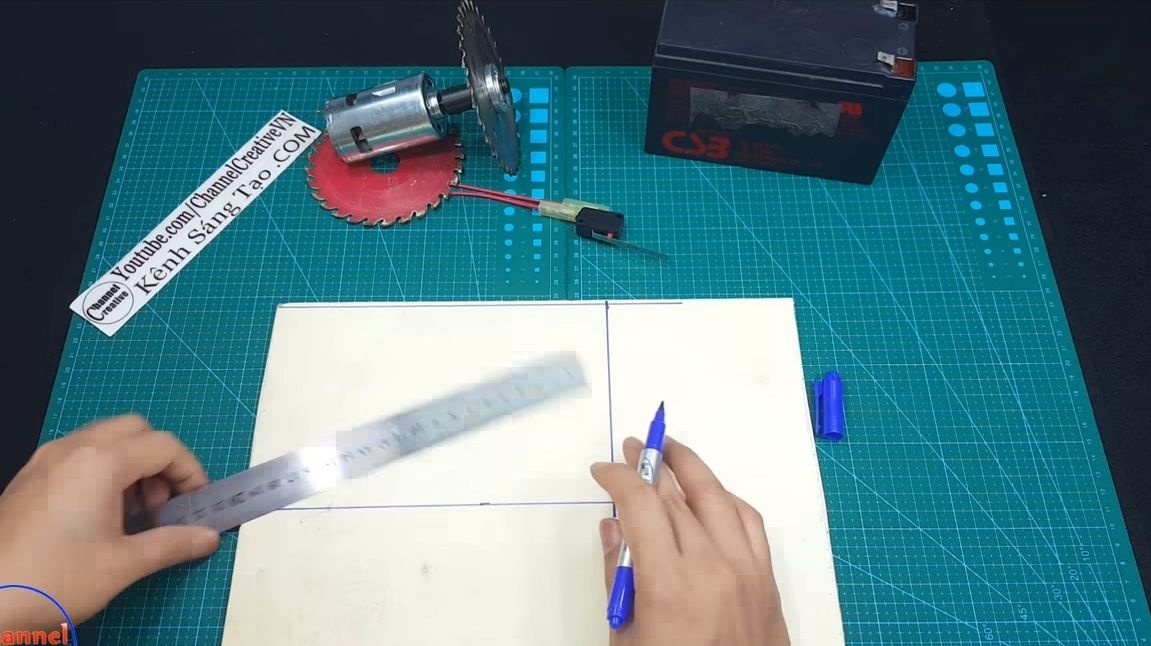
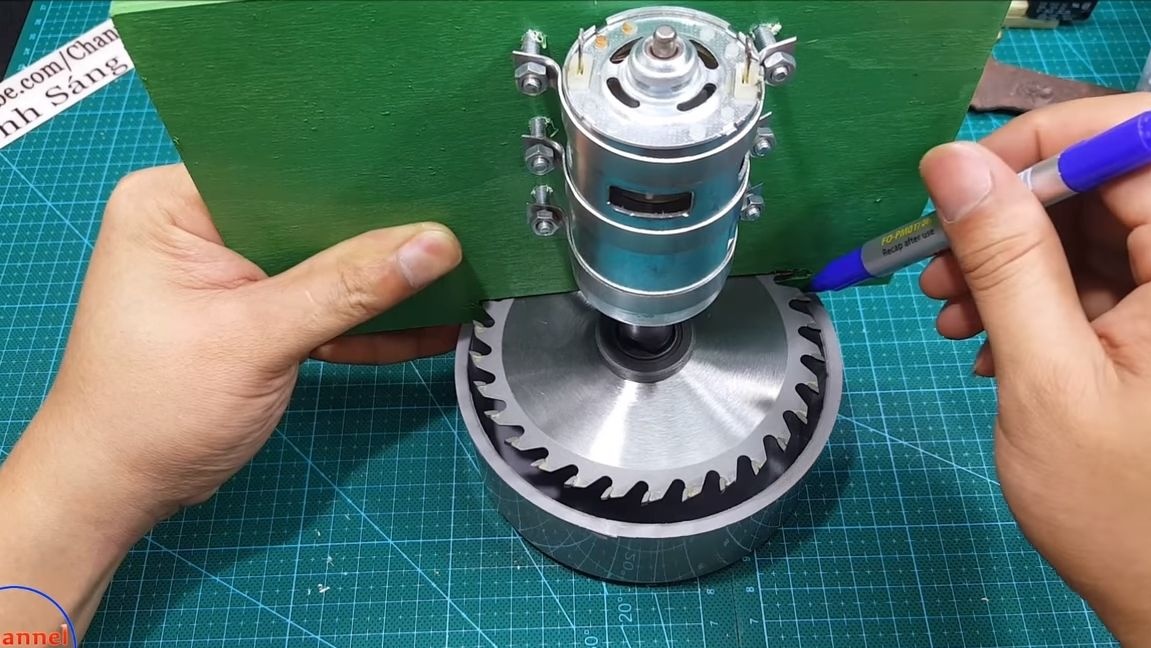
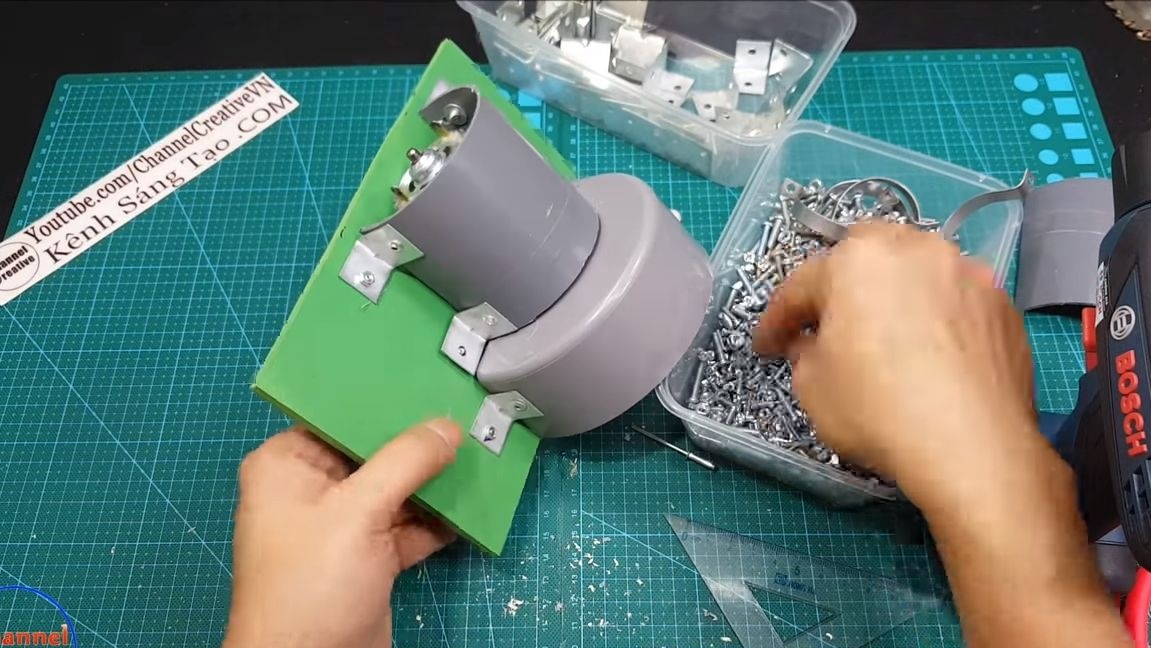
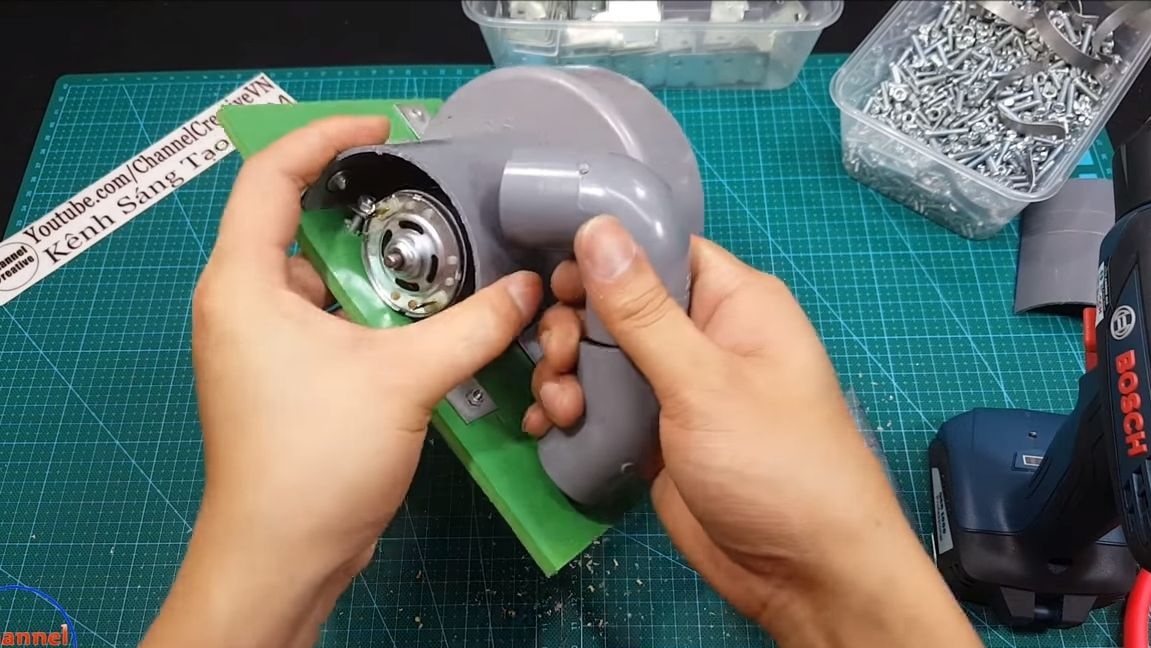
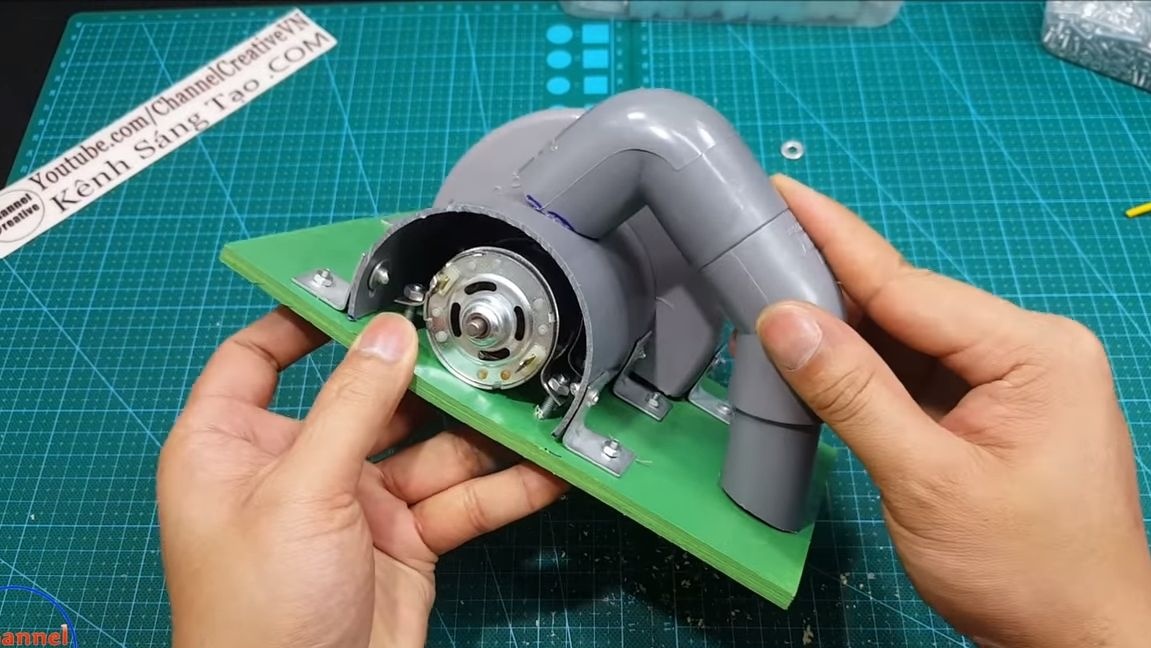
Step Two Install the engine on the base
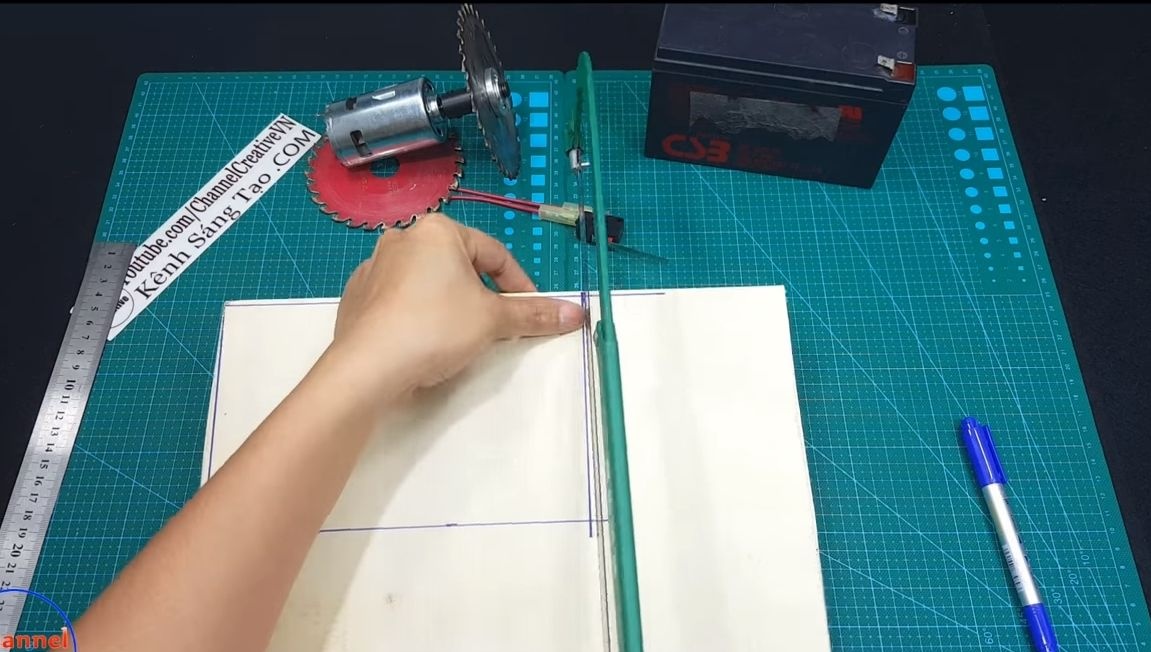
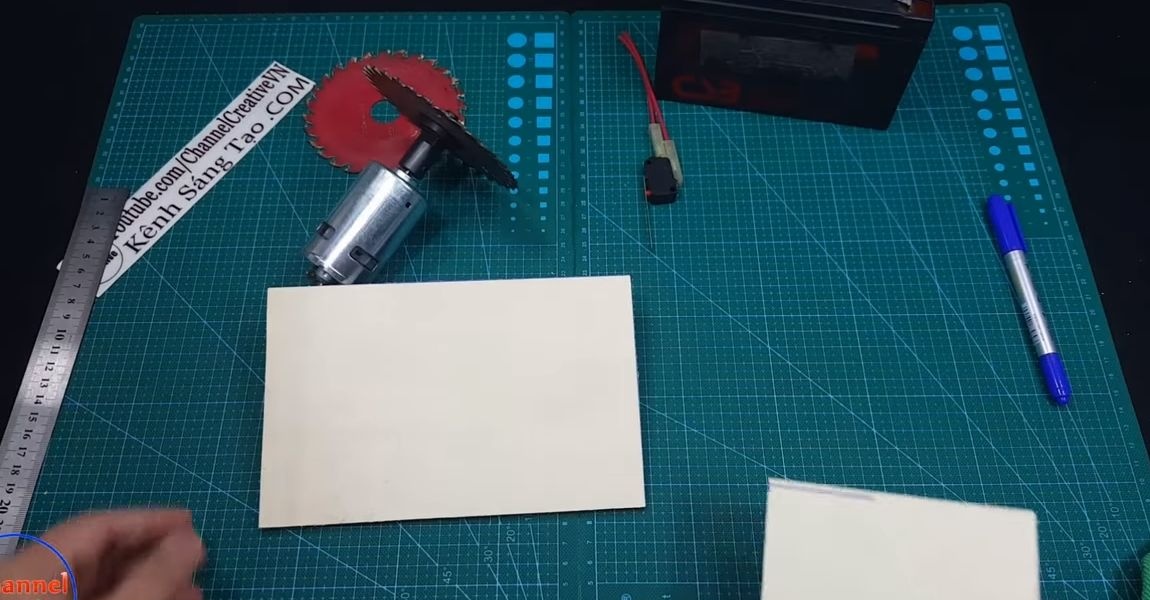
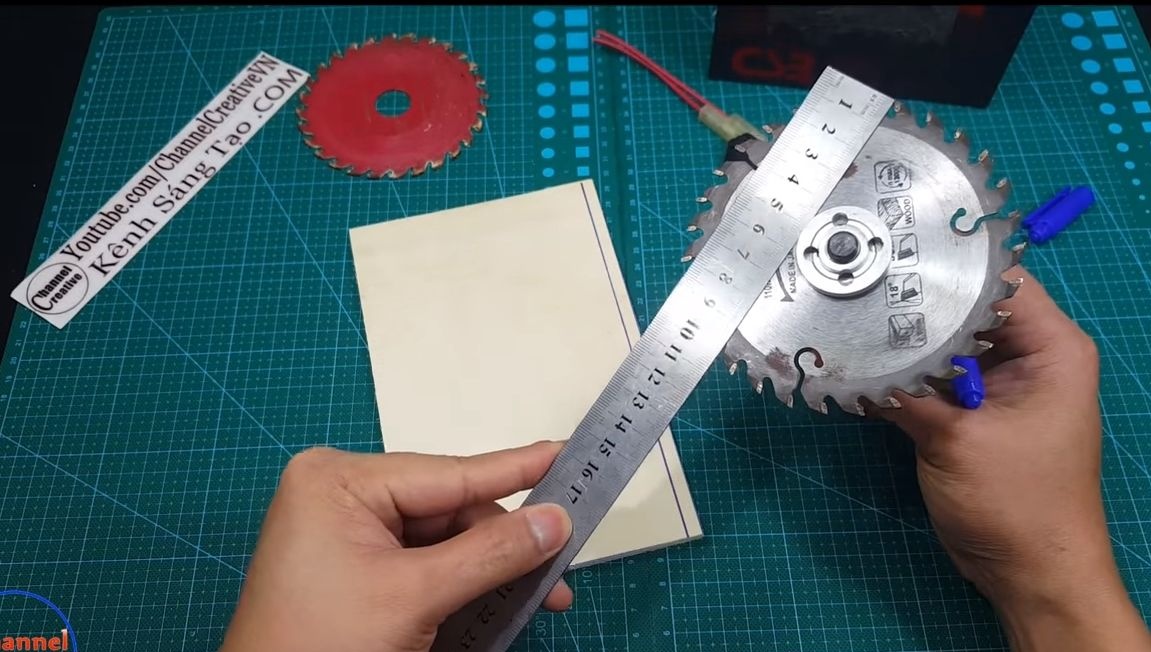
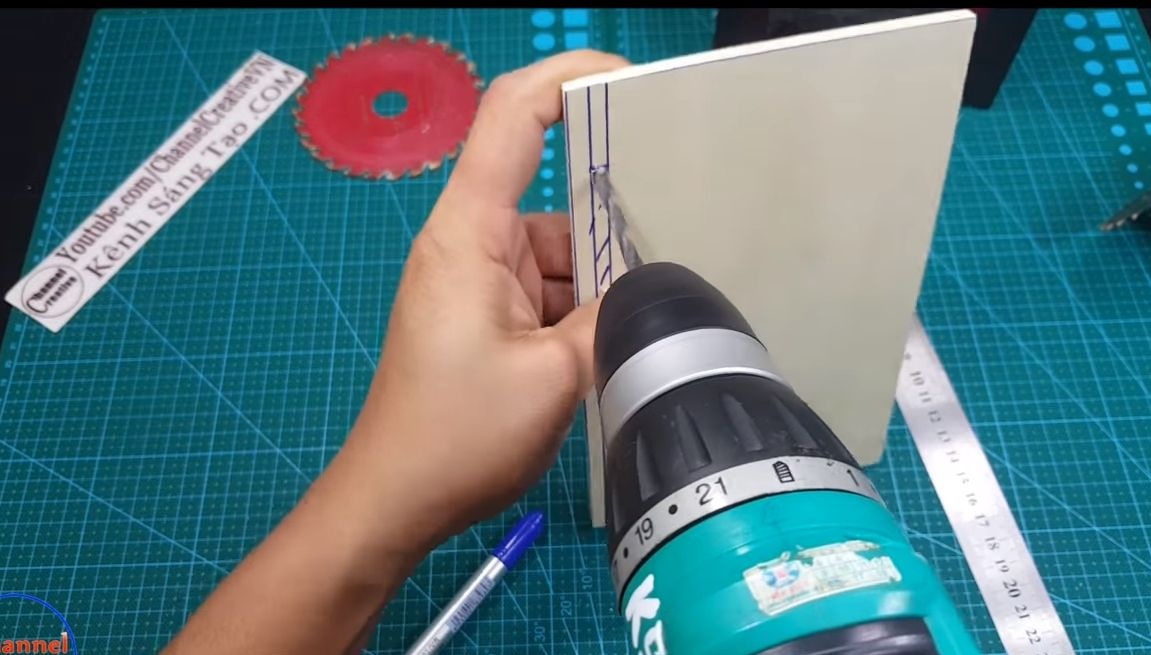
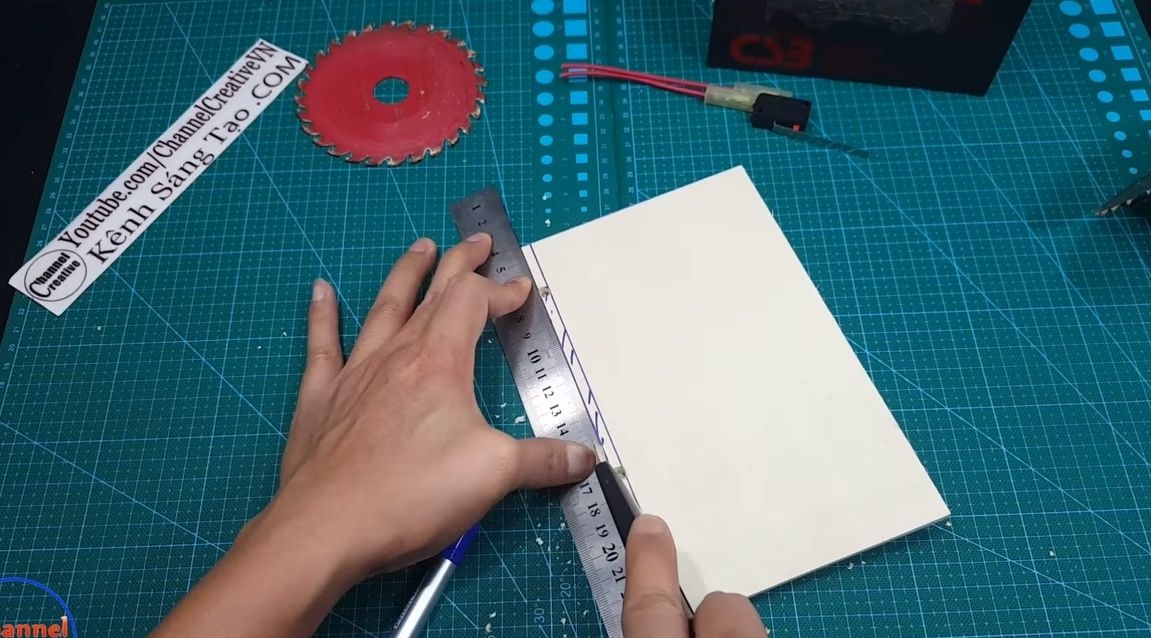
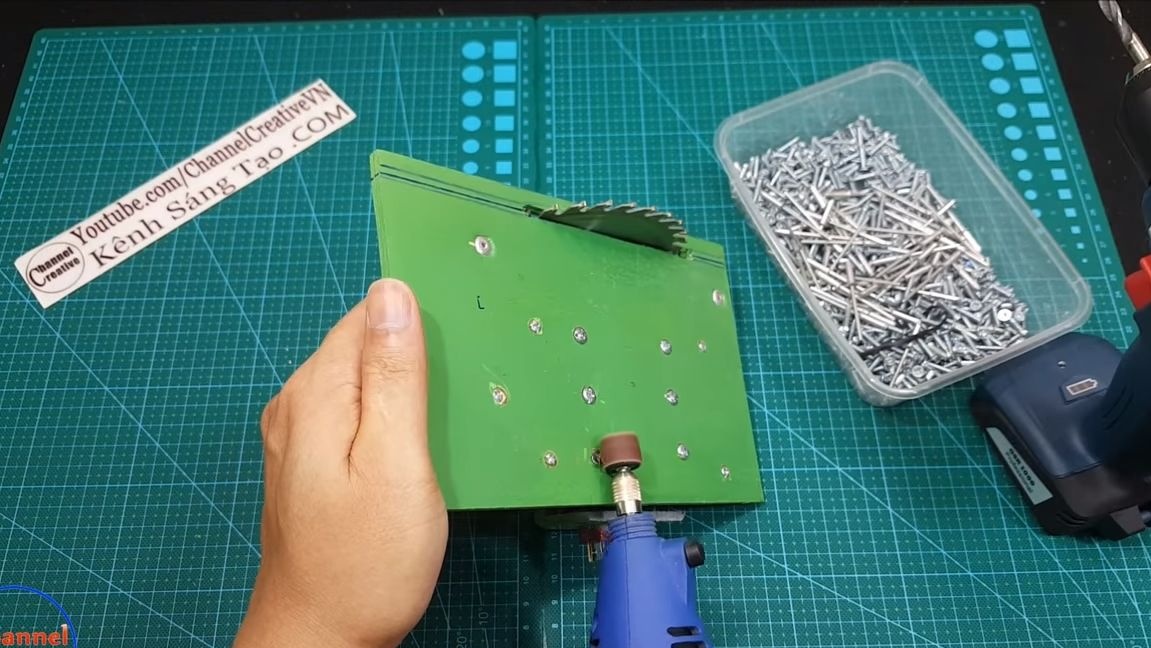
First of all, you will need to find material for the manufacture of the base. It must be durable. Plywood, sheet plastic or something similar will do. Cut the desired piece and draw lines along which the window for the disk will be cut. We cut out the window, the author does it with an office knife. To make the edges neat, drill holes in the material.
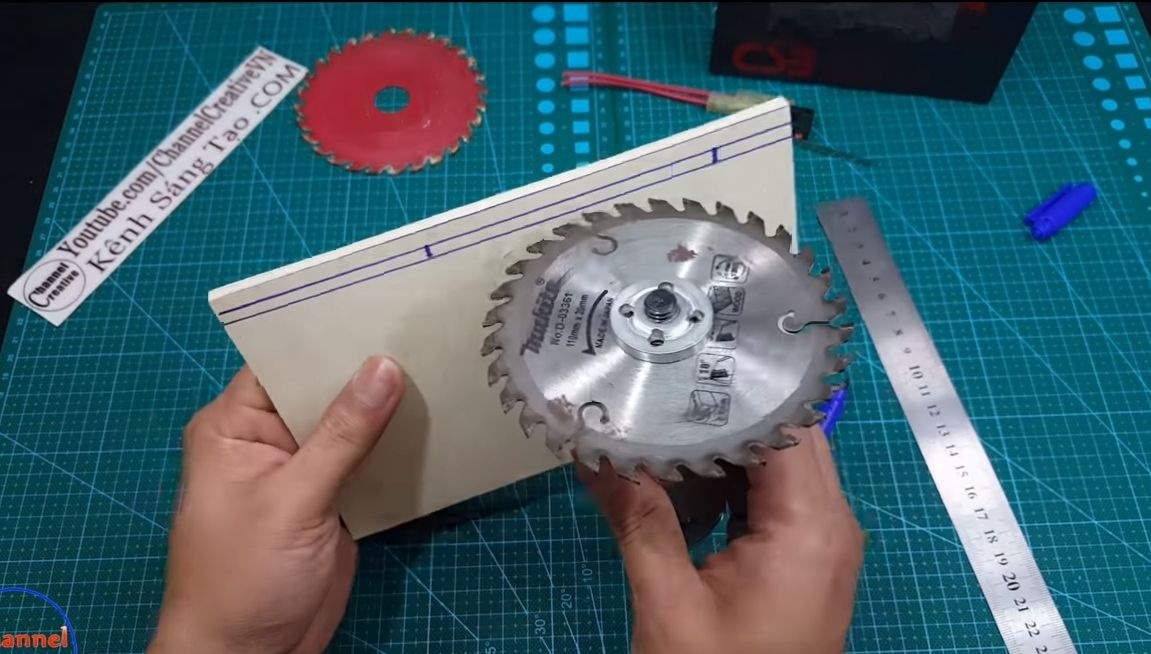
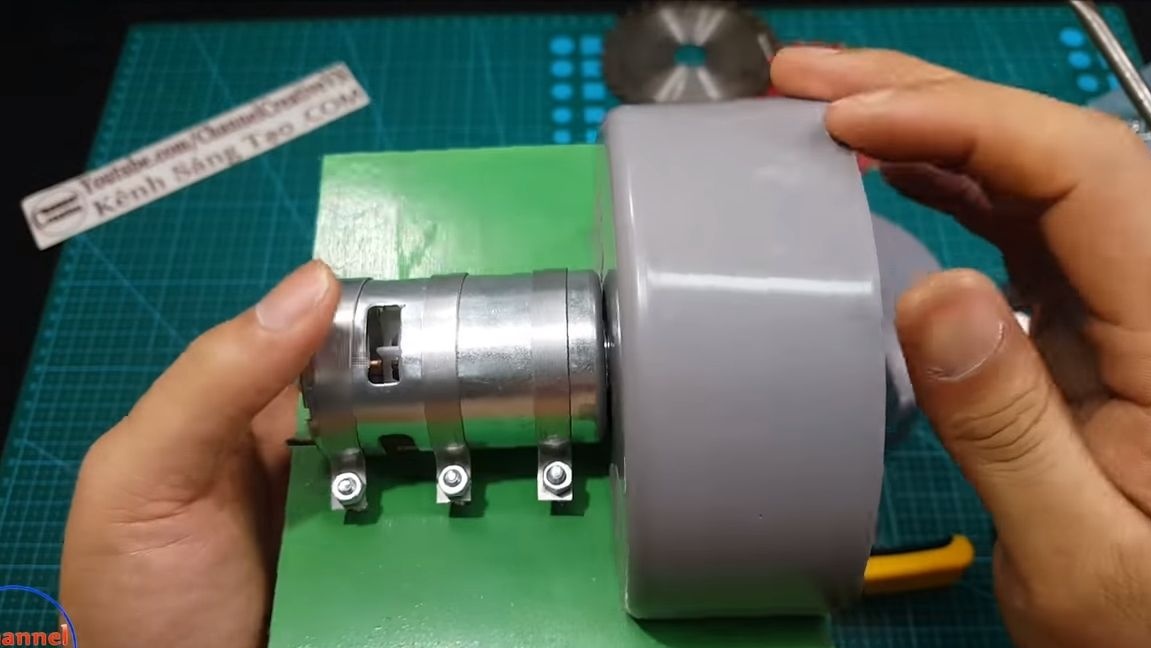
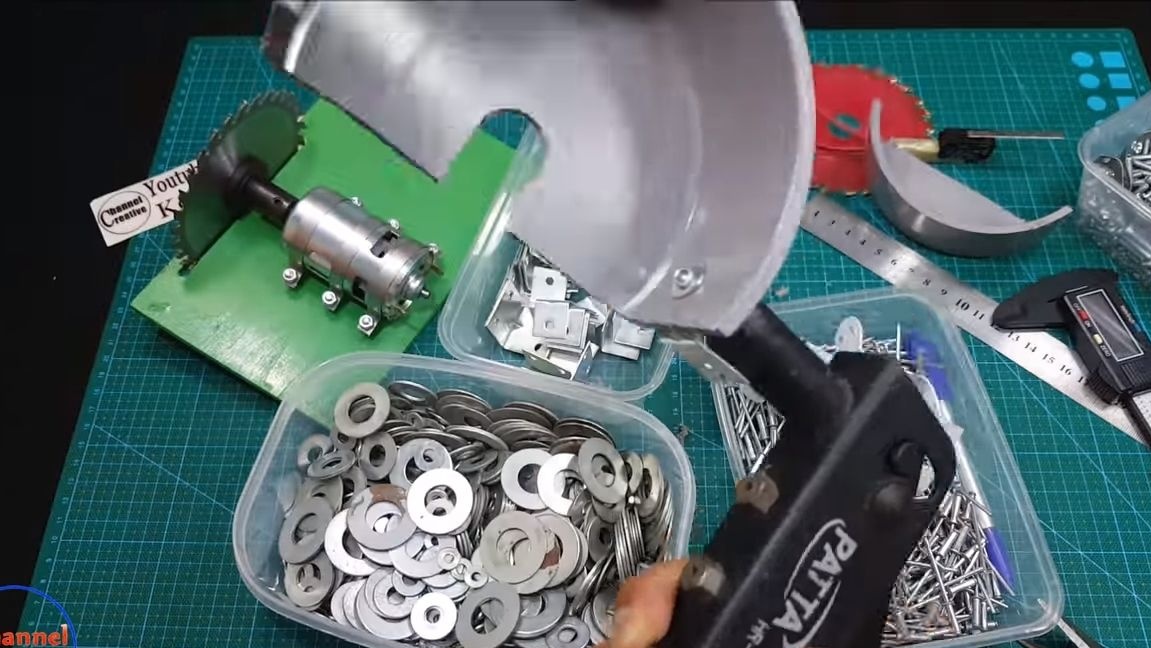
Now you can mount the motor, for this you need 2-3 clamps, as well as screws with nuts and washers.Securely tighten the nuts so that the motor does not “walk” on the base. After this, make sure that the disc does not touch the base during rotation.
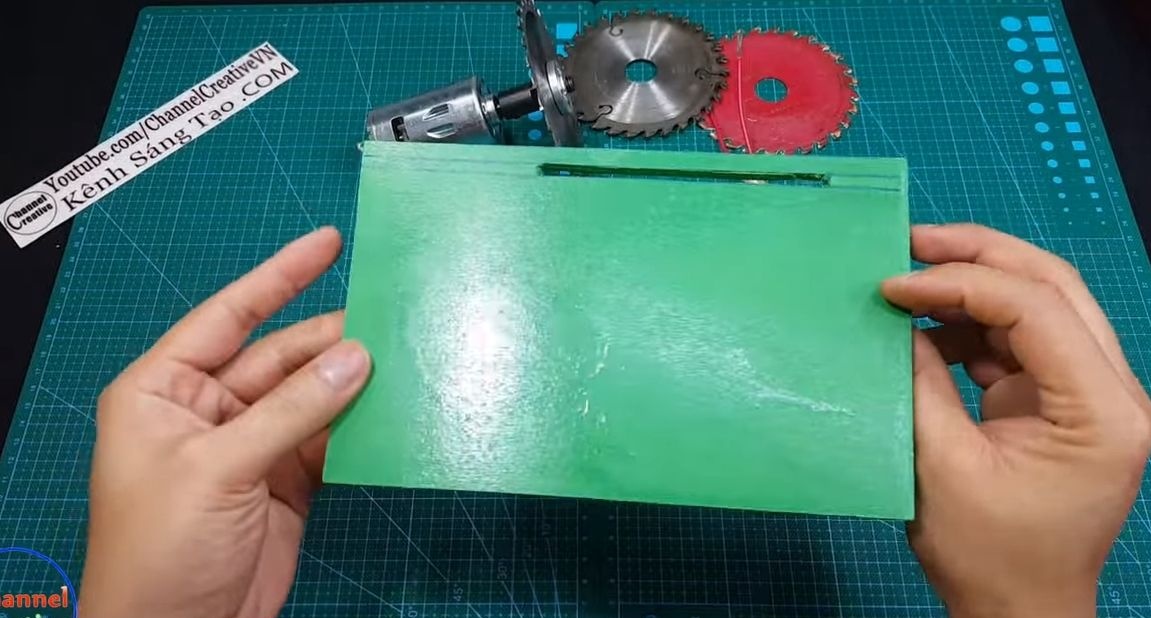
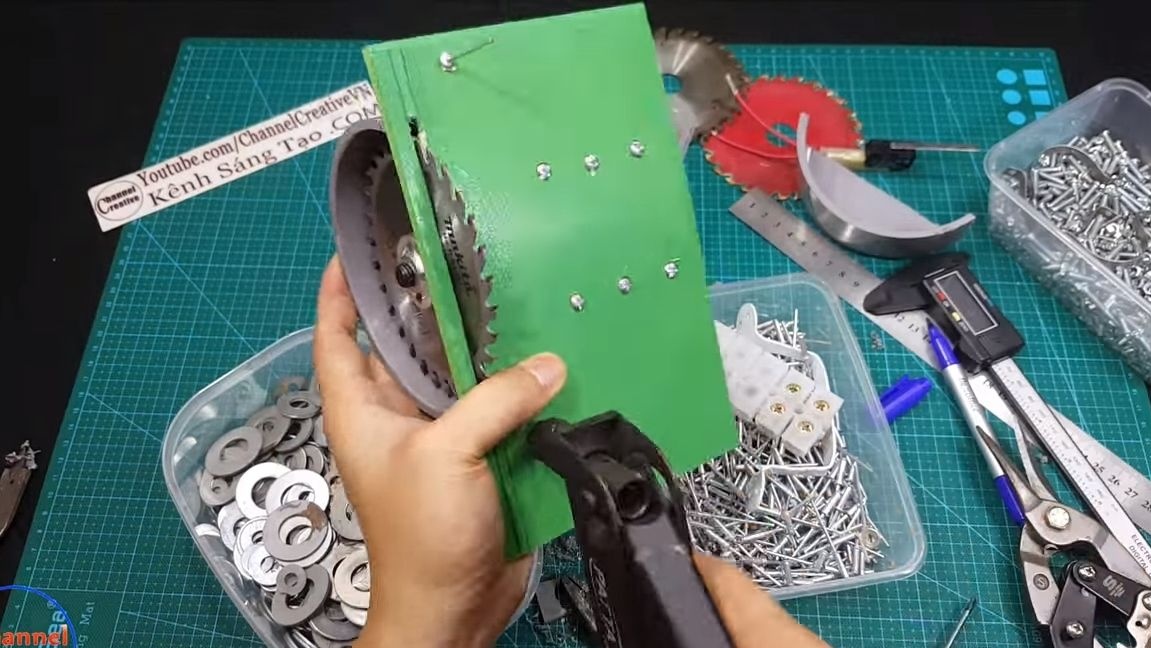
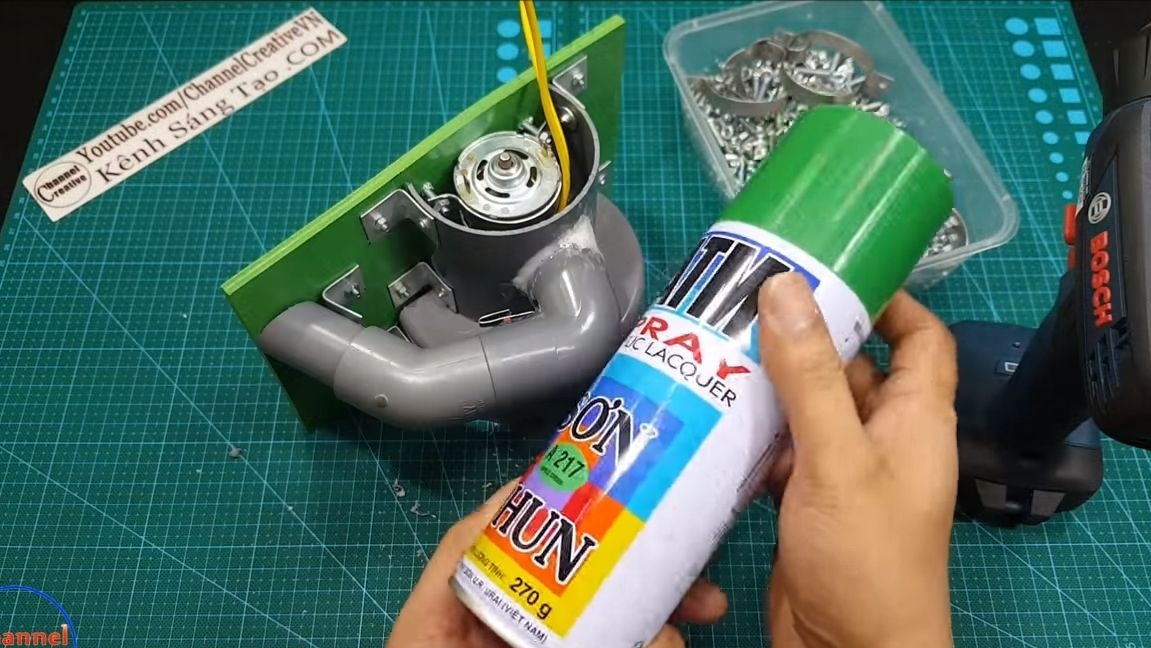
Before assembly, the author decided to paint the base from the spray can in green.
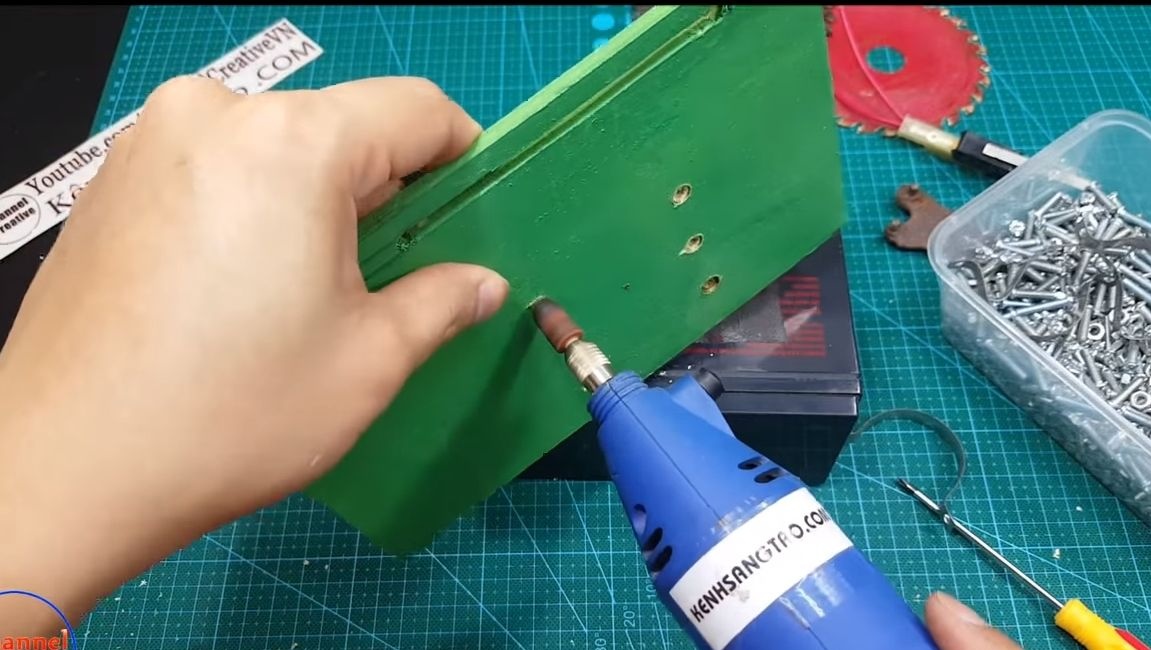
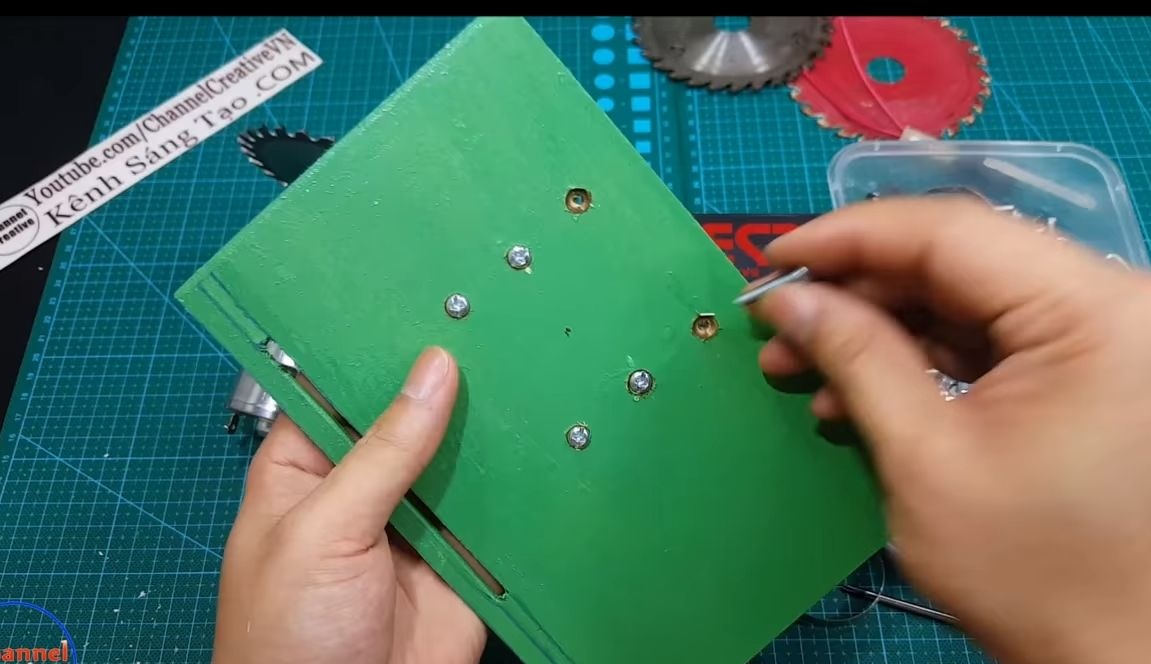
Drill holes for the caps of the mounting screws; they should not protrude above the surface (ideally). Otherwise, you will have to grind them later.
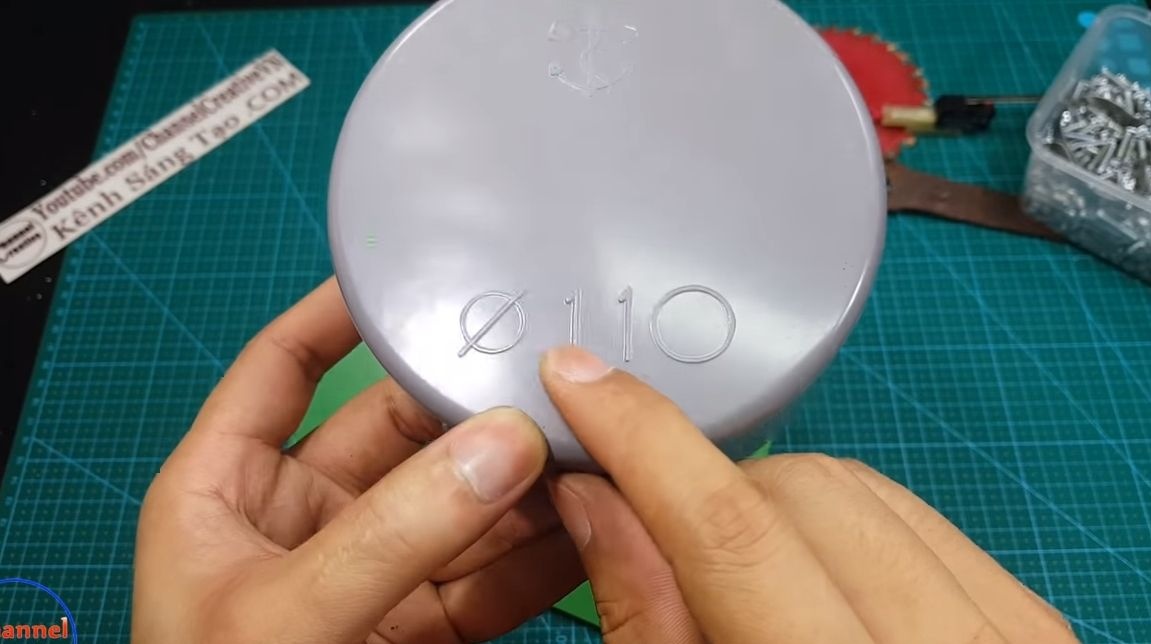
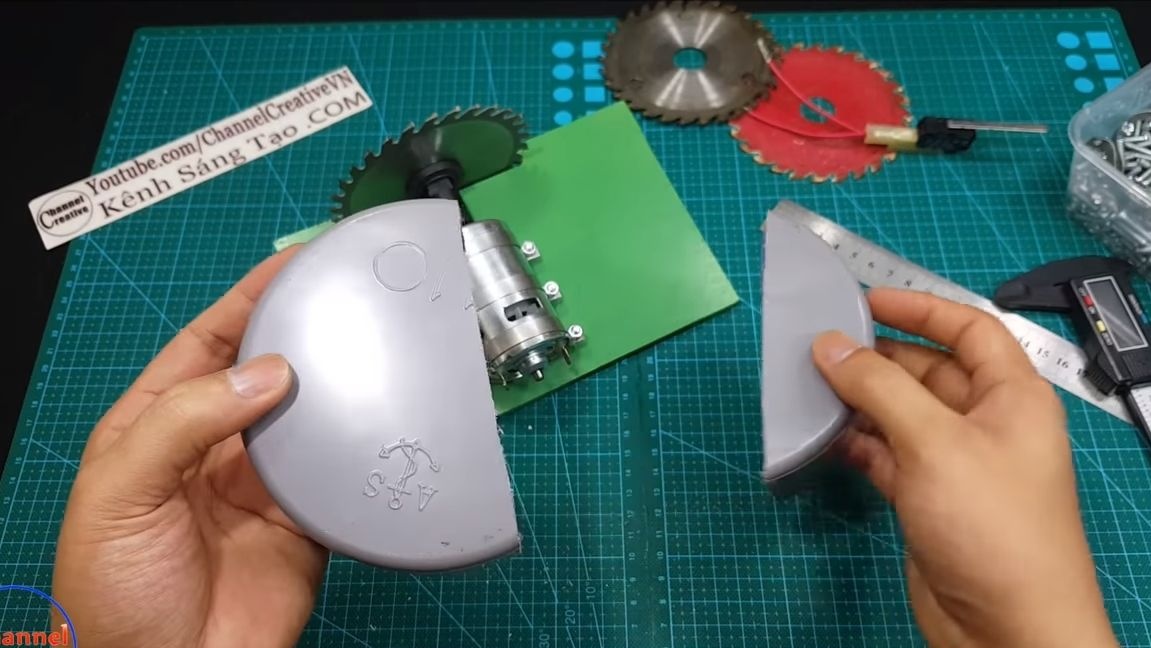
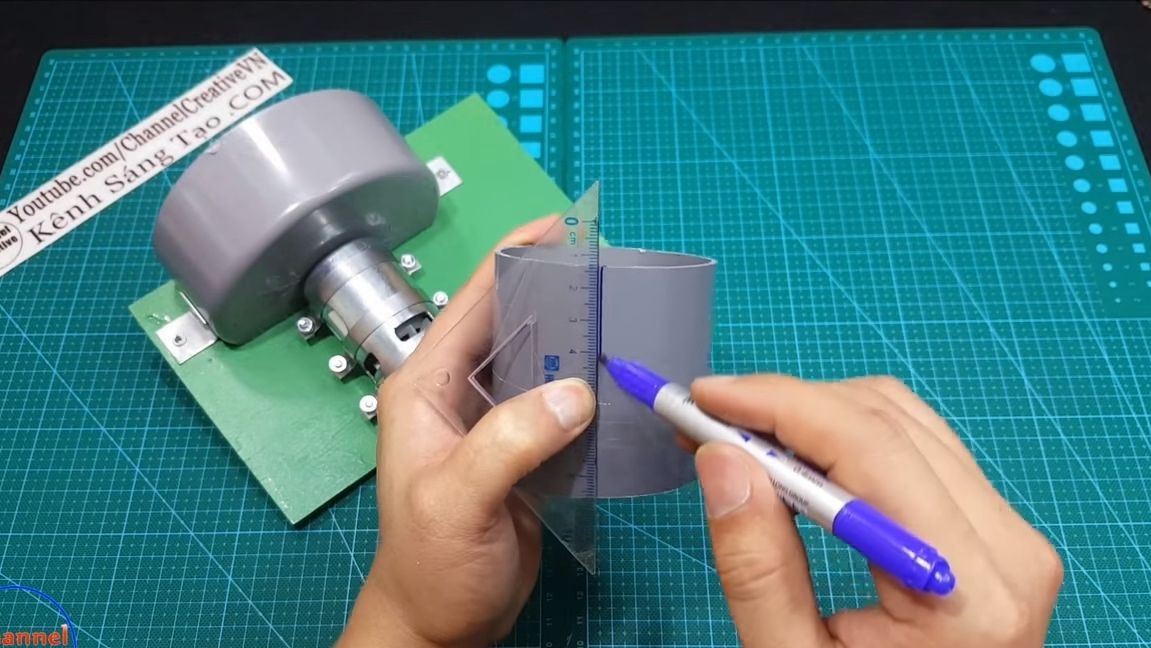
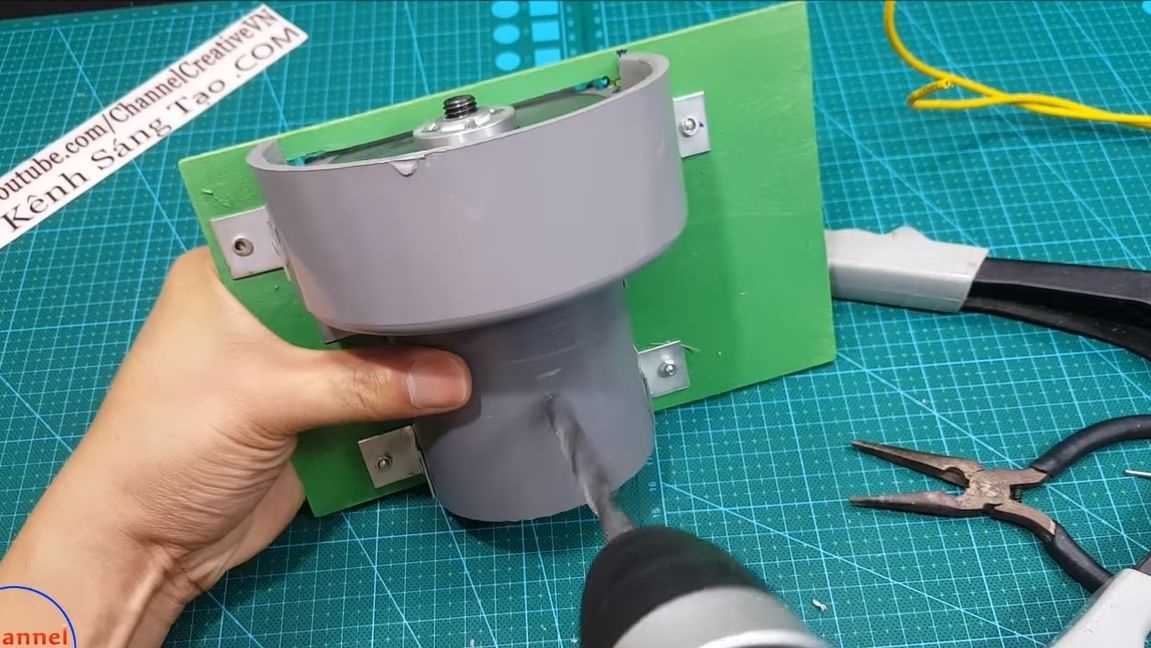
Step Three We make and install a protective wing
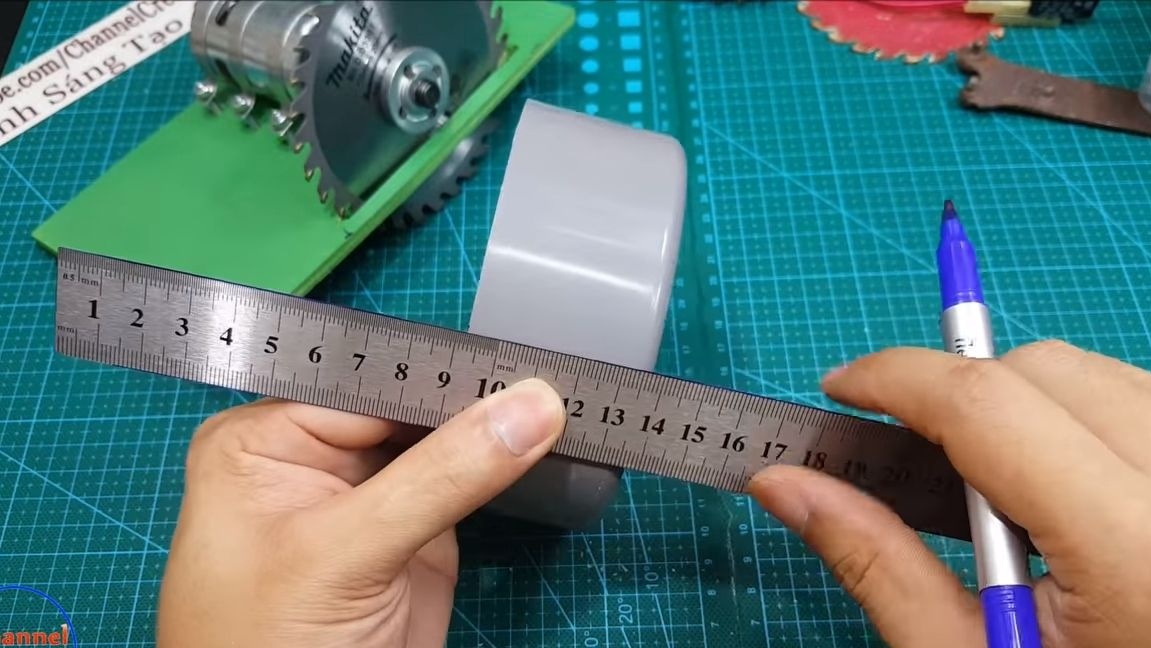
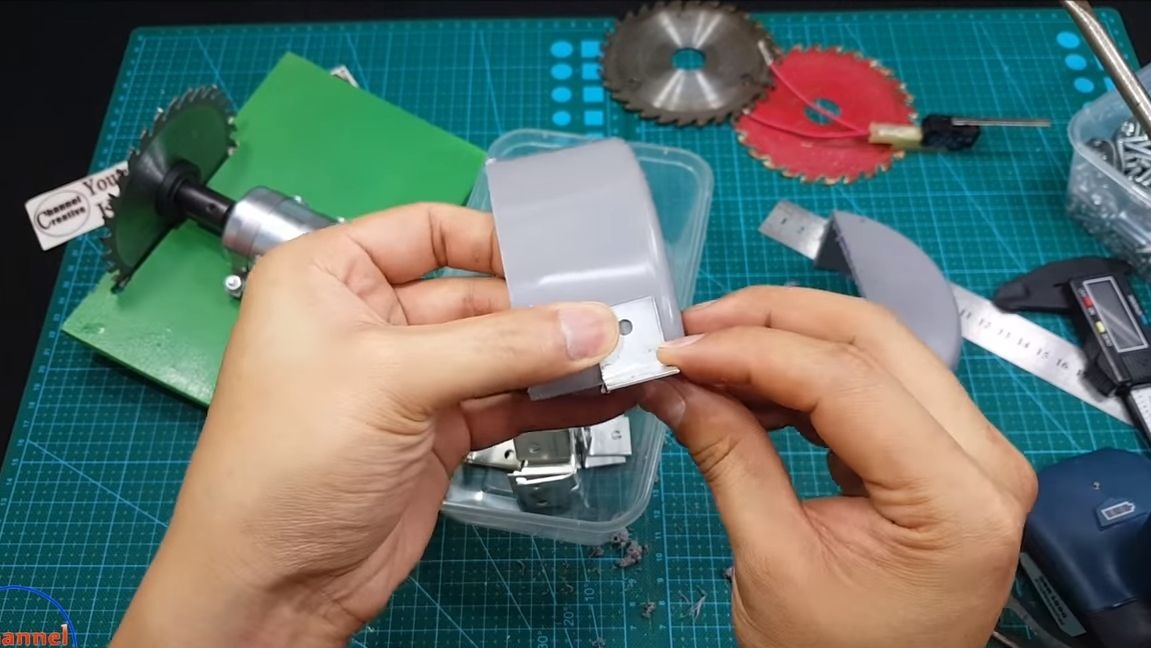
Such a device necessarily needs a protective shield, otherwise the chips will fly in different directions during operation. For its manufacture, you need a plug for PVC pipes of size 110. We take measurements and cut off the excess from the cork using a hacksaw for metal. You also have to cut a groove under the motor shaft.
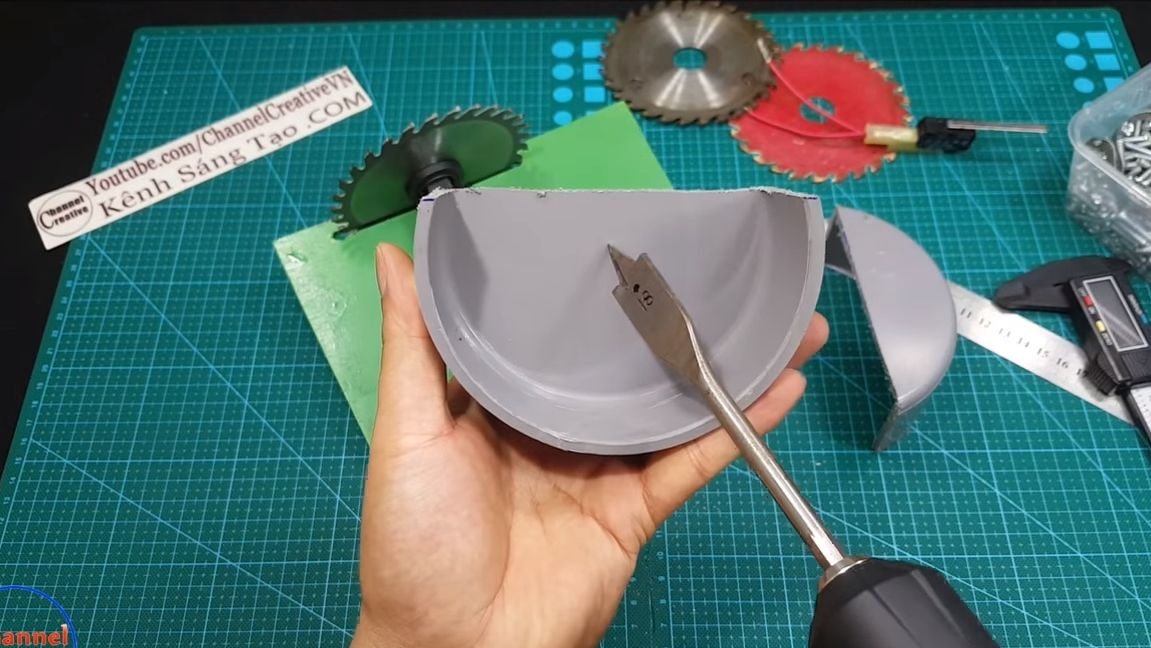
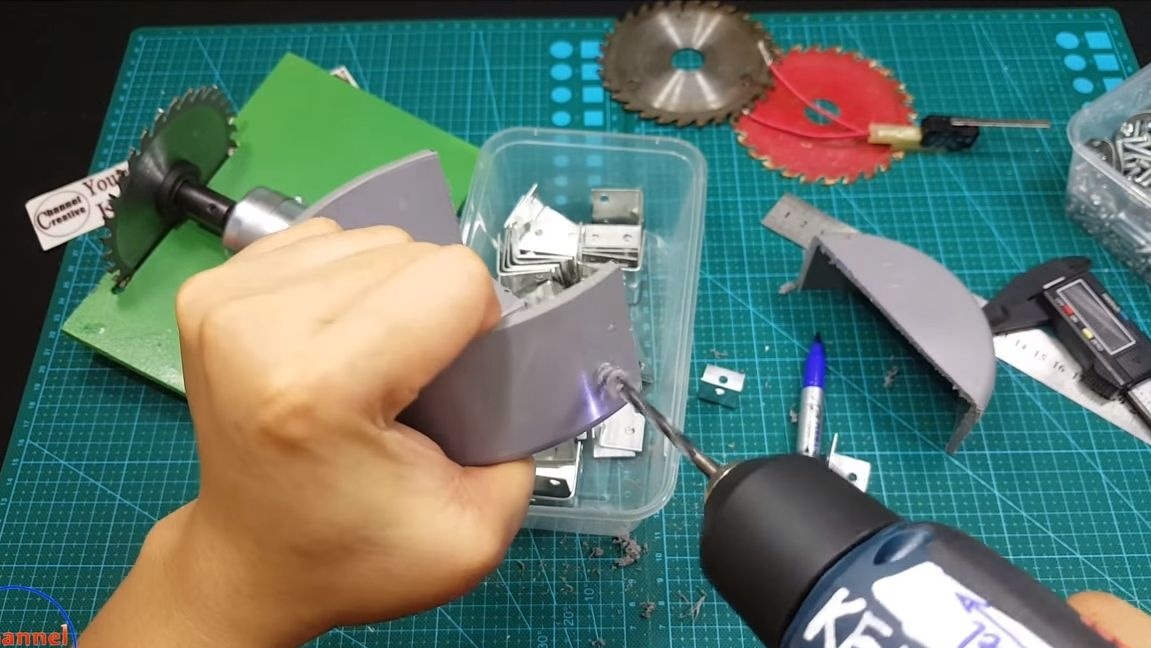
The wing is ready, now it can be installed. For this, you will need aluminum corners, as well as a rivet gun. We drill holes of the desired diameter and install the wing on the rivets, not forgetting to put washers on the other side. You can assemble everything on screws with nuts or even self-tapping screws, just use rivets conveniently.
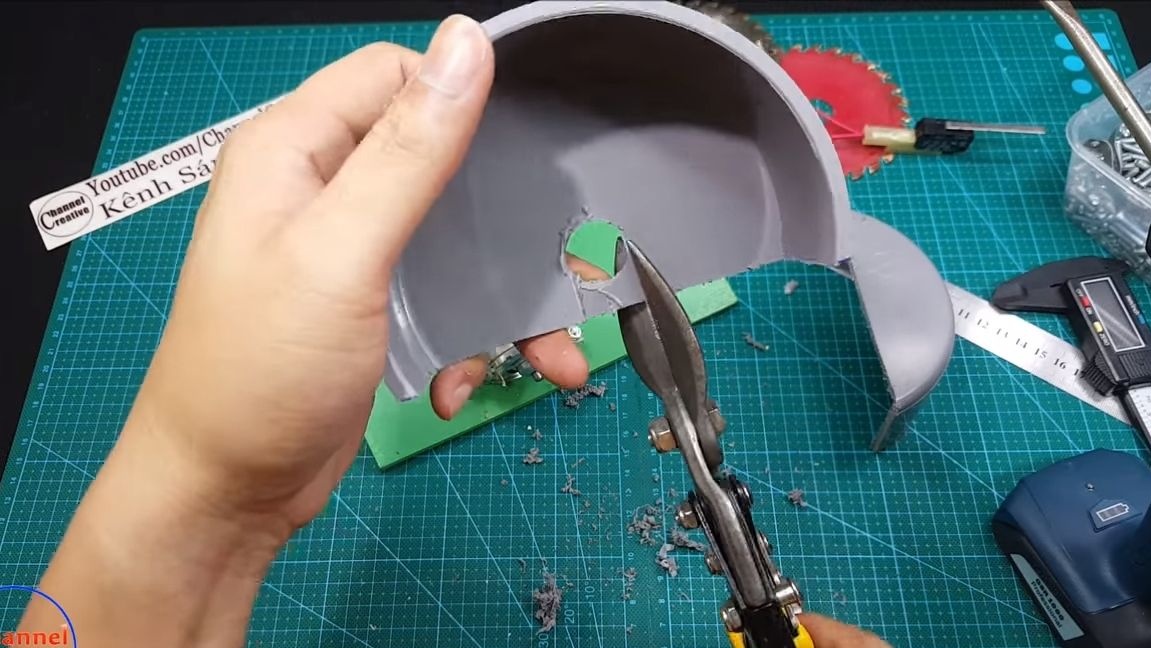
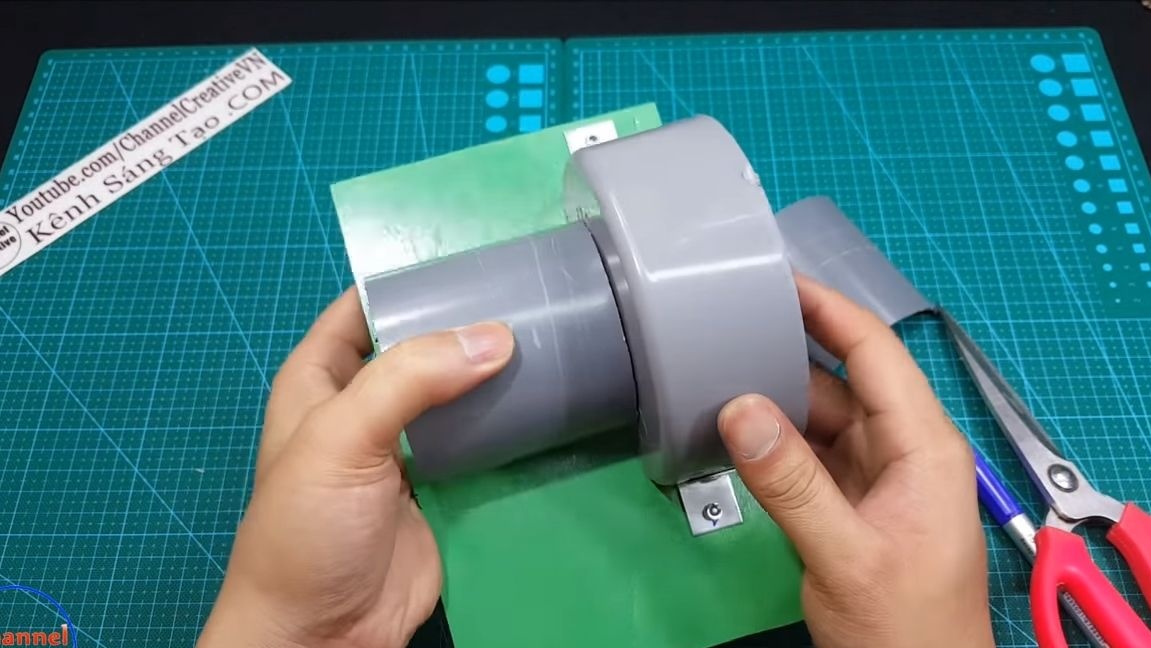
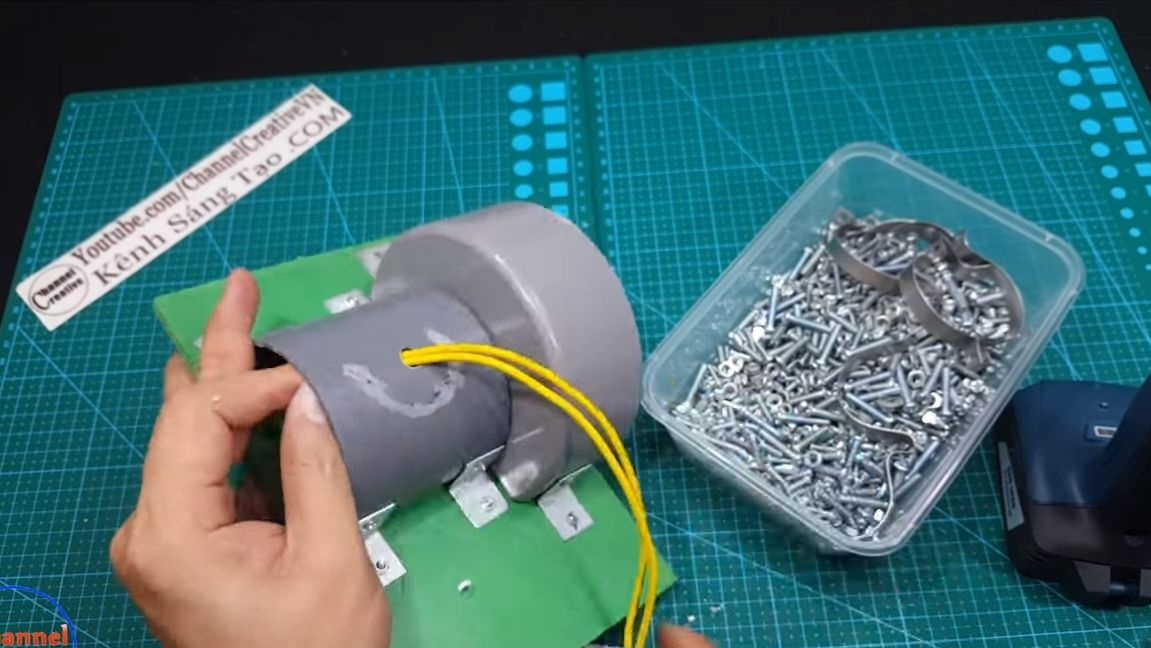
Step Four Motor guard
We also need to close the motor, it can get warm, and getting dirt on it will not lead to anything good. For the manufacture of the casing, you need a piece of PVC pipe of suitable diameter. Cut it along using a hacksaw for metal. Fasten the casing with aluminum corners. The casing must be removed in order to have access to the motor, so we attach the corners to the casing with rivets, and the body is attached to the base with screws and nuts.

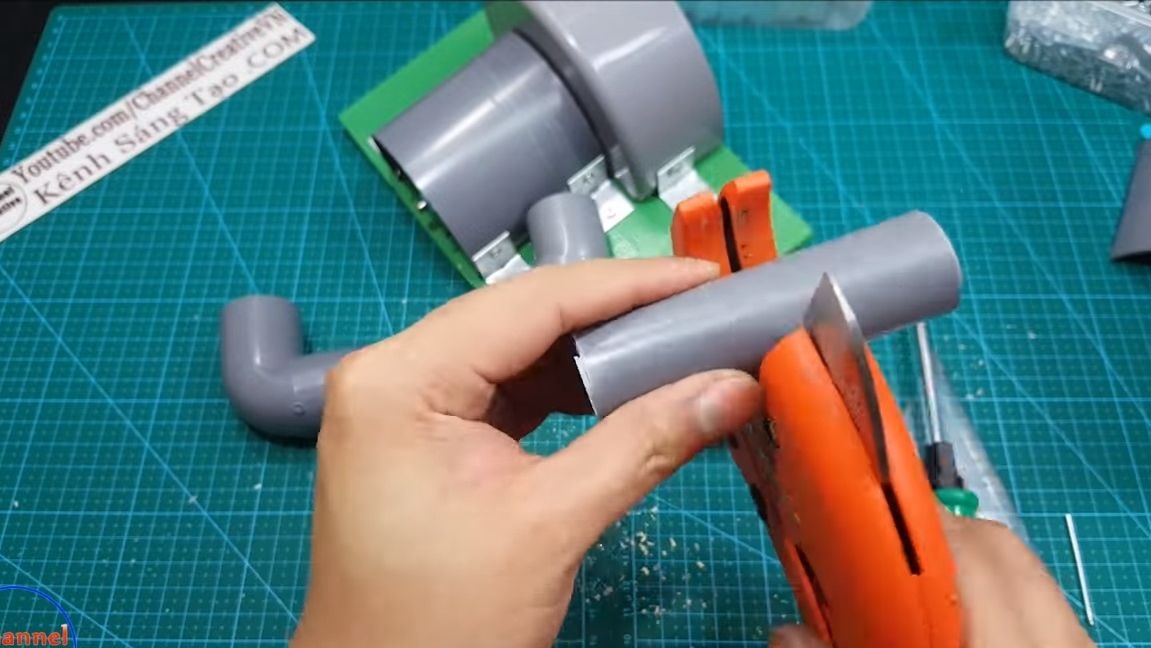
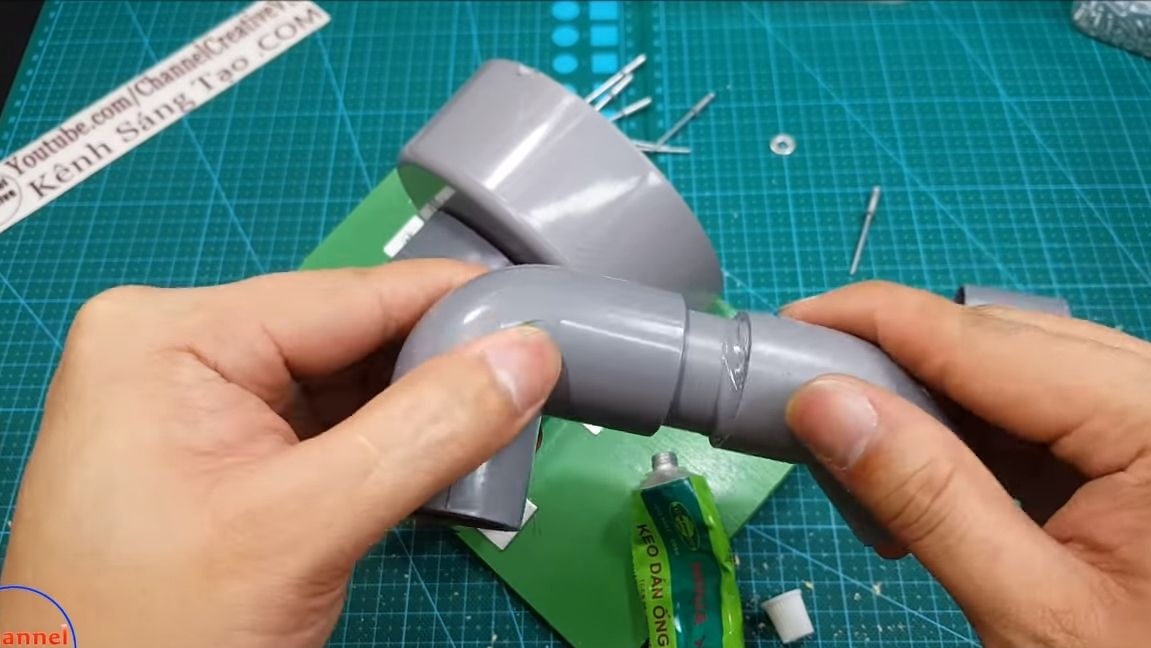
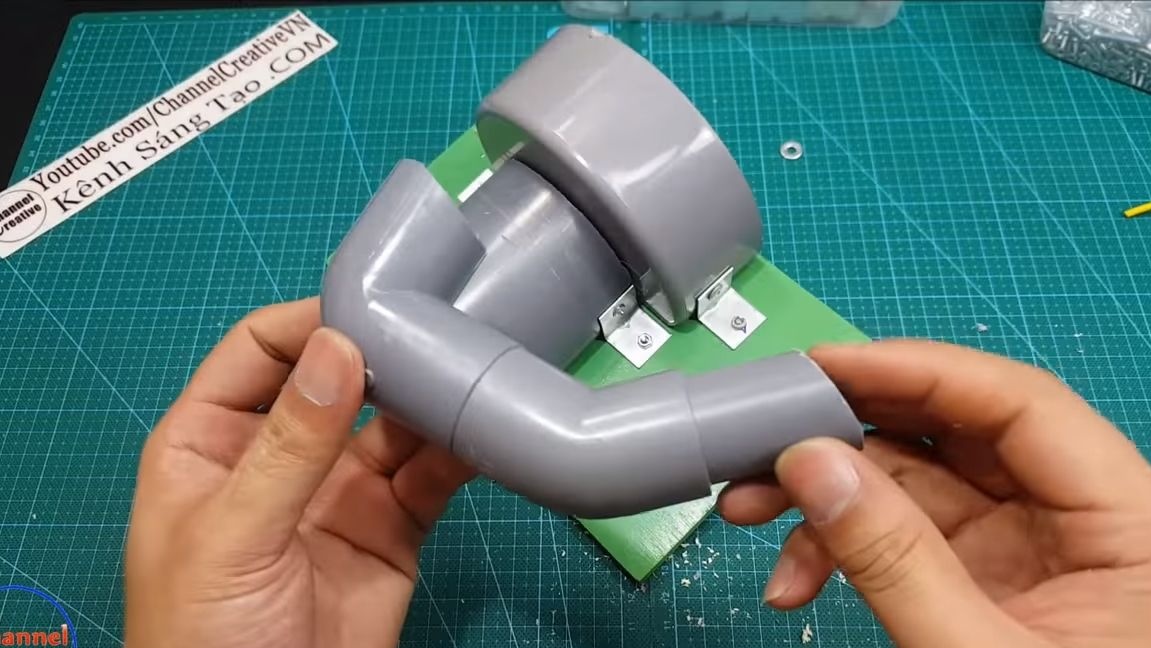
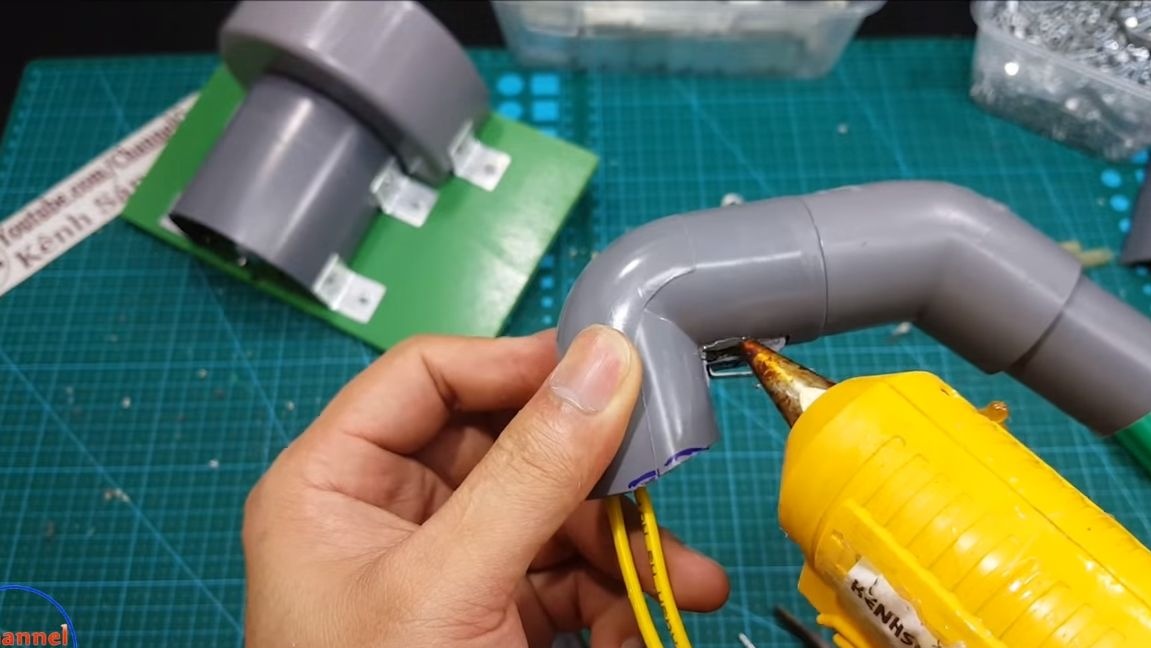
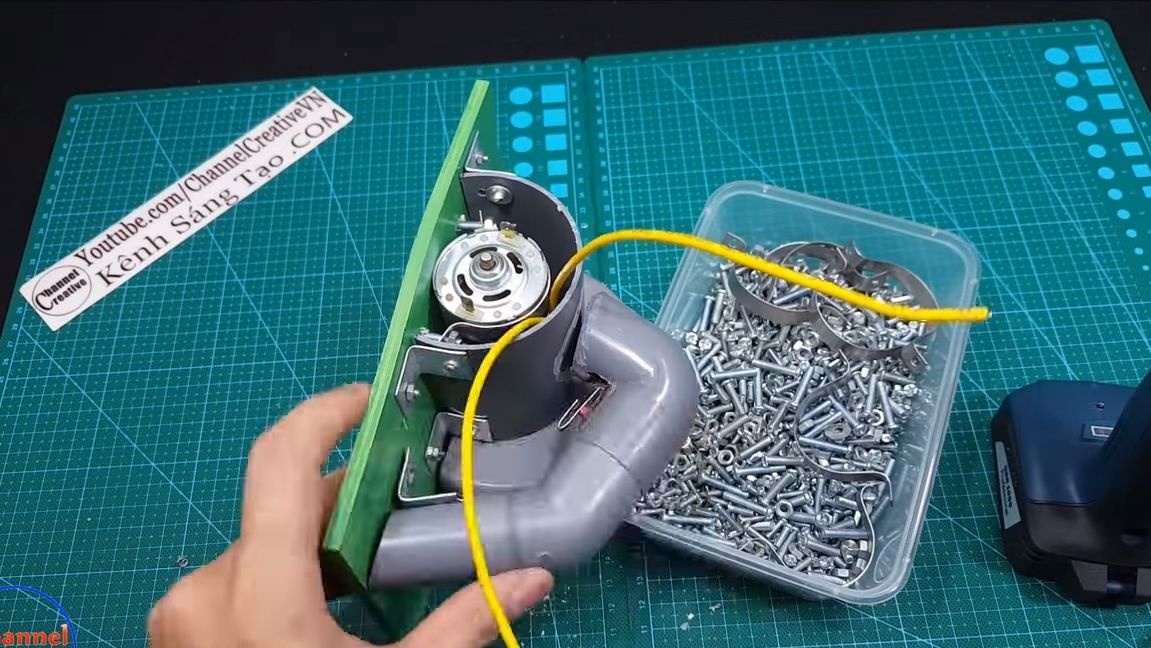
Step Five Make a pen
The handle must be comfortable and reliable so that the device operates safely. For its manufacture, you will need two connecting corners for pipes, as well as two small pipes. We cut everything to the right size at the right angle, and then assemble it on glue. The pen is ready!

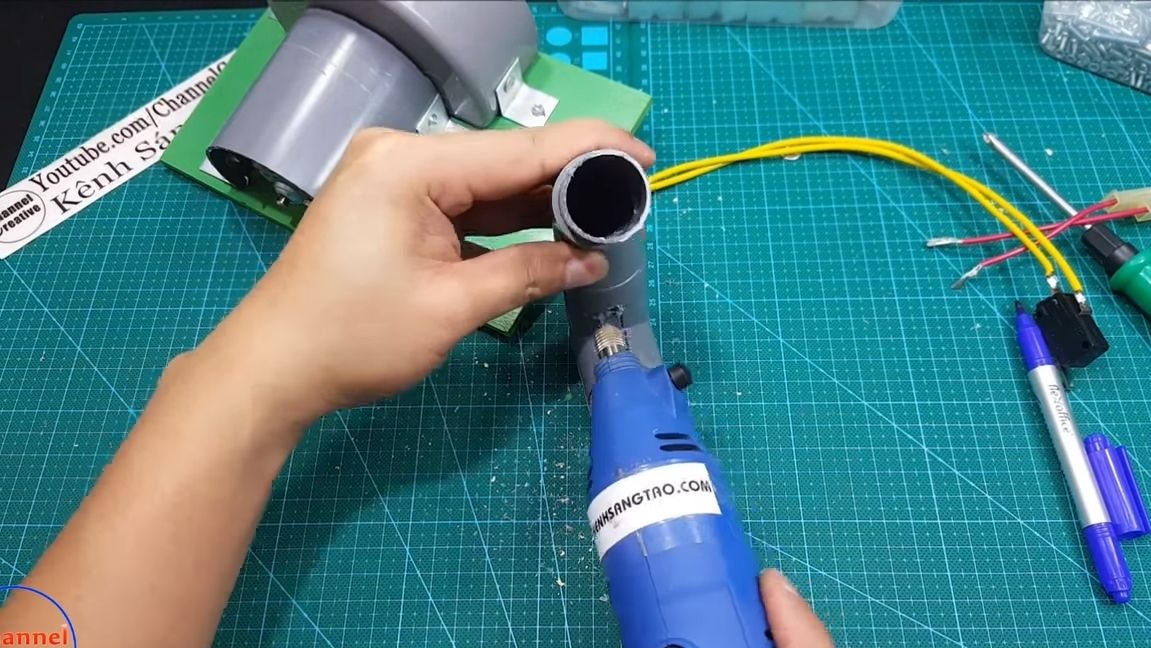
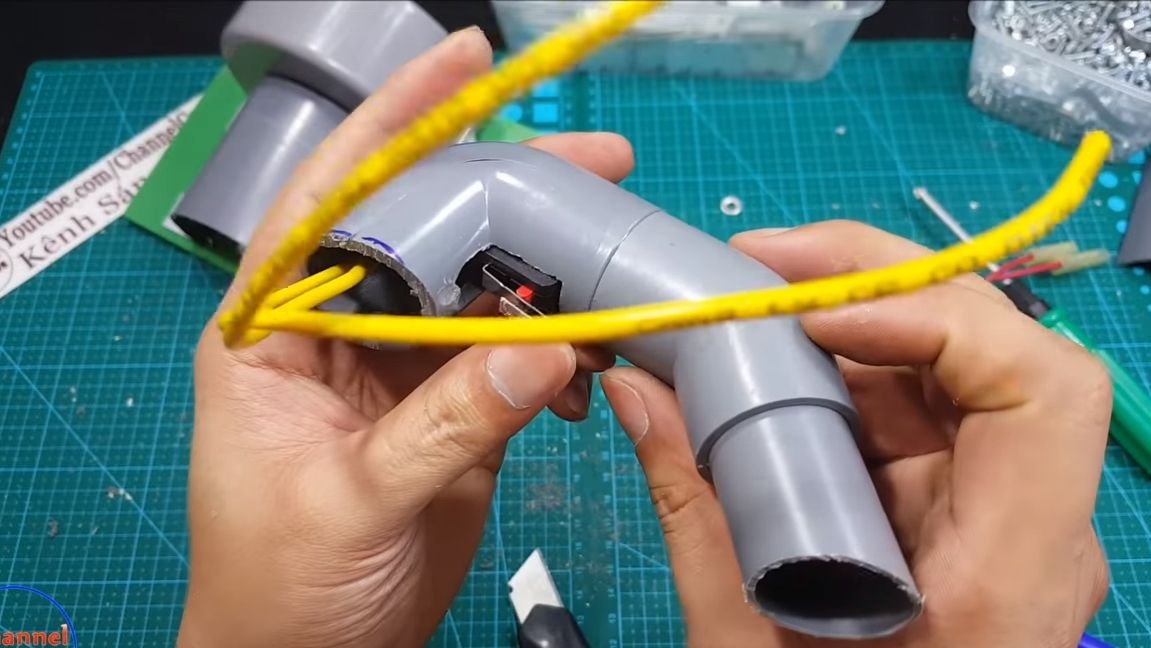
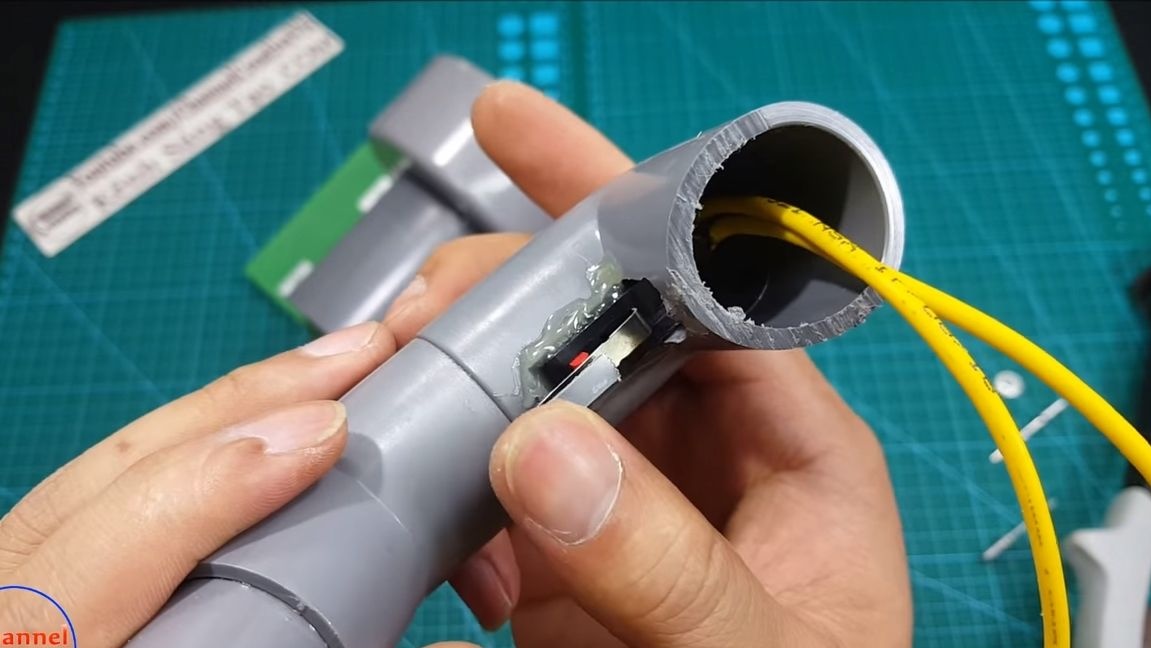
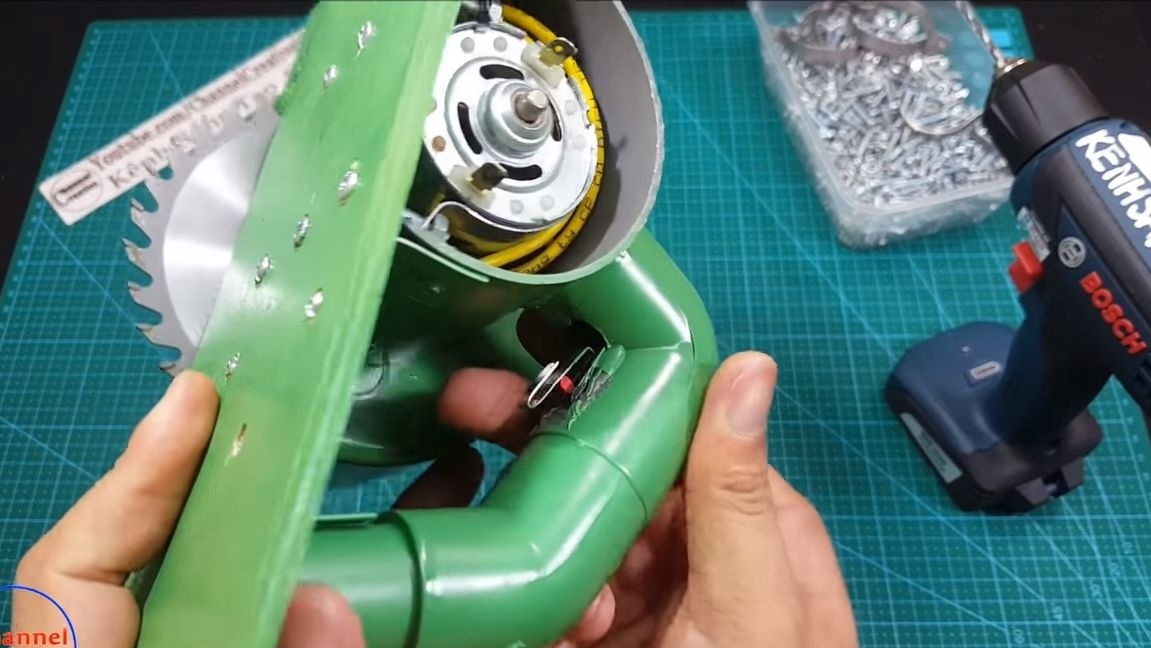
Step Six Switch and handle installation
Before installing the handle, you need to install a switch in it, a key switch is suitable for these purposes, do not forget to take into account the Amperage, otherwise it will burn. We cut out the window under the switch with a dremel, install it using hot glue.
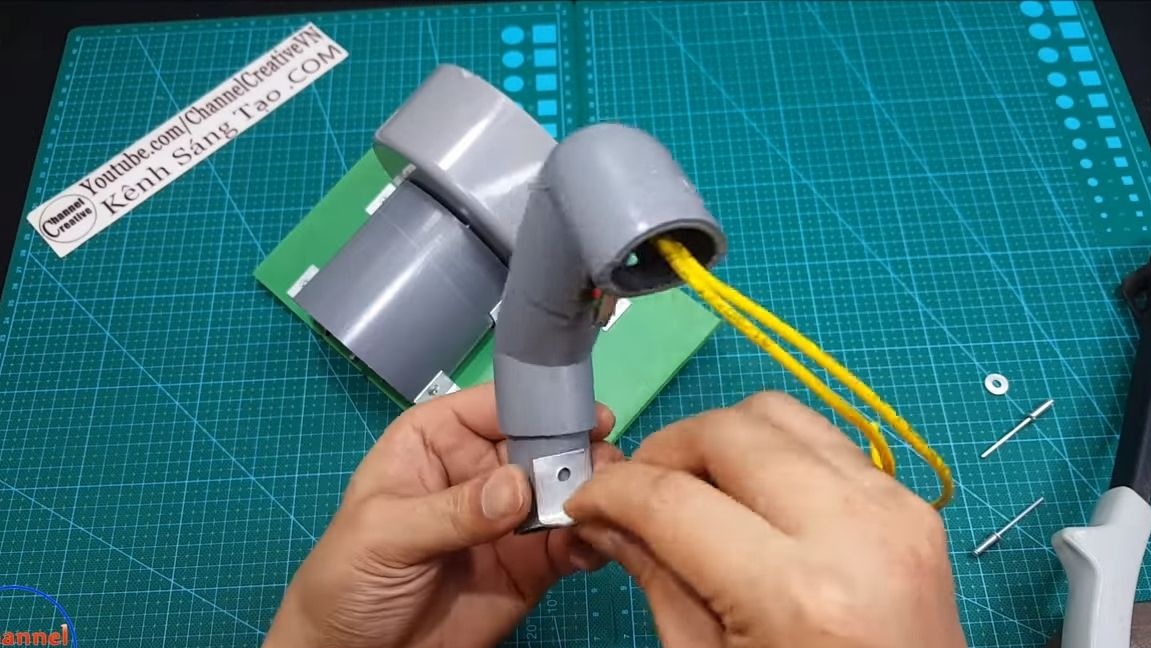
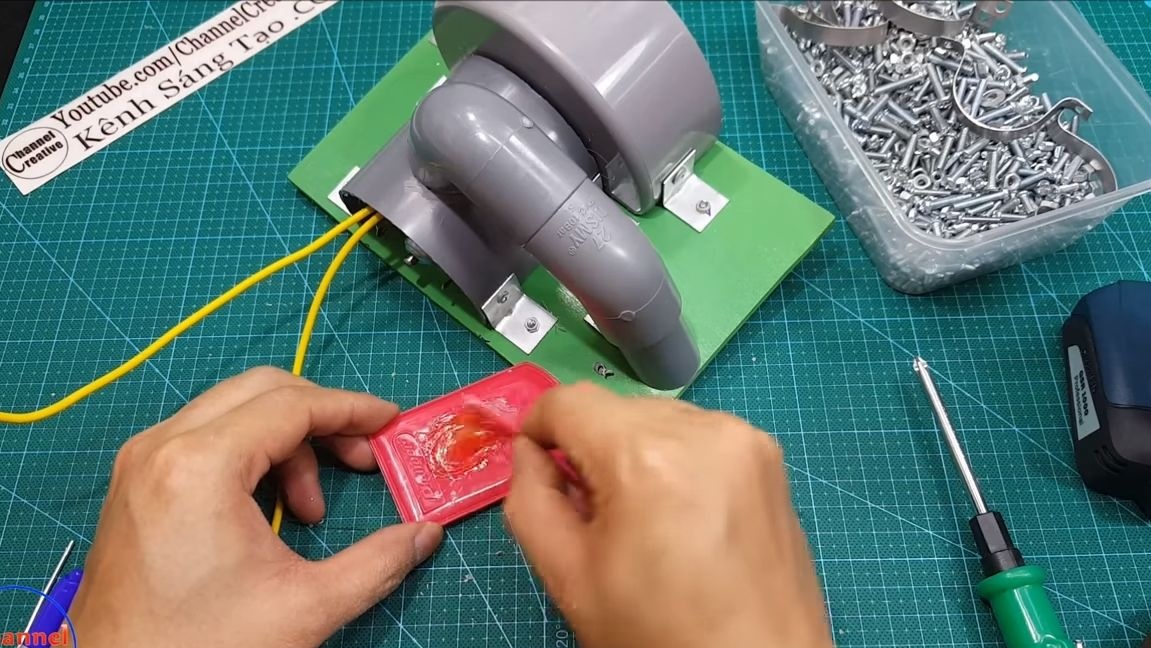
The handle can be fixed, it is fixed at two points. We fix the handle to the base using a rivet, as well as a screw with a nut. The second end is attached to the engine cover, here we use epoxy glue. Thoroughly clean the bonded surfaces with sandpaper or dremel and apply epoxy. Now in the event of a breakdown, you can remove the handle with the casing.
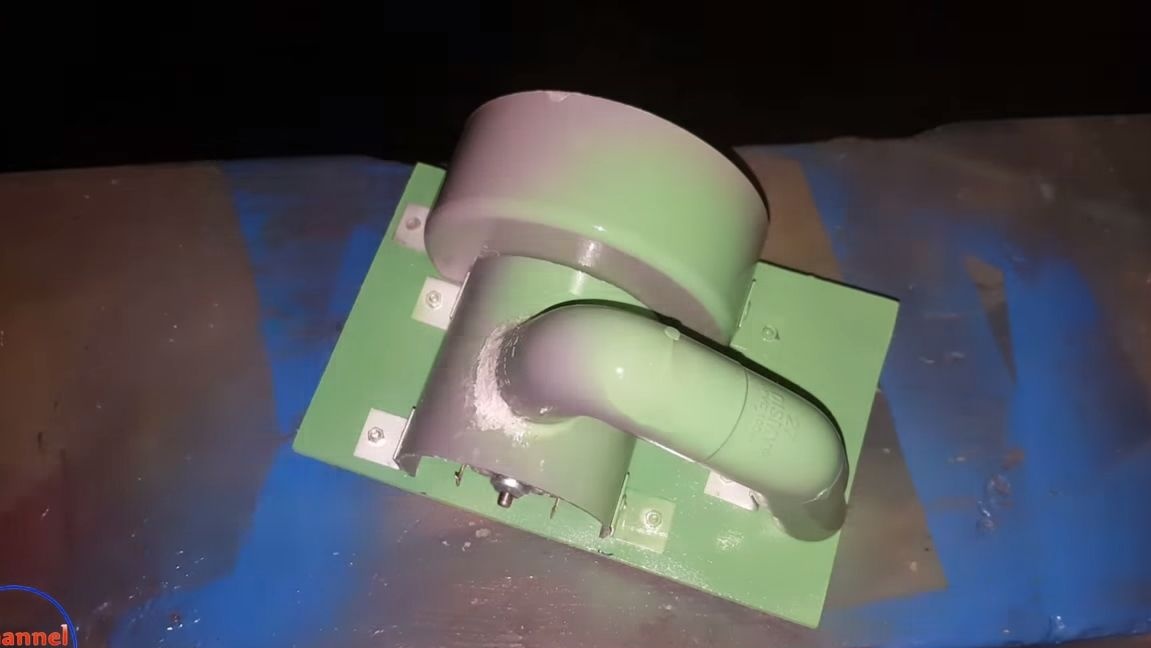
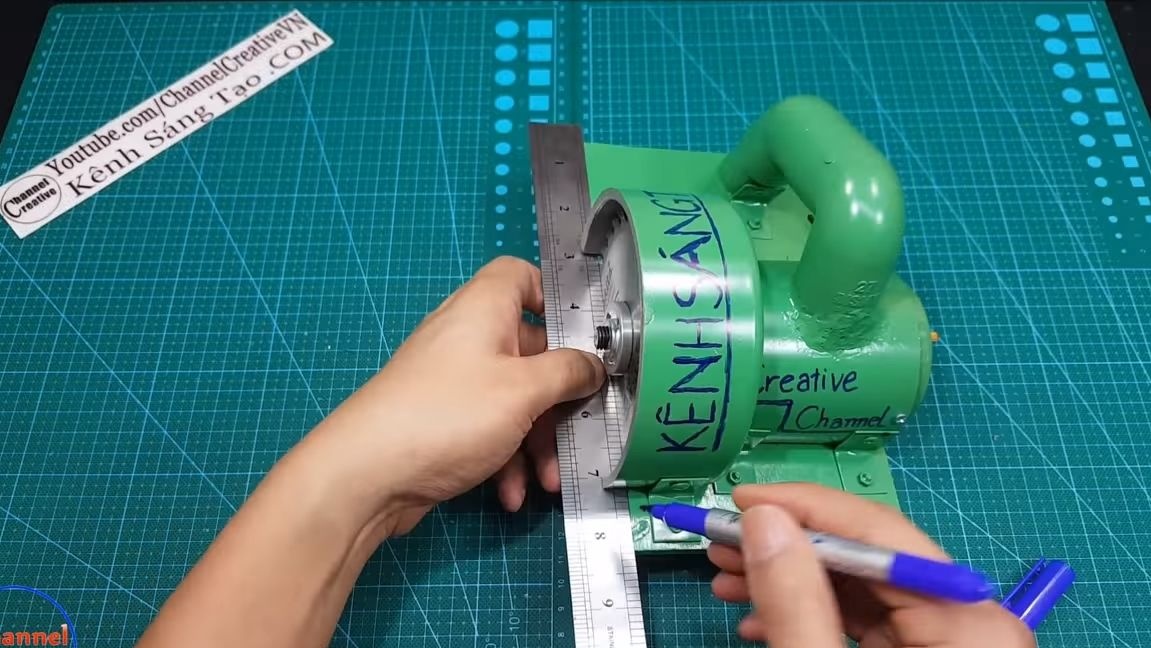
Seventh step. We paint!
To make everything look respectable, paint the product. The author does this with a spray can. Elements that should not be painted over, for example, a switch, are sealed with tape.
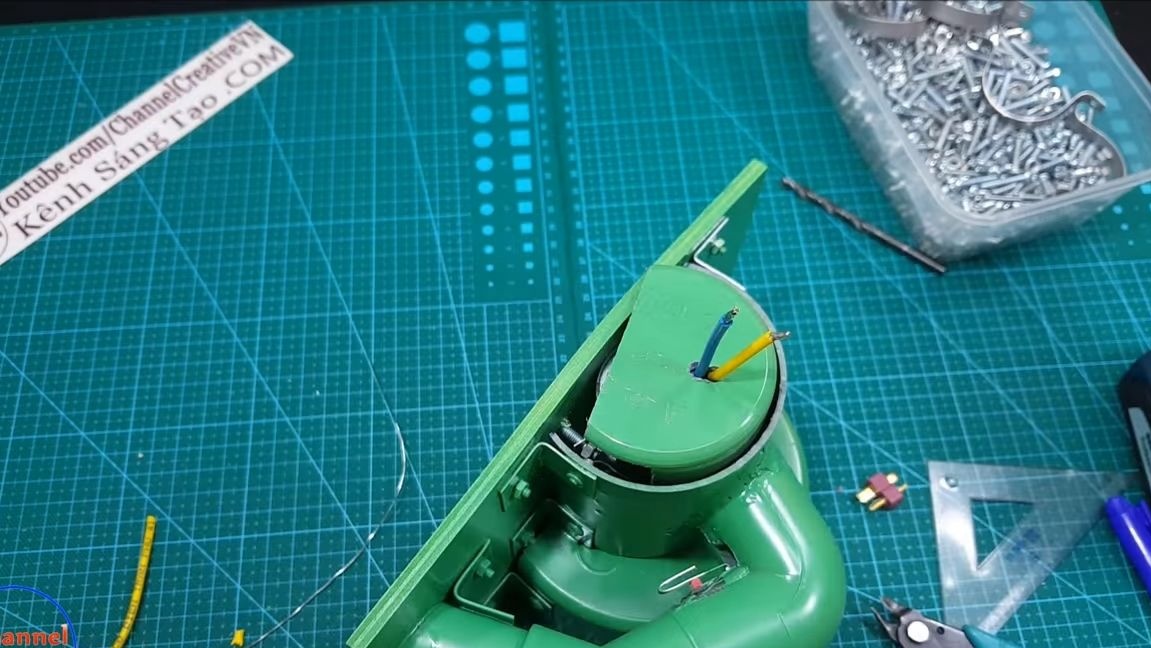
Step Eight. Back cover
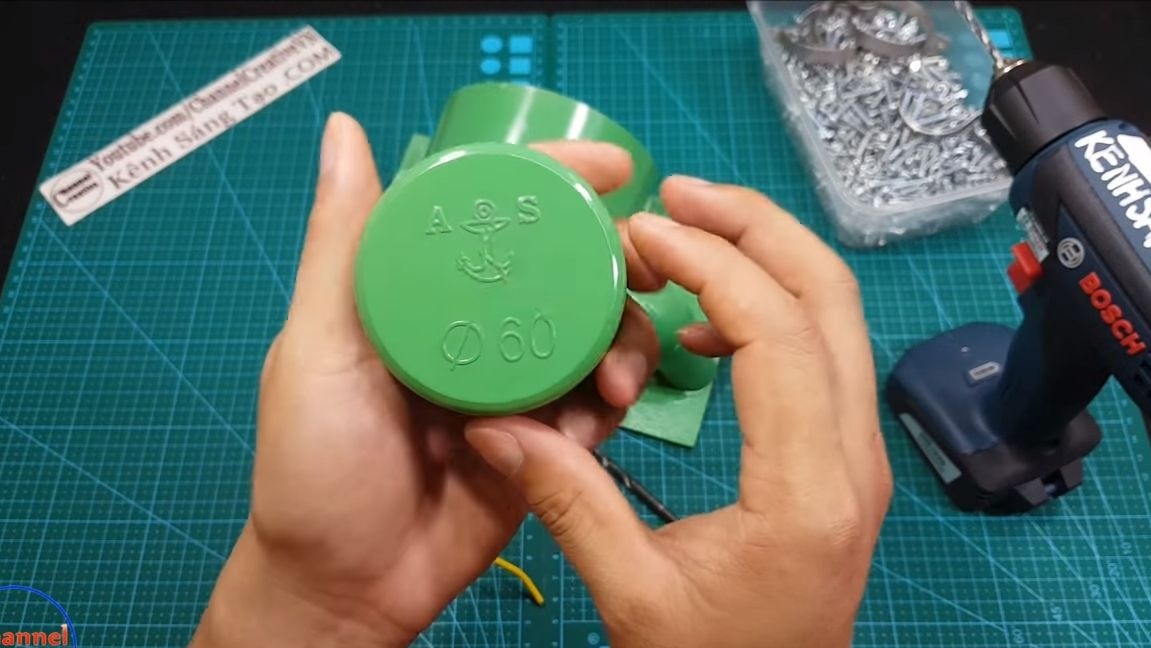
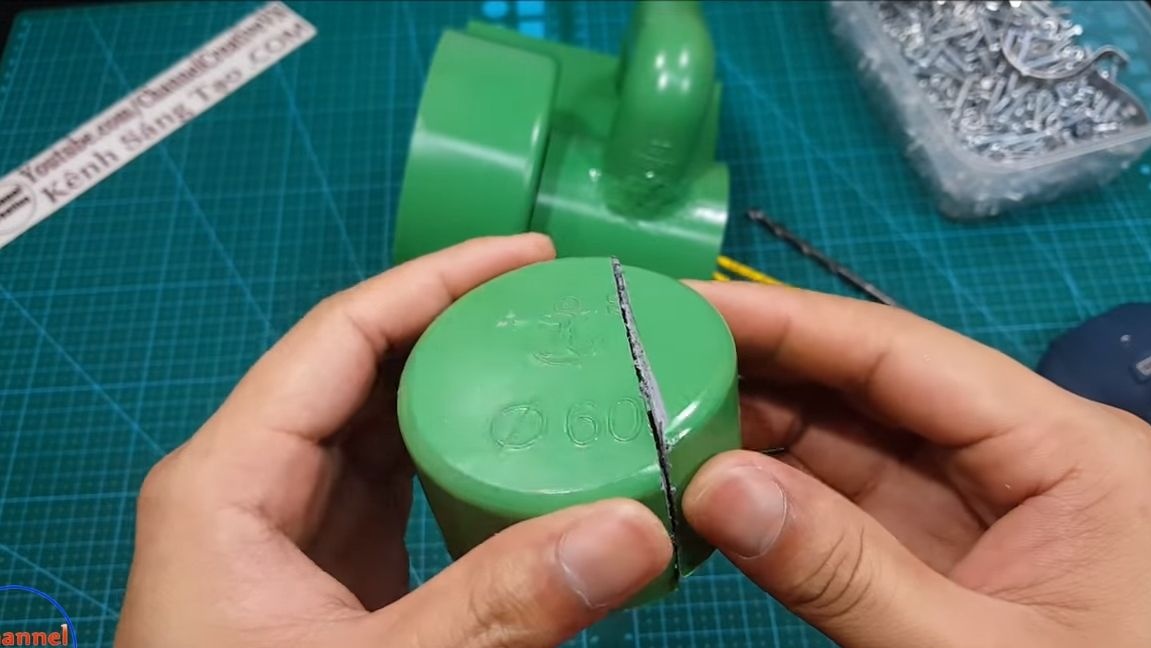
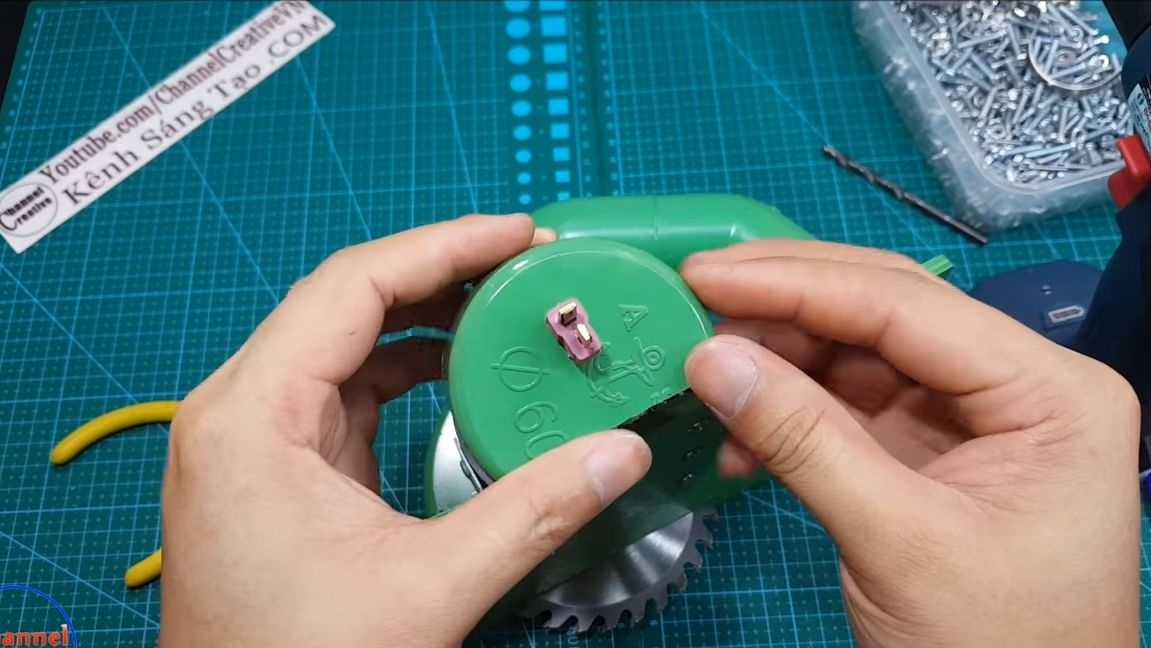
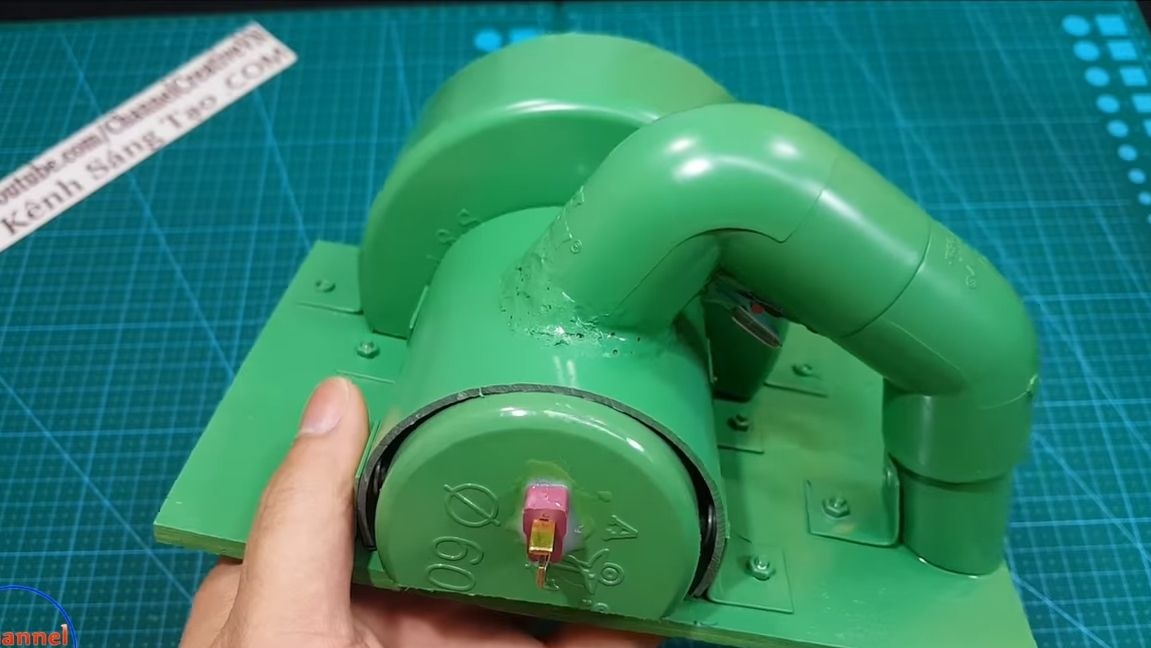
To make the back cover, you need a plug for PVC pipes with a diameter of 60, we cut off excess from it and try on. A contact group (plug) will also be installed in this part for connecting the device to a power source. We cut a hole under the block.


Step Nine. Final assembly
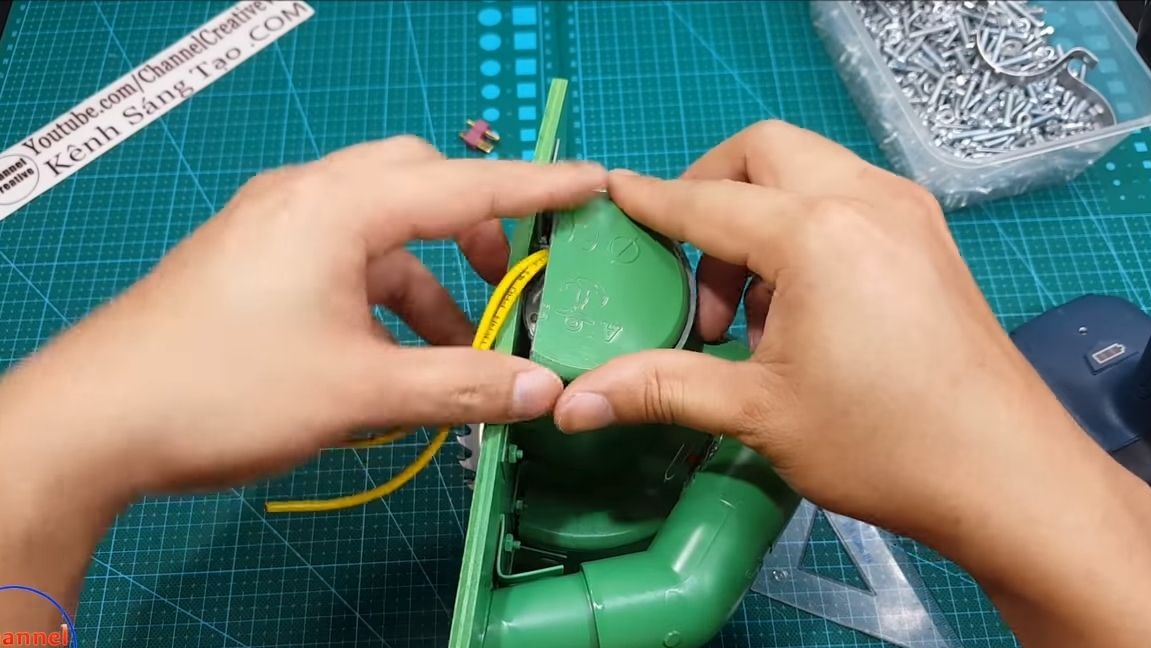
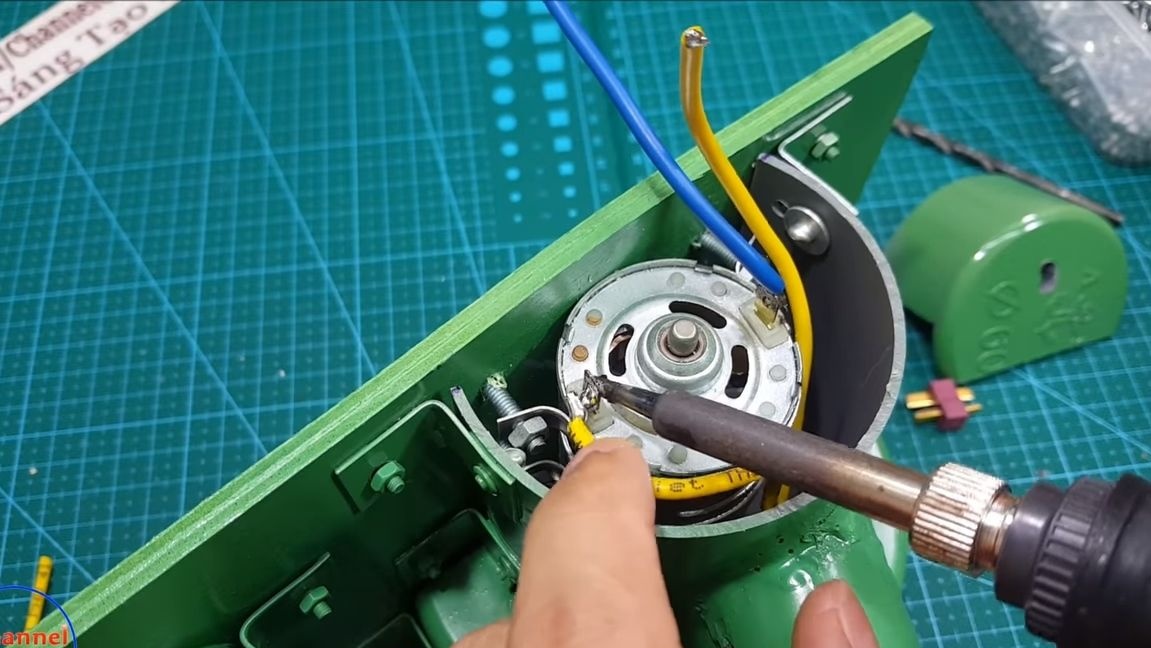
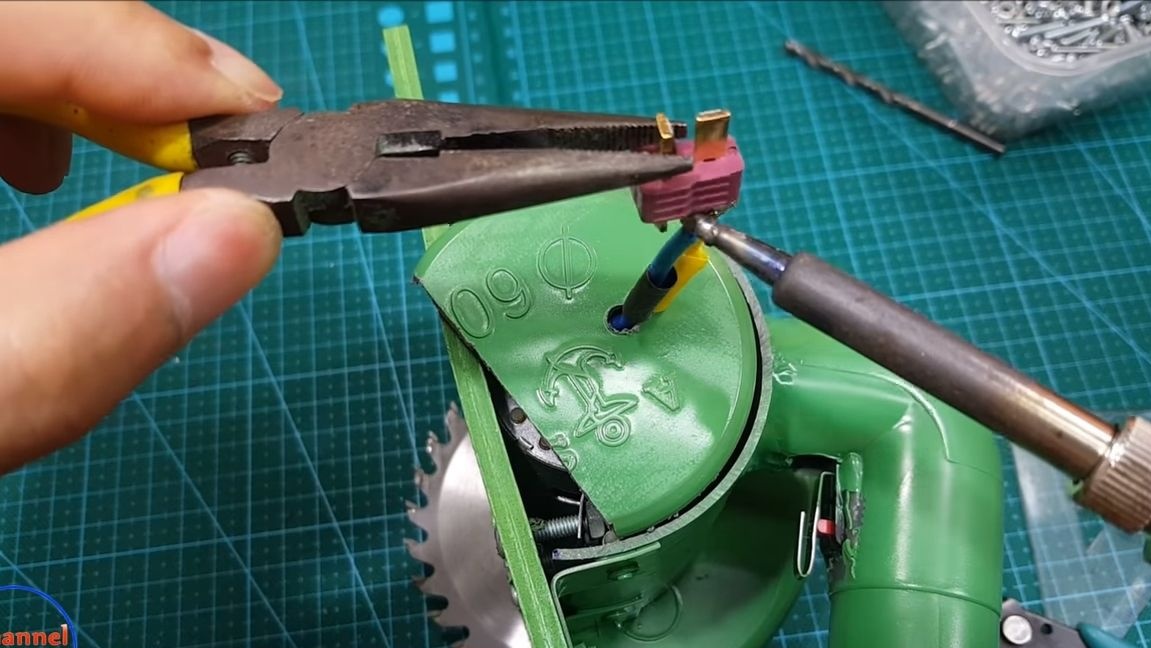
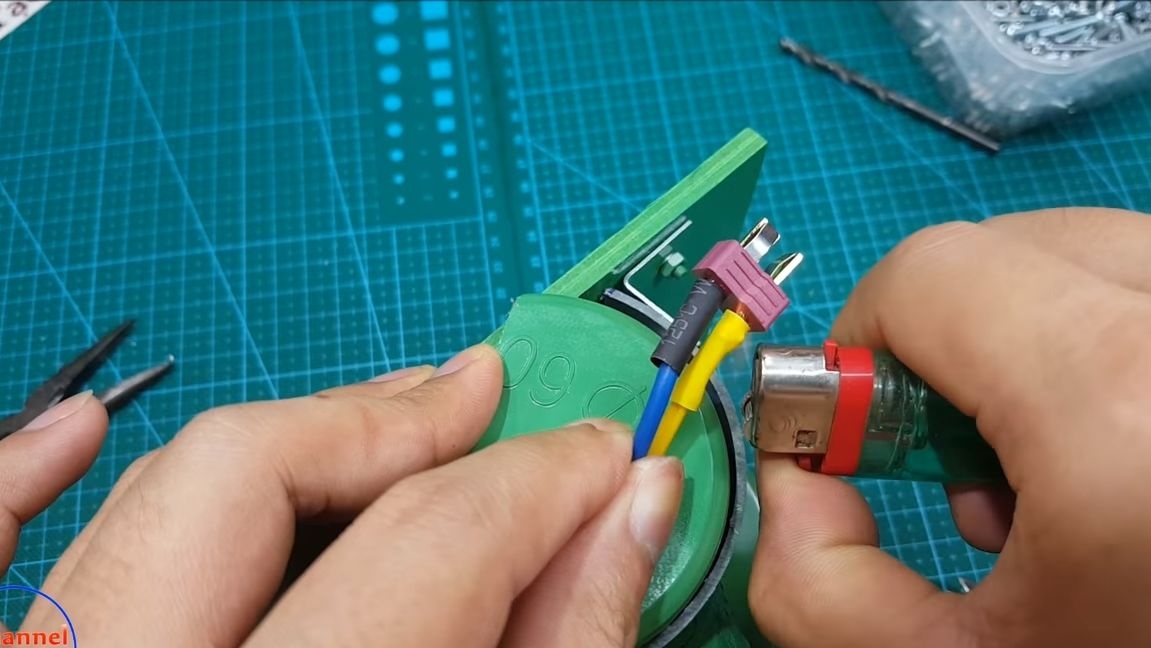
Getting to the assembly, the first thing you have to bring the power wires. We solder one wire directly to the contact of the motor, and the other to break through the switch. Pull the ends of the wires through the back cover and put on the heat shrink. Solder the connector, and then secure the connector to the cover using hot glue or epoxy.
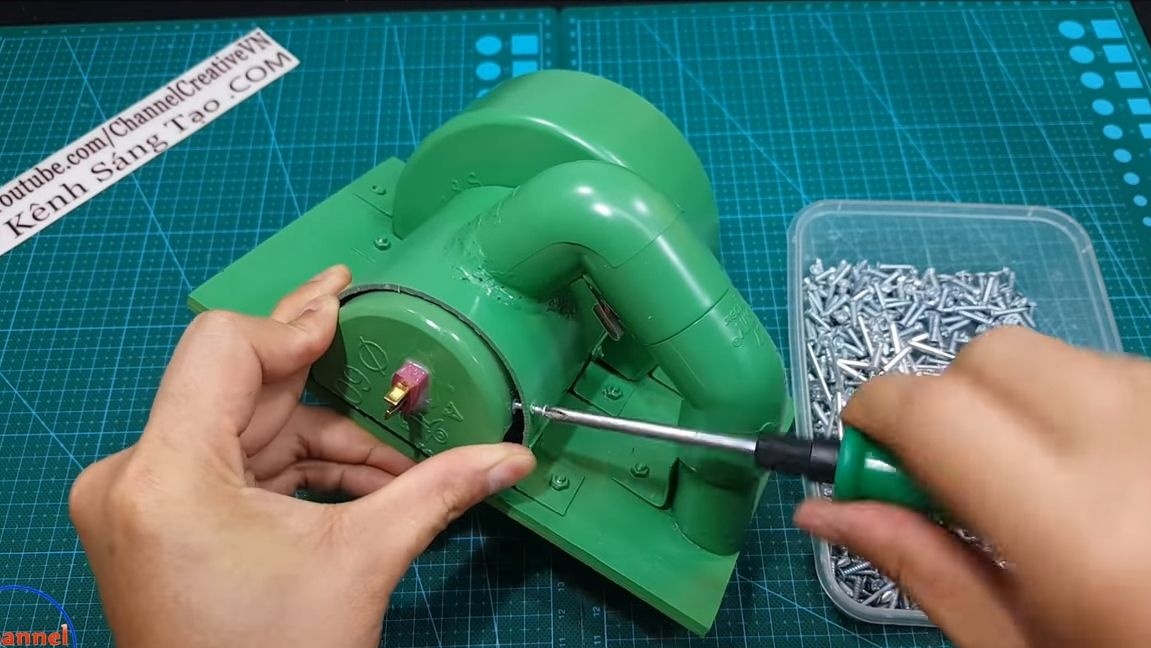
All that remains for us is to fix the back cover. We drill two holes and wrap the screws.
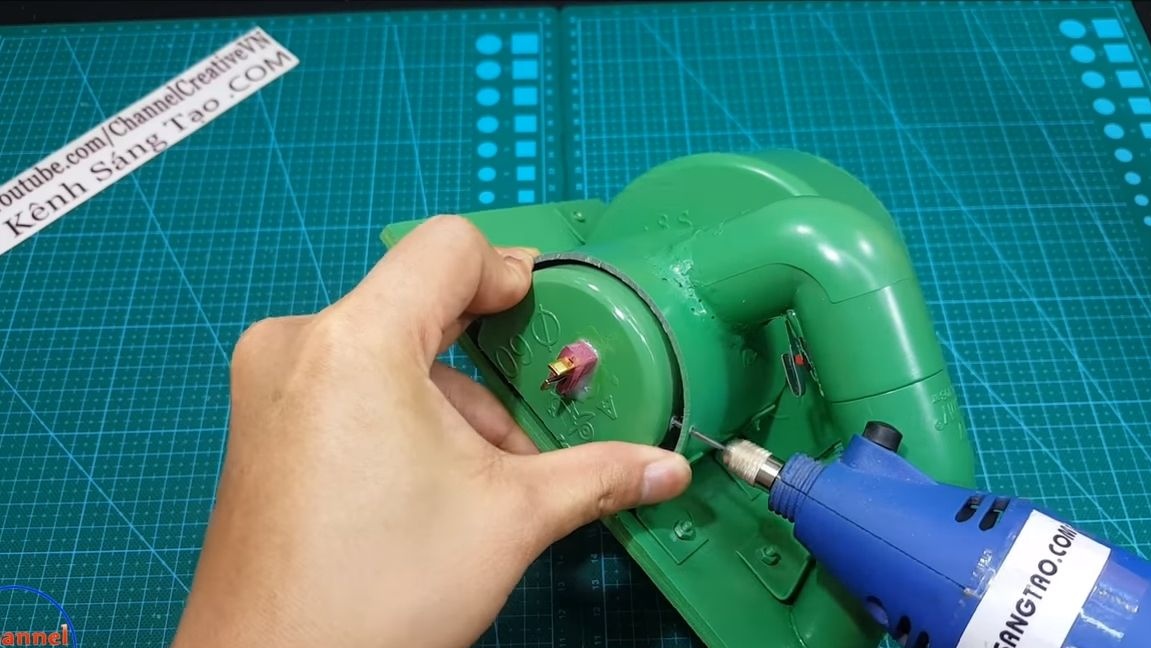
In conclusion, you need to grind the screw caps on the work surface so that they do not interfere. This can be done with a "dremel", an emery cloth and so on.
The car is ready, you can try it!
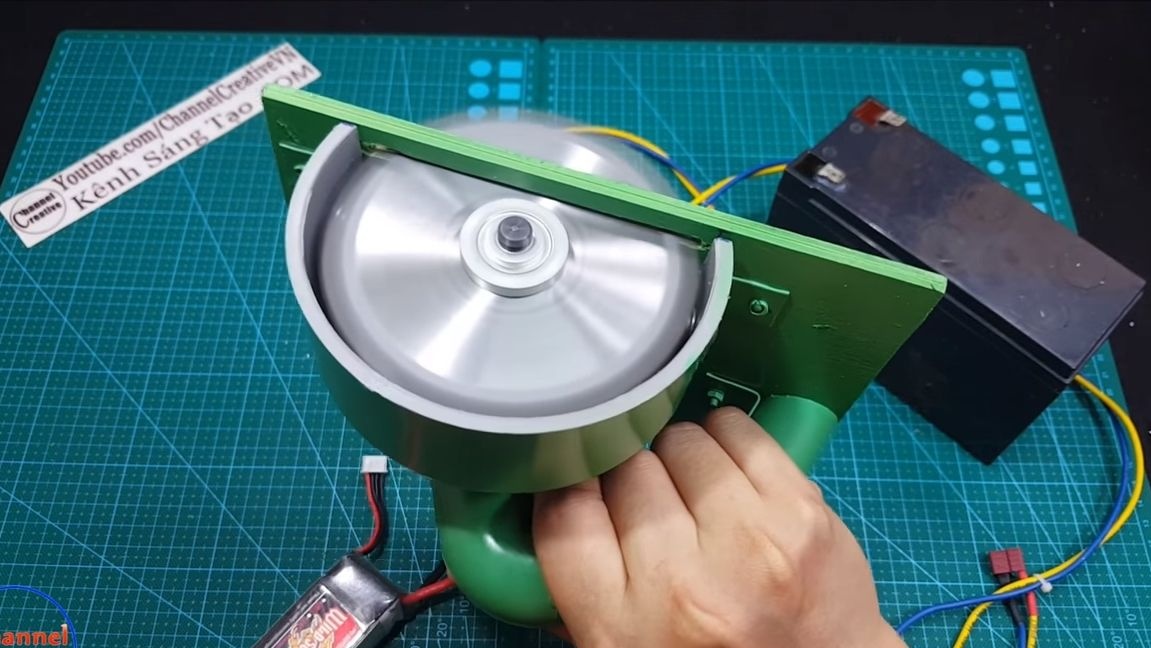
Step Ten Test
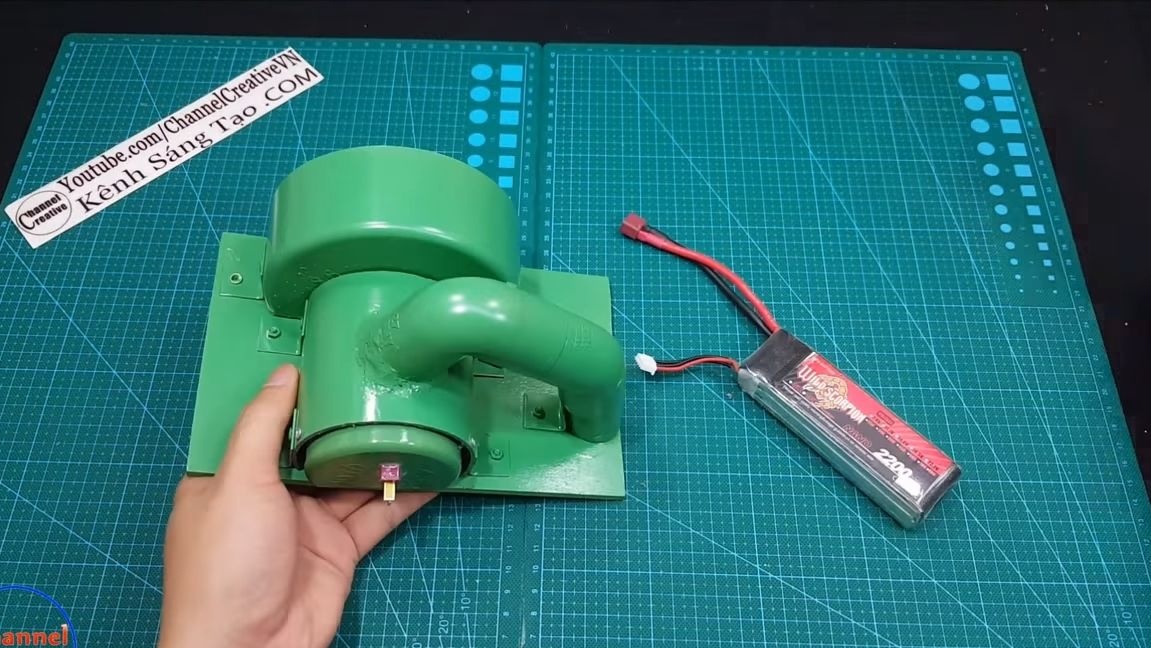
The most important point when connecting the saw to a power source is to correctly determine the polarity.Otherwise, the blade will rotate in the wrong direction and the saw will not cut. This is verified experimentally.
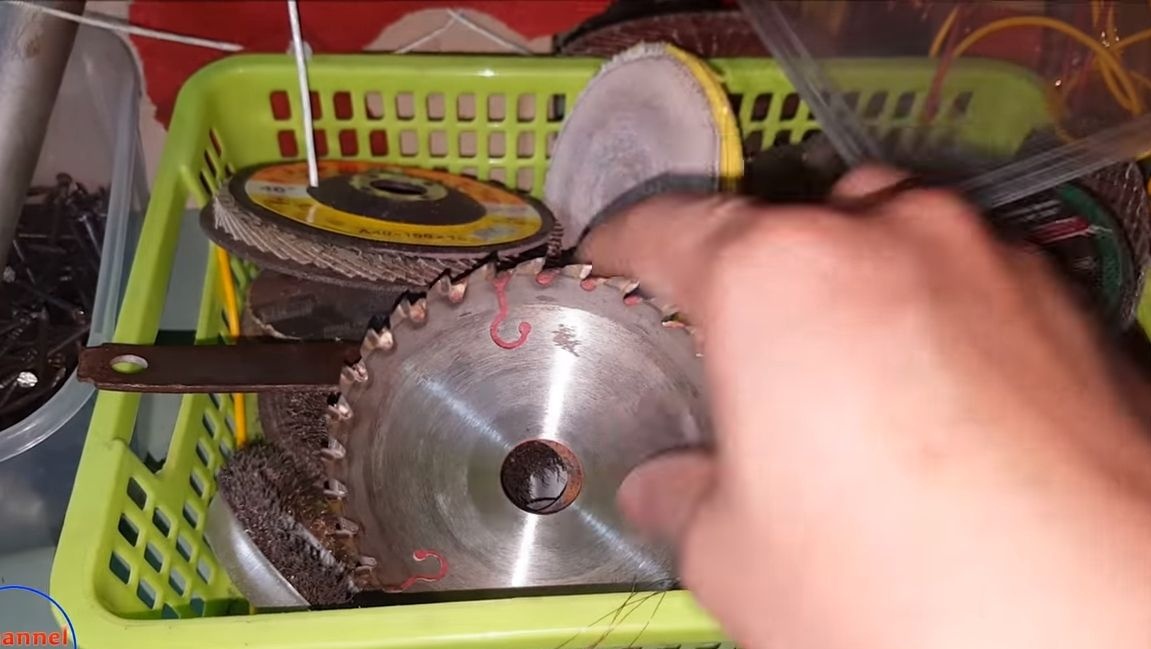
As for the power source, you can use 12V batteries, this will allow you to take a saw with you anywhere, even in the woods. For prolonged use in the workshop, of course, it is more advisable to connect the saw through the power supply, but remember that the current must be direct. Good luck, friends!