
Submitted model the engine differs from similar ones in the presence of solar panels. Those. the rotor of the engine rotates due to the electricity generated by solar panels. But the highlight is that the solar panels are not brought to the side, but are part of the rotor. Of course, on the one hand it’s a toy, but who knows, maybe it touched the future of energy. The motor got its name from Mendocino County in California. Here lives his inventor. The Mendoza motor can be classified as a low power brushless magnetic levitation solar motor. By the way, similar models of engines on Ali cost from 1-1.5 thousand rubles, and on Amazon their cost is even higher. The article will contain links to engine parts from the Ali store, who is more convenient to buy on Amazon, go to the original article.
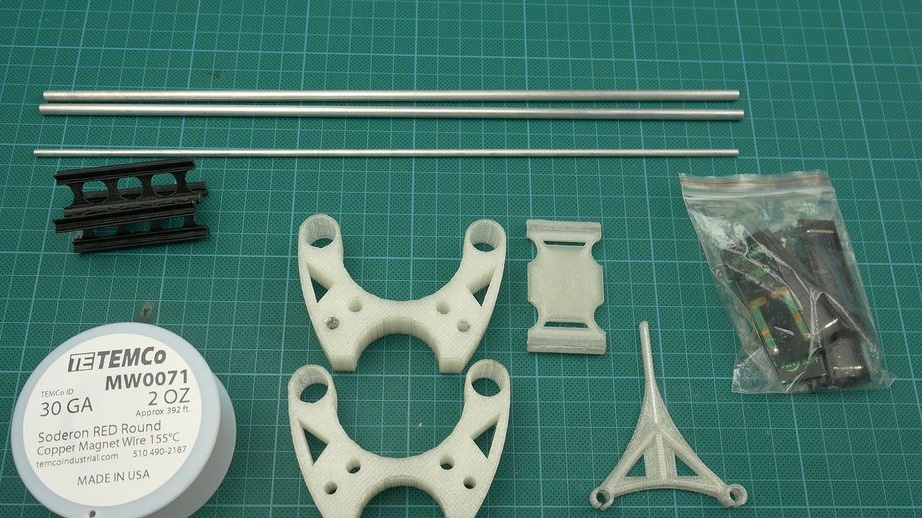
Tools and materials:
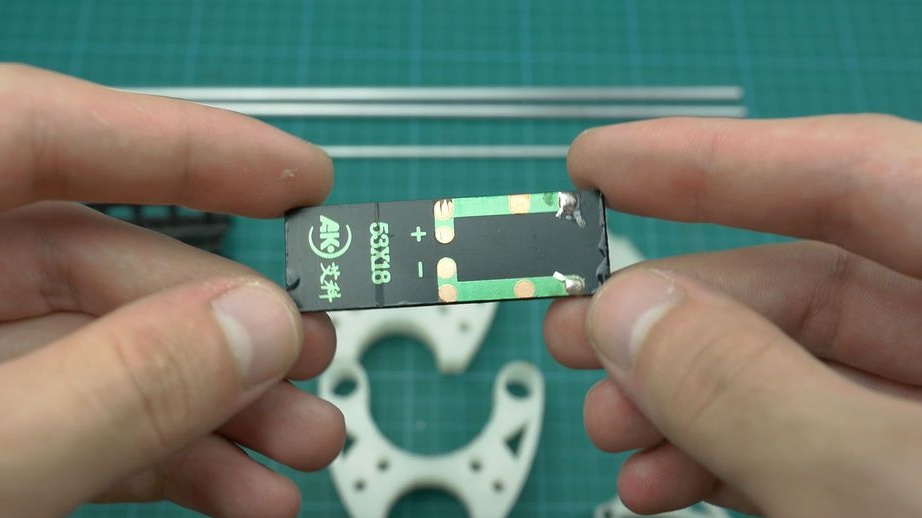
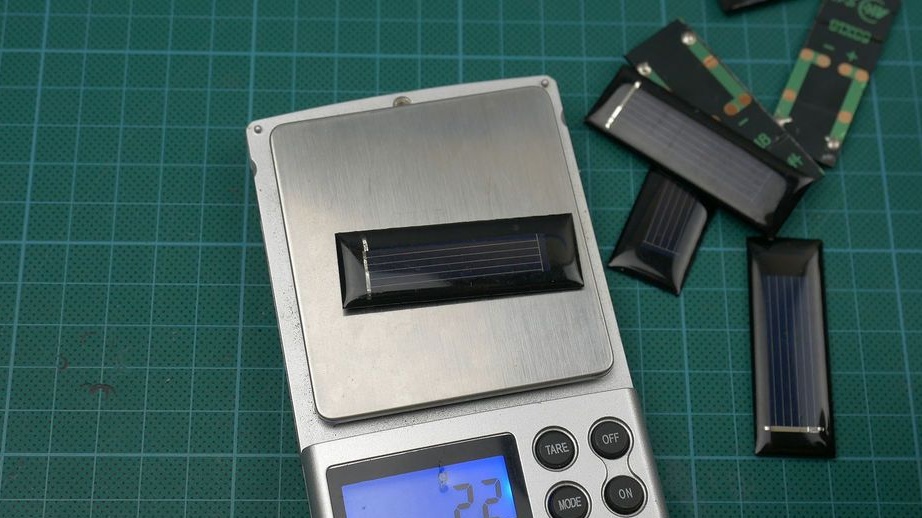
- Solar panels 0.5V 100mA 53 * 18 * 2.5 mm - 4 pcs;
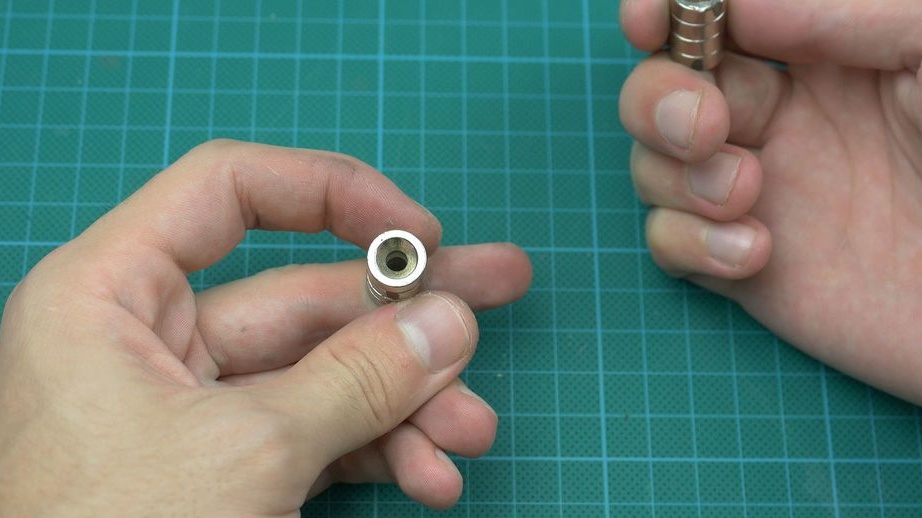
-Neodymium magnets 12 * 4 mm with a hole of 4 mm-7 pcs;
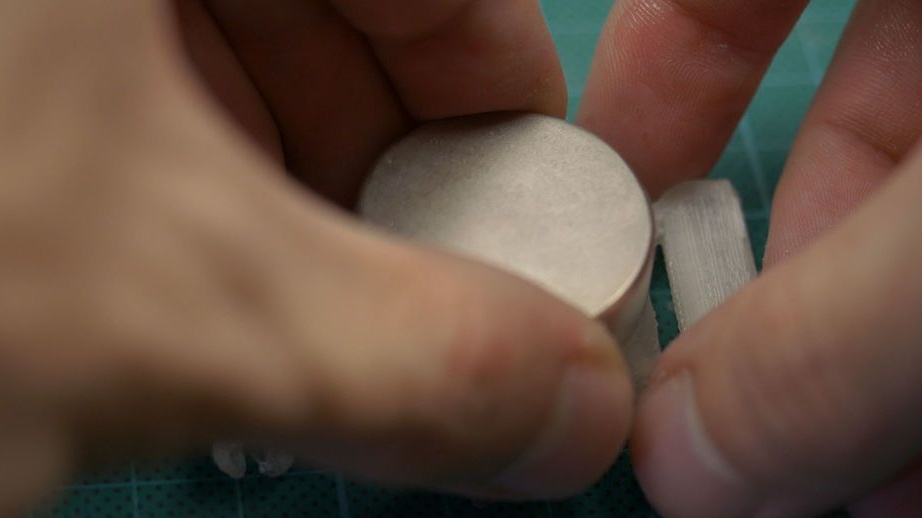
- Neodymium magnet 30 * 10 mm -1 pc;
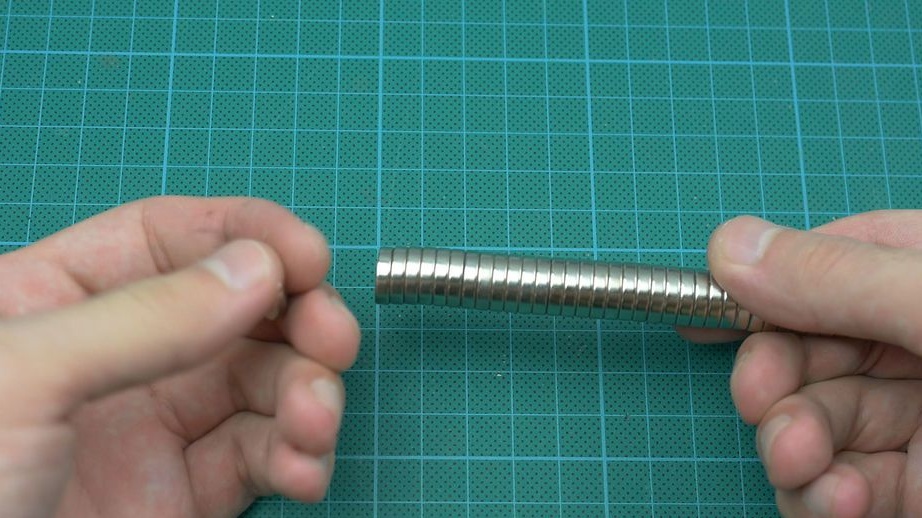
- Neodymium magnets 12 * 3 mm - 26 pcs;
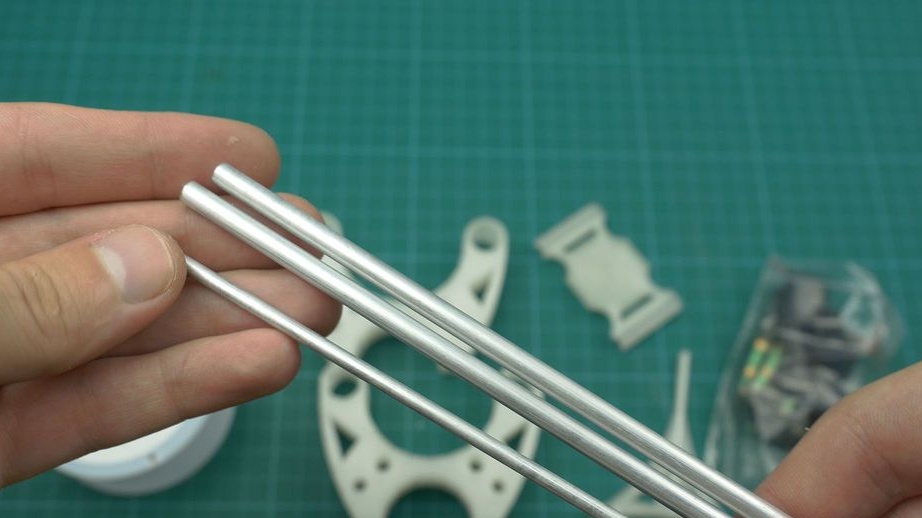
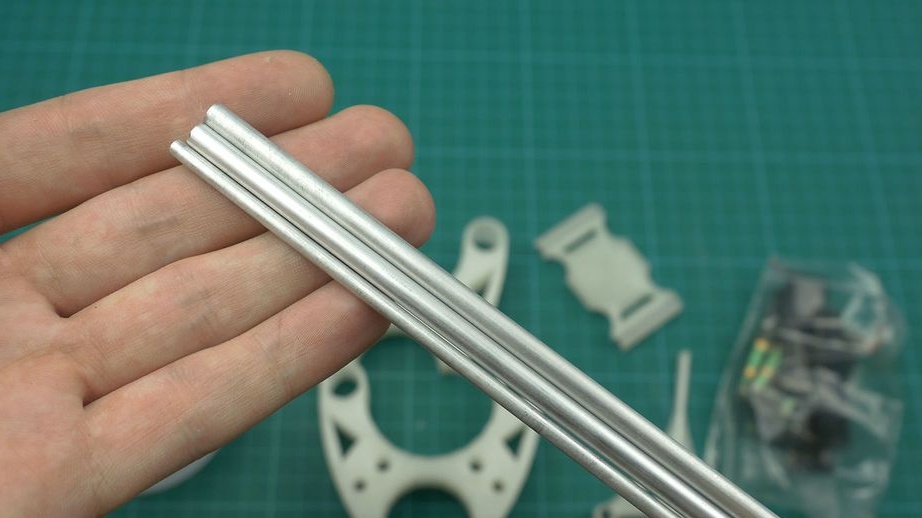
The aluminum rods on Ali were not found by the master, a link to Amazon. Also, the master provided 3d models. The main condition guides should not be magnetized.
-Soldering iron;
-Glue;
-Rubber clerical;
-3D printer;
-Libra;
-Glue gun;
-Tweezers;
-Vise;
-File;
-Smartphone with magnetic sensor;
-Insulating tape;


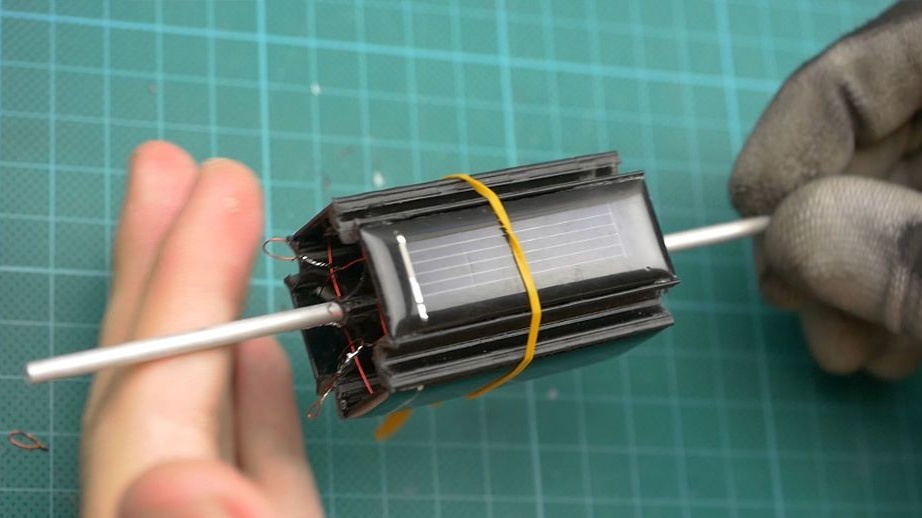
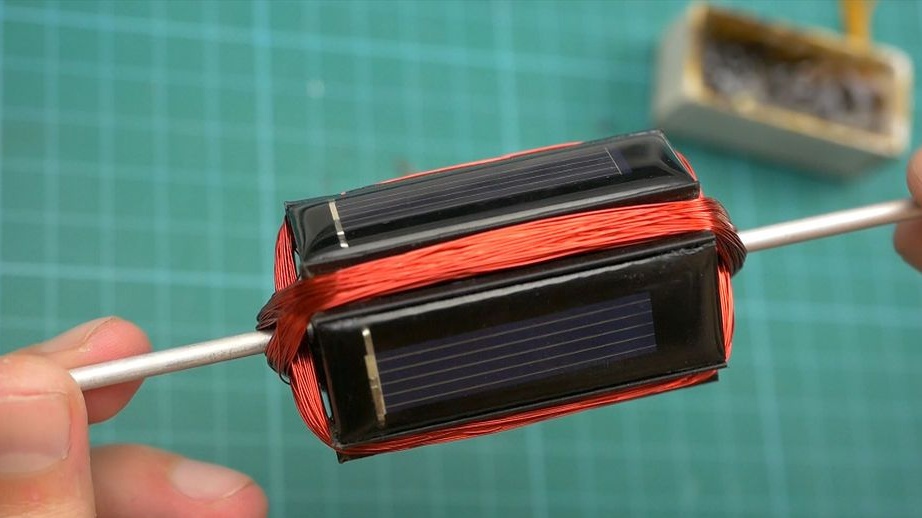
Step One: Rotor Assembly
For less imbalance, the solar panel is weighted. The master has a weight spread of approx. 1 g
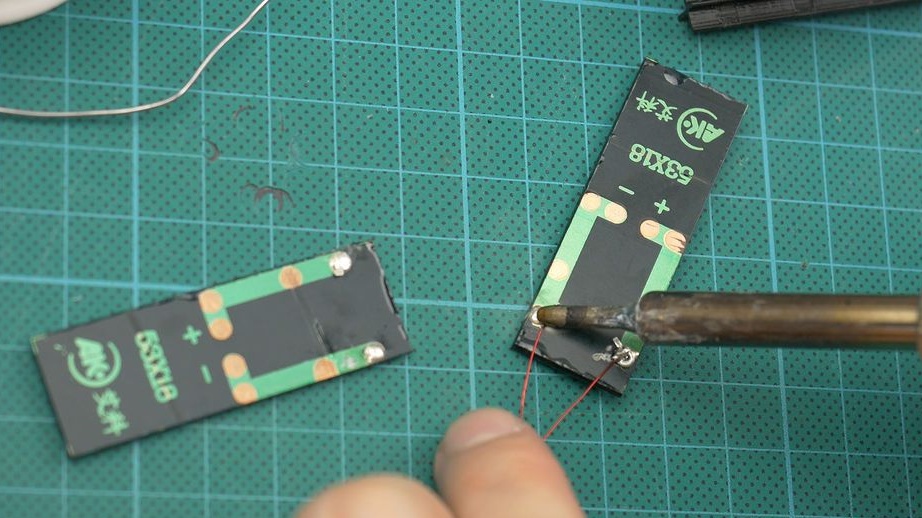
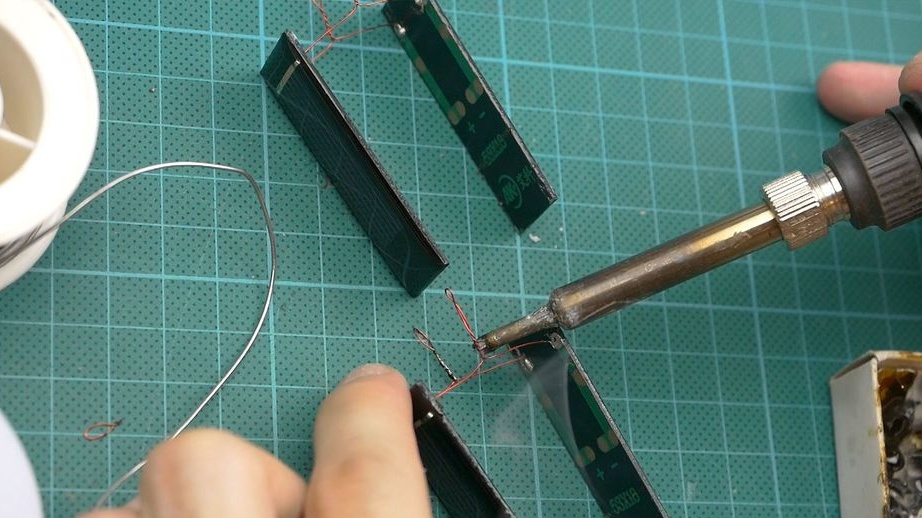
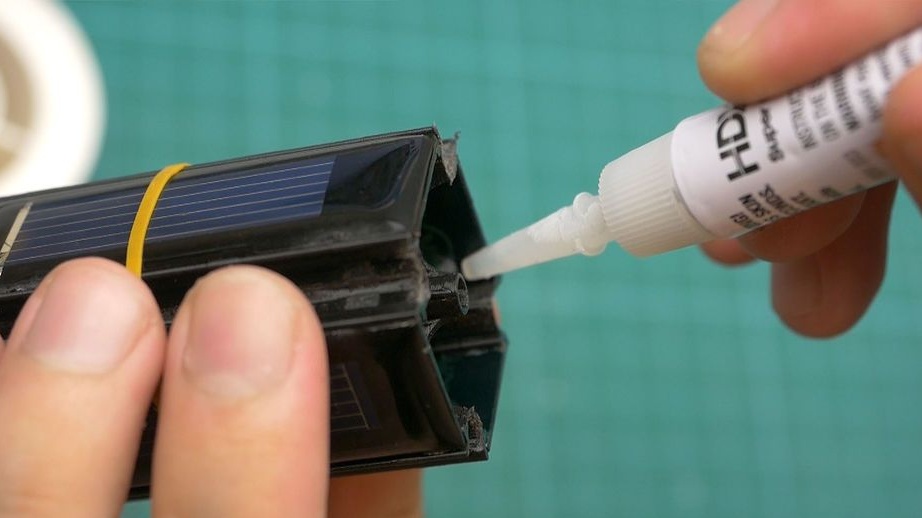
Solder the wire to the contacts of the solar panels. Connect the panels in pairs with a wire. The plus of the opposite panel is soldered to minus and per revolution. Adheres photocells to the frame.

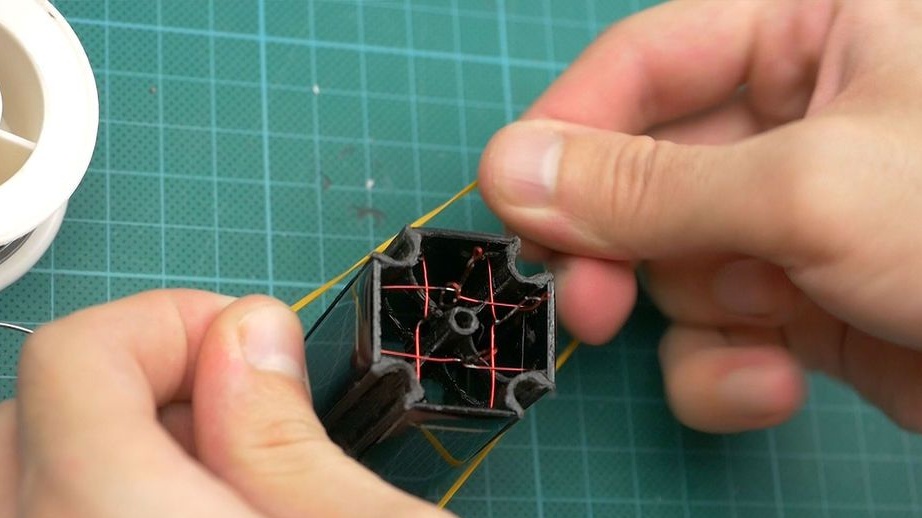
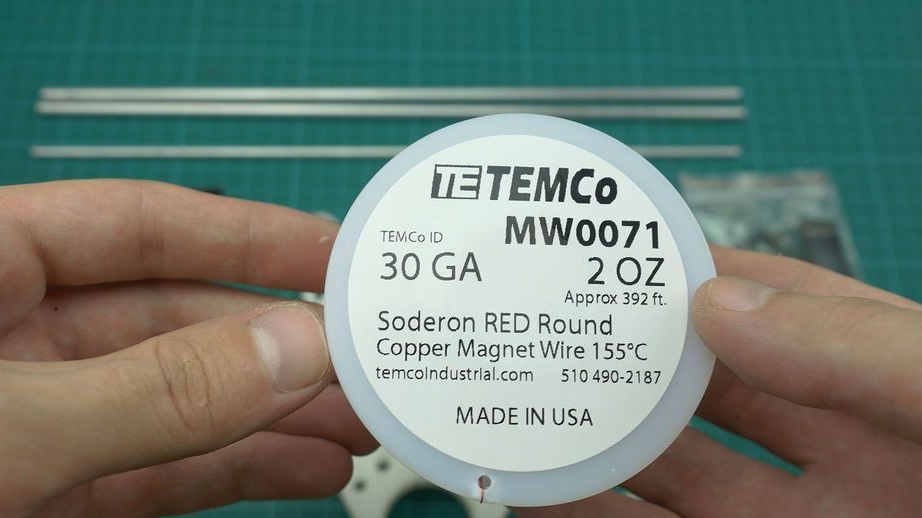
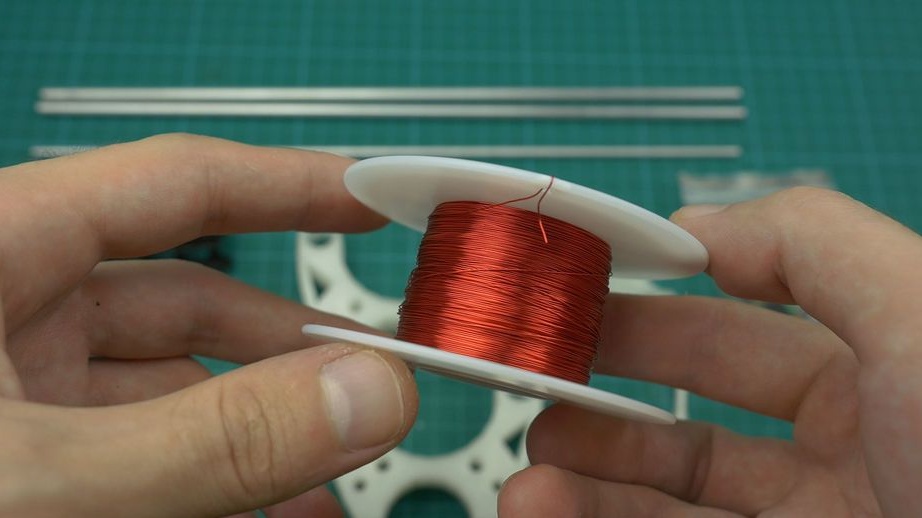
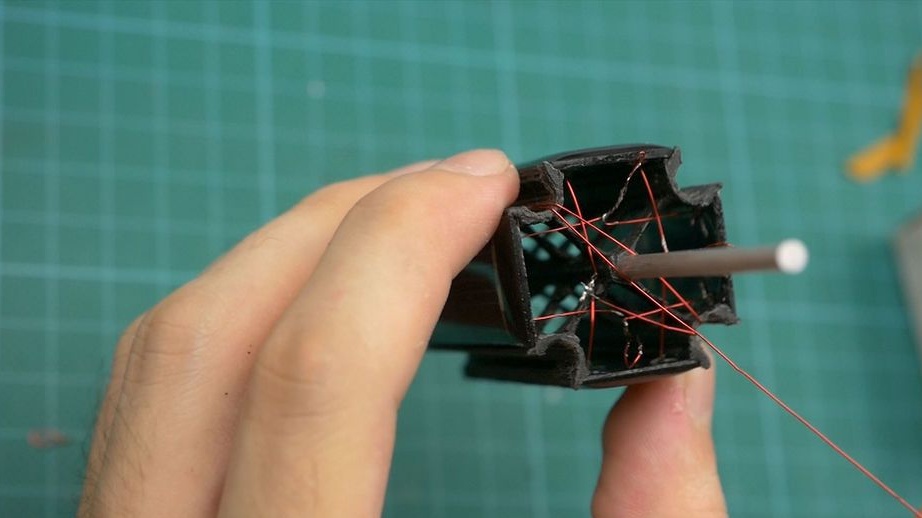
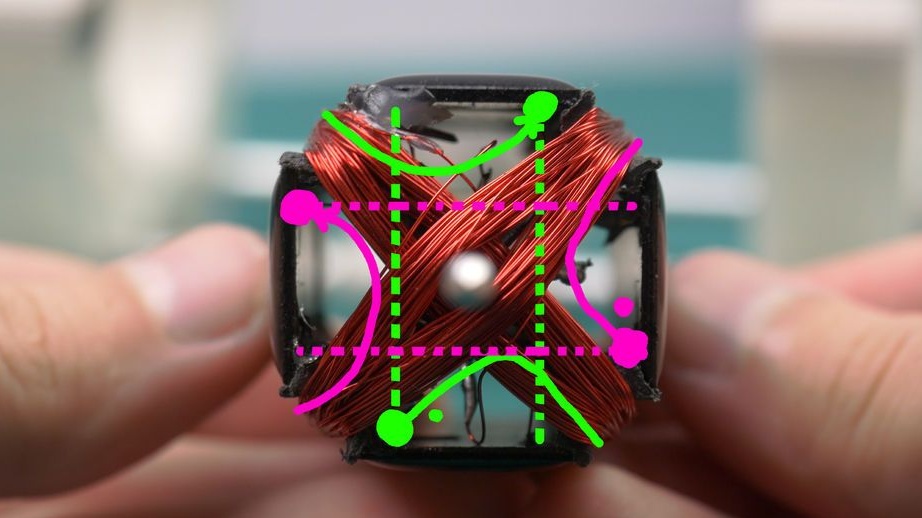
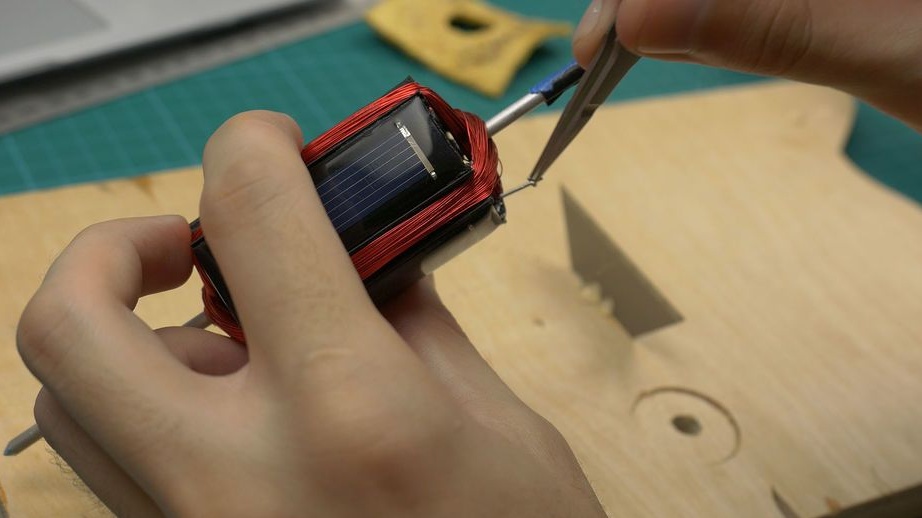
Step Two: Coil Winding
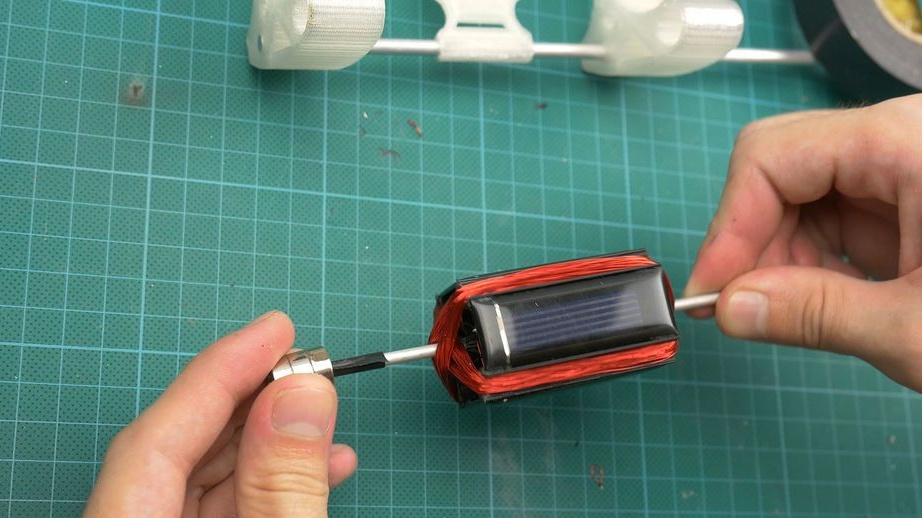
Inserts motor shaft. Both coils wound in one direction. Each coil is connected to its own pair of panels. Each coil has 110 turns. Arrows with a dot is the beginning of the windings. You can wind 10 turns on each side of the shaft.
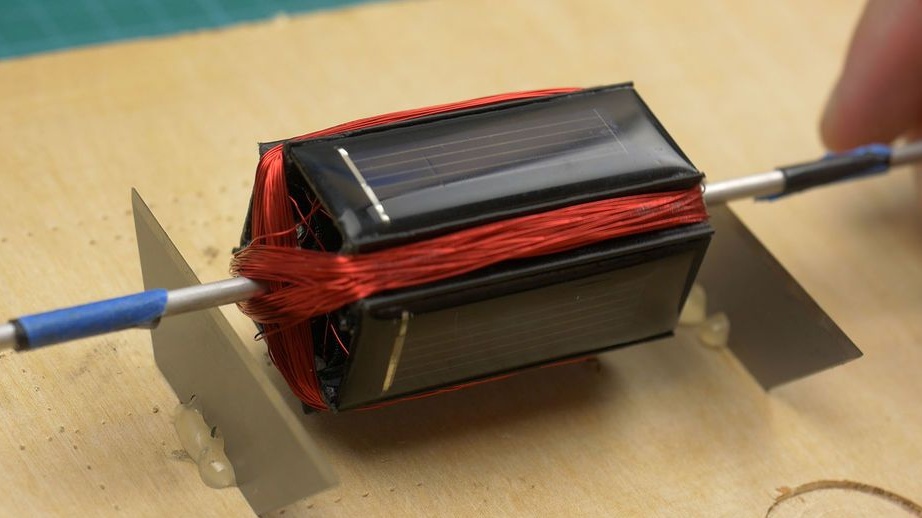
Step Three: Balancing
Mounts the rotor on two vertically mounted blades. Rolls a shaft on blades. Gluing pieces of wire eliminates the imbalance.
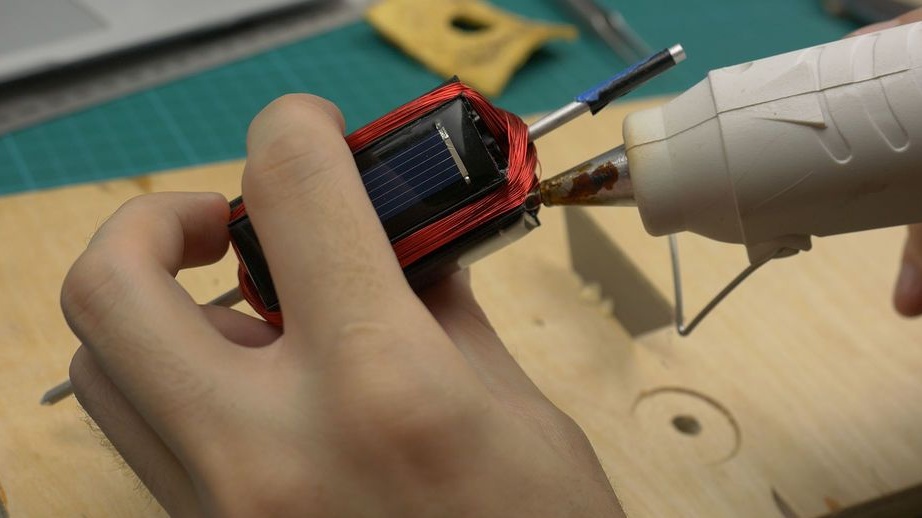
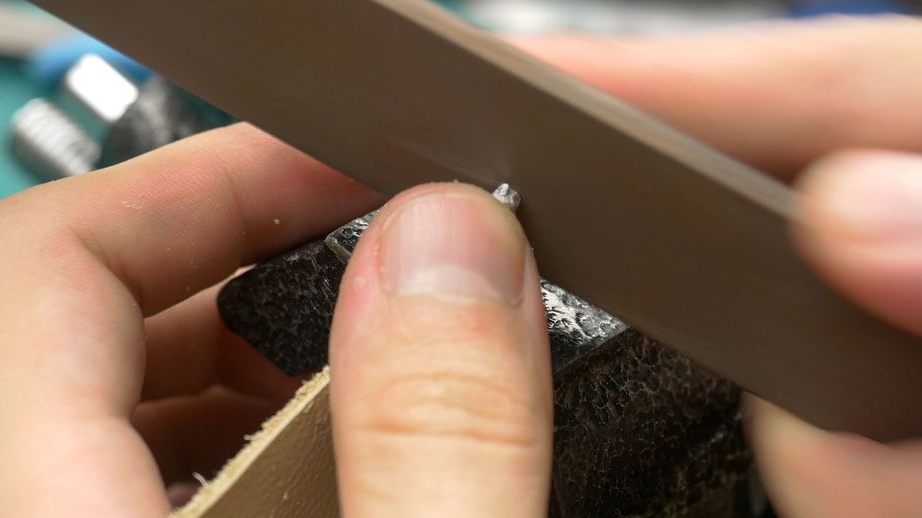
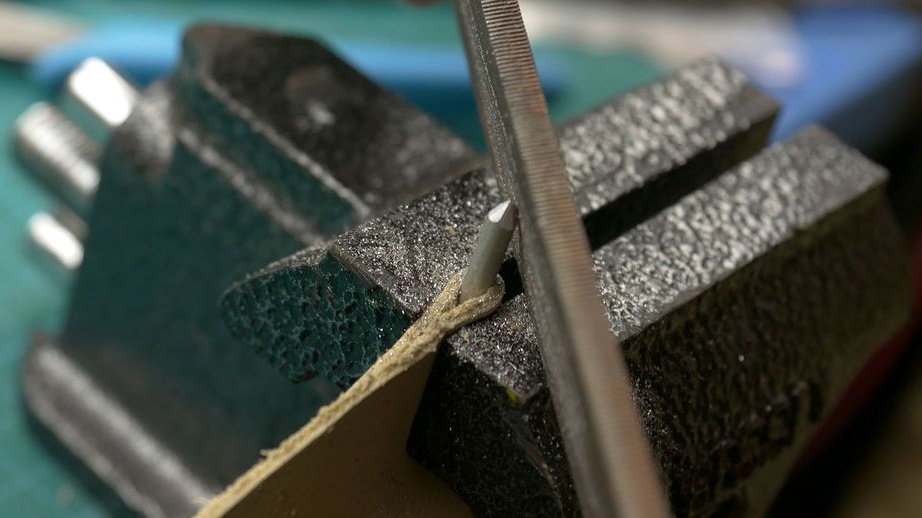
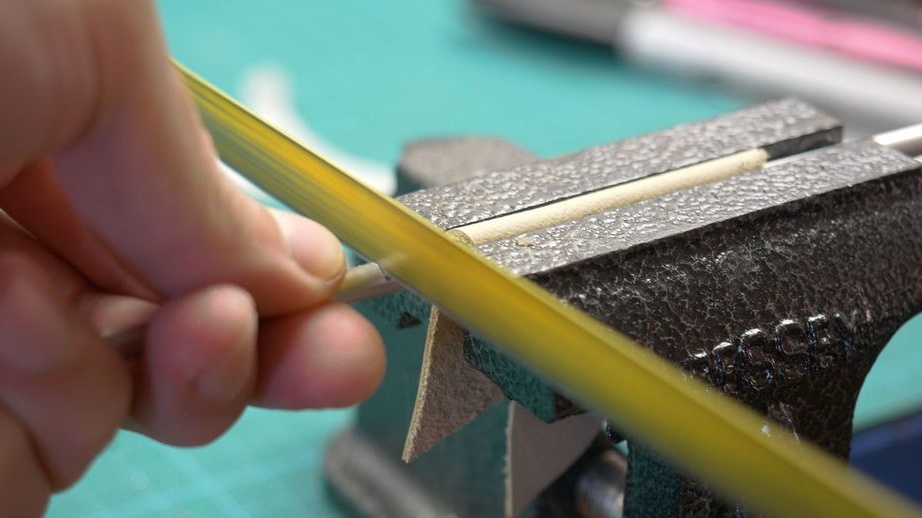
Step Four: Prop
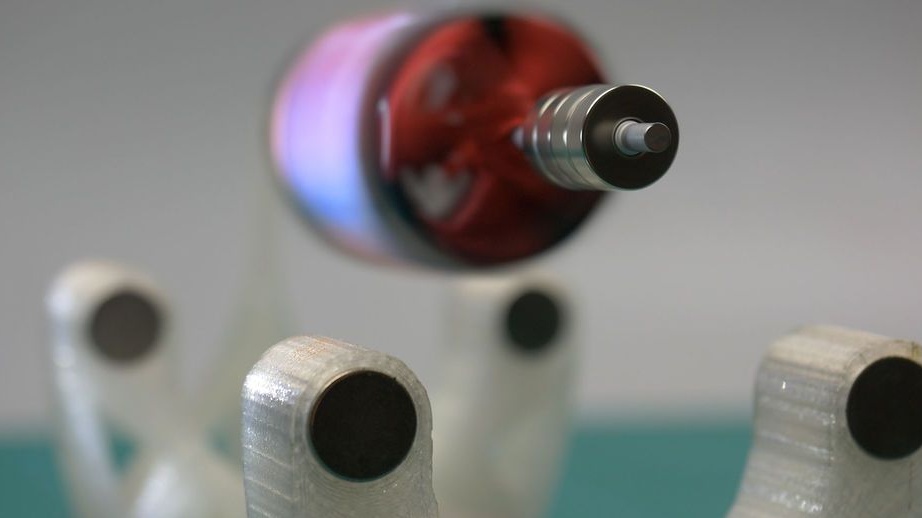
During operation, the engine rests on the shaft with the tip of the shaft. Contact point should be minimal. To do this, sharpen the tip of the shaft.
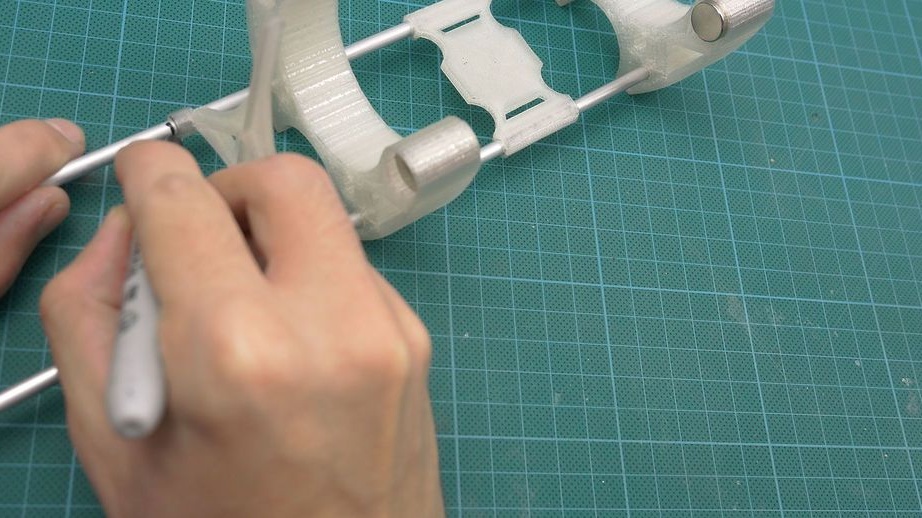
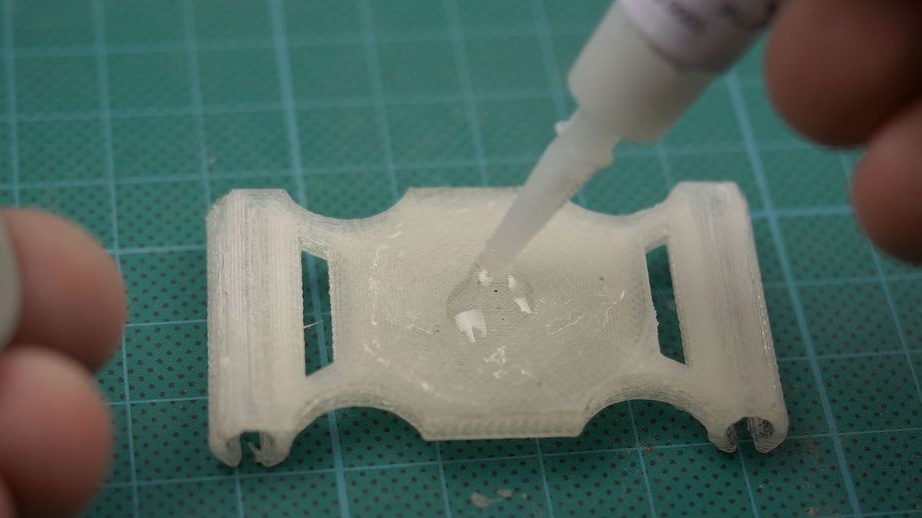
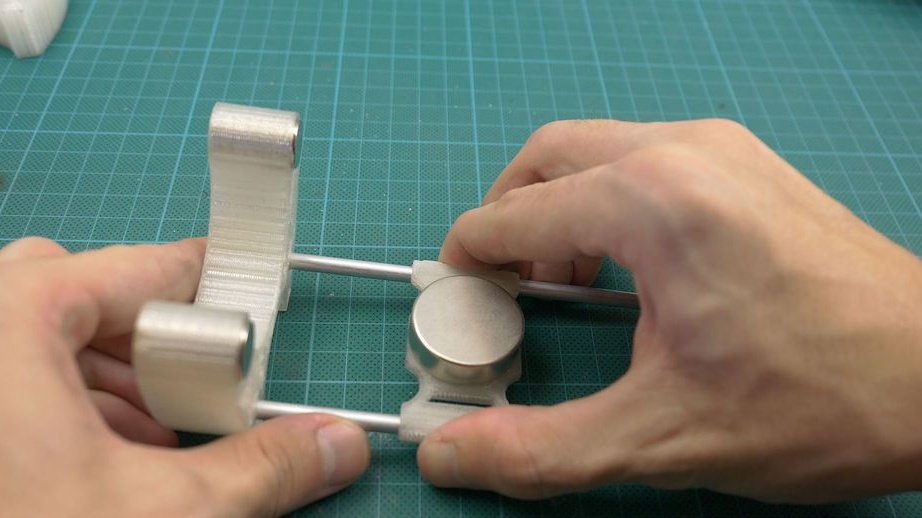
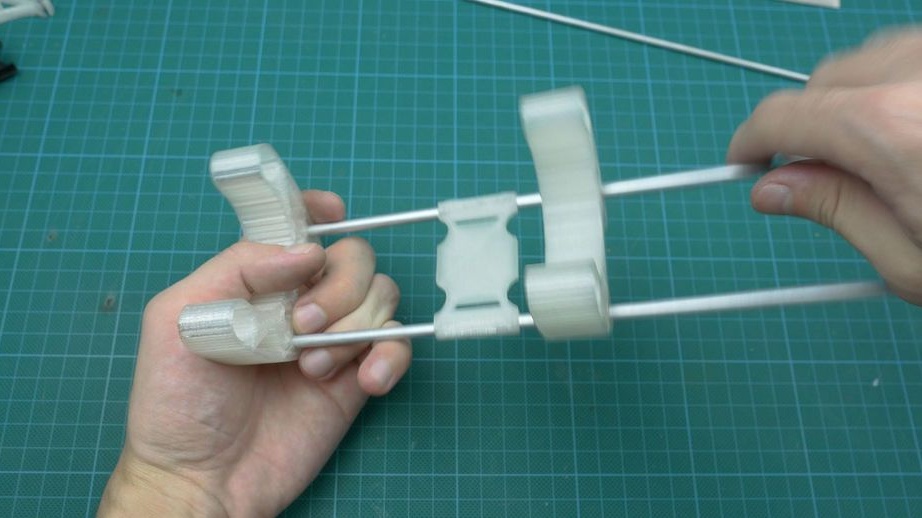
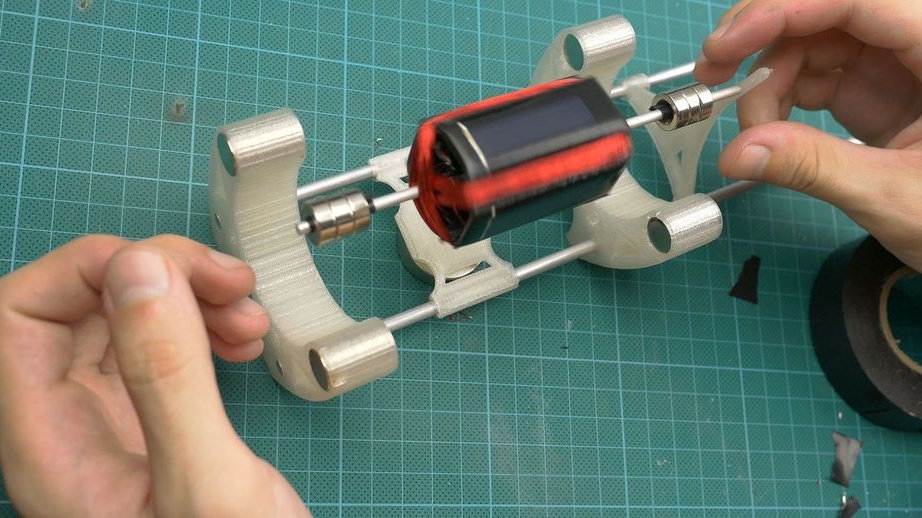
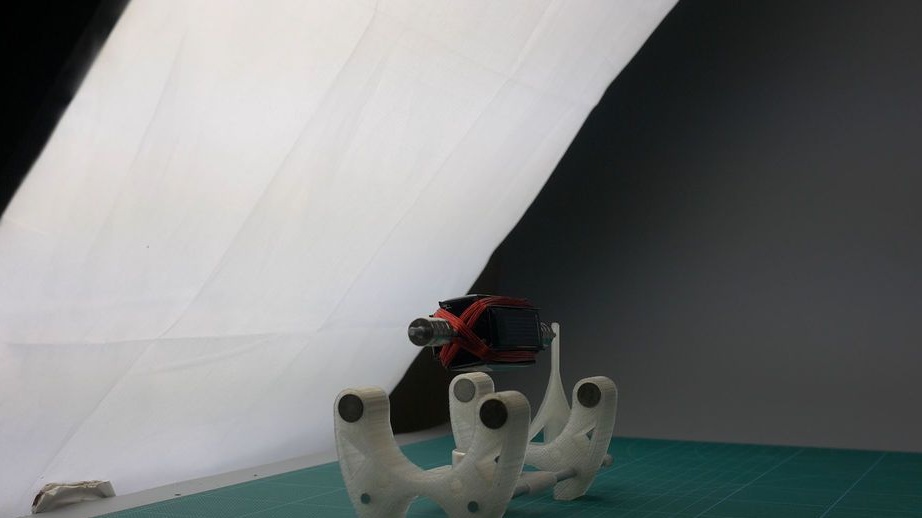
Step Five: Build the Base
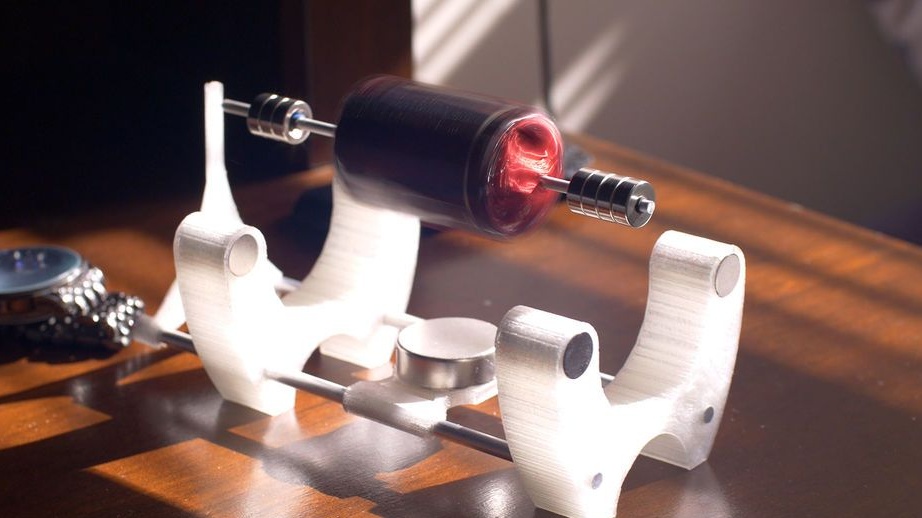
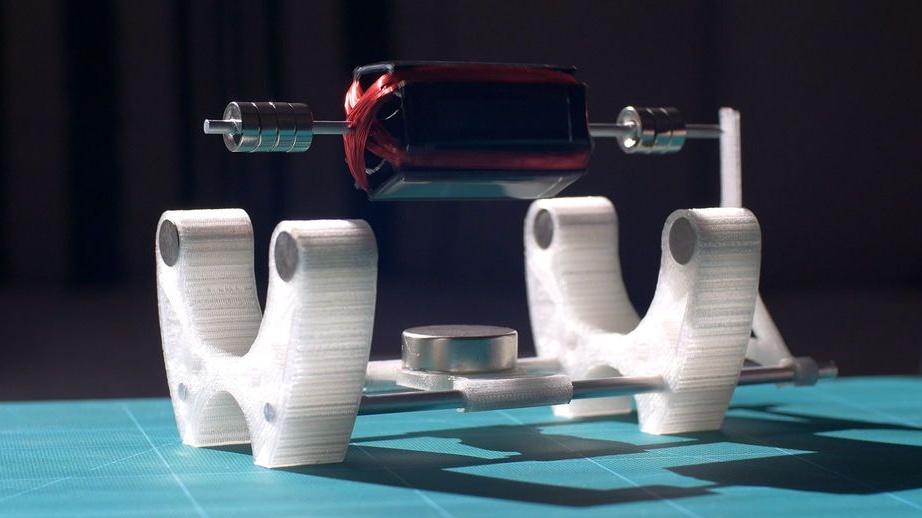
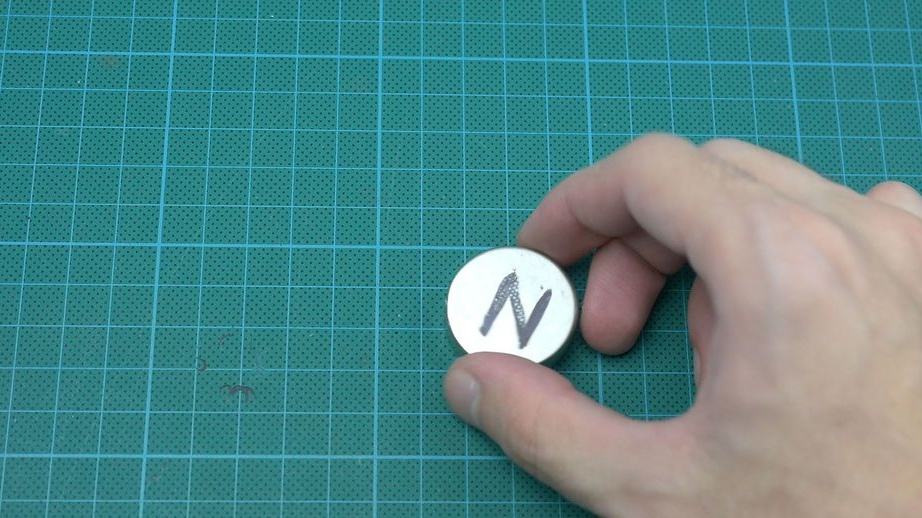
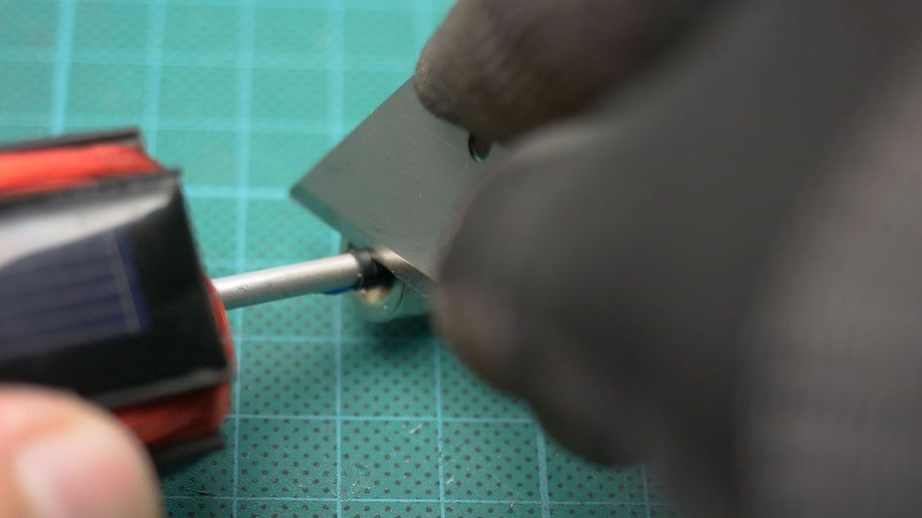
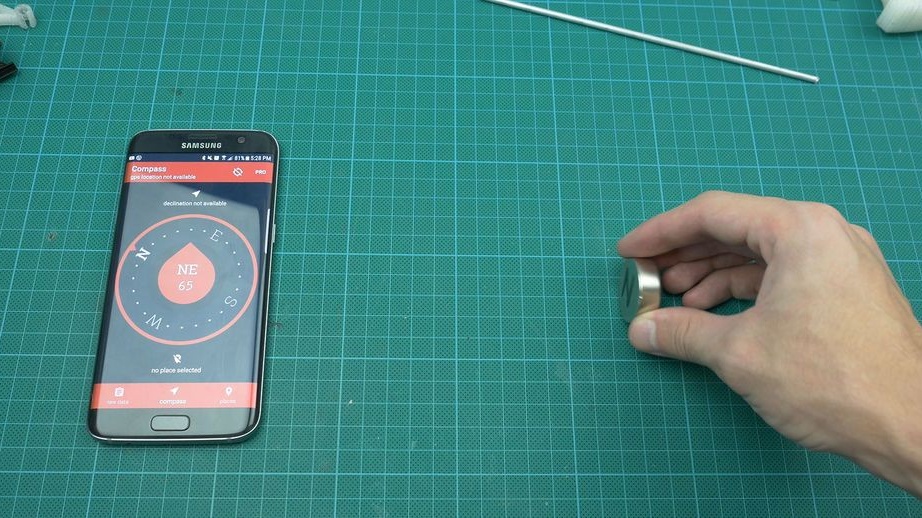
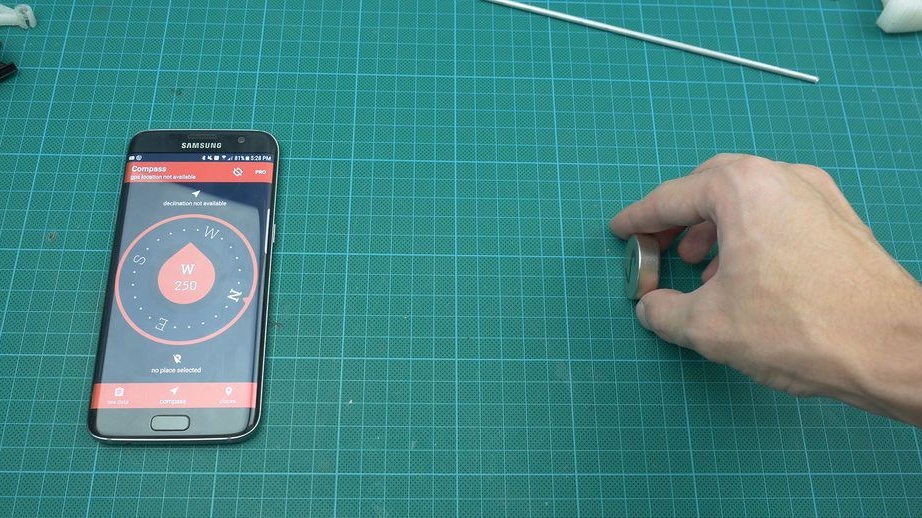
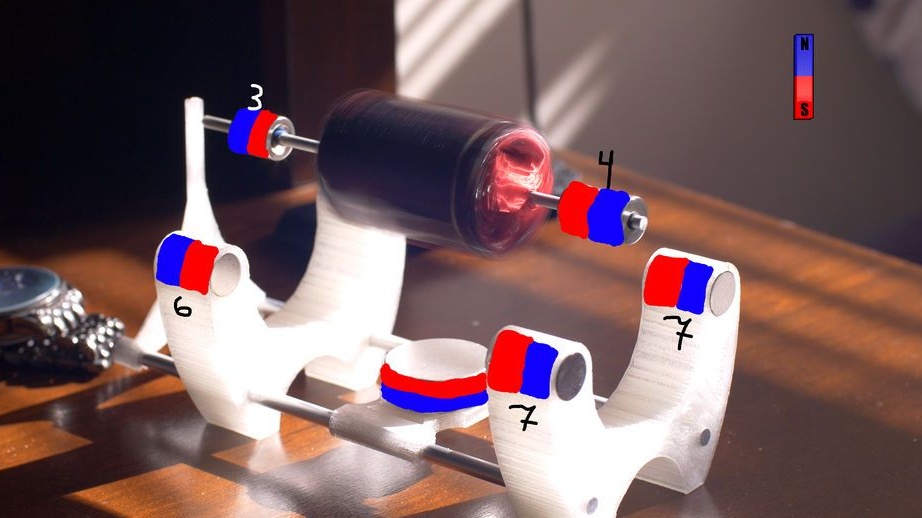
The master made all parts of the base on a 3D printer. Gathers the base. Excess shaft saws off. Glues magnets as in the diagram. We find the poles of the magnets using the compass of the smartphone, the main thing is not to bring the magnet close.

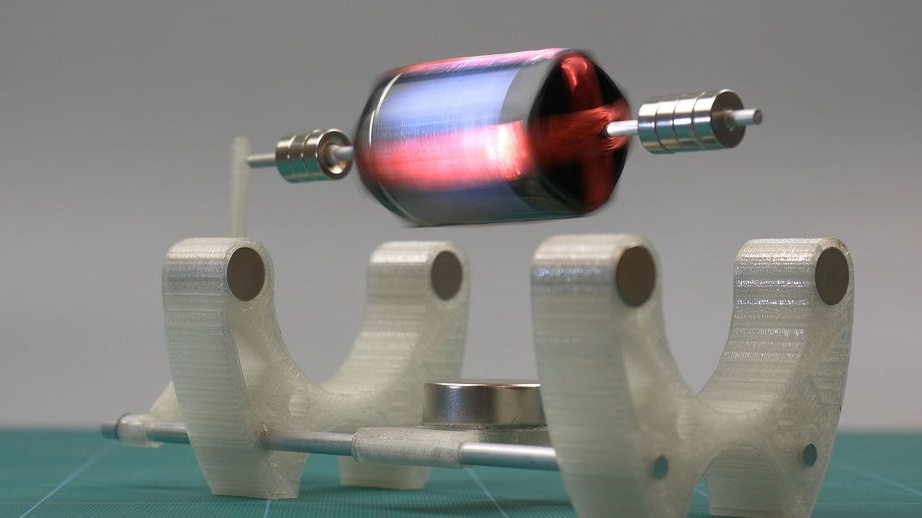
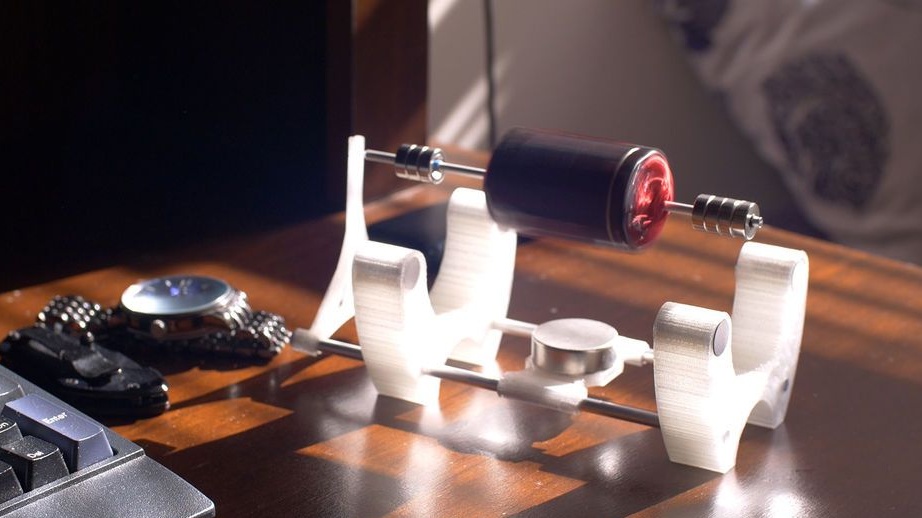
The Mendosino magnetic solar engine is ready.
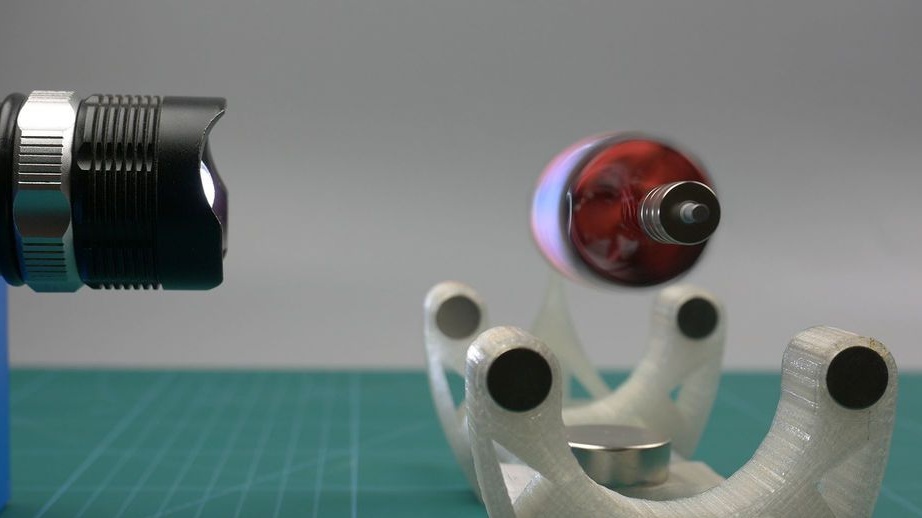
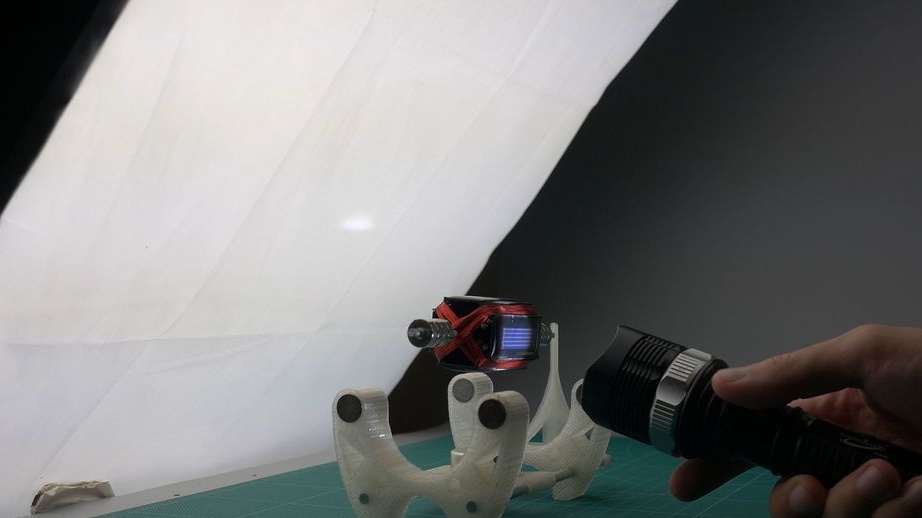
The entire assembly process can be seen in the video.