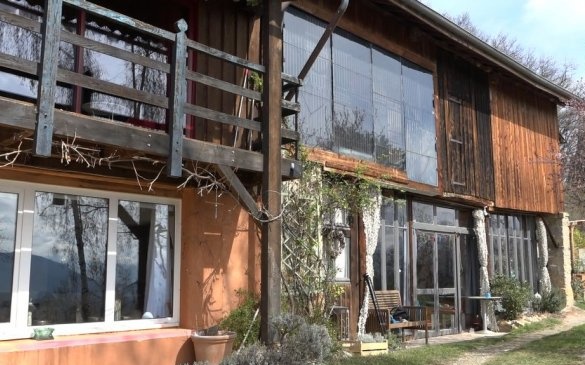
In this article, the Master will present us with his design of a solar thermal panel. Moreover, for its manufacture does not require large expenditures.
Tools and materials:
-A few old refrigerators;
-Brush;
-Compressor;
Soap solution;
-Nippers;
-Screwdriver;
- Metalwork keys;
-Hacksaw;
- Clamps;
-Bar wooden;
-Fasteners;
-Silicone;
- Roller;
-Paint;
-Copper tube;
-Soldering accessories;
-Glass;
- Glass cutter;
-Chisel;
-Hammer;
Step One: Theory
According to the master, solar radiation, in the latitudes of the author's residence, generates up to 1000 W m². Using solar panels, you can "collect" up to 500 W / m², and using thermal panels up to 800 W / m².
Solar thermal panels are especially useful for producing domestic hot water. In this case, they are called solar water heaters.
3 - 4 m² of solar thermal panels cover 90% of the hot water requirements for two people throughout the year. In cloudy weather, a hot water storage tank is used.
The project payback period is 2-3 years.
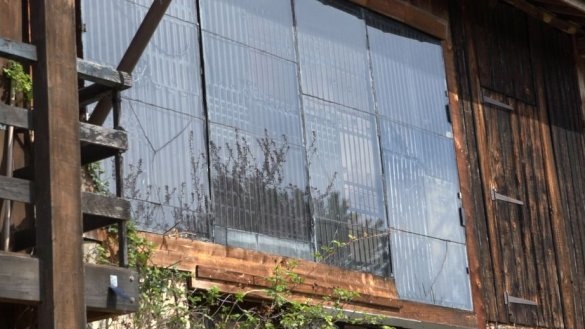
The design of the panel is similar to the industrial one: a solar collector containing coolant is sandwiched between the insulator and a sheet of glass. The master uses the radiator of the refrigerator as a collector, and uses the refrigerator door as an insulator.
Step Two: Material Selection
For maximum efficiency of the solar thermal panel, the tubes should have a small diameter (in this case 4 mm). Due to this, the temperature of the liquid in the coolant increases rapidly when exposed to sunlight. To reduce heat loss, the space between the radiator, glass and the heat insulator should be minimized, but the radiator should not touch them.
The temperature inside the panel can reach 150 ° C, respectively, you need to choose a material resistant to high temperature and ultraviolet radiation.
It is also necessary to take into account low temperatures in winter night time.
Refrigerator radiators should be painted black and facing the sun at the right angle.
Step Three: Radiator
For his purposes, the master used faulty refrigerators purchased at scrap metal collection points.
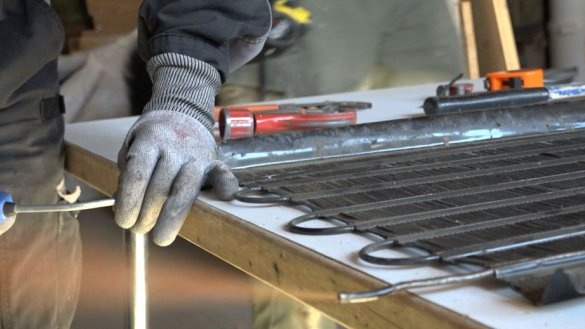
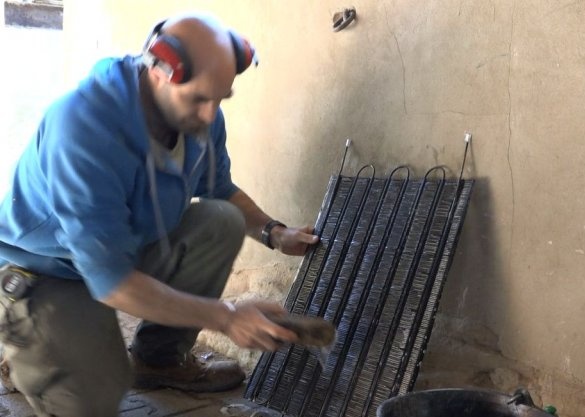
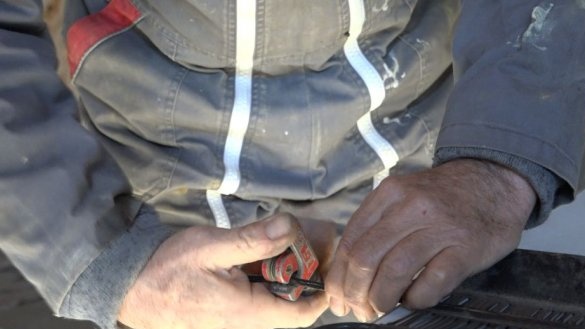
Bite off the radiator tubes as close to the compressor as possible. Washed the grate with soapy water. Blown radiator tubes with air.
Step Four: The Door
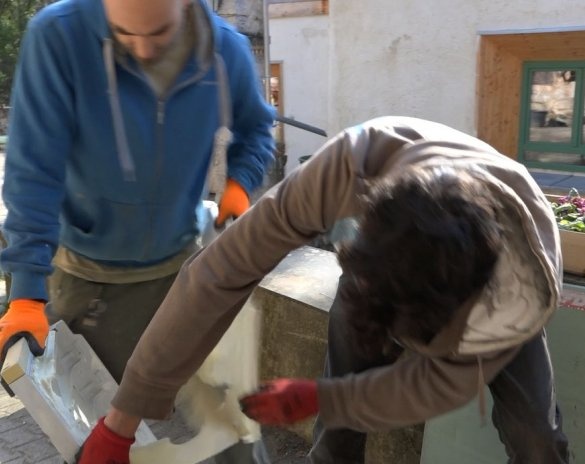
The master will use the door as a heat-insulating panel. Disassembles the door, removes all protruding parts of the handle, bolts, rubber bands, plastic panels. The surface should be flat, and the master cuts off the protrusions.
Step Five: Build
According to the master, the best panel size is 1.5 - 2 m². If the panel is larger, it will be heavier and it needs a larger glass. If less, it will be less effective and will have to increase the number of panels.
Depending on the refrigerator model, for a 2 m² panel, 3-4 grilles and 2-3 doors will be needed.
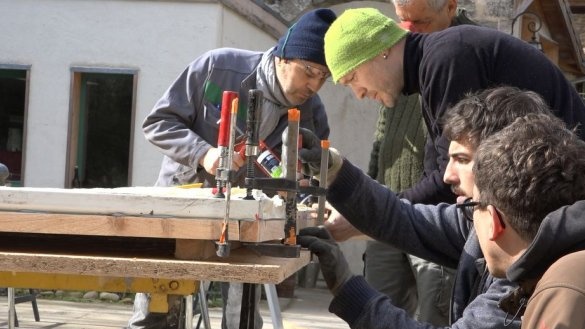
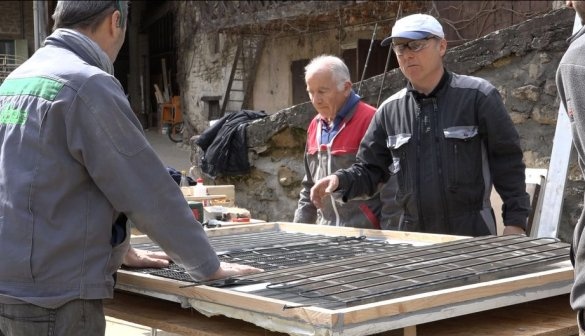
Using a wooden block, the master assembles three doors into one frame. Carefully insulates the slots around the perimeter of the frame.
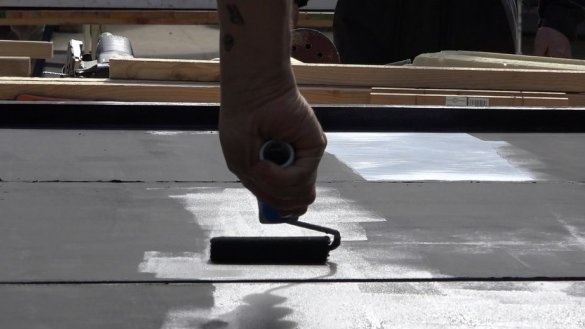
Paints the frame with black acrylic paint.
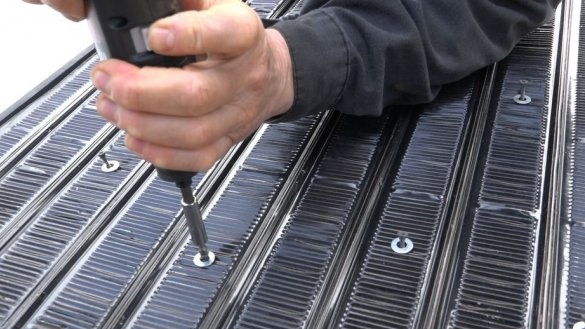
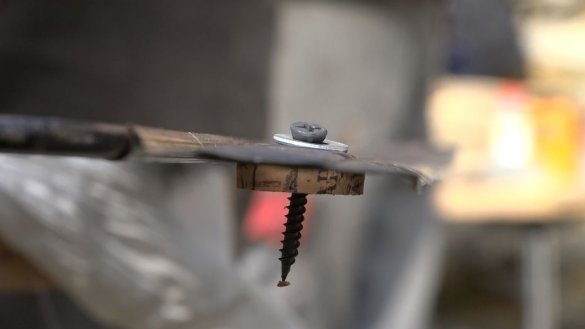
Then the master fixes the radiators to the frame. Installs cork gaskets between the radiators and the frame.
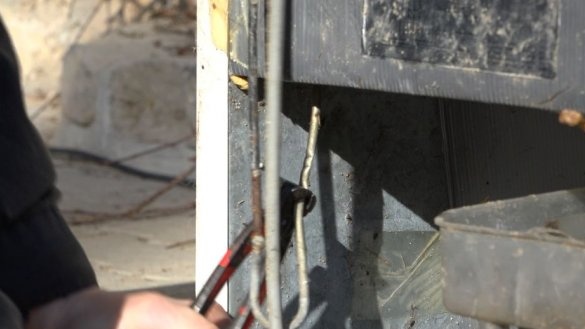
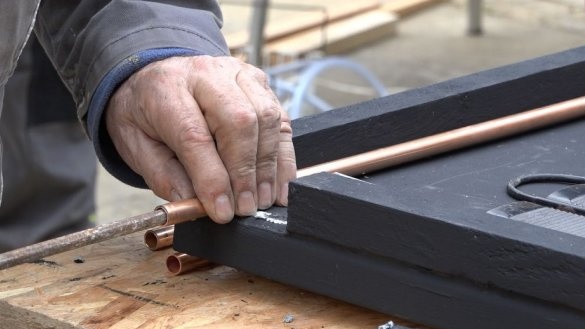
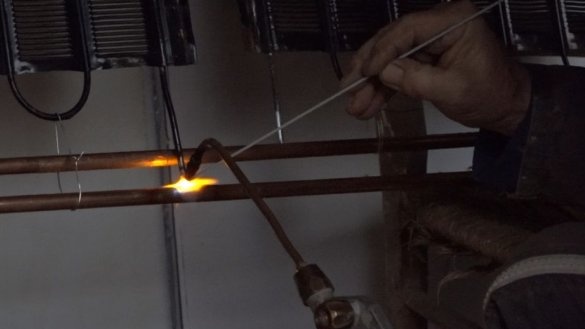
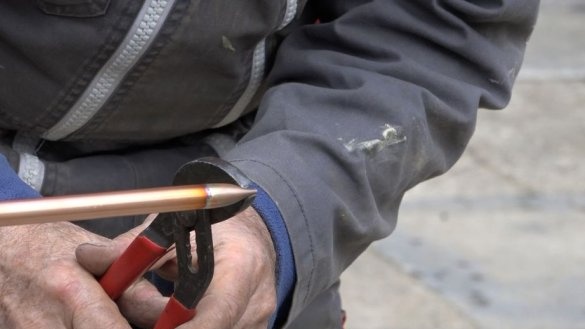
Now you need to connect the radiator tubes in one piece. For the main tube, you need to plus the diameter of each radiator tube. Those. three radiators with a tube diameter of 3 mm, which means the main tube should be 9 mm. There should be two main pipes, one at the input, the other at the output.
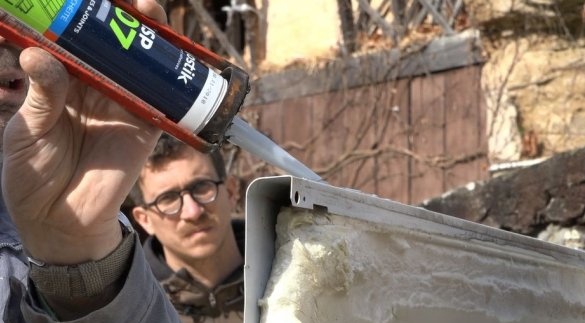
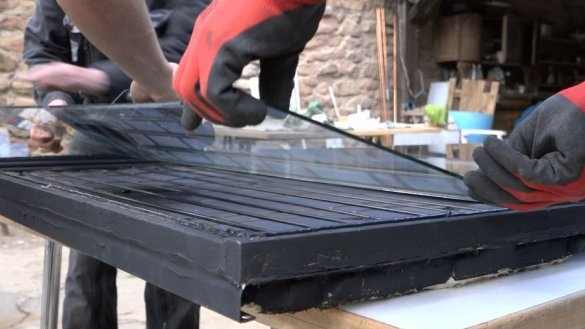
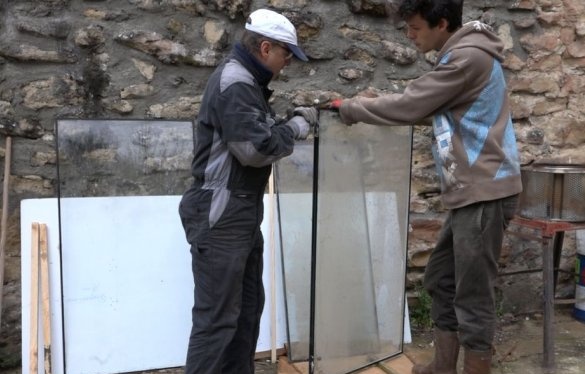
For the project you need glass 4-5 mm thick. Glass master "extracted" from the old double-glazed windows. Dismantled them. Cut to size. Glued to the frame with sealant.
Step Six: Installation
When connecting several panels, it is necessary to isolate the pipes coming to the surface. It is also necessary to add 2 mm to the diameter of the main tube for each subsequent panel. Those. end panel 9 mm, next 11 mm, next 13 mm, etc.
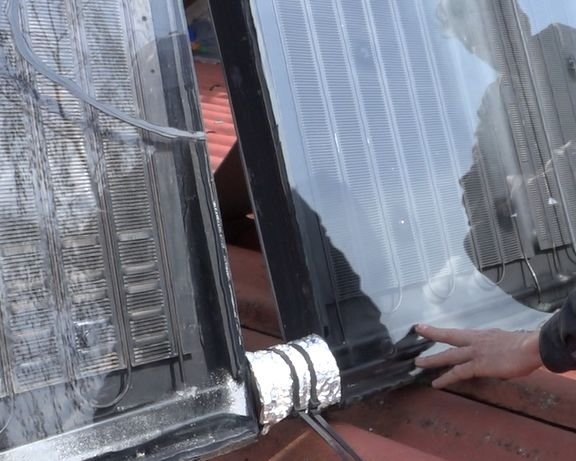
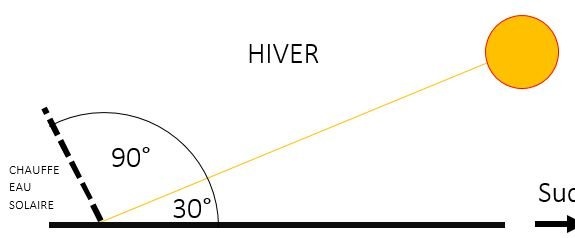
When installing the panels, the angle should be taken into account. Ideally, the solar panel should be perpendicular to the sun's rays and located on the southern, unshaded side.
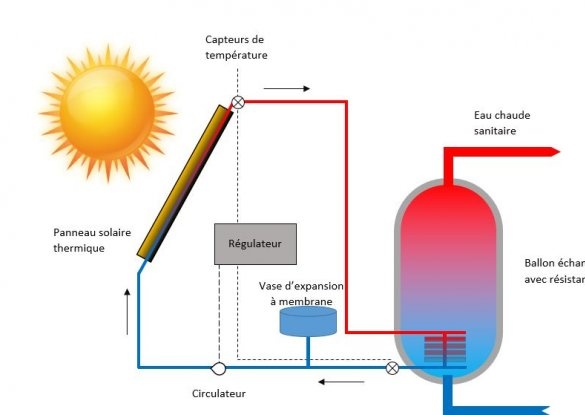
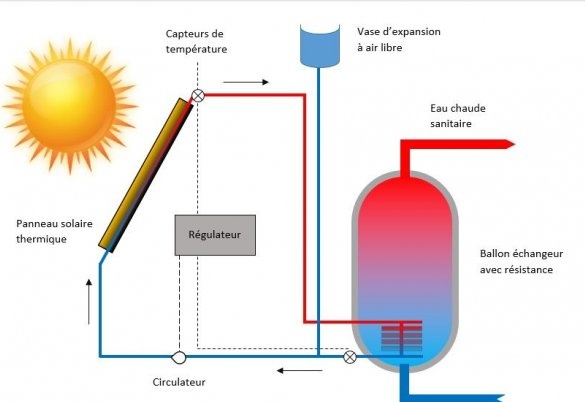
Panels should be located as close to the heat exchanger as possible. An expansion tank and a thermal valve are built into the trunk. The thermal valve should open at a liquid temperature in the panel above 10 ° C than in the heat exchanger and close if the temperature is only 5 ° C higher.
In winter, antifreeze should be used as a liquid.
The panel is made and according to the wizard works and saves money.
The whole process of manufacturing a solar thermal panel can be seen in the video.

