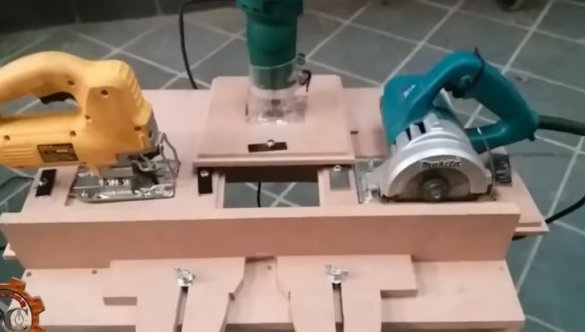
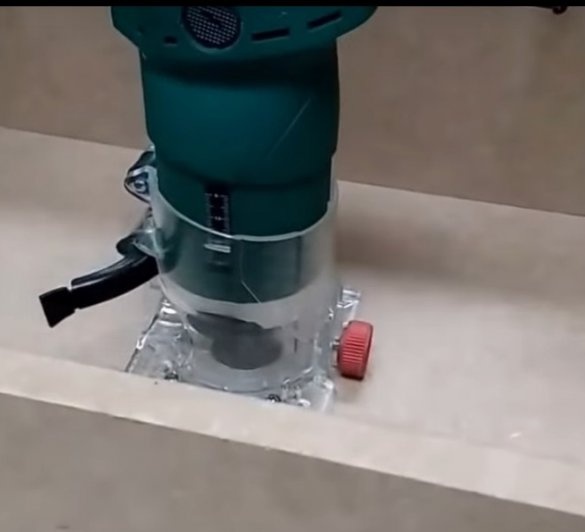
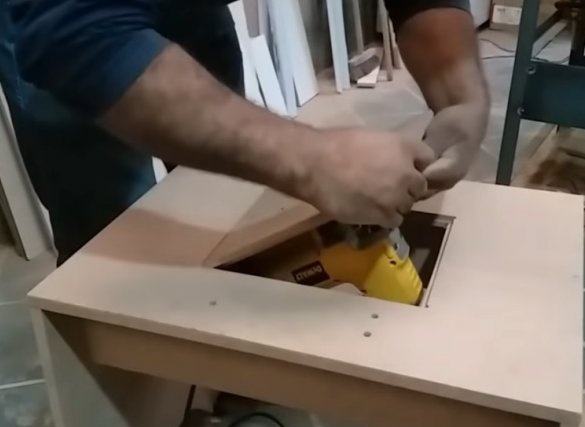
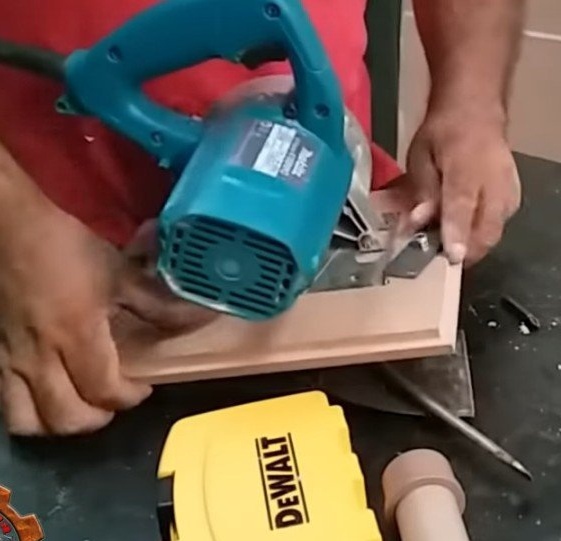
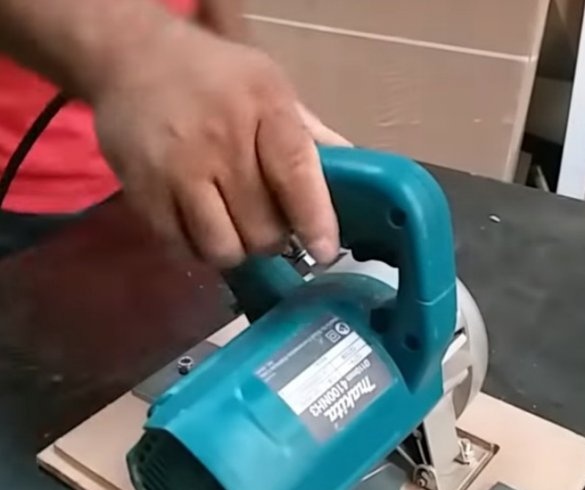
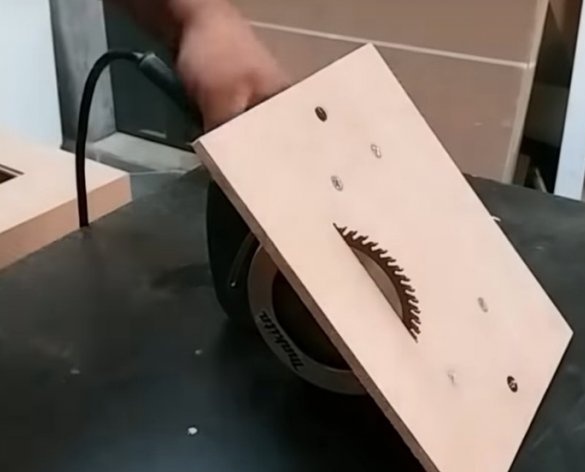
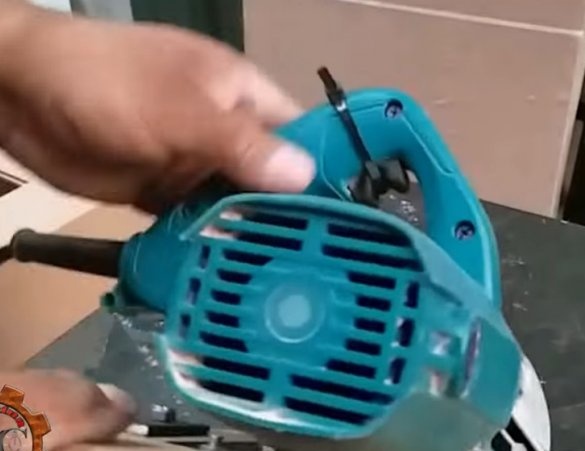
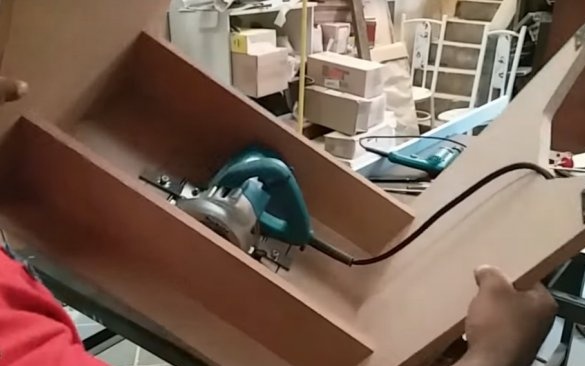
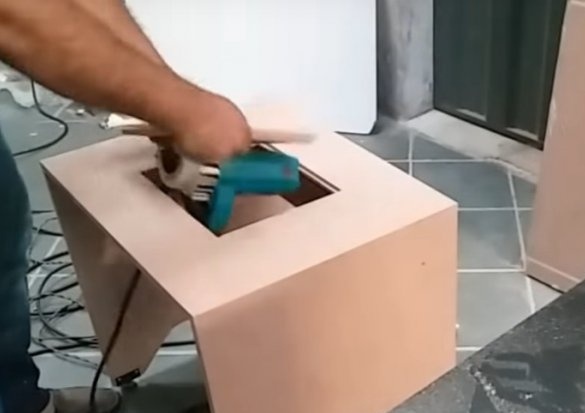
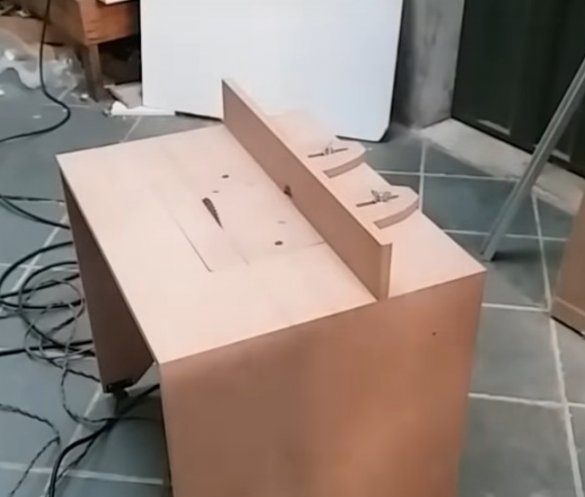
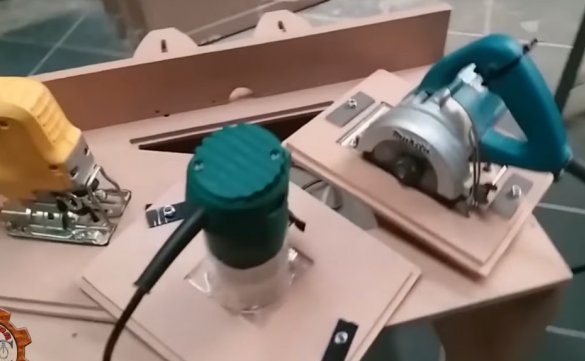
Hello dear the inhabitants of our site and site visitors. I present to you a very interesting homemade product from the author of the youTube channel Oficina de Curiosos - a practical adapter for three different power tools. Adapter - from the English word adapter, from Latin adapto (adapt) it is device, a device or part that is designed to connect any device that does not have another method of connection or attachment. In our case, it is a circular saw, a jigsaw and a manual milling machine.
This model compact enough, does not take up much space in the workshop, which in itself is a huge plus. Not every workshop has a lot of extra space.
For the manufacture we will need:
Milling cutter or chisel, jigsaw, saw on wood, angle grinder, ruler, simple pencil, drill or screwdriver. And, accordingly, the tools for which this project was launched.
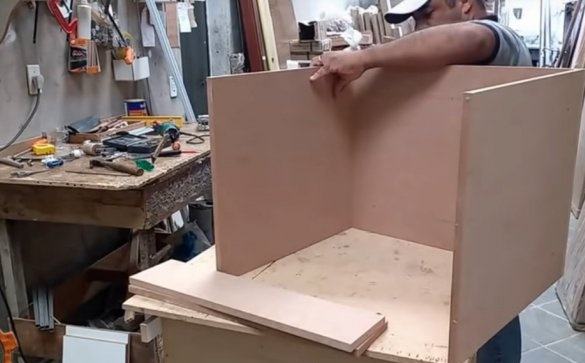
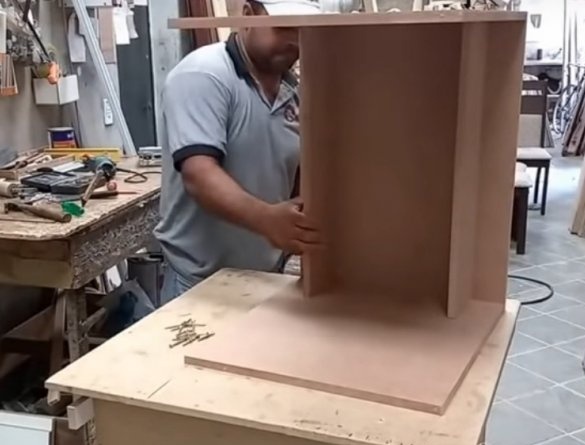
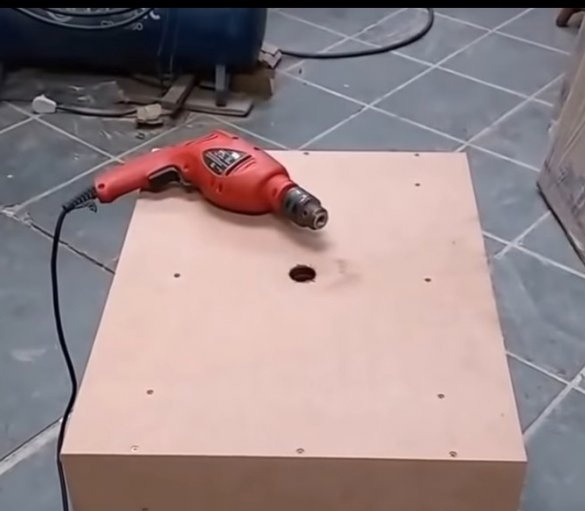
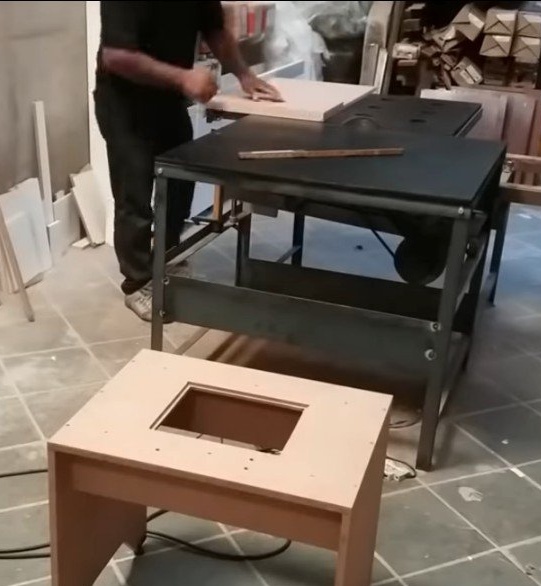
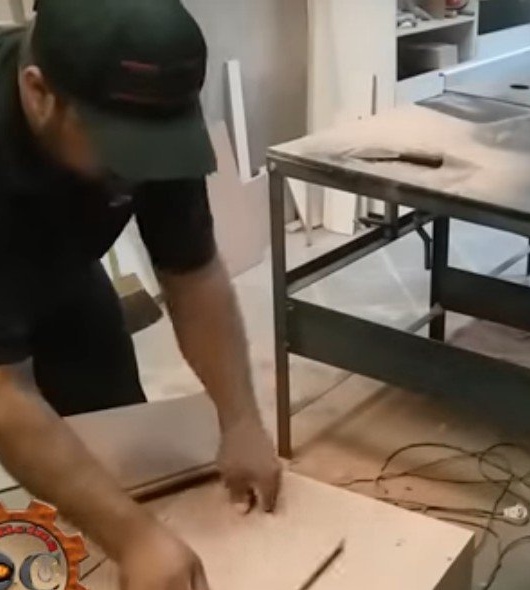
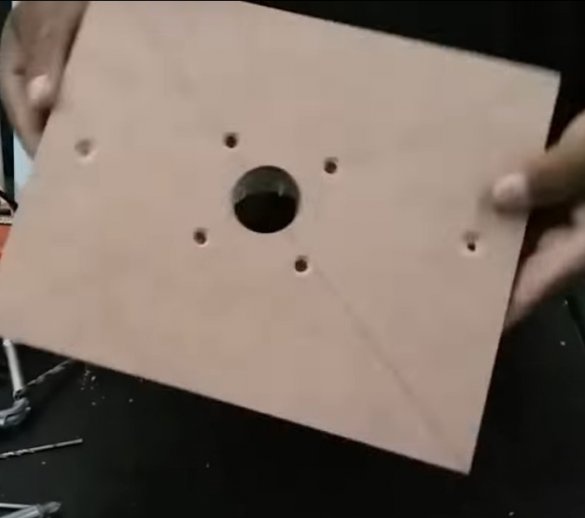
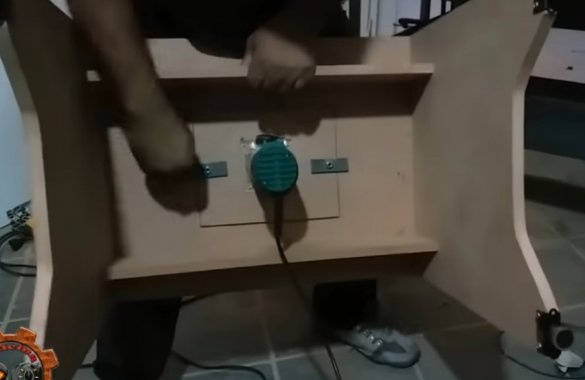
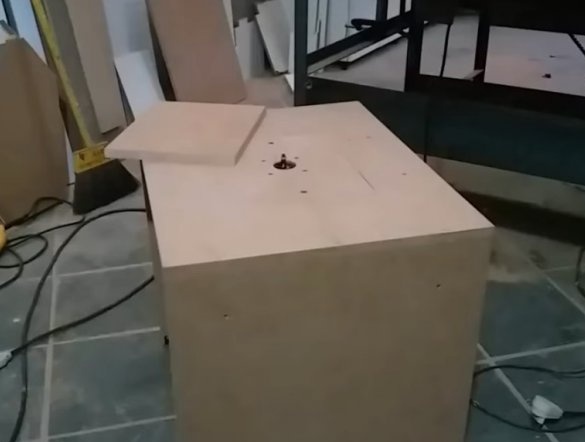
First of all, the author makes the base table of the future adapter. For this, dense plywood of at least 15 mm is used. The usual U-shaped design is assembled. From the bottom, two stiffeners are installed on each side. All parts connections are made using wood screws. On the countertop we mark the center. Using a long ruler, draw two intersecting diagonal lines. Their intersection is the center of the table. Next, the author takes the cutters with which he will work and, by the size of the largest, drills a hole in the center of the countertop. In the lower part of the table under the hole for the milling cutter, the author marks the location and screws the sole from the milling machine, on which the milling cutter will subsequently be mounted.
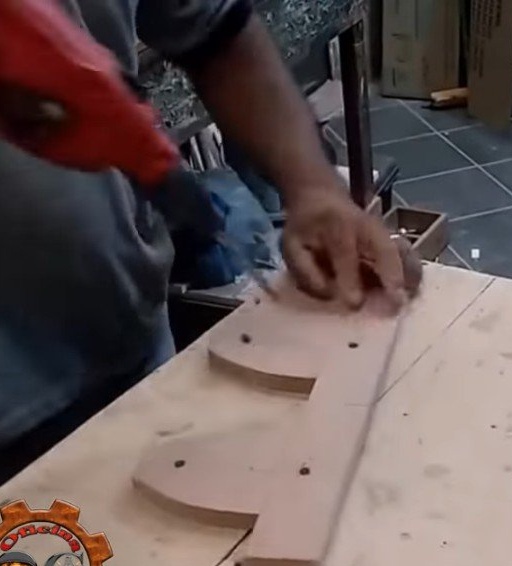
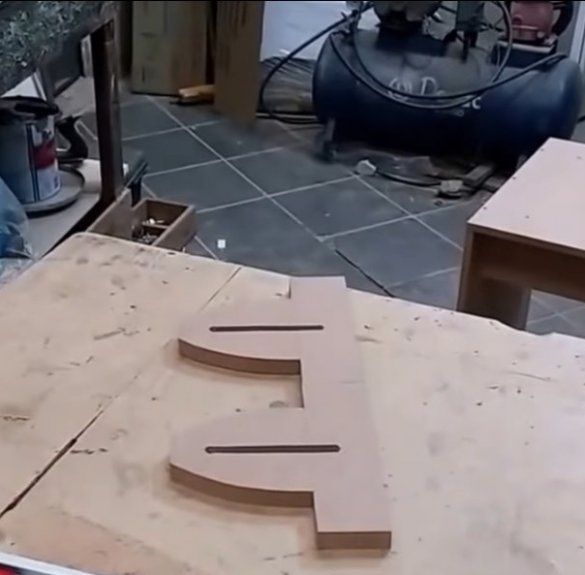
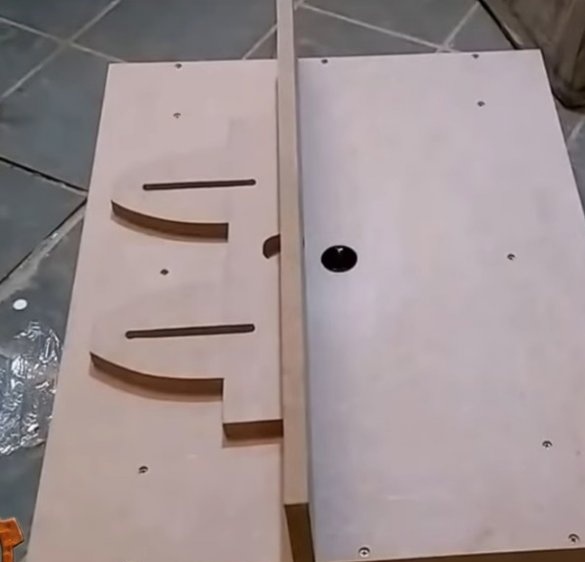
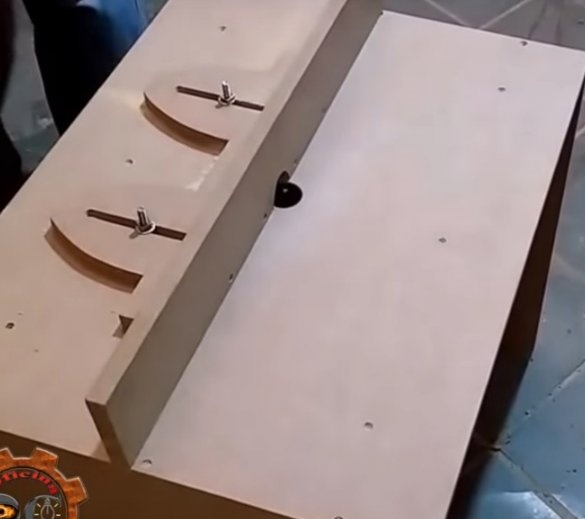
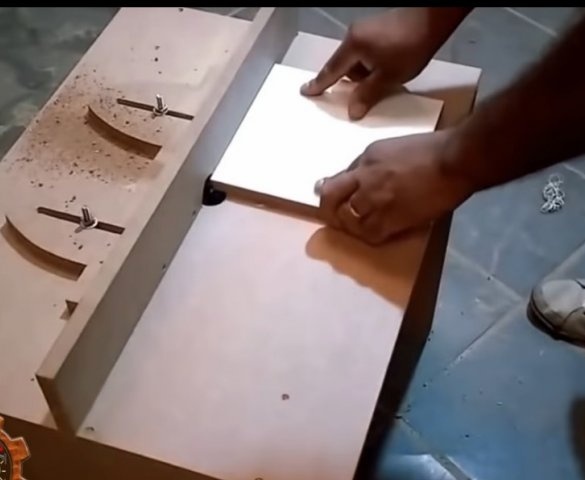
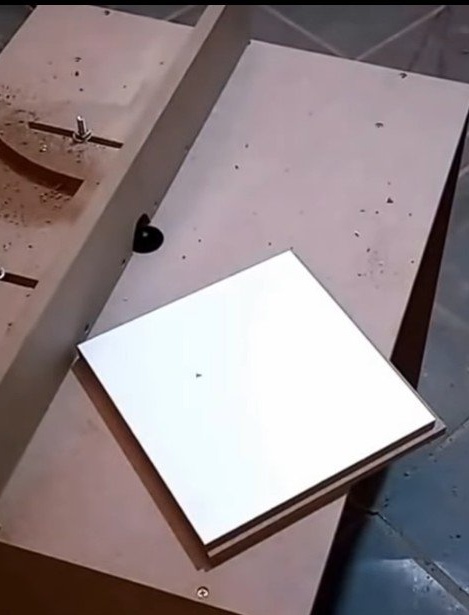
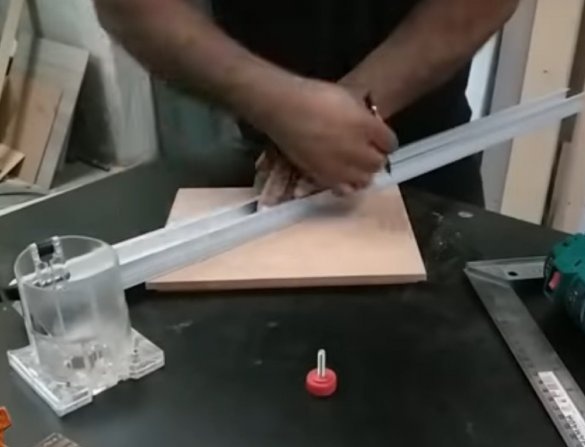
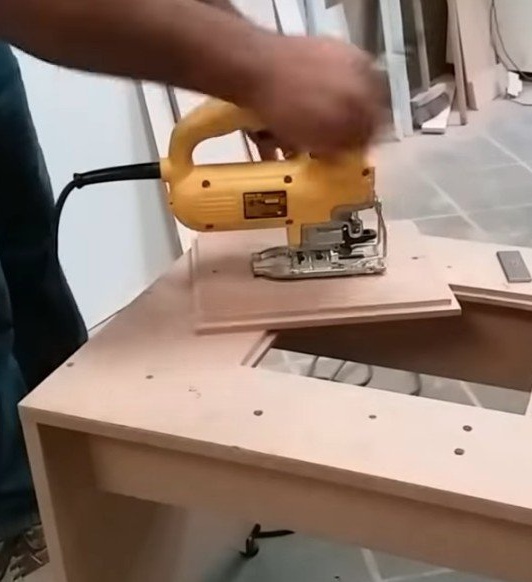
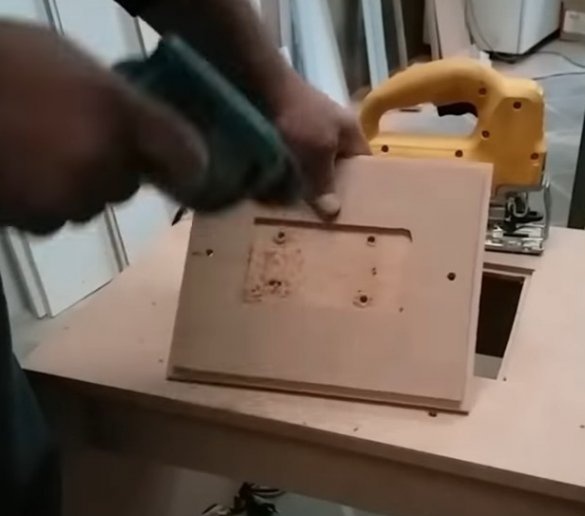
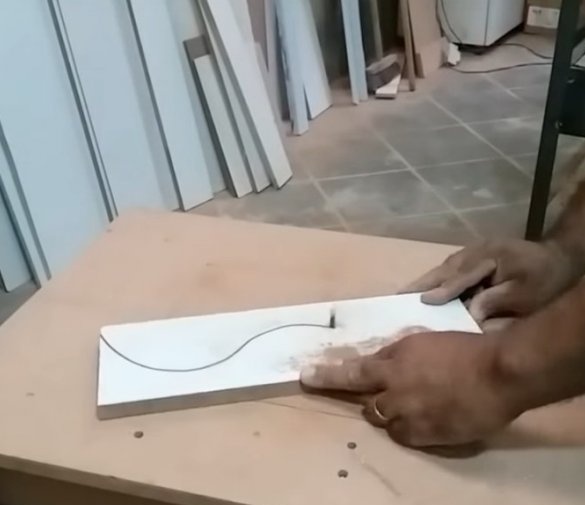
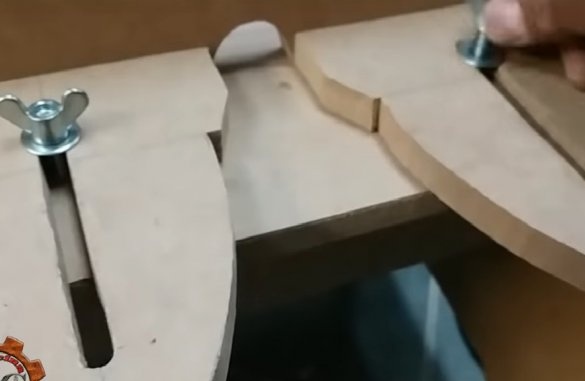
The second step in the manufacture of the adapter is the creation of a carriage for tools. What is noteworthy, the author made one carriage for all types of tools that will be attached to the adapter. It is quite convenient and economical both in terms of manufacturing time and in occupied area. For this, the same material was used from which the countertop was assembled.The author puts a drawing on the workpiece, and on it cuts the mount base of the carriage with a jigsaw. After the workpiece is ready, two holes are drilled on it on each side for a jigsaw file. Next, cuts are cut into which a bolt will be drawn through the table. It will serve as retainers. Further, the author makes the bar limiter. In size, it is equal to the length of the countertop. Screws it to the base-mount. In that part of the bar that will be near the cutter during milling, a semicircular cut is made so as not to interfere with the operation of the cutter. The product is tried in work. All just great!
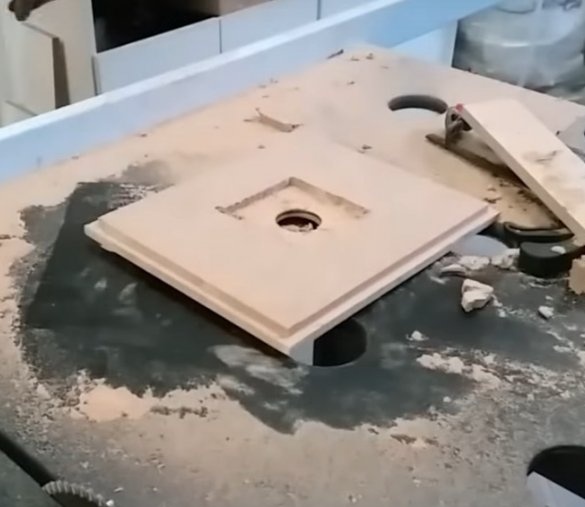
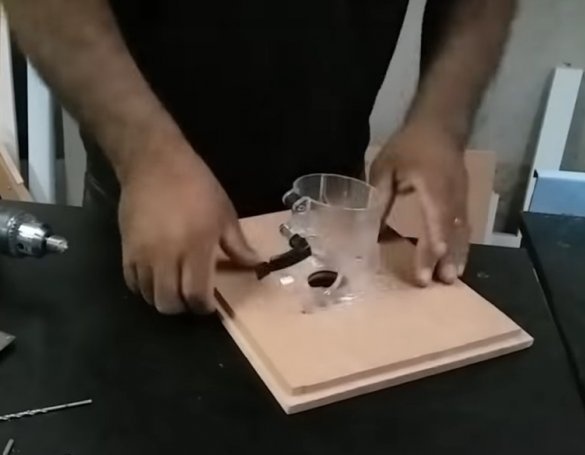
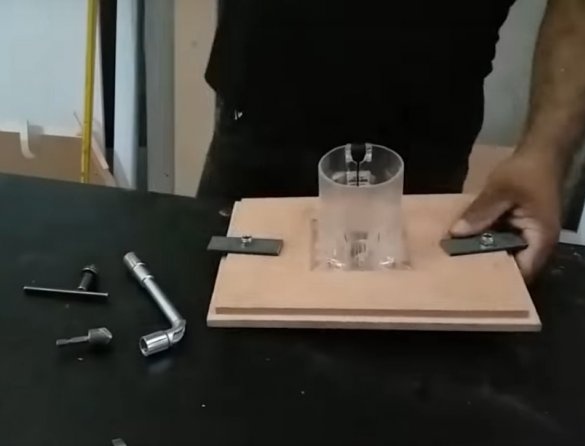
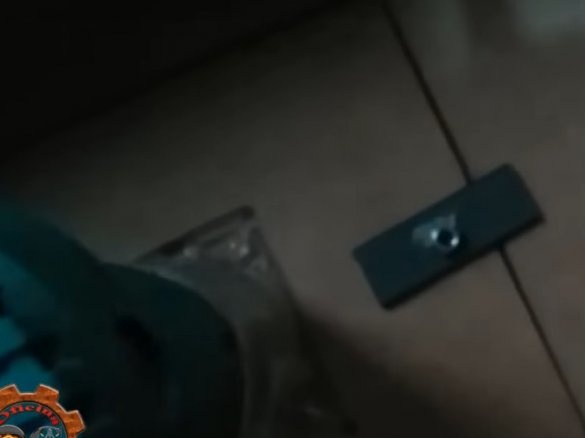
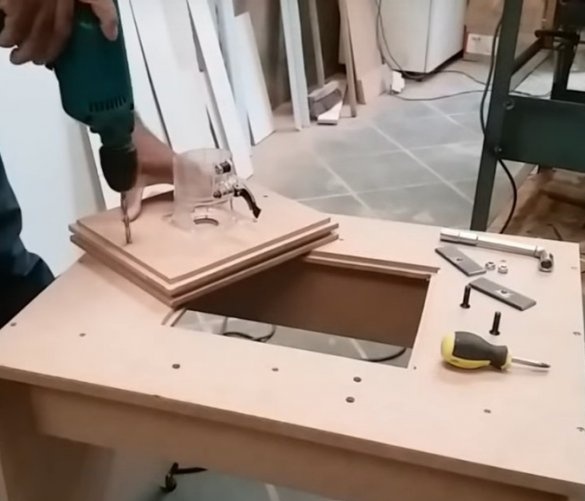
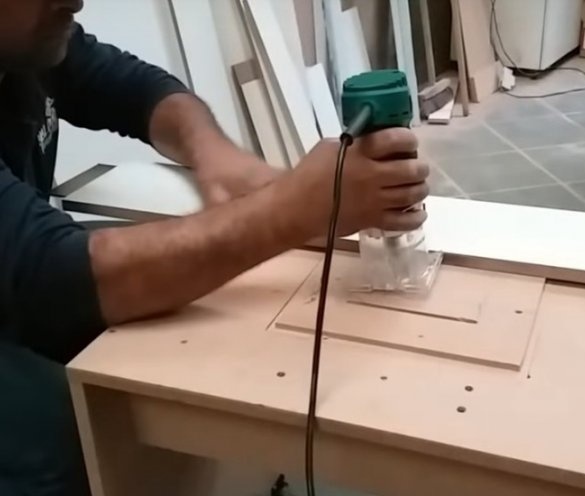
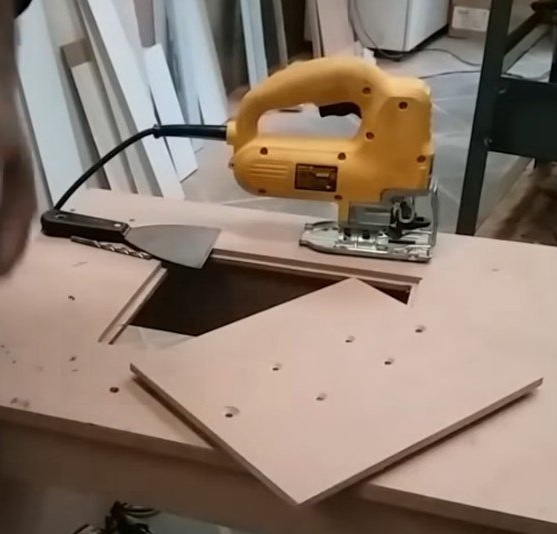
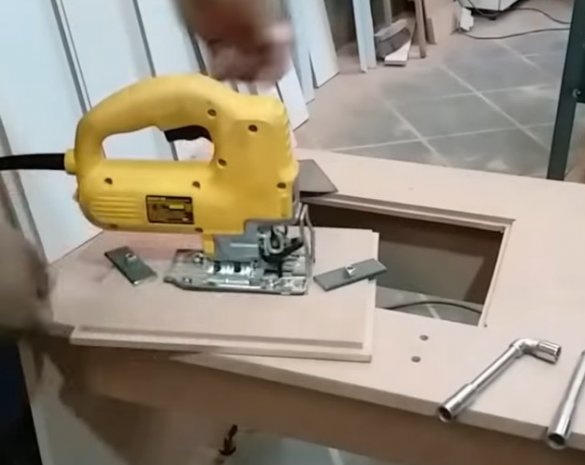
Part of the countertop is cut out, and the edges of the holes cut into the table are milled. The parts to which the tools will be fixed are also milled. They should be flush with the table. Starts fixing the first tool - the milling cutter. Having found the center, a hole is cut under the cutters. Then the mill base itself is attached to the workpiece. After marking, a groove is selected in which the machine will be fixed. Now we need a piece of the metal bar from which the tool stops to the table will be made.
For the remaining tools, all actions are carried out similarly to what we have already examined with the example of a milling cutter. For convenience and a more accurate location of the holes, the parts are stacked and drilled at a time.
So far, everything is going as it should. As you can see, despite the apparent difficulty in manufacturing such an adapter, it is done quite simply. You can easily create in your workshop, such a certainly convenient and necessary device!
This is where I end. I wish you creative success!

