If your circular saw has the option of setting the saw blade offset, then this article will be useful to you. You can also do with this instruction device to measure the reach of the cutter by slightly adjusting the dimensions. It’s not very convenient to do this with a standard ruler,

and the device made by the Master will greatly simplify the process of calibrating the offset of a disc or cutter.
Tools and materials:
-Boards;
-Springs;
-Rule;
-Screws;
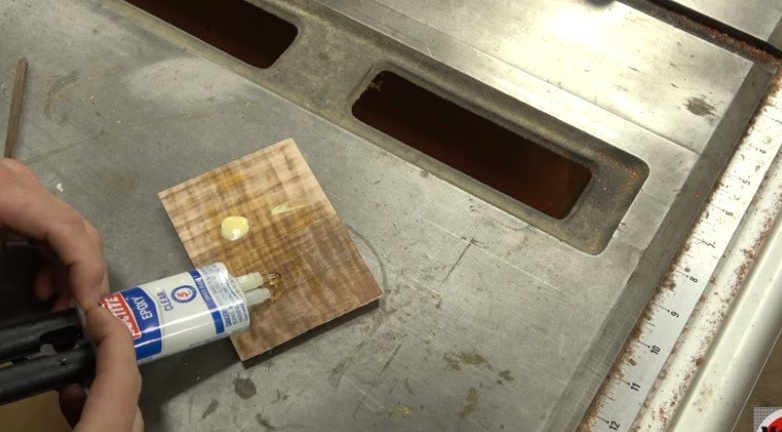
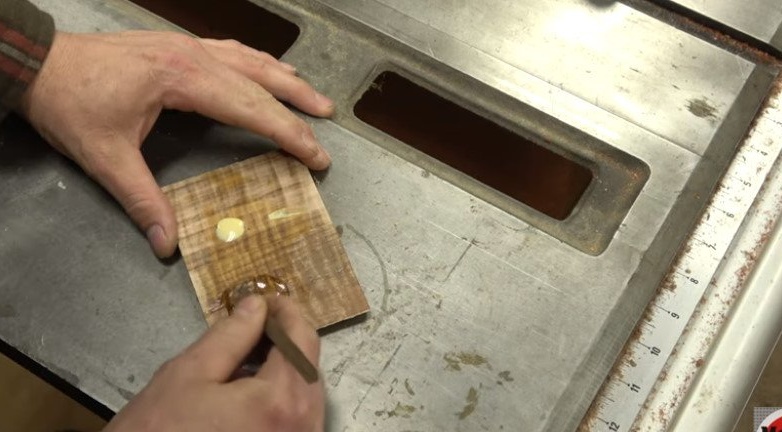
-Epoxy adhesive;
- Joiner's glue;
-Fasteners;
-A circular saw;
-Miter saw;
-Drilling machine;
-Drill;
- Clamps;
- Jigsaw;
-File;
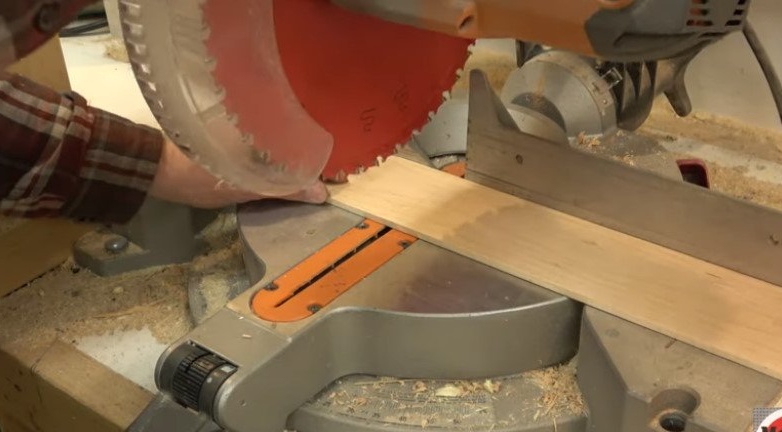
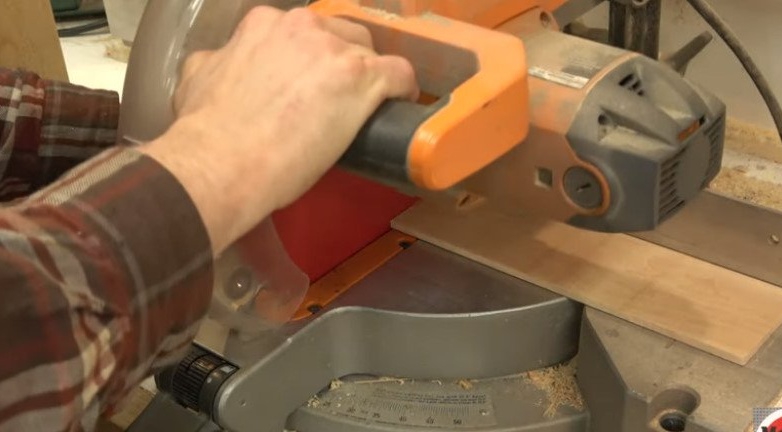
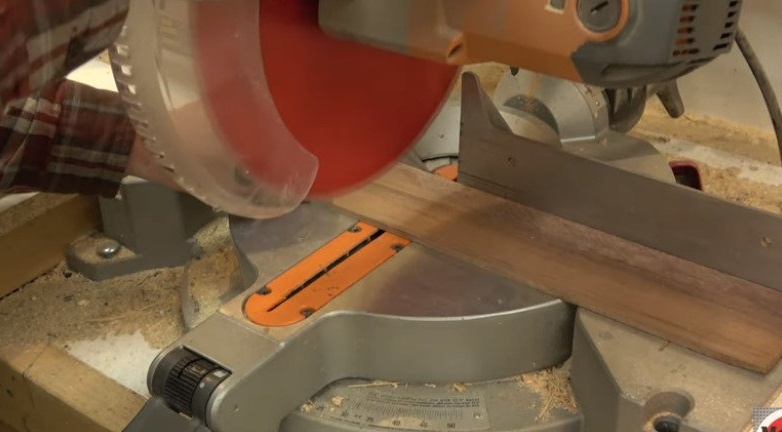
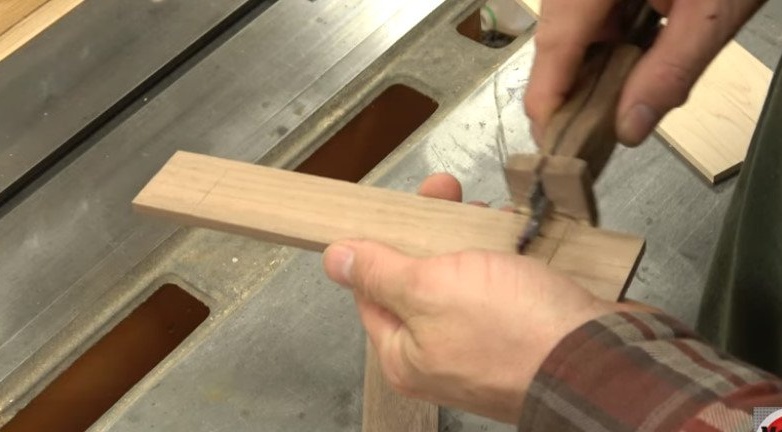
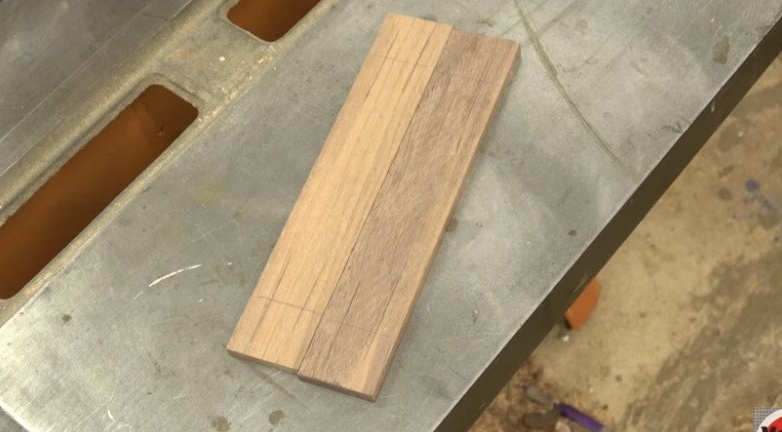
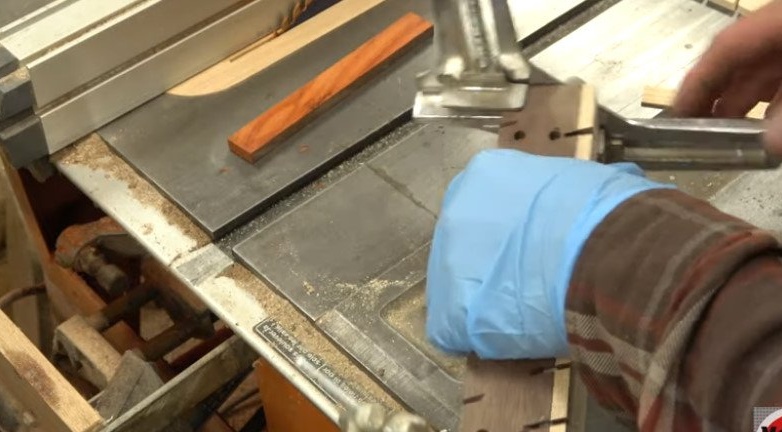
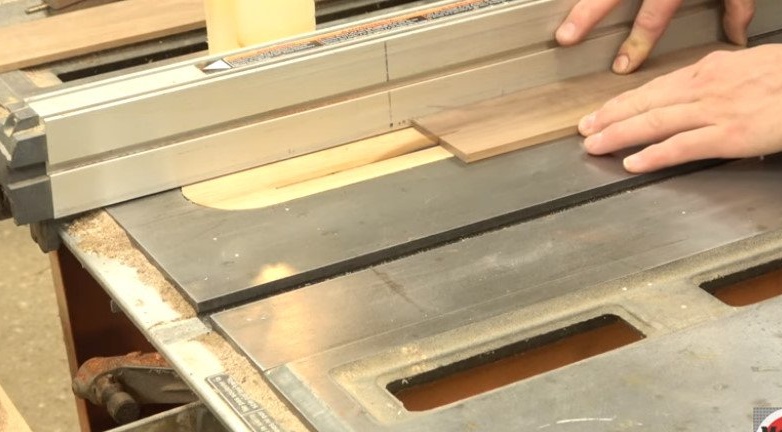
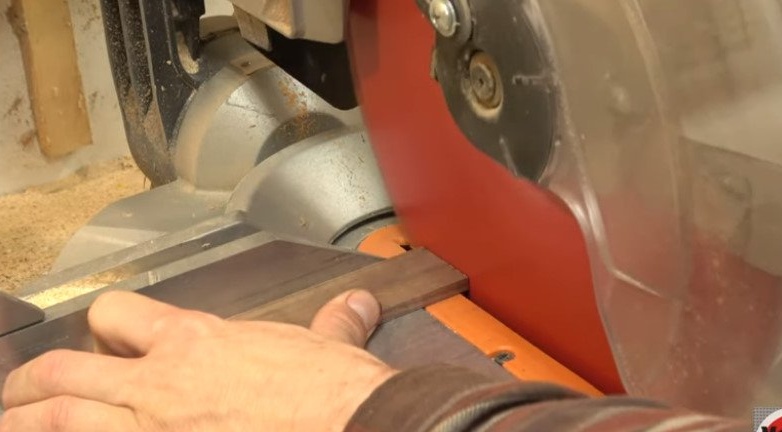
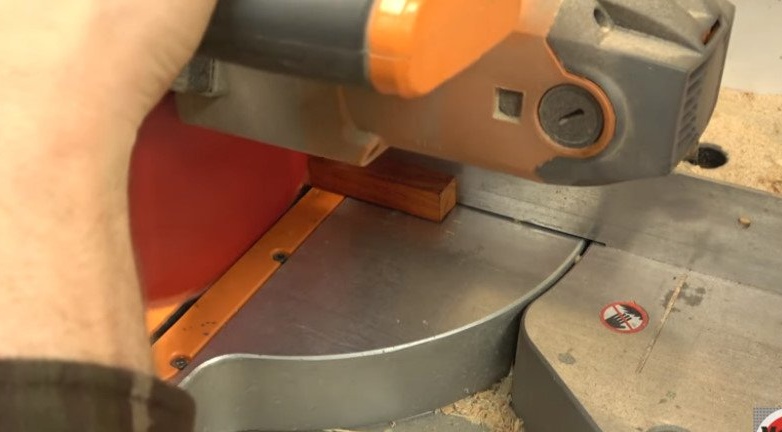
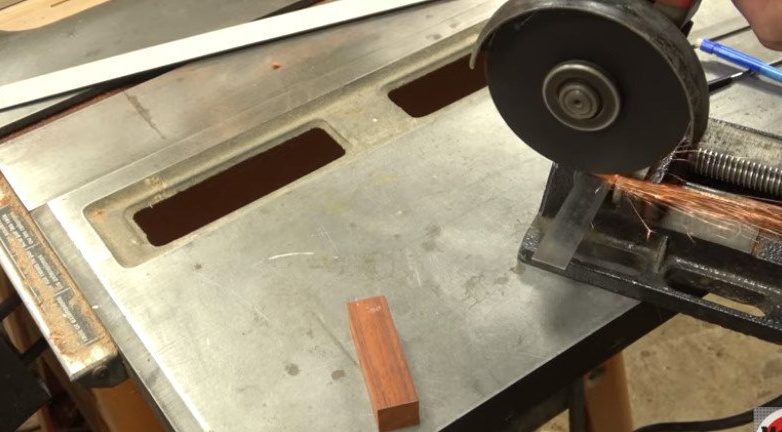
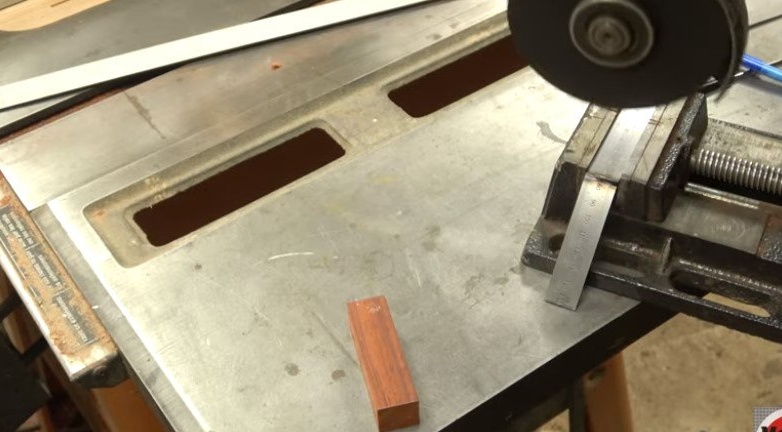
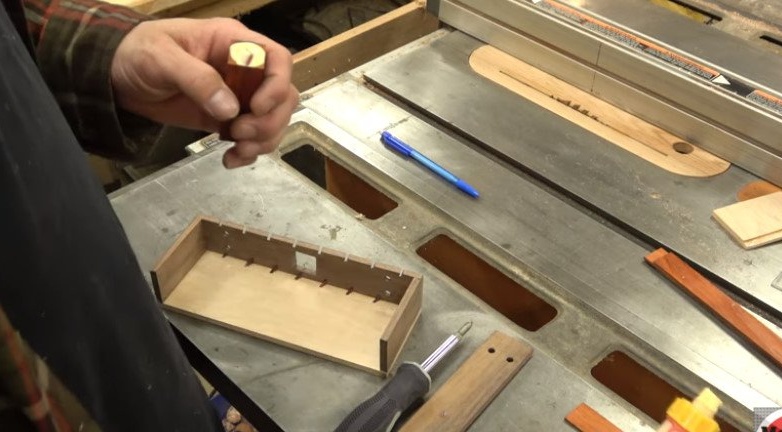
Step One: Coaxial Blanks
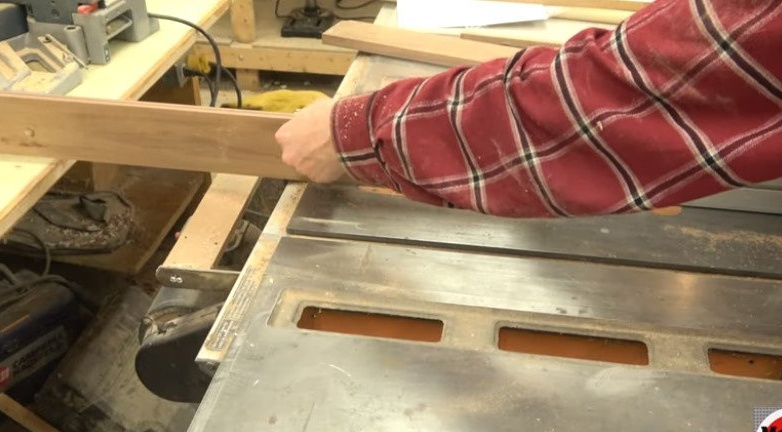
First, the master cuts two rectangular slats. The strips must be the same size.
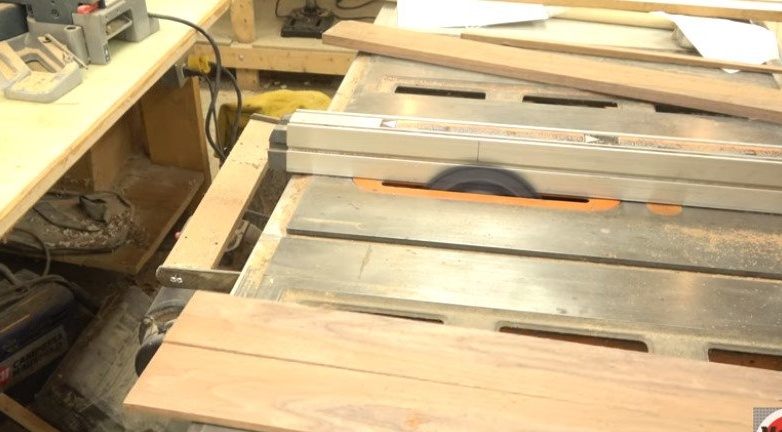
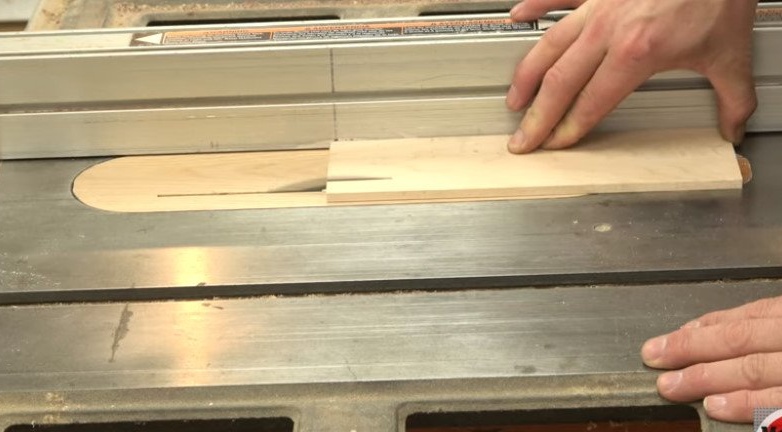

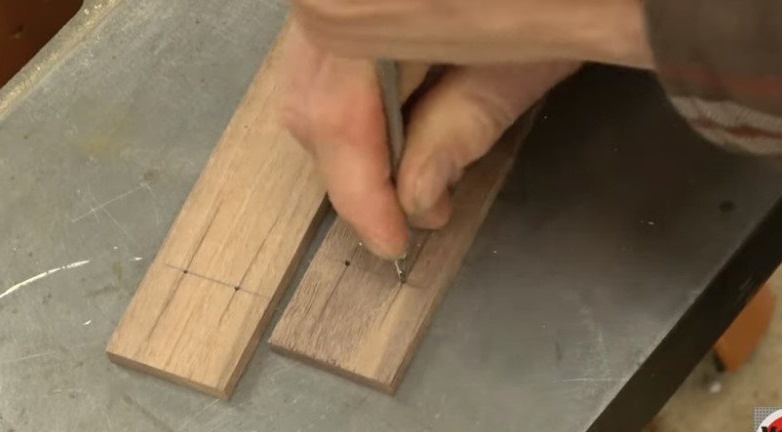
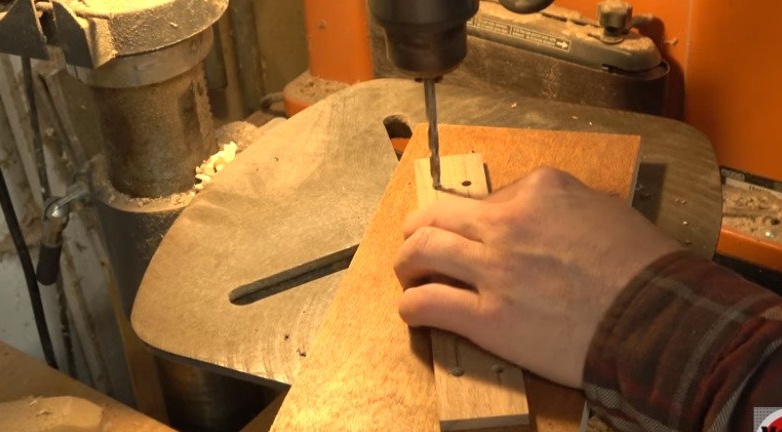
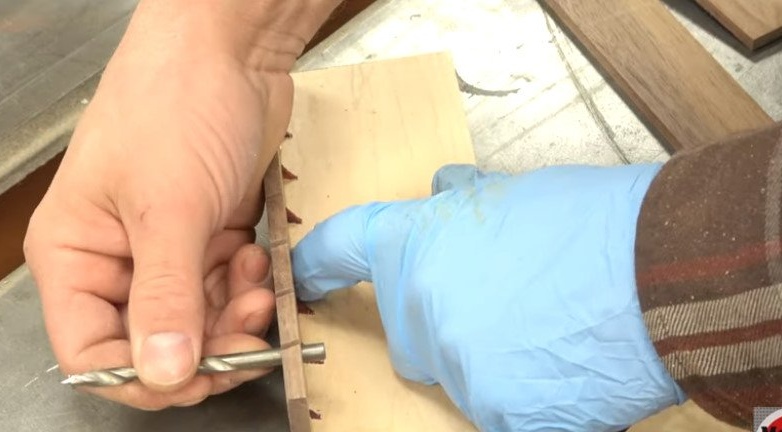
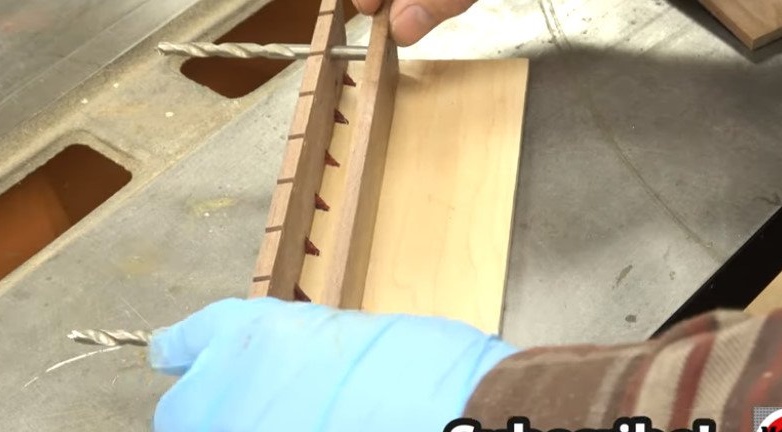
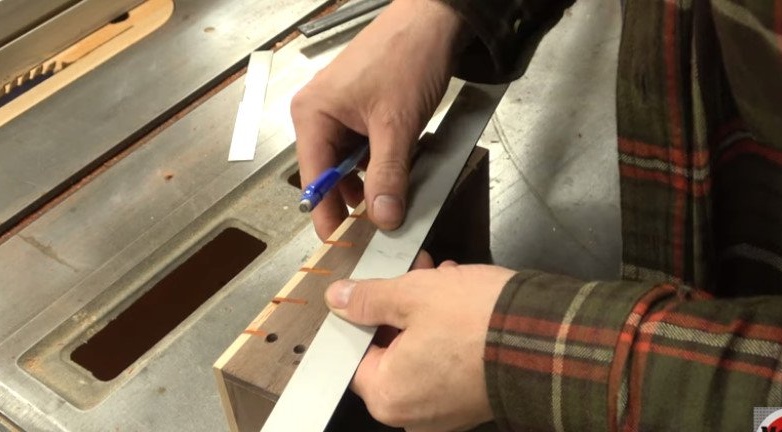
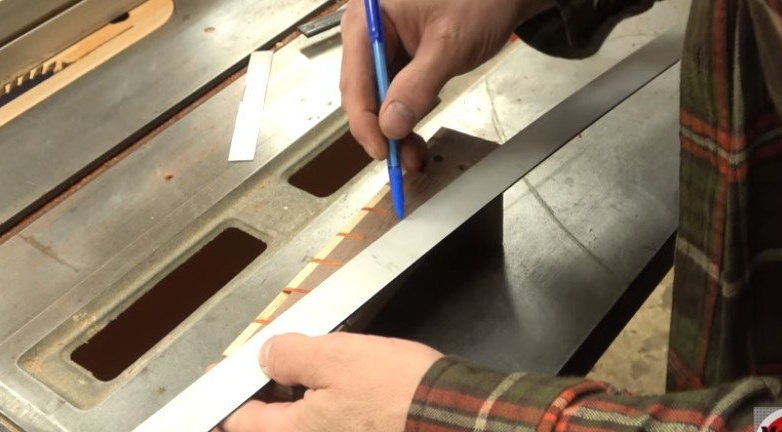
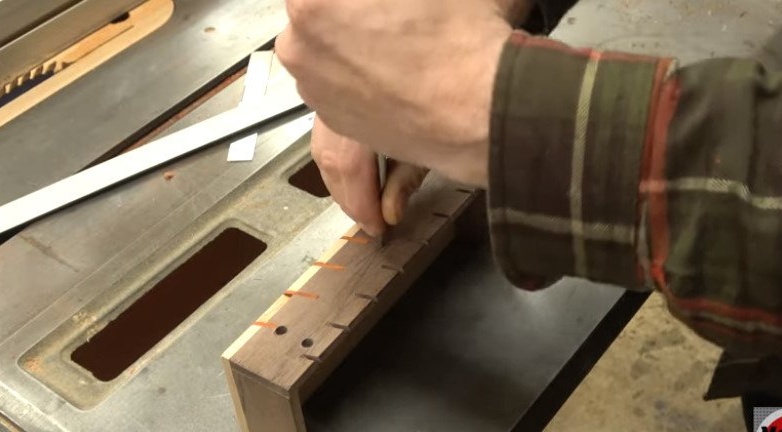
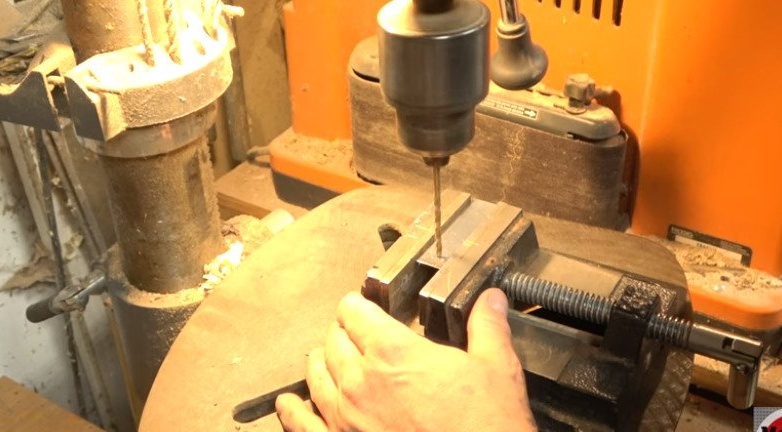
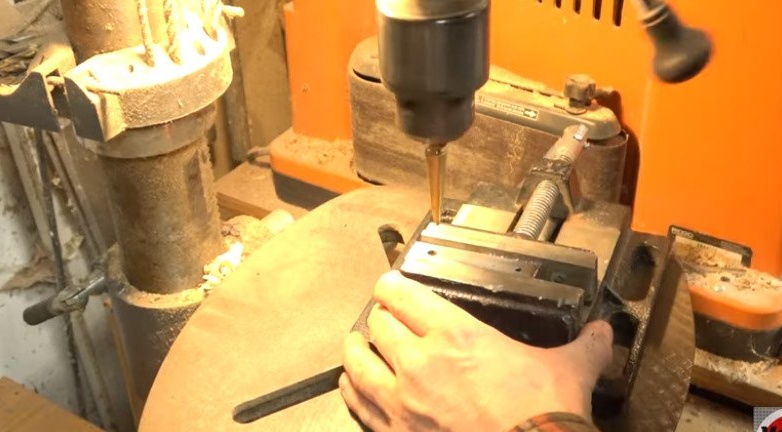
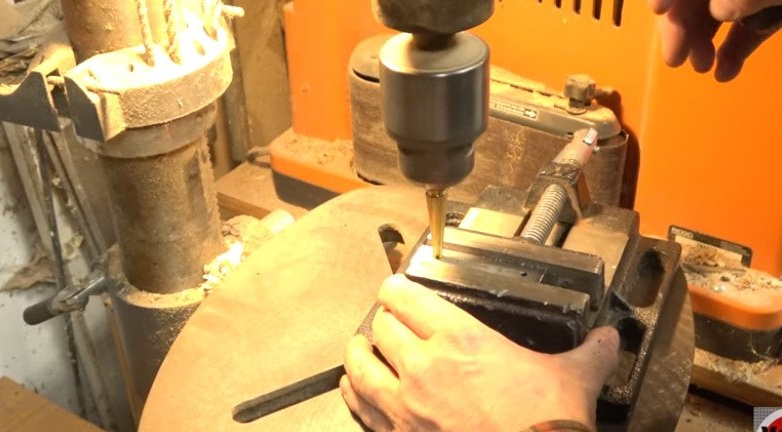
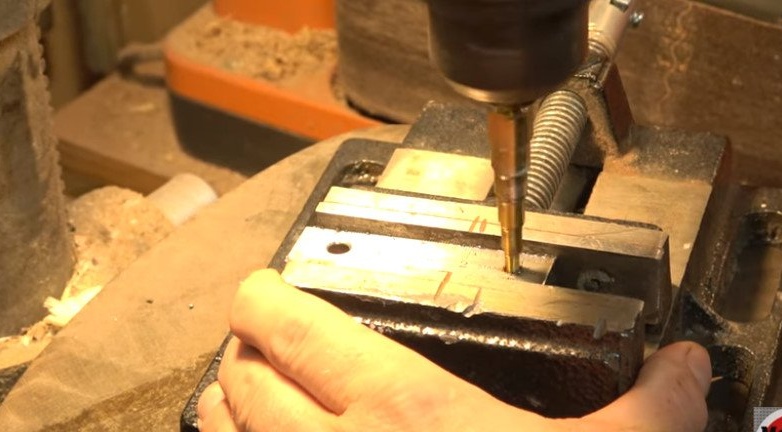
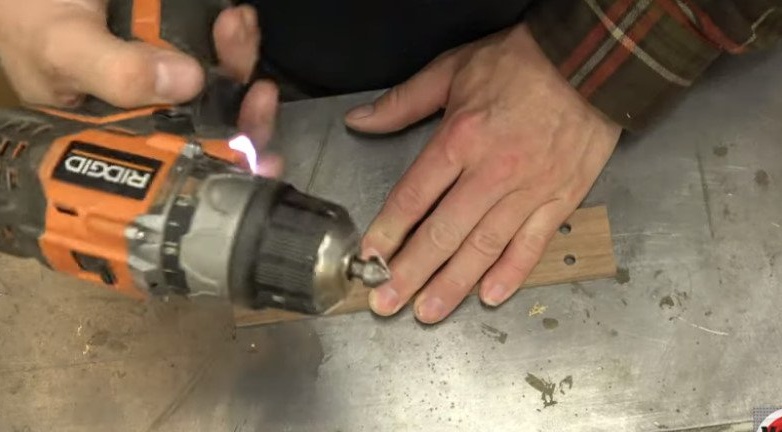
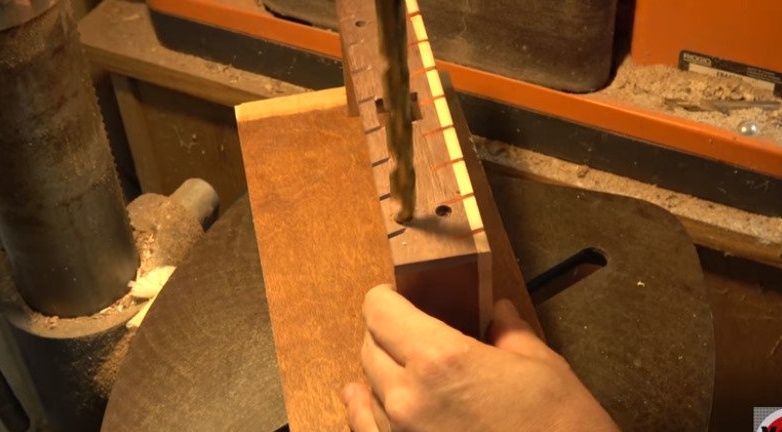
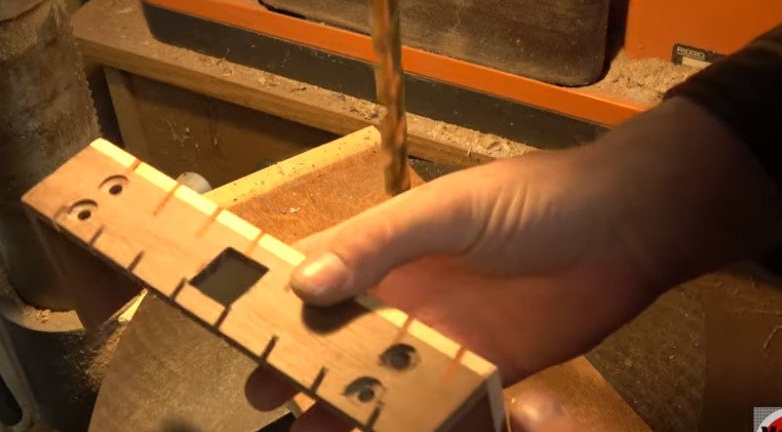
Four holes must be drilled in the workpieces. It is important that the holes of the two slats match exactly.
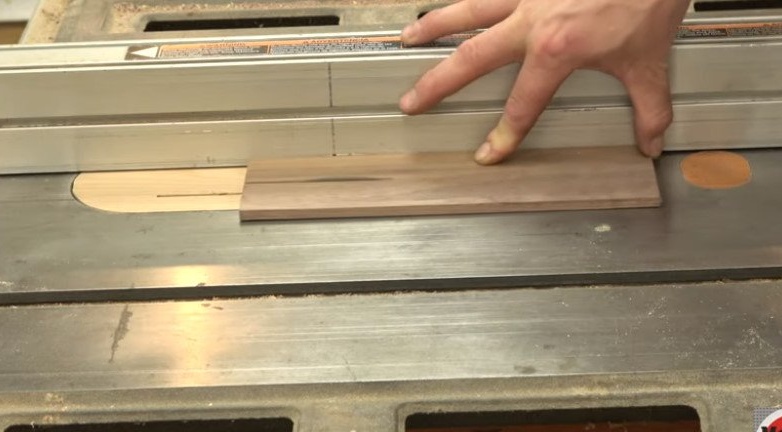
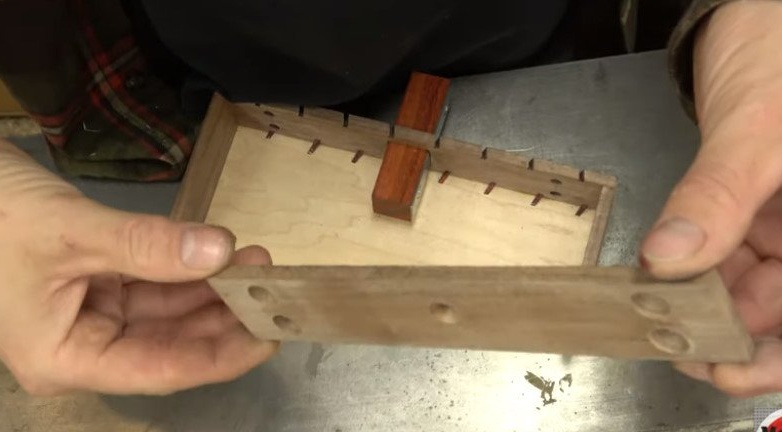
Step Two: Sidewall
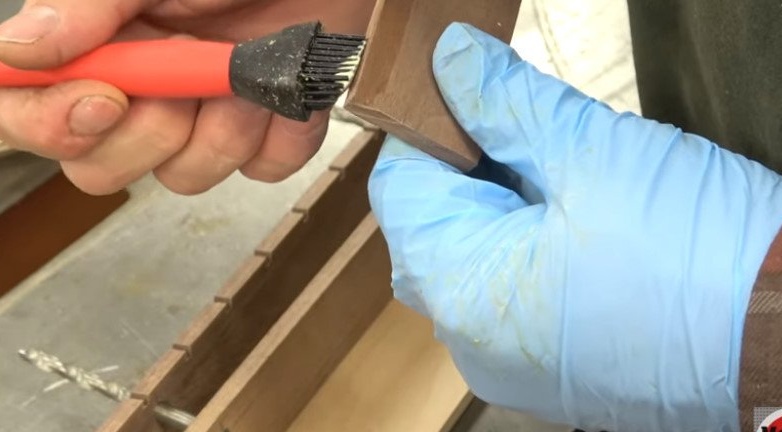
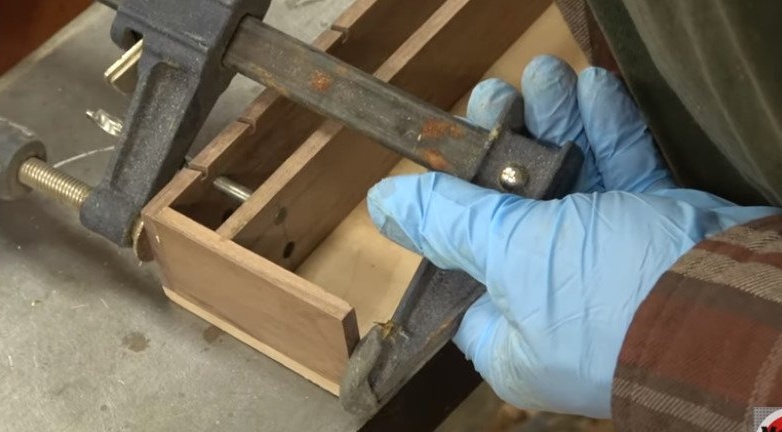
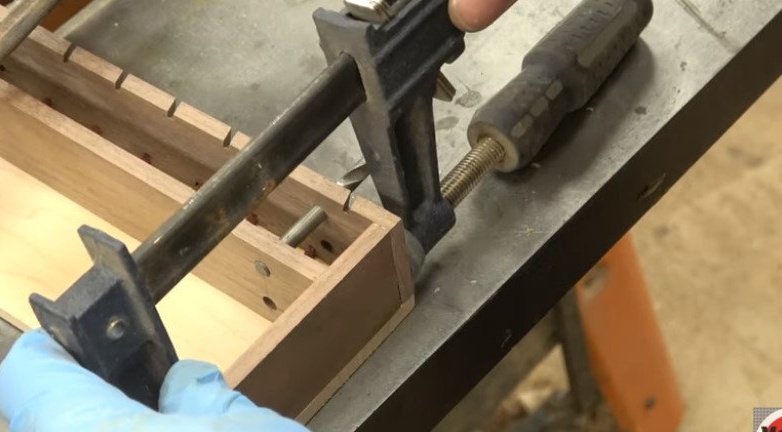
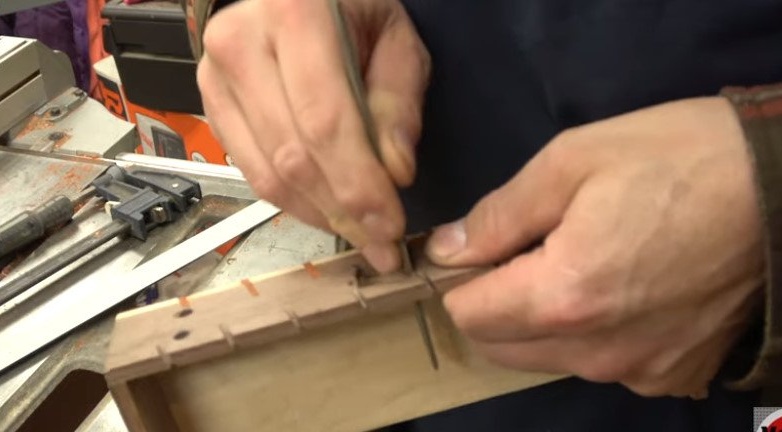
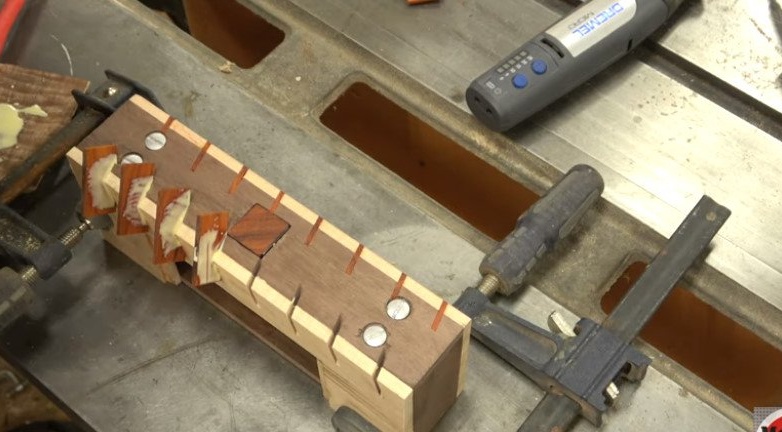
Now you need to glue one of the blanks with holes (upper part) and the side blank. The master combines two workpieces and clamps them with a special device. Then he makes cuts at the junction of the workpieces. Applies glue and inserts dowels into the cuts. Leaves to dry glue.
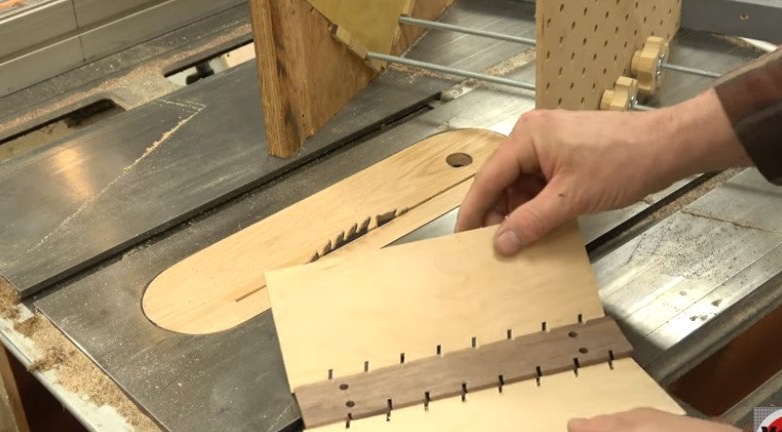
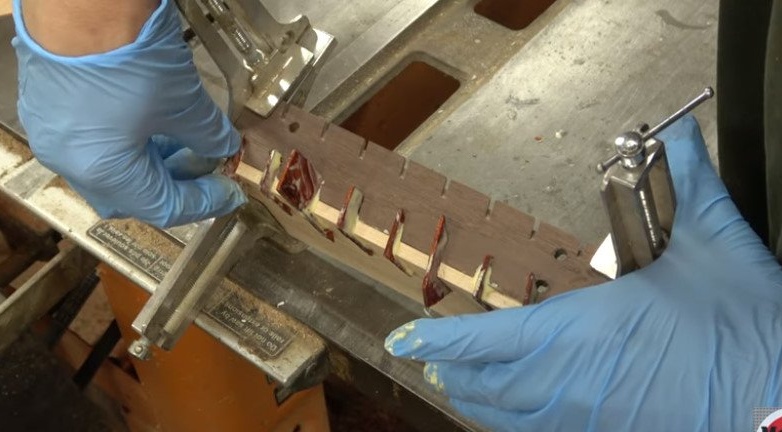
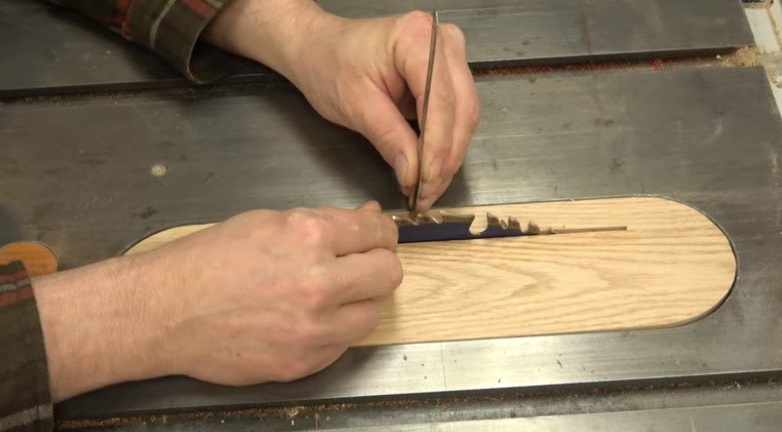
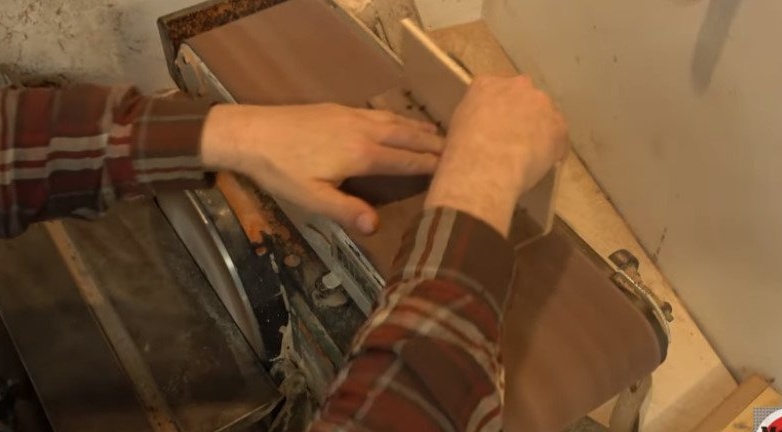
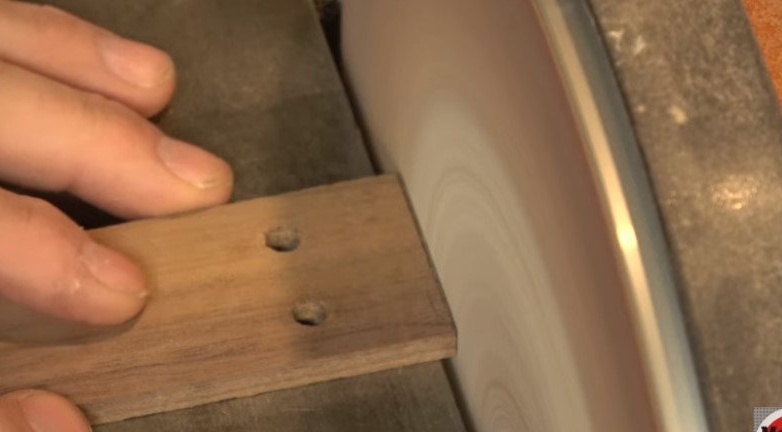
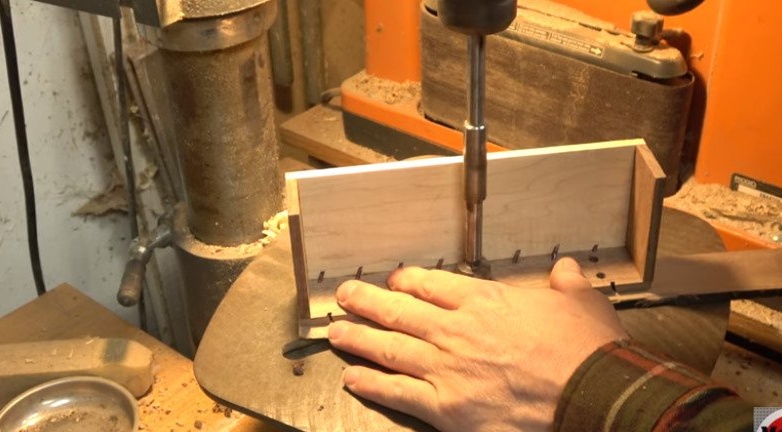
After gluing the parts, cuts off excess wood and polishes the joint.
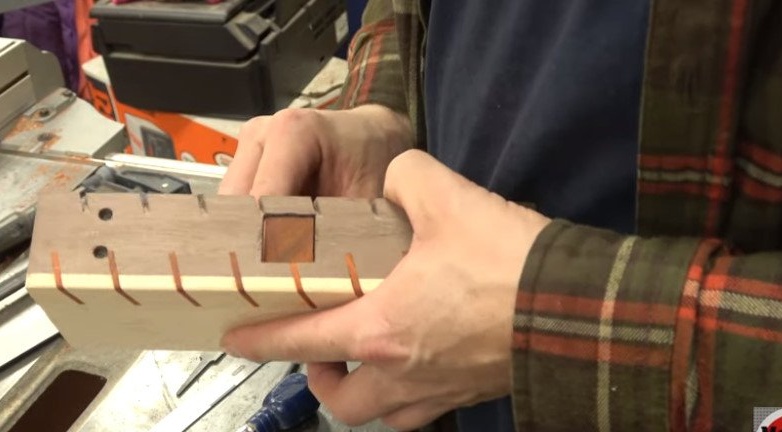
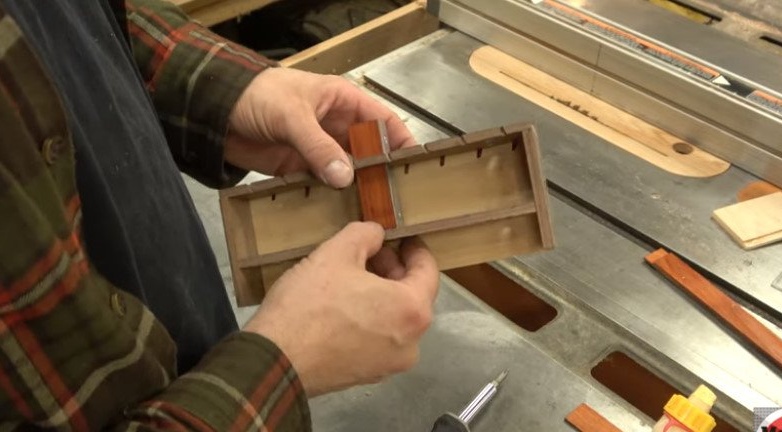
Step Three: End Parts and Trim Sliding
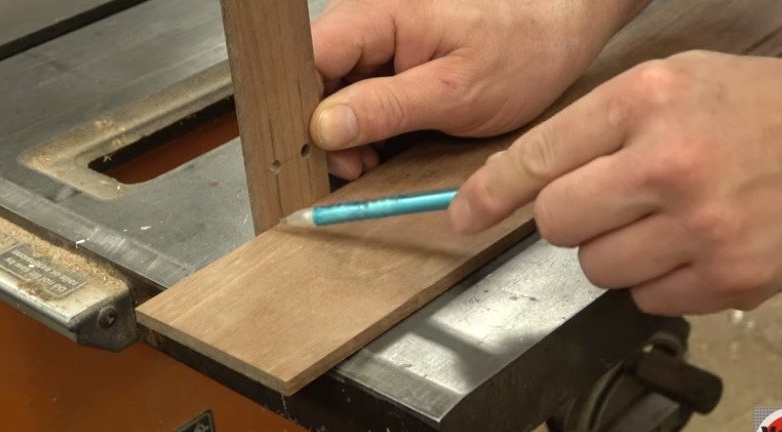
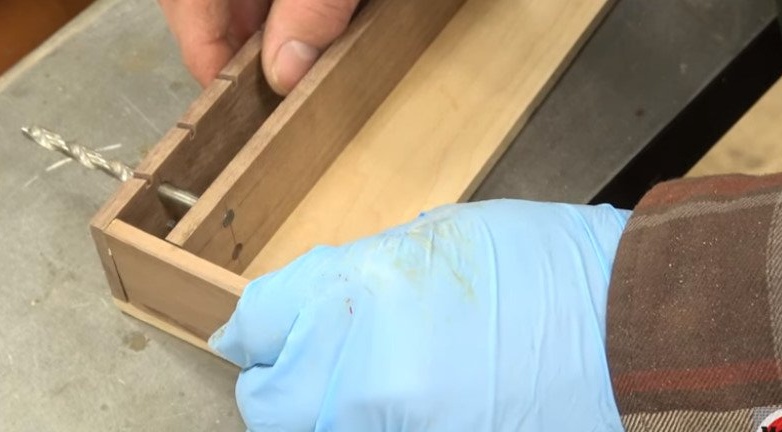
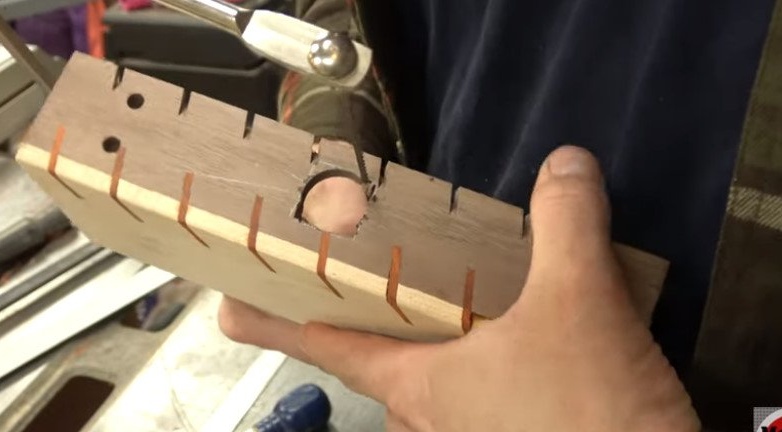
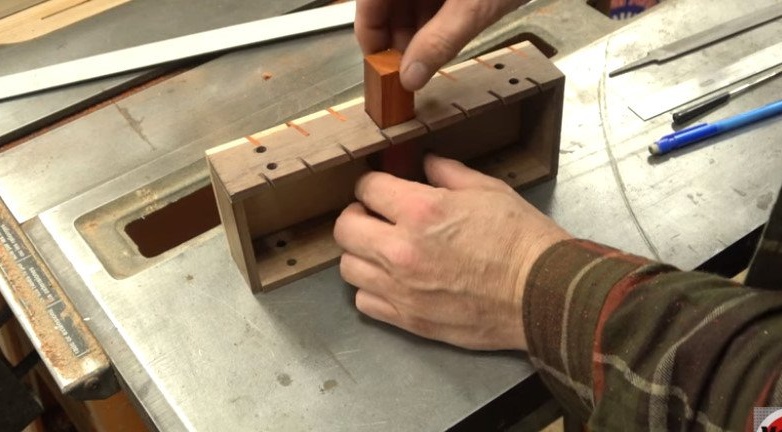
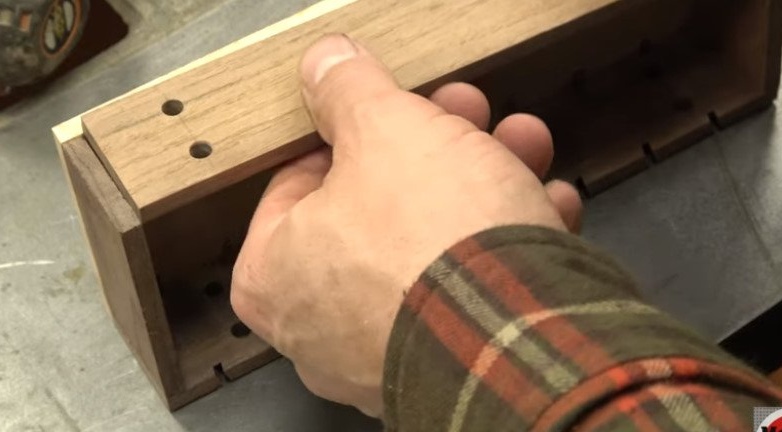
Remember the two coaxial parts that the master prepared in the first step? He already glued one to the side, and the second will play the role of a movable stop. First you need to cut the stop equally on both sides, so that it moves freely inside the box (taking into account the end caps).
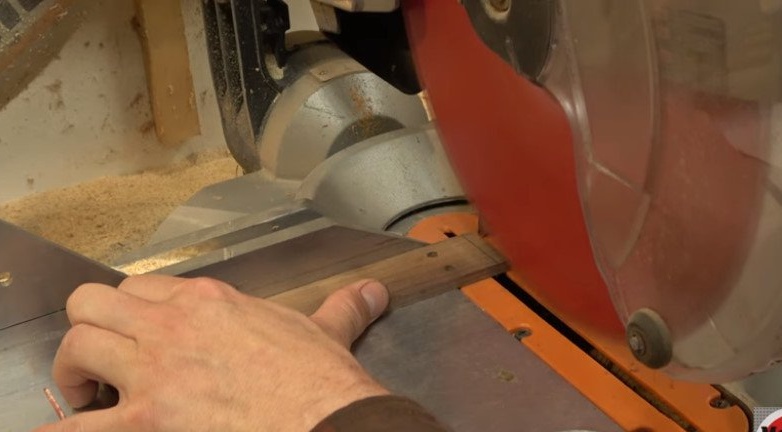
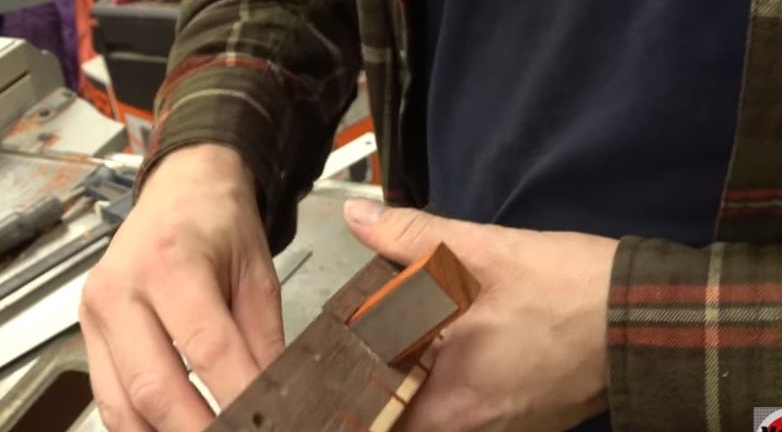
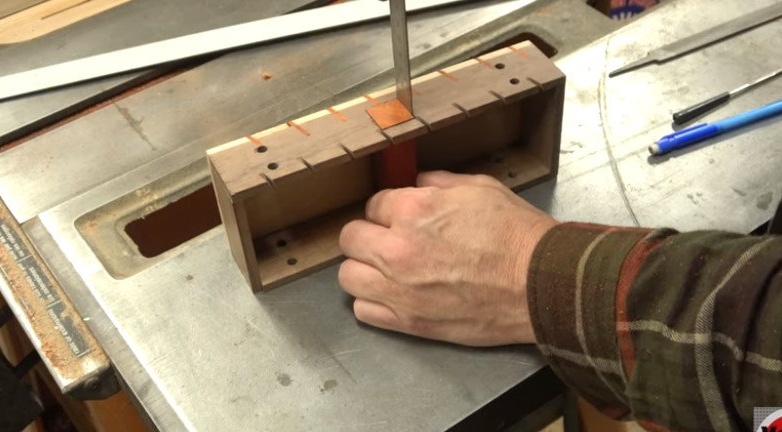
Further makes end caps.
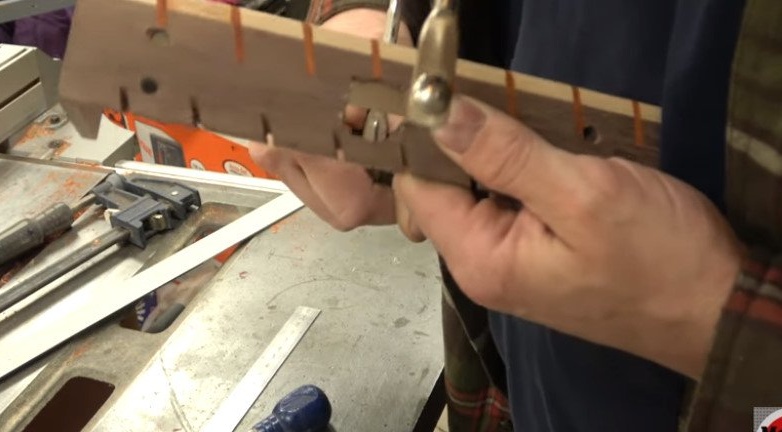
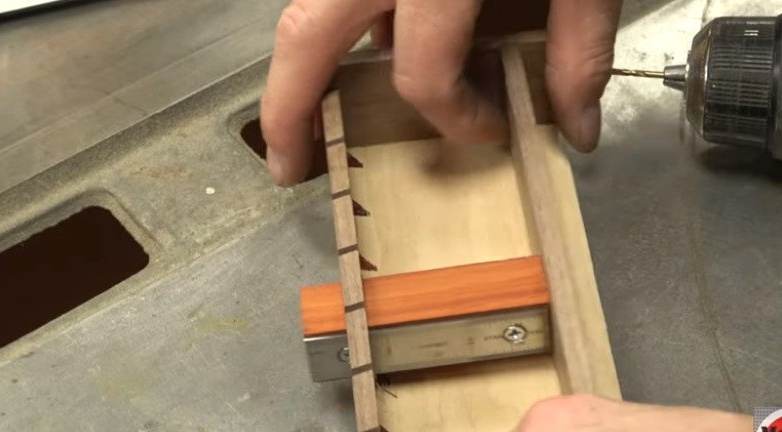
Sets the stop by combining it with a fixed upper bar with drills.
Glues end caps.

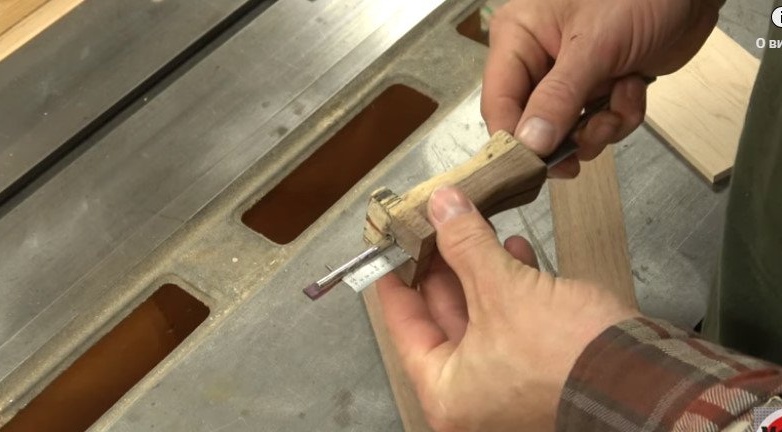
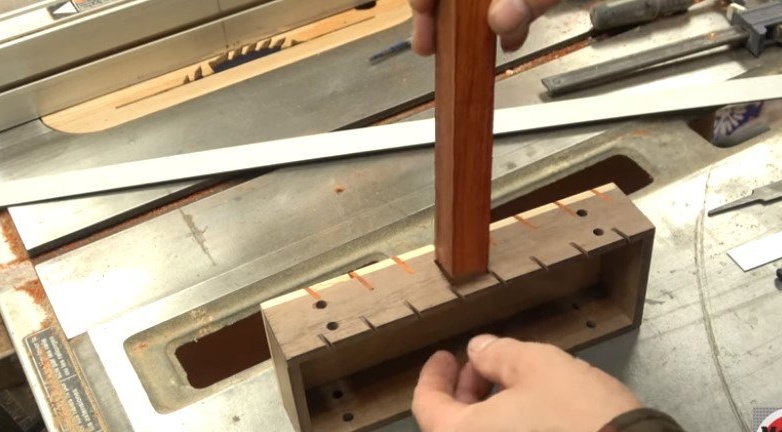
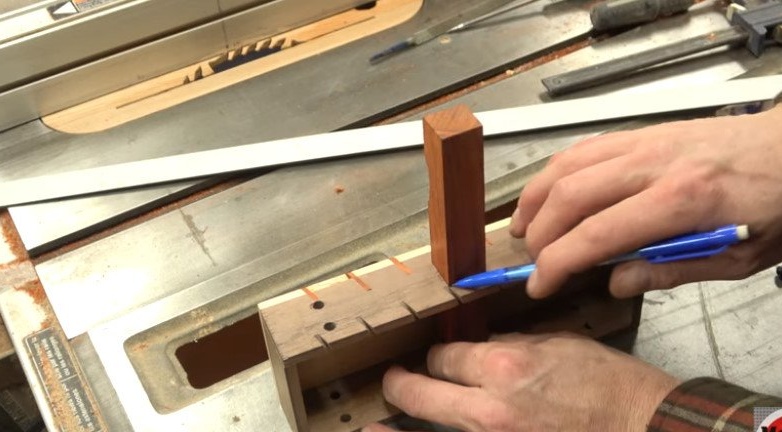
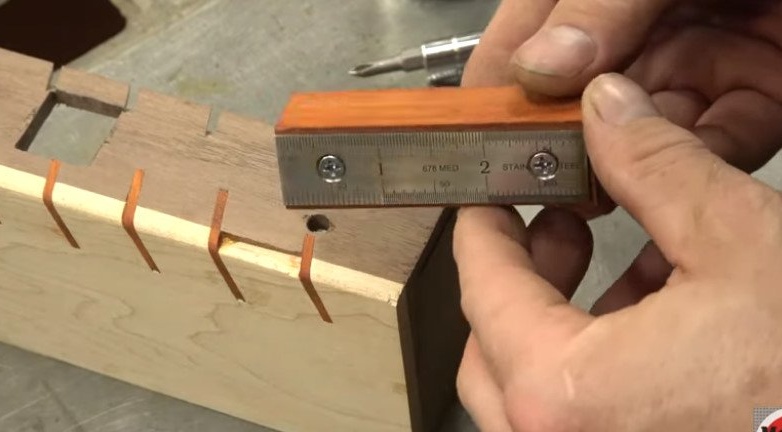
Step Four: Ruler
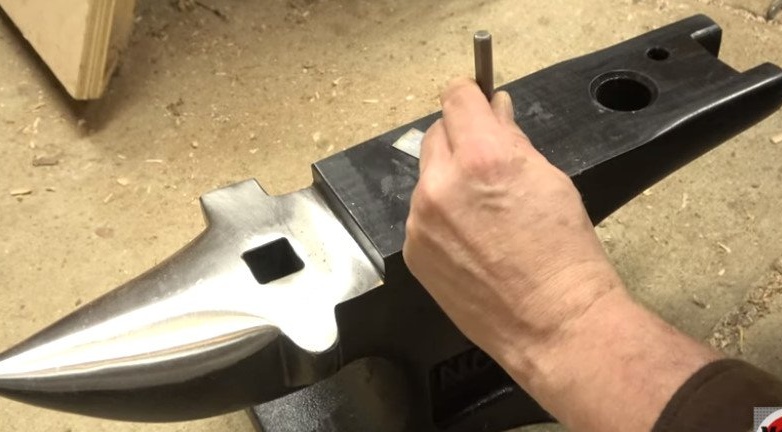
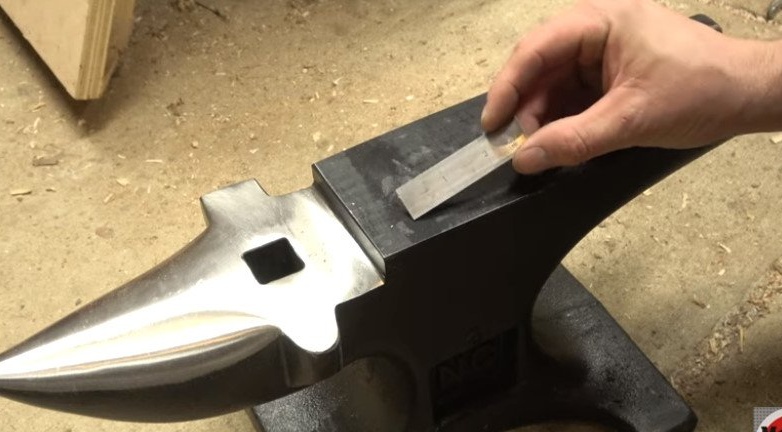
Next makes the ruler holder. It is necessary to cut a rectangular column from a wooden blank.
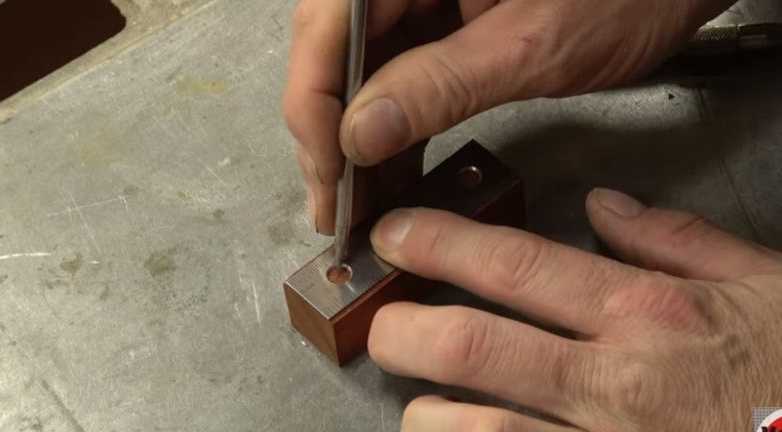
On the upper plane of the fixture, it finds the center. In this place, you need to make a hole so that the holder + ruler thickness moves freely along it.

Clips the holder.
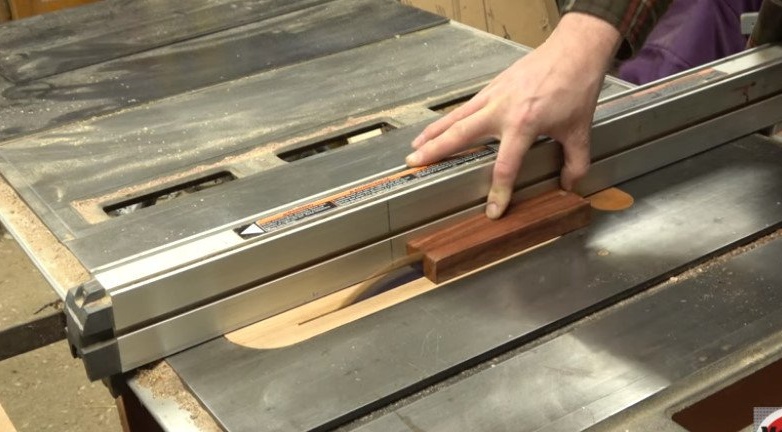
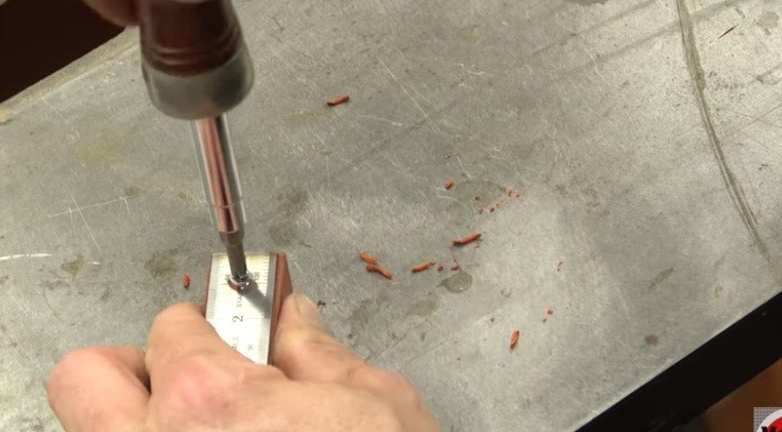
Cuts a metal ruler (it is necessary to take into account the thickness of the movable stop).
Drills fixing holes in it

Screws the ruler to the holder.
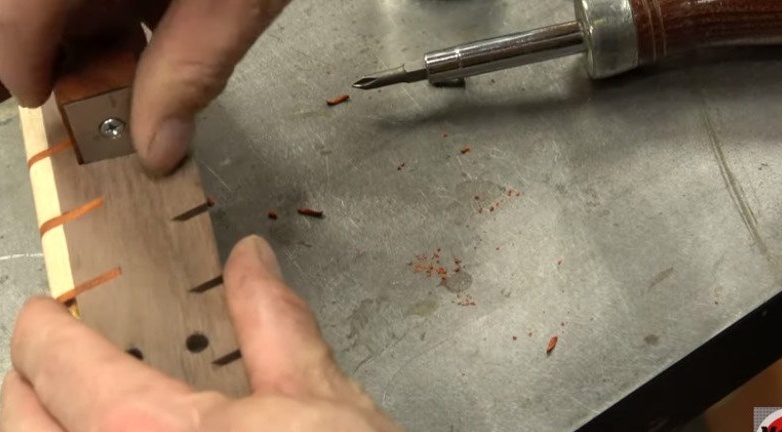
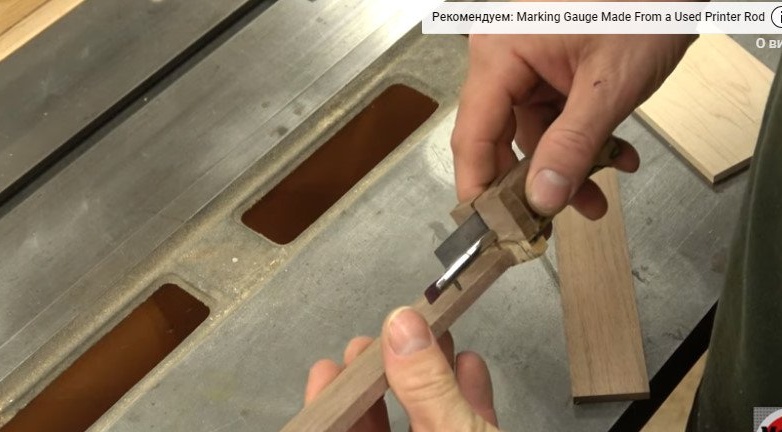
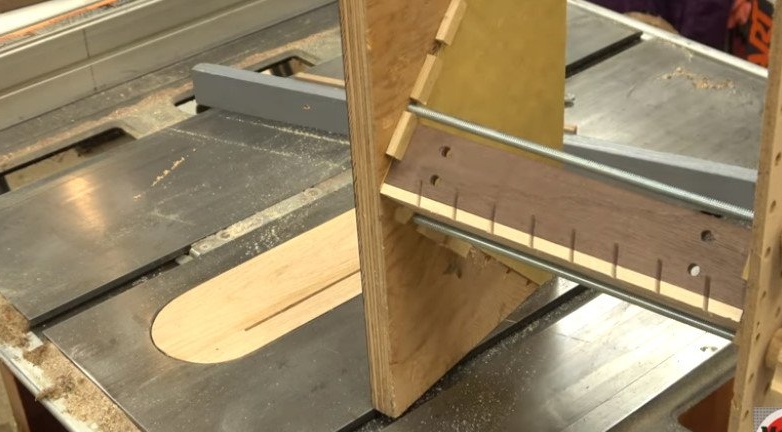
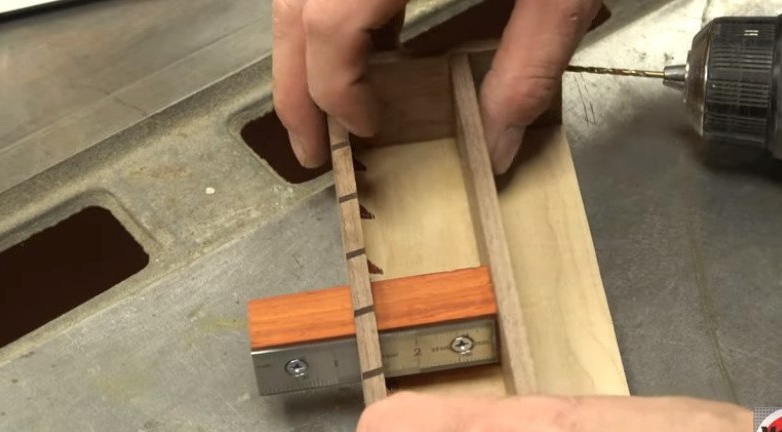
Now you need to screw the holder with a ruler to the movable stop (previously).
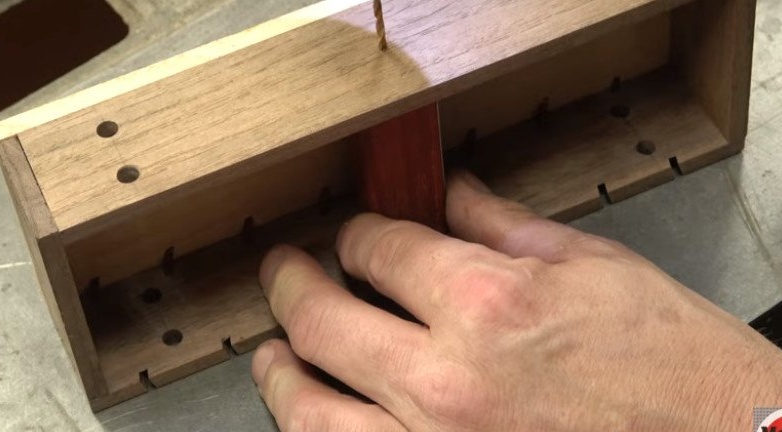
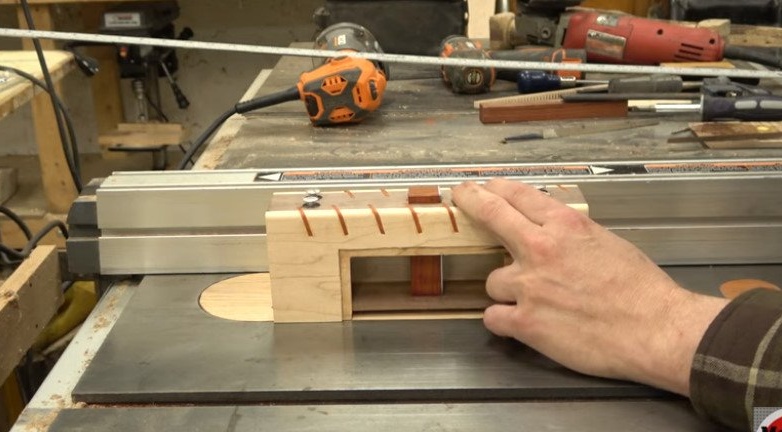
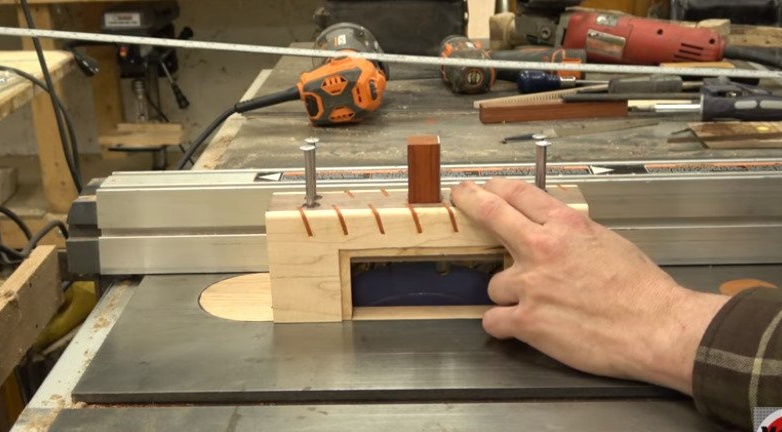
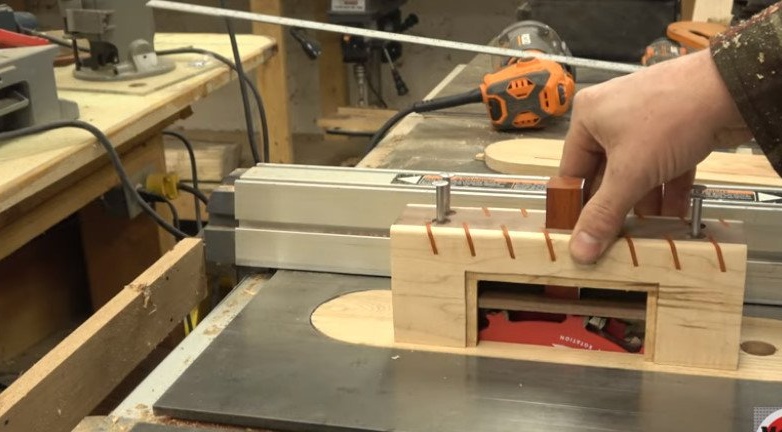
As can be seen from the photo, the stop along with the measuring ruler move freely.
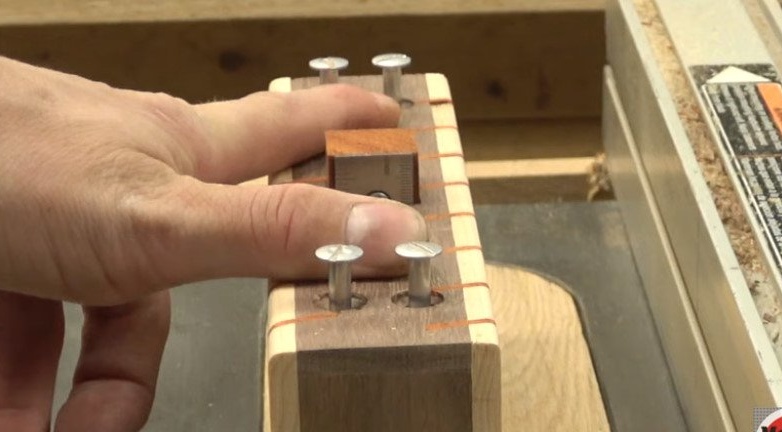
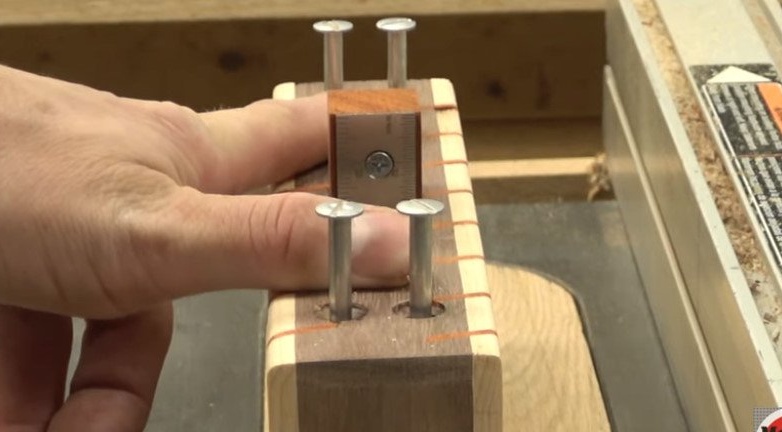
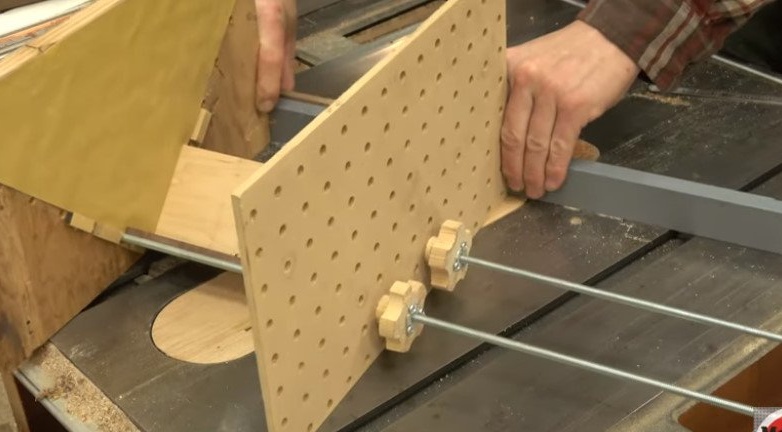
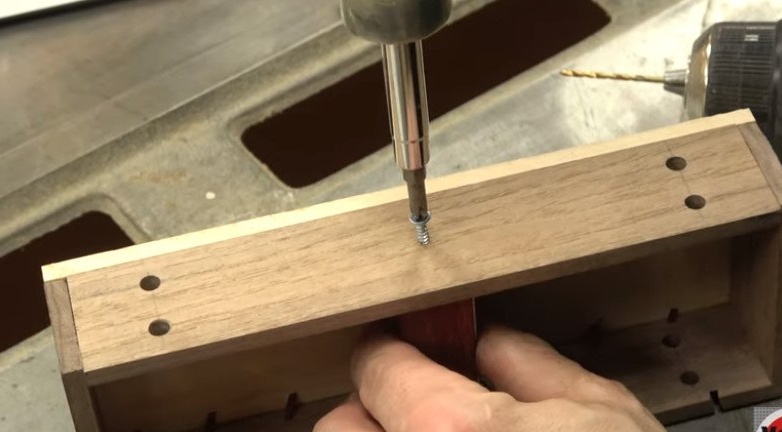
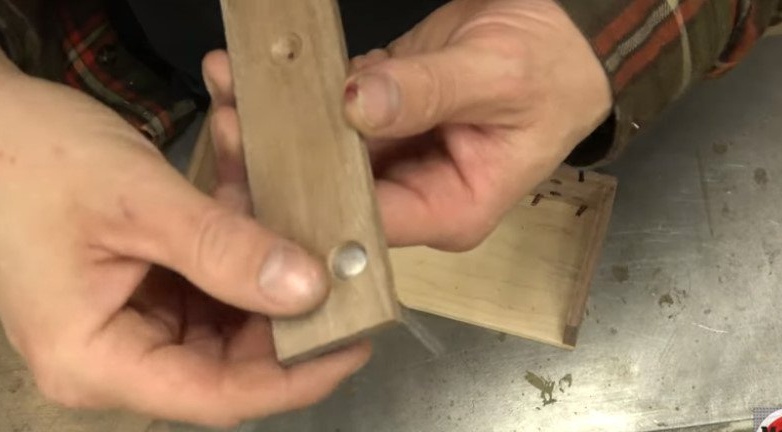
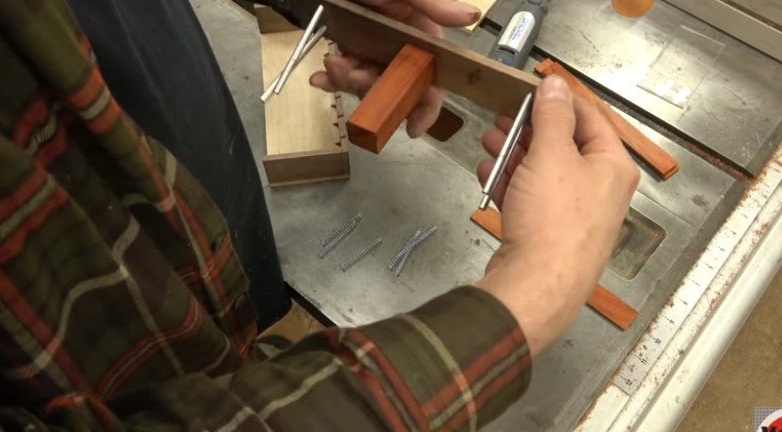
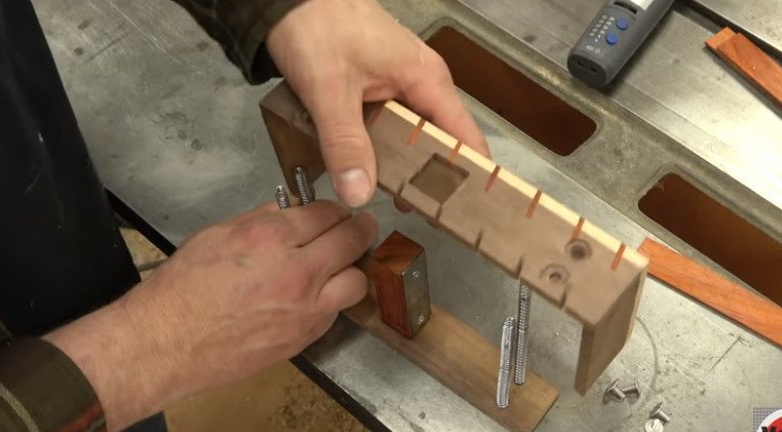
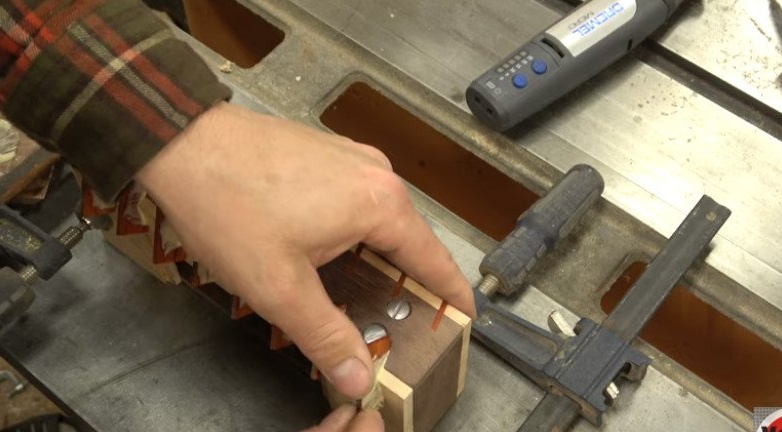
Step Five: Attaching the Stop
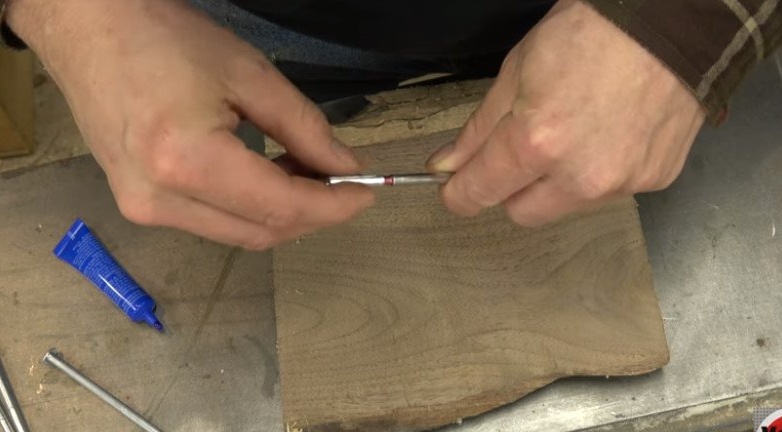
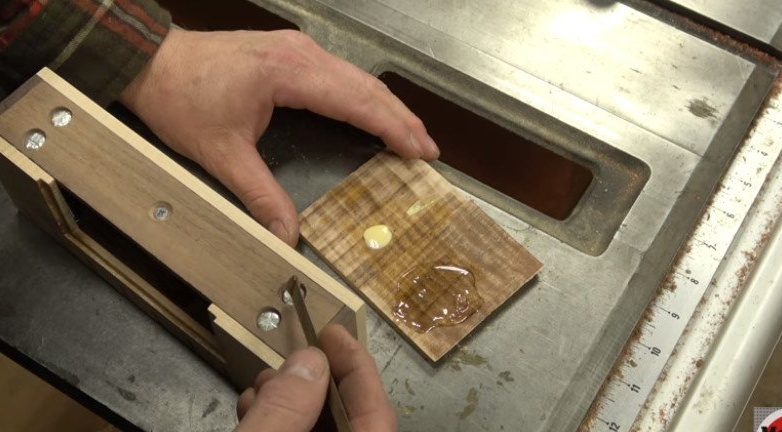
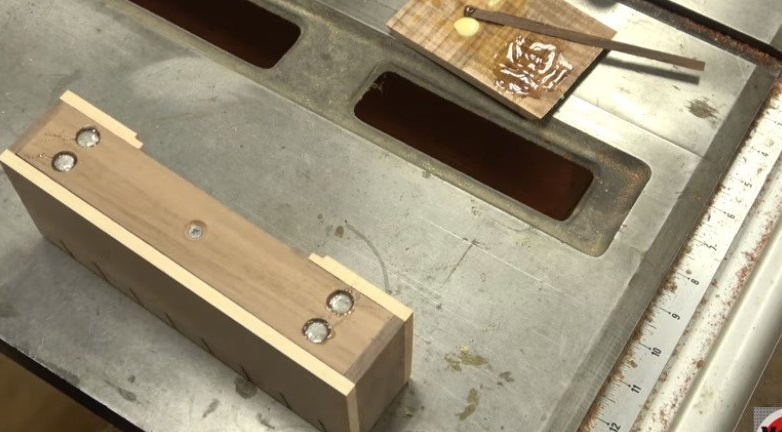
Screws threaded bushings onto the ends of the screws. For fixing, the thread of the screws was coated with epoxy glue.
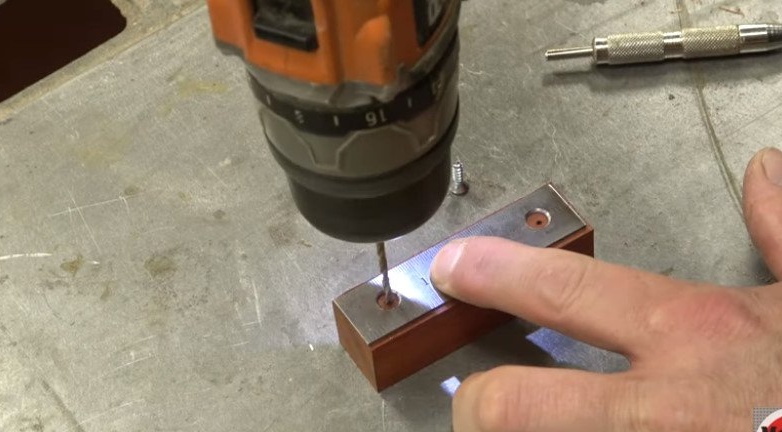
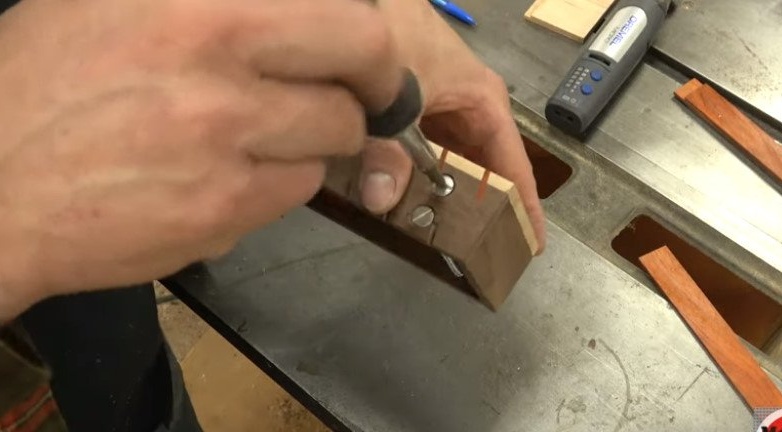
Now you need to hide the screw heads so that they do not protrude. Countersink holes.
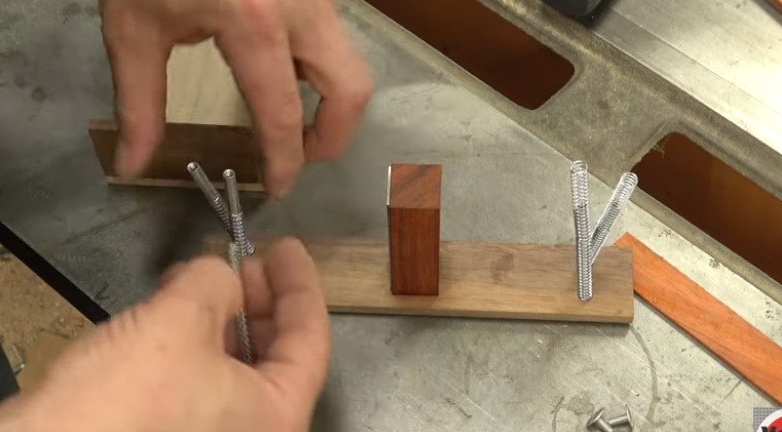
Screws the ruler into place.
Inserts screws into the stop holes. Installs springs on the screws. Aligns the screws with the holes on the top of the fixture. Screws the screws (short) into the threaded bushings, thereby fixing the stop.
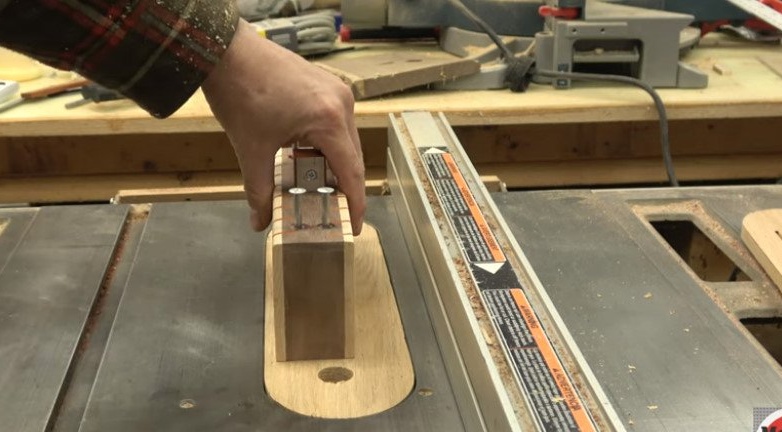
Step Six: Finish
Fastens the second sidewall.
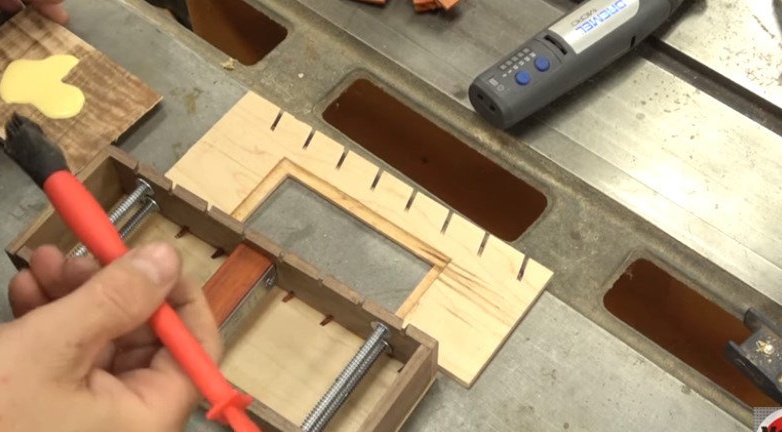
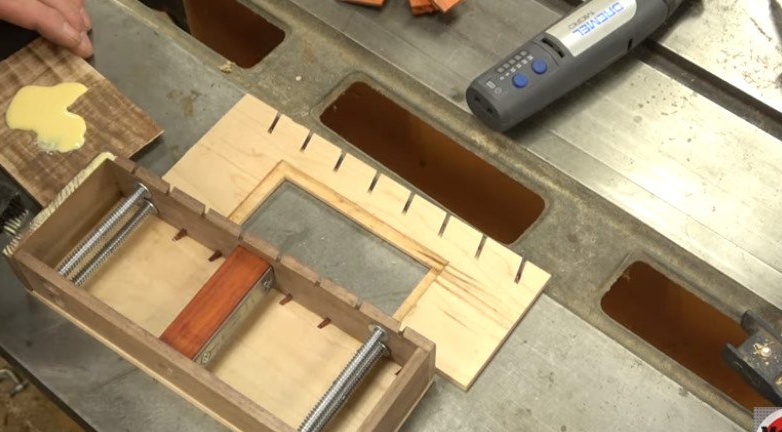
Fixes screw heads with epoxy glue.
The meter is ready. Now the process of measuring the saw blade take-off takes a couple of seconds.