
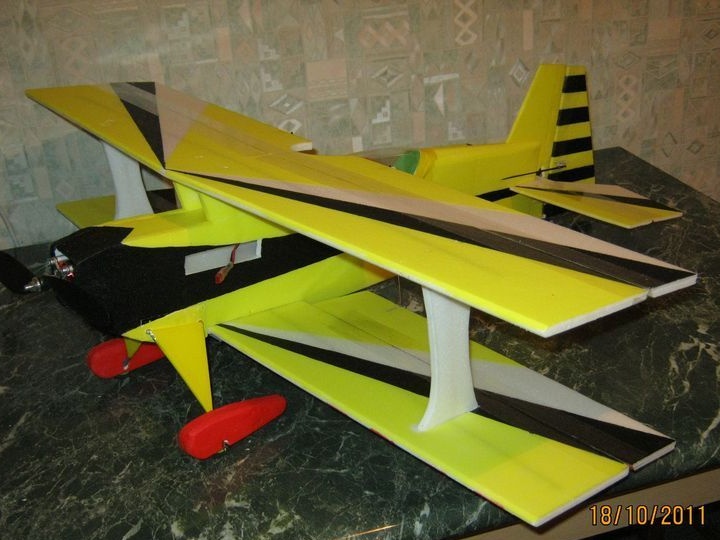
In this article, we will look at how you can create a biplane. The assembly technology here is similar to the manufacture of the Puff model, that is, the fuselage is made rectangular, and the wings are flat of two layers of the ceiling. In the original version, the aircraft is assembled from 9 mm EPP. Drawings for the model can be found
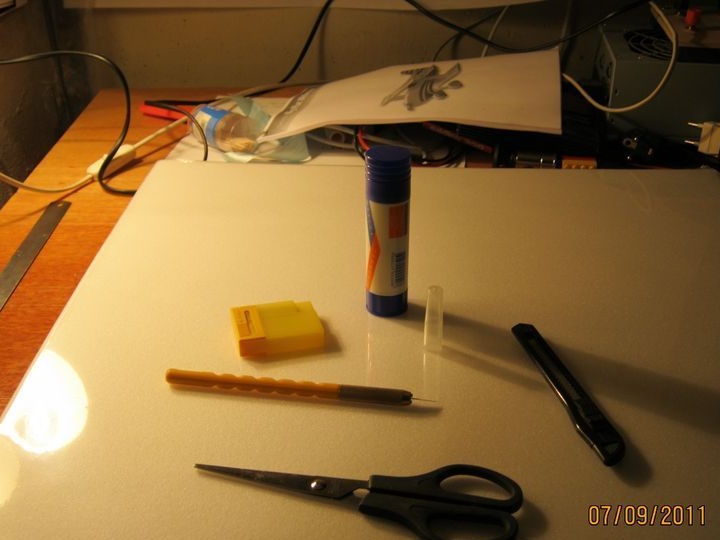
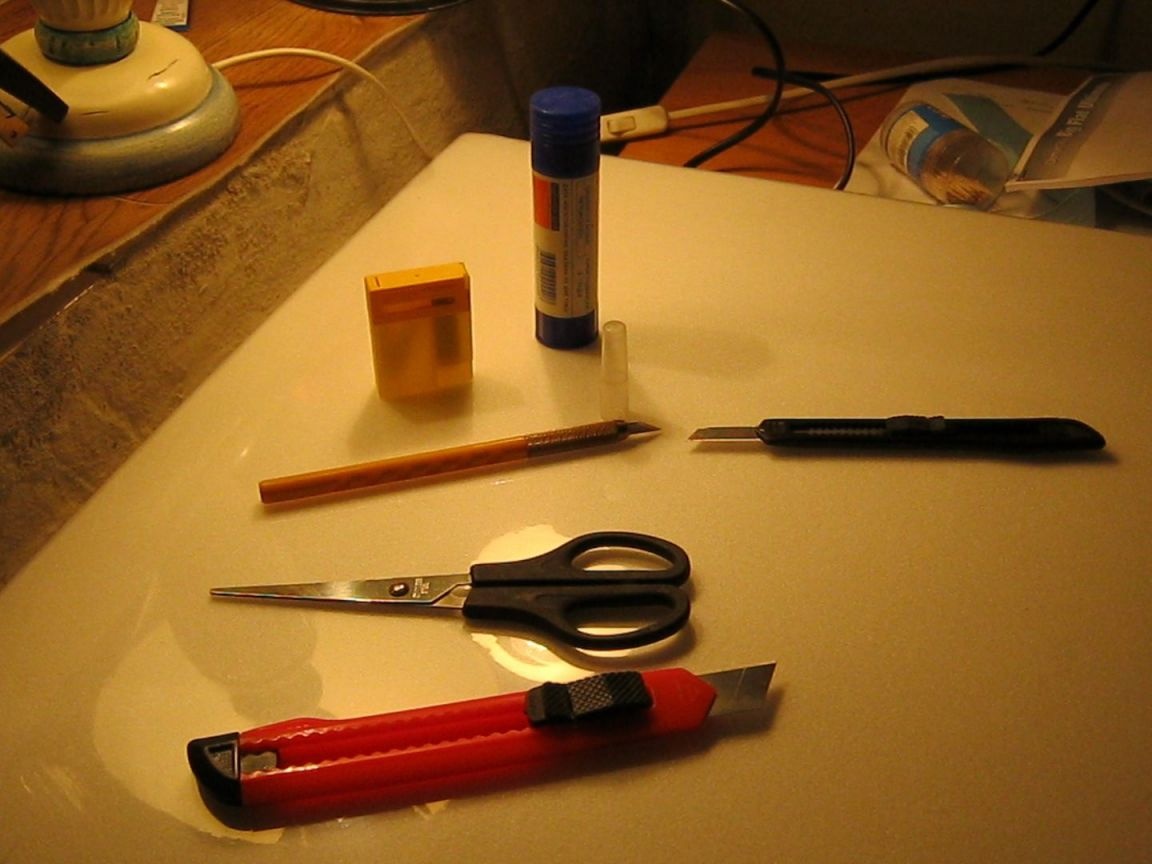
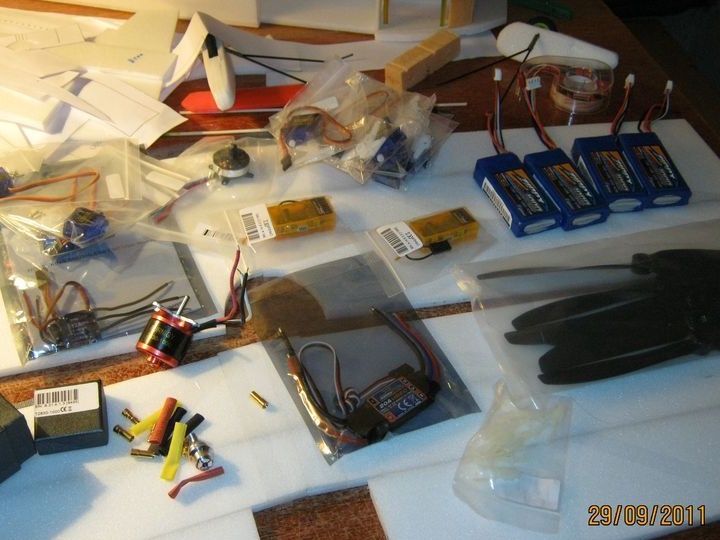
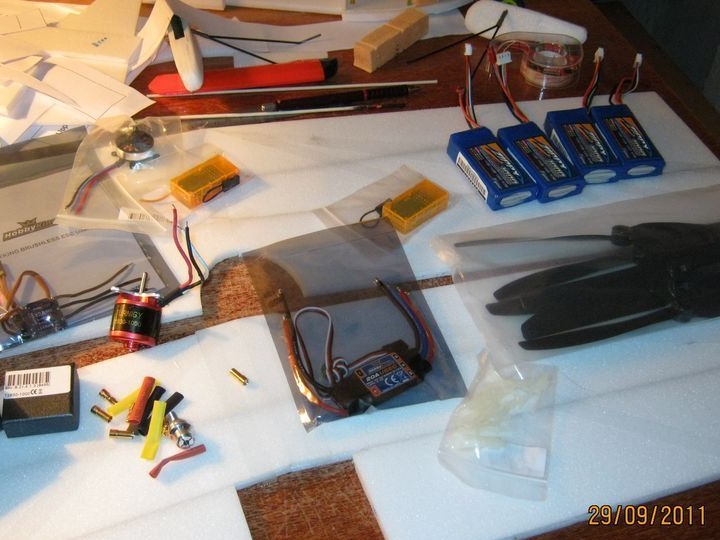
Materials and tools:
- ceiling tiles;
- drawing tool;
- paper;
- glue for the ceiling;
- adhesive tape;
- scissors;
- stationery knife;
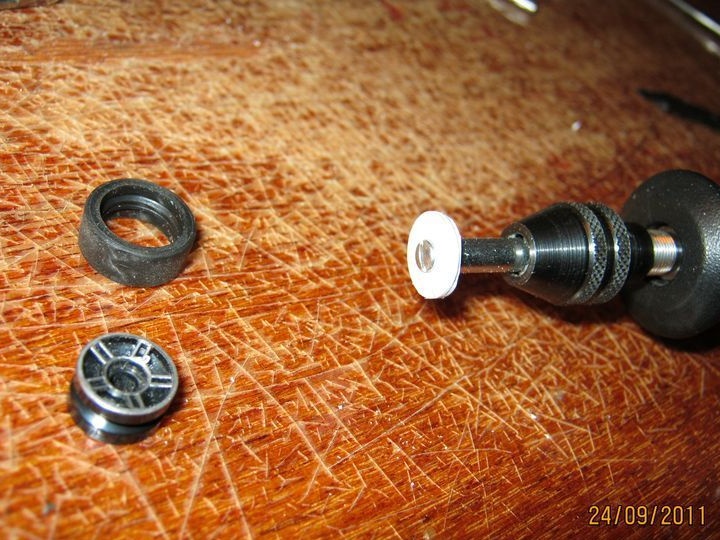
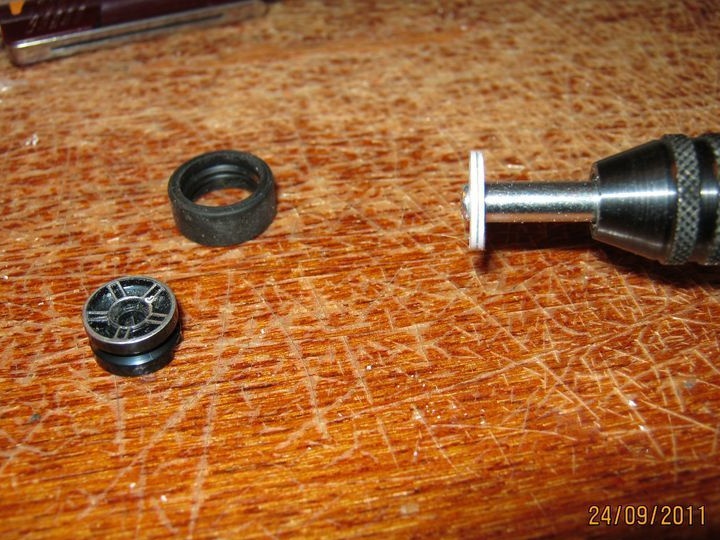
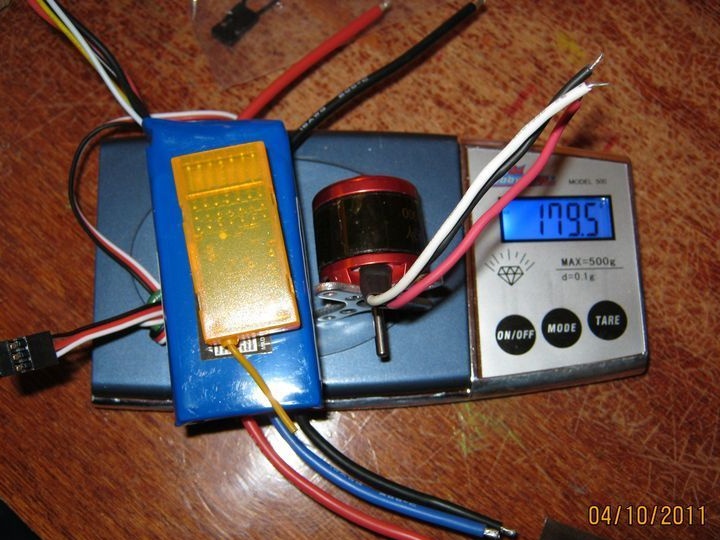
- engine with screw;
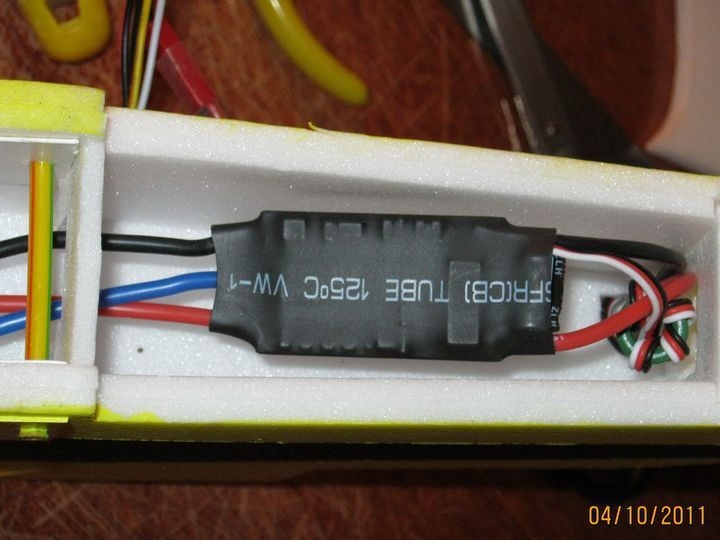
- regulator;
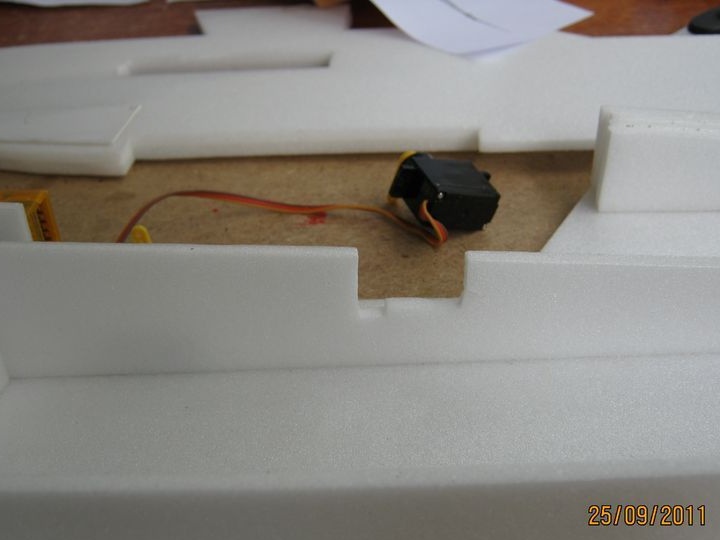
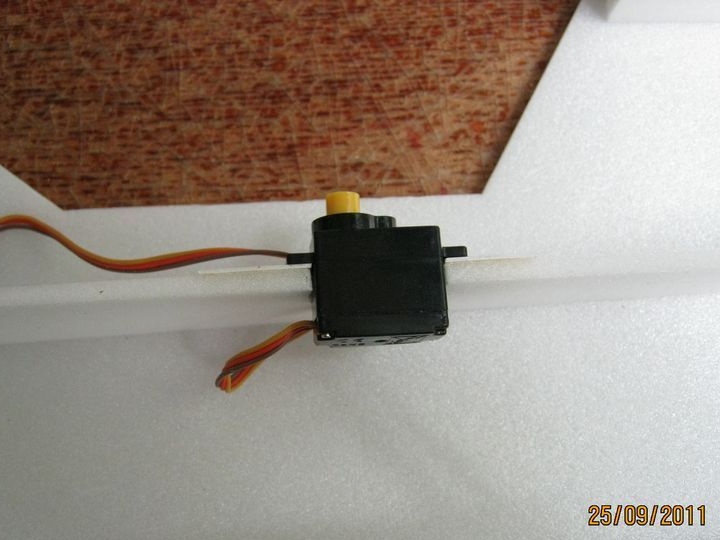
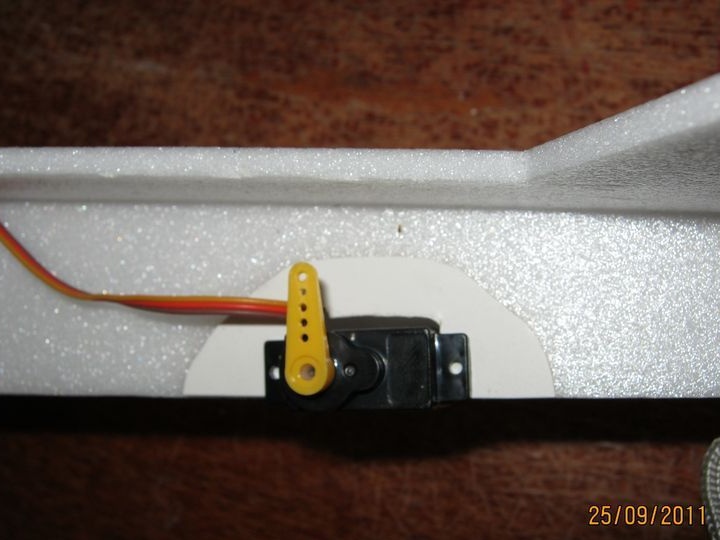
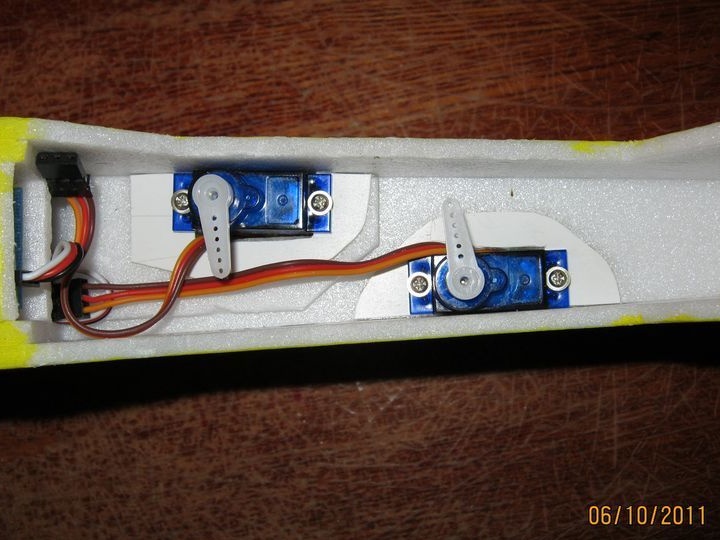
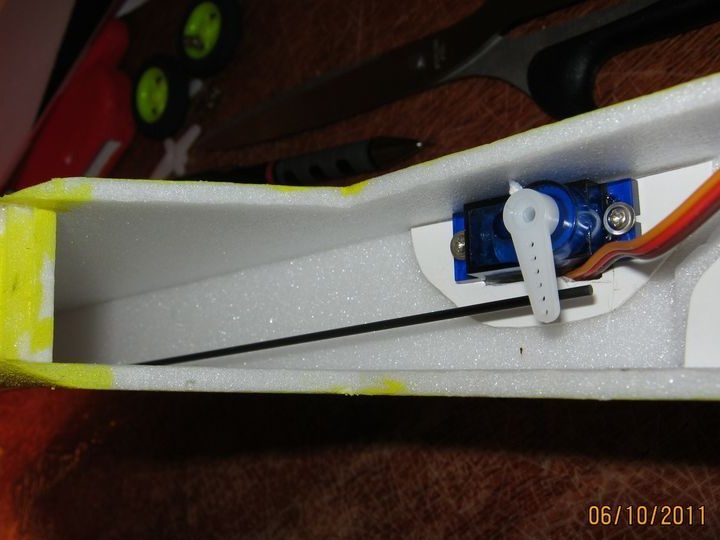
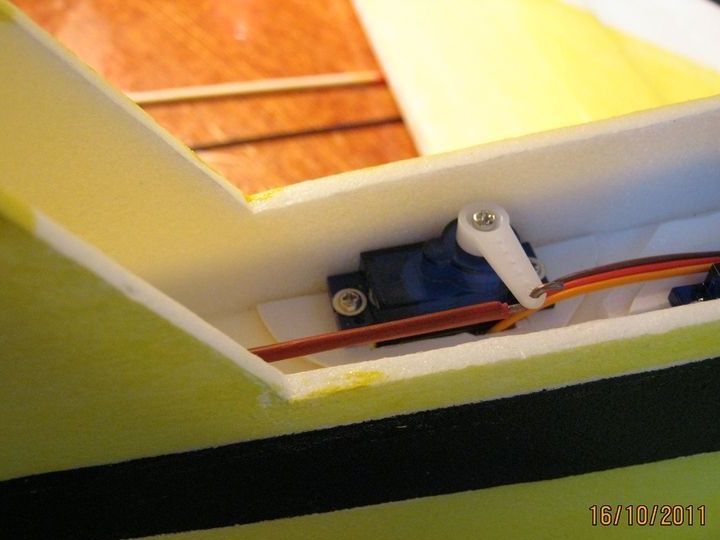
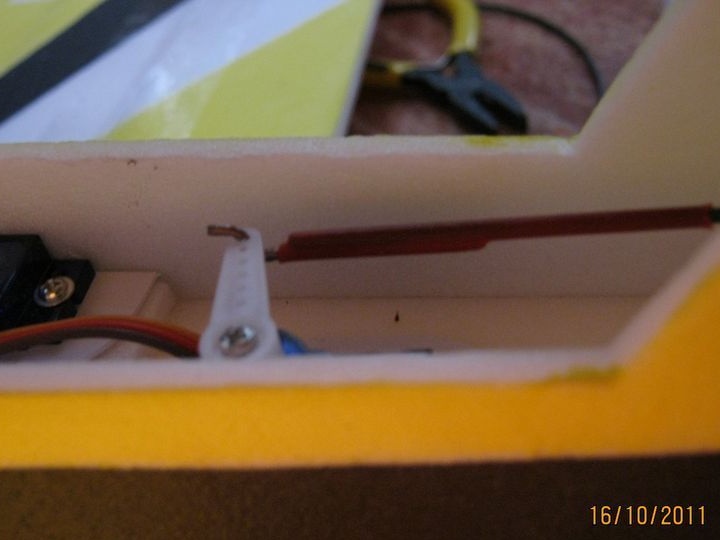
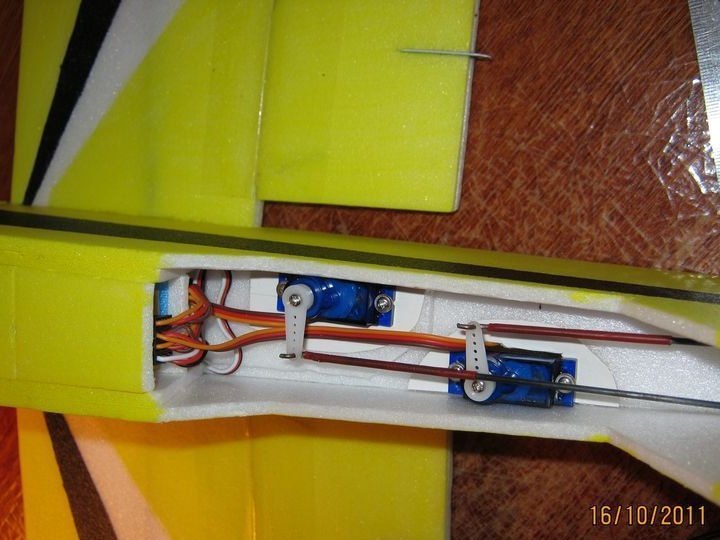
- servomotors;
- parts for the manufacture of the chassis;
- multi-colored adhesive tape for decoration;
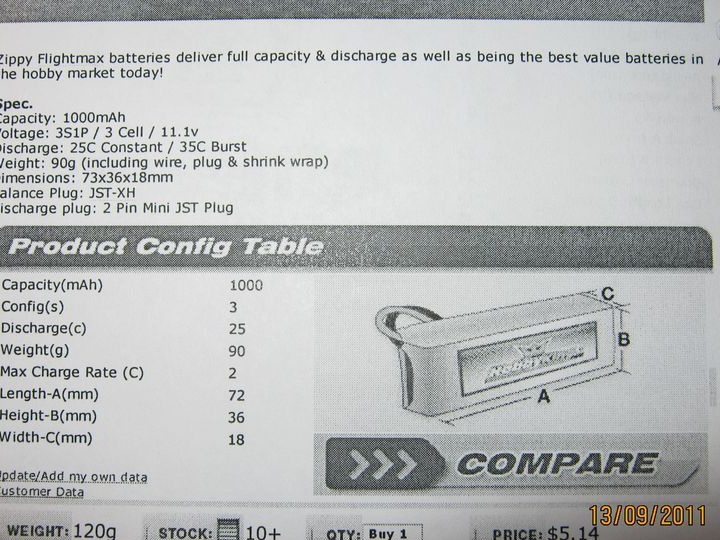
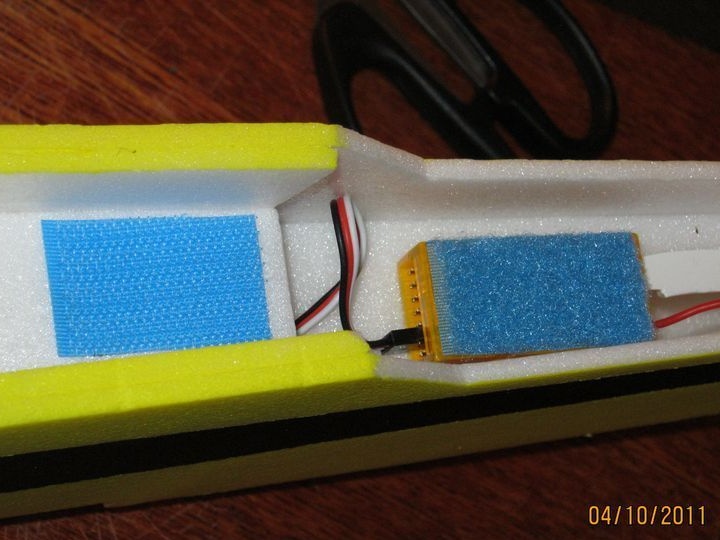
- battery;
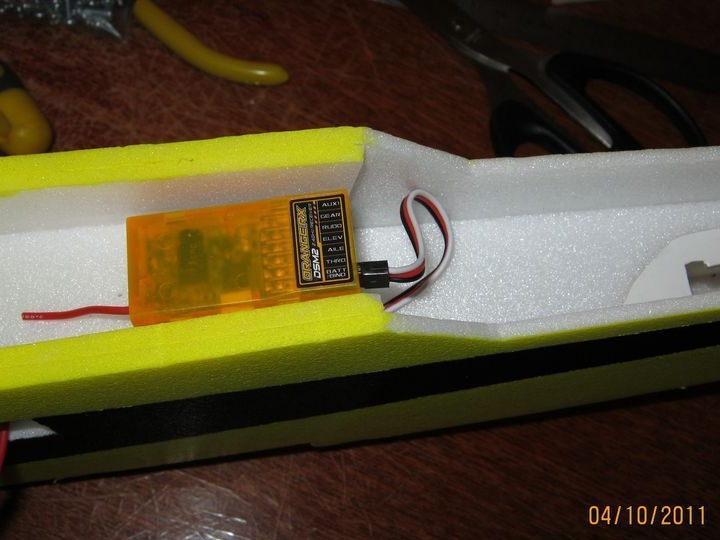
- receiver and stuff.
Model manufacturing process:
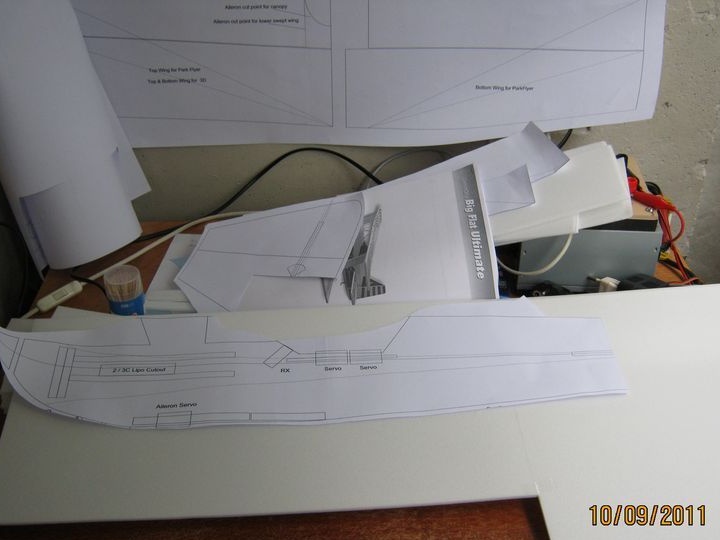
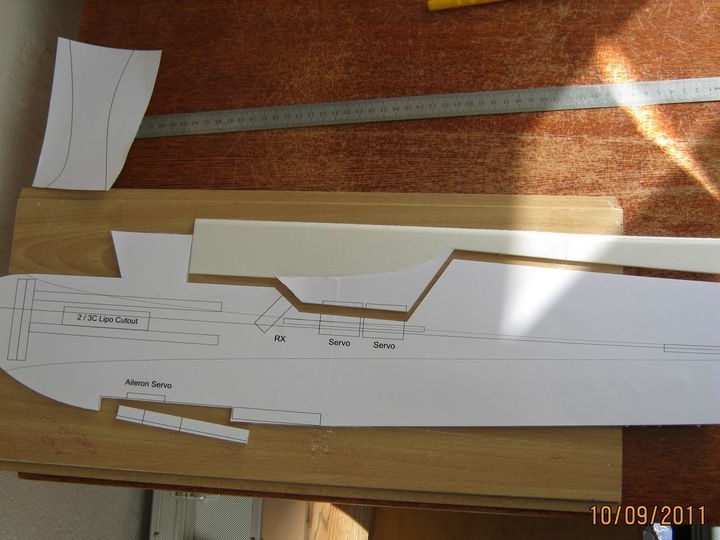
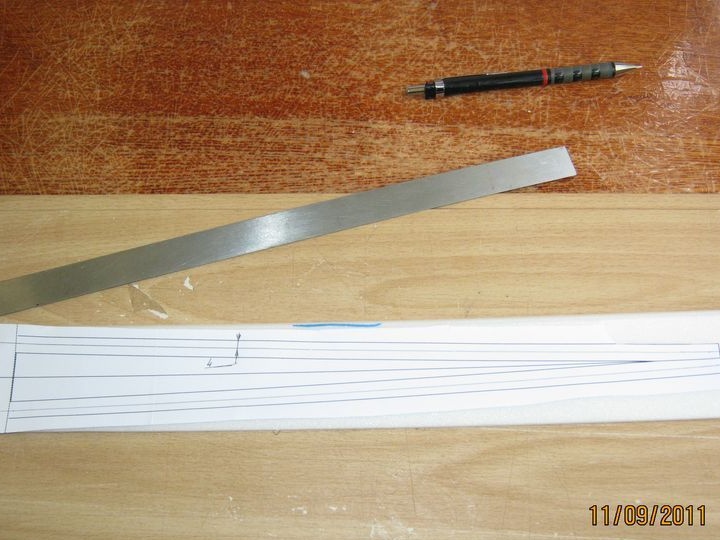
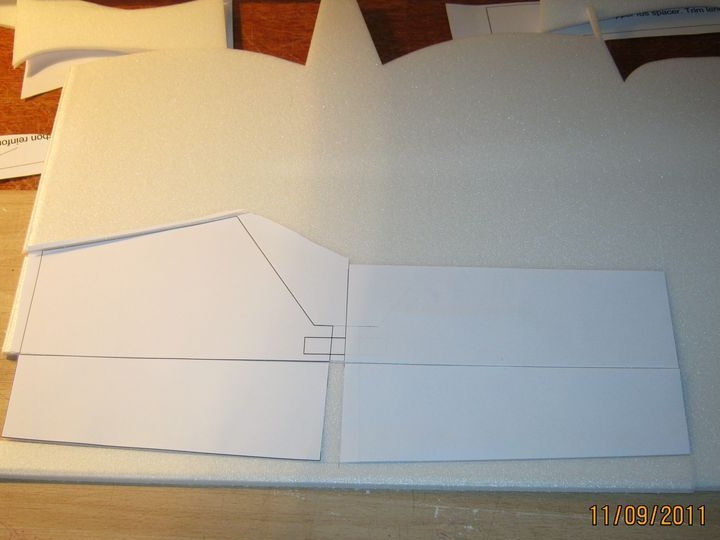
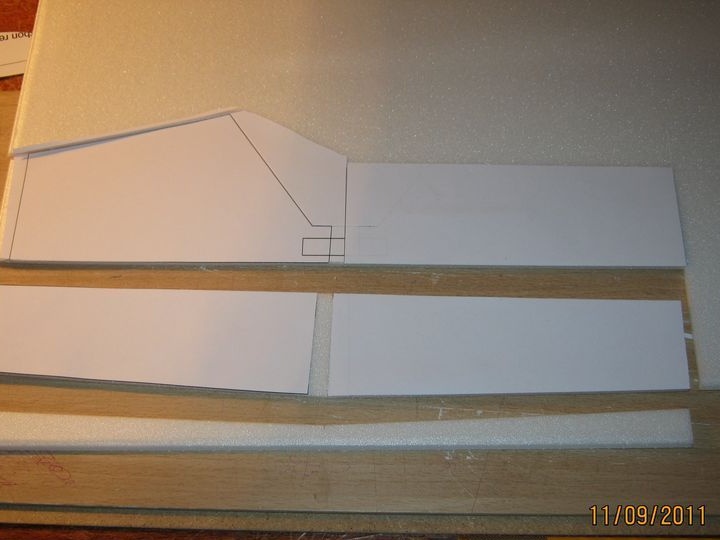
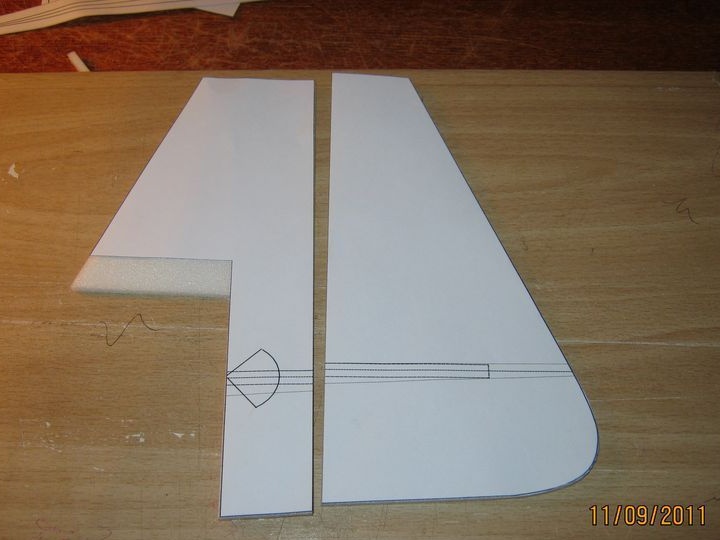
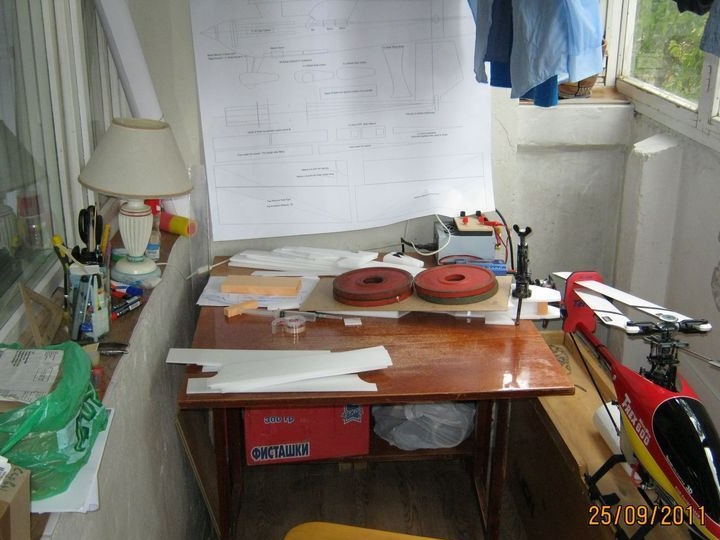
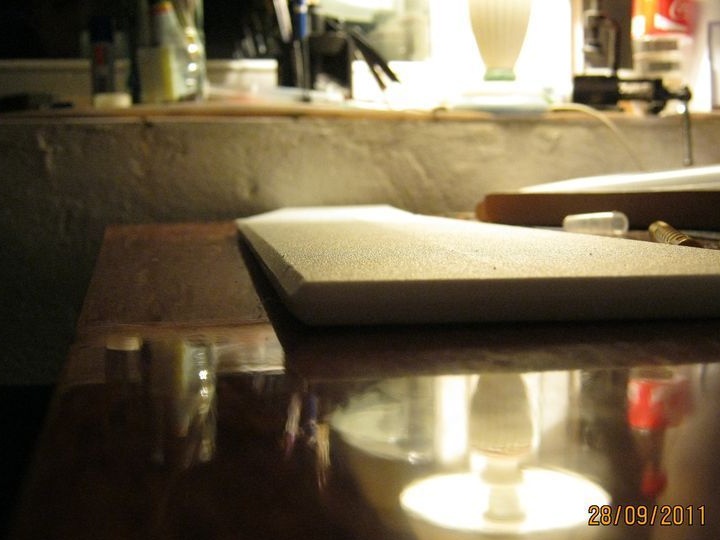
Step one. Blueprints
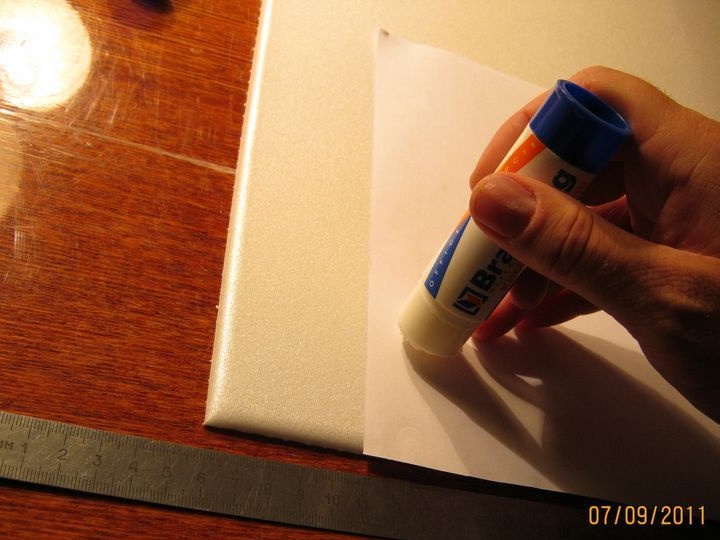
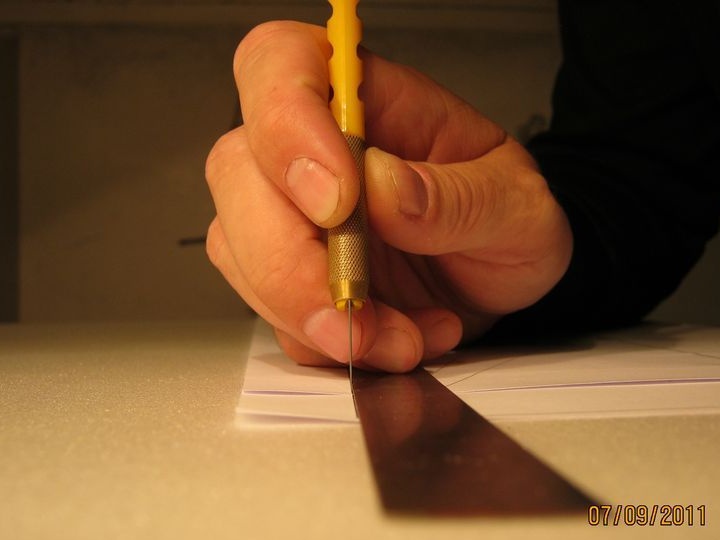
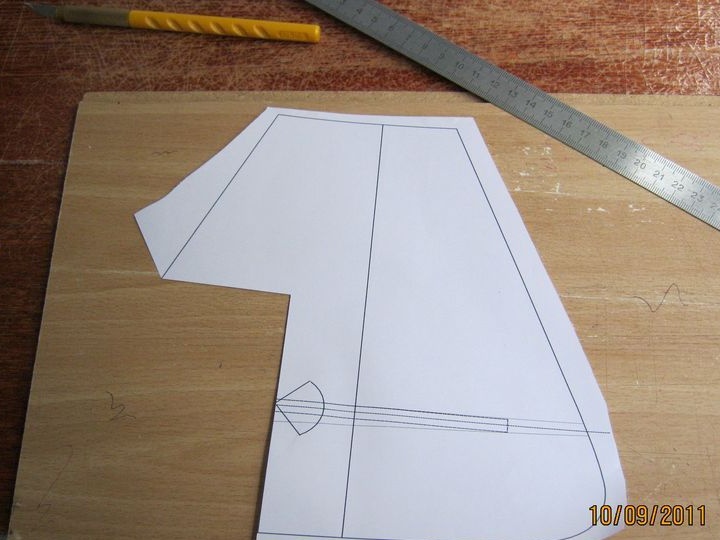
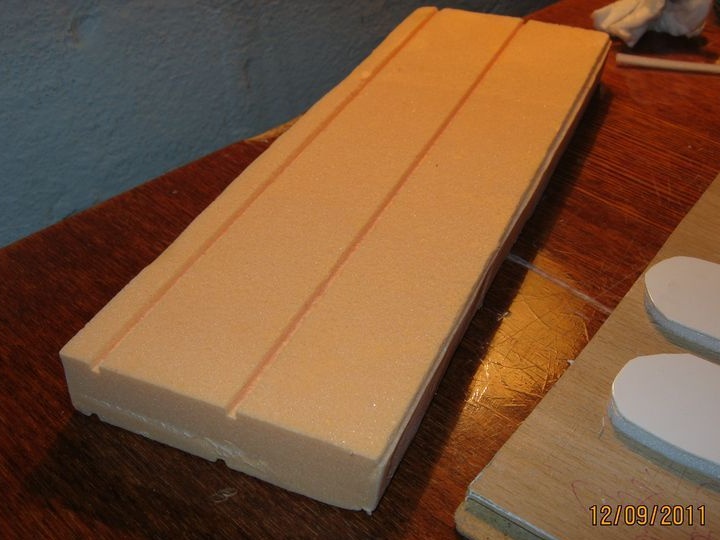
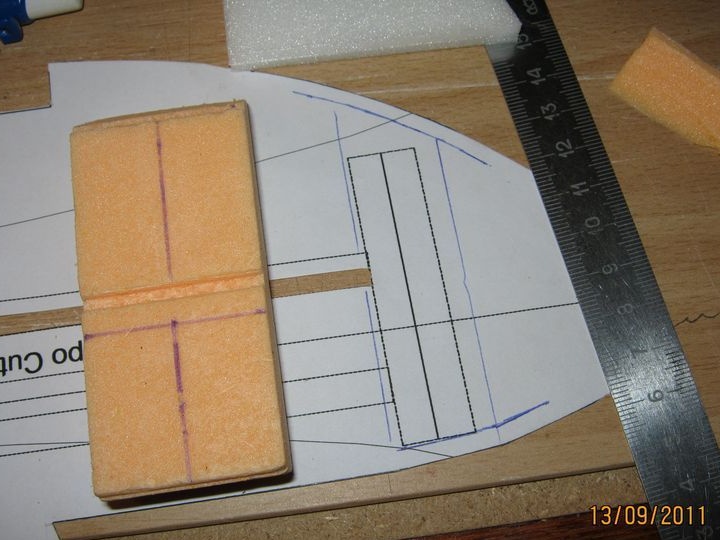
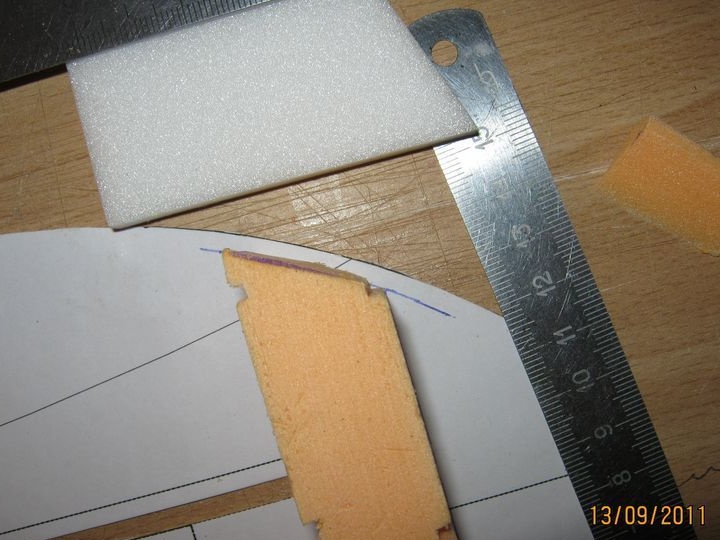
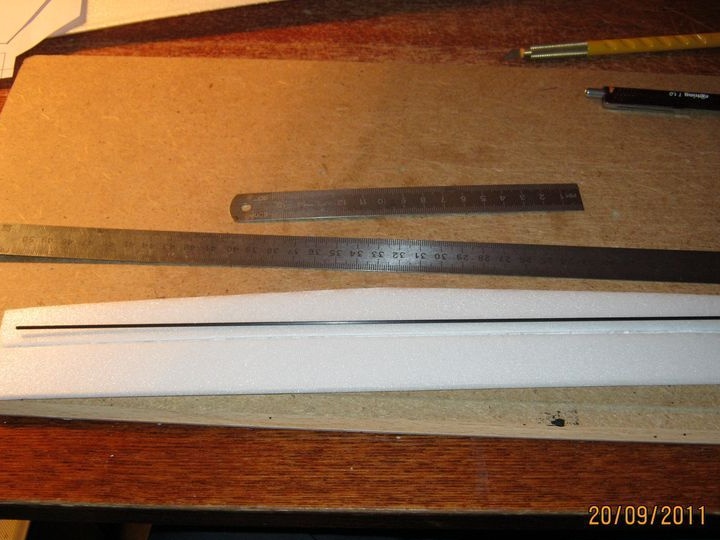
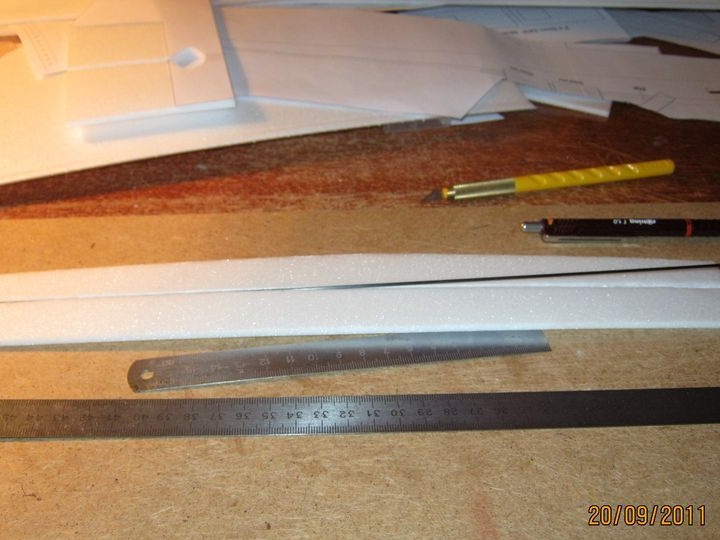
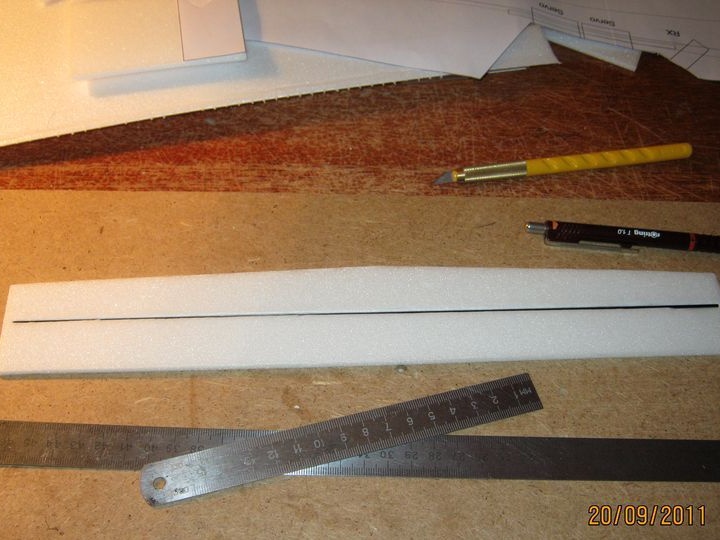
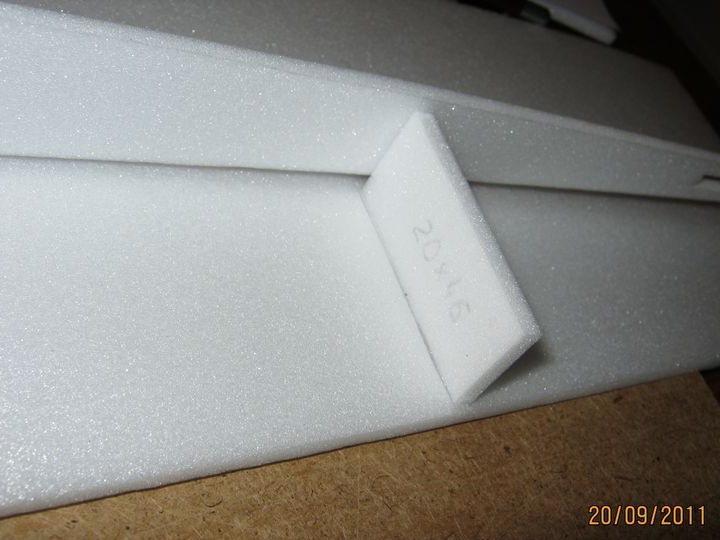
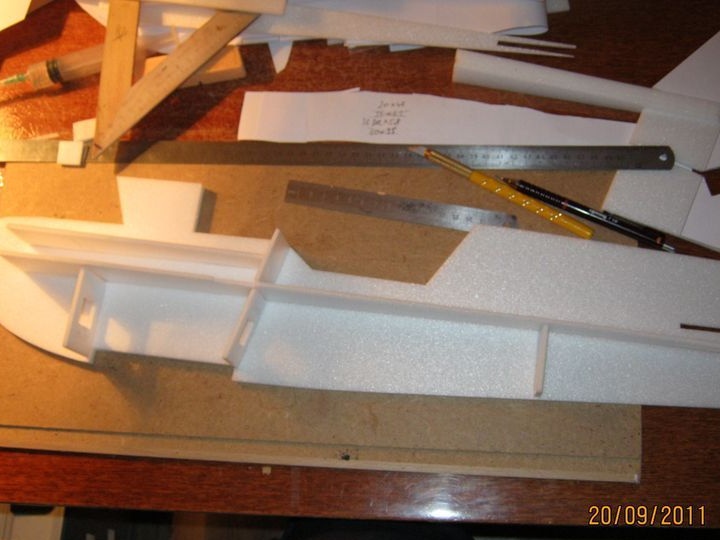
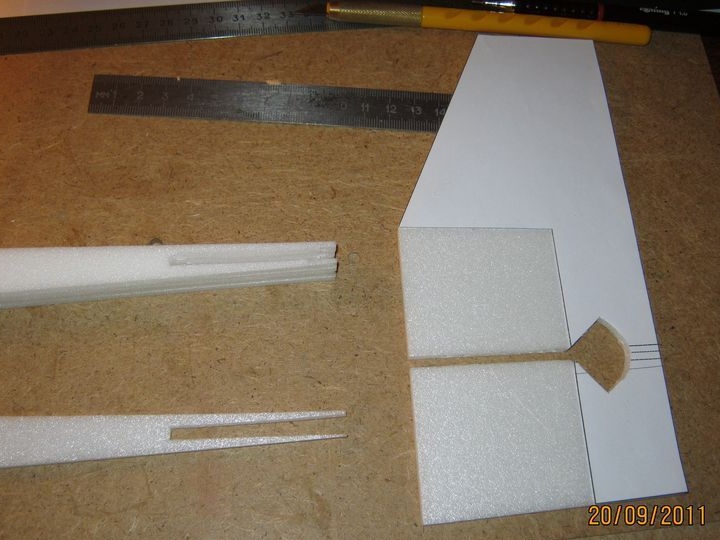
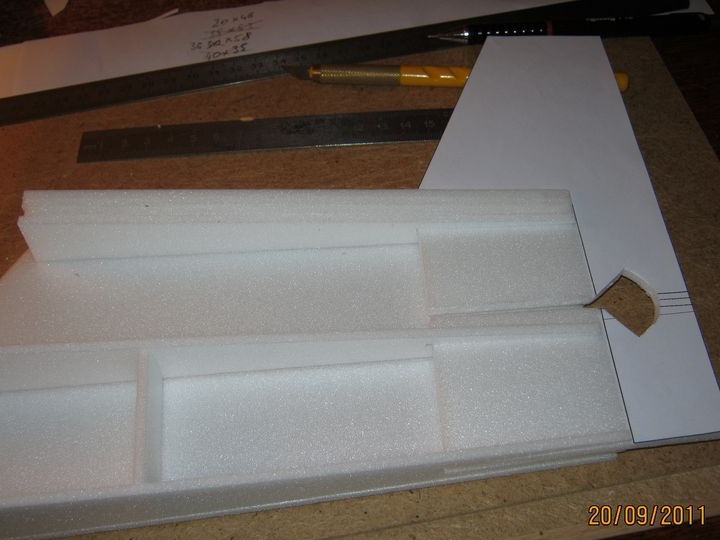
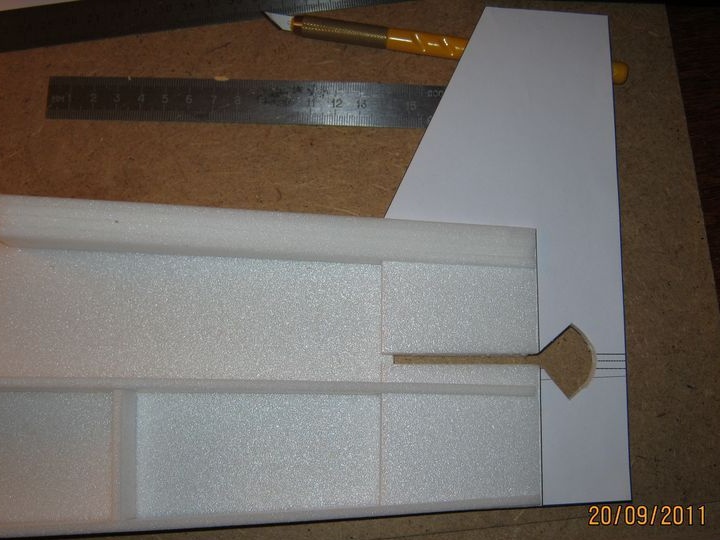
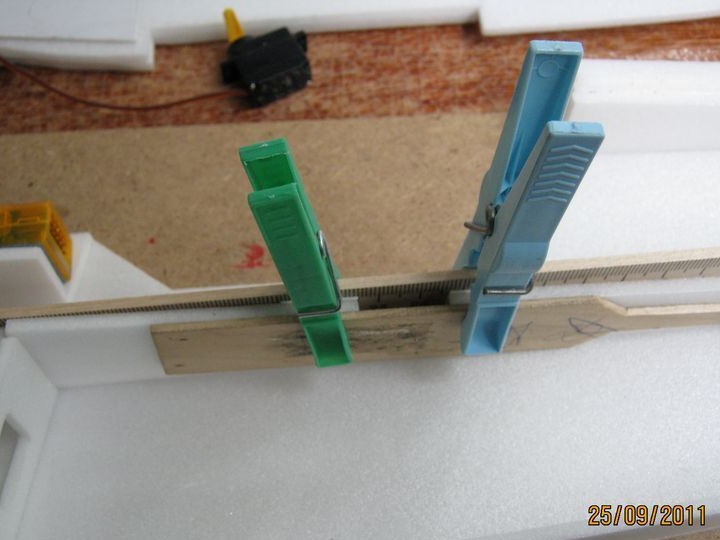
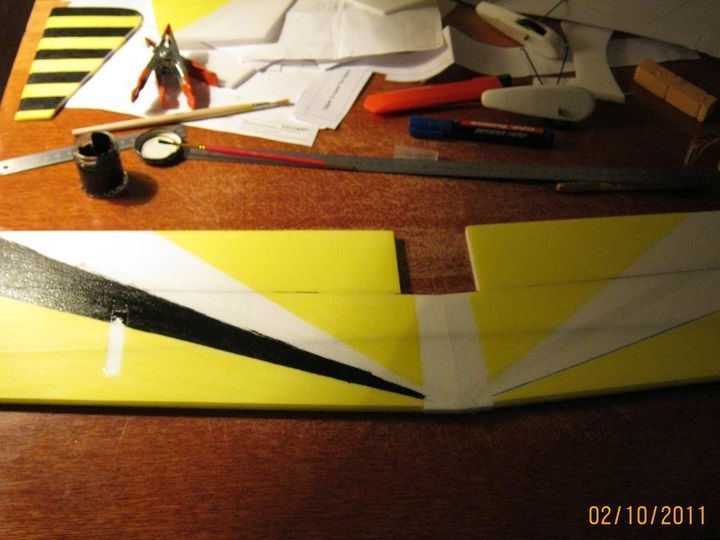
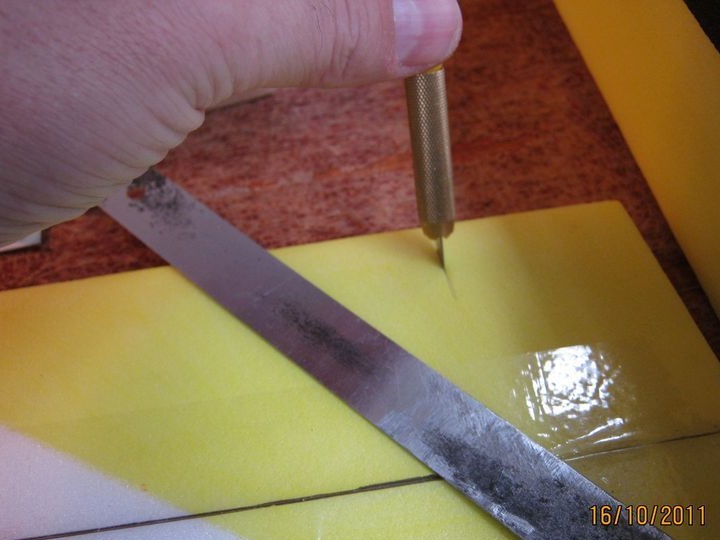
First, the drawings need to be printed on as large a sheet as possible. Further, the author glues the sheets in such a way as to obtain one large single drawing. Then the necessary details can be cut. Long parts must be placed along the fibers of the ceiling. the template is glued to the ceiling with a glue stick.
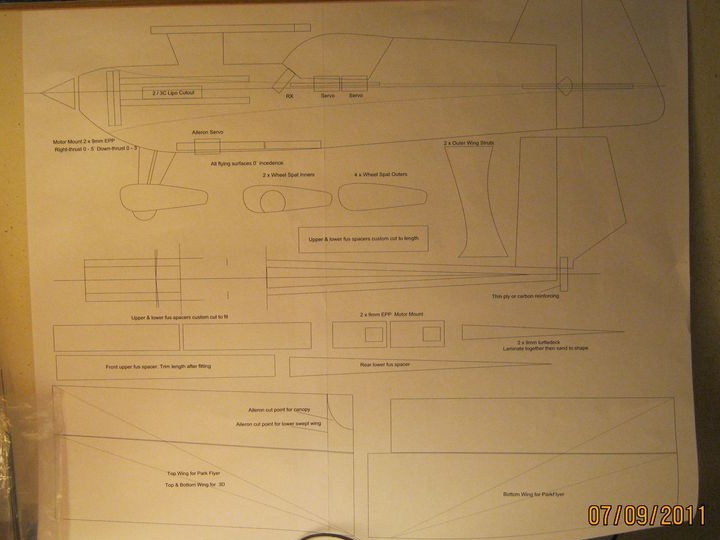
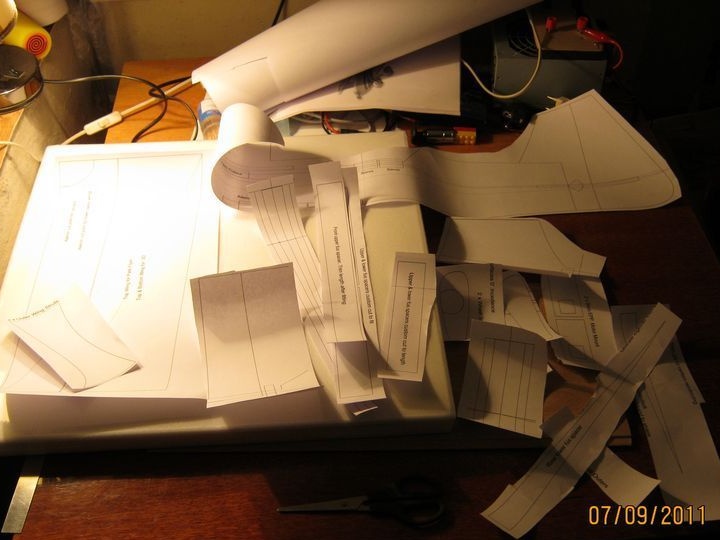
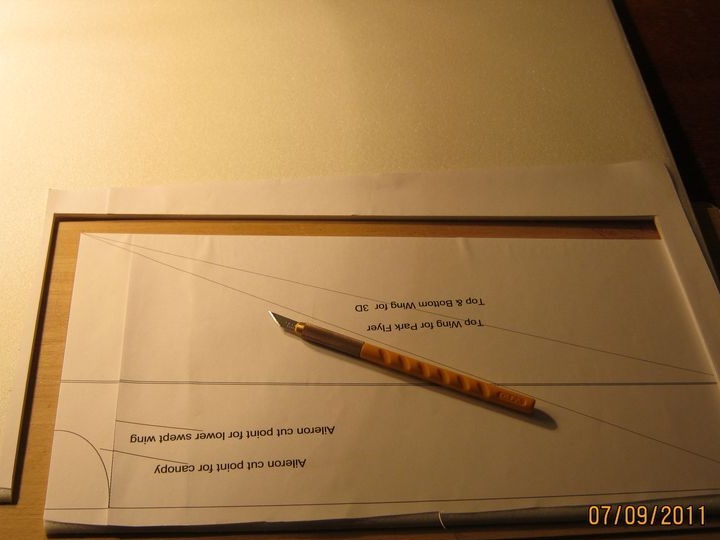
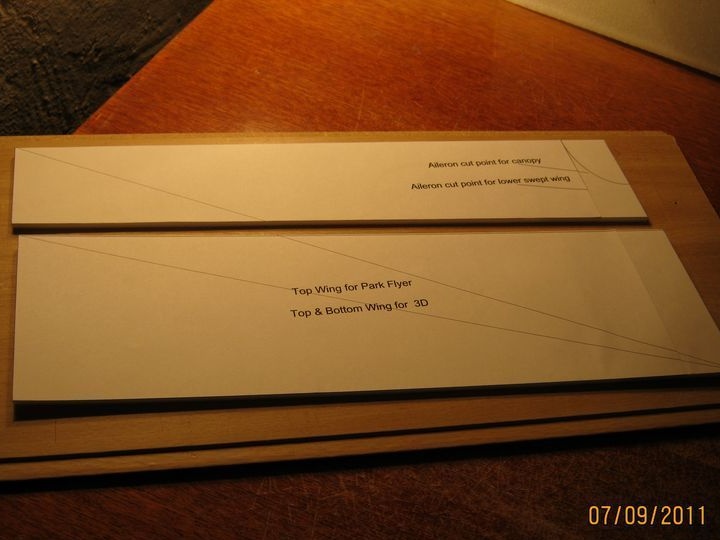
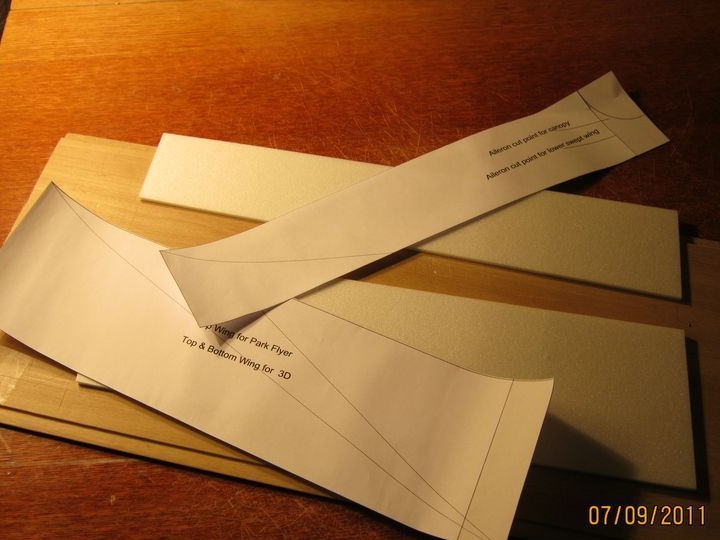
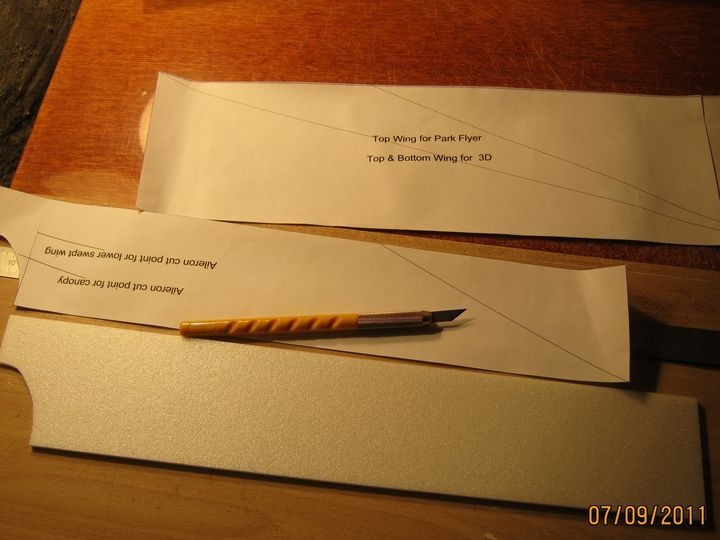
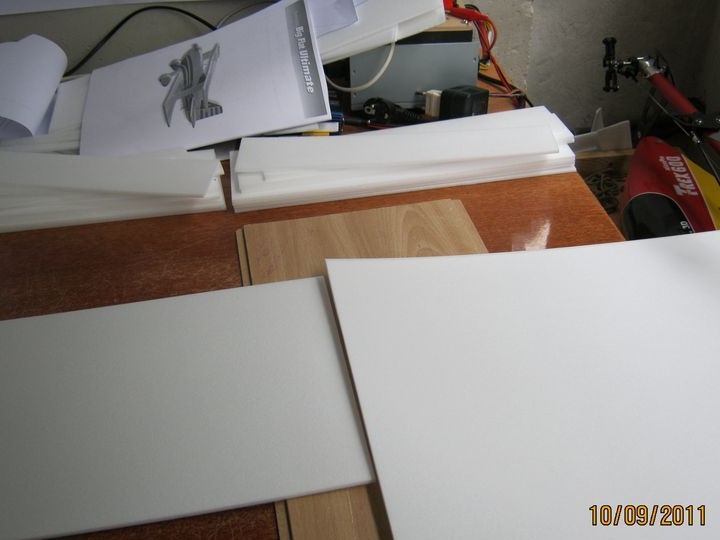
To get several templates in stock, the author advises making several drawings at once.
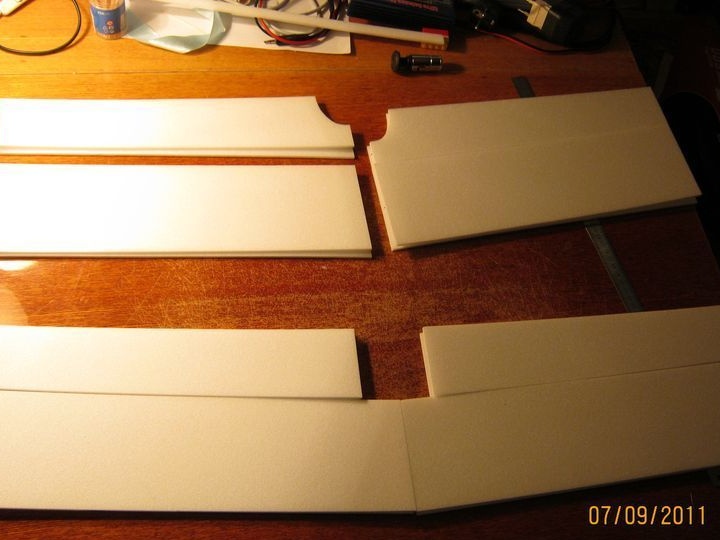
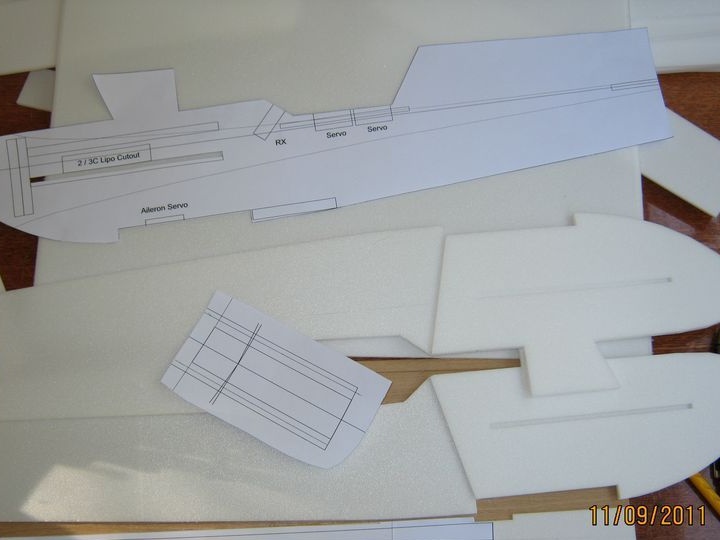
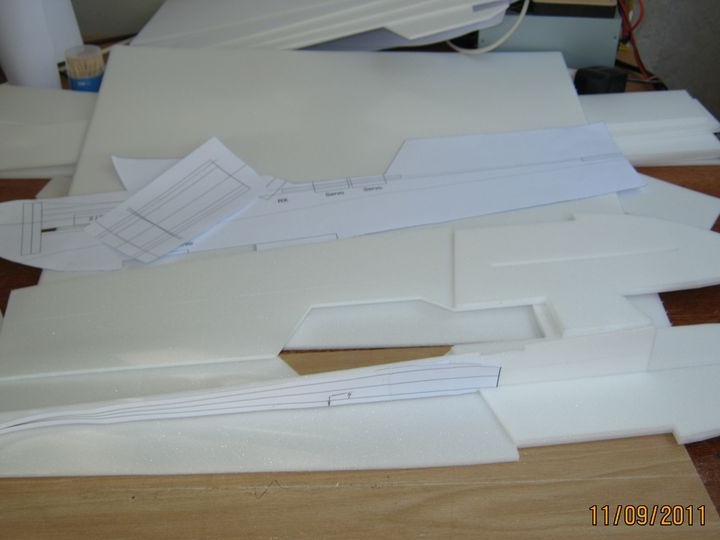
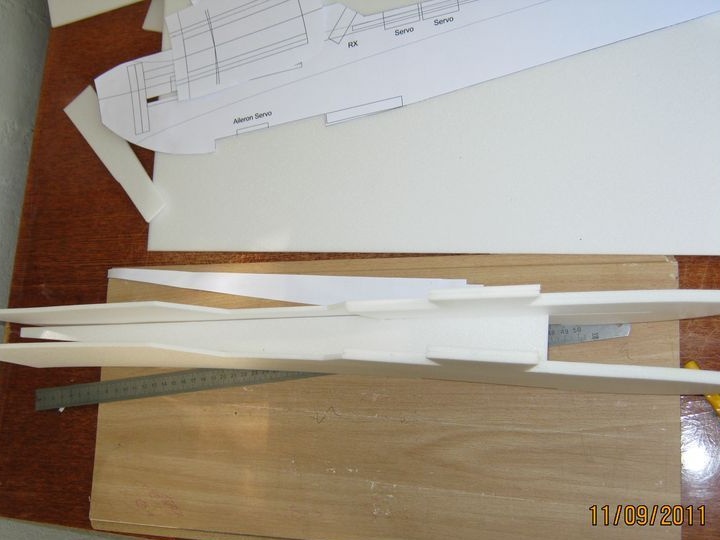
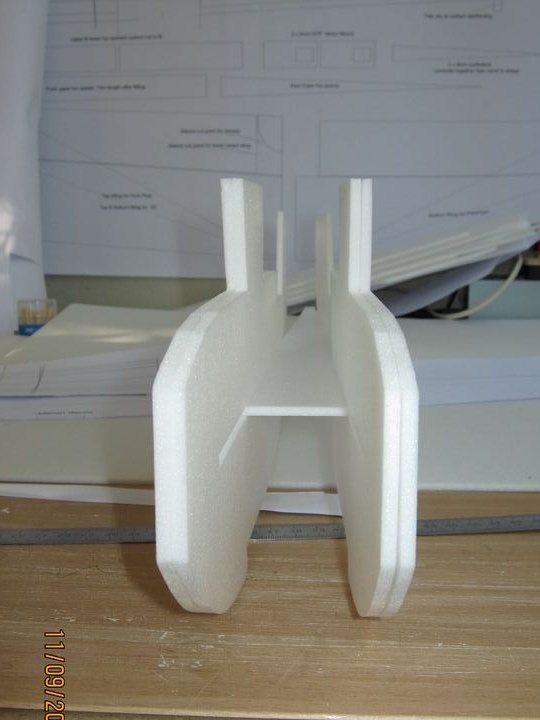
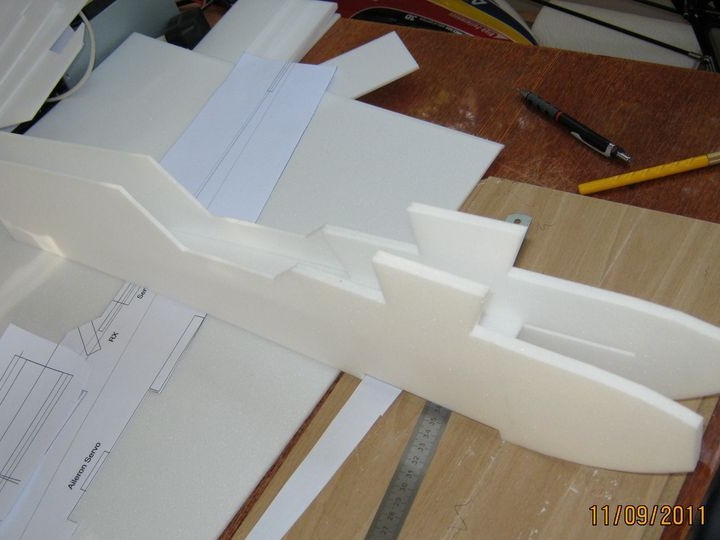
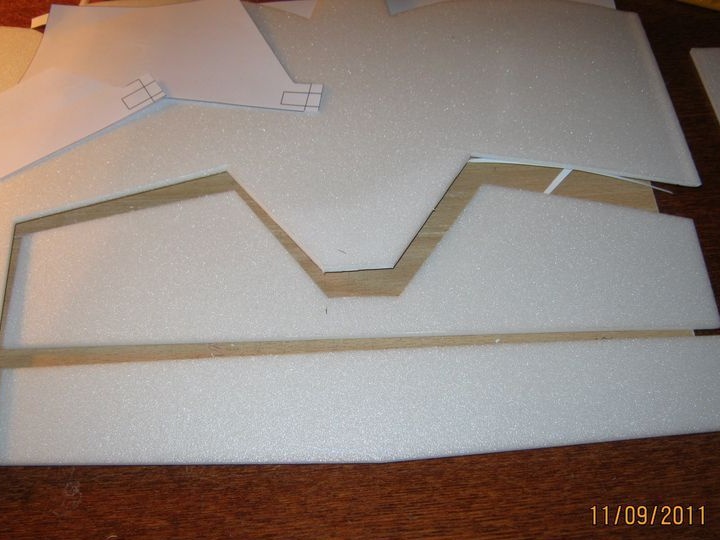
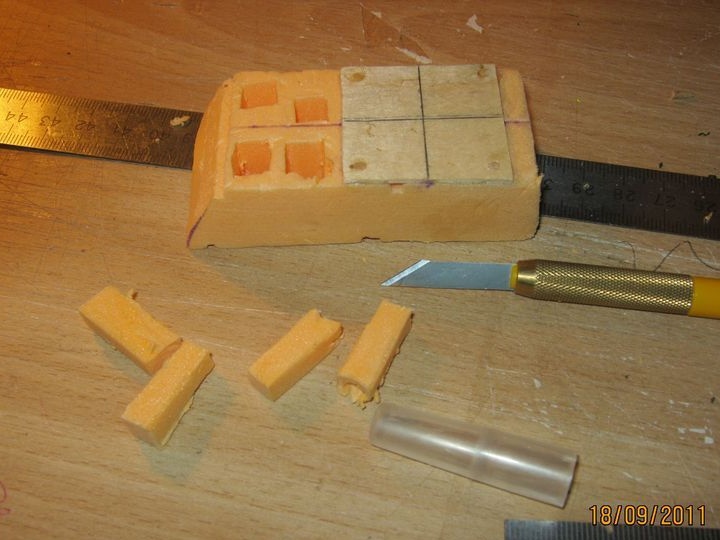
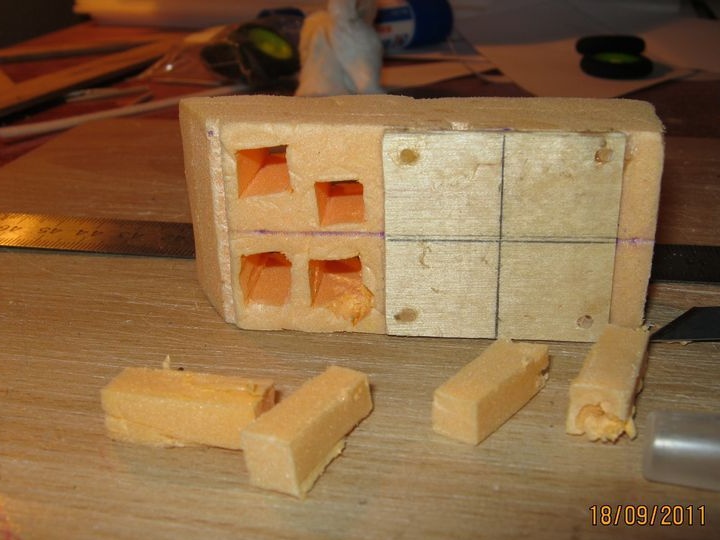
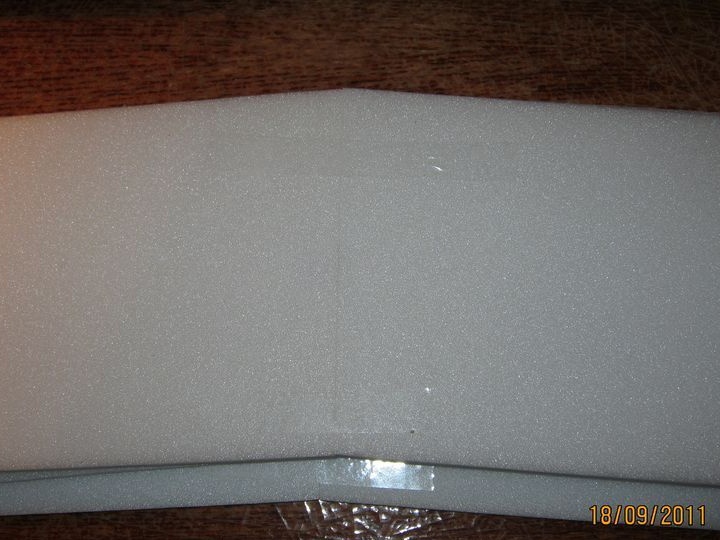
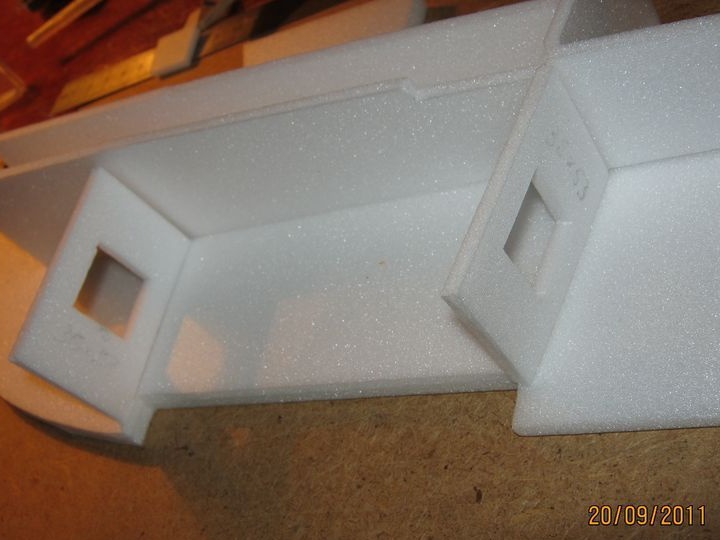
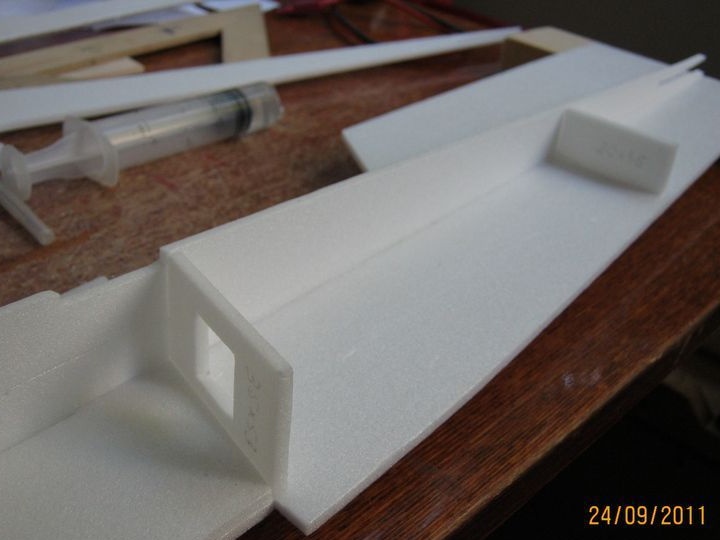
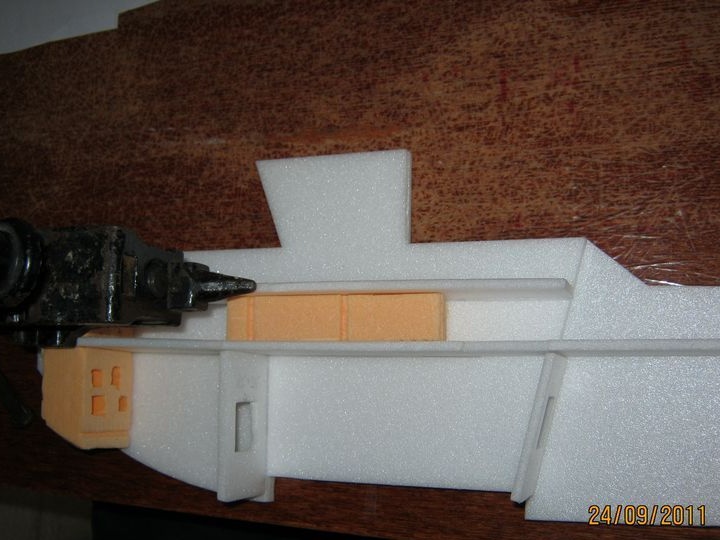
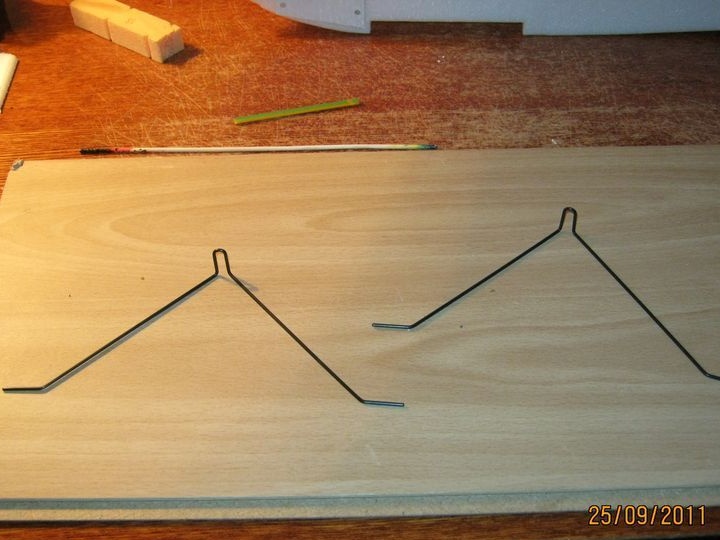
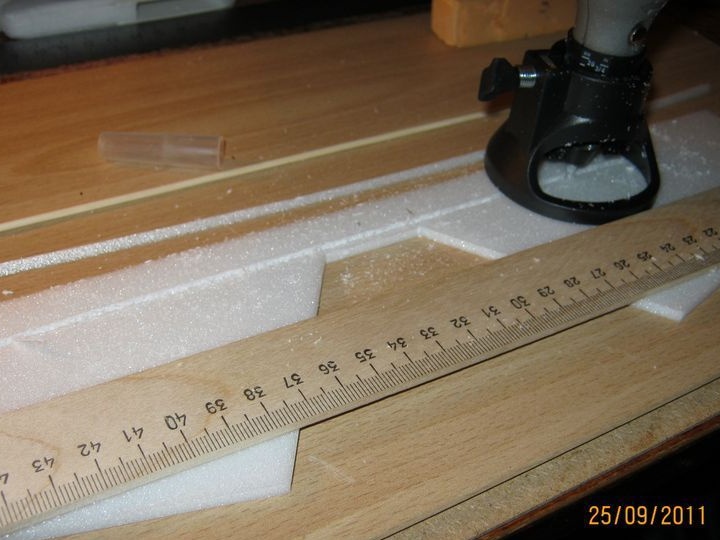
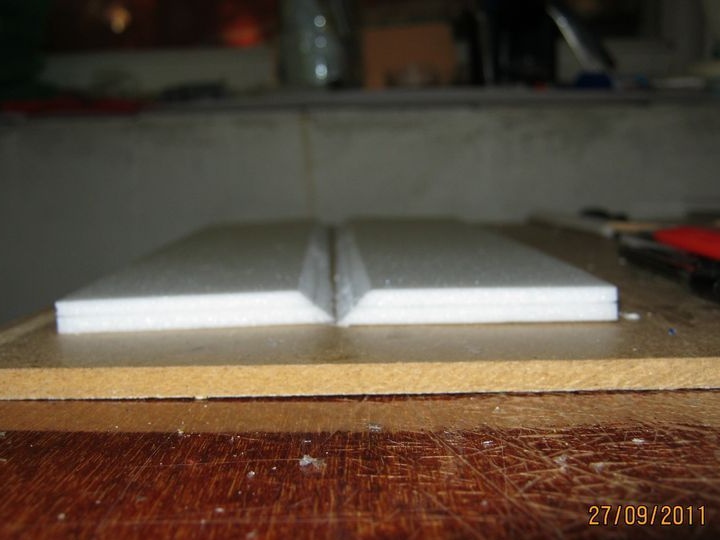
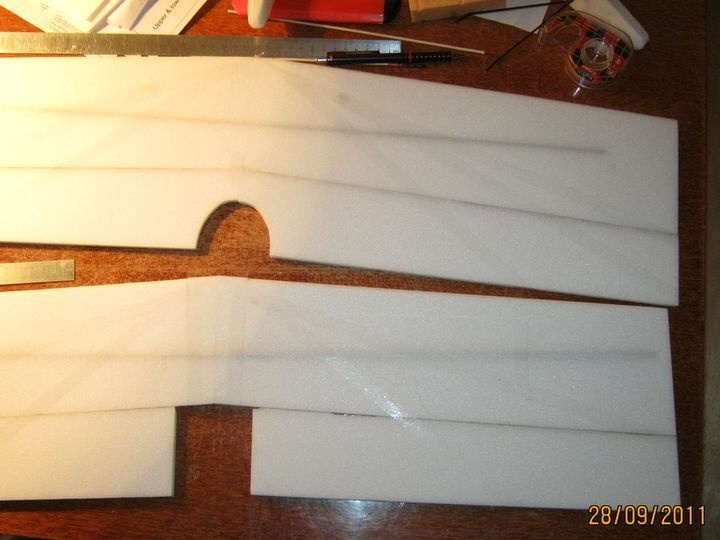
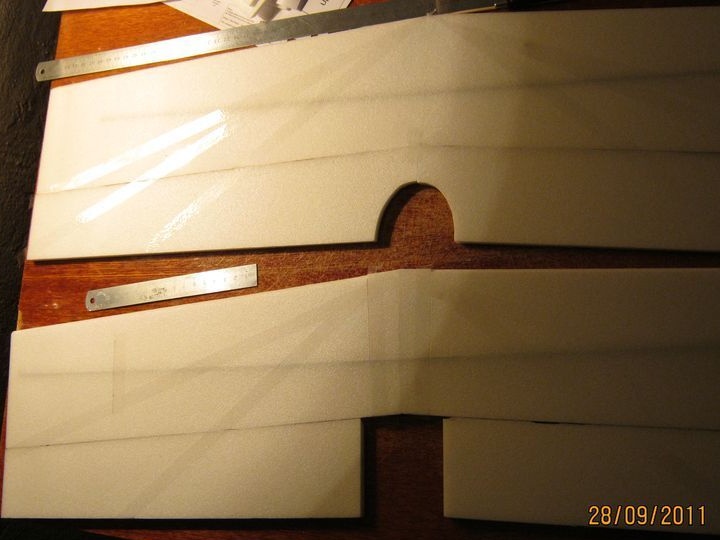
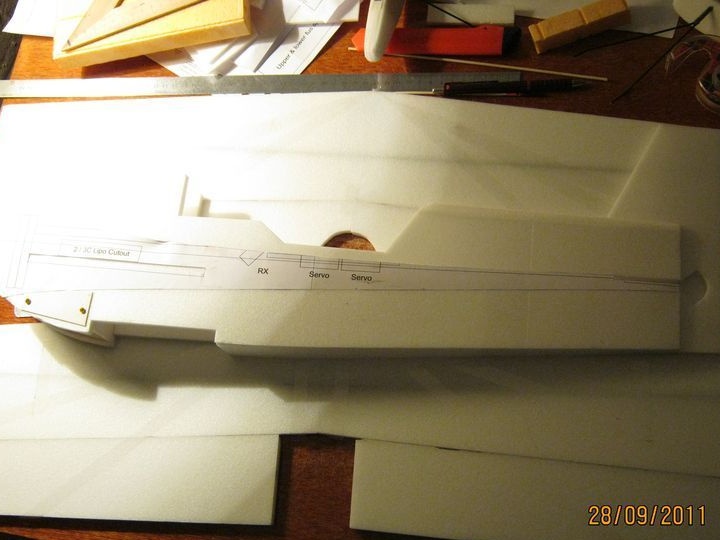
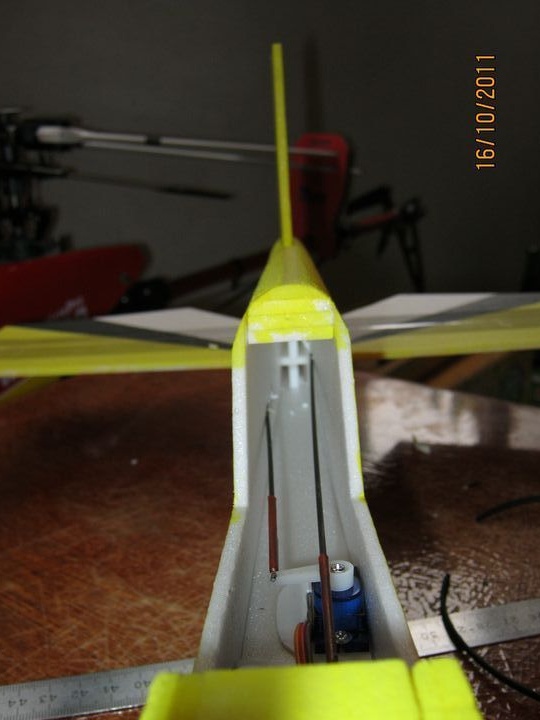
Step Two Fuselage
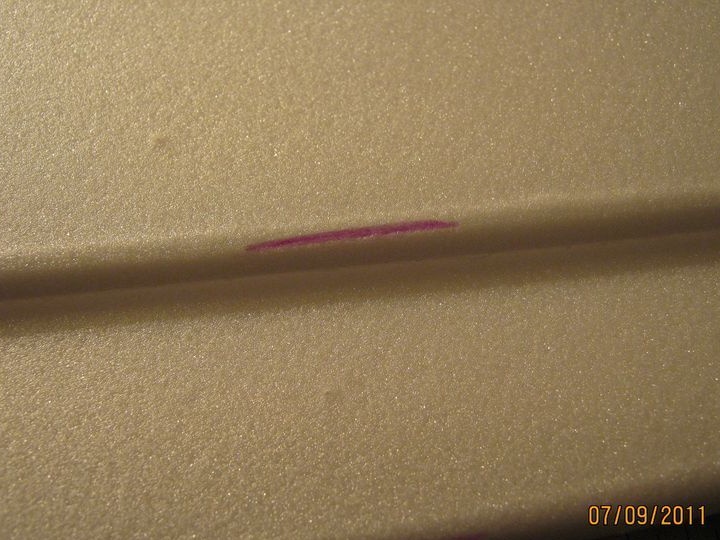
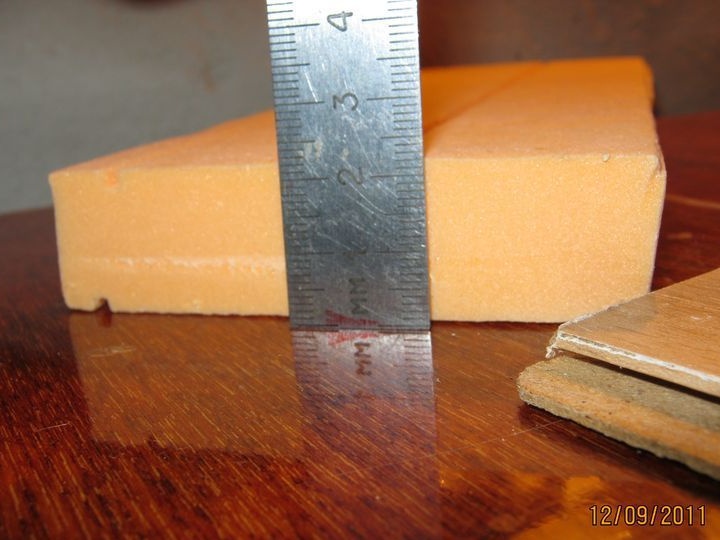
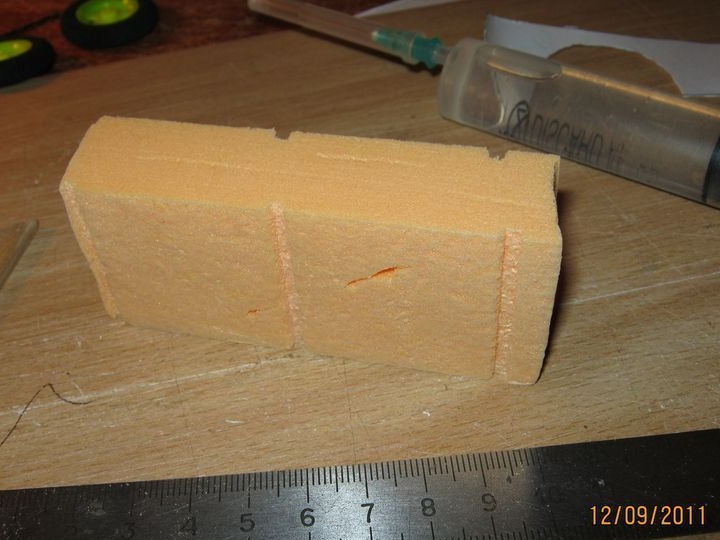
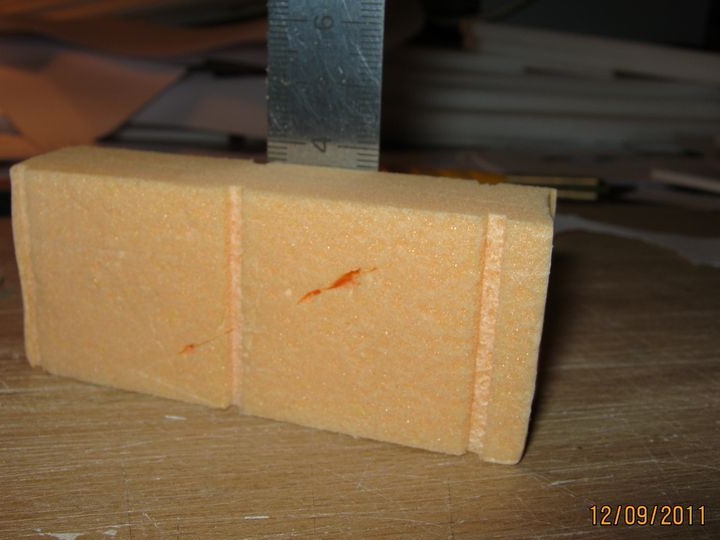
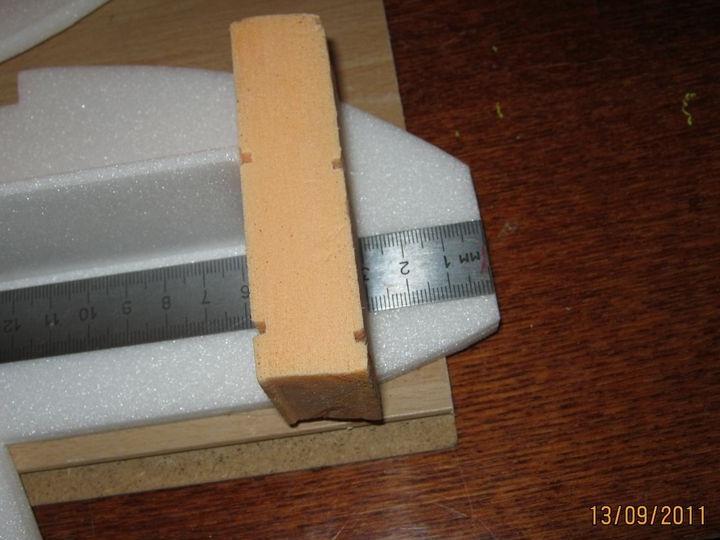
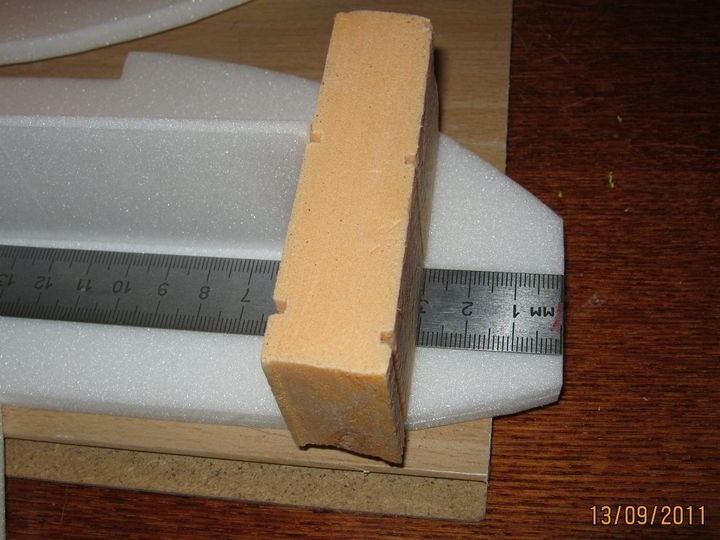
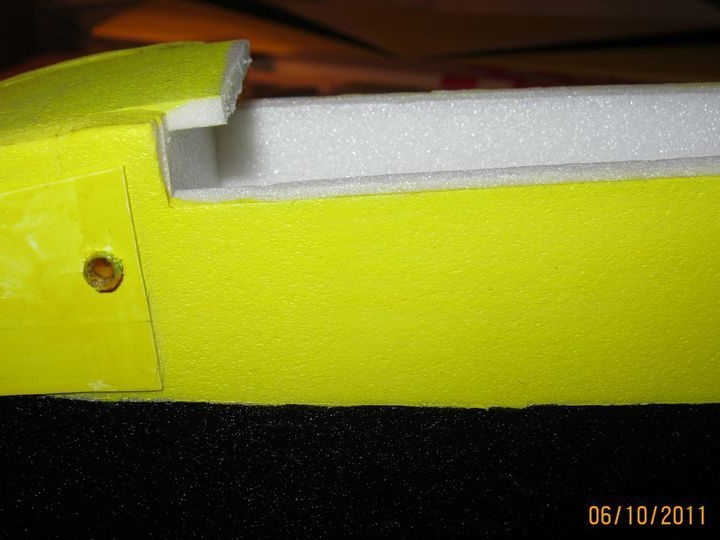
First, the author glues two ceiling tiles together. Well, then the template is glued and just like the first step, the necessary elements are cut out. The difficulty here is that the drawing was created for SWU, and it needs to be adapted to the ceiling. This means a difference in thickness of 5..5.5 mm.
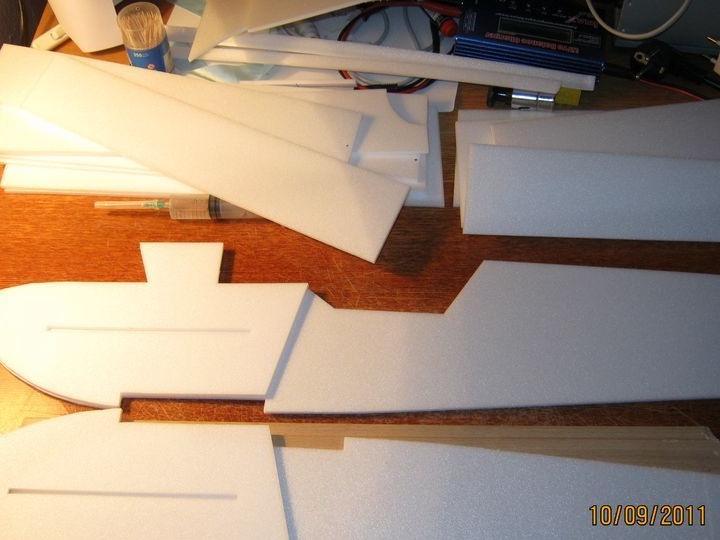
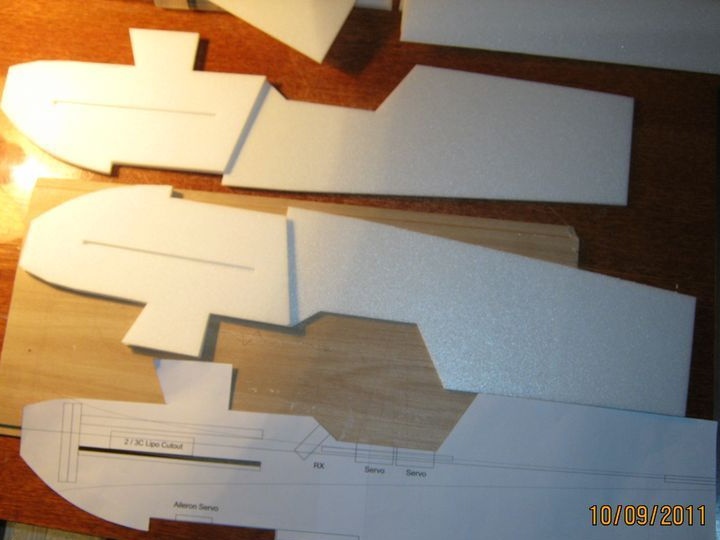
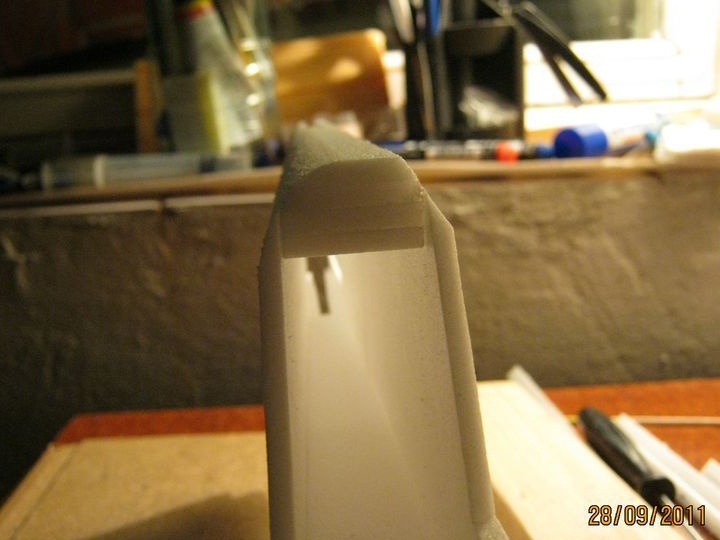
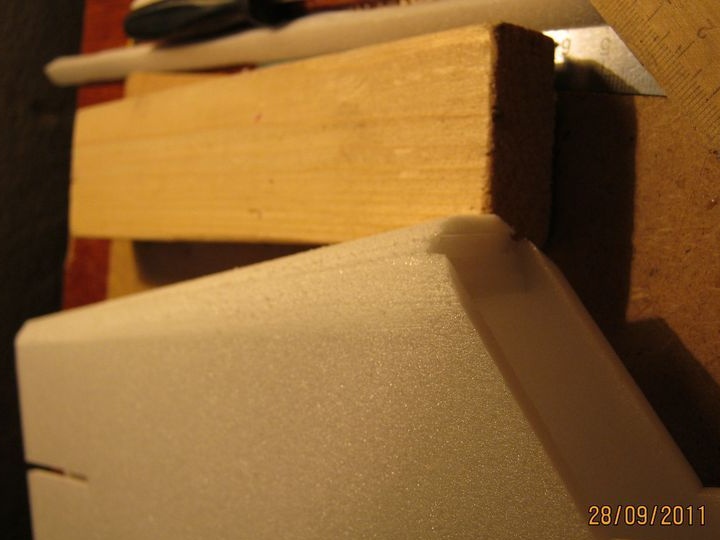
At this stage, the central spar is also installed in the fuselage. Also, the author subsequently cut out four wing spacers, which were not included in the photo.
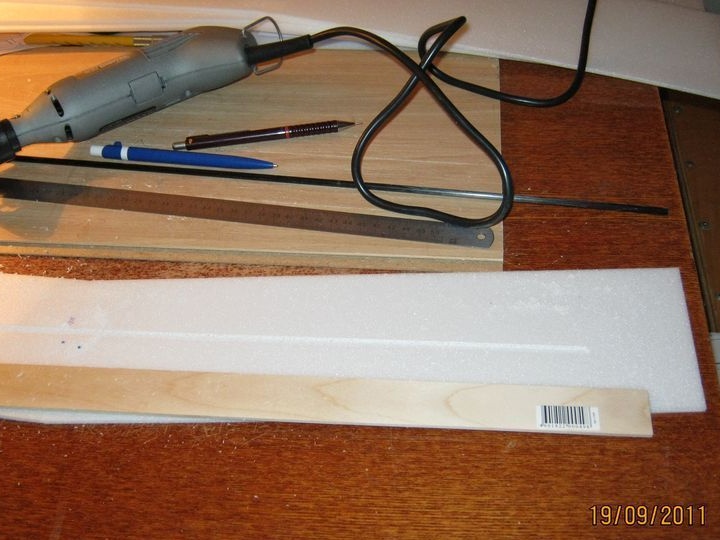
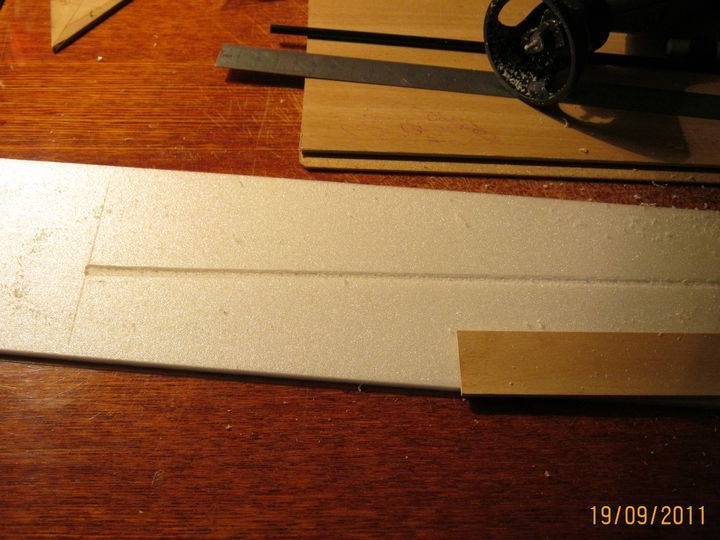
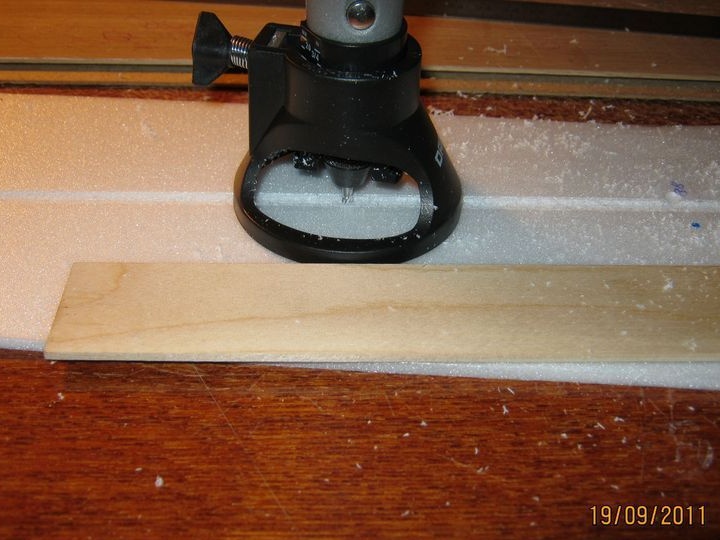
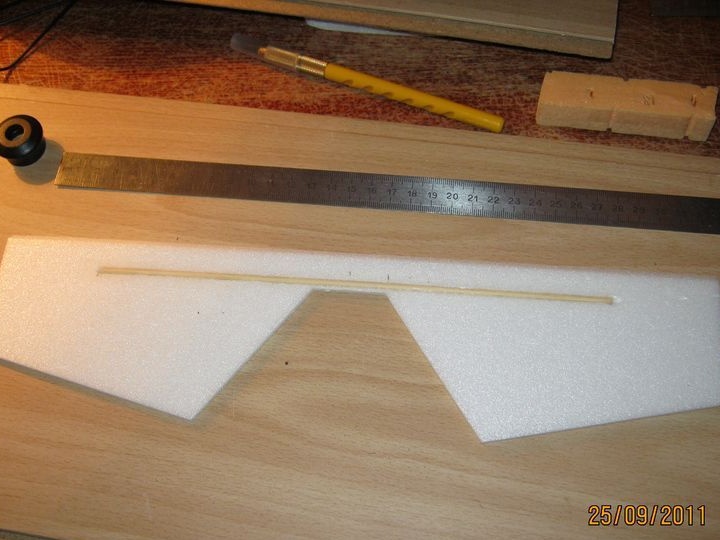
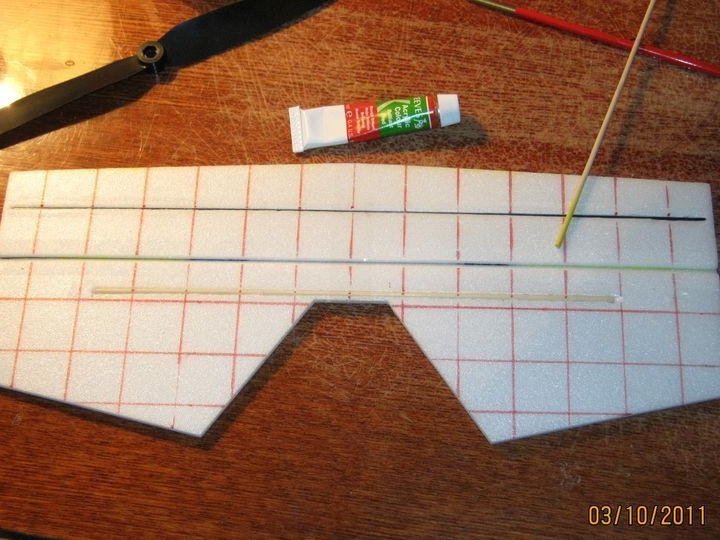
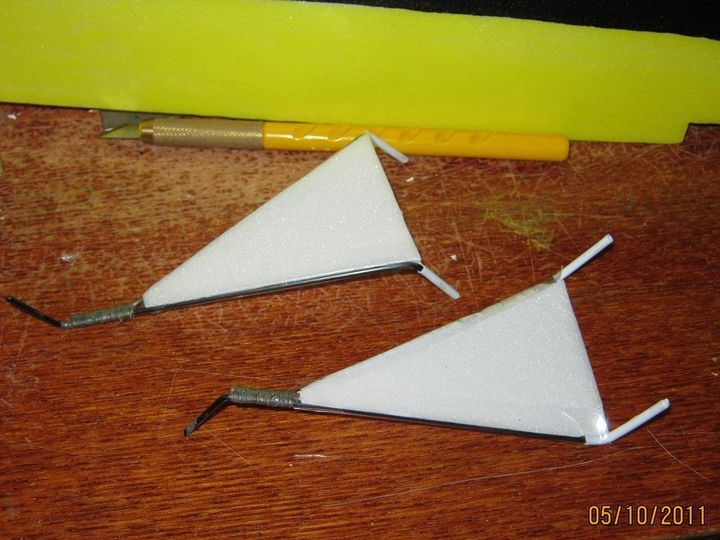
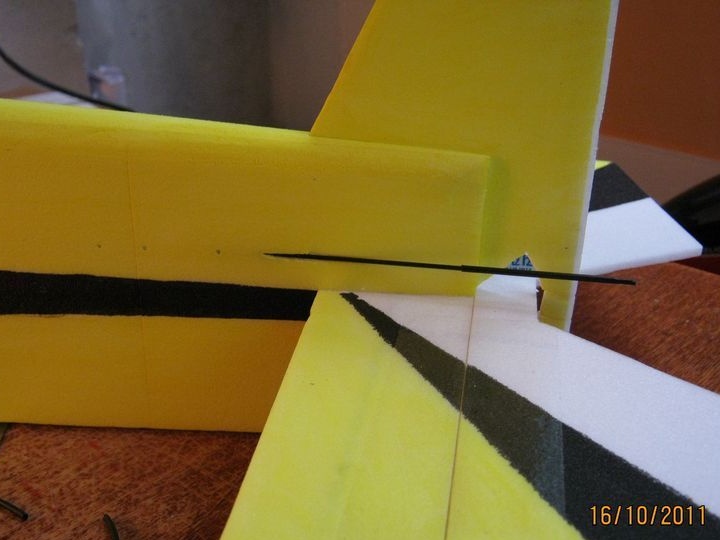
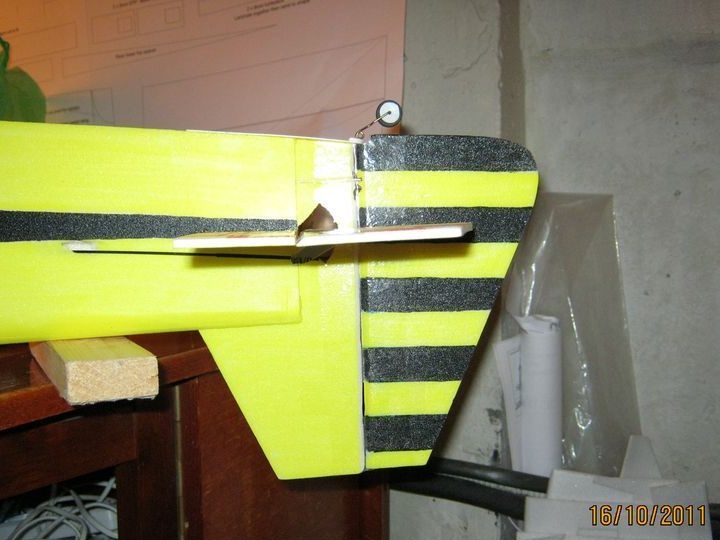
Step Three Tail
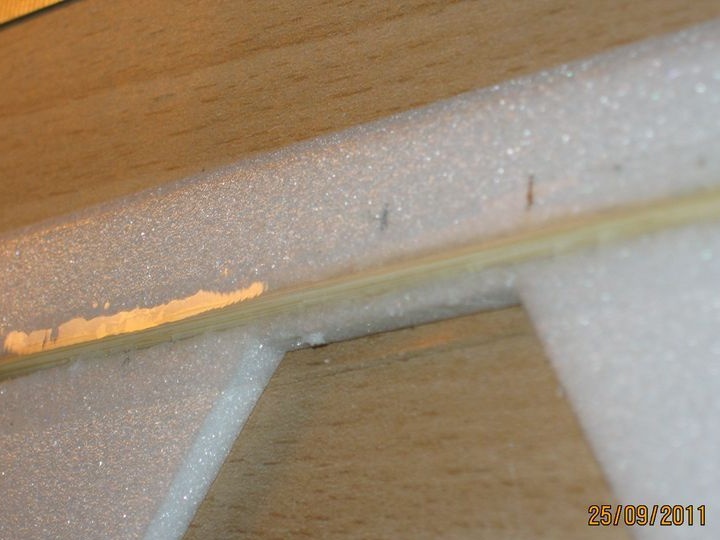
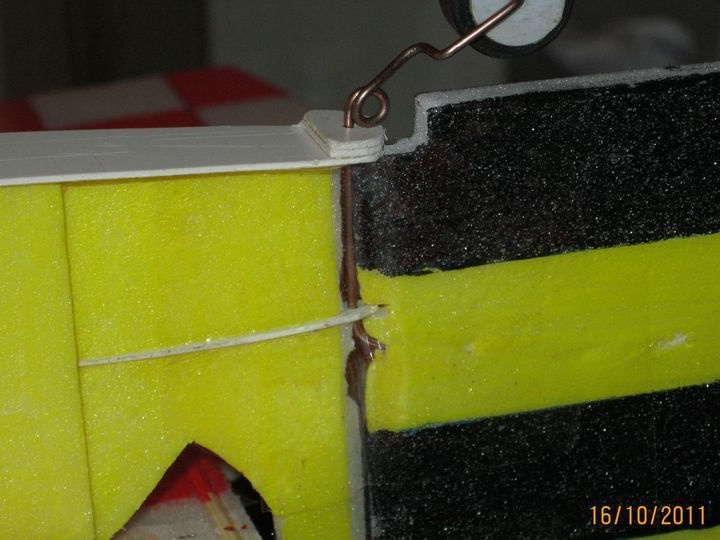
The author makes tail feathers from a single-layer ceiling with reinforcement. Coal with a diameter of 1 mm is perfect as a reinforcement.
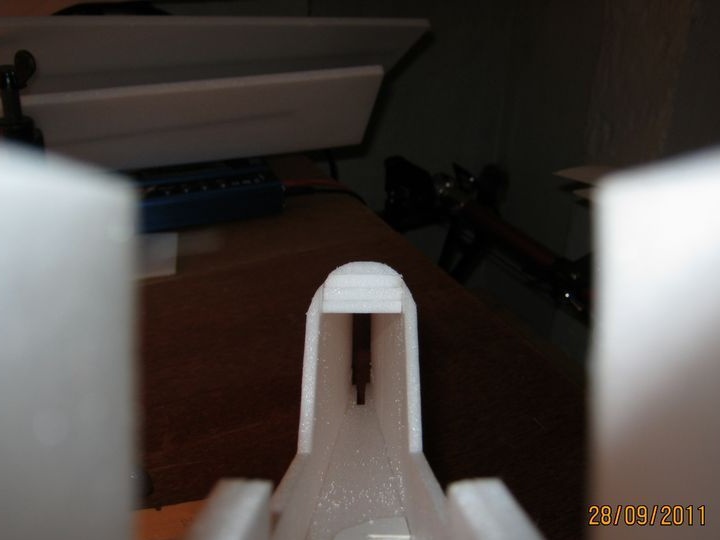
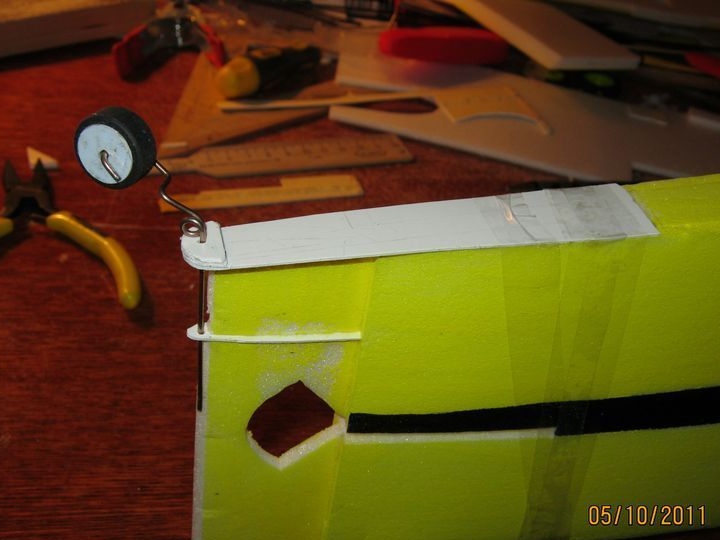
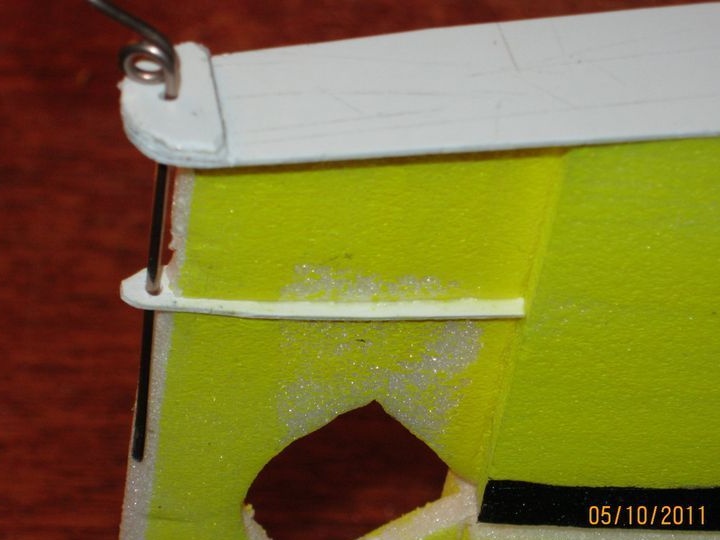
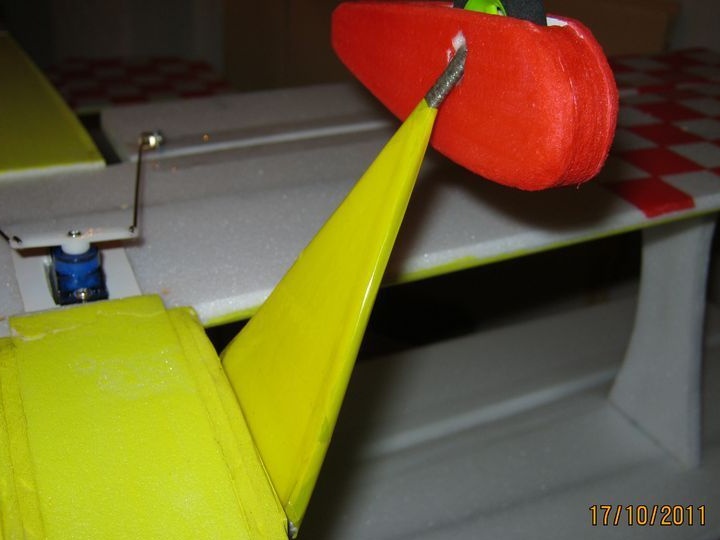
Step Four Keel
At this stage, a keel with rudder is made.
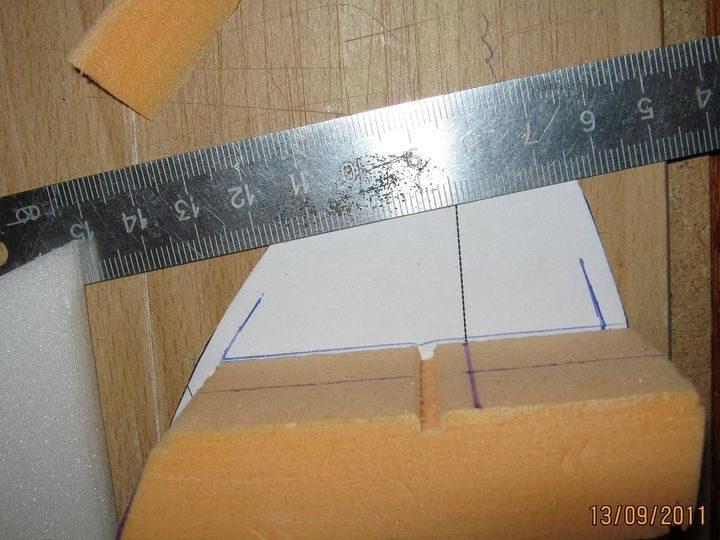
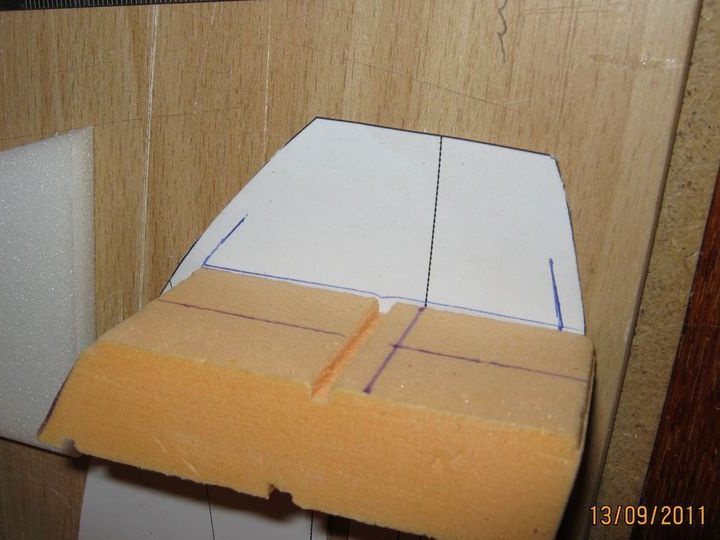
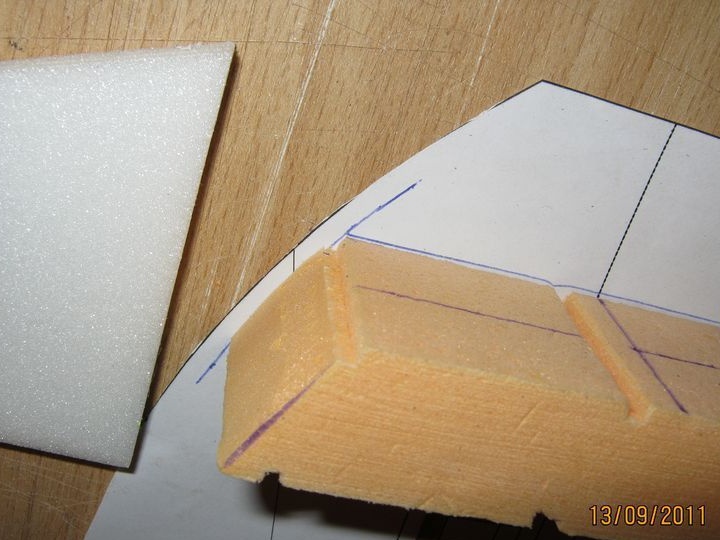
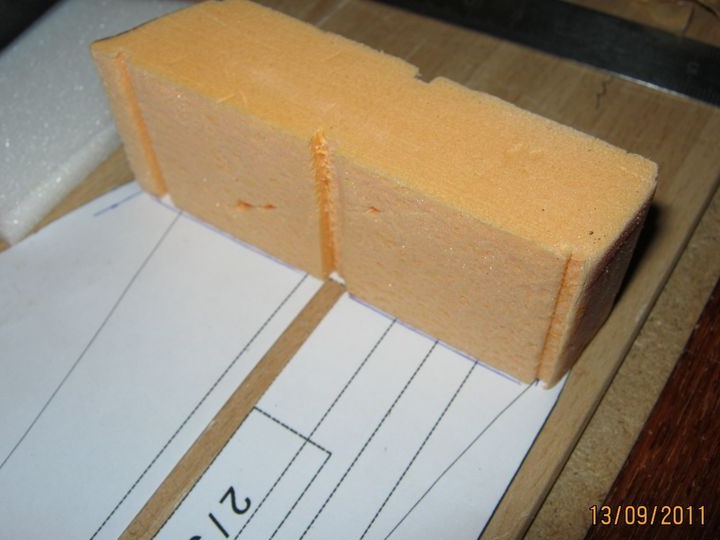
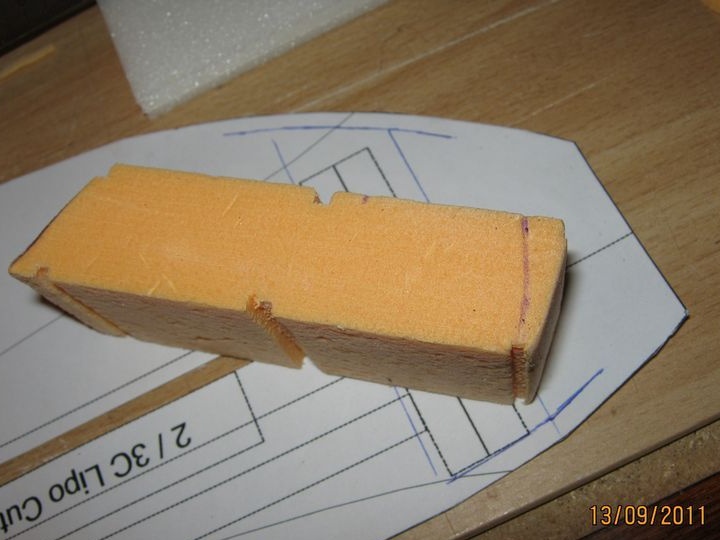
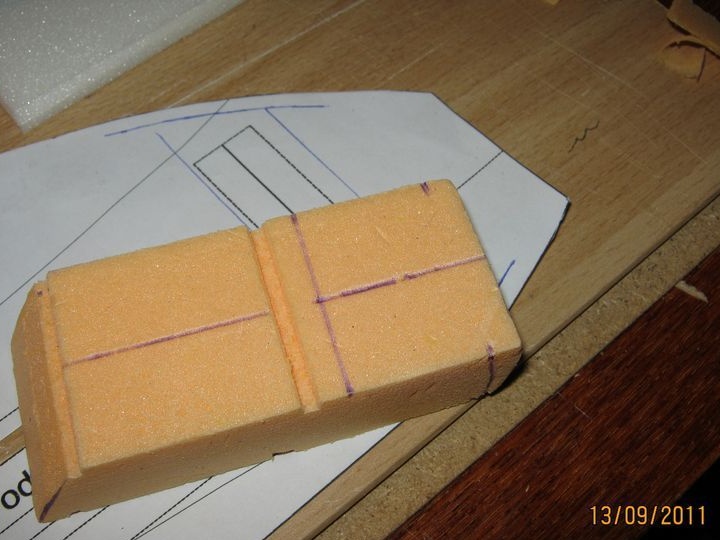
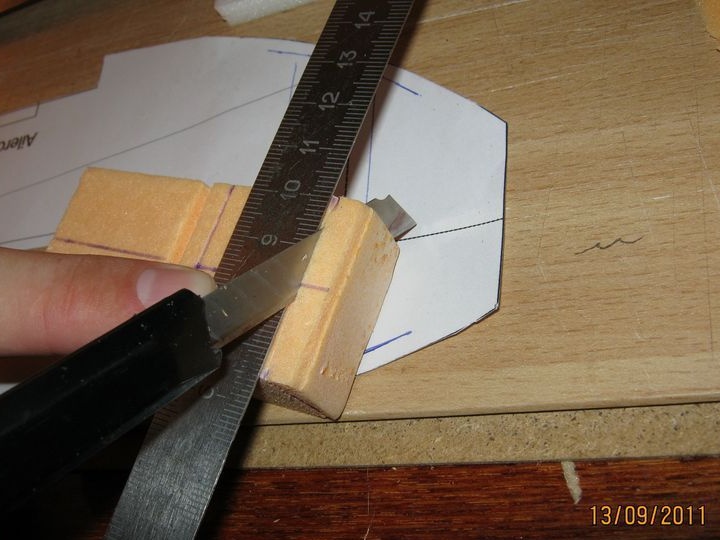
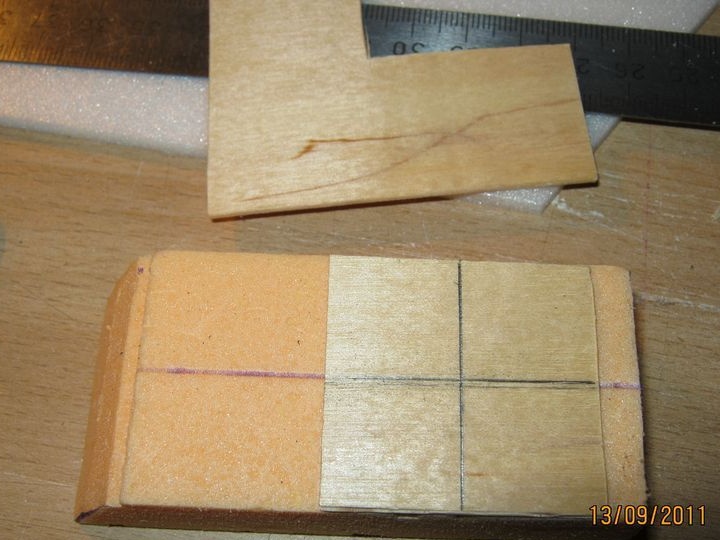
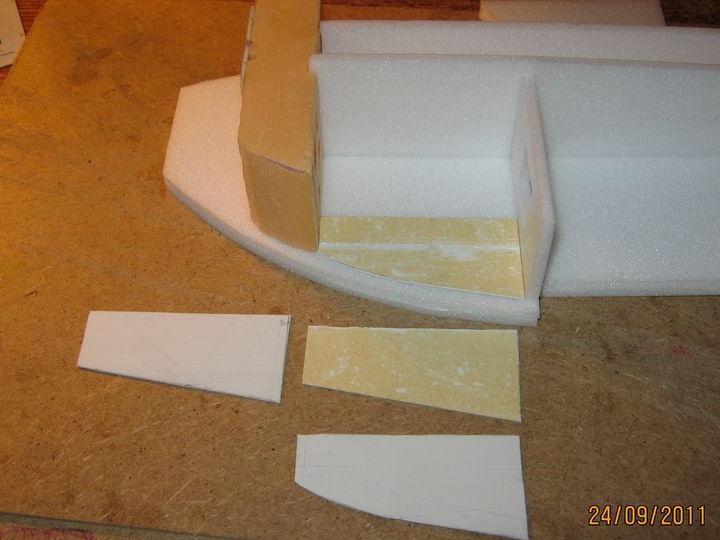
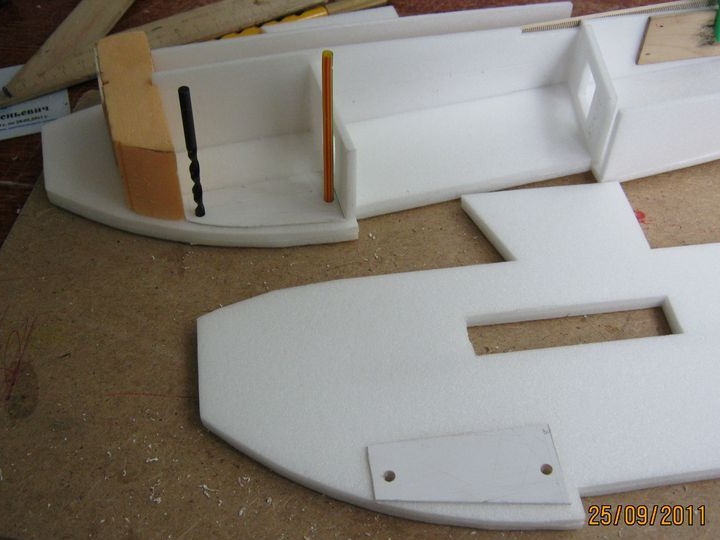
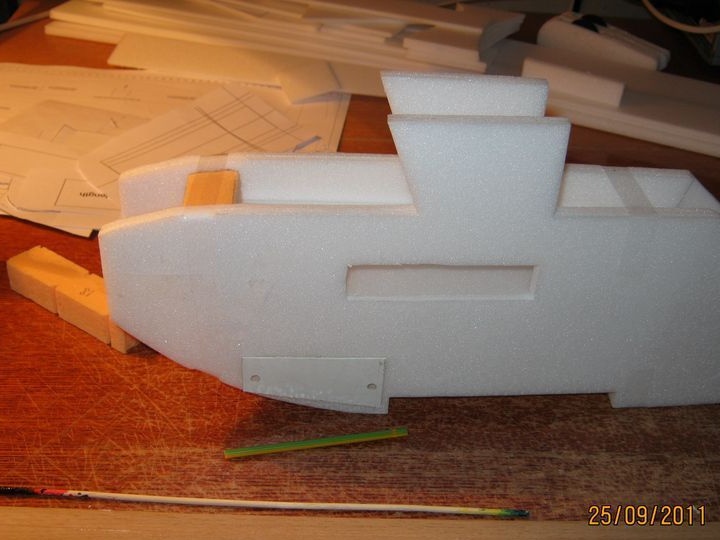
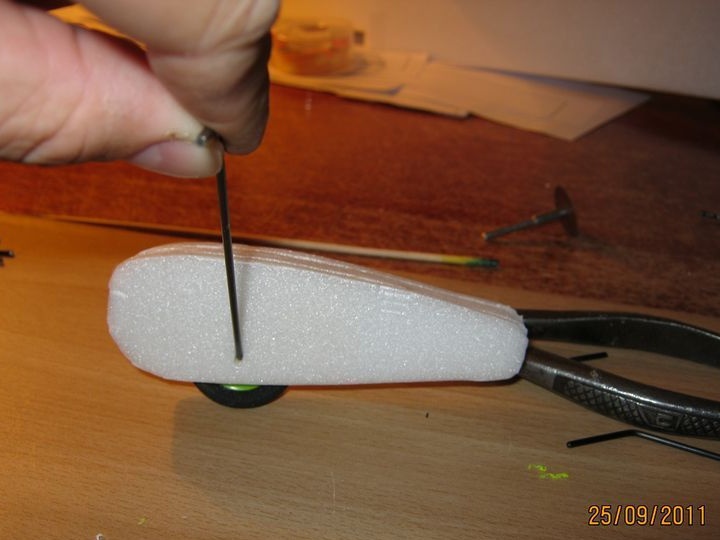
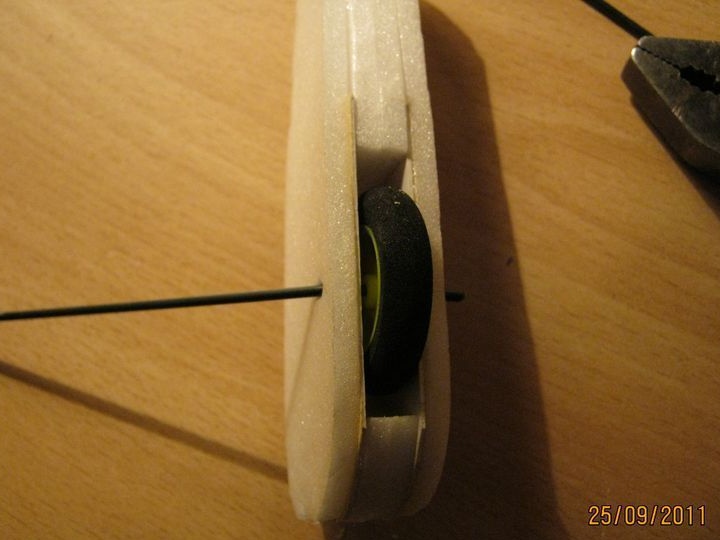
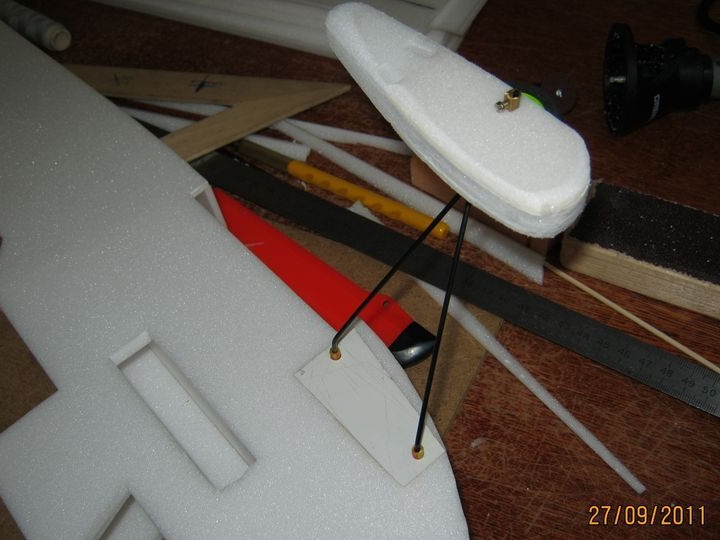
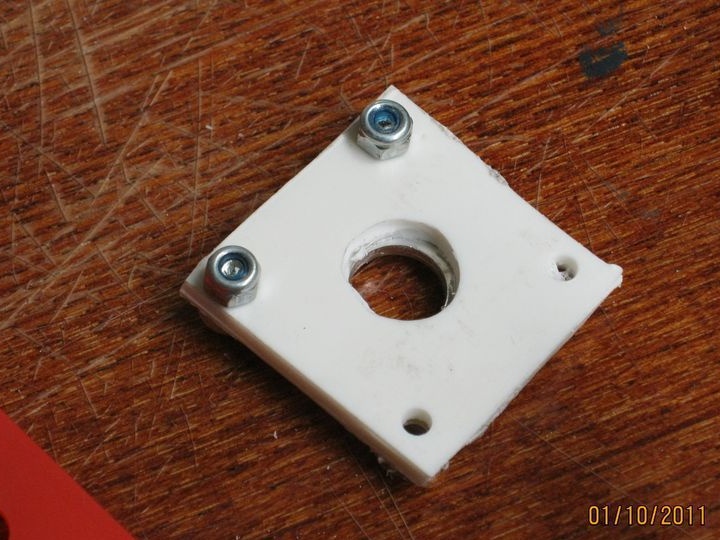
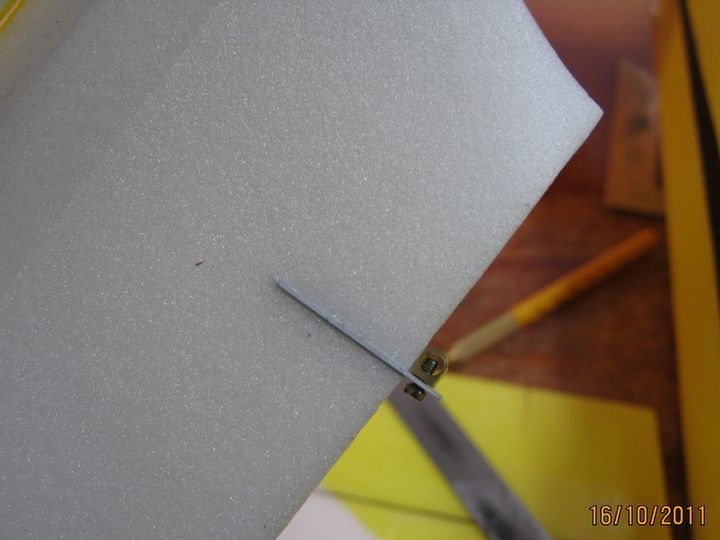
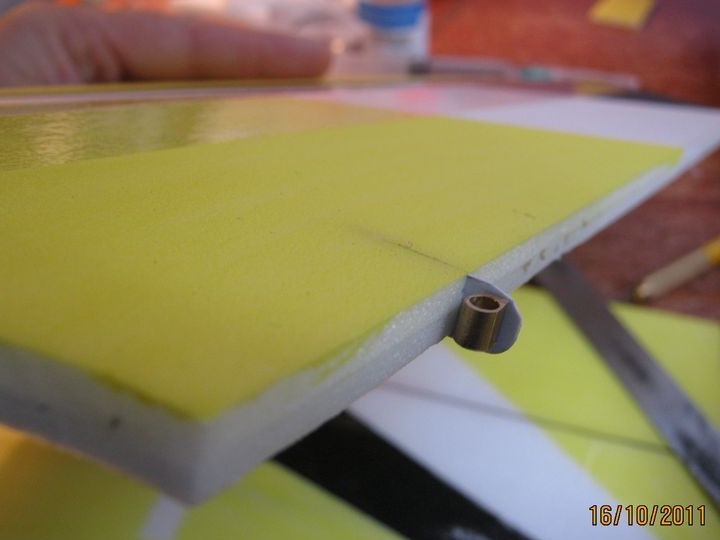
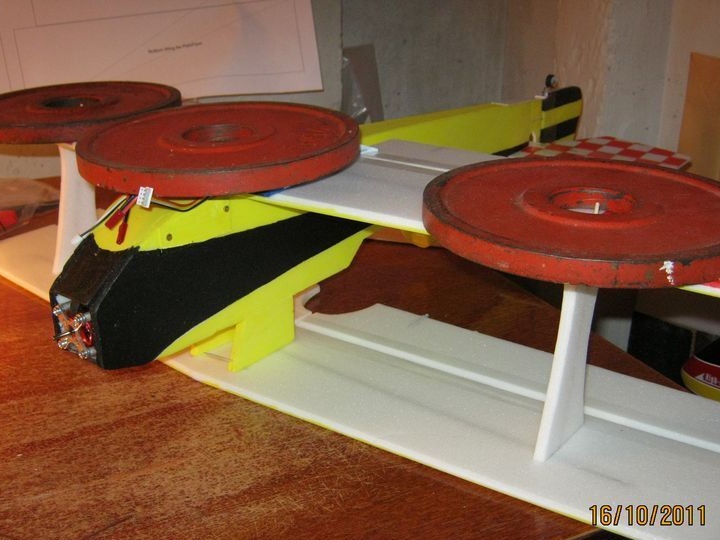
Step Five Chassis Fairings
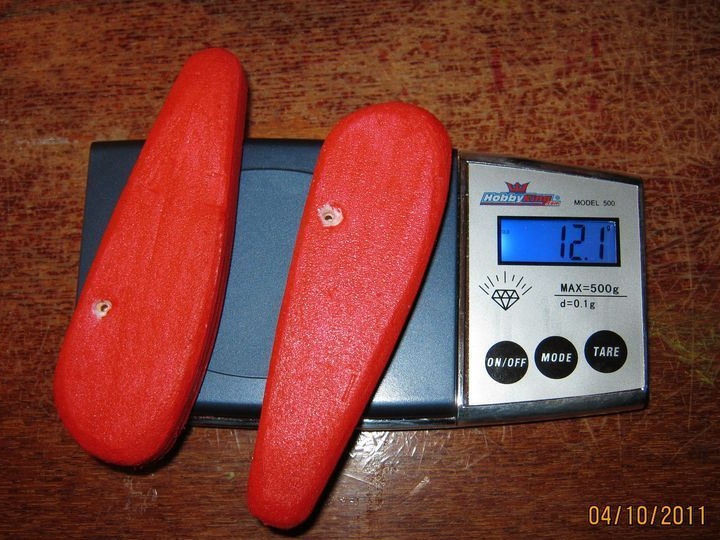
First, the author cuts out the outer elements, and then the inner ones, which have a recess under the wheels. The author has a wheel diameter of 30mm.
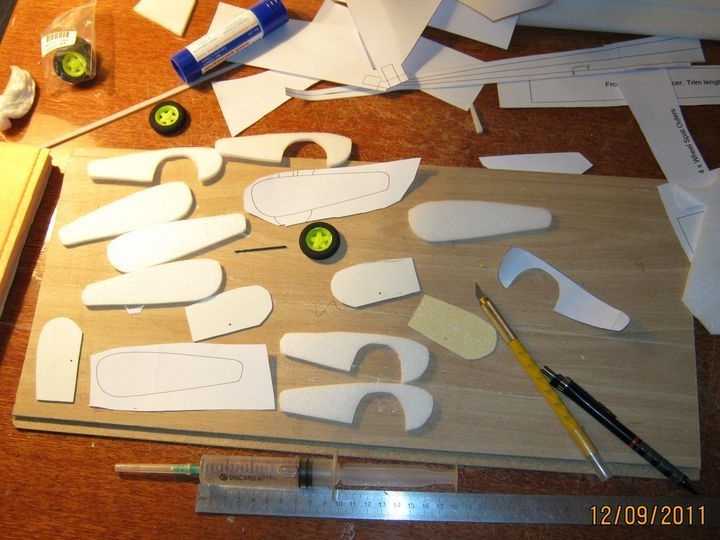
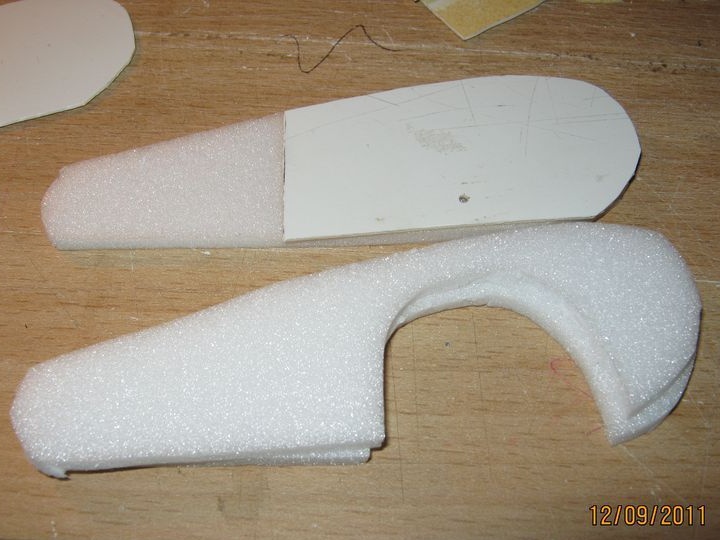
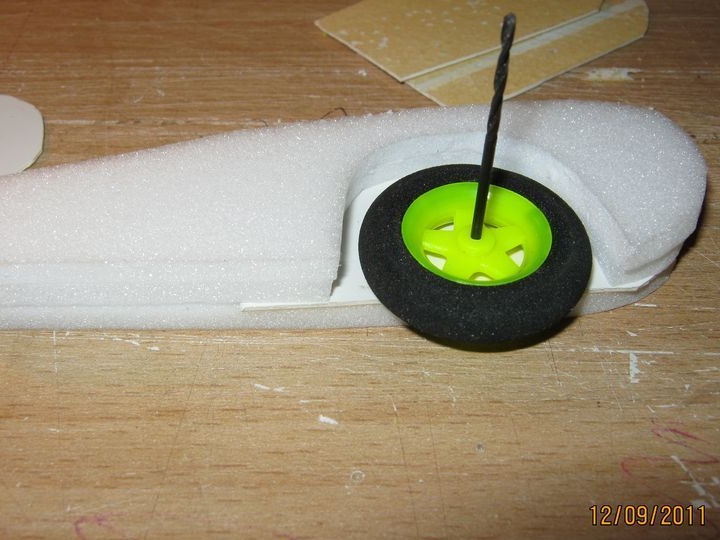
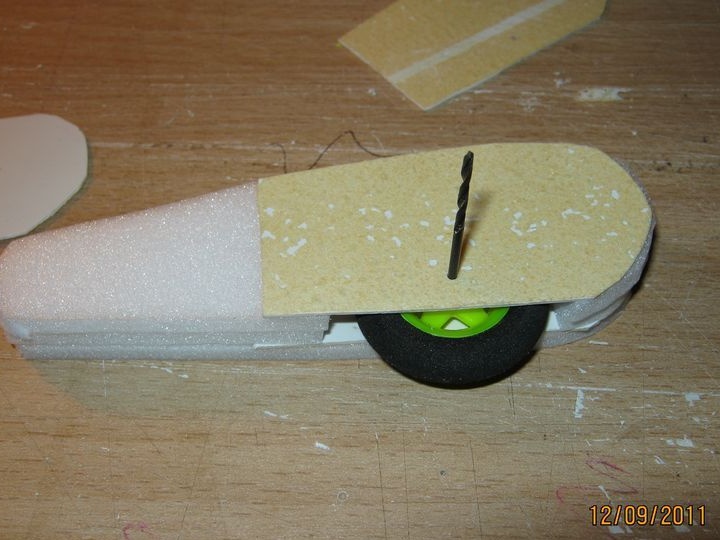
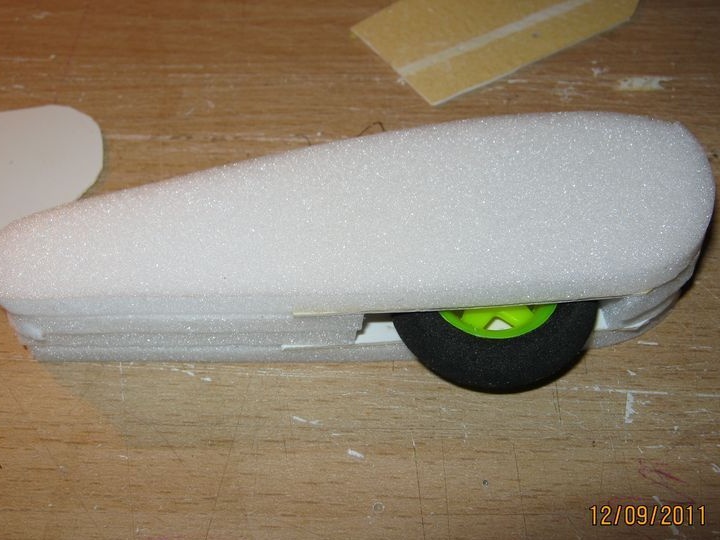
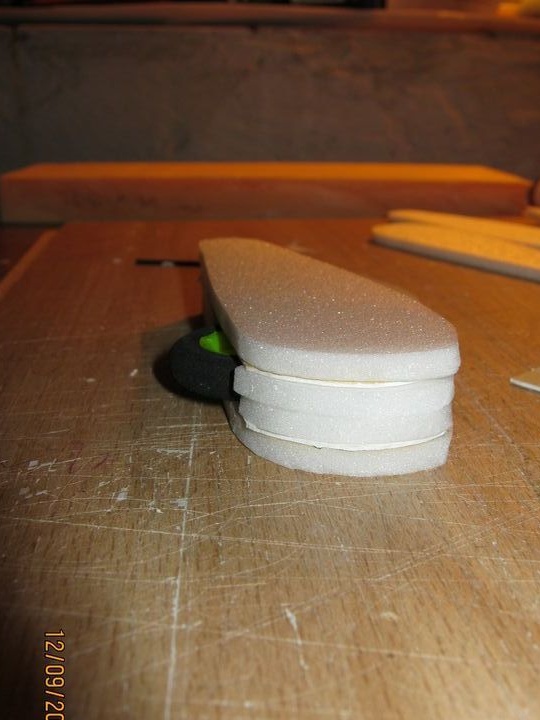
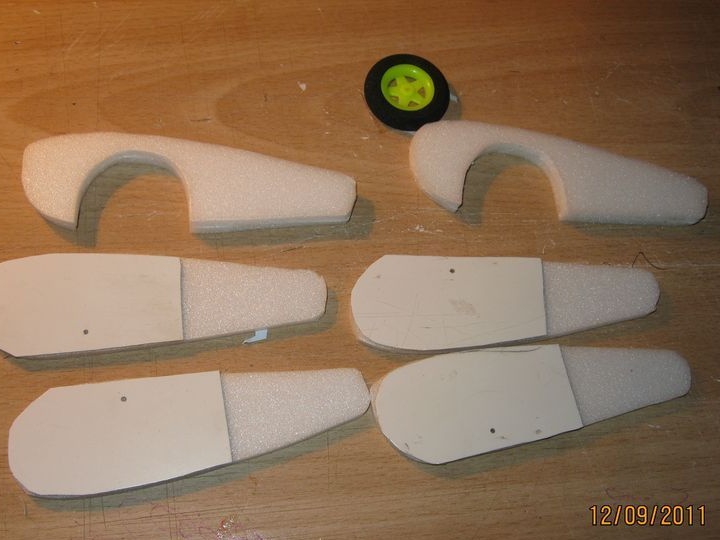
the base of the frame is made of a piece of foam. The width of the opening between the reinforced sidewalls is 36 mm.Further, the fairing of the chassis is glued. The design must be left under pressure.
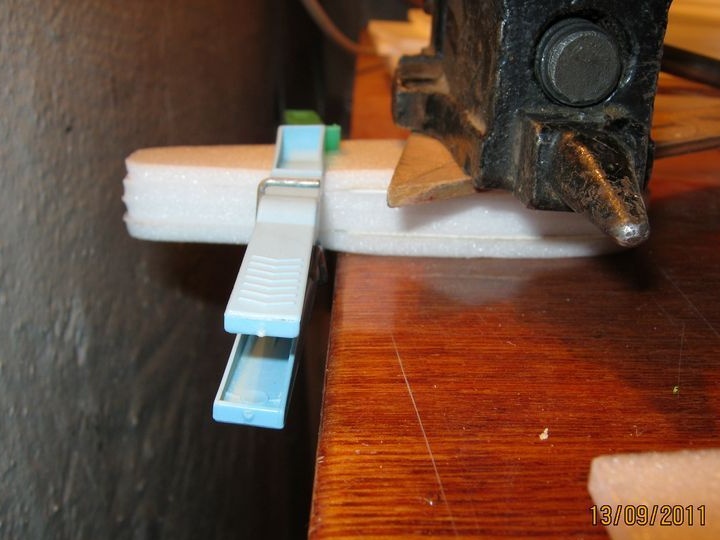

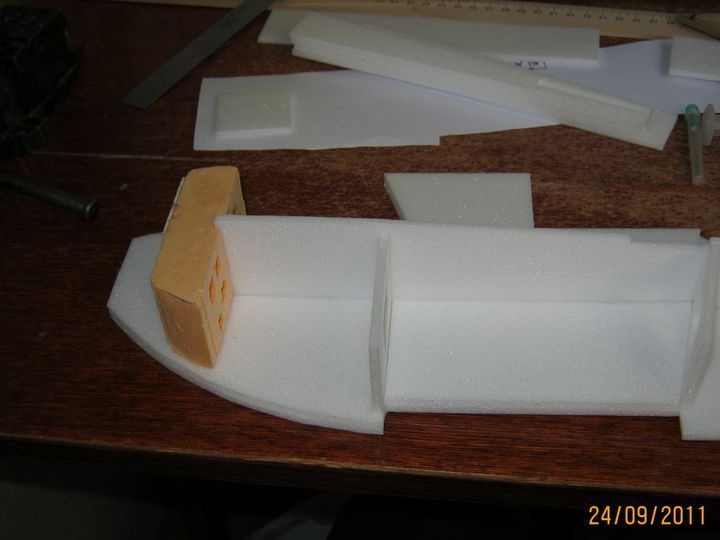
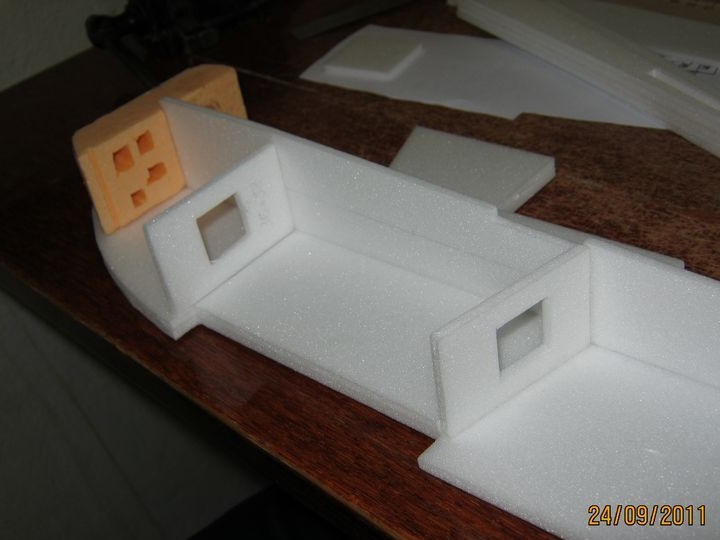
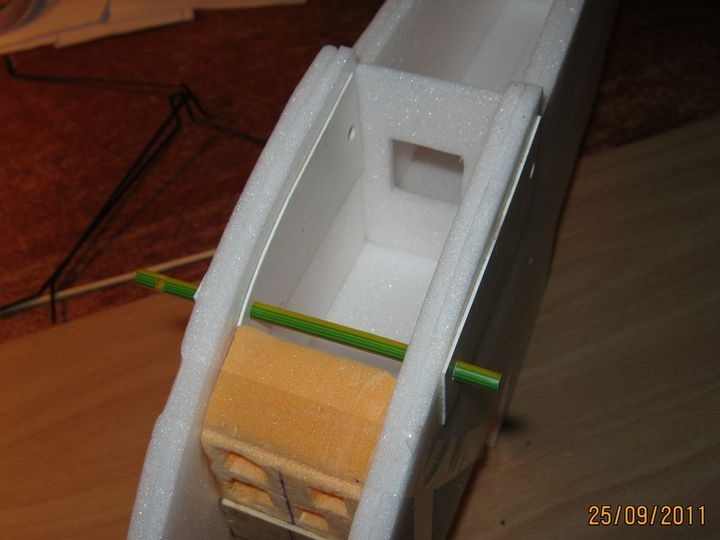
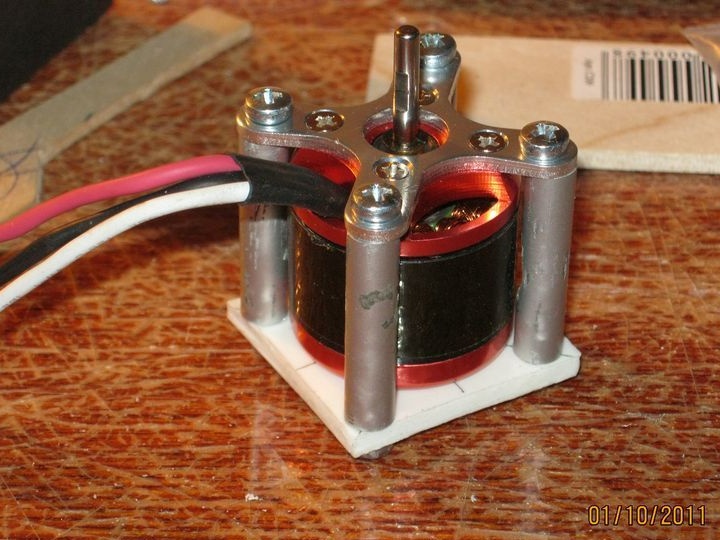
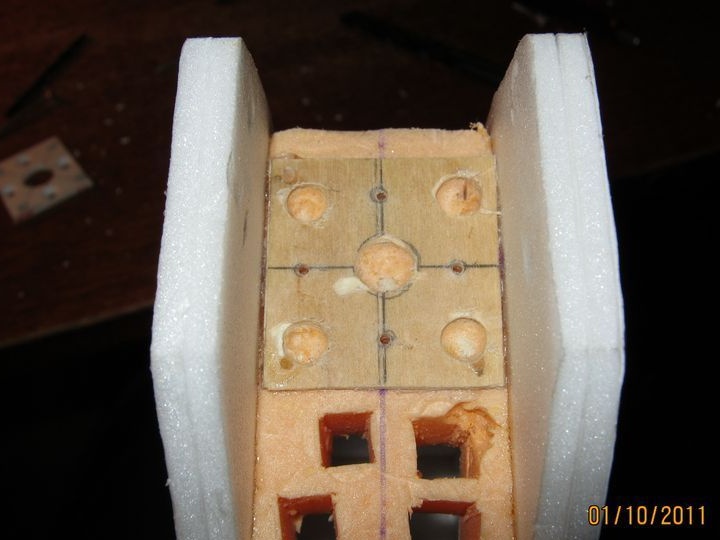
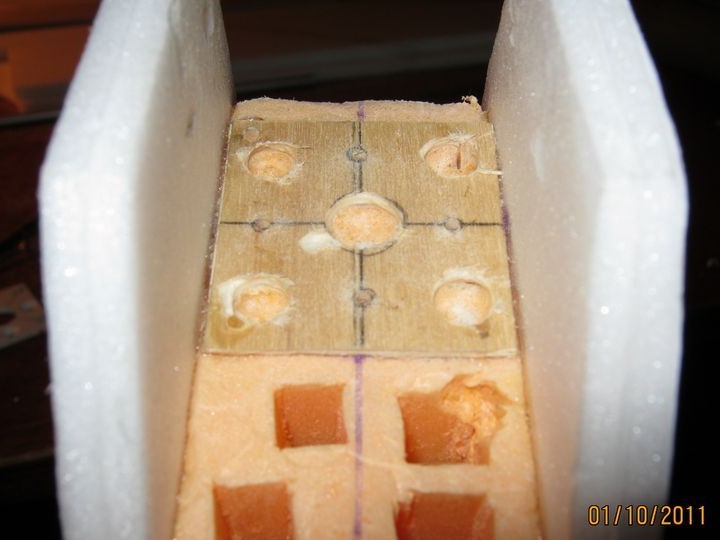
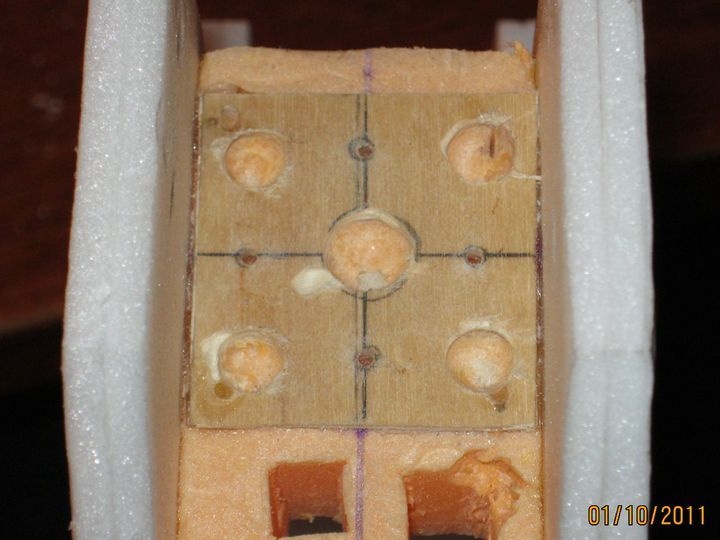
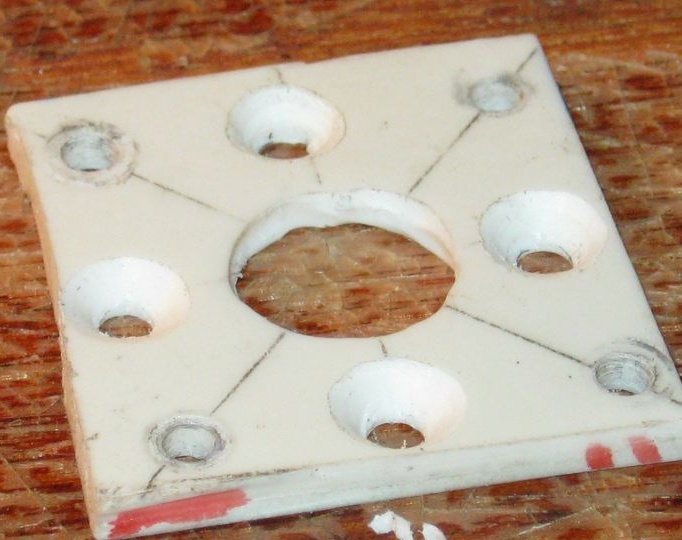
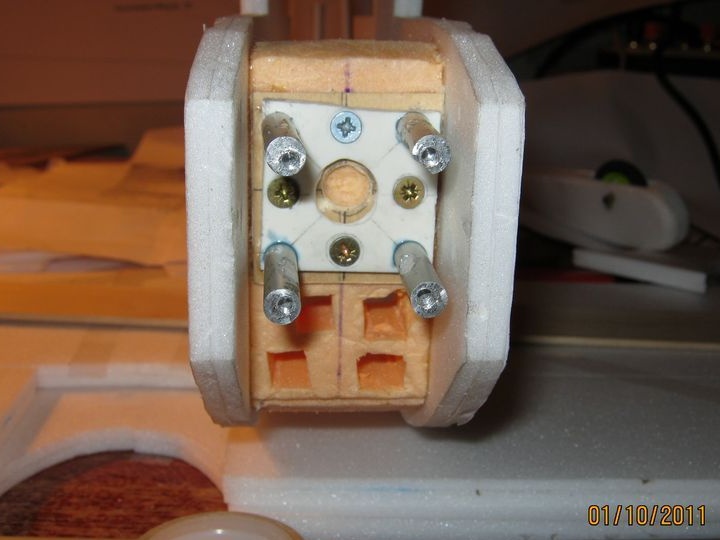
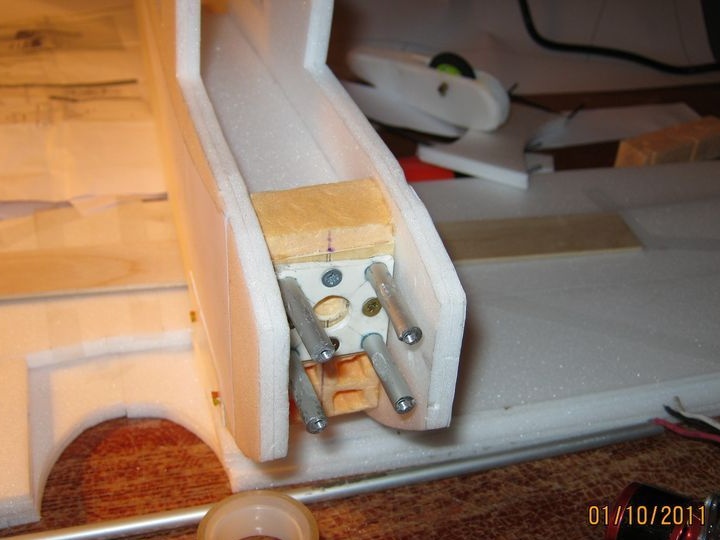
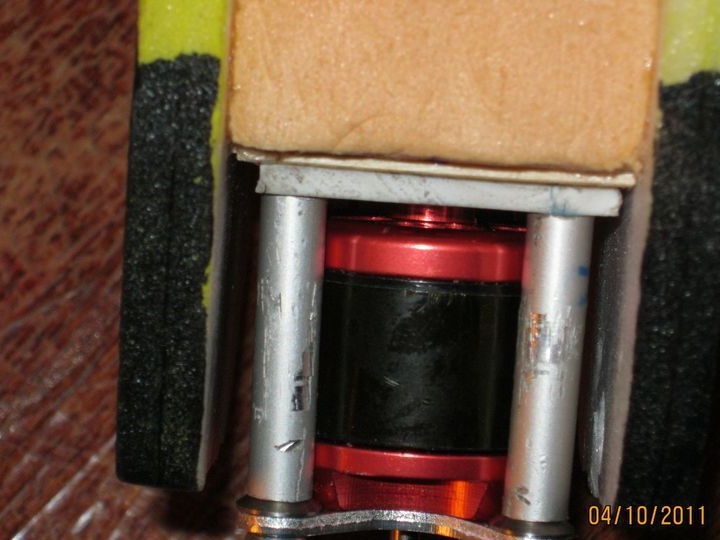
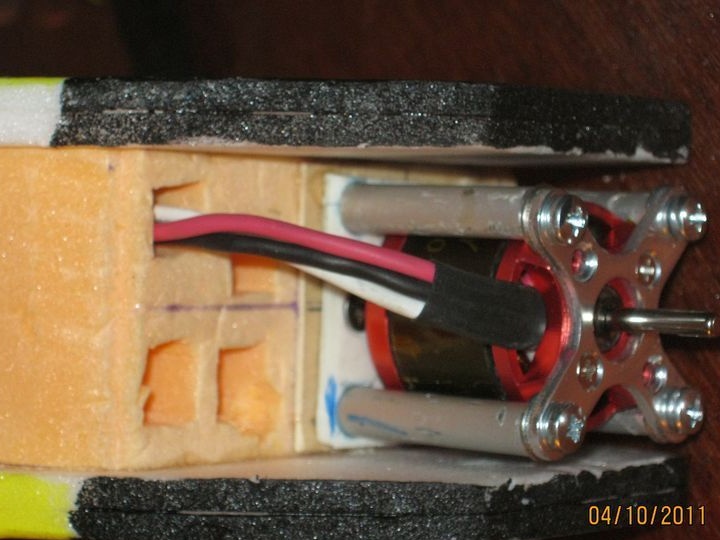
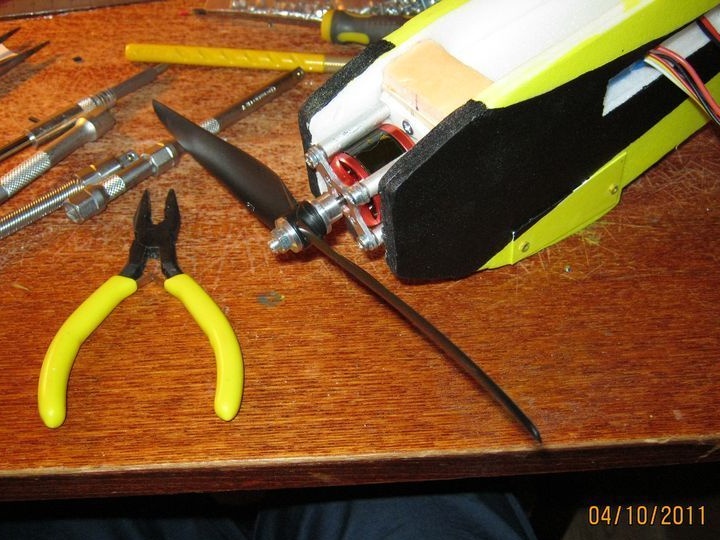
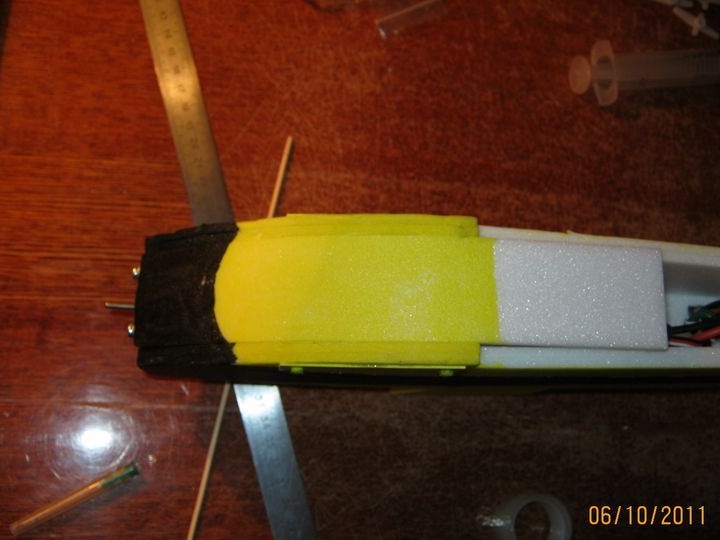
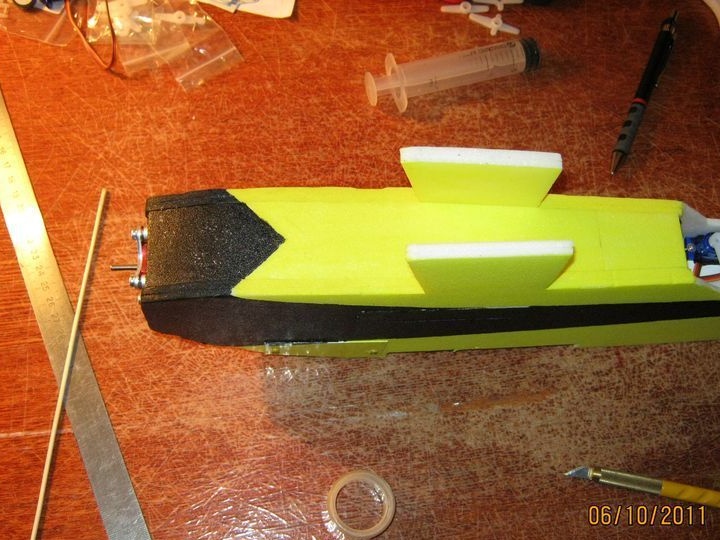
Step Six Moto boom
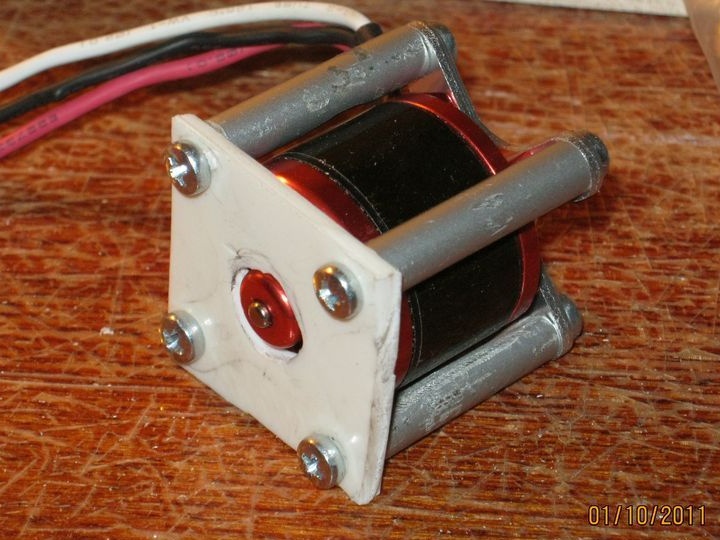
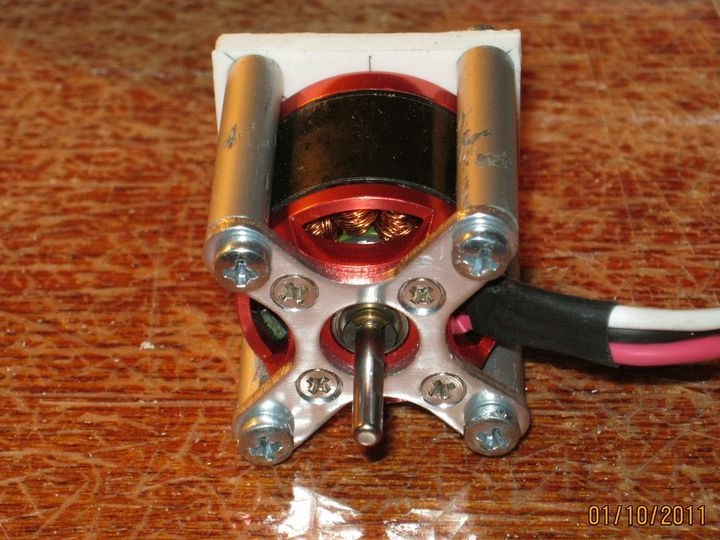
Now you need to decide on the size of the engine and battery to make a frame.
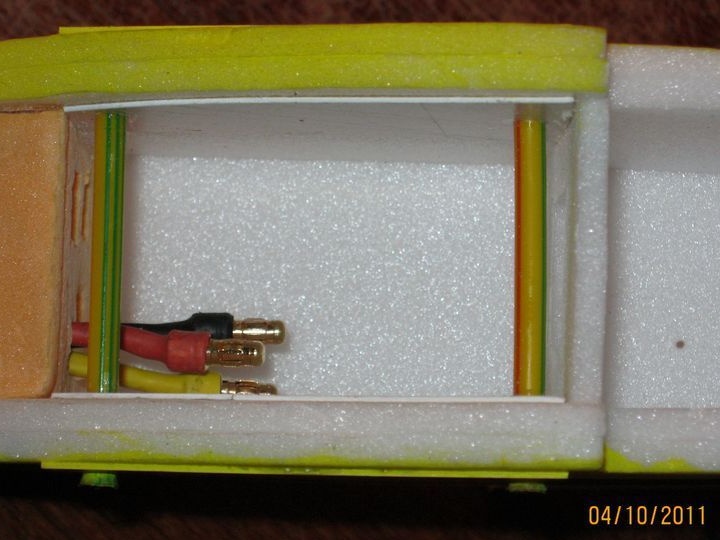
Holes for ventilation and wires will also need to be made in the frame.
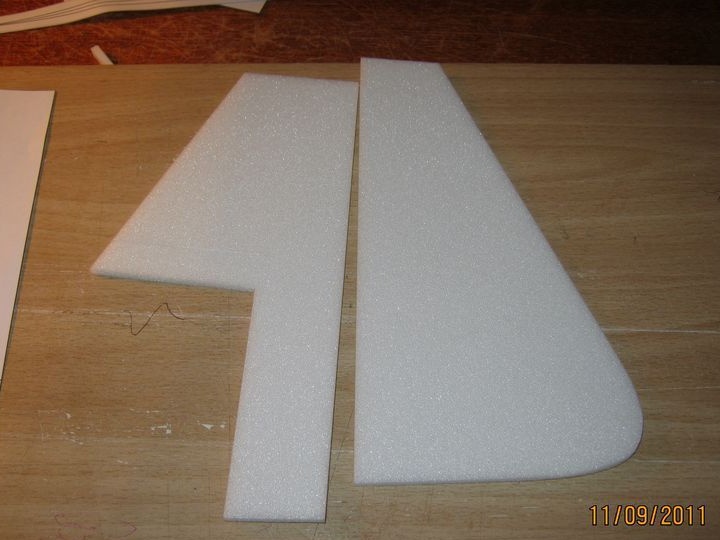
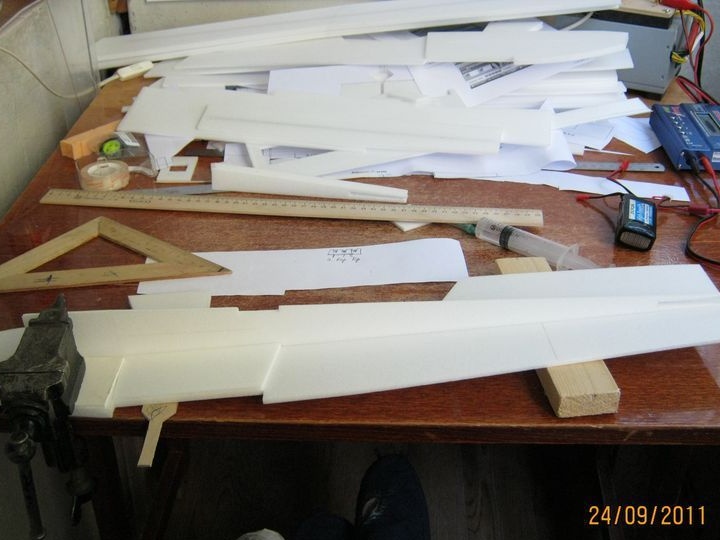
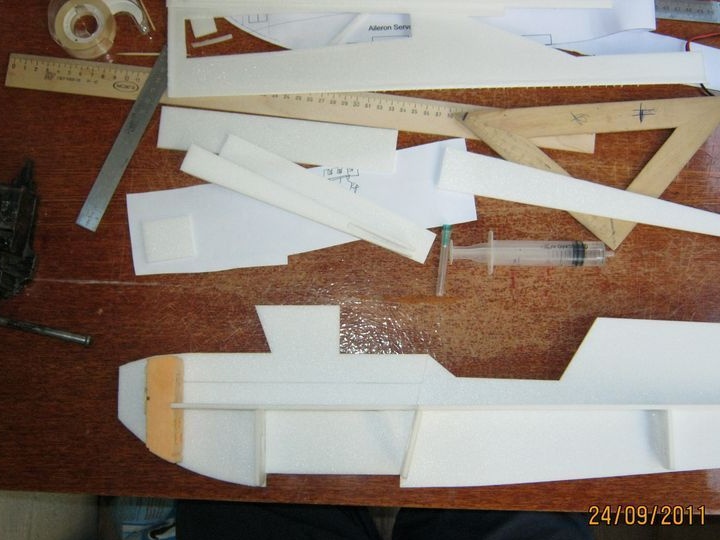
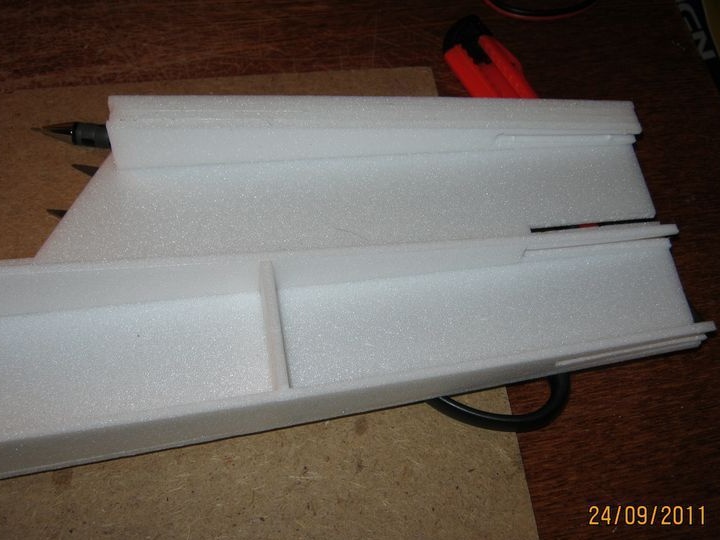
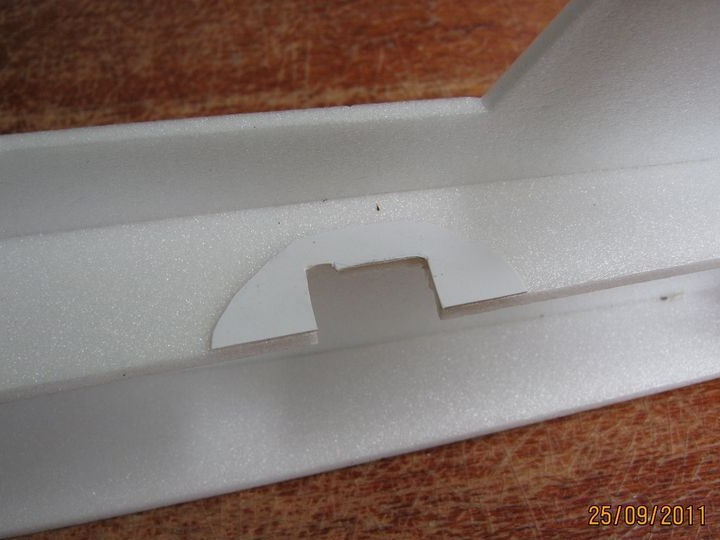
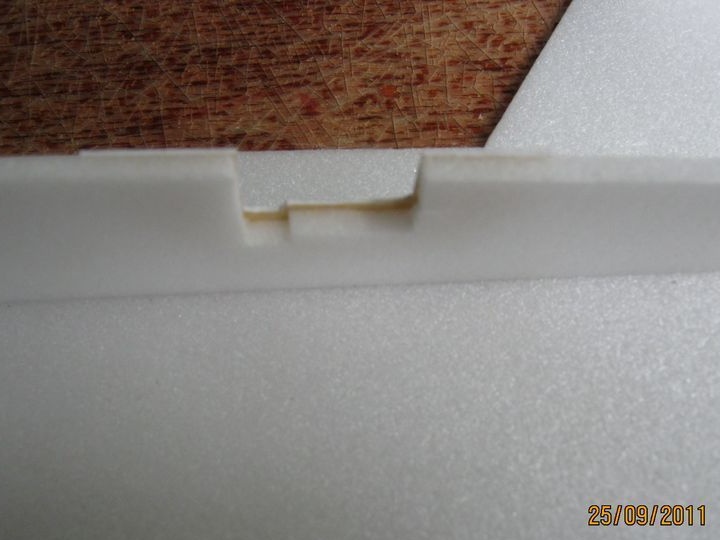
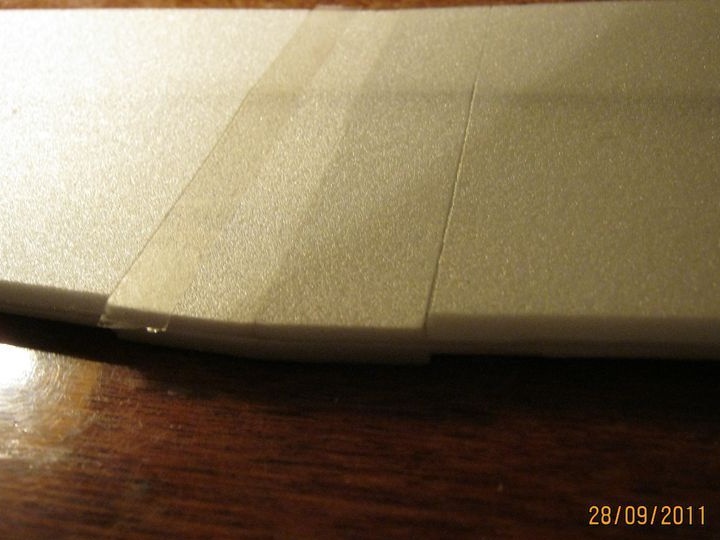
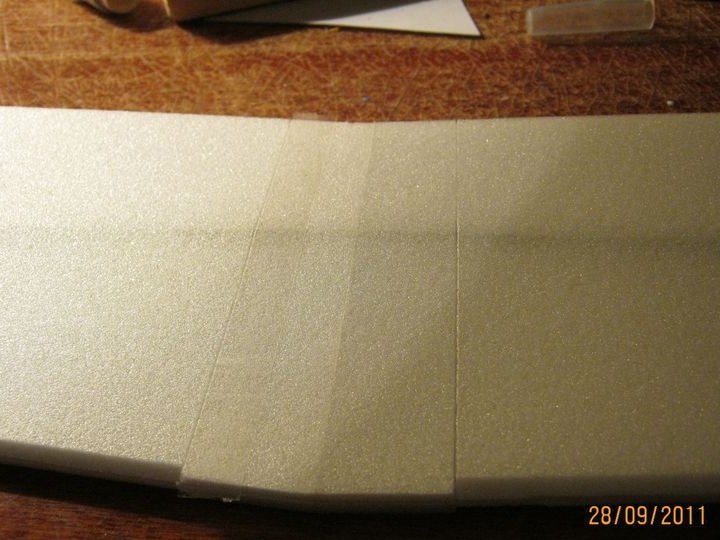
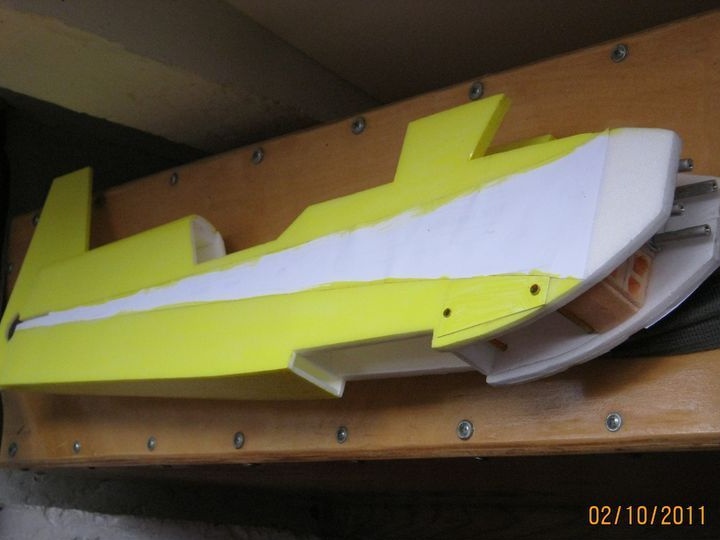
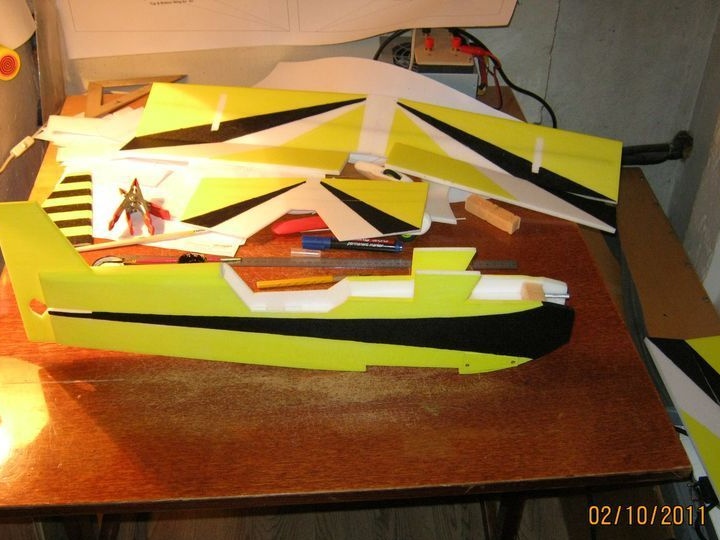
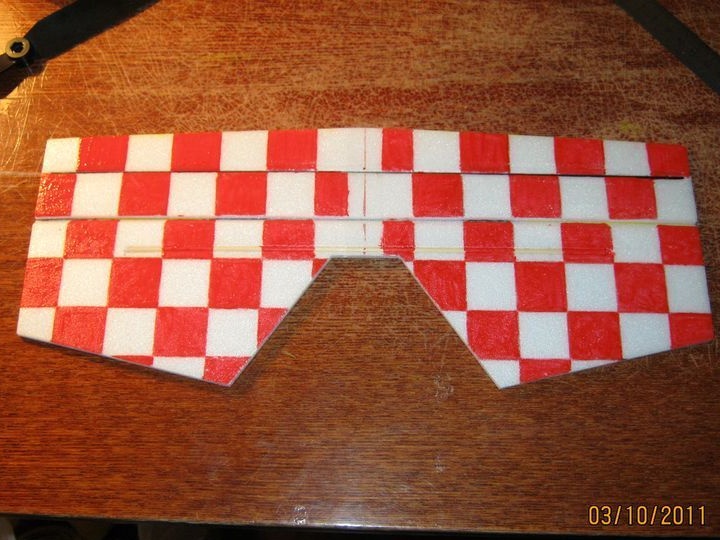
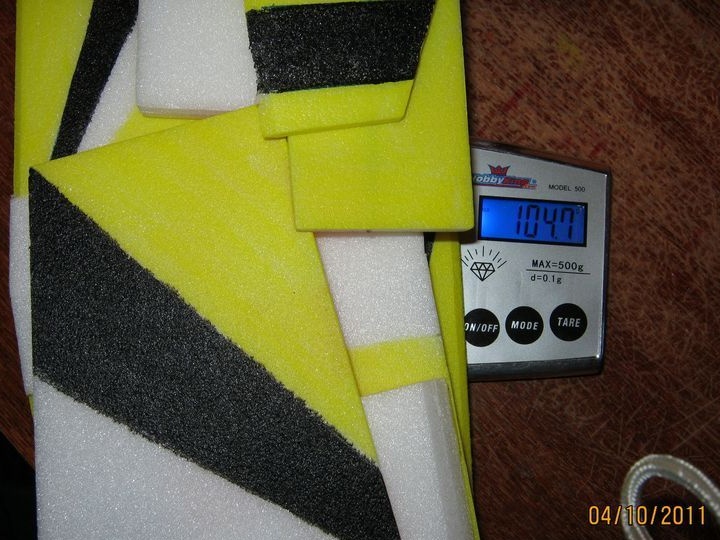
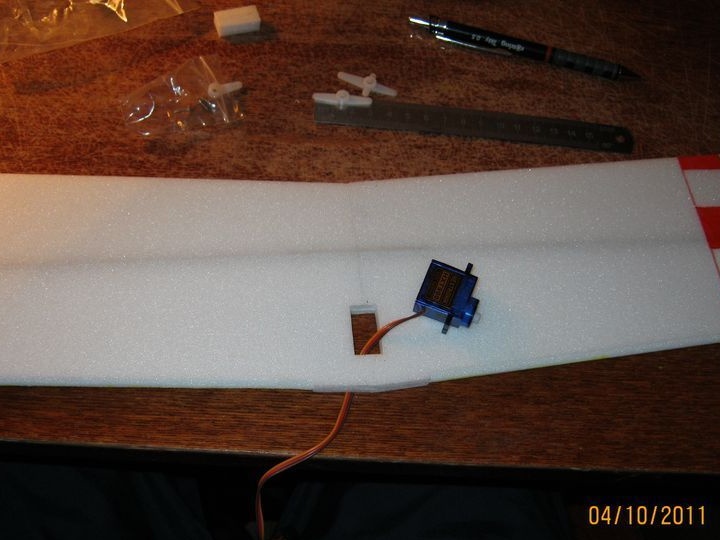
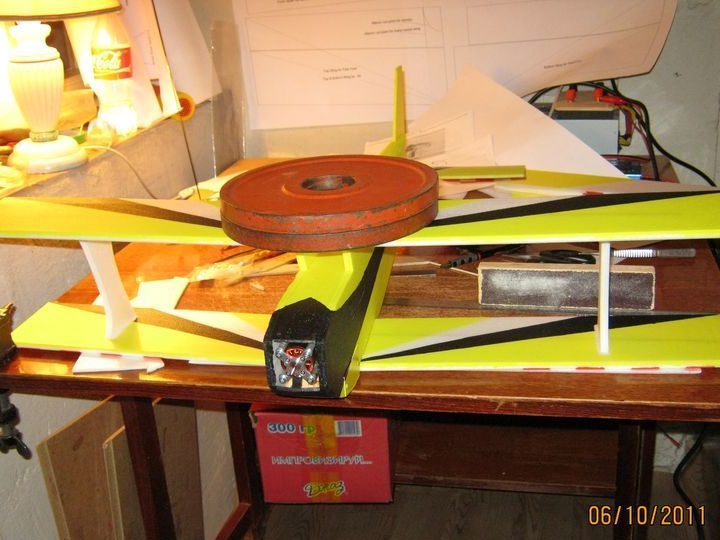
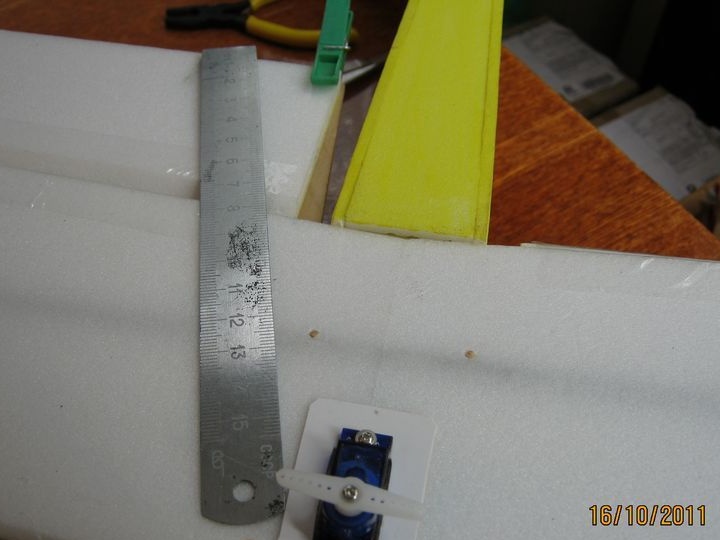
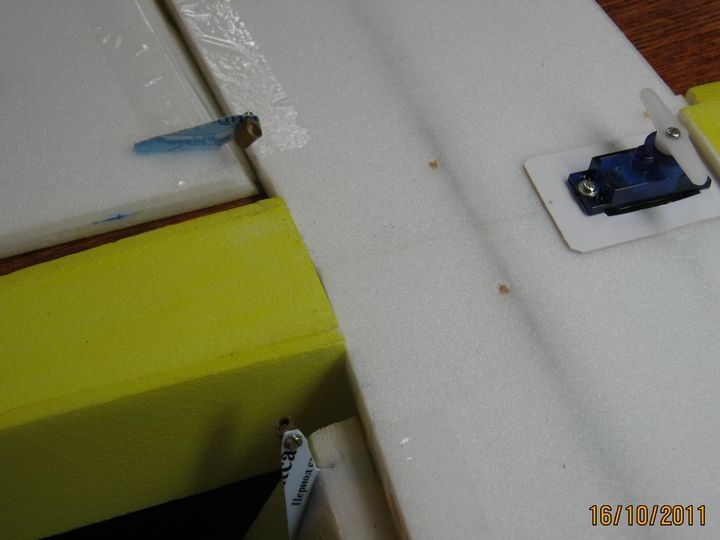
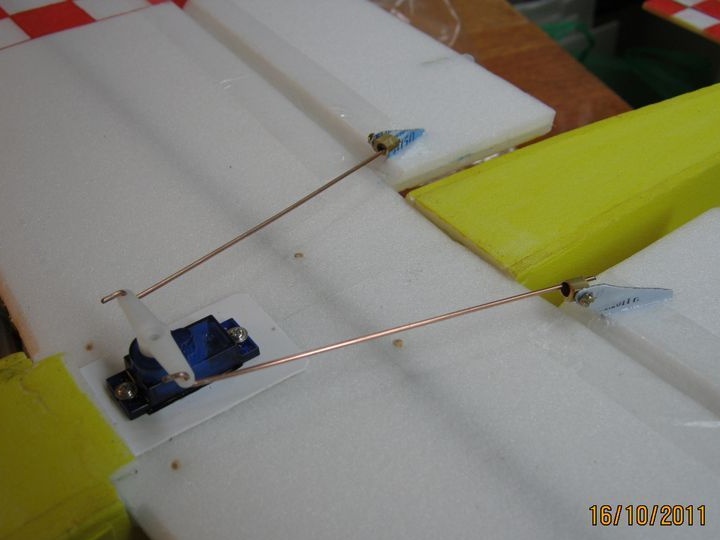
Seventh step. Bonding wings
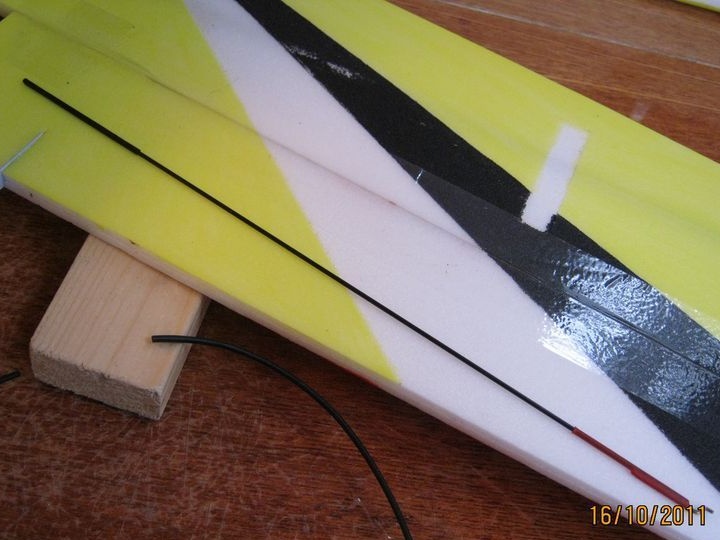
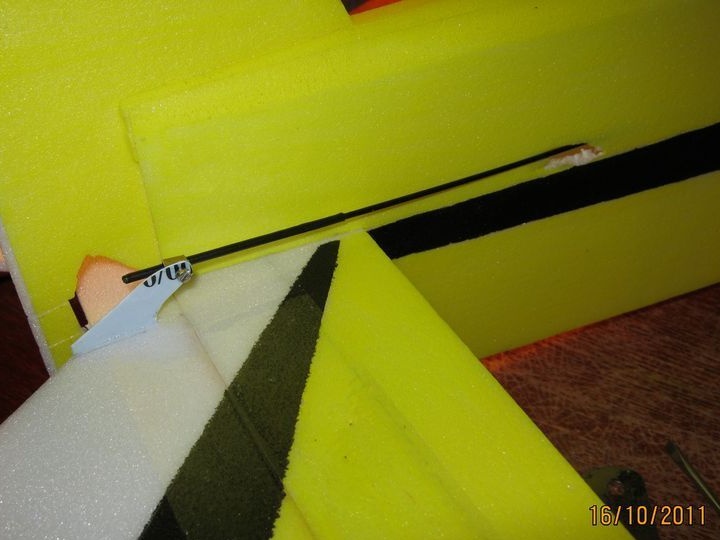
At this stage, halves of the wings stick together.
The wings are reinforced with carbon fiber.

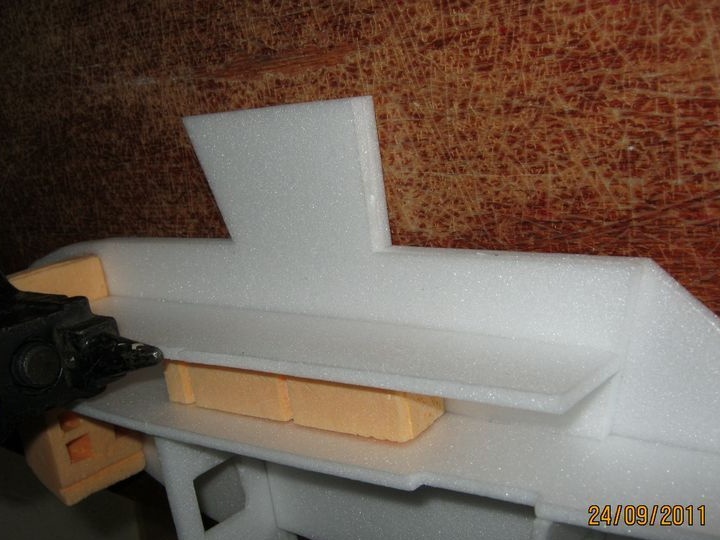
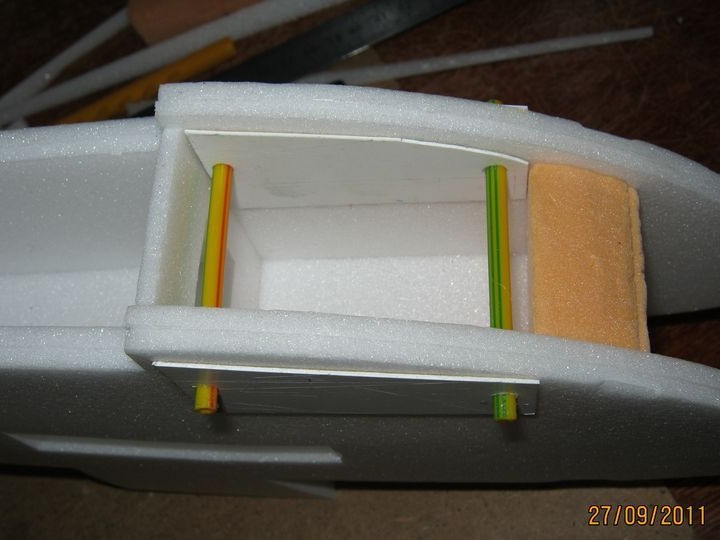
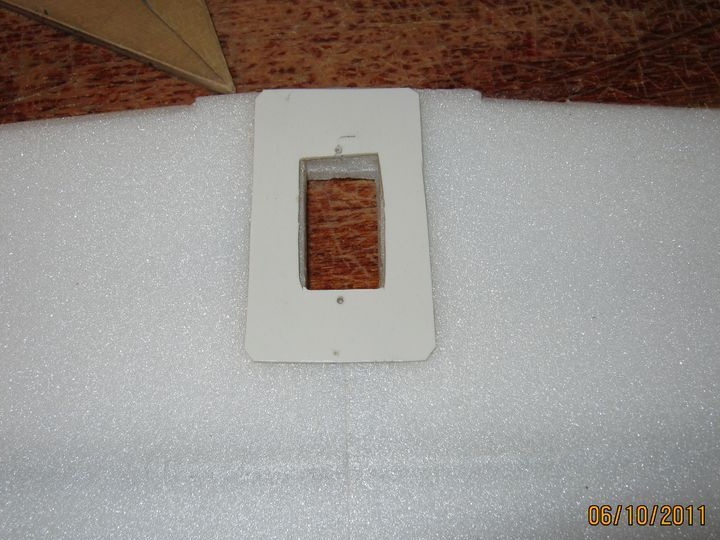
Step Eight. Half frames and upper shelf of the battery compartment

Step Nine. New keel
Instead of the old one, the author makes a new keel, then he crashes into horizontal elements. In the elements under it, you need to make gaps.


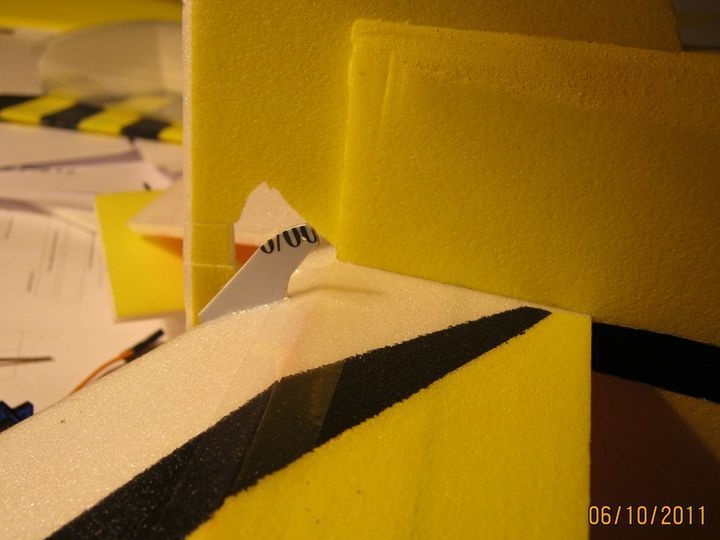
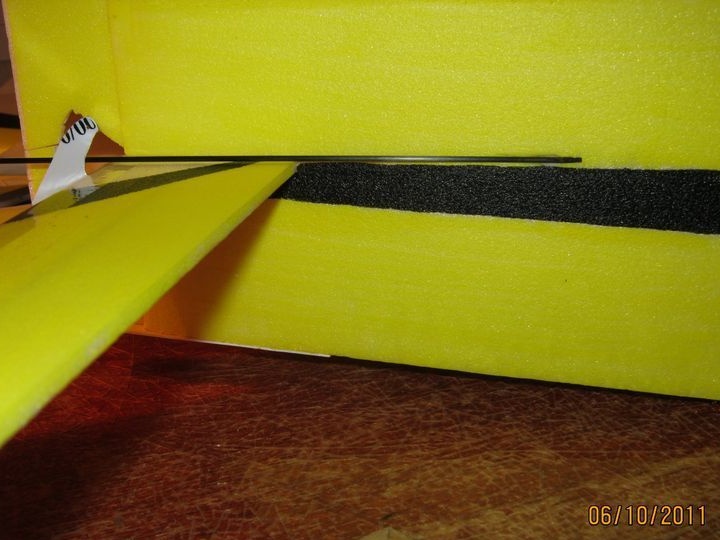
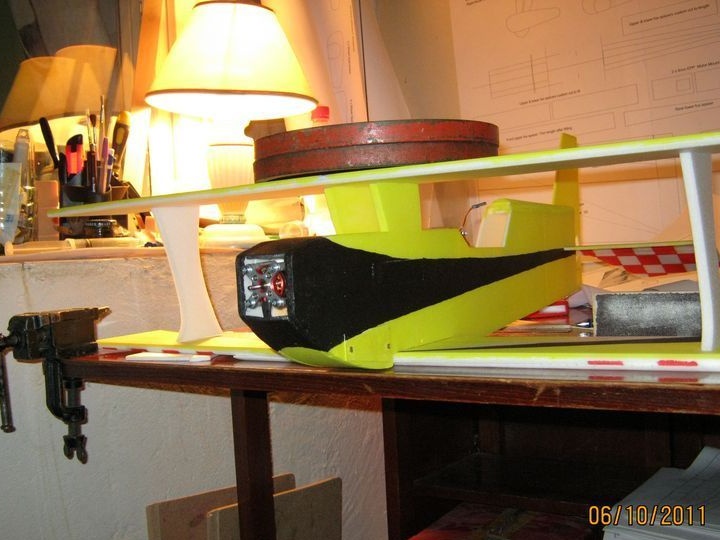
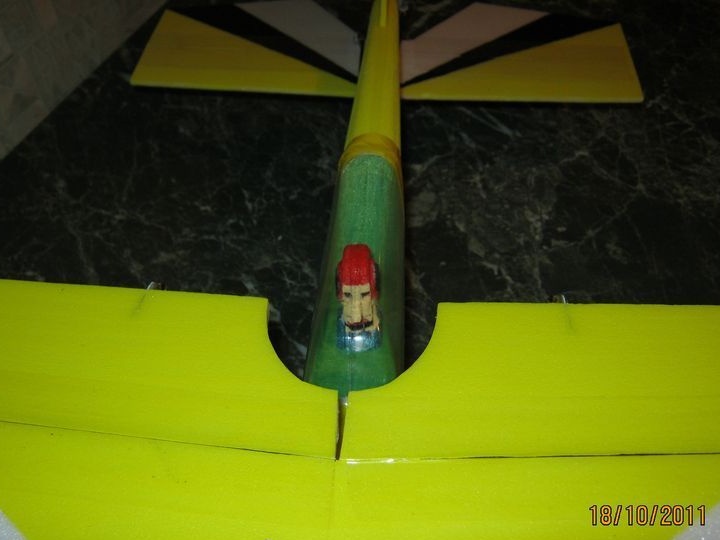
Step Ten Fuselage assembly
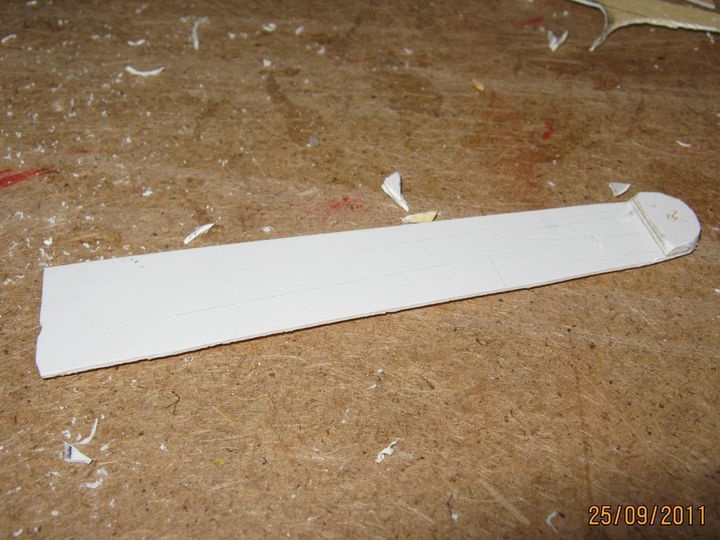
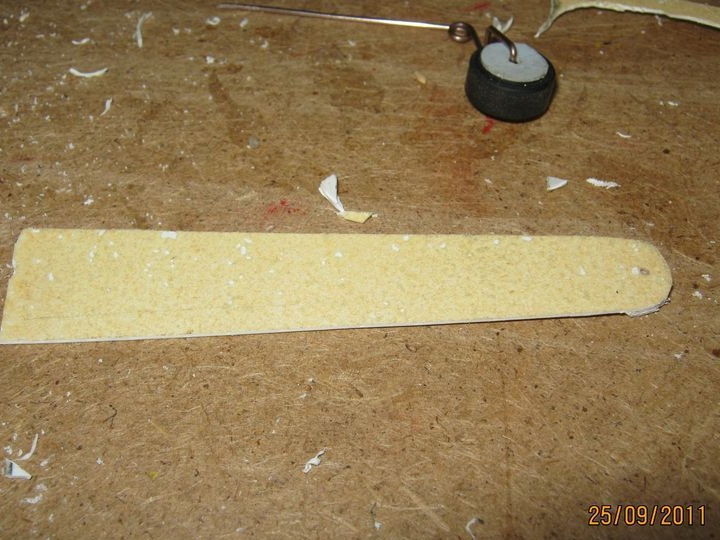
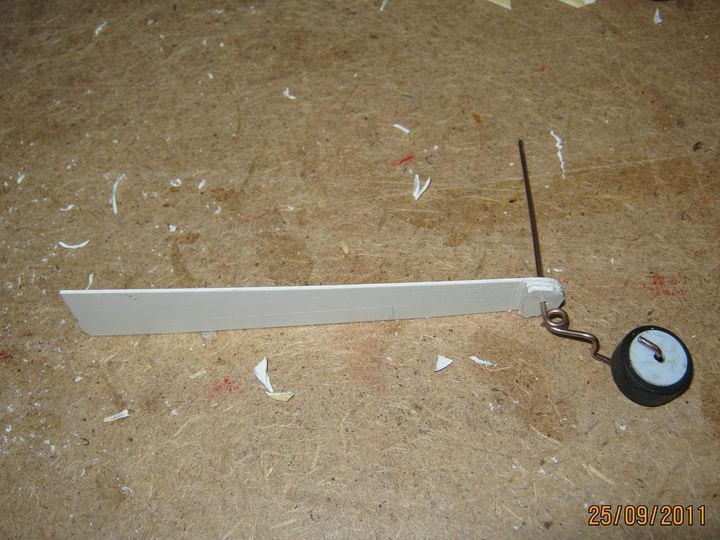
Step eleven. Tail wheel
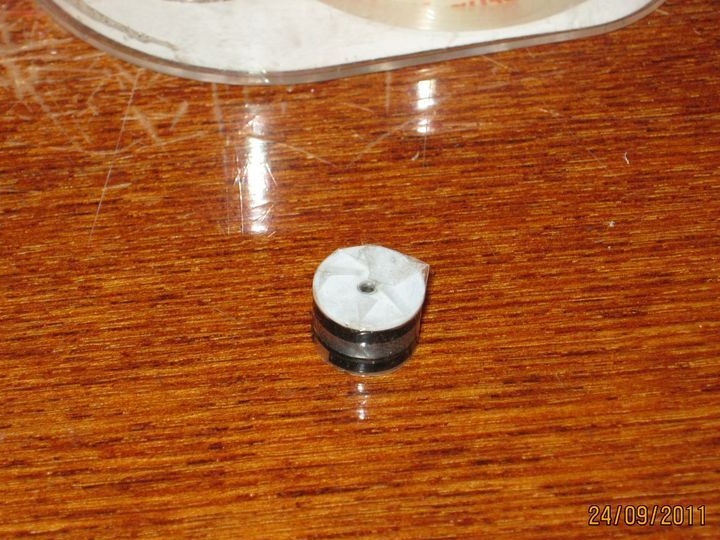
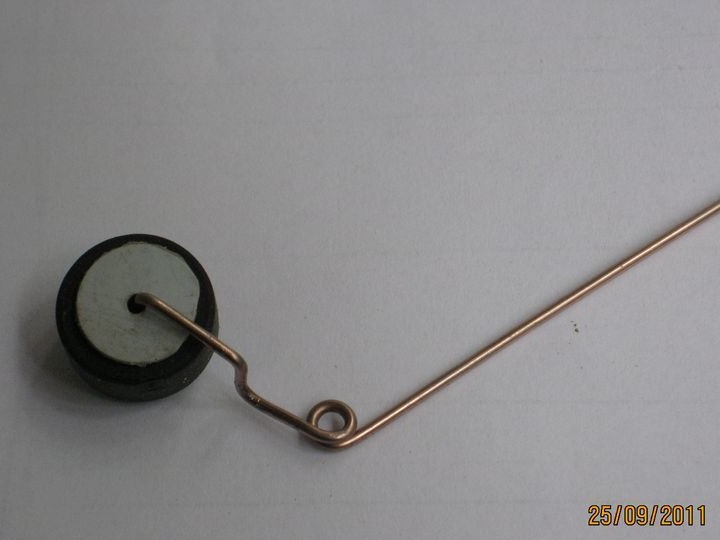
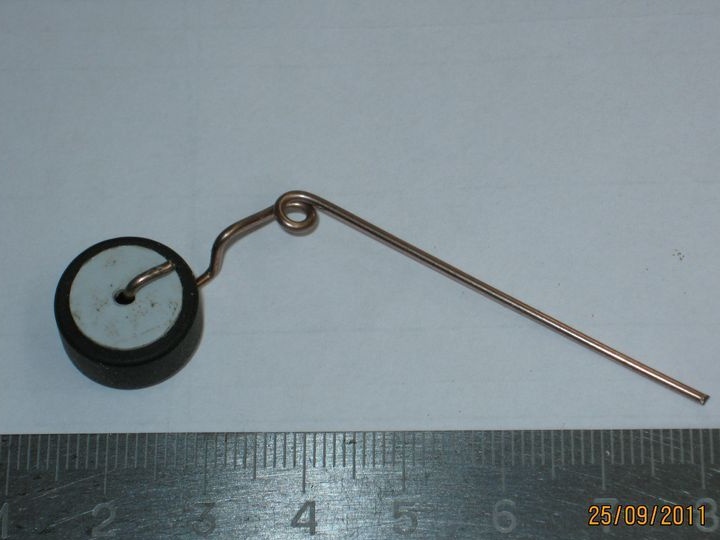
Wheels can be made from Lego constructor. And you can pick up from old toys. The main thing is that it weighs little.
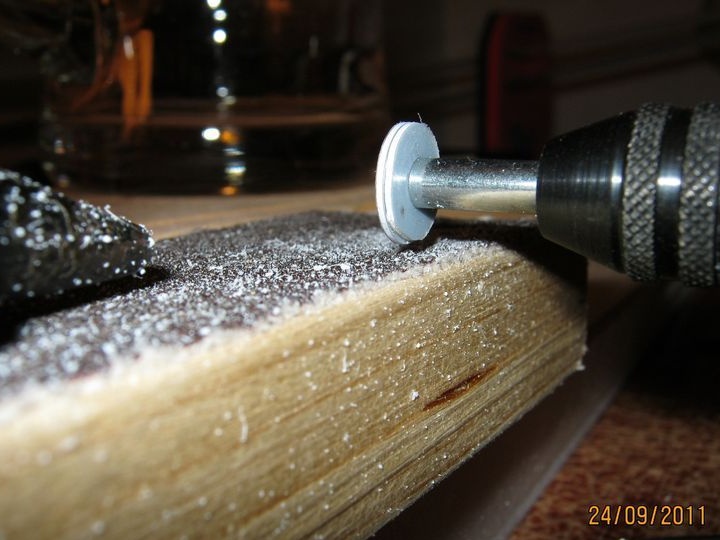
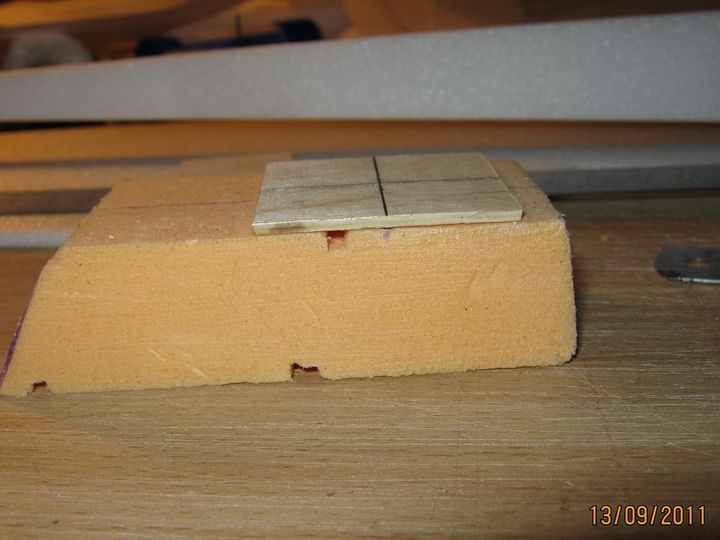
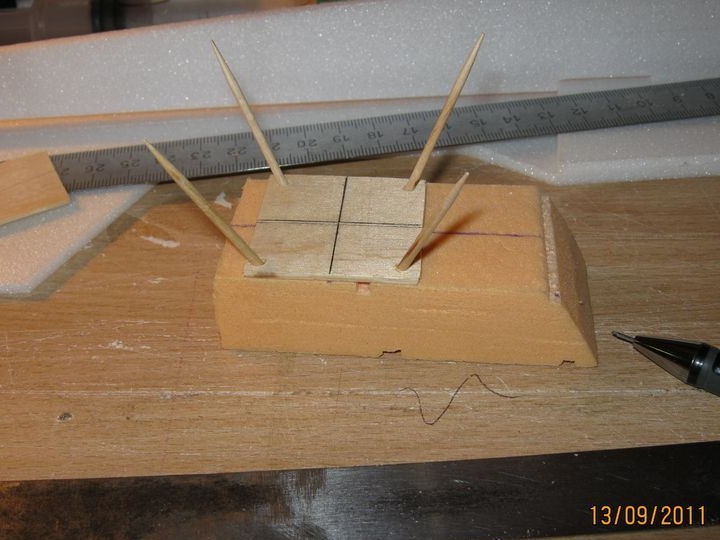
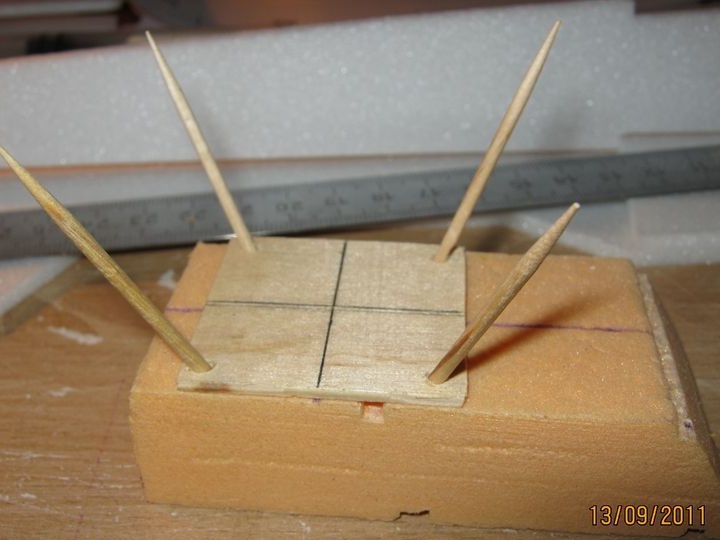
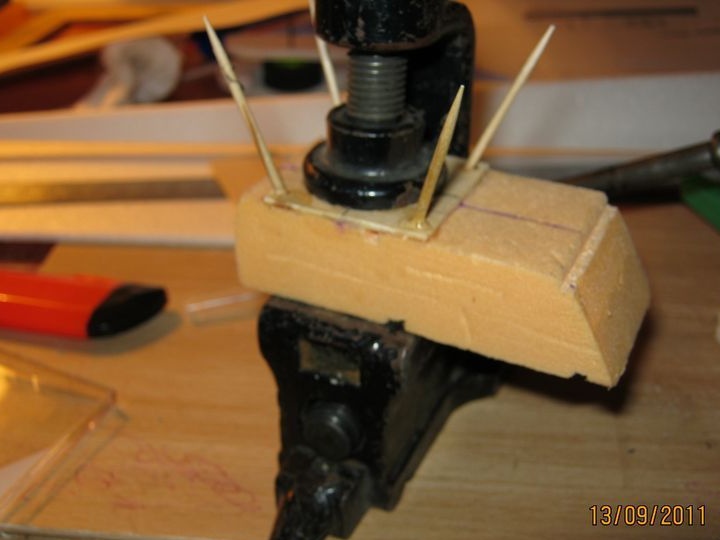
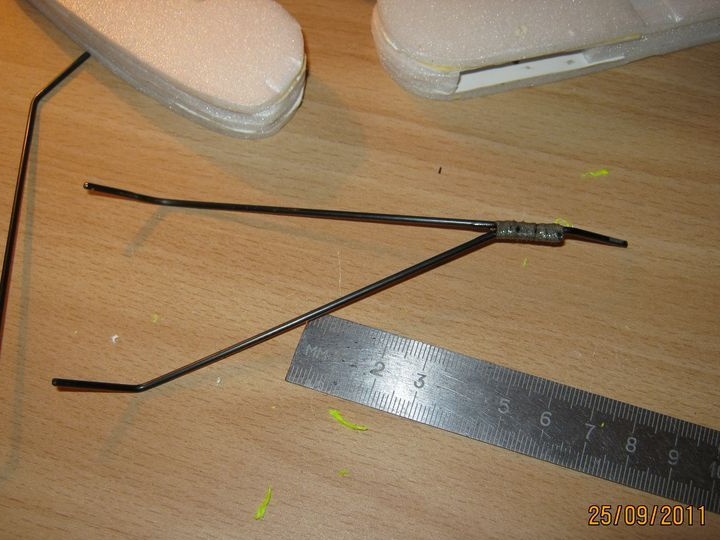
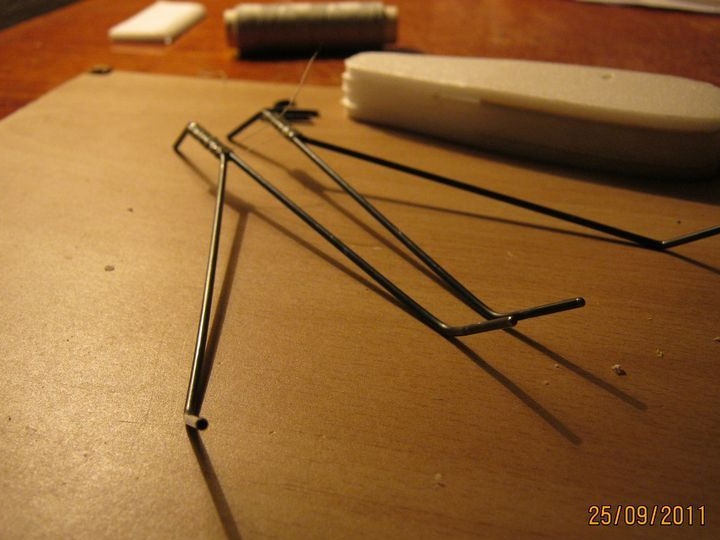
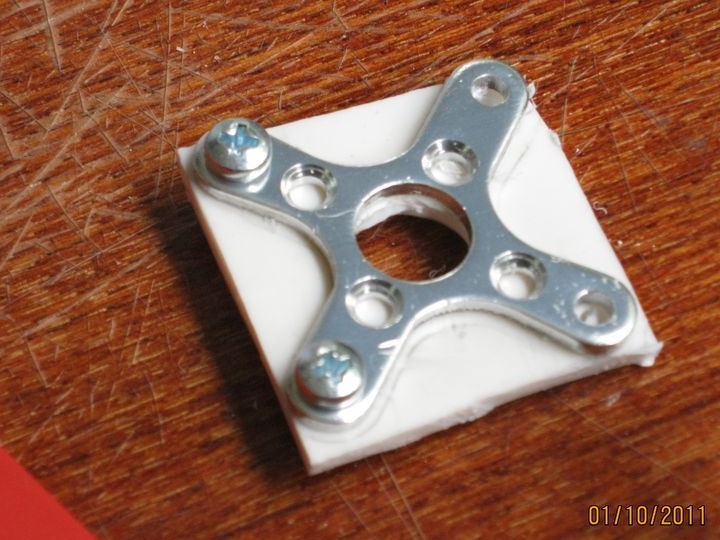
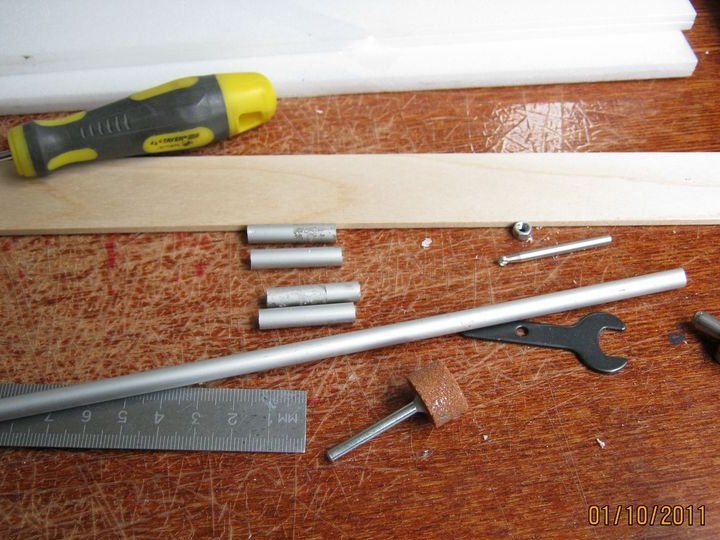
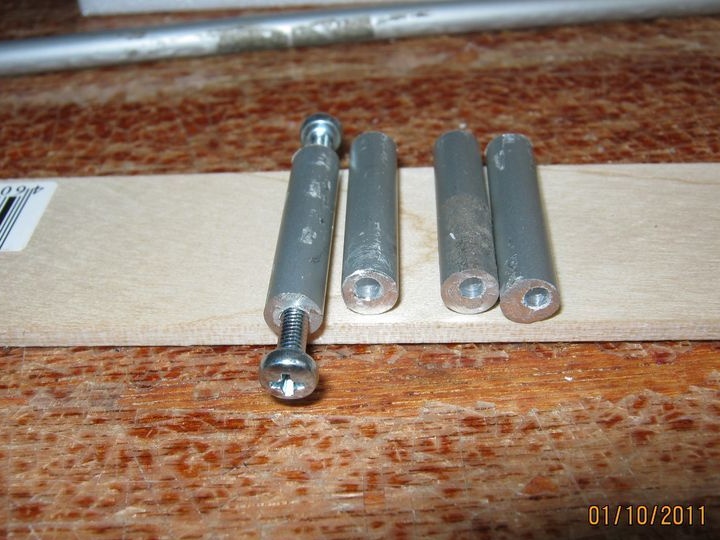
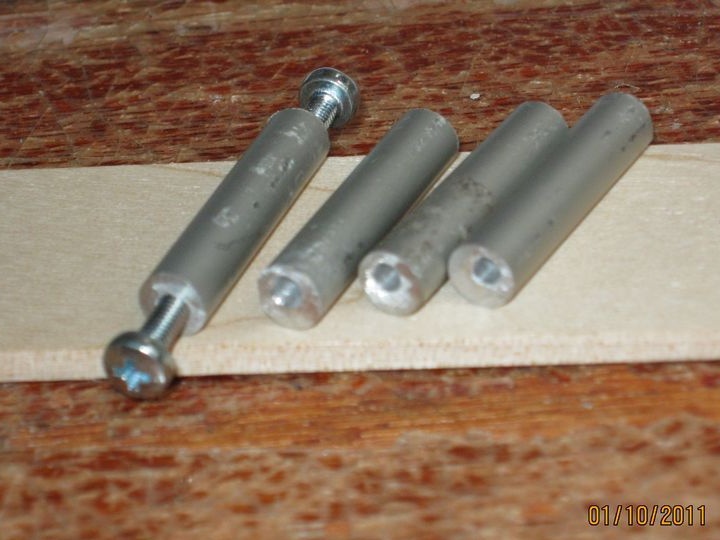
To strengthen the chassis, the author cut out 4 parts. These elements adhere perfectly to the ceiling using glue Titanium.

Further assembly process
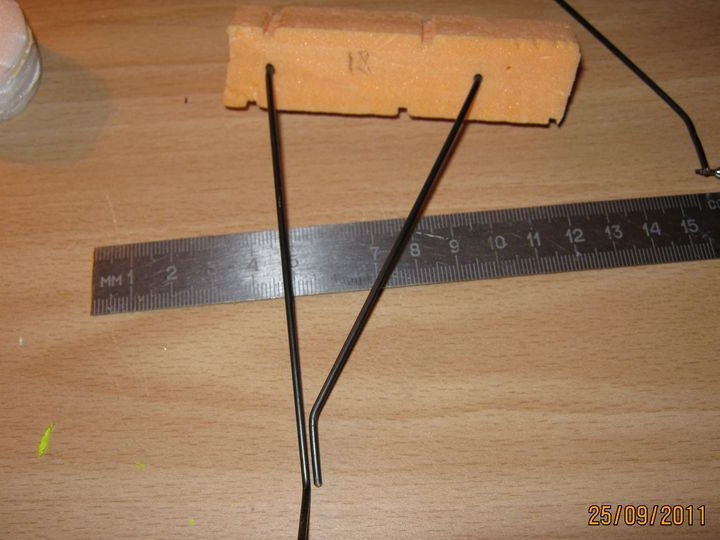
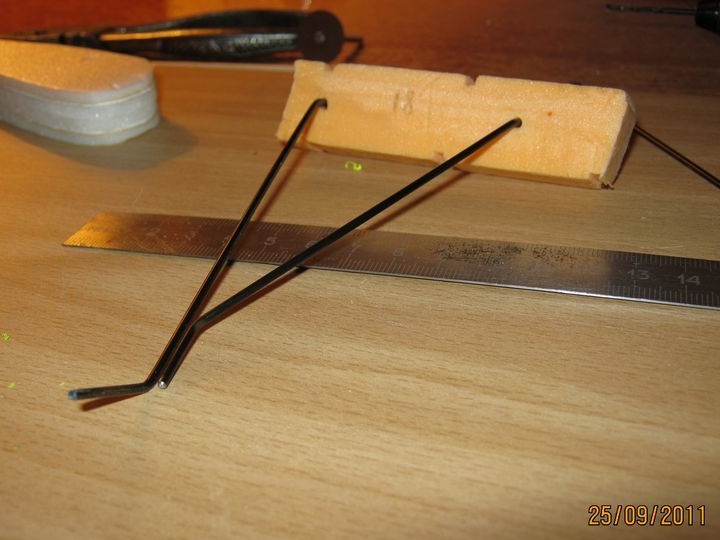
How chassis racks are made
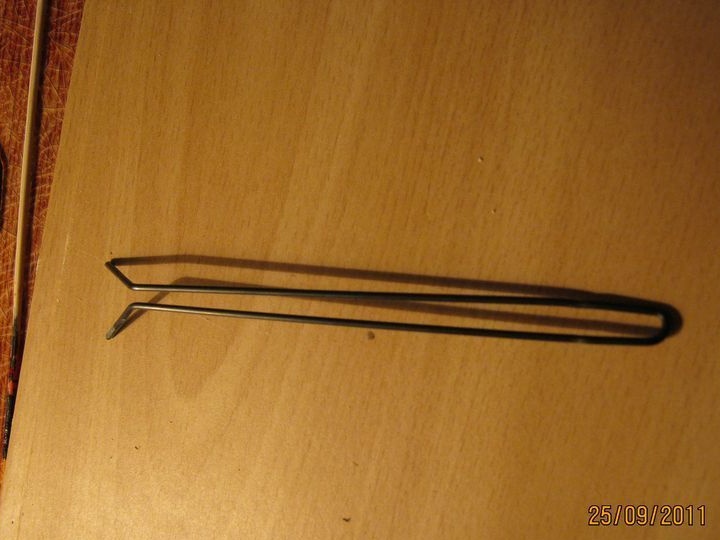
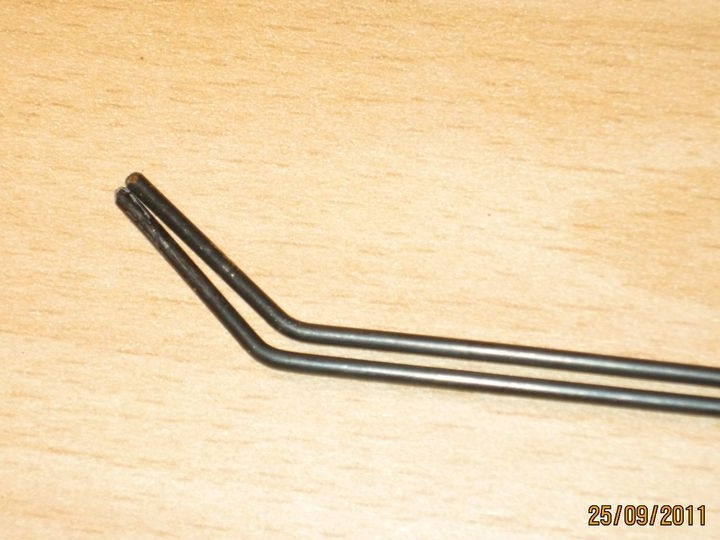
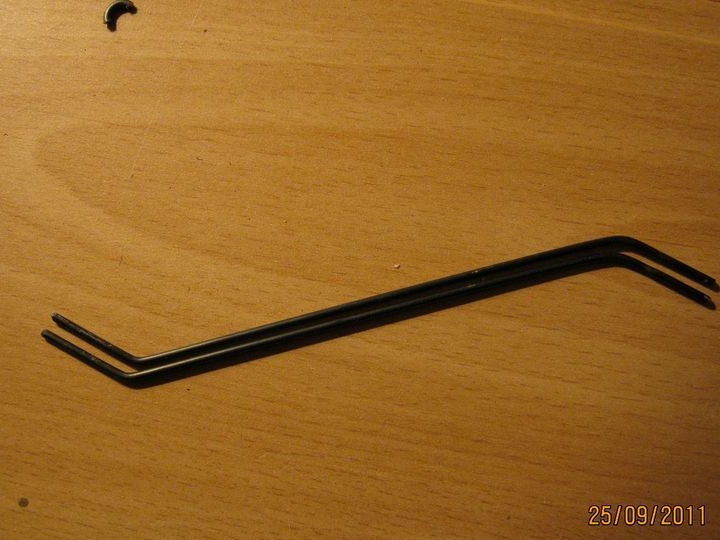
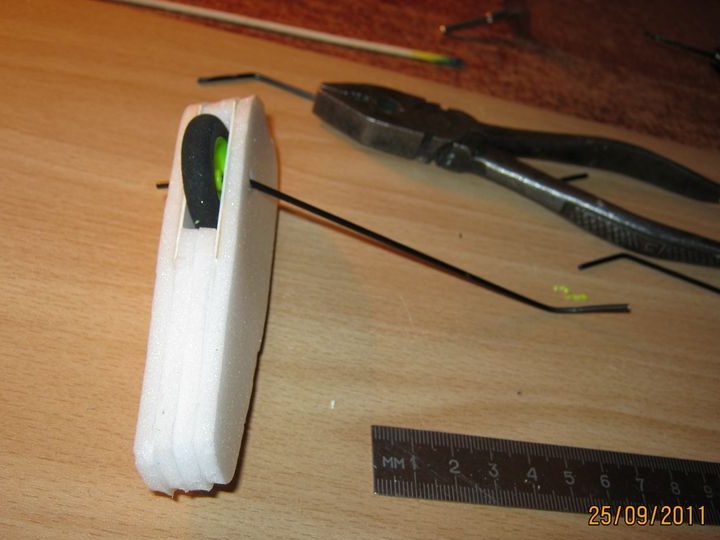
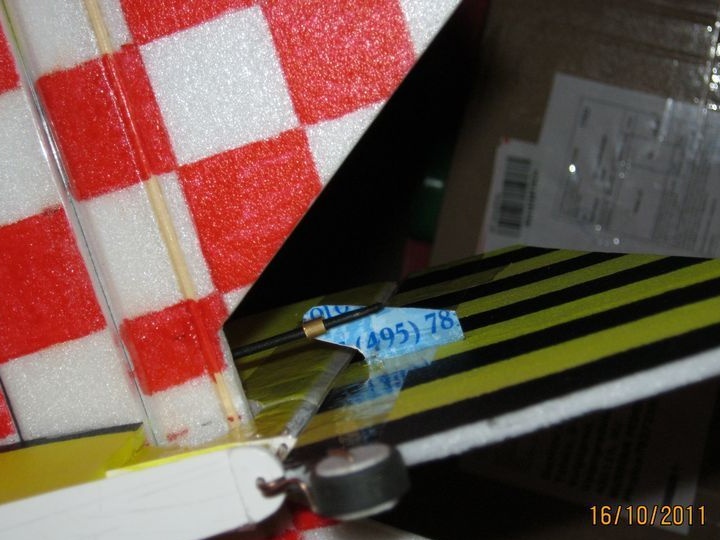
The front edge of the elevator must be cut off at an angle of 45 degrees. It is also reinforced with bamboo.
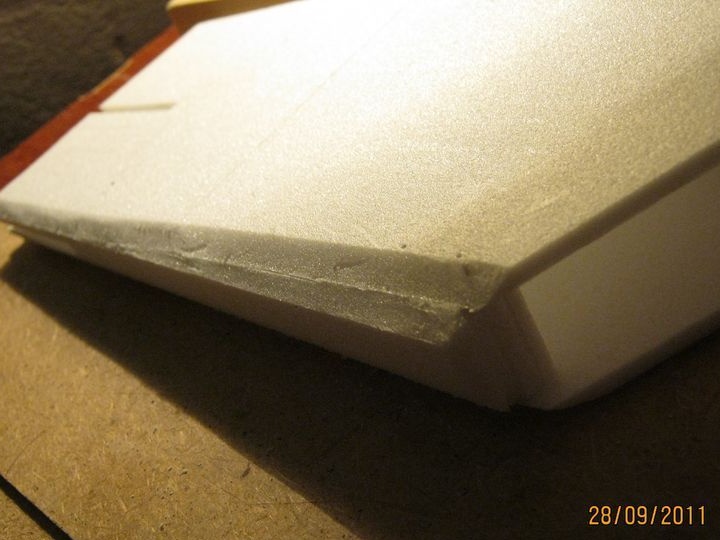
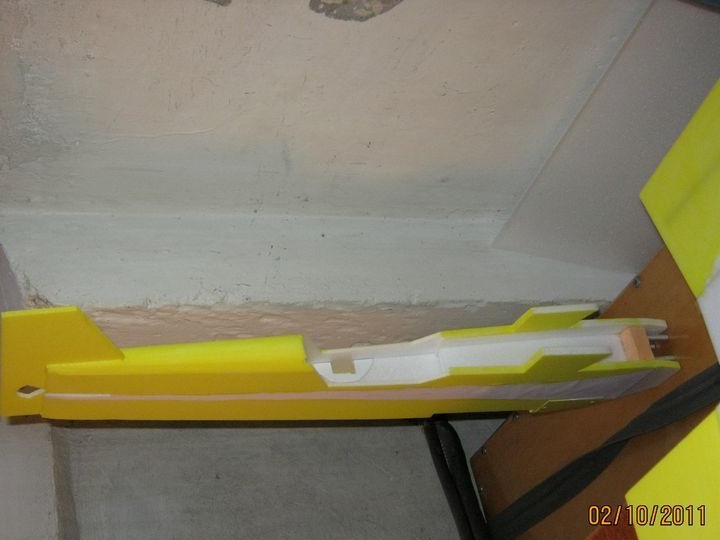
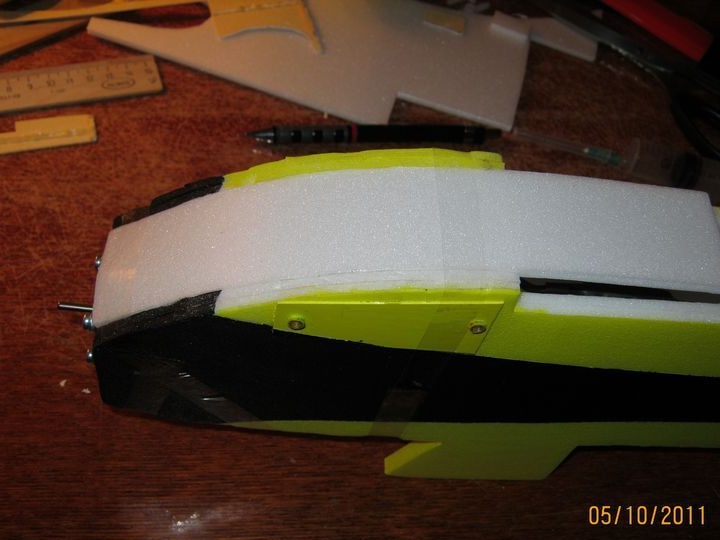
After the fuselage is glued, you need to cut off the extra edges and then process it with sandpaper, bringing to the desired shape.

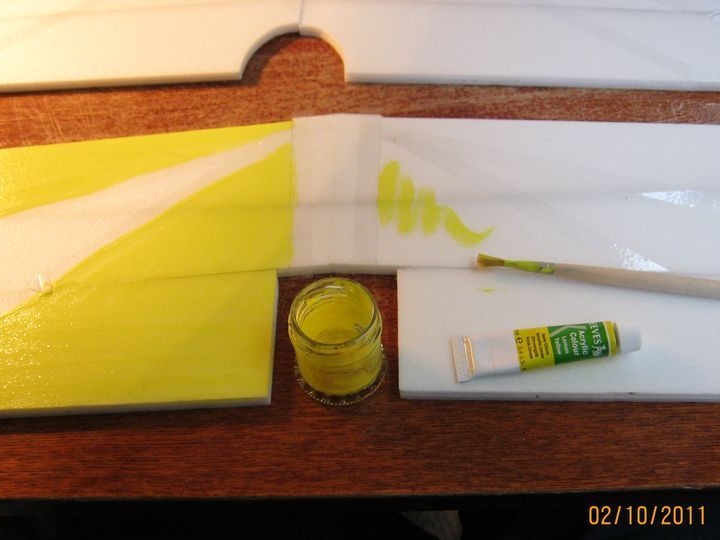
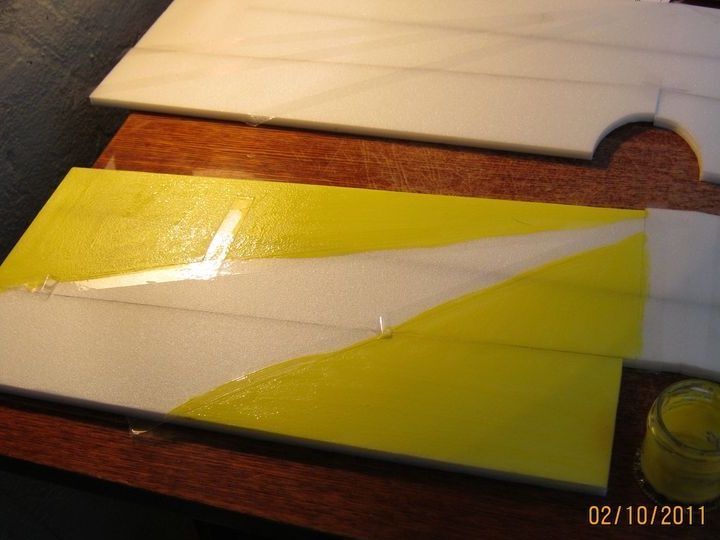
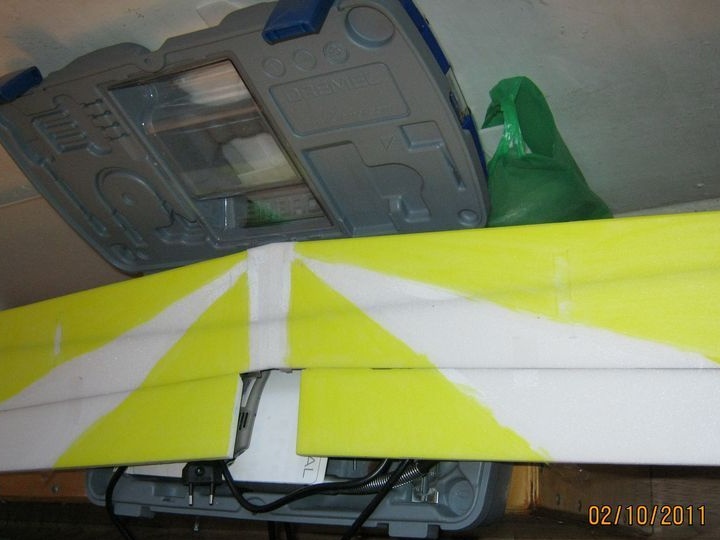
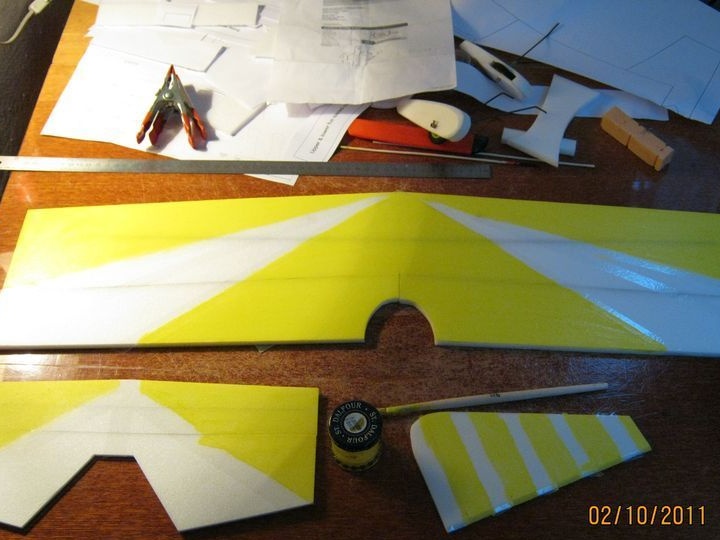
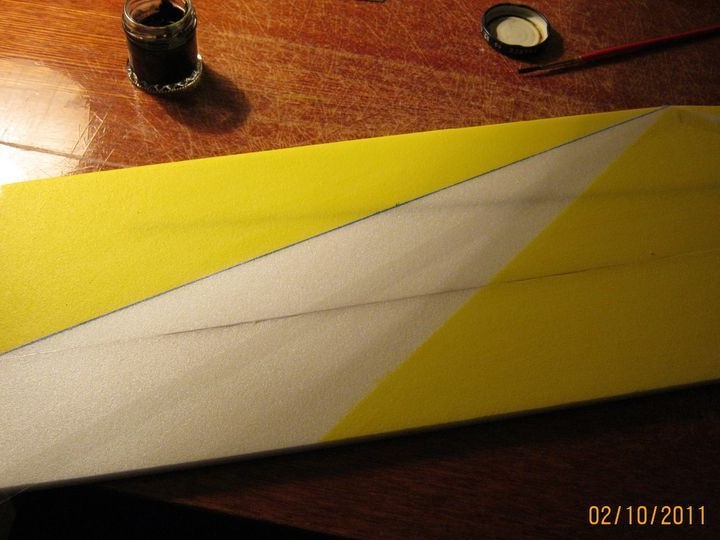
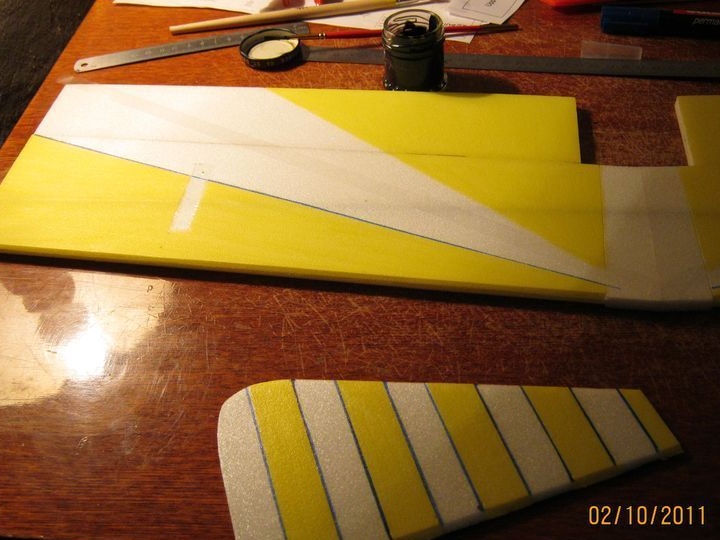
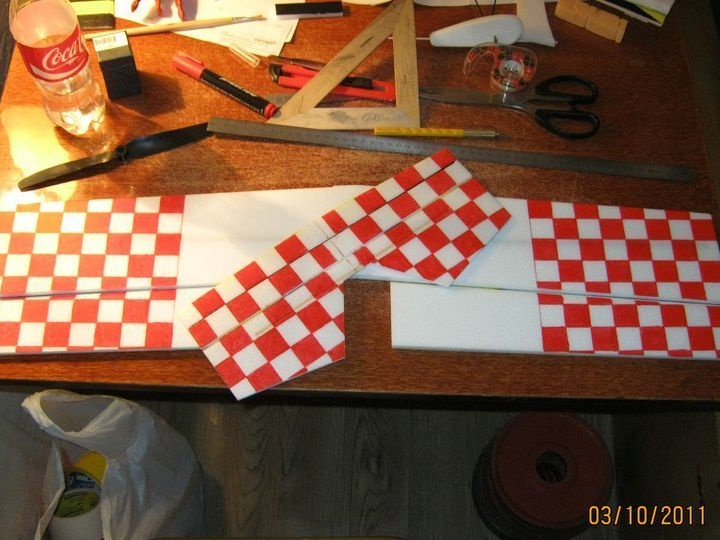
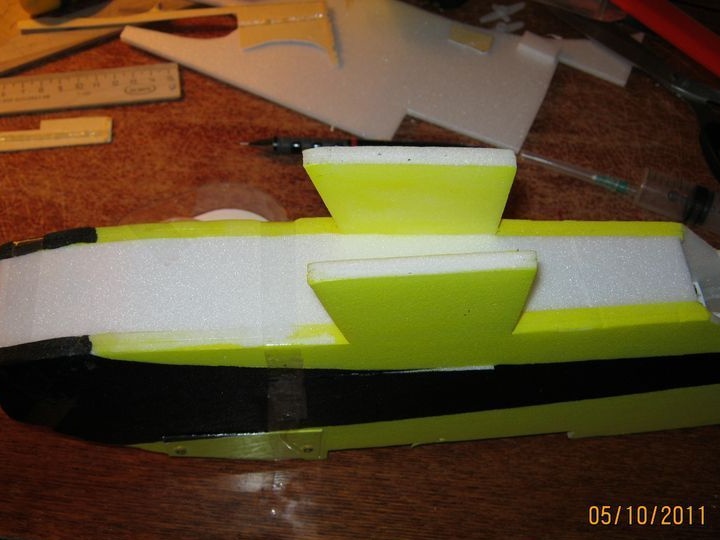
Well, then model can be painted. To do this, the necessary templates (mask) are pasted onto it.
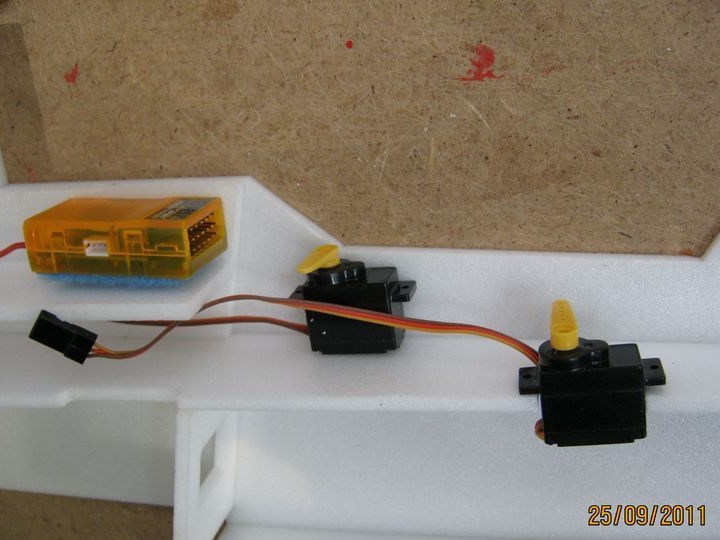
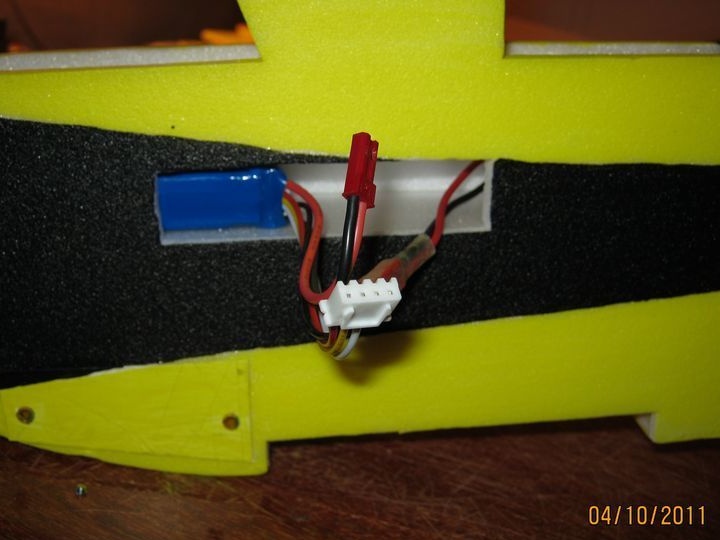
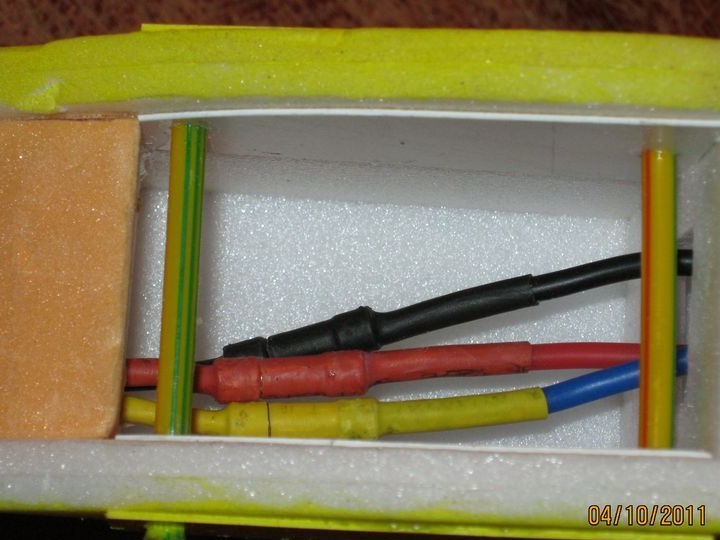
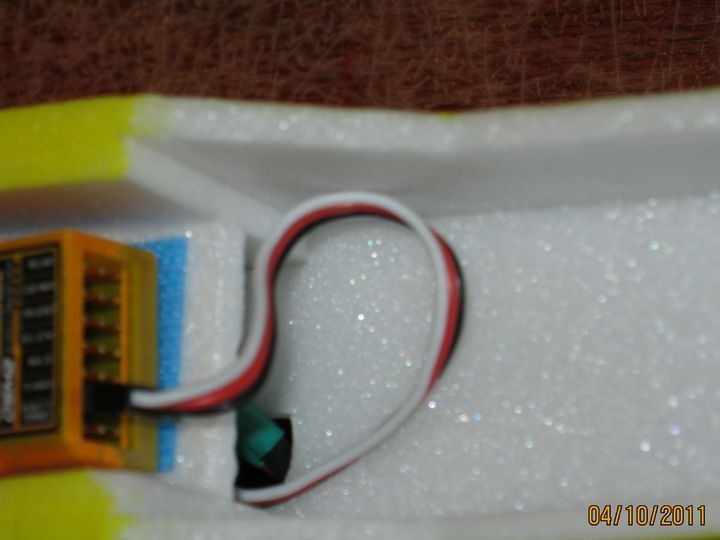
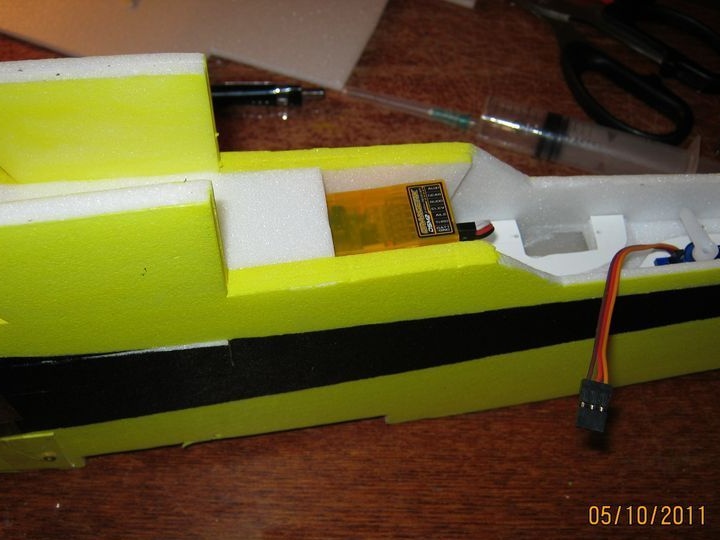
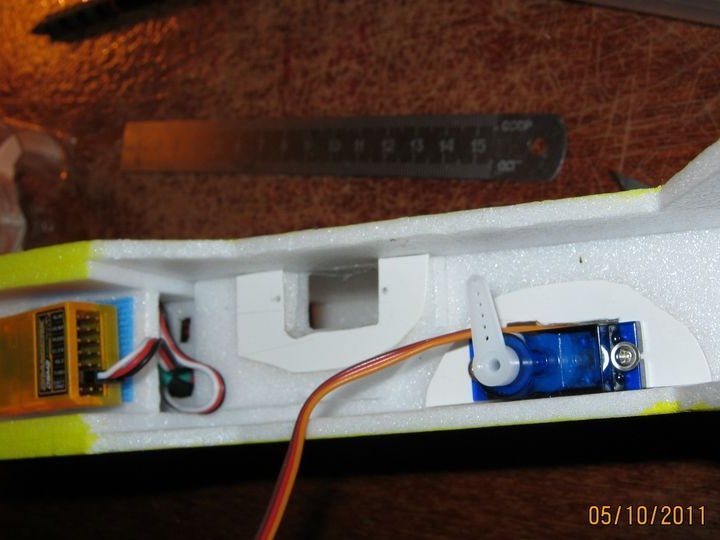
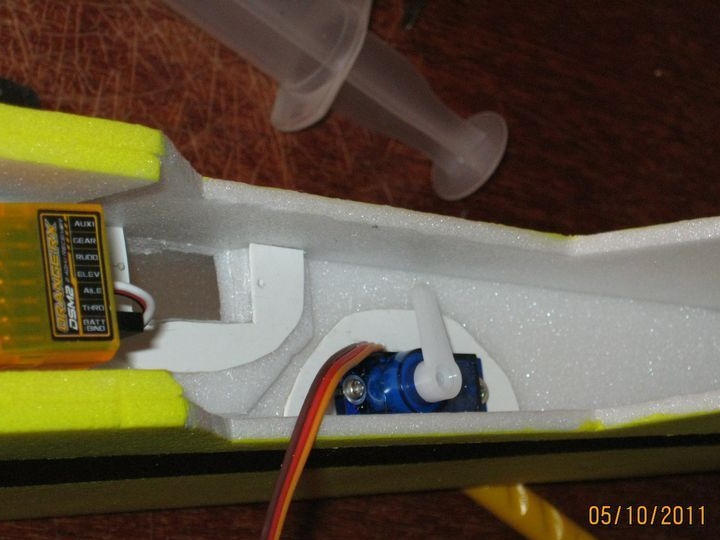
Installation of electronics, engines and painting
Paint
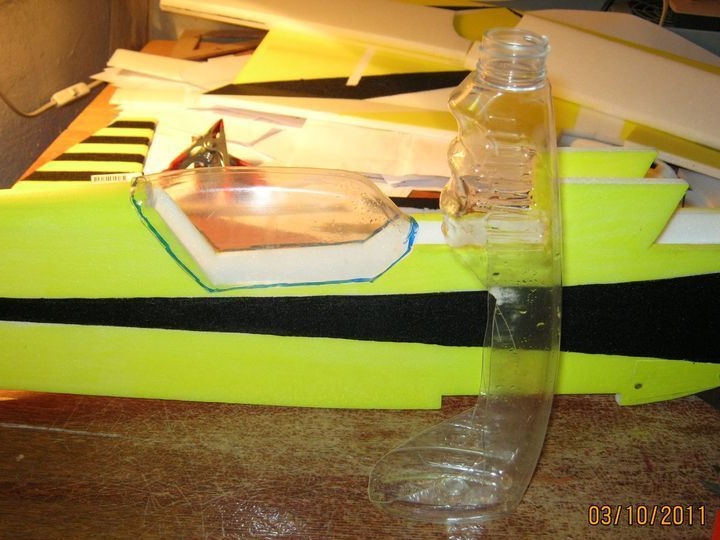
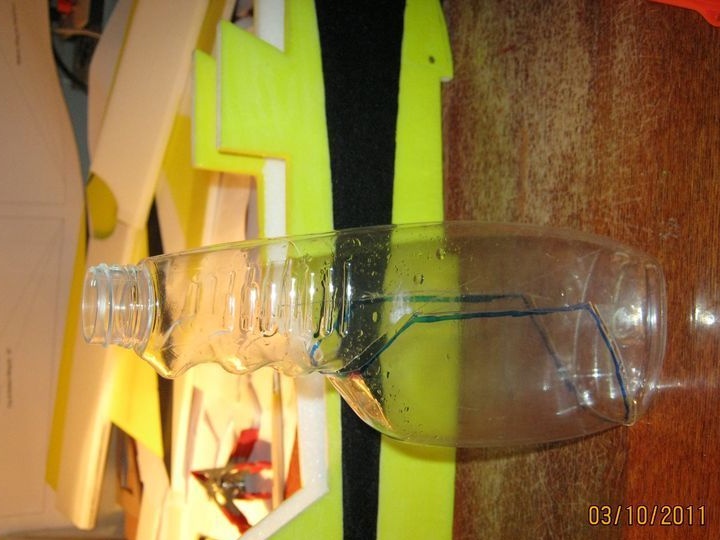
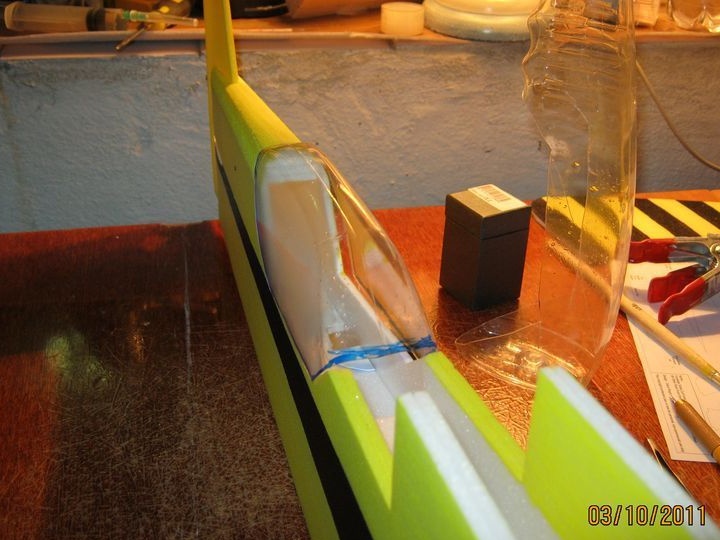
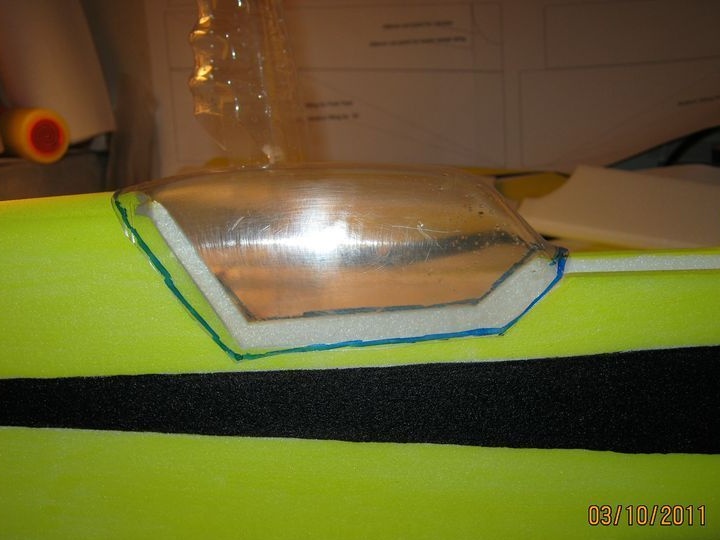
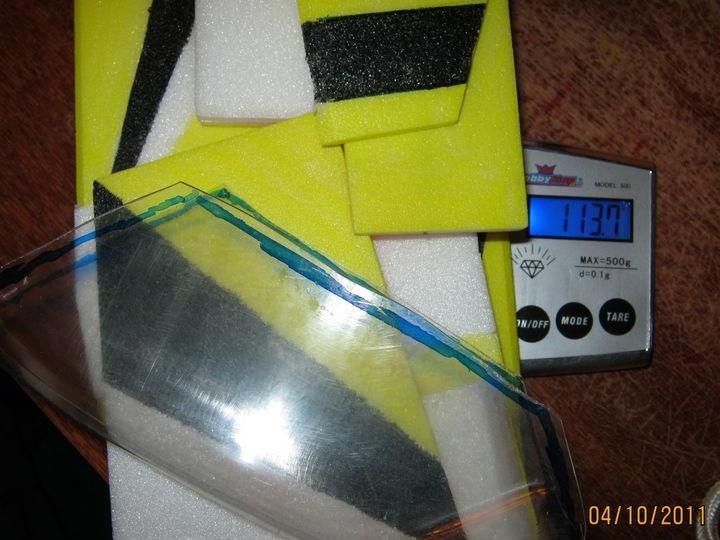
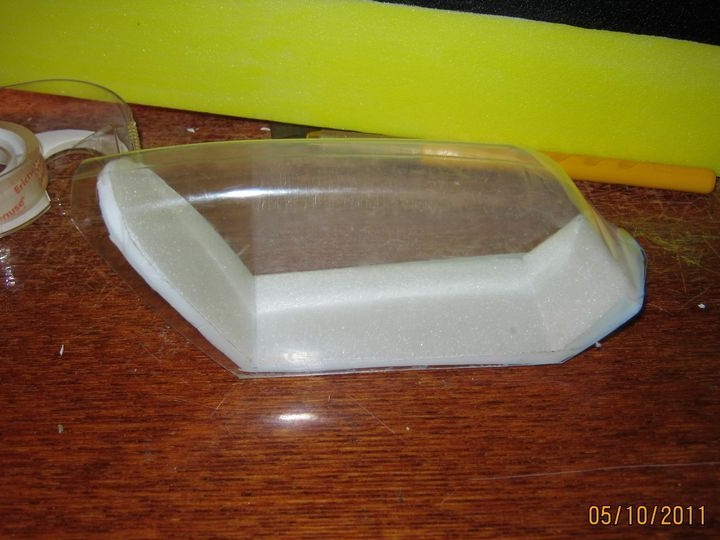
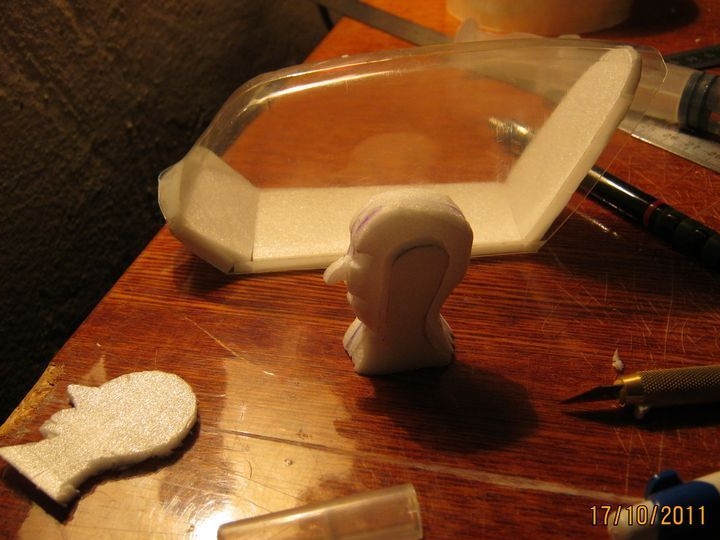
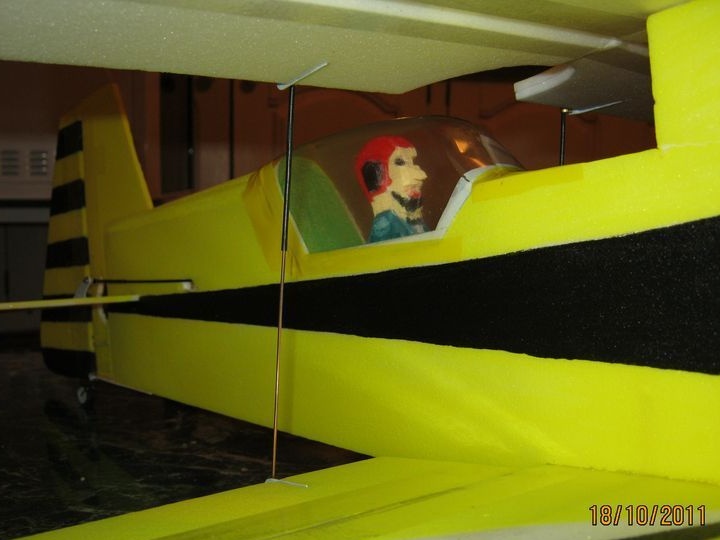
To make cabin glass, you will need a PET bottle or other similar material.

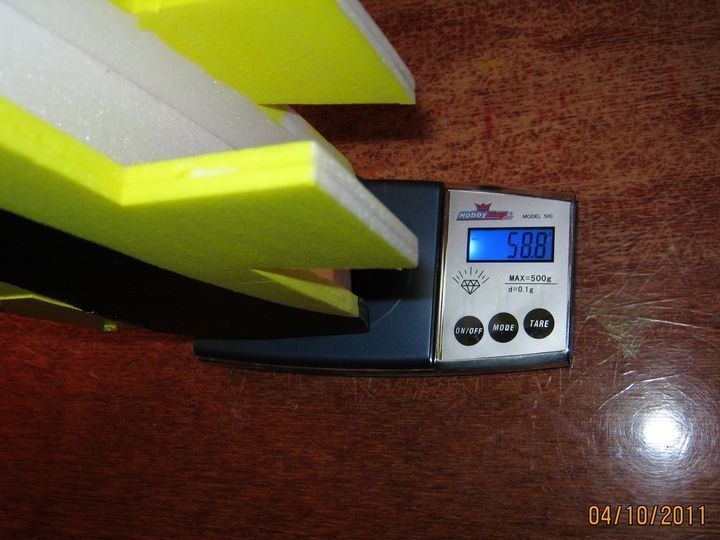
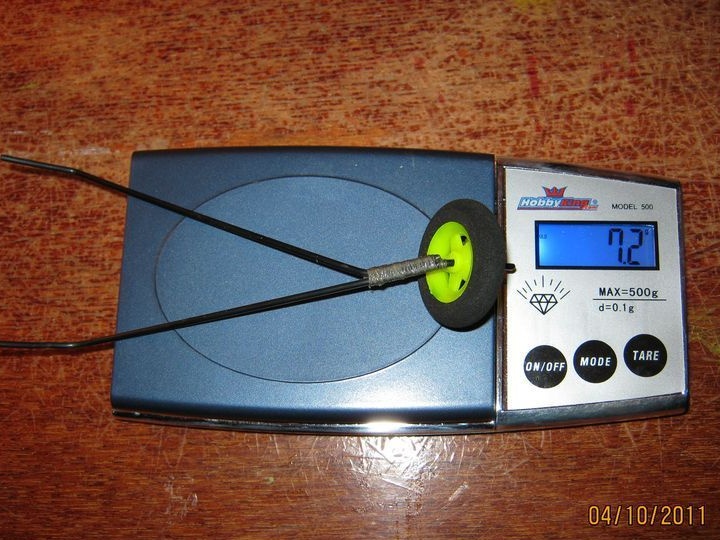
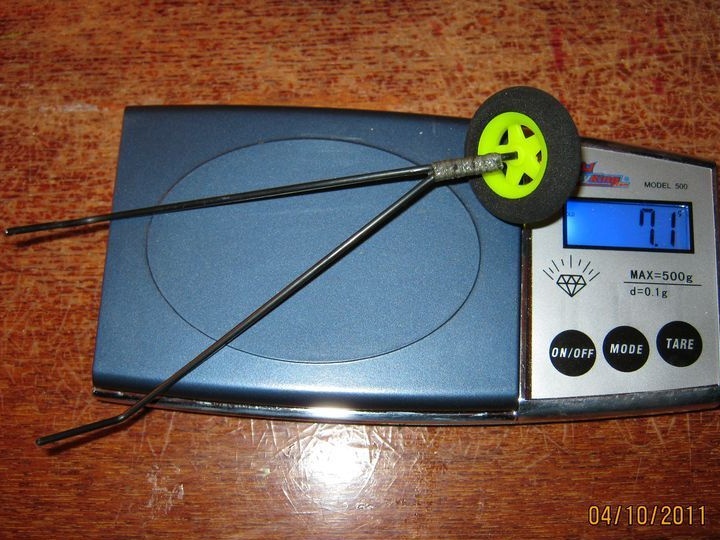
As a result, the model will weigh in the range of 400-420 grams. The thrust of the screw is 900 grams. Screws will be selected from 9x5DD, 10x4.7 and 10x3.8.
We continue to install components

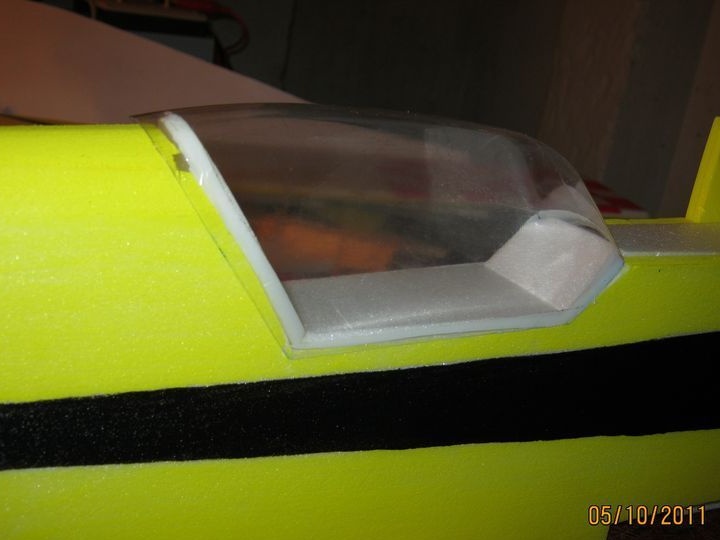
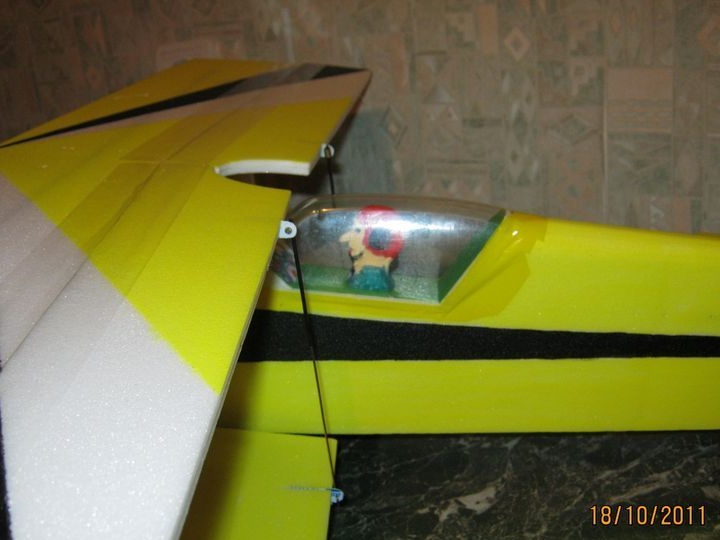
So we got to the lantern. It needs to fit under the fuselage
Continue assembly
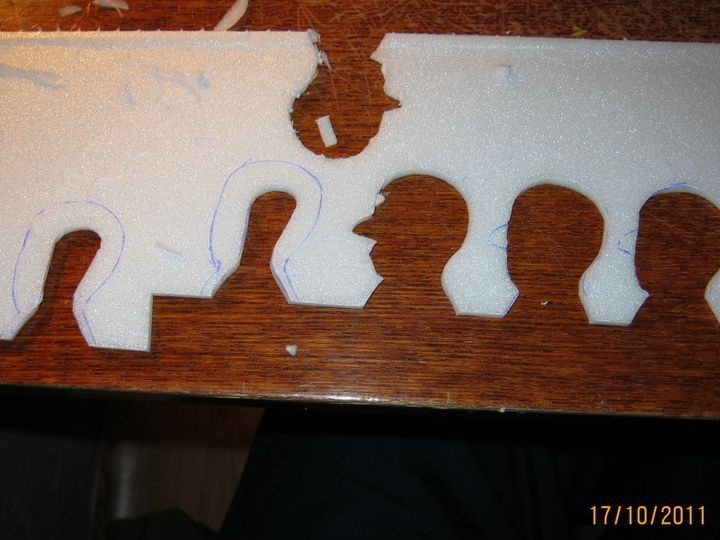
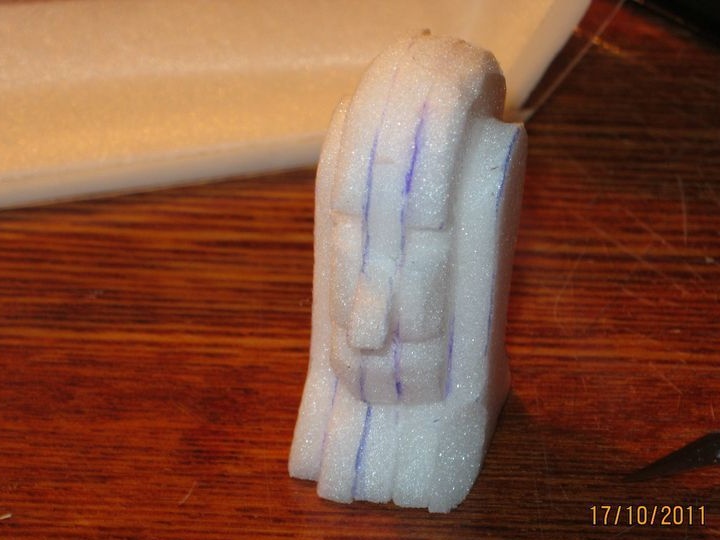
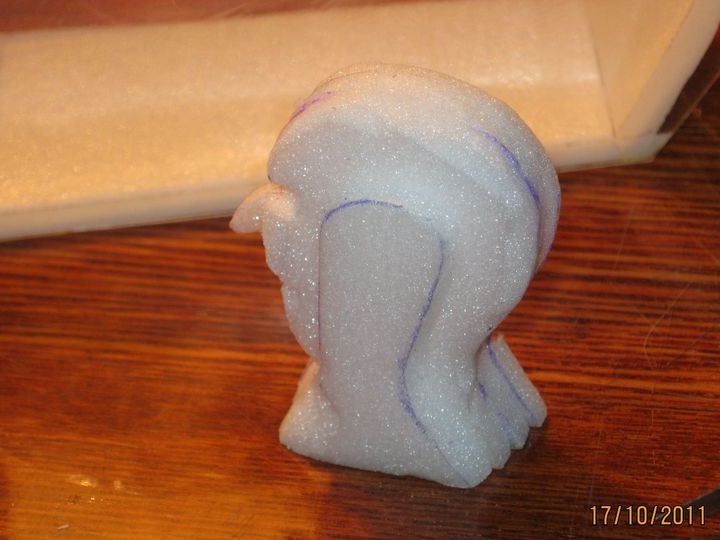
Making a pilot
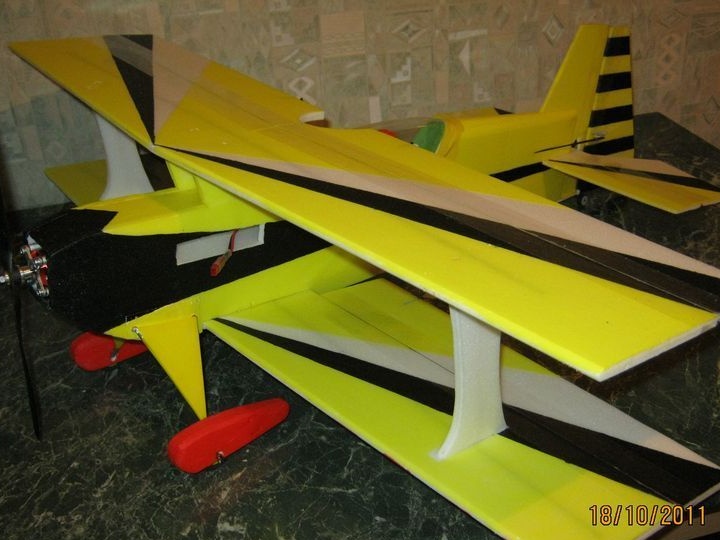
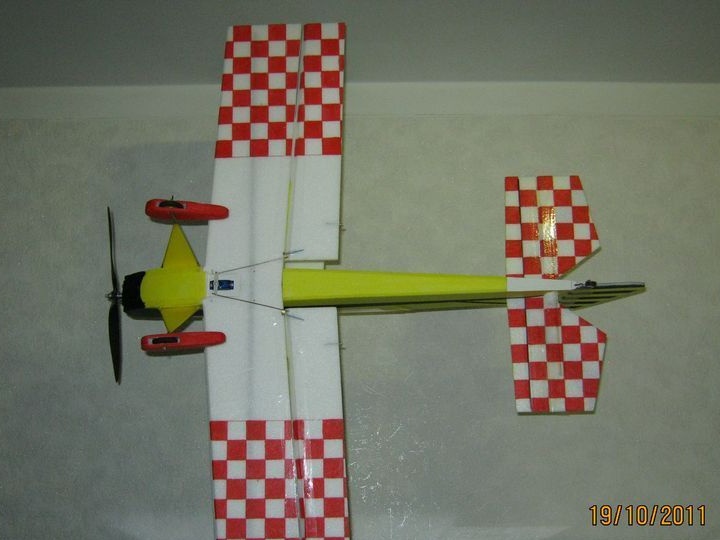
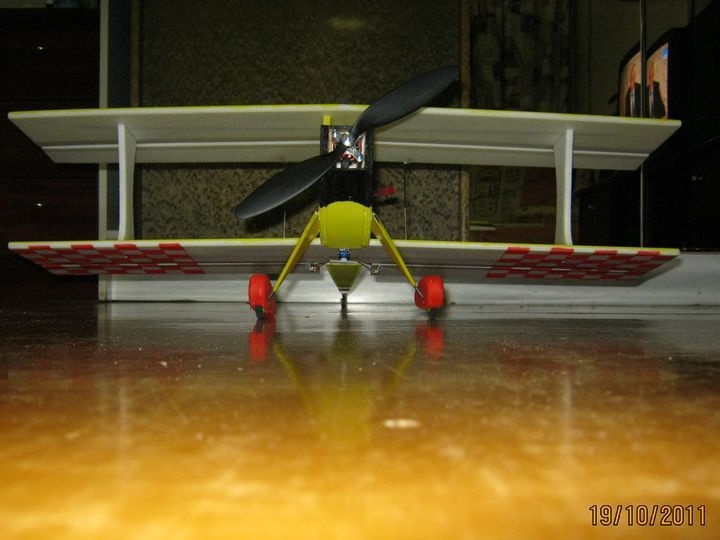
That's what ended up


A couple of videos in the end: