
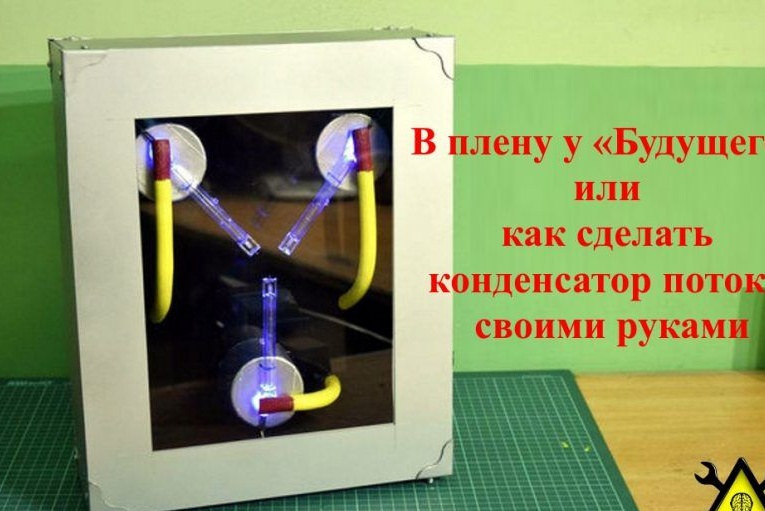
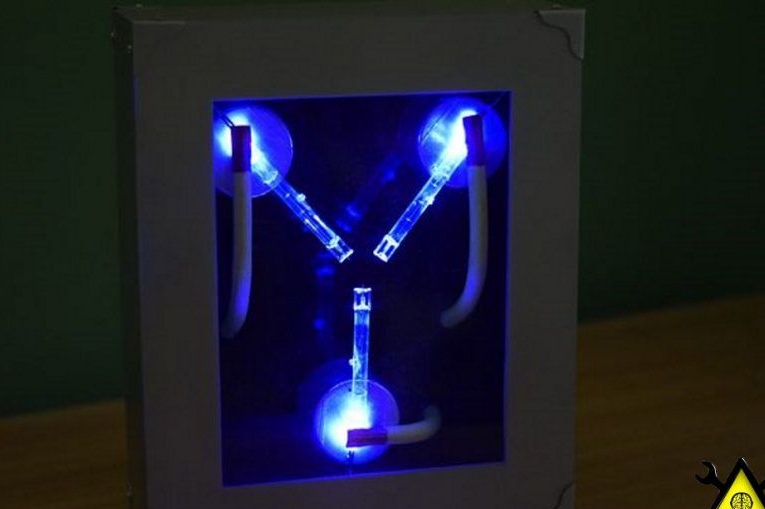
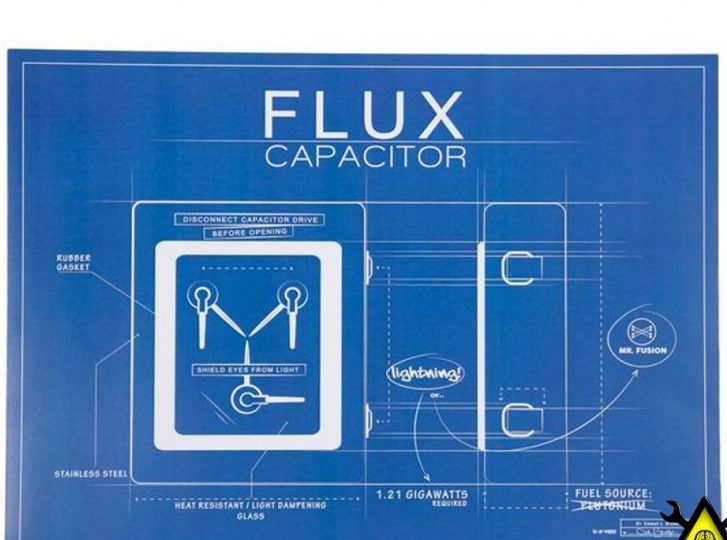
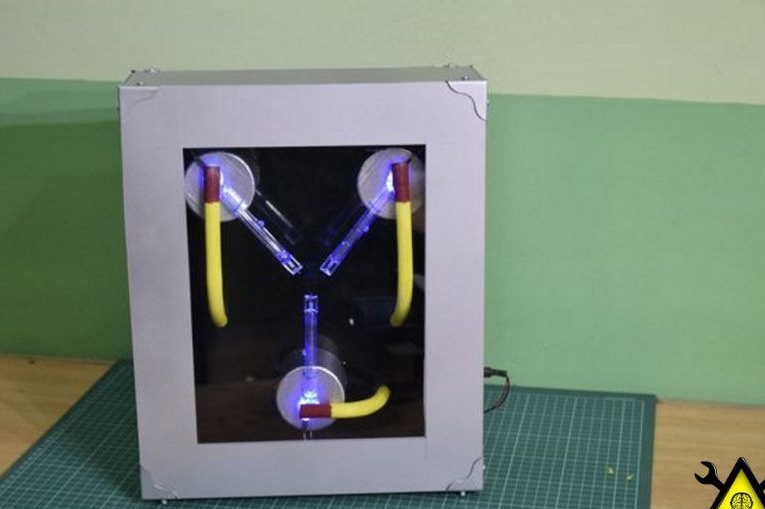
Before creating homemade he wanted to create the best possible and more real parody, while creating a fairly cheap replica. Of course, he didn’t get a very similar copy, but in appearance it is very close to the original. It turned out to be very functional with the author, thanks to the light from the LEDs it can be used as a night lamp or a lamp or the same lamp.
Part 1: Tools and Materials
Items needed:
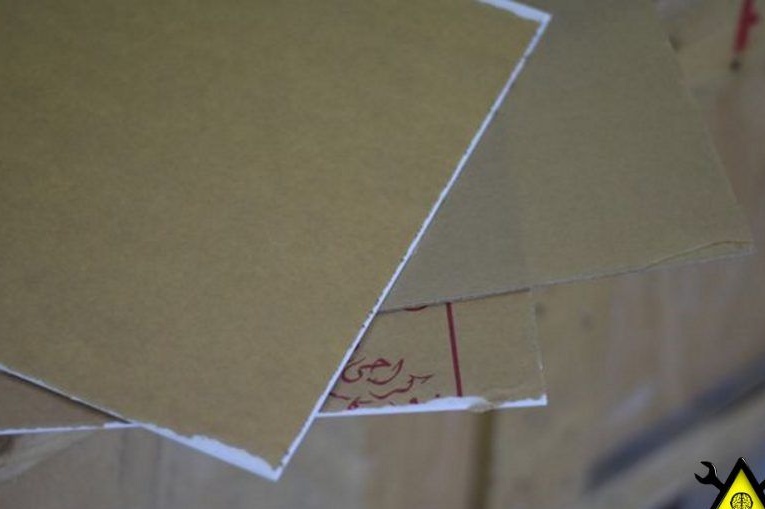
- Several sheets of orthoglass (1 transparent, the remaining can be any color);
- Dark black balonchekovy paint;
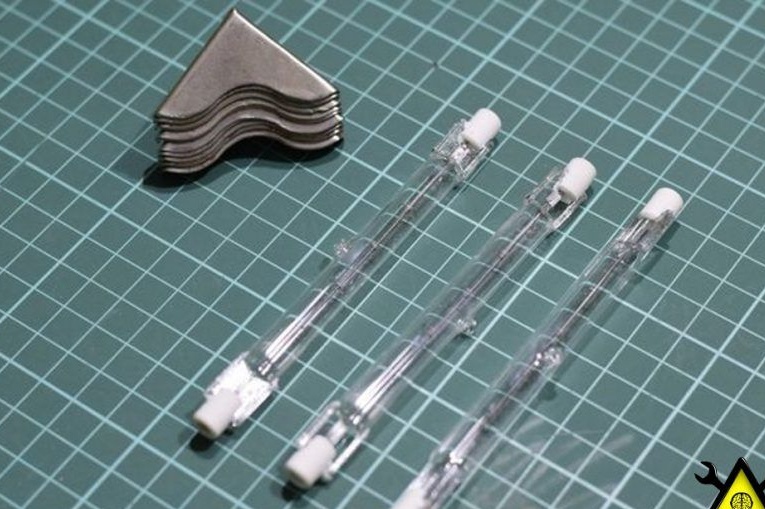
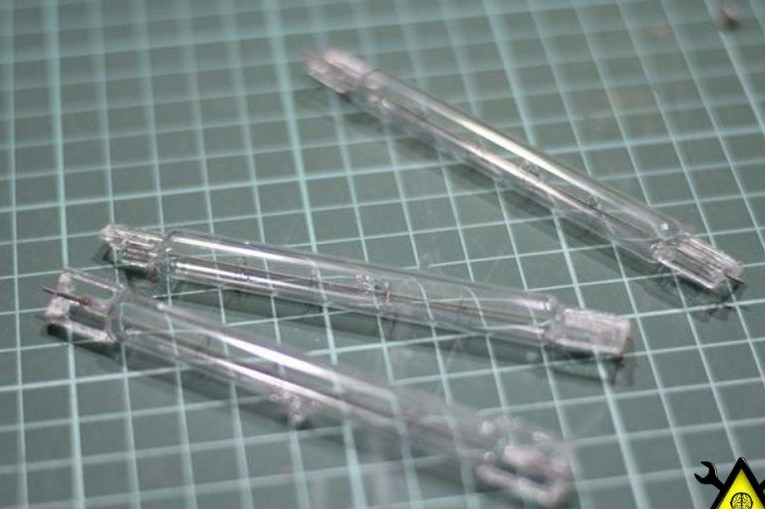
-Halogen lamp;
-Pipe made of plastic;
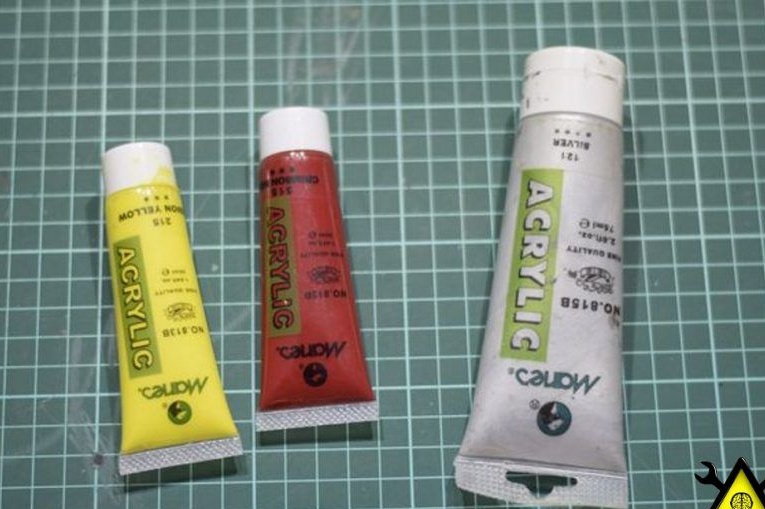
- Burgundy, light yellow spray paint;
-Small steel corners for fastening;
- Screws and nuts;
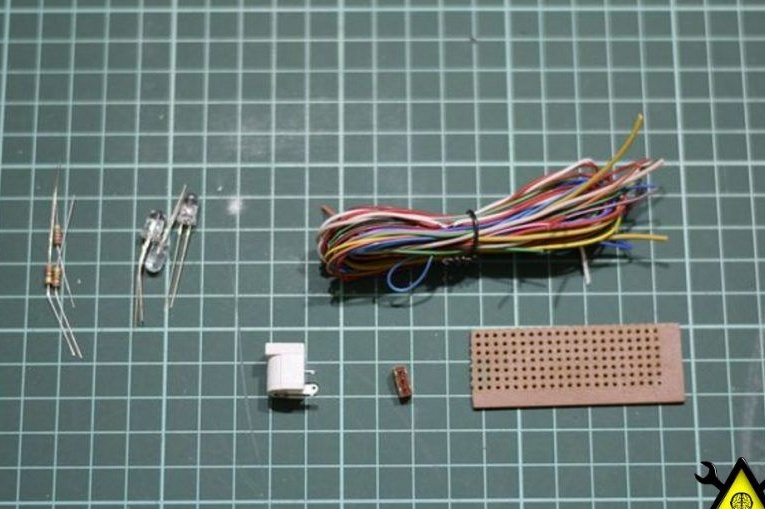
- Dark blue light-emitting diodes;
-Resistors 220 Ohm;
-Wiring;
-Mounting board;
-Hole for power;
-Switch and switch;
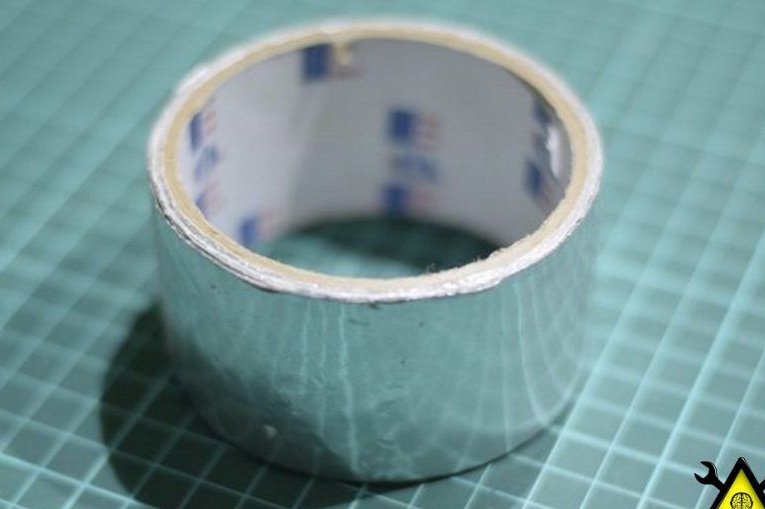
- insulating tape or tape;
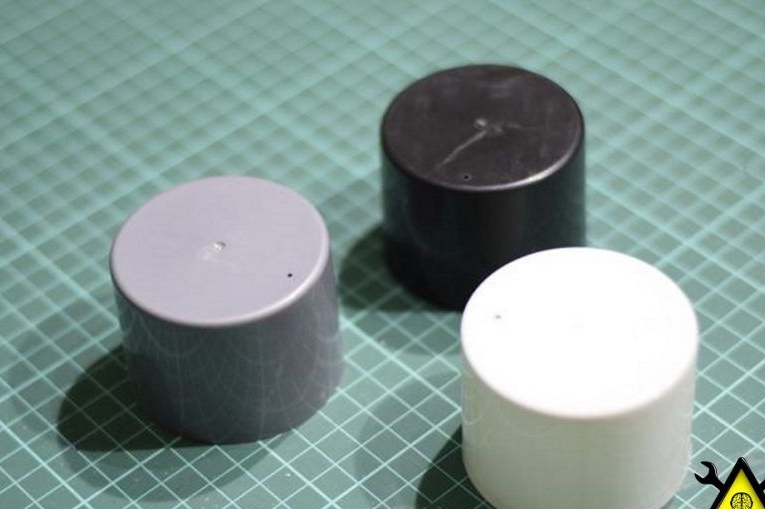
-Caps from spray cans with paint.
Necessary fixtures (instruments):
- Orthogonal knife;
-Rule;
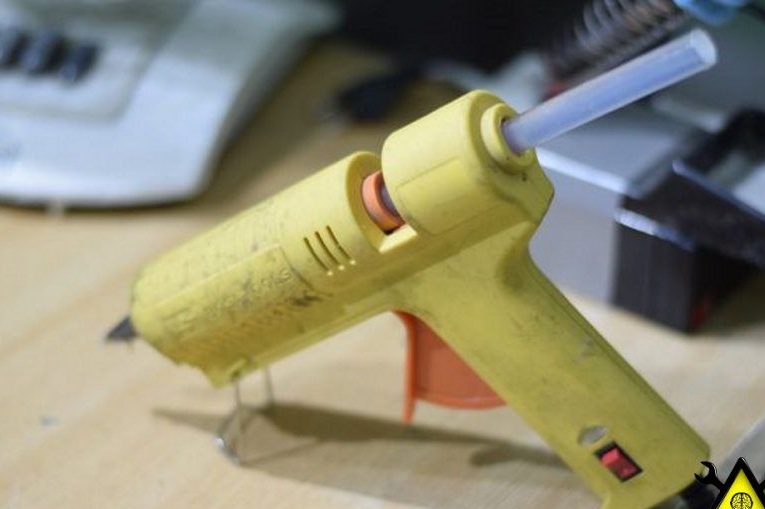
-Glue (hotmelt);
-Roulette;
-Drill;
- File;
- Side cutters.
Part 2: The construction of the frame.
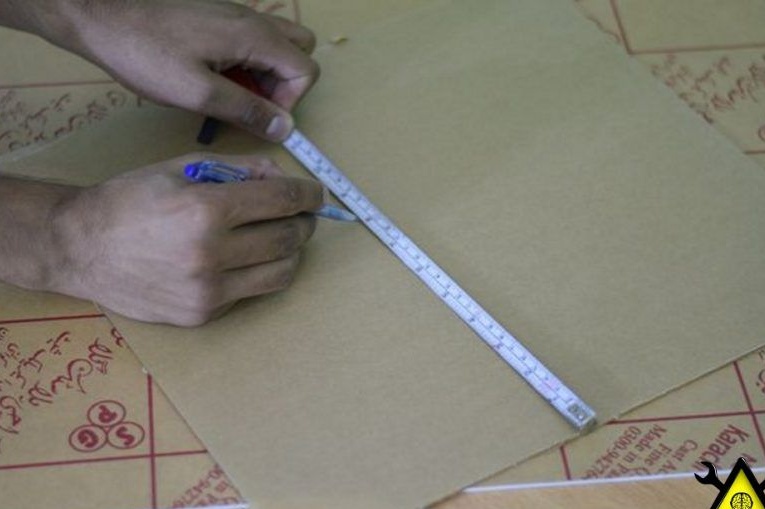
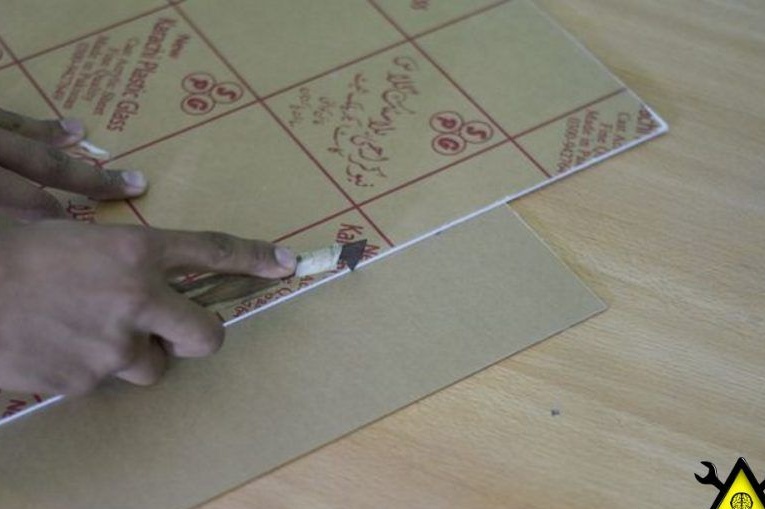
“Flow condenser” - 30.5x36.5x10.1 (cm). For manufacturing it is necessary to cut, cut :
2 parts 36.5 x 30.5 cm (1 of these parts must be transparent);
2 parts 36.5 x 10.1 cm;
2 parts 30.5 x 10.1 cm.
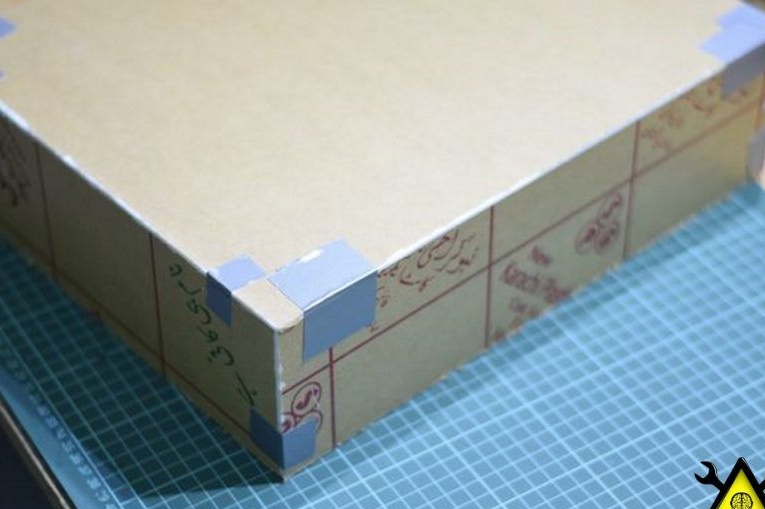
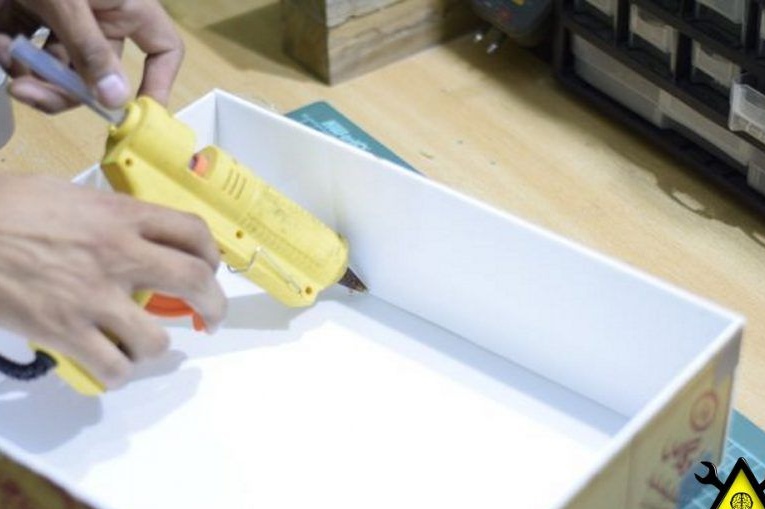
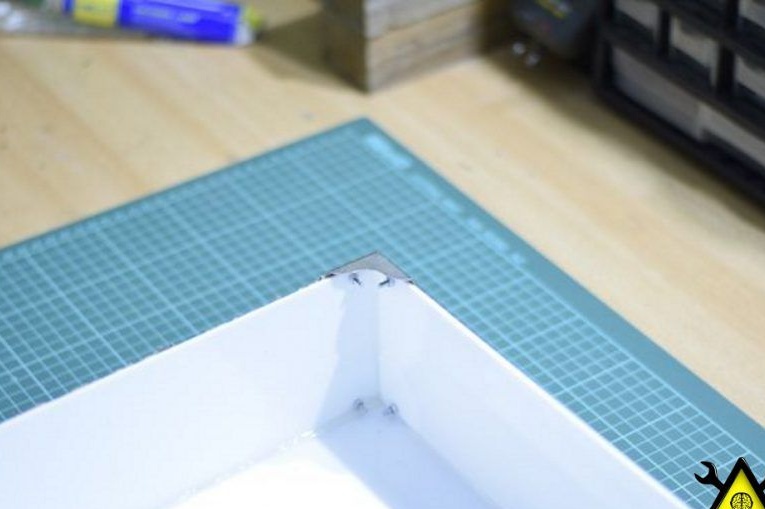
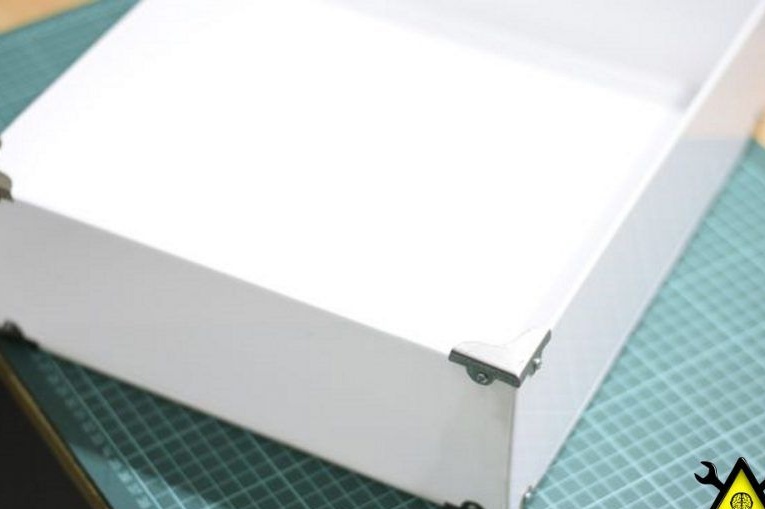
He also needed another 1 piece, which is needed for the inner fence, but in his words "more on that later." First, remove the outer coating from 1 part of the acrylic sheet. Then, holding the parts with the glossy side inward, he connected the sides with electrical tape and formed a box. Then he polishes the edges where necessary, so that everything fits snugly on the box. Then he glued all the joints inside with glue.
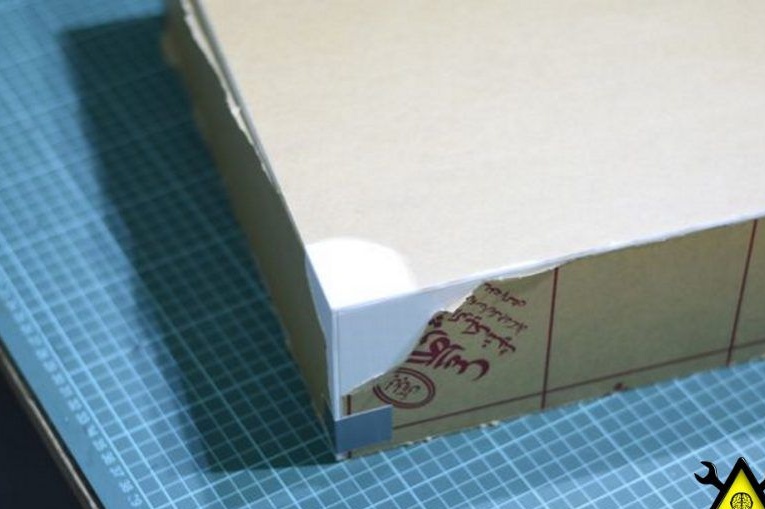
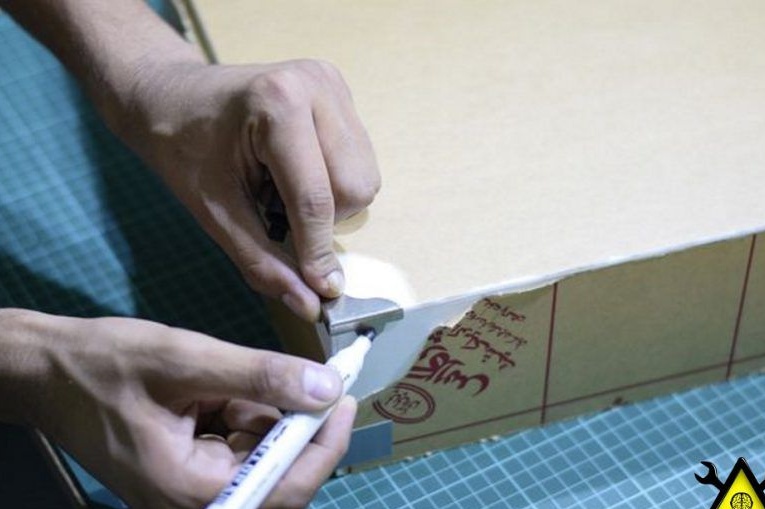
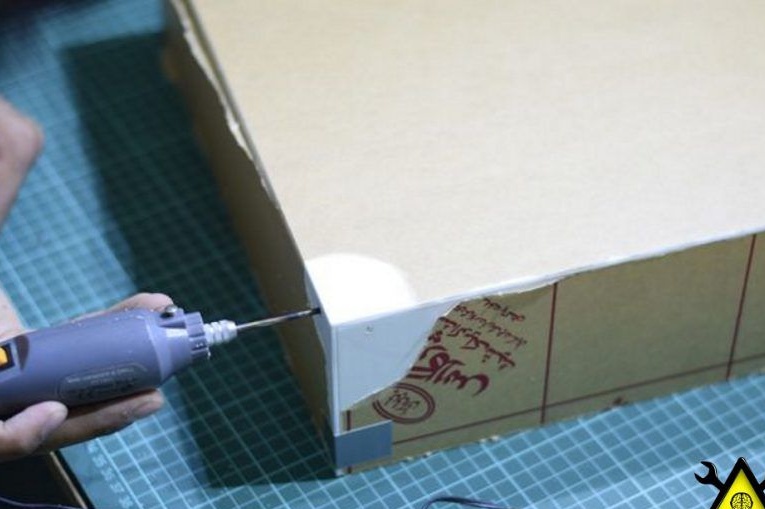
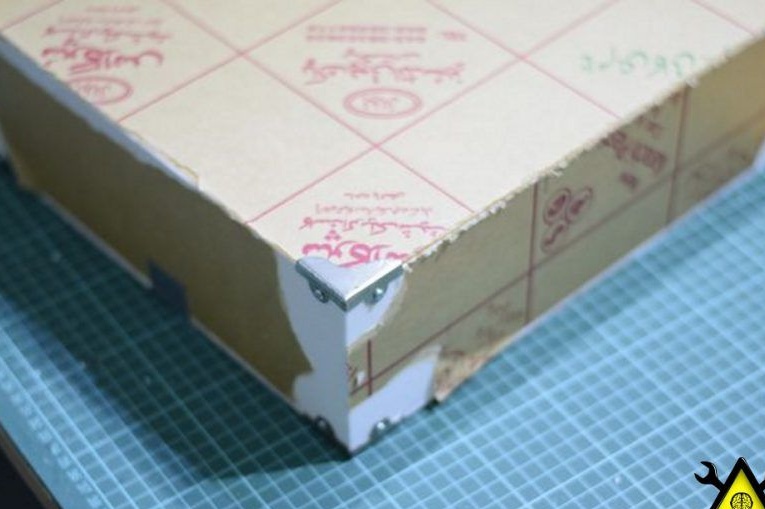
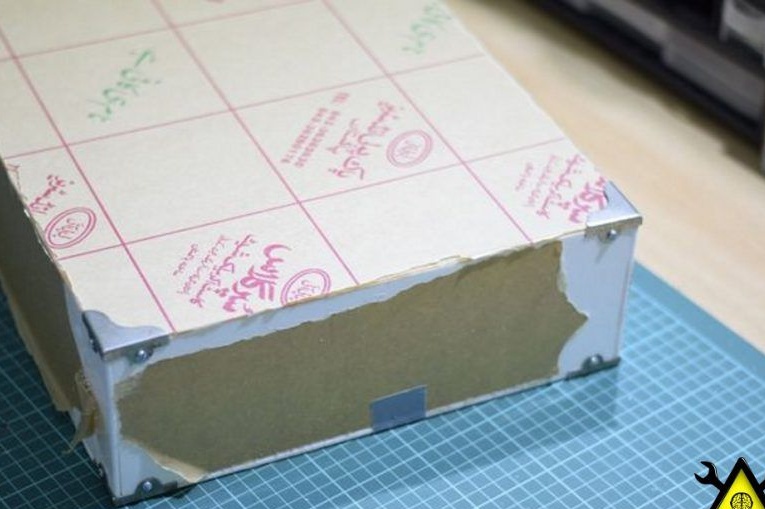
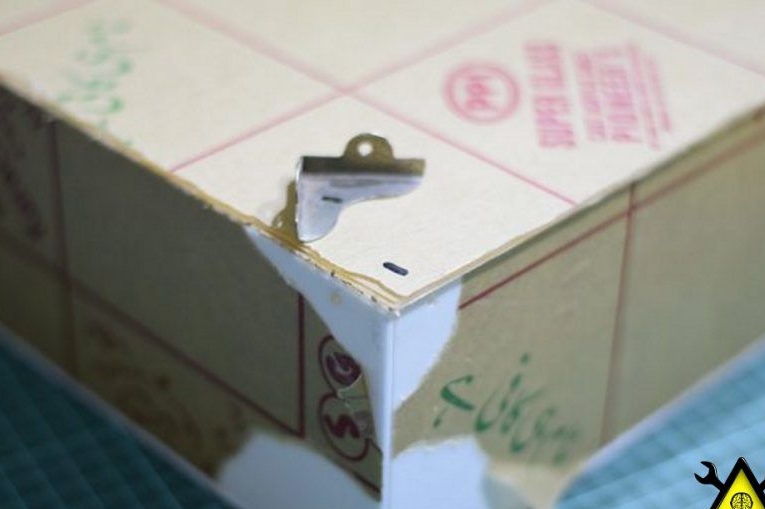
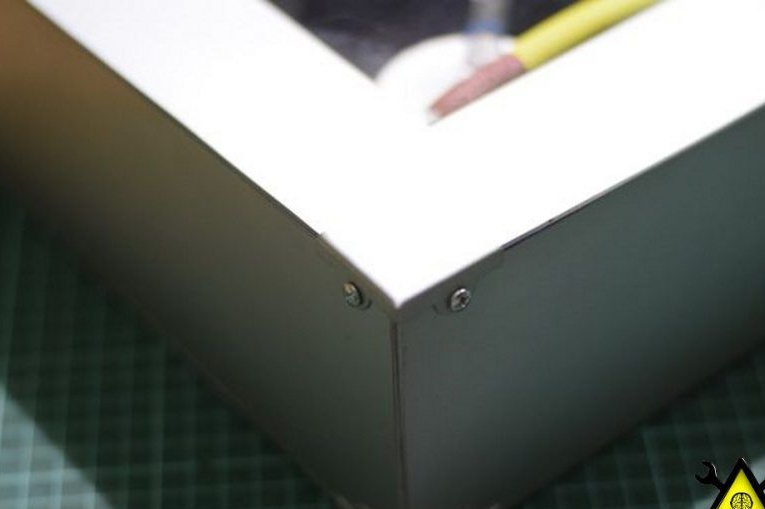
Now let's talk about the corners. We remove a special film from all 4 sides. We attach corners and mark future holes. He then drilled and secured the corners with nuts and screws.
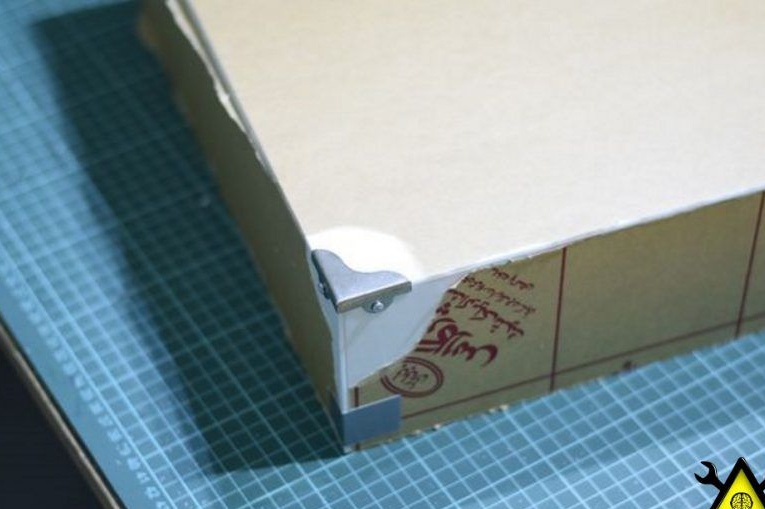

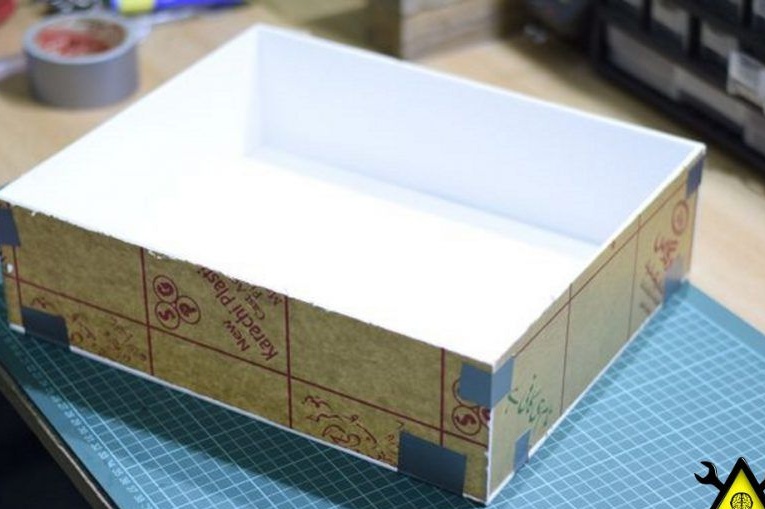
We lay the screen detail on top, but do not need to fix it yet. He then marks the points for the holes on which the corner will be mounted. Then he removes the side of the special film and fixes 2 corners, without fixing the rest.

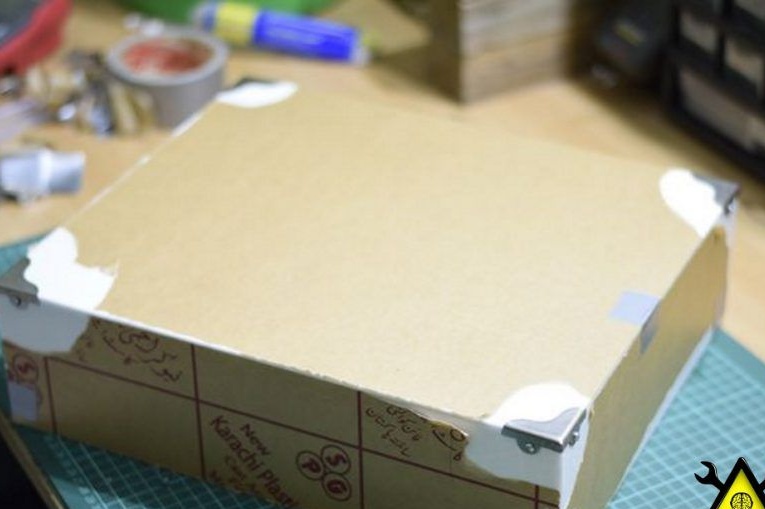
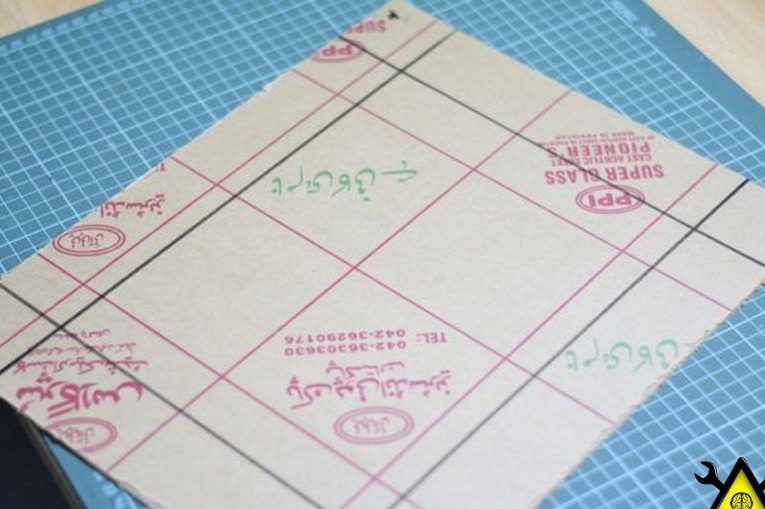
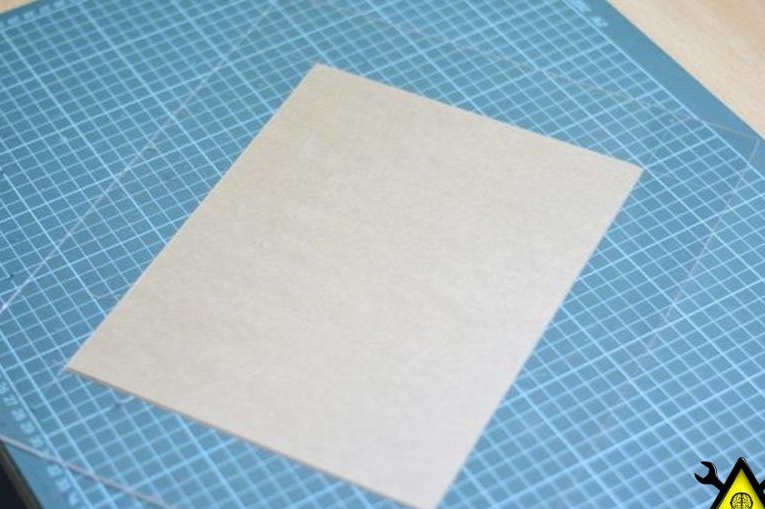
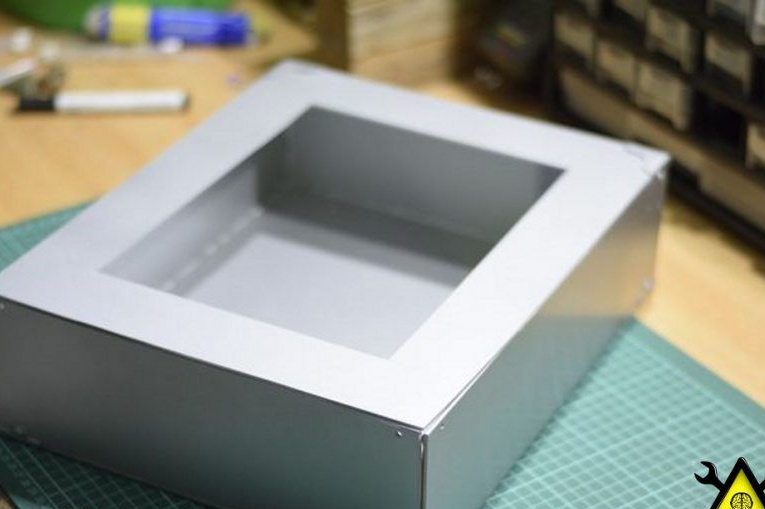
Before proceeding to coloring, he prepares a screen. He had to mark 5 cm. The border with each part and scratch a special coating on the written (drawn) borders. Then he removes the entire special film and leaves a rectangle.
Then he began to apply light gray paint on the base, screen and 2 not yet fixed corners. We paint everything on the street or in a ventilated room. First we make the first mini layer, then the second thicker.
Part 3: The partition that is inside.
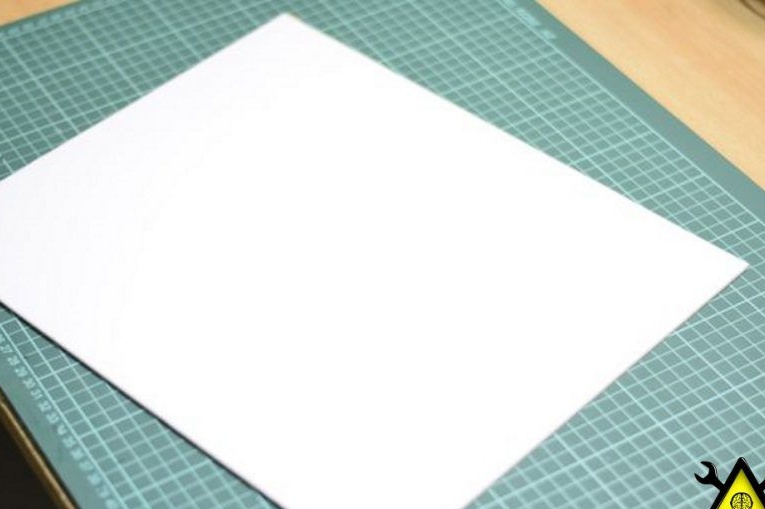
He measured the dimensions of the box from the inside and then reduced the obtained values and cut them out. After checking if she was a good fit, he began to stain her in black.
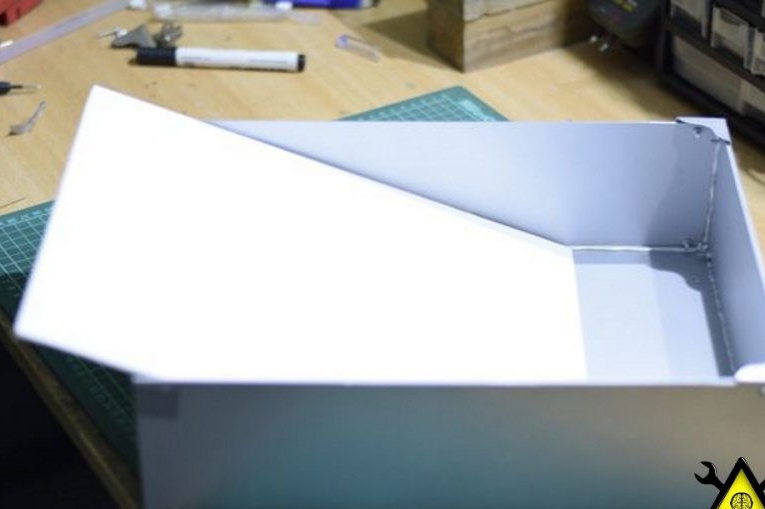
Add one additional nut and screw, which will fix the upper corners. As a result, the frame will stand, leaning slightly back.
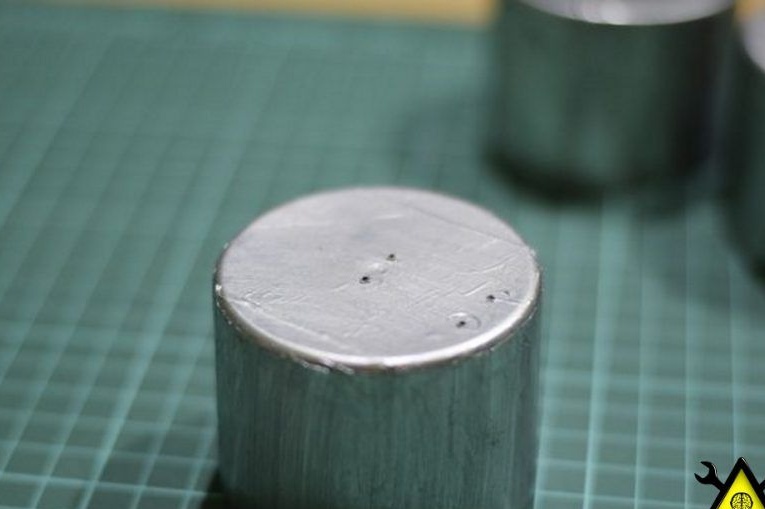
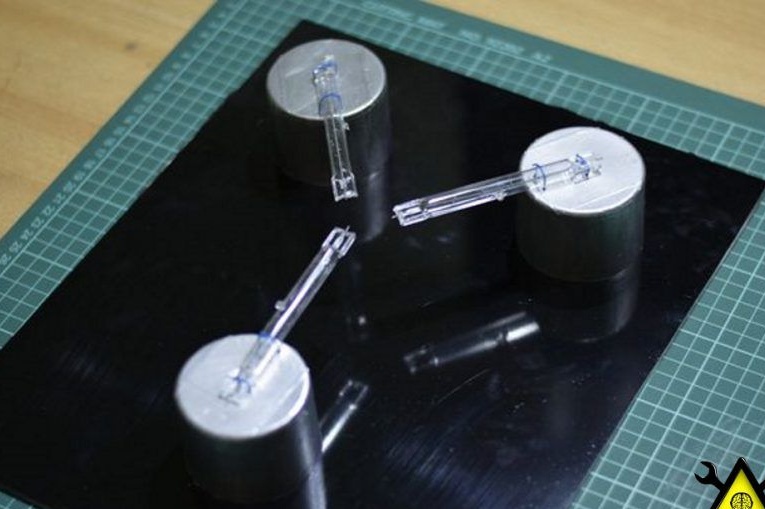
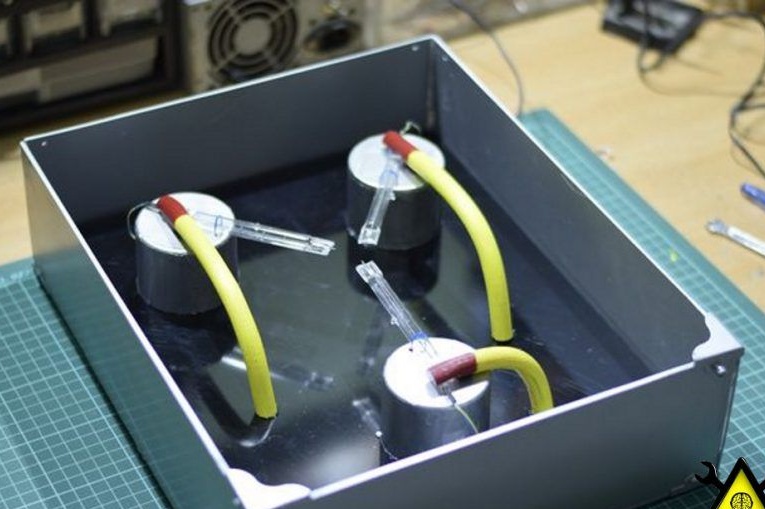
Part 4: Stands.
The stands were made of 3 paint spray caps. We make their stroke with tape or tape and smooth it with a finger, then he used a mixture of 2 colors of silver and black, and gave color to the coarse metal discs.
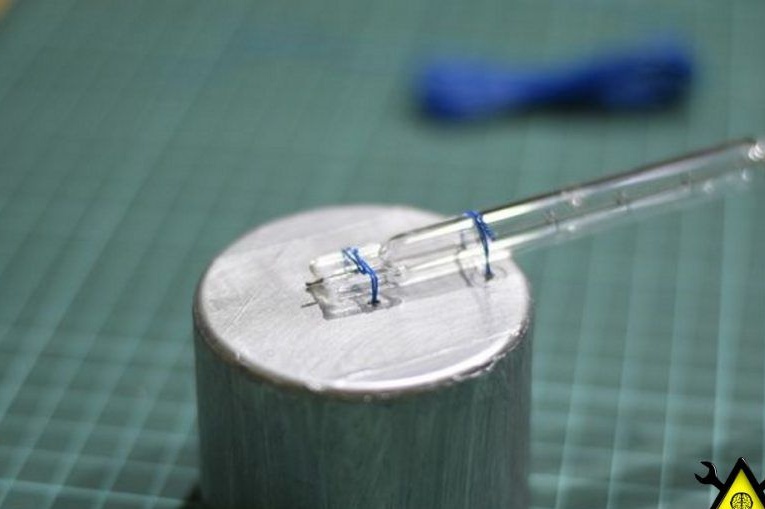
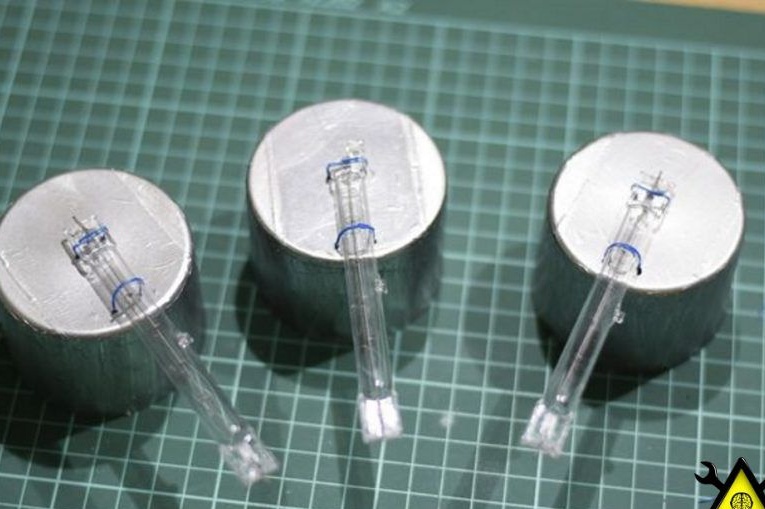
Part 5: Install the rods.
The author carefully removed the lamp caps with care. Then he installed the rod and drilled small through holes in order to pass the wires. In general, we drill 4 holes in each stand. Then, using a thin blue wire, he attached the lamp so that the tip was in the middle of the cap.
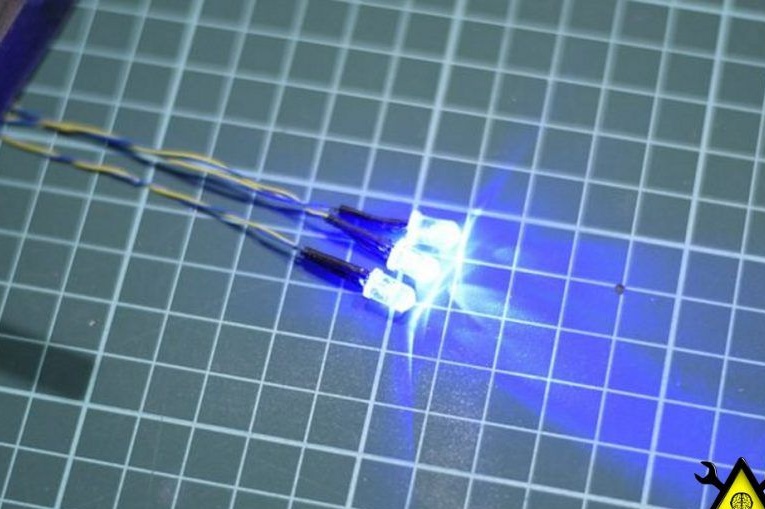
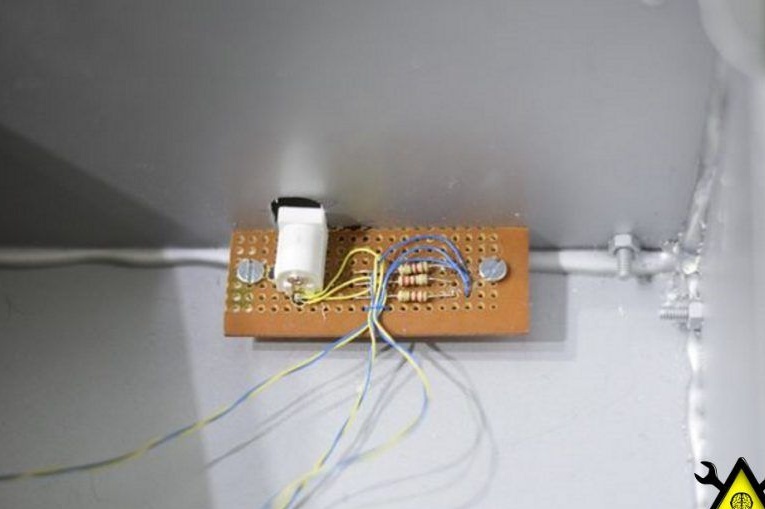
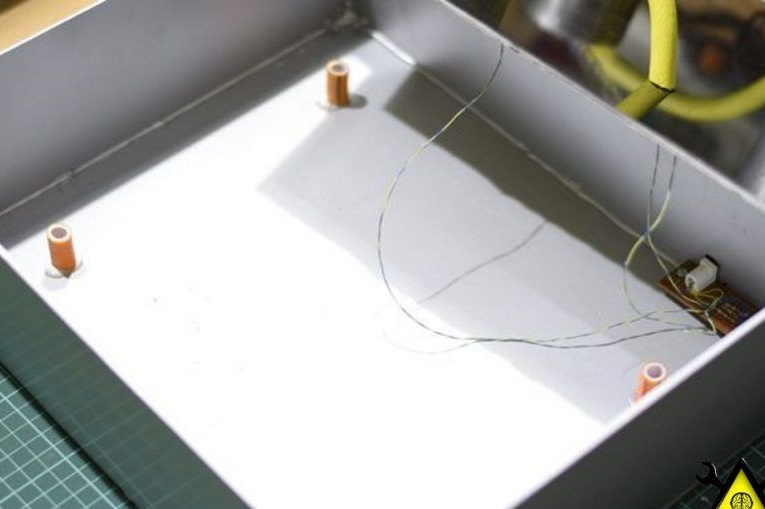
Step 6: Prepare the lighting.
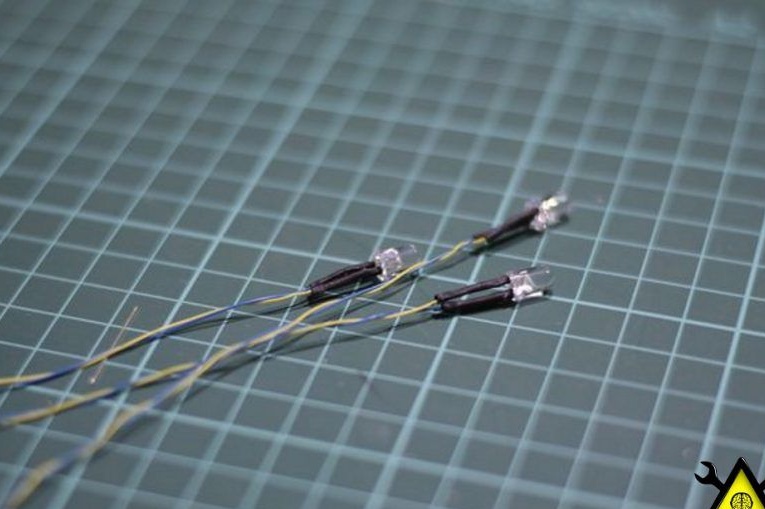
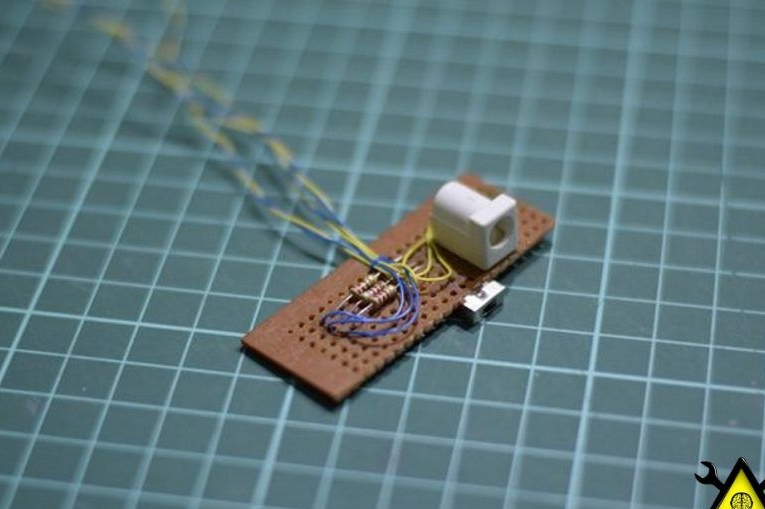
The light circuit consists of 3 LEDs, a 220 Ohm resistor and a switch and a switch. Solder each wire to each LED. Then he assembled the circuit on the circuit board.
Part 7: Dismantling accessories.
We put stands on the inner partition.
We drill holes somewhere in the middle of the mark and in the stands. Now the author puts the LEDs and pulls the wiring. Using glue we fix the light. We use electrical tape or tape to hide the holes made.
We fix the stand with glue.
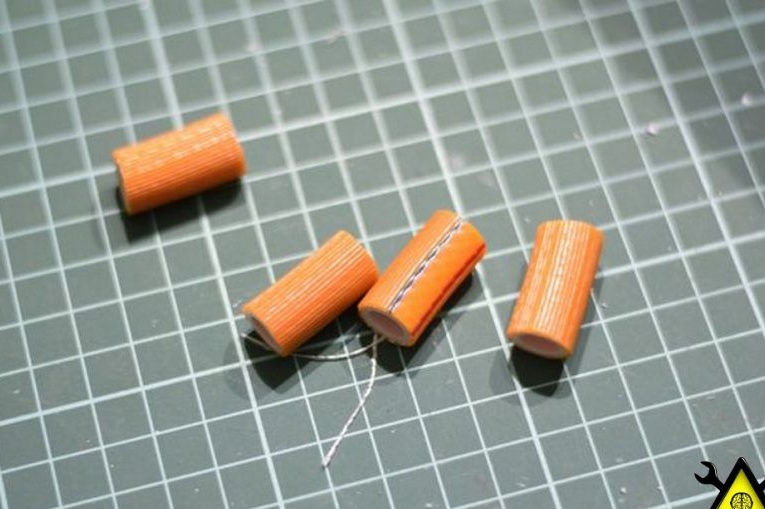
Part 8: Handsets.
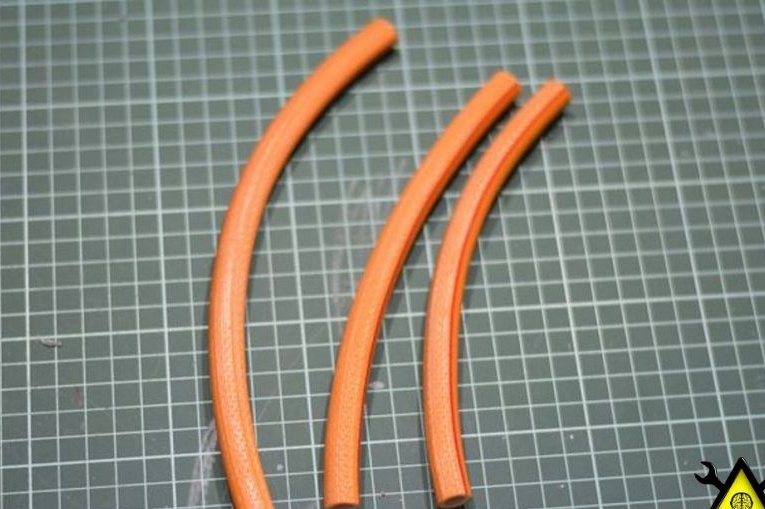
Cut 3 tubes: 2 to 17.8cm. and 1 - 12.7cm. Now he heats them and forms bends.
Then he cuts out a piece of the tube so that they can be fixed together with the LEDs and the lamp. On two long tubes make an incision. Next, paint them with a double layer of light yellow paint. The ends are painted in burgundy.

Glue the tubes.
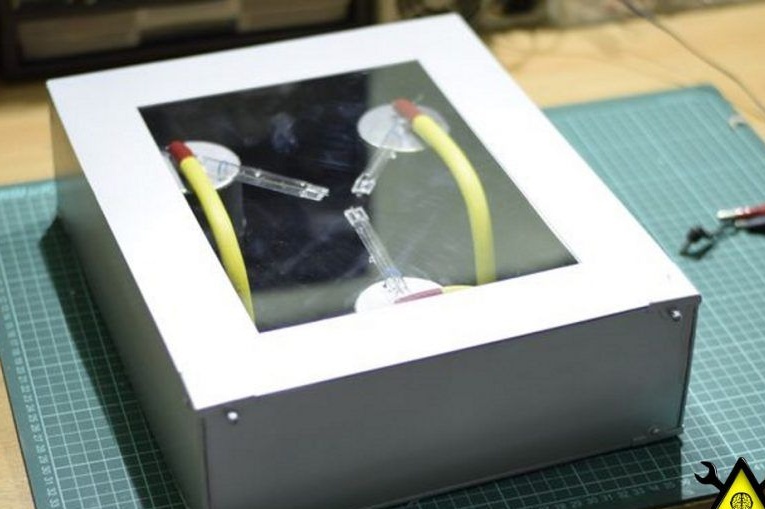
Part 9: Putting It Together.
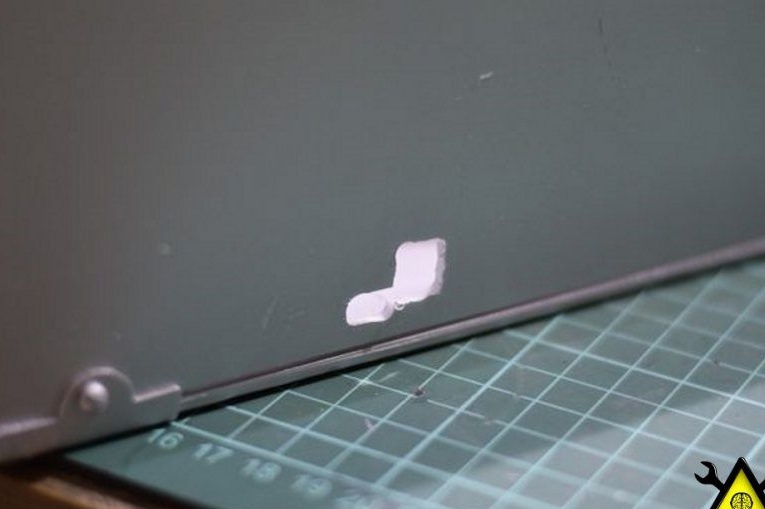
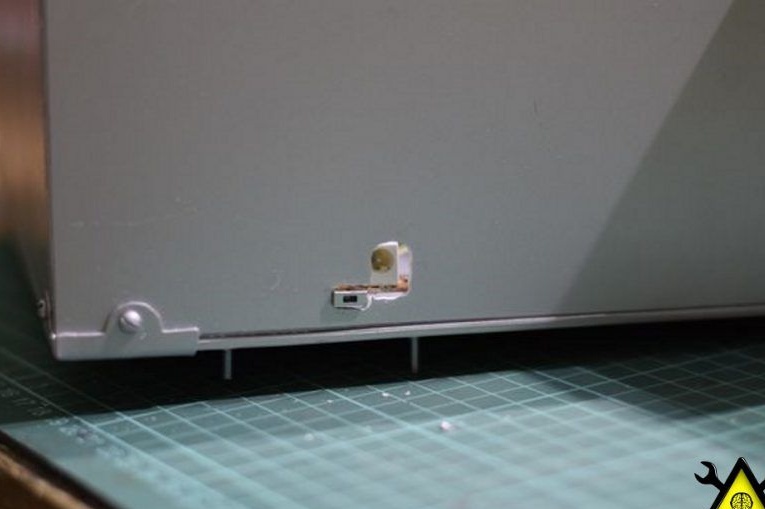
Let's start the final stage. We cut out a small slot for the power supply socket and the on and off switch. Then he drills holes and fastens the board, which he recently soldered. Then, from a rubber pad, he secured a partition inside the frame.
Now the author sets the screen, and fastens it with the past corners (brackets).
Part 10:
Thanks to this, now authors can someone realize their dream, unless of course you have it. Thanks for reading, good luck!