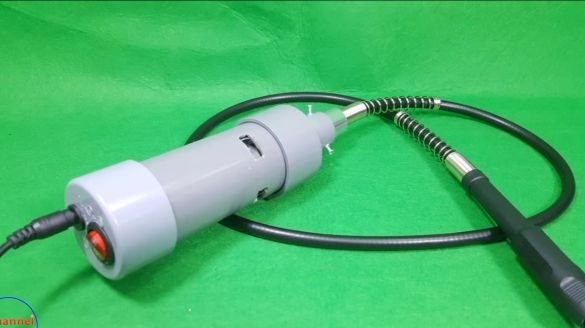
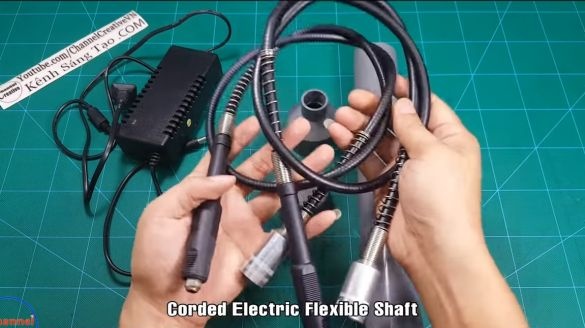
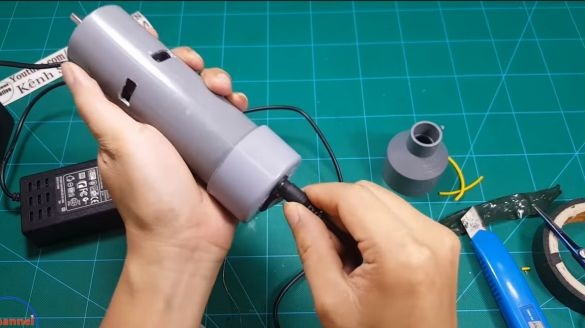
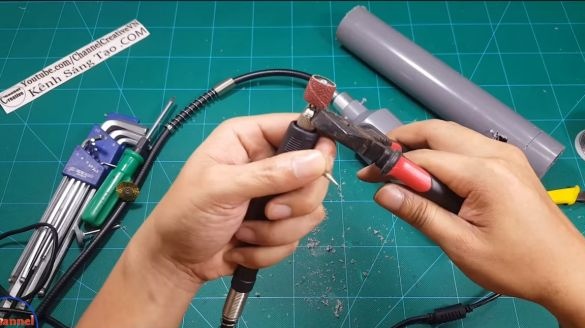
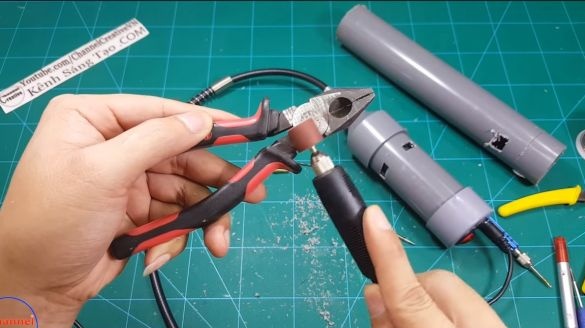
We continue to make very useful tools. do it yourself from cheap materials. This time we will look at how to do such a good thing as a “dremel”, or a drill. With this small but versatile tool, you can engrave, drill, cut, grind and much more. This device works very simply, in fact it is a drill with a flexible shaft, which makes the work process very convenient. The shaft is a cable that rotates inside a special hose. Well, the motors used are diverse.
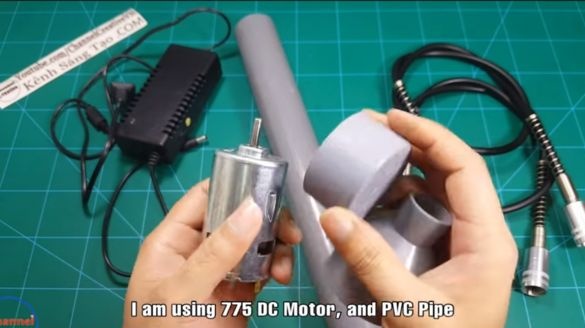
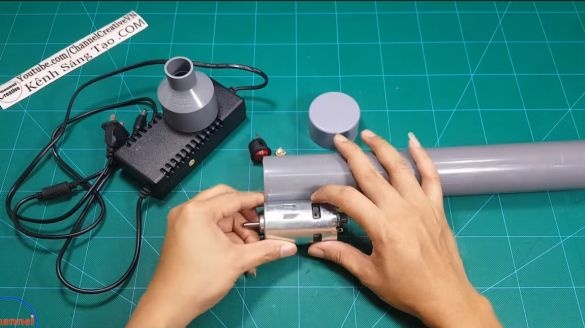
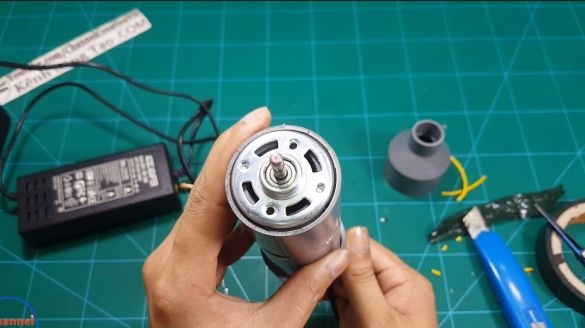
Fabricated homemade assembled on the basis of the 775 engine, it is a very popular and reliable engine for the manufacture of various home machine tools. It is powerful, has a forced cooling system, there is a fan inside the case. As a case, the author decided to use spare parts for plumbing from PVC, it is cheap and reliable.
Materials and tools used by the author:
Material List:
- ;
- ;
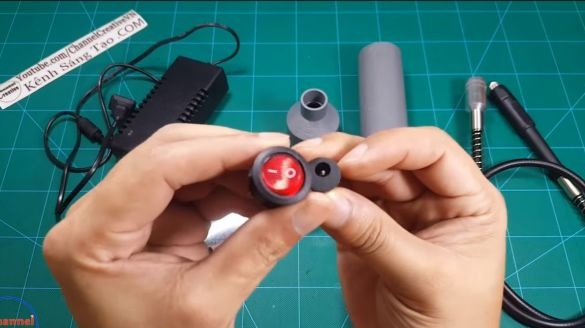
- switch;
- socket for connecting the power supply;
- wires;
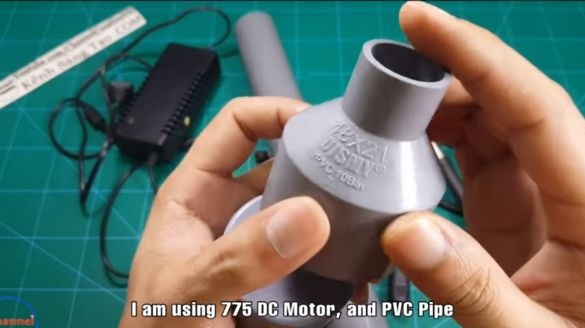
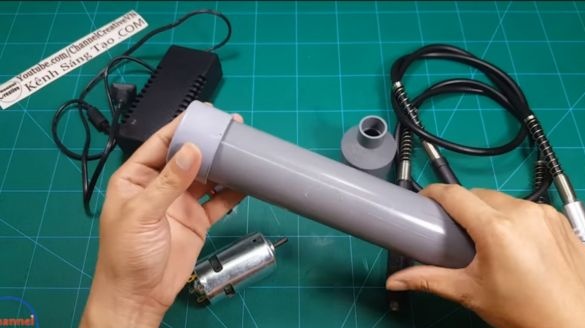
- PVC pipe, plug, as well as an adapter (cone);
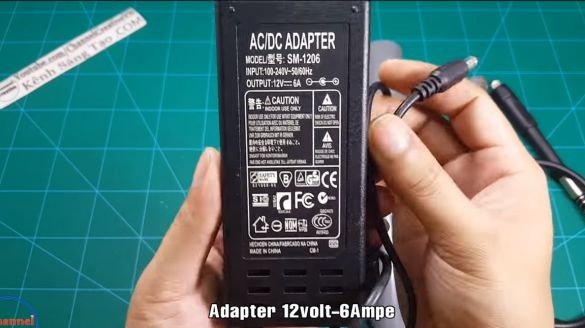
- power supply unit 12V / 6A;
- double-sided adhesive tape;
- coupling for the 775 engine.
Tool List:
- soldering iron;
- screwdriver;
- a hacksaw for metal;
- pliers.
Dremel manufacturing process:
Step one. Making the body
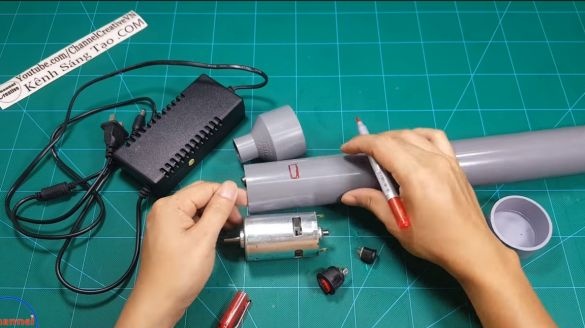
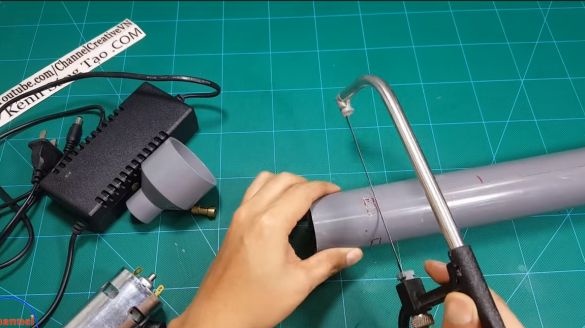
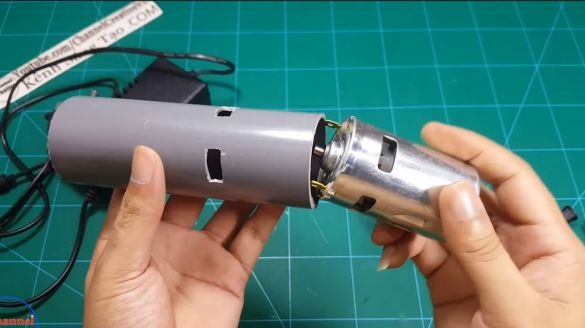
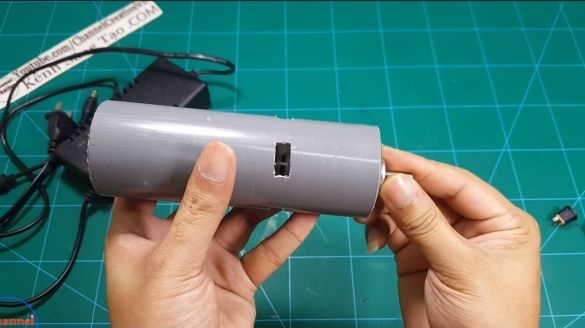
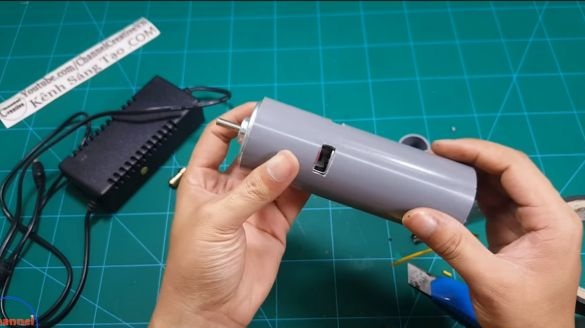
The author decided to use a piece of pipe as a body. We cut the desired length and then mark the places under the ventilation windows. It is extremely important to make them, because otherwise the motor will overheat and will quickly fail. The author cuts them using a hacksaw for metal.
Step Two Making the back cover
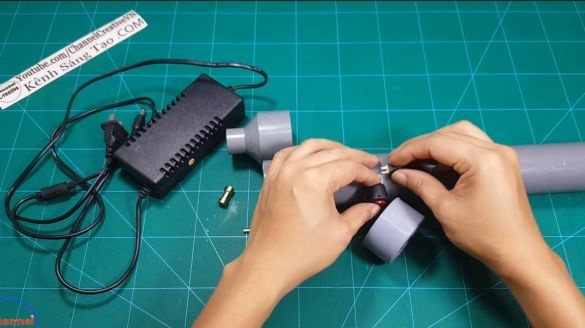
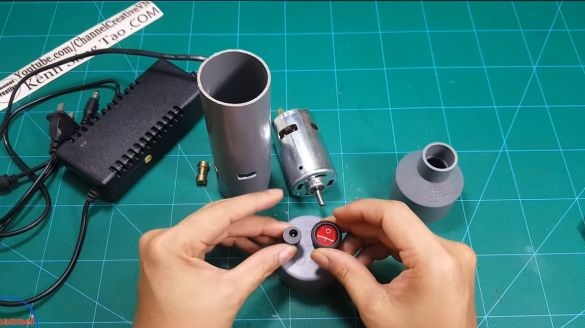
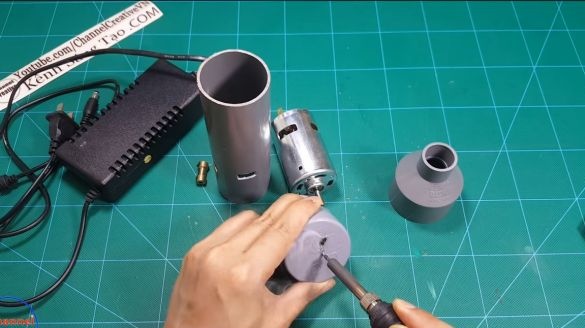
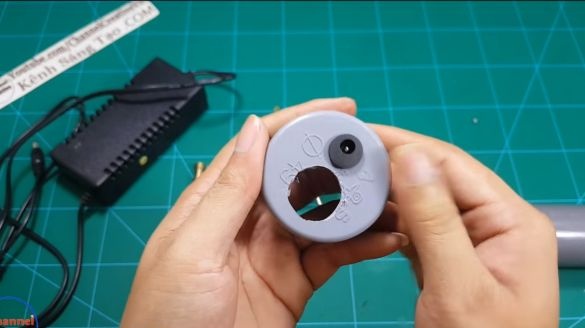
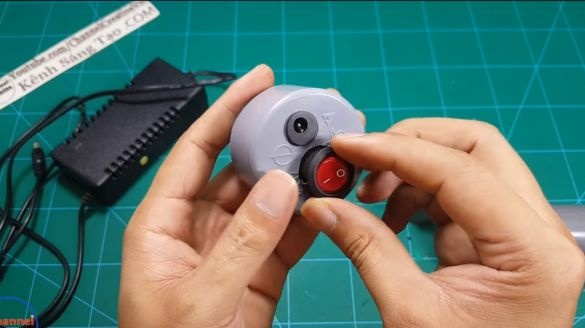
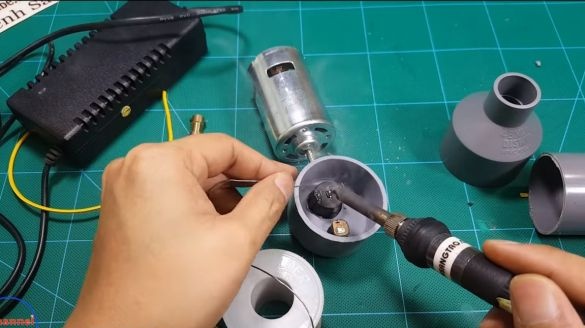
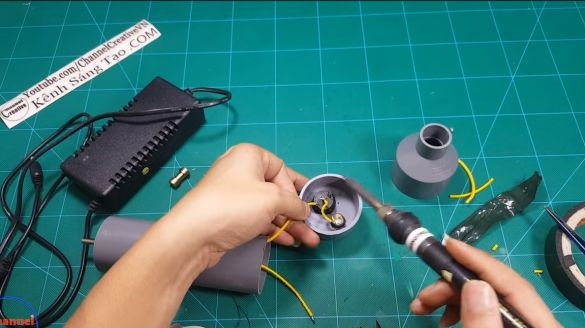
As a back cover, the author used a plug for pipes. It contains a switch, as well as a connector for connecting the power supply. We draw installation windows under them and then cut them out using a regular soldering iron. Try not to breathe in pairs, this is not helpful.
Now you need to install the switch and connector in their places. Just push them into the slots; they should lock in place if the holes are of the right diameter.
Step Three Install the motor in its place
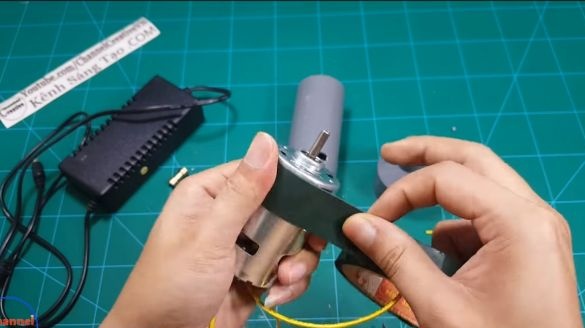
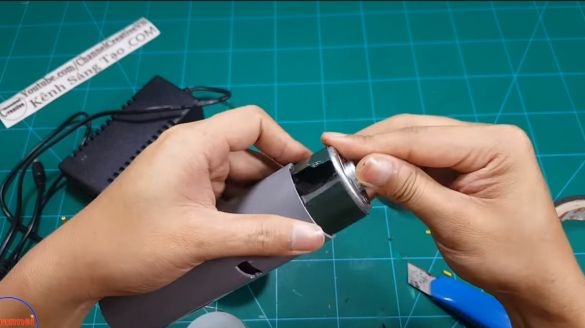
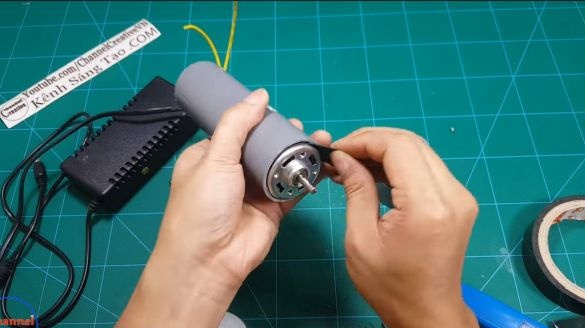
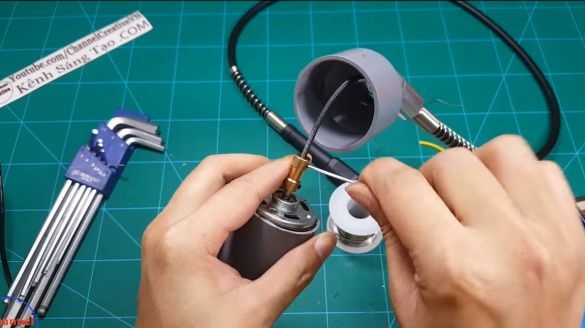
You can install the engine. As I understand it, the author fastens it using double-sided adhesive tape or something like that. We wrap the engine with tape, leave the edge so that later it can be pulled out, and install it in the pipe. We take out the top cover of the tape and the engine is firmly fixed in the pipe. Before installation, do not forget to solder the wires to the motor contacts.
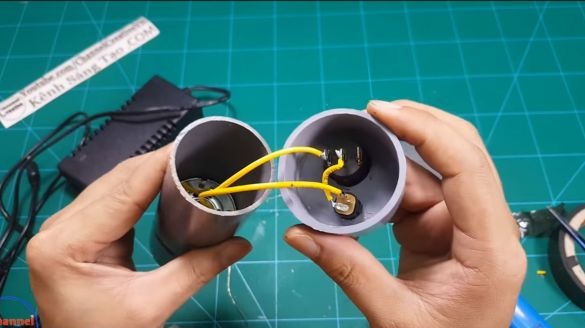
Step Four Solder the wires
Solder all the wires as the author. Power to the engine goes from the socket to the gap through the switch. We finally assemble the case and try to turn on the device. Does the engine work? Everything is fine! Move on.
Step Five Connection
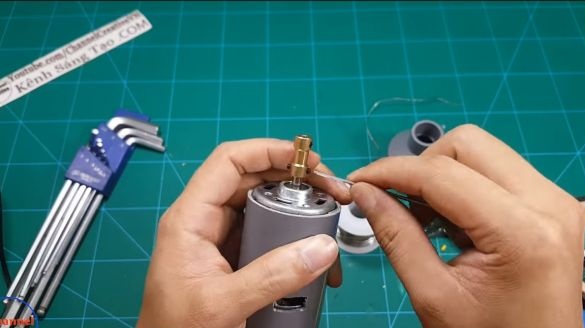
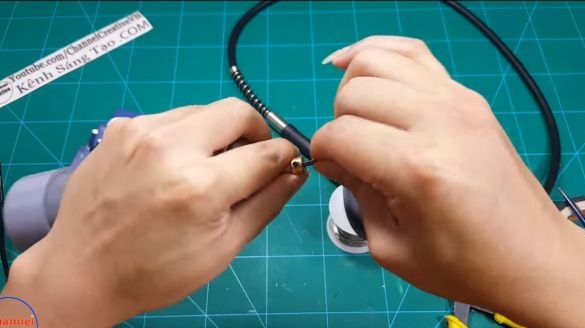
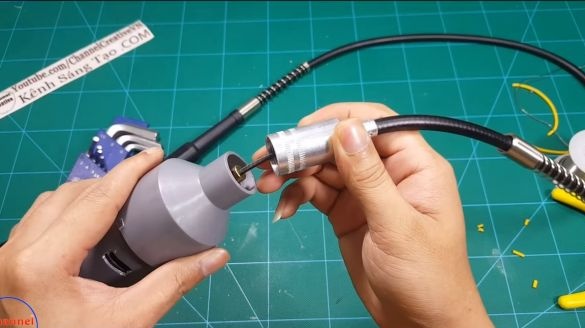
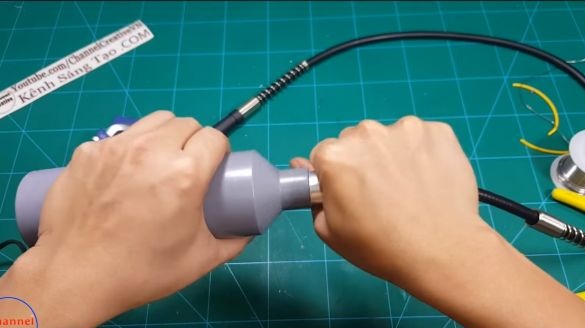
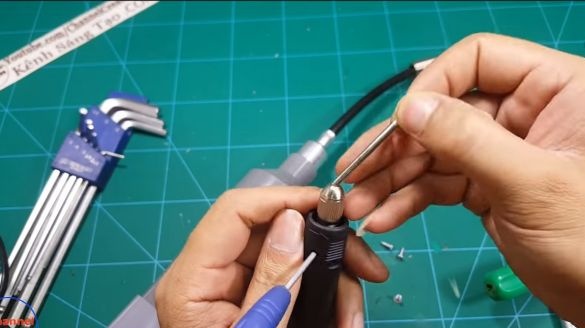
The flexible shaft is connected very simply, first you need to fasten the coupling to the motor shaft. It is attached with screws and an allen key. Put a cone-shaped PVC part on the shaft, and now fasten the tetrahedral cable in the coupling. Install the cone-shaped part on the housing, and push the outer part of the shaft into the housing.
Step Six The final stage of assembly and testing
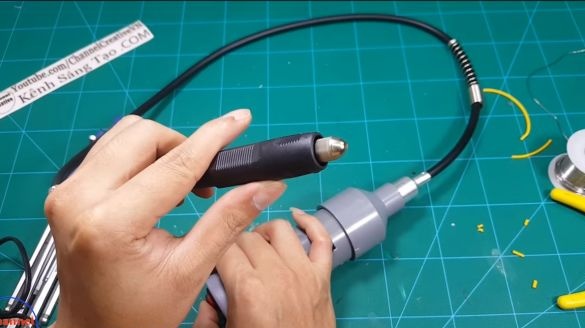
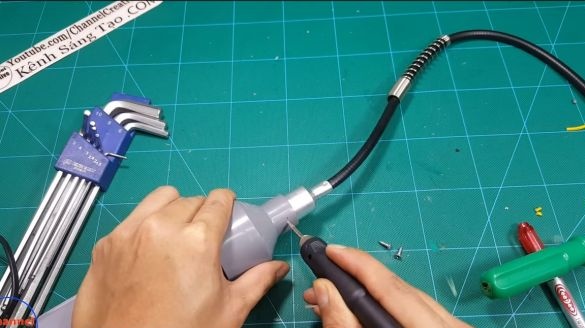
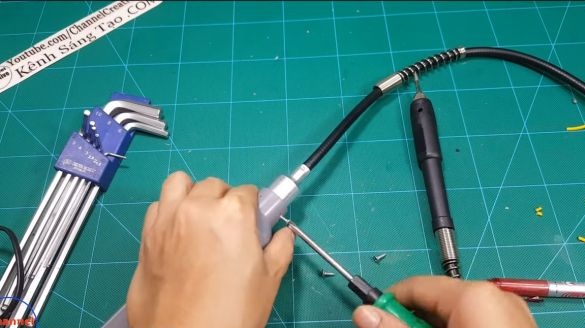
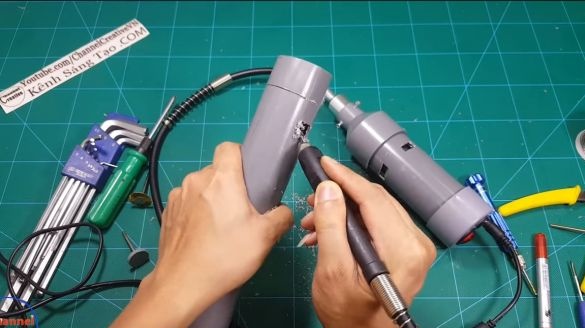
We will complete the final assembly of the dremel with the help of the manufactured device. We have to fix the flexible shaft in the device case well. To do this, you need to drill holes, install the desired nozzle in our dremel and try to drill, the author is doing well. Wrap them in the holes of the screws, the author has 3 pieces.
Now the drill is ready to use! As you can see in the photo and video, she easily drills various materials, using the device you can cut holes, grind metal and much more. That's all, I hope you liked the homemade, good luck!

