
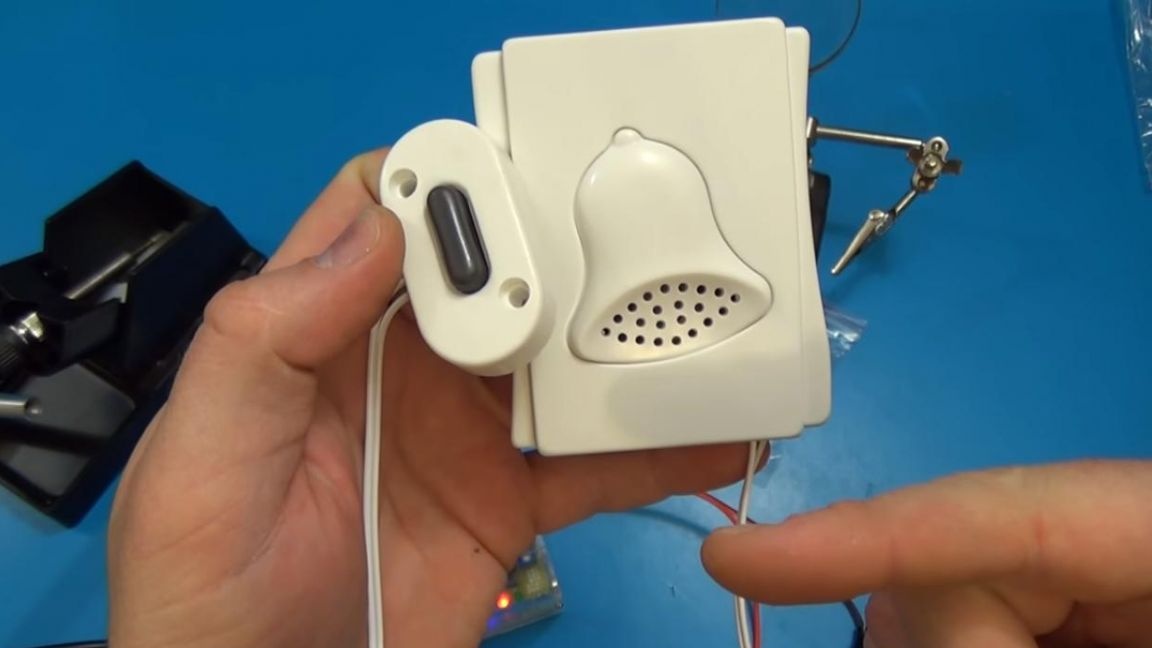
Hello to all lovers of electronics, as well as those who are more or less friends with a soldering iron. In this article, I will tell you how to make a doorbell based on a kit that was ordered from China on the familiar AliExpress website for a long time. This call will help you save money, and during the assembly you will learn the basics of soldering radio components, which I also consider very useful. Also, each of your guests will be delighted when they find out that you have collected this call. do it yourself.
Before reading a detailed description of the assembly process, I suggest watching a video where all the details and a small test of the finished product are clearly analyzed.
In order to make this doorbell, you will need:
* Soldering iron, flux, solder
* Nippers or side cutters
* Device for soldering "third hand"
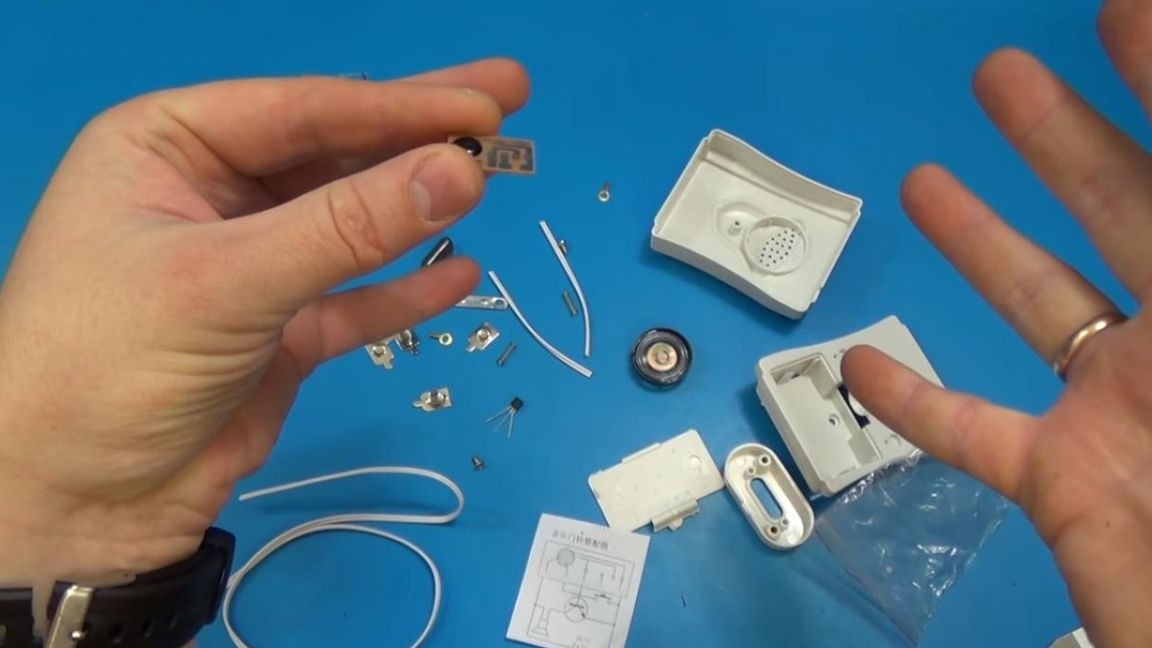
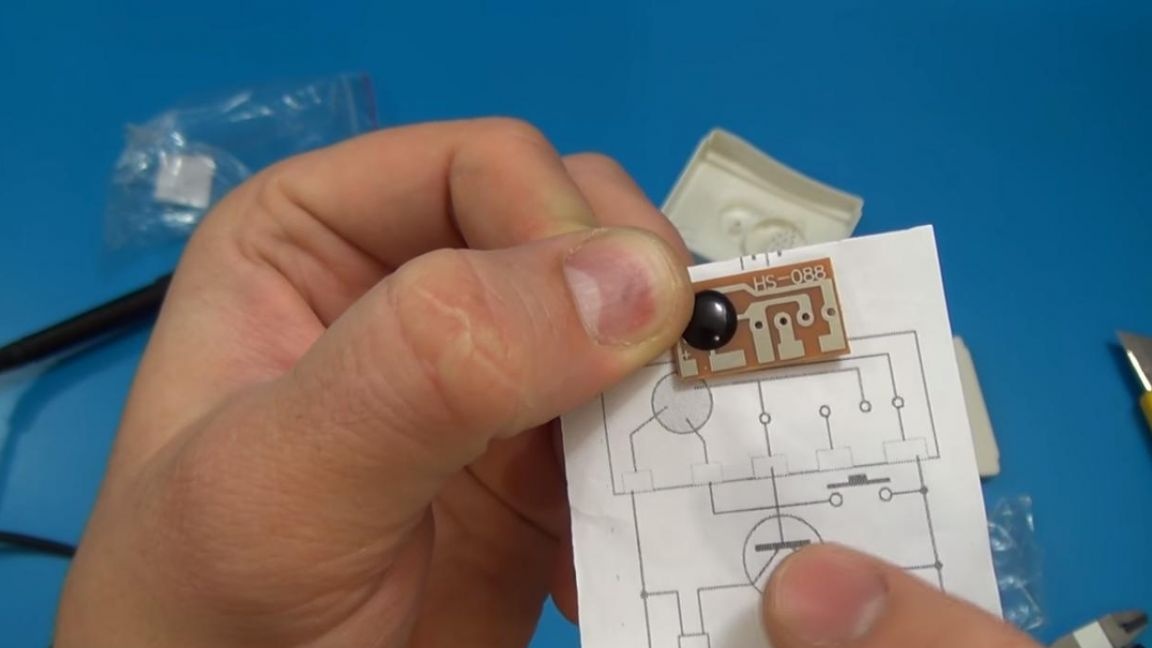
* Kit kit itself
* Power, unit or a pair of finger batteries
That's all it takes to build such a call.
Step one.
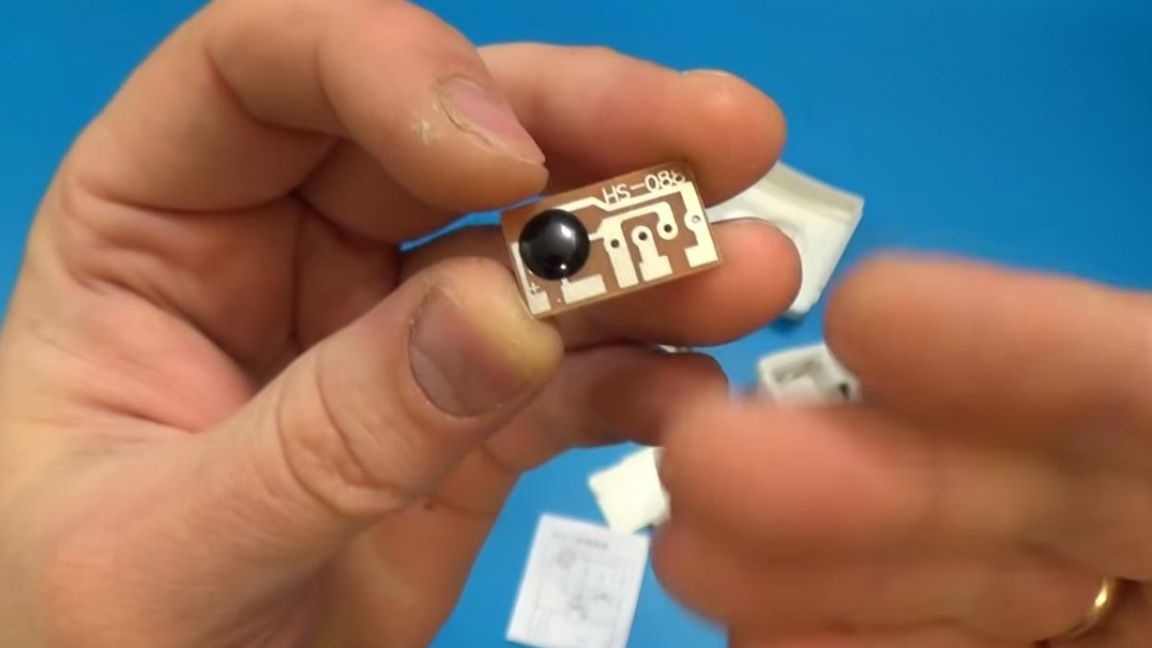
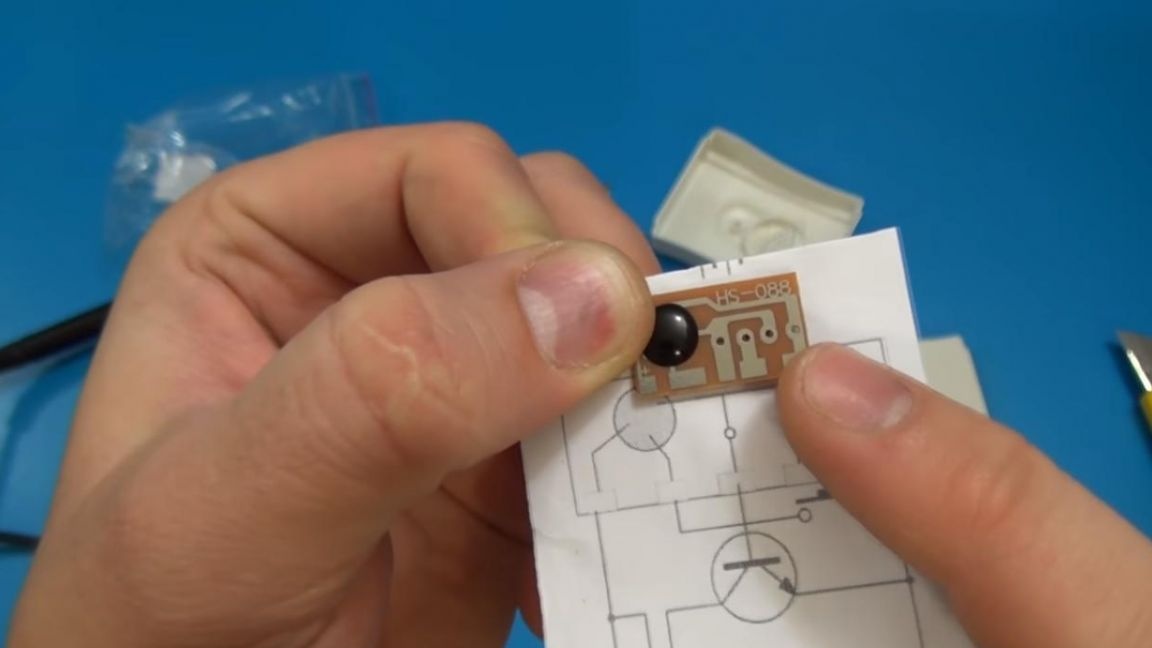
The first step is to prepare the tool, that is, a soldering iron, after which we begin to solder the components according to the scheme. Before soldering, we clamp the board into the "third hand" clamp and tin the pads, the transistor will be soldered by a canopy, since the board does not have one of the holes for its extreme output.
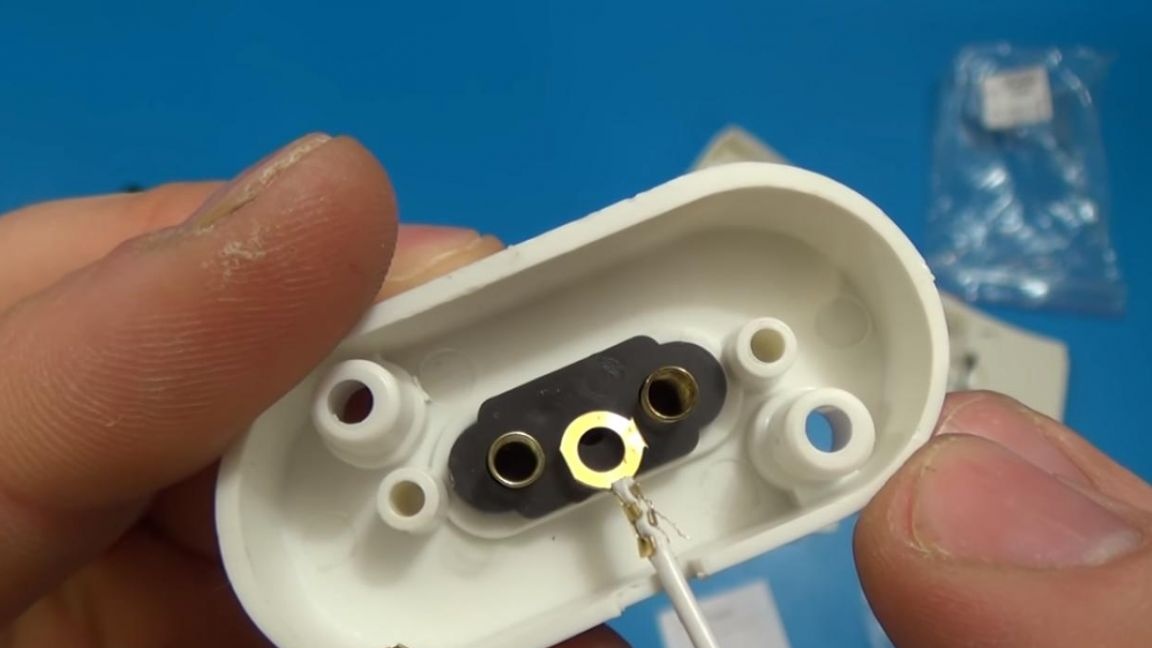
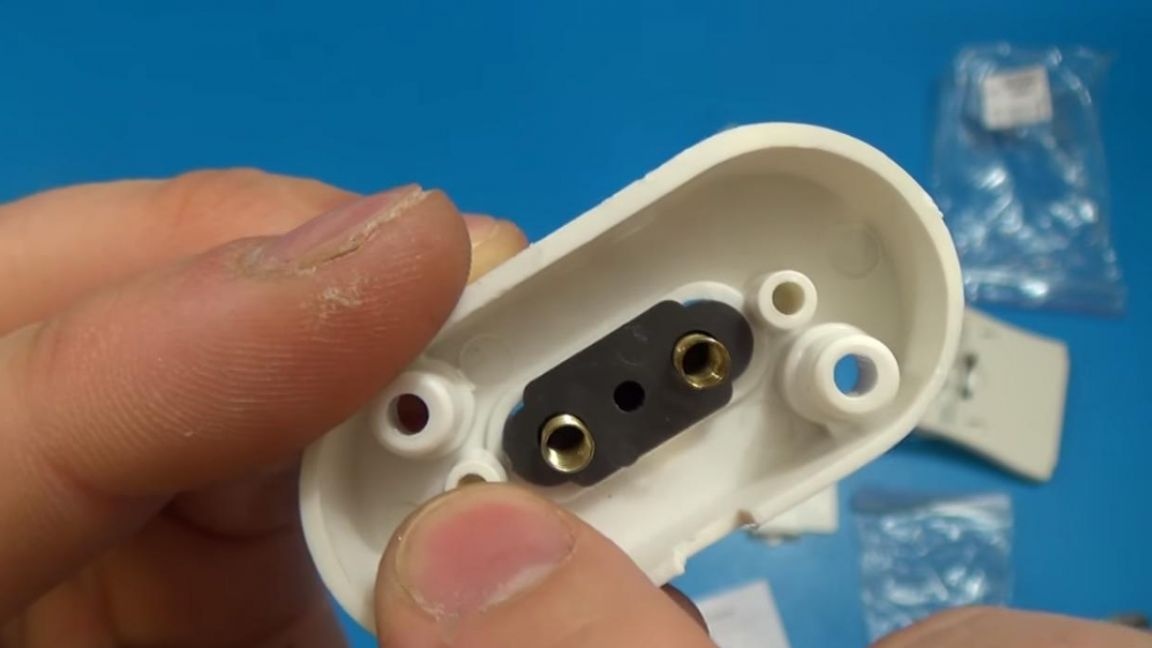
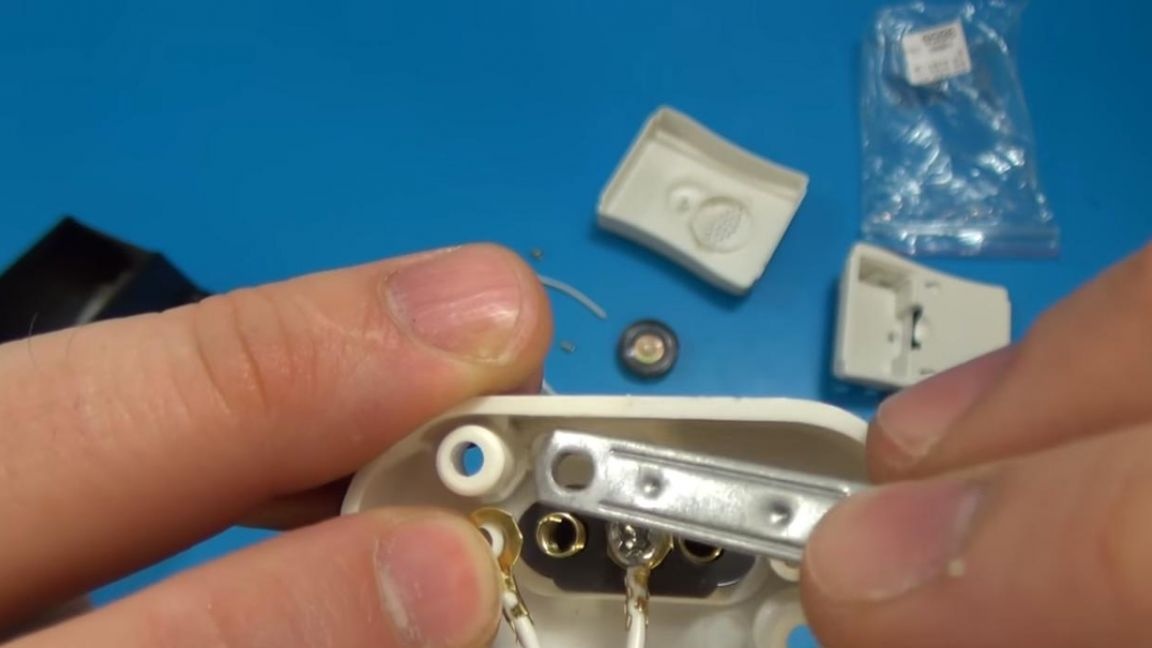
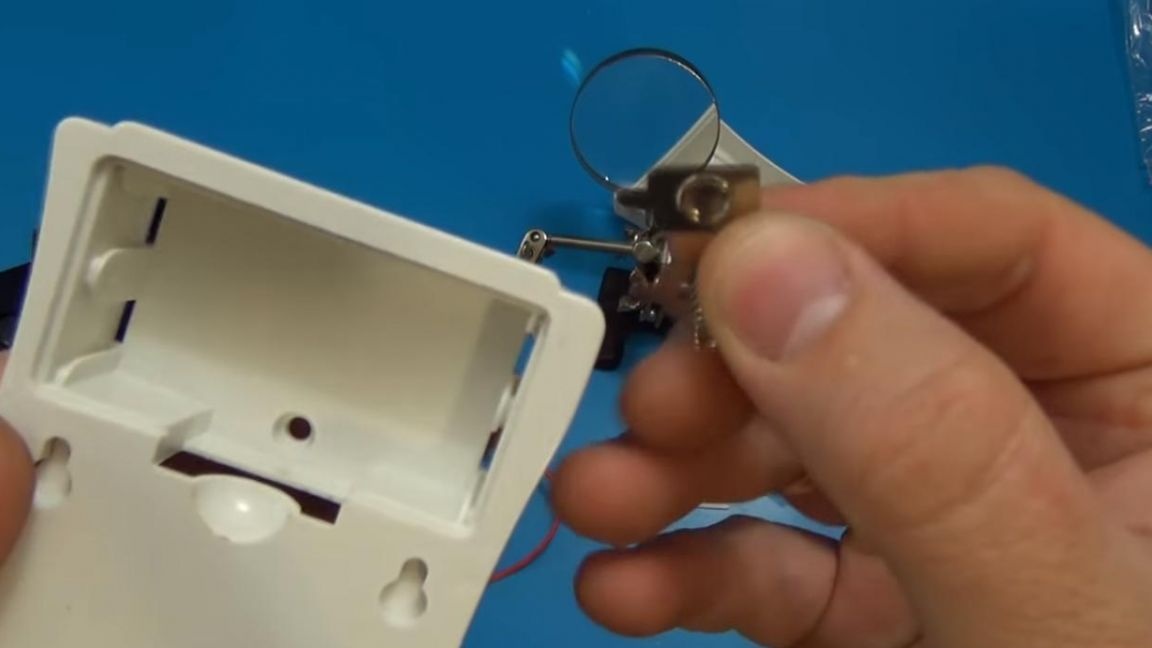
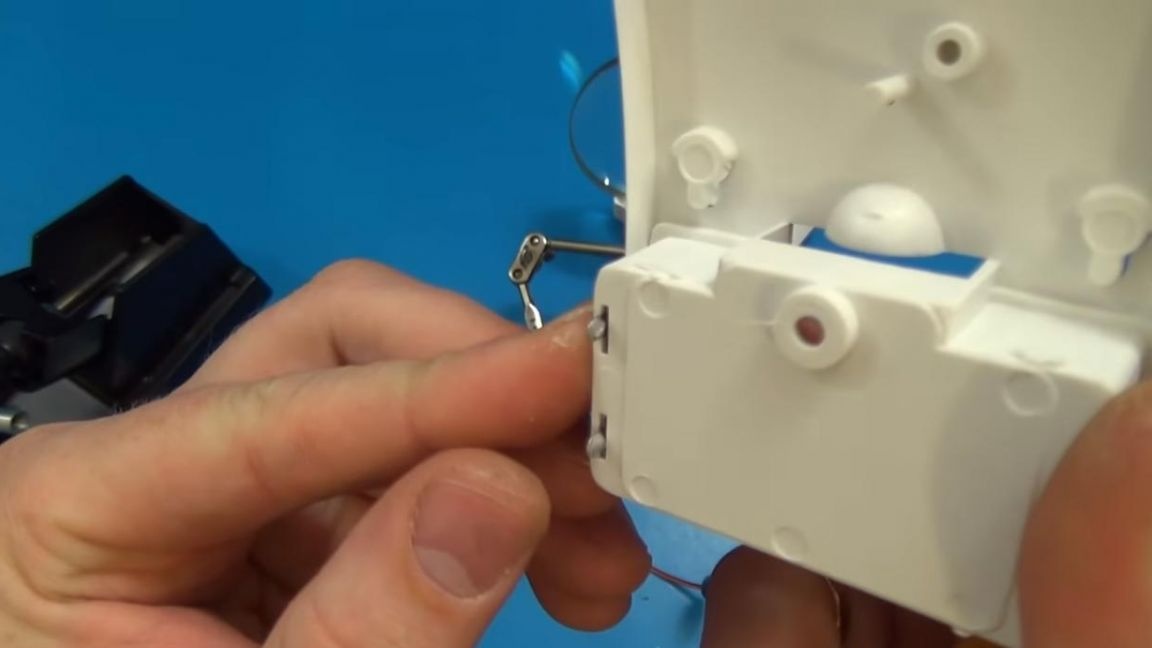
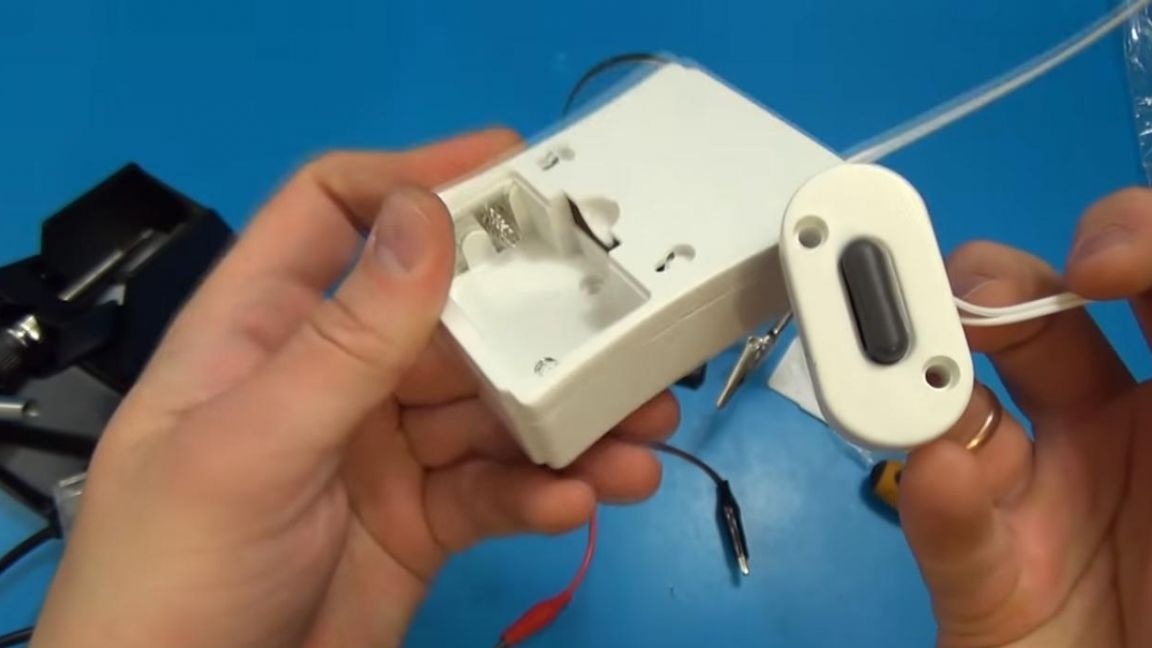
But first, we collect the bell button, insert two springs and solder the wire that came with the two crimp rings, if you want, you can use the wire more authentically.

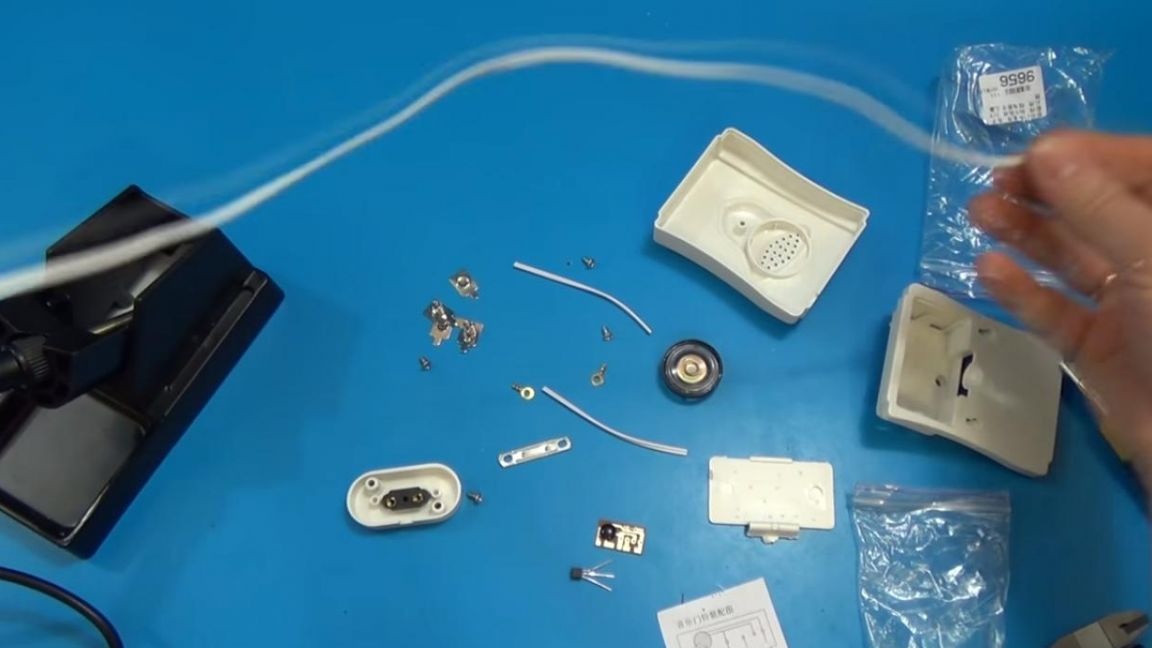
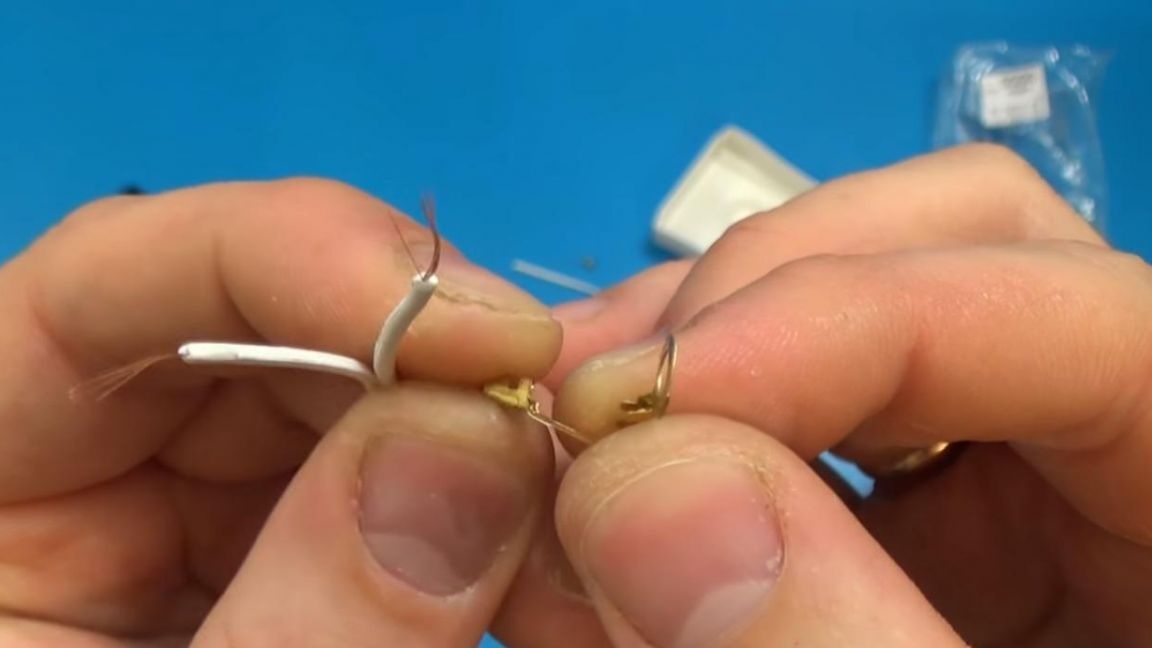
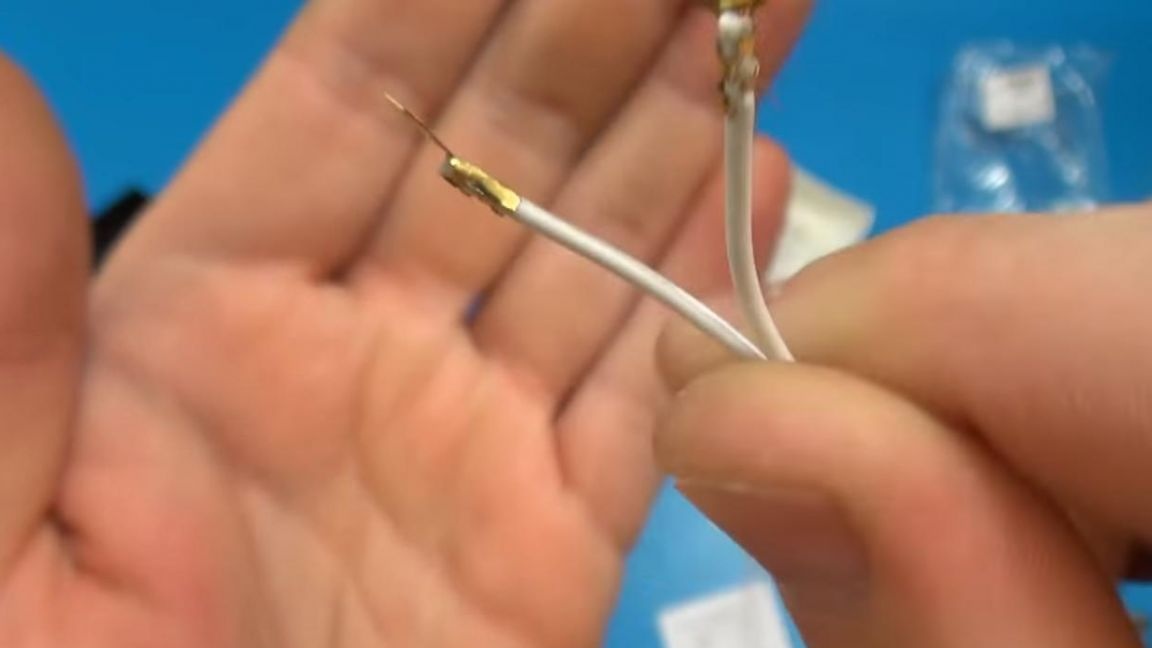
We screw one contact to the button in which the springs are installed, and we screw the second contact together with the metal plate, as a result, we get a button, when pressed, these two contacts touch and thereby the call rings.


Step Two
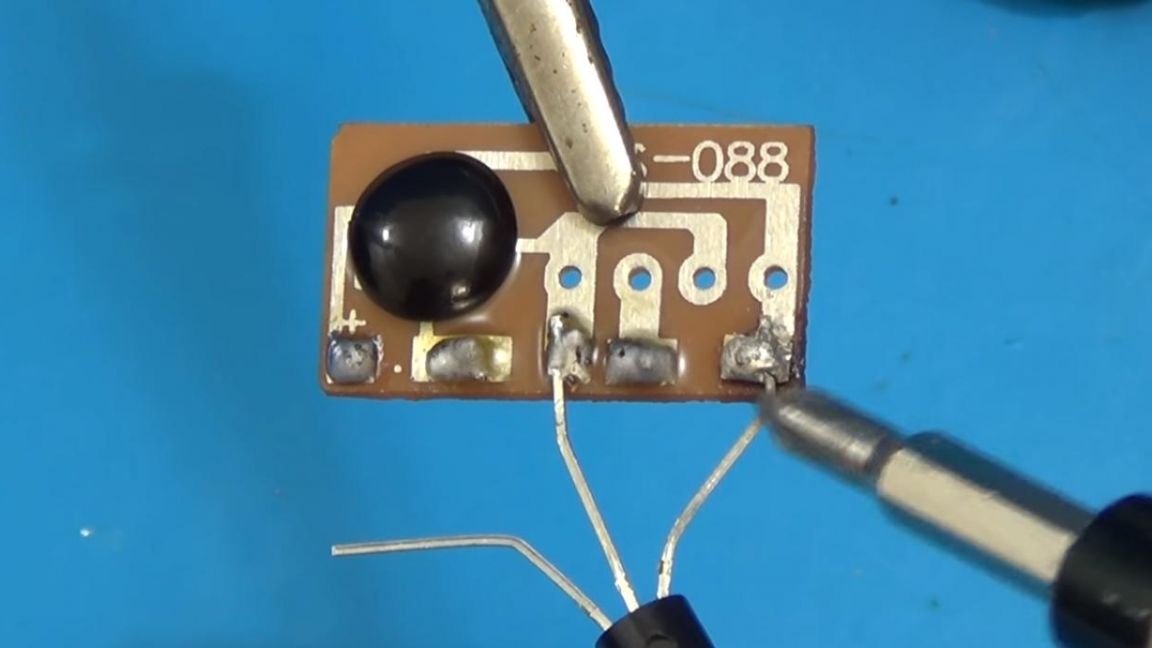
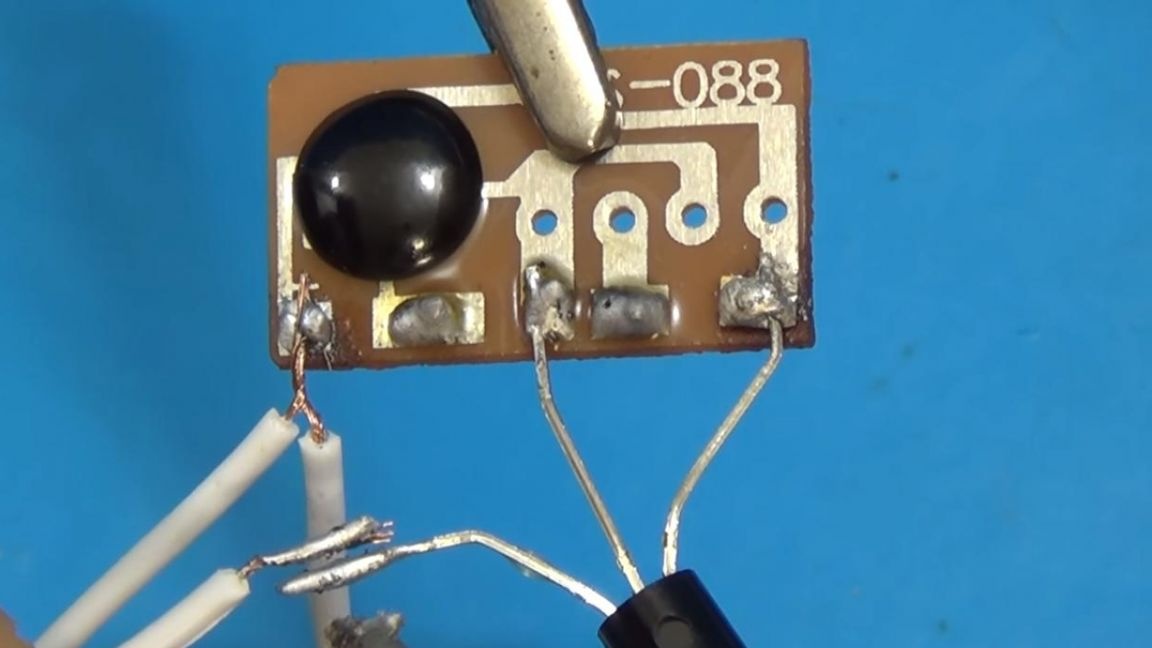
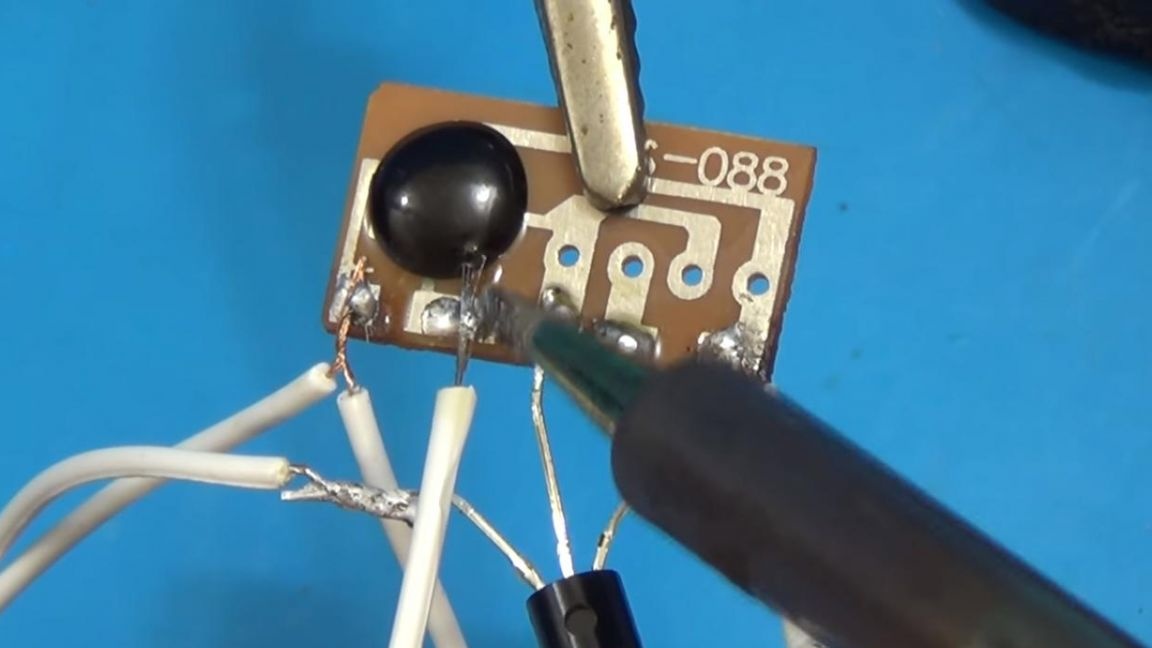
Now it’s time to solder the transistor, it is marked S9013 and if the transistor is placed with the semicircular part up, then it should be soldered so that the very first leg (emitter) is soldered to the rightmost contact of the board, the middle leg (base) to the contact in the middle of the board, and the extreme the left contact of the transistor (collector) is soldered to the speaker output.
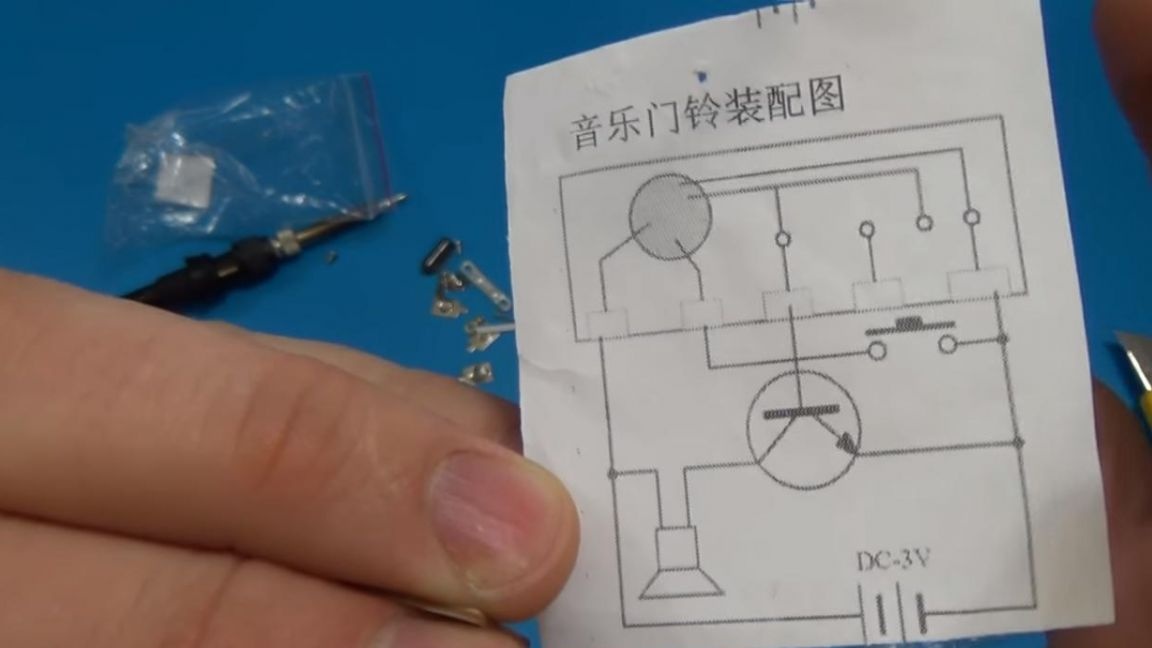
On the diagram, it looks like this.

Step Three
We solder the wires that came in the kit to the speaker, since one of them will be soldered to the positive contact, then we rewind another wire with this wire for power, then apply the flux and solder to the board, connect the second speaker contact by soldering to the free output of the transistor .
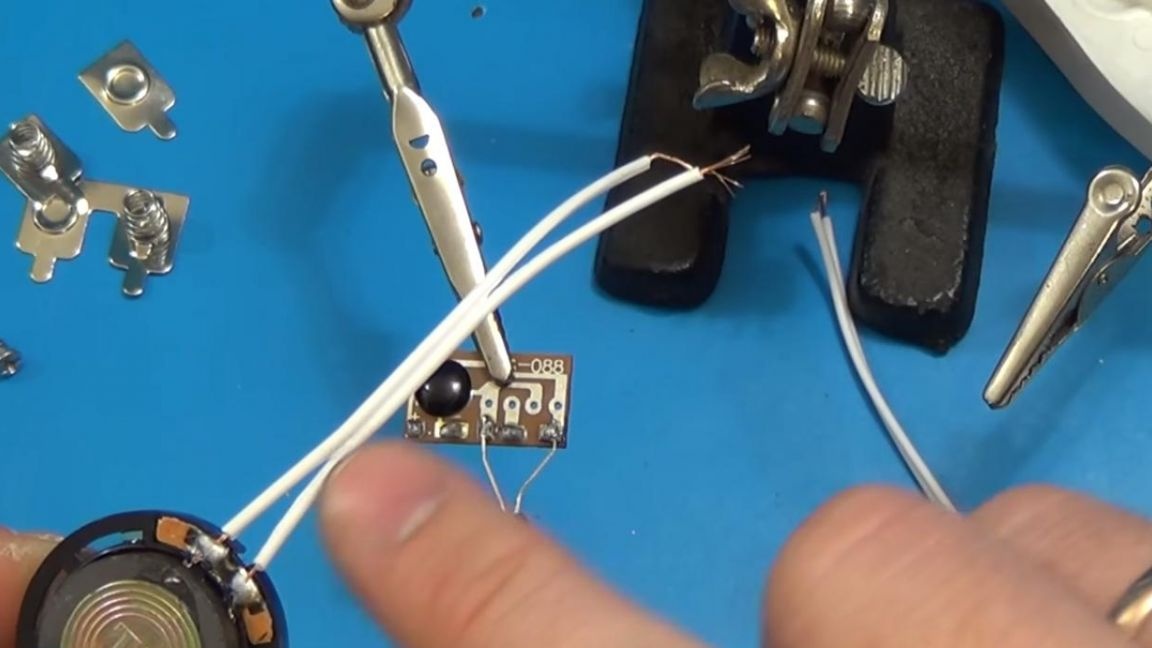


A negative cable is still needed for power, it is soldered to the rightmost pin on the board.

Step Four
It remains just a little bit, namely to solder the button and contacts for power, in this case the batteries.

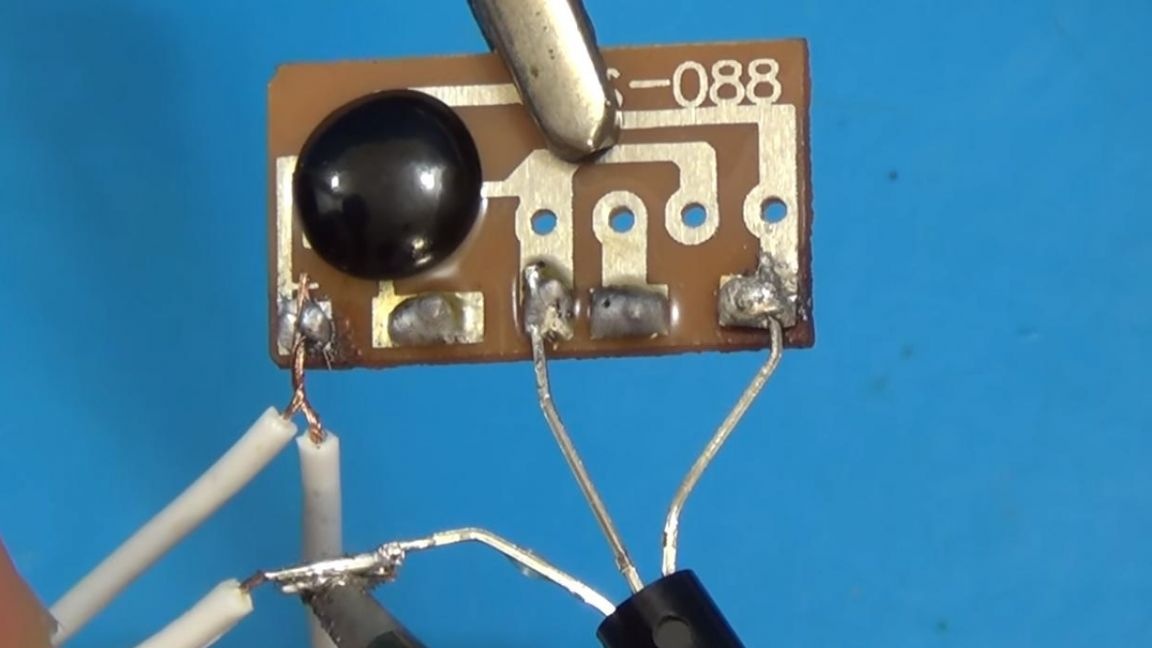
Solder the wires coming from the button to the penultimate pin on the left of the board and the second wire to minus or the emitter of the transistor, no difference.

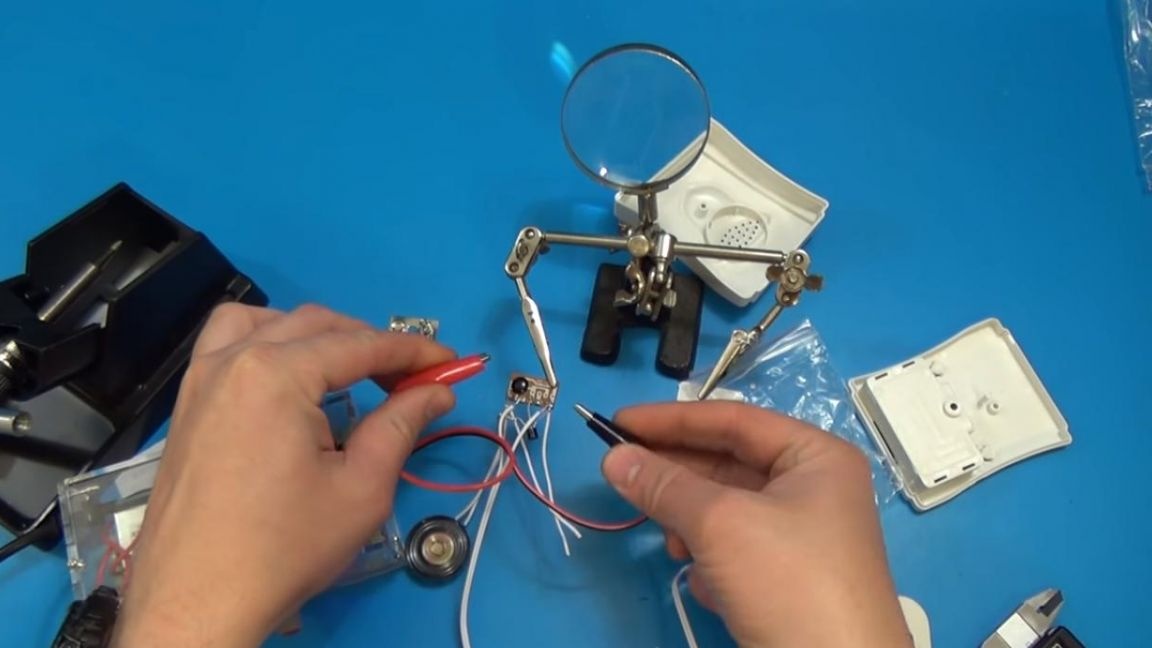
Now you need to test the device and check if the circuit works. We connect 3 volts to the power wires and press the button, as a result, the melody plays when the button is pressed, everything works fine. Can be assembled in a housing.

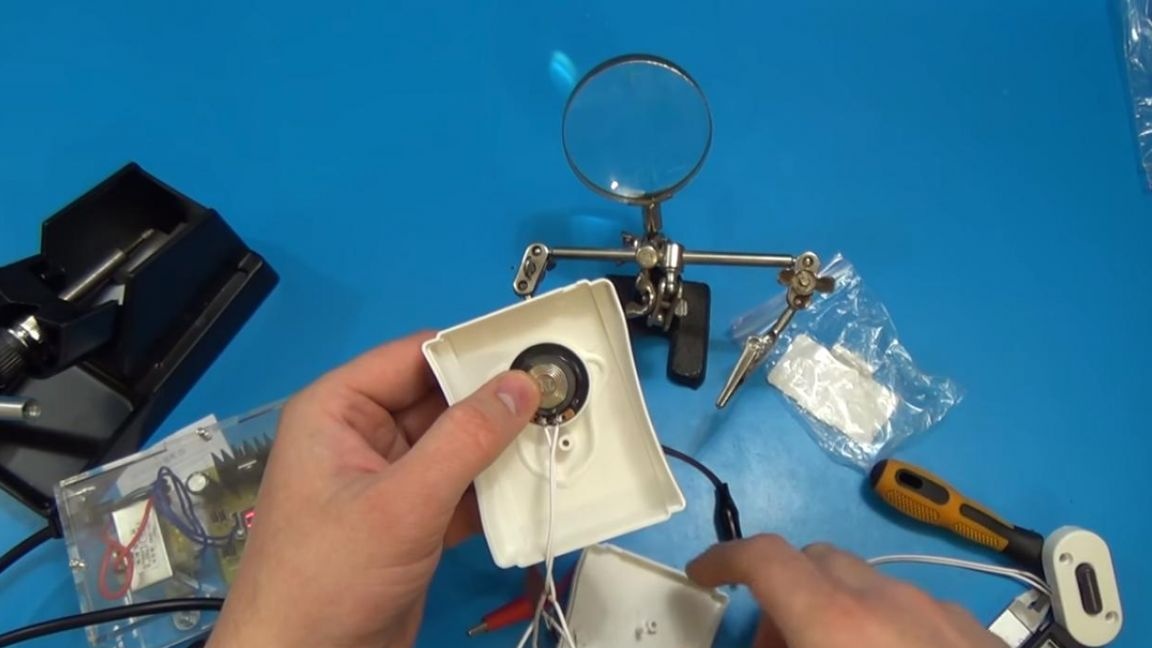
Step Five
Assembling components into the case is the simplest step, the most important thing is not to forget to glue the speaker in its seat so that it does not fall out when shaking or falling, and also fix the board in the case, this can also be done using hot glue using an glue gun.
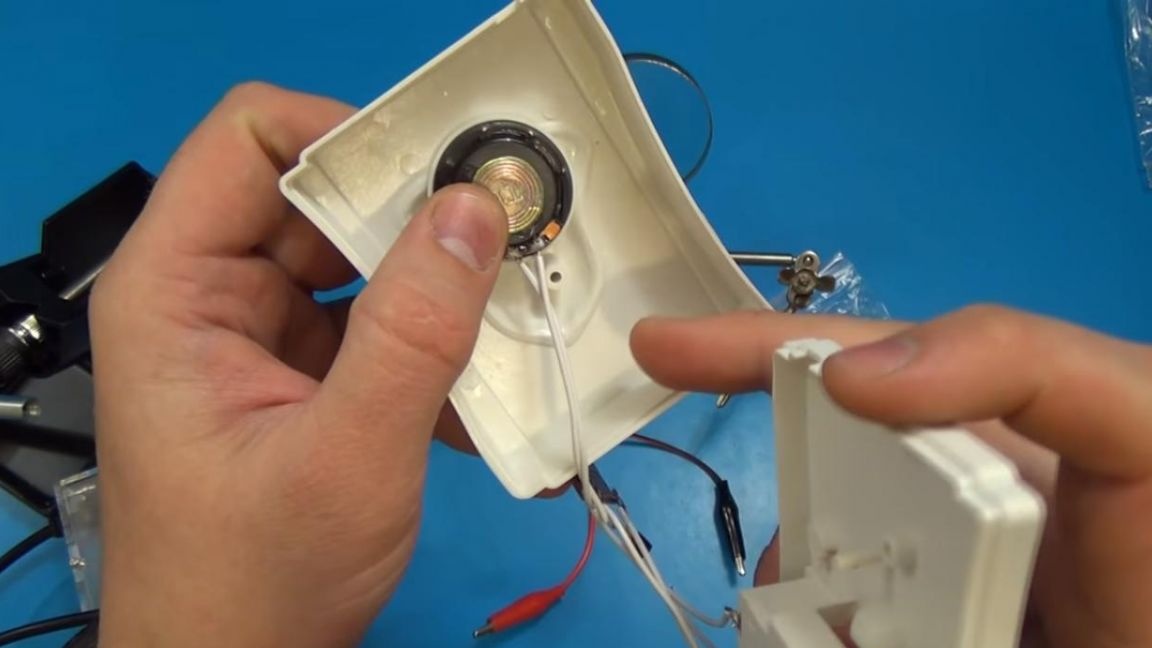


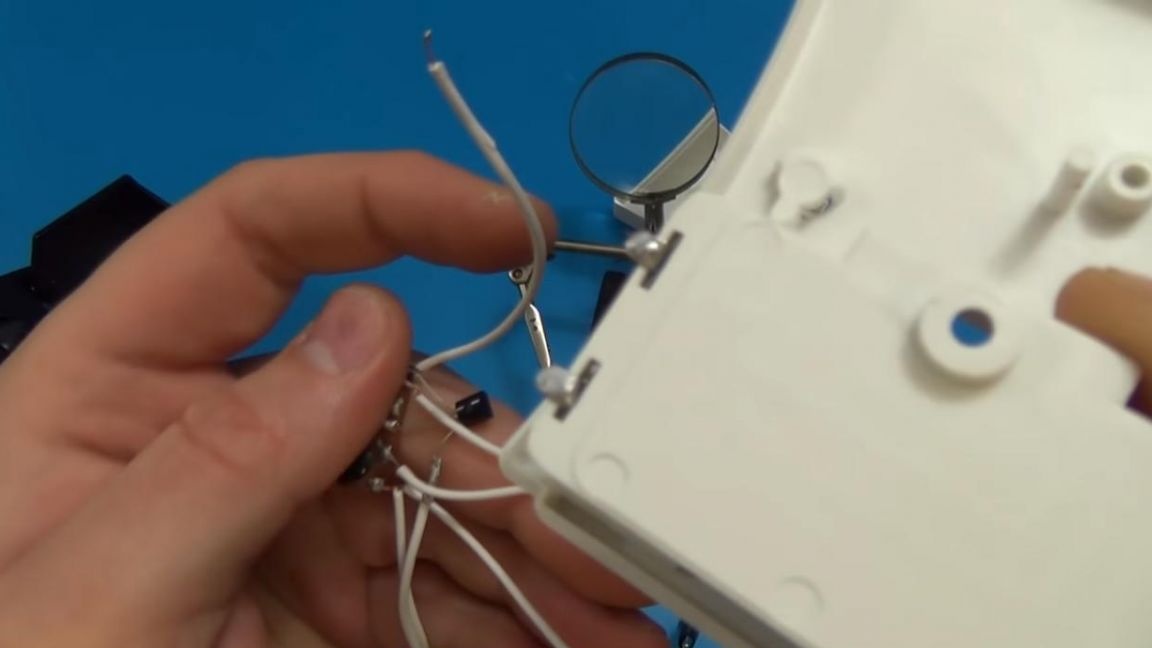
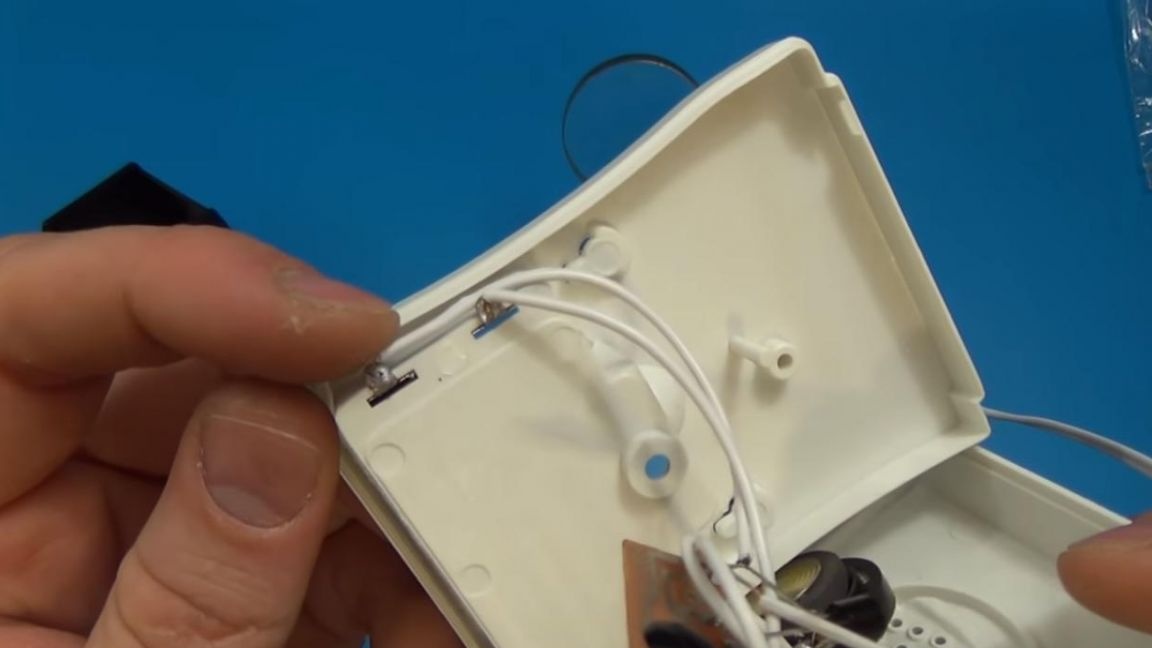
For batteries, we install the contacts in a separate compartment for this and bend the edge of them, this is done so that when the batteries are pulled out, the contacts remain in the case, after which we solder the power wires to them.
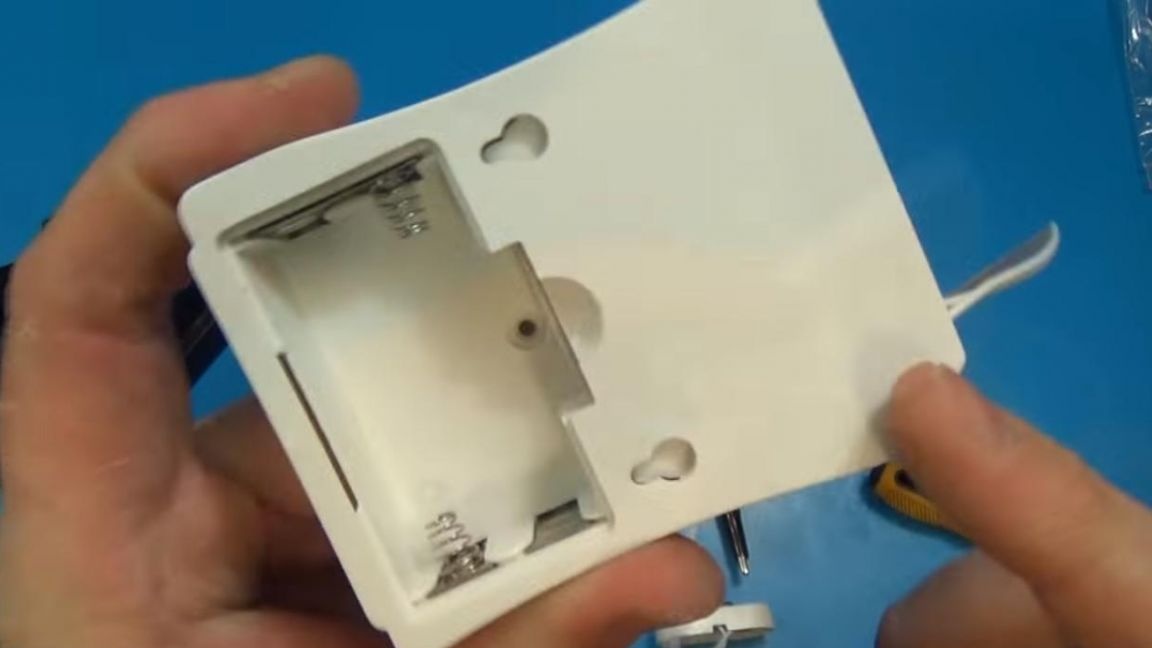
Now, when the call is assembled, we screw in the last screw and carry out the final test, when the power is connected (batteries are installed in their compartment), the speaker first plays the melody, after playing it, pressing the button starts the melody again, which means that the call is fully operational. You can fix it with a pair of screws, and on the counter of the case there are two holes for this.

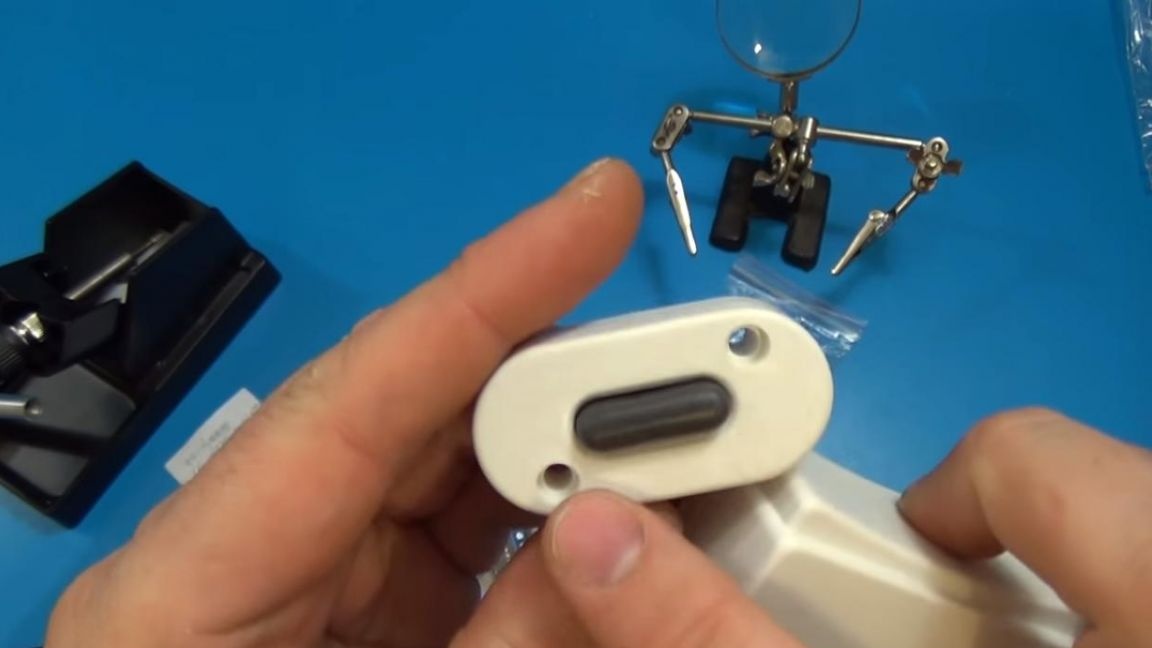
We screw two screws into the necessary place and hang this call on them, that's all. On the button itself there are two holes for installation at any place convenient for you.
That's all for me, repeat the assembly of this call, create your own homemade and come up with new ideas, see you soon.