

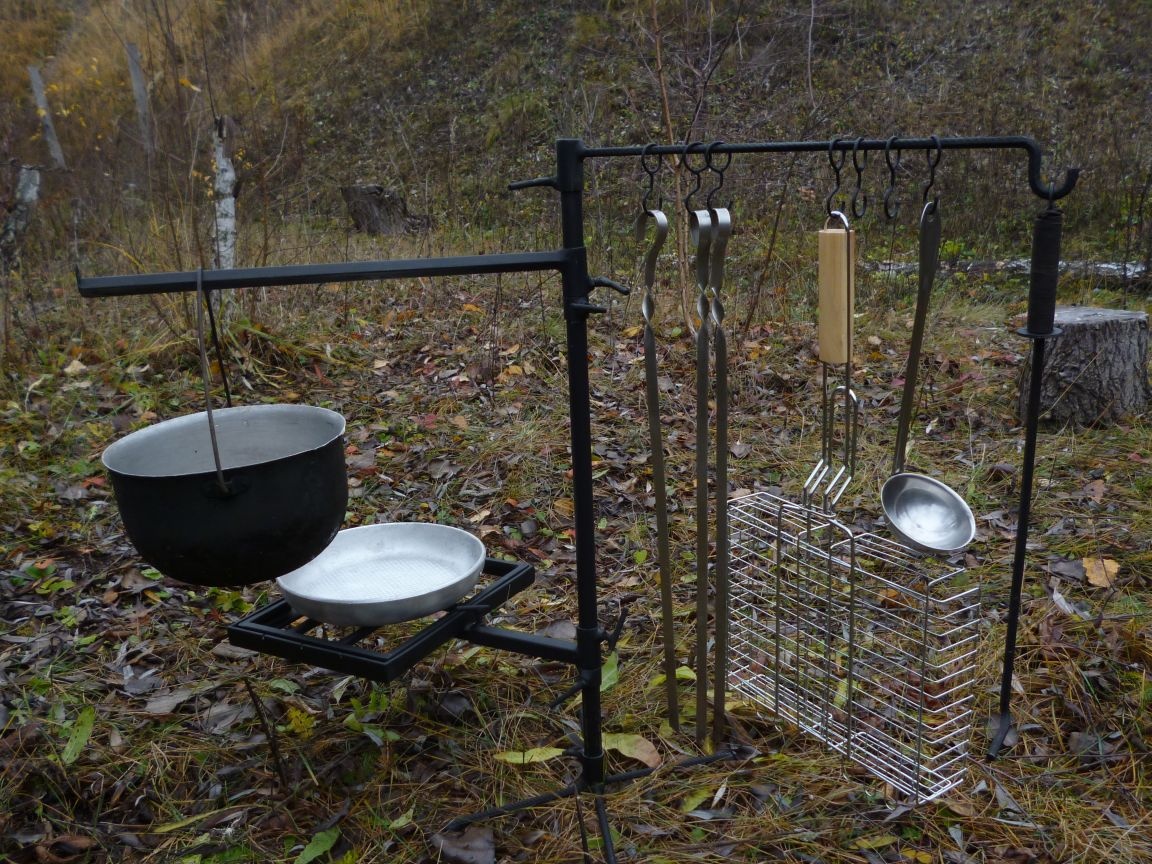
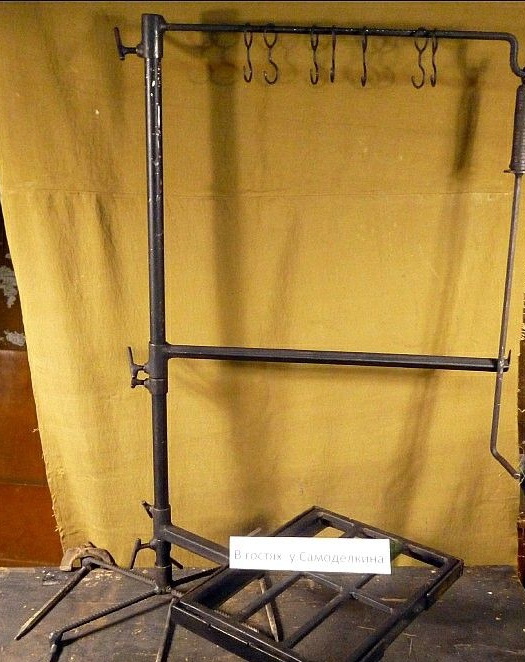
There are many appliances for cooking at the stake. Braziers, tripods, various taganka, we combine all this diversity into one universal design.
Tools needed, and fixtures.
1. Welding inverter.
2. Angle grinder.
3. Magnetic corners for welding.
4. Sharpening machine, you can do with a grinding machine.
5. Industrial hair dryer.
Materials required.
1. Metal water pipe with a diameter of 3/4 inch.
2. A metal water pipe with a diameter of 1/2 inch.
3. A metal strip 3 cm wide and 3 mm thick.
4. A metal square with a cross section of 10 mm by 10 mm.
5. Metal profile pipe with shelf sizes 20 mm by 20 mm.
6. Metal profile pipe with shelf sizes 15 mm to 15 mm.
7. The corrugated fittings with a diameter of 10 mm.
8. Rolled fittings with a diameter of 6 mm.
8. A wire with a diameter of 3 mm.
9. Nuts, bolts, washers.
10. Welding electrodes.
11. Heat resistant paint.
12. Cutting and flap wheels for the grinder.
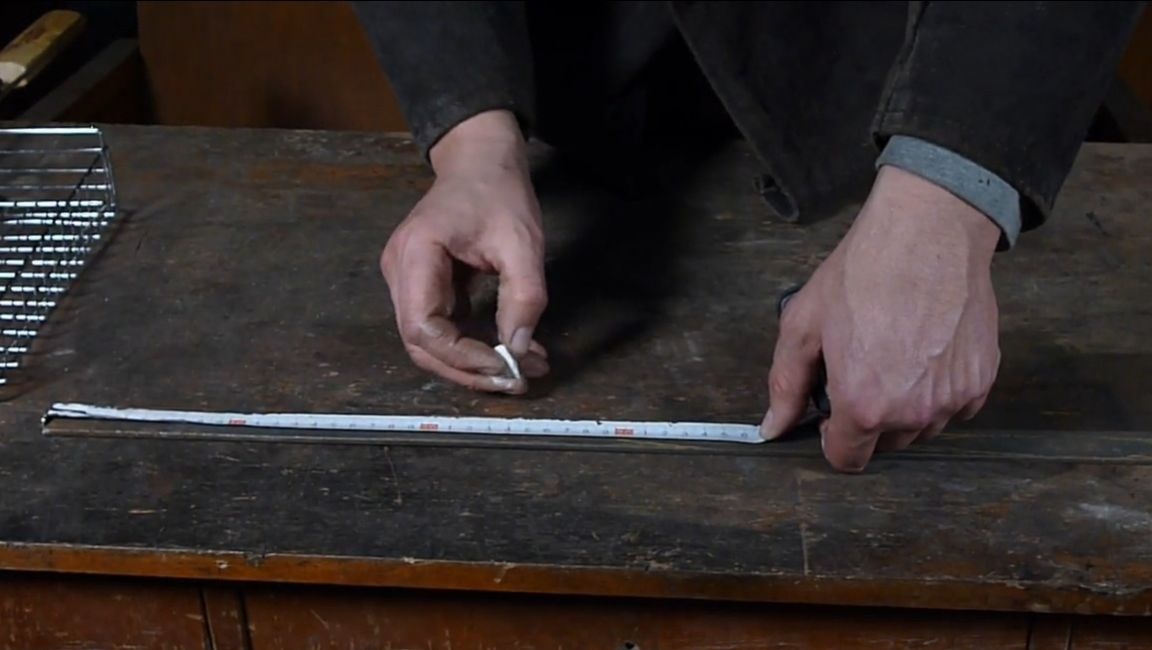
From a pipe with a diameter of 1/2 inch cut a length of 80 cm. From a pipe with a diameter of 3/4 inch we cut 4 segments of 5 cm and 2 segments of 2 cm.
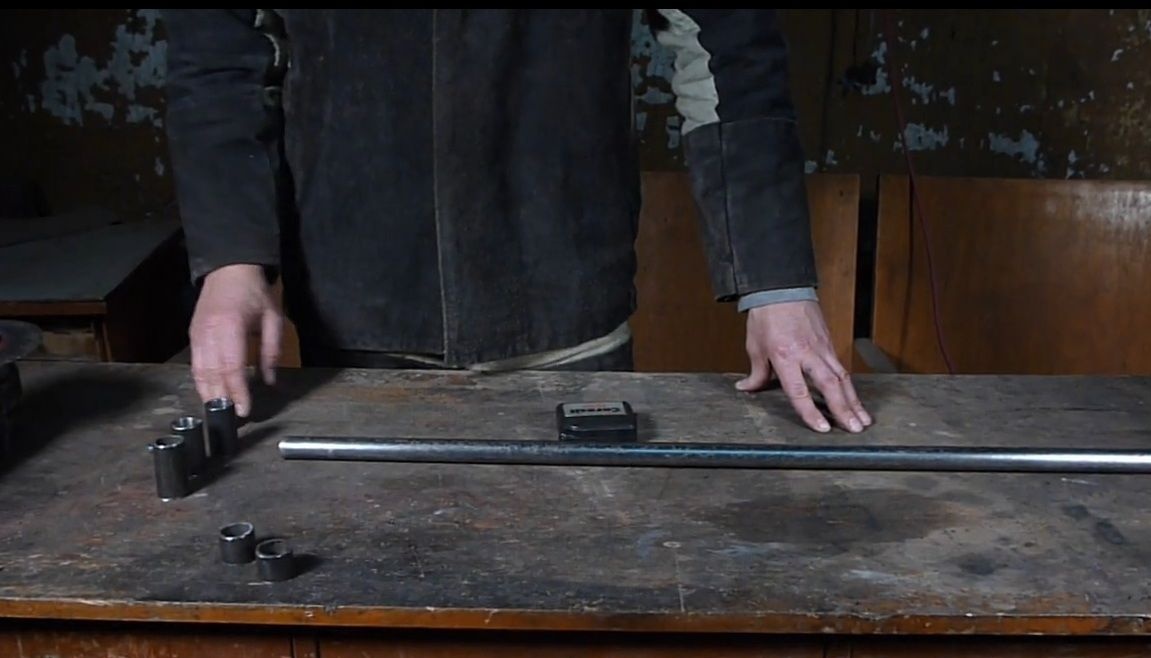
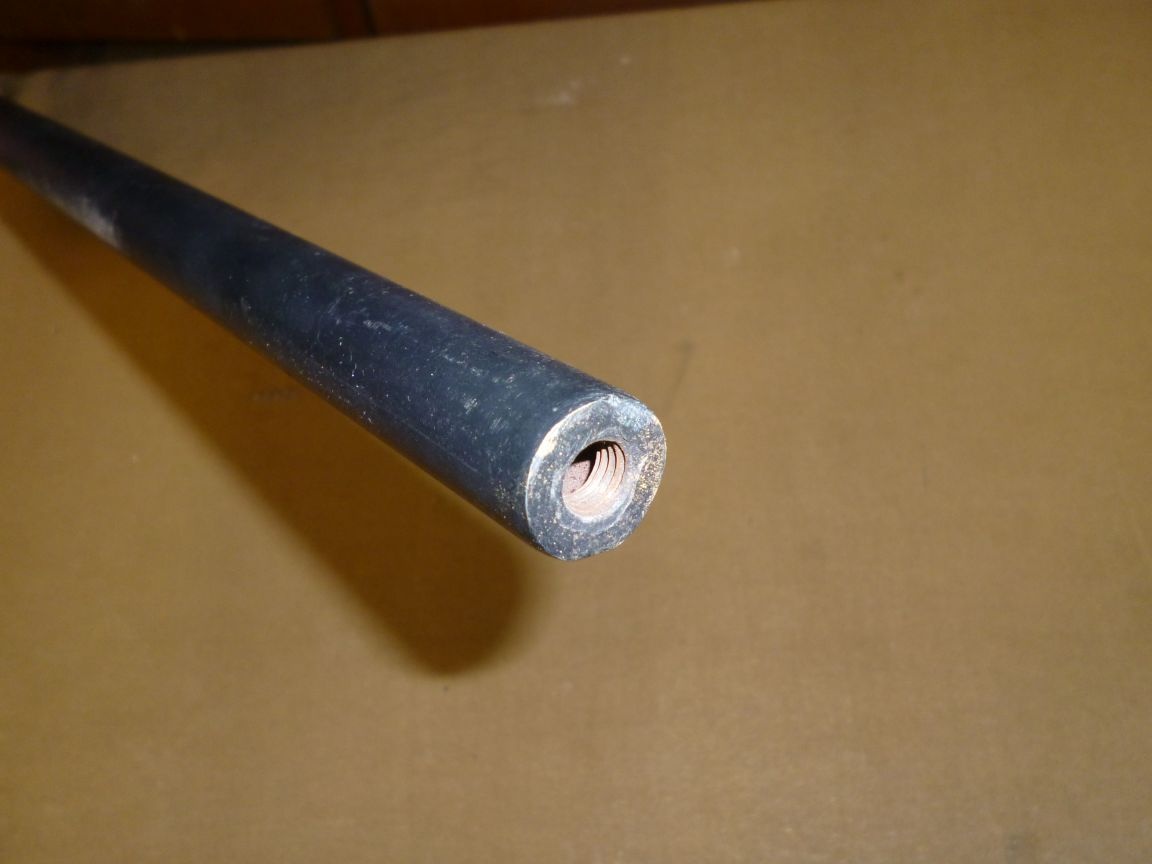
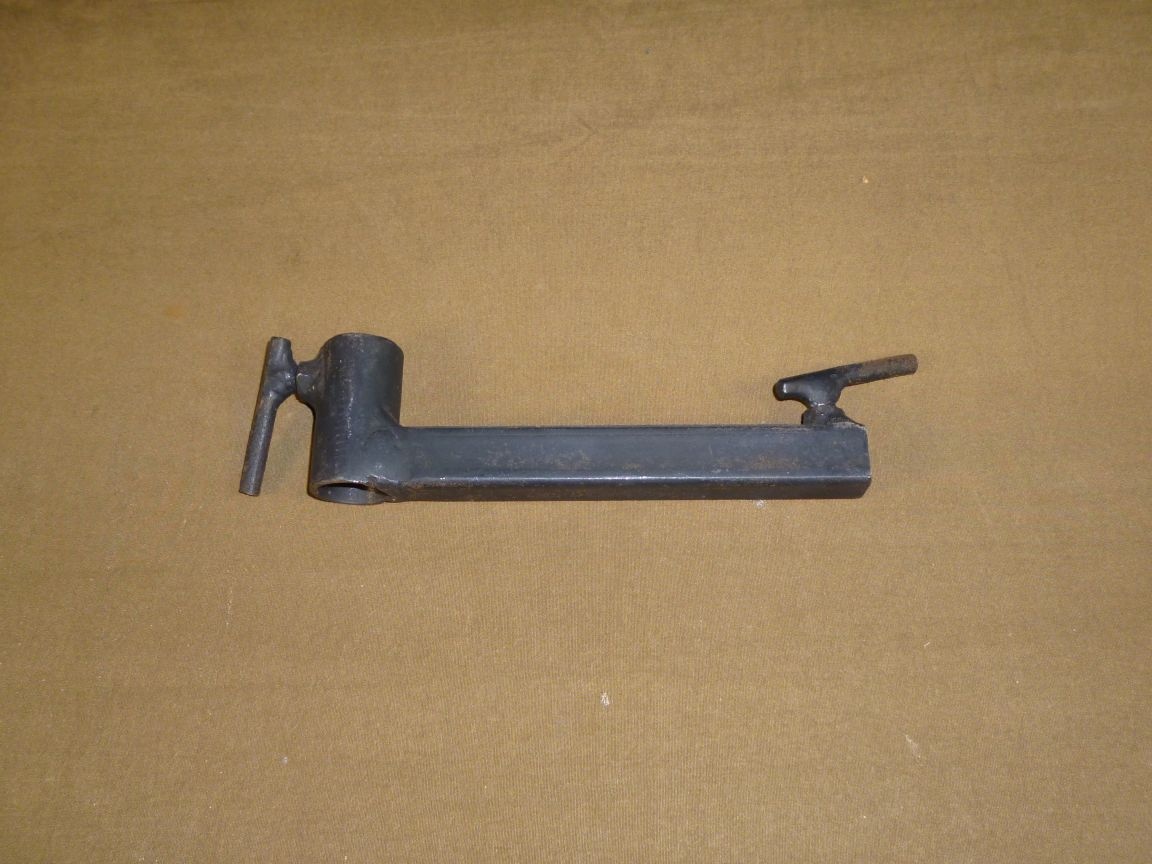
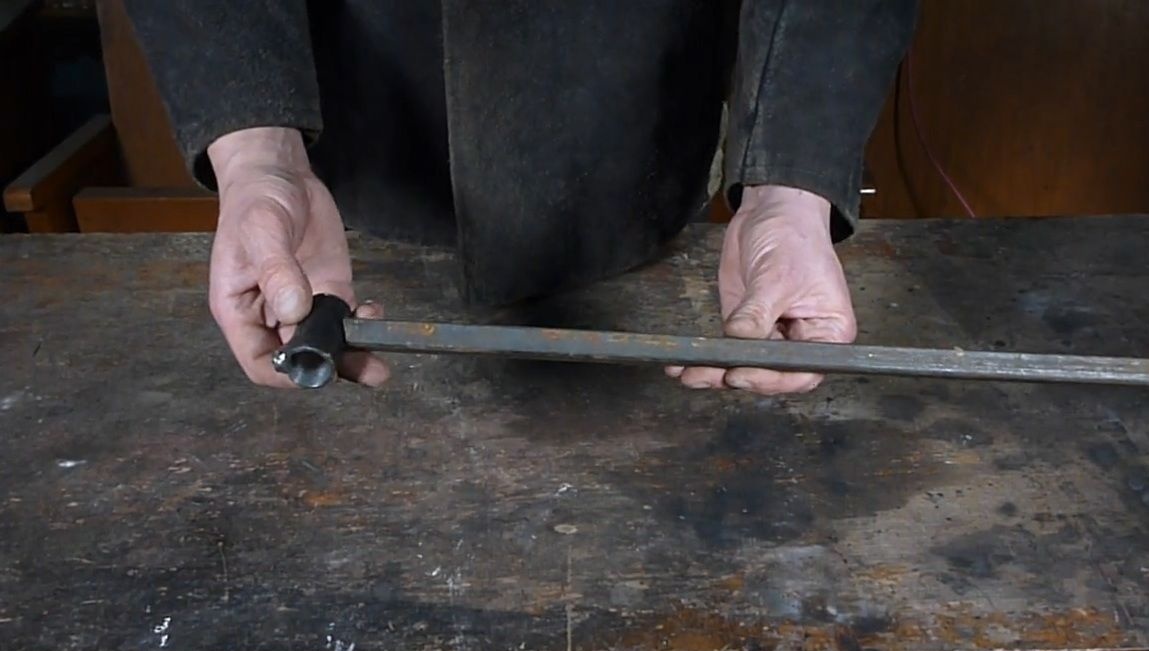
We weld a nut to the pipe with a diameter of 1/2 inch from the end, this will be the stand itself.
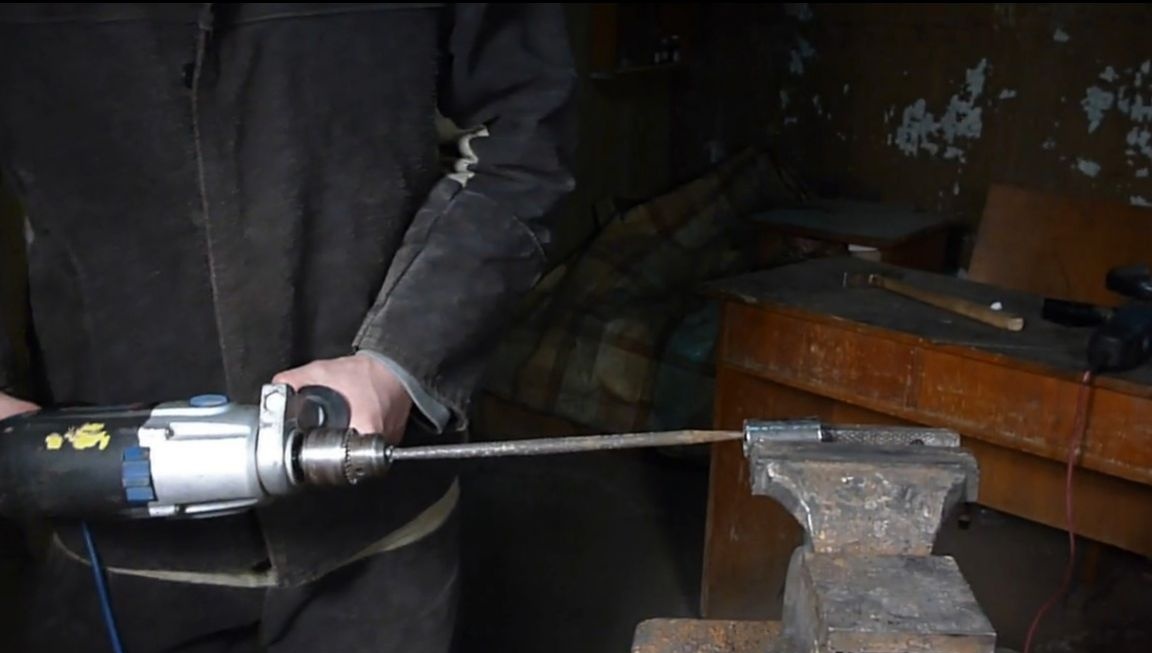
A 3/4 inch diameter pipe is best used seamlessly, otherwise you will have to cut it inside the seam because it prevents the pipe from being inserted into the pipe.
If the pipe is still sutured, then you can quickly cut the seam by holding the rasp in the drill.
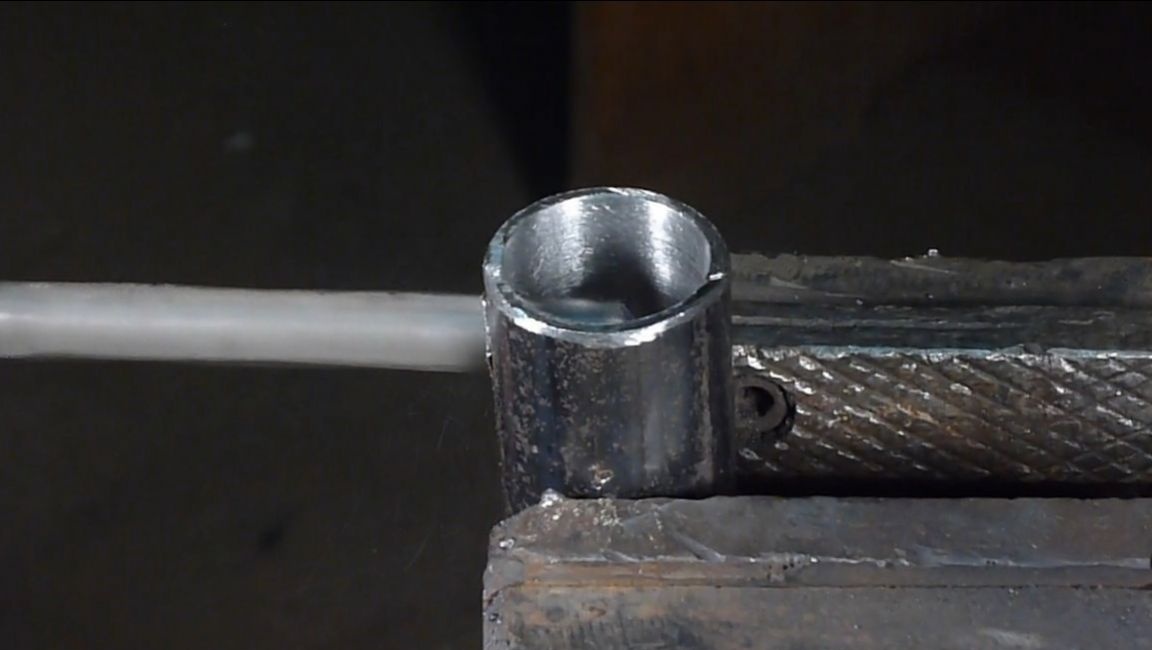
Drill holes in 3/4 inch pipe sections.
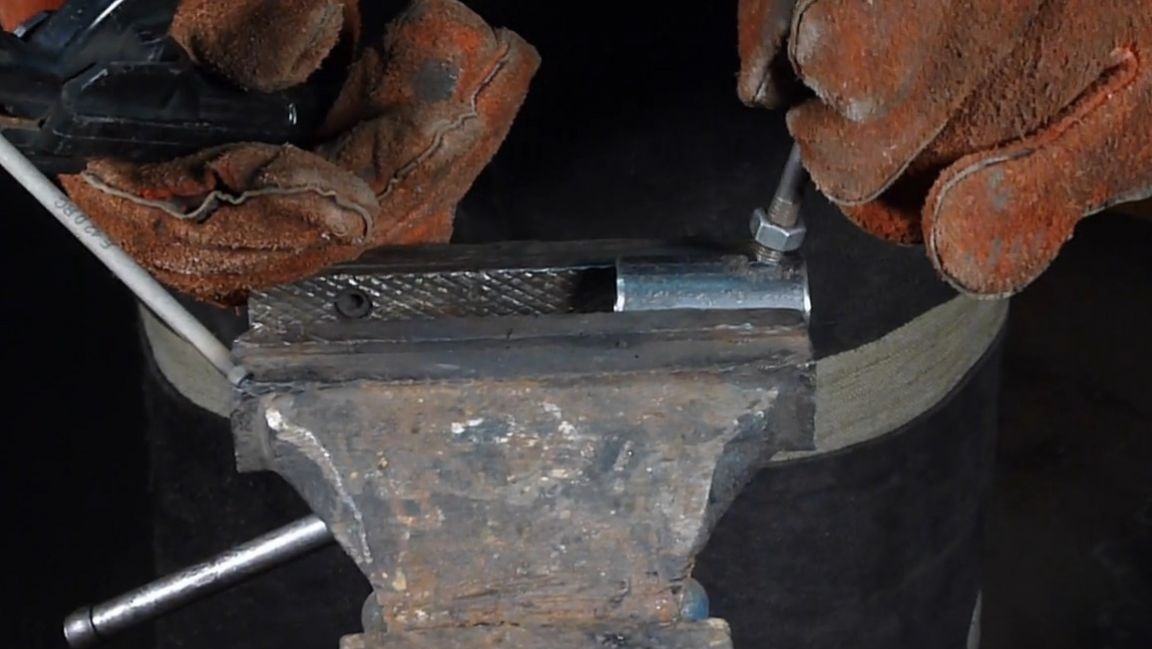
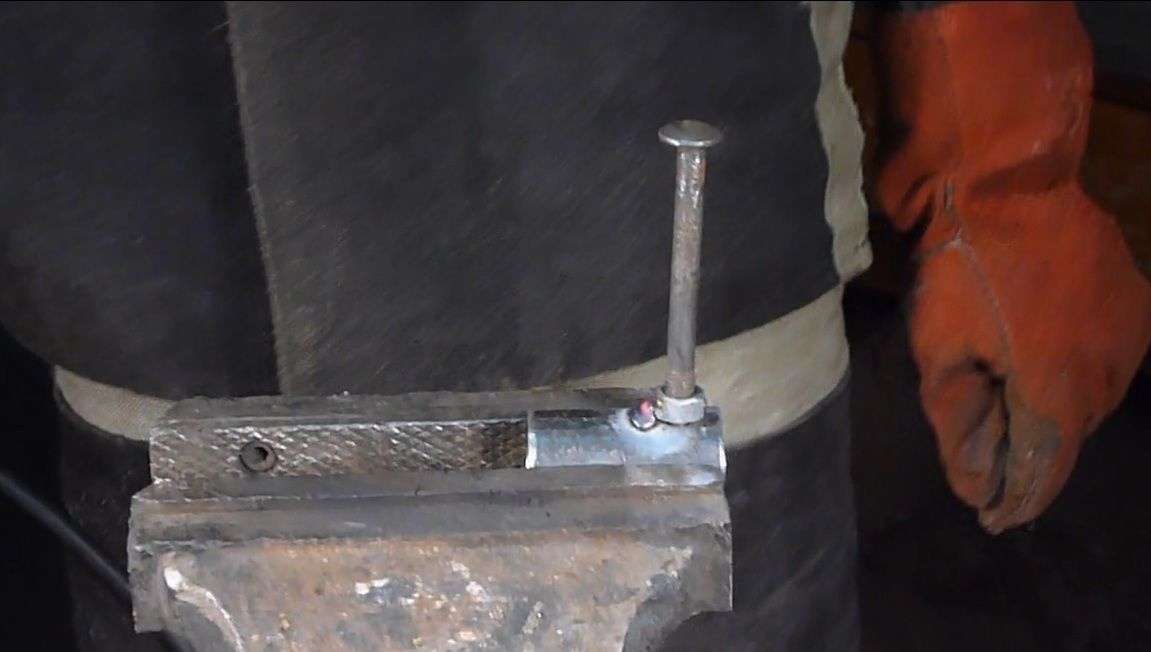
We weld nuts on the holes.
We weld small sections of rolled steel fittings with a diameter of 6 mm to the threads from the bolts. The result was a rack mount.
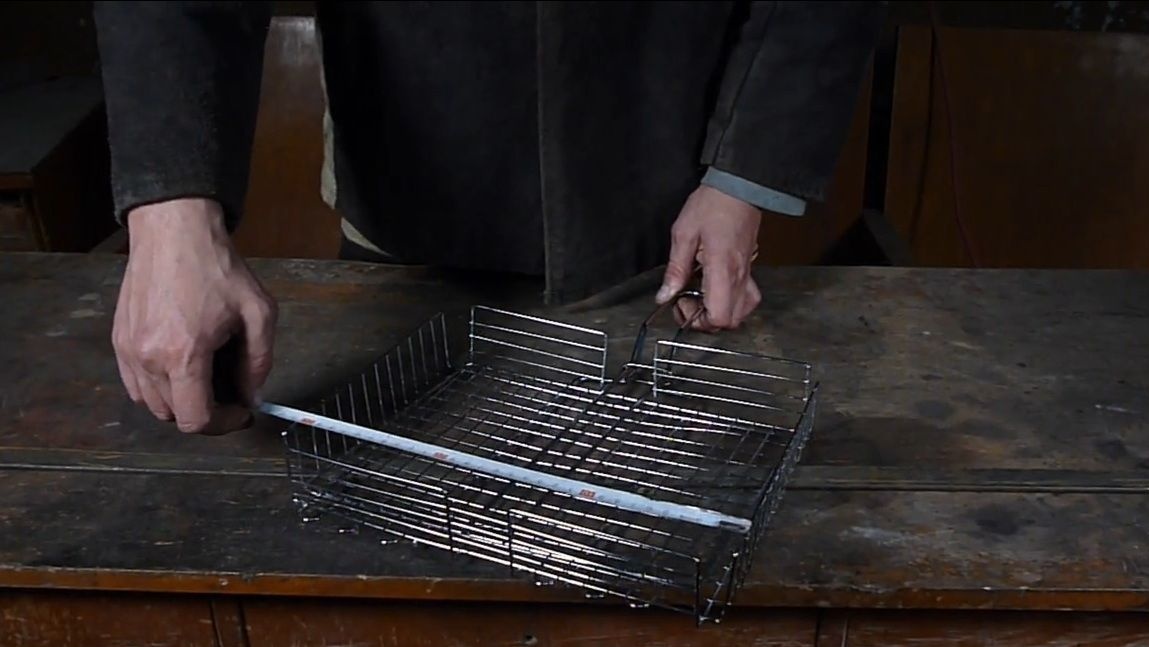
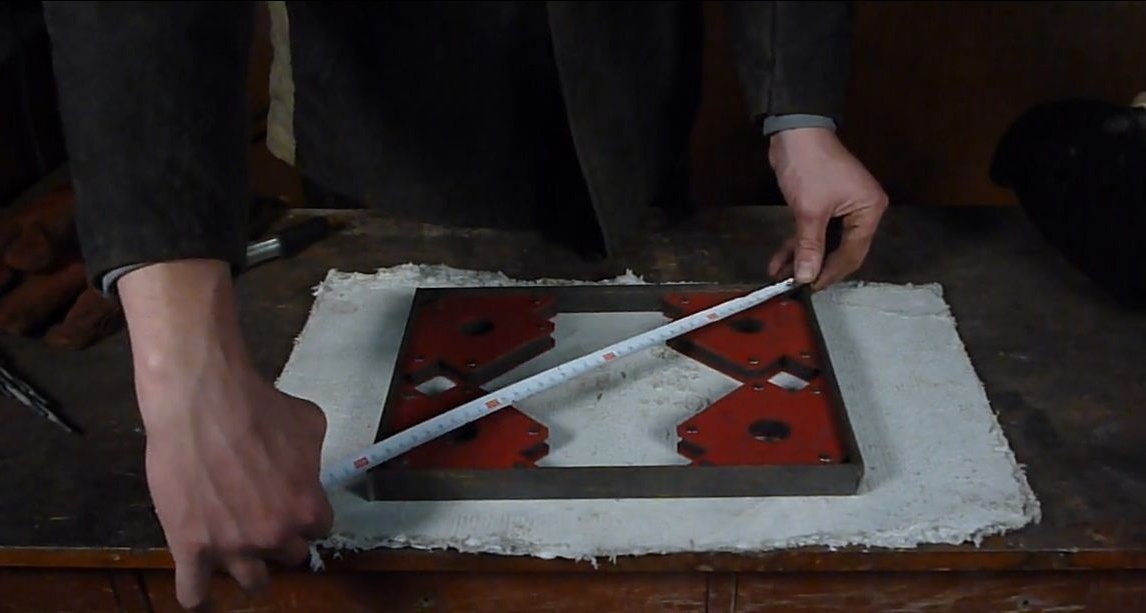
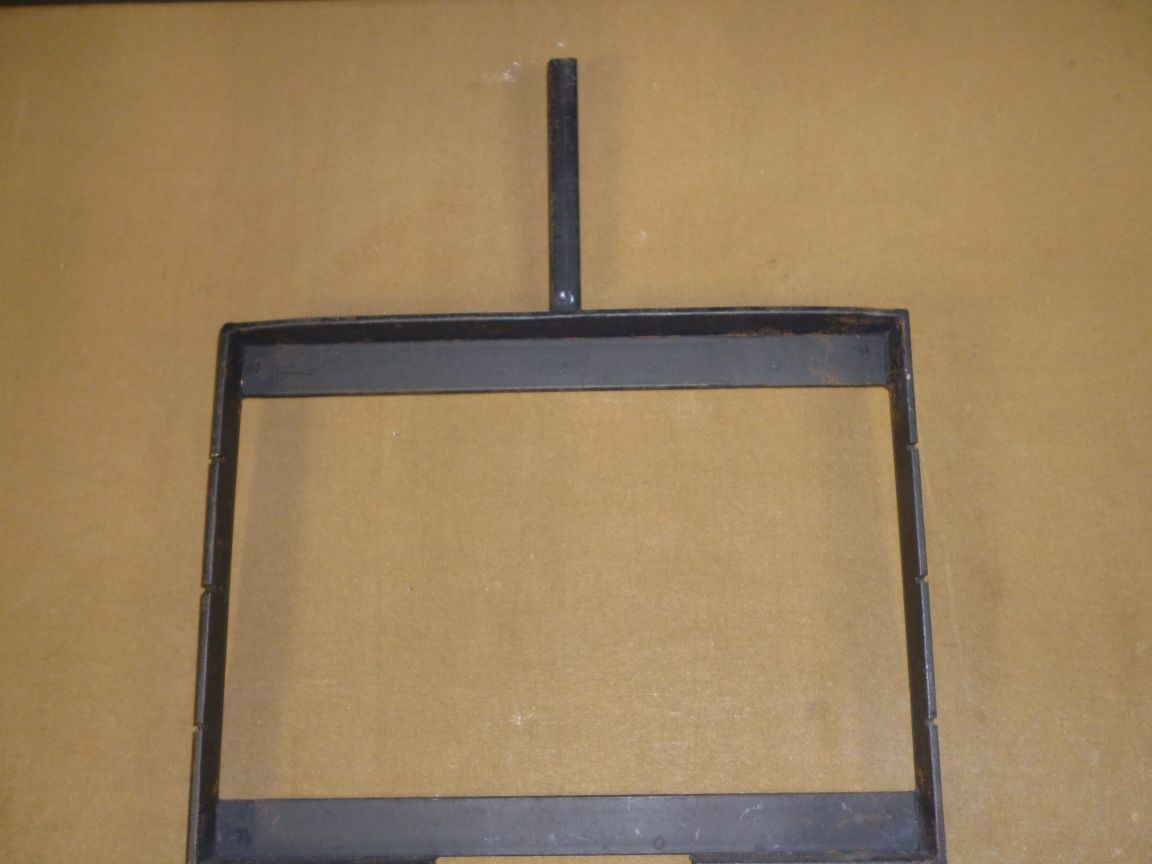
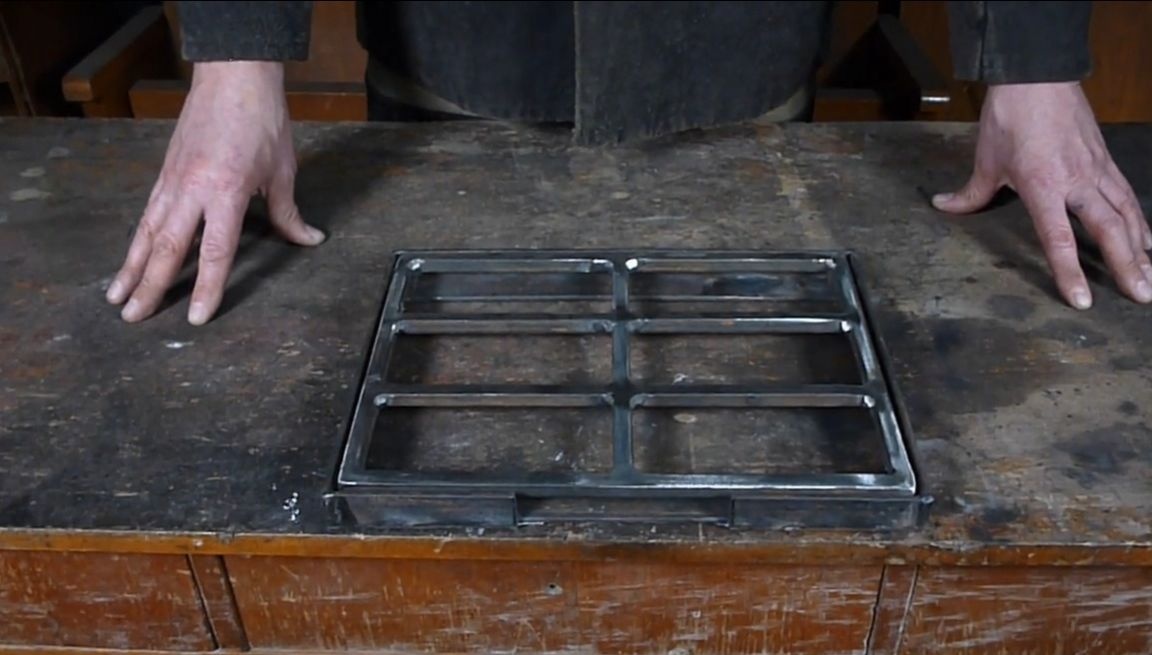
We make a frame for the hob from a metal strip. Dimensions are calculated based on the size of the existing grill grill.
In order to withstand the correct angles, when welding, we use the magnetic corners, but we still check the diagonals.
In order for the grill and grill to not fall through the bottom of the frame, we weld two more strips.
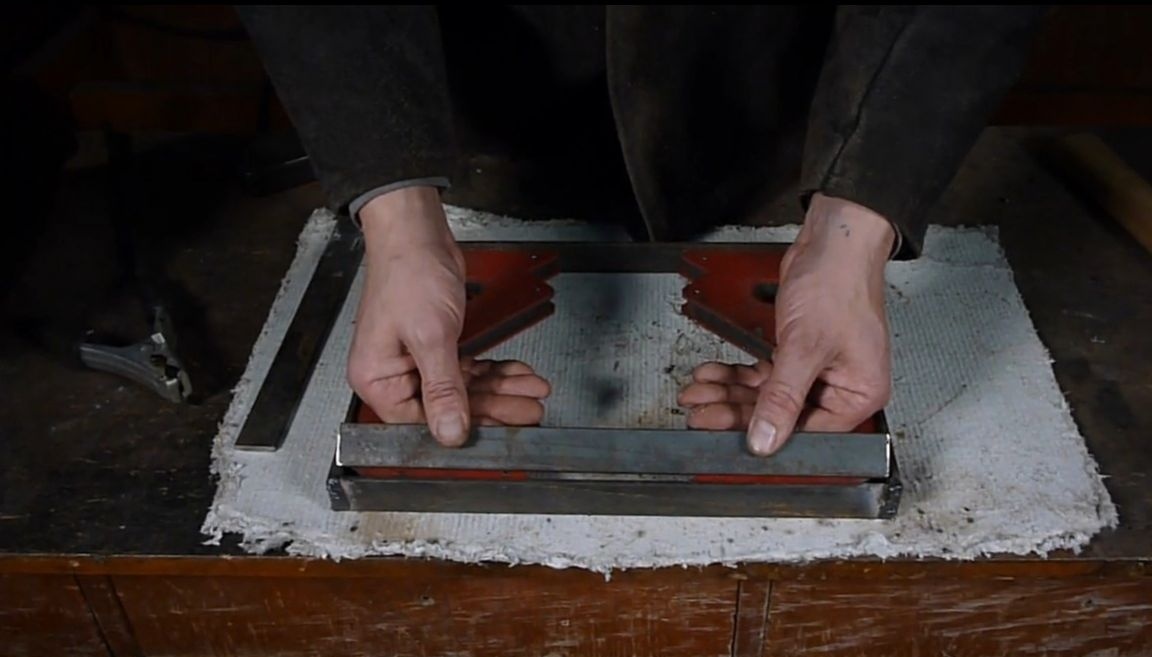
A little cut one shelf for the handle of the grill lattice and make cuts under the skewer.
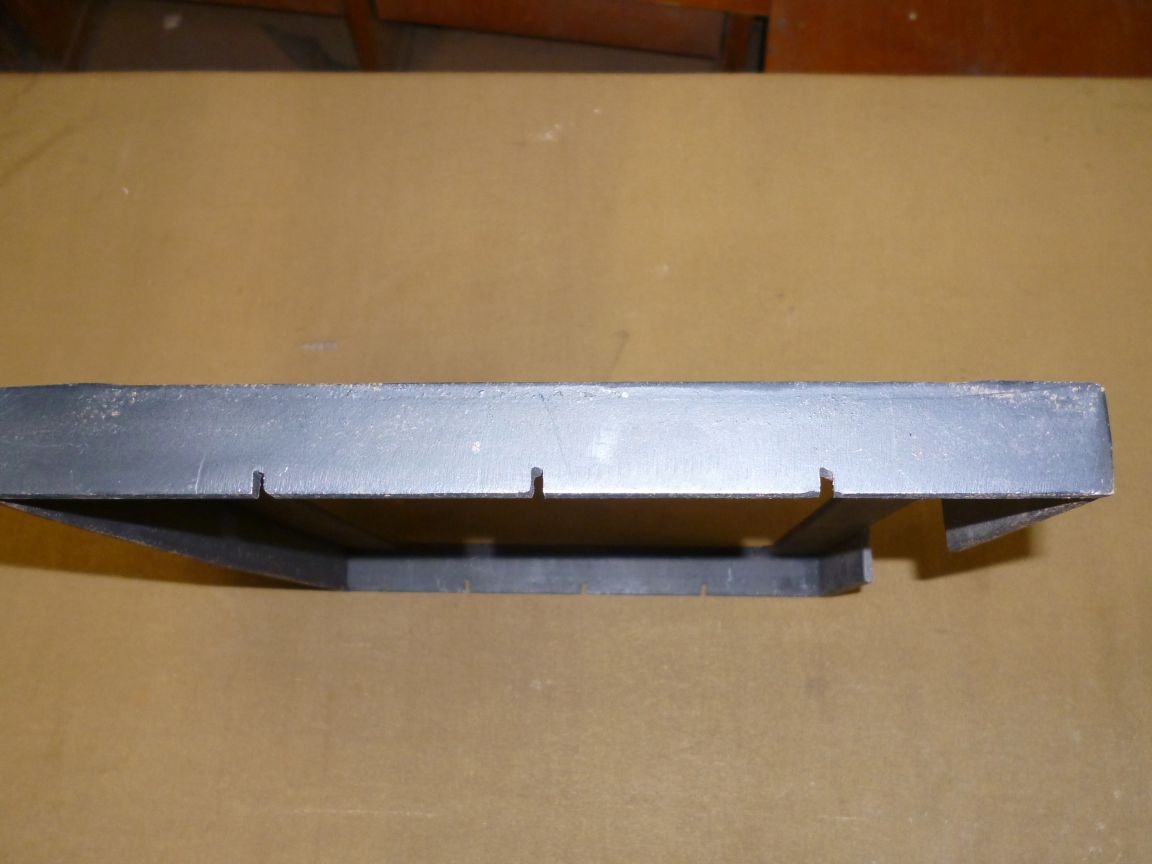
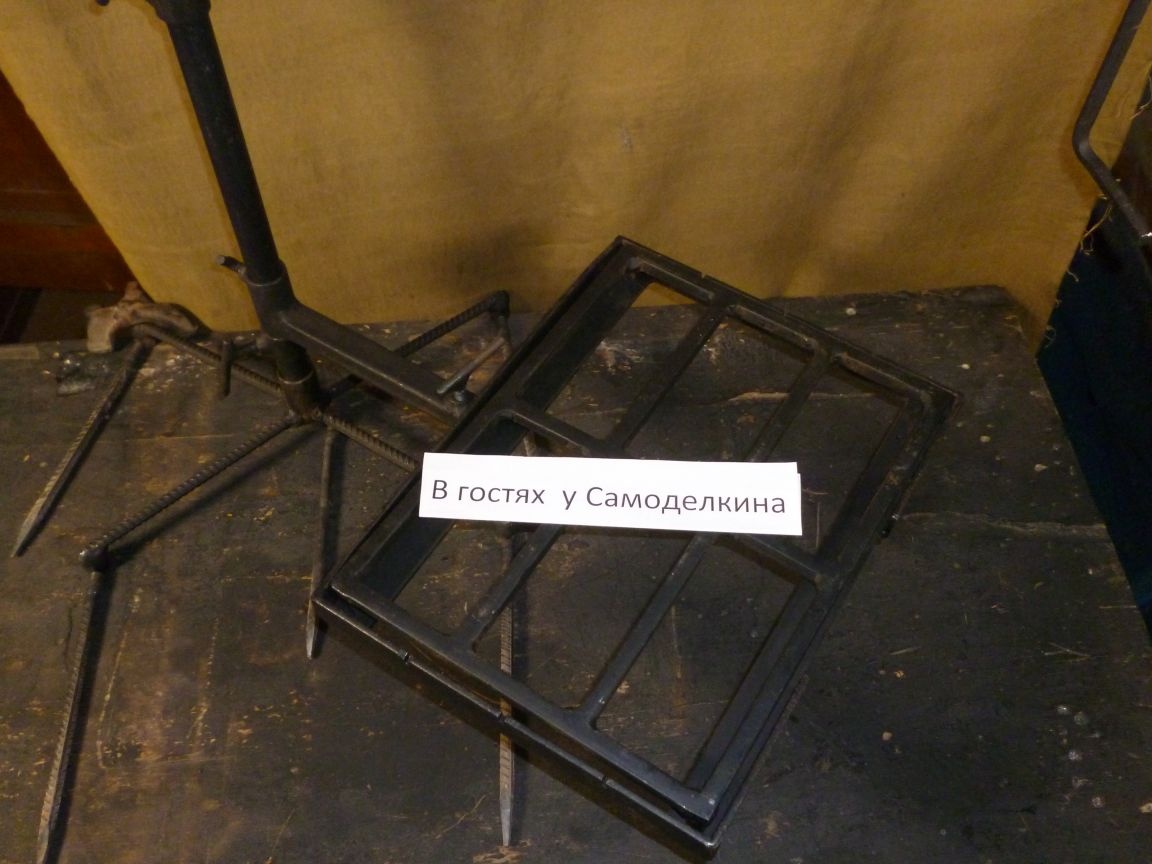
We weld the surface for pans and pans from a metal square. The surface size should be a couple of millimeters on each side smaller than the size of the frame to avoid jamming during heating.
We weld small legs below to level the hob with the level of the frame.


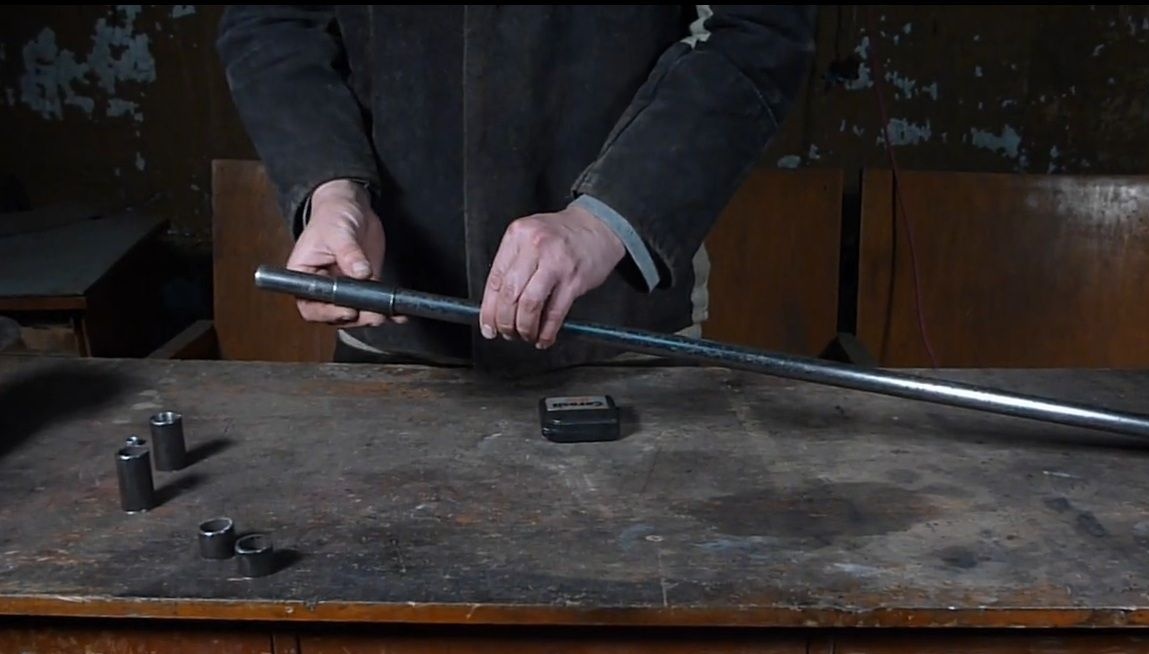
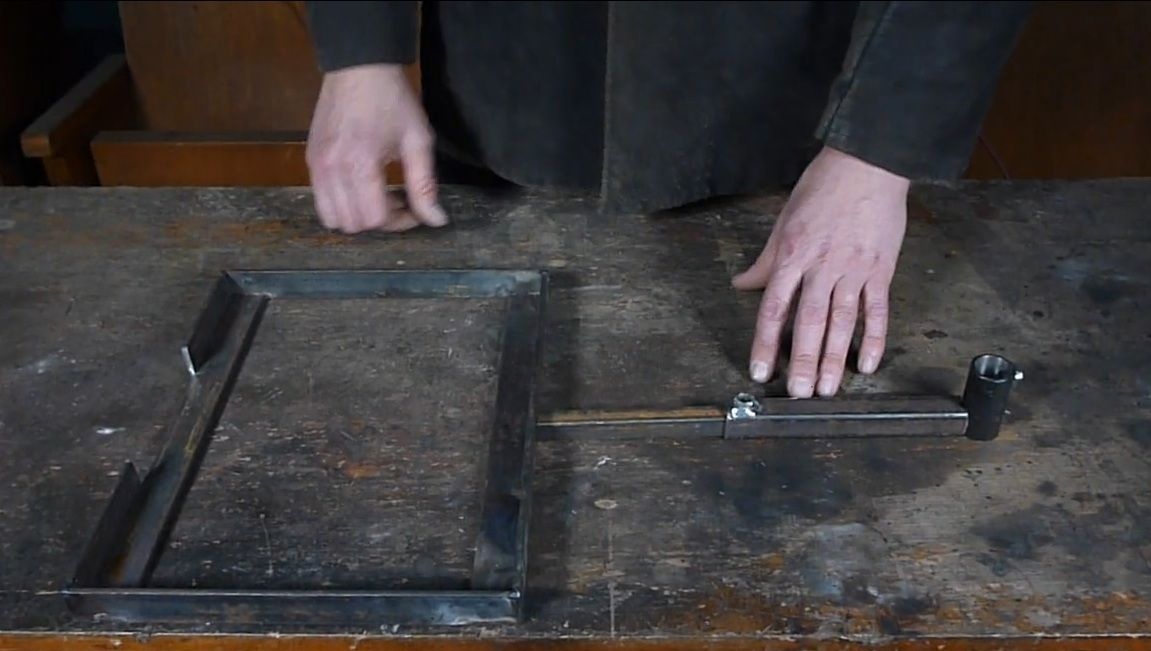
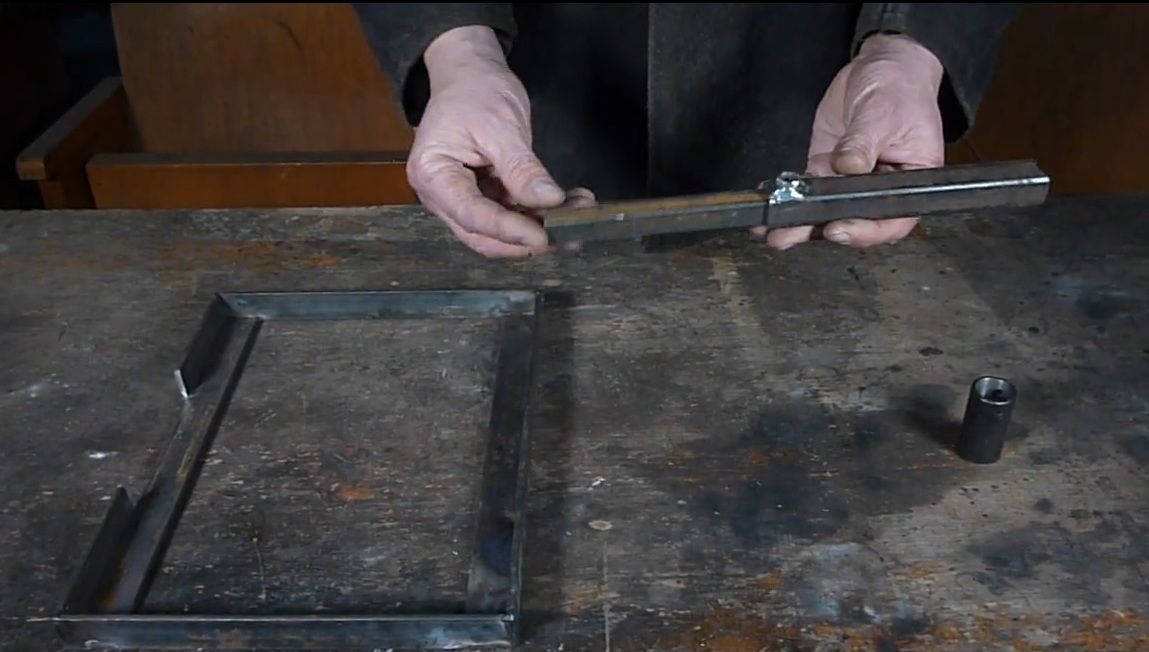
We attach the frame to the rack from a profile pipe. We cut 15 cm from each profile. A section from the profile of 15 mm to 15 mm is welded to the frame. In a section of a profile pipe measuring 20 mm by 20 mm, on one side we drill a hole and weld a nut for fasteners. To the other side we weld the fasteners to the rack. Profile pipes are inserted into each other and fixed by a clip in the necessary position.
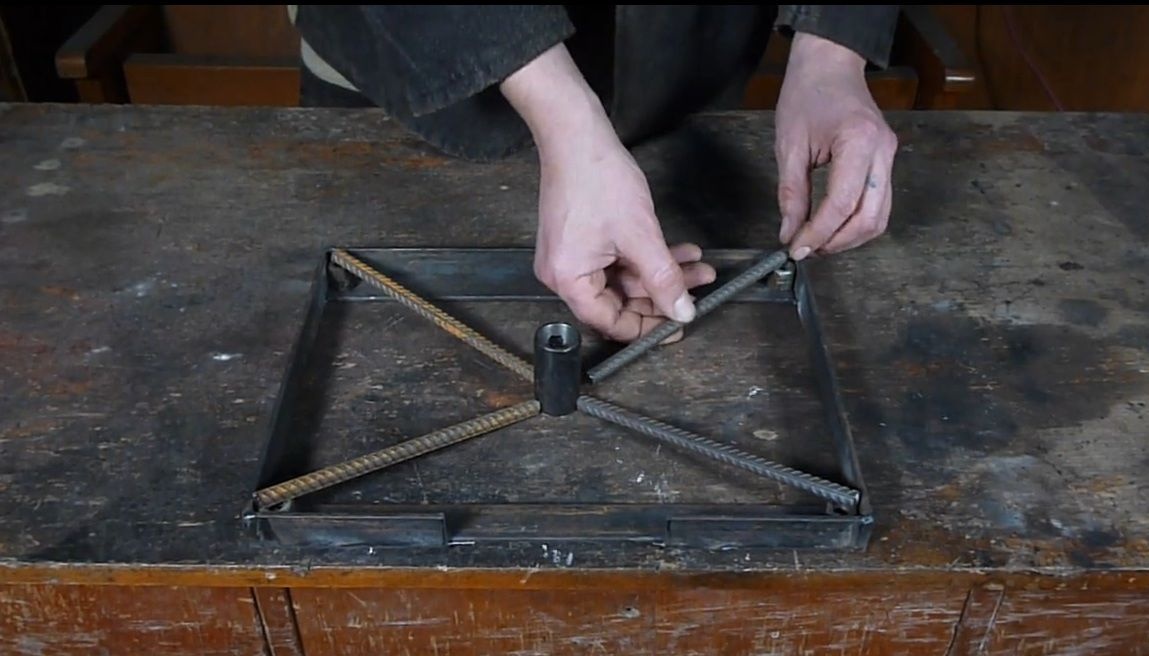
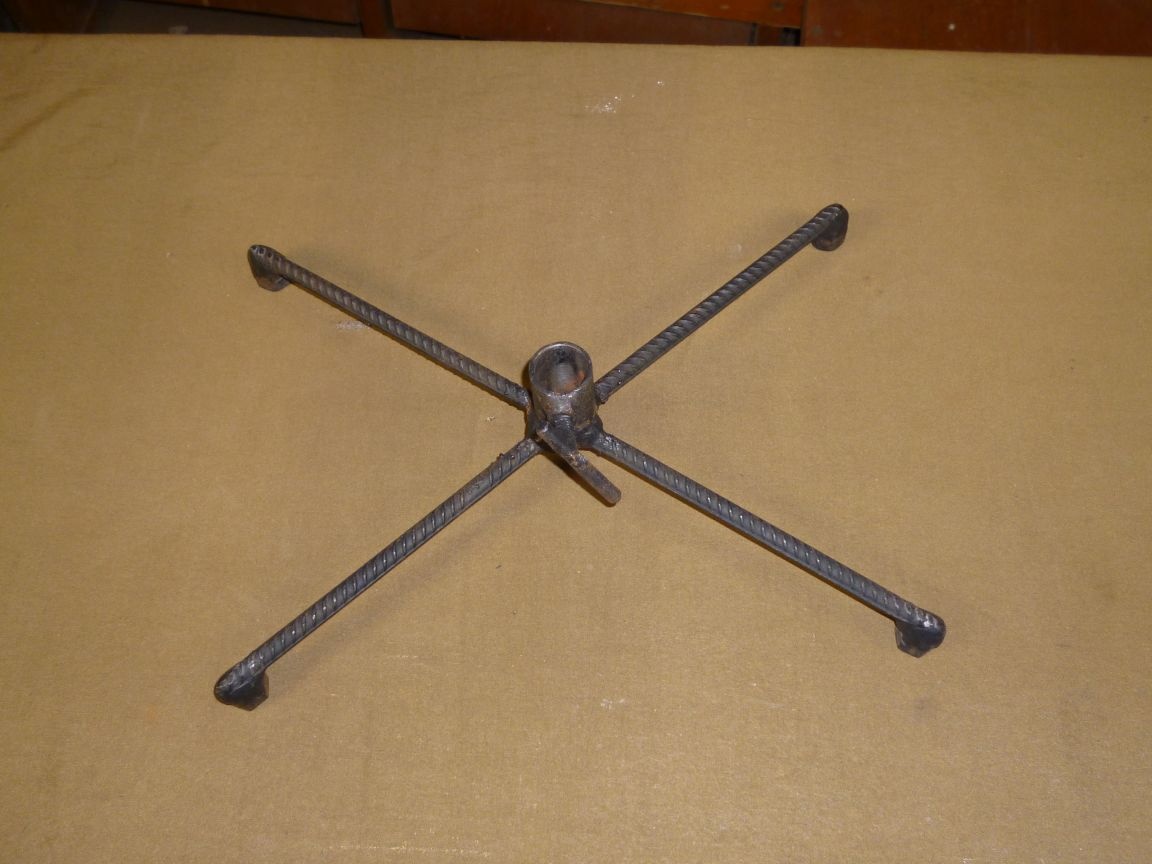
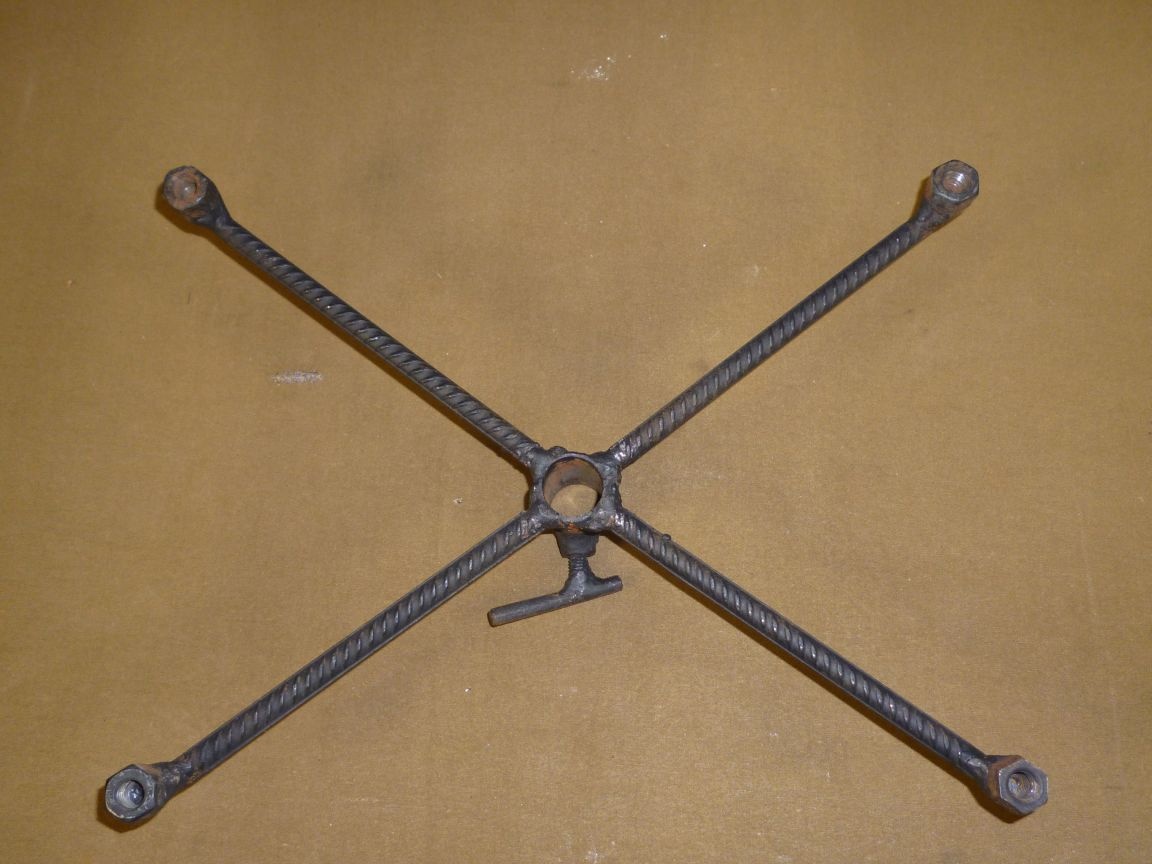
The persistent base of our design for compactness is made to the size of the frame. On one side of the corrugated reinforcement, we weld nuts on one side. The nuts are better wide or you can weld two together. We weld the other edges of the reinforcement to the rack mount.
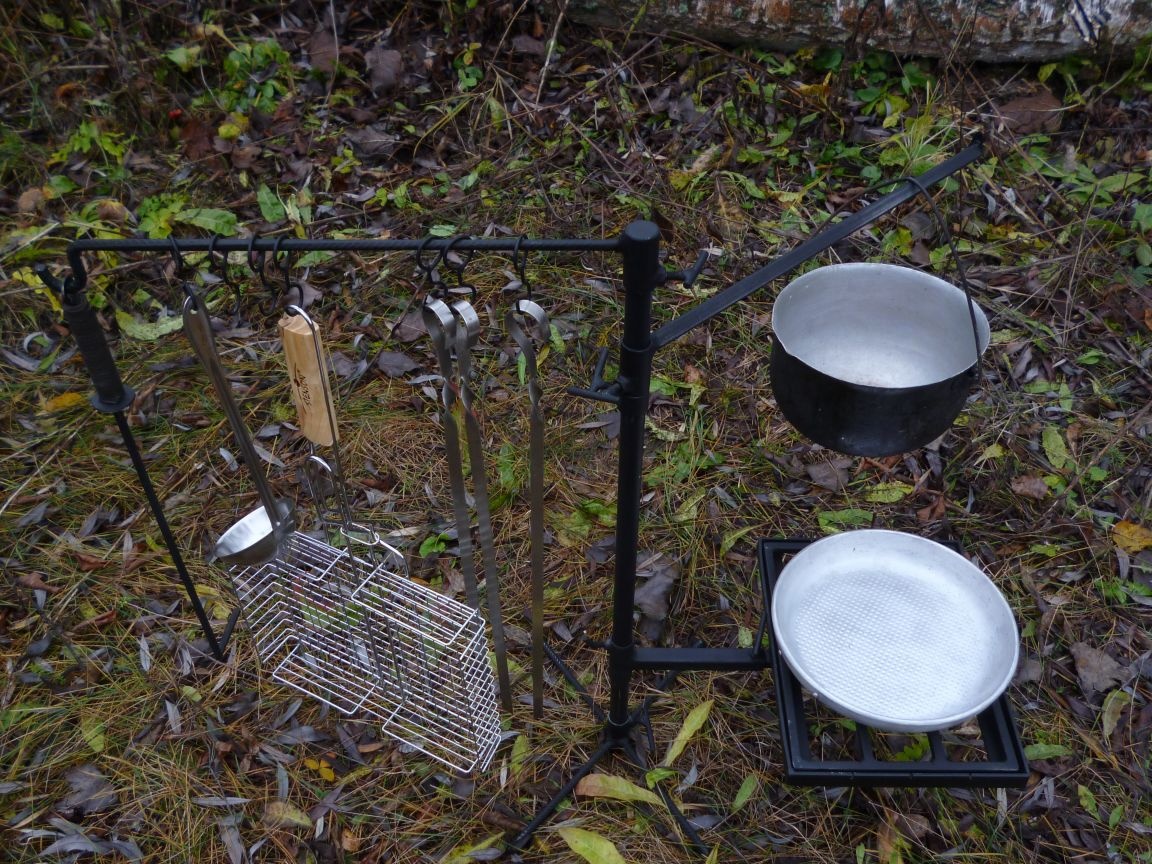
We cut off a section of 60 cm from a profile pipe measuring 15 mm by 15 mm. To one side we weld the fasteners to the rack to the other, the limiter. This will be the suspension for the bowler.
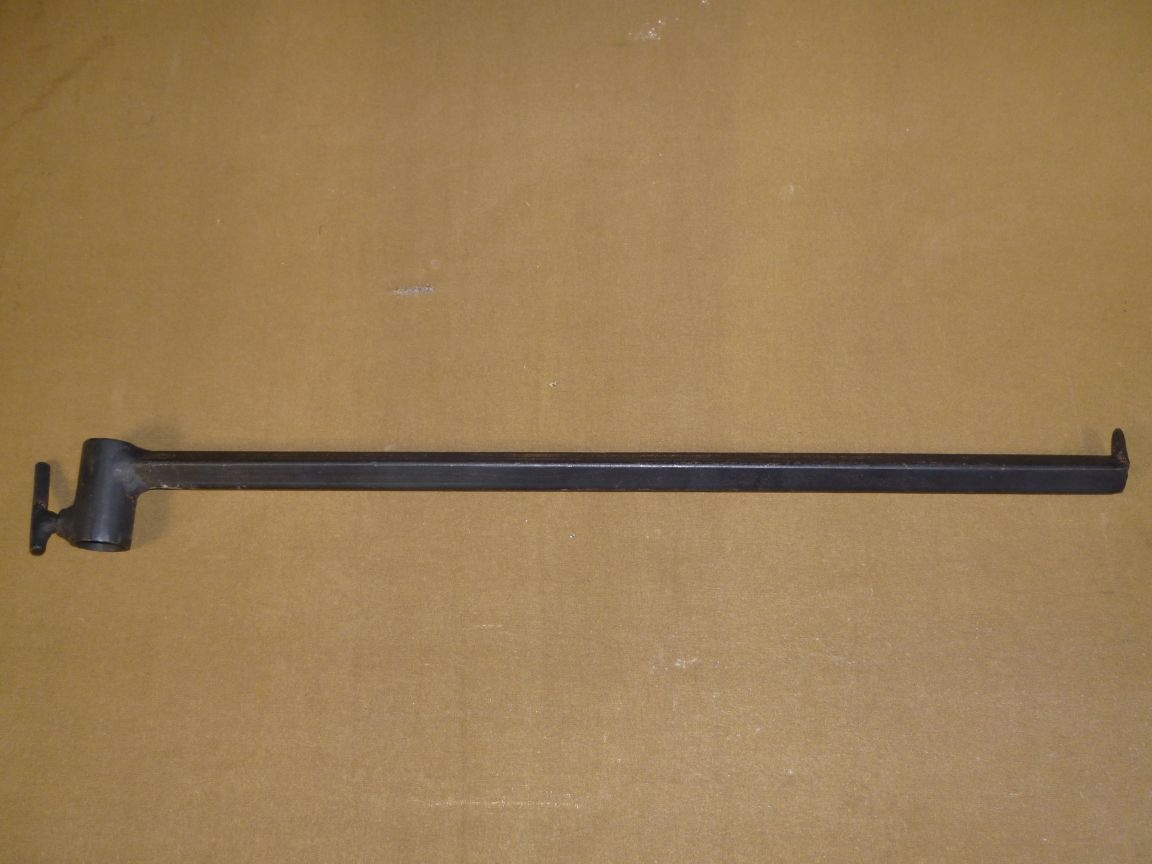
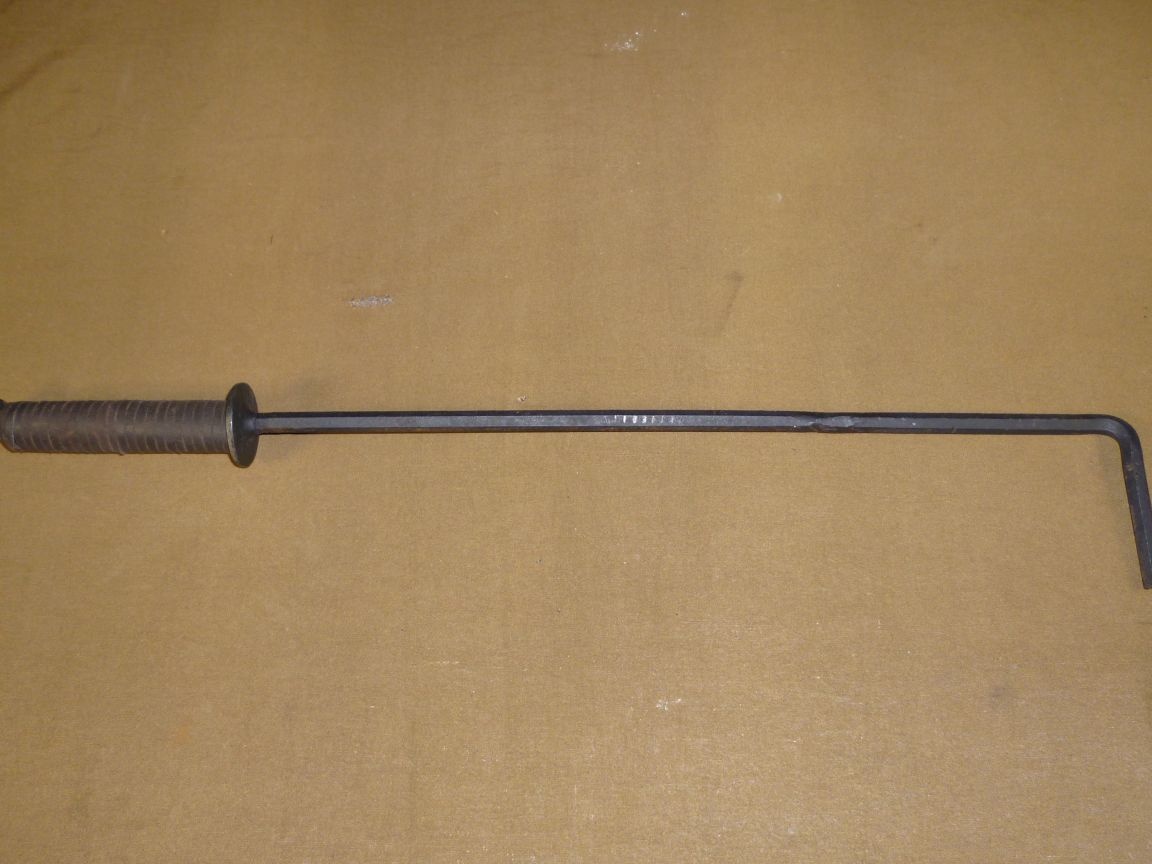
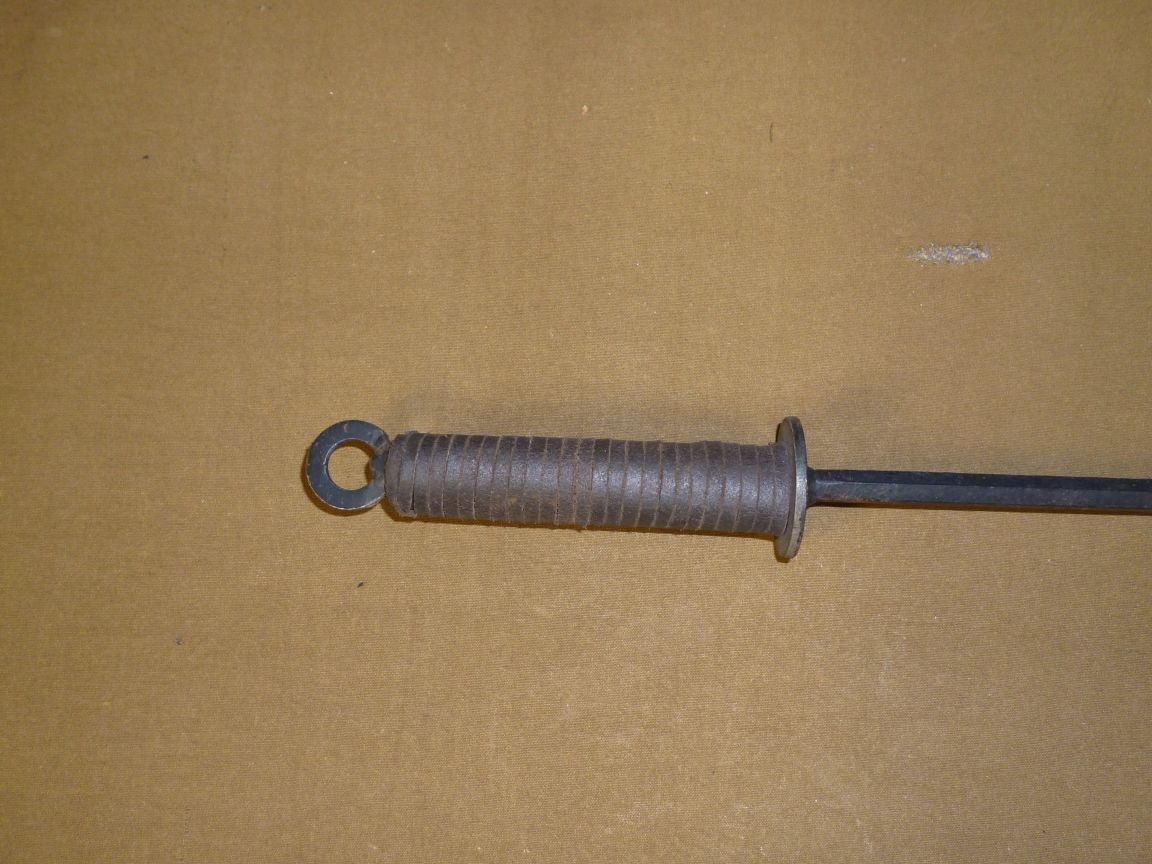
We weld the remaining fasteners on the rack from above and weld the bent fittings. On this detail we will hang a poker and all sorts of bonfire accessories.
Of course, you can do without a poker, but it is more convenient with it.
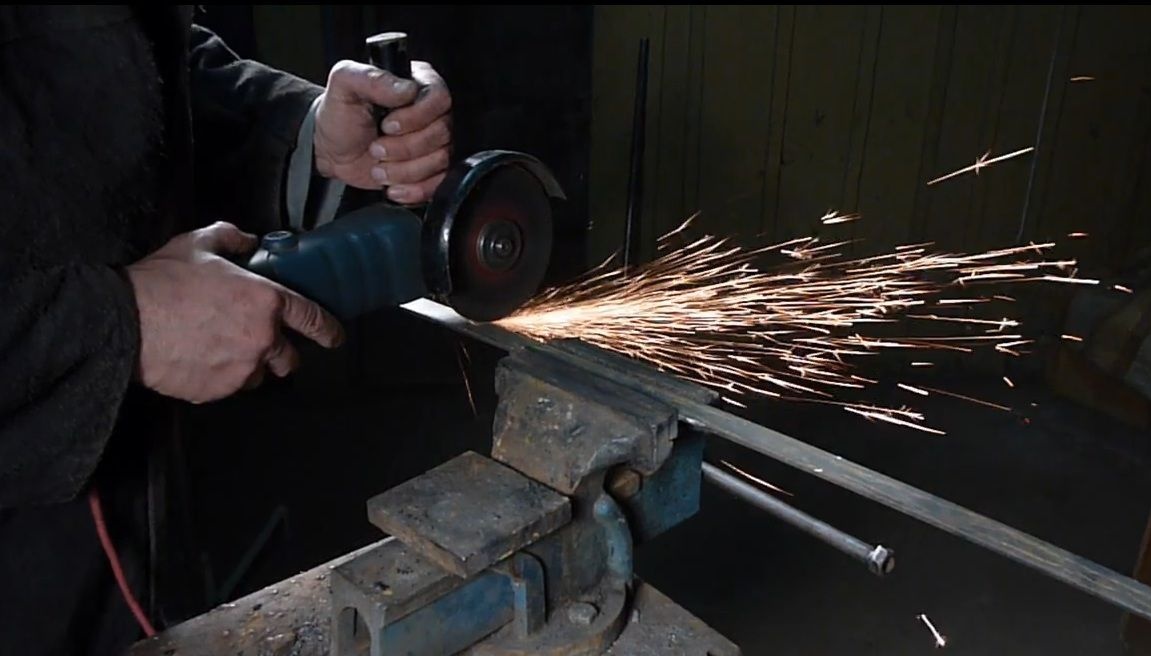
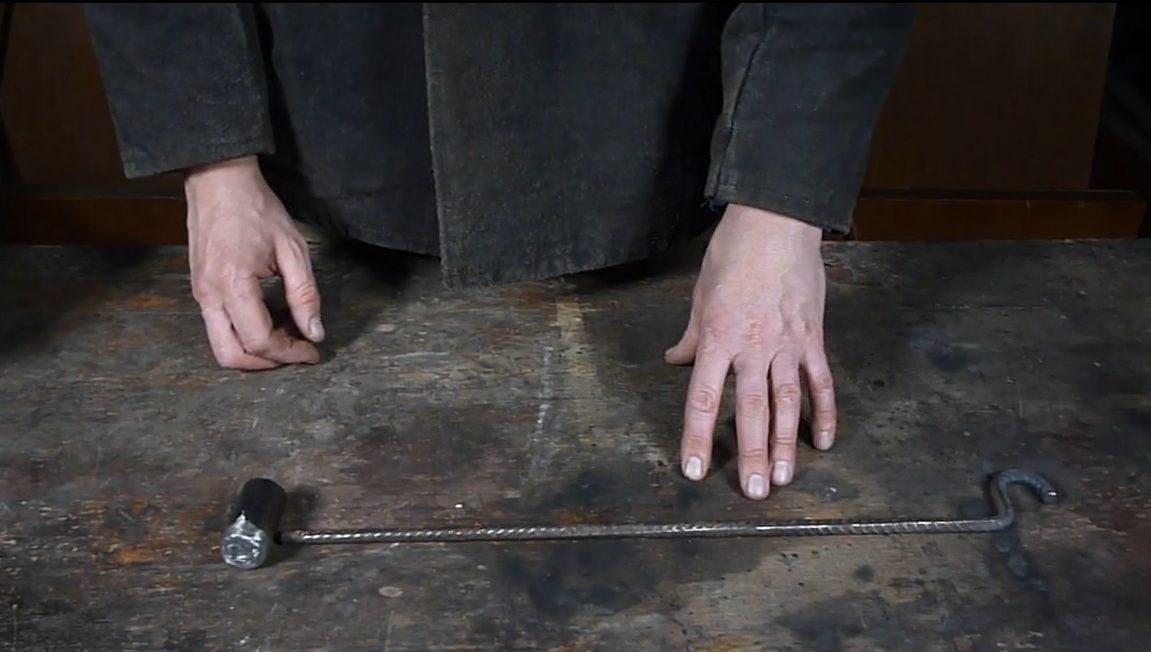
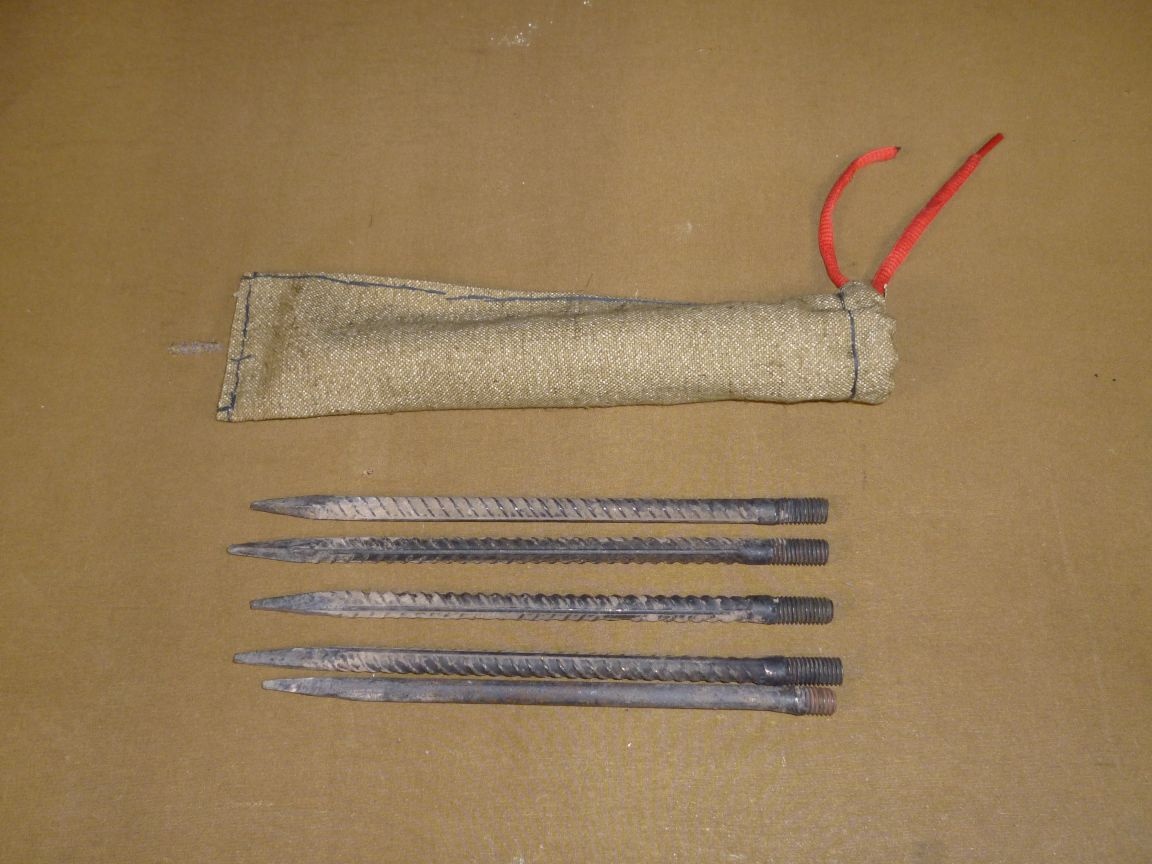
We cut five segments of 15 cm from the reinforcement, weld the threads to one side, and sharpen the other side. The resulting pins will stick into the ground.

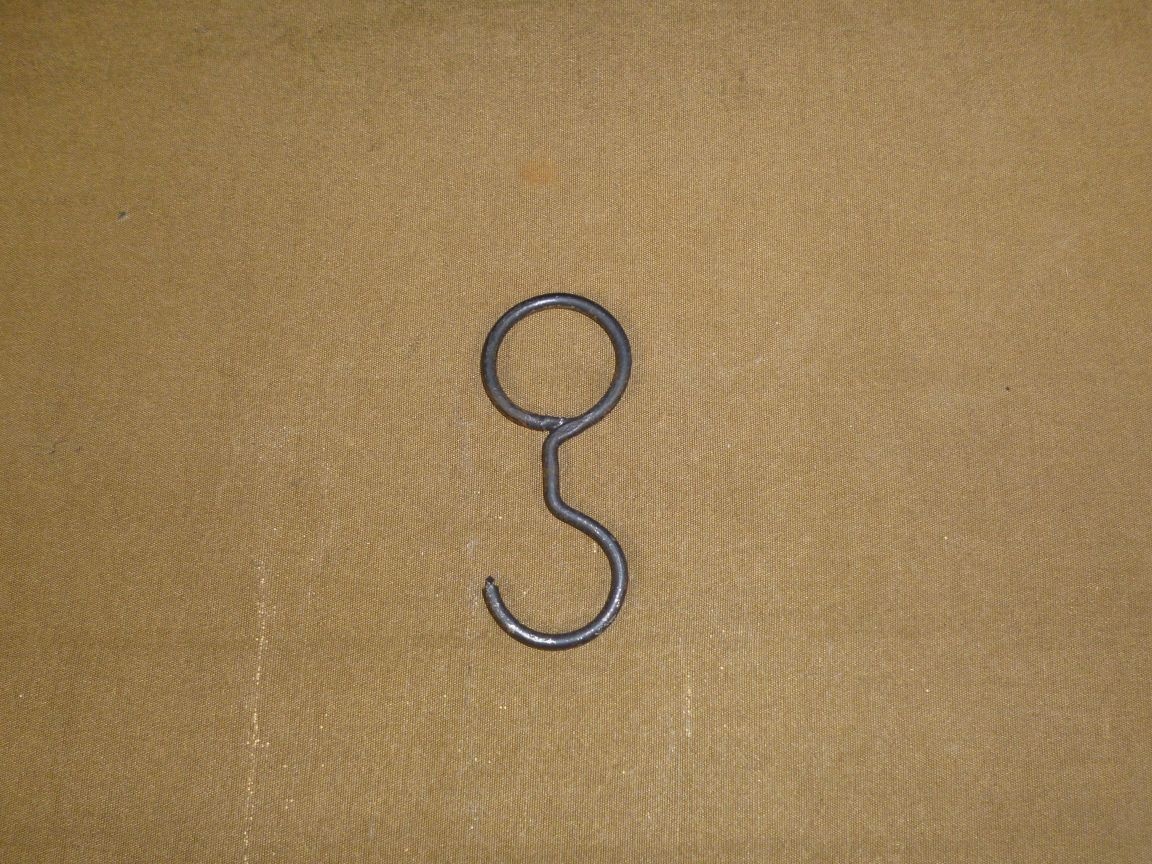
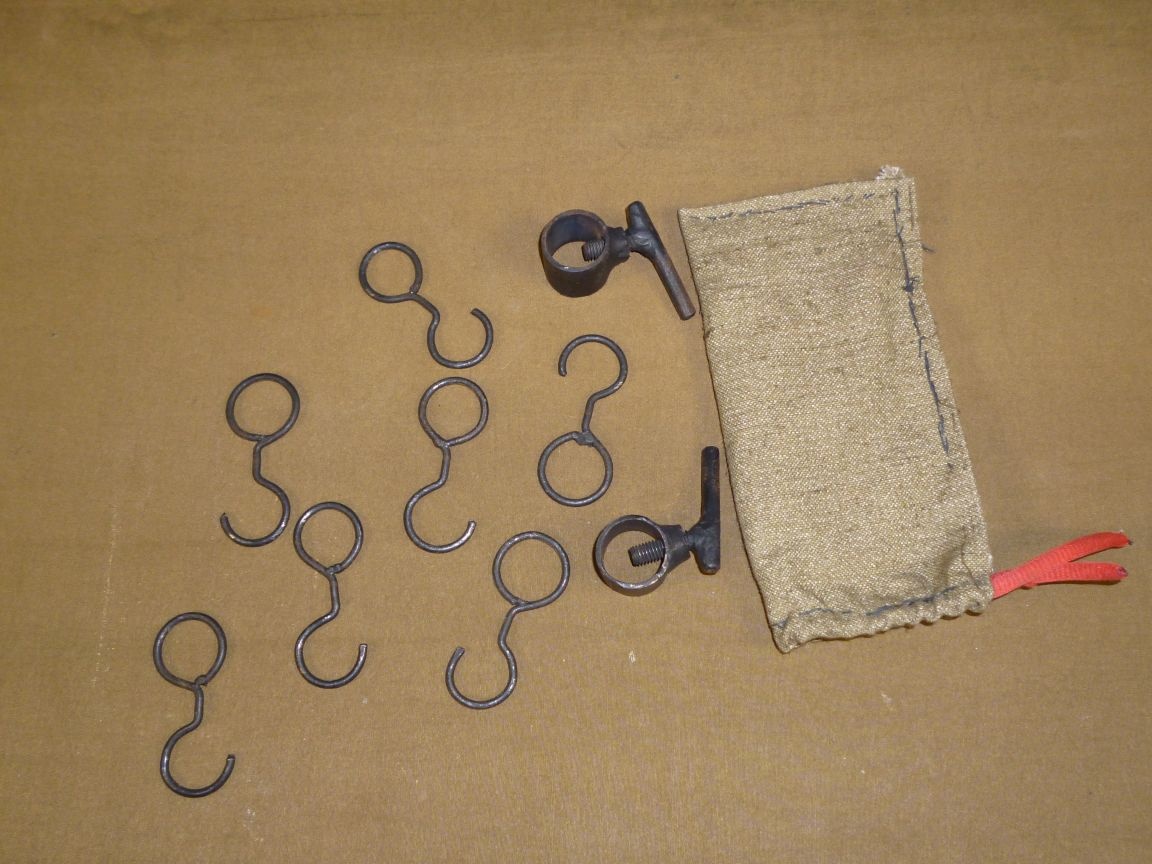
From wire with a diameter of 3 mm bend the hooks.
All parts are ready, it remains to paint them with heat-resistant paint. After drying, the details must be thoroughly heated with an industrial hairdryer for baking enamel, otherwise it will crumble.
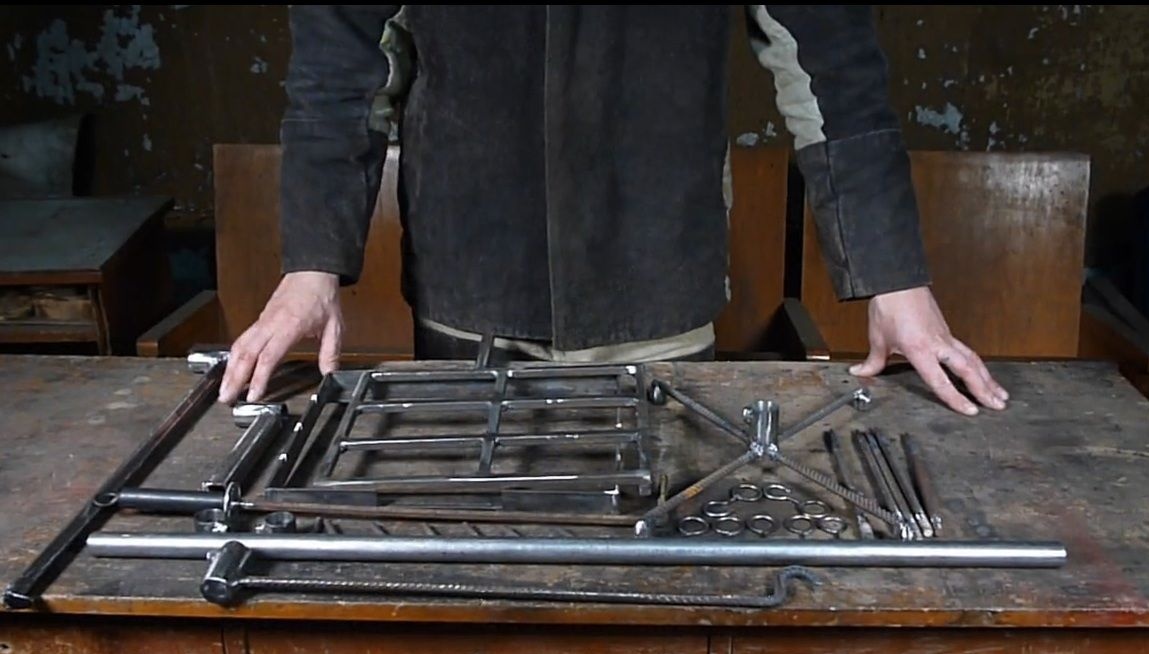
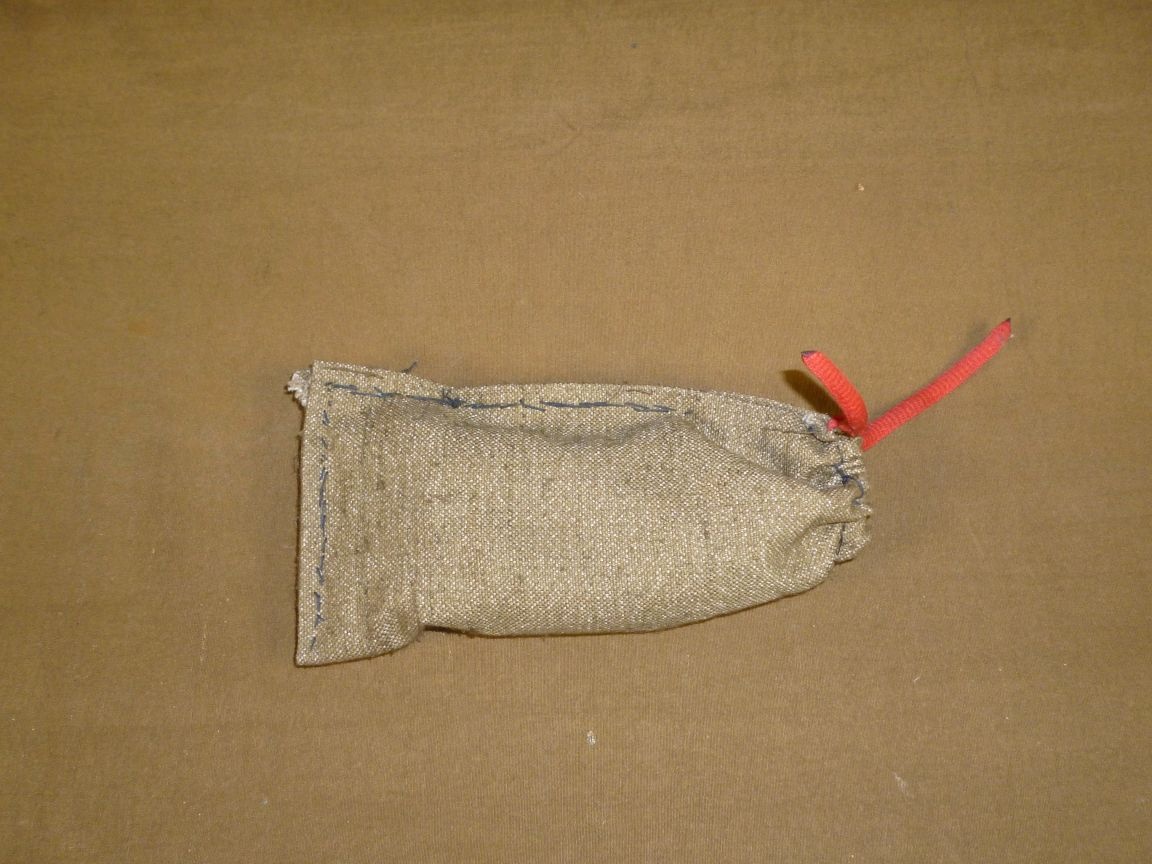
For convenience during transportation, a cover made of tarpaulin was sewn, for the whole product and separately for small parts.
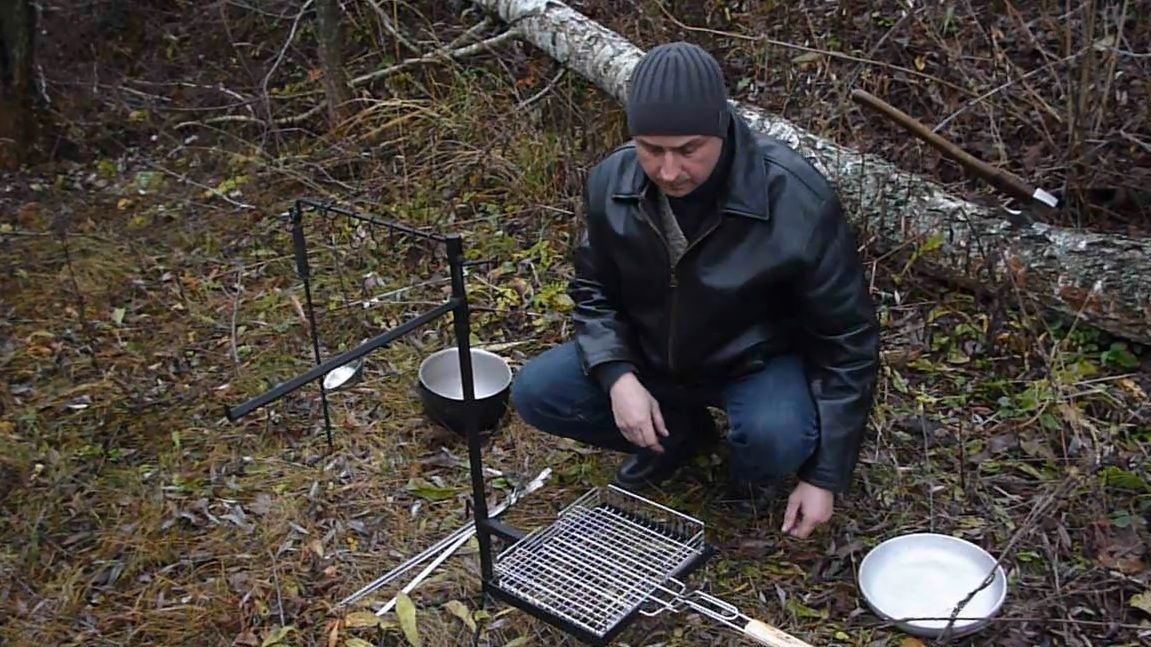
Now instructions for assembly and operation.
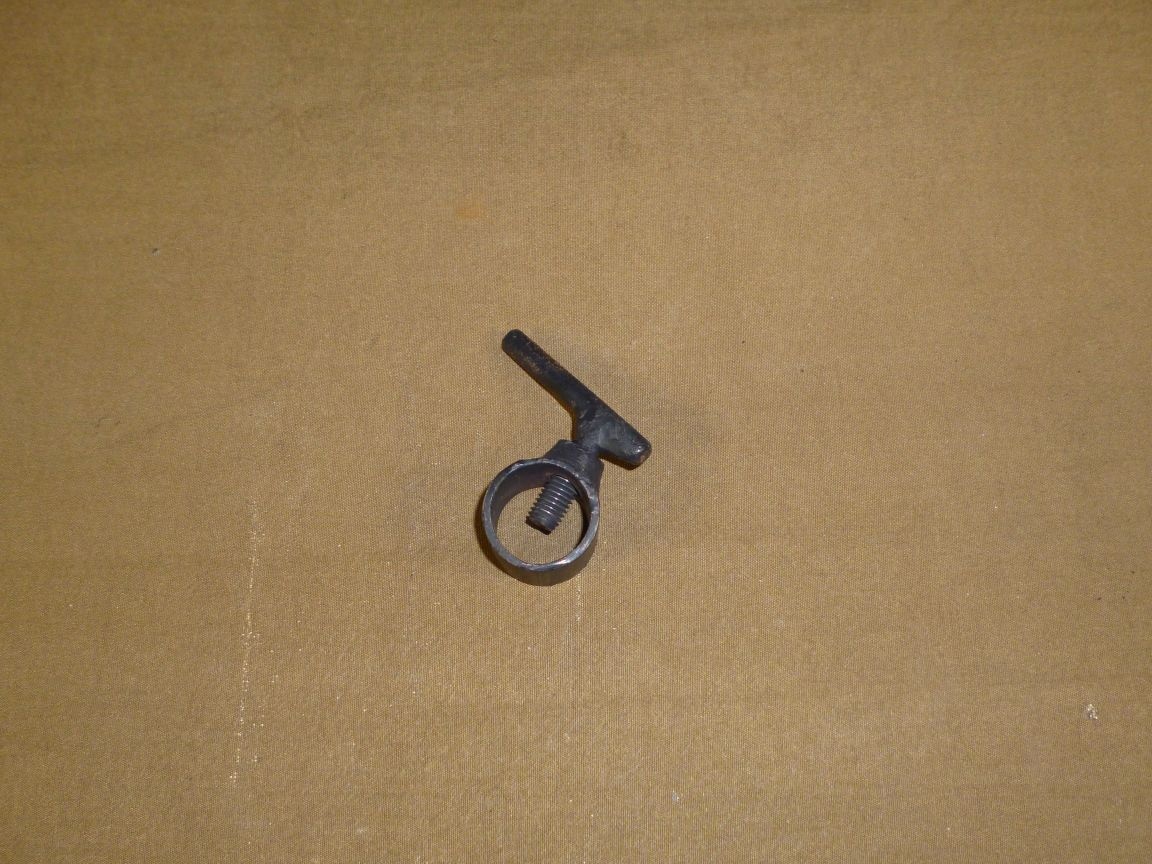
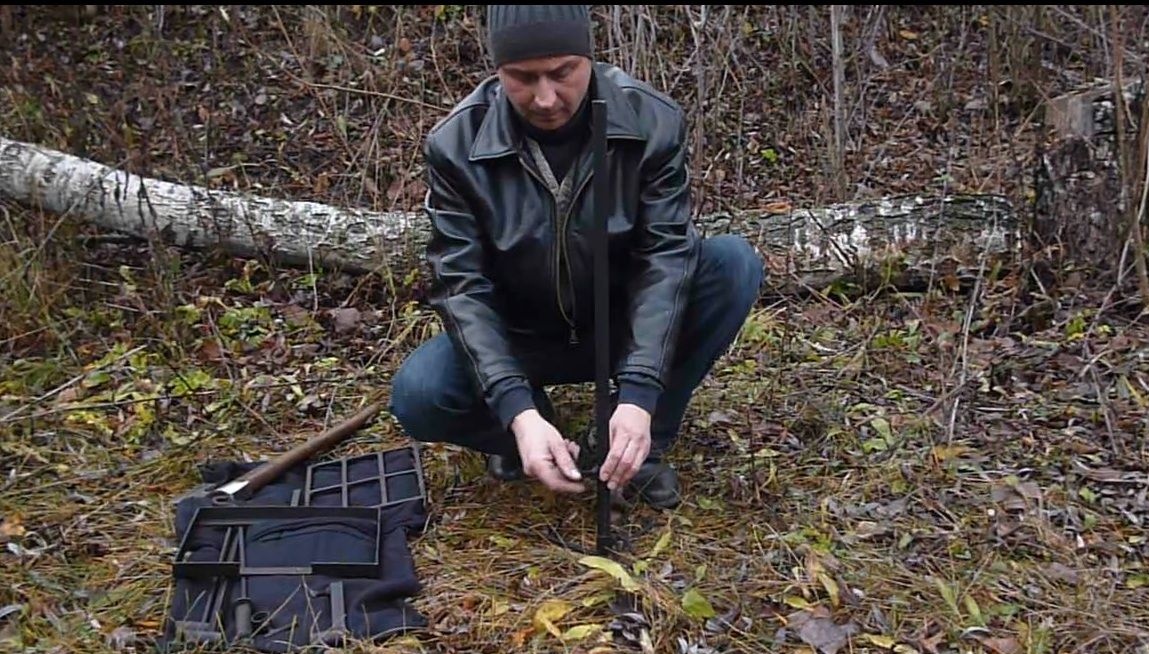
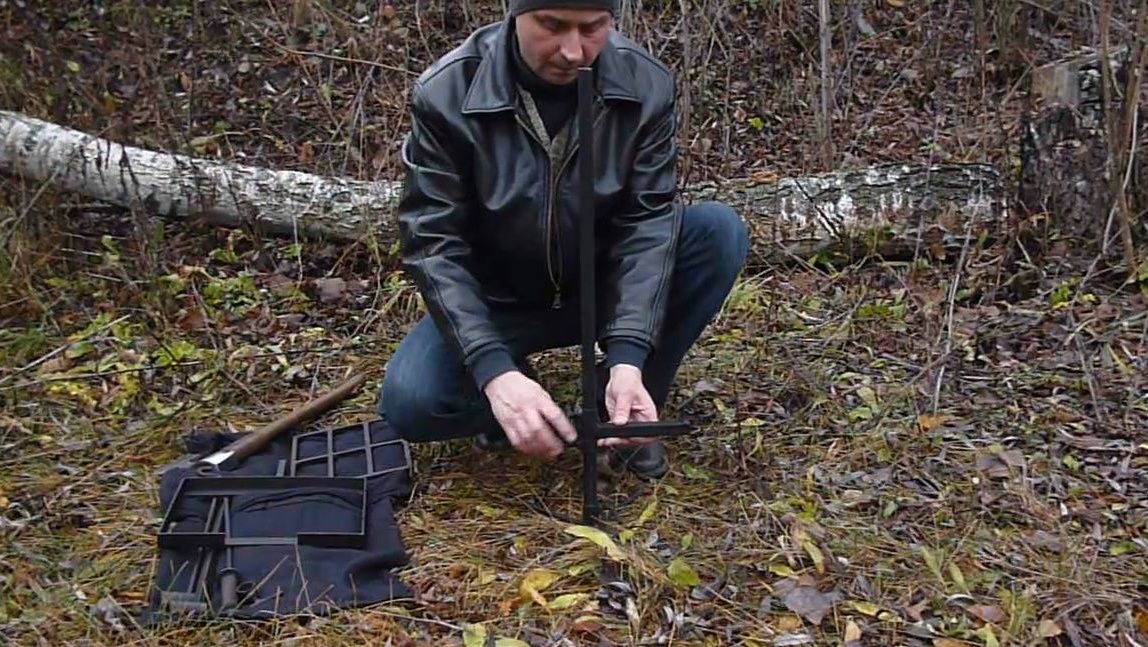
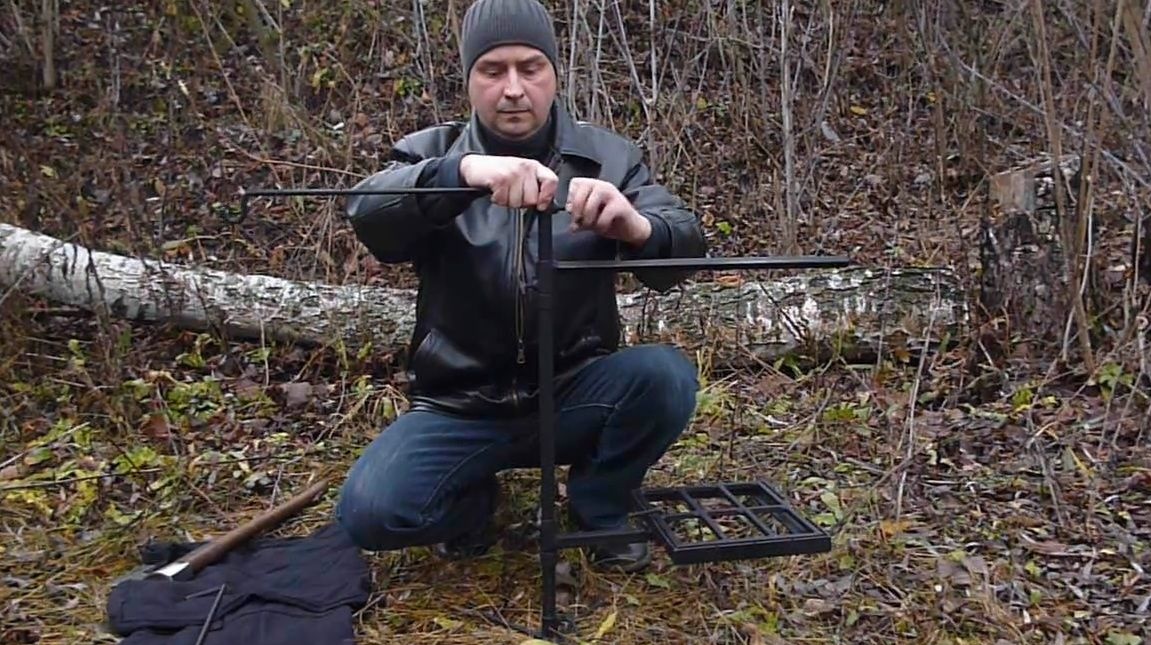
We fasten the pin to the rack and stick it into the ground.
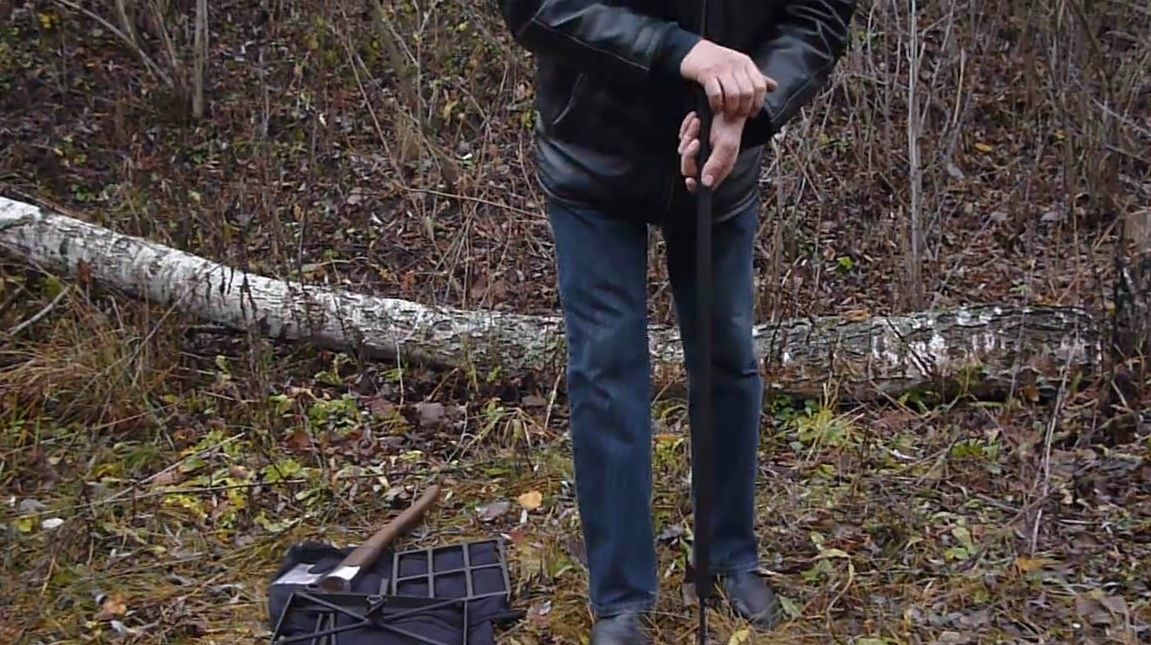
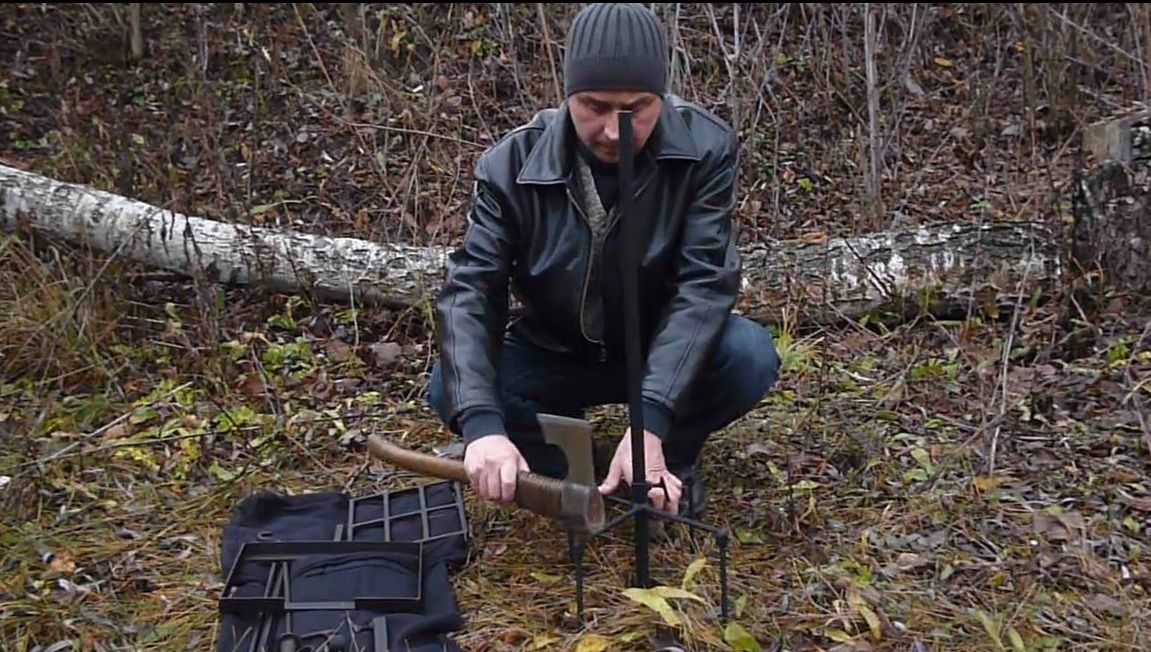
We fasten the remaining pins to the thrust base and stick them into the ground as well. If hard soil is clogged with an ax, this will only add stability. We fix the clamping screw.
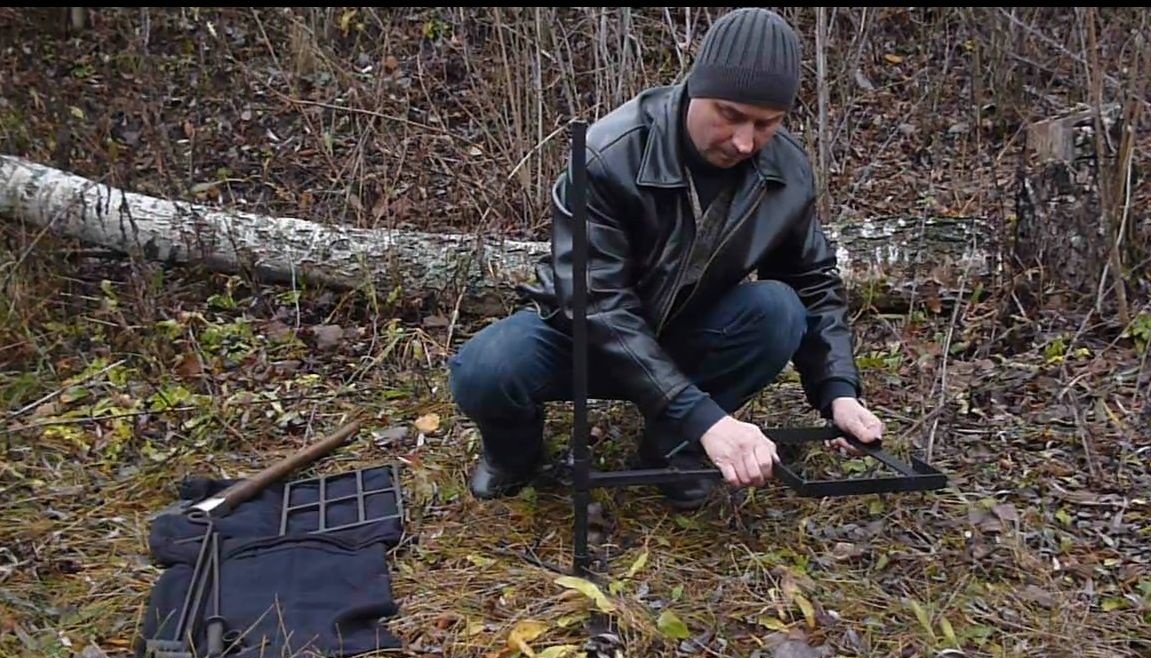
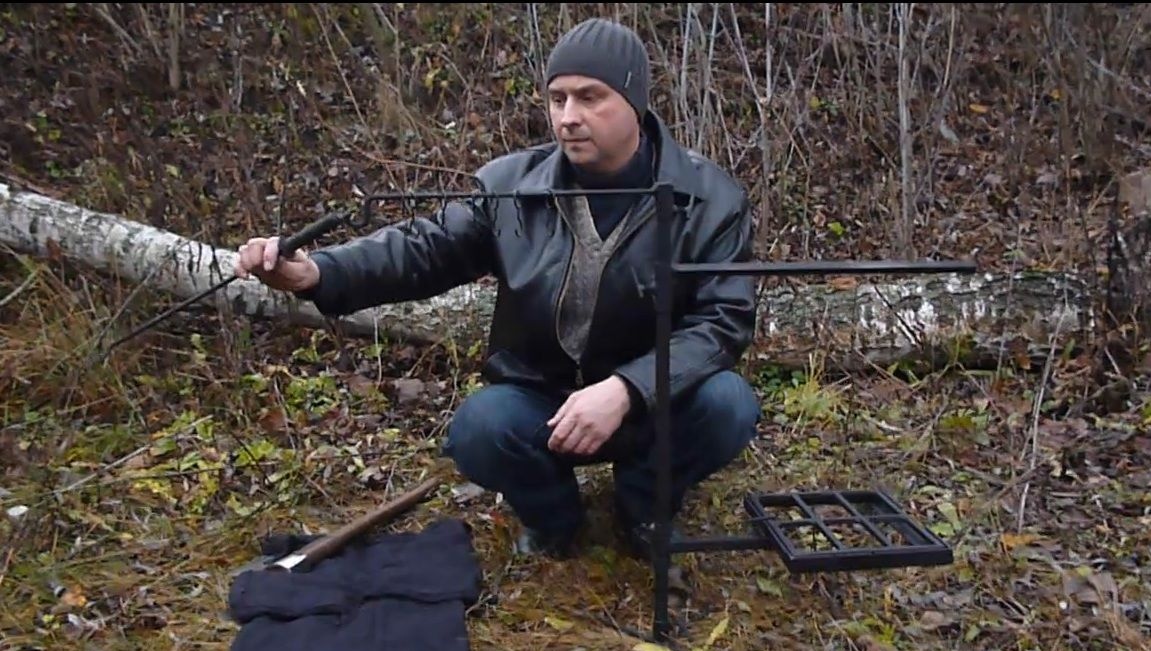
We install and fix the emphasis for a cooking surface at the necessary height.
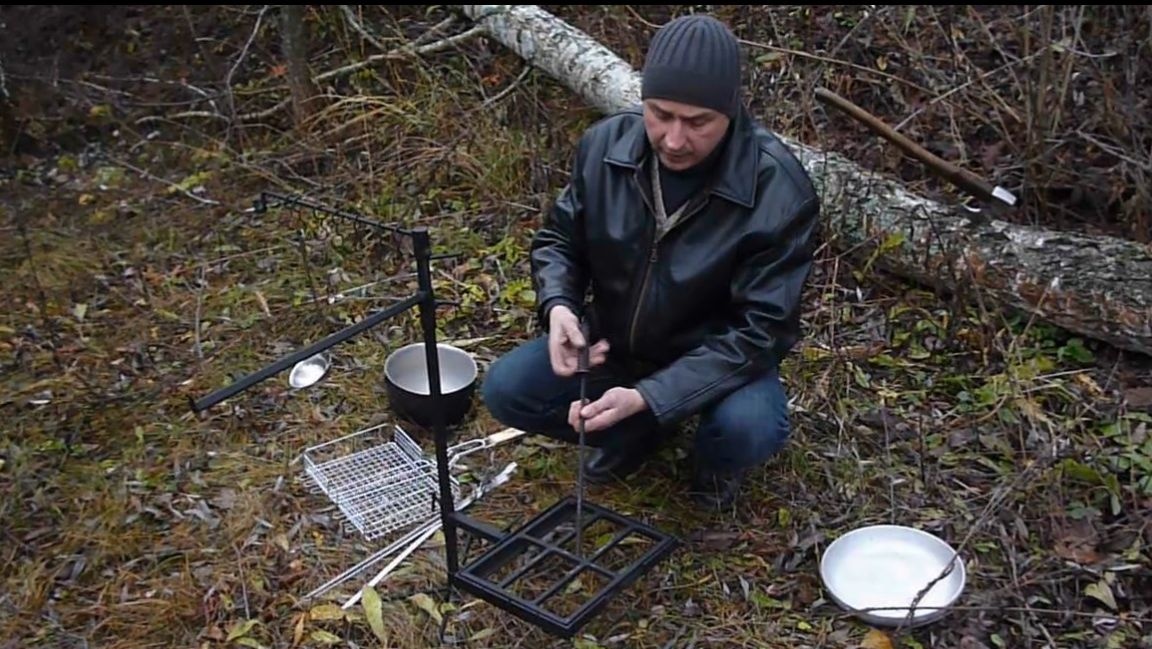
We install and fix the hob itself.

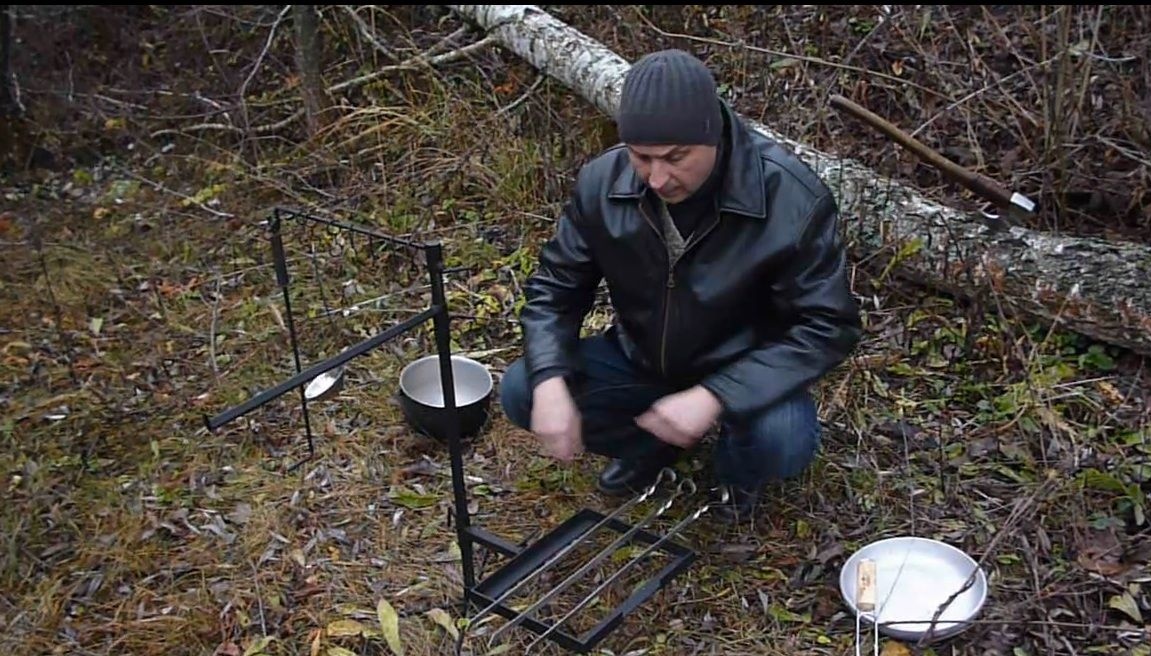
We install and fix at the right height the emphasis of the suspension for the pot.
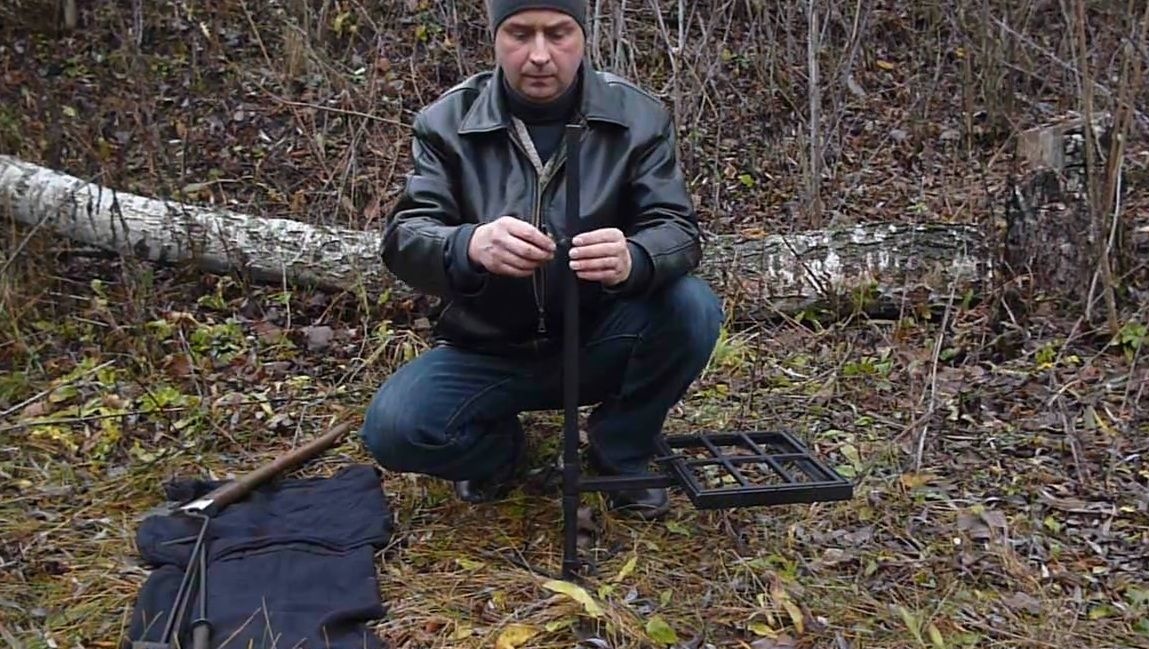
Install the suspension.
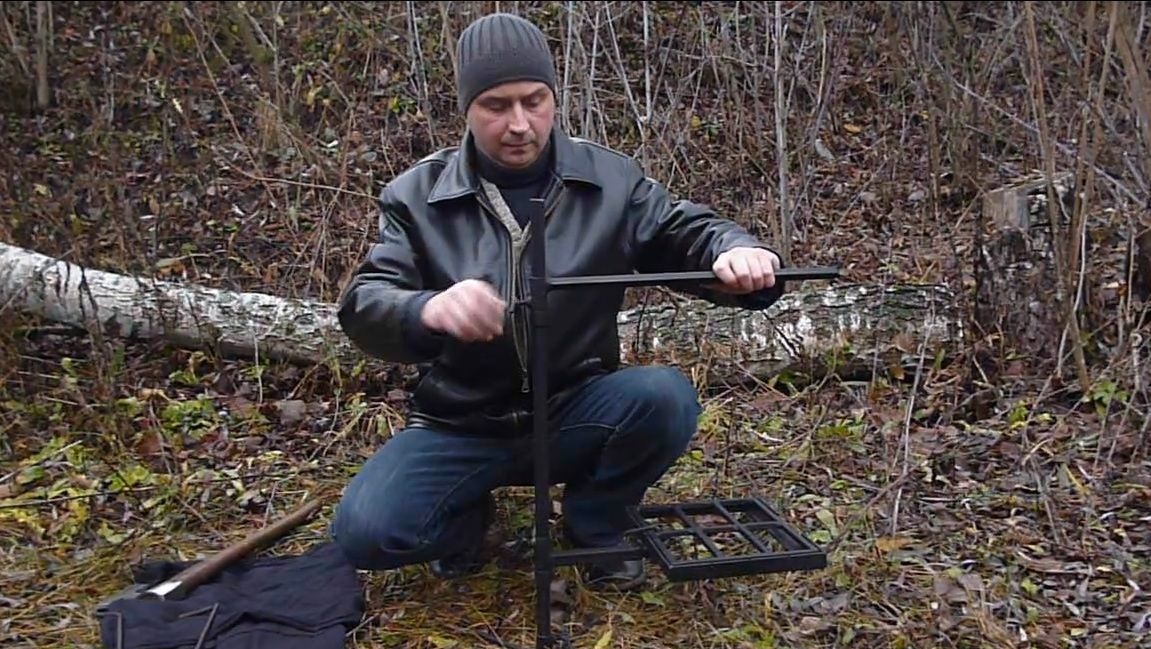
At the top of the rack we attach a suspension for bonfire accessories.
All suspensions are adjustable in height and the hob also in length.
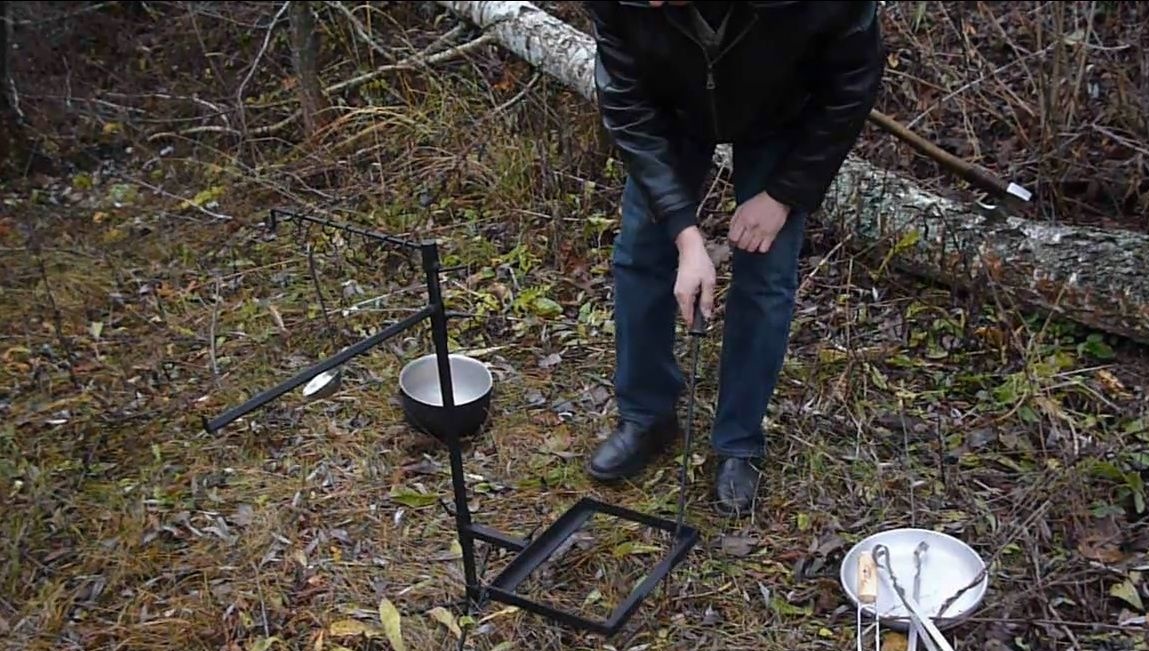
Using the poker, you can remove the stand for the pan and install the grill grate or skewer.
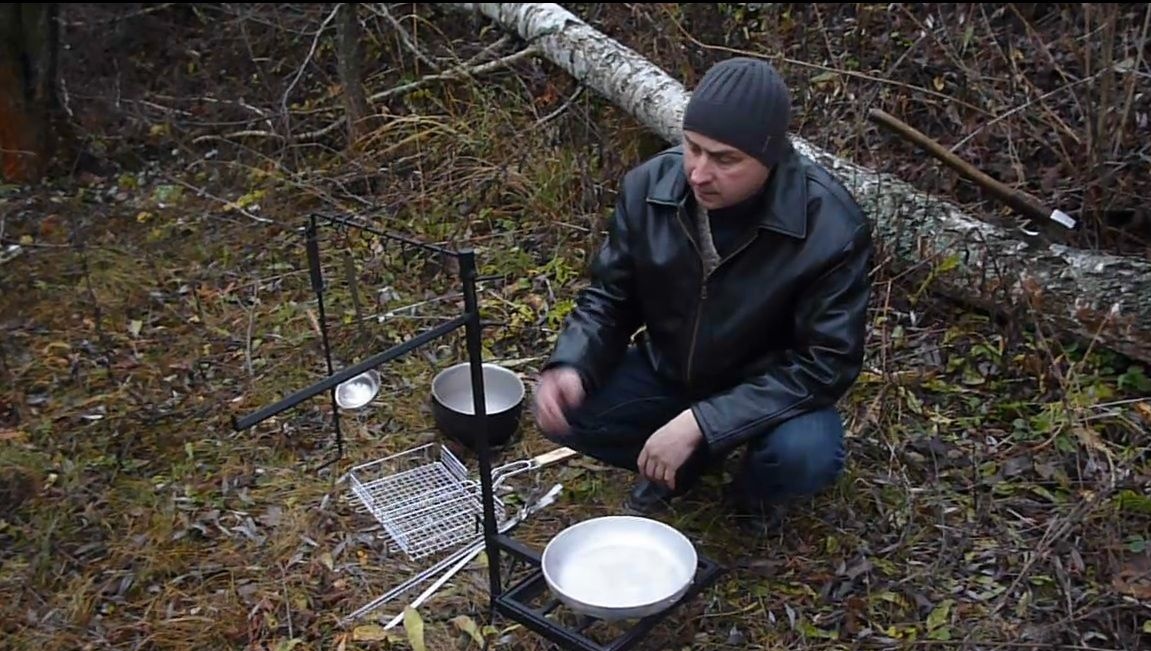
Also, if necessary, you can completely move the hob and hang a pot on the fire.
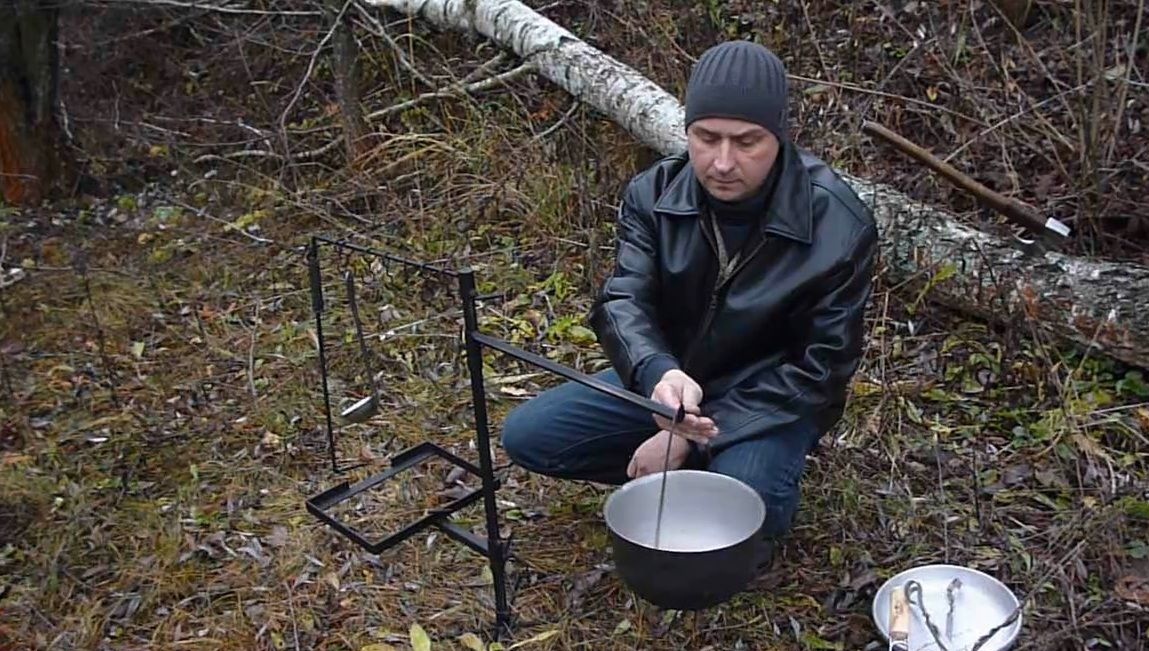
The stability test showed that the stand at a load of ninety kilograms does not tip over, but only bends a little.
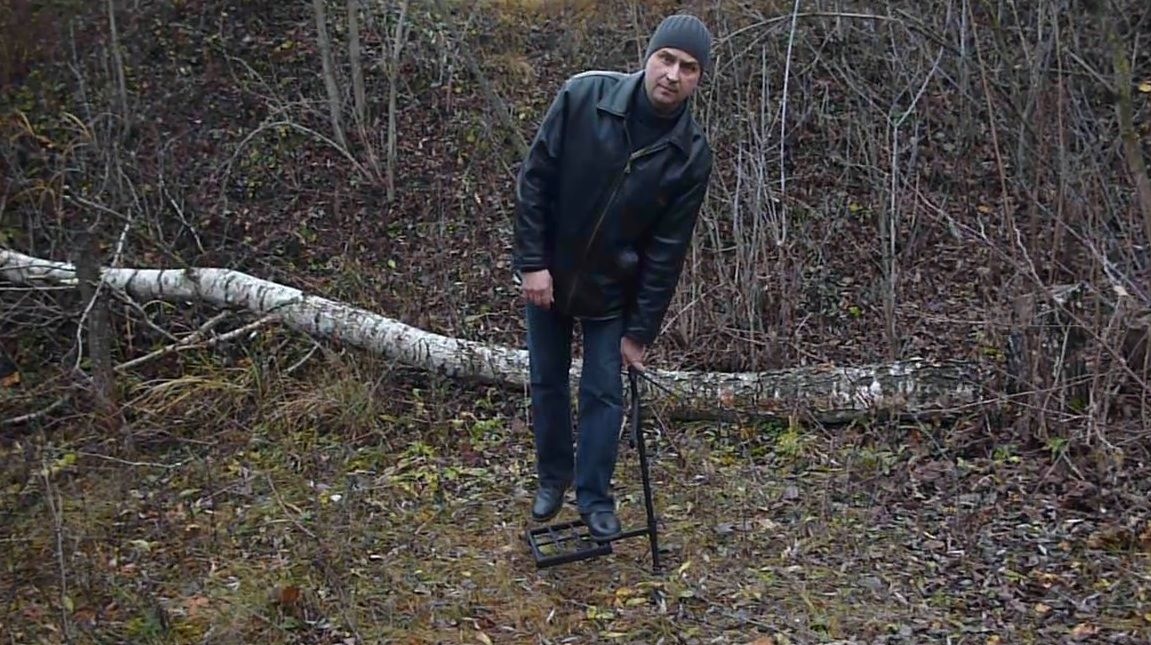
All a pleasant stay and delicious dishes cooked at the stake.
You can watch a video on the rack manufacturing process here.