

Hello to all lovers homemade. Car owners are familiar with the situation with replacing tires from winter to summer or vice versa. On the Internet there are many options for this purpose, both machine tools and individual fixtures. In this article I will tell you how to make a tire changer do it yourselfthat will help everyone car enthusiast to disassemble or bar the wheels on your car, whether it is tubeless or not. Also, this device will save you money and add experience in welding.
Before proceeding to read the article, I suggest watching a video with testing this tire changer.
In order to make a tire changer, you will need:
* Welding machine, electrodes
* Personal protective equipment: gaiters, welding mask
* Profile pipe 40 * 20
* Metal brush
* M12 bolts and nuts to them
* Motor rotor bearing
* Magnetic corners for welding
* Angle grinder and cutting disc
* Car camera
* Building corner
* Metal pipe 60 mm
* Metal angle 50 mm
That's all you need to build such a homemade product.
Step one.
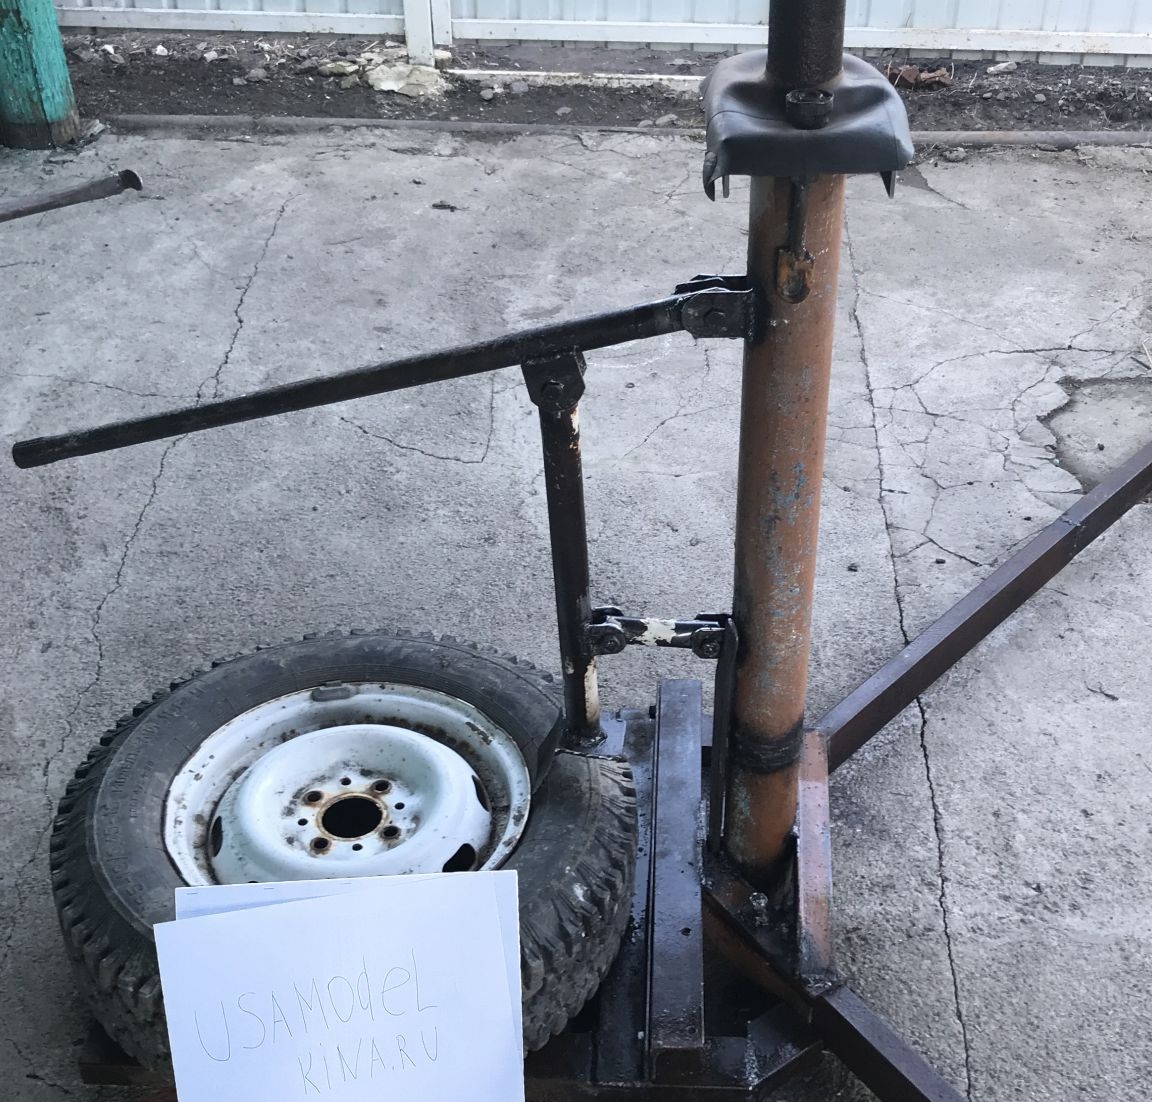
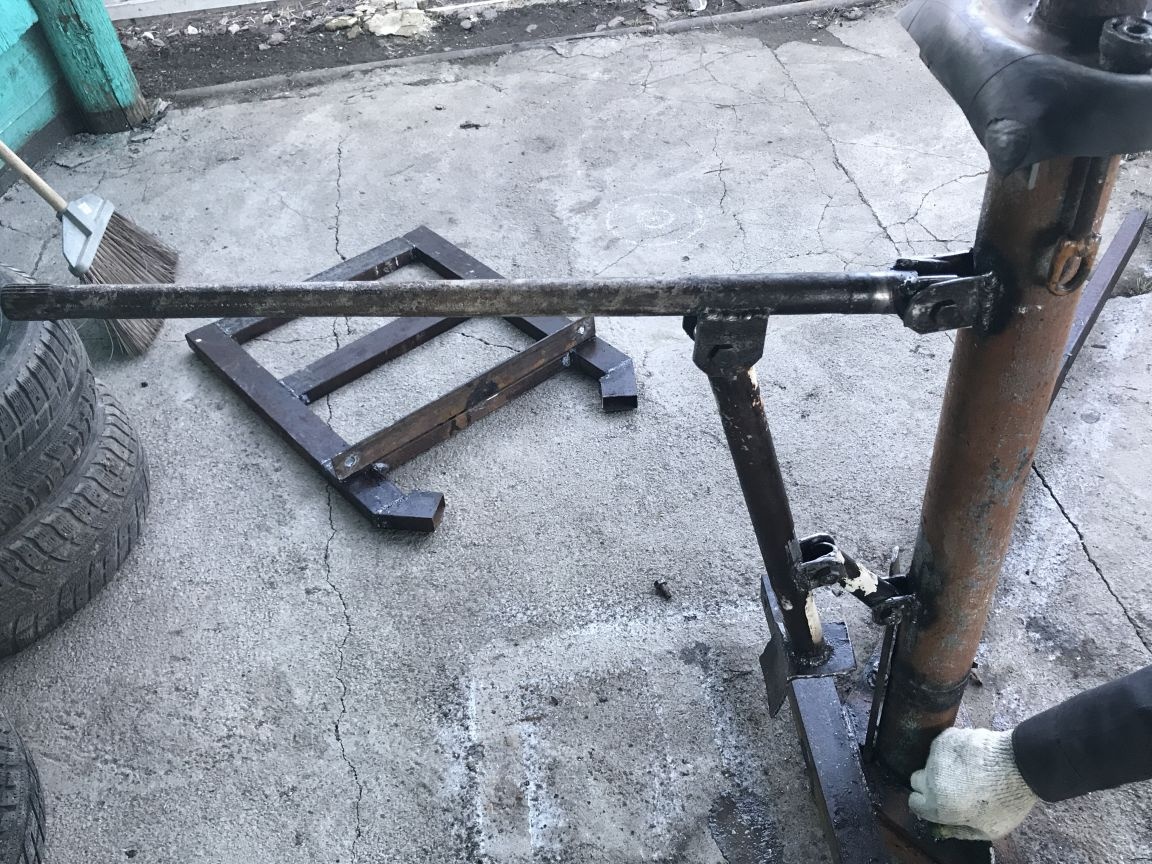
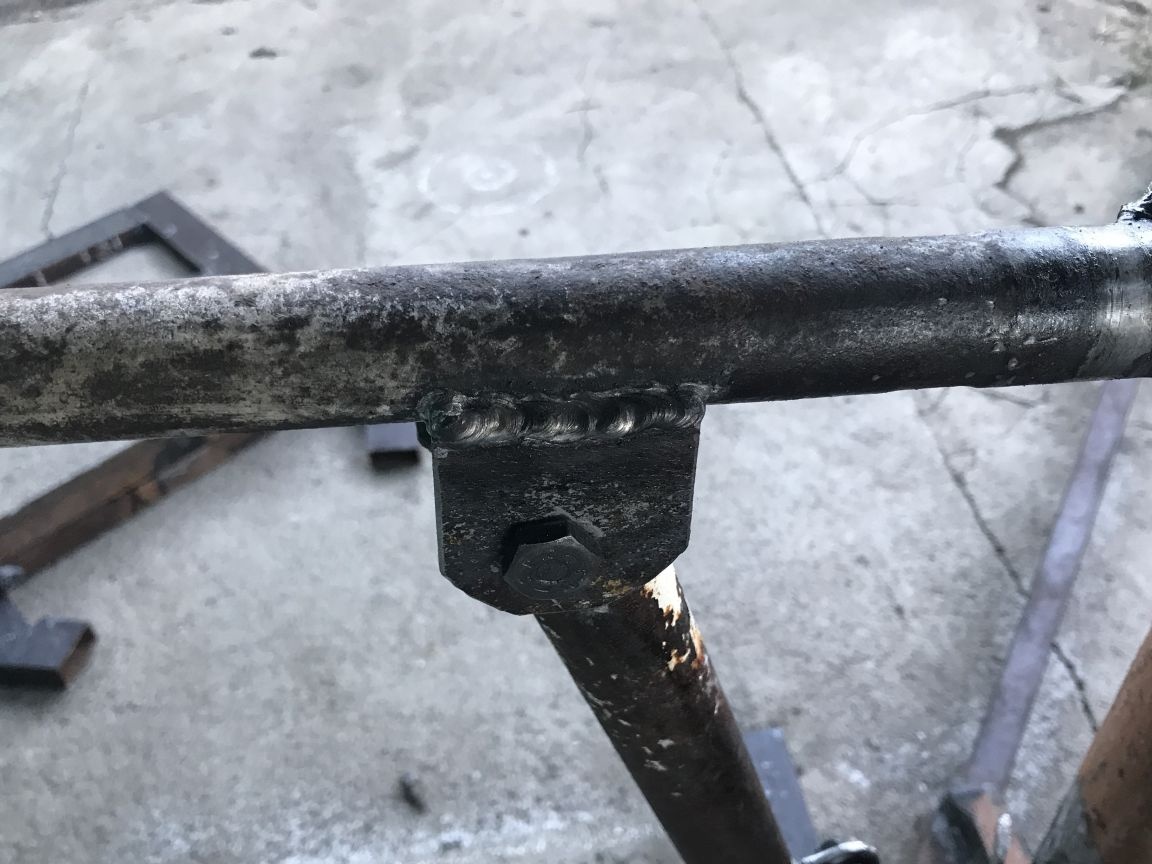
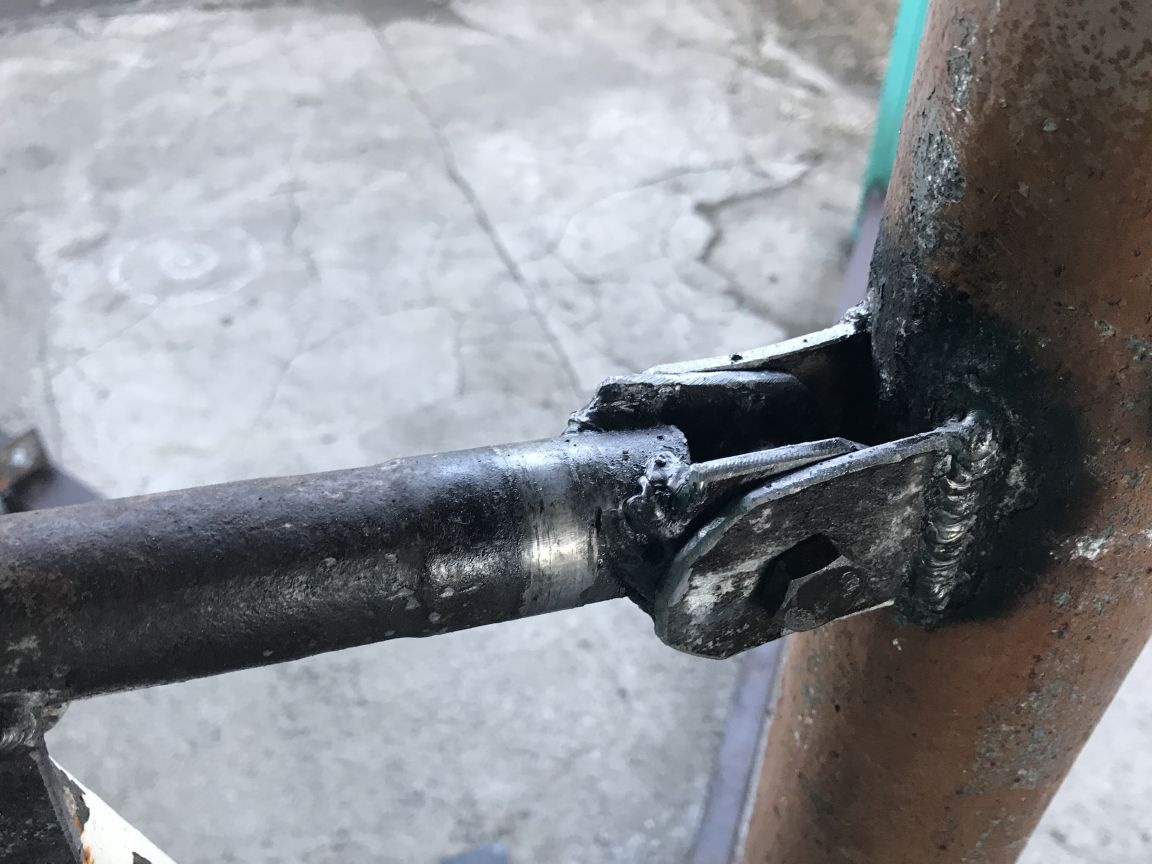
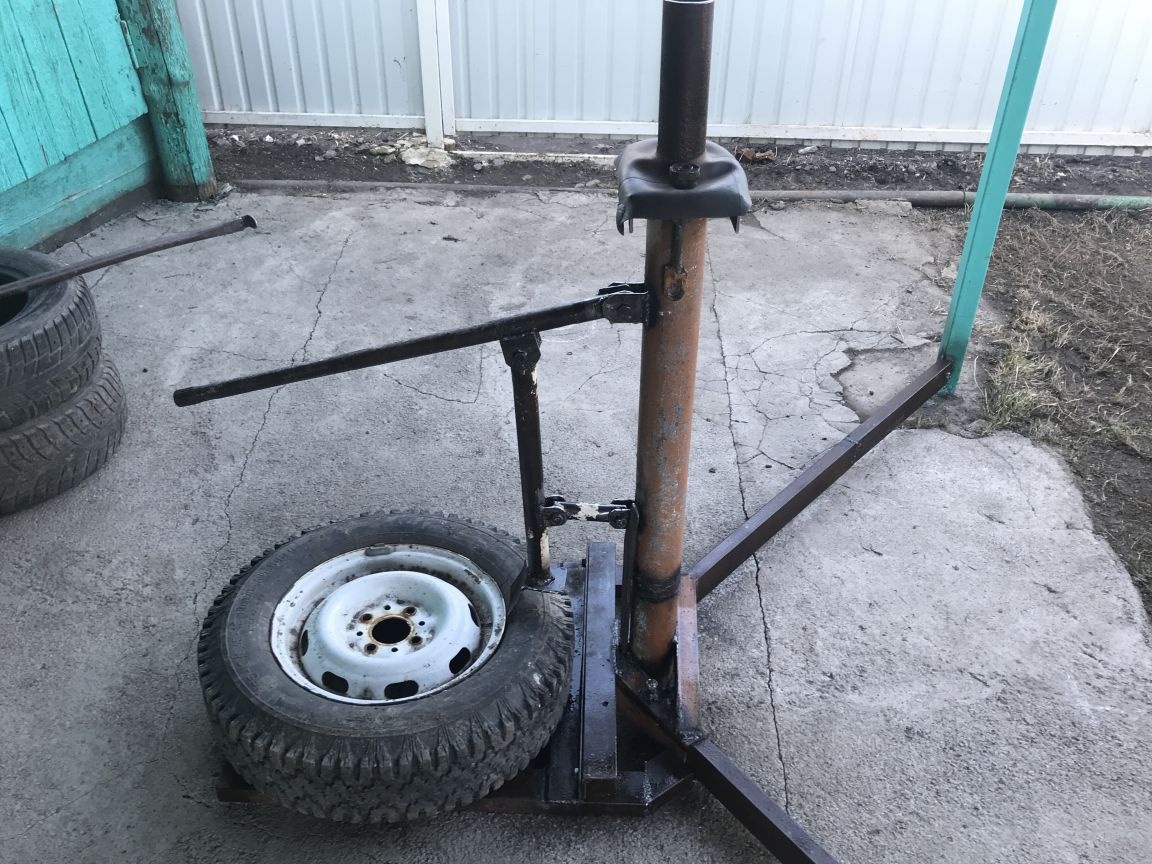
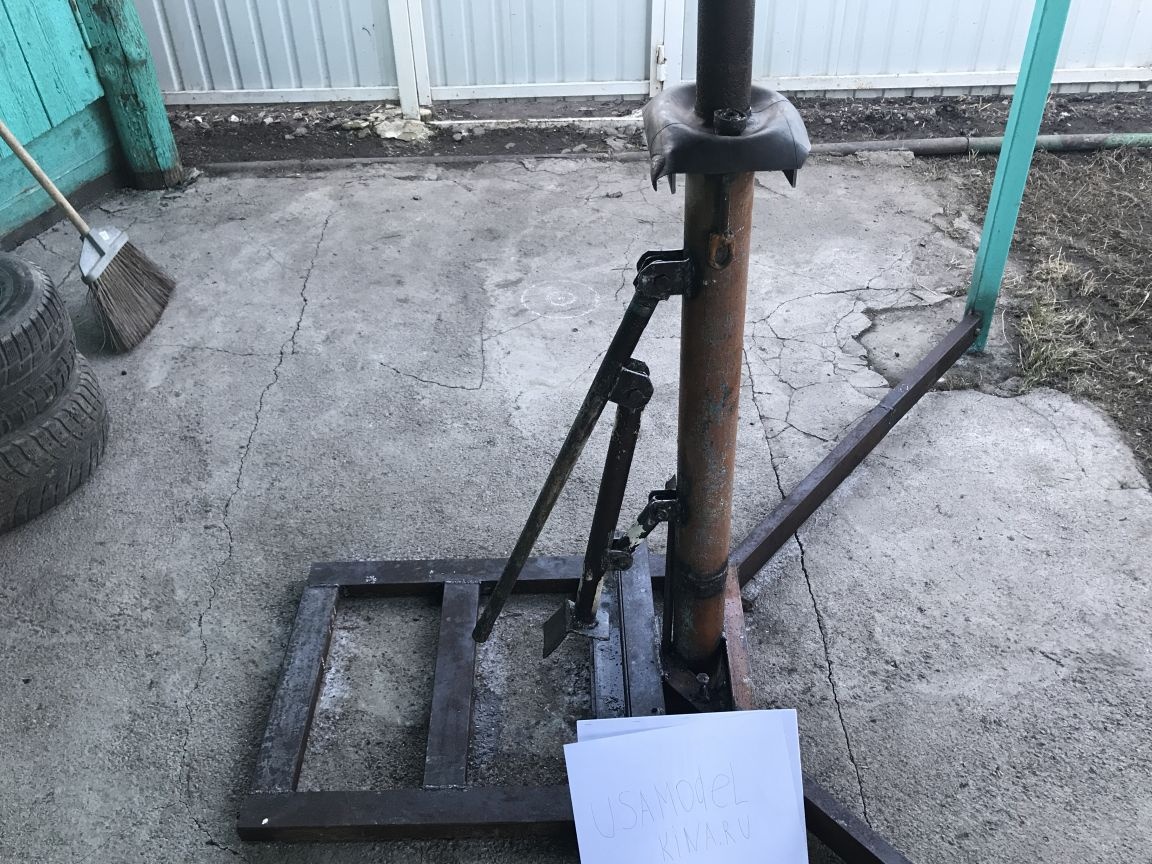
First of all, it is necessary to make a rack from the pipe to which the rest of the "farm" will be attached. We take a metal pipe with a diameter of 60 mm and below it we weld two corners of 50 mm to the side so that the 40 * 20 profile enters, we place the corners at an angle of about 120 ° relative to each other. In the upper part of the corners we drill holes and weld nuts under the M12 bolts, they will continue to hold profile pipes.
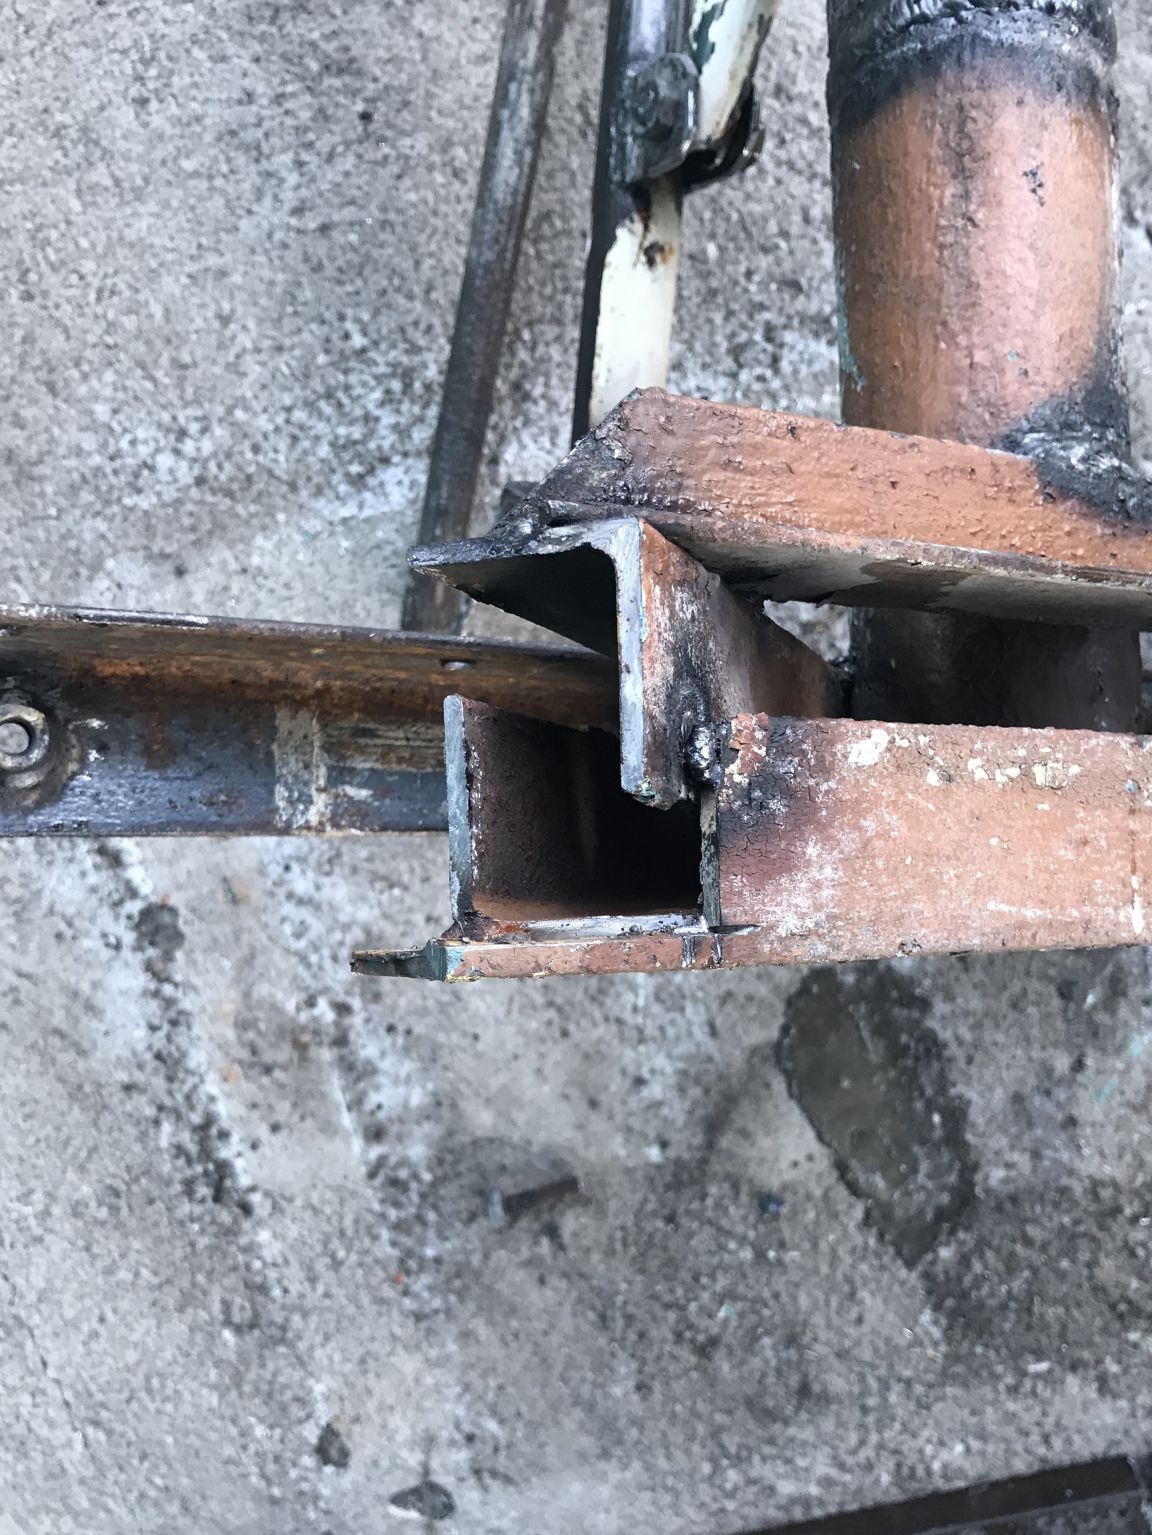
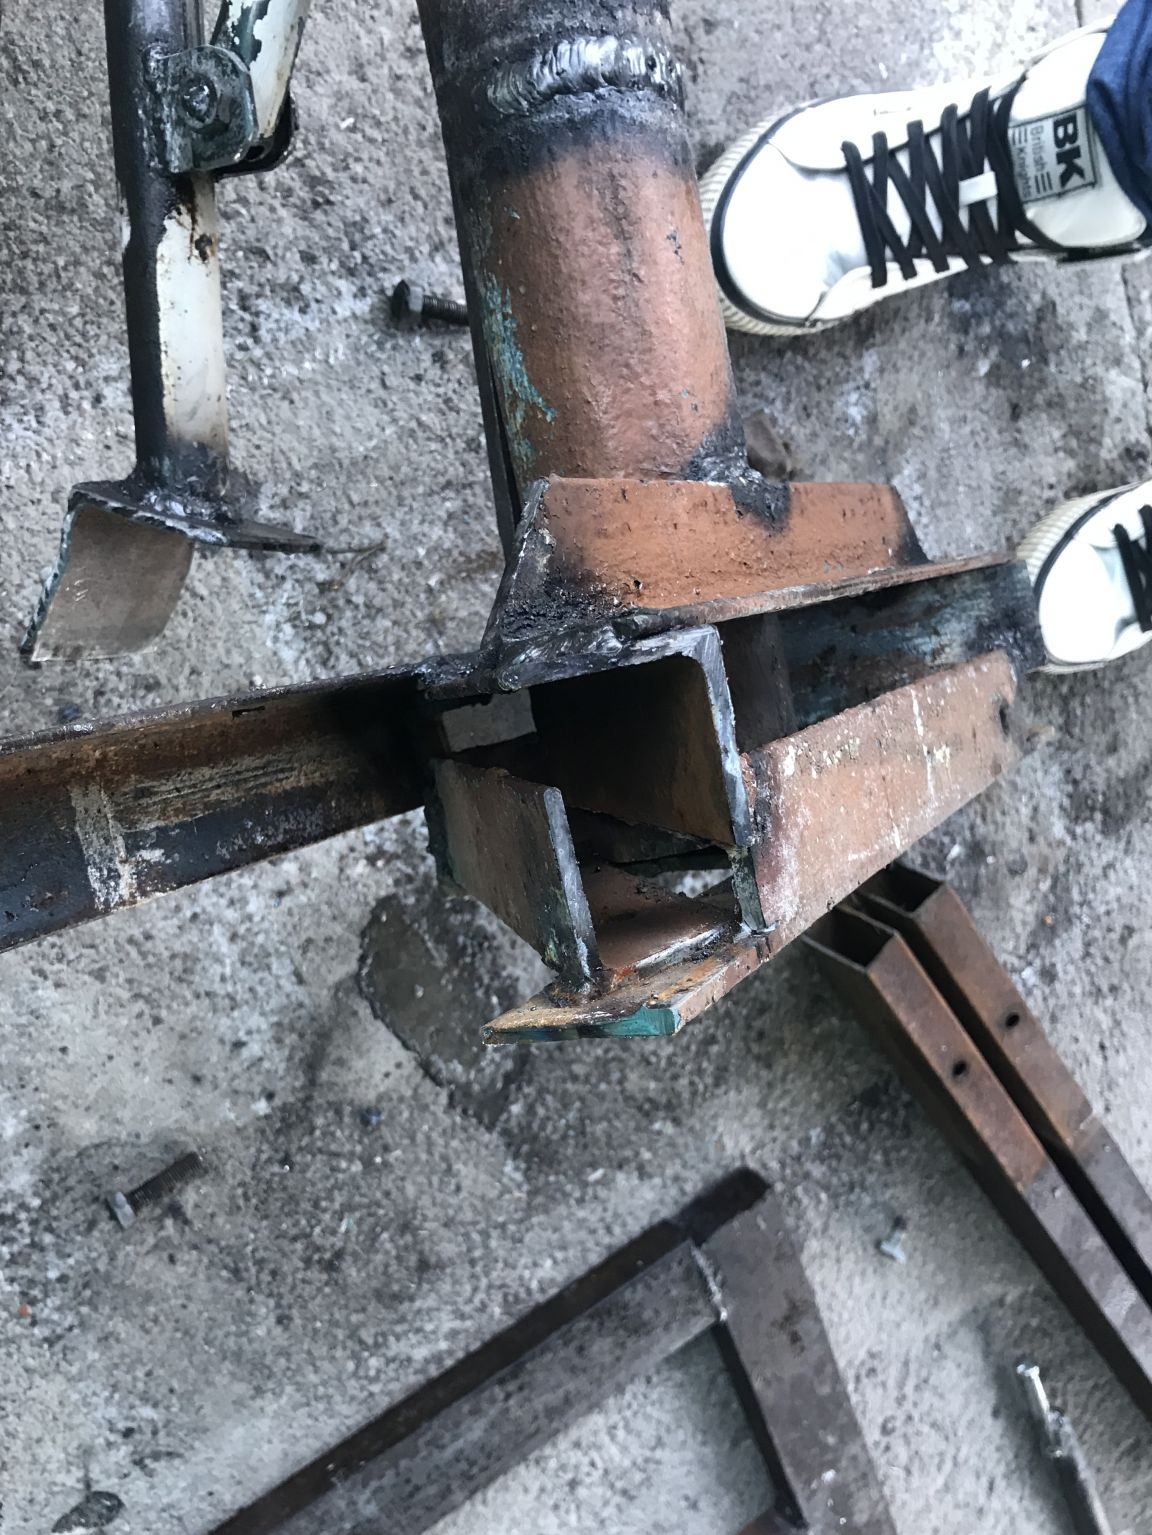
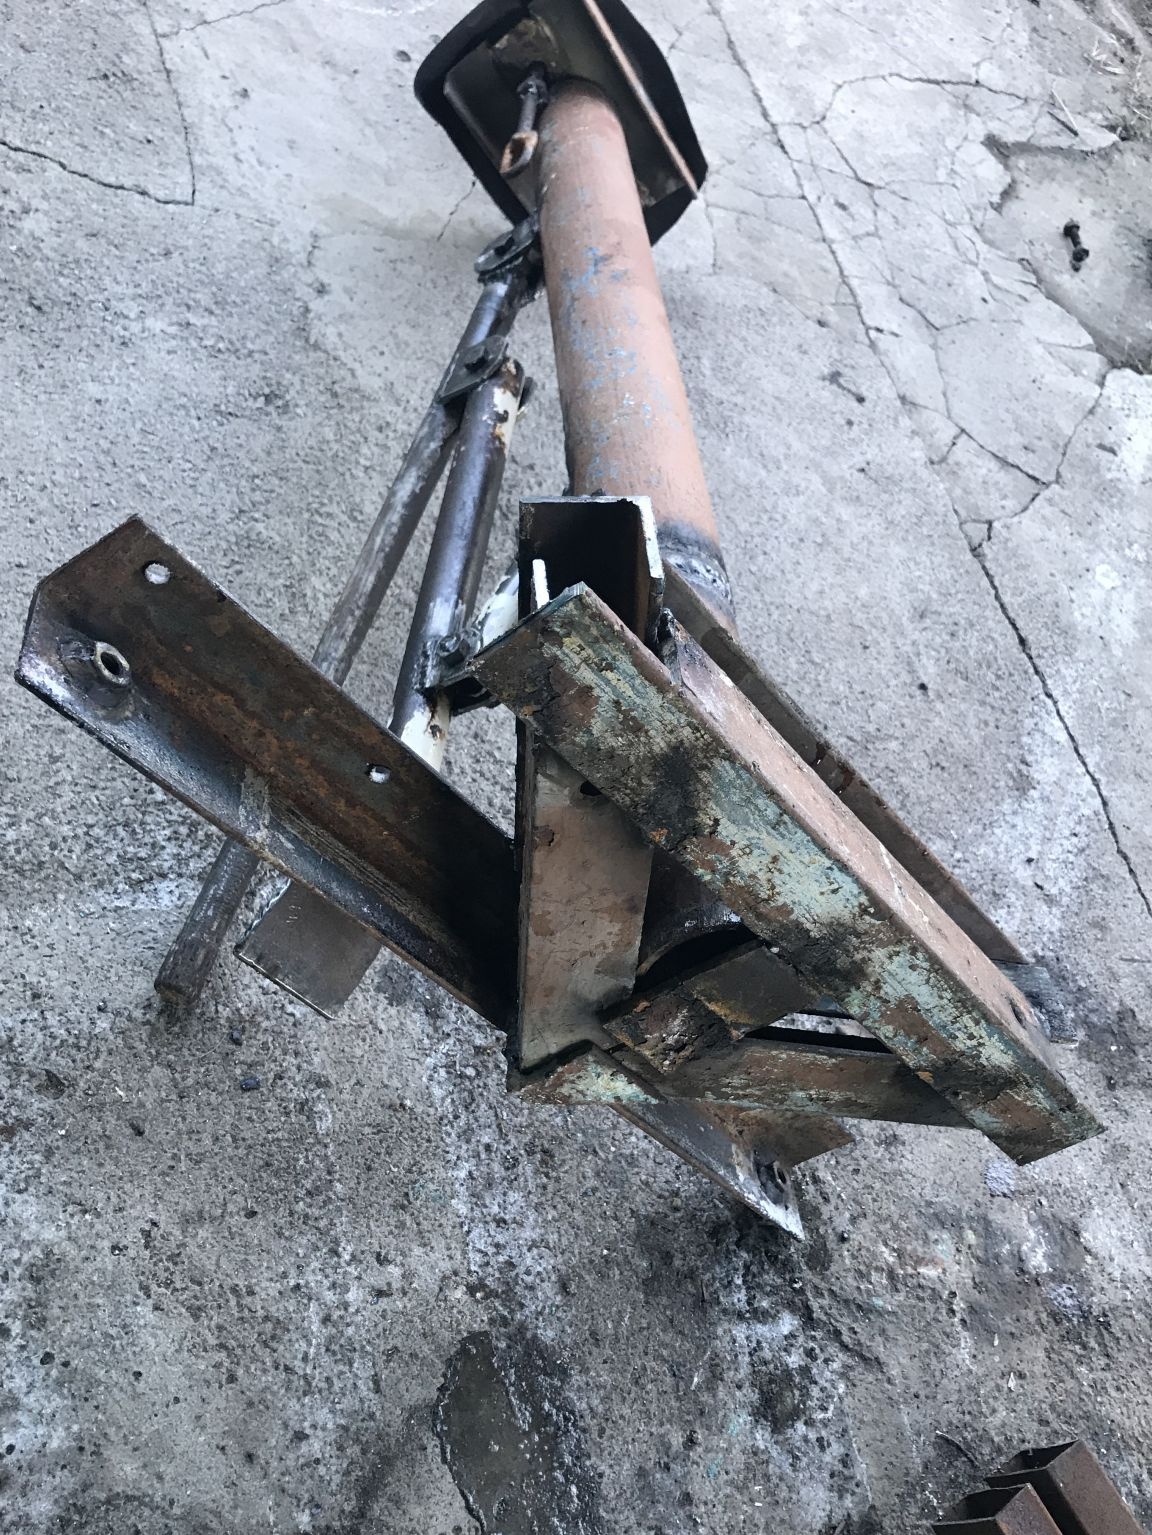
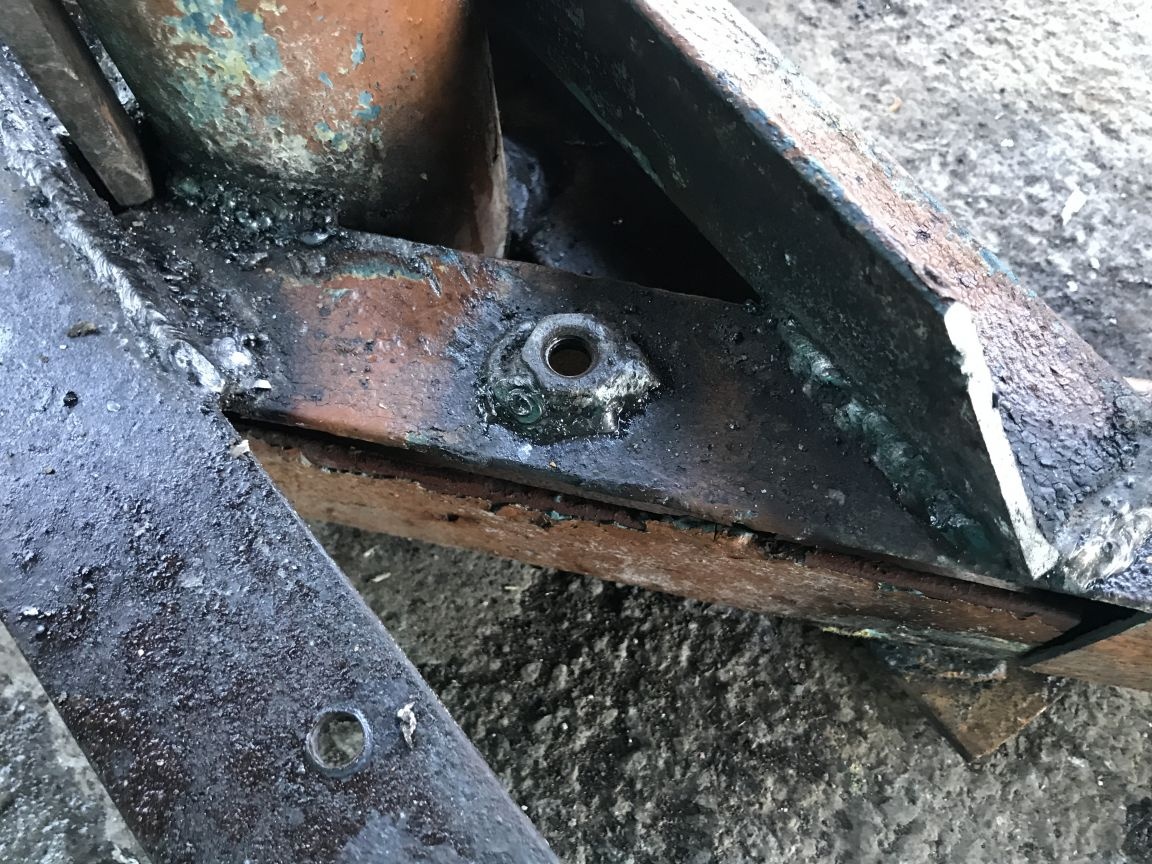
For greater strength, we weld a corner connecting the two previous ones. On the other side of the pipe we weld another angle of 50 mm and drill holes for two M12 bolts in it and weld nuts to the corner from the inside.
Step Two
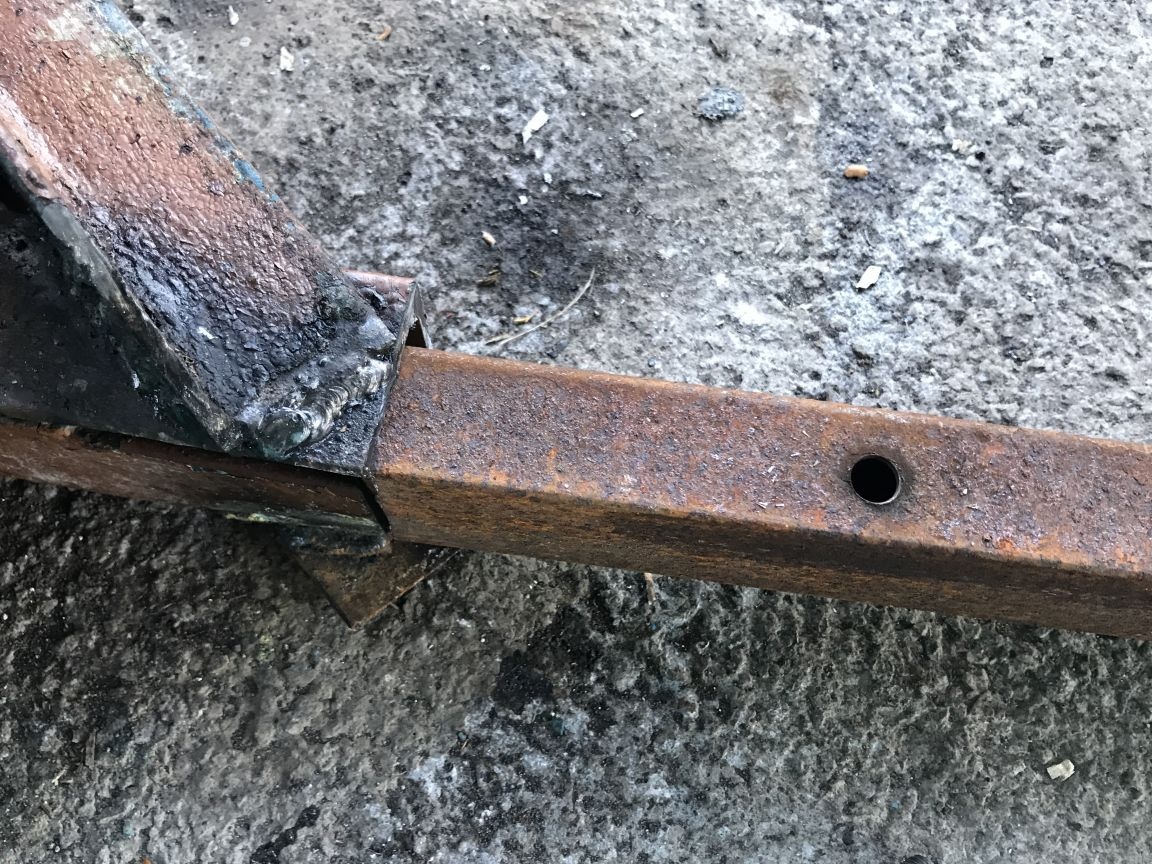
Now we make the base, which will serve as a substrate for the wheel, on which the residual pressure in the wheel will be released. We make 40 * 20 sections for the base from the profile. We take a welding machine, electrodes, gaiters, a protective mask and weld the frame parts. In order to understand how this should look, you can use the photo, the dimensions of the welded base should be slightly larger than the diameter of the wheel.
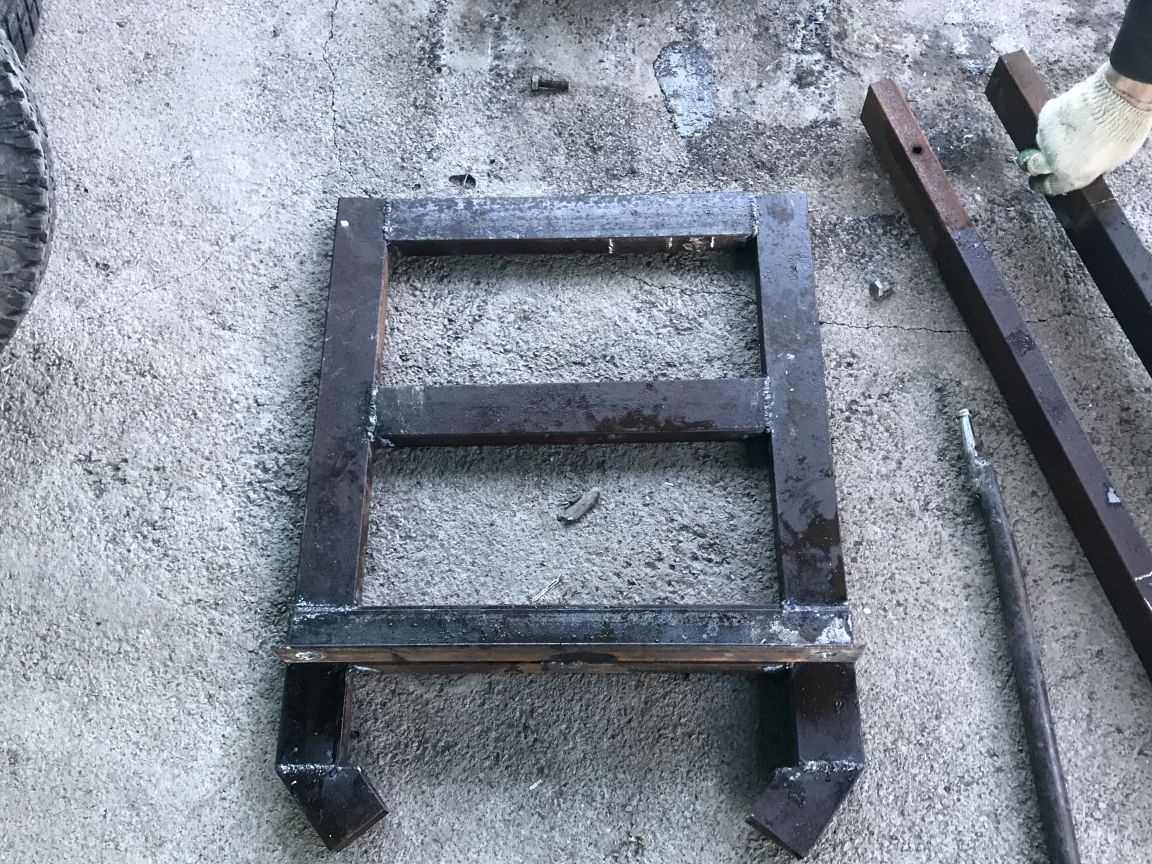
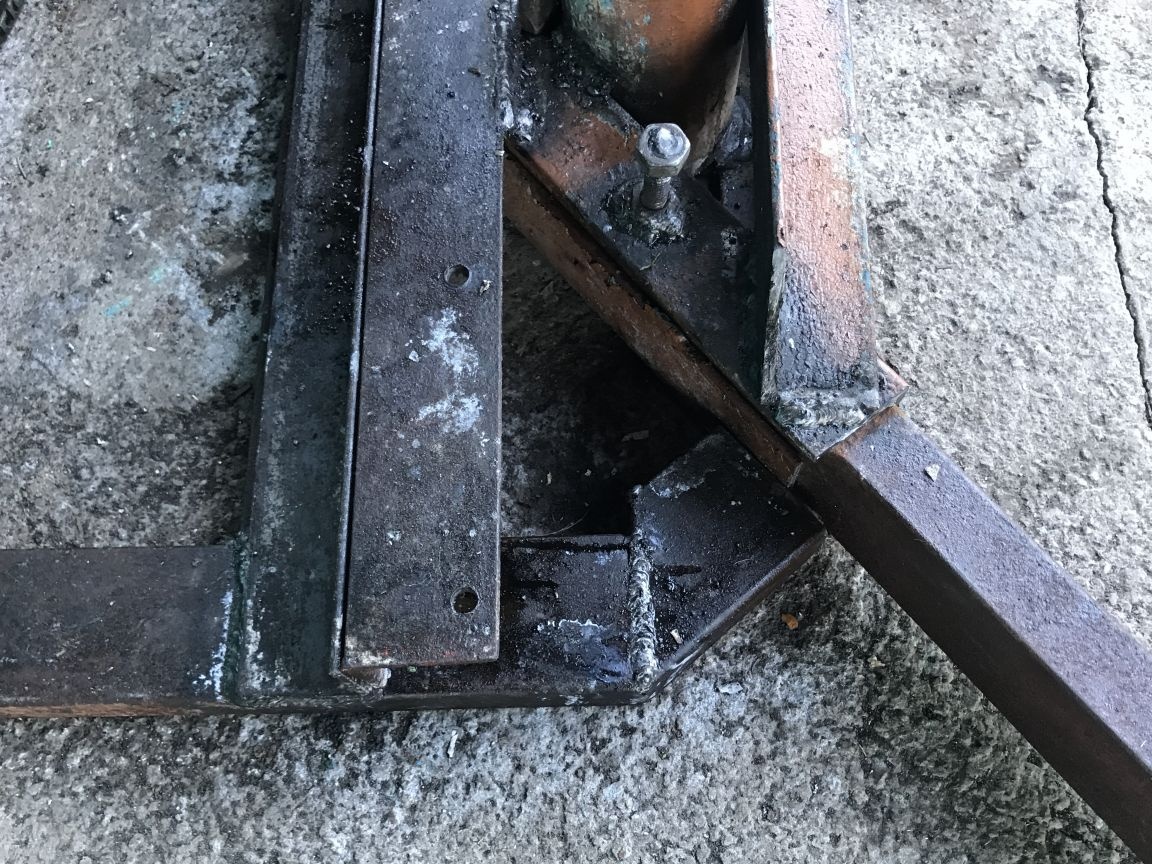
At the edges, we weld the profile at an angle of 45 °, and for strength we install a partition from the same profile pipe, we also attach a 50 mm corner to the base to stop the wheel.
Step Three
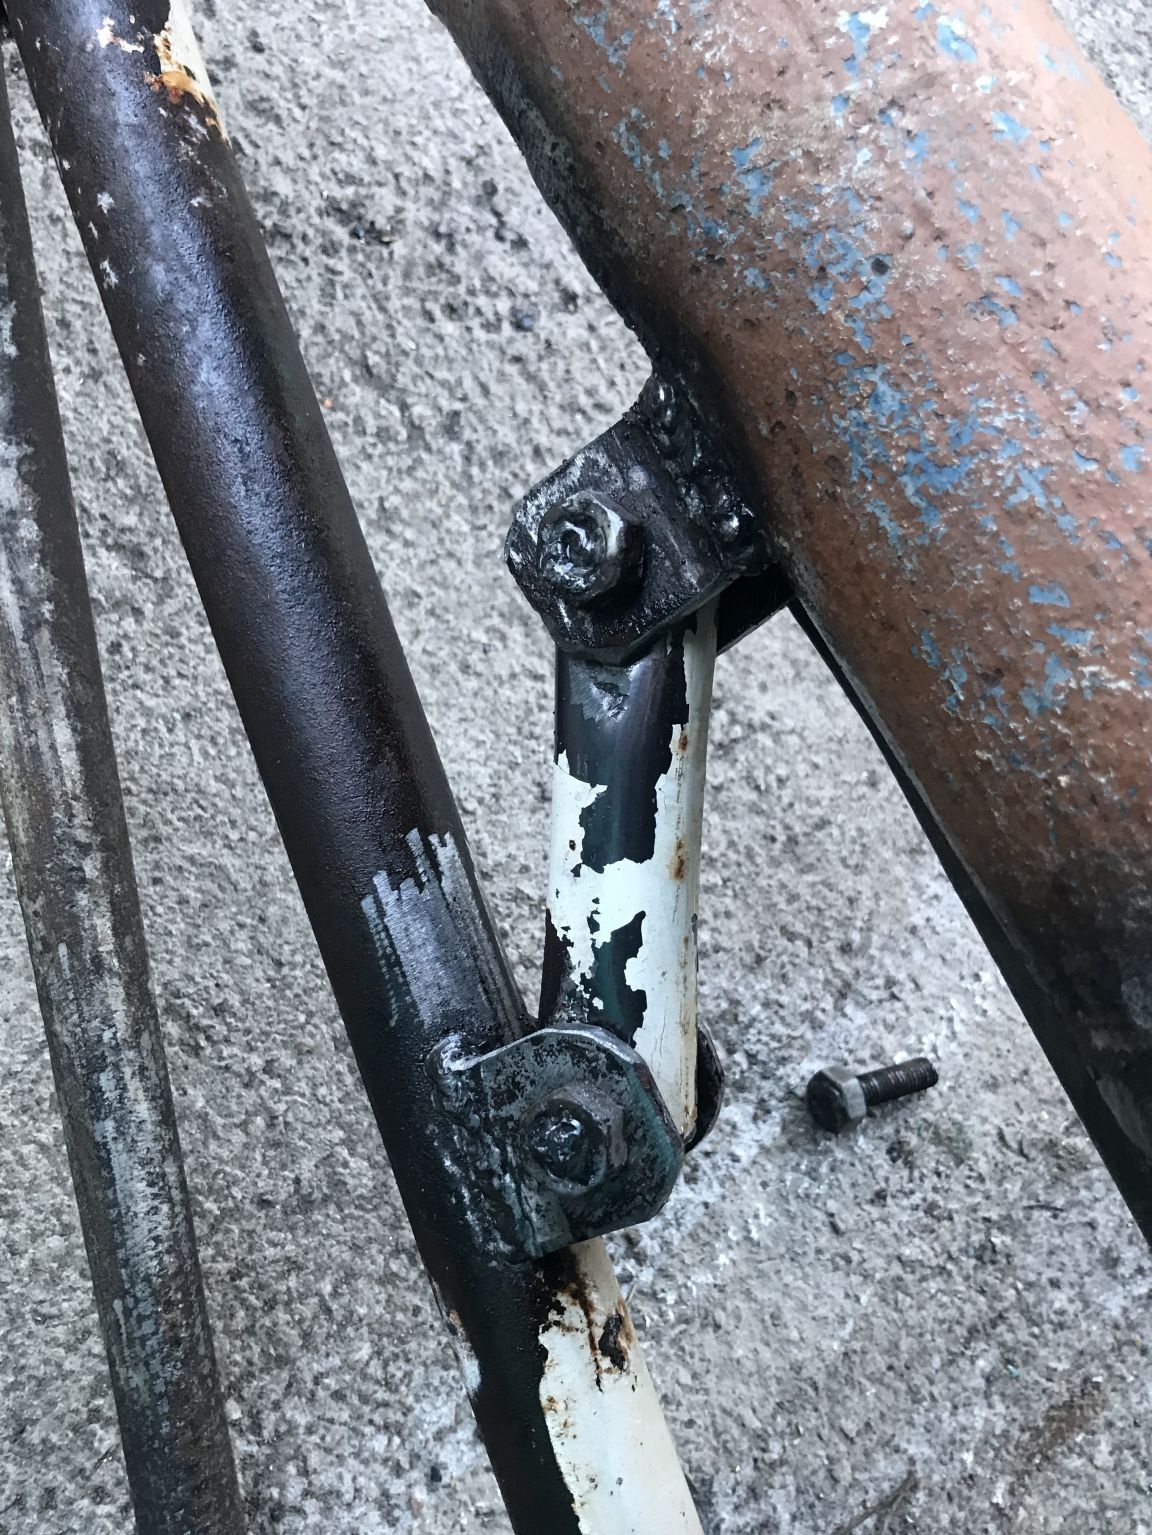
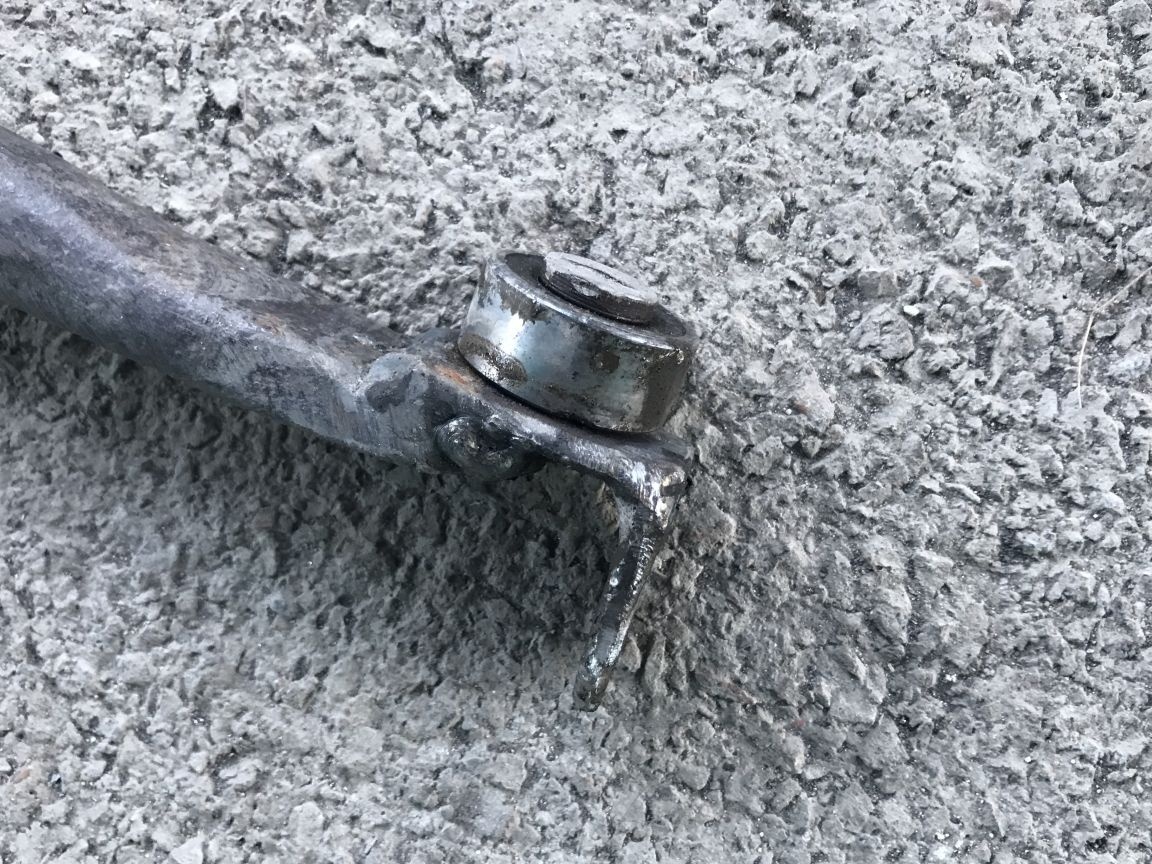
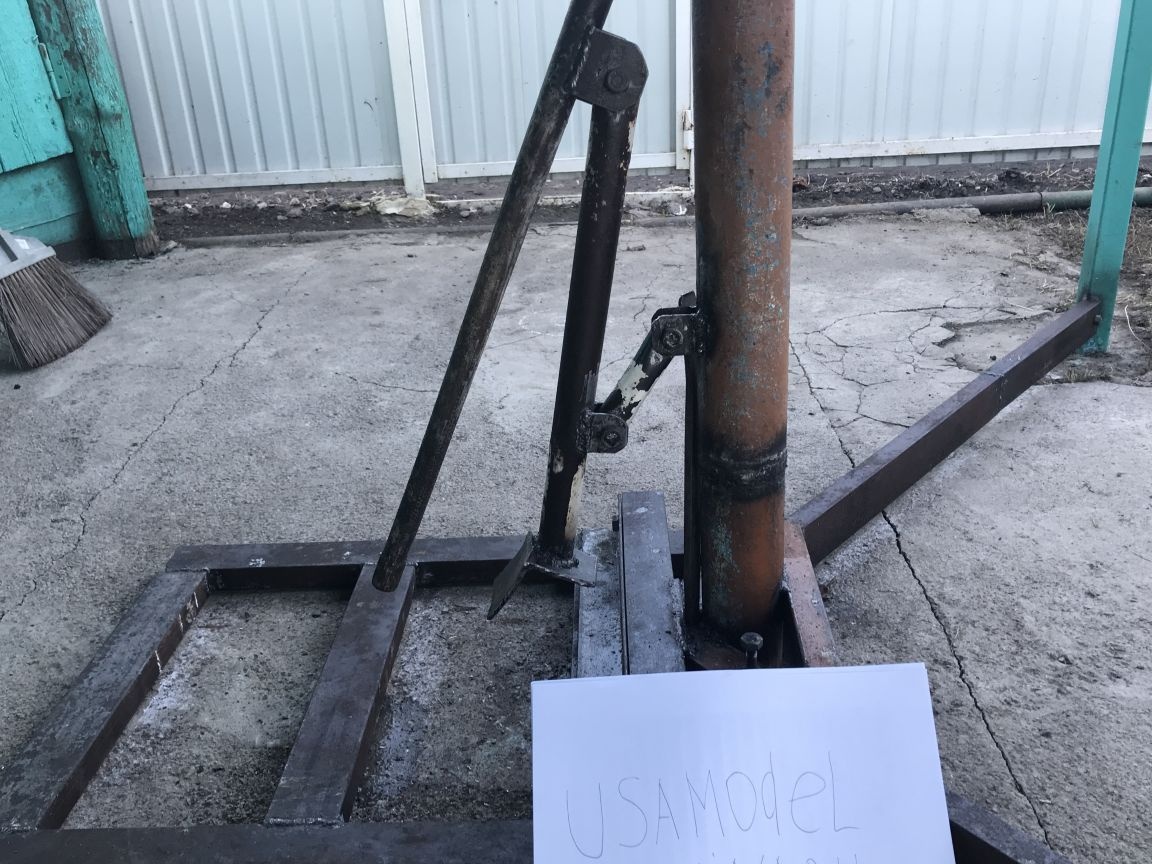
For the convenience of lowering the residual pressure in the wheel, we make a lever. On the pipe we weld the ears with a hole for the M12 bolt in two places, bottom and top. We weld the ears to a pipe with a diameter of 32 mm, stepping back from the beginning about 15 cm. After that we cut the pipe with a diameter of 28 mm to a length of 15 cm using an angle grinder. When working with angle grinders, do not forget about goggles and gloves, and also be careful and hold the tool tightly.
We drill holes in the pipe for the M12 bolt and twist the two finished parts together. At the very top of the pipe, slightly stepping back from the edge, we drill a hole for the bolt, and in its lower part we weld a corner, with which we will lower the wheels. In the upper ear we install a lever made of the 28th pipe, it is connected to the previous pipe using the M12 bolt. The whole lever design looks like this.
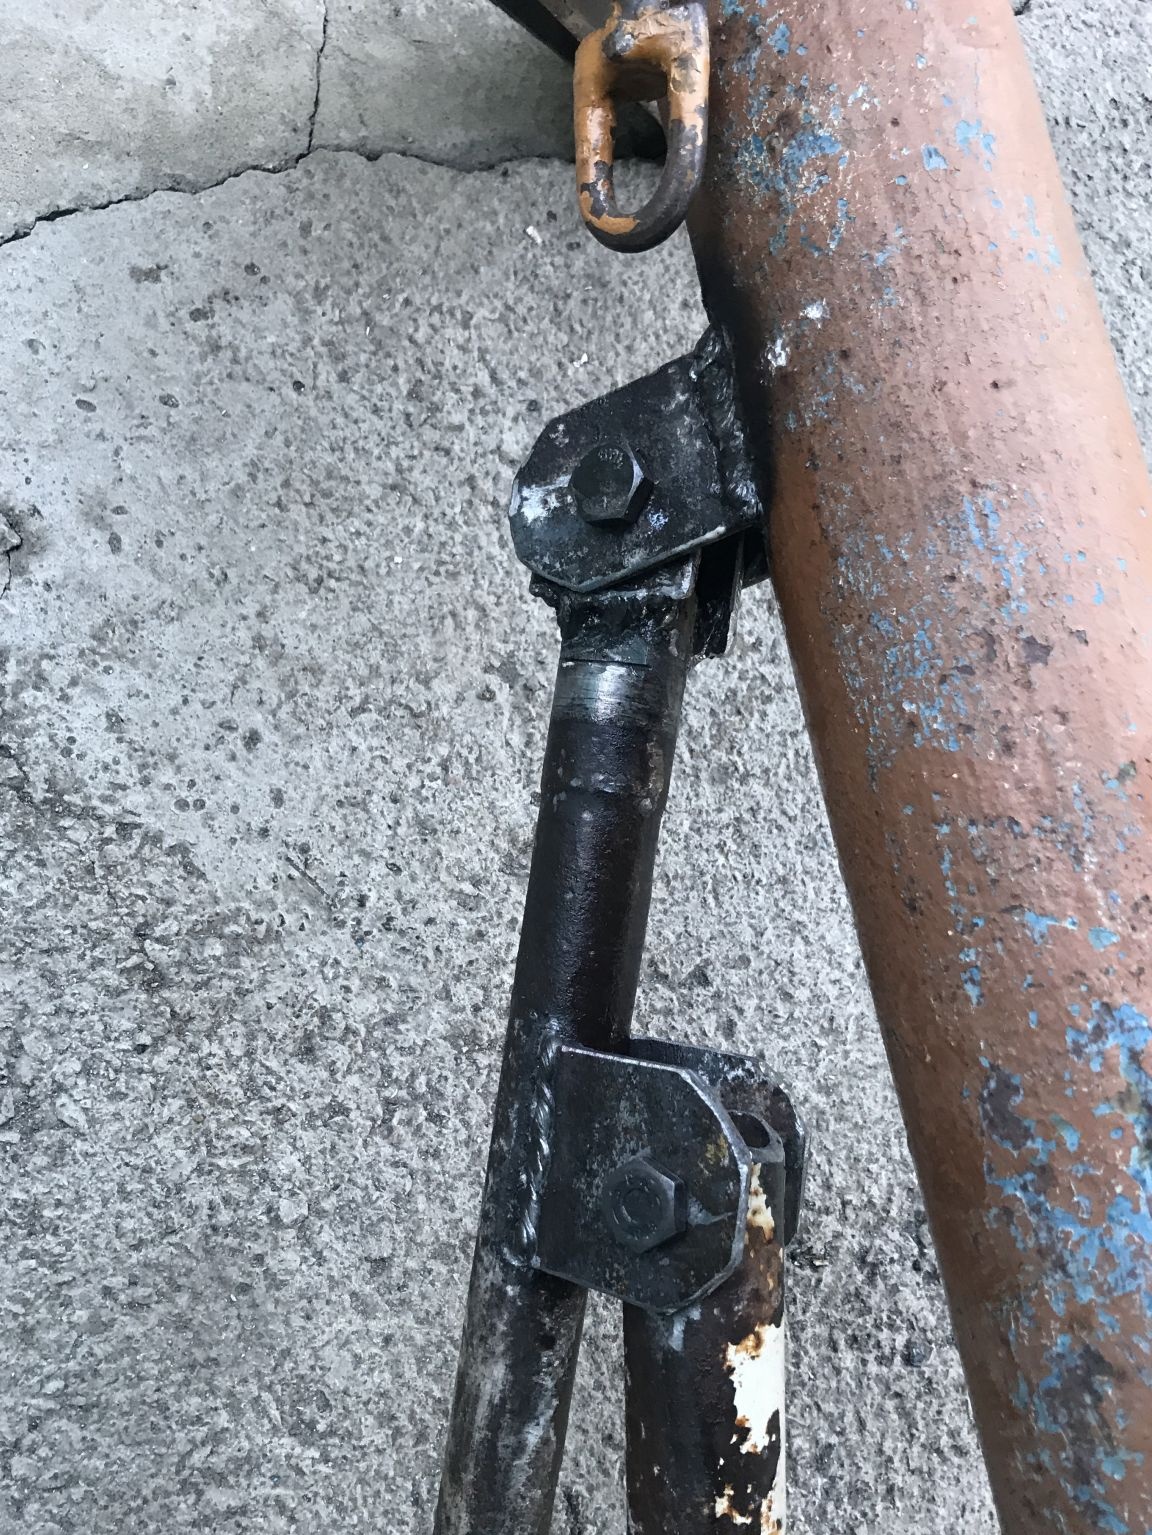
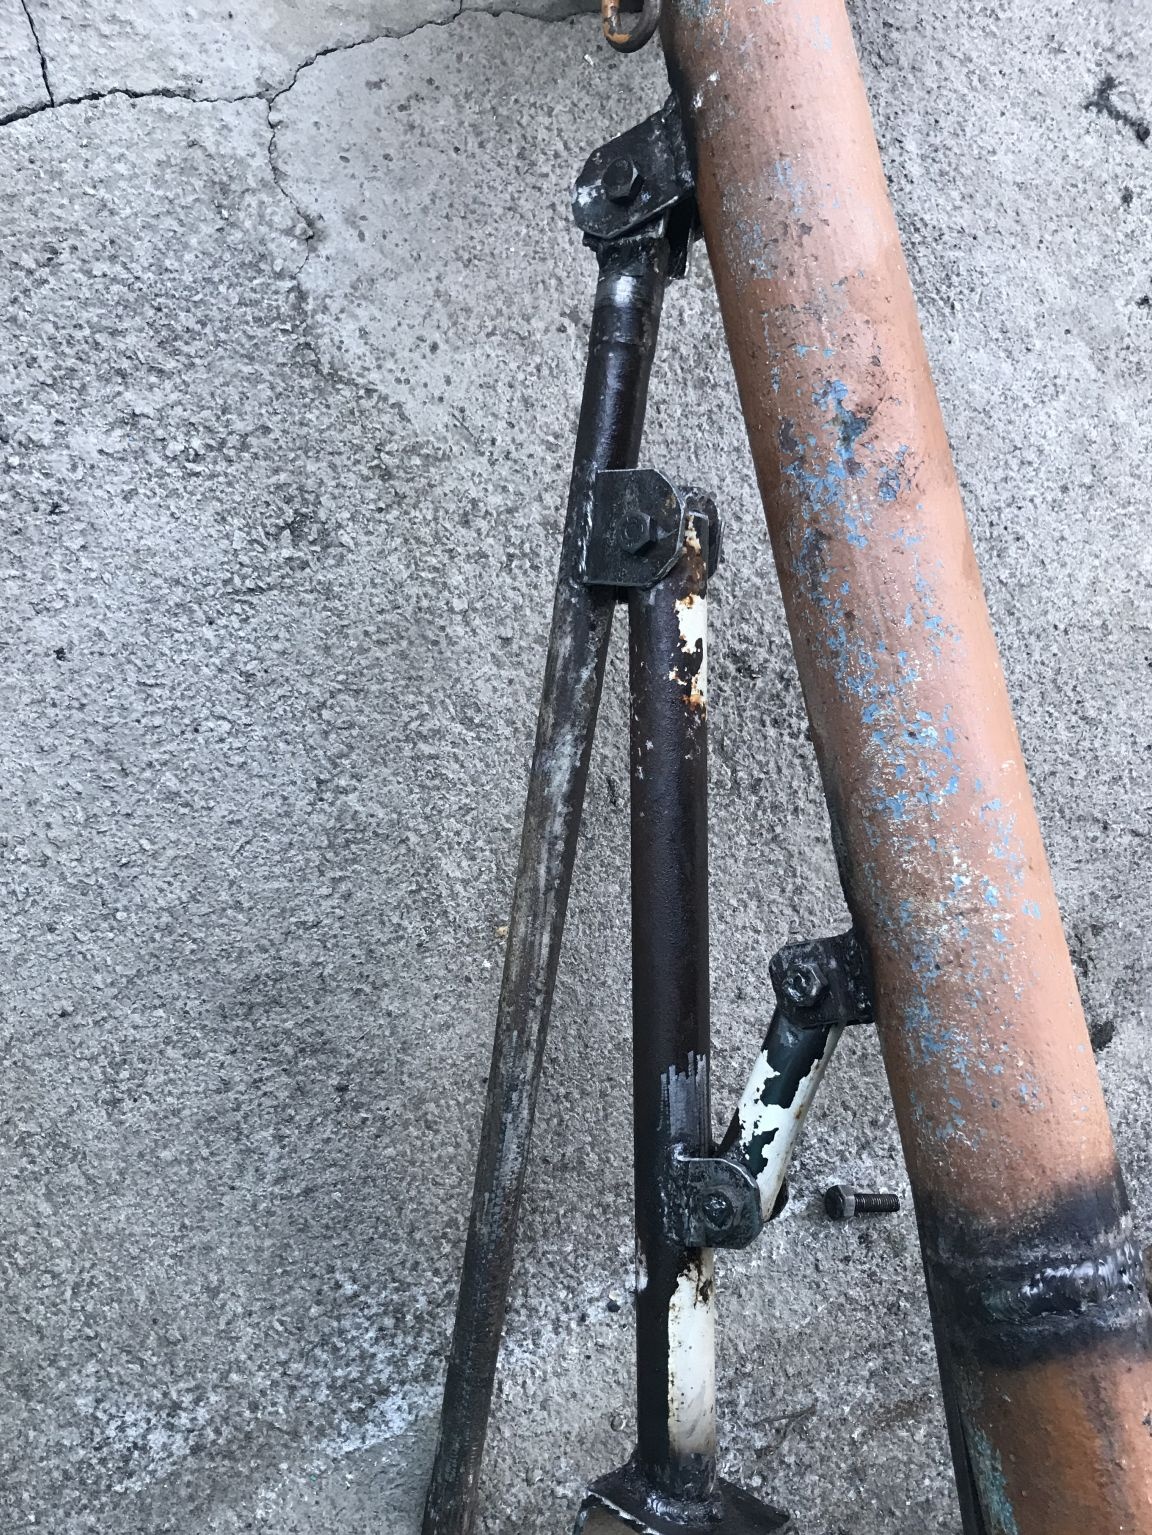
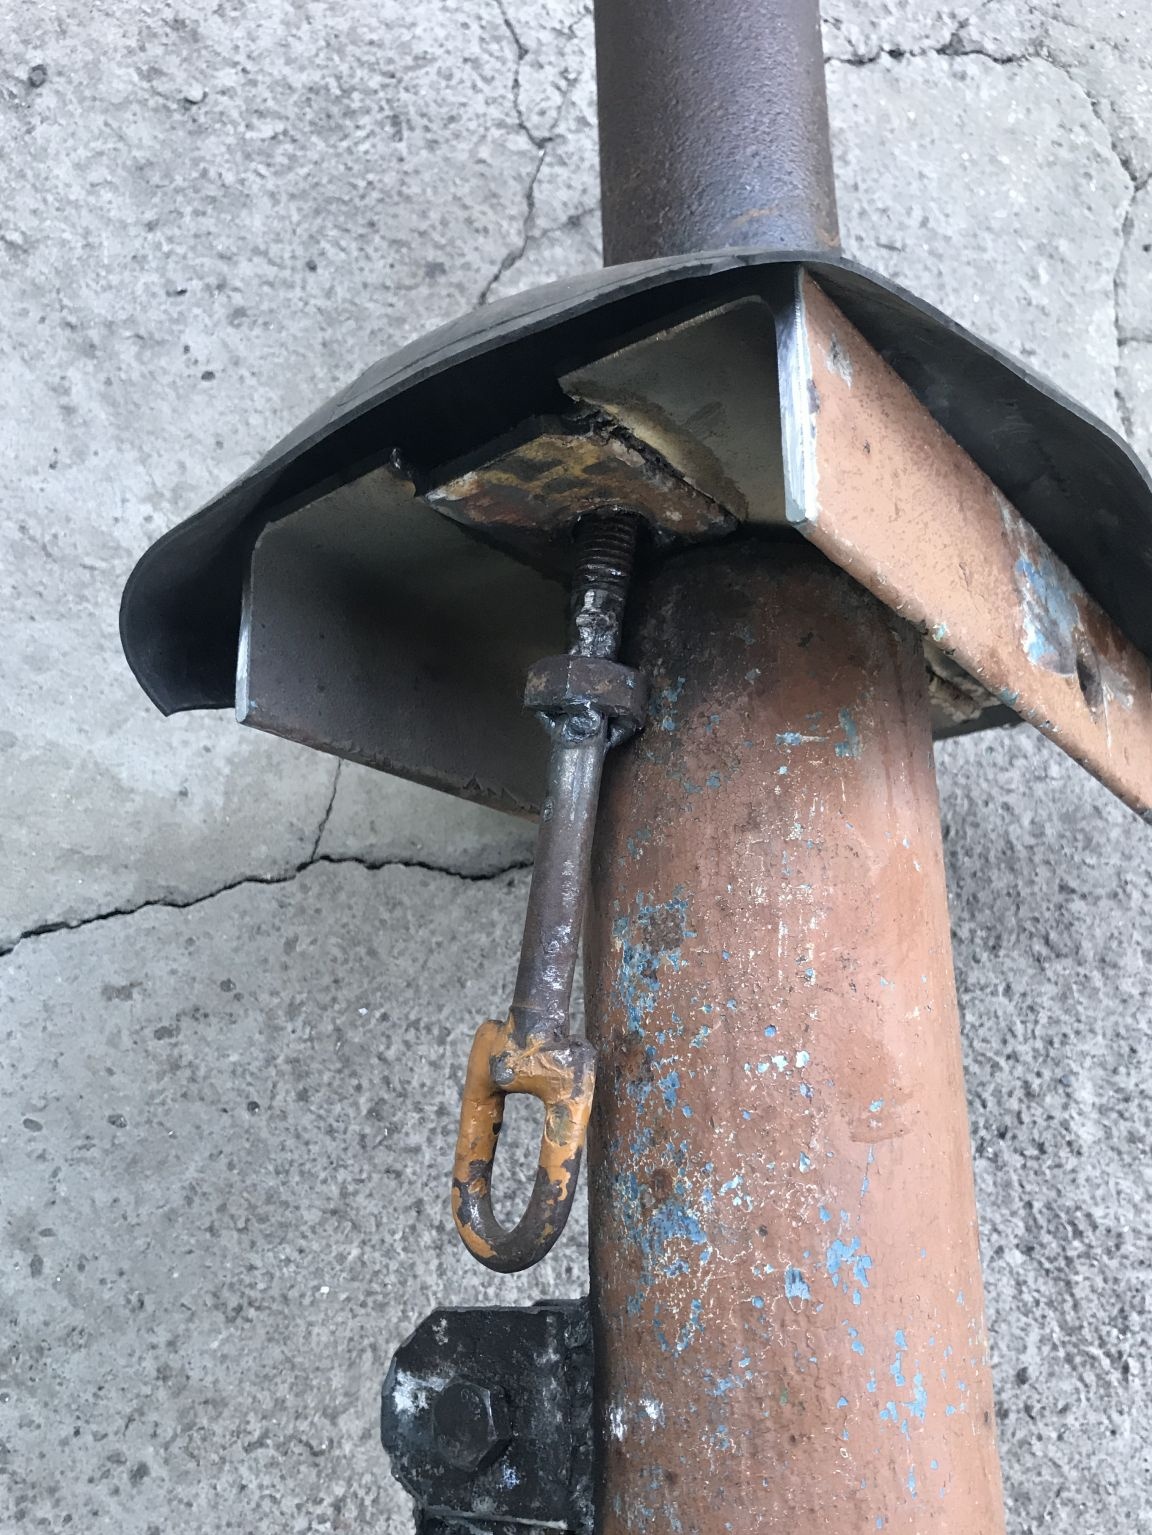
We weld two corners to the top of the pipe, and also cut a round piece of rubber from the car chamber, which will close the sharp edges of the corners. In the corner we drill a hole with which the wheel will lock. We weld a pipe of smaller diameter to the corners, this will serve as an emphasis in the process of folding / disassembling.
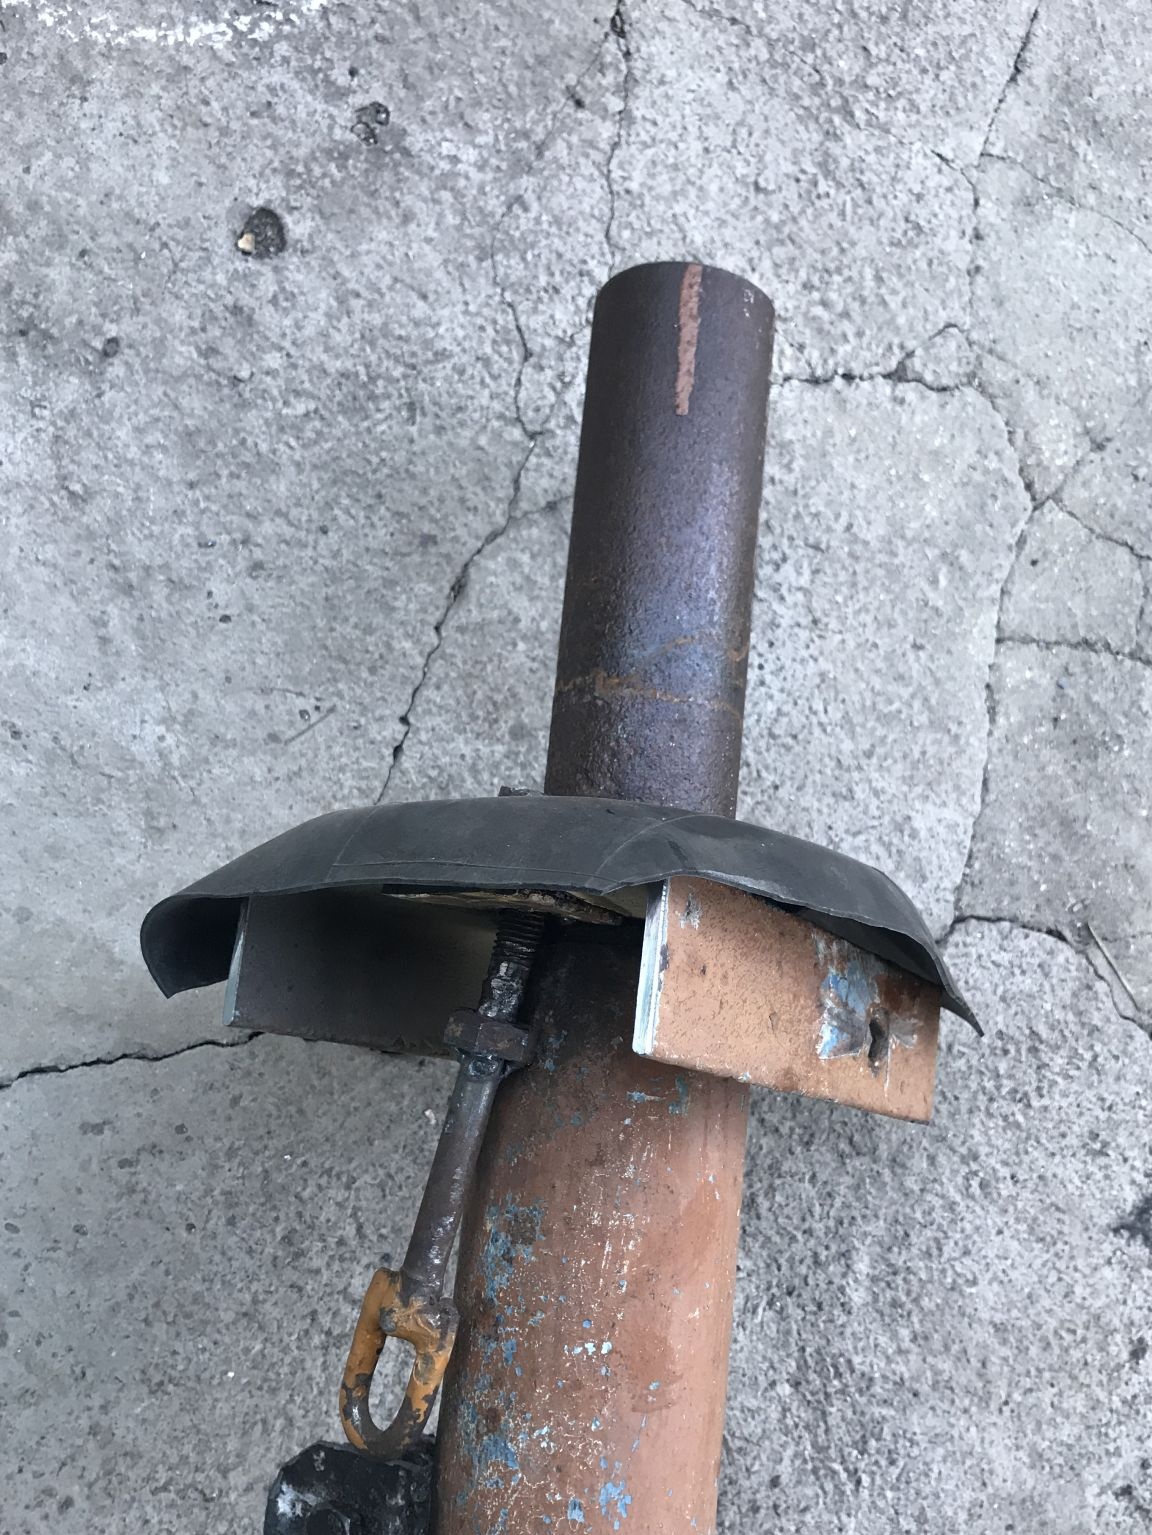
Step Four
We weld a bearing and corner to one of the ends to a long pipe, everything is much clearer in the photo.
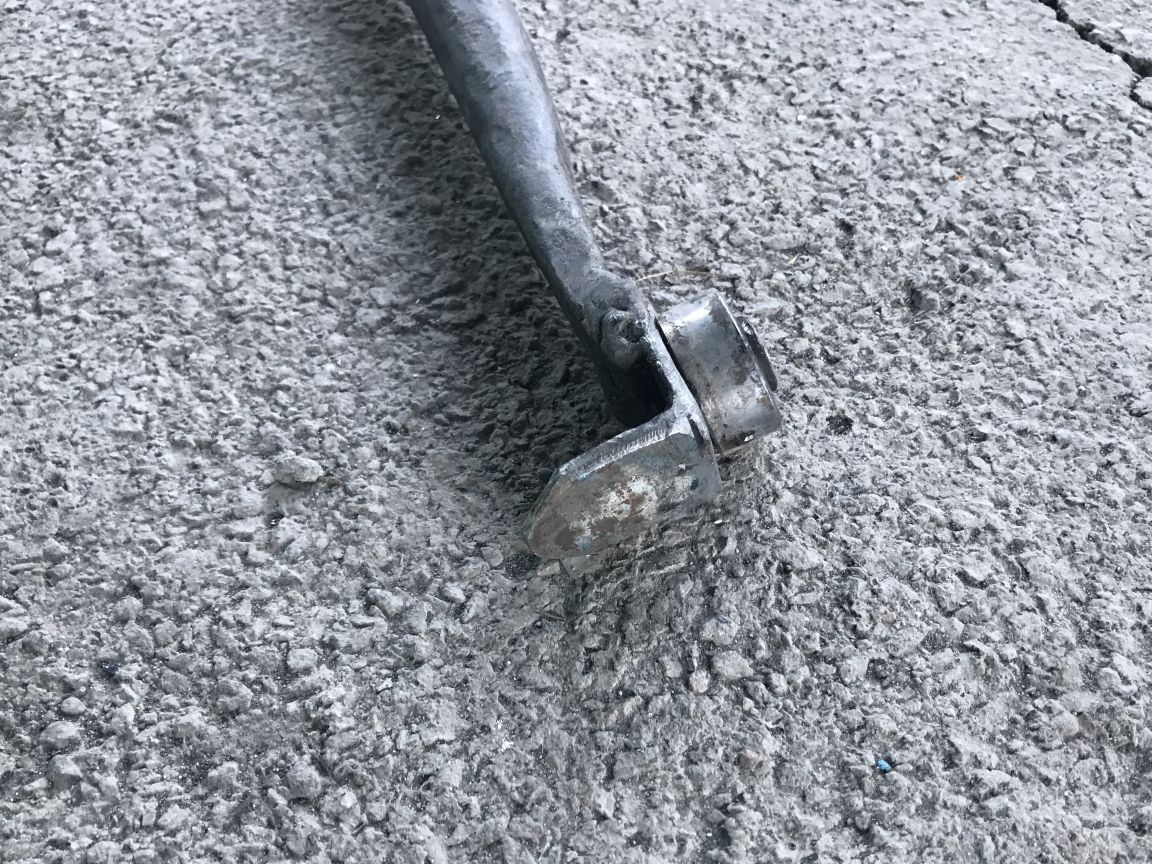
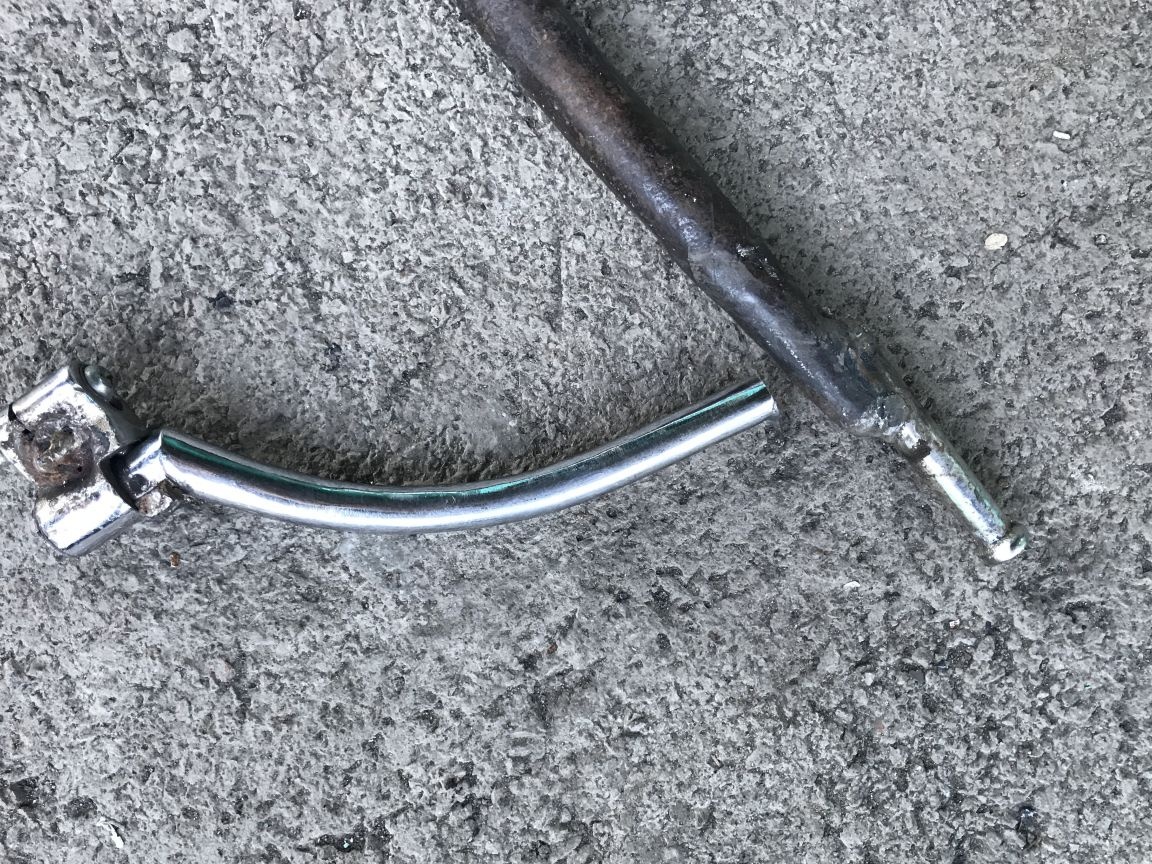
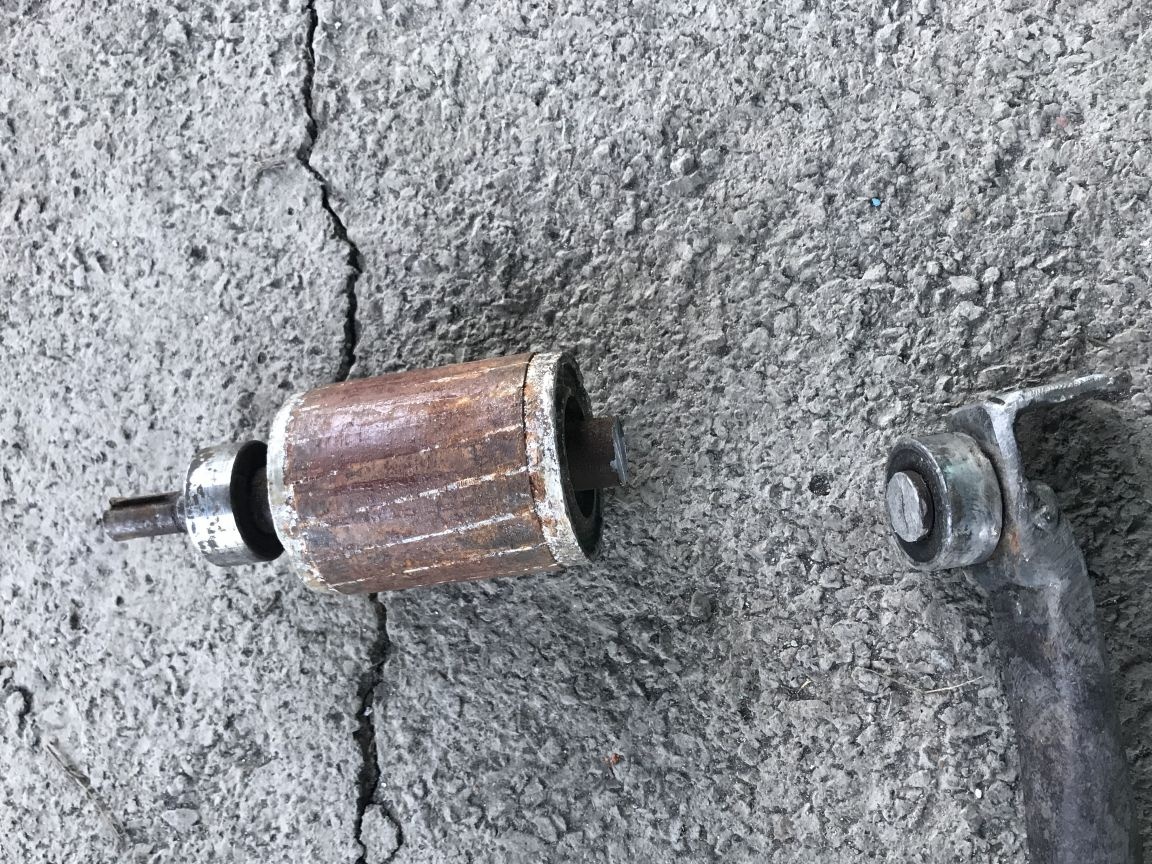
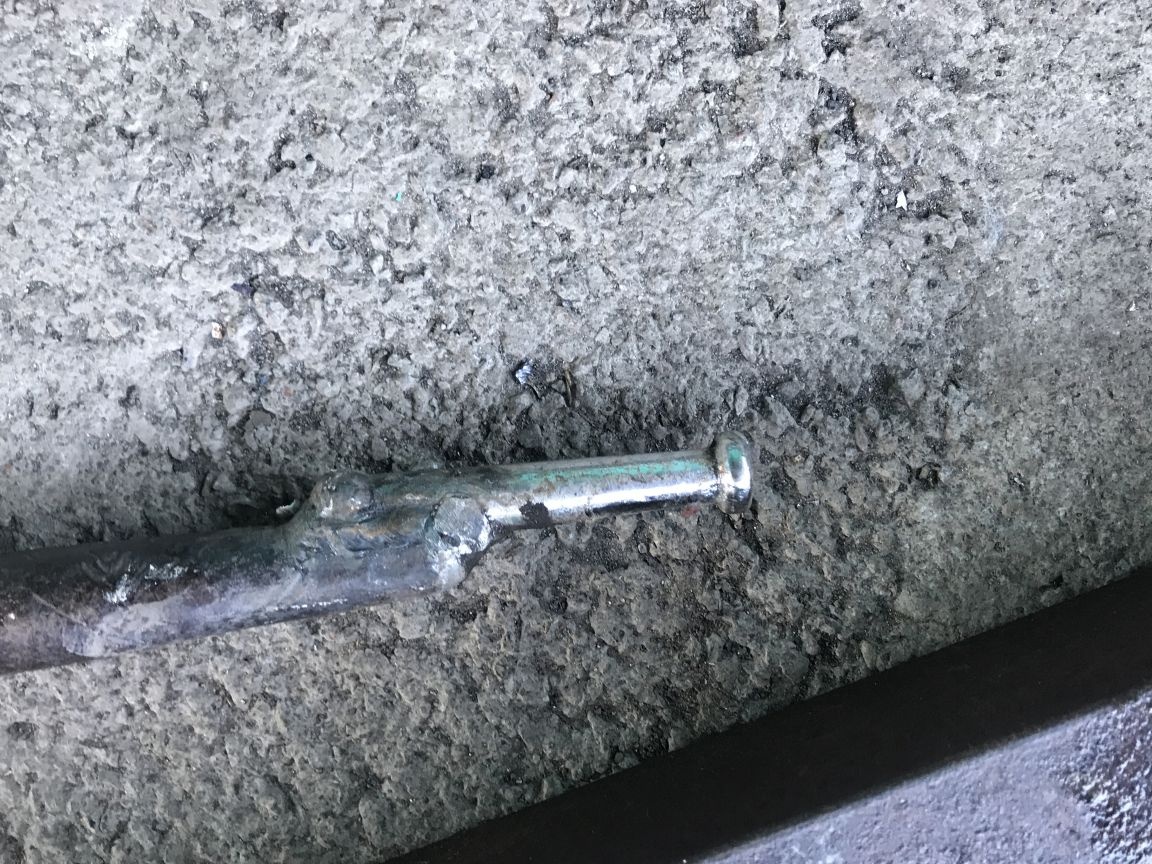
For these purposes, the bearing from the electric motor was perfectly suitable, although it is not known from which one, a part of the rotor shaft with the bearing itself was sawn off and welded to the pipe, after which the corner itself. We weld a rounded tip to the other end of the pipe, in this case the kick-starter leg of the moped was sawn off, which just came up, if necessary, grind the sharp edges with fine-grained sandpaper.
Step Five
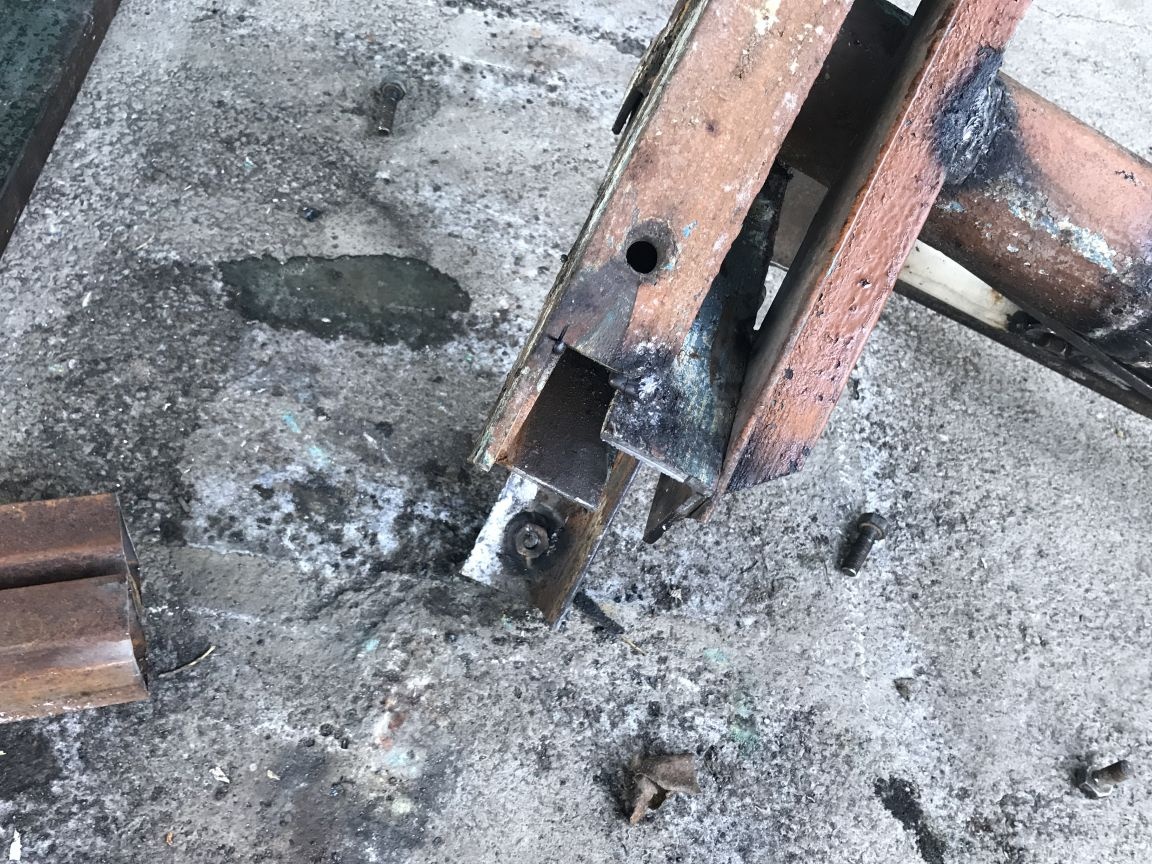
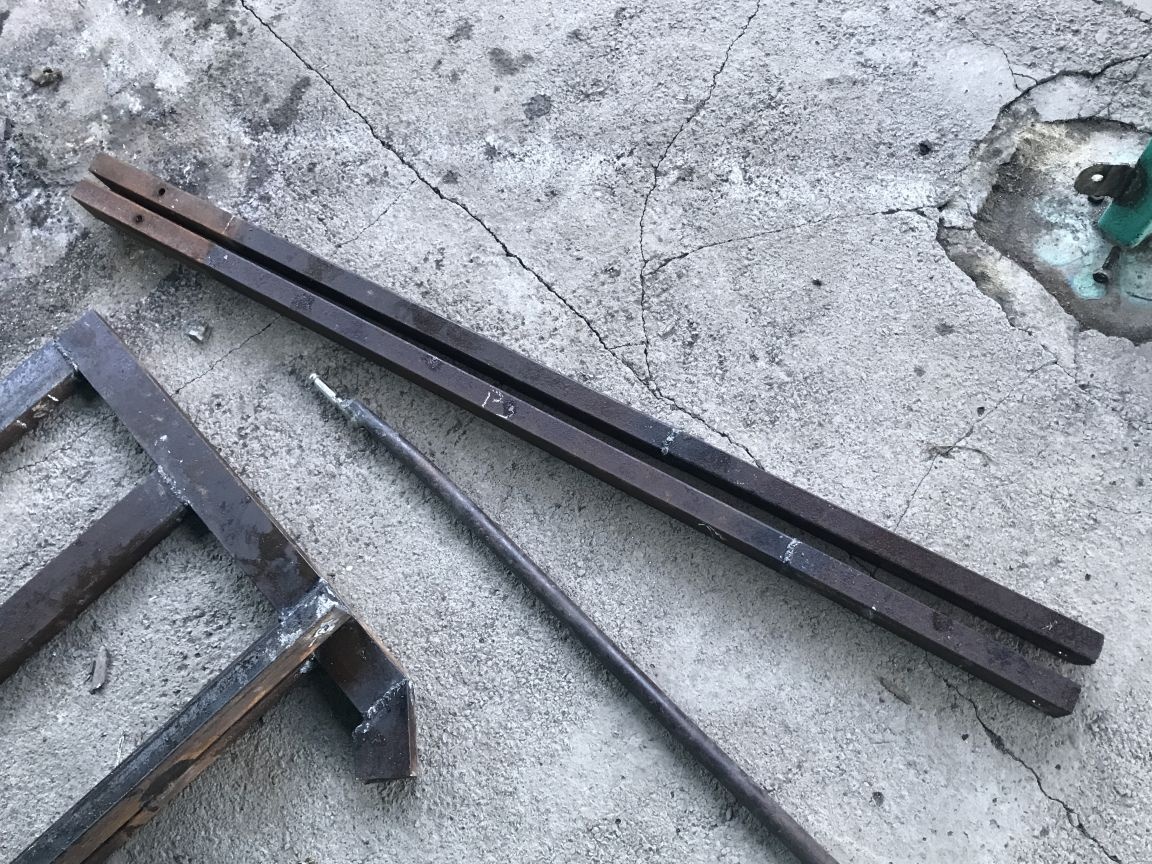
After all the previous steps, it remains to make emphasis. Using an angle grinder, we saw off the necessary sections of profiles 40 * 20 and install in prefabricated seats with a bolt for fixing, for better fastening we drill a hole for the bolt in the profile, so it definitely will not go anywhere.
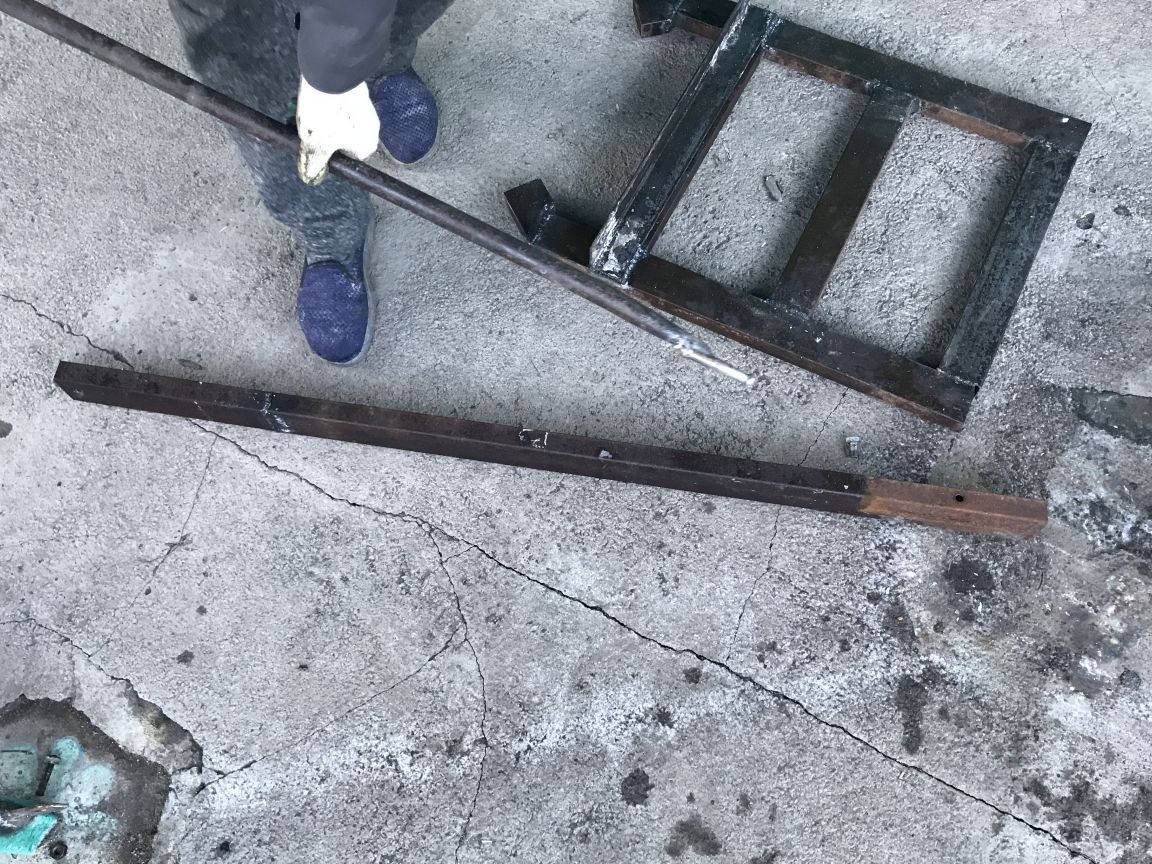
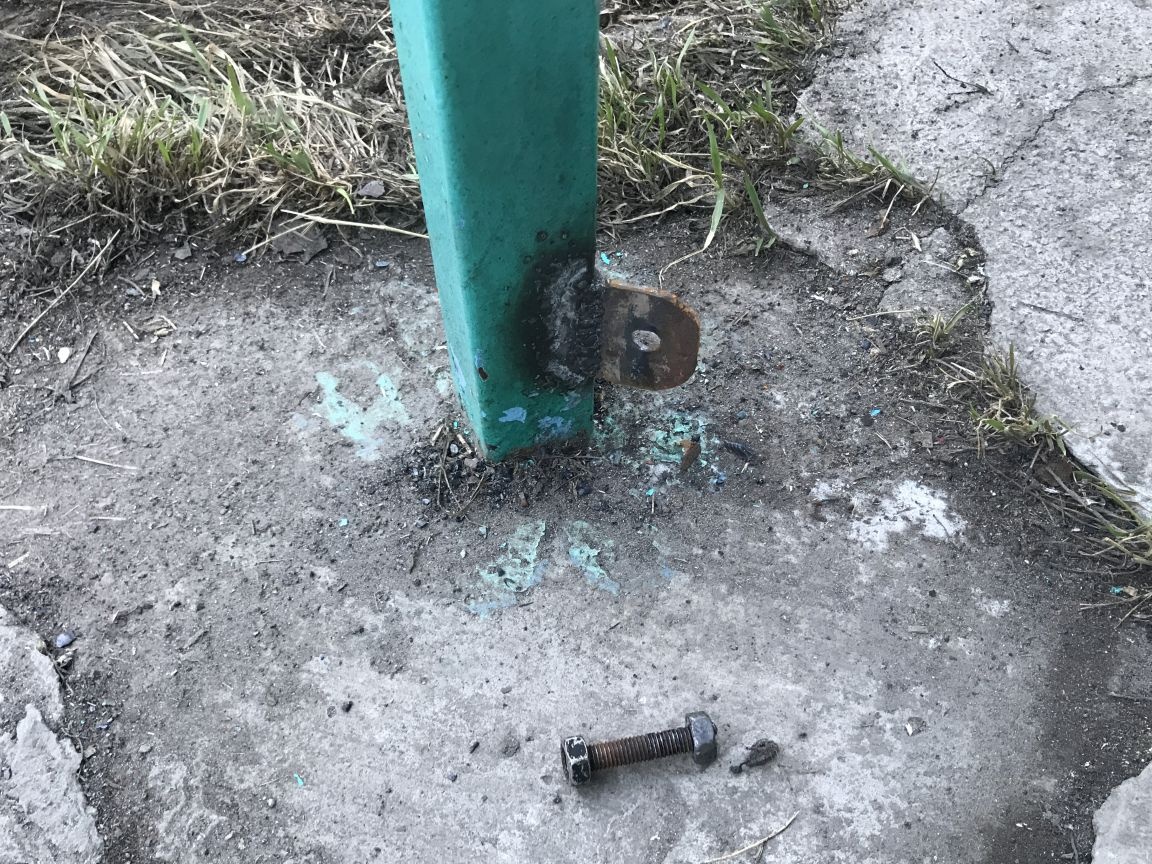
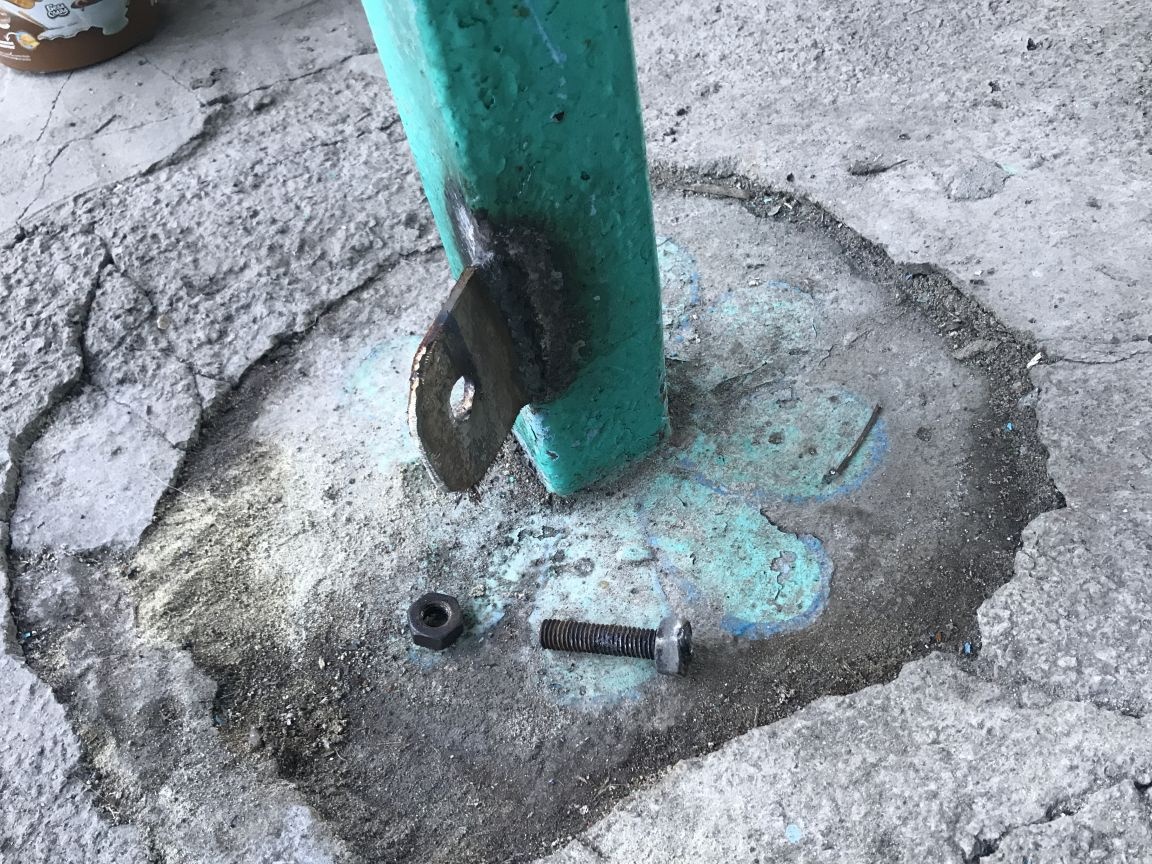
In a place convenient for you, we install the fixing ears, in my case two attachment points were welded onto the extension posts.
That's all for me, this tire changer is completely ready and fully operational.
I wish you all good luck and thank you for your attention.