

Hello to all lovers homemade. Many people know that working with an angle grinder is extremely unsafe and requires special rules for its use. An exact cut requires a lot of skills, which is why, and also for convenience, I propose the option of a stand for an angle grinder, which will simplify the work with this power tool and allow you to saw off the necessary metal parts smoothly and without much effort. Also, the assembly of this homemade product will allow you to save money on the purchase of a factory and gain invaluable experience in its creation. To assemble such a rack, you do not need any hard-to-reach materials, all details can be found in the workshop or purchased at a bargain price on metal reception.
Before proceeding to read the article, I suggest watching a video with a detailed analysis of the homemade product, as well as its testing.
To make a stand for angle grinder do it yourself, you will need:
* Angle grinder and cutting disc
* Welding machine, electrodes
* Personal protective equipment, gaiters, welding mask, goggles when working with angle grinders
* Metal angle 25 mm
* Sheet metal 20 mm thick
* Building corner
* Roulette
* Electric drill, metal drill
* Spring
* Bushing with bicycle pedal bearings
* Corner 50 mm
* Two M10 bolts
* Profile pipe 20 * 20 mm
* Metal pipe with a diameter of 32 mm
That's all you need, I think finding these details will not be difficult, or maybe someone has everything in the workshop.
Step one.
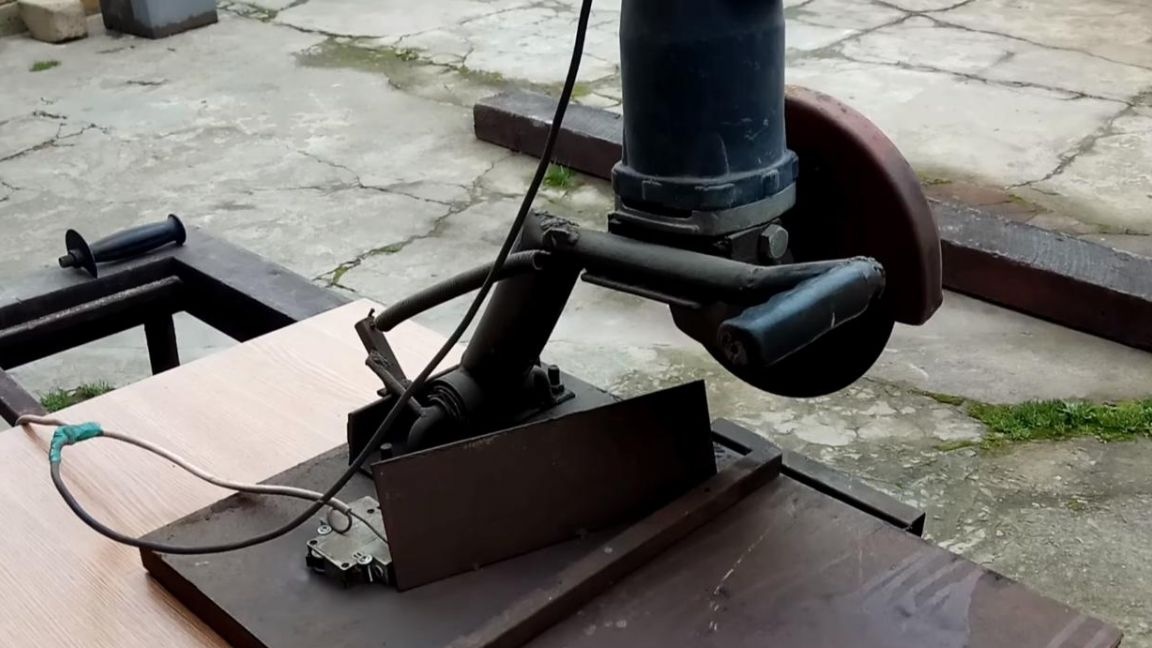
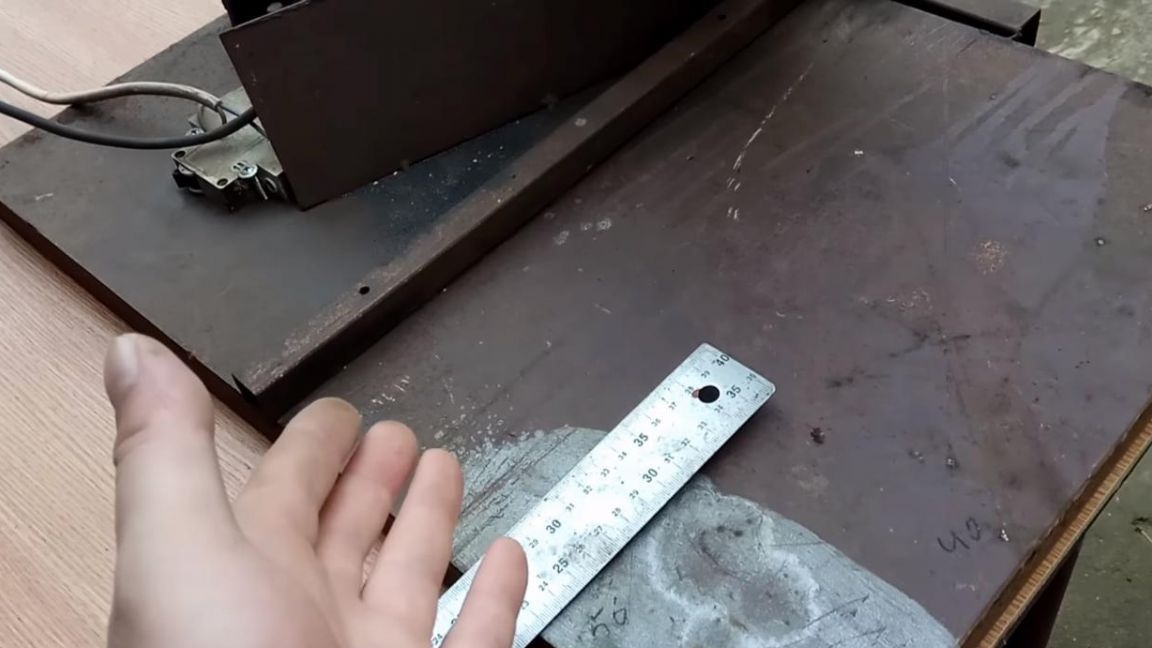
First you need to make a foundation on which everything else will be installed. In order for the structure to be rigid and massive enough, it was decided to make the base of a sheet of metal 20 mm thick with dimensions of 60 * 40 cm, and for greater structural strength, corners with 25 mm sides were welded at the edges. If you wish, you can make the base of a thicker sheet of metal, but as for me, the rigidity of 20 mm of the sheet will be enough for an accurate cut.
Step Two
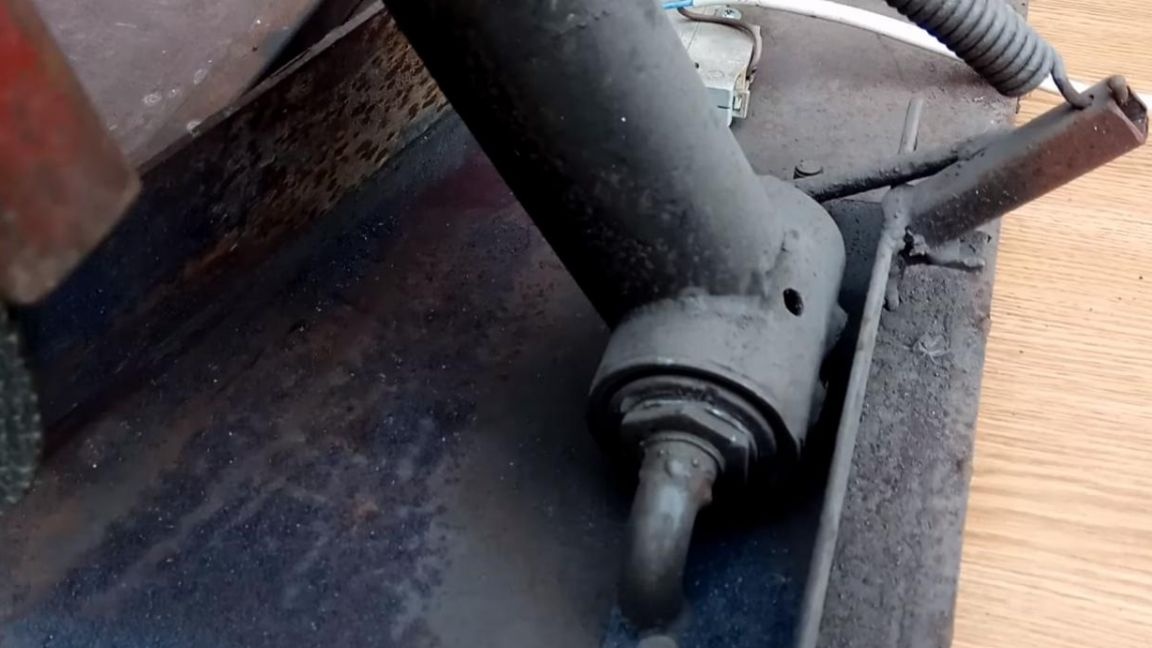
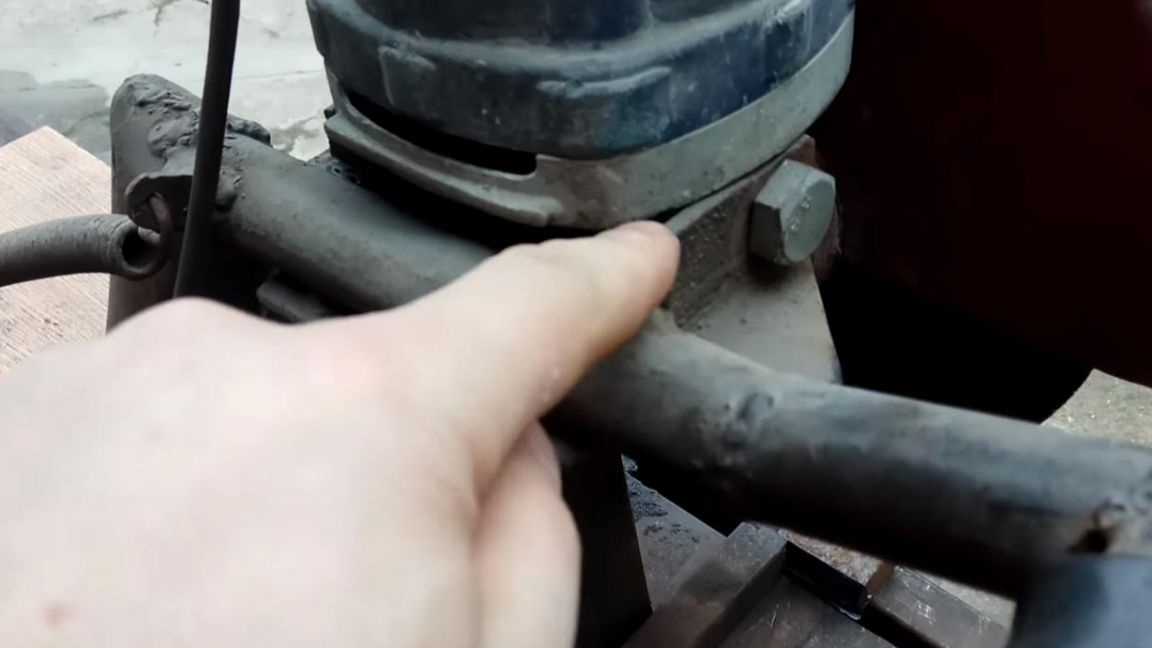
In this design, as in all other racks for angle grinders, a movable mechanism is provided through which the cutting disc is fed into the part. In order to minimize backlash, it was decided to take the bushing from the bicycle in the place of the pedals, there are bearings there, which is very good and will achieve the desired accuracy when cutting.Using the angle grinder, we cut off the sleeve with the pedals and saw off one of the pedals, since its direction should coincide with the other.
When working with an angle grinder, be careful and do not forget about personal protective equipment, goggles and gloves are mandatory, and disk protection should also be on the angle grinder itself. This is done so that in the future it was possible to weld the moving part to the base without any problems.
Step Three
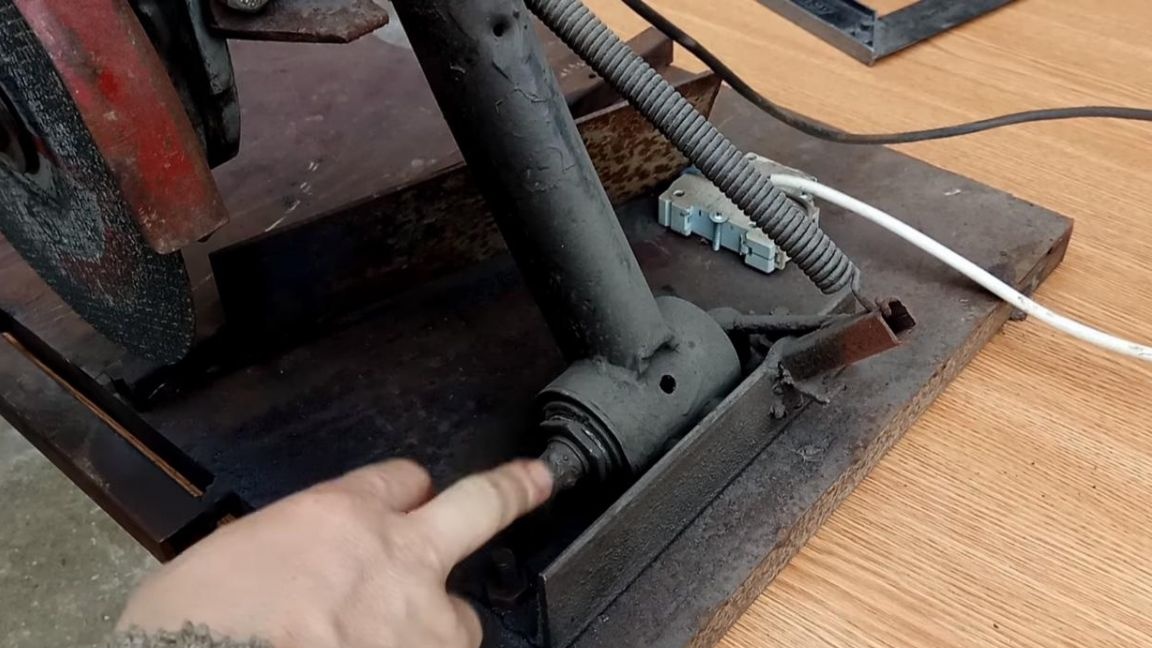
In this case, the movable mechanism, which was previously used as a pedal by a bicycle, is non-separable, therefore, in case of service convenience, I advise you to find a mechanism with the ability to disassemble, as this will help you to monitor serviceability and timely replace or lubricate bearings. To this mechanism, using a welding machine, we weld a corner of 50 mm to those places where the pedals were previously. When welding parts, be careful and use personal protective equipment, gaiters and a protective mask.
Step Four
After welding the parts with each other, you need to drill holes in the corner in two places, and then drill them at the same distance already on the base. This is done in order to be able to set the movable part as accurately and evenly as possible. In the lower part of the base, it is necessary to weld the bolts so that they stand rigidly and do not scroll when tightened. To return the mechanism, we weld a profile pipe 20 * 20 mm to the corner at a small angle using a welding machine, then we make a hole in it using an electric drill and a drill for metal, where one of the ends of the spring will hook.
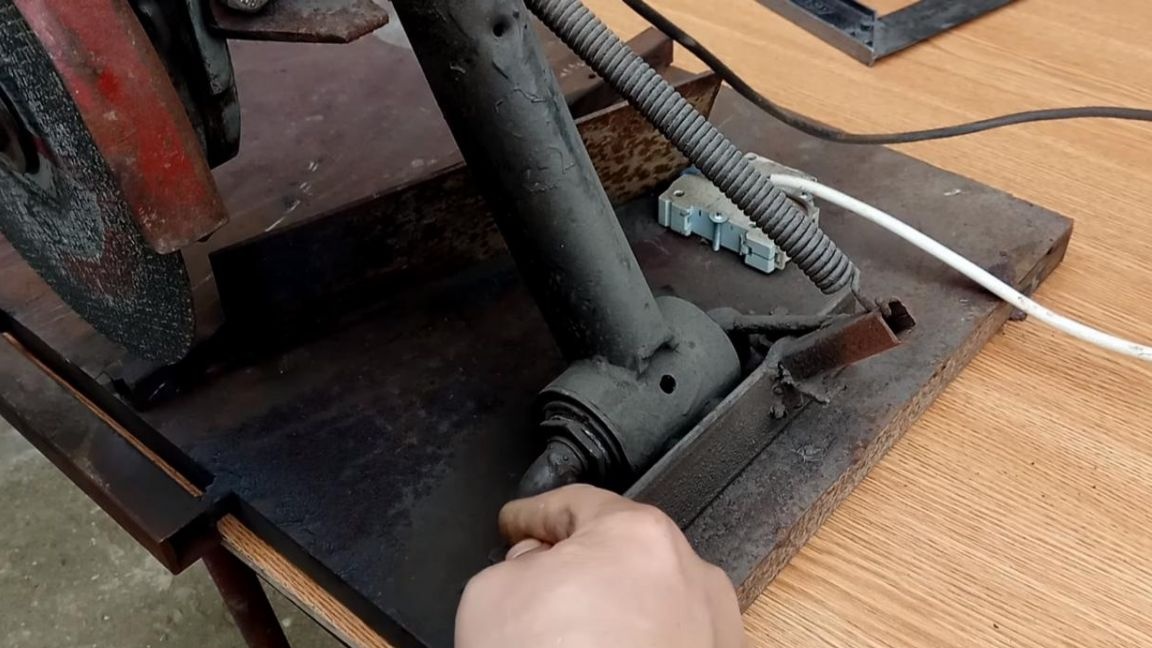
Step Five
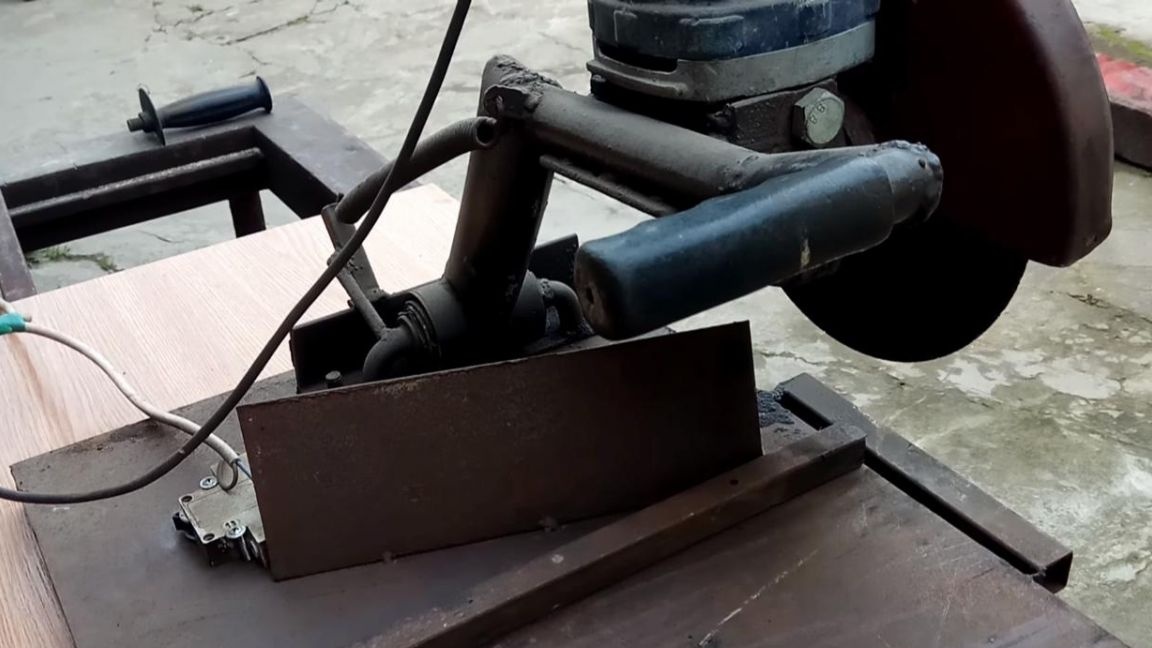
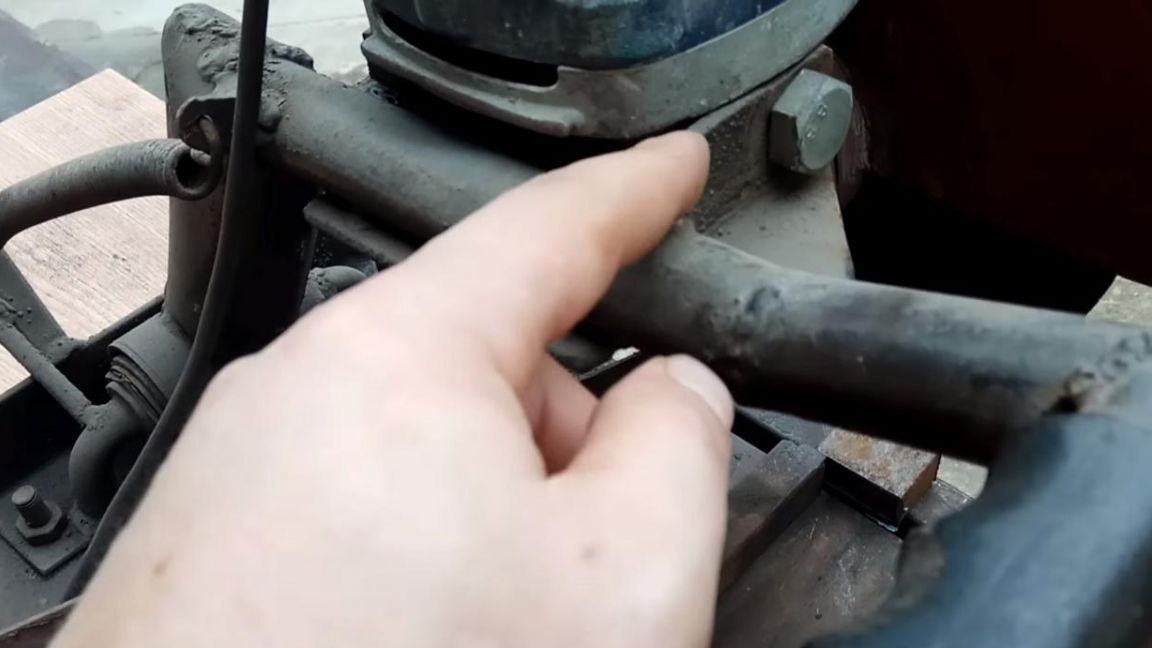
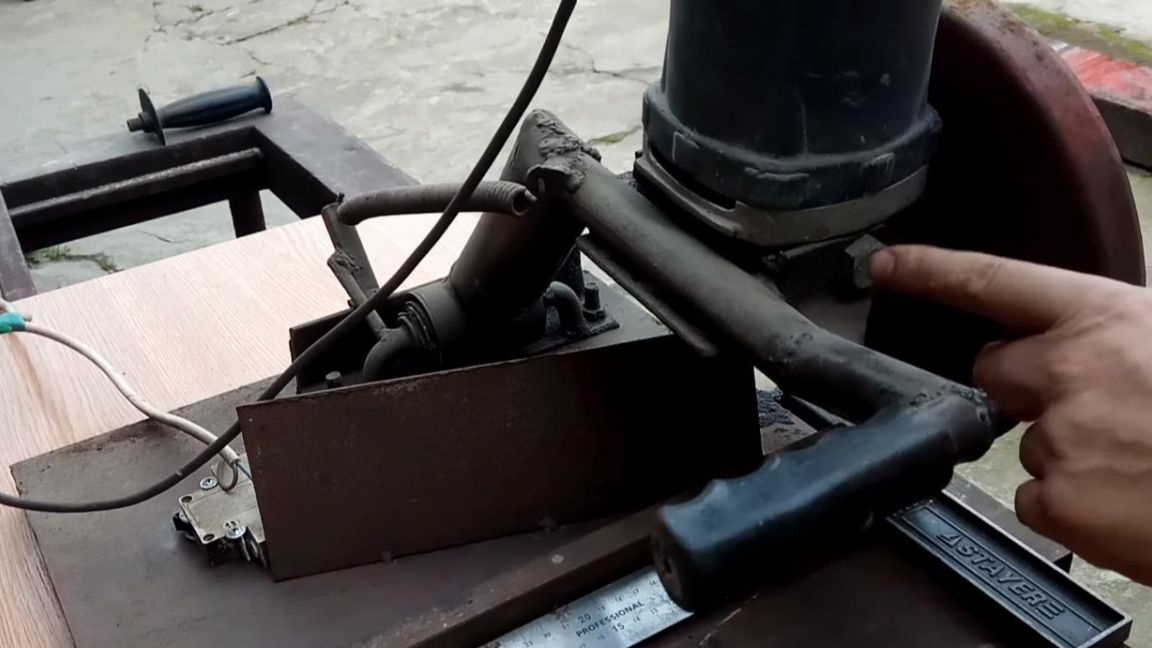
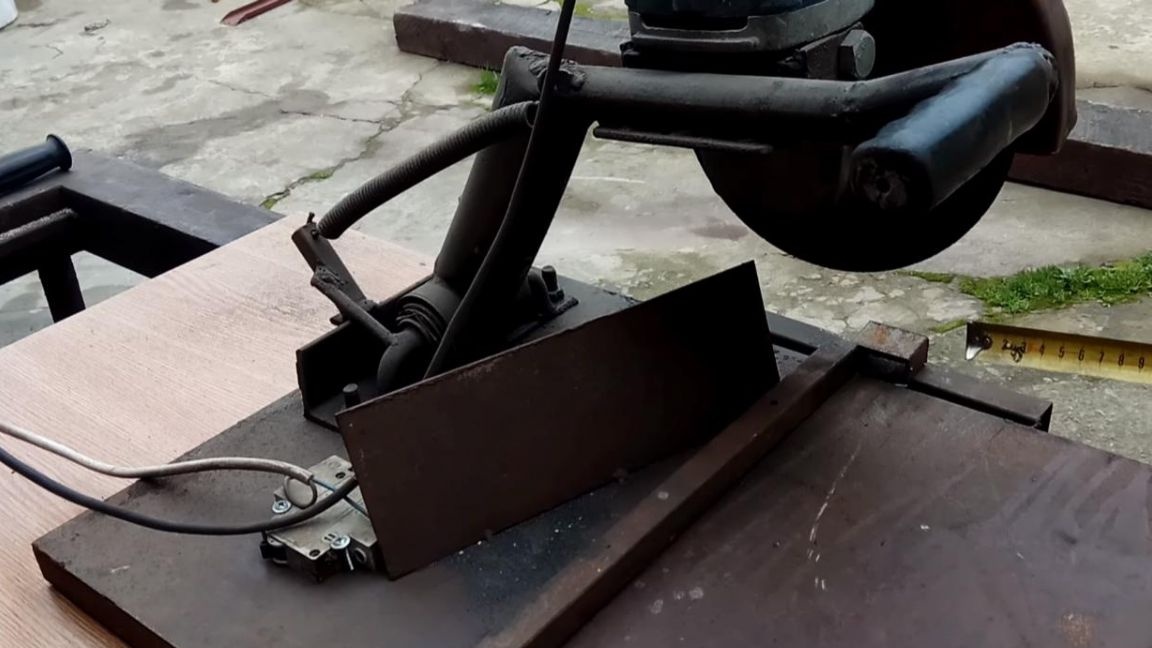
Next, we weld the metal pipe to the movable part, we do it at such an angle that in the future the angle grinder, which will be fixed on this part, stands strictly vertically at an angle of 90 degrees, and to fix the spring we weld the eye at the place where one pipe goes into another. Next, we weld another small segment of the same pipe to this pipe, but lifting it a little up, after which we weld a handle with a plastic overlay perpendicular to the pipe, with which it will be possible to evenly feed the disk to the sawed part.

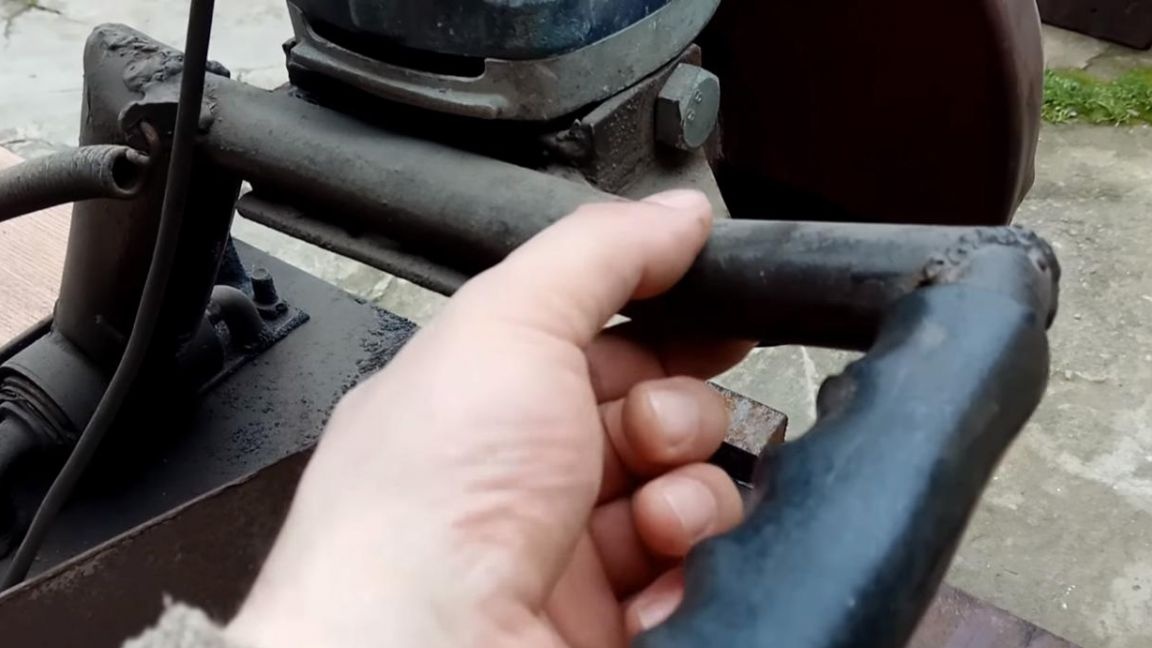

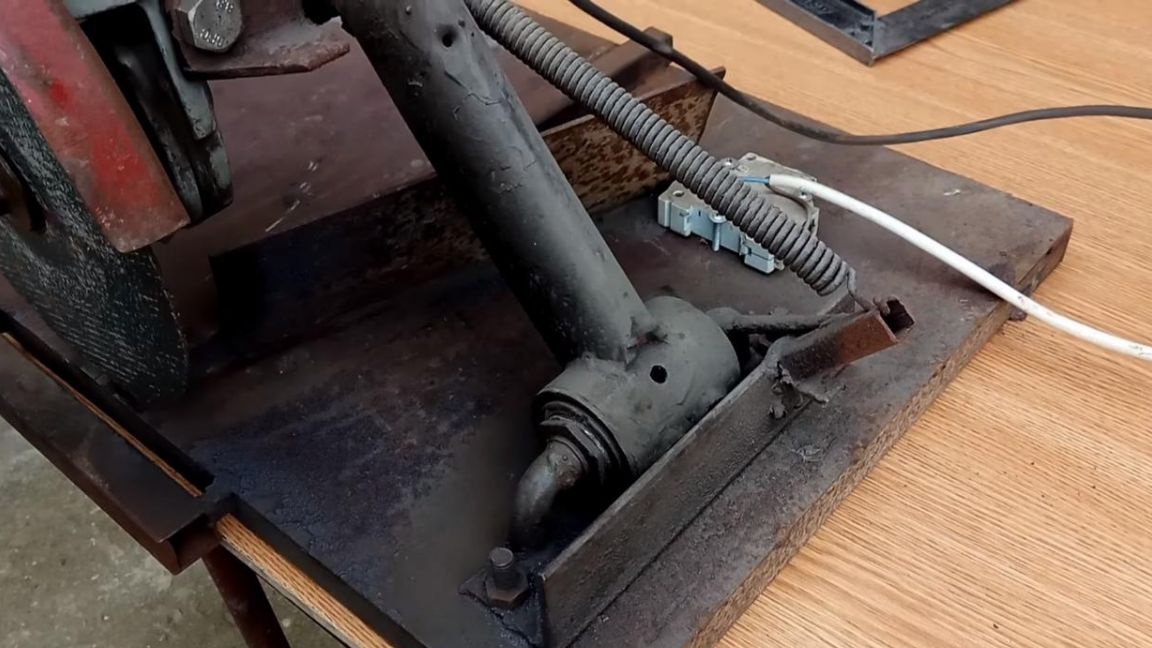
Step Six
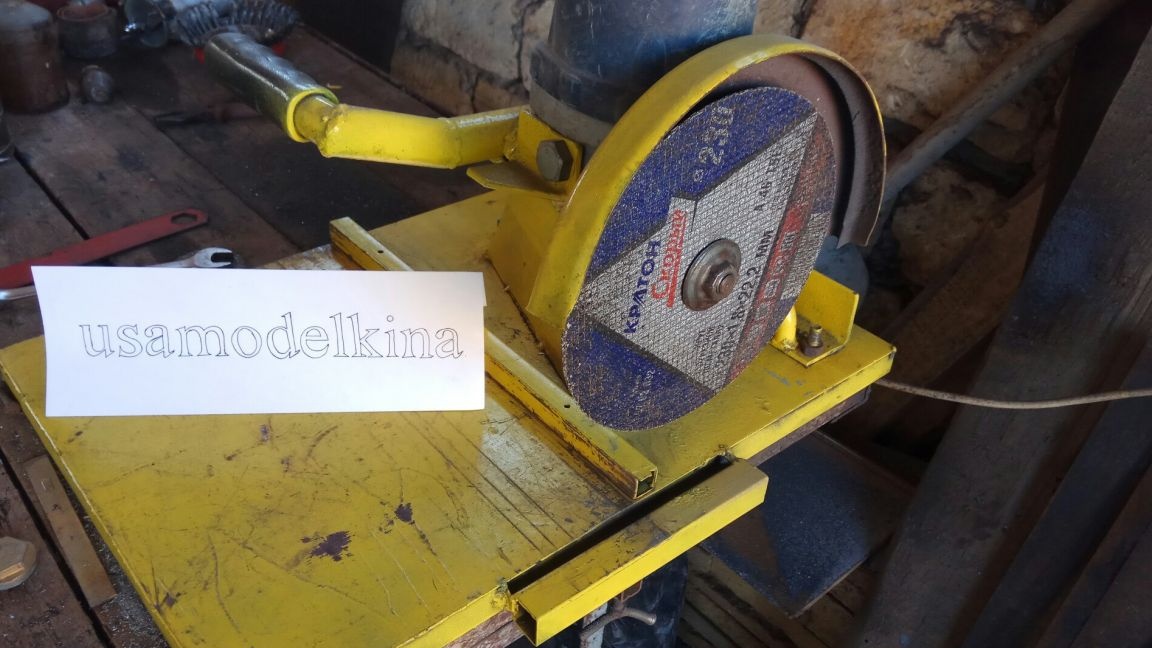
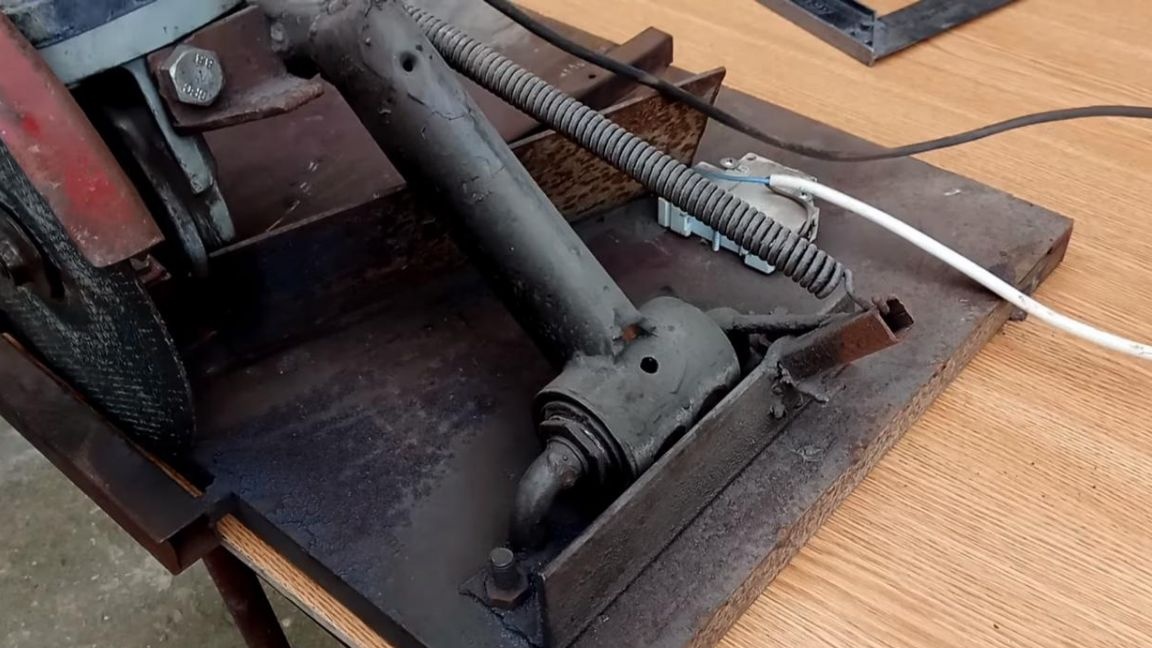
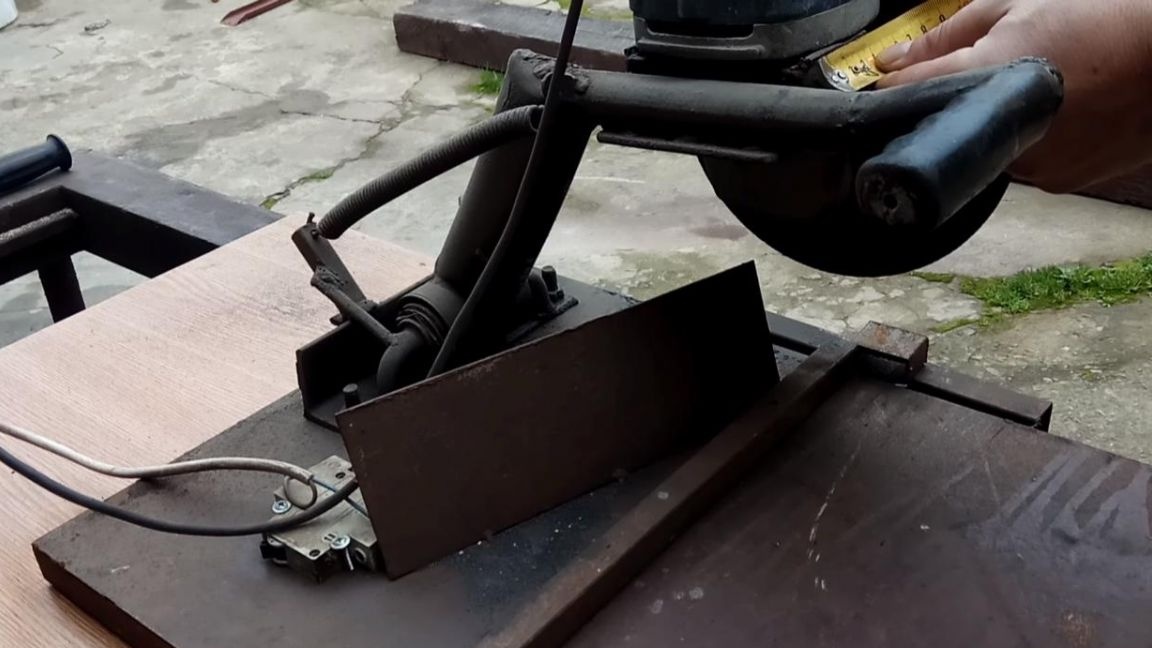
We install the spring in its place and check the design for a return to its original position. Now, to install the angle grinder, you need to mount. Each angle grinder has holes with threads for bolts. Using a welding machine, we weld corners with pre-drilled bolt holes to the movable structure.
We install angle grinders in the attachment points that were previously welded and, using the small free play in the mount, set the position strictly along the square, both vertically and horizontally, after which we securely fix the bolts with a wrench.
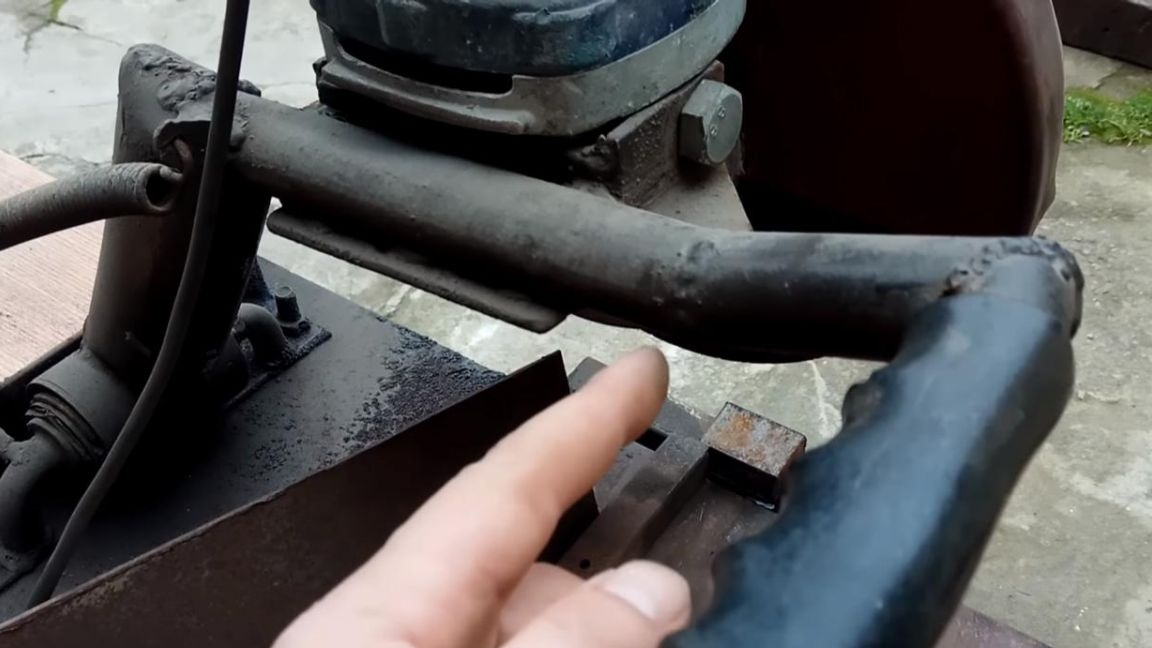
Seventh step.
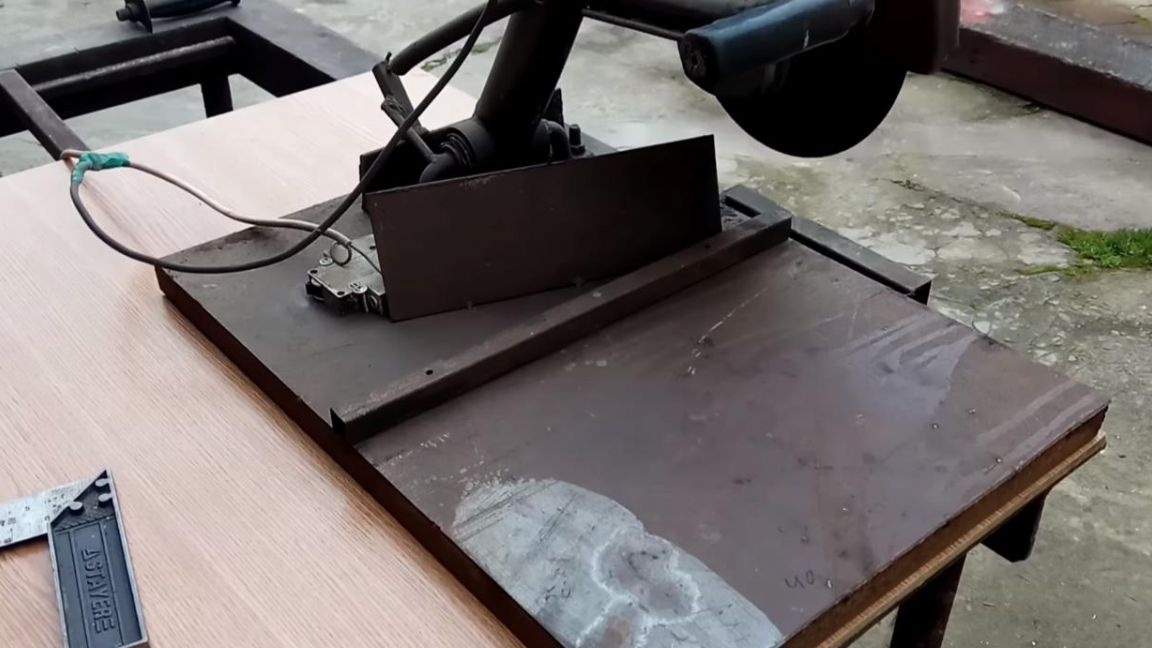
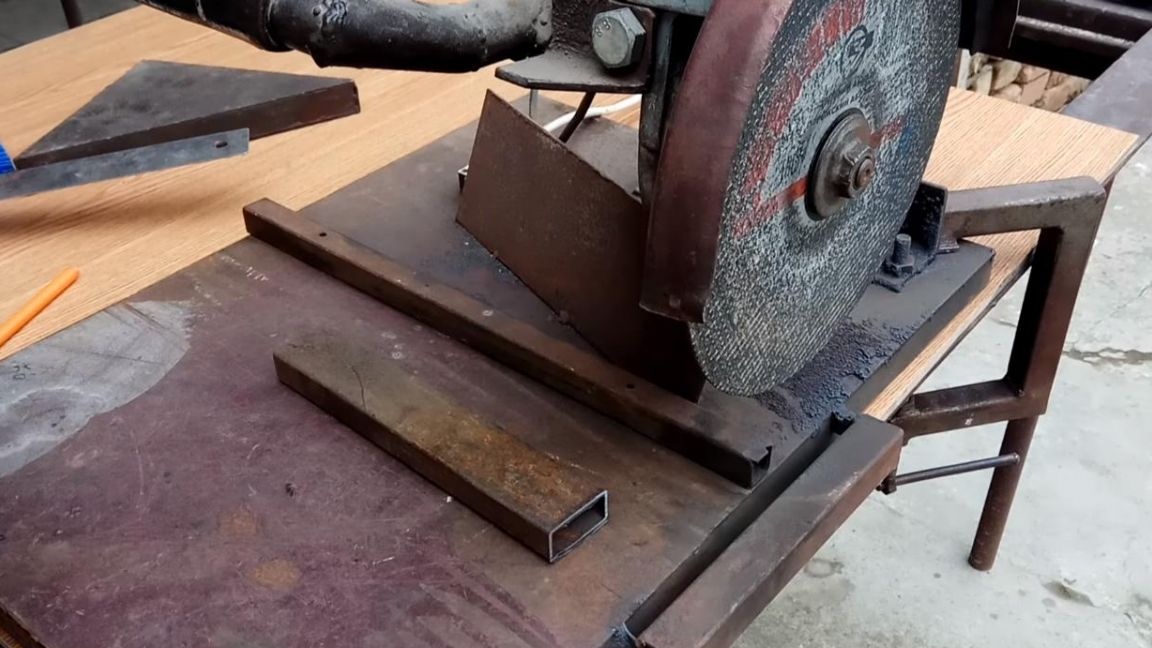
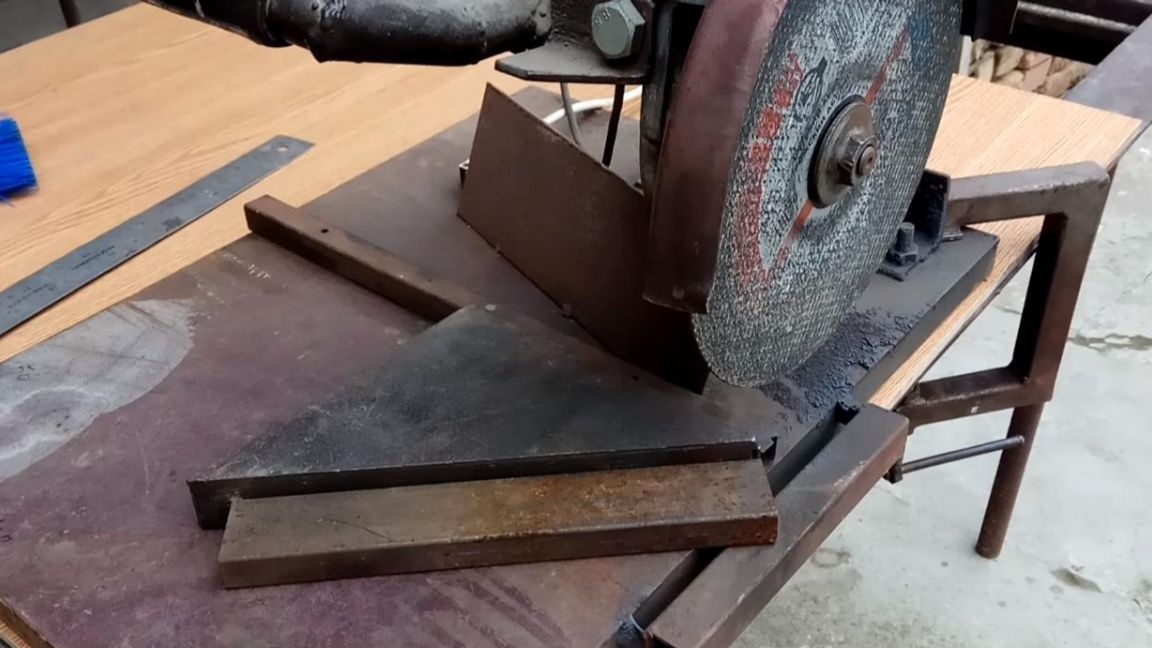
We weld a profile pipe of 20 * 20 mm on the corner, this is a kind of guide, and in order to make a cut at an angle of 45 °, you can make a special emphasis from metal with the same angle.
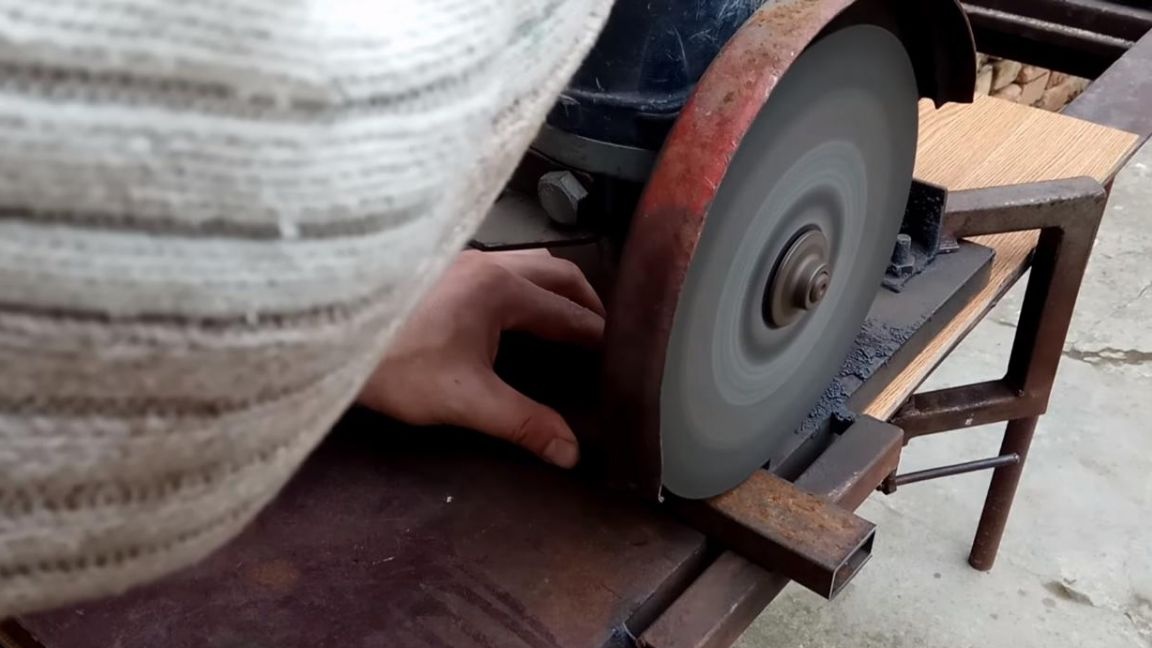
Step Eight.
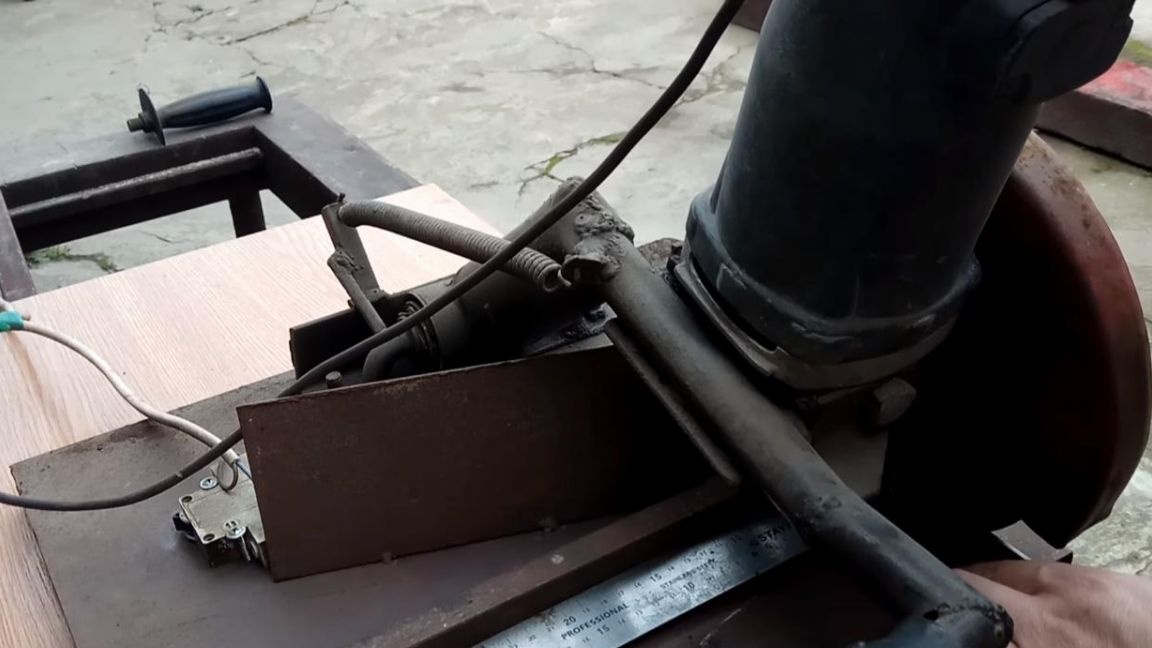
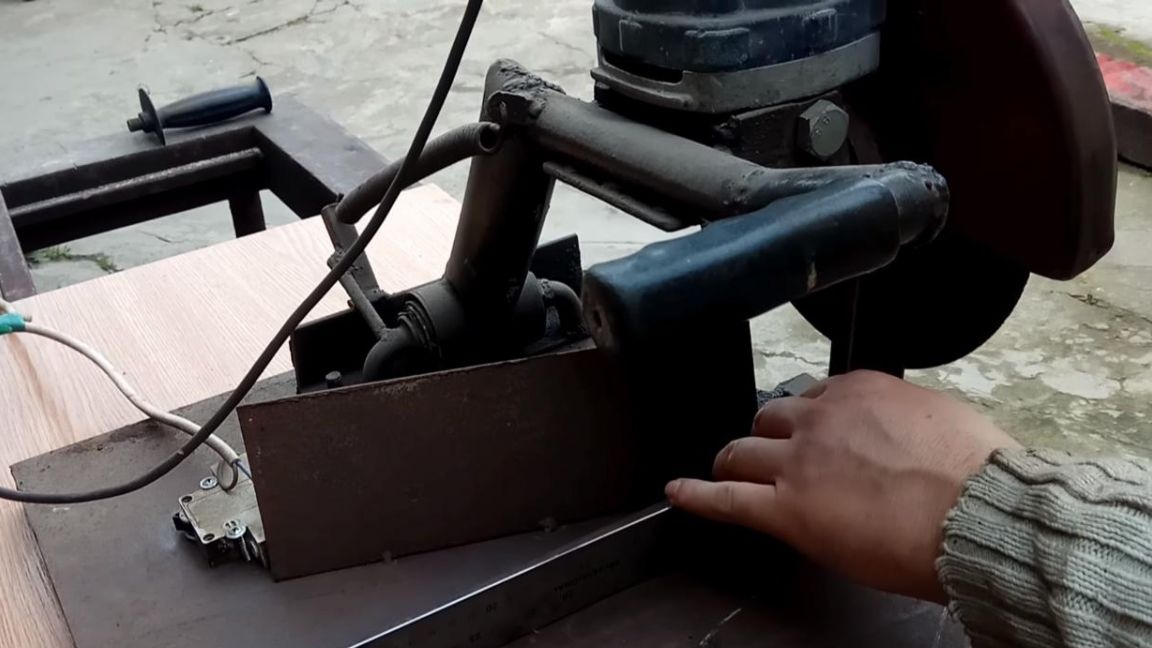
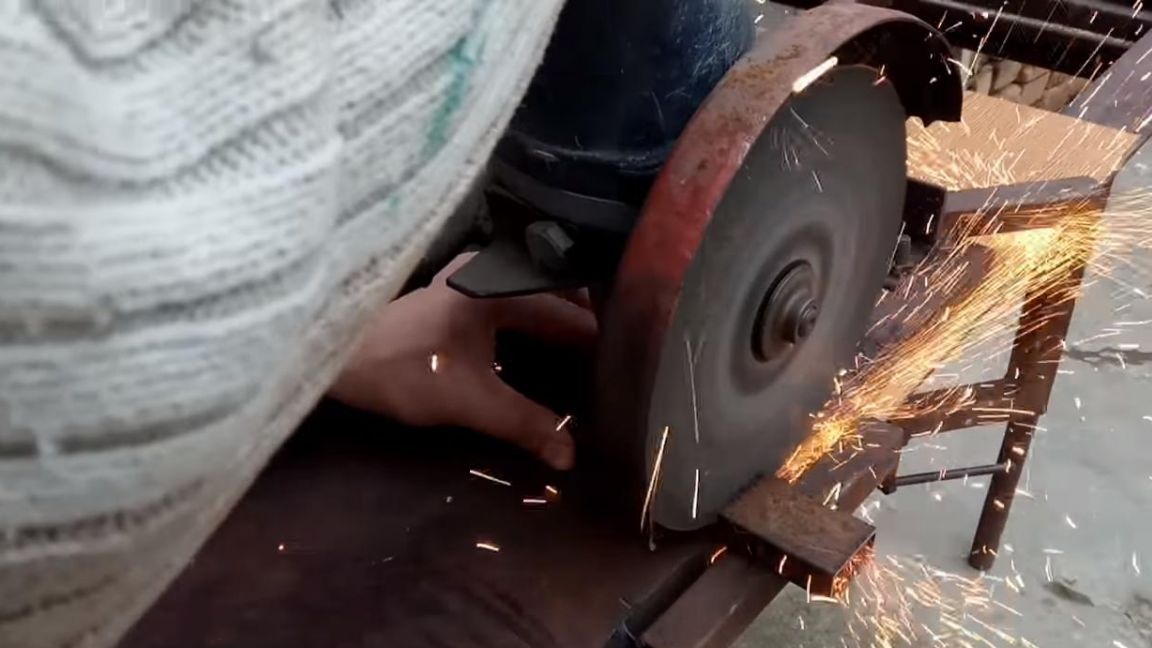
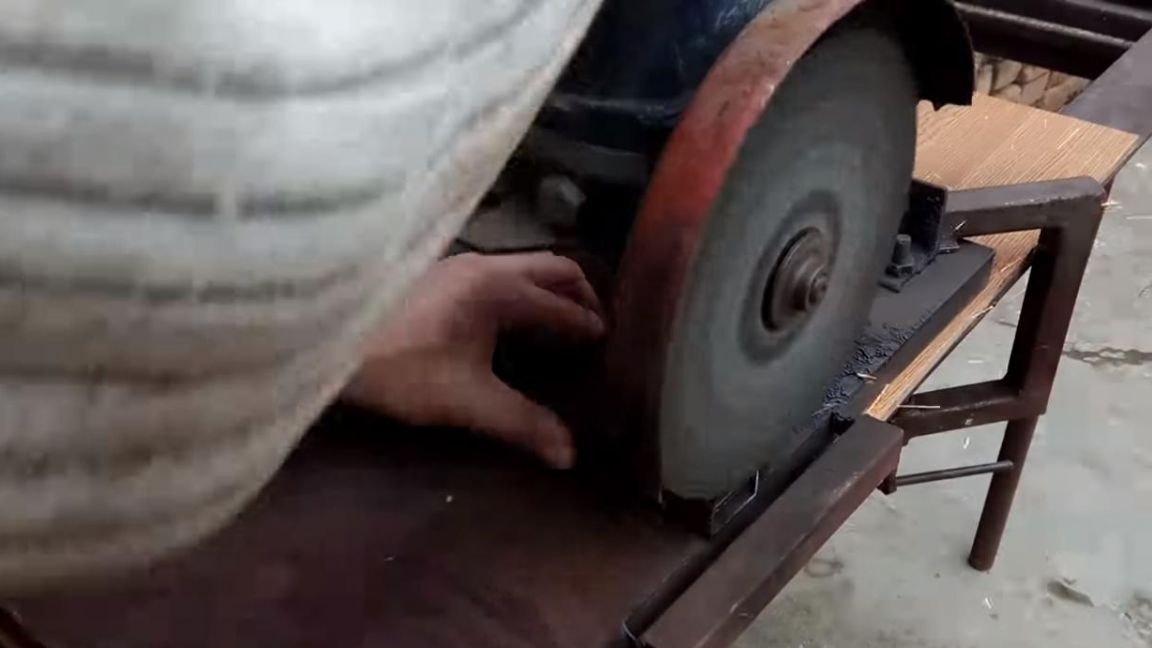
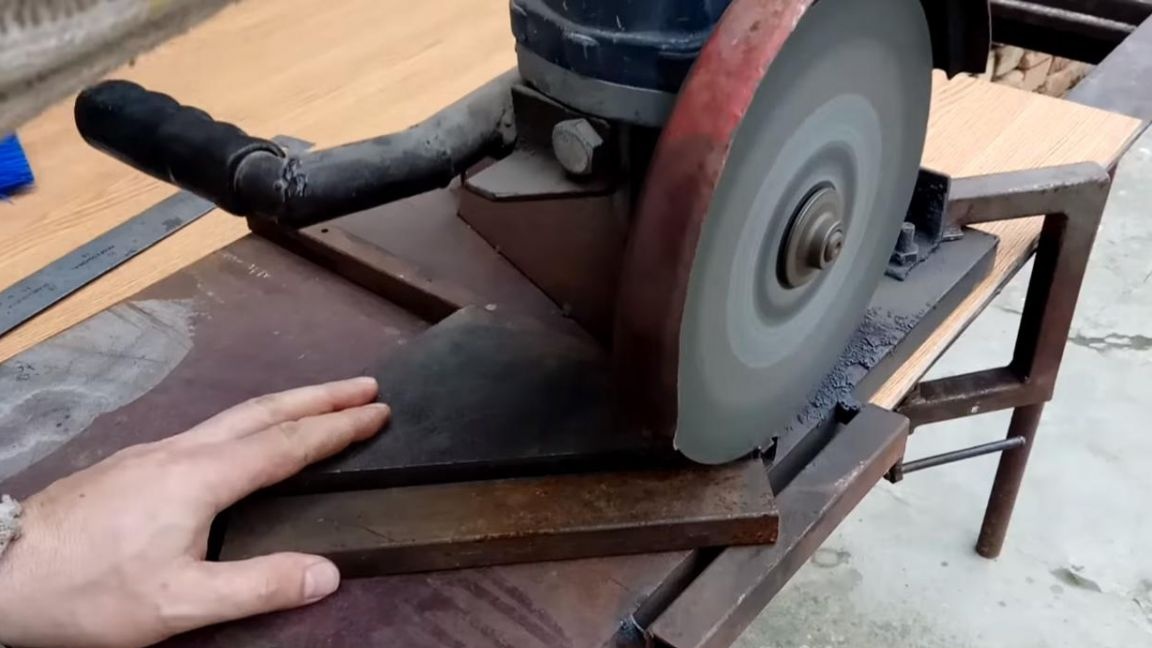
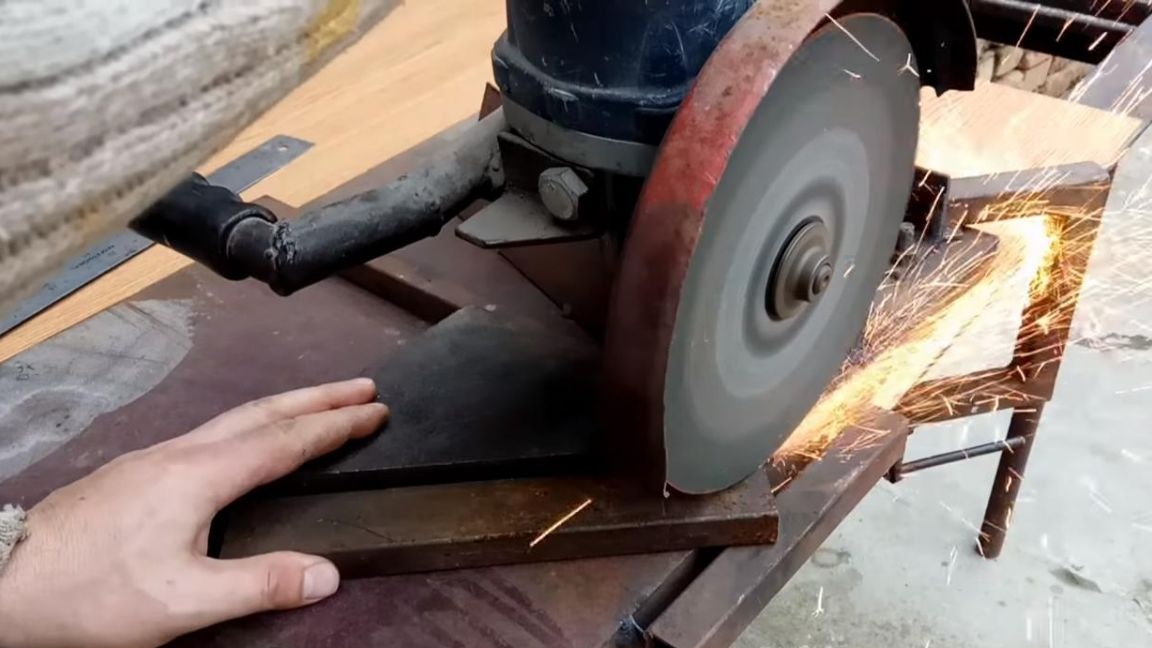
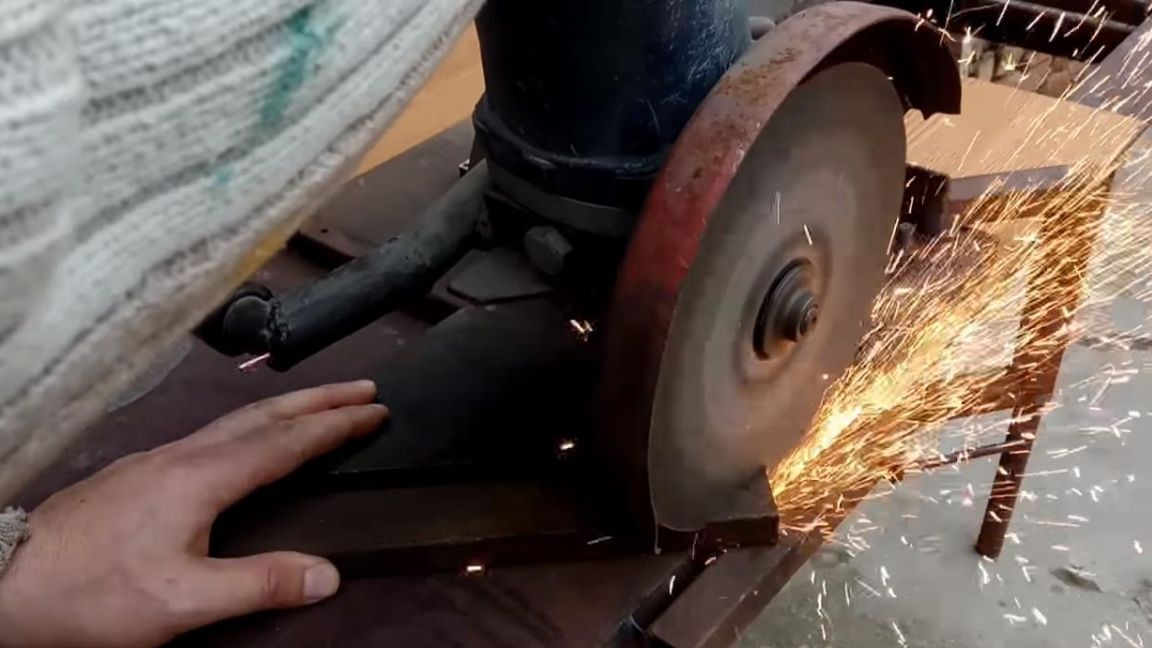
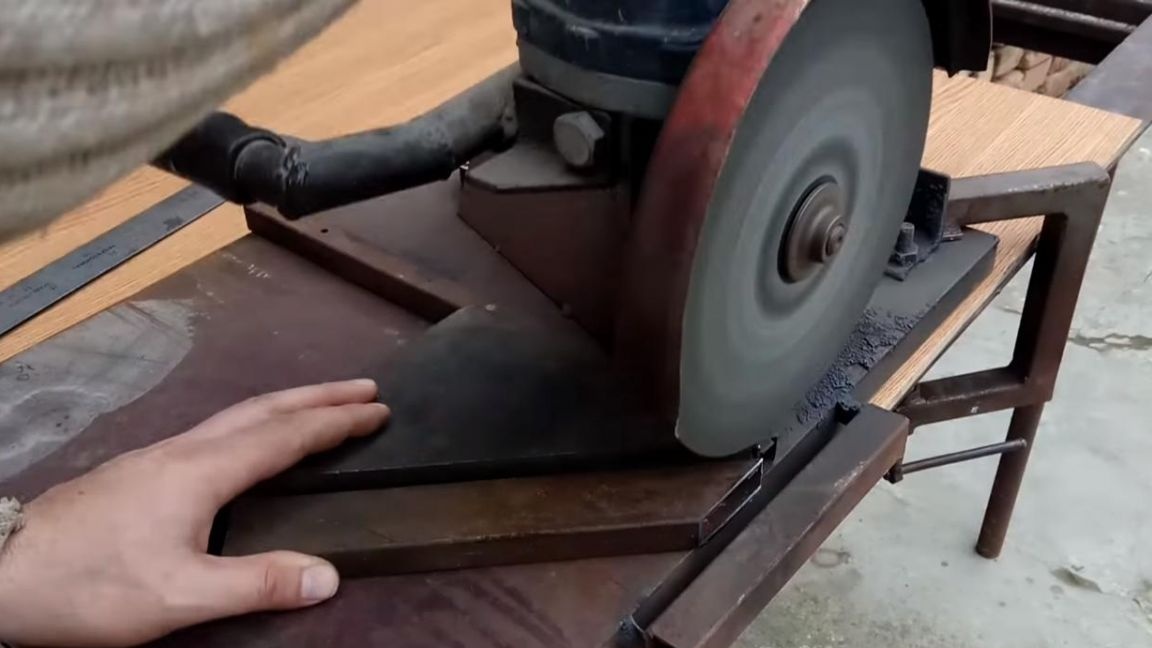
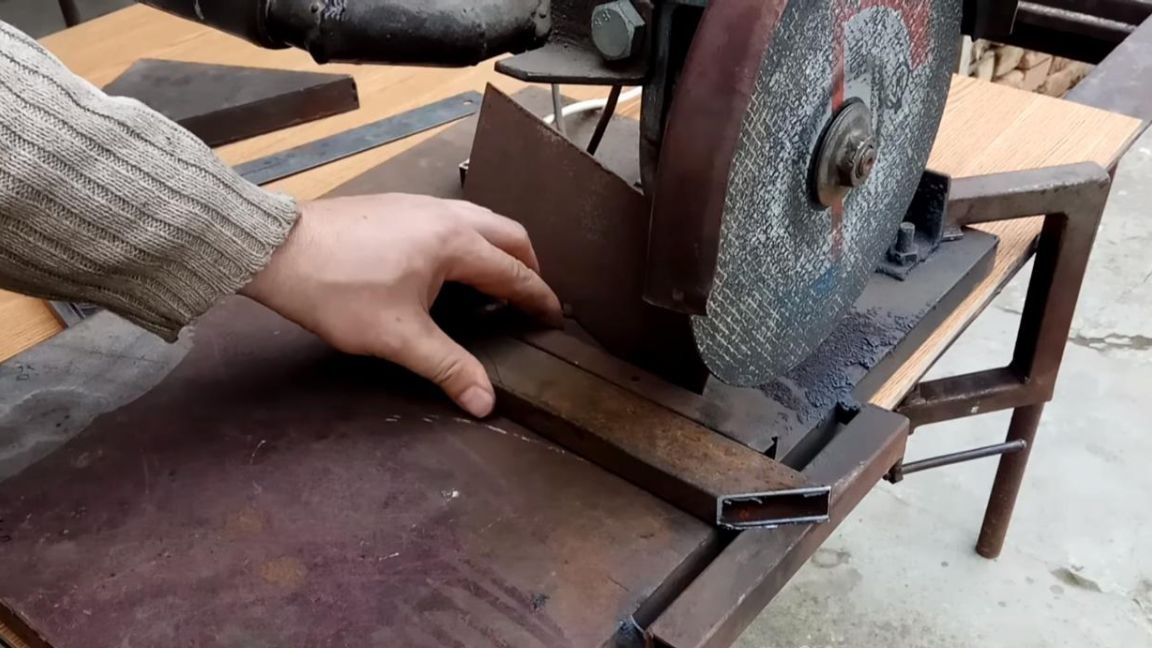
It's time to check the homemade work. We install angle grinders in the places of fastenings, set the position on the square, relative to the base and turn on the tool. To begin with, let's try to make an even profile section 40 * 20 mm, press the part against the guide and use the handle to feed the cutting disc, sparks fly, the part is cut off.
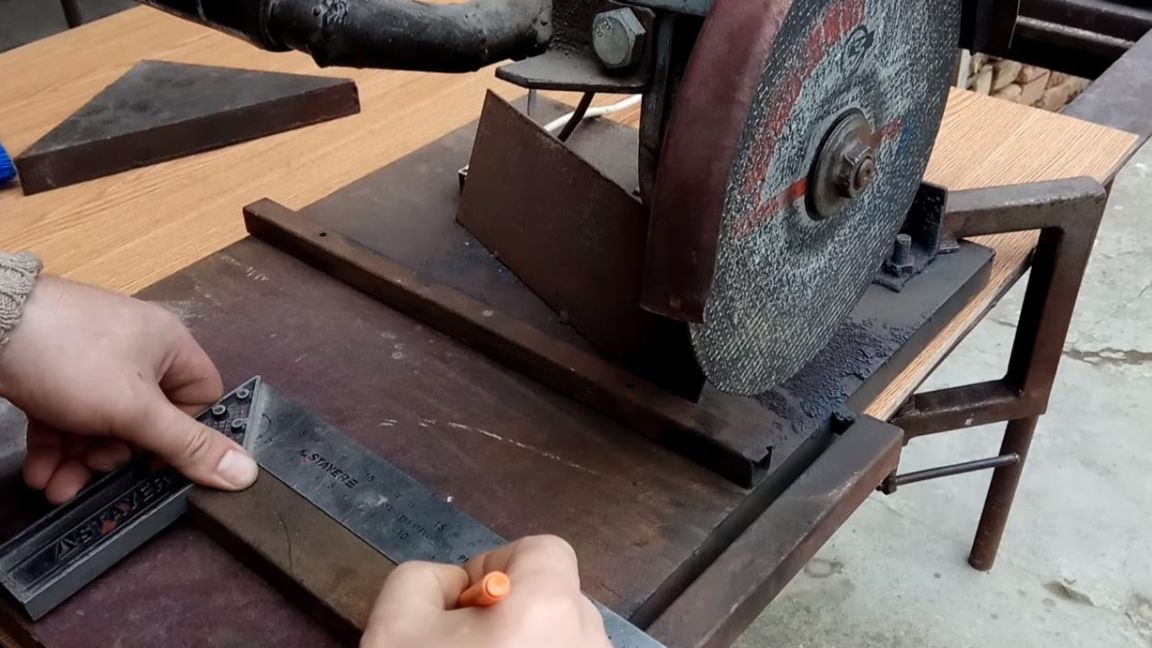

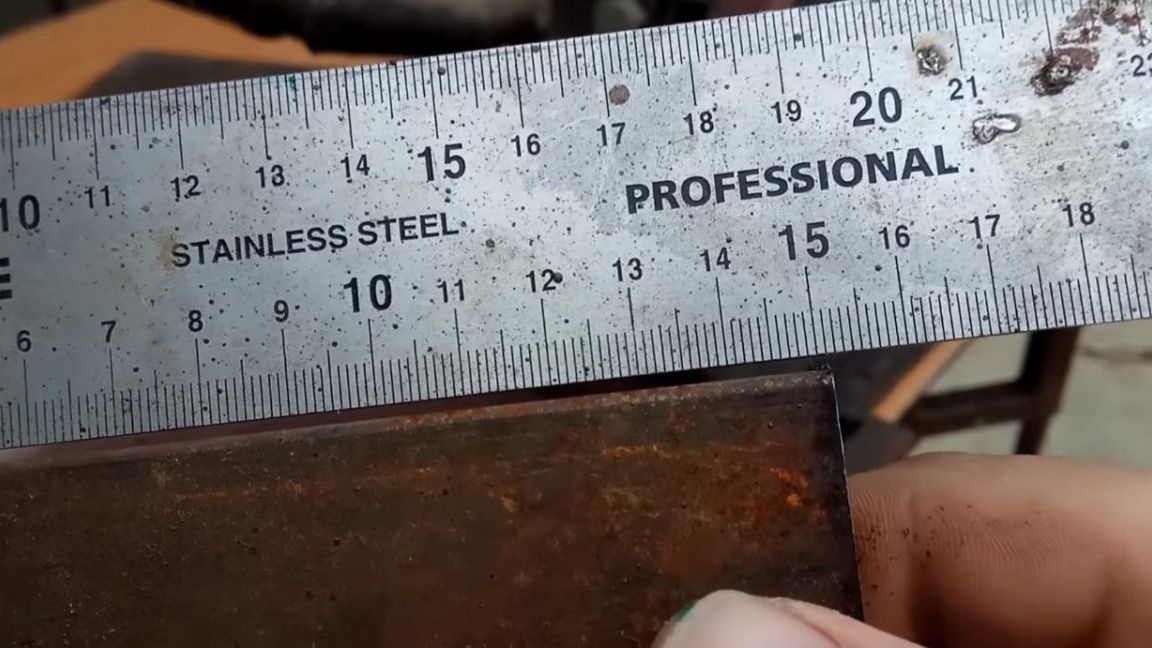
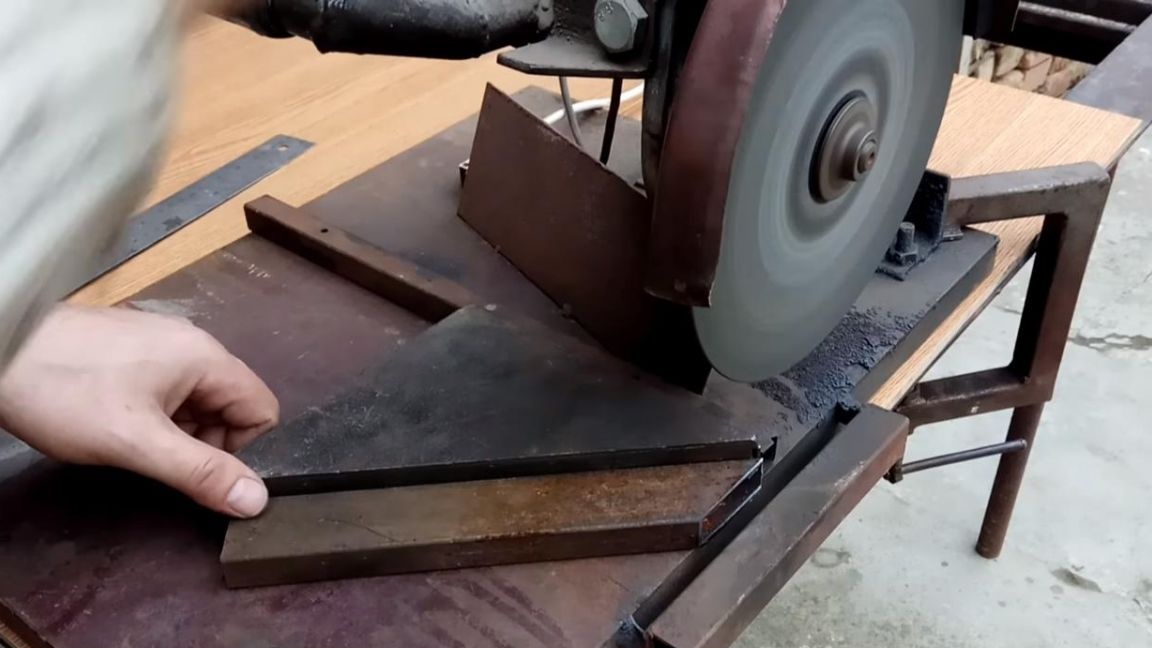
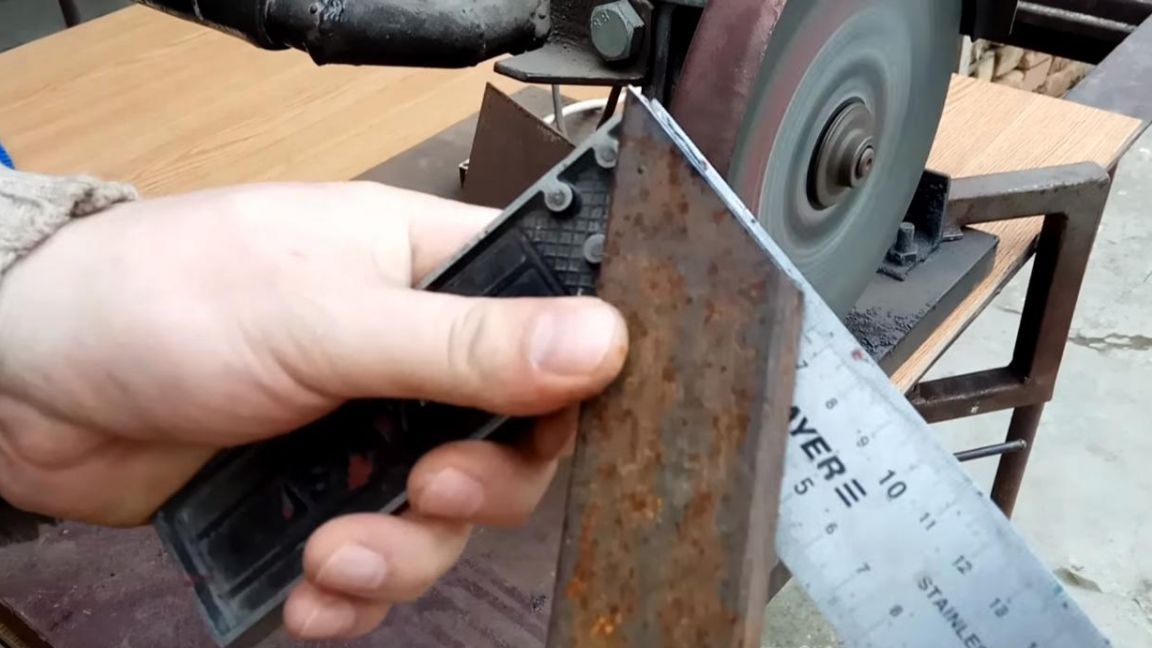
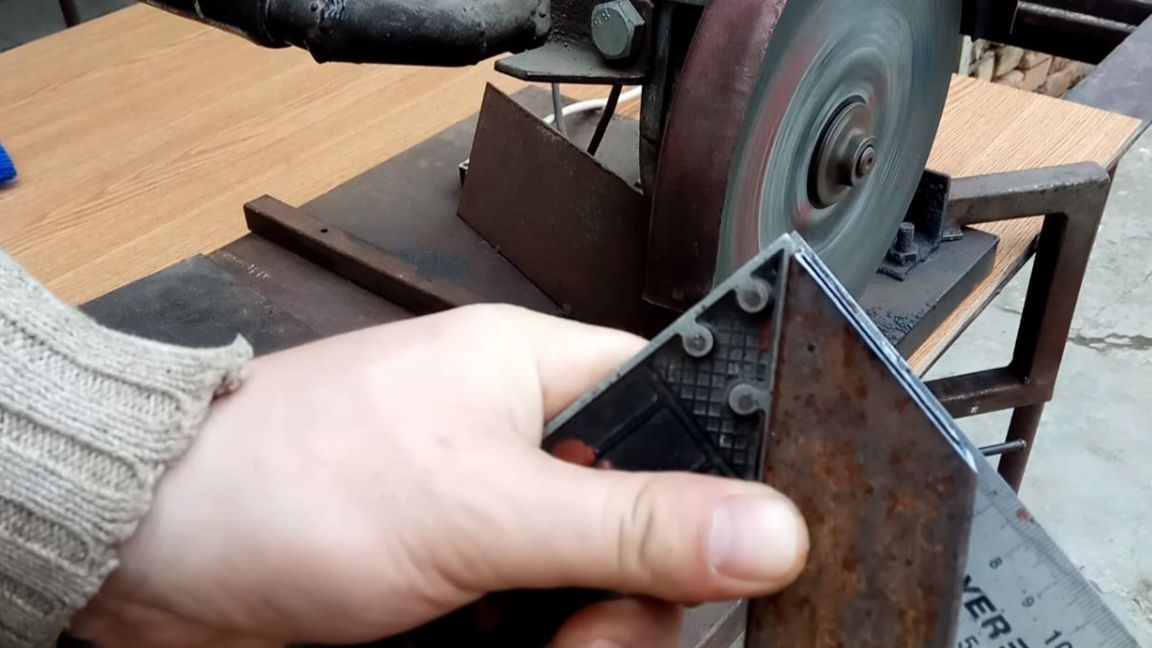
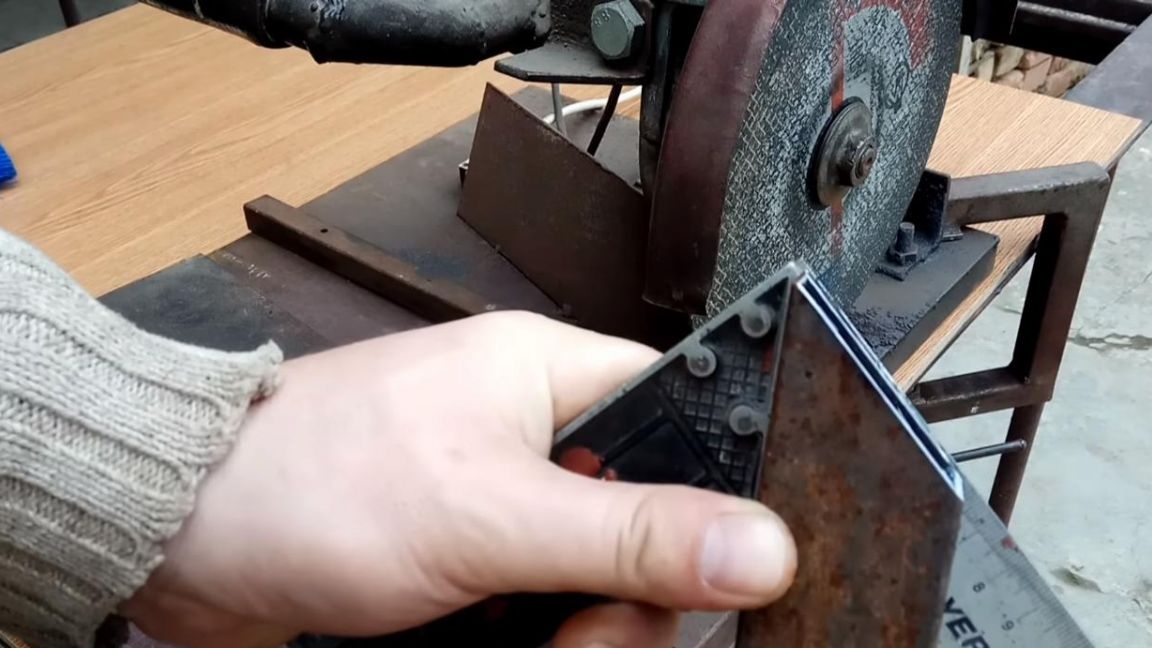
As a result, we get a fairly accurate cut with an angle of 90 °, now we’ll check how this homemade product will be cut at an angle of 45 °. We attach the same profile to the guide, but with the help of a special corner, which will maintain the desired angle, then we do the same. The cut angle was exactly 45 °, which is visible with a square.
The rack for angle grinders fully justified its assembly, and the time spent on the manufacture was not wasted. So, if you have your own workshop, but there is no such rack, I advise you to make it and facilitate your work.
That's all for me, thank you all for your attention and creative success.