In this article, the author of the YouTube channel Vladimir Natynchik will tell you how to make a beautiful and stylish LED sign out of ordinary boards.
Materials
- pine board
- Glue PVA, drying oil, sandpaper
—
- Plexiglass or plexiglass
- Wood screws, furniture hinges.
Instruments, used by the author.
- Circular saw, surface gage
—
—
- metal brush
—
— .
Manufacturing process.
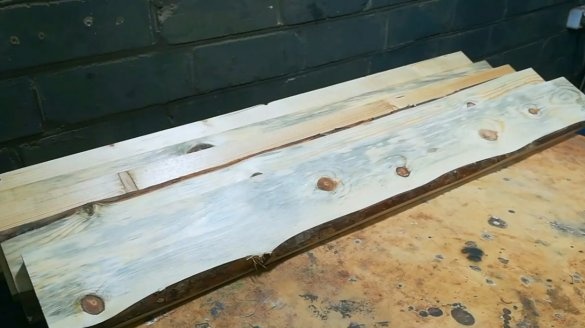
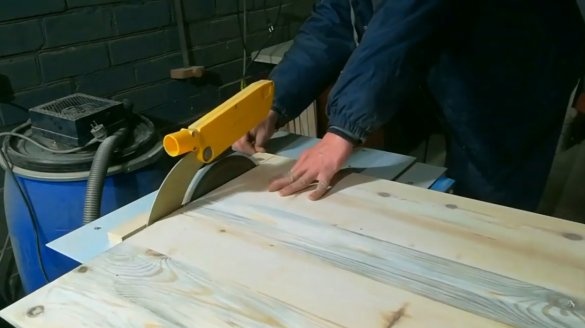
So, the master bought several pine boards, cut off their edges, and leveled the surfaces on a surface gage.
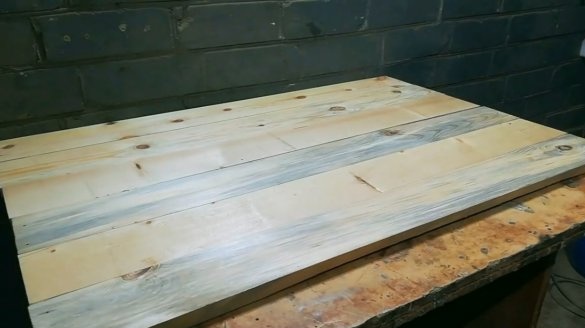
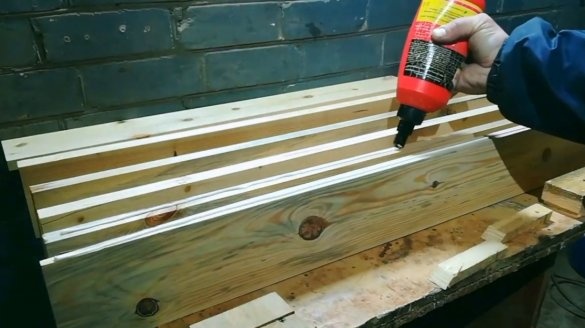
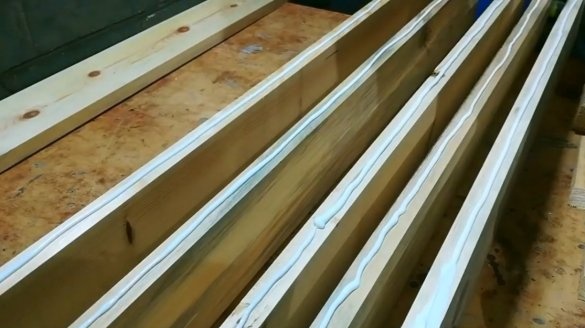
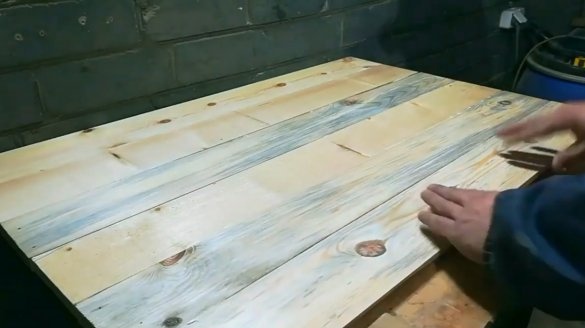
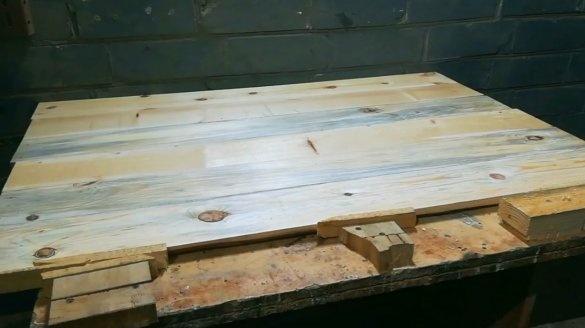
Then he glued the boards into the shield, wedging them on a workbench.
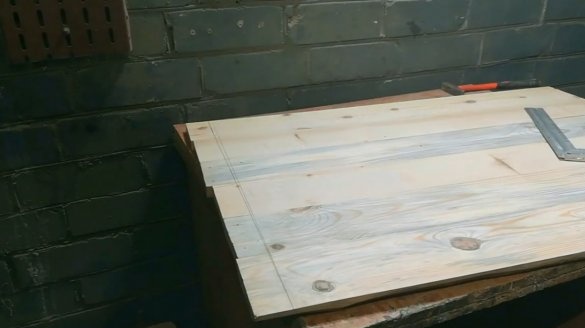
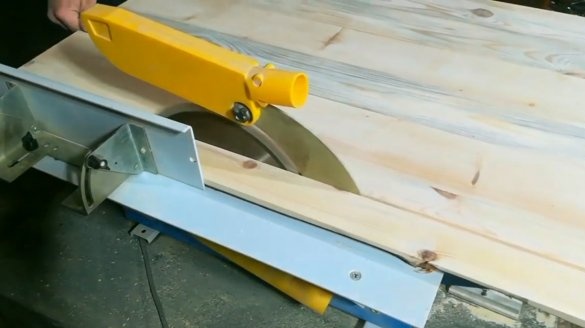
Cut off excess material on a circular saw.
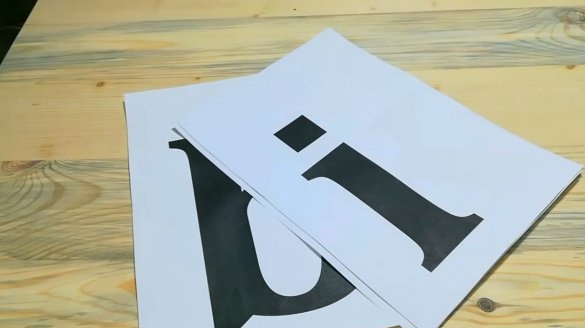
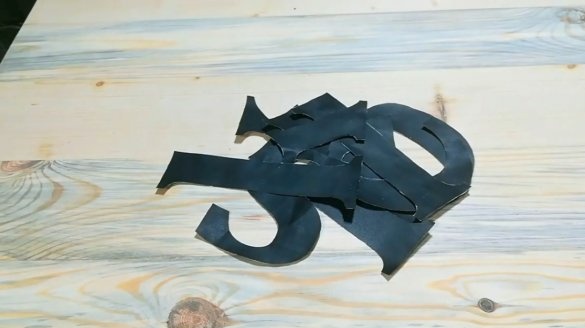
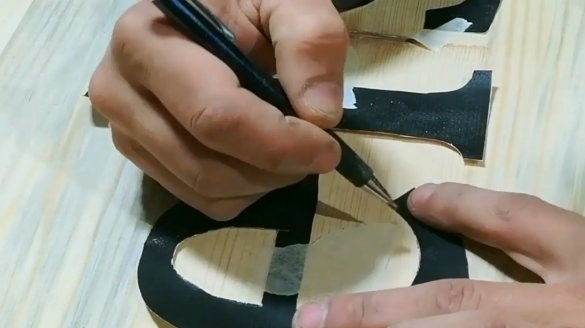
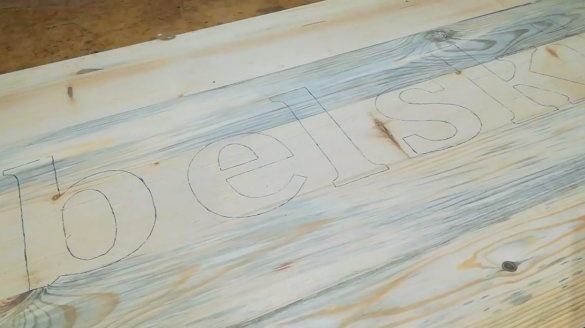
Next, Vladimir printed letter patterns, and transferred the contours to the surface.
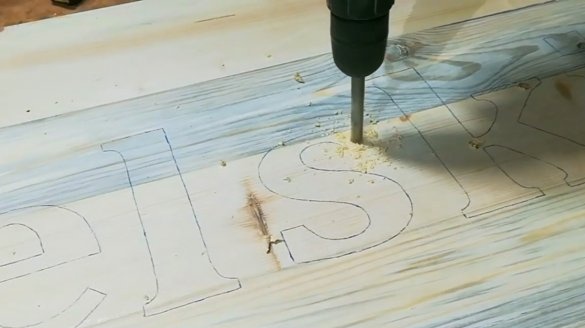
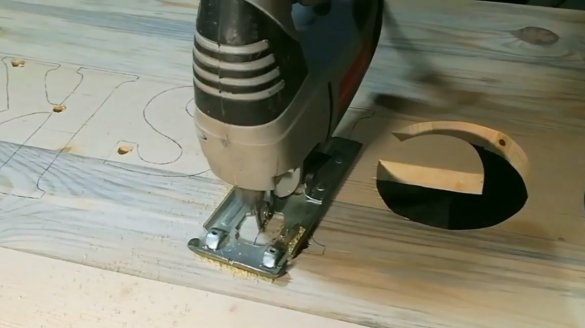
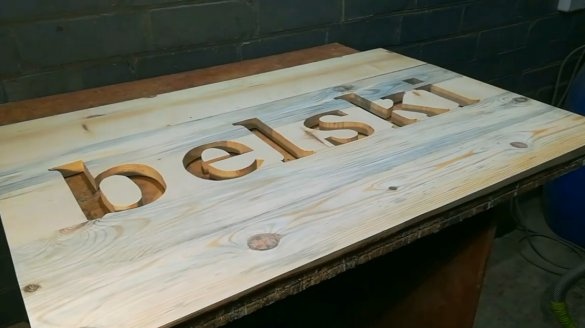
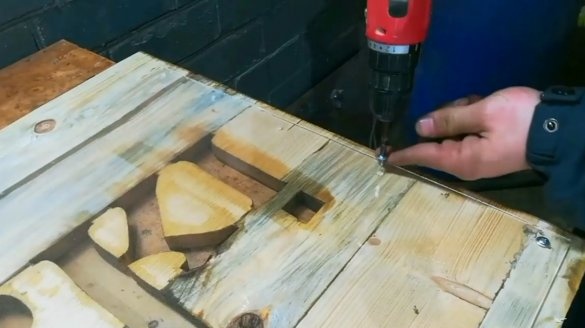
The next step was to drill holes for the entrance of a jigsaw blade, and cut out according to the markup.
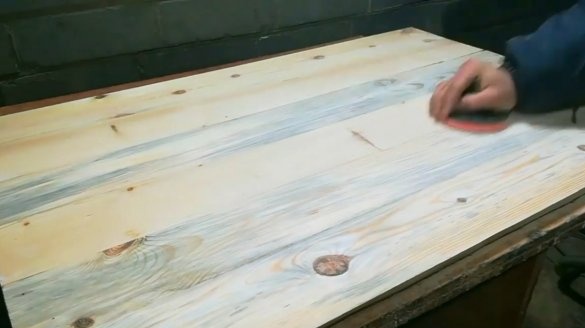
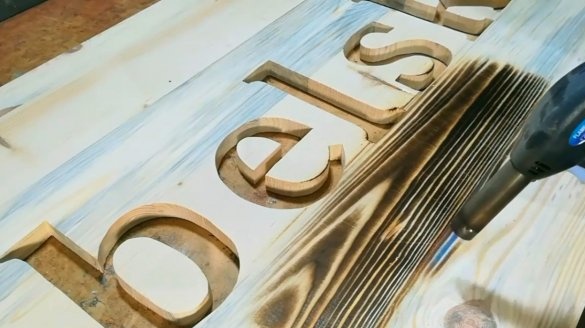
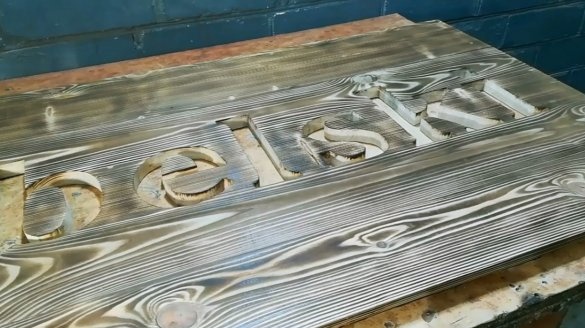
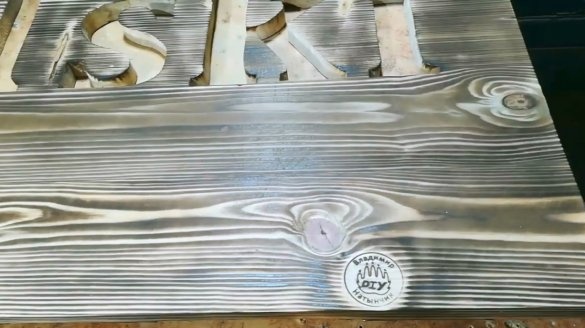
He burned the front side of the sign, brushed it with a wire brush and polished it. Also put the copyright mark.
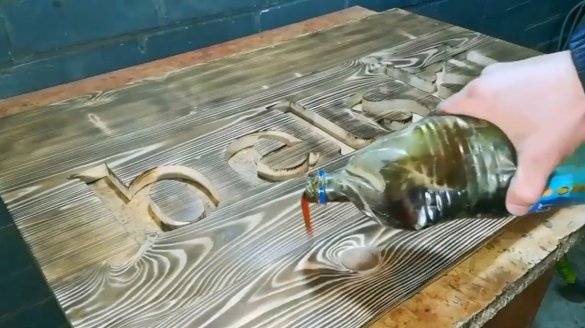
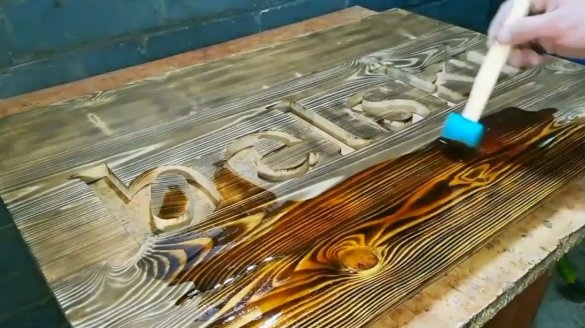
It impregnates the front side of the sign with drying oil.
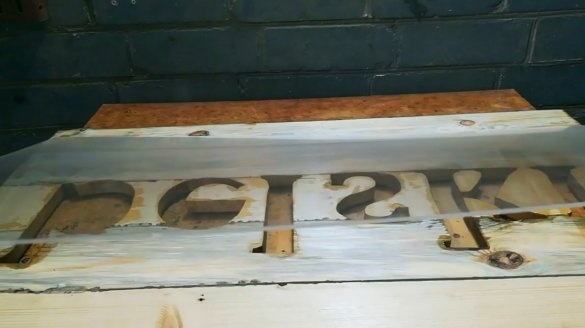
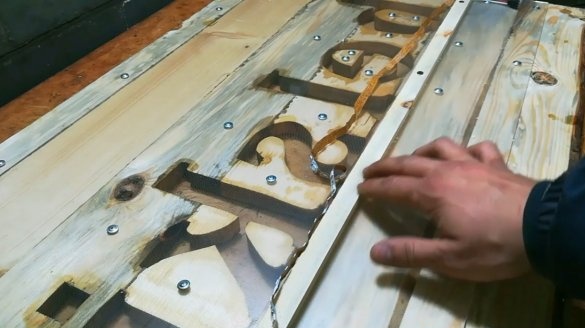
On the back of the sign, I screwed a sheet of plexiglass, and glued individual segments of letters to it.
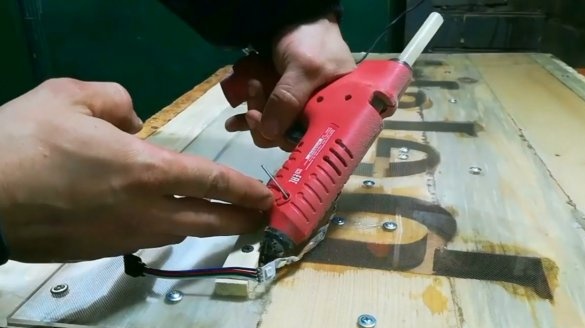
To mount the LED strip, Vladimir cut out a 10 mm wide strip, screwed it just below the letter level. Then I glued the tape to the bar.
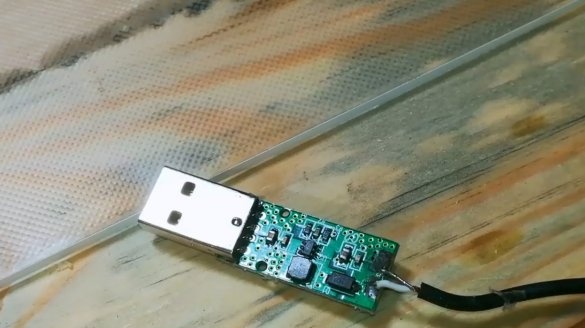
The tape will be powered from USB, for this a boost module is used.
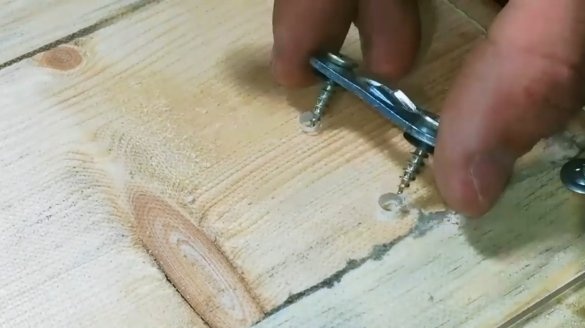
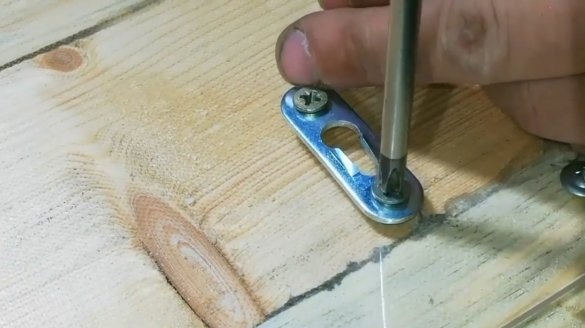
It remains to tighten the hinges, and hang a sign.
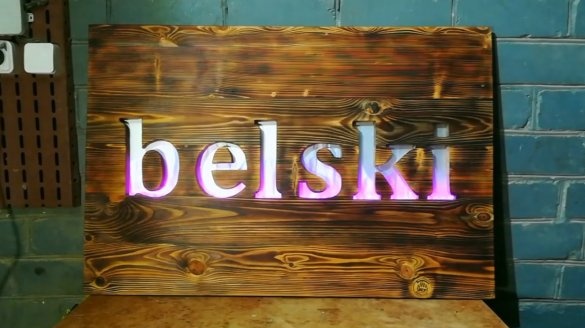
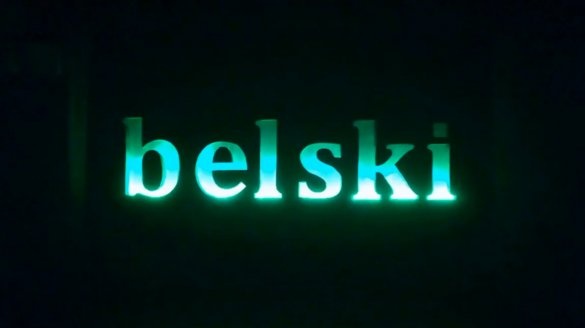
That's how it looks in different lighting conditions. Of course, the size of the sign can vary widely, as well as the method and place of installation of the tape.
Thanks to Vladimir for the simple idea of the LED sign!
All good mood, good luck, and interesting ideas!
Author video can be found here.

