I welcome fans to craft, in this instruction we will discuss how to make a simple compressor with a receiver from an old fire extinguisher and a 12V car compressor. In fact, everything is assembled from ready-made materials, not counting the legs and other little things. The compressor turned out to be quite powerful, it can be easily painted or even pumped up a bicycle wheel. The capacity of the fire extinguisher can withstand pressure up to 20 bar. If the project interests you, I propose to familiarize yourself with it in more detail.
Materials and tools used by the author:
Material List:
- a piece of a plumbing pipe, corner or other part (for legs);
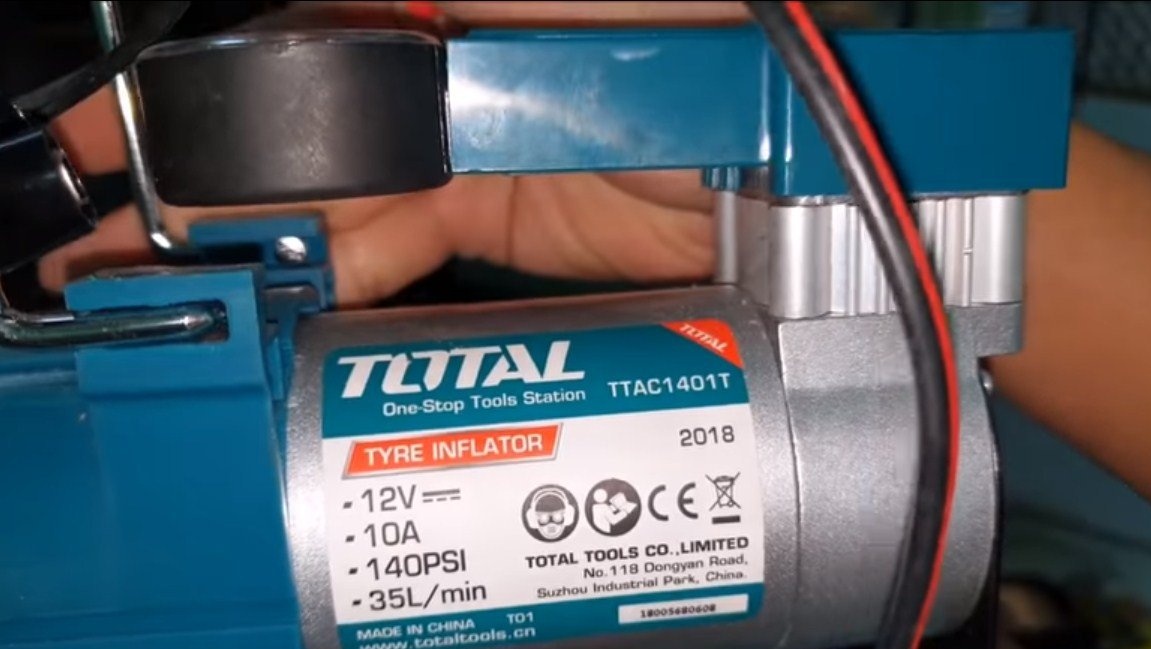
- (35 L / min, 140 PSI);
- fire extinguisher;
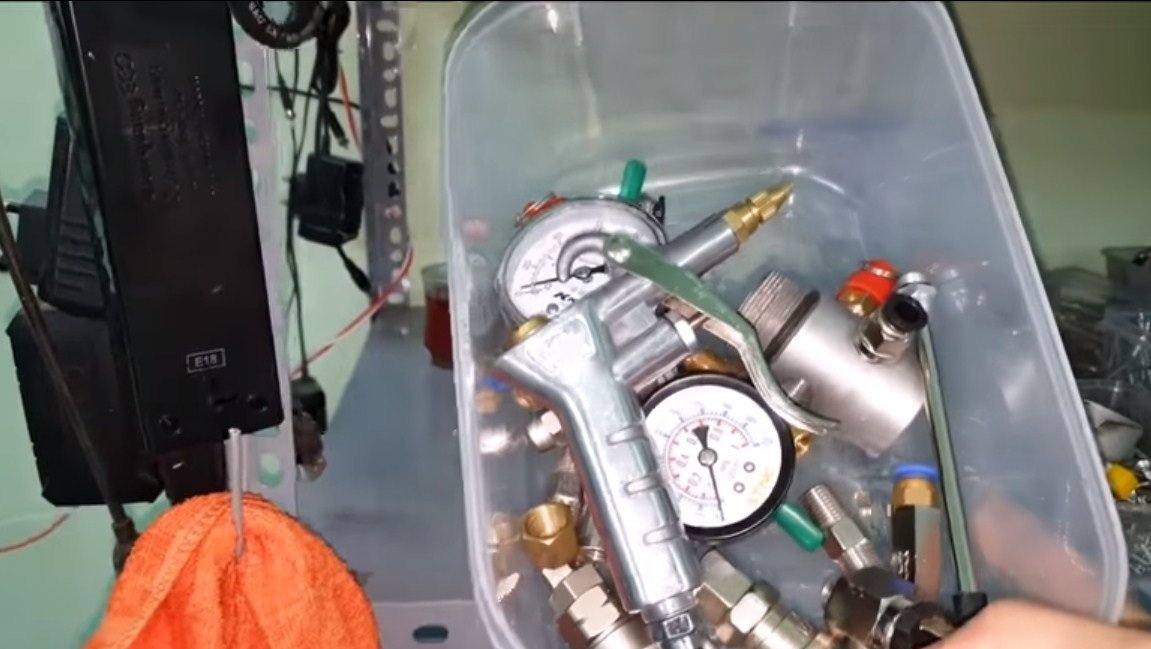
- pressure gauge;
- valve for collecting excess pressure;
- pneumatic switch (for compressor control);
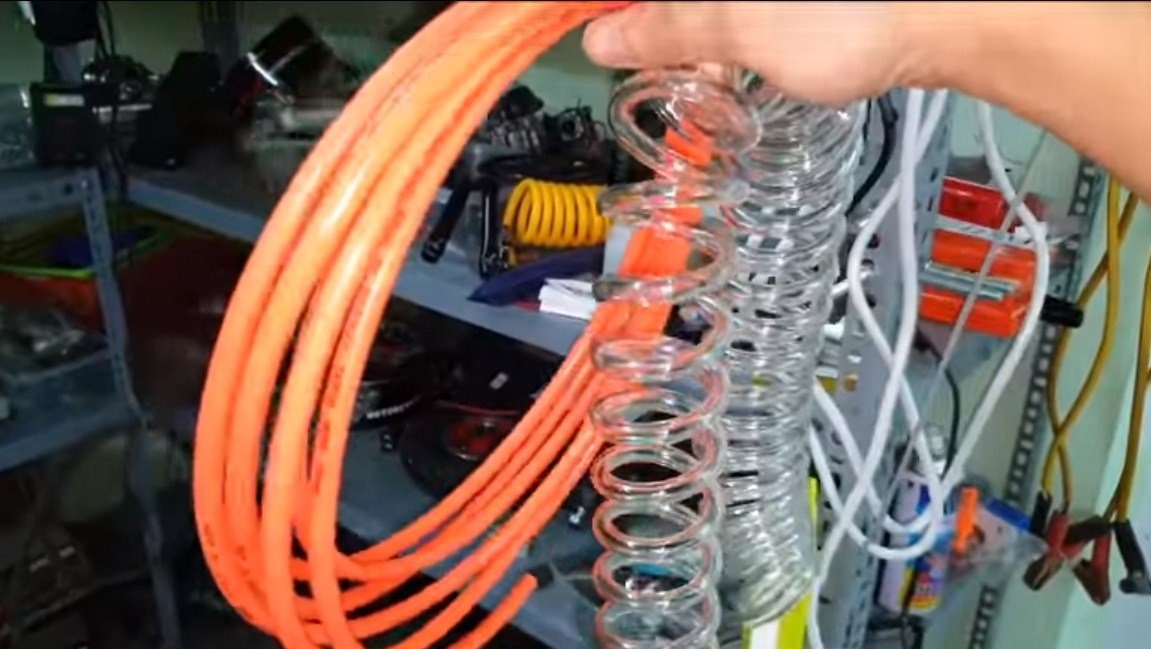
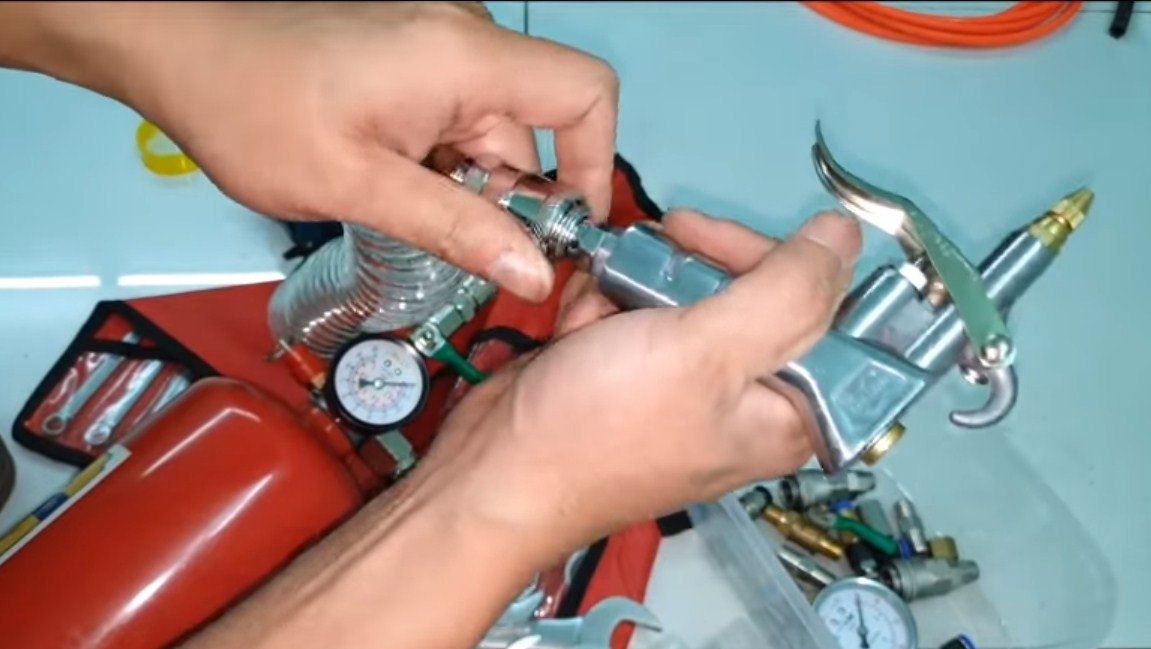
- hoses, spray gun, etc .;
- adapter for 5 outputs (can be made on a lathe);
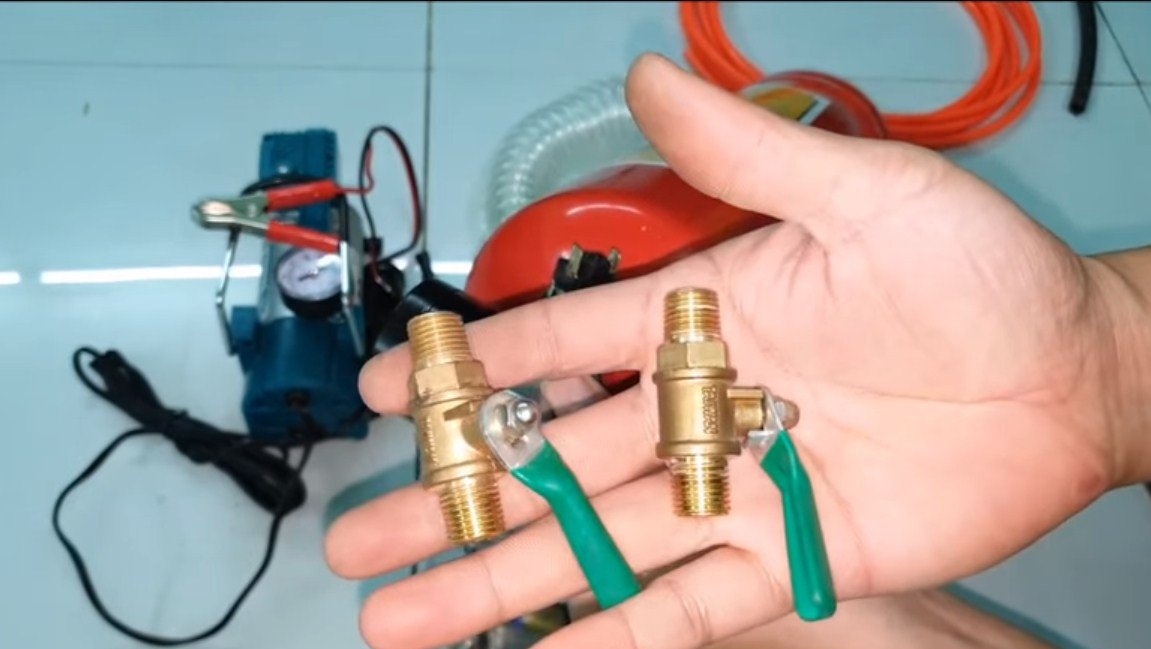
- crane;
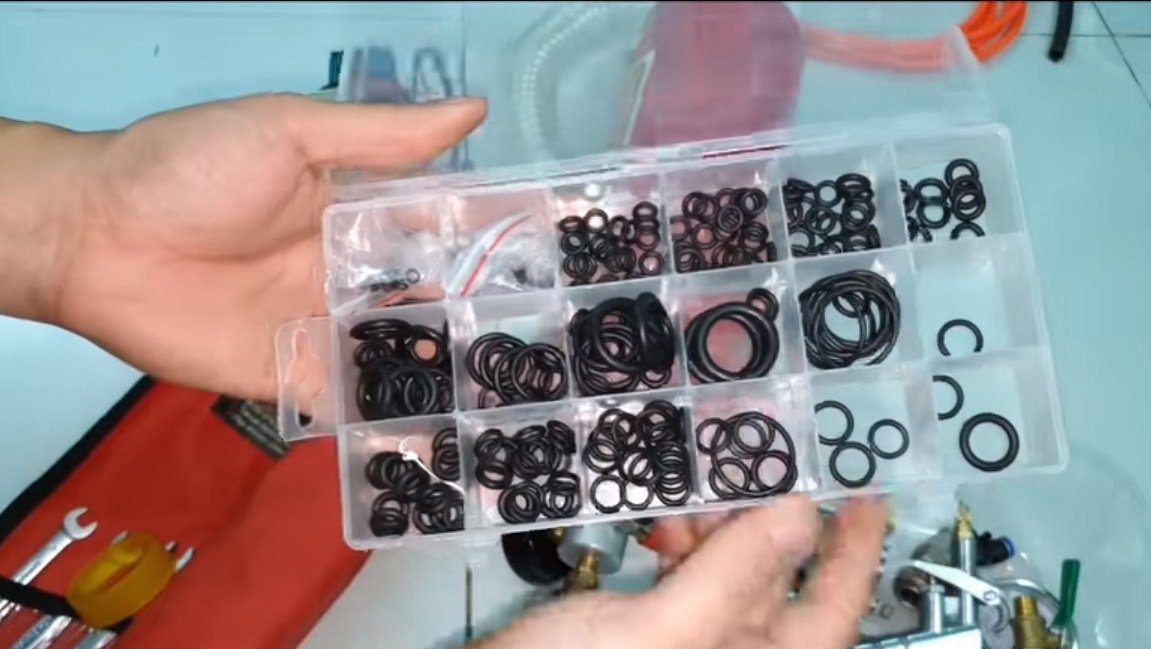
- fum tape, gaskets;
- wire;
- double-sided adhesive tape.

Tool List:
- scissors;
- a hacksaw for metal;
- screwdriver;
- spanners.
Compressor manufacturing process:
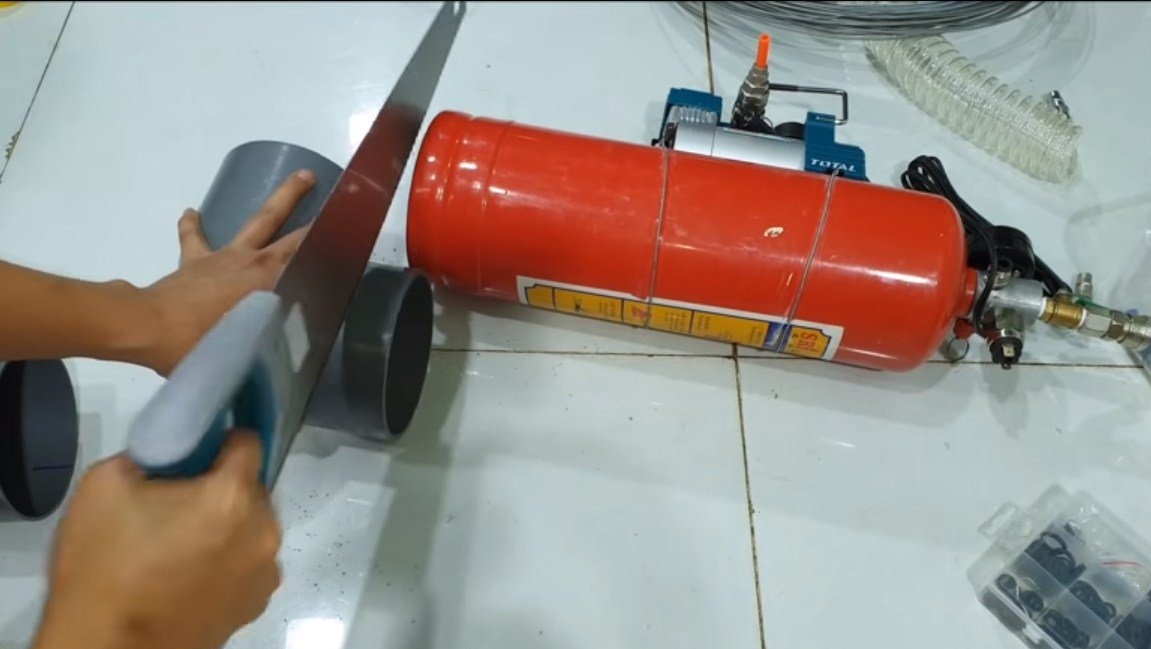
Step one. Receiver
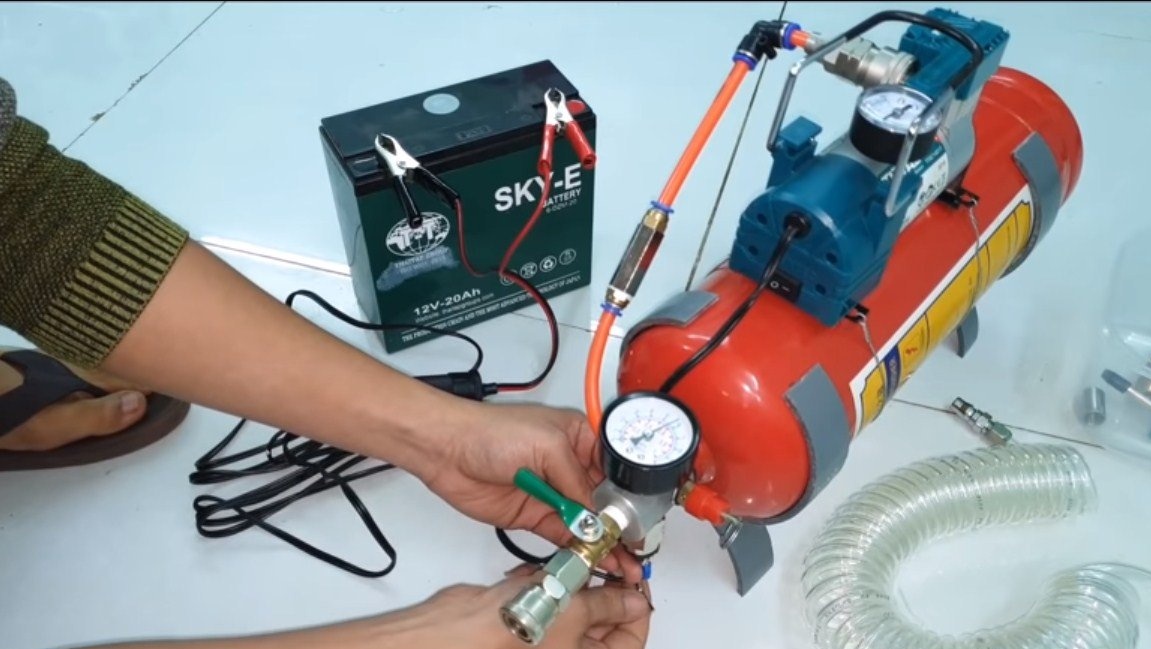
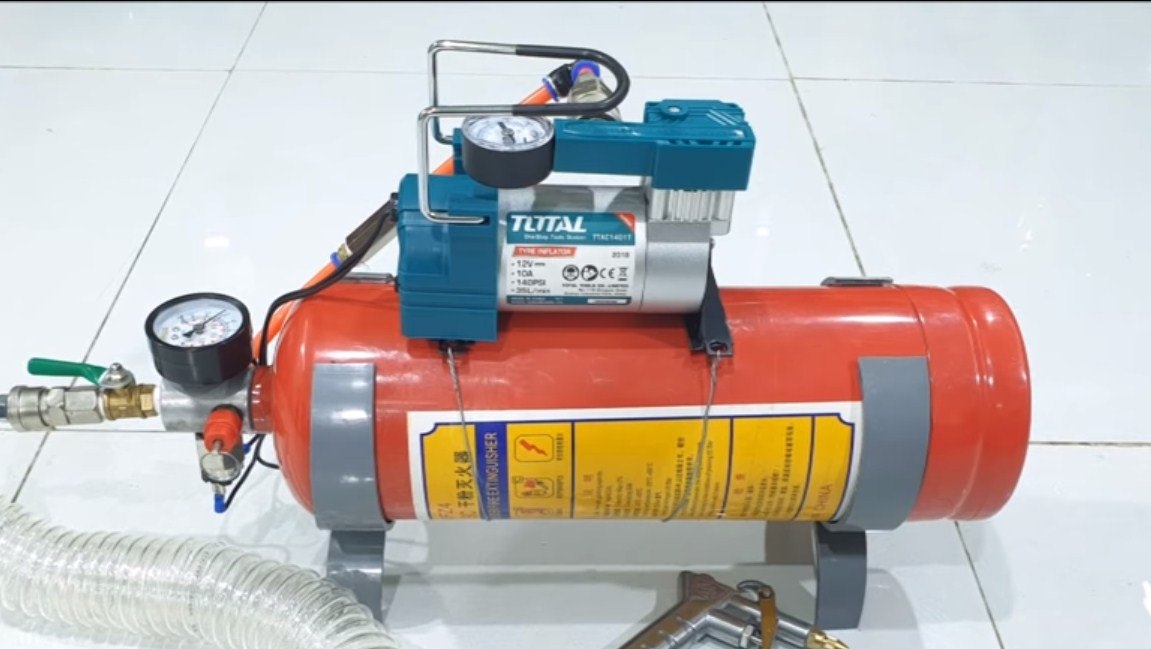
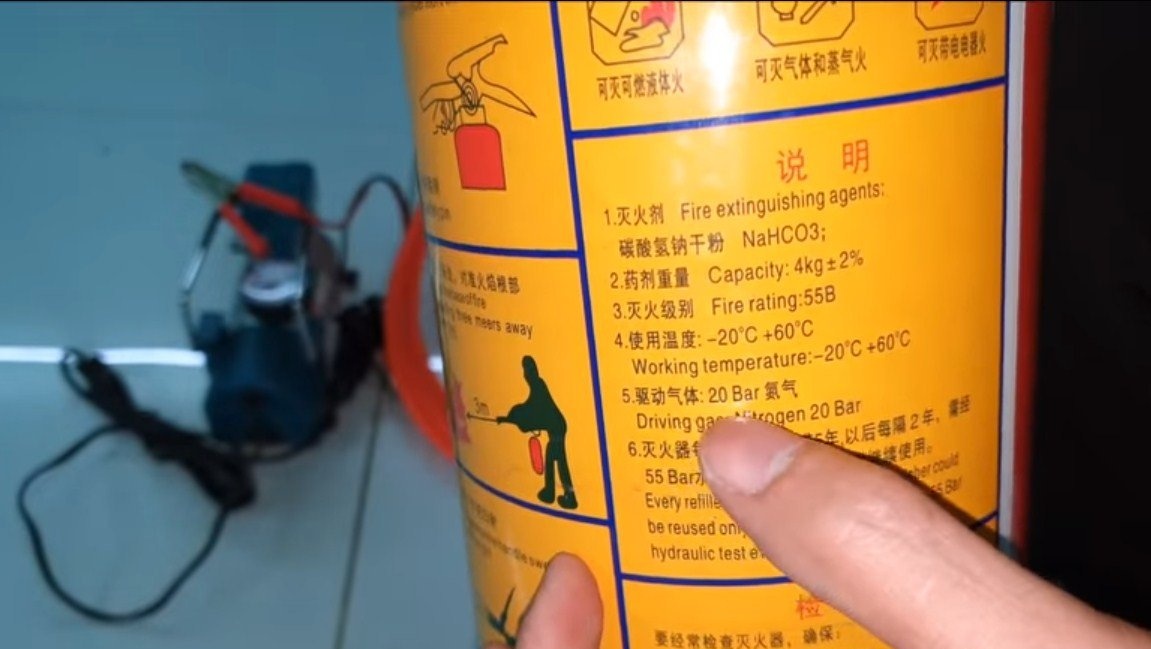
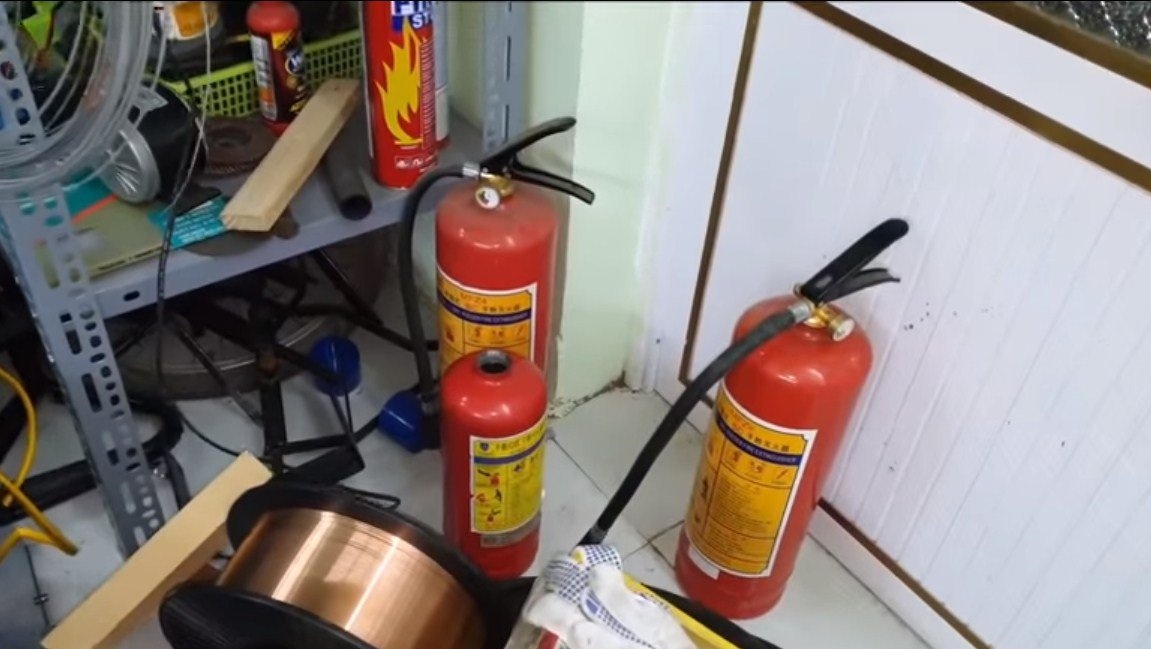
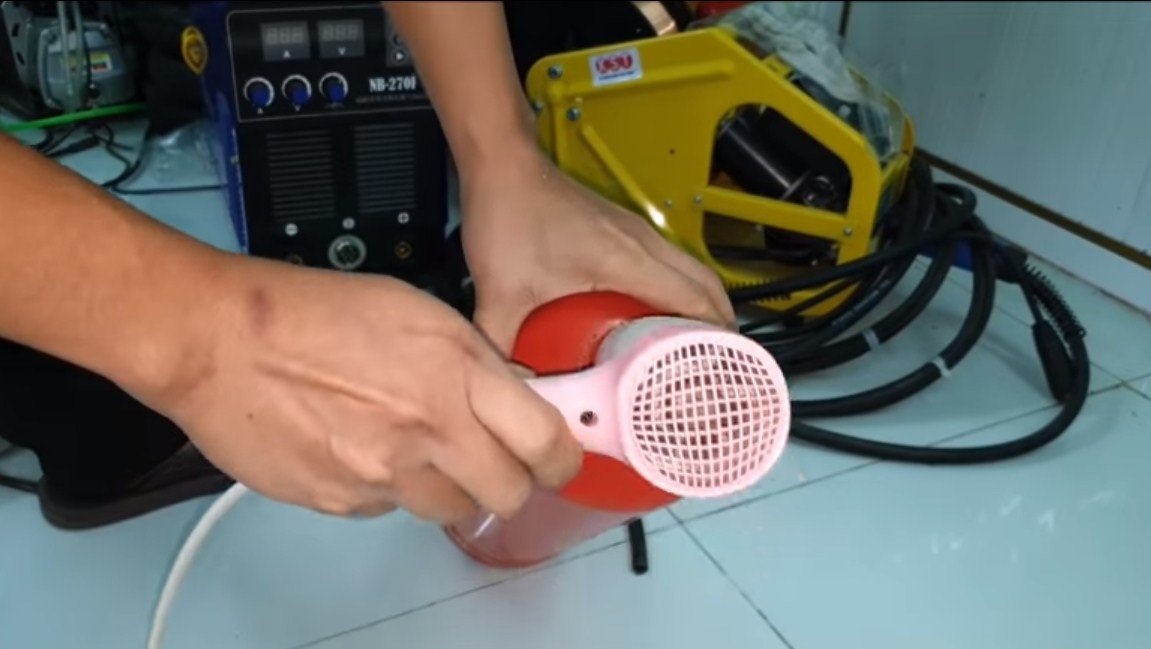
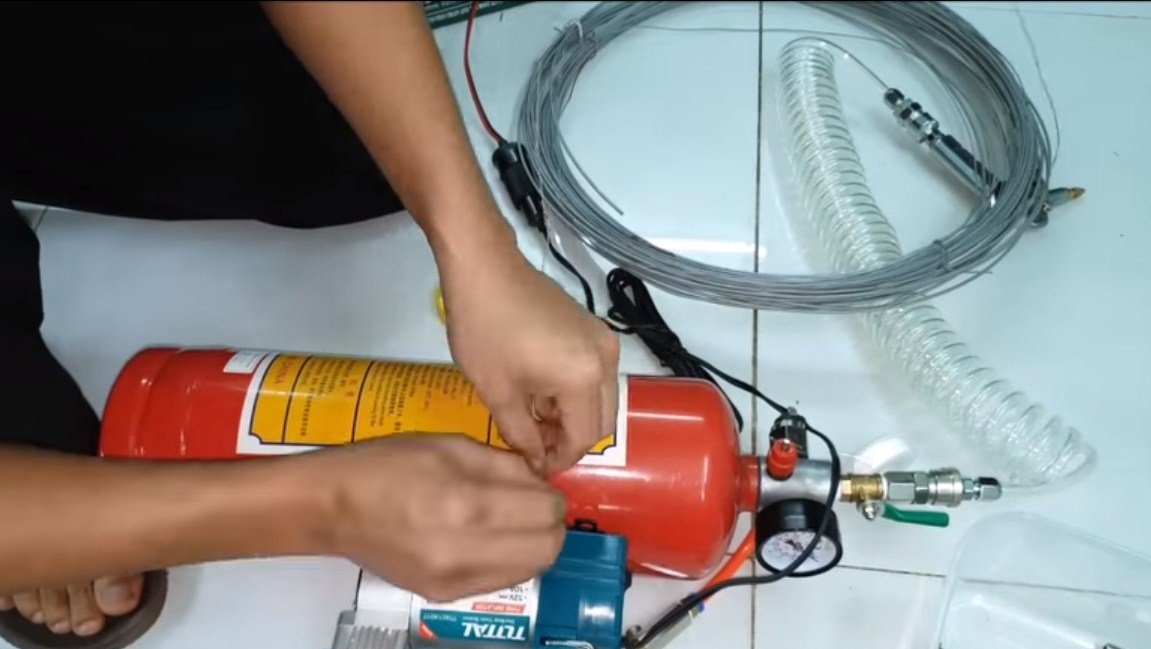
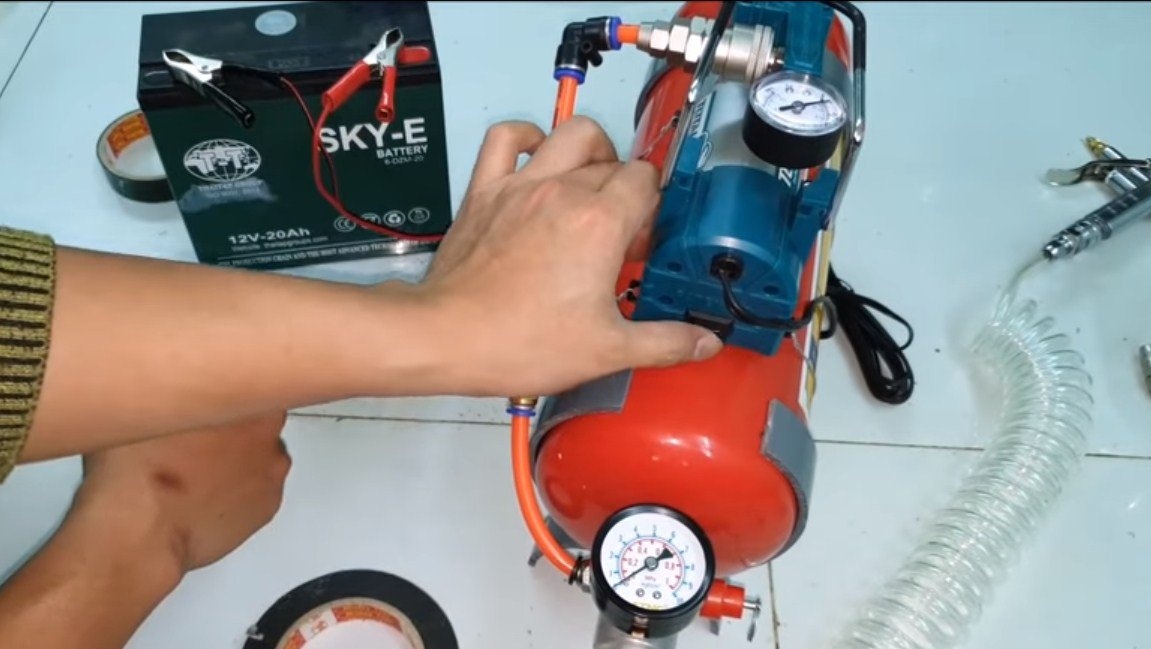
First of all, we will prepare the receiver, which will be the body from the fire extinguisher. We turn off the tap and pour the contents, after that the body must be thoroughly washed. If you do not want to wait, you can quickly dry the case with a household hairdryer (but so that your wife does not see it!).
Step Two Main assembly
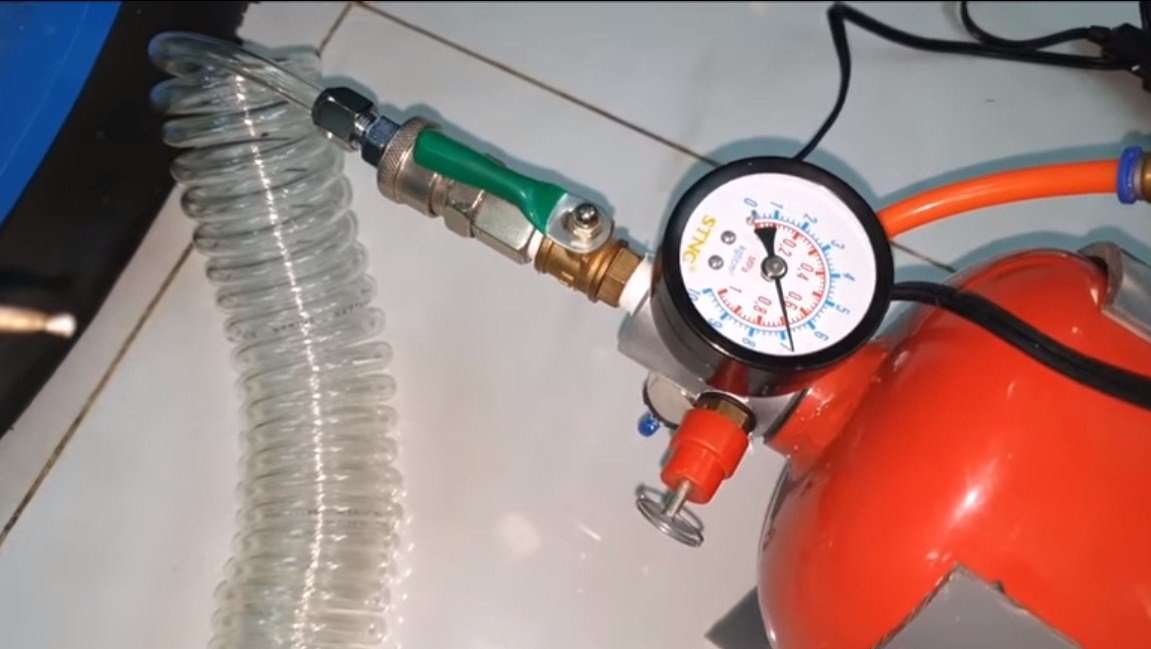
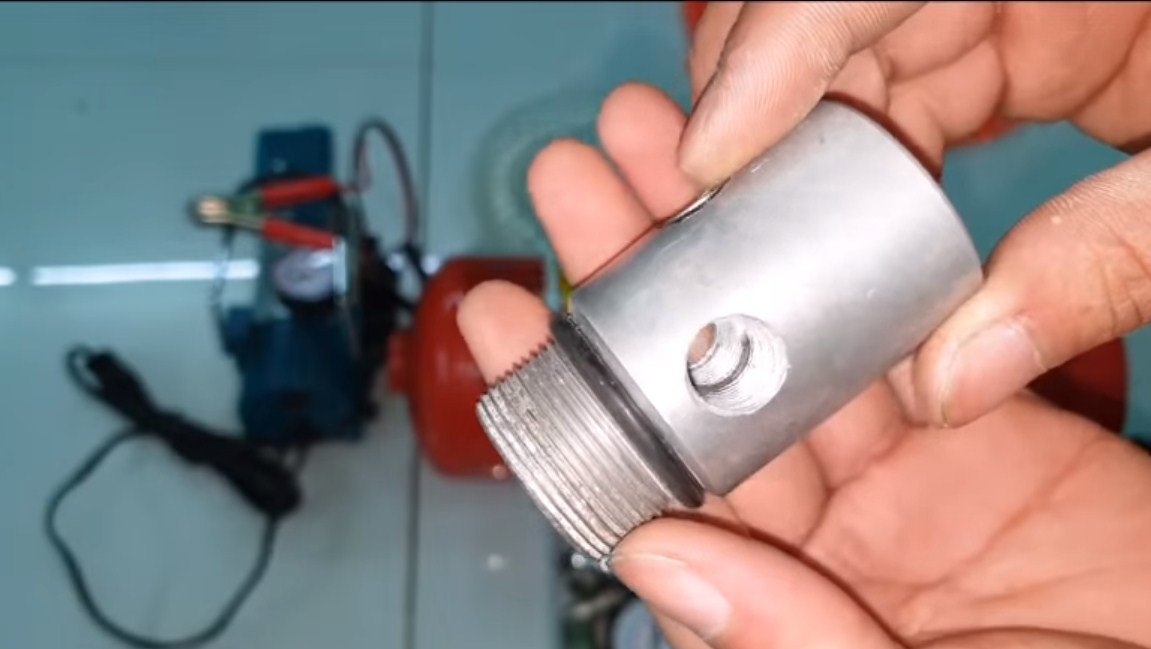
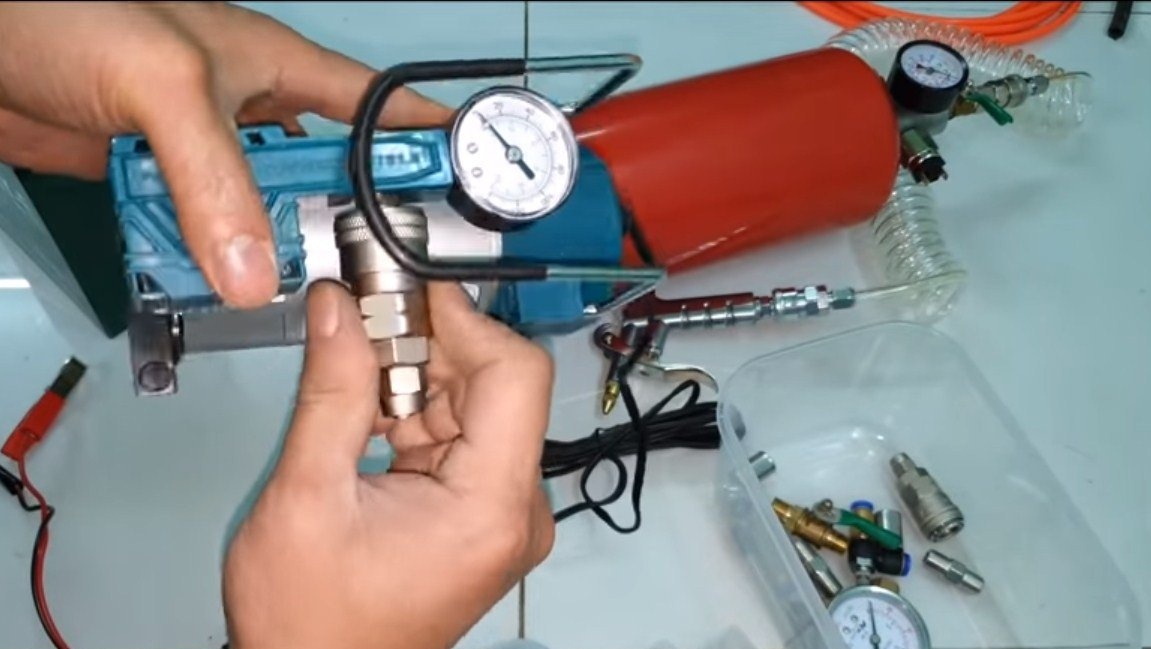
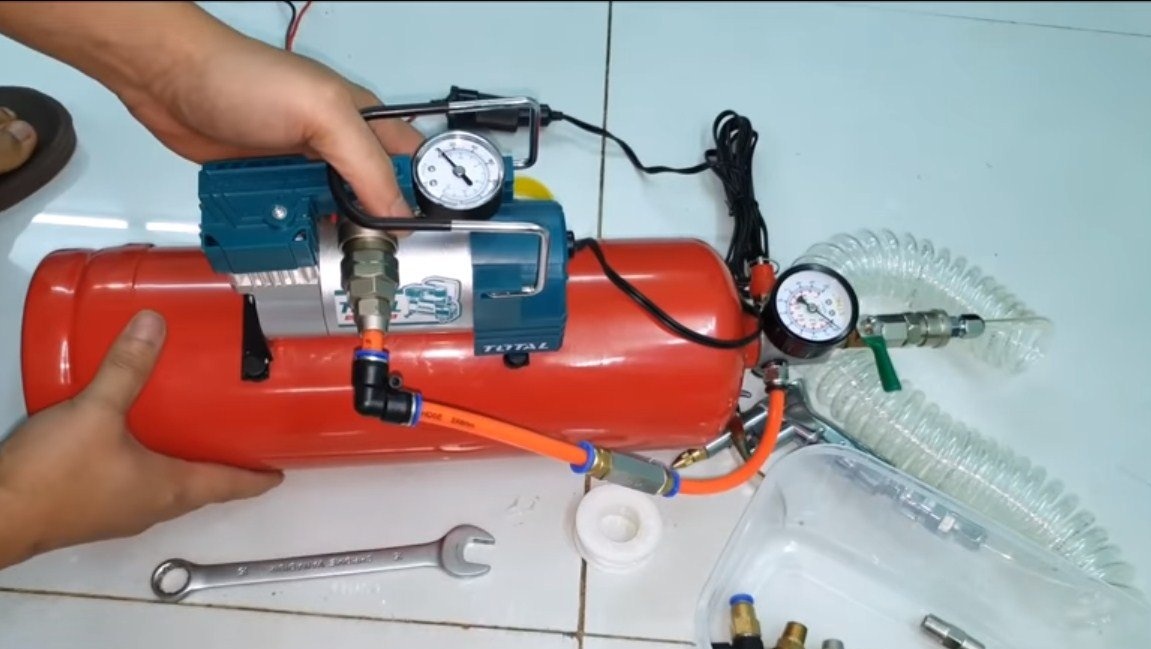
We wrap a special adapter in the cylinder from the fire extinguisher, where its author took it and whether they are sold, write in the comments if you know. In any case, under any hole diameter and thread, you can grind the adapter on a lathe. To connect all the necessary equipment, the author has 5 threaded holes on the adapter.
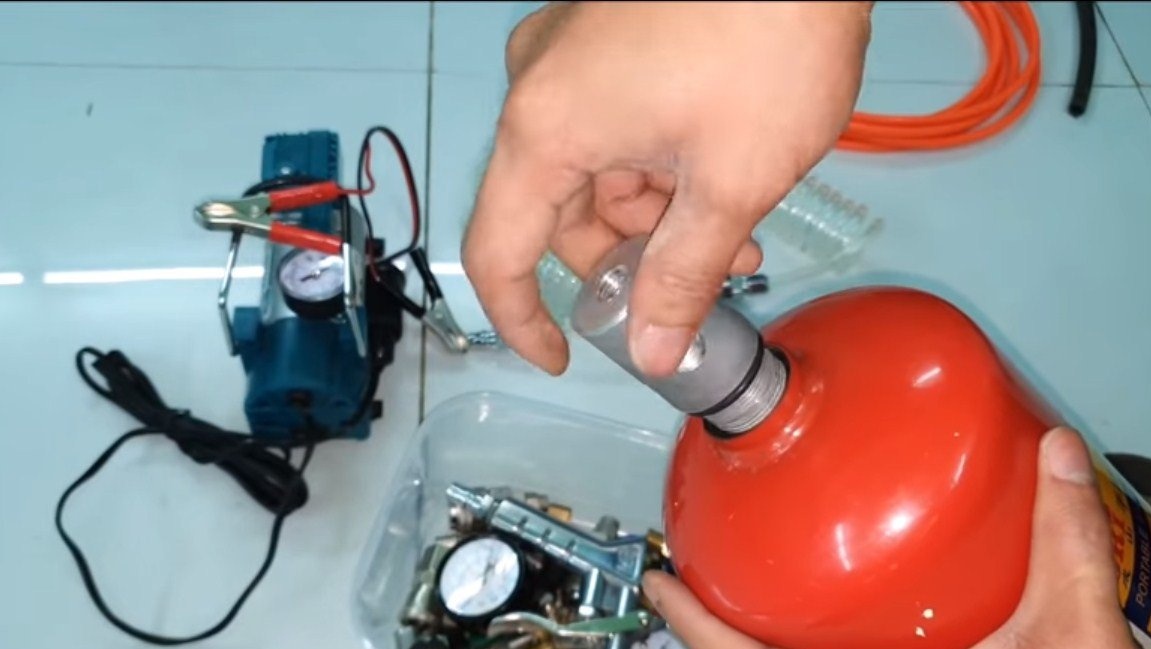
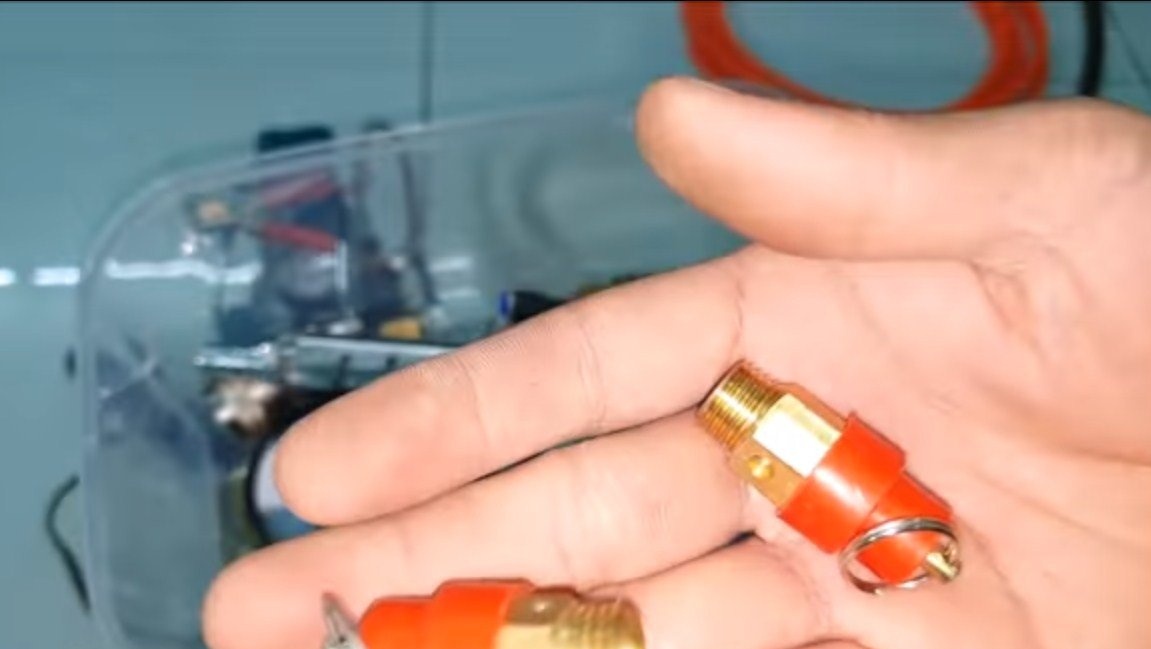
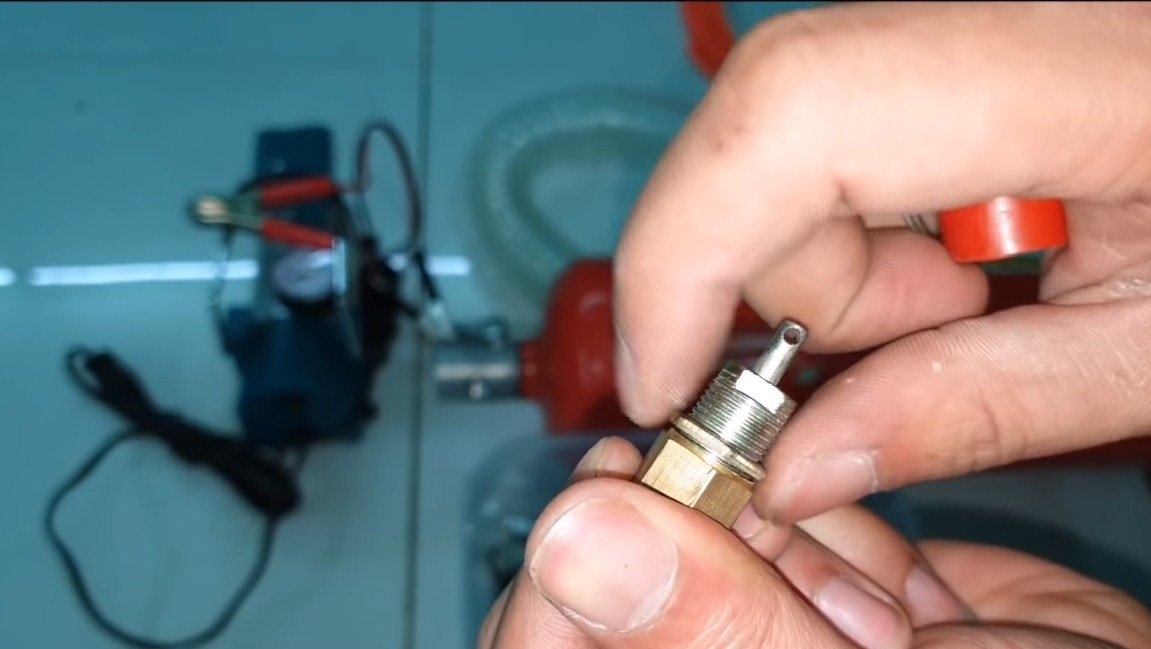
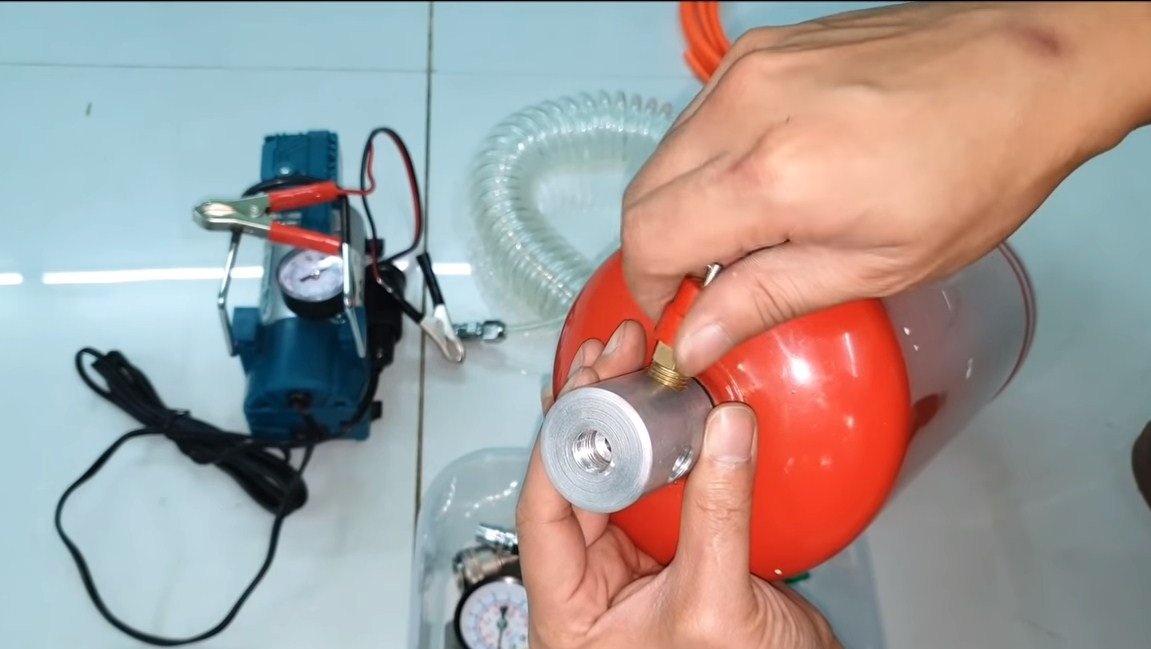
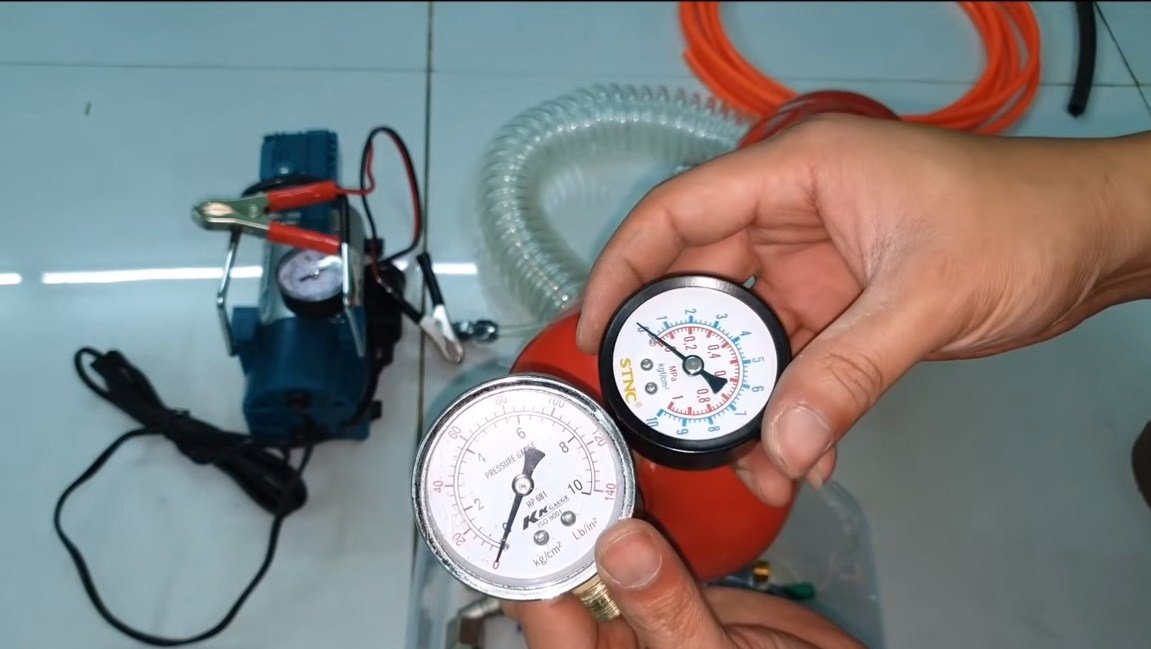
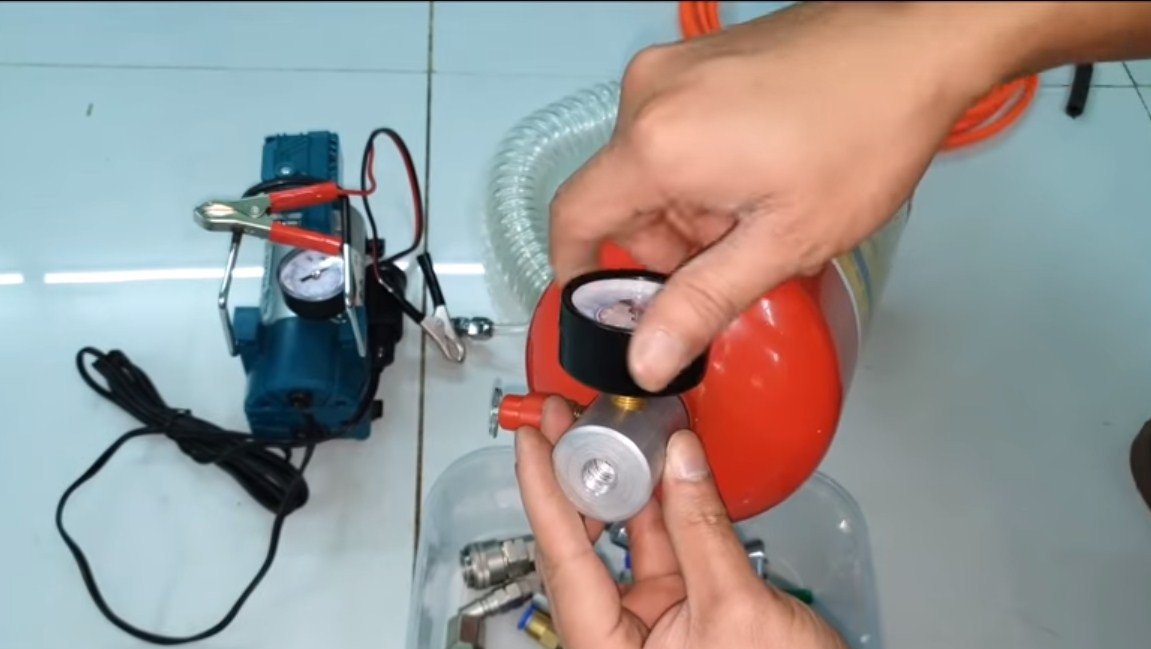


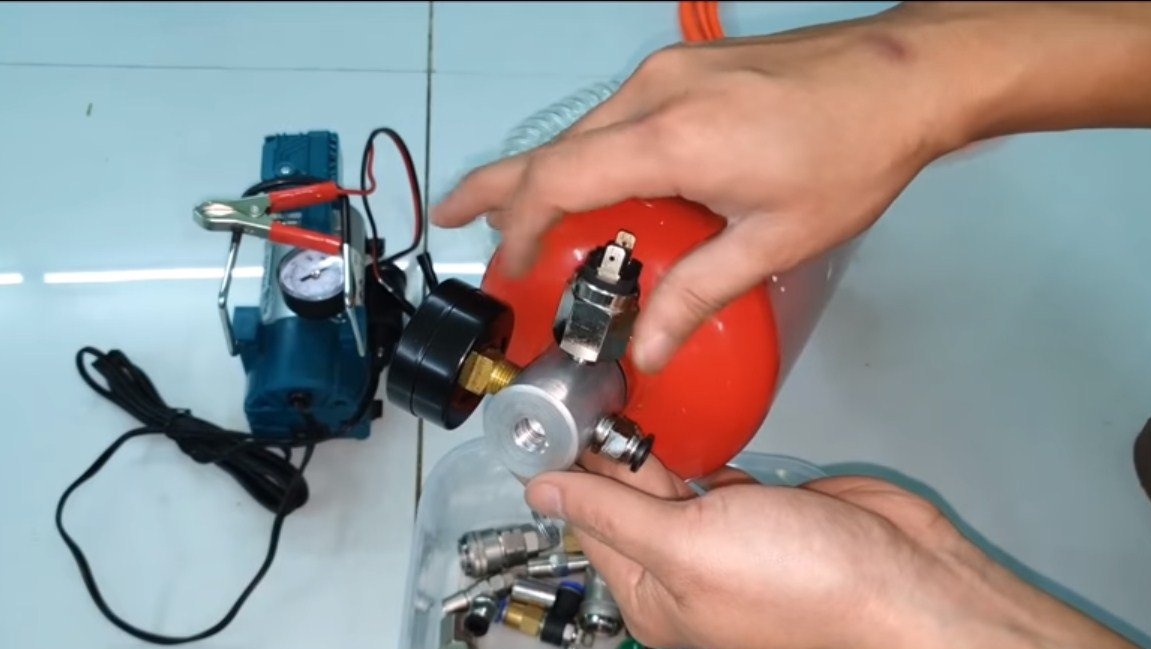
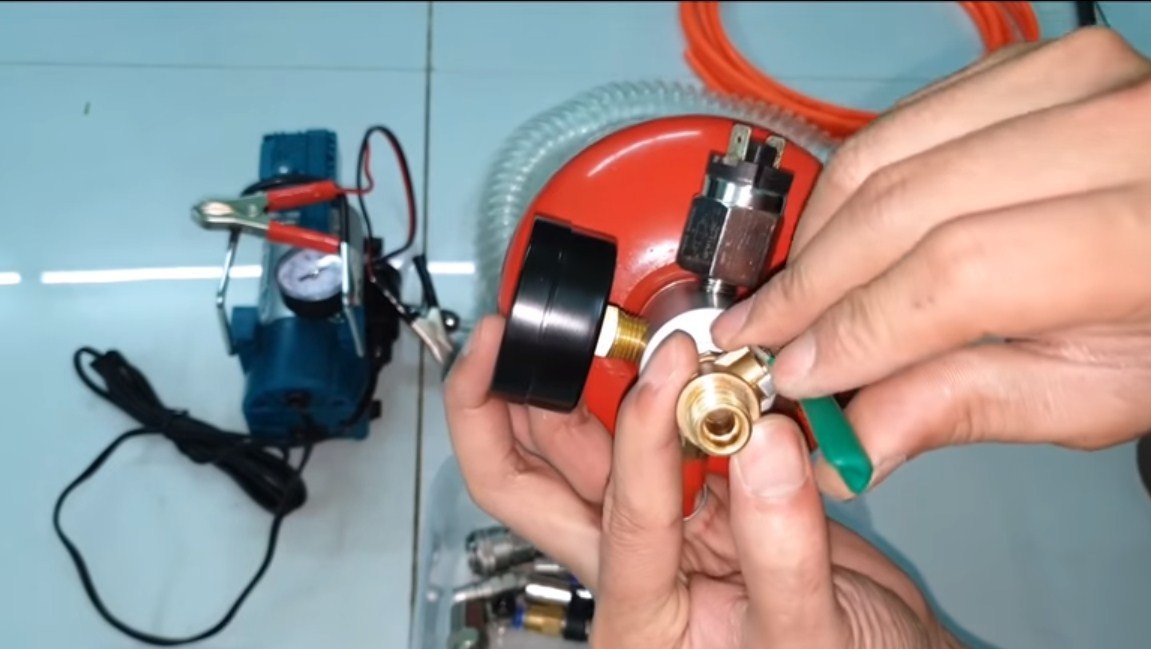
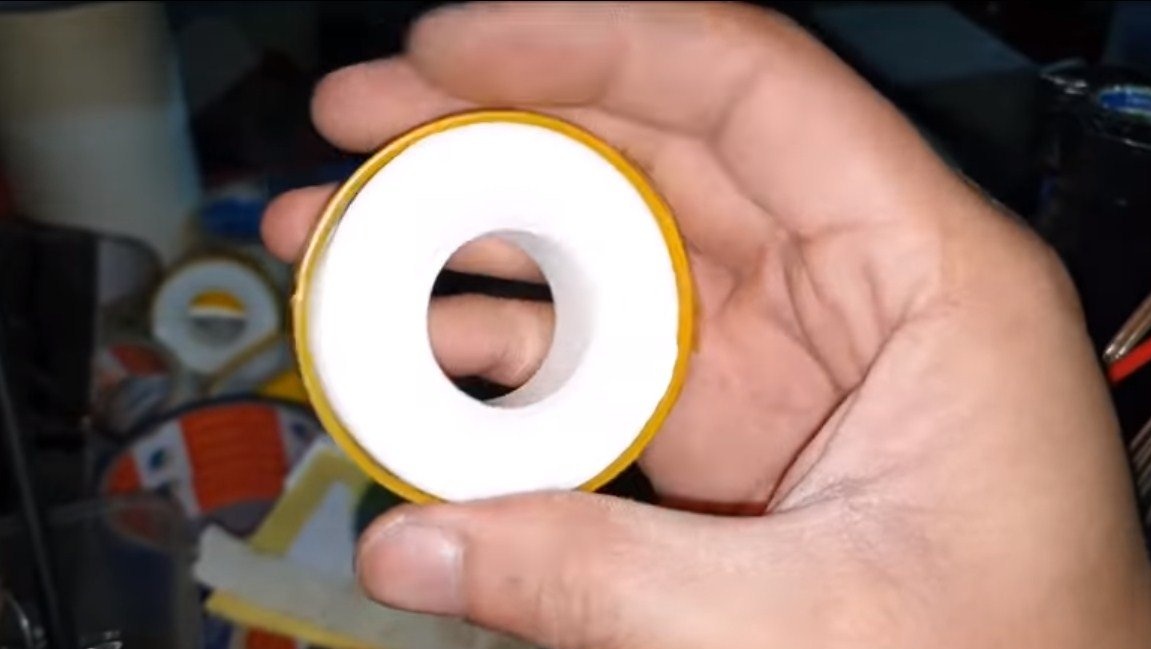
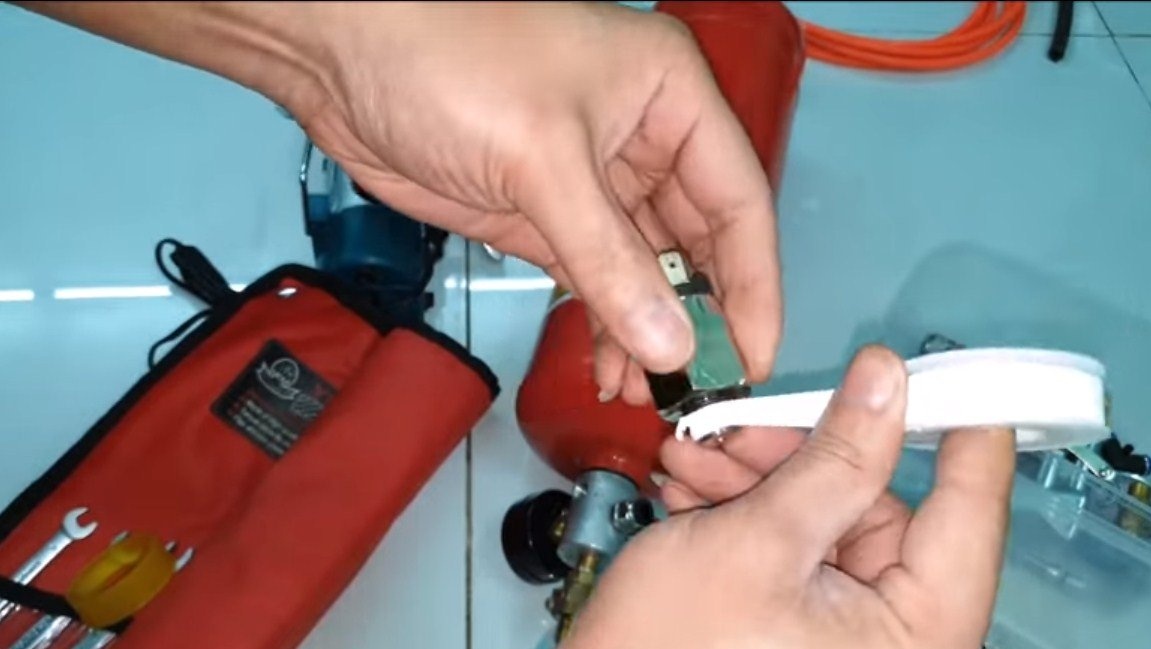
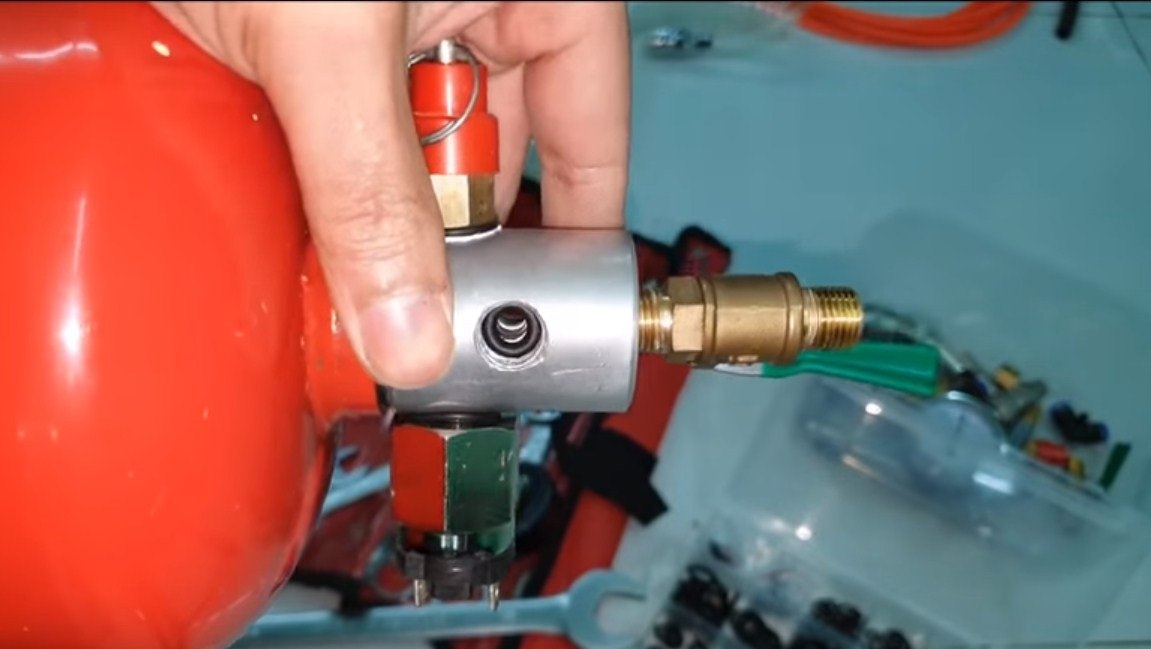
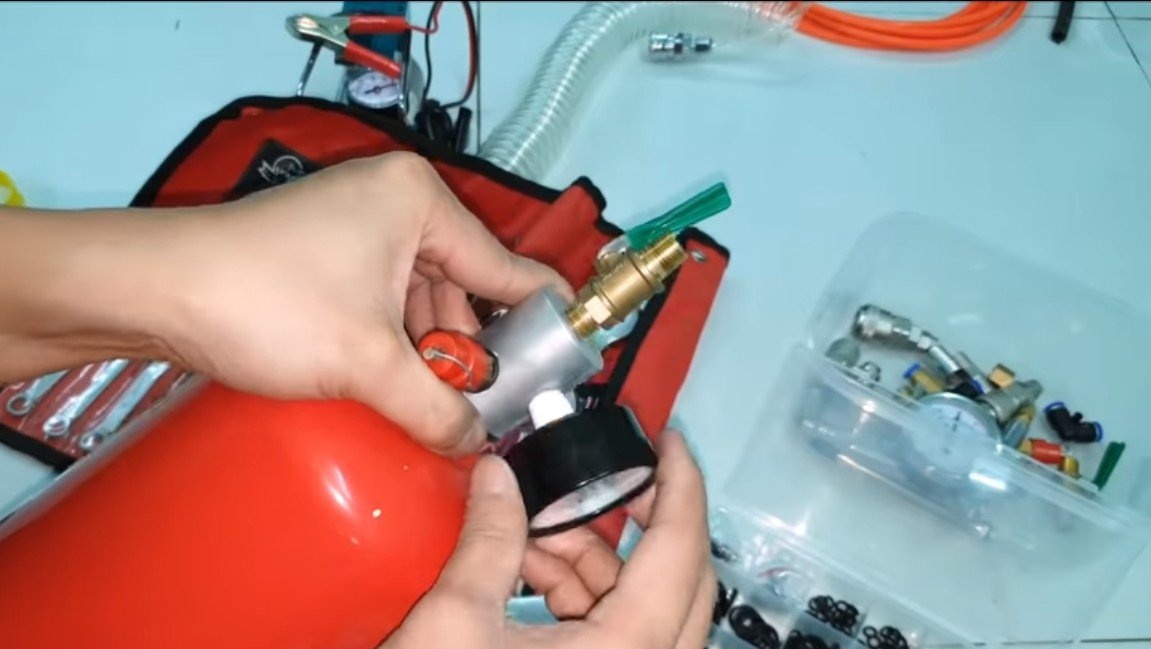
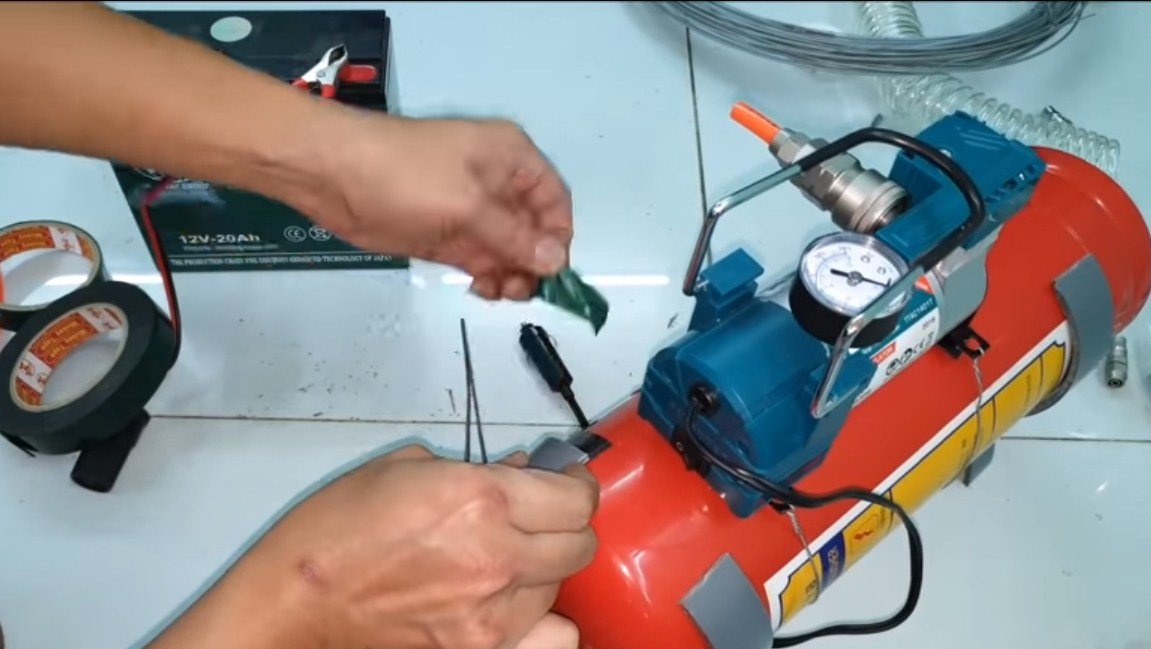
Of course, all the details you need to wrap using fum tape, as well as gaskets. We install a pressure gauge for monitoring pressure. We also need a valve that will relieve excess pressure in the event of an accident and prevent the compressor or other components from breaking.
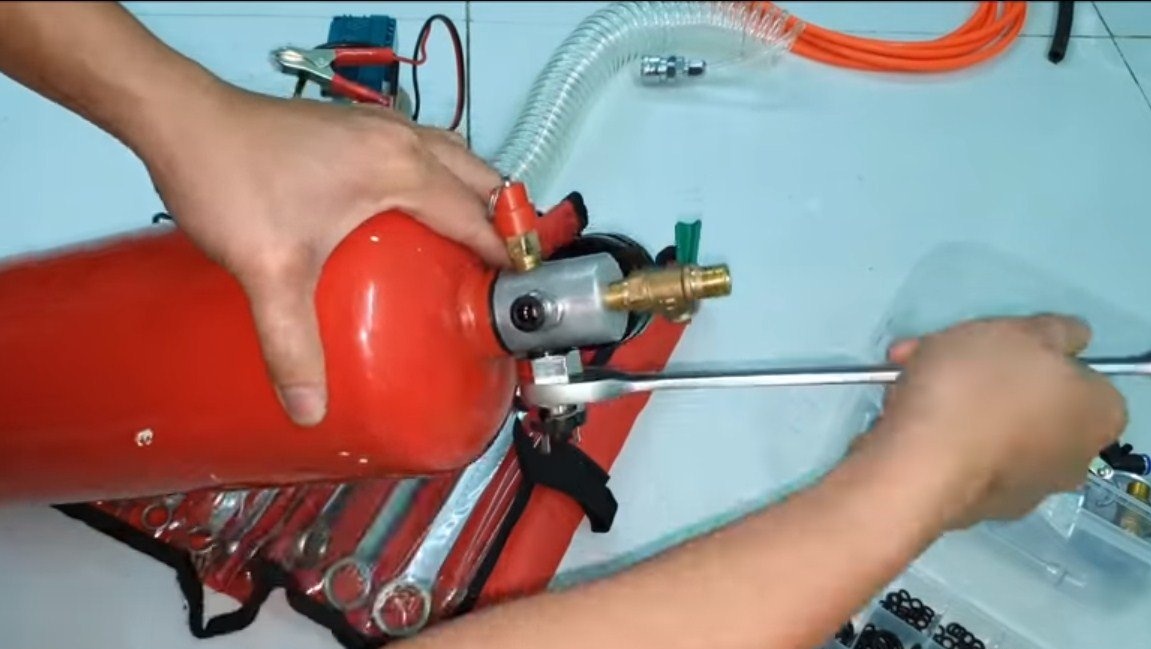
There is also a pneumatic switch that will turn off the compressor, and then turn it on, maintaining the necessary pressure in the receiver. This switch is adjusted with the key to the desired pressure. Also on the side we wrap the fitting for connecting the incoming hose from the compressor. Well, in the center we will have a crane for connecting the hose. All components are tightened well with a wrench.
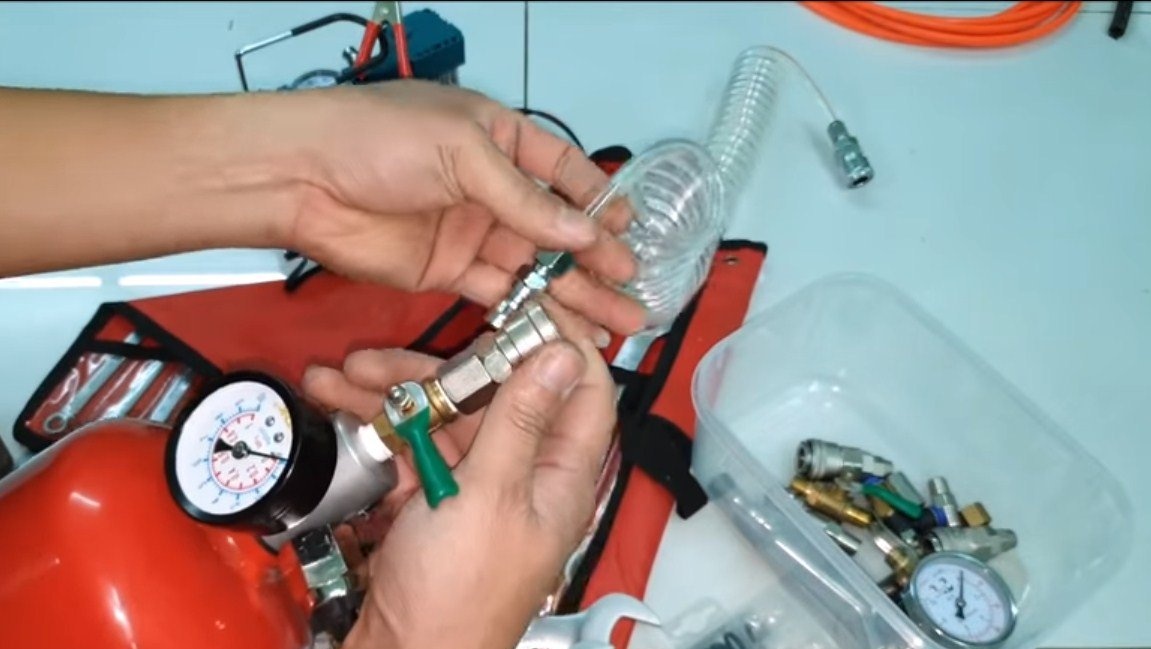
Step Three Hoses
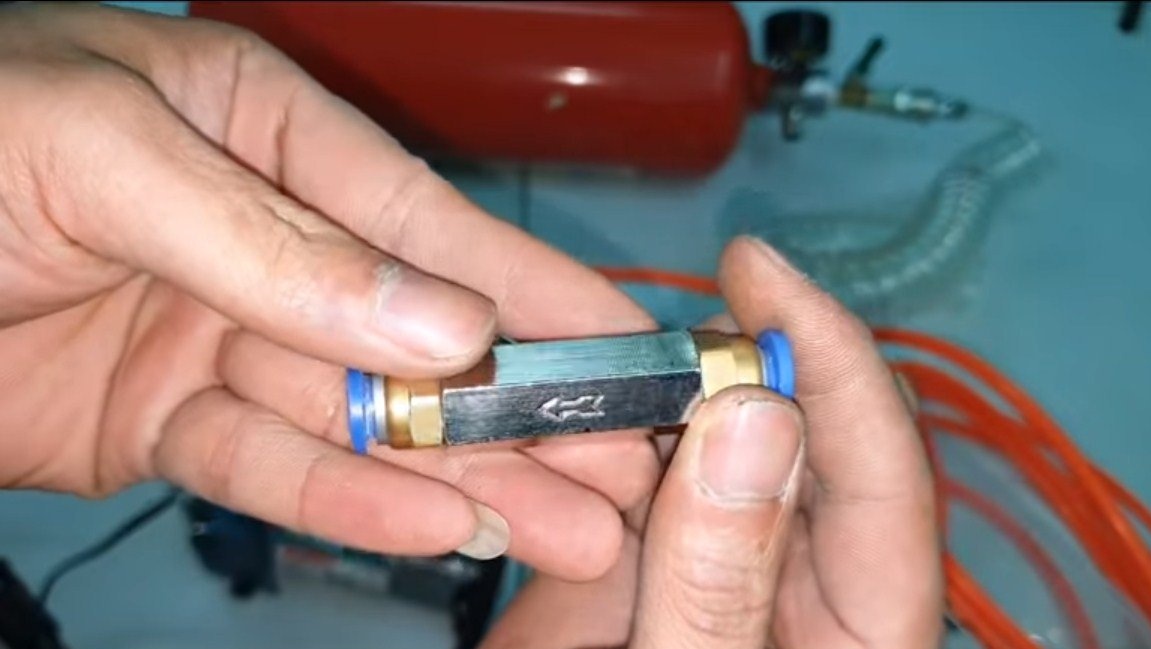
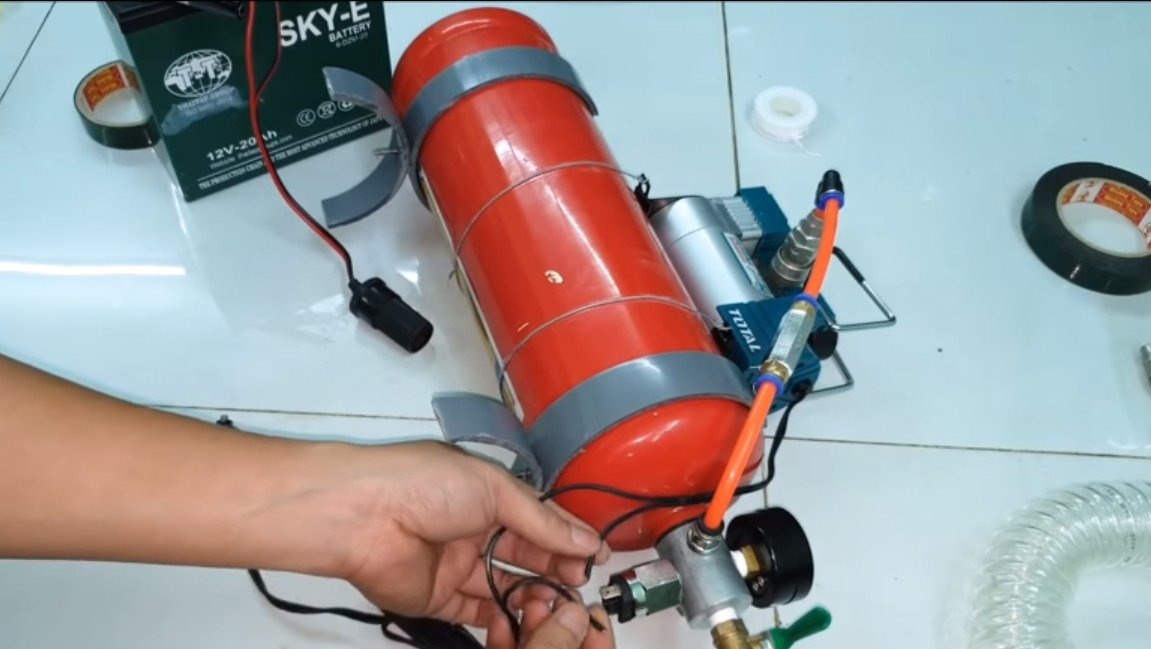
Using a high pressure hose and the necessary adapters, we connect the hose from the compressor to the receiver. We also install an adapter on the faucet for connecting a hose from which air will come out, an airbrush or other tool will be installed here.
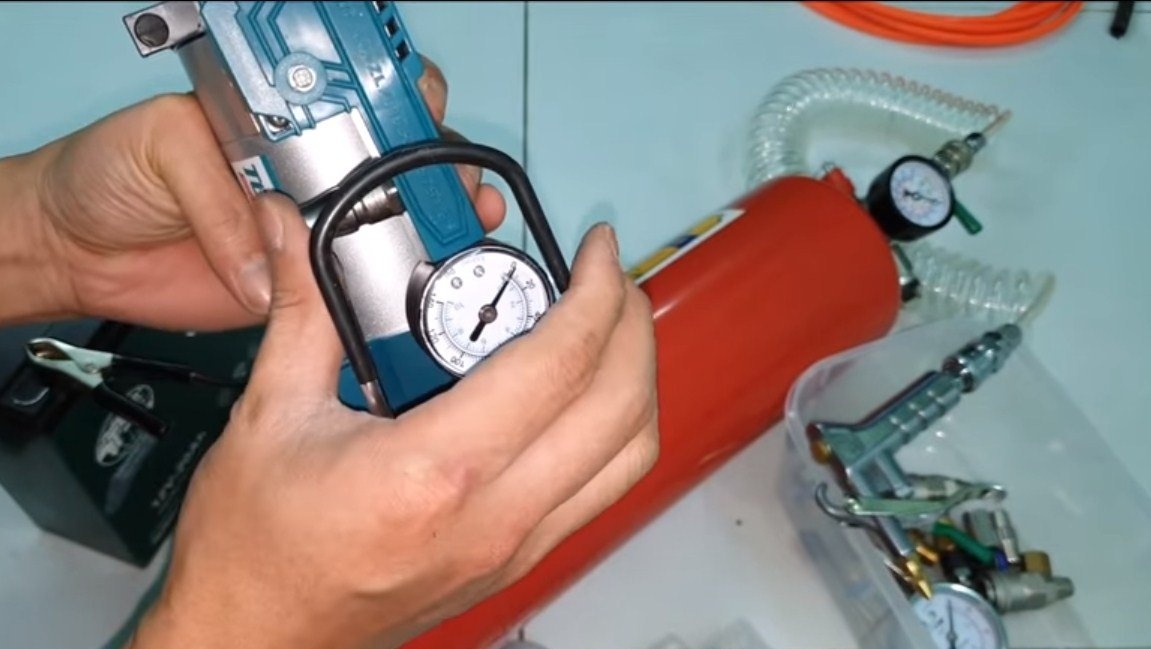
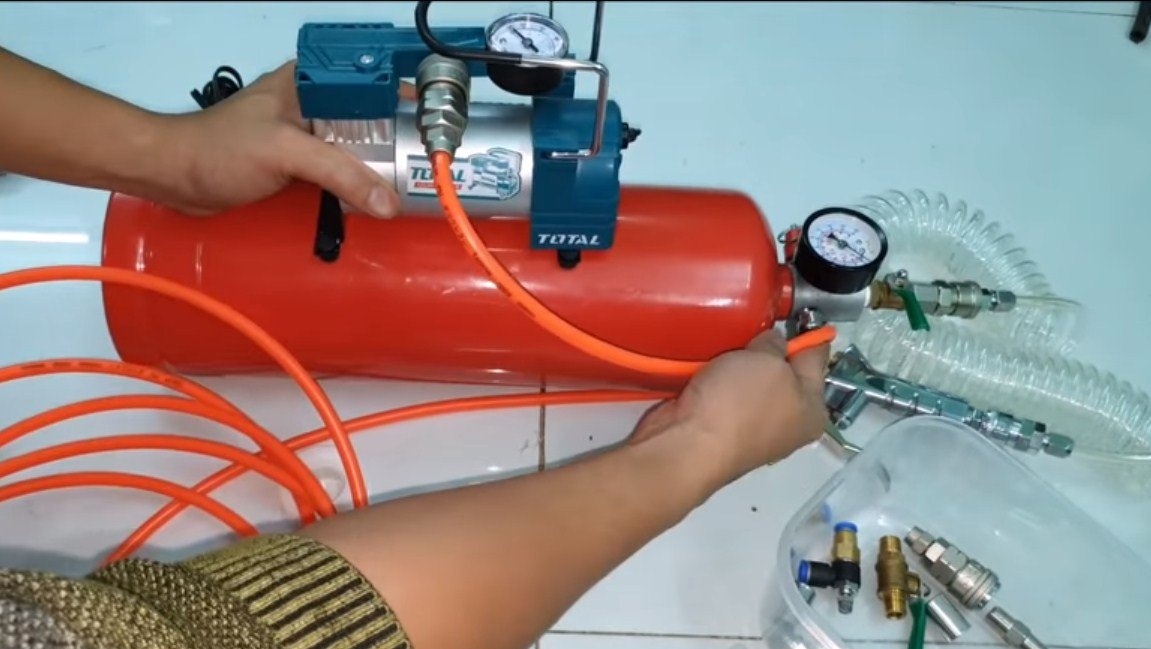
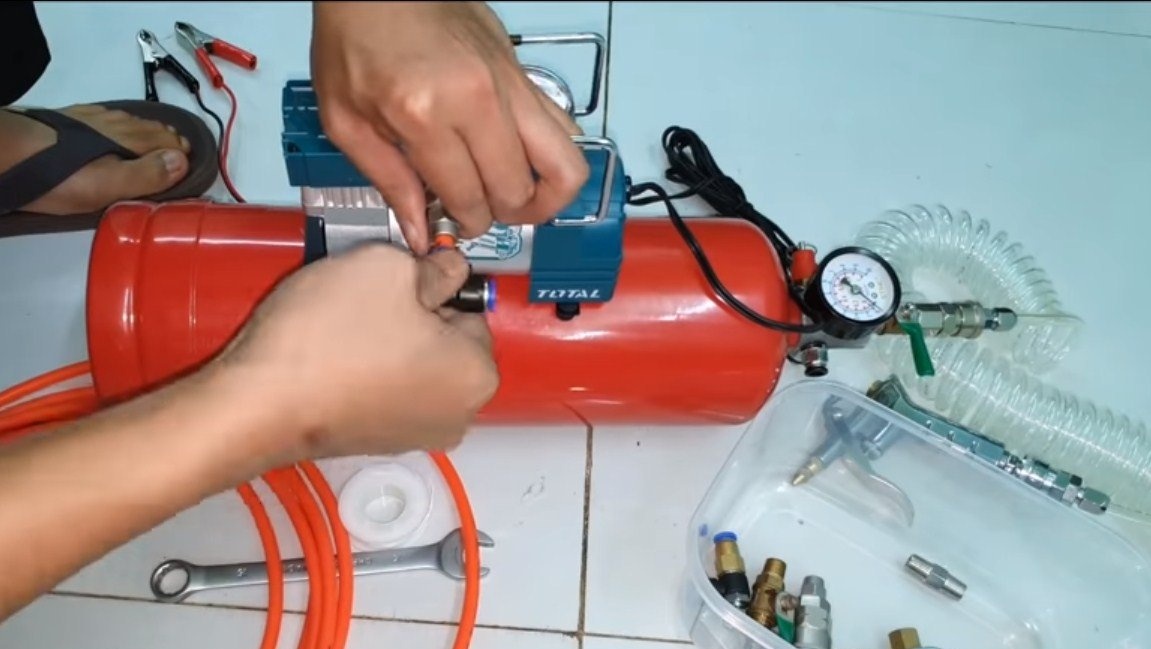
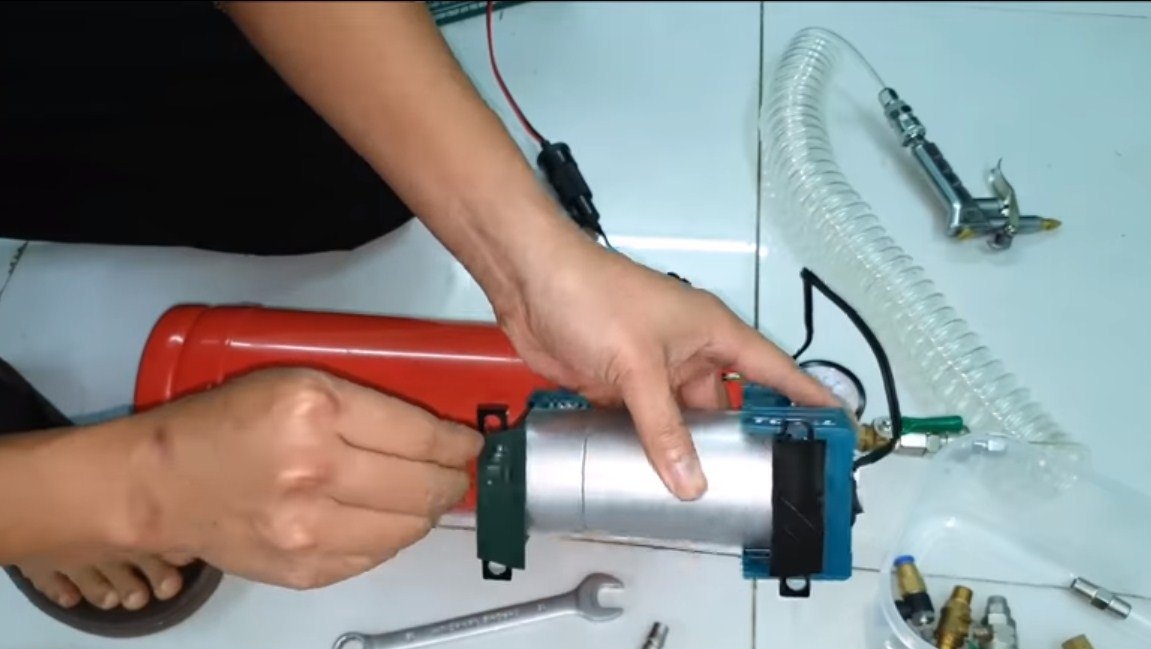
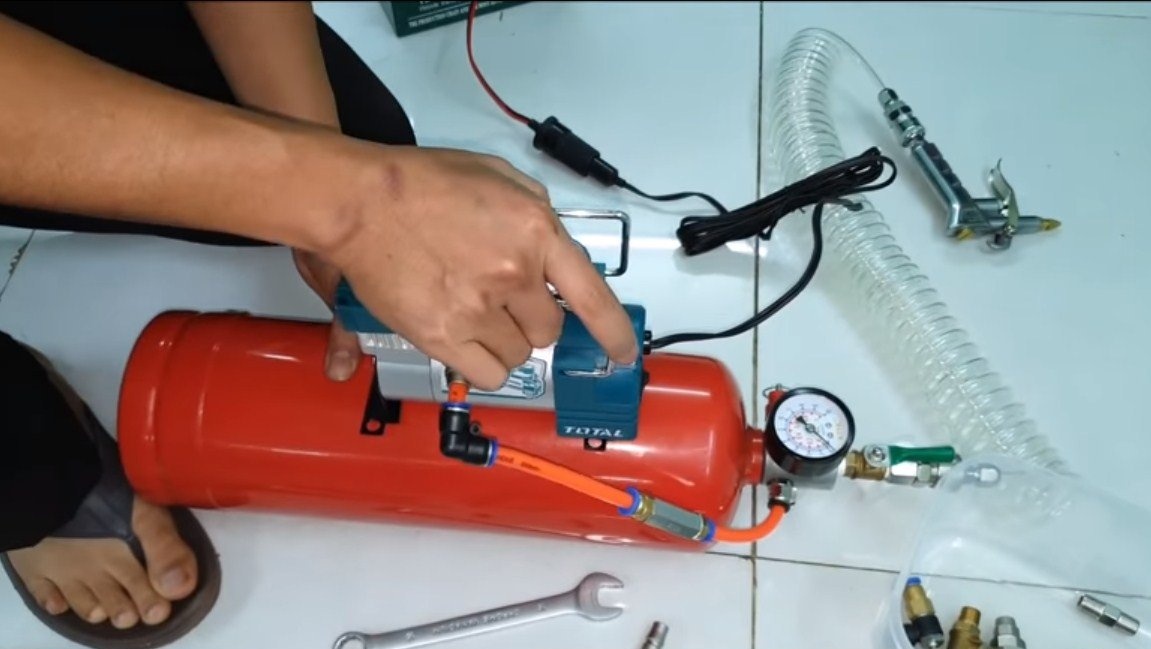
The author mounts the compressor on the receiver using double-sided adhesive tape, and for additional fixation we screw the compressor with wire, since it can vibrate slightly.
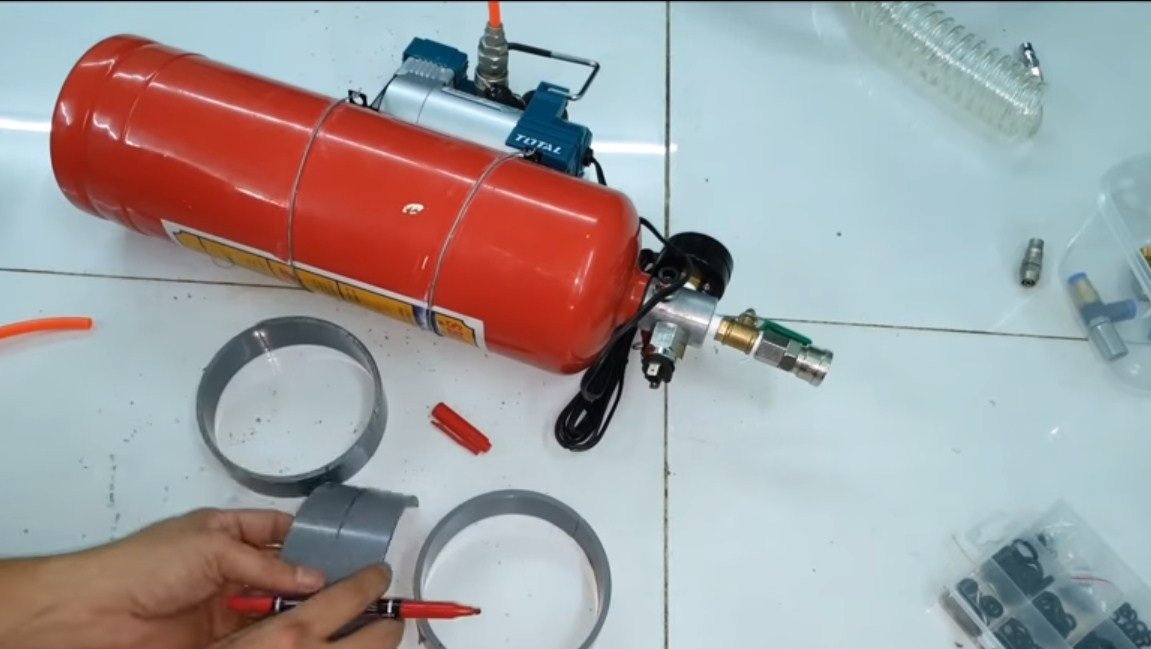
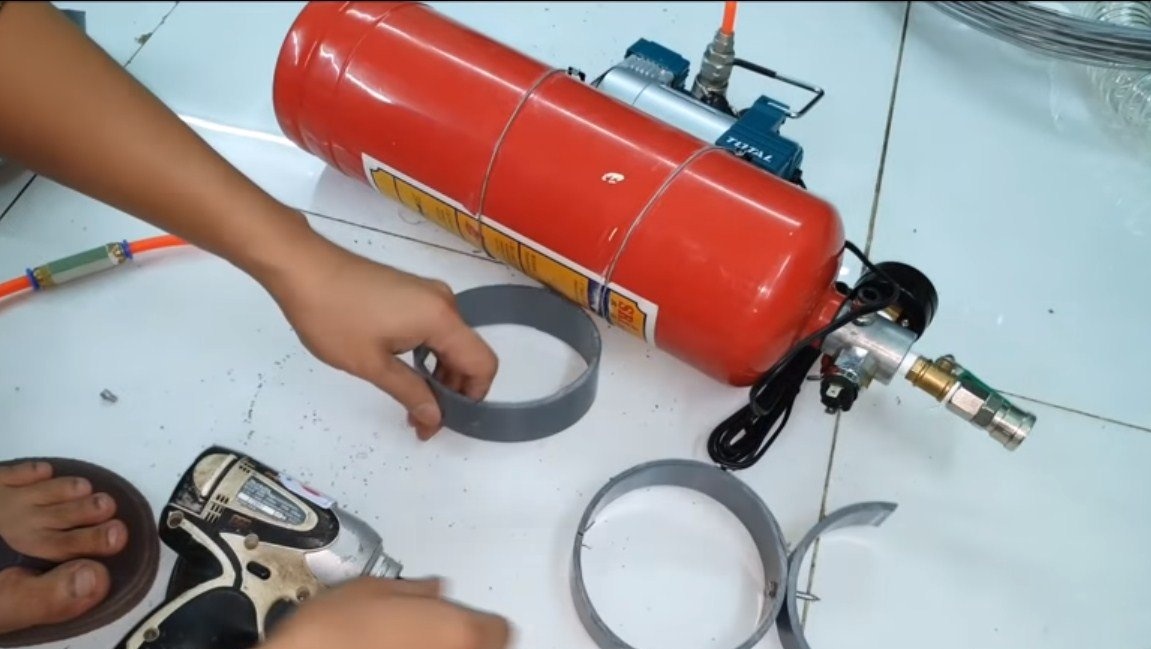
Step Four Legs
We will make the legs for the compressor, the author makes them from a plumbing pipe. Each leg consists of a whole cut circle, as well as a semicircle bolted to it. We additionally glue the legs with double-sided adhesive tape. It turns out everything is simple and reliable.
Step Five Test
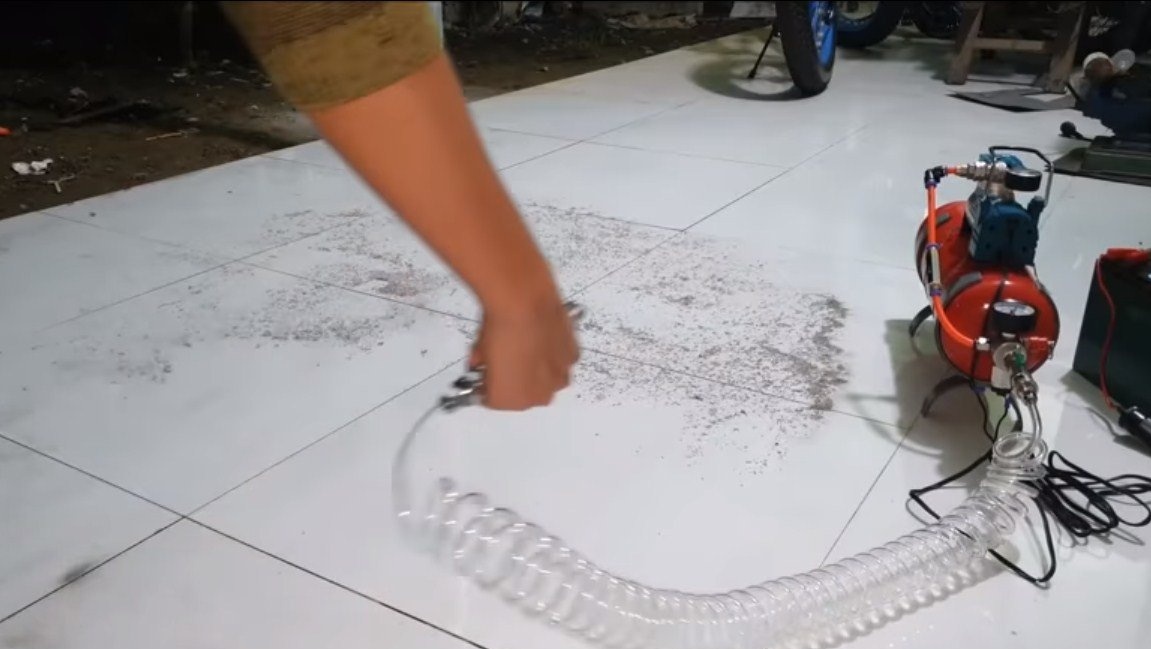
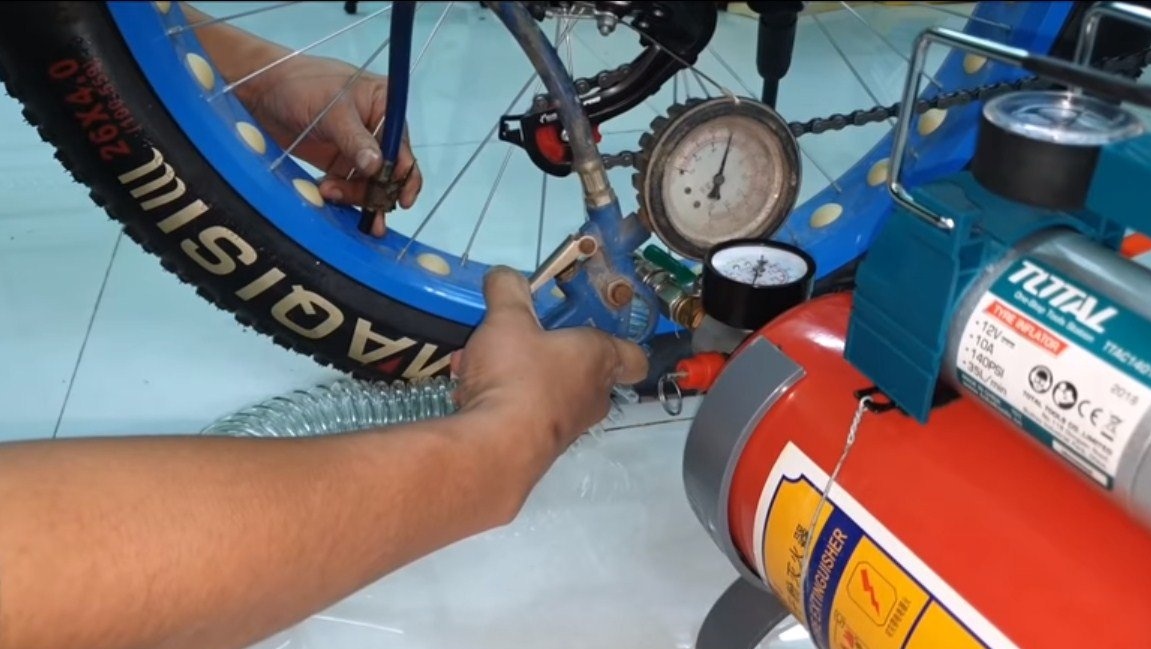
We turn on the compressor, if everything is assembled correctly, the device itself will turn off when the necessary pressure is reached in the receiver, and then turn on when it falls. The author easily pumps a bicycle wheel with a compressor in a couple of seconds. He also demonstrates the "pressure" of air by blowing debris from the floor.
The compressor is ready, as you see, it is going to be very simple, it is more difficult to pick up all the necessary details. Good luck and creative inspiration, if you decide to repeat this. Do not forget to share your ideas with us and homemade!